VTHokiEE
-
Posts
1,528 -
Joined
-
Last visited
Content Type
Profiles
Forums
Gallery
Events
Everything posted by VTHokiEE
-
 If you go to the contact us portion of the site there is an image with an email address that looks like: service1@aipeck.com Doing a search on this comes up with a handful of other sites and scam reports. To me that’s enough to stay away or proceed with high risk.
 -
If I read their domain information correctly that site is less than two weeks old (maybe less than one). Personally, I wouldn’t purchase from them. I think the chances are high that you will be working to get your money back if the product doesn’t show or it’s a cheap knock off of what you really want. If it seems to good to be true it probably isn’t sort of thing.
-
I’ve never used wipe on poly, but I decided to give it a try on this build. I’m not certain the picture really does it justice but I am very pleased with the first coat. I finished attaching half of the cap rail as well so on to the other side.
- 436 replies
-
- 11
-

-
- vanguard models
- alert
- (and 1 more)
-
I'm very glad to see this still on the table; do you have any idea how far out it might be? Am I correct in assuming that you will wait until after you complete the Winnie to return to it?
- 1,784 replies
-
- 1
-
-
- winchelsea
- Syren Ship Model Company
- (and 1 more)
-
Beginner's build: Bluenose from Amati
VTHokiEE replied to MichaelHall's topic in New member Introductions
I don't know what is included in that combo set but I feel like you'd be better off choosing your own tools for the remaining $175 (250-75). I would take a look at some build logs to see if you can get a feel for what tools but you'll most likely need (not inclusive, usually the directions include a recommended list of tools as well which can be a reasonable starting point): #11 hobby knife Various grits of sand paper Assortment of clamps Paint brushes Pin vise Small drill bits Glue (PVA and maybe CA) Painter's tape Paint -
I try to use wood glue as much as possible (but I still use CA for many things). Part of my decision making process involves how well I think that I can clamp, or keep a part in the right place while drying and how confident I am in its placement. I can usually increase my confidence in placement by thinking it over for awhile, but if I think that its going to be tricky to hold still I'll probably use some CA. On my last build I learned to use CA for my planking (many use PVA, but CA worked really well for me) and I think it came out rather well. Can you shift the placement of these without too much issue? Maybe look ahead in the directions to make certain you are not placing them in the way of something else, but shifting their placement will most likely only be known to you in the end and everyone who looks at the model will have no idea.
- 60 replies
-
- 1
-
-
- swampscott dory
- finished
- (and 1 more)
-
That pear wood looks really nice! Beautiful job planking!
- 642 replies
-
- 4
-
-
- winchelsea
- Syren Ship Model Company
- (and 1 more)
-
Thank you! It’s amazing what a little bit of paint can do. Of course when I had it all taped up to paint my kids told me they thought that it looked better without the tape. 🙂
- 436 replies
-
- 3
-
-
- vanguard models
- alert
- (and 1 more)
-
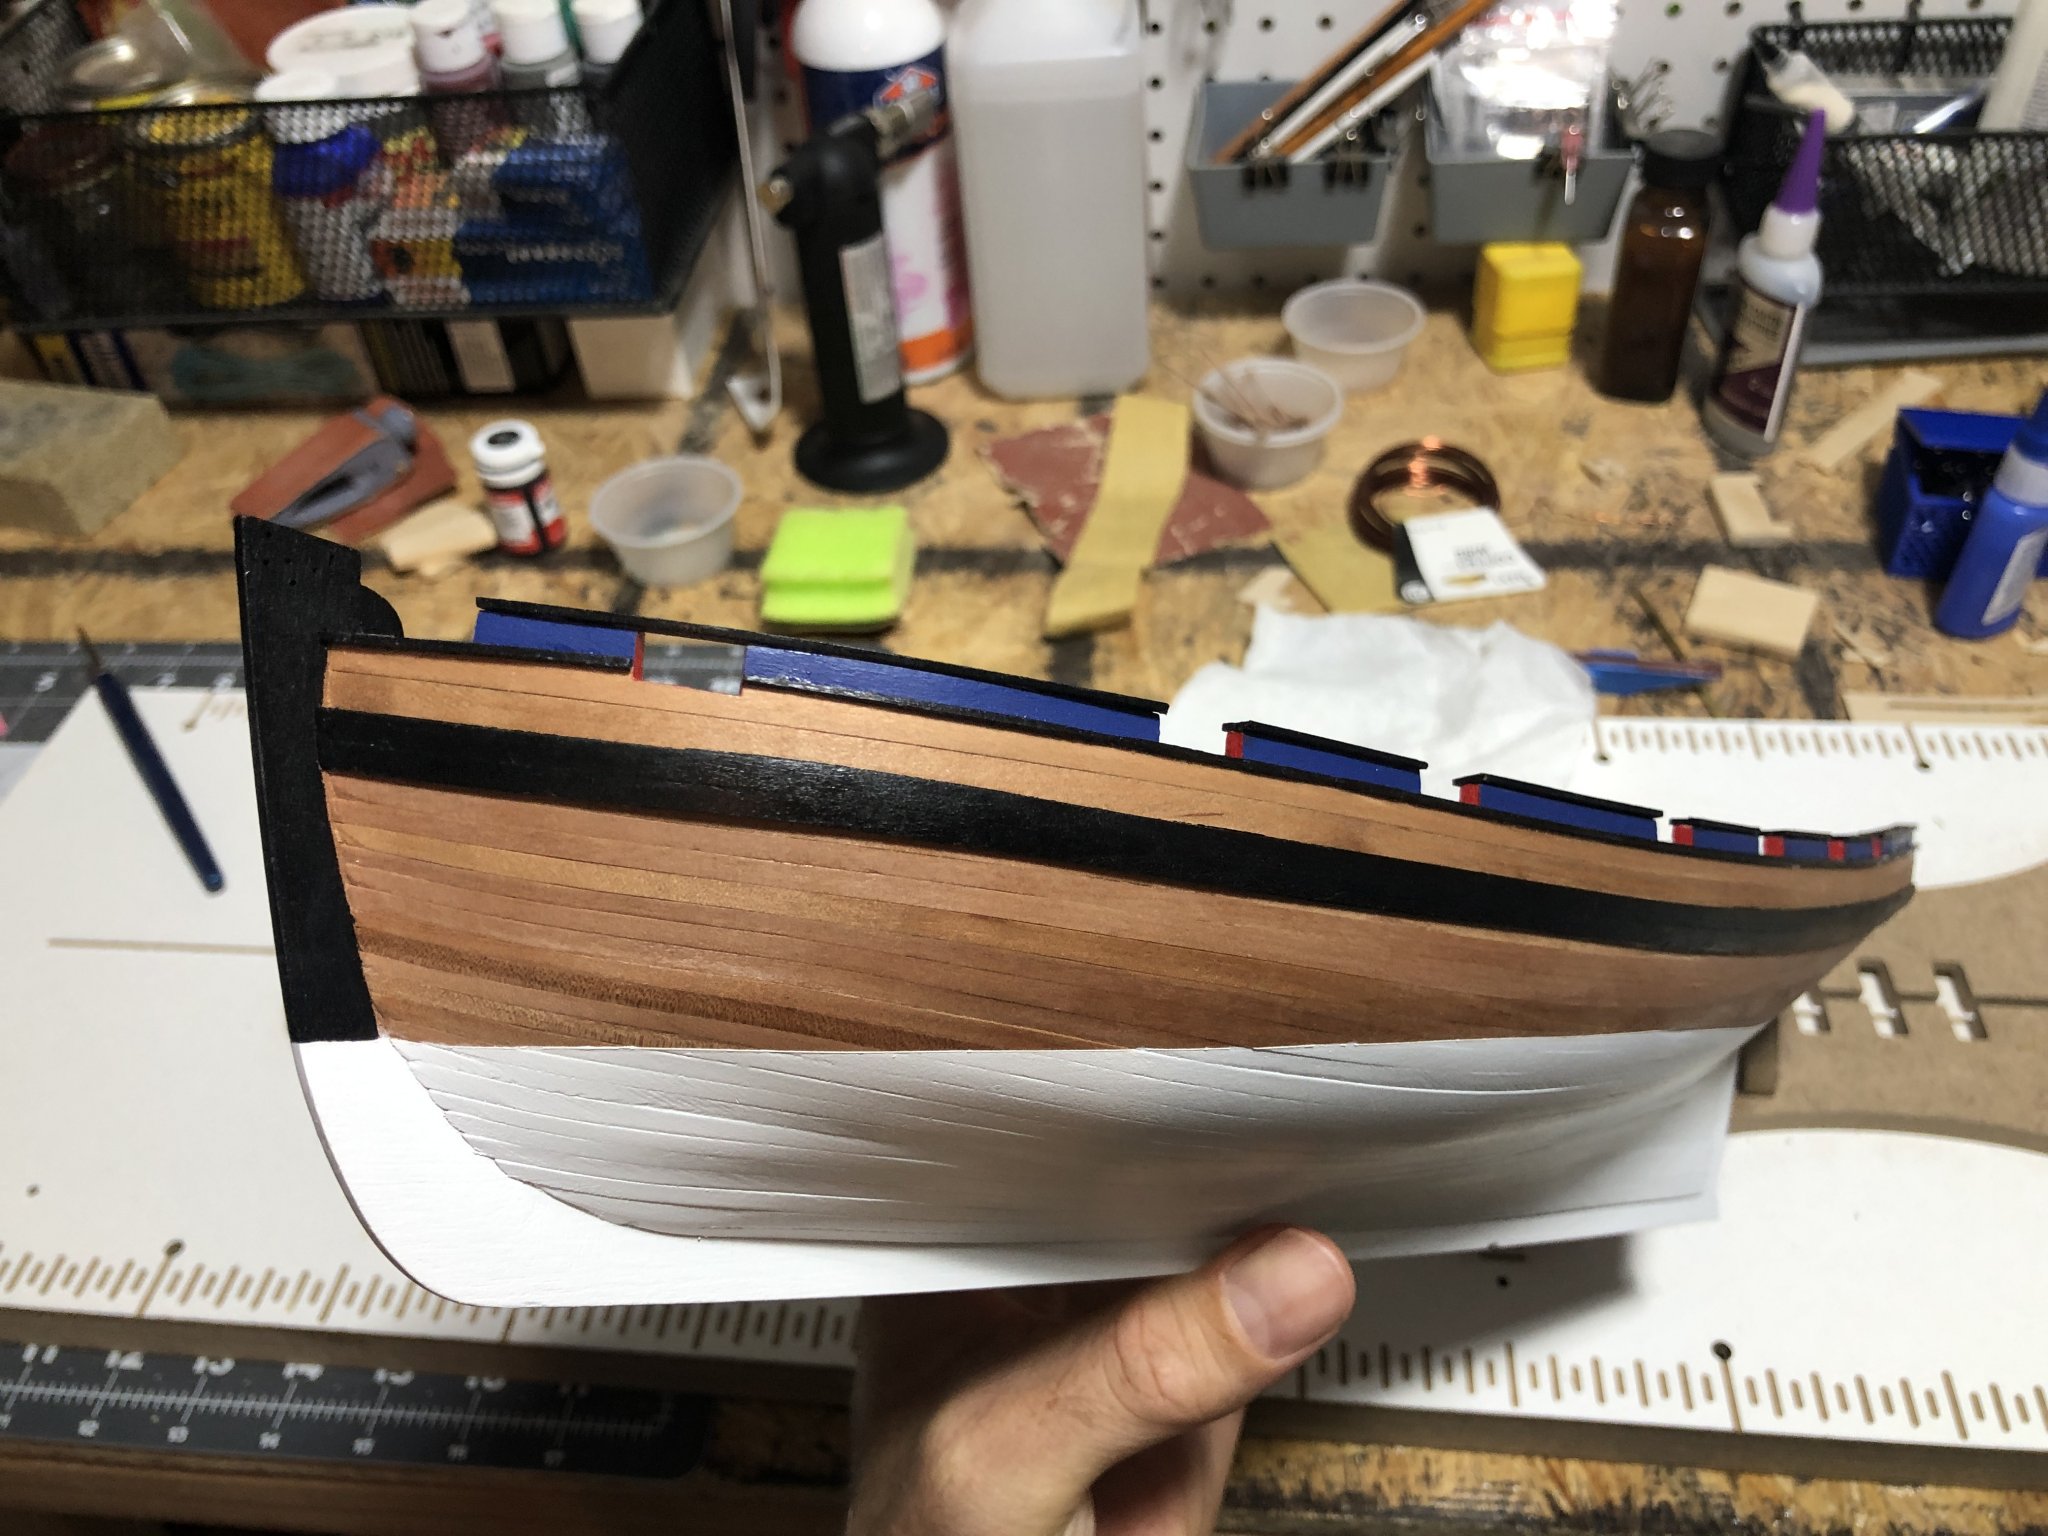
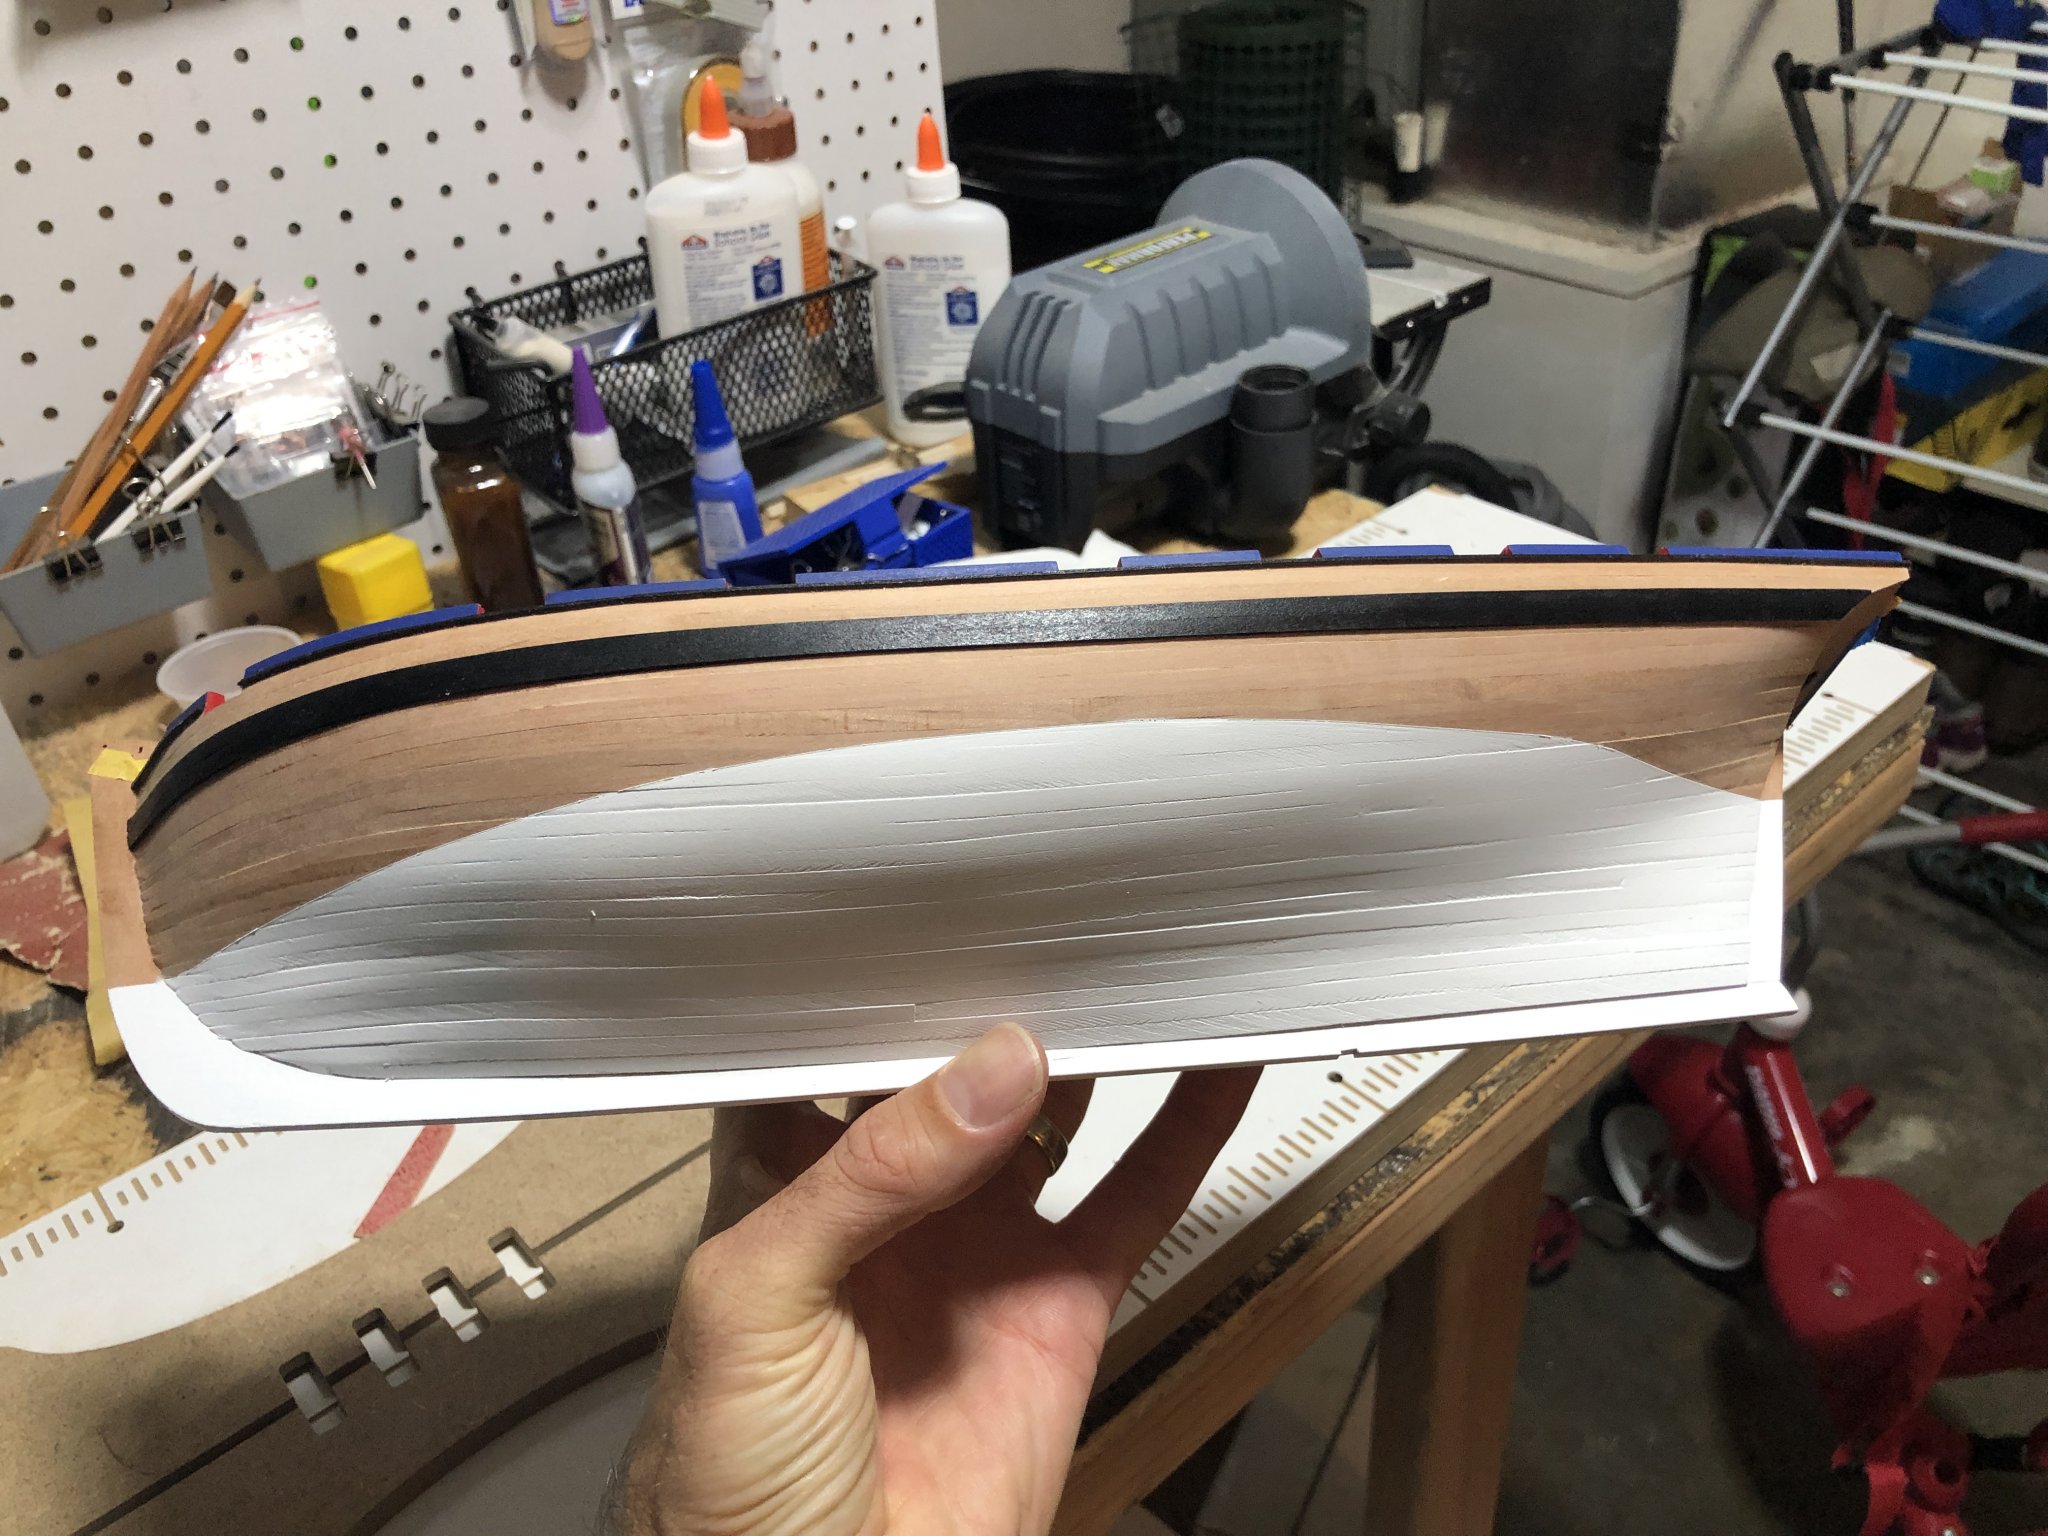
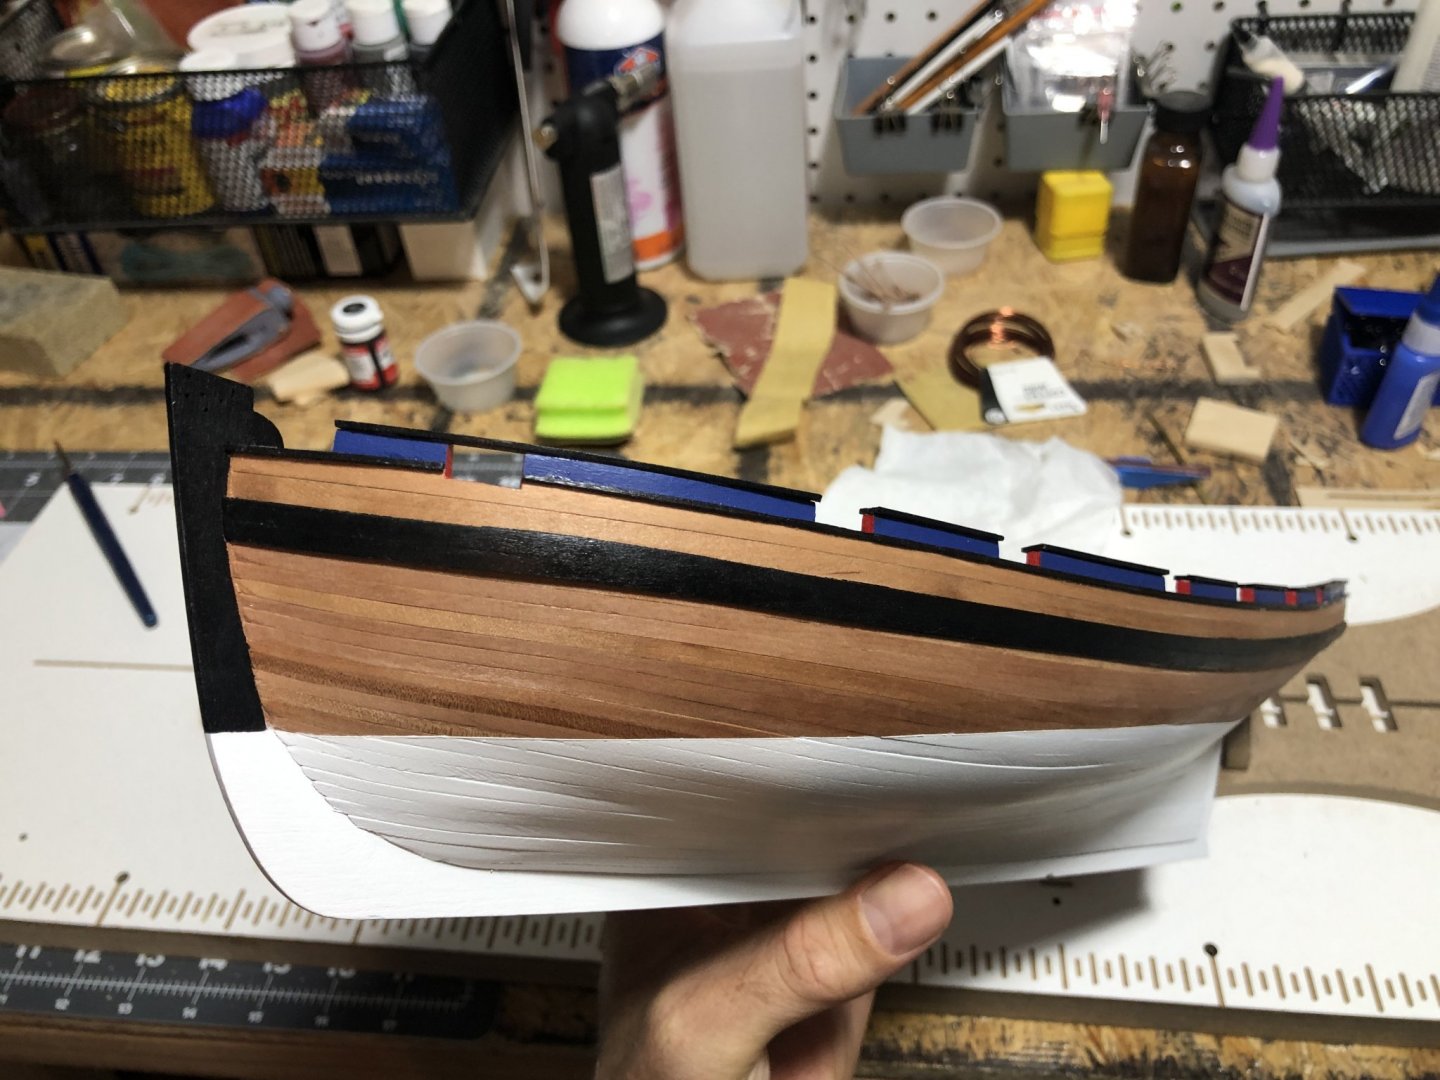
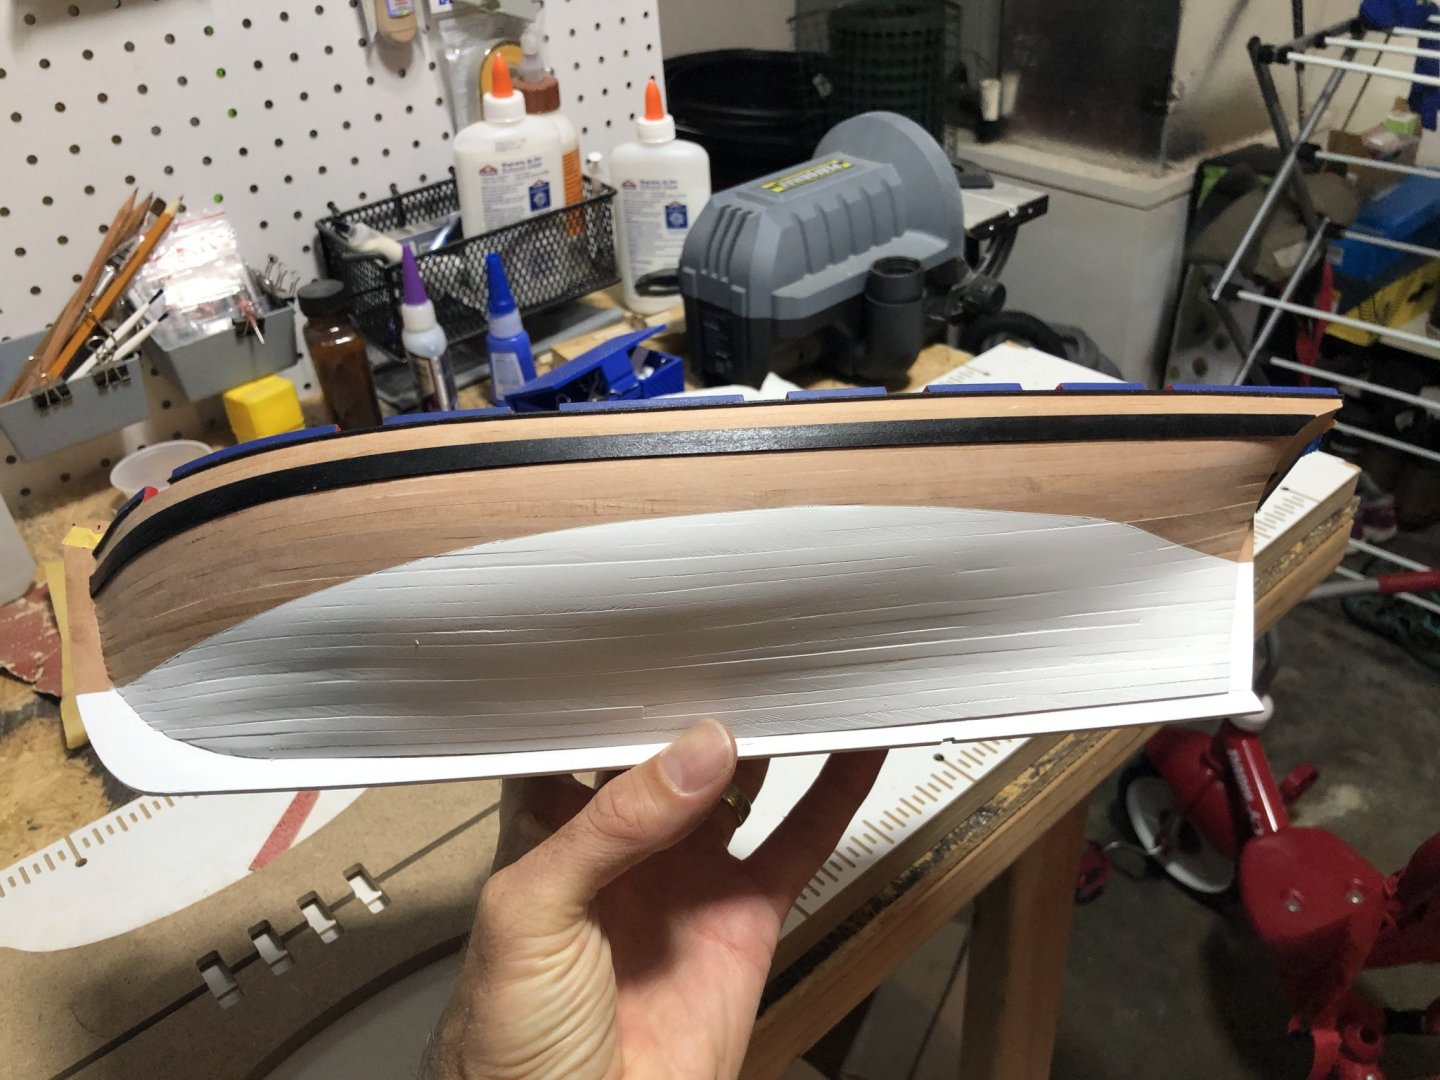
Slow and steady continuing on. After I attached the rails I noticed they were too high in a spot or two so I loosened then in those spots and reattached them (fingers crossed the photo etch fits). Then I marked off the waterline and painted the area below white. I’m currently painting and attaching the cap rails (...slowly).

- 436 replies
-
- 7
-
-
- vanguard models
- alert
- (and 1 more)
-
You might use a flush cutter, but that will pinch the wood some so leave a little extra height and file that flat.
-
Not certain if this is exactly what you are looking for but repurposed binder clips can possibly hold down the planks. https://modelshipworld.com/topic/2003-clamps-what-kind-do-you-use/?do=findComment&comment=47524
-
For a later build then; I recall Dirk adding one to his Sherbourne and thought that it might be a nice detail here as well.
-
Those are coming along very nicely! How did you decide on the dimensions for the bucket? I may be making some in the future.
-
Thought that I would check in and see how the build is progressing and how you're doing?
-
There’s probably a “right” amount of overlap, but if it looks good to your eye then I would say you’re in good shape. Looks good from here though!
- 60 replies
-
- 1
-
-
- swampscott dory
- finished
- (and 1 more)
-
You might already be using something similar but I picked up some bob smith CA pipettes (pictures towards or at the bottom here: https://bsi-inc.com/hobby/access.html) on eBay as a 12 pack. I’m still not great about CA placement but they helped me a lot during planking and I’m certain they will help elsewhere. Also - For PVA I use some syringes that I got on Amazon to help.
- 60 replies
-
- 1
-
-
- swampscott dory
- finished
- (and 1 more)
-
Oh that binnacle is tempting, I assume it would fit nicely on the Alert? I’m also curious if you have any thoughts one what could be used to cover the openings in the first version of the etched deck for the Alert? I picked up the gratings so they are extraneous (and I believe you removed them in the second version). I could drop a rope could in each, but maybe a bucket or something else would be more interesting?
-
Looking forward to seeing this take shape. I think gsdpic has some good suggestions looking at the pictures now.
-
I’m going to go sit in the corner and contemplate why I didn’t think of that. Thanks for the suggestion!
- 436 replies
-
- 3
-
-
- vanguard models
- alert
- (and 1 more)
-
Finished painting the blue between the gun ports and placed one of the rails. I unfortunately got some glue on one of the blue strips. I’m hoping that I can repaint it and it will be fine. I wanted to get the rails attached before putting the caps on as I thought it would be easier to clamp the rails to dry (I couldn’t see a way to apply CA without causing a mess on a 1mm strip) without the caps in the way. I also noticed that the cutouts in my cap rail are a little wavy, I need to check to see if it will effect placing parts later. I’d rather file them smooth before I attach them.

- 436 replies
-
- 10
-
-
- vanguard models
- alert
- (and 1 more)
-
I am building the Alert so the instructions are slightly different (I can only look at the build logs for Speedy), but the end goal is the same. Thanks for all the details/explanation!
- 109 replies
-
- 3
-
-
- Vanguard Models
- Flirt
- (and 1 more)
-
I think this makes a lot of sense, I'll have to try it next time. You had me looking through the other Vanguard build logs to make certain I didn't accidentally do it wrong or ignore the directions 🙂.
- 109 replies
-
- 1
-
-
- Vanguard Models
- Flirt
- (and 1 more)
-
I should probably create a separate topic, but I feel like haven't seen this done before. If it leads to a better finish I wonder why it isn't more commonly used?
-
Sorry to quote a picture, but is there a reason that you didn't plank the deadwood area?
- 109 replies
-
- 3
-
-
- Vanguard Models
- Flirt
- (and 1 more)
-
What is a Group Project
VTHokiEE replied to acaron41120's topic in Group Projects on Model Ship World
My understanding is that is a space where a more than a few people are tackling a specific designated project. On MSW it seems the projects are mostly based on getting into scratch building. In other groups (such as Reddit) I’ve seen it based on theme or even specific kits.