VTHokiEE
-
Posts
1,528 -
Joined
-
Last visited
Content Type
Profiles
Forums
Gallery
Events
Everything posted by VTHokiEE
-
 My experience starts to fall off here very quickly but I think you want to sand down to account for that first layer of planking (1mm on both sides). Then the second layer can be fitted or sanded to make a nice edge if desired. someone with more experience will have to jump in here though to correct me if needed. I looked at the back of my build and I decided that I didn’t mind how it looked with the second layer a little proud towards the top. I noticed it in other builds with two layers of planking as well. I could only offer possibilities though since I don’t really know the answer.
- 50 replies
-
- 1
-

-
- lady nelson
- victory models
- (and 2 more)
-
You could sand down the keel outside of the bearding line to create some depth.
- 50 replies
-
- 2
-
-
- lady nelson
- victory models
- (and 2 more)
-
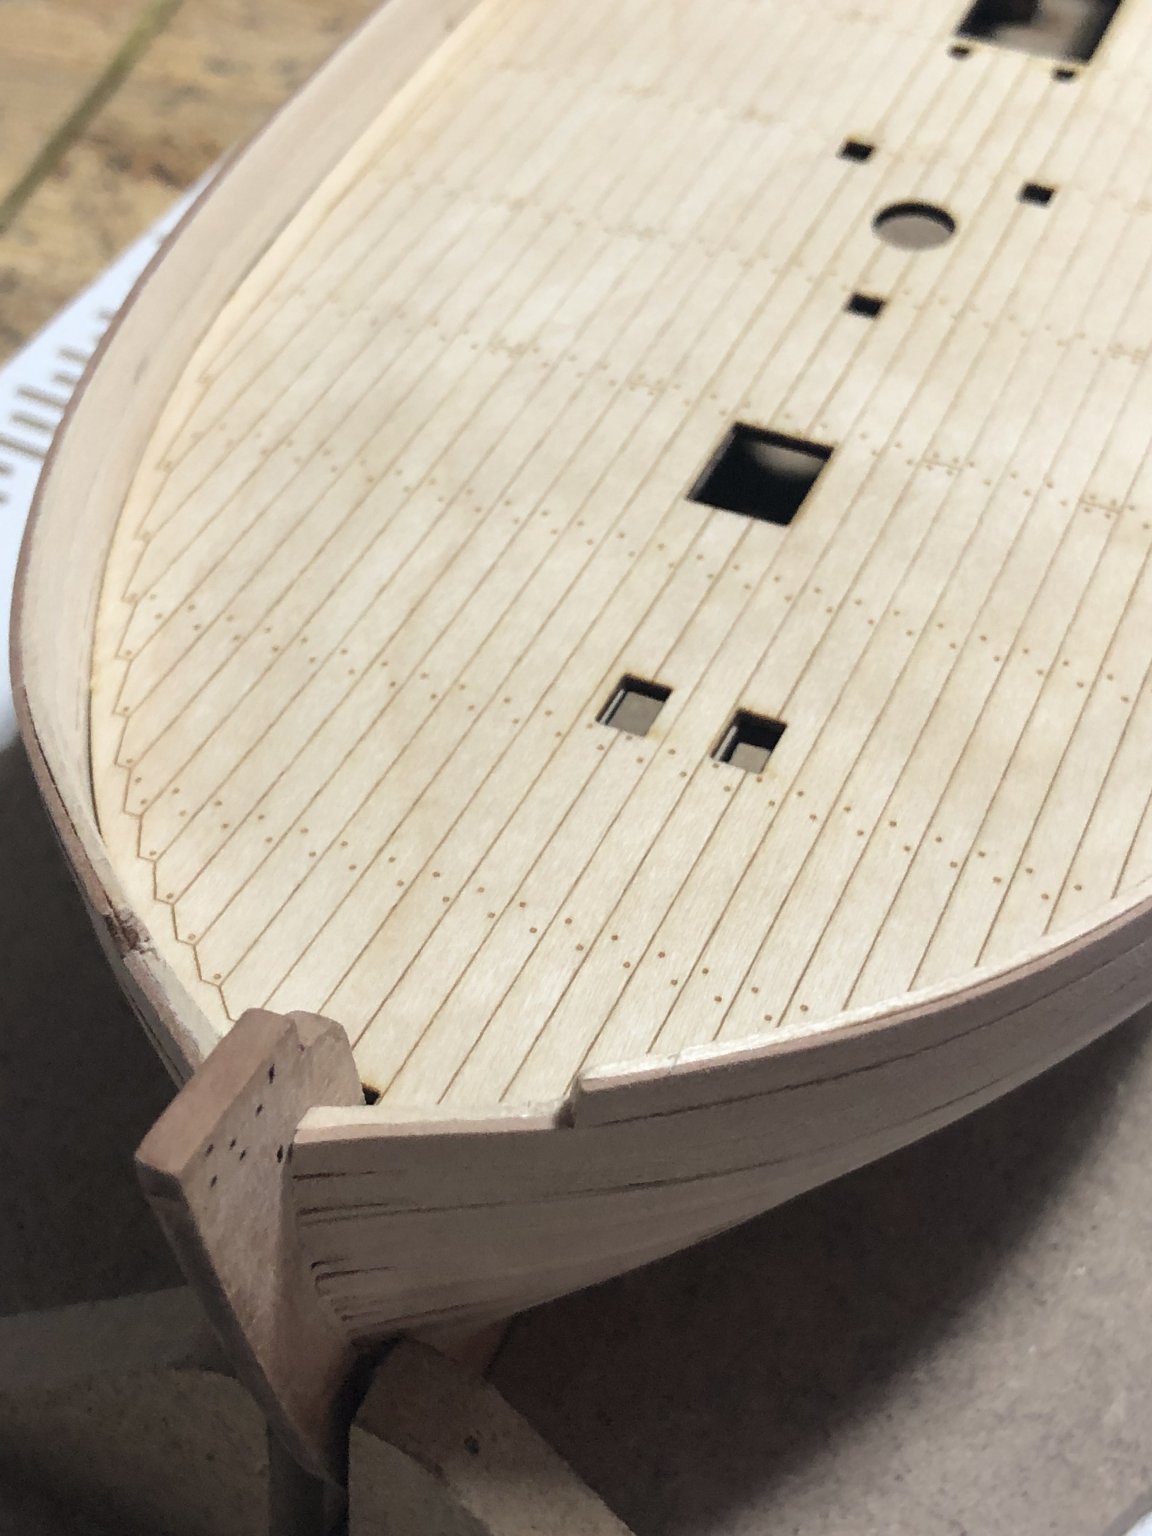
That doesn’t look bad from the pictures. If you wanted to fill some of the gaps (mainly the second picture) you could make a sawdust and diluted white glue mix for filler. A little more sanding there may also clean it up to match the other side.
- 50 replies
-
- 1
-
-
- lady nelson
- victory models
- (and 2 more)
-
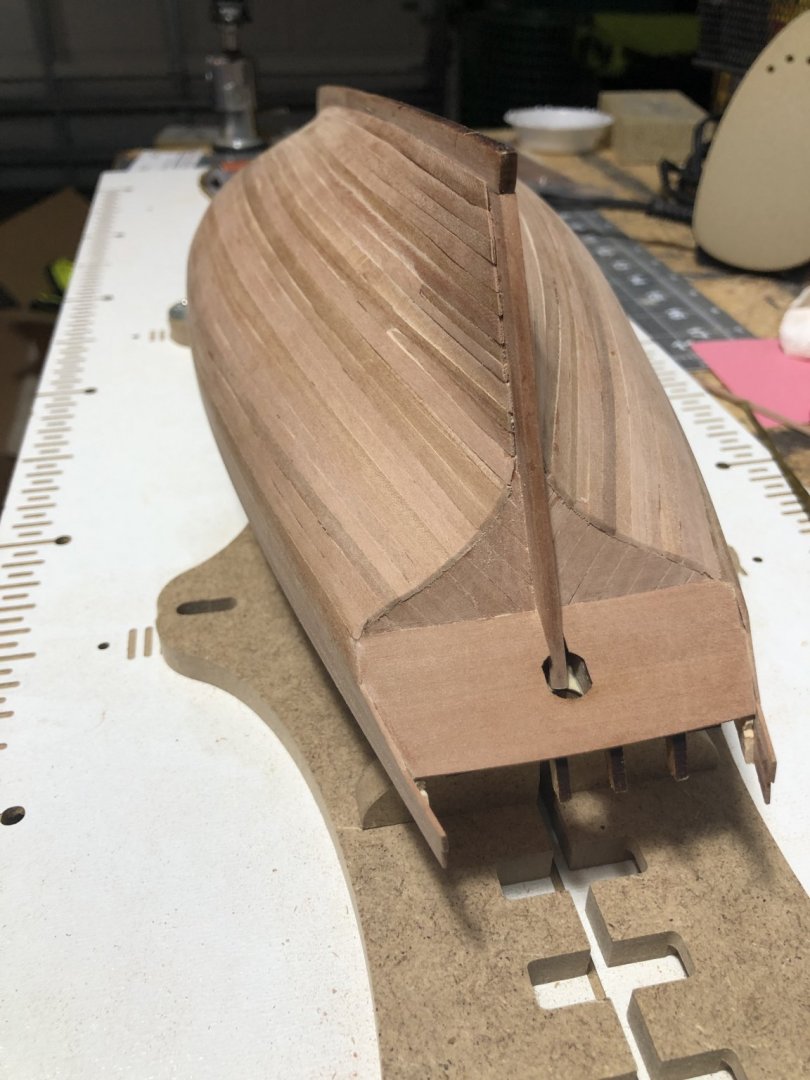
Planking looks great from here! Can you take a picture with the stern post in to see what it looks like?
-
The sails look great! I’ll have to go back and try to replicate how you did it. It sounds like the finish line is in sight!
- 155 replies
-
- 4
-
-
- opium smuggler
- Authentic Models
- (and 1 more)
-
Very cool! I may have to take a look at these, I struggle with cutting some of the smaller bits so I am interested in finding a nice laser cut kit to try out. Anyhow, I'll stop my rambling and watch the rest of the build.
-
First - Traitor!!!! 😂 Now that I have that out of my system. Take a look at Scalemates. If I searched correctly this is a link to that kit and it has a download of the instruction manual that shows the parts at the end: https://www.scalemates.com/kits/tamiya-78017-us-battleship-bb-62-new-jersey--146616 I would imagine that you could do a spruce comparison and see if anything is missing. I hope it works out for you and I’d love to follow the build. Someday, I’m going to build an A-10, I’ve always wanted to build a brilliant one (not certain if I have the skill or time yet though, but eventually I’ll join you on the dark side). Edit: https://www.scalemates.com/products/img/6/1/6/146616-82-instructions.pdf
-
This is exciting! I enjoy your work (and your photography quite a bit, almost makes me want to break my gear out instead of being lazy with my phone... almost 🙂
-
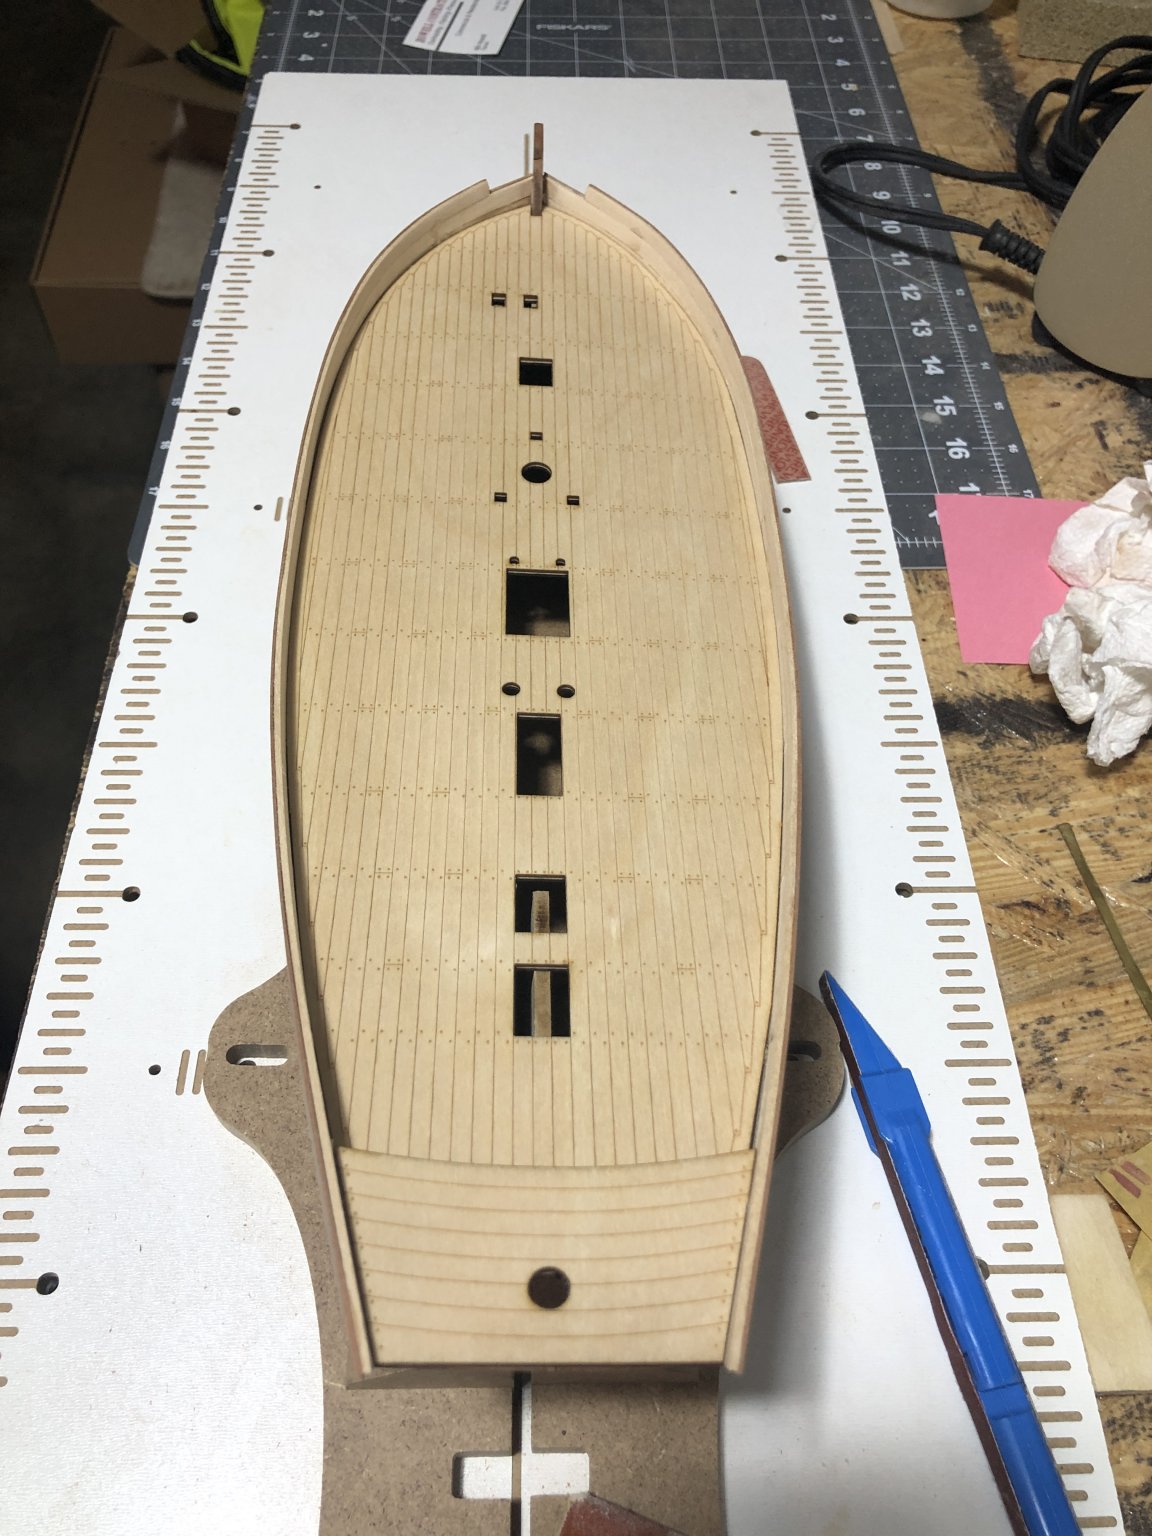
Thank you so much for pointing that out! After going through AoTS Alert, your build log and Chris’s thread I see exactly what you mean. I have to think on how best to address this. At the moment I think I’ll need to at least fill the hole somehow (otherwise I can see myself or someone else pushing the coils into the hole), but I’m not certain that I can add planking there that will match the rest of the deck and that I’ll be happy with. This leaves me thinking that I’ll have place something over them such as a rope coil or two (I think unattached rope coils don’t have a real downside).
- 436 replies
-
- 3
-
-
- vanguard models
- alert
- (and 1 more)
-
Those carvings do look really nice; even with that boxwood start I’m very impressed! You’re doing a great job on this.
- 221 replies
-
- 1
-
-
- queen anne barge
- Syren Ship Model Company
- (and 1 more)
-
Wow, very neat build! I love the subject and will be watching this closely.
- 81 replies
-
- 3
-
-
- egyptian
- byblos ship
- (and 1 more)
-
Thanks Meddo, that’s a great example. I think I’ll run a few tests and see what I come up with. It has dawned on me that I forgot to pick up a can of white spray paint for below the waterline. I ordered (I think) everything else for my build when the stay at home orders started but I always assumed that I would grab a can of spray paint on my way home from work at the right time so it slipped my mind. I could always go down to the store and grab a can but hard to rationalize it at the moment. Anyhow, back to the build. Planking the deck was much quicker than planking the hull since I picked up the laser etched deck. I had to do a bit of sanding to get it to fit easily (which I blame on me breaking the bulkhead at the start) but I think it looks really nice. Next, planking the interior bulwarks and placing the wales.


- 436 replies
-
- 12
-
-
- vanguard models
- alert
- (and 1 more)
-
I didn’t use battens either, worked out in the end for me. Looks good so far! I would recommend some painters tape or something to protect the keel/stem as well. When you get to the last few planks make certain to remeasure. I added a lot of extra marks on the last plank to get a good measure before finally sanding it to fit.
- 50 replies
-
- 4
-
-
- lady nelson
- victory models
- (and 2 more)
-
Thanks BE; following up, is there a reason not to use the poly over the paint? Paint the Wales, below waterline first and then apply poly to the entire hull?
- 436 replies
-
- 1
-
-
- vanguard models
- alert
- (and 1 more)
-
I’m doing well so far (it’s easy to stay out of trouble when I haven’t left the house is weeks 😁, but wish I had less work and more ship building time). Thank you for the generous comment and the advice, that does help. I think I am going to do some paint, sticking with the kit depiction. I believe that it will leave enough unpainted wood to have a nice overall look.
- 436 replies
-
- 3
-
-
- vanguard models
- alert
- (and 1 more)
-
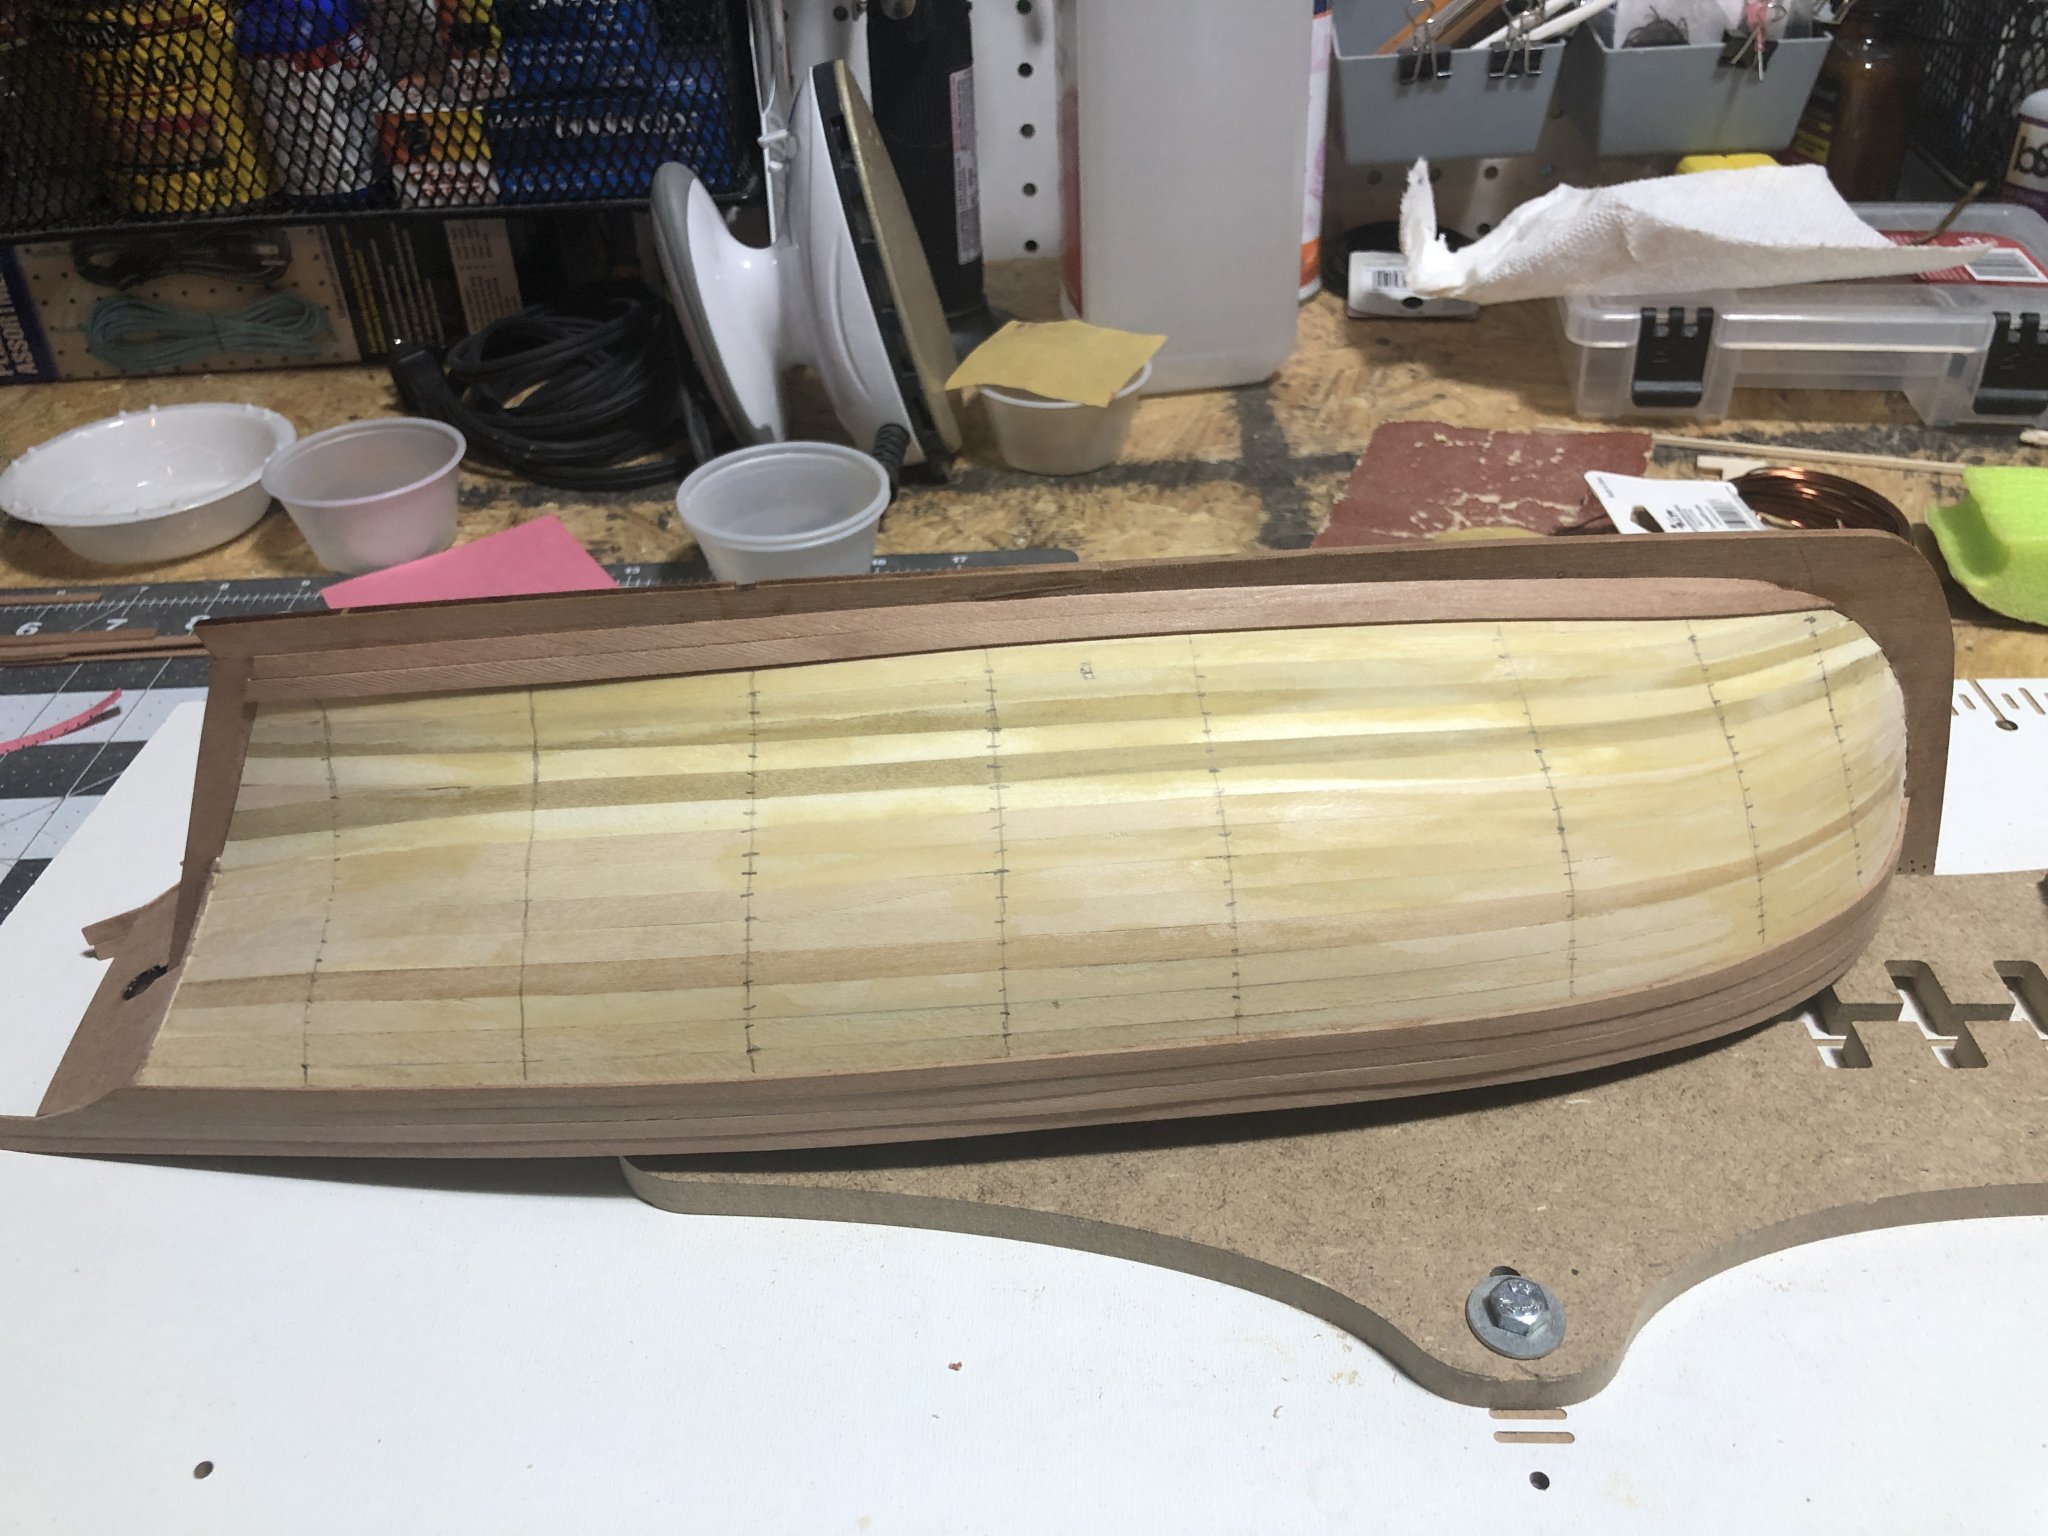
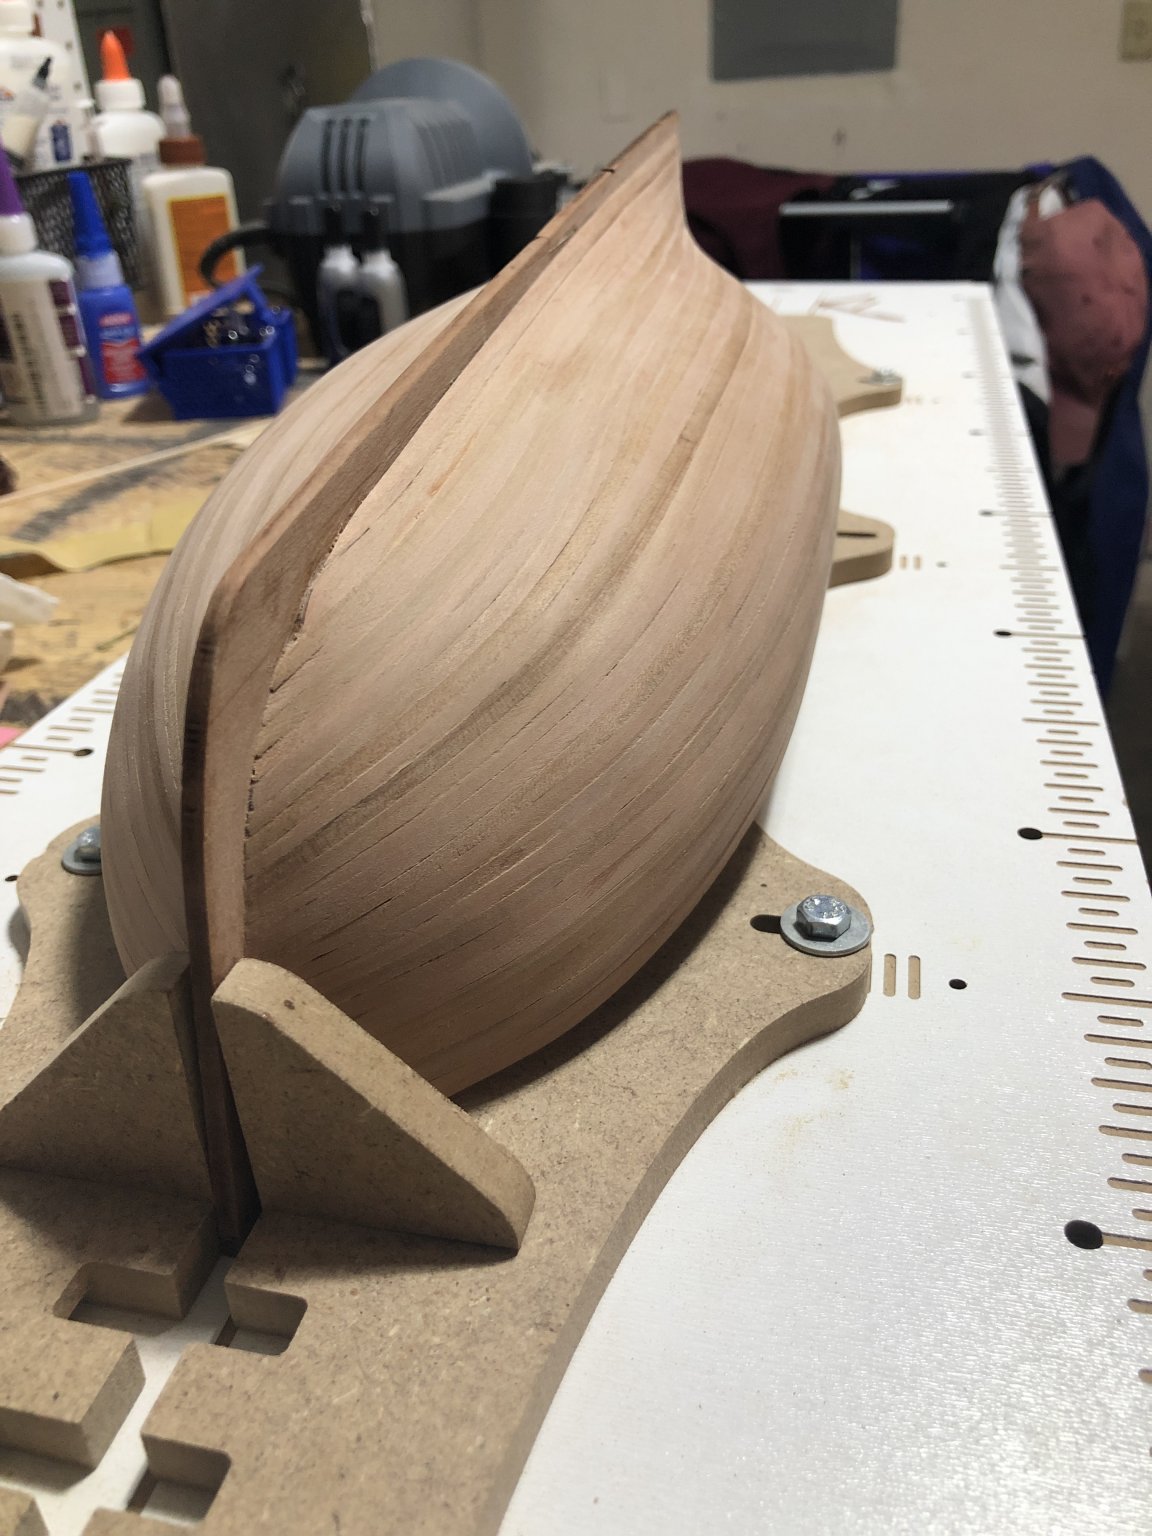
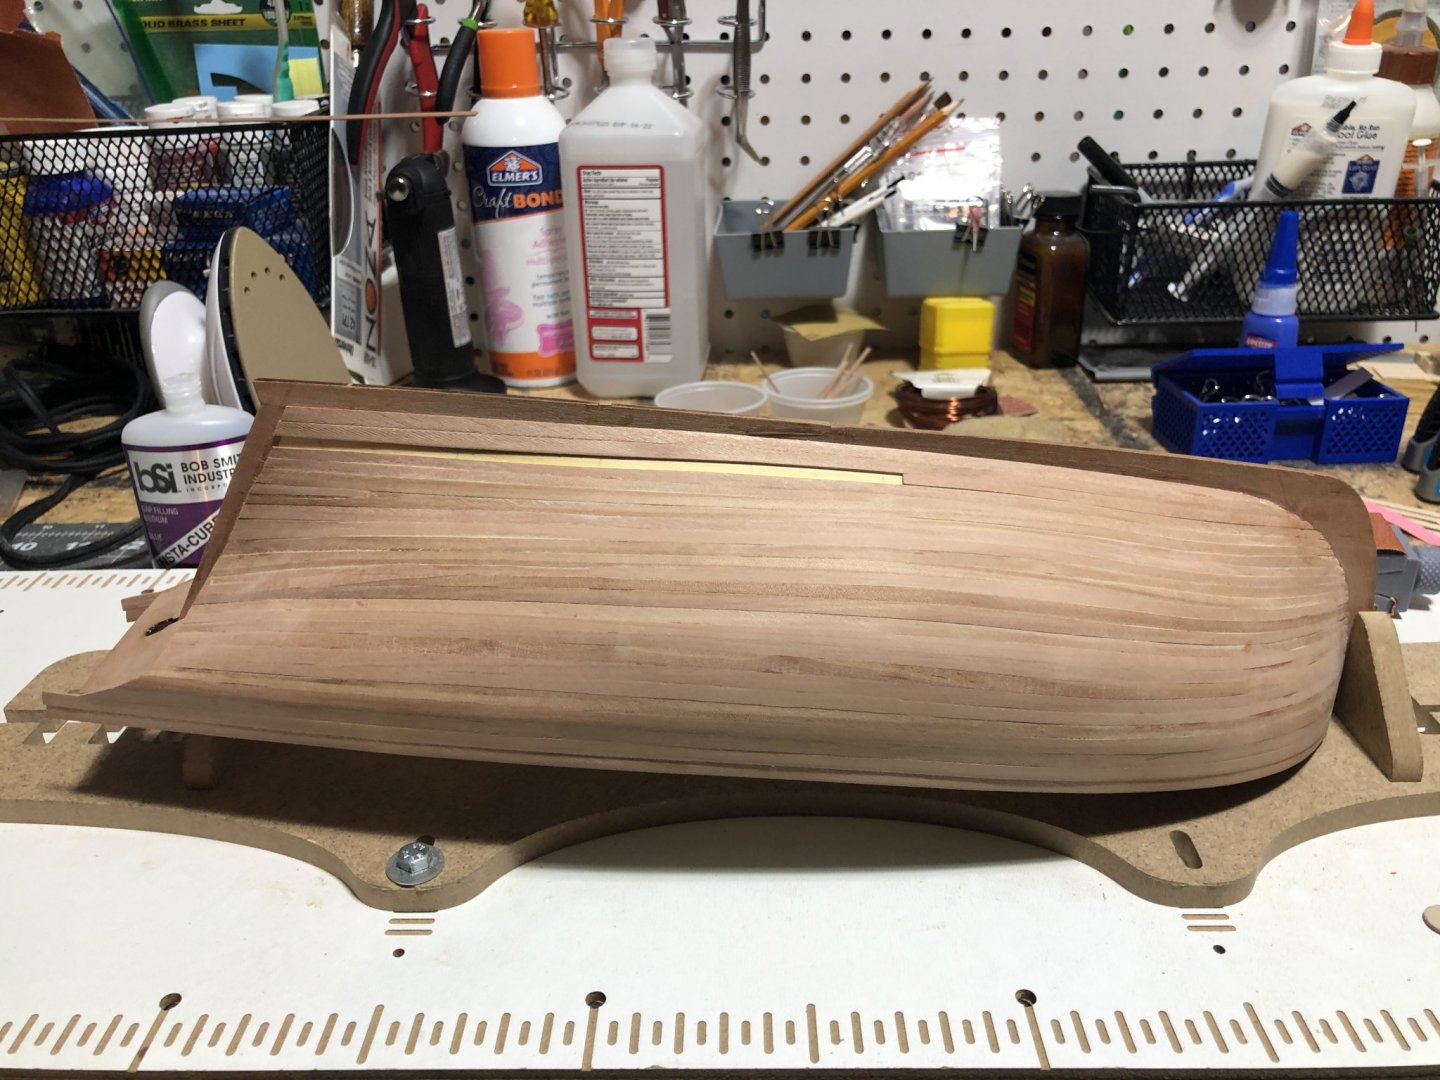
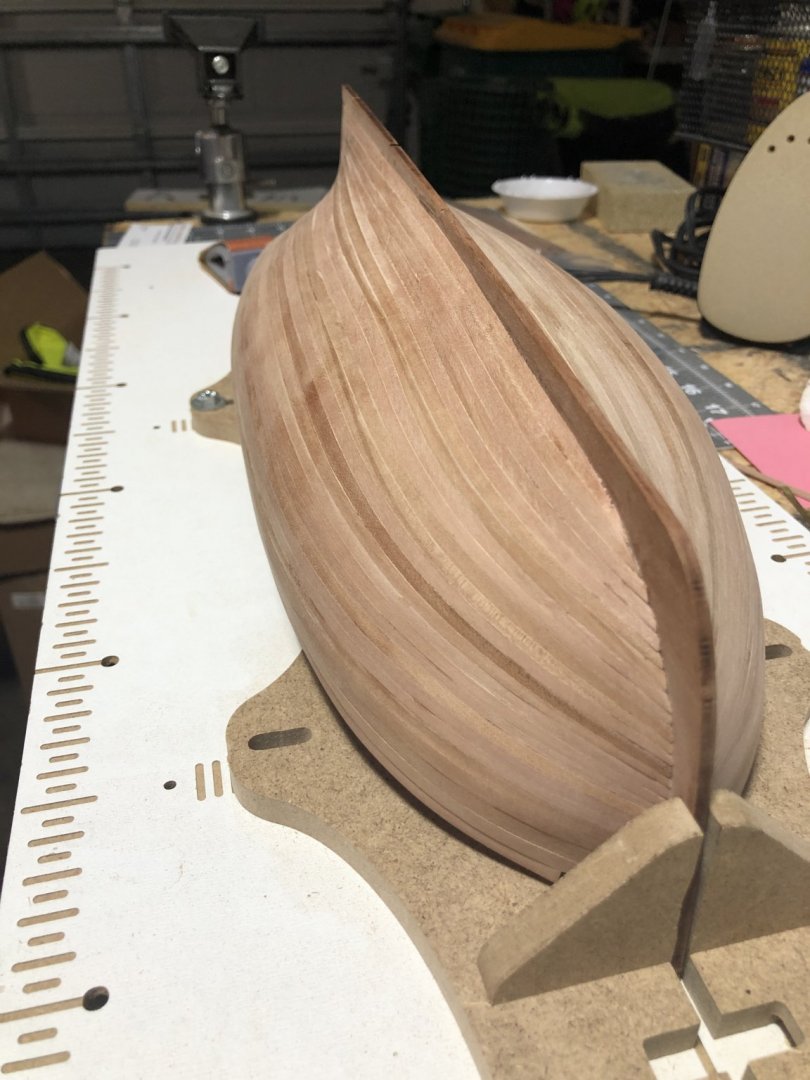
Finally time to update this log. I have completed the second layer planking and have few observations. There are 50 planks provided for the second planking; when I was planking the stern I had a premonition that I was using up a plank (and I was right). If you want to have all your planks available for planking you will want to trim the ends off several planks instead of simply using one plank. I realized this before I did it, so I only have myself to blame, but maybe the observation would help some. Second, I unfortunately had a few planks that had milling issues, they were quite thin in spots. In the end things worked out fine (at least as far as I can tell). I still have some sanding to do, but here we go (starting with a picture simply lining the hull off). Before I press on, I picked up a container of wipe-on poly, but I have never used it. When is appropriate? Before/after I place the wales? I assume this would go on before I paint the wales and the bottom? Any guidance would be much appreciated. EDIT: I emailed Chris and I believe that other Alert Kits have extra planks. Mine was one of the first version 2 so most likely others will have plenty of planks.


- 436 replies
-
- 10
-
-
- vanguard models
- alert
- (and 1 more)
-
There are a lot of good options; but I’m not to familiar with a historically accurate pirate kit. Have you looked at Amati’s Victory line, Vanguard’s Speedy, MarisStella’s Ontario? If none strike your fancy they may provide some direction for additional suggestions.
-
Yes, this is how I do it. I’ve seen this method (or very similar), I’ve used it in the beginning of my planking project from the NRG. I don’t currently have the eye for laying the lines yet so this is trickier for me. That’s right! You may also need drop planks at the bow if the taper would force the planks to be less than half their original width. I’ve used stealers on my current build, almost done with the second planking and it was my first planked ship as well. It was very frustrating at first but stick with it and ask questions, you’ll get there.
- 50 replies
-
- 1
-
-
- lady nelson
- victory models
- (and 2 more)
-
I believe you want to try to divide the hull into equal sections. As far as I can tell this is to adjust your planking every so many planks to make certain that you don’t get to far off. The first step is to find the largest bulkhead and measure the width. Next determine how many planks would fit across it (divide by the plank width). You now know how many planks need to fit in the stern, middle and bow. Measure the width of each bulkhead and divide by the number of planks to get the taper amount for each plank at each bulkhead (this can be done on a tick strip and transferred to the bulkhead). For each plank mark the bulkhead location on the plank and use your tick strips to set the taper at each point. Connect these points and then trim to this line. You can then do some beveling on the plank to see how it fits against the previous plank. After all this I shape the plank, usually using edge bending with an iron (I find that works for well for me). I hope this description of my process isn’t to confusing but it has worked for me on my first ship. Feel free to send me a PM if you have any questions!
- 50 replies
-
- 5
-
-
- lady nelson
- victory models
- (and 2 more)
-
It has been working out very well for you from here. I frequently see card uses in logs, but I never think to use it while I am working. I really hope to be more "creative" when building in the future.
-
I can’t wait to see the sails on her! The finish line is in sight. Have you thought about a display base?
- 155 replies
-
- 1
-
-
- opium smuggler
- Authentic Models
- (and 1 more)
-
I’ll be pulling up a chair for this one. These models look very interesting!
- 136 replies
-
- 2
-
-
- kolderstok
- batavia
- (and 1 more)
-
ancre Coureur by cafmodel - 1/48
VTHokiEE replied to cafmodel's topic in - Build logs for subjects built 1751 - 1800
Wow, looks really nice! Does the kit include all the interior detailing? -
Alas the search continues then. I have purchased a couple that claimed to be large enough and then when they arrived I found their specified maximum openings were quite generous 😞. For now I simply use my fingers 🙂.
- 100 replies
-
- 3
-
-
- zulu
- vanguard models
- (and 2 more)