VTHokiEE
-
Posts
1,528 -
Joined
-
Last visited
Content Type
Profiles
Forums
Gallery
Events
Everything posted by VTHokiEE
-
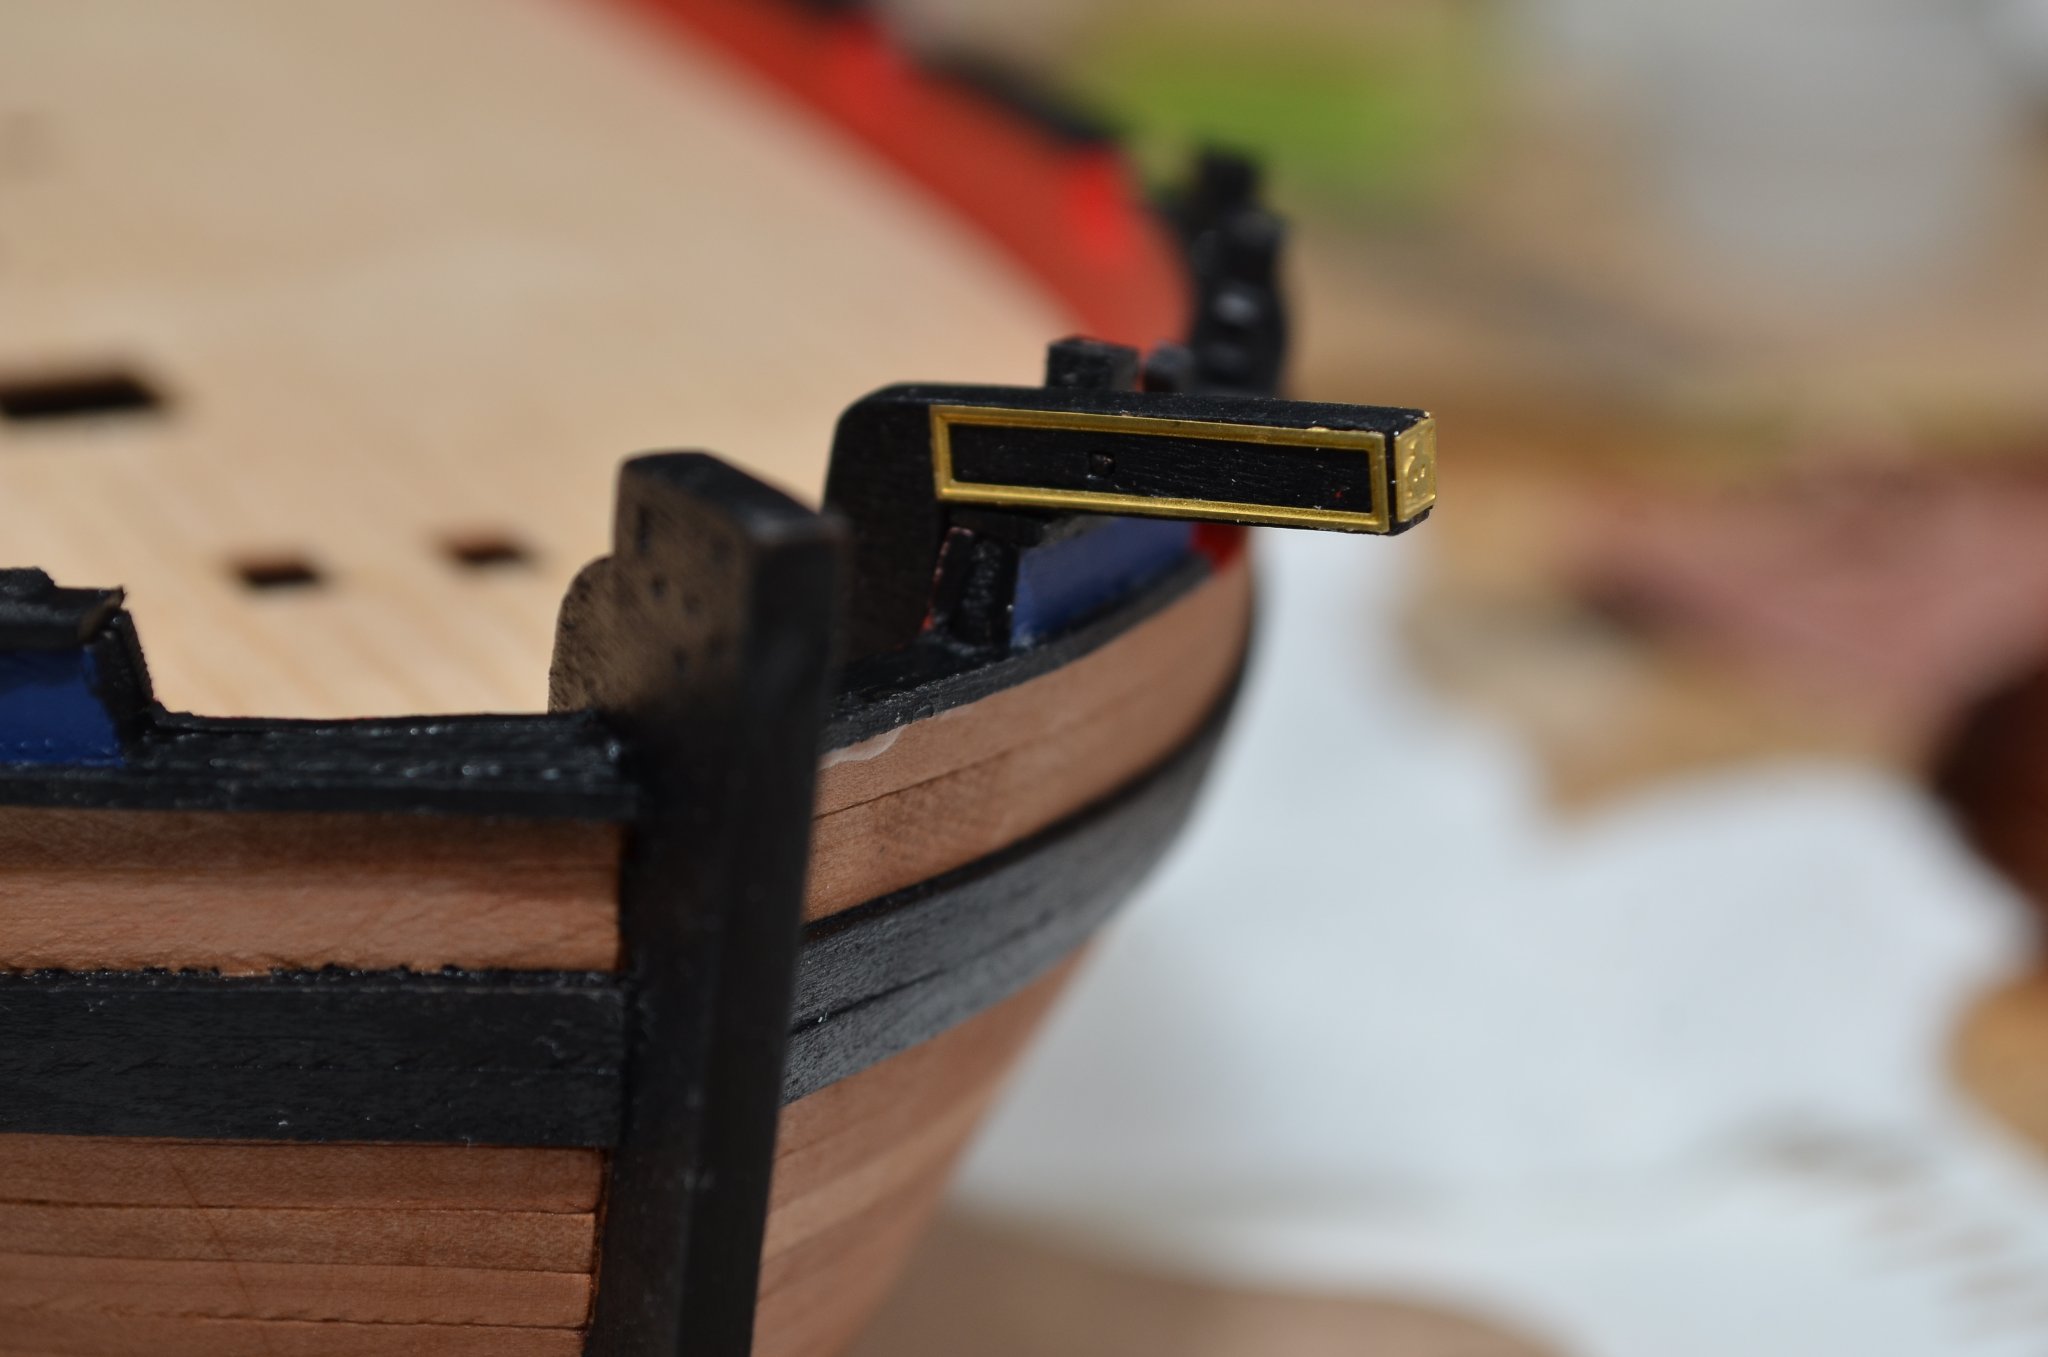
 Derek - Thanks for the suggestion, I went this route after you mentioned it and I think it looks fine. One down, one to go: So I decided to step up my game and pull out my nicer camera and now I see all the glue blemishes and paint blemishes and etc. What was I thinking? I may need to return to my cell phone camera so I don't get depressed 😁
- 436 replies
-
- 12
-

-
- vanguard models
- alert
- (and 1 more)
-
Sorry I failed to describe it well enough, I use Casey's Metal Black for my blackened PE, but for the catheads (and them next for the decorative work), the PE is painted yellow ochre. I'll give it a go and see how it comes out.
- 436 replies
-
- 4
-
-
- vanguard models
- alert
- (and 1 more)
-
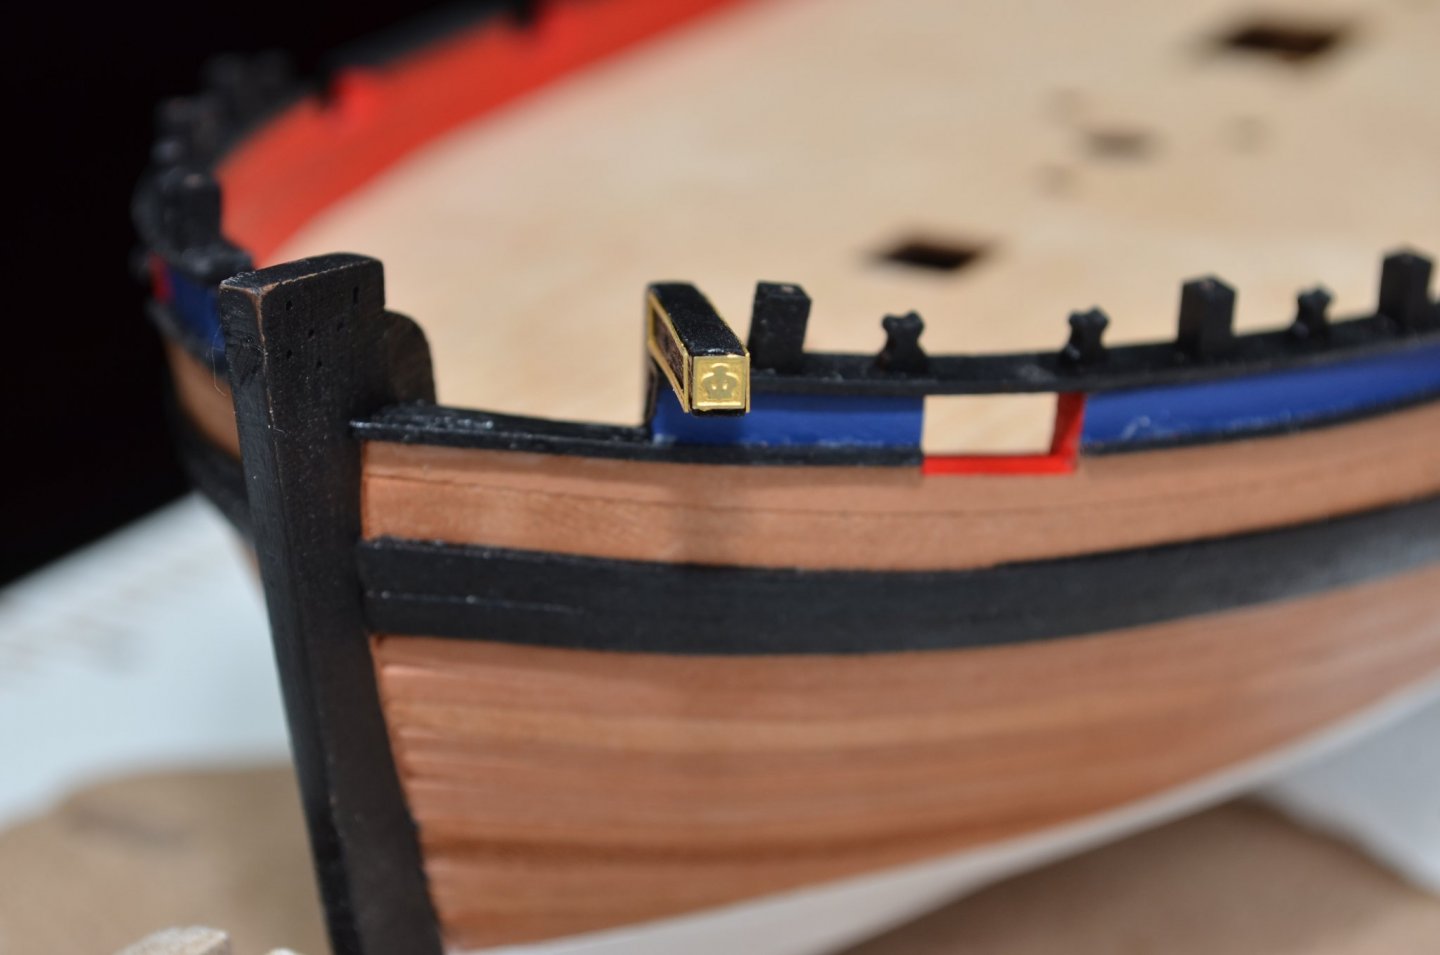
Learned about the mizzenmast as I continued to work on the Alert. I blackened the PE elements after shaping and drilled holes for the nails to prevent any issues with breaking the wood. I've been trying to clean up some paint from poor taping and for whatever reason it looks a lot worse in these pictures than previously; I'll probably try to clean it a little more. I've now started working on the catheads and I'm at a little bit of a quandry. The directions recommend airbrushing the PE that attaches to the catheads, but I don't have an airbrush. Is there recommended PE prep to brush paint it? Of course part of me wants to use this as an excuse to buy an airbrush but I really have a mental block about using them for some reason.

- 436 replies
-
- 10
-
-
- vanguard models
- alert
- (and 1 more)
-
Posts such as that need a warning! I barely have any power tools and I'm really tempted by a mill (do you have the MF 70? or the larger one, FF 230 I believe?) even more than a table saw. This did not help my resistance... (but beautiful examples).
- 725 replies
-
- 1
-
-
- vanguard models
- speedy
- (and 1 more)
-
I really enjoy following your work; the colors are very eye catching! Thank you for posting the link to the other build log too, looks like they did a very nice job!
- 136 replies
-
- 2
-
-
- kolderstok
- batavia
- (and 1 more)
-
Does adding the shellac cause any issues with attaching components to the deck later? I've been tempted to coat my deck, but the satin wipe-on poly didn't really catch my eye when I tried it on a test piece but if it doesn't interfere then I'll probably start looking for a matte option.
- 725 replies
-
- 1
-
-
- vanguard models
- speedy
- (and 1 more)
-
tool review Planet Working Bench
VTHokiEE replied to James H's topic in REVIEWS: Model Shipwrighting Tools, Parts and fittings
I unboxed mine a moment ago to get some rough measurements. Unless my eyes are playing tricks on me the "L" piece is ~3" as you guessed. I measured about ~1.75" of space if you use their clamping components. -
This is really coming along very nicely! I like what you’ve done with the joggles. I see that you used a #11 blade, I wonder if chisels would work (I’m simply looking for an excuse to add a chisel set really).
-
tool review Planet Working Bench
VTHokiEE replied to James H's topic in REVIEWS: Model Shipwrighting Tools, Parts and fittings
James - Your reviews are starting to add up and put a hurting on my wallet; I hope that you’re happy 😉. These arrived today (along with some other goodies from Cornwall).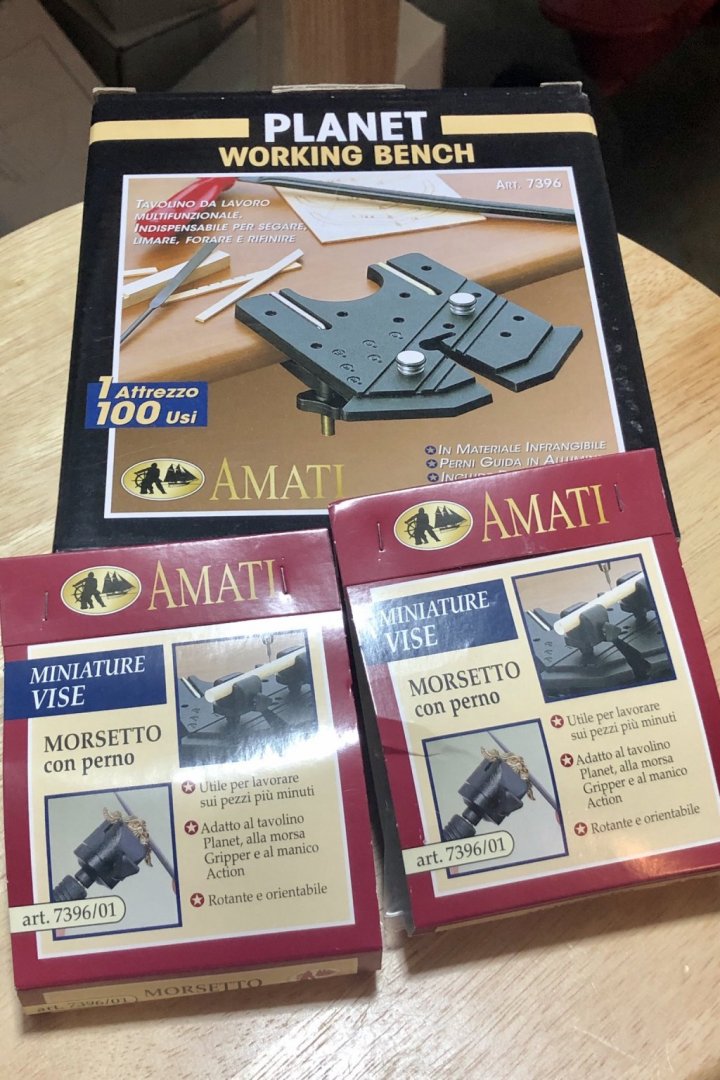
-
You’re too kind, and I’m not going to highlight it further 😁. Thanks! I’m really enjoying it; it feels like slow going but every piece adds up (and I’m starting to lose my fear of painting).
- 436 replies
-
- 2
-
-
- vanguard models
- alert
- (and 1 more)
-
Thanks! I think you're right and I am going to see if I can leave well enough alone. I really wouldn't want to "fix" it and create a ripple effect.
- 436 replies
-
- 4
-
-
- vanguard models
- alert
- (and 1 more)
-
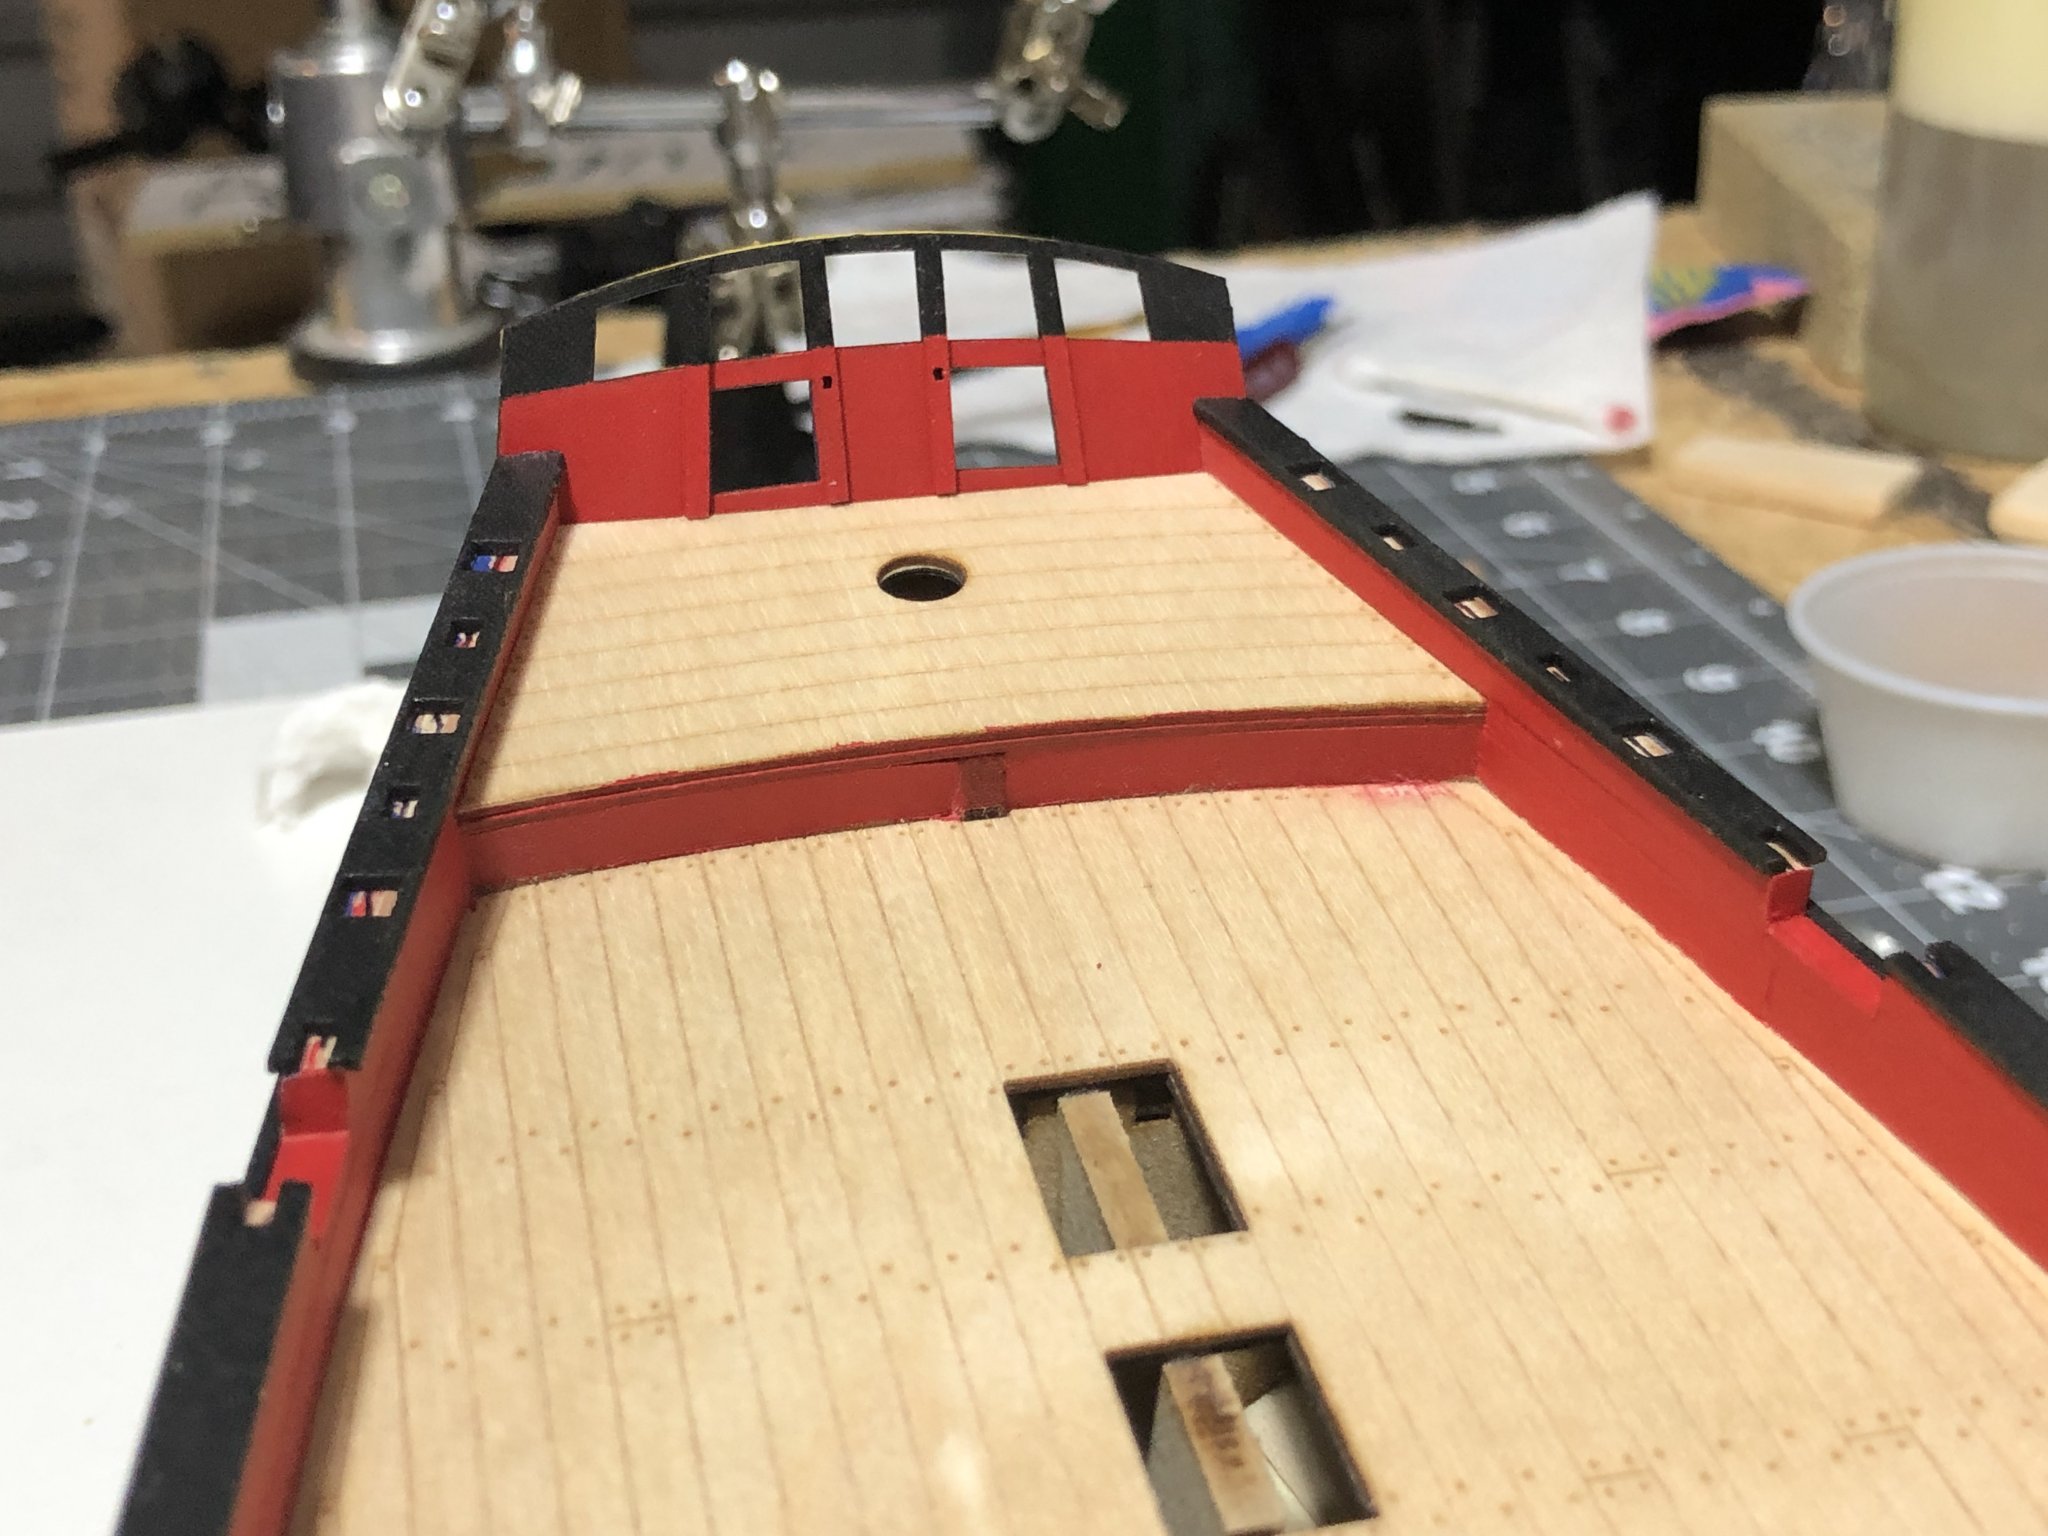
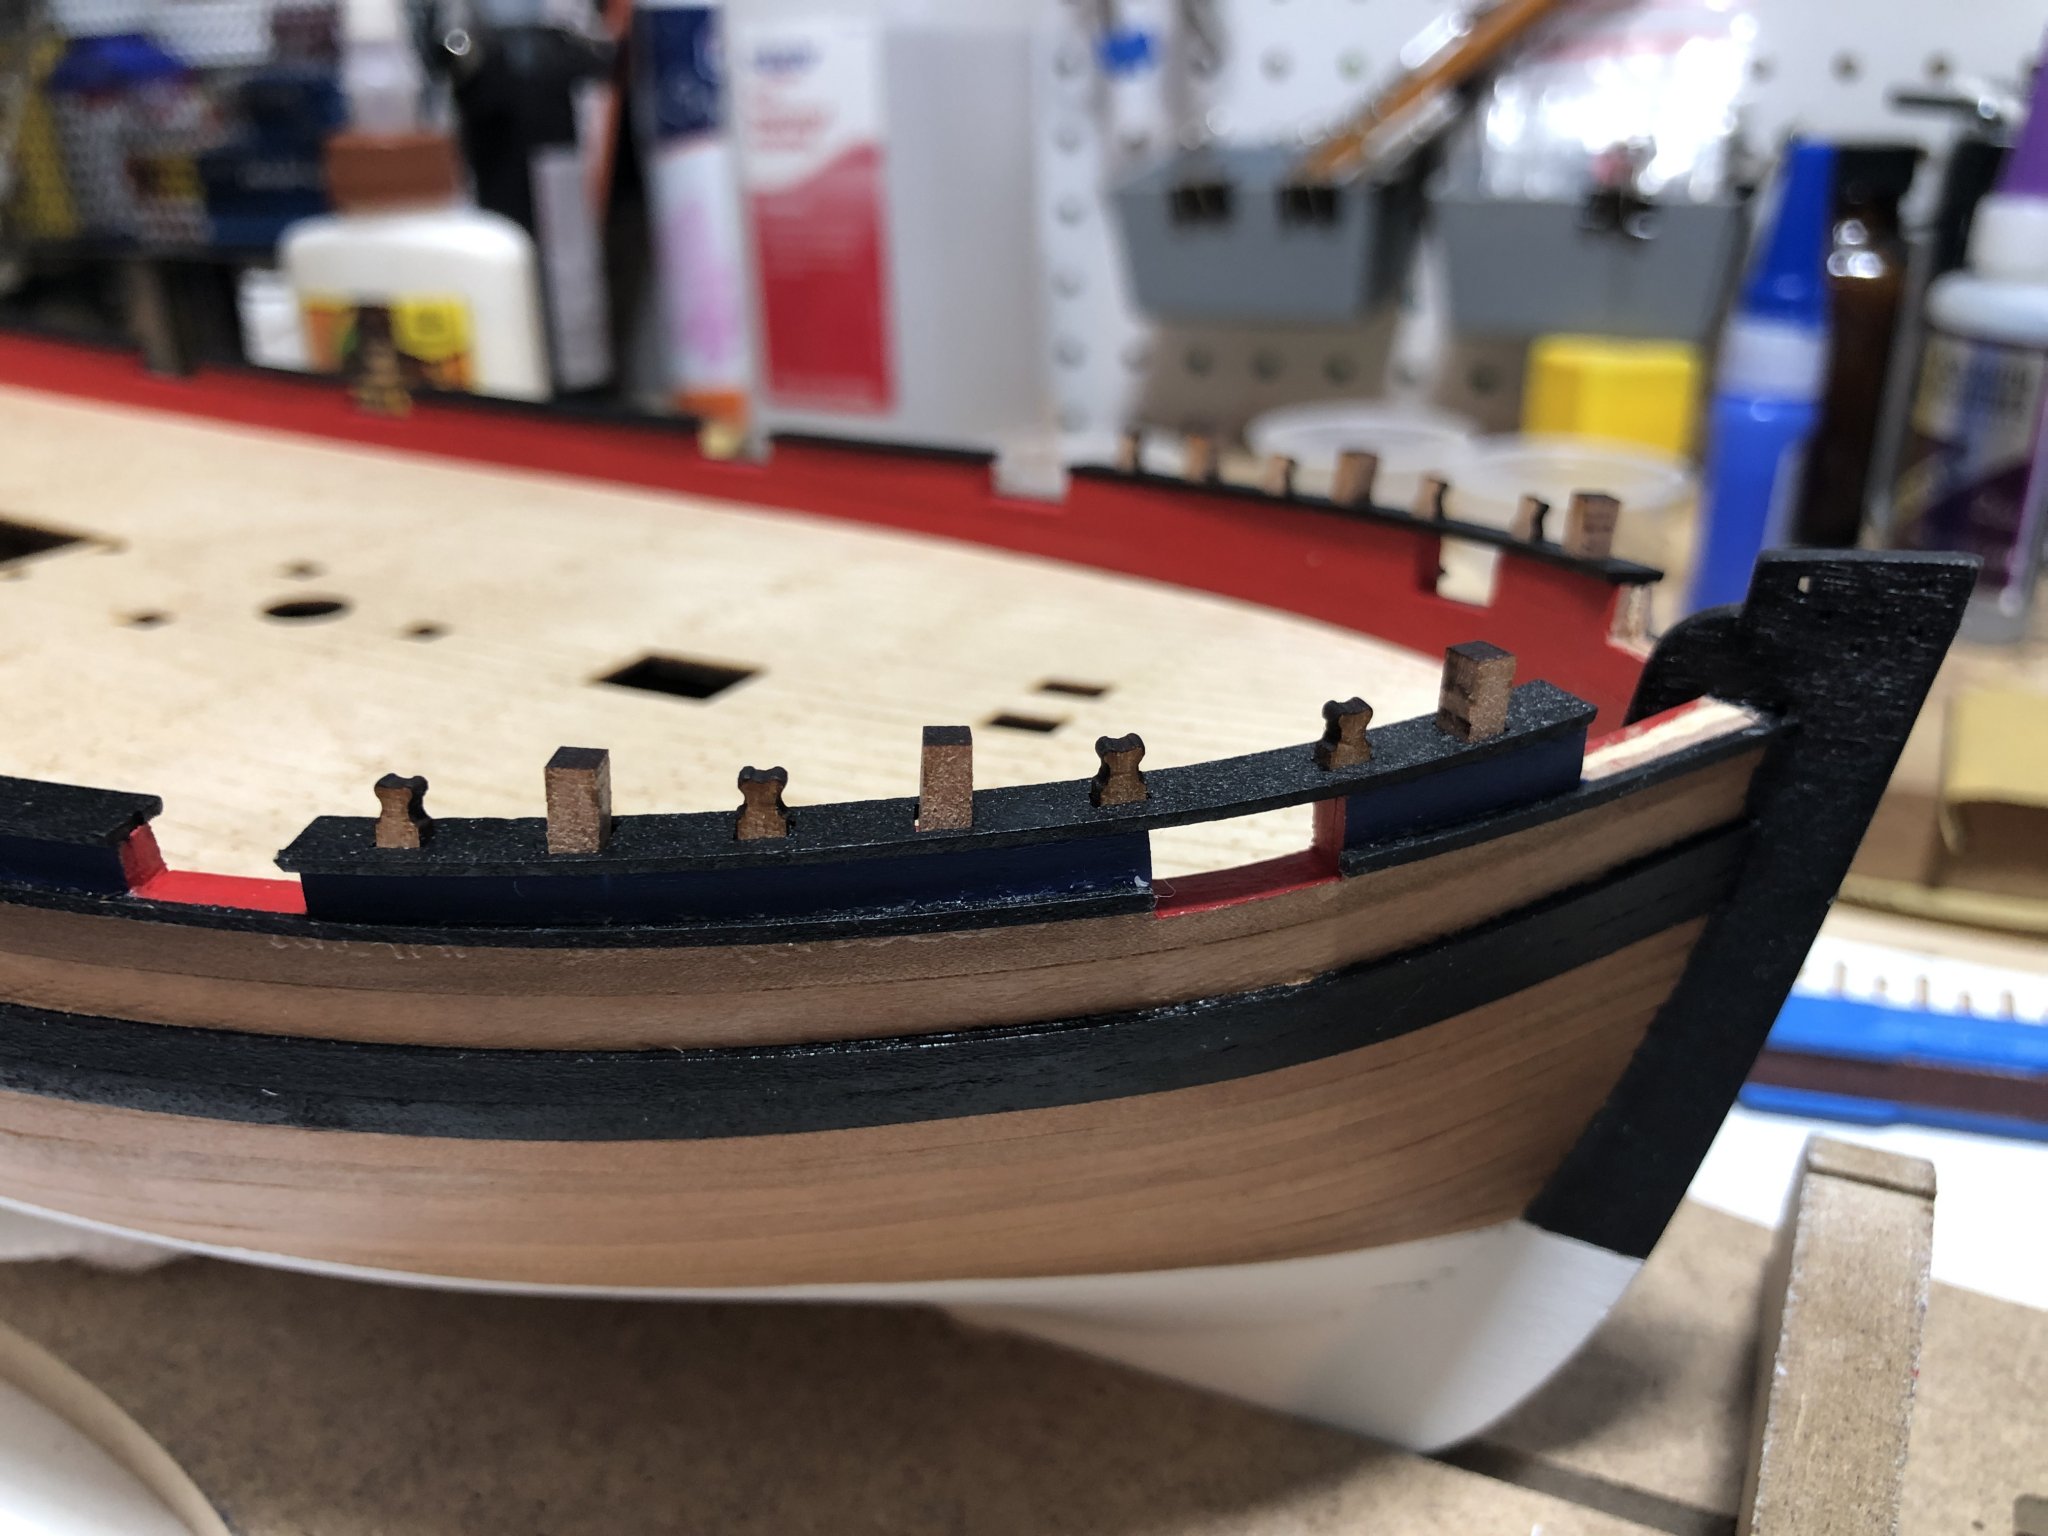
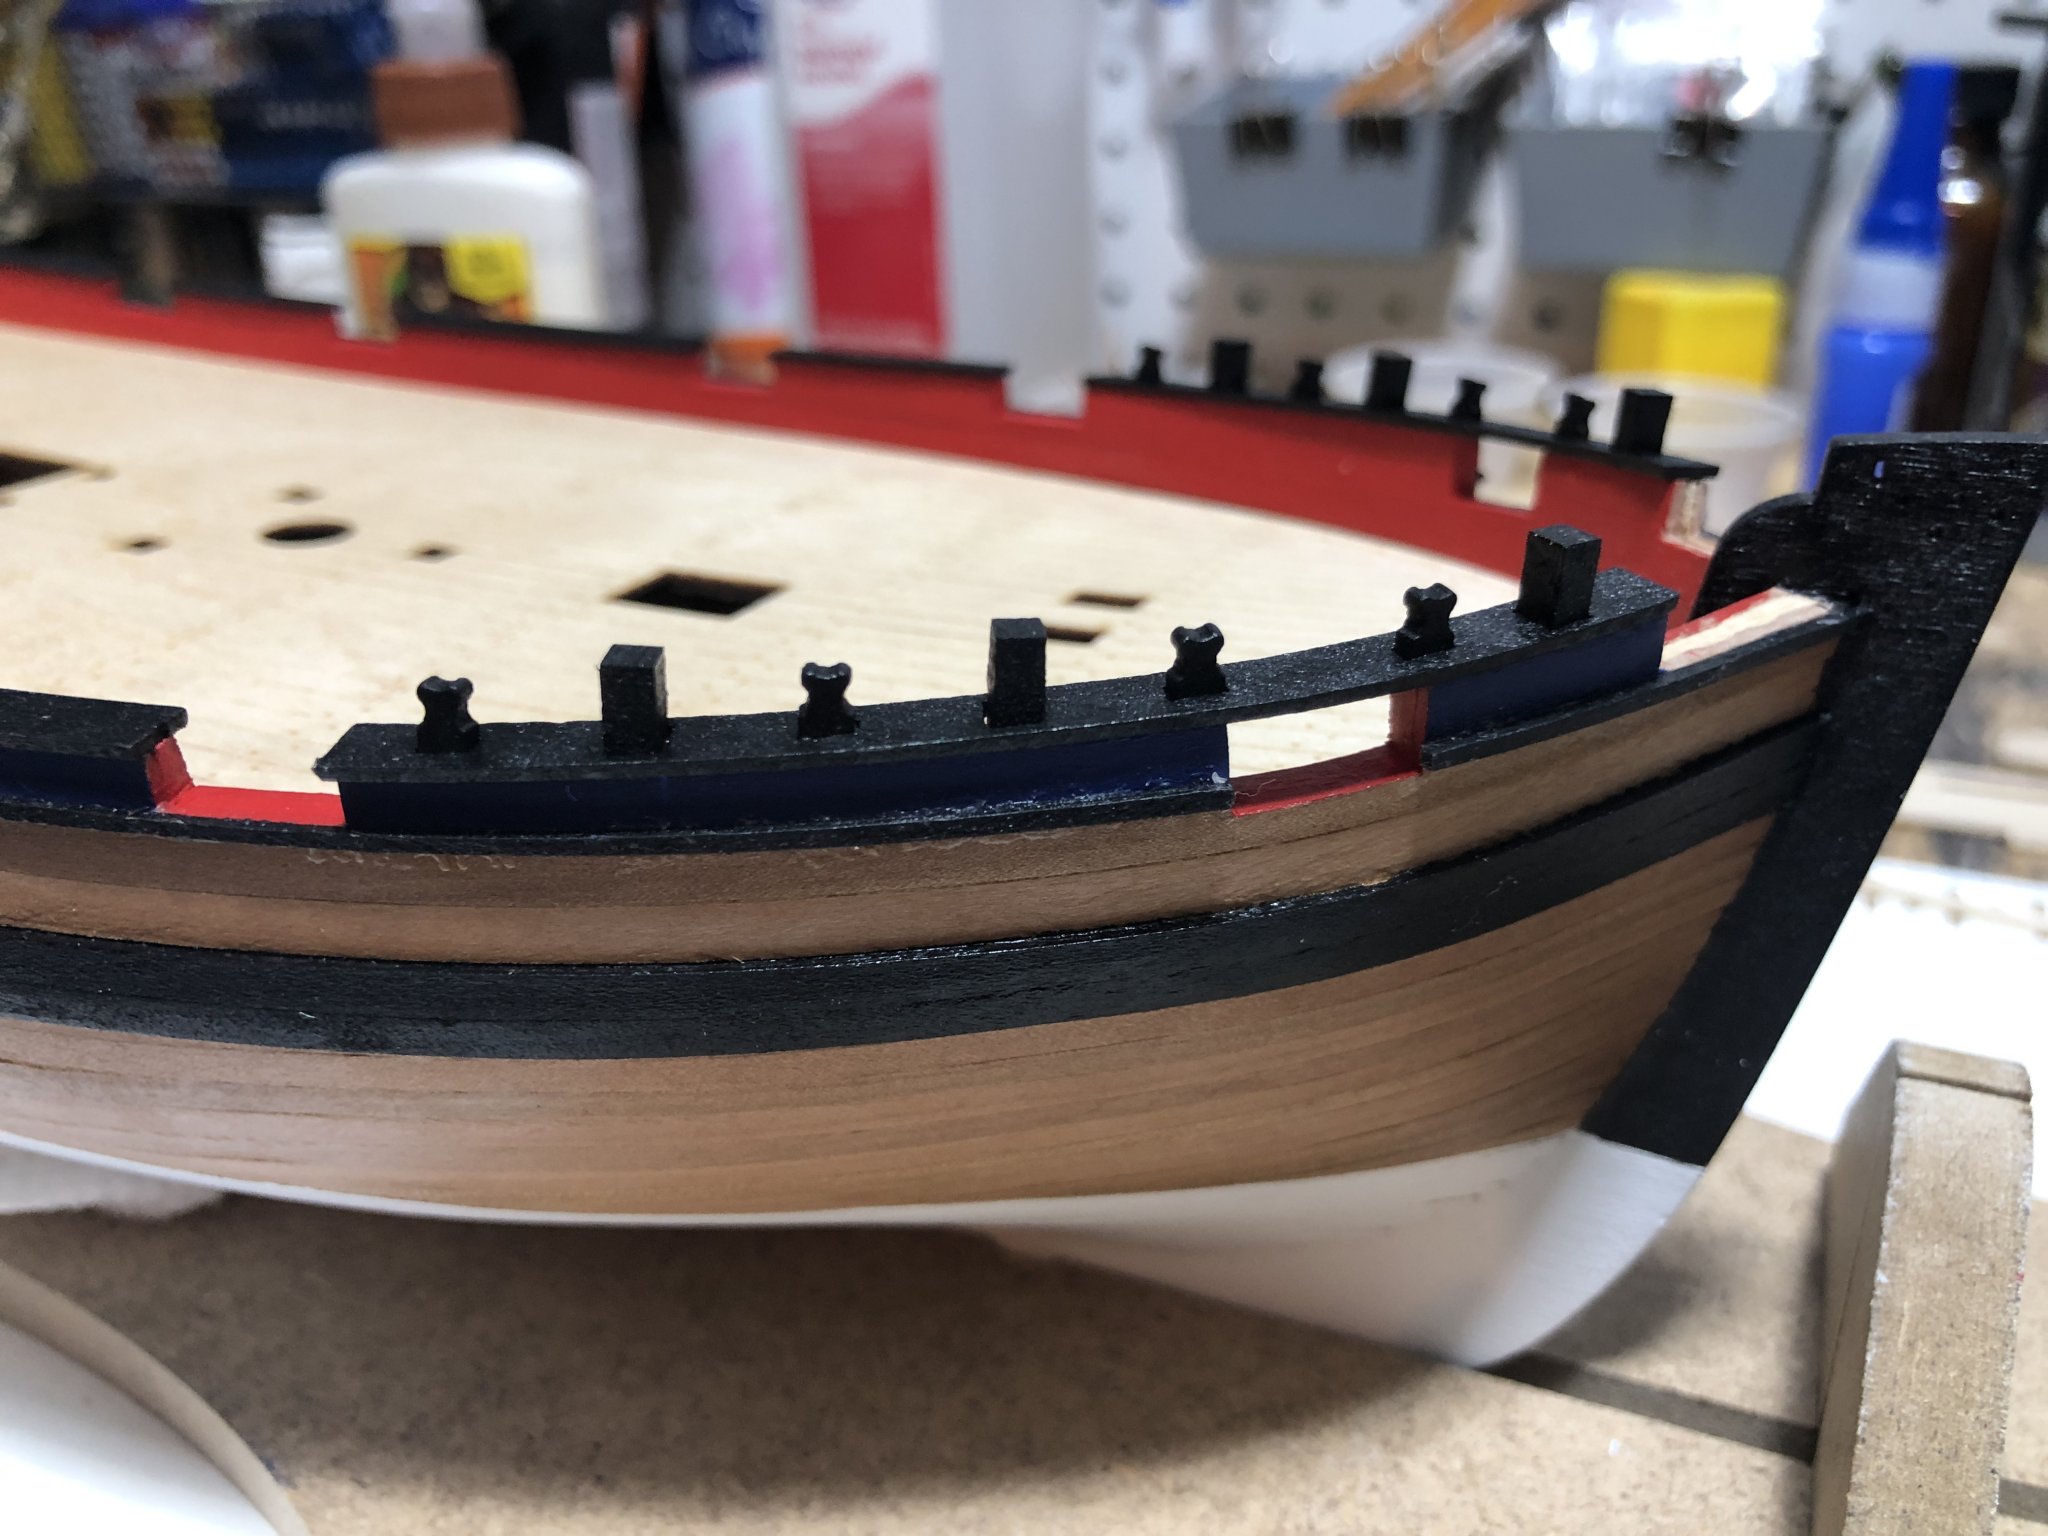
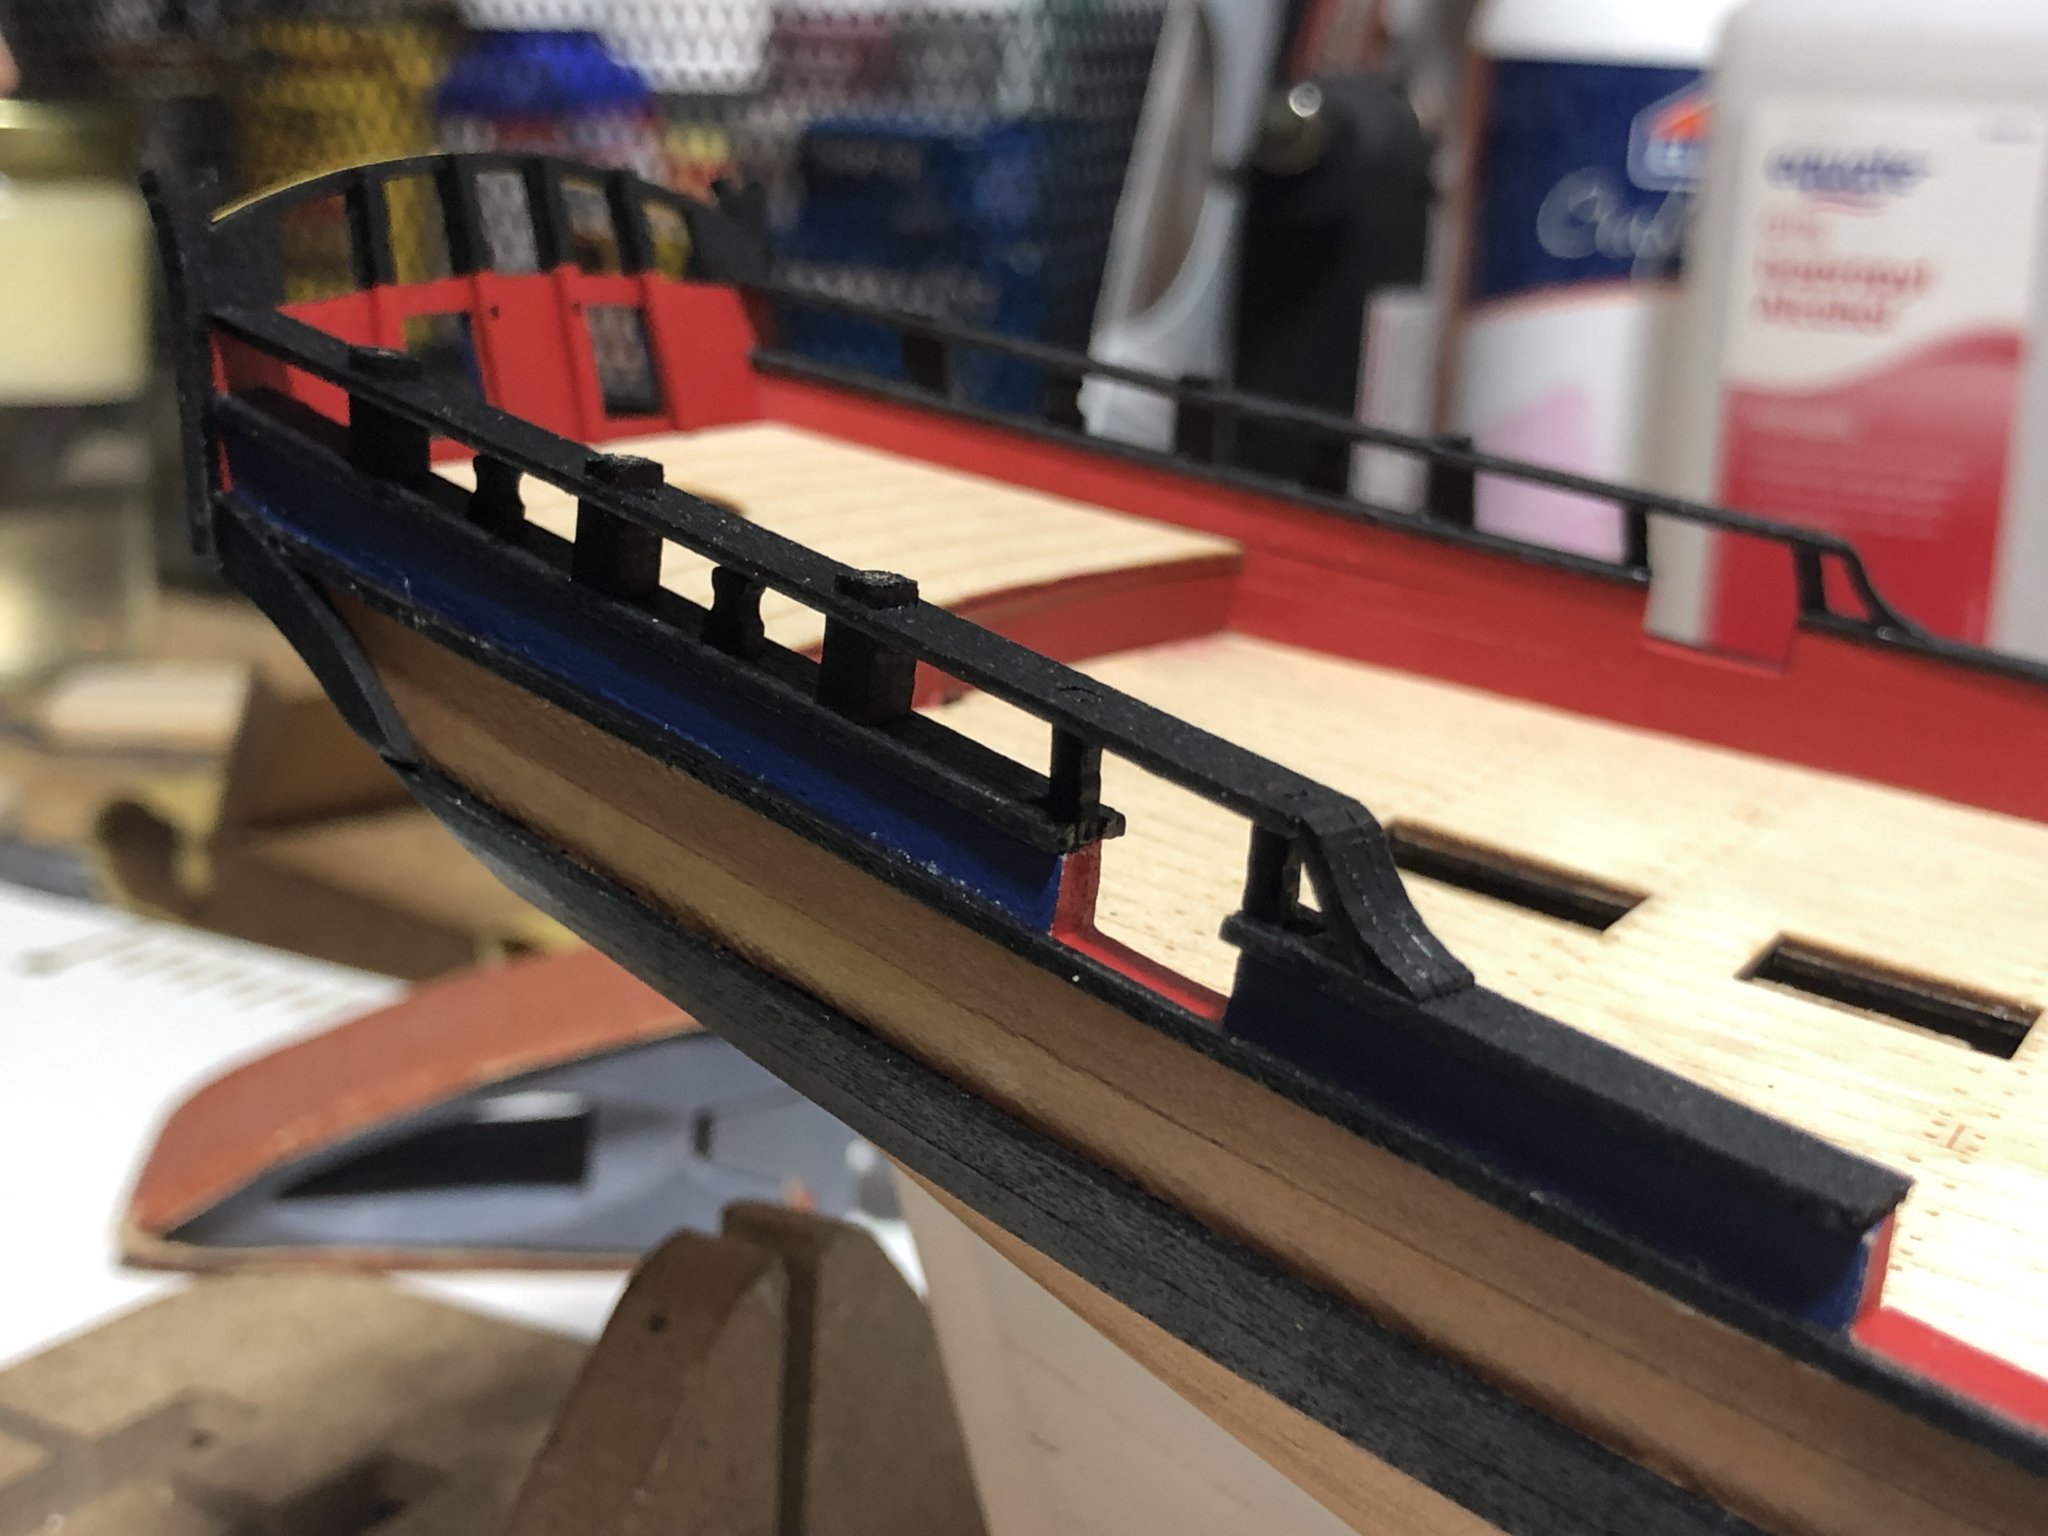
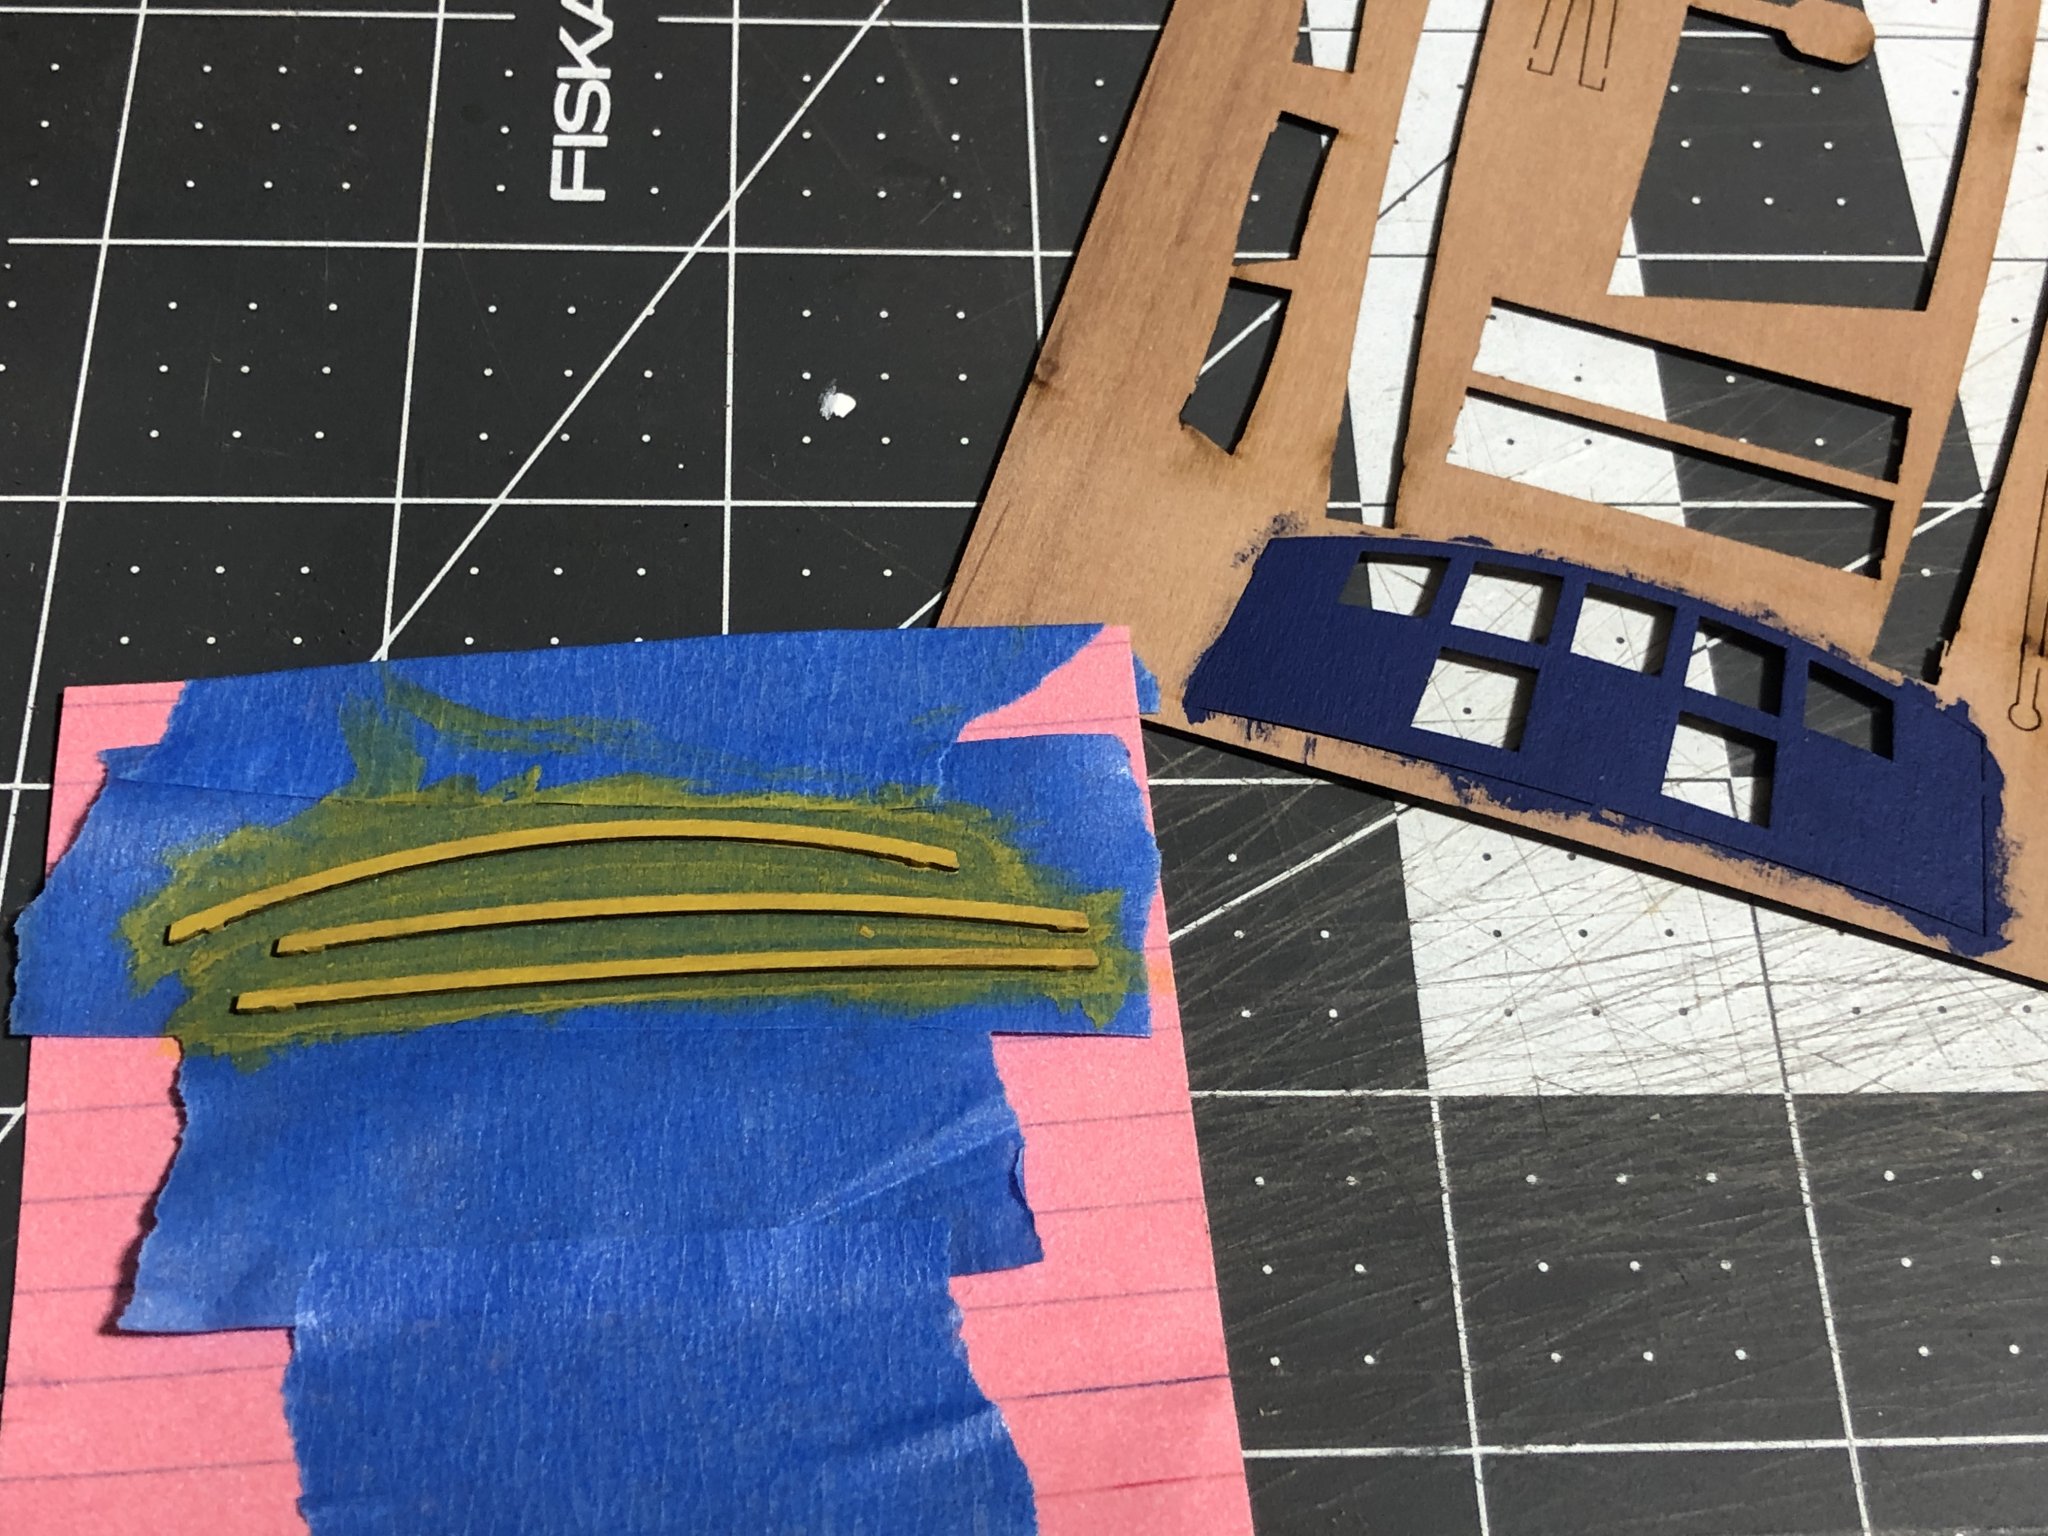
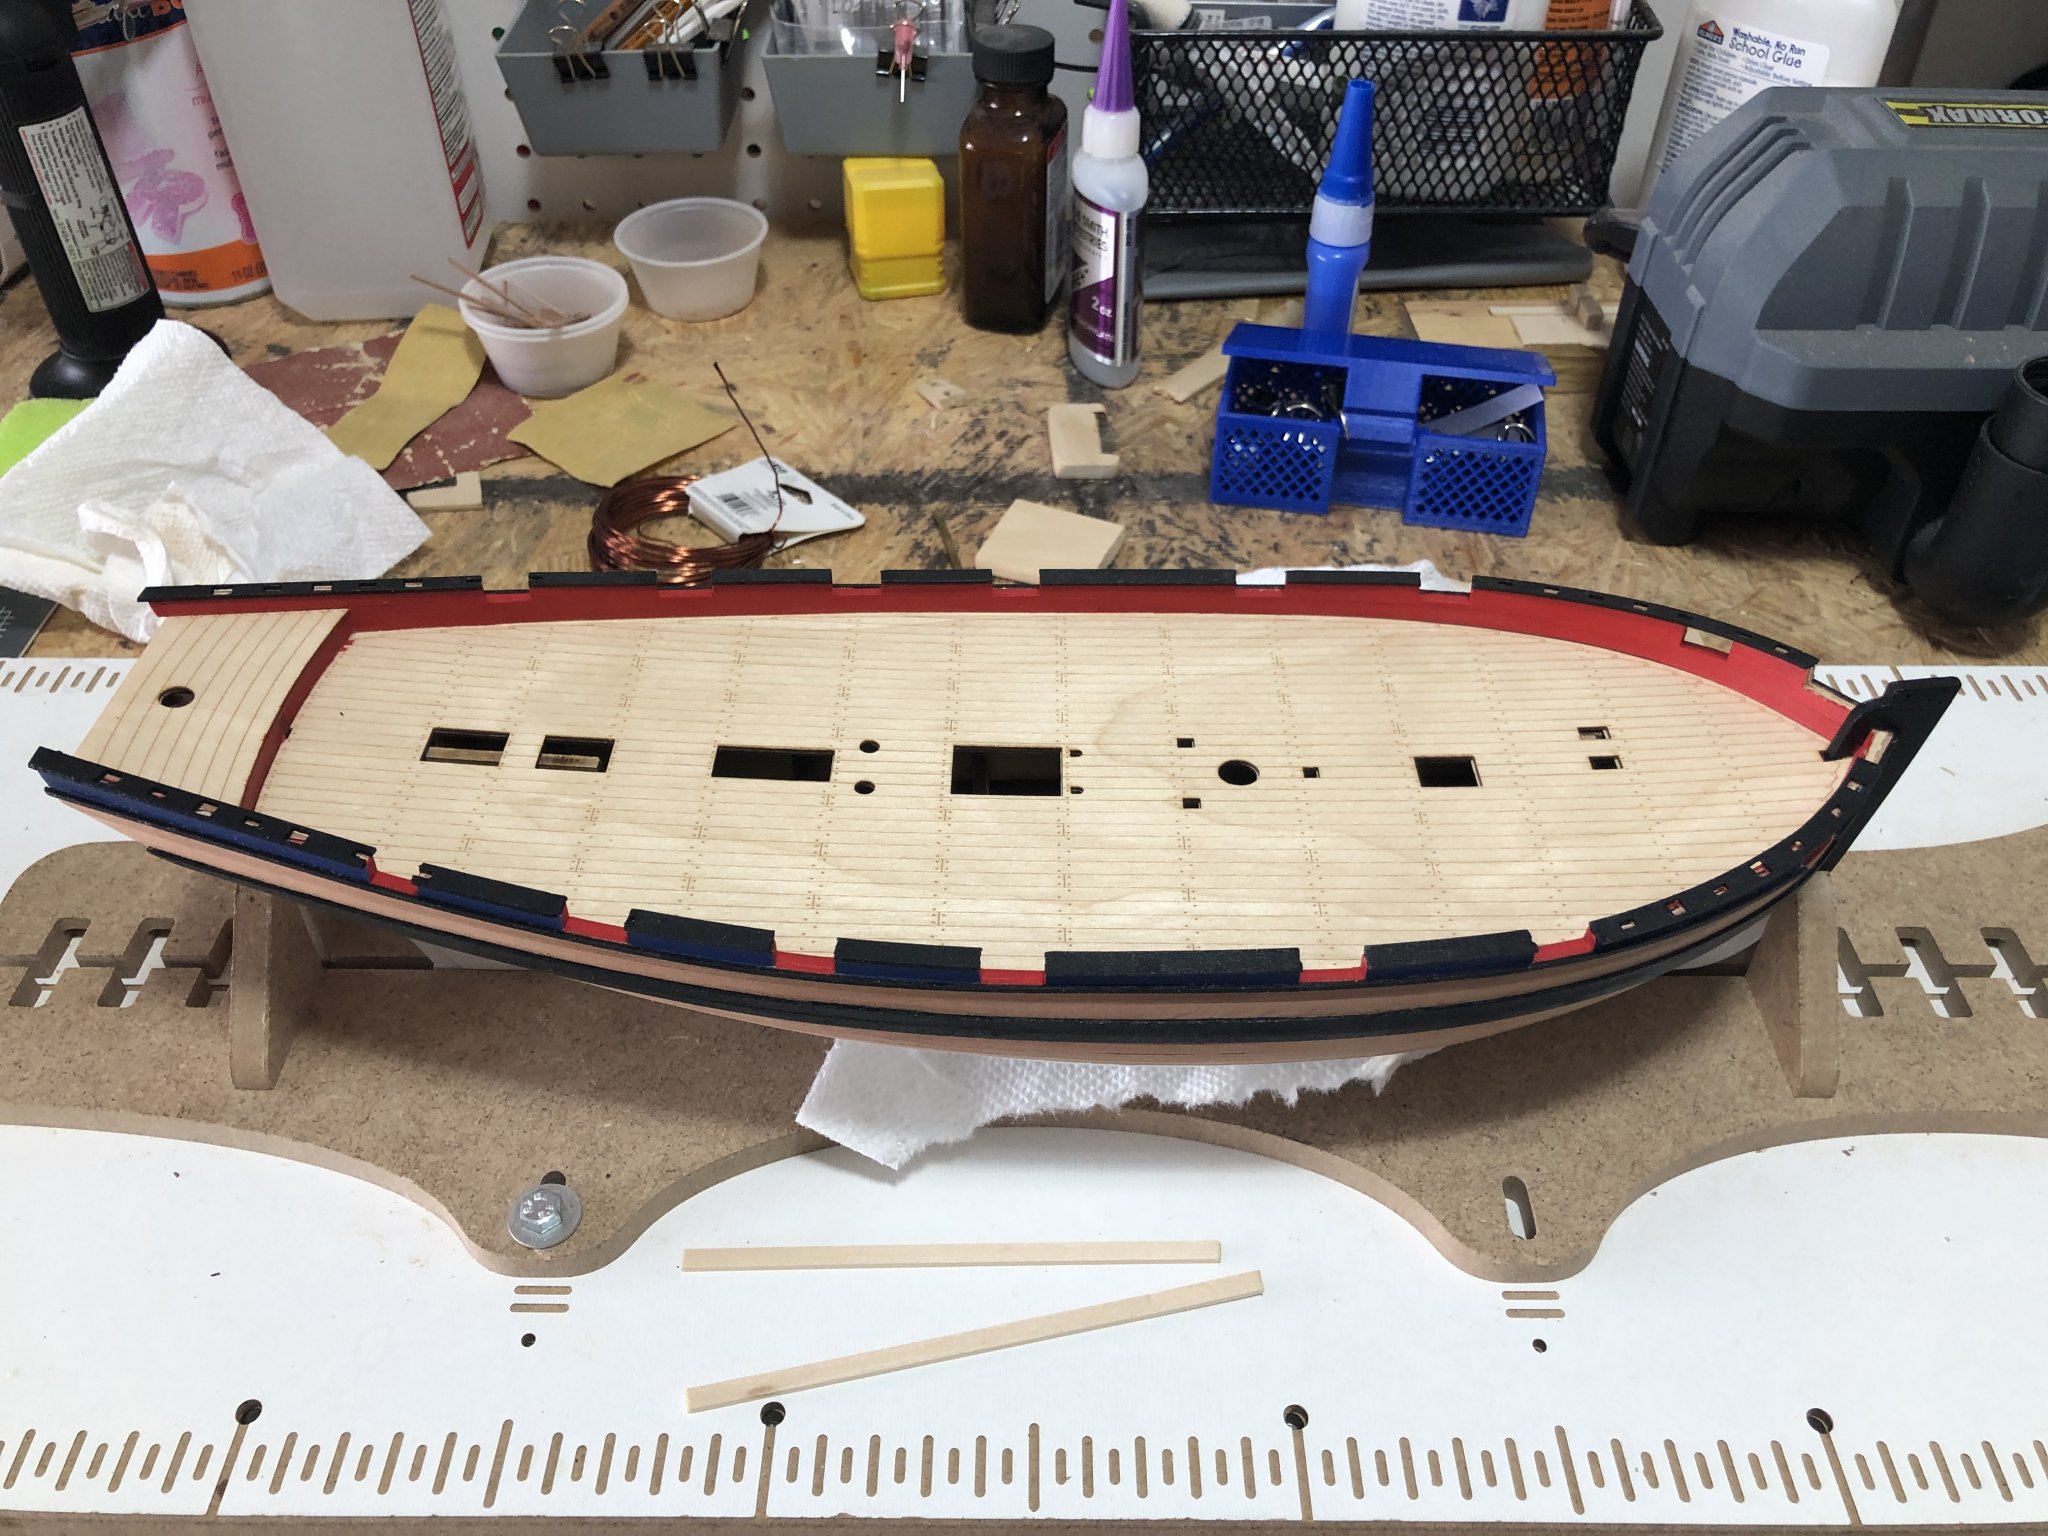
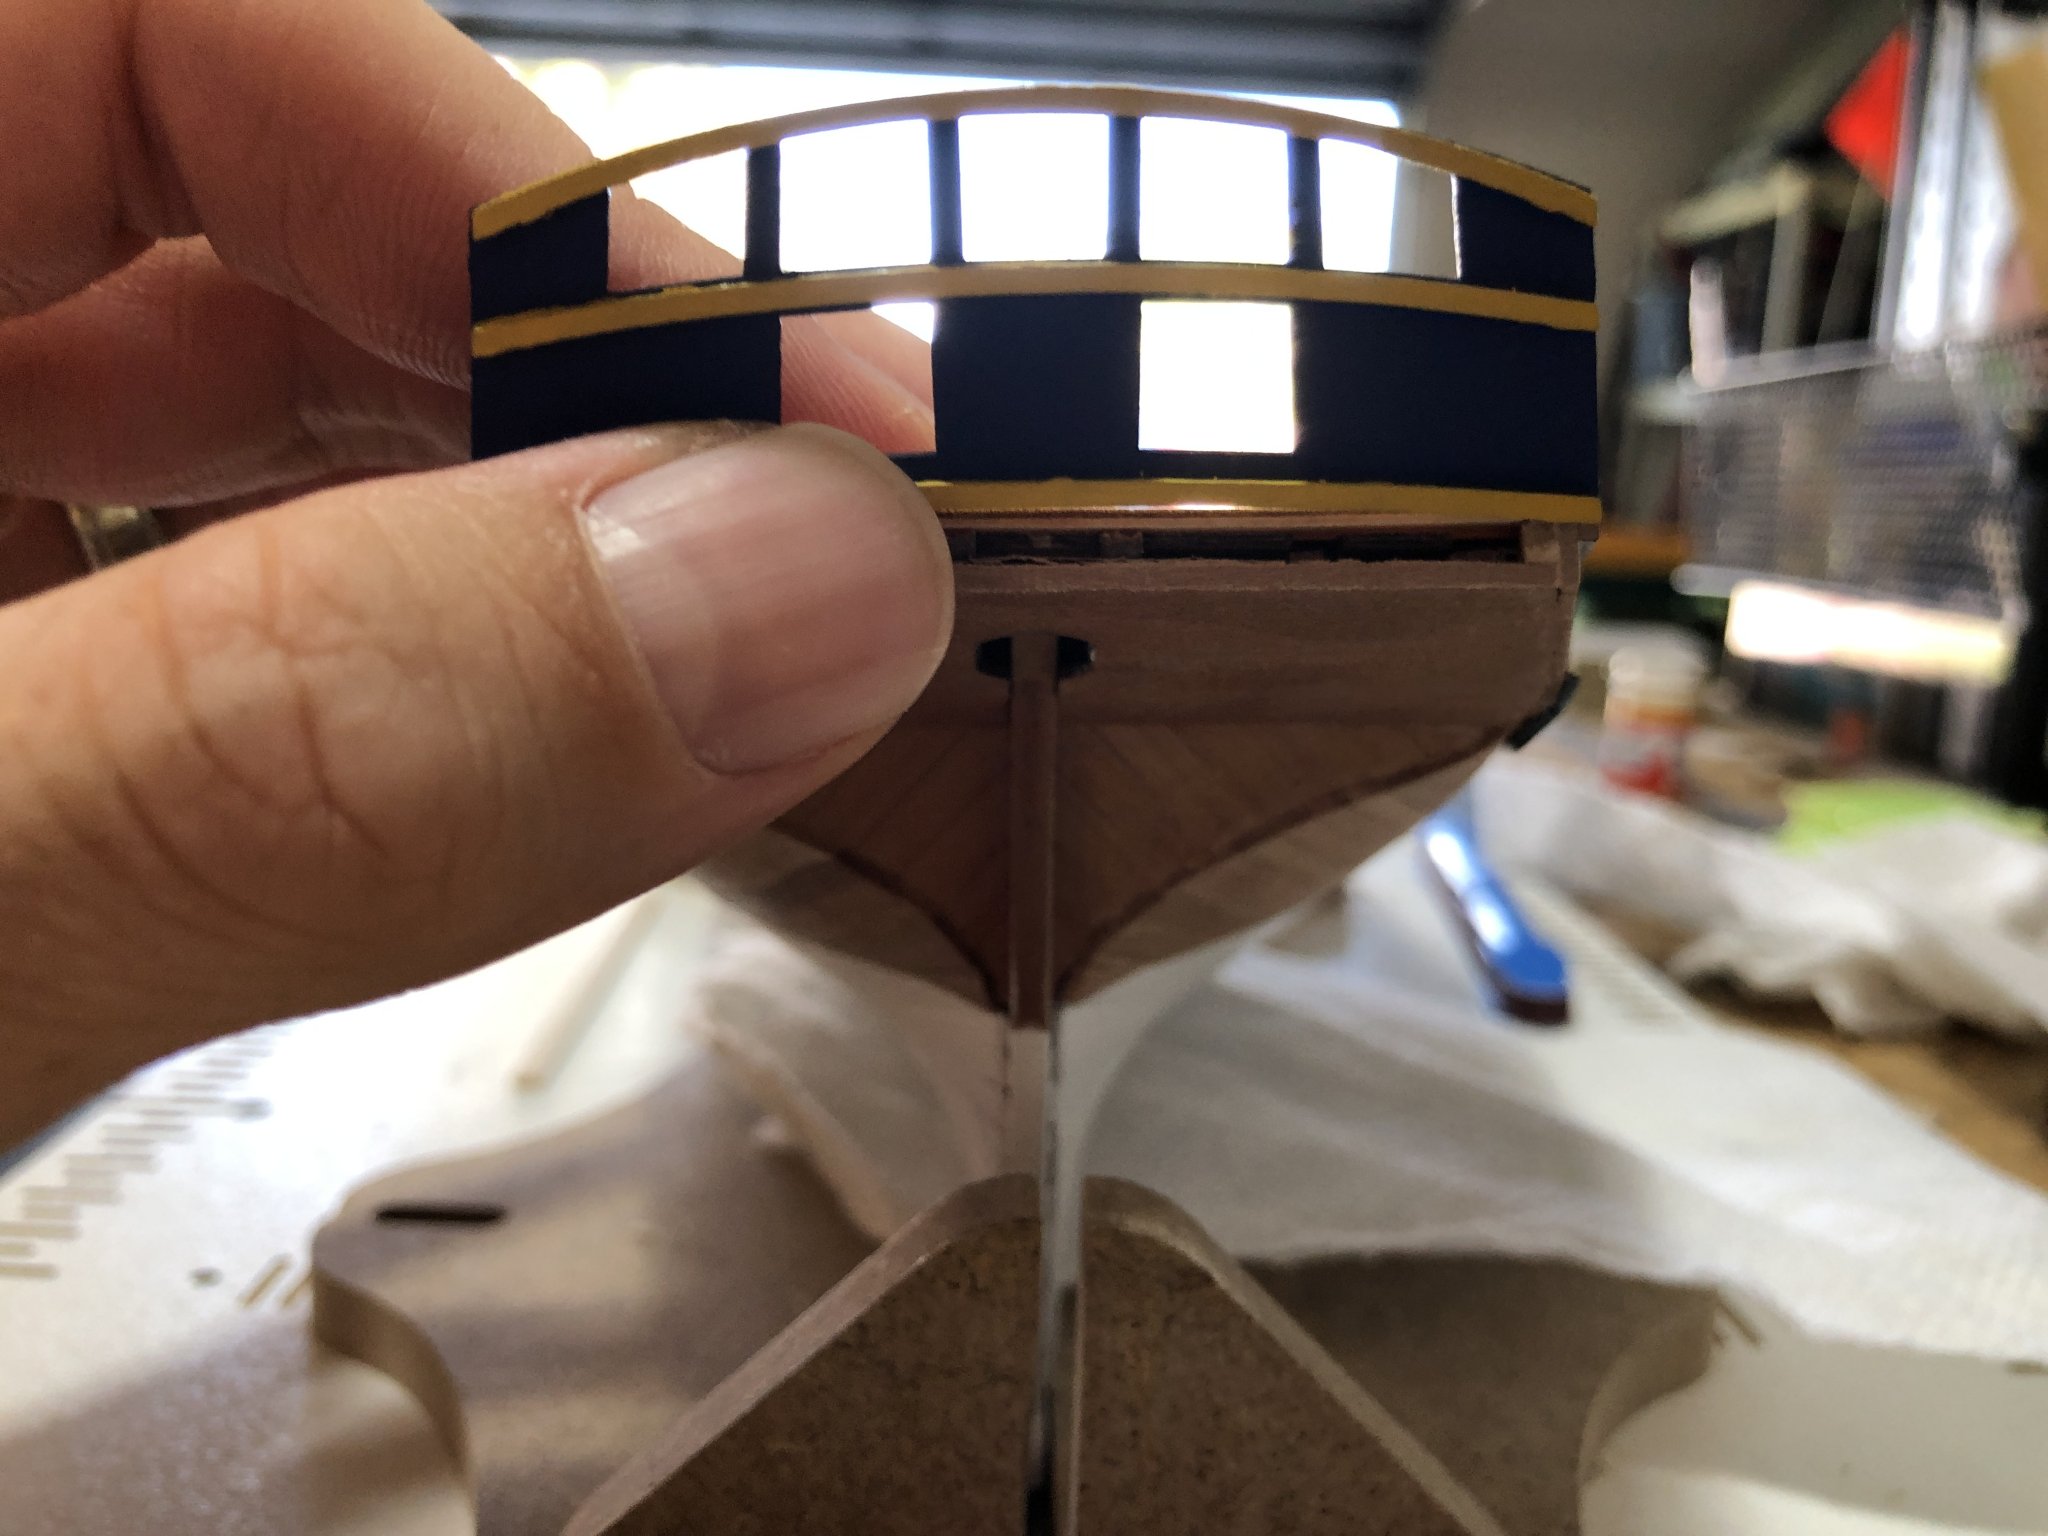
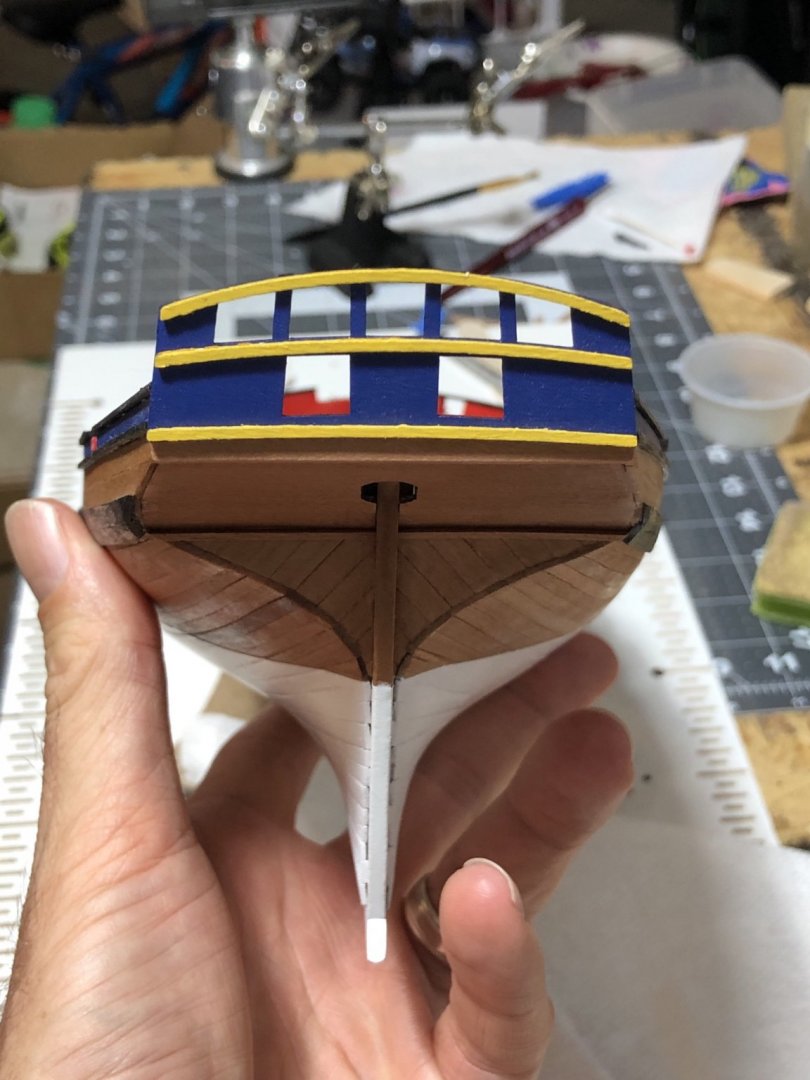
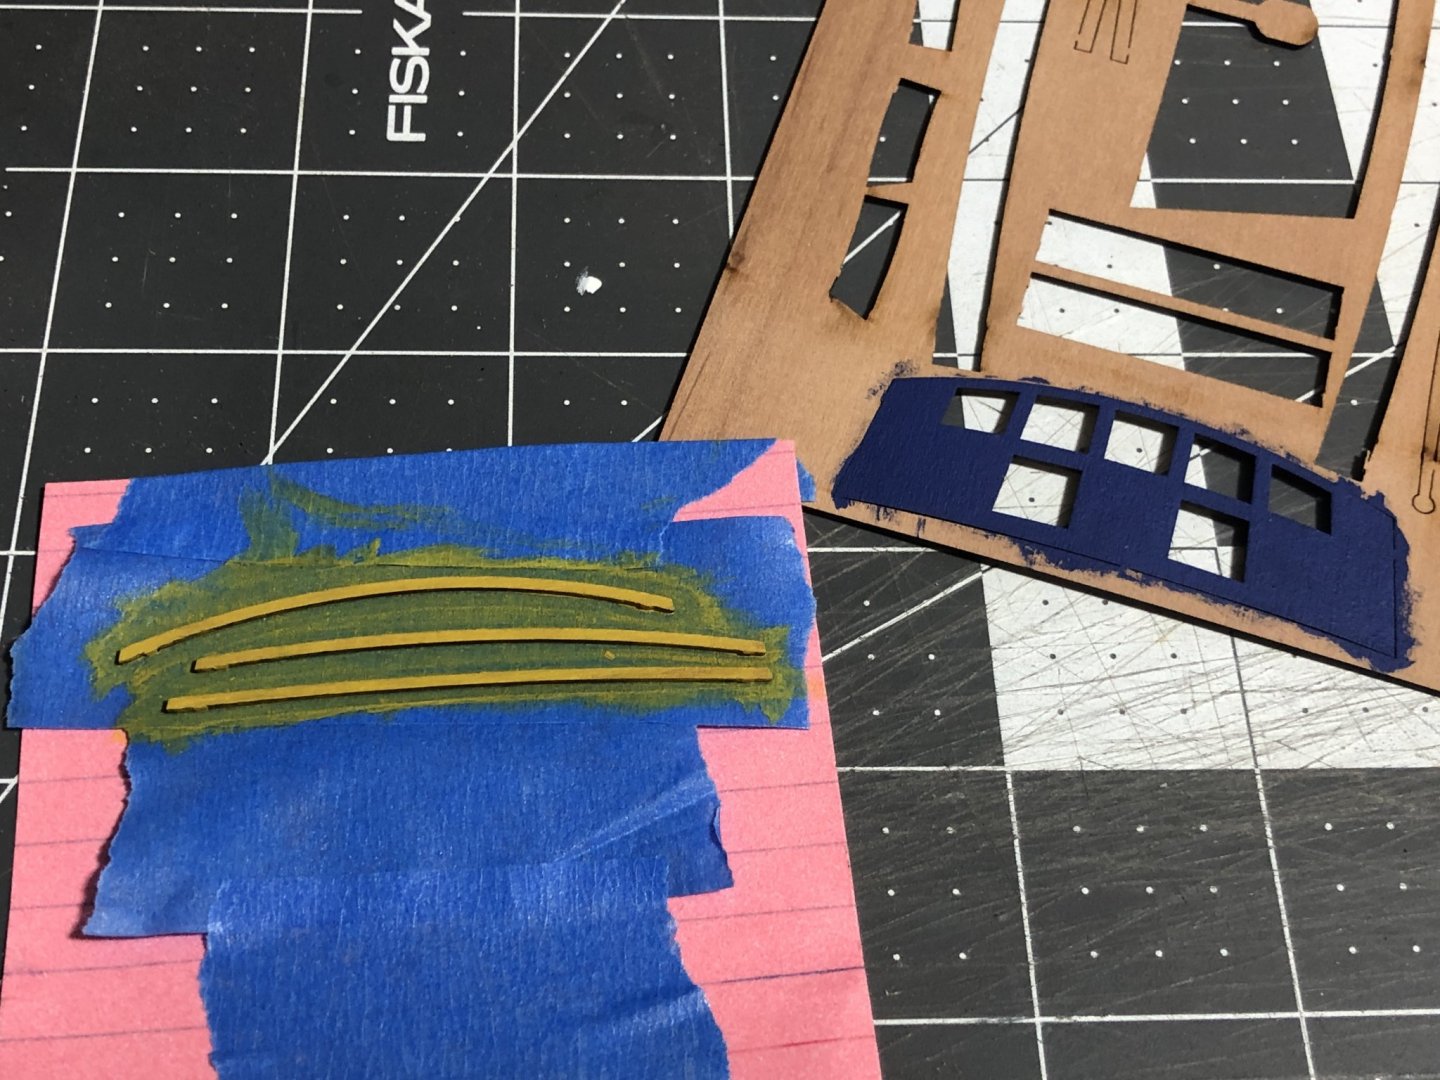
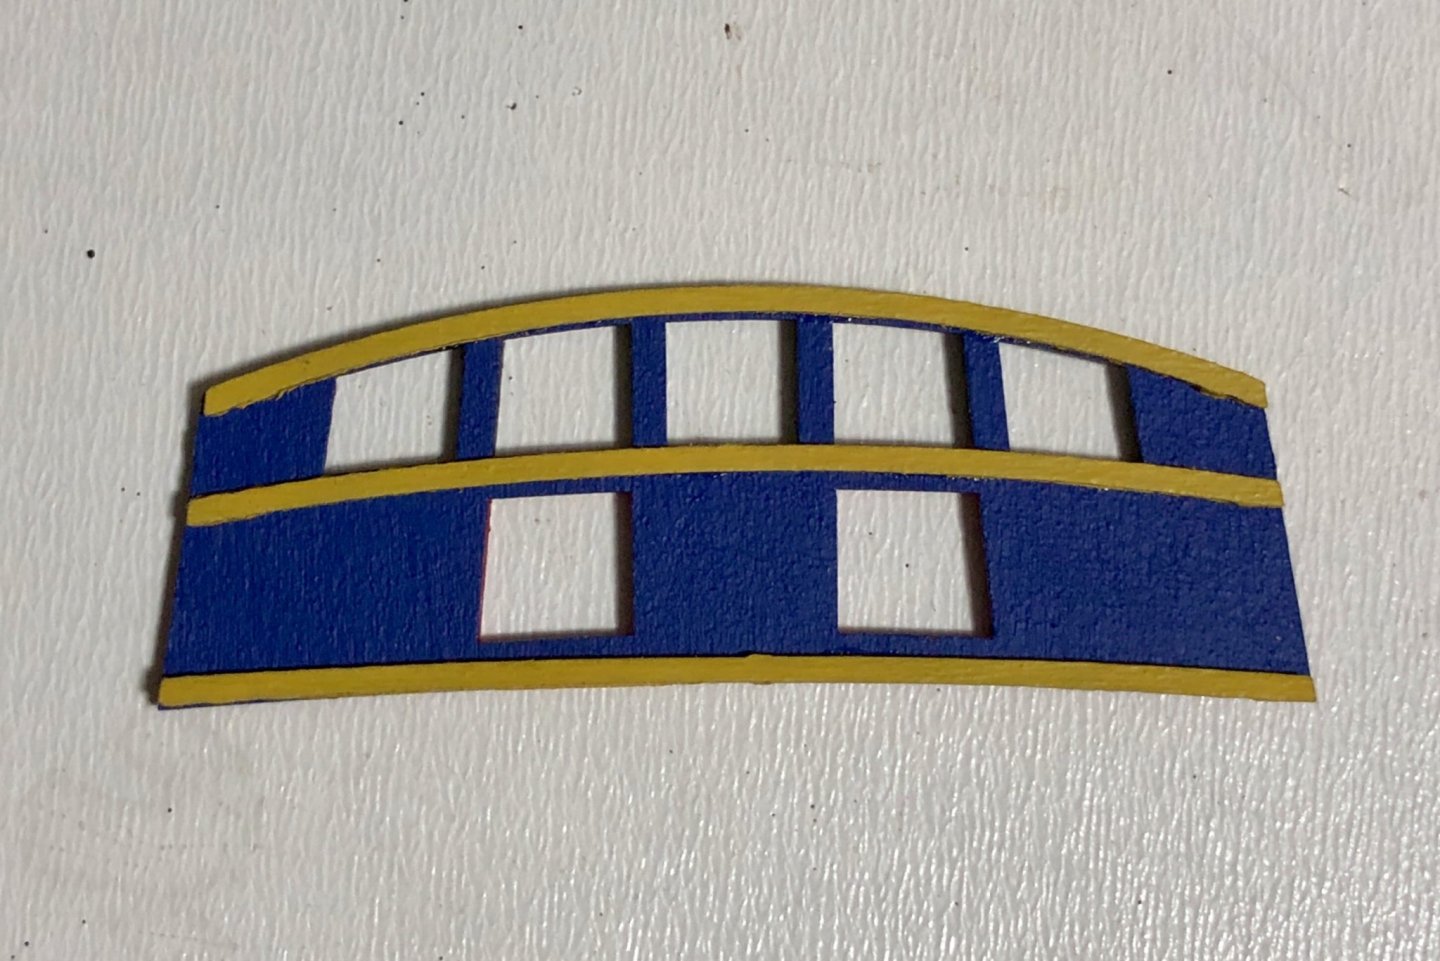
I added a plank to the stern, I think unfortunately that the lower rail makes it look slightly off level. I’ll have to look and see if I can correct it if it bothers me. Then I started adding the posts and rails. I originally thought that I would paint all the posts off the model but quickly realized that there was no real need and it would be easier and quicker to paint them on the model. I did paint the railing off model so that I wouldn’t accidentally mess up the stern.


- 436 replies
-
- 18
-
-
- vanguard models
- alert
- (and 1 more)
-
This is such a great idea! I’ll have to keep it in mind for my next build and take better quality photos along the way.
- 335 replies
-
- 1
-
-
- alert
- vanguard models
- (and 1 more)
-
The best idea is to take some scrap wood that you don’t need for the build anymore and test applying with the cloth/t-shirt. I haven’t used linseed oil but I typically paint it on and then use a cloth (old t-shirt and wipe it after).
- 60 replies
-
- 1
-
-
- swampscott dory
- finished
- (and 1 more)
-
I like what you’ve done, such strong perseverance. I enjoy watching everyone work through these issues because I don’t have anywhere near the experience to think of these solutions. A great learning experience for me!
-
Ah, pardon my mistake, I believe Chris designed the Zulu specifically targeting a novice so I would suggest the Zulu with that in mind. There is also at least one build log for the Zulu: I don't think there are any for the Amati Fifie; it helps me to see what someone did in a log as well as the instructions (reinforcing the Zulu suggestion).
-
Purely for selfish reasons, I’d love to see a log of the Amati Fifie. I’ve long looked at the kit and considered it as a future build. Beautiful workshop by the way.
-
I have the same set as well (I usually used the green piece though). I thought it really useful for sanding my hull. I’m looking forward to watching the rest of your build!
-
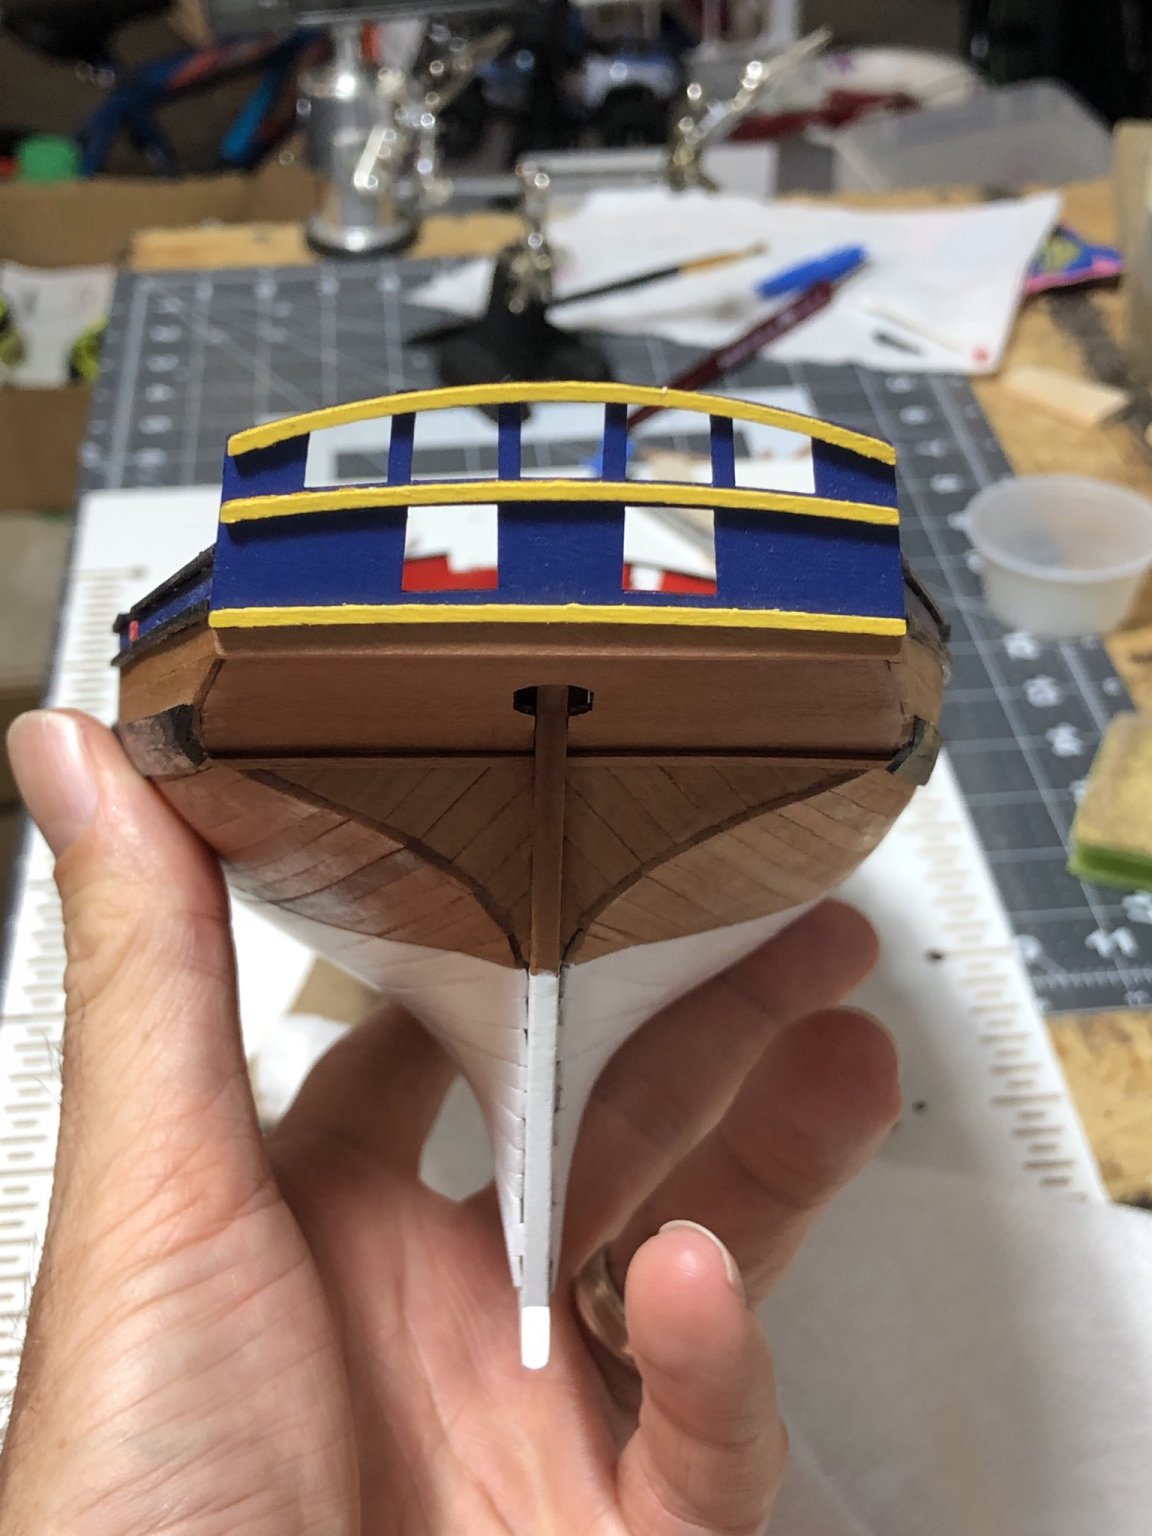
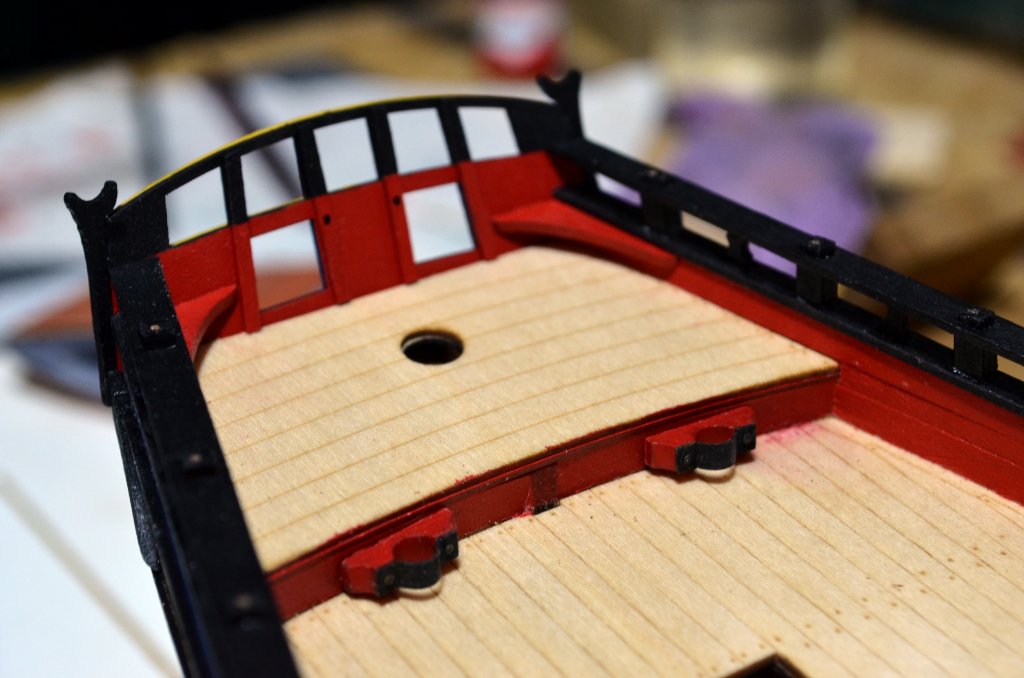
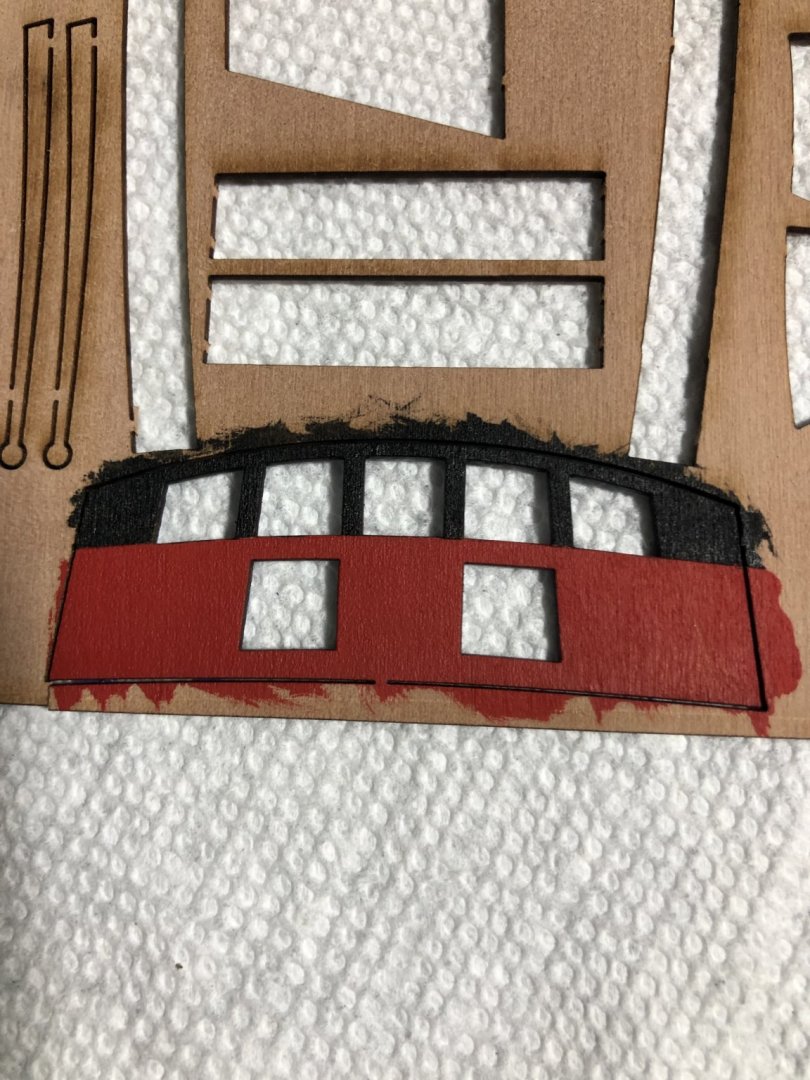
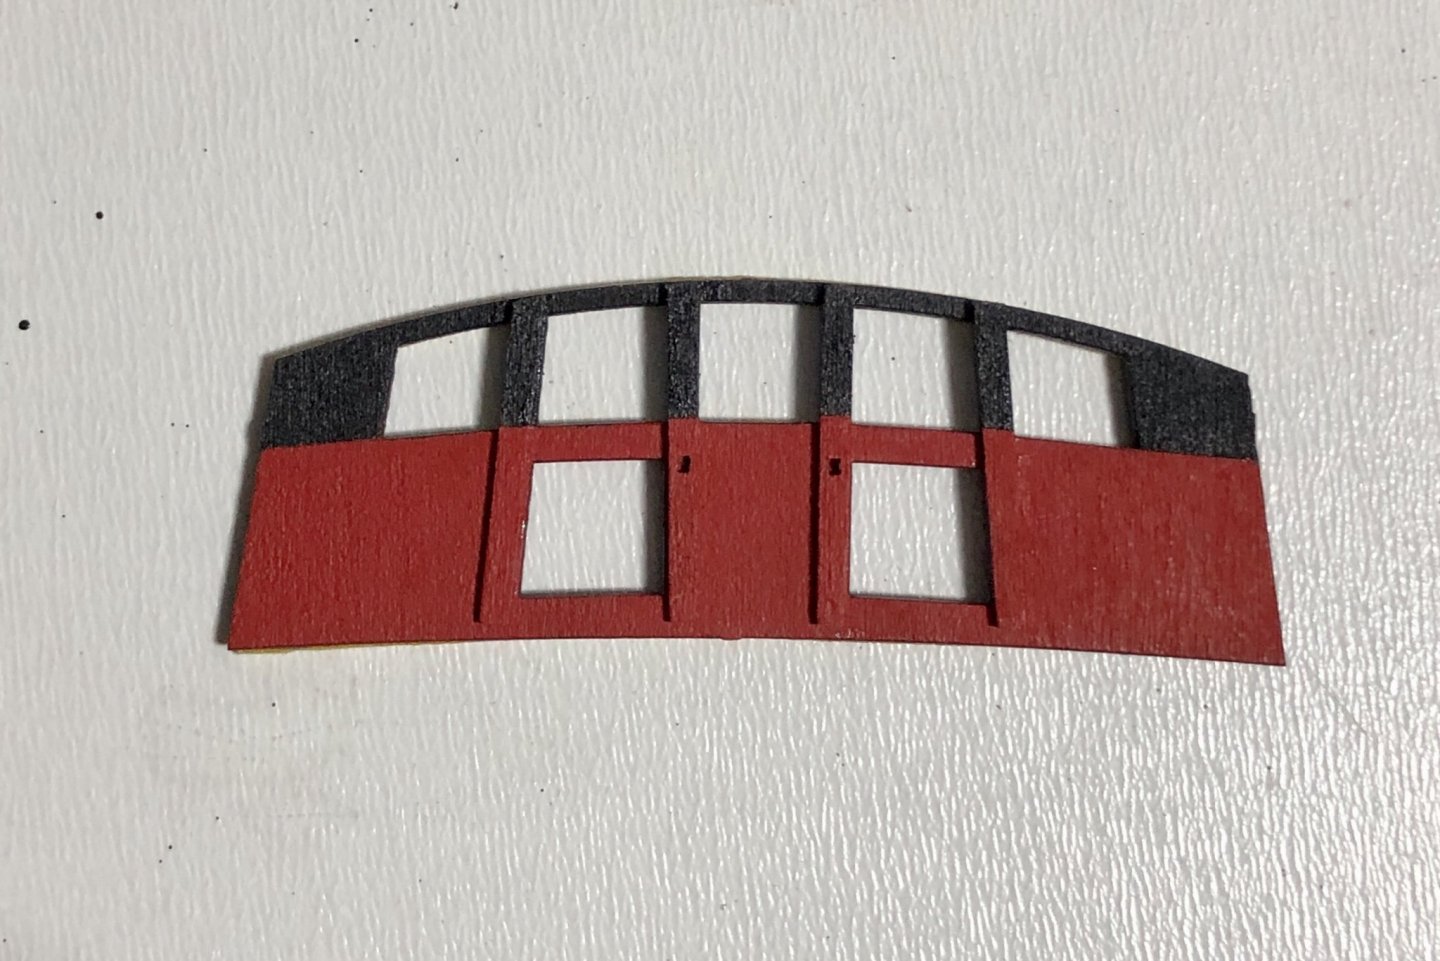
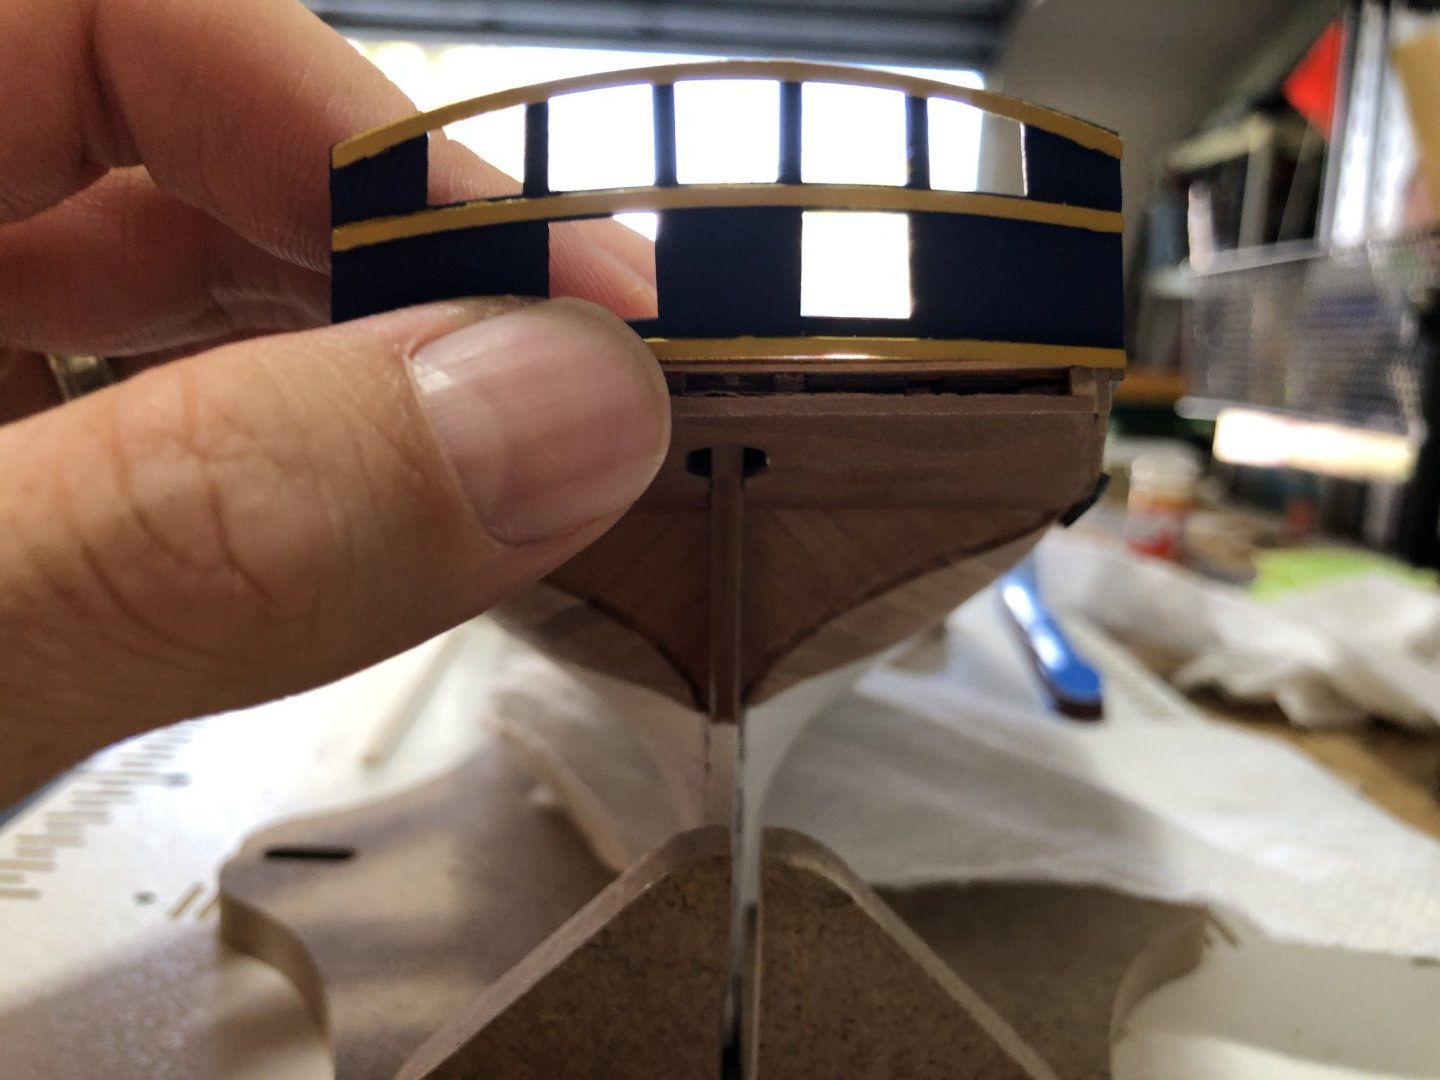
Both cap rails have been attached. In the process I learned that I made the gun ports wider than they should be. The included patterns are fine but I should have been more careful with where I cut compared to where I marked, something for me to watch out for and be more careful with in the future. I’ve completed the stern transom piece, but I haven’t attached it yet. There is a gap underneath that I need to plank. I’m trying to get a plank fitted before attaching the stern piece. The kit leaves the interior timbers (?) natural, but I decided to paint them so that they blended in.

- 436 replies
-
- 9
-
-
- vanguard models
- alert
- (and 1 more)
-
So sad to hear, but very excited to see how far you made it. You’re work is quite the work of art. I recently picked up an HMV and am very glad to hear that the instructions and printing are good.
- 29 replies
-
- 5
-
-
- hmw
- Hamburg Harbor
- (and 2 more)