


Dr PS - Paul Schulze
-
Posts
304 -
Joined
-
Last visited
Content Type
Profiles
Forums
Gallery
Events
Posts posted by Dr PS - Paul Schulze
-
-
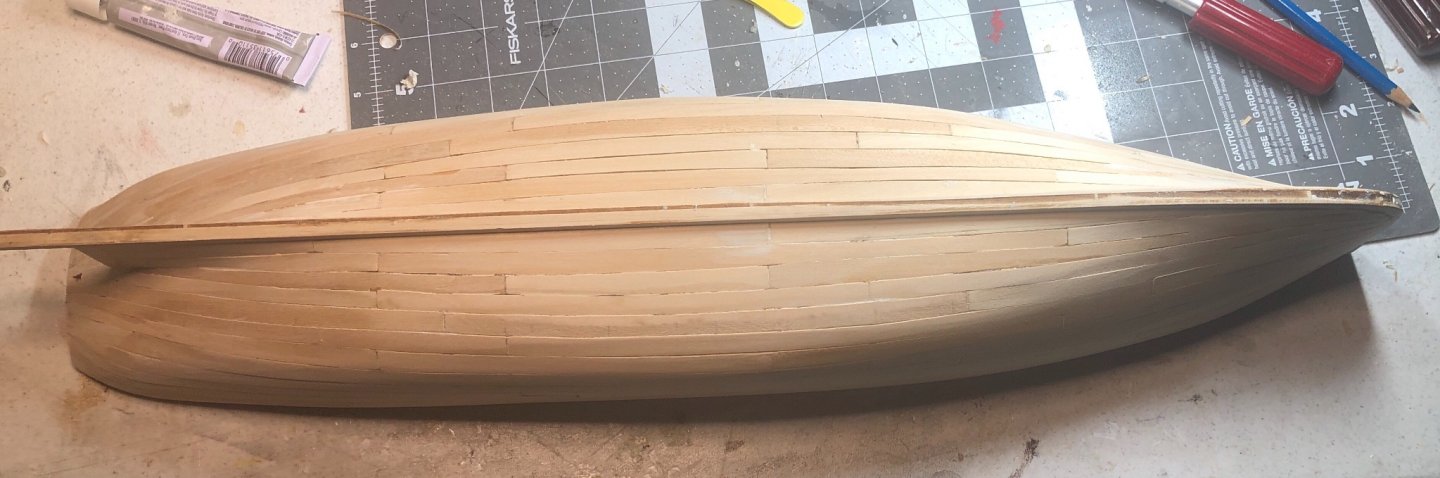
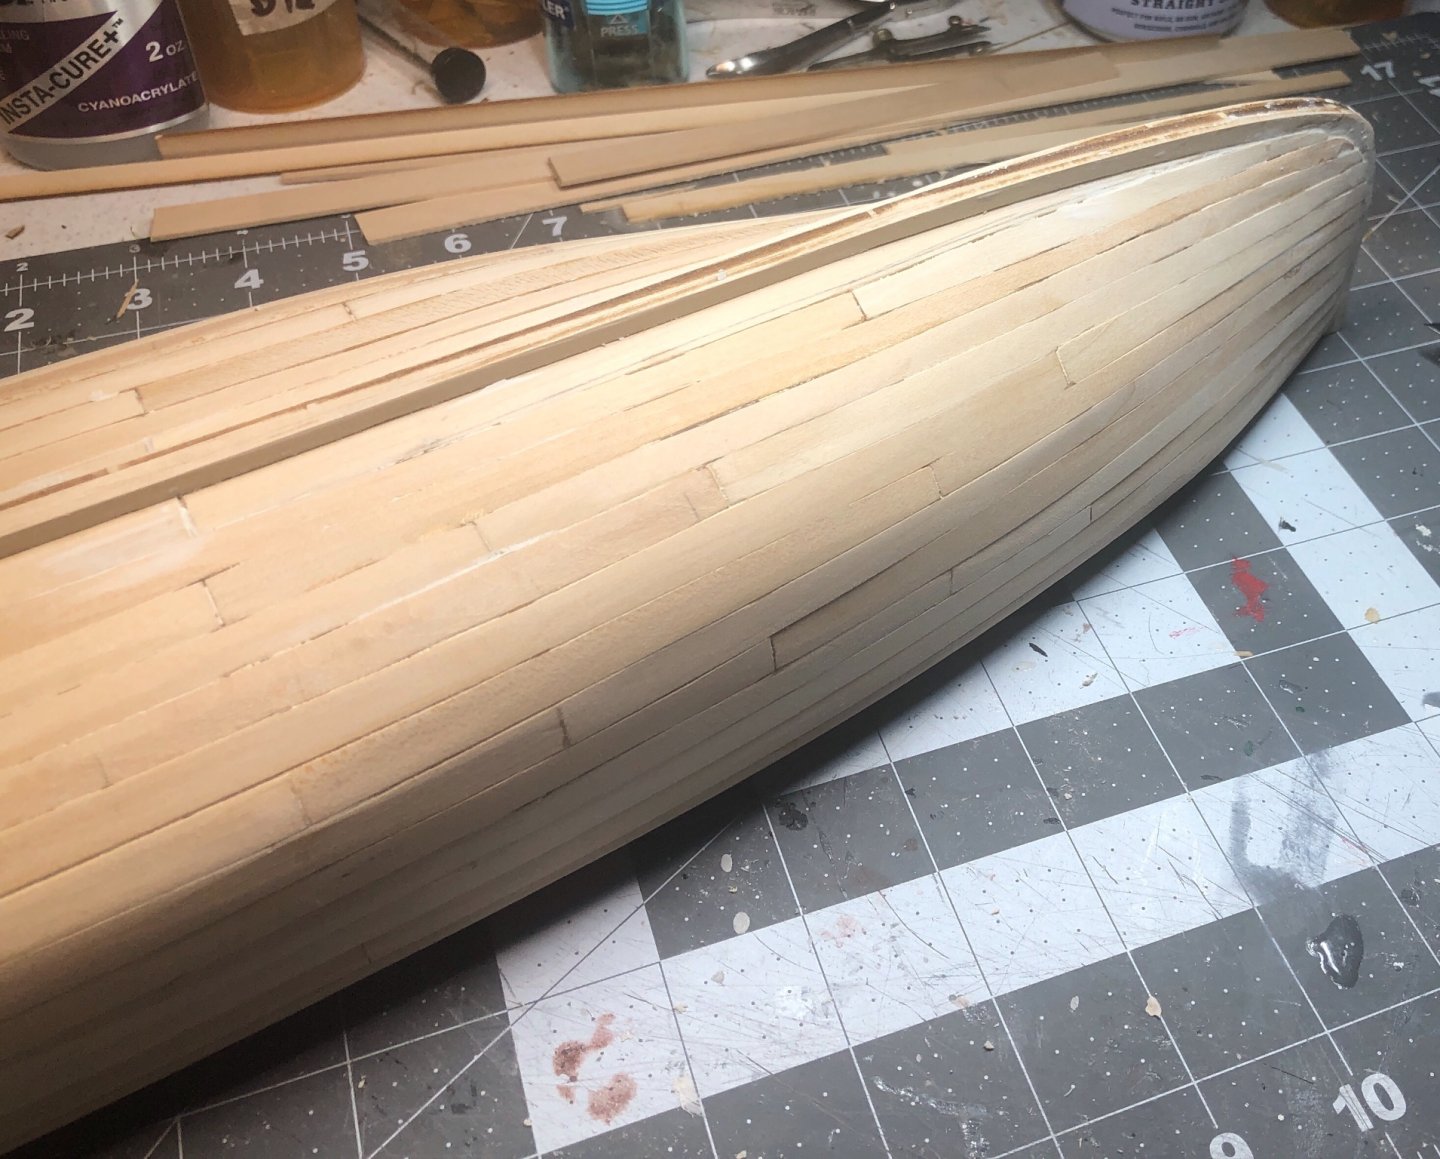
I finished this model and then I decided to post log pictures. There are lots of good build logs in this forum so I will post a sequence of progress pictures with few comments.

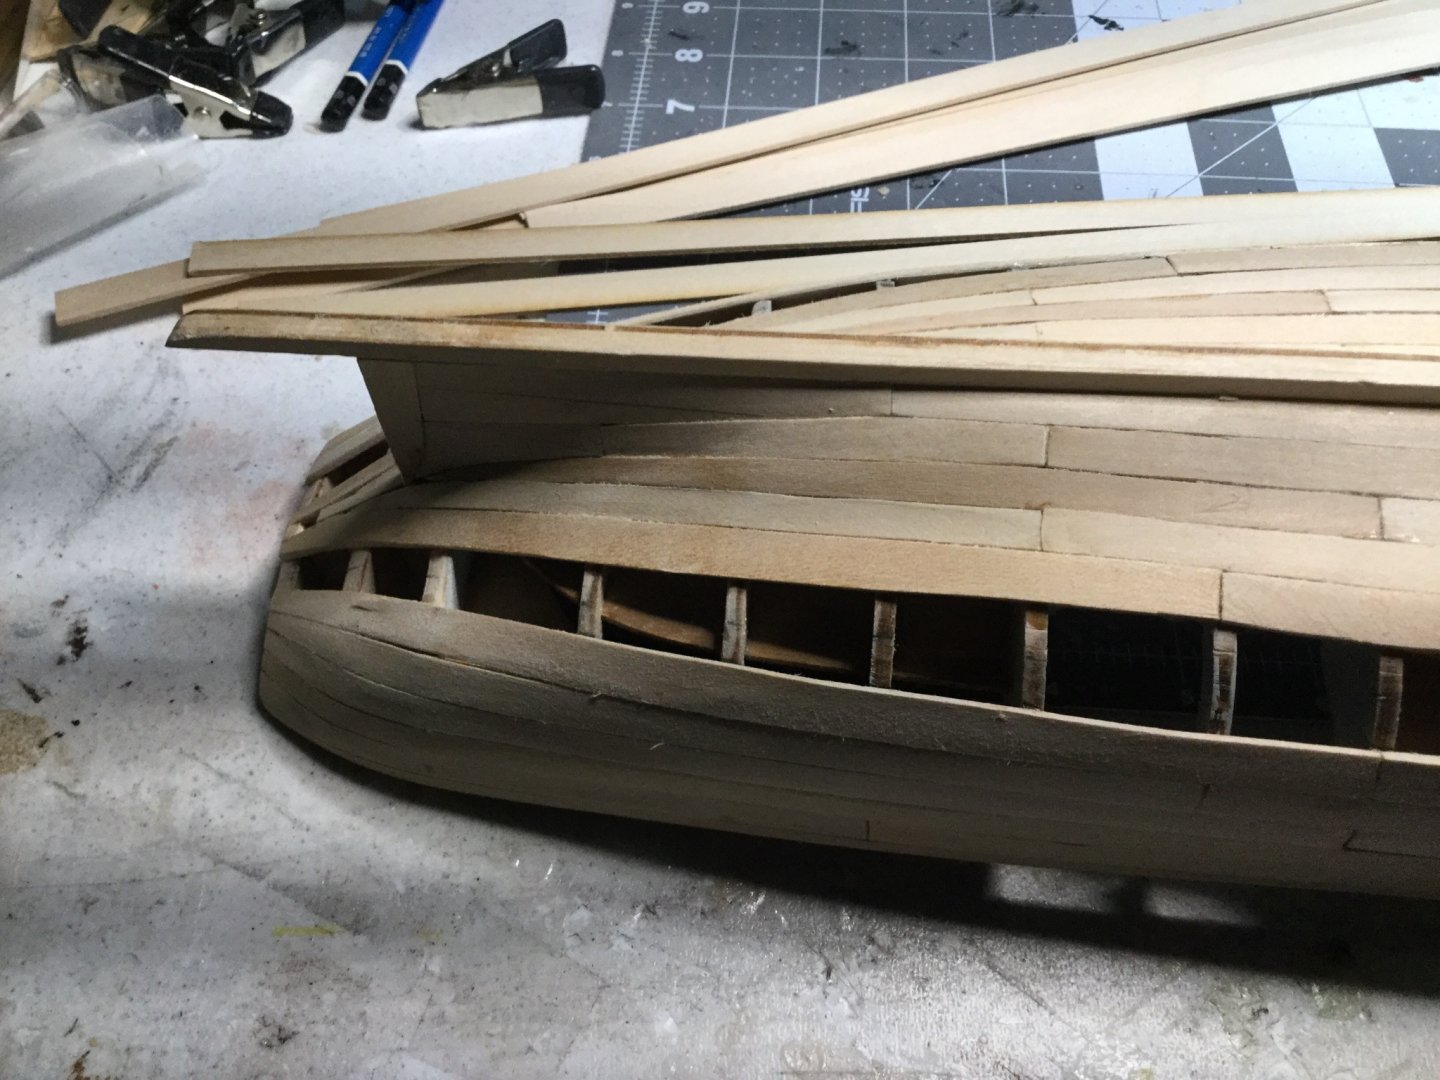
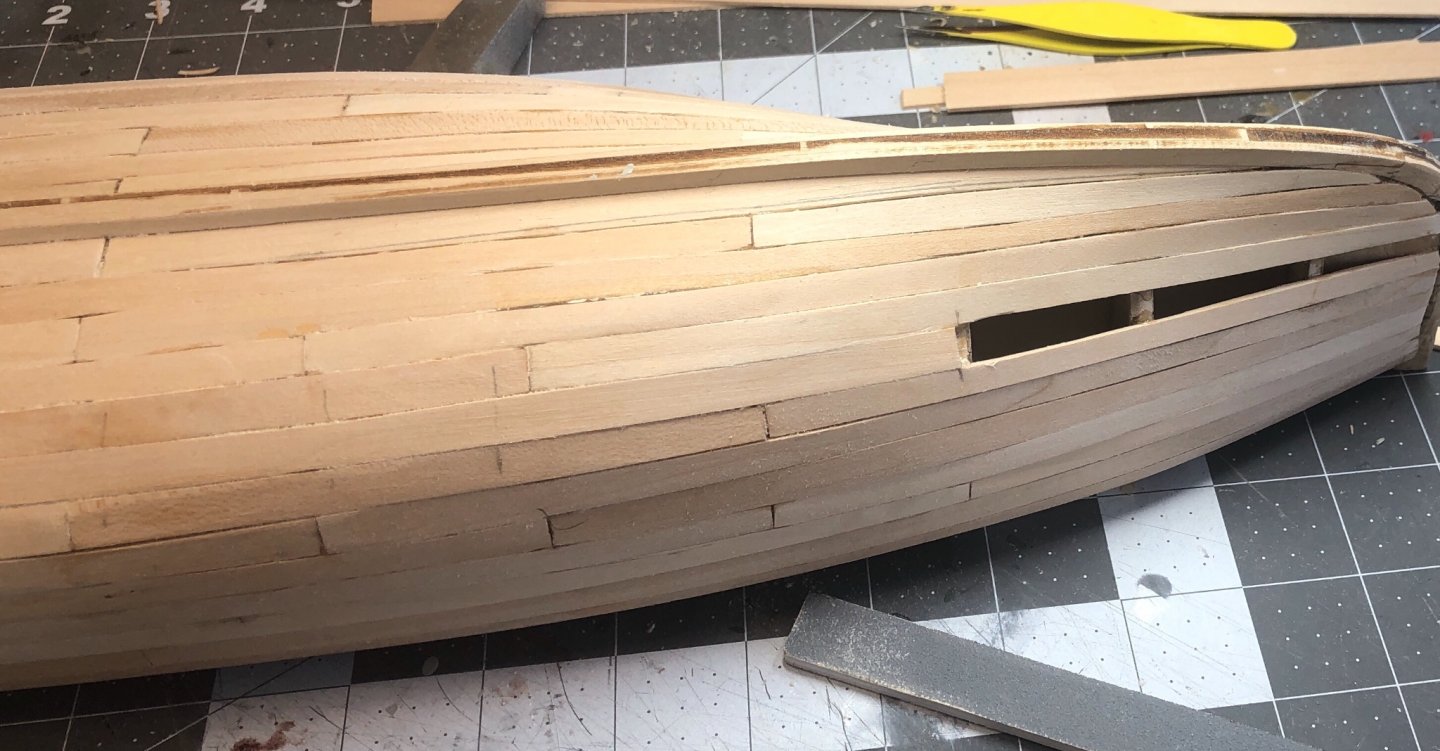
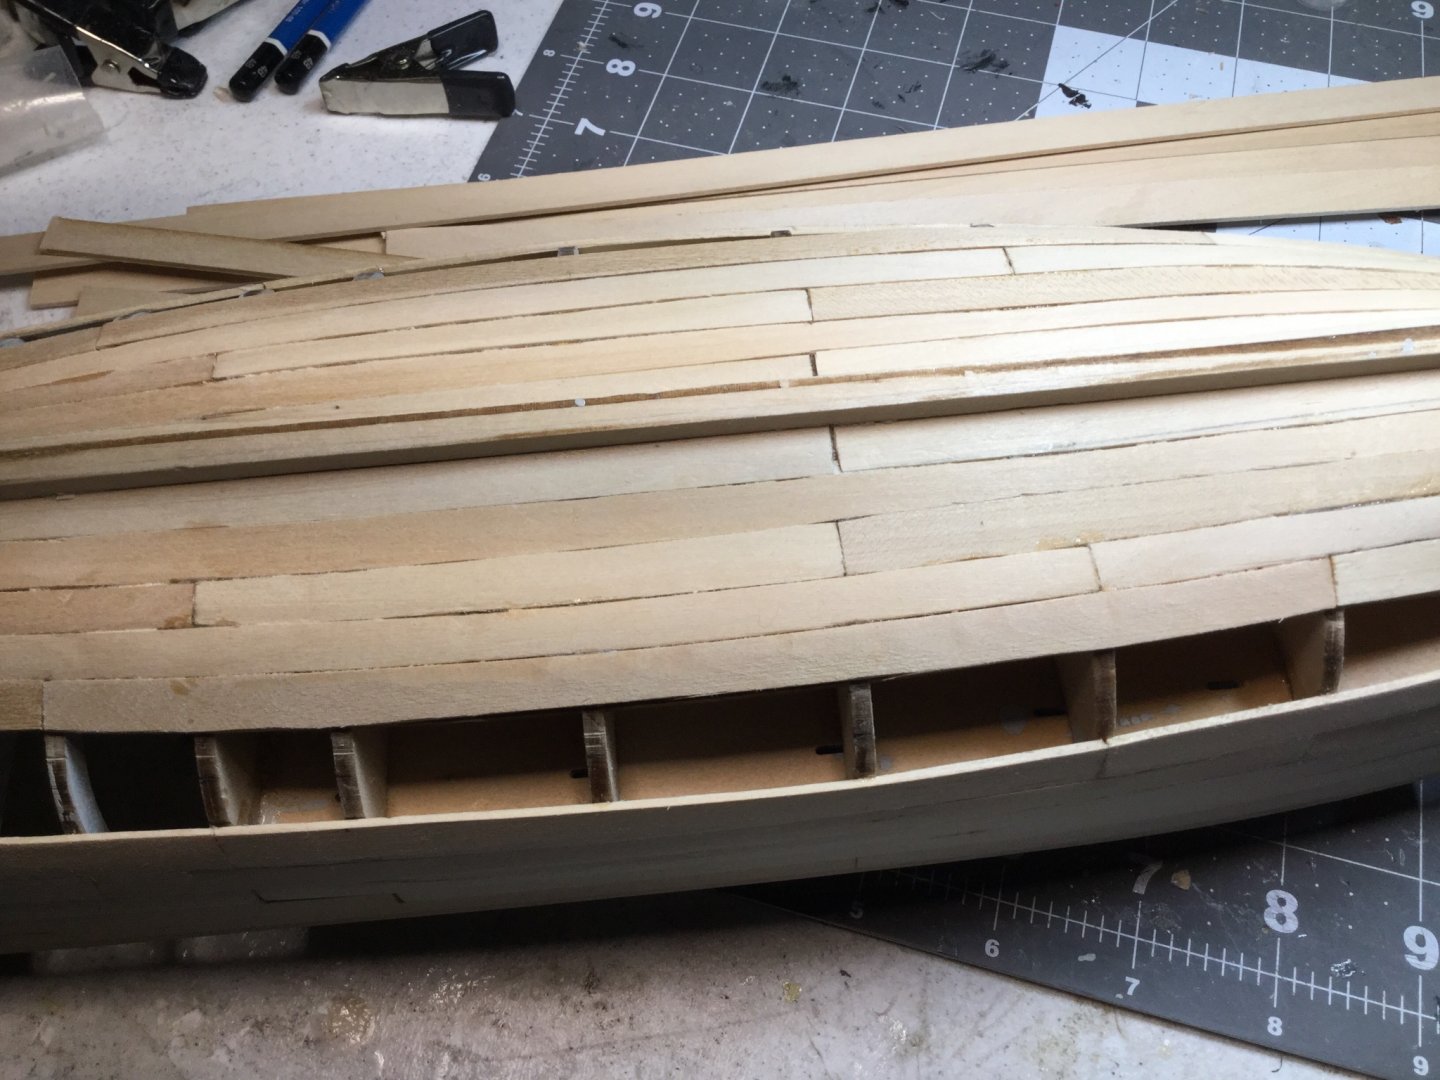
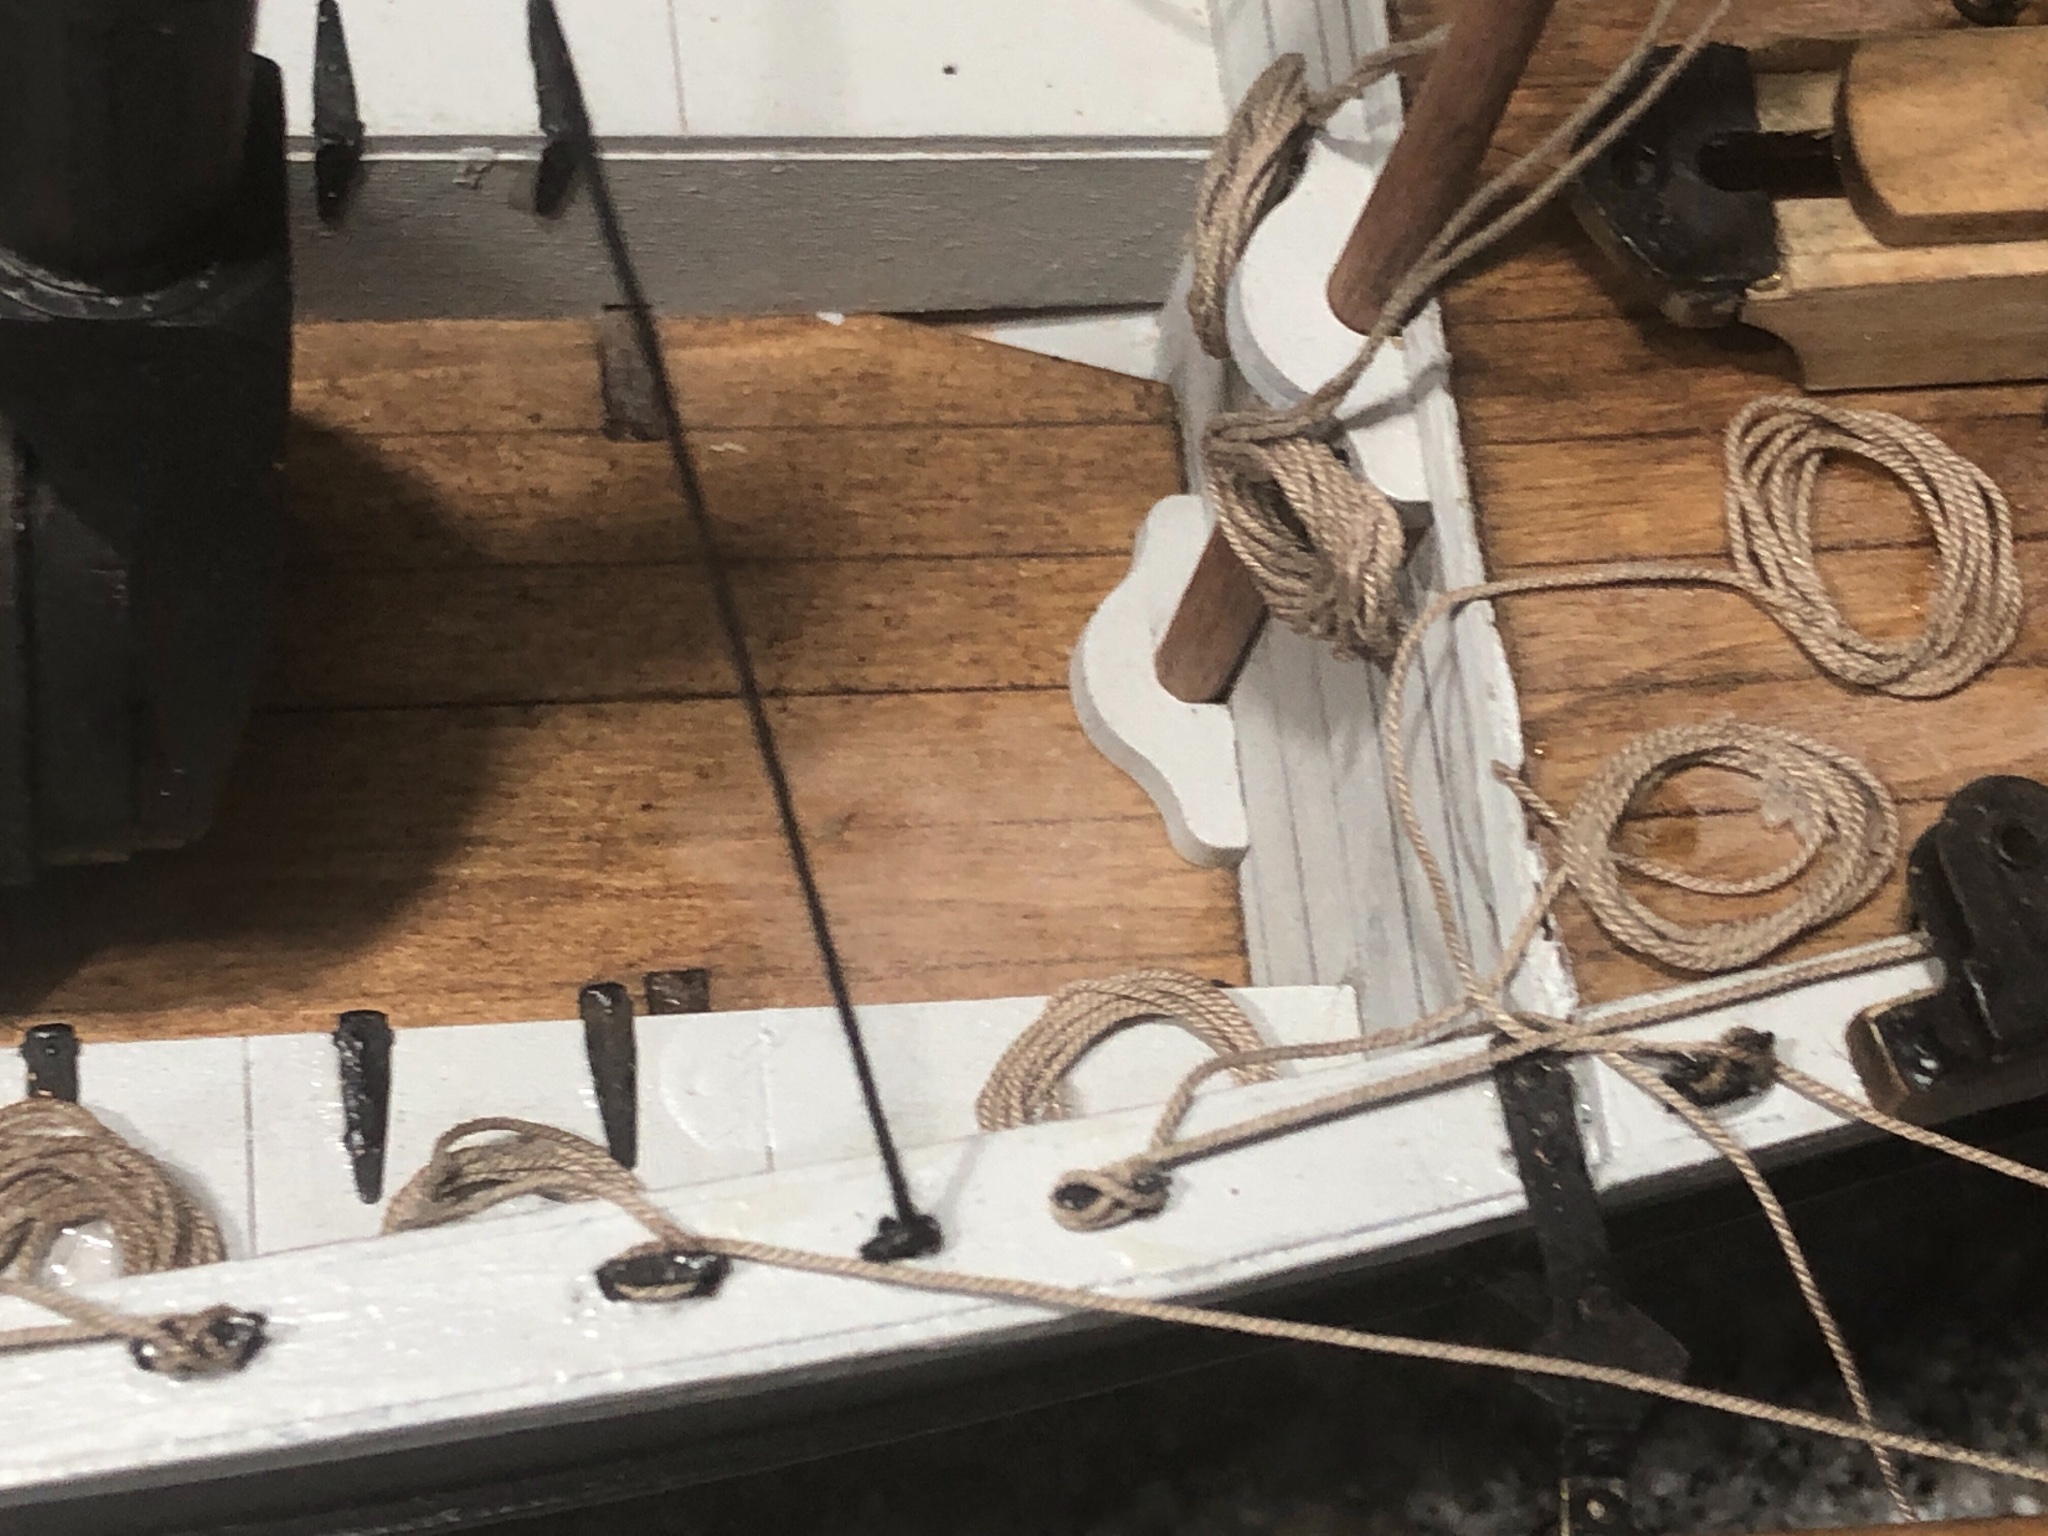
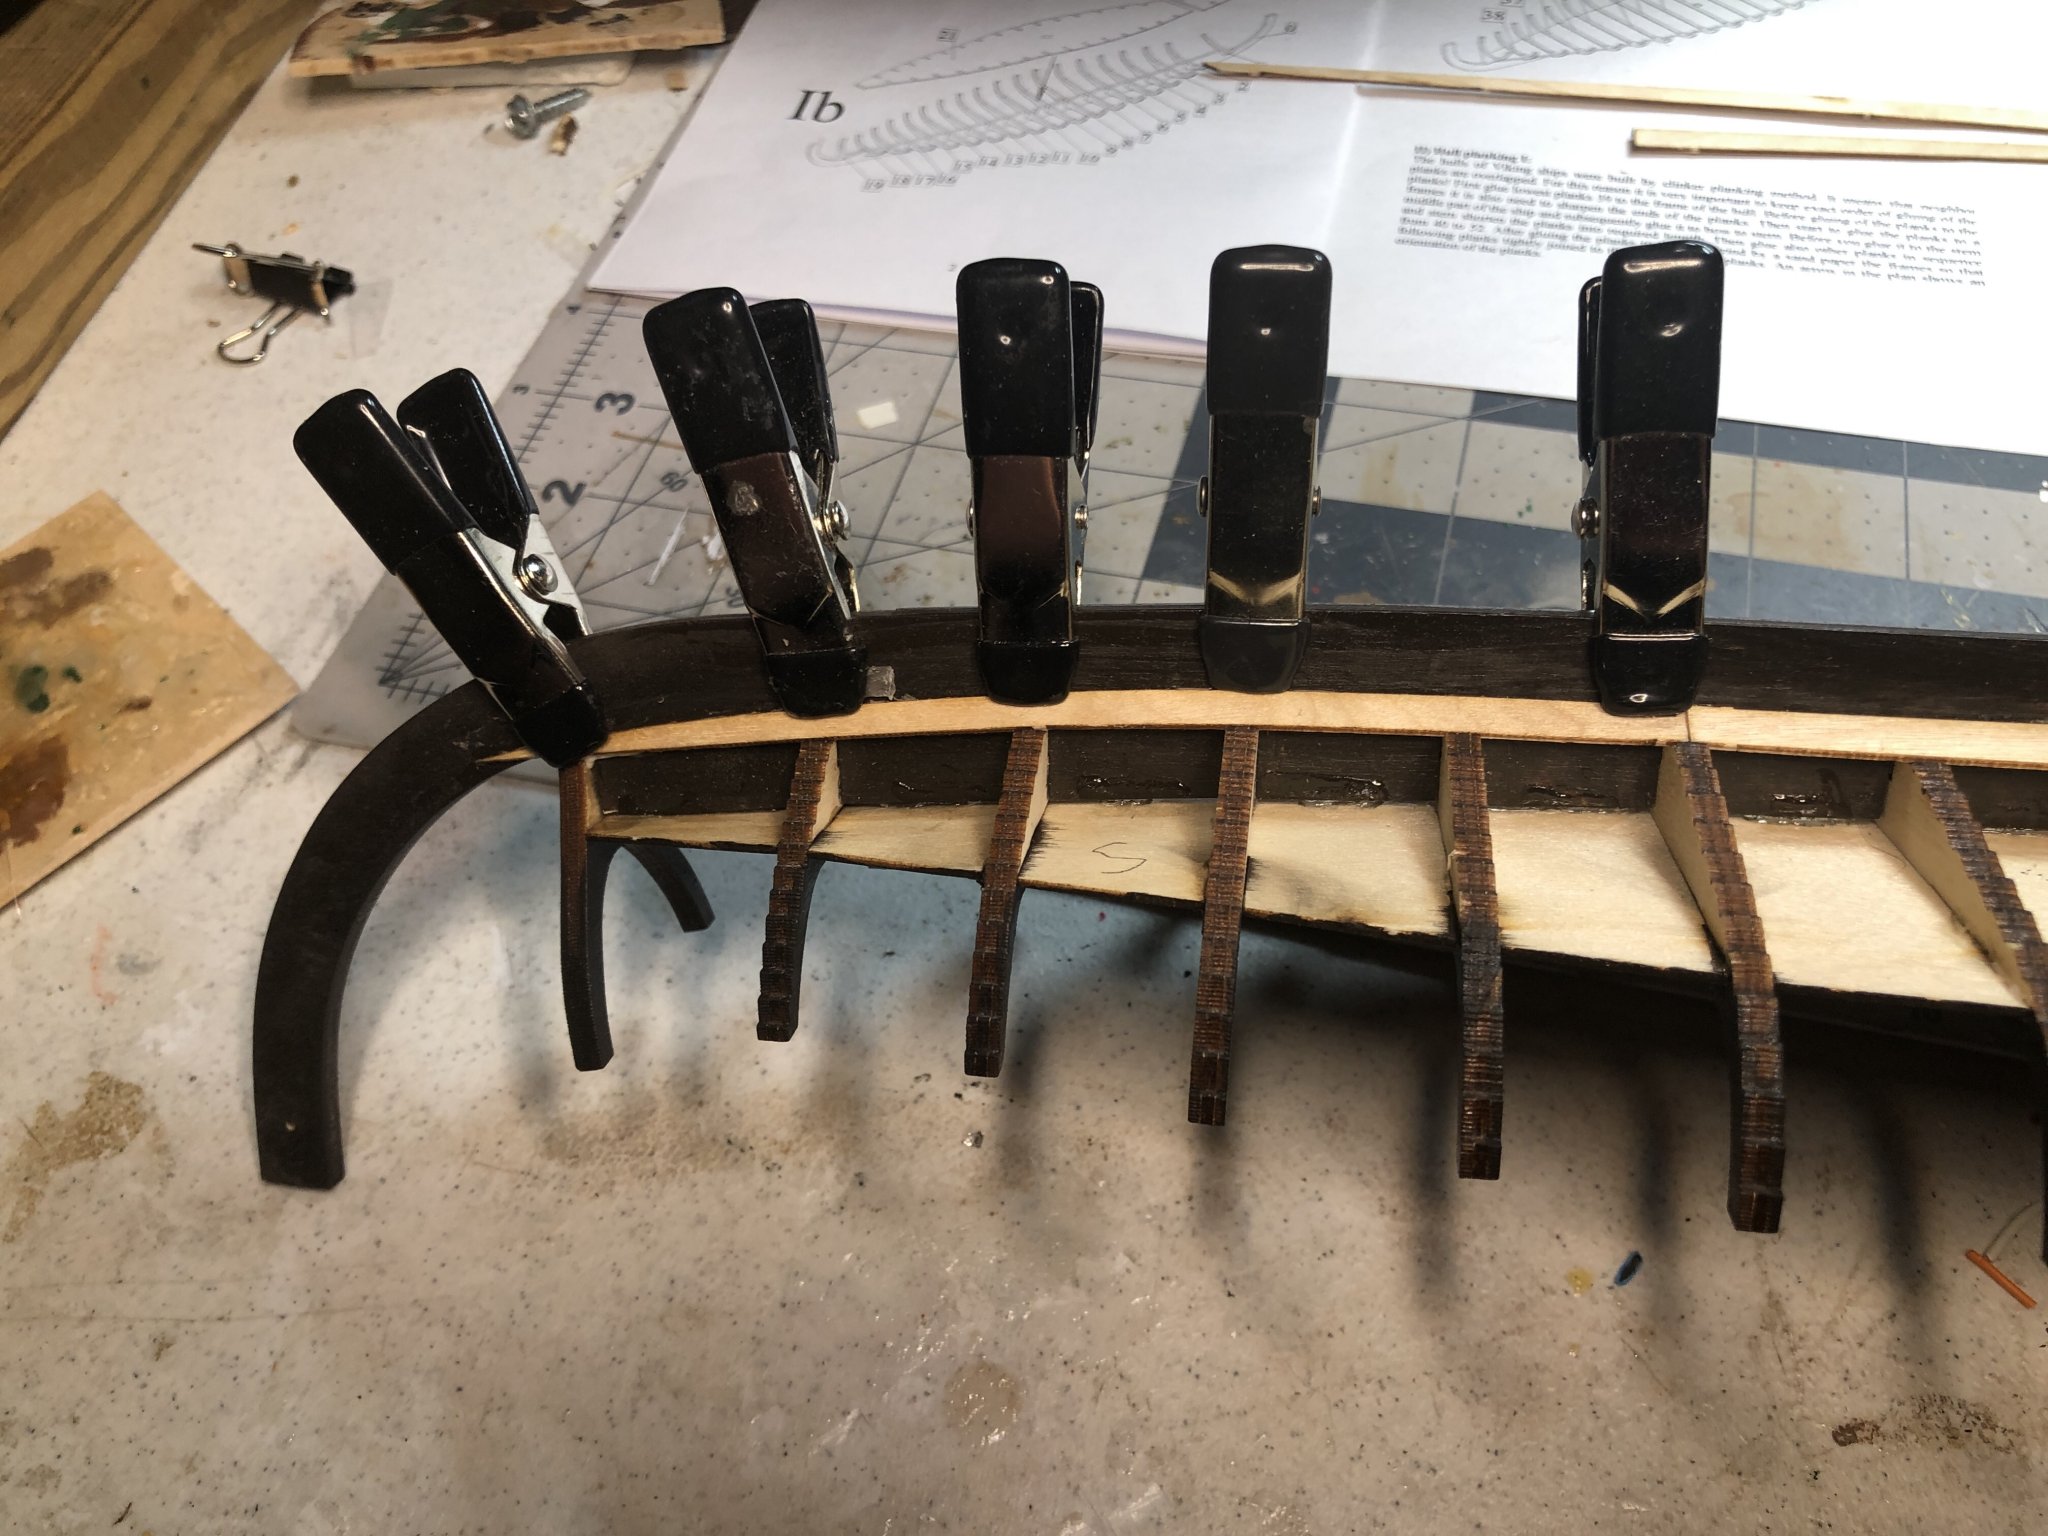
I used a wide removable tape to spile the strokes. A pencil was used to mark the in-place strake and bulkhead marks for next strake. Tape was removed and marks joined using a French Curve. Tape was laid on wood and wood was cut and shaped as needed.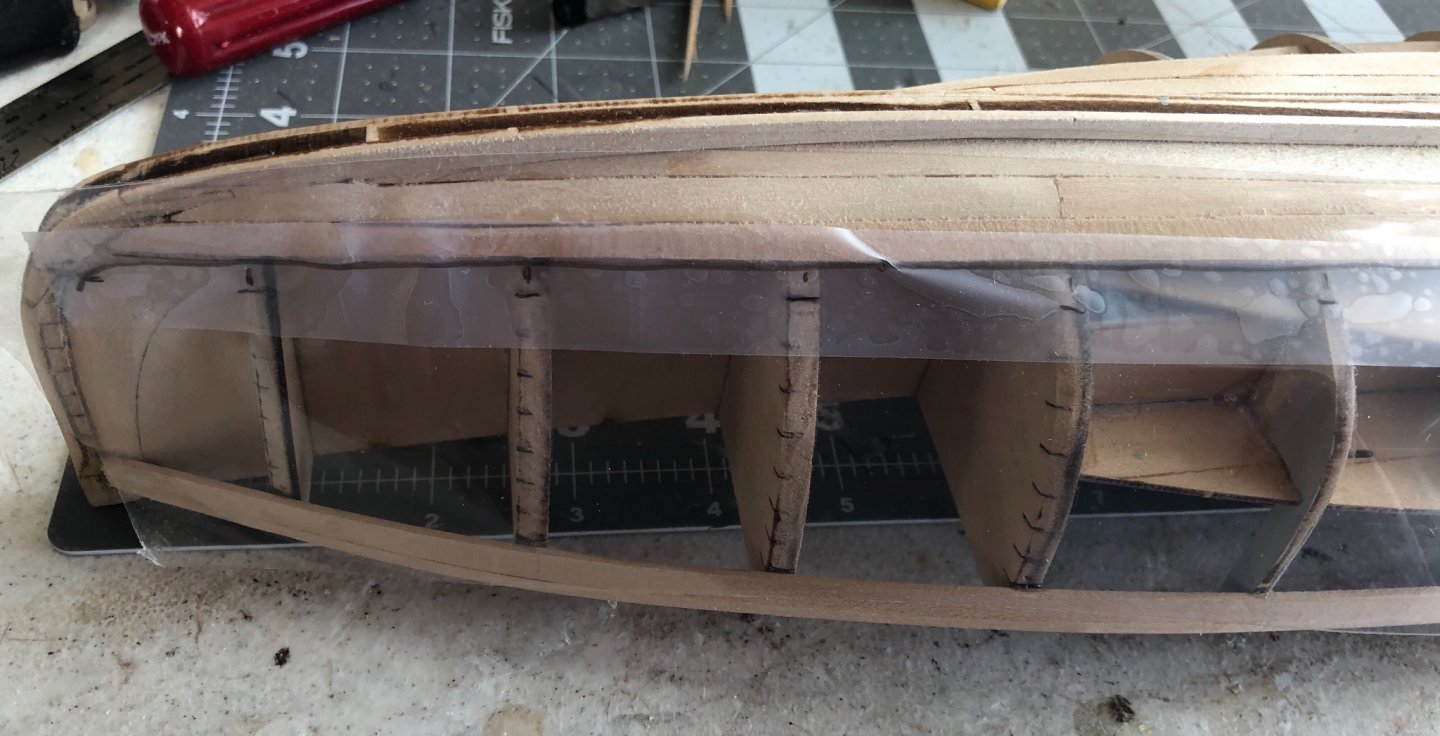

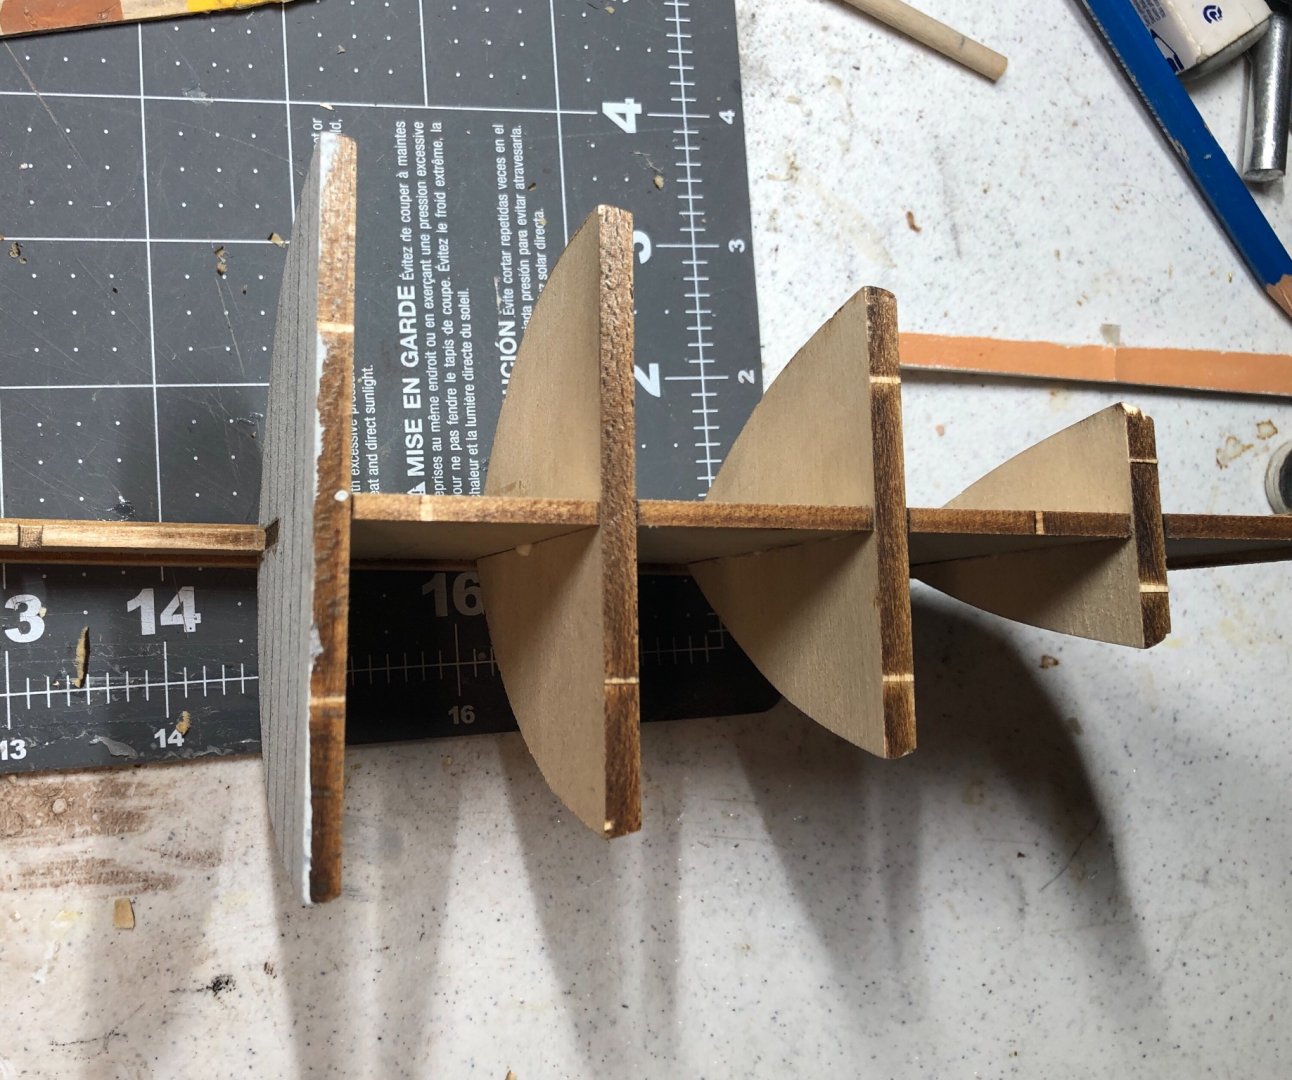
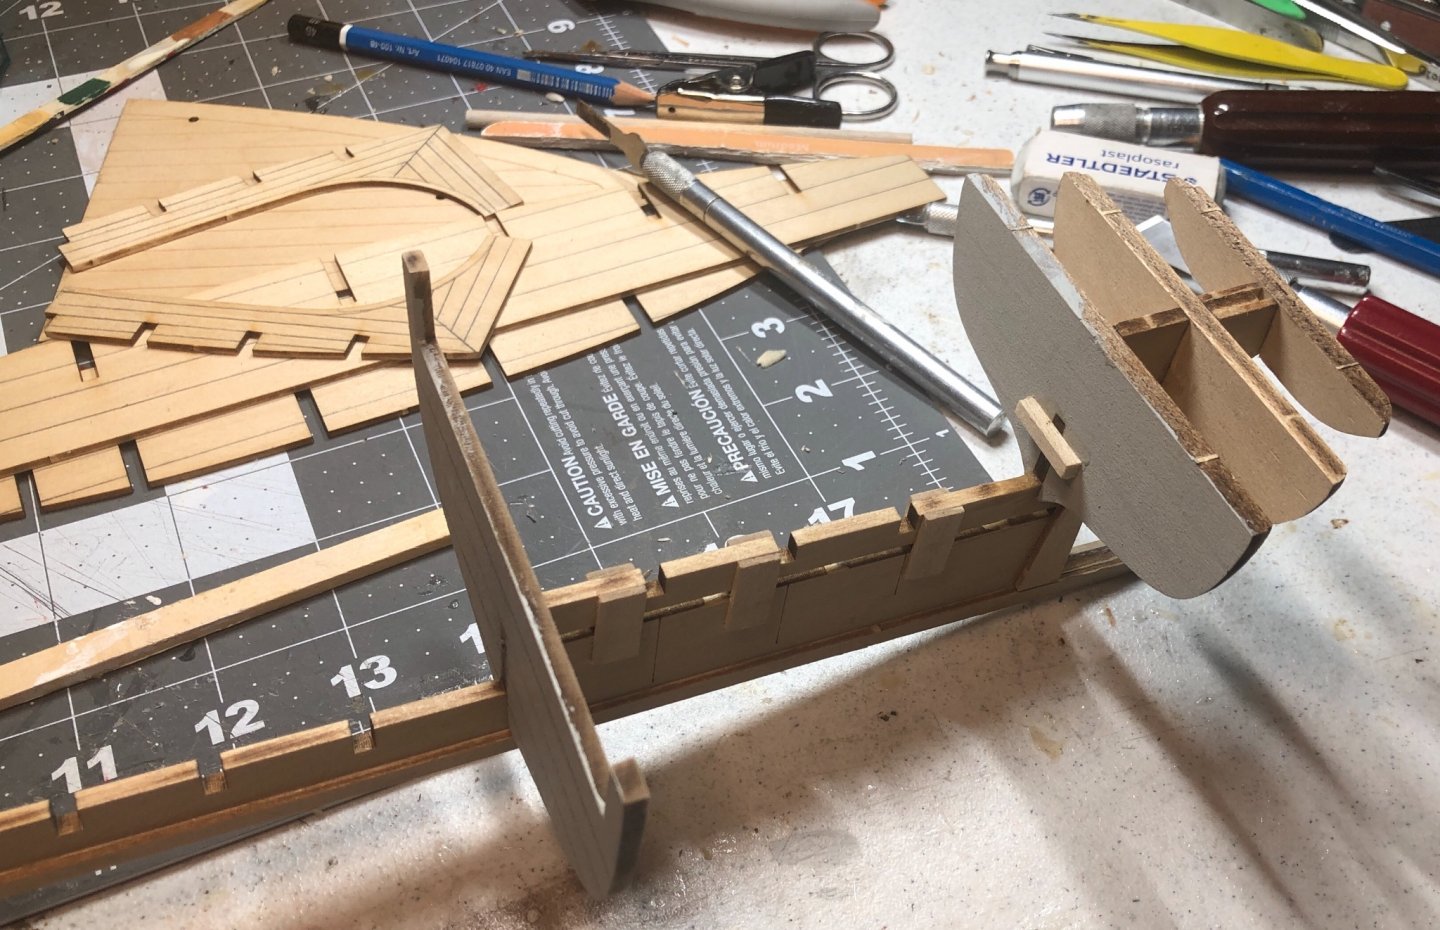
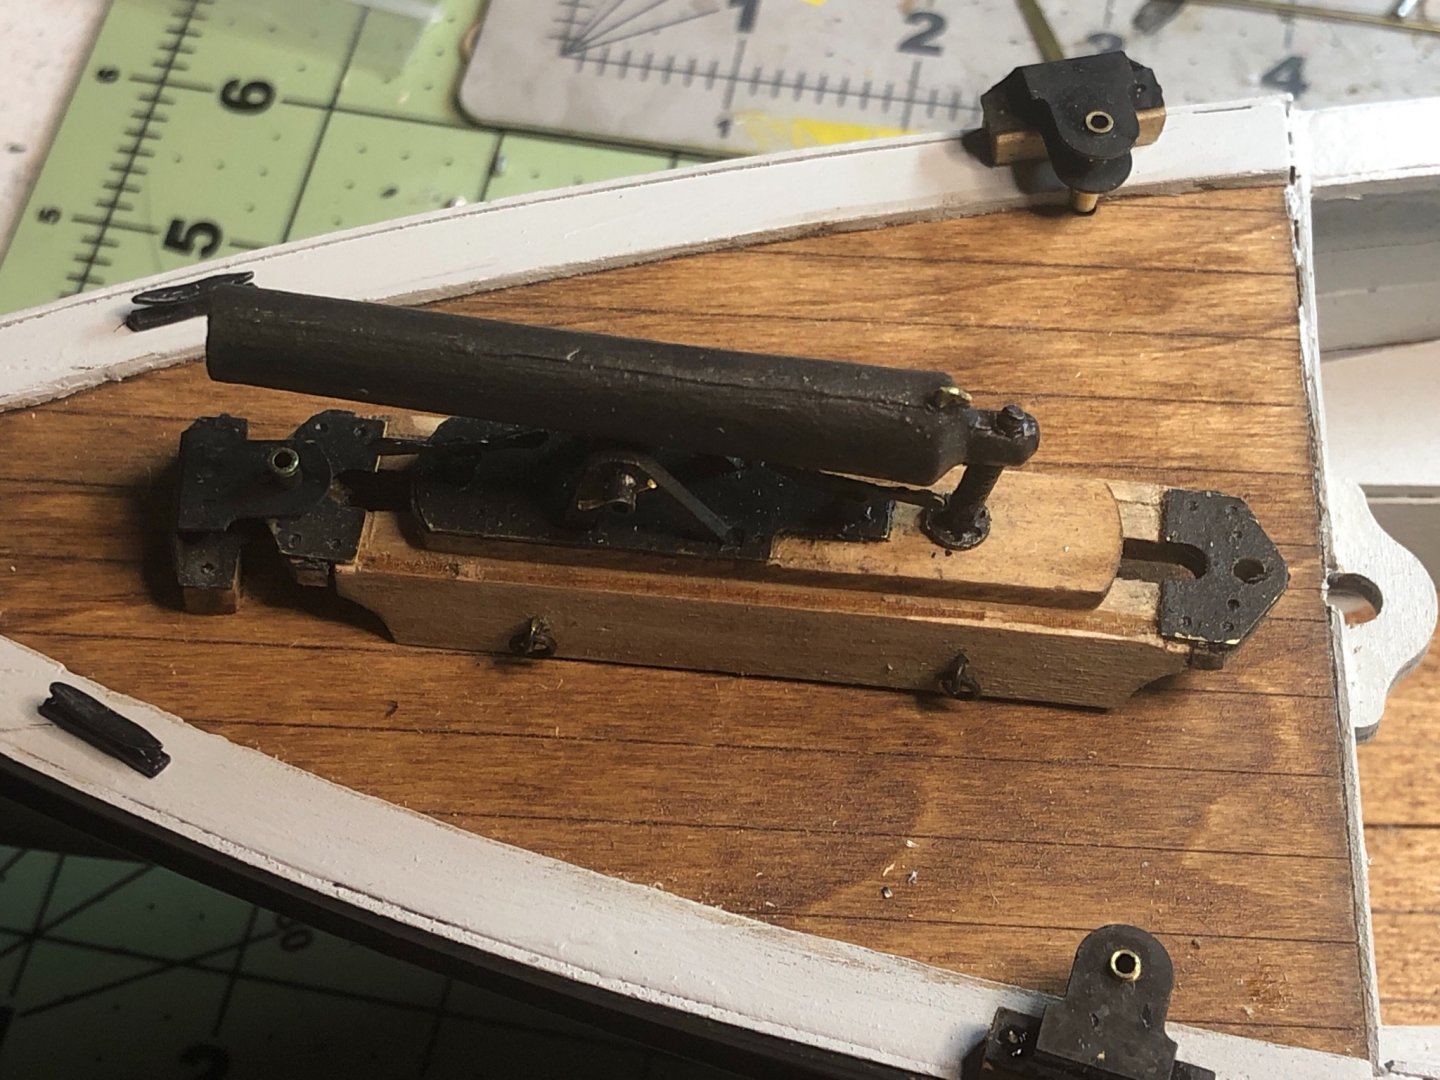
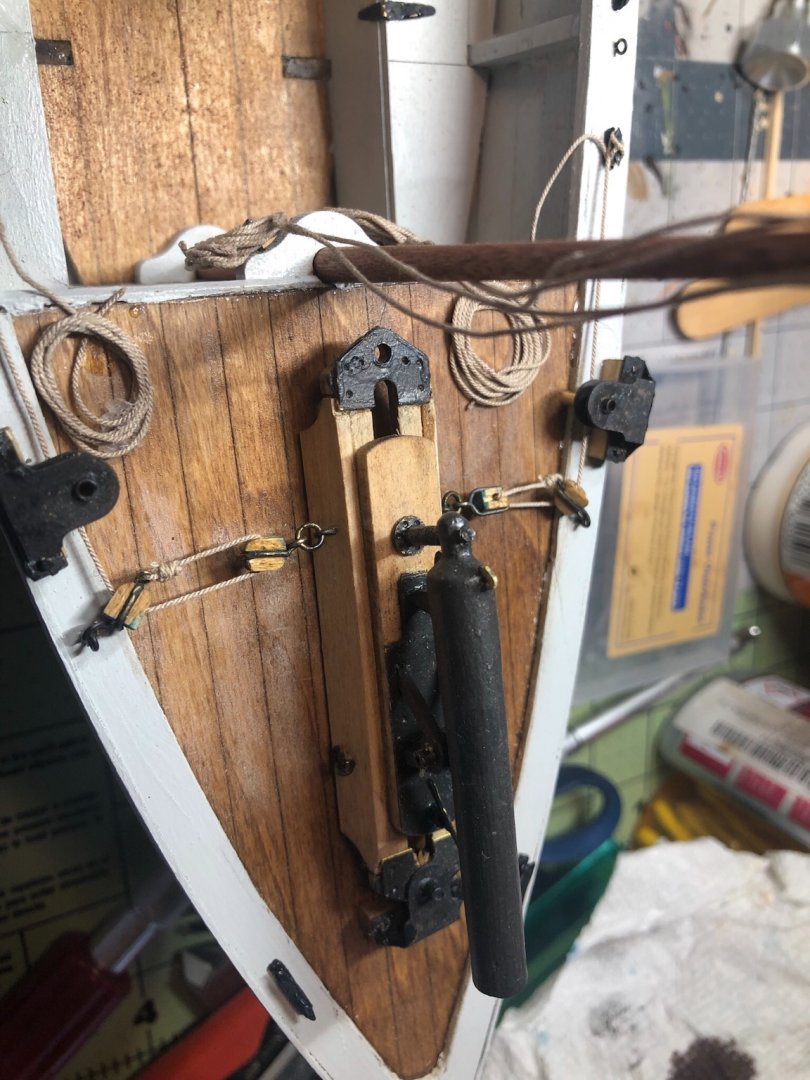
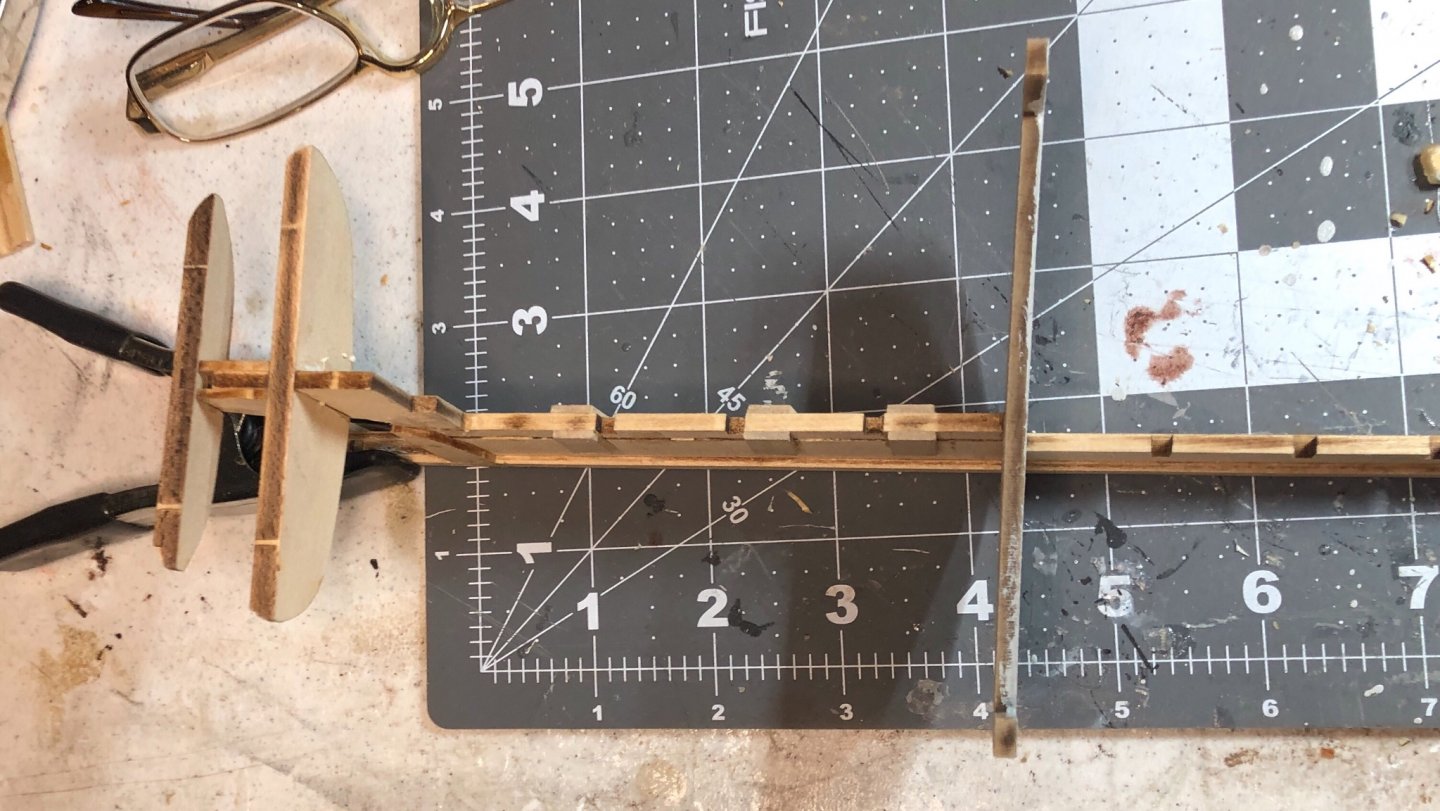
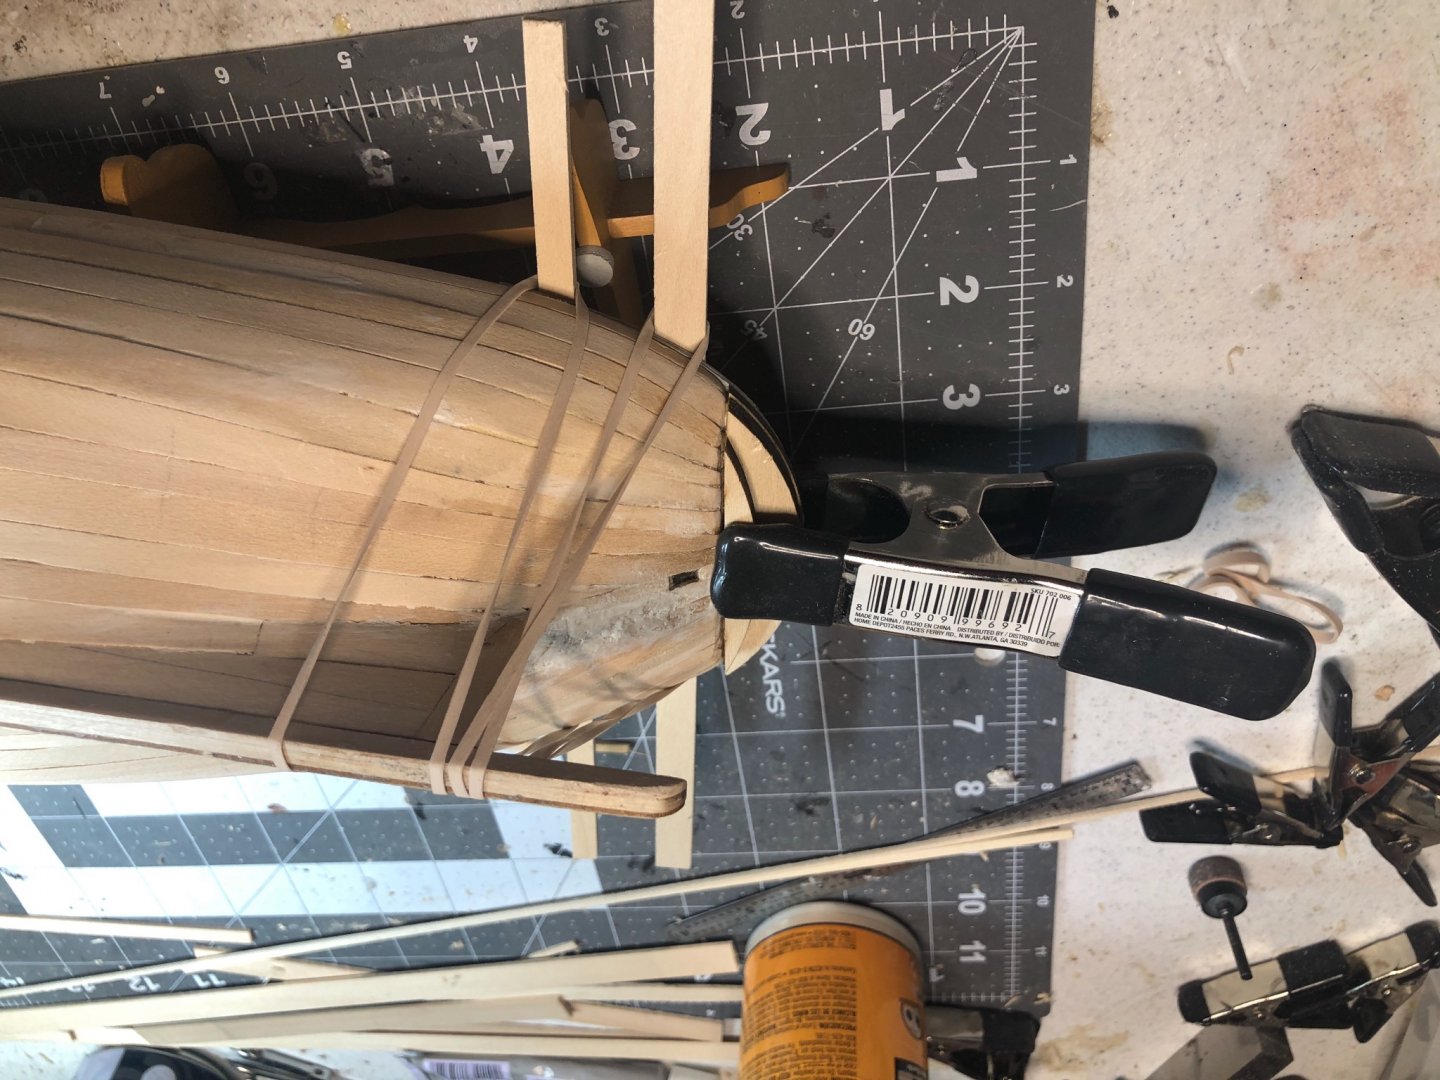
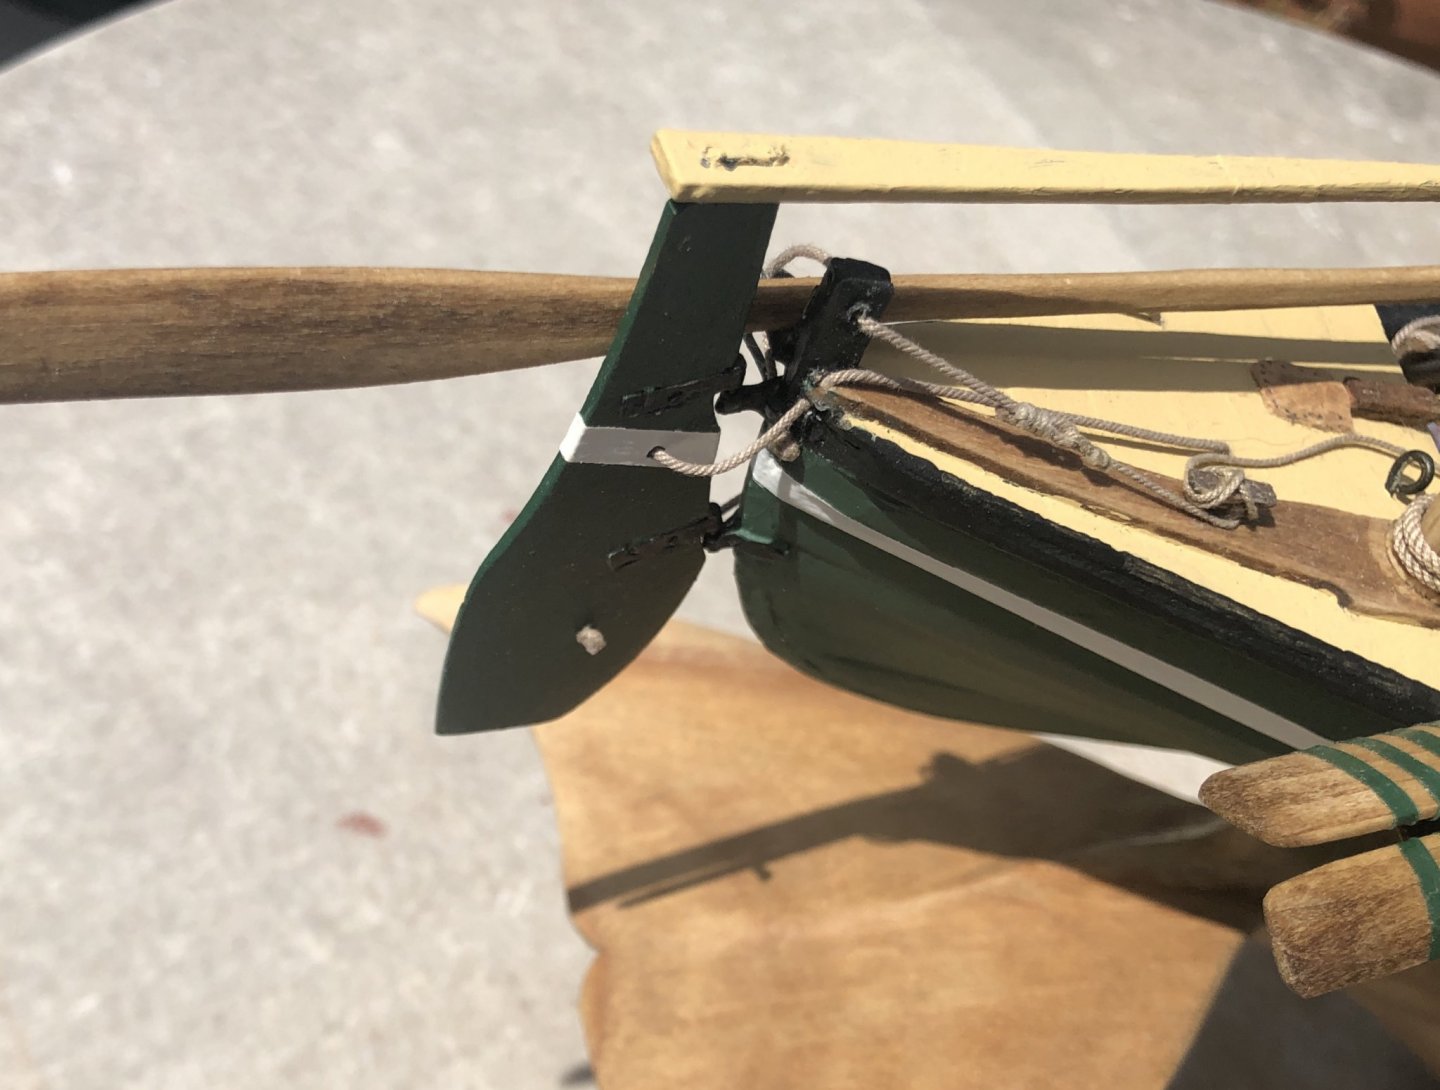
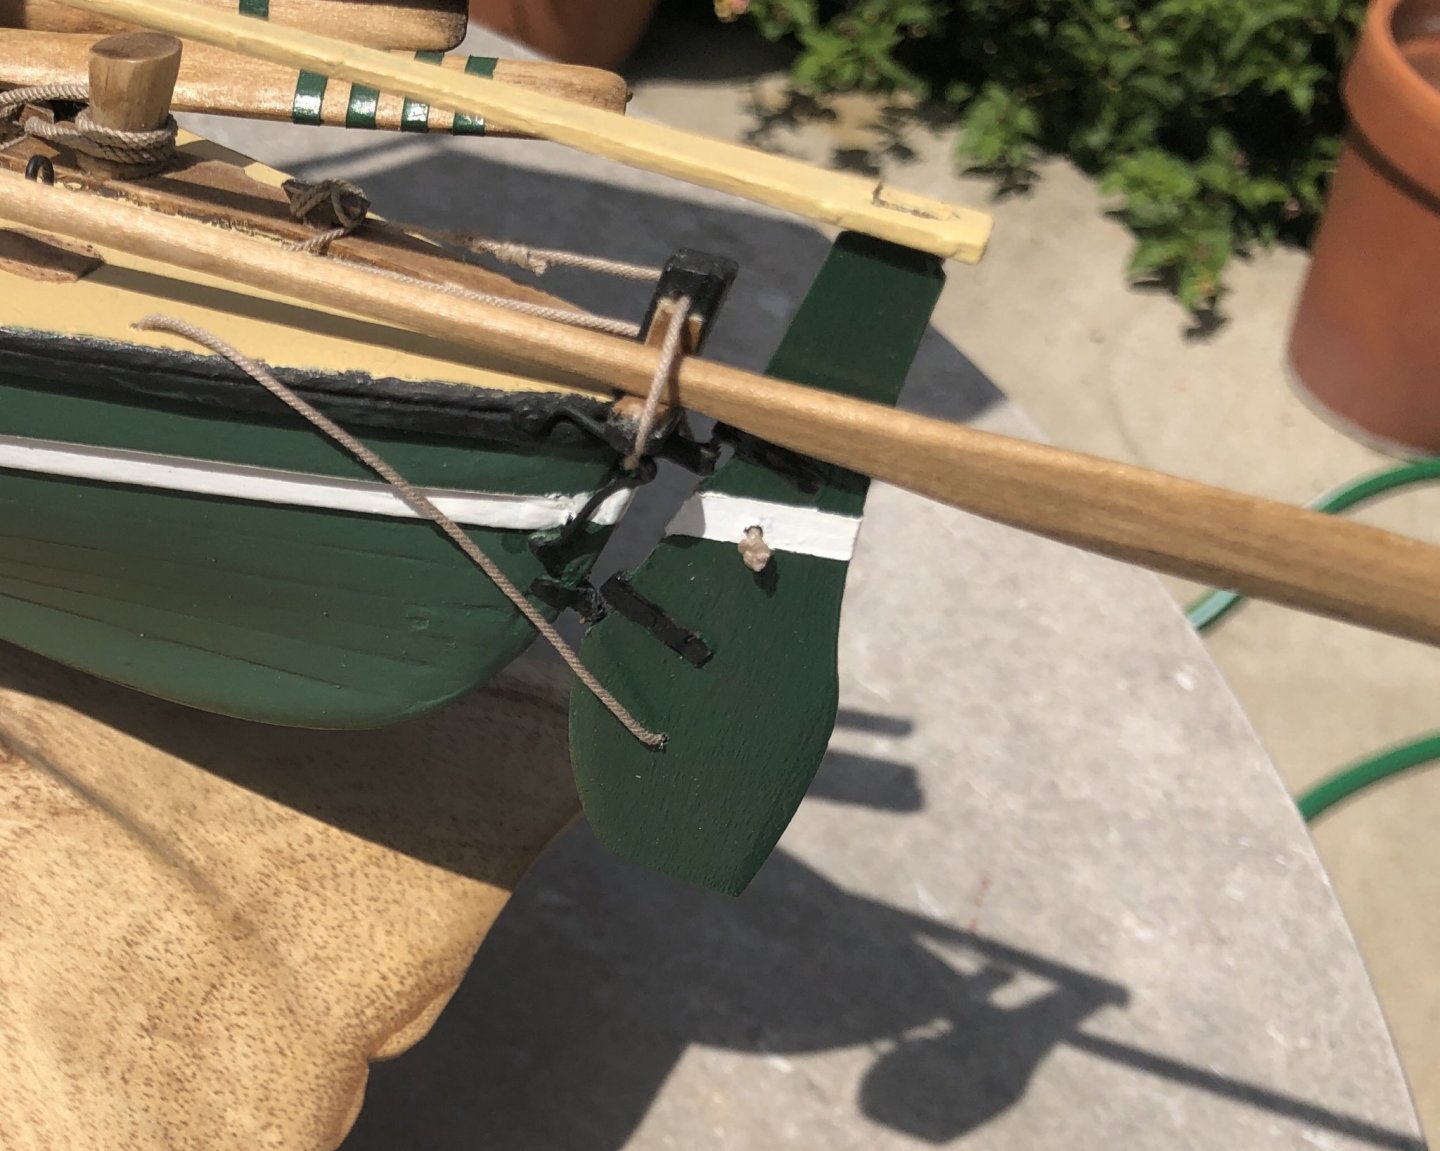
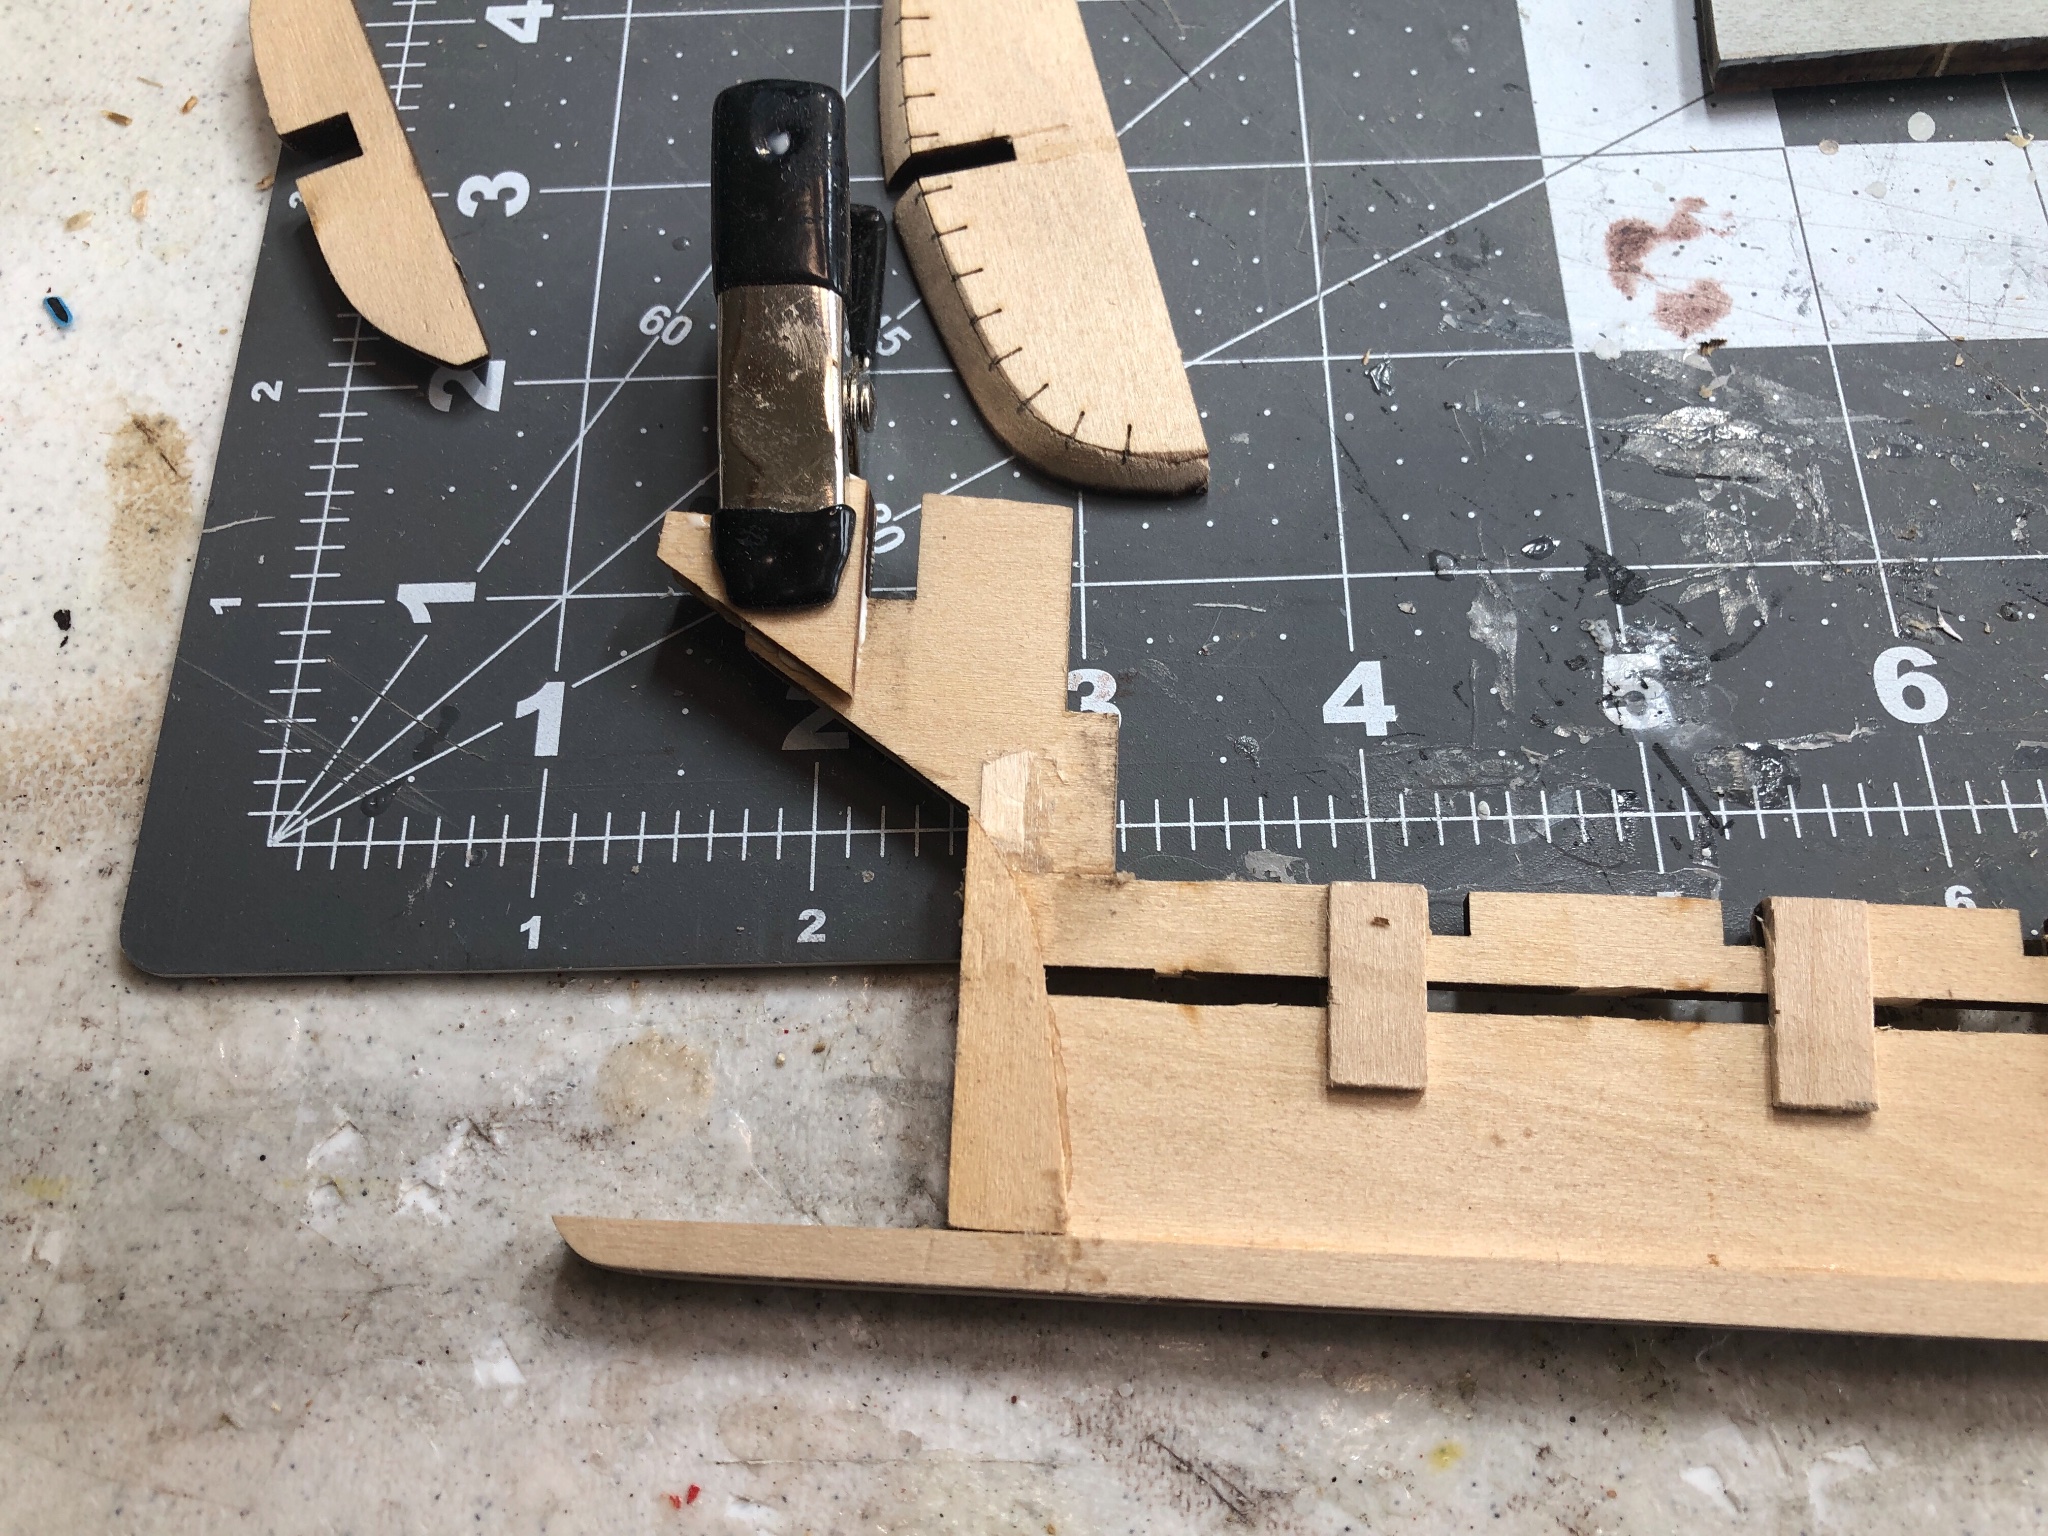
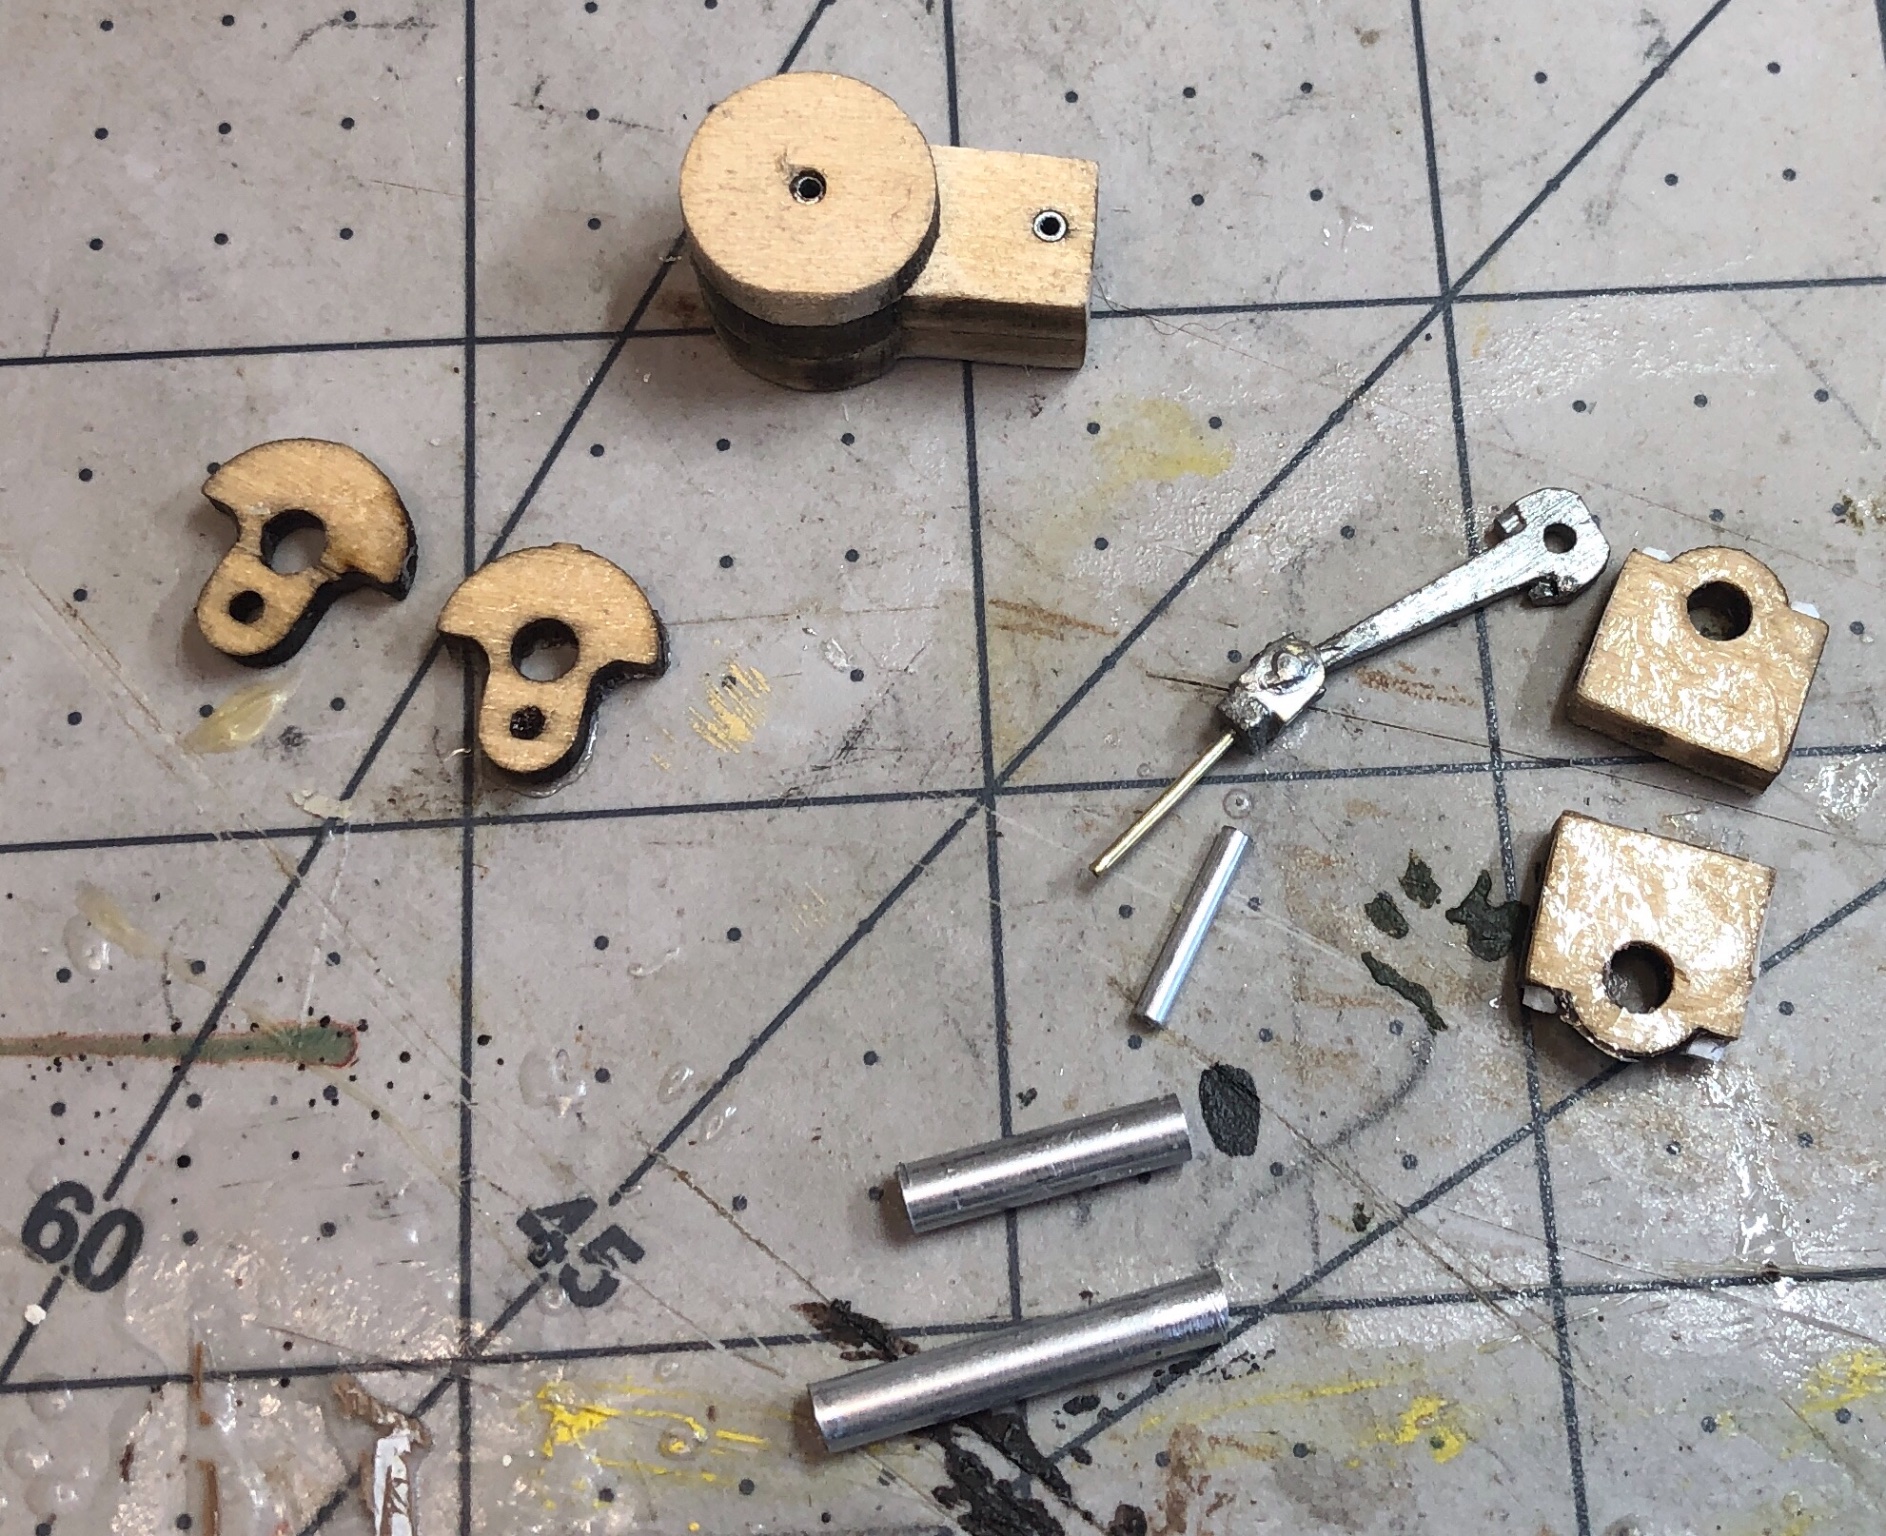
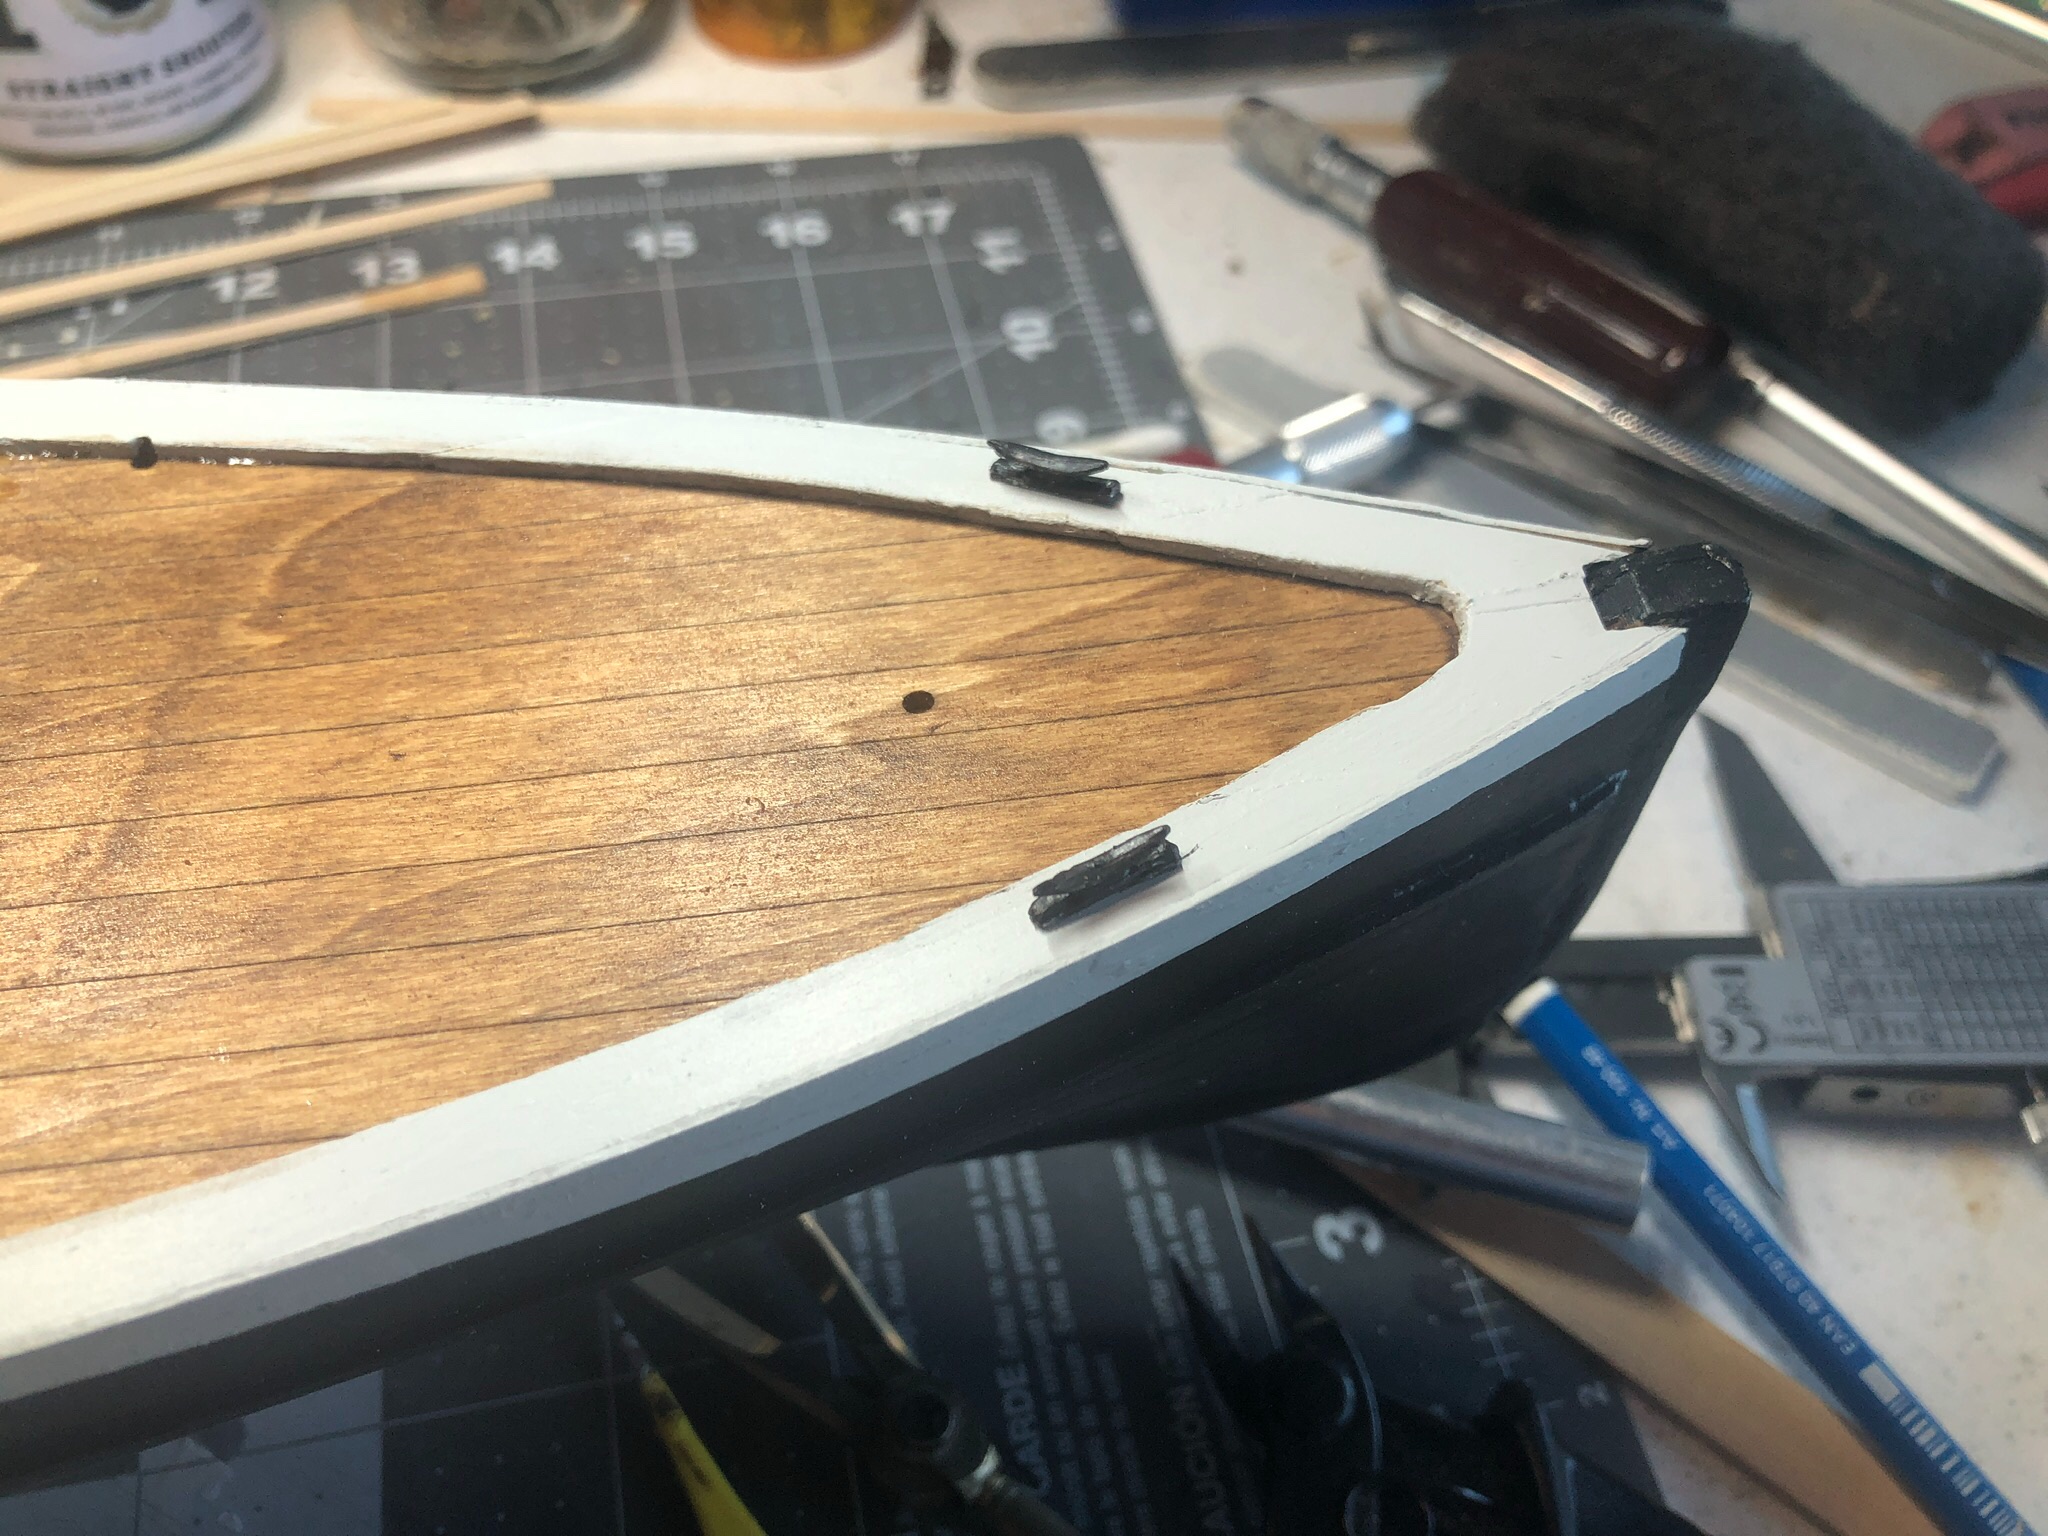
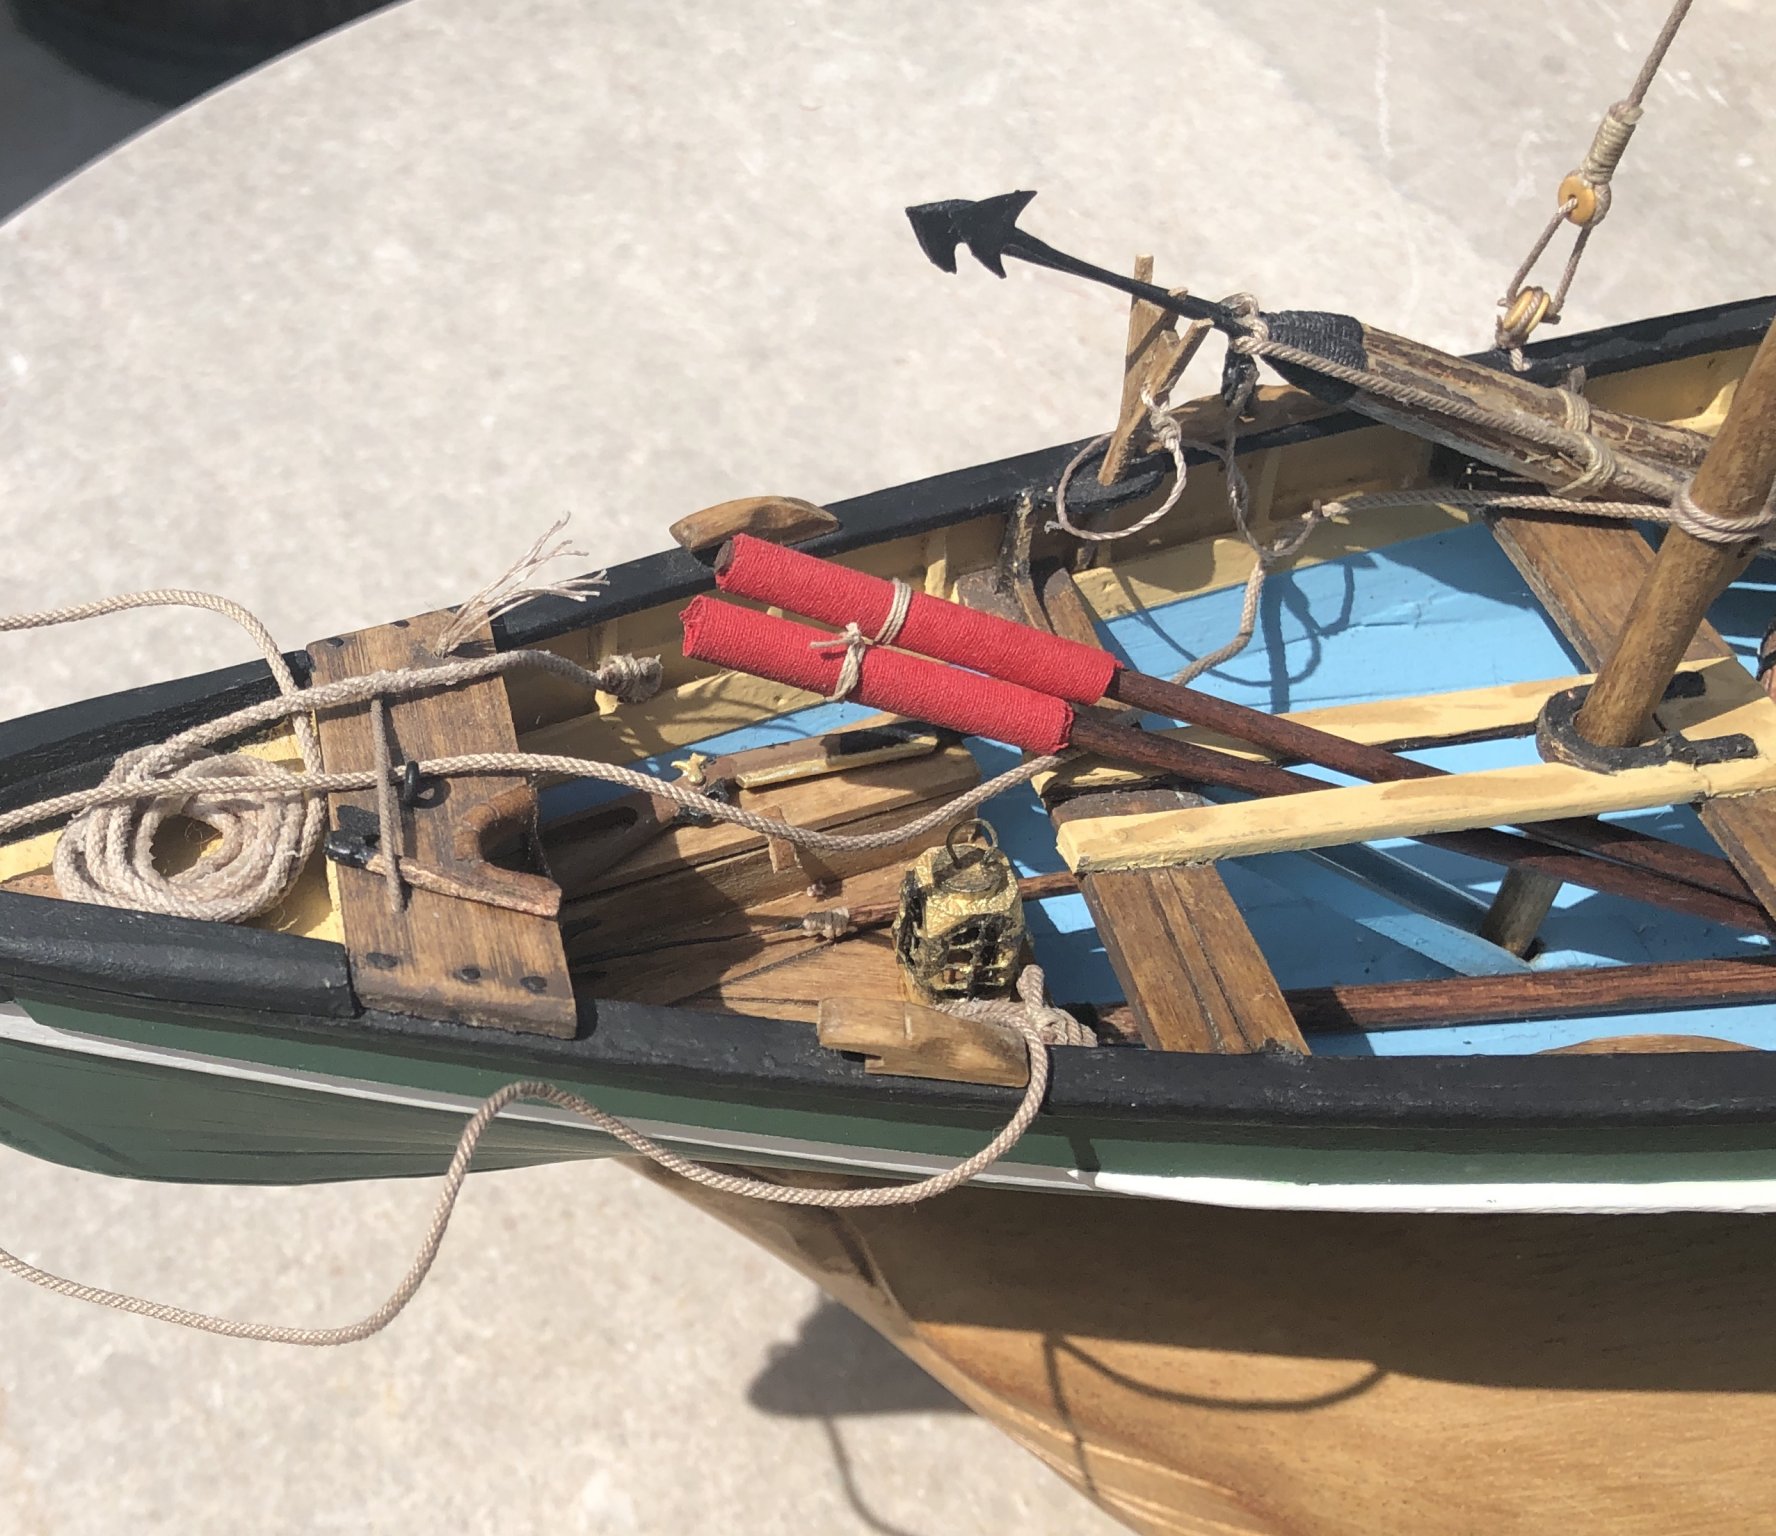
Rudder and shaft

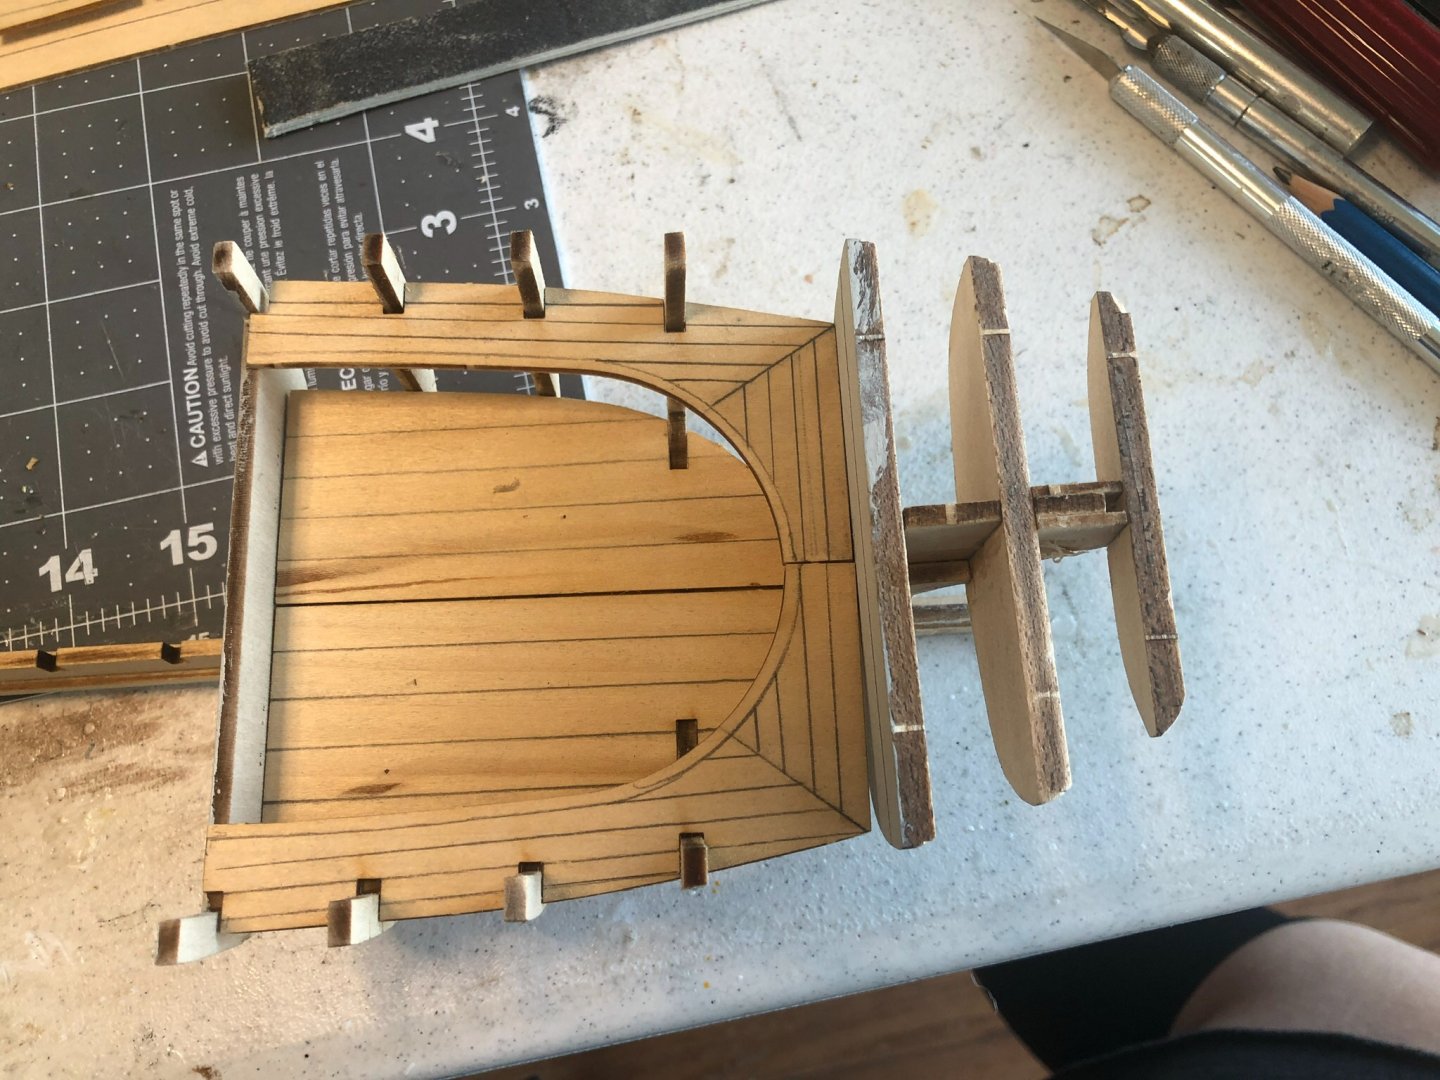
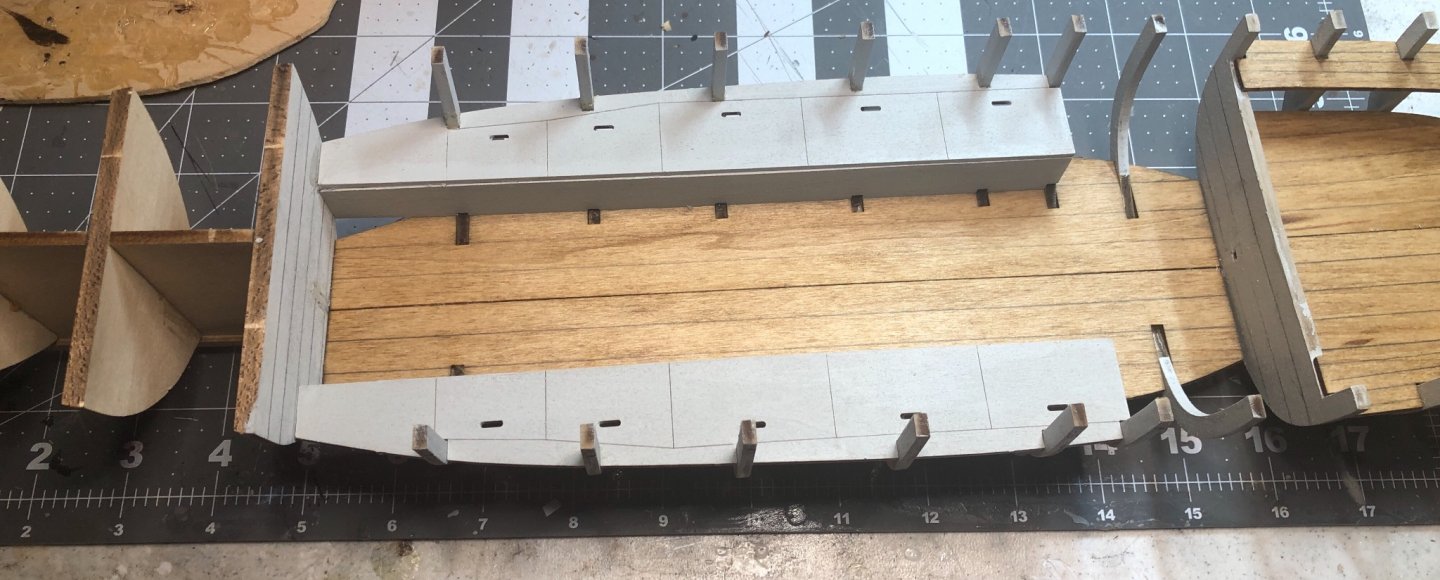
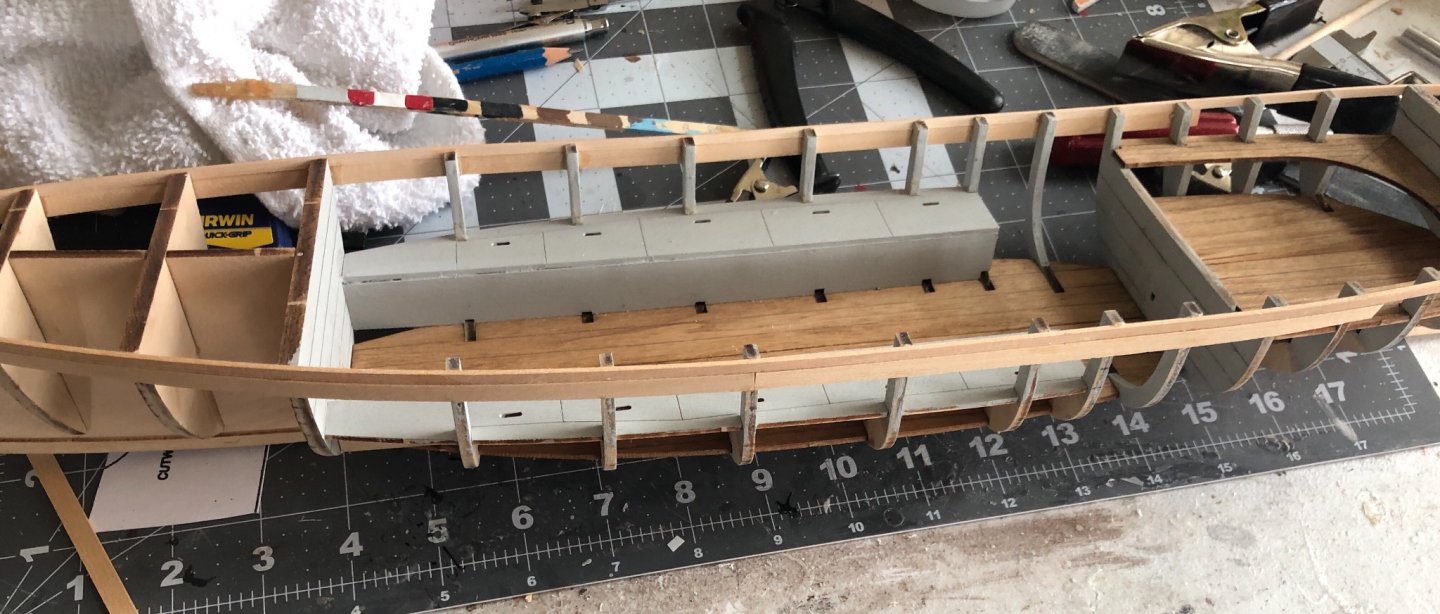
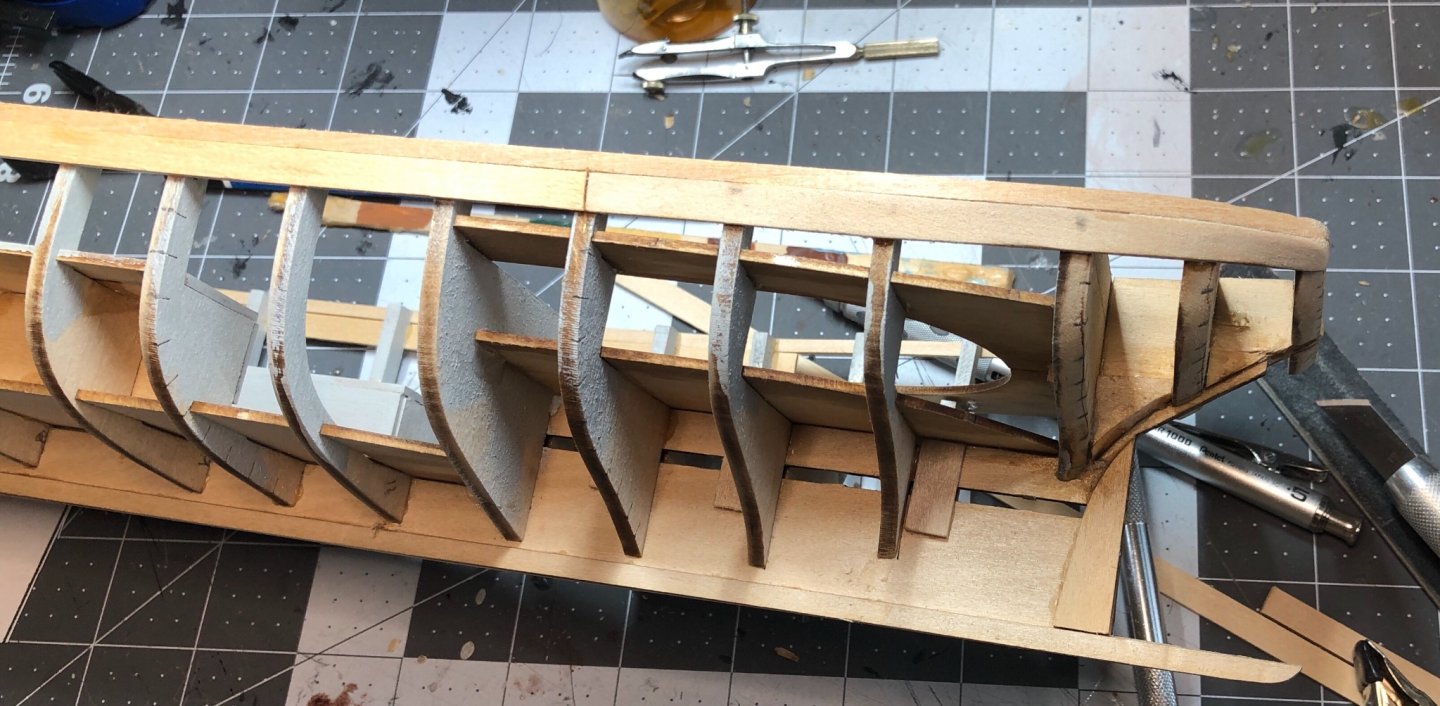
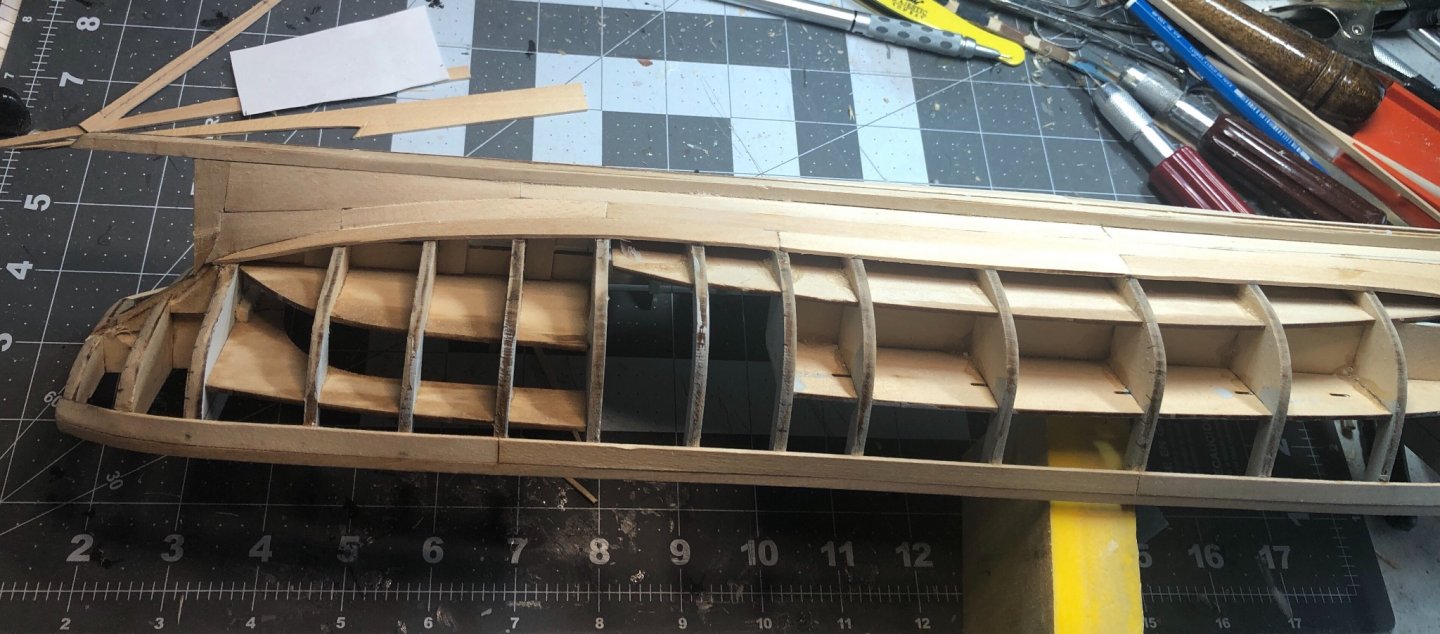
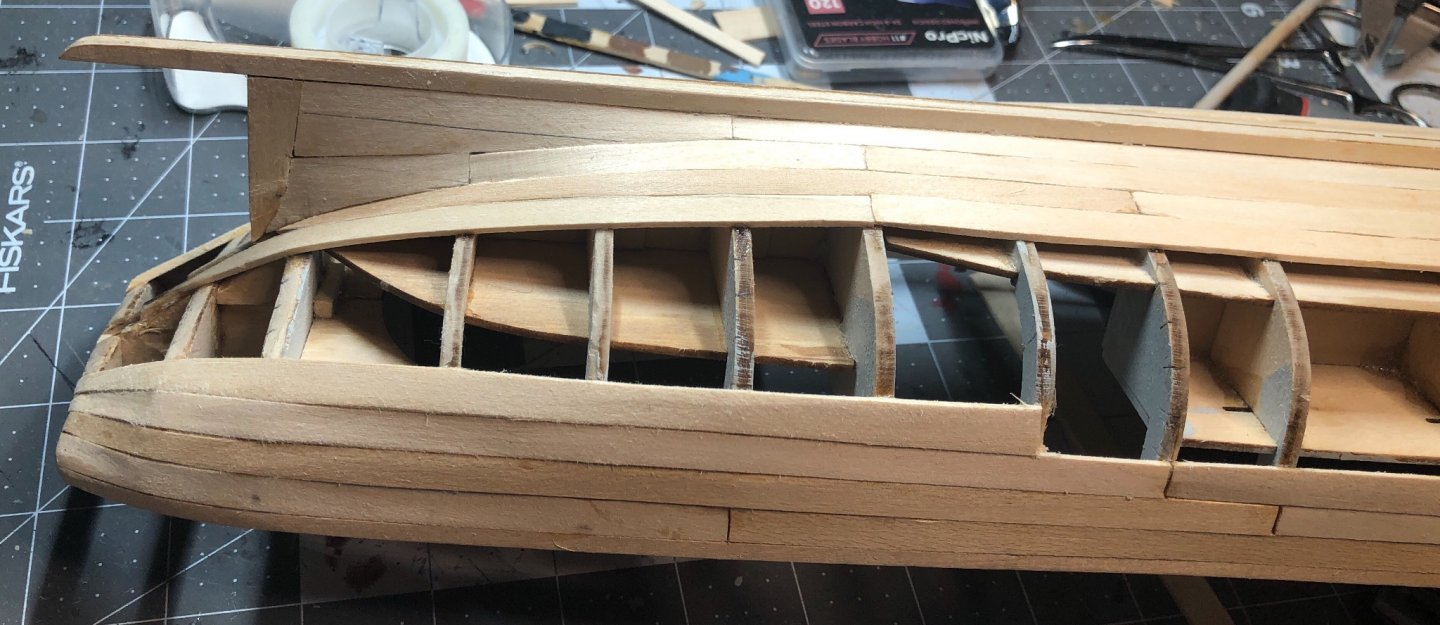
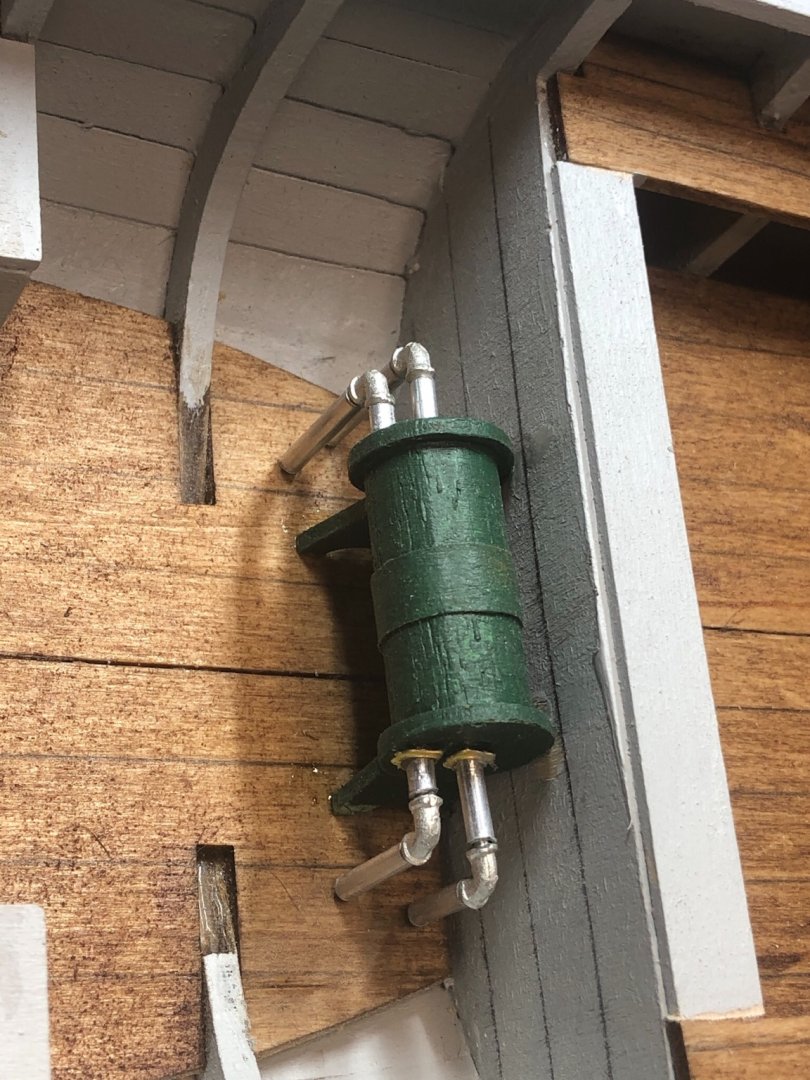
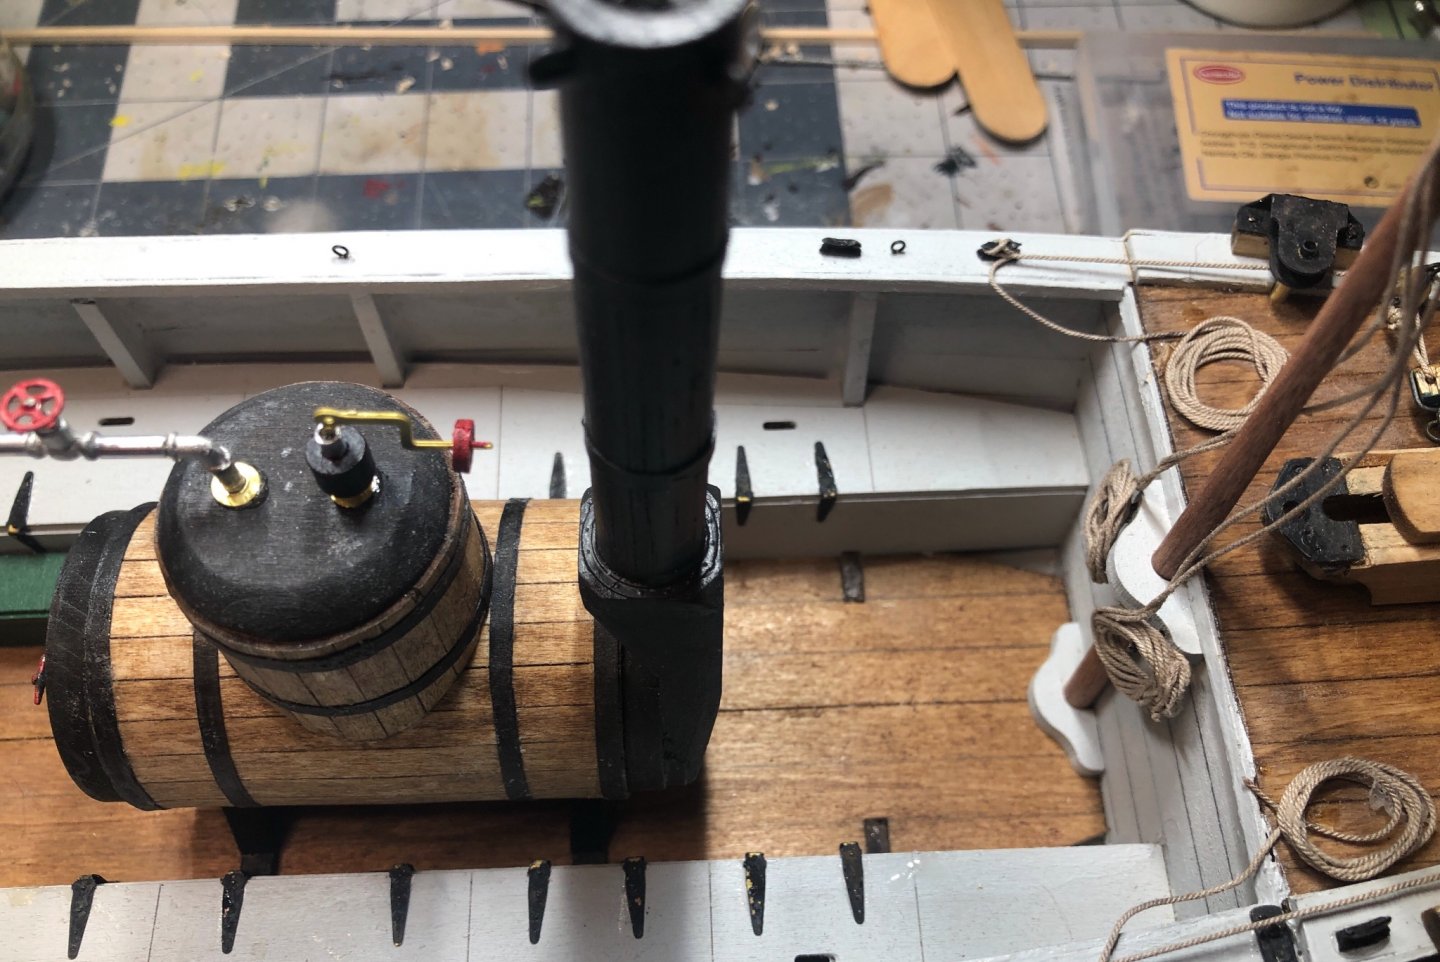
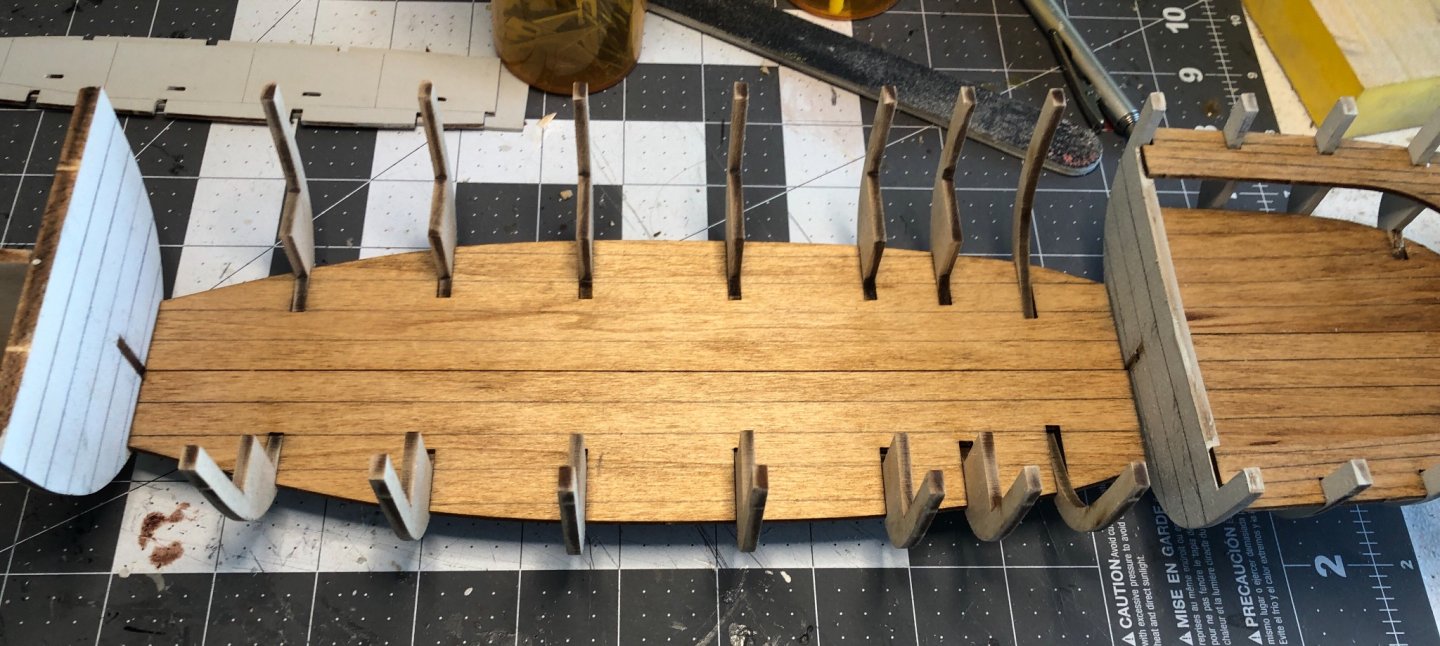
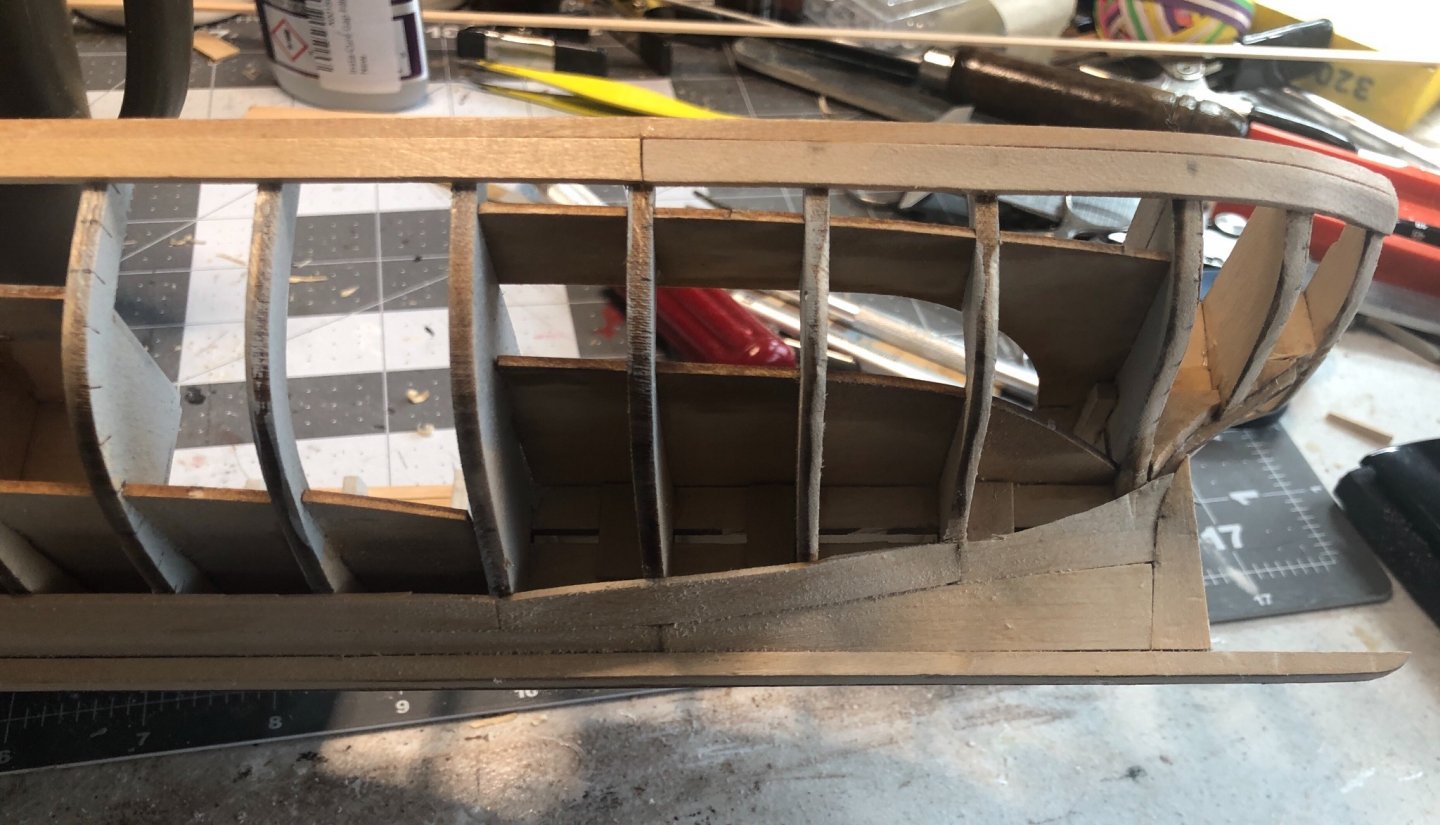
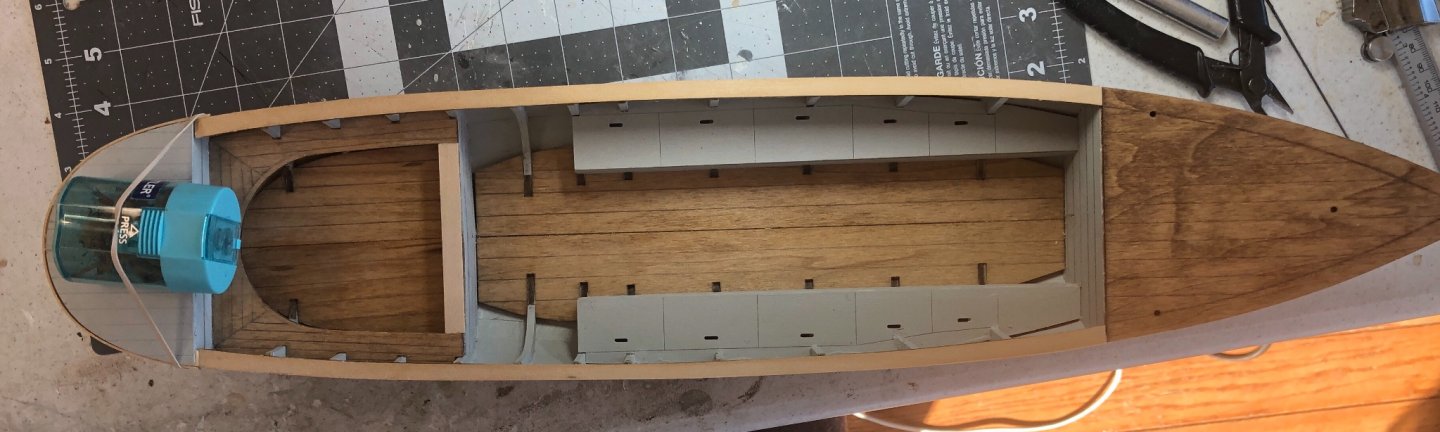
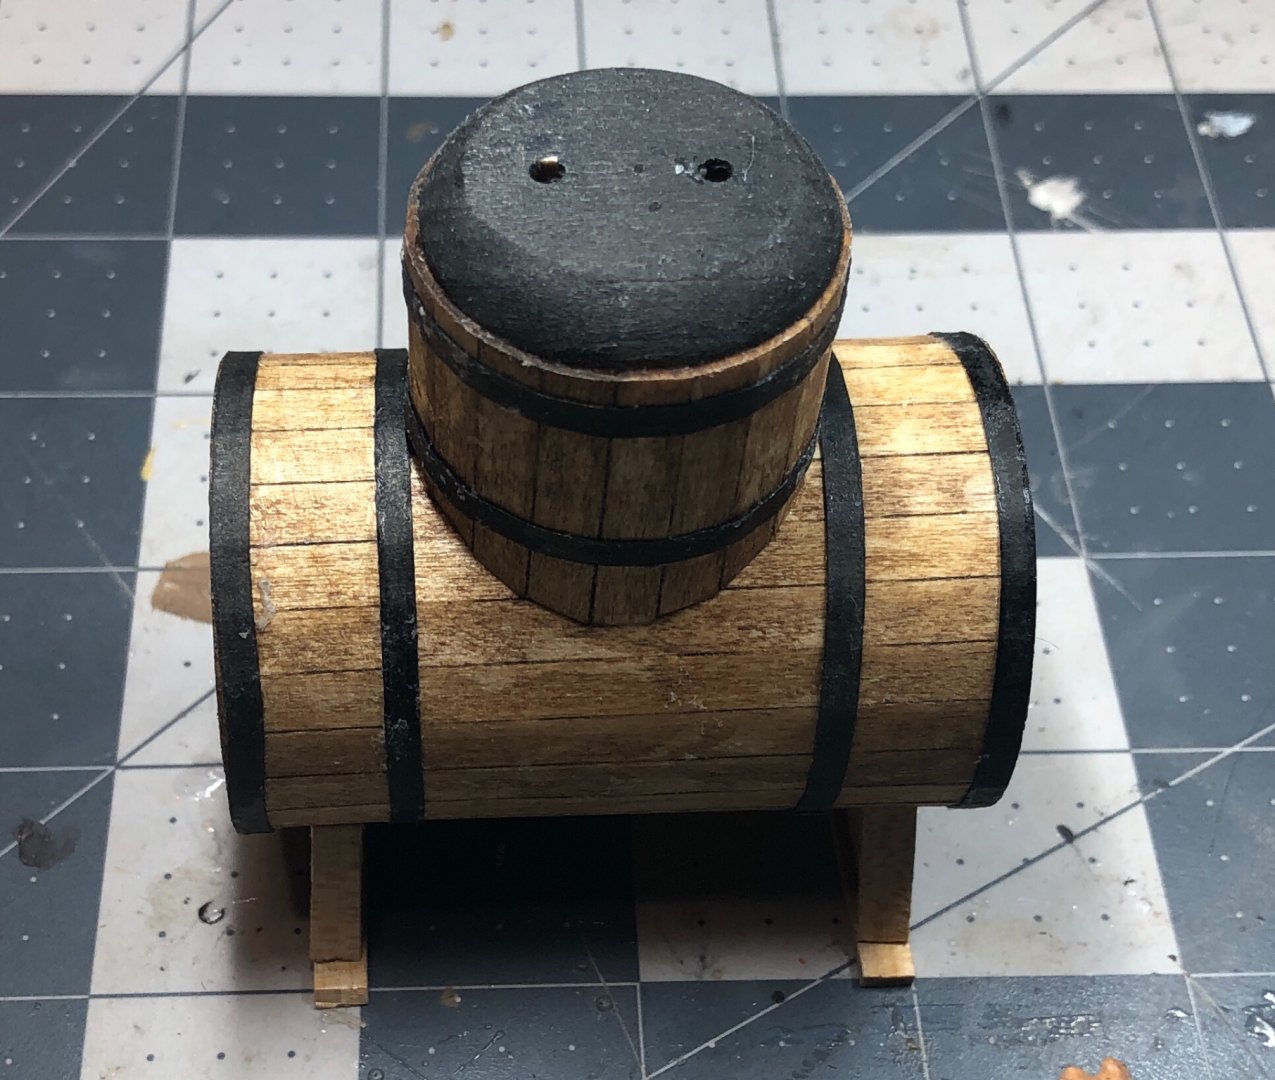
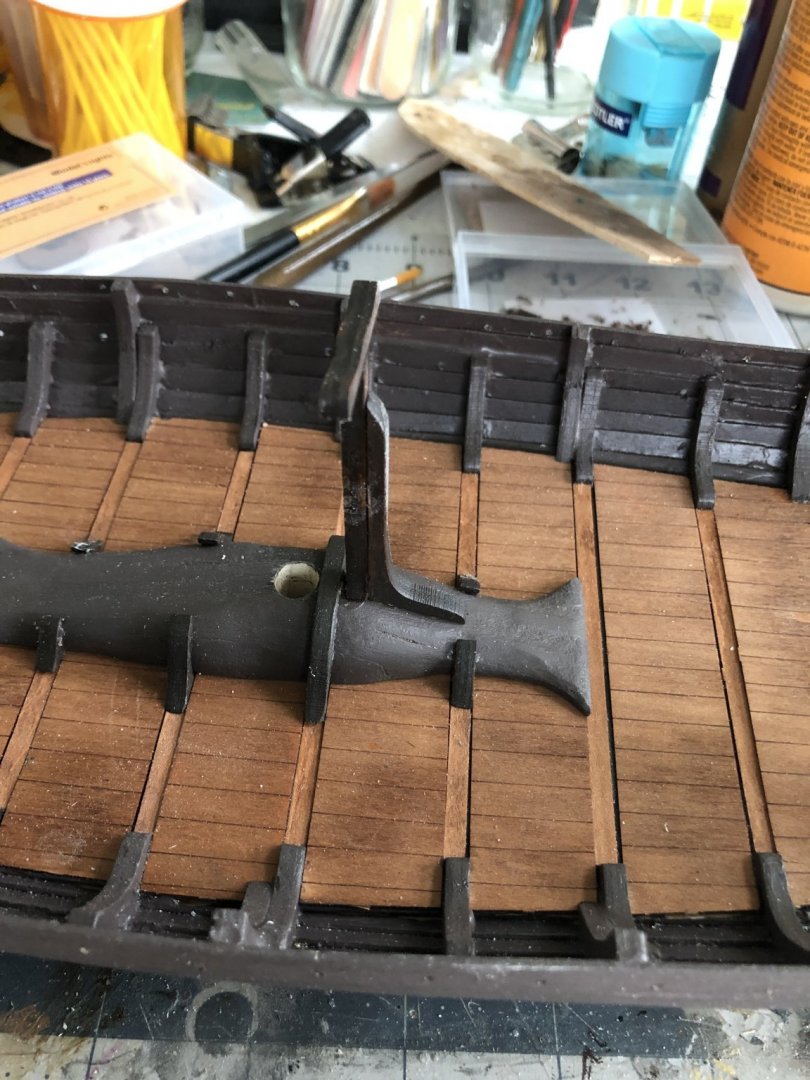
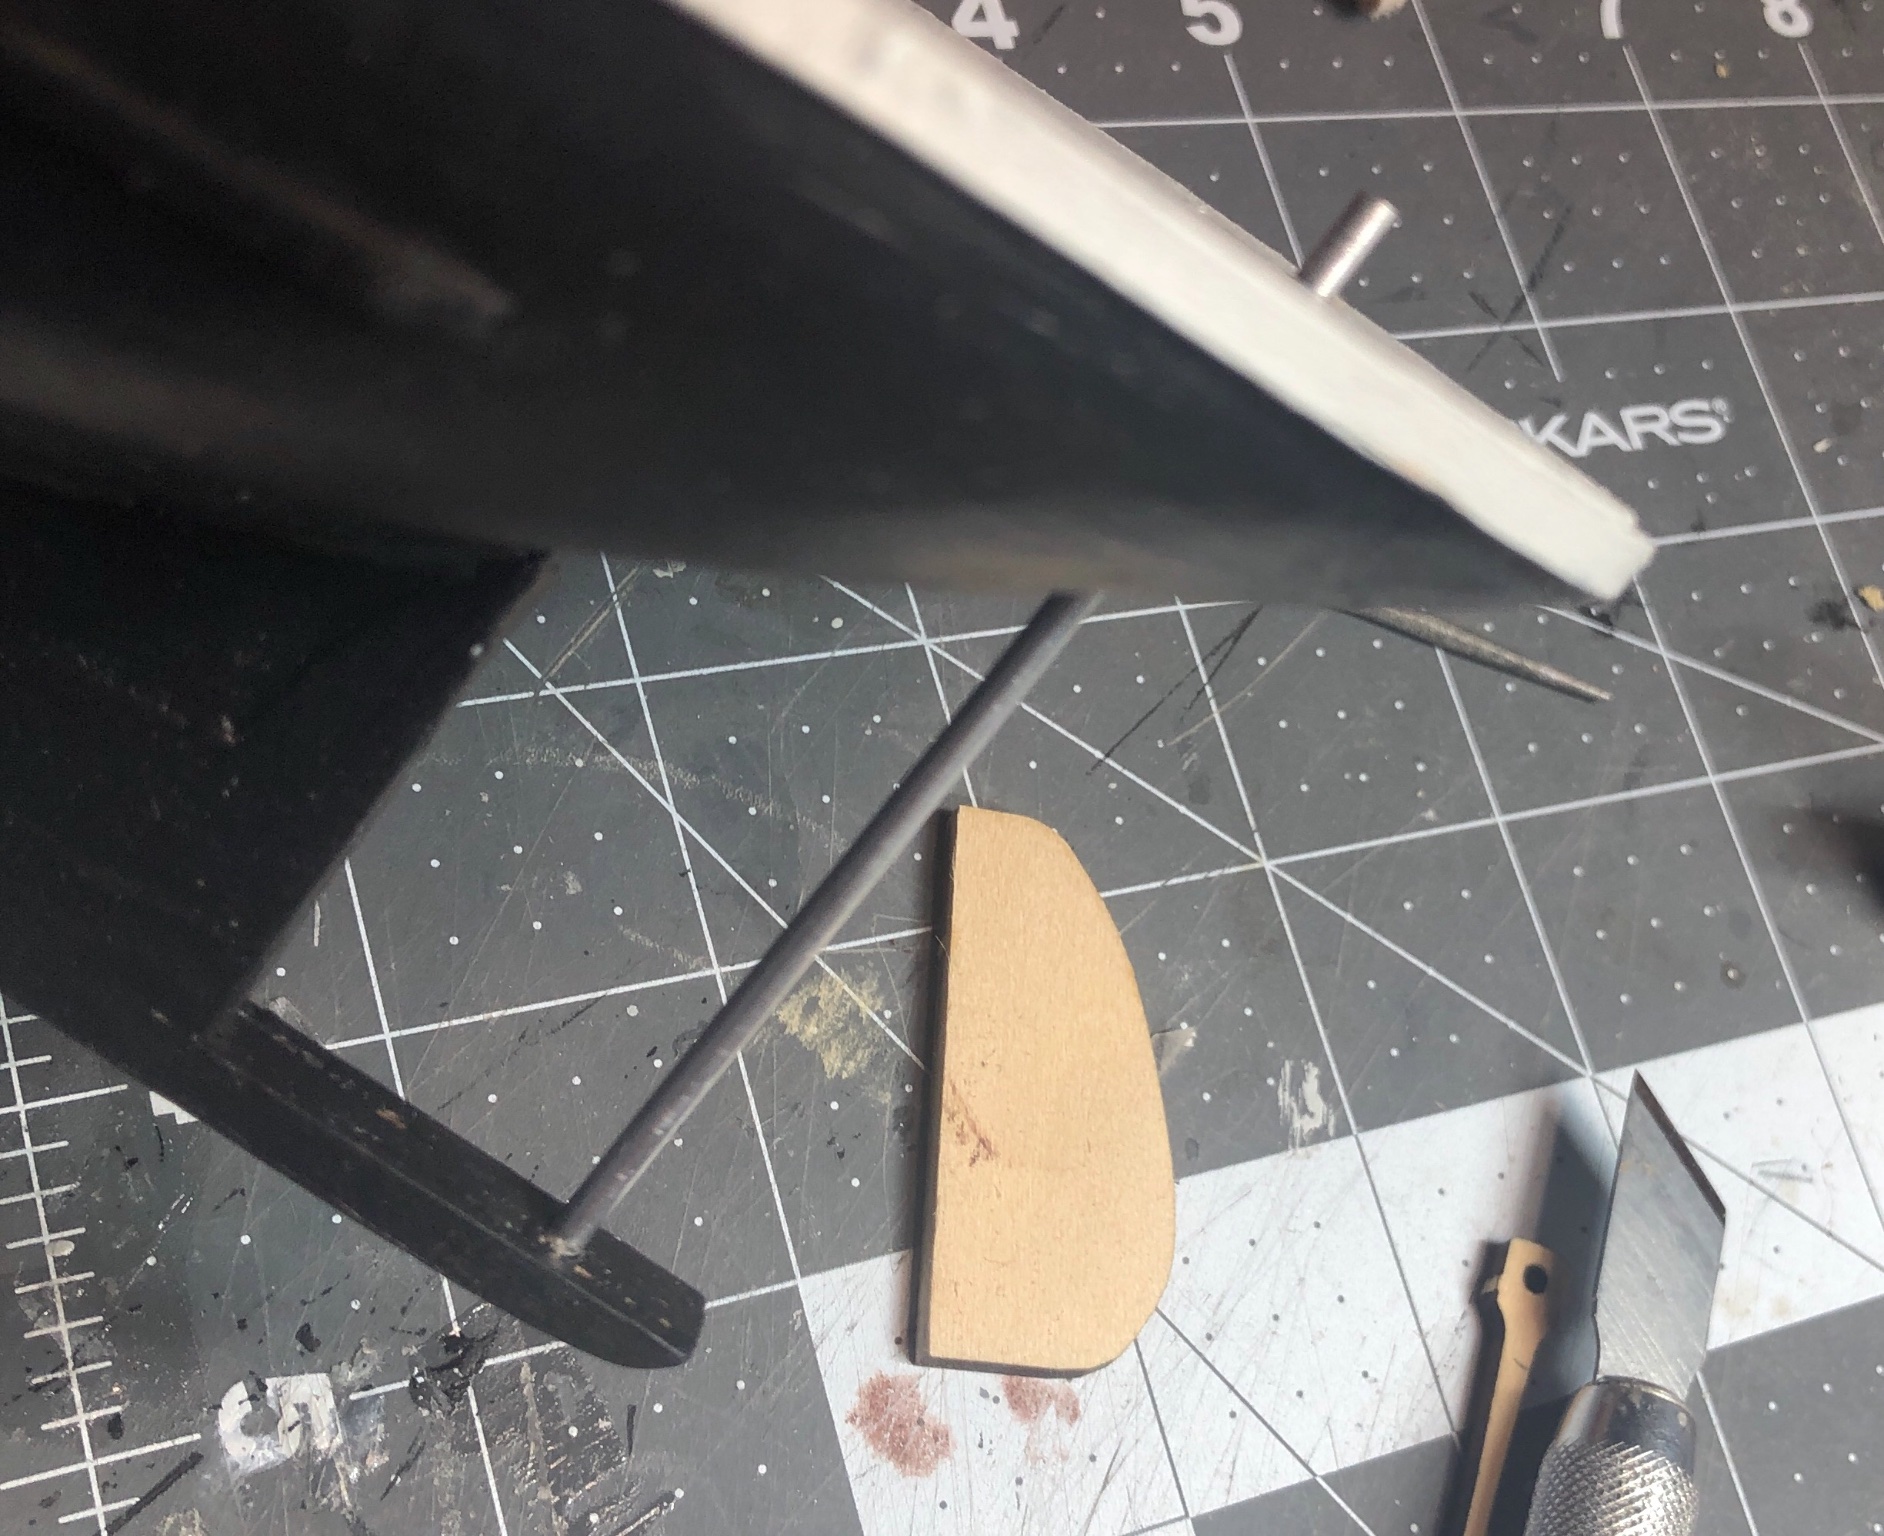
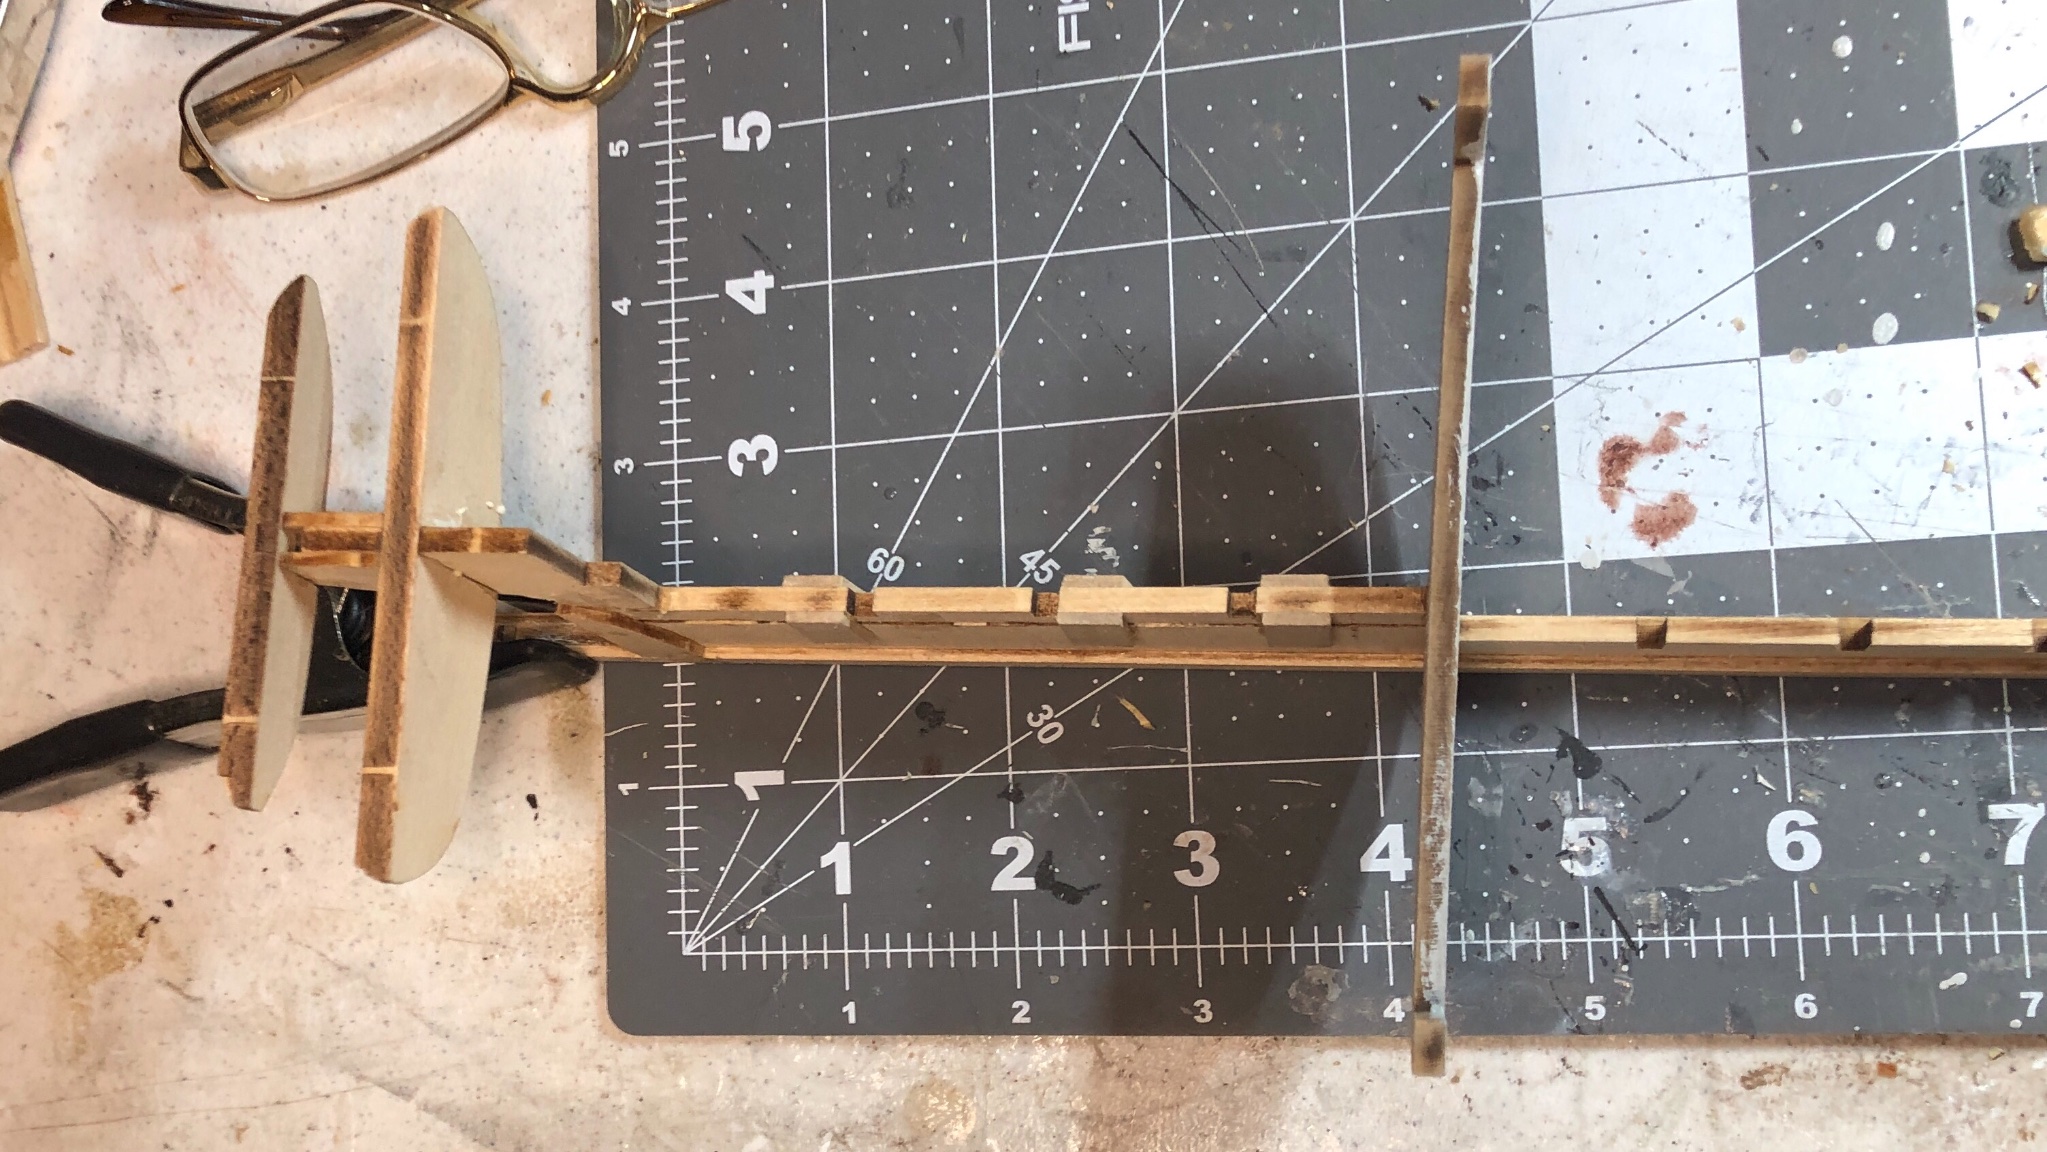
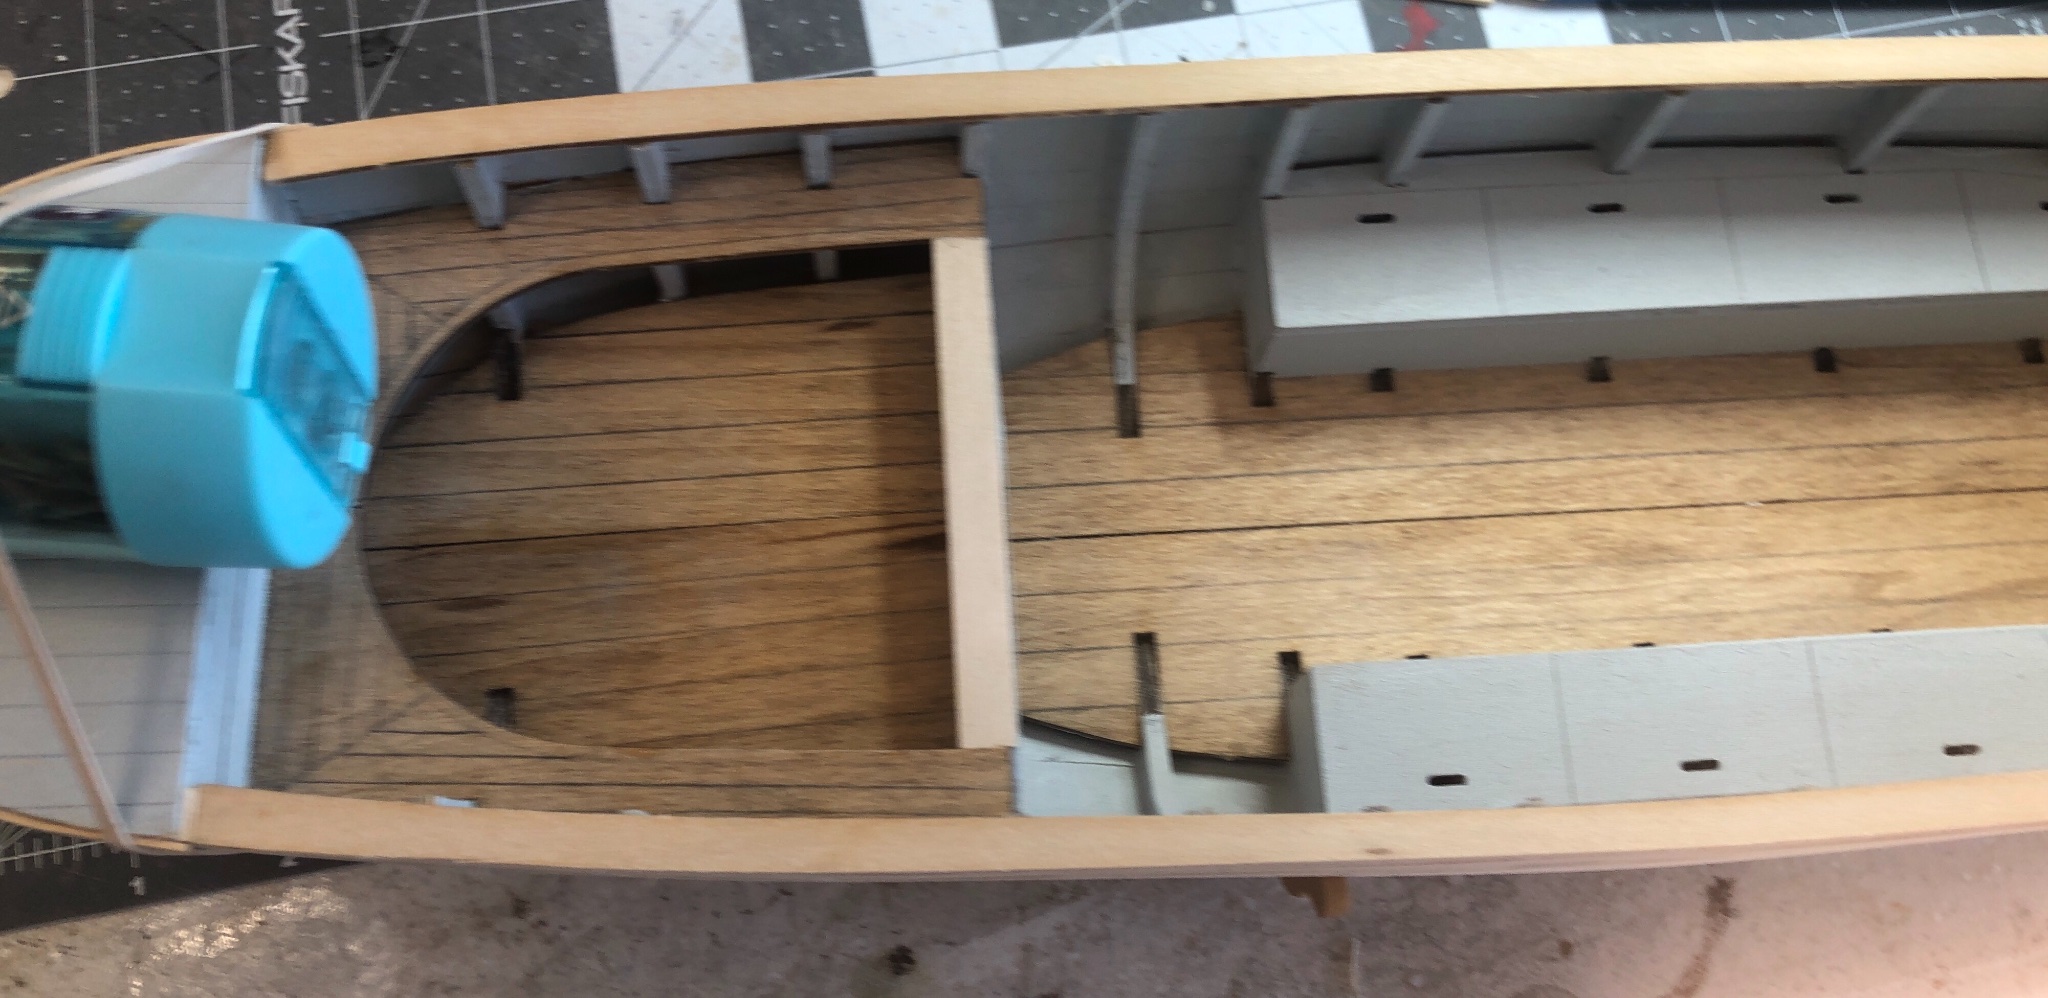
Building interior parts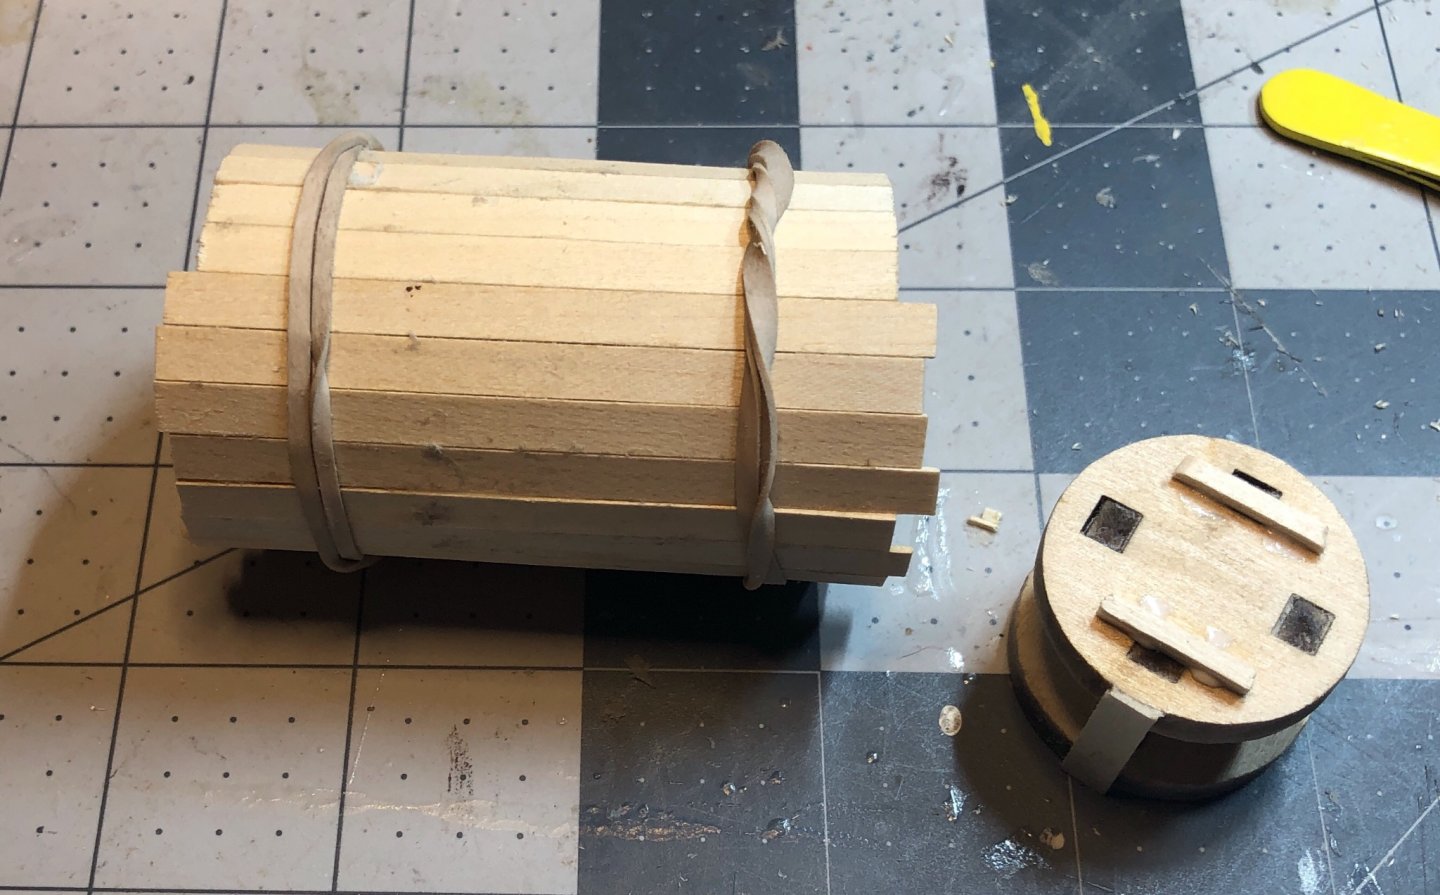
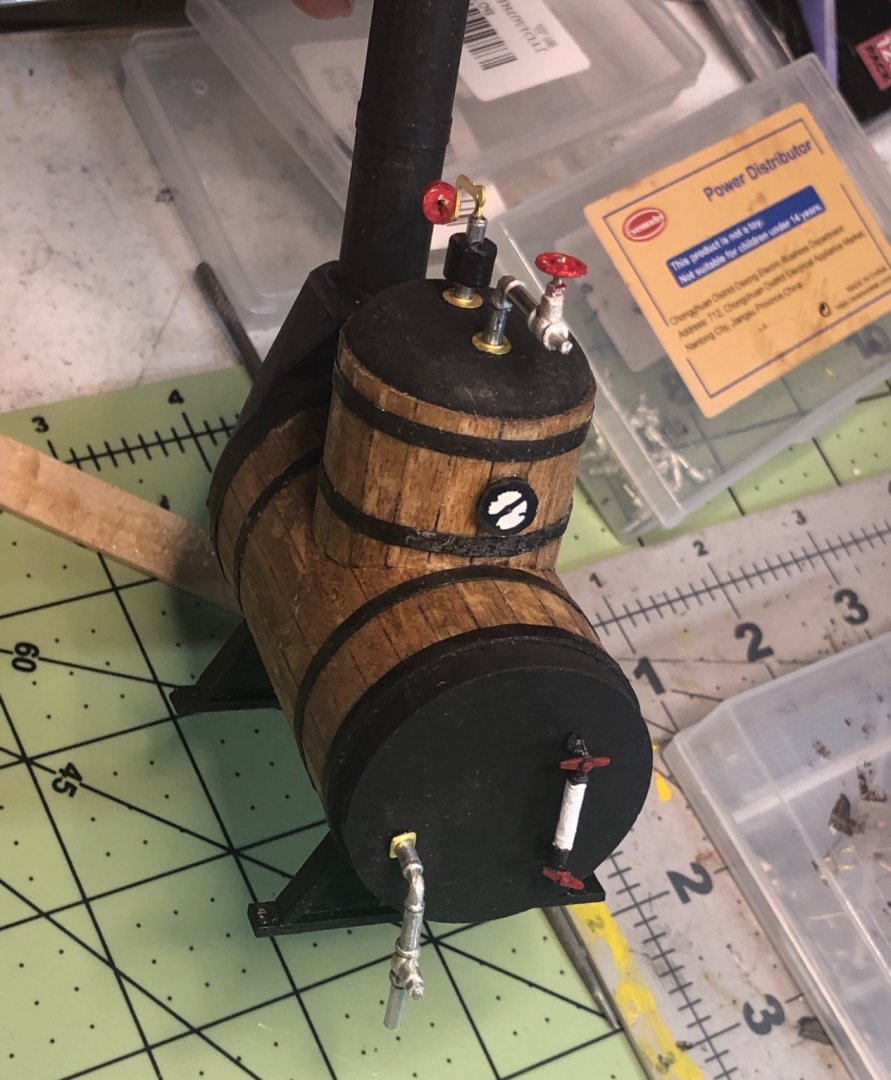
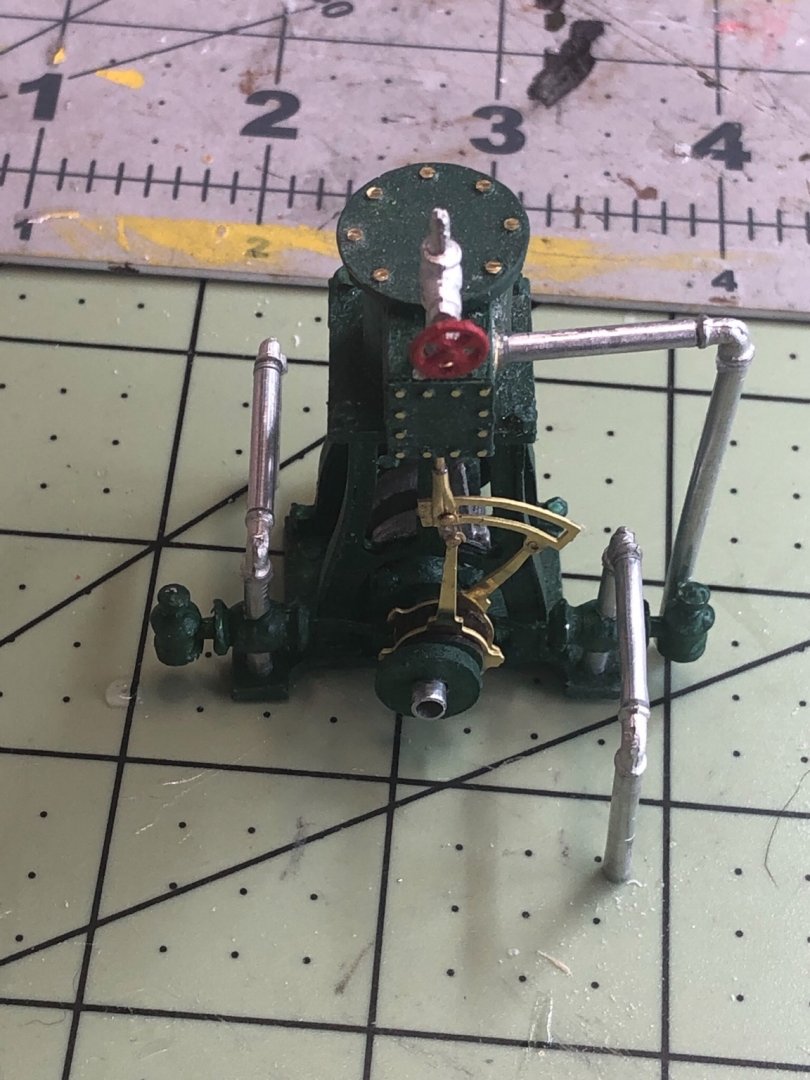
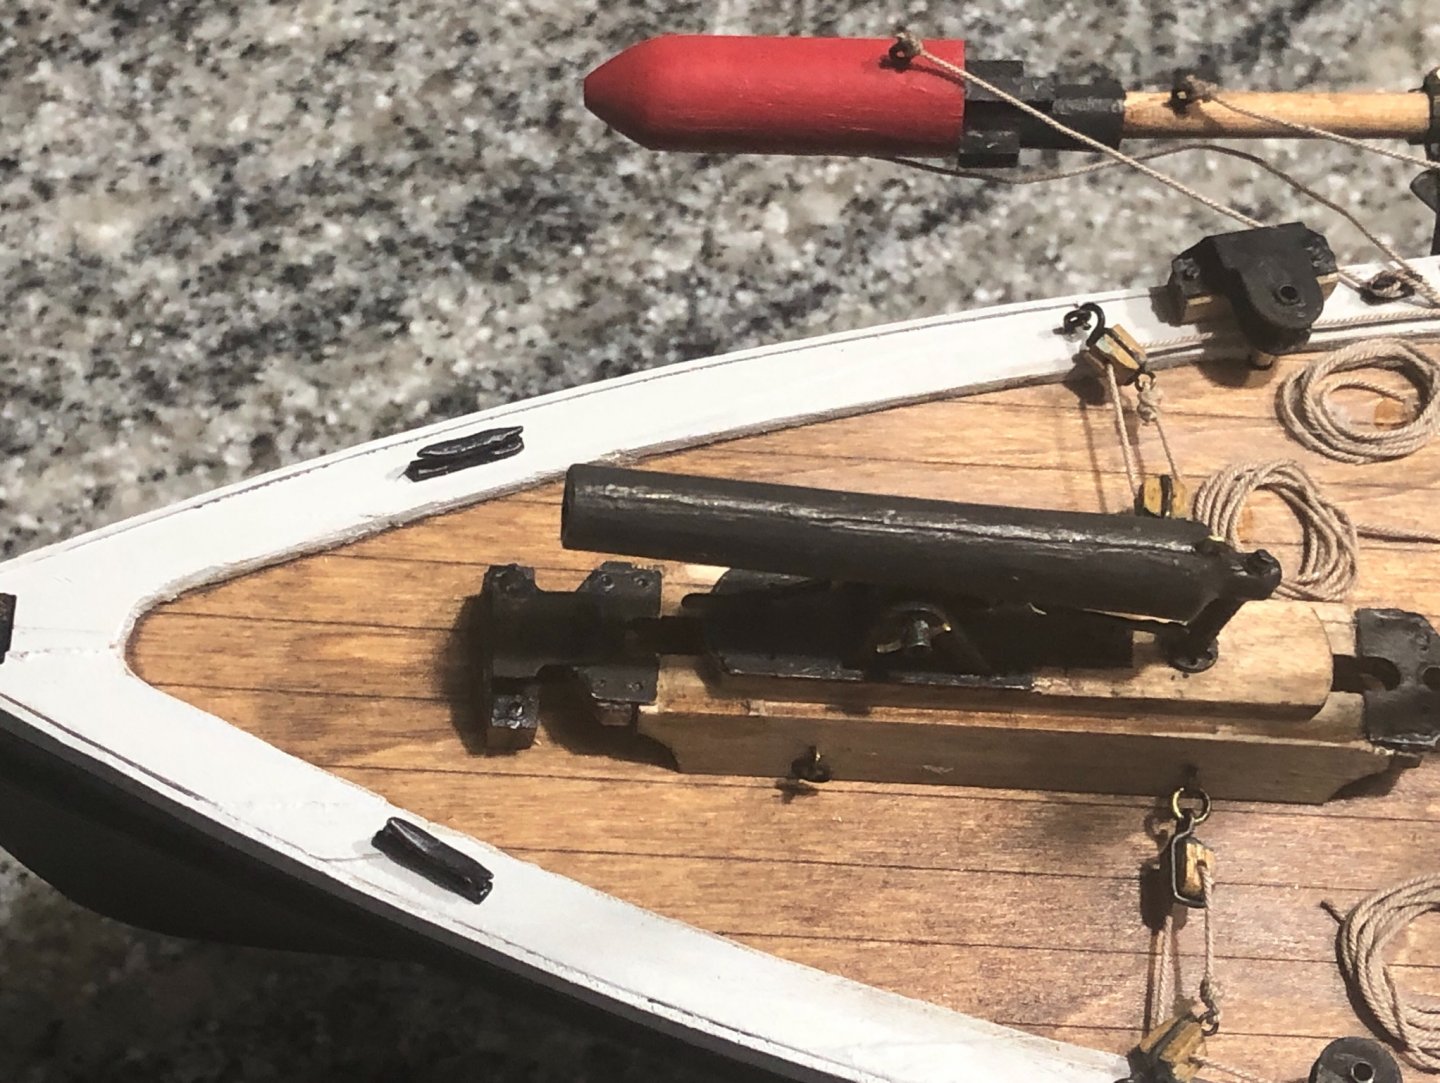
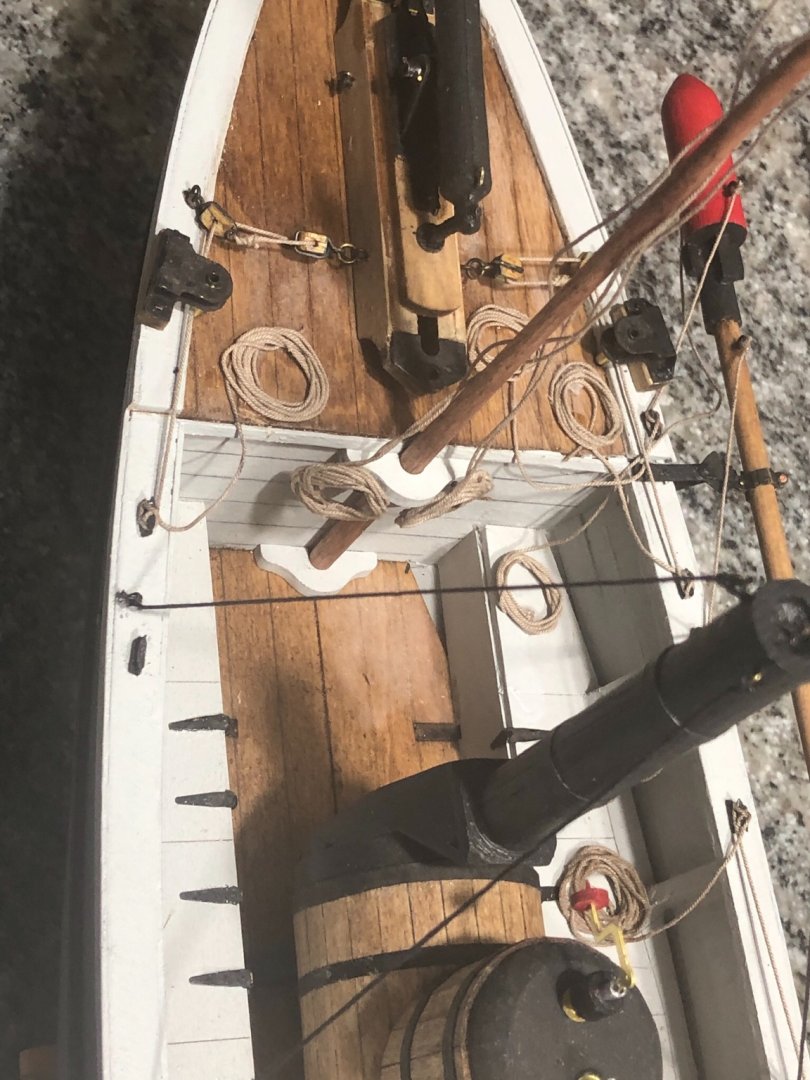
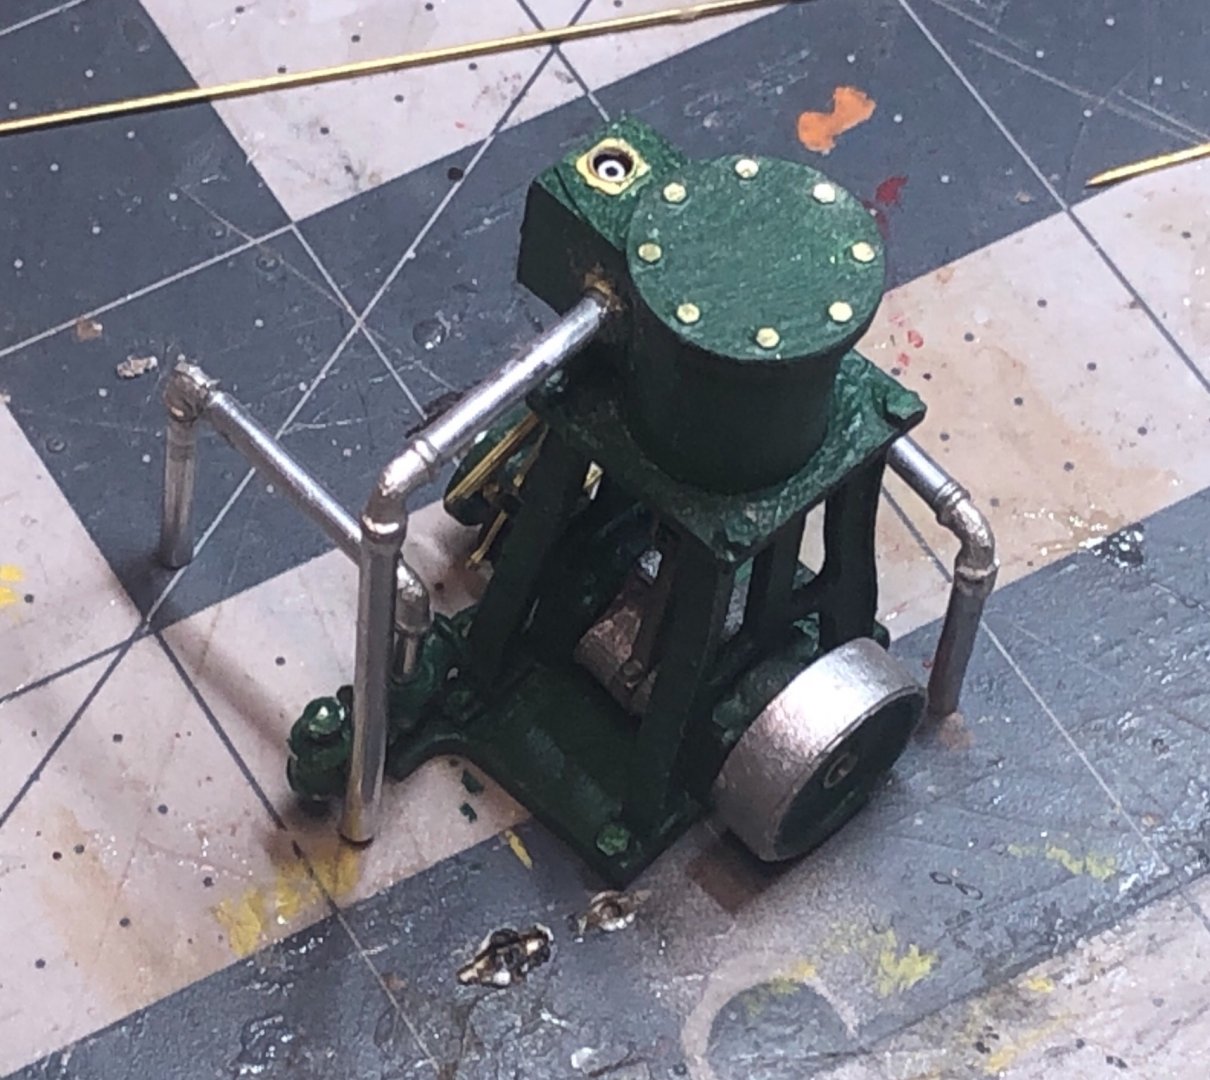
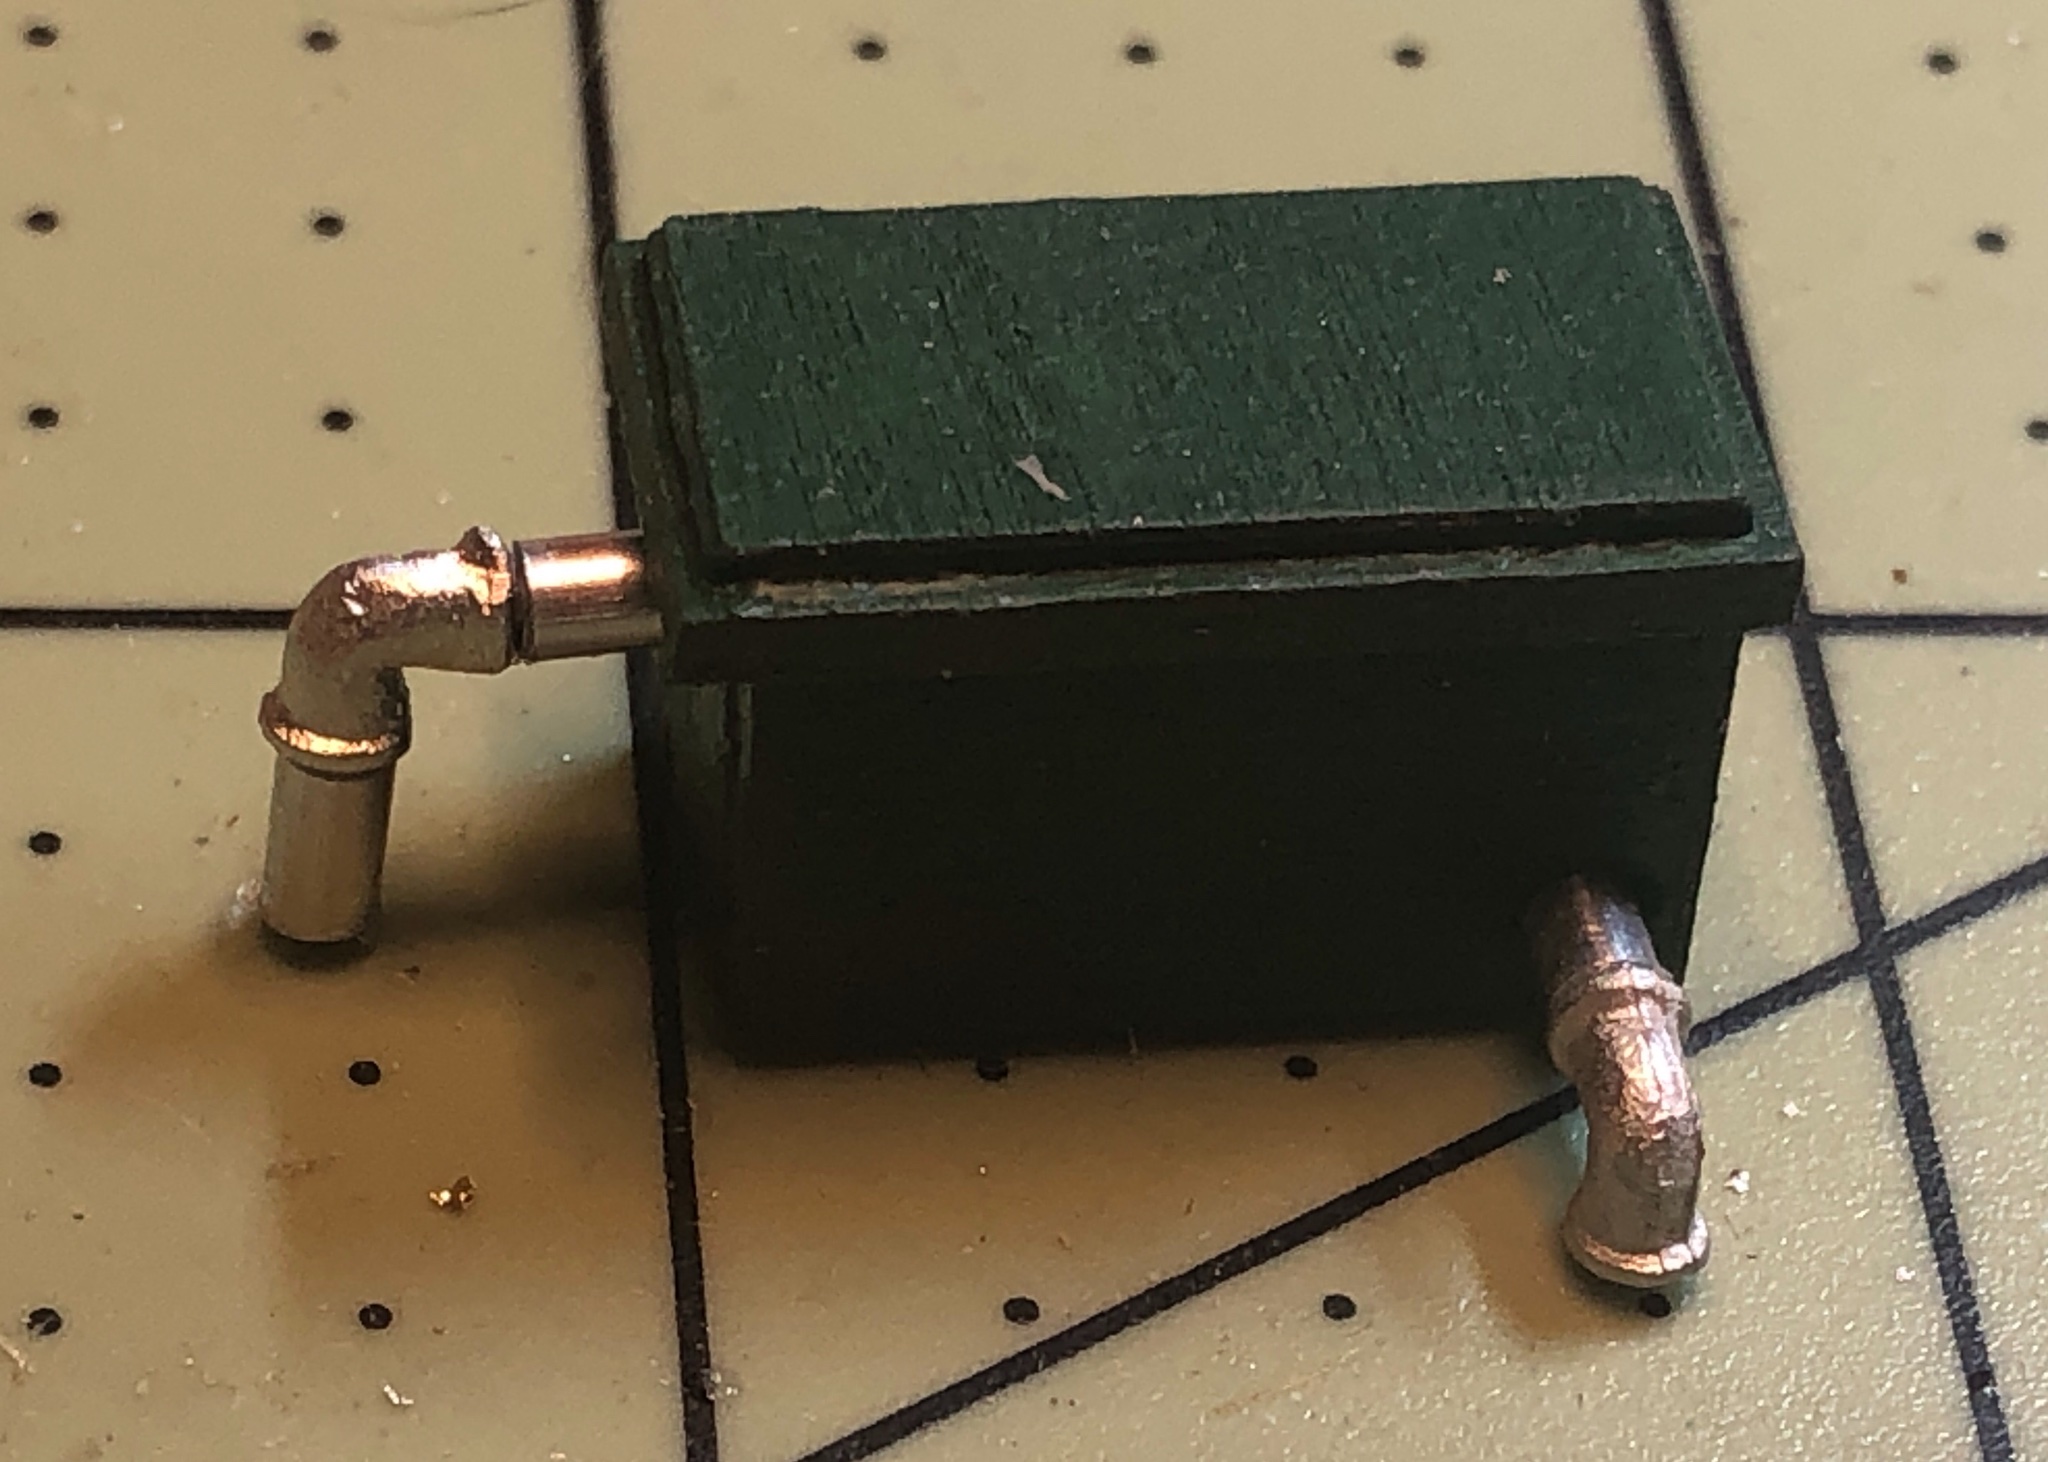
Engine parts


- Ryland Craze, jwvolz, MichaelW and 3 others
-
 6
6
-
I like your new build progress. She's going to make a good looking boat.
-
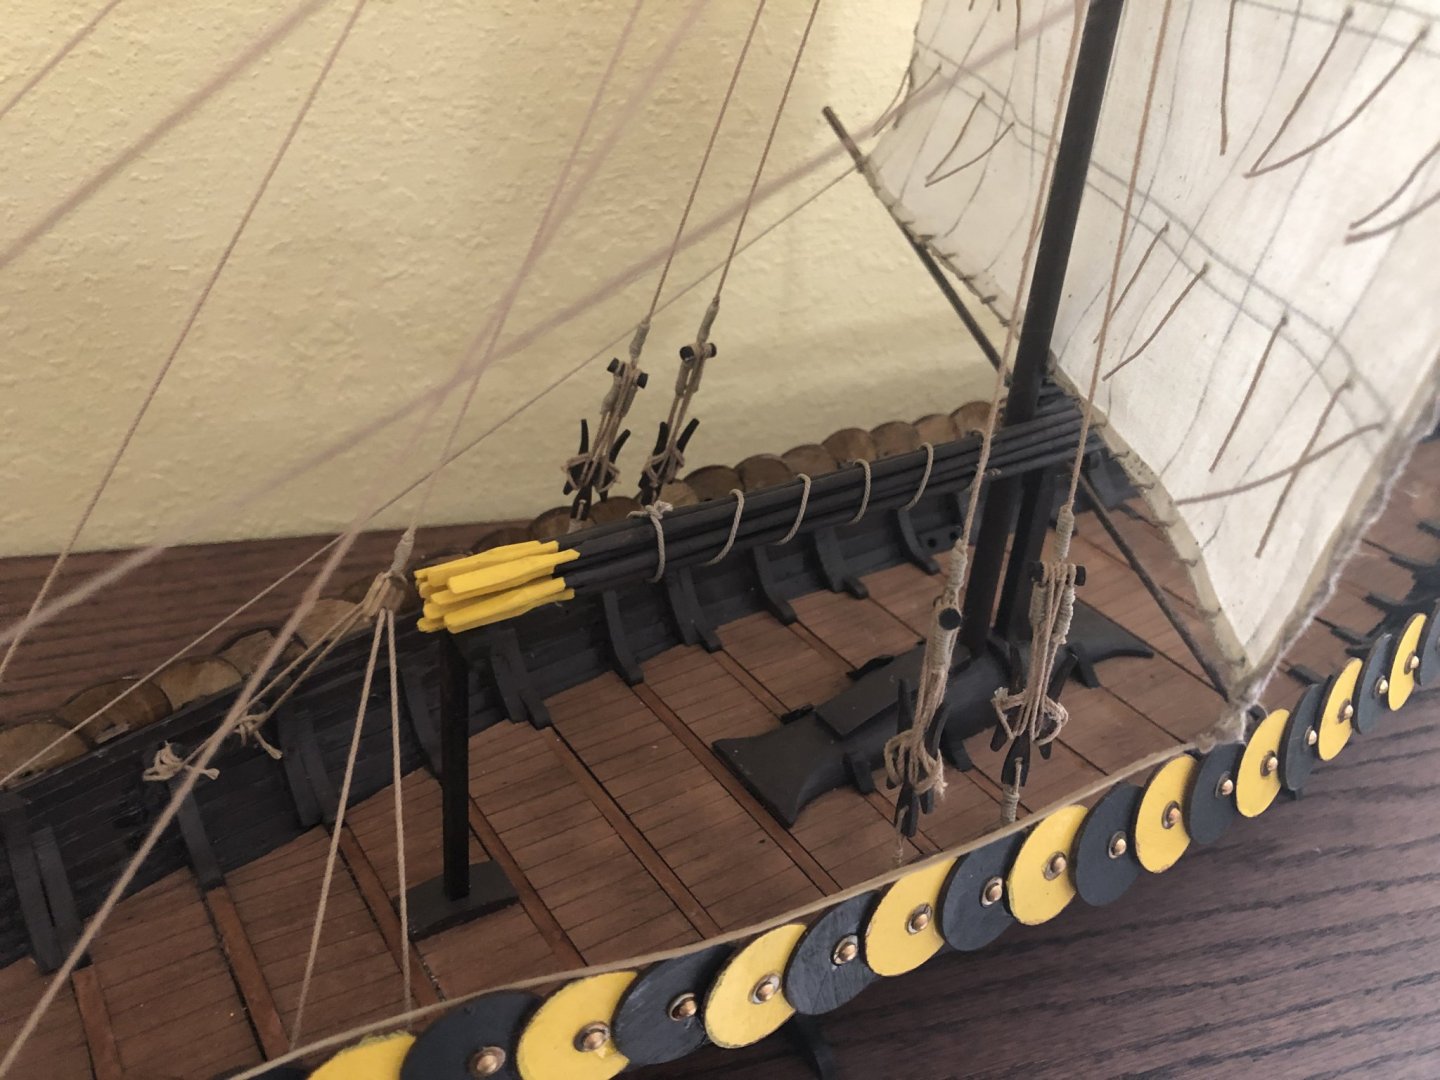
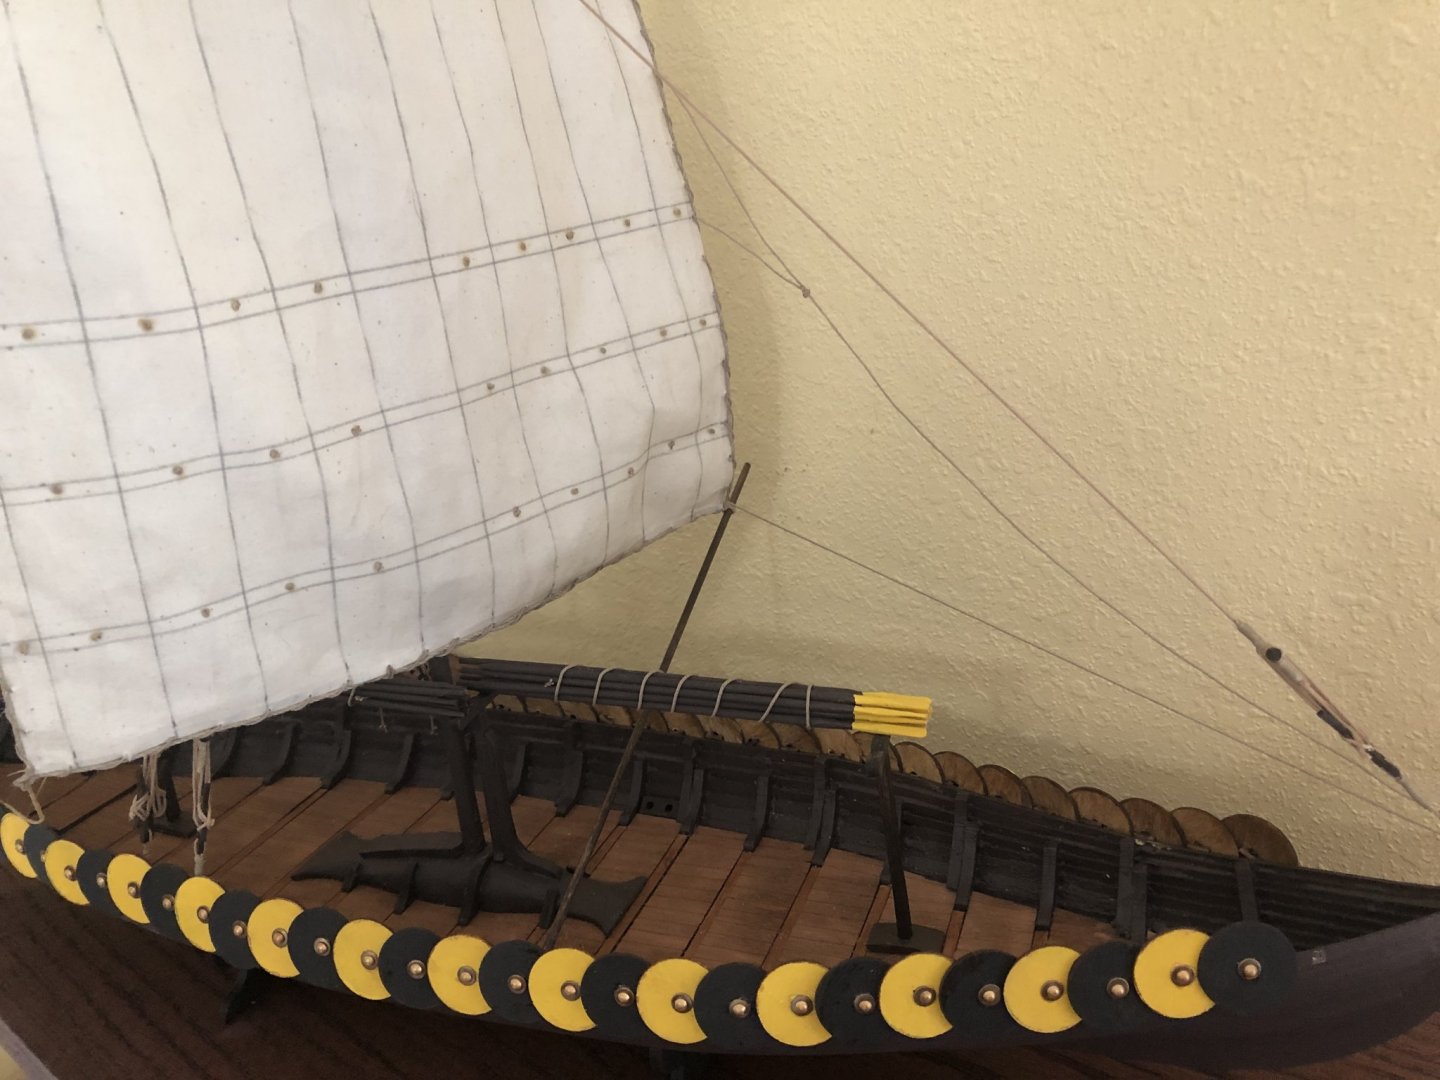
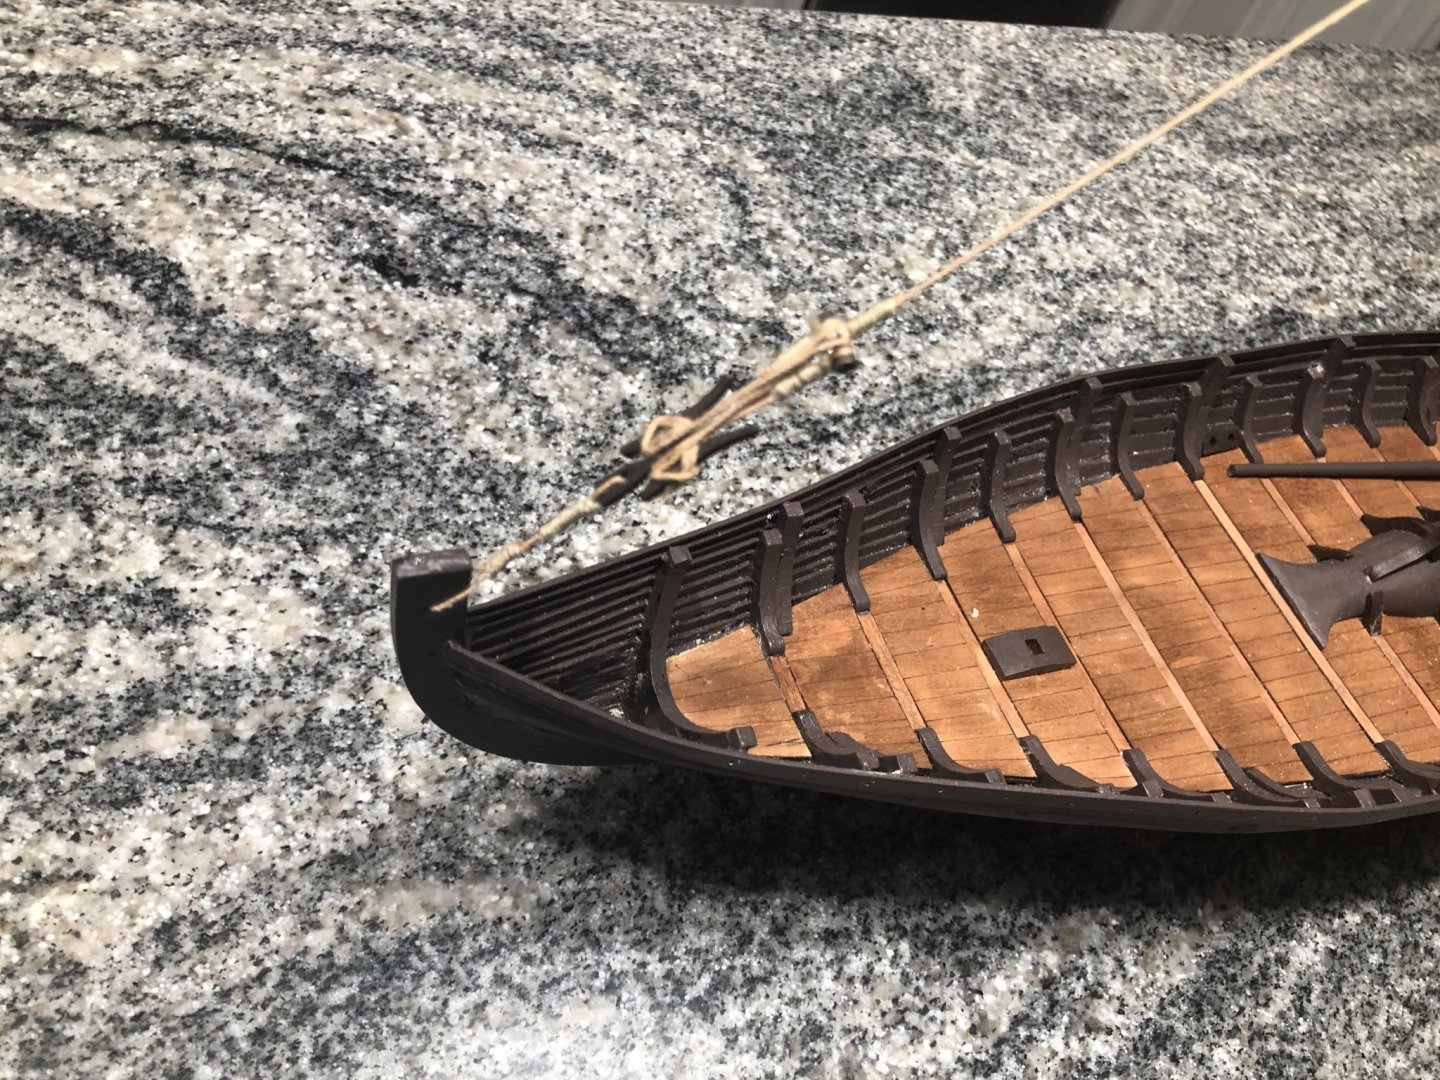
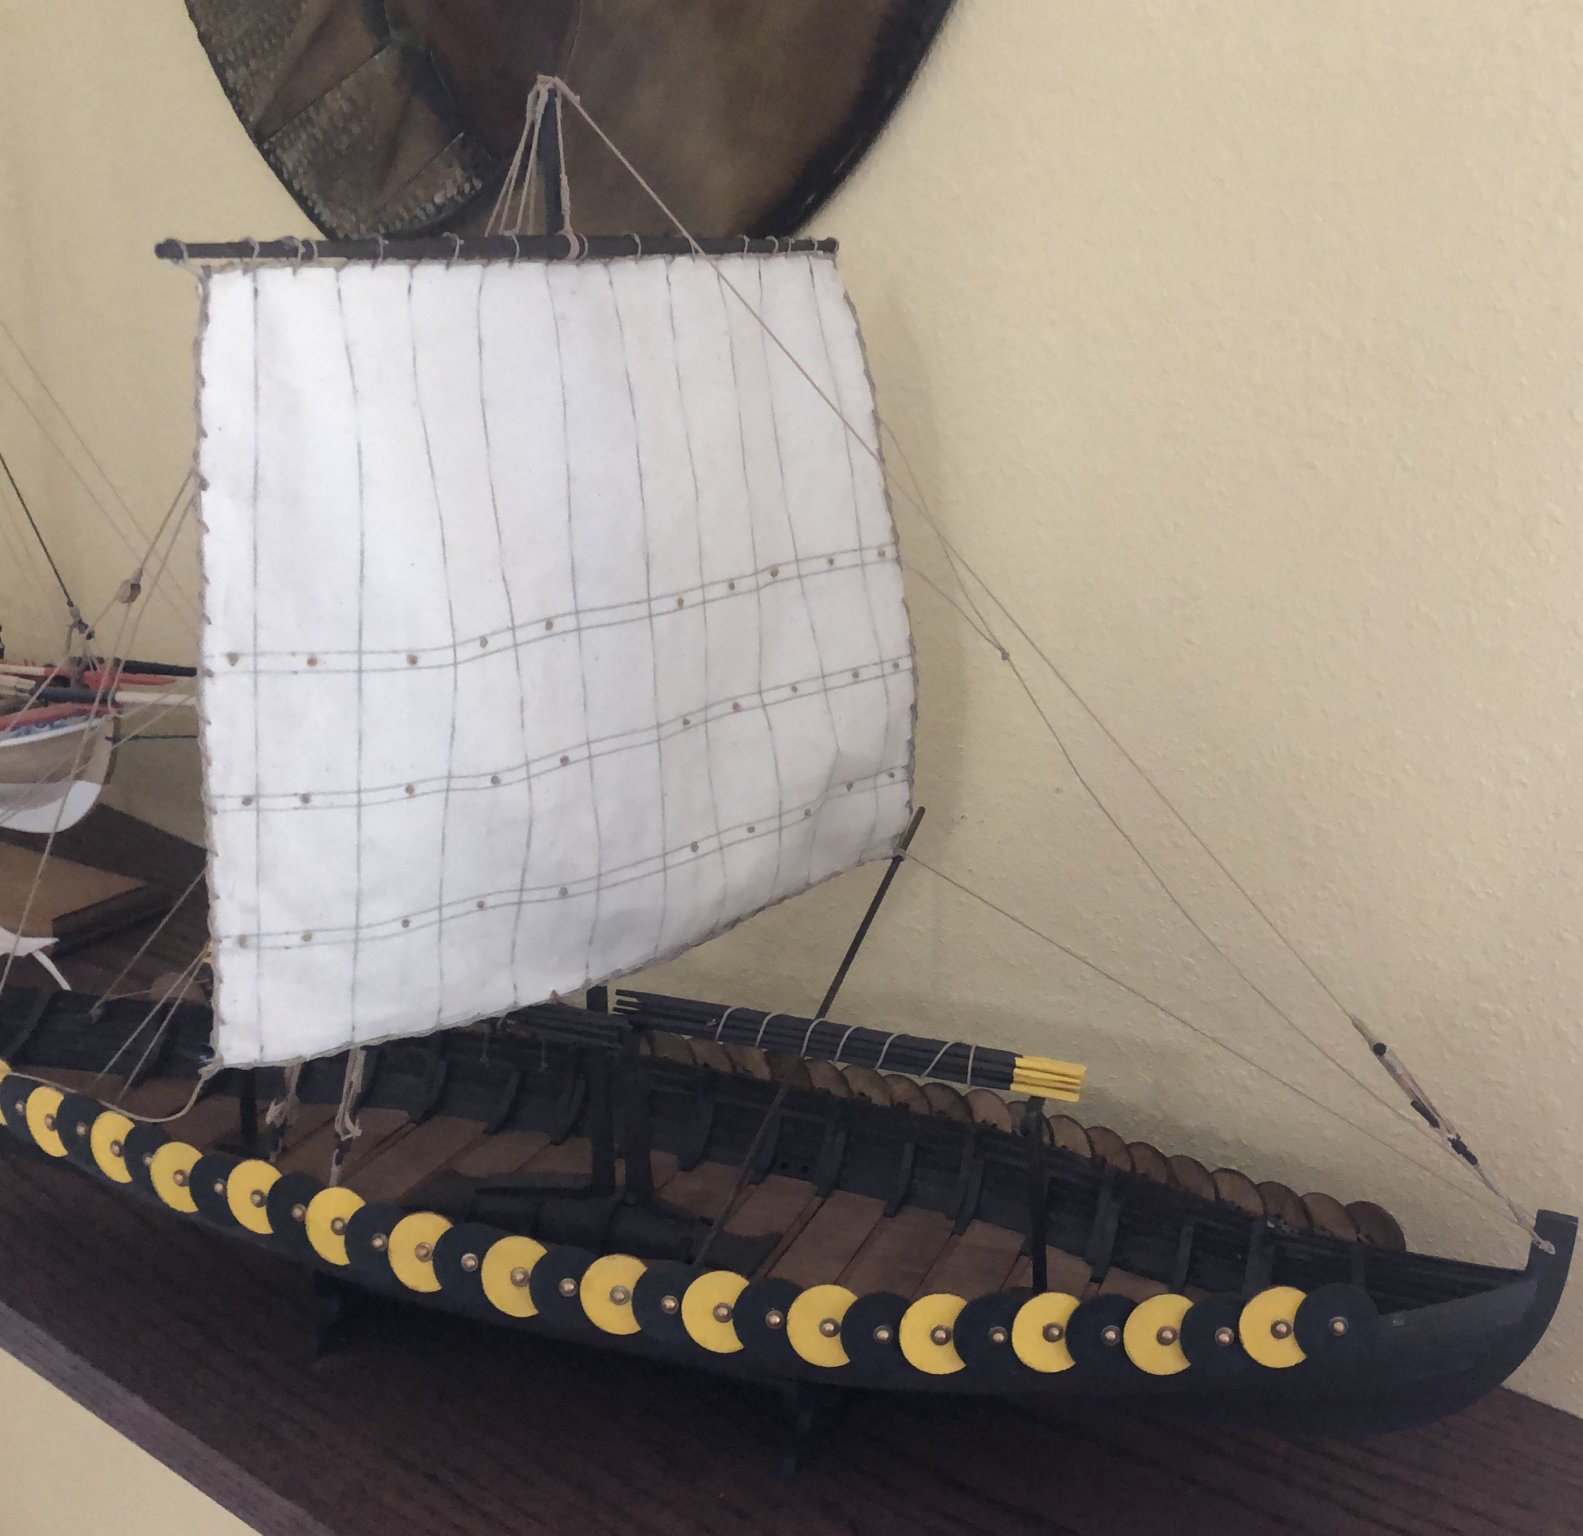
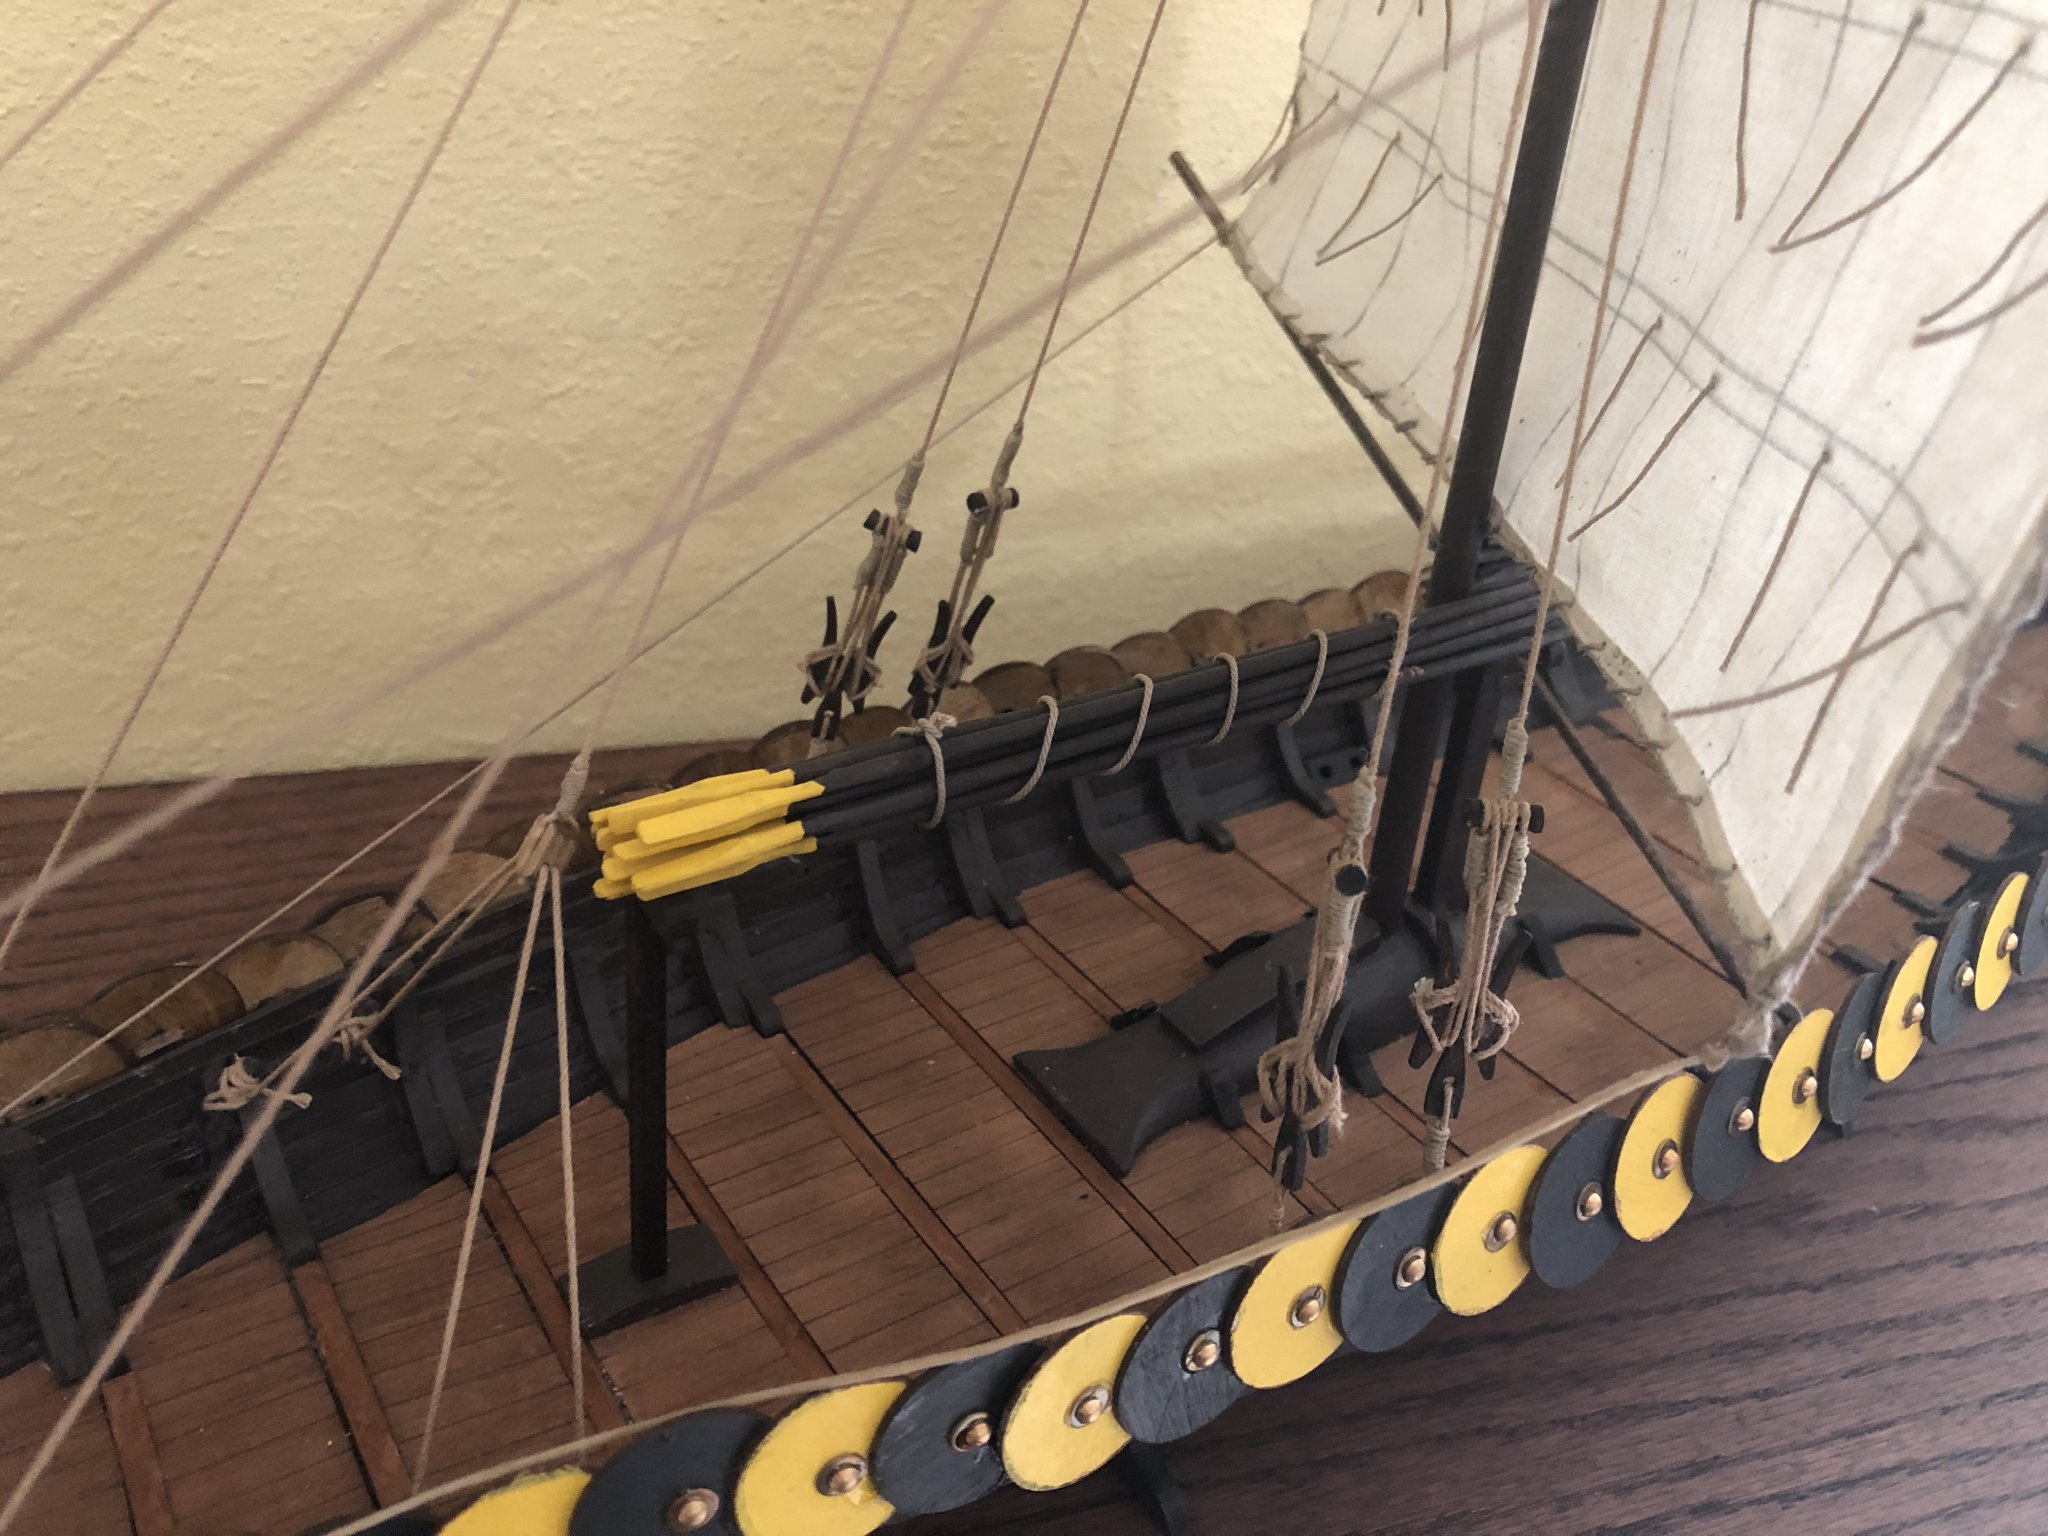
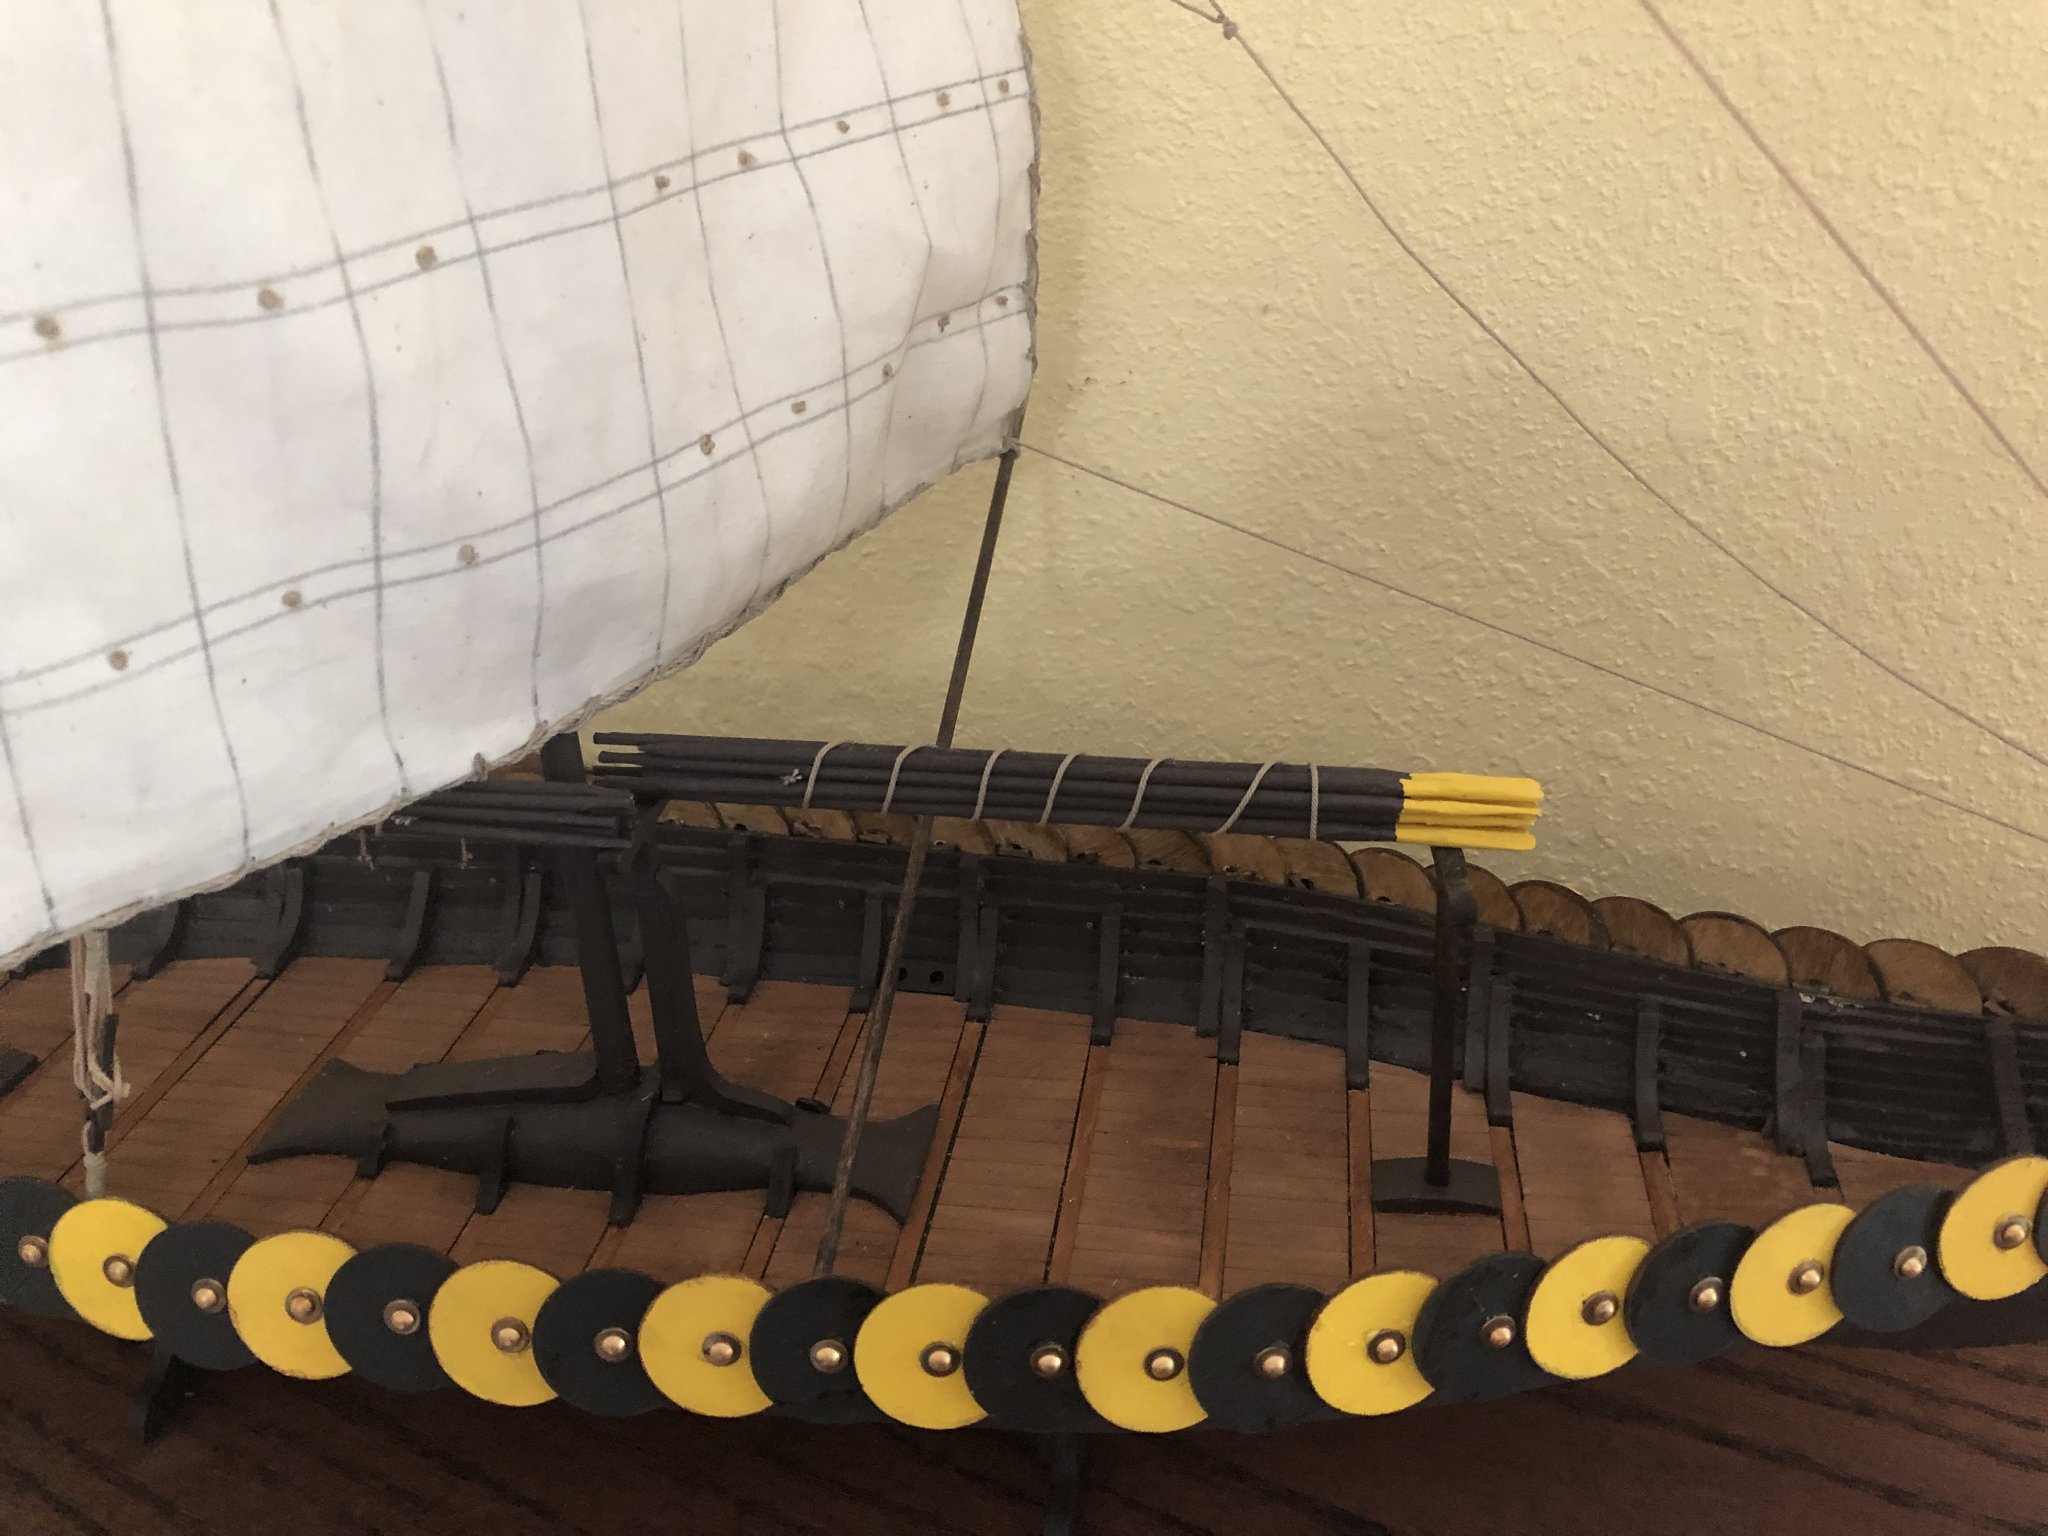
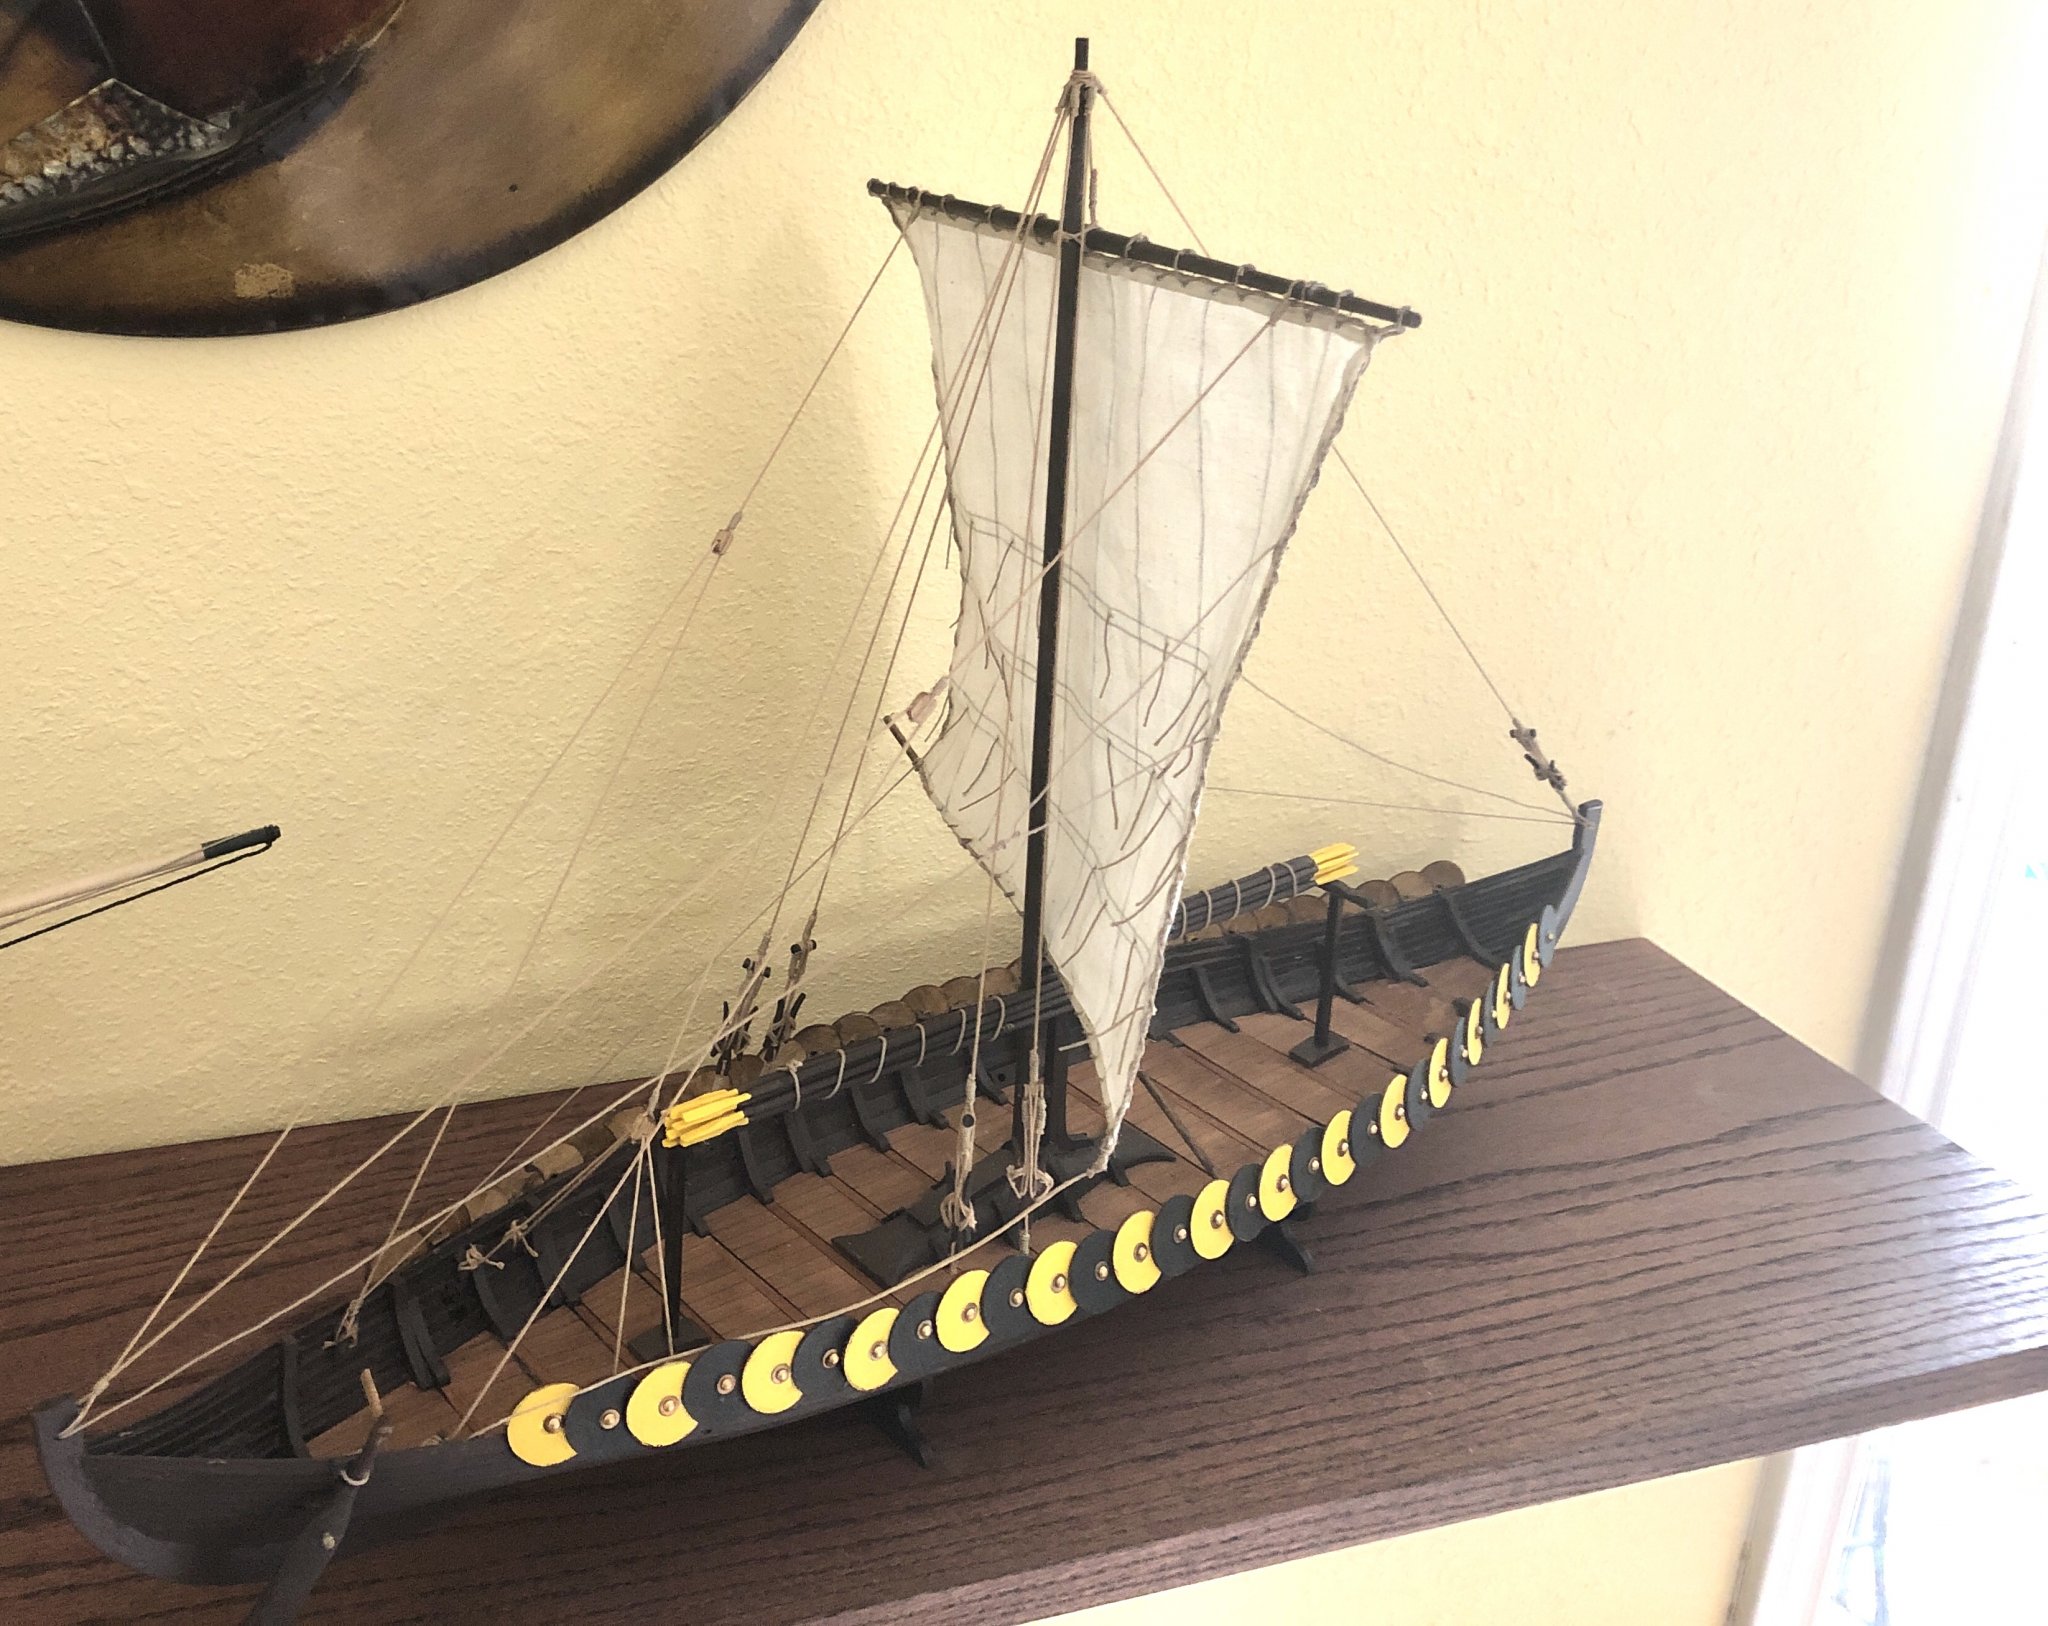
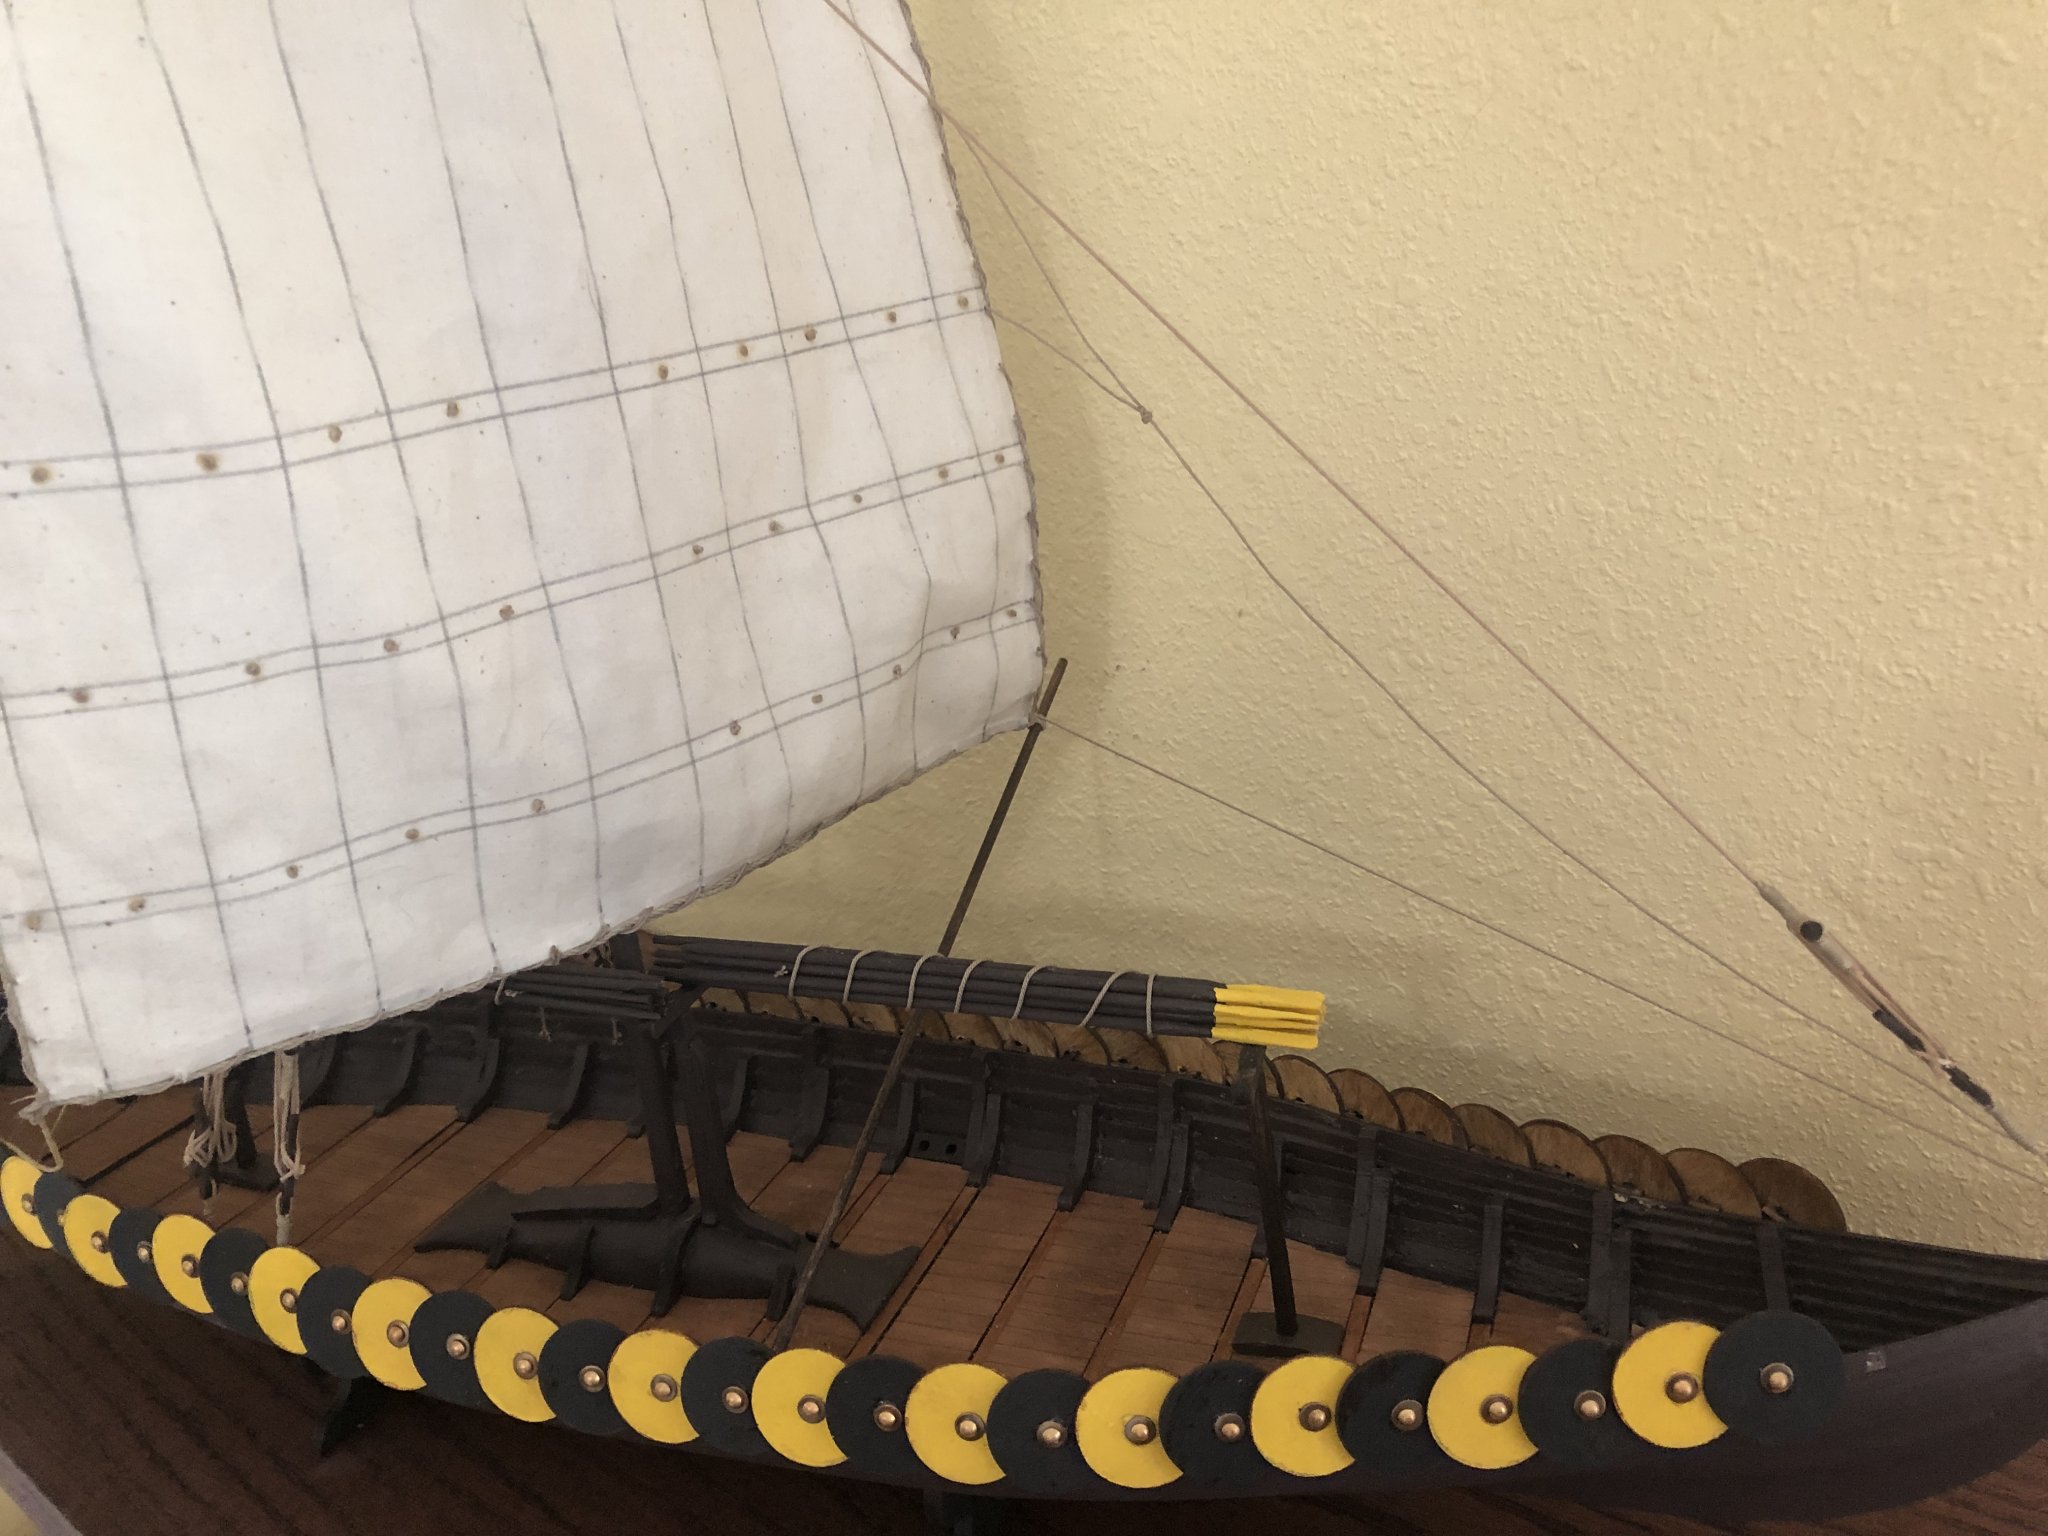
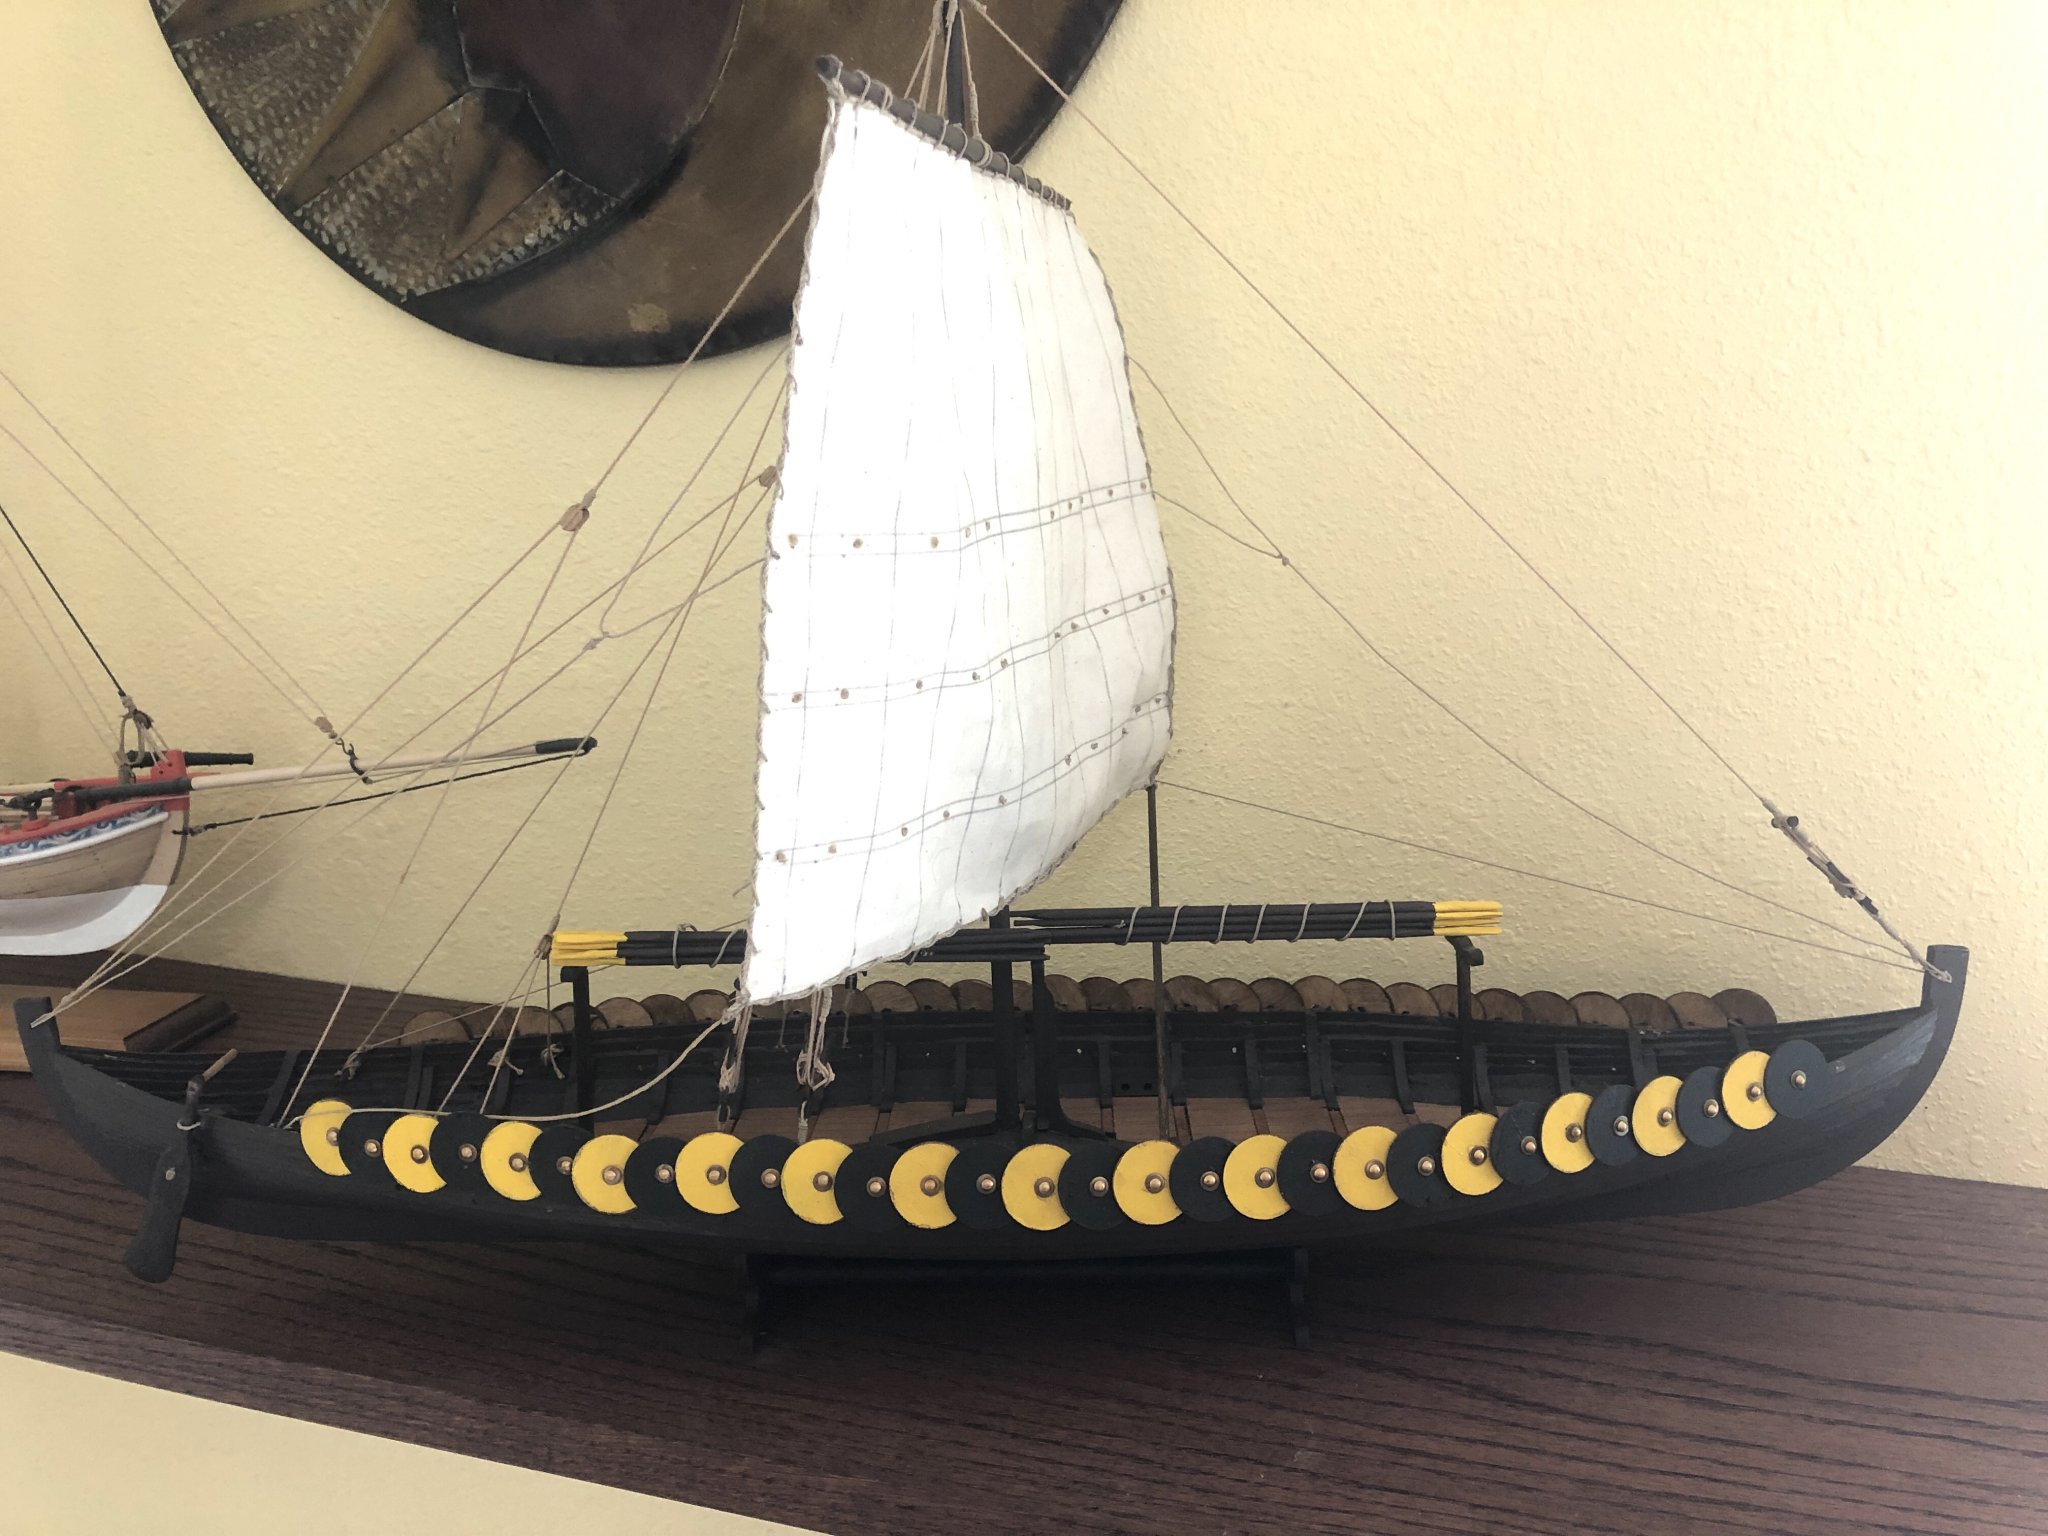
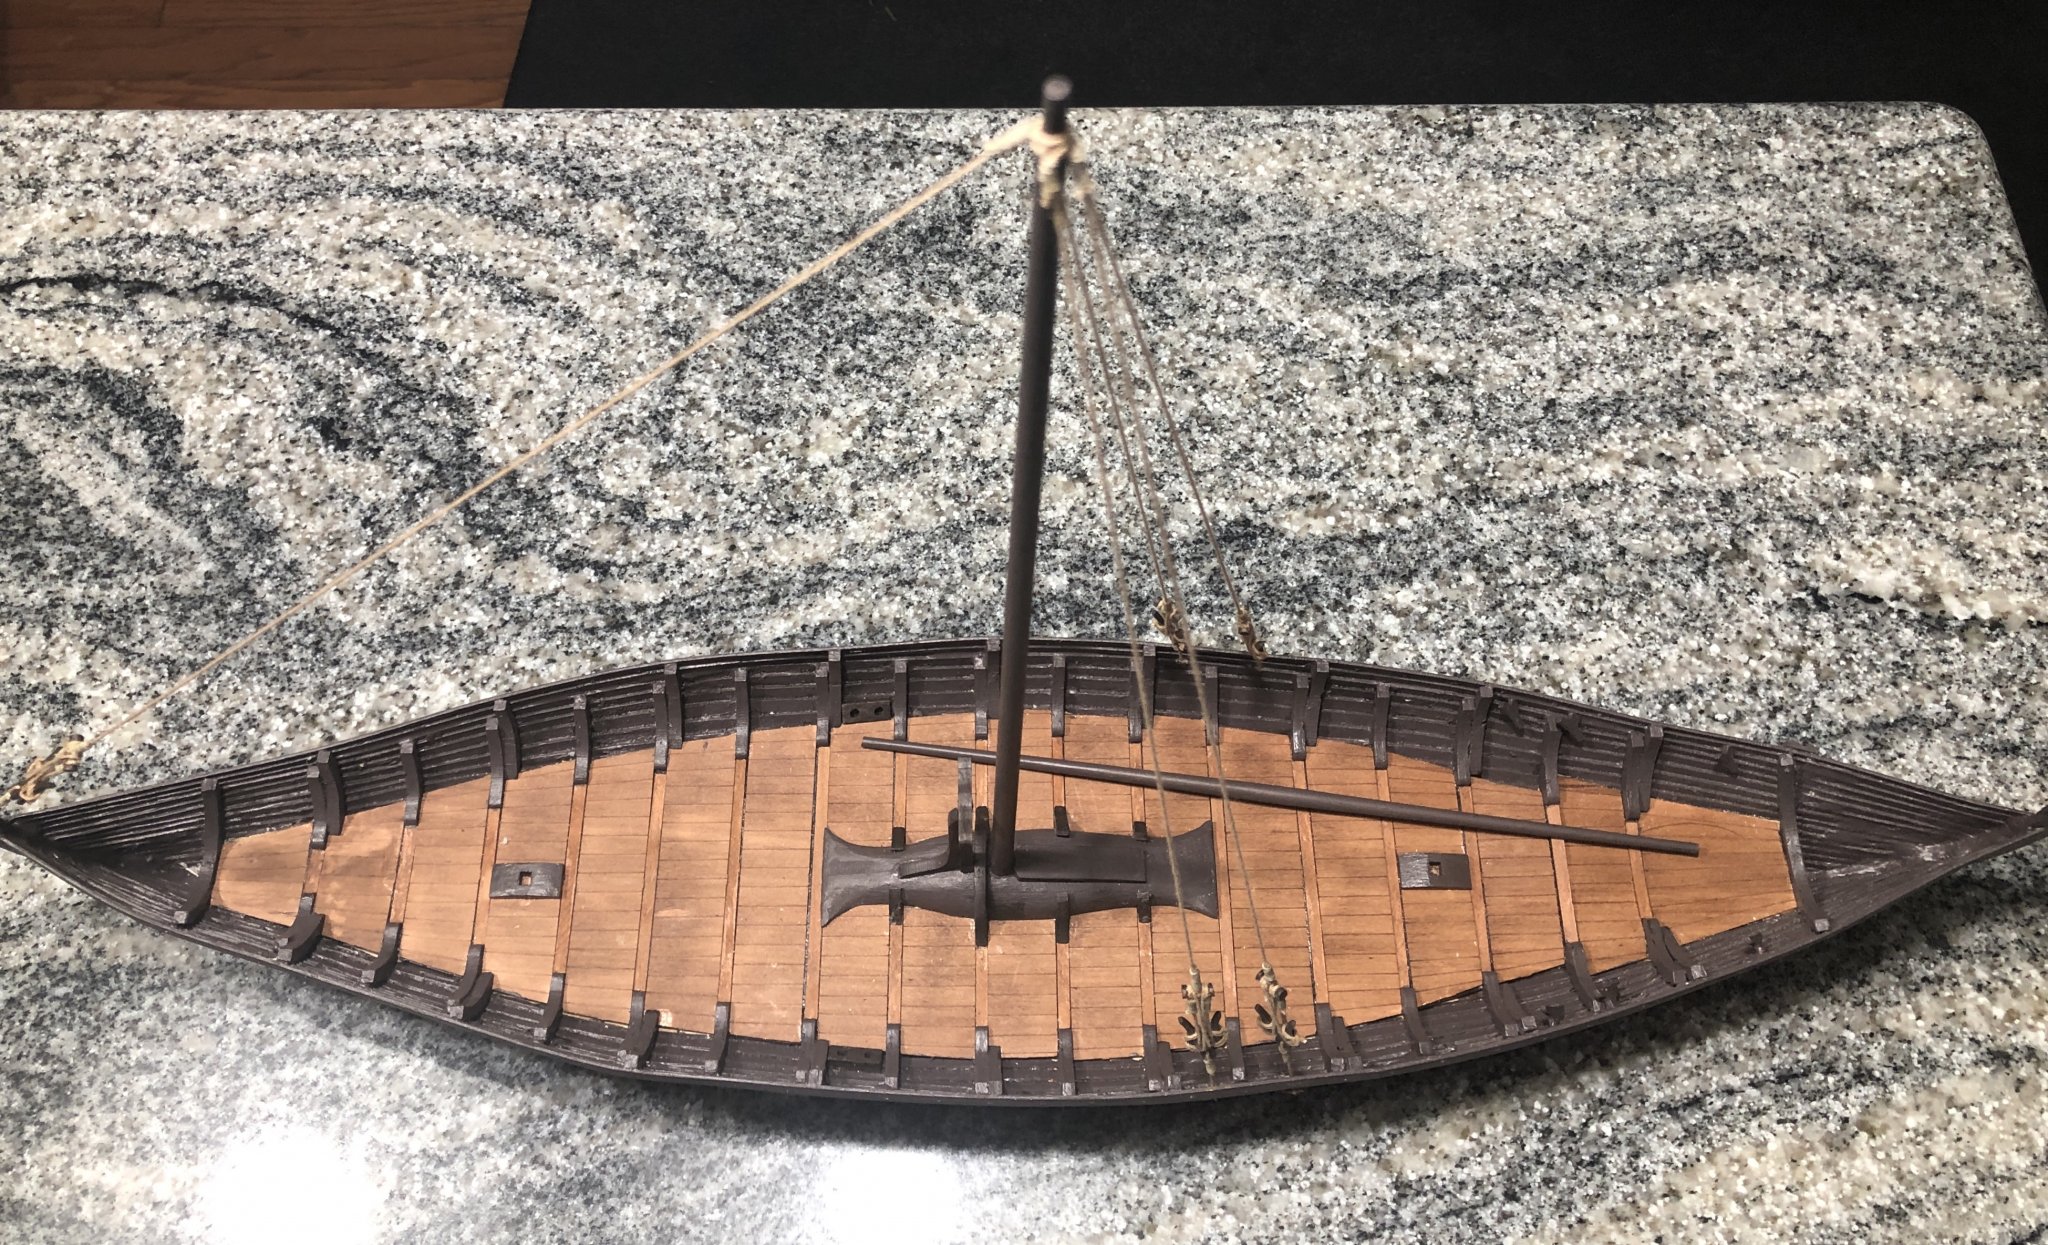
The sail mounting and sail rigging was completed. The oars were carved, painted and bundled. The Gokstad is finished. 😎


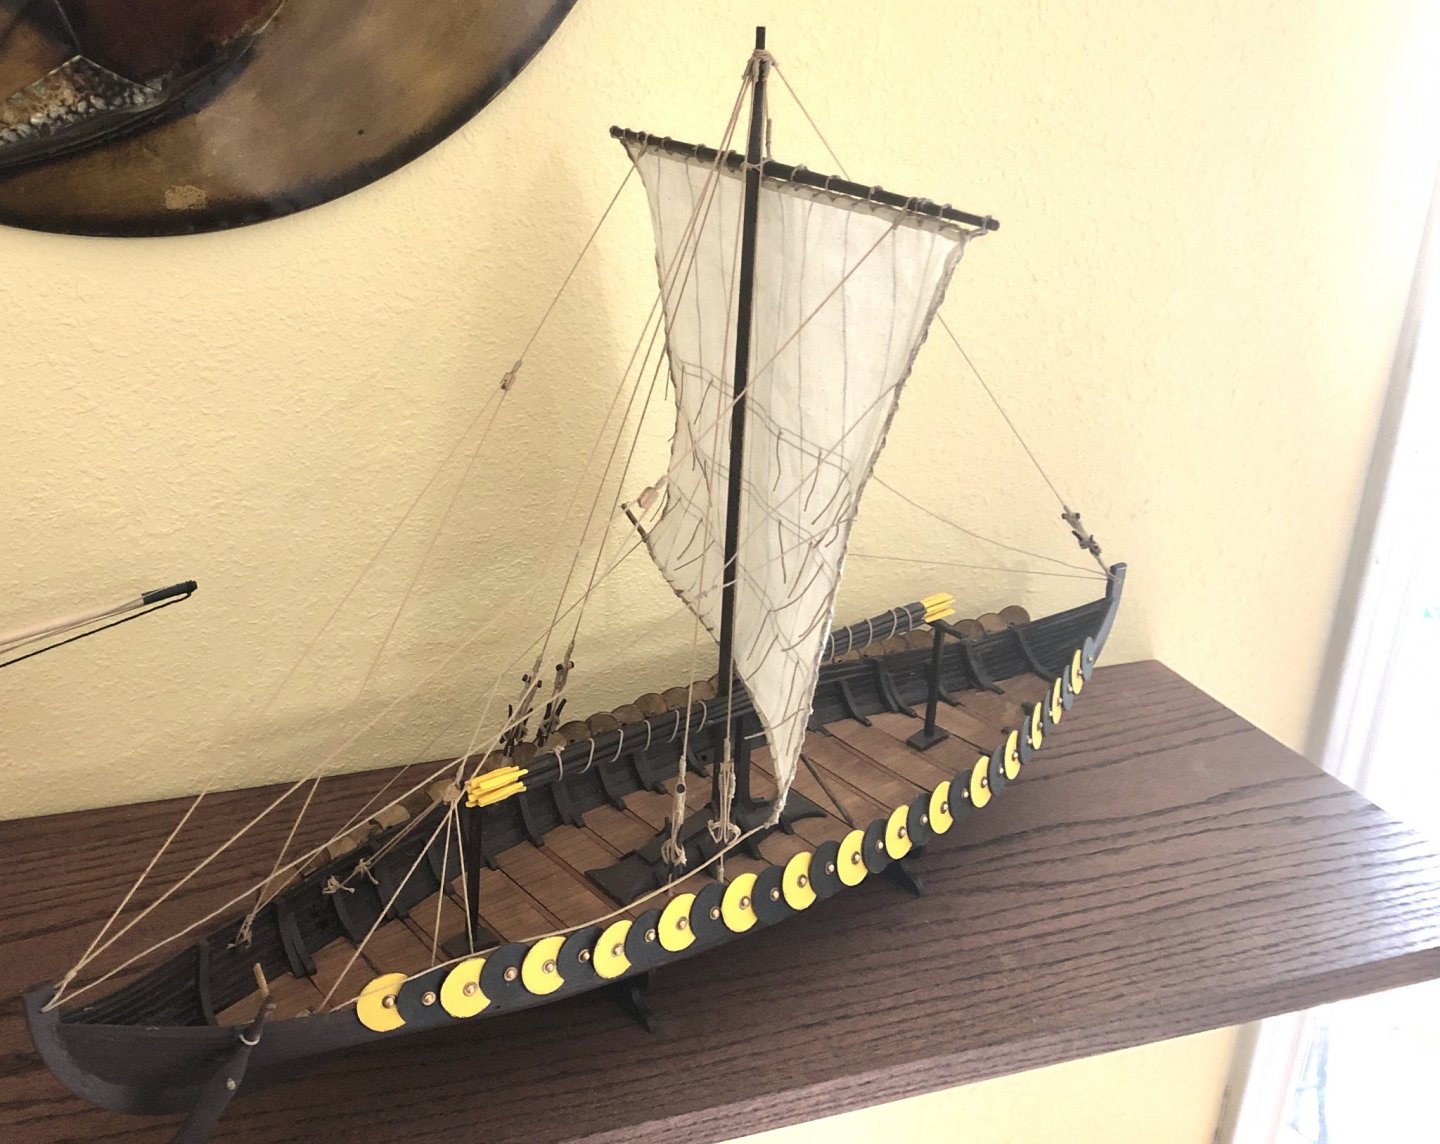

- Halvor, GrandpaPhil, Binho and 7 others
-
10
-
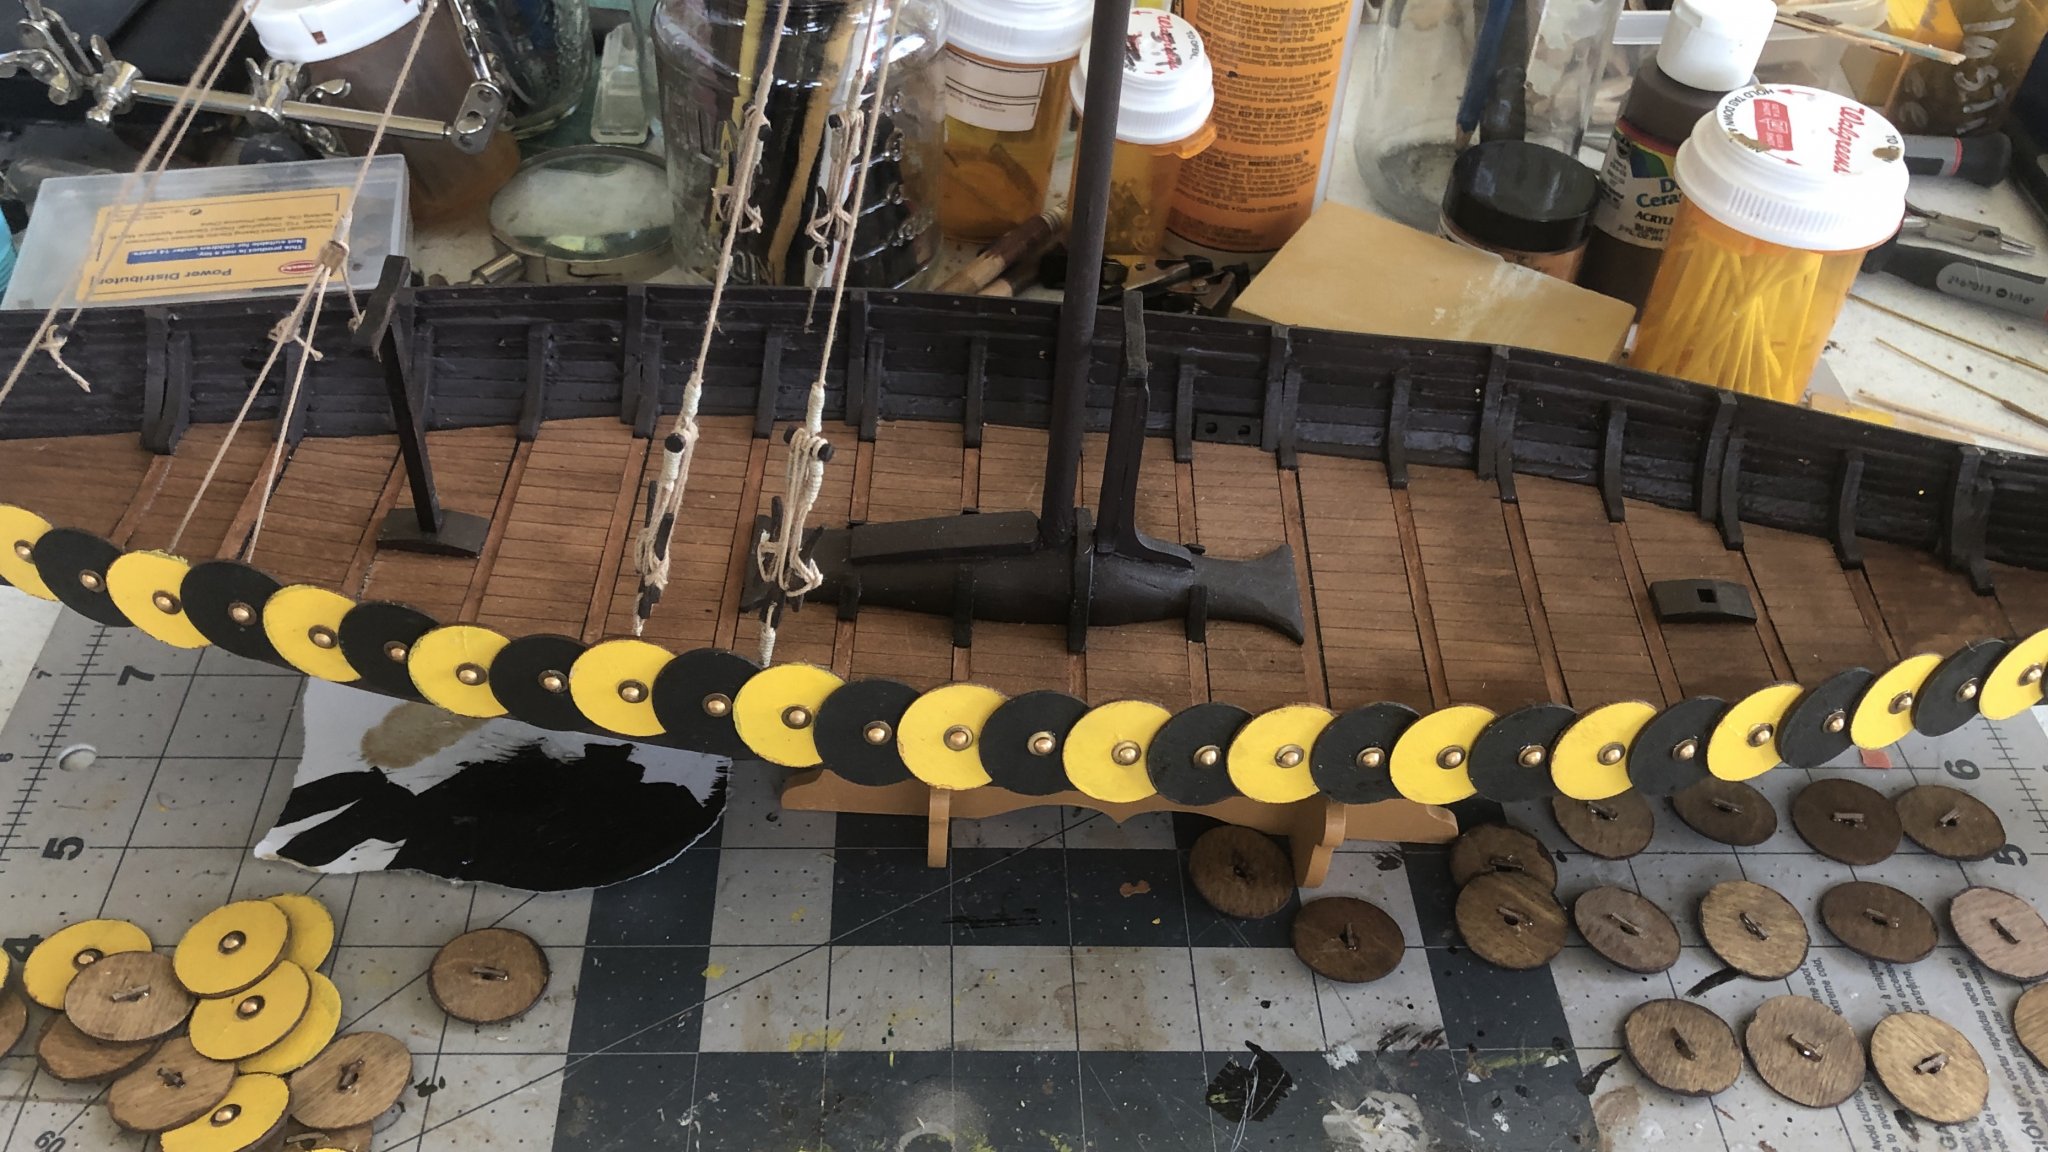
I assume the prototype had black and yellow shields else I would have gone with more colors. The boat builders did a fabulous job and they had fantastic skills for the tenth century.
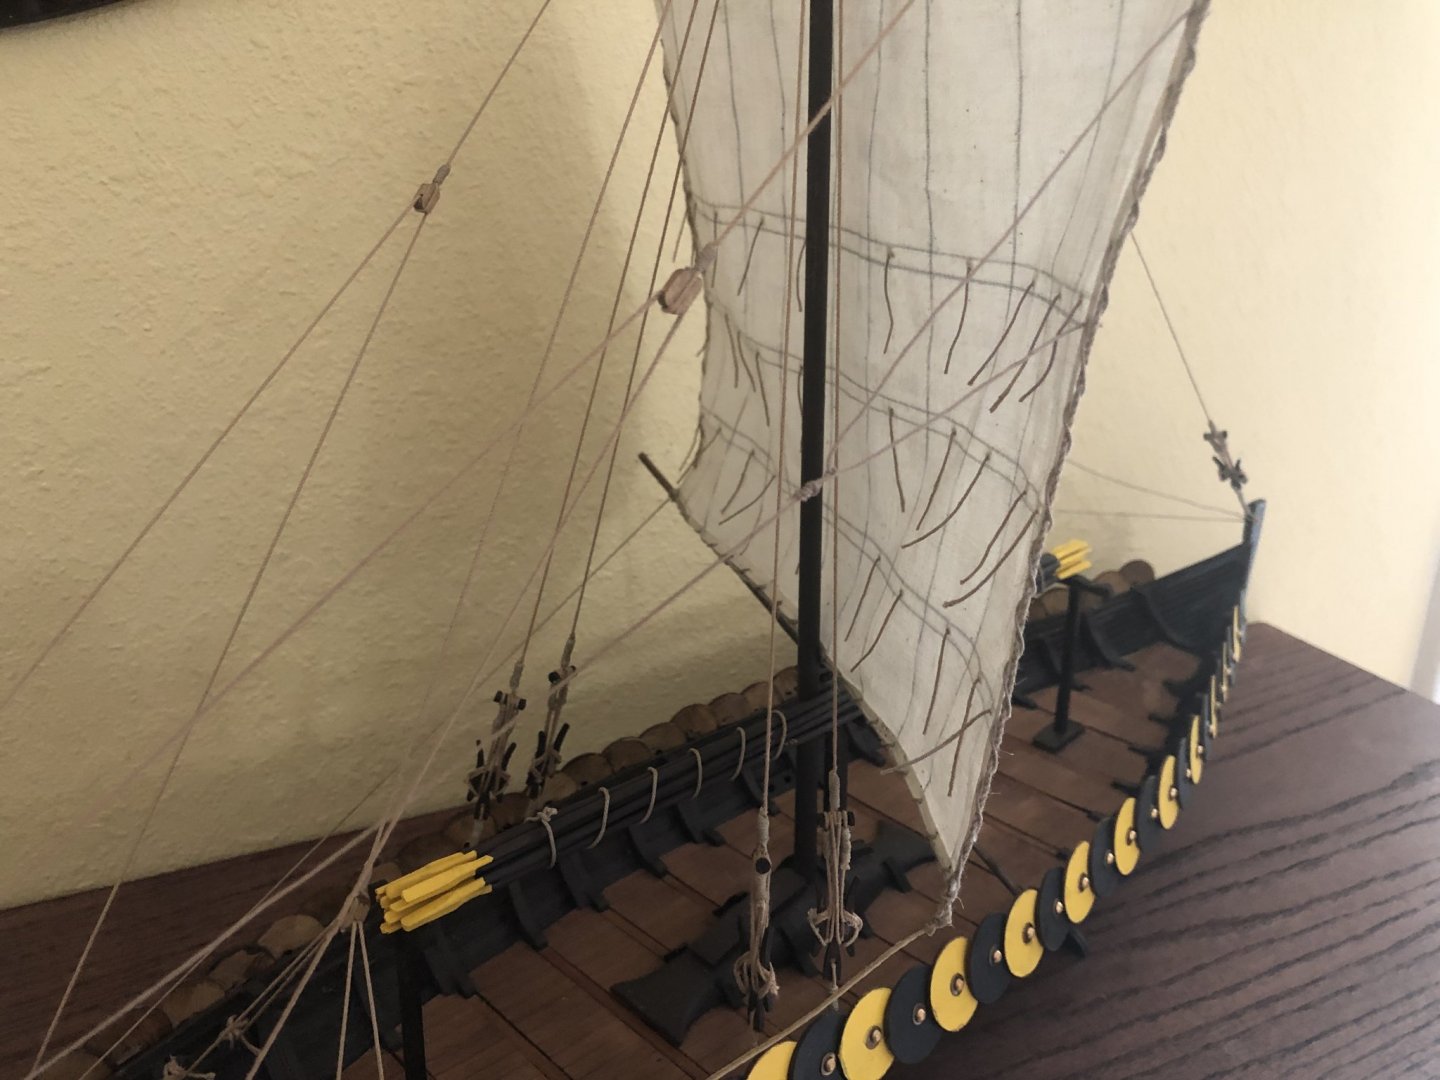
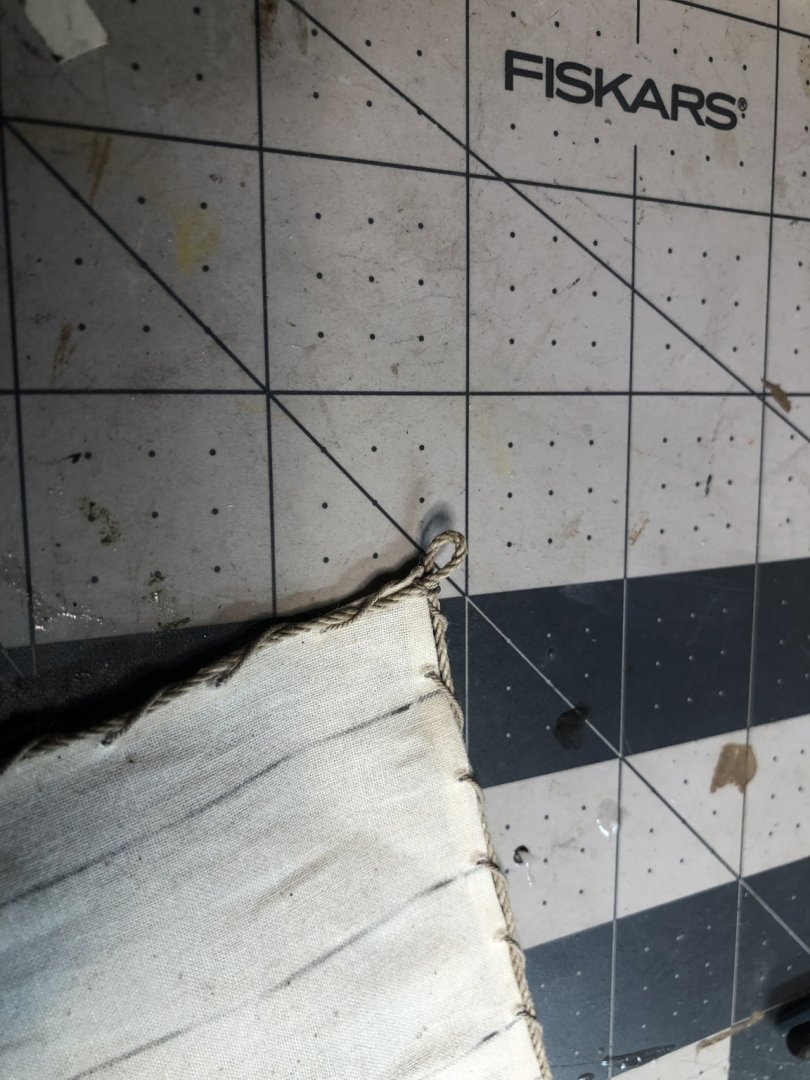
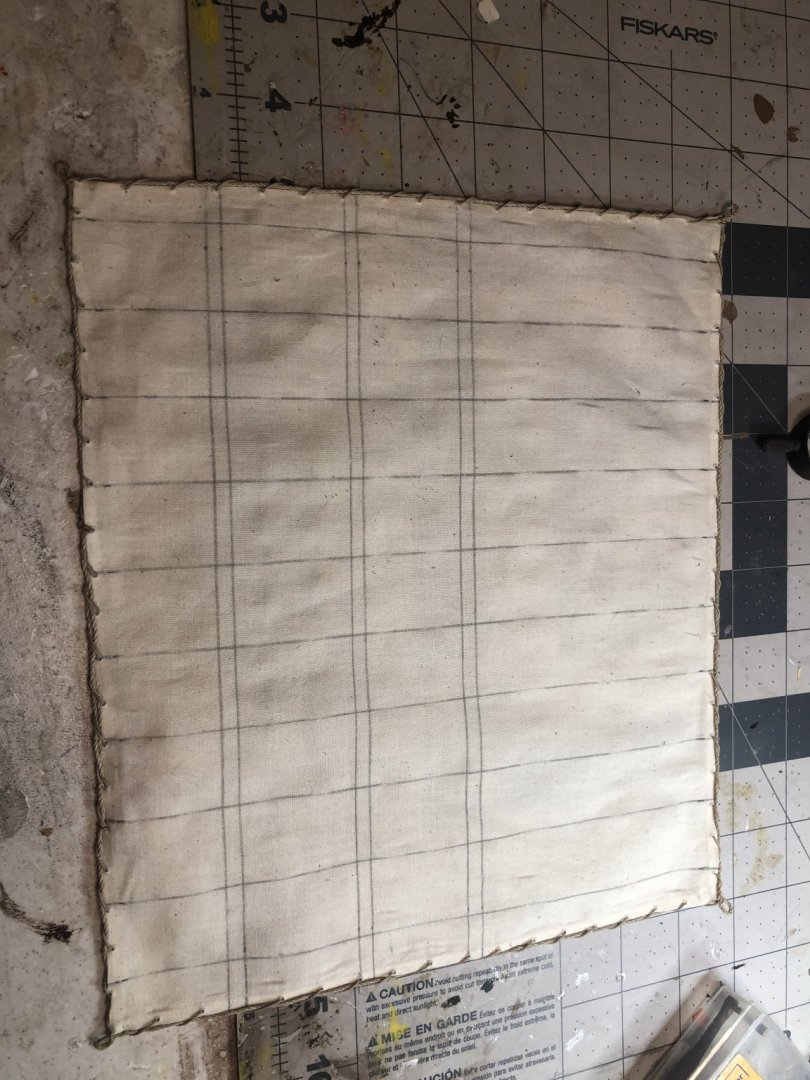
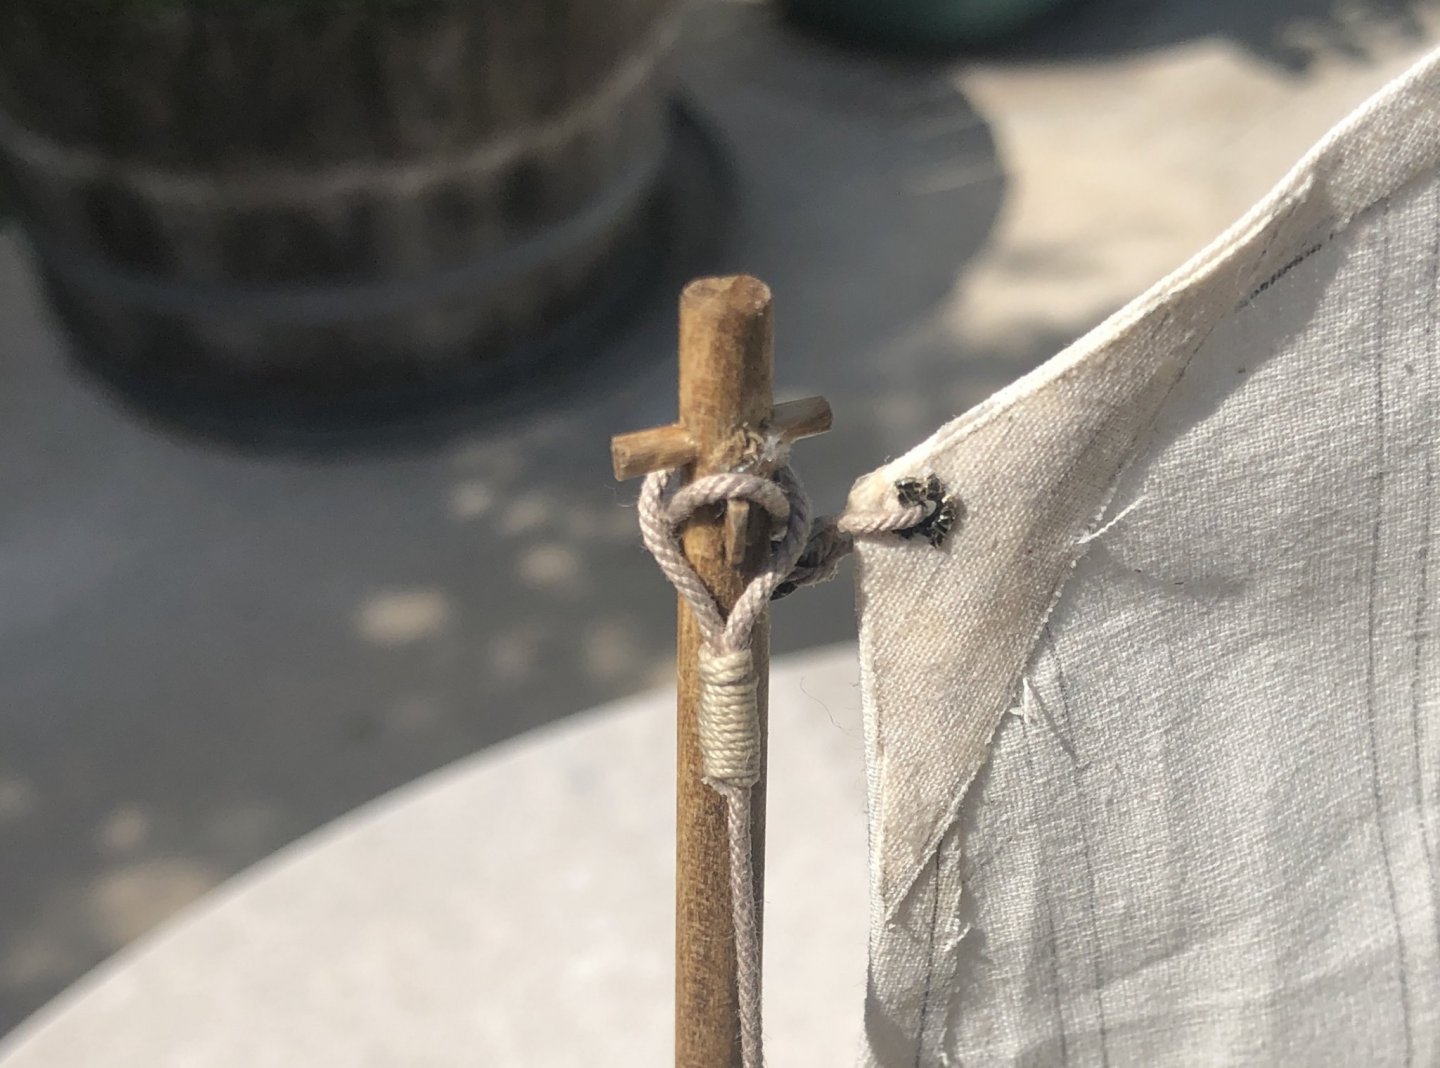
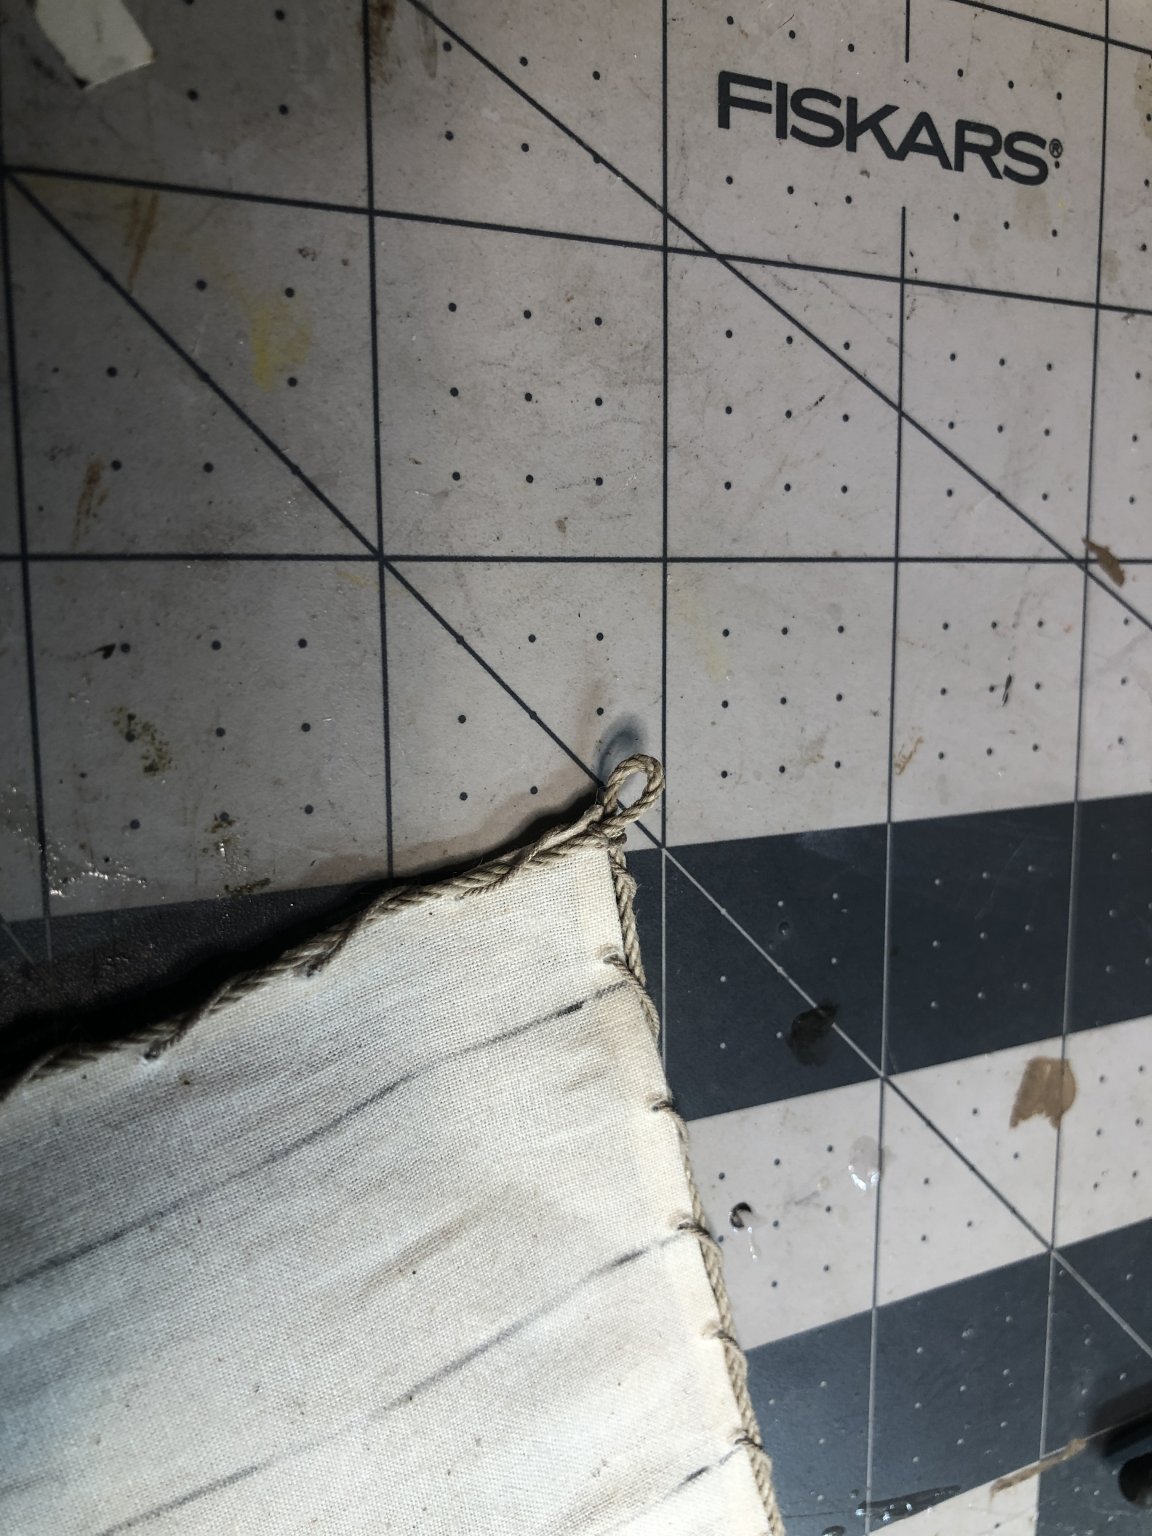
I finally finished the sail. Using the following steps :
- Cut sail out
- Mark sew lines and edge fold line with lead pencil
- Cut corners for folding
- Fold sail edges over twice using fabric glue and a hot iron
- Mark and “punch” small holes in sail edge every 1/2” for needles. These holes will also be used to attach sail to mast.
- Use needle and .35 rope around sail edge
- Use same process for sail ties
- GrandpaPhil, Ian_Grant and Cathead
-
3
-
-
Finally have the shields done, painted and in place. The picture shows just one side done. I have decided to skip the oars for now and do the sail next.

- Ekis, liteflight, Binho and 4 others
-
7
-
I enjoyed seeing your work and what I see looks like a fine build so far. I really like the Dusek kit. I am slowing trying to finish mine but other things have taken me away for a while.
- Cathead, mtaylor and Louie da fly
-
3
-
7 hours ago, Cathead said:
Cool! Rigging always helps tie a ship together.
Thanks 😎
-
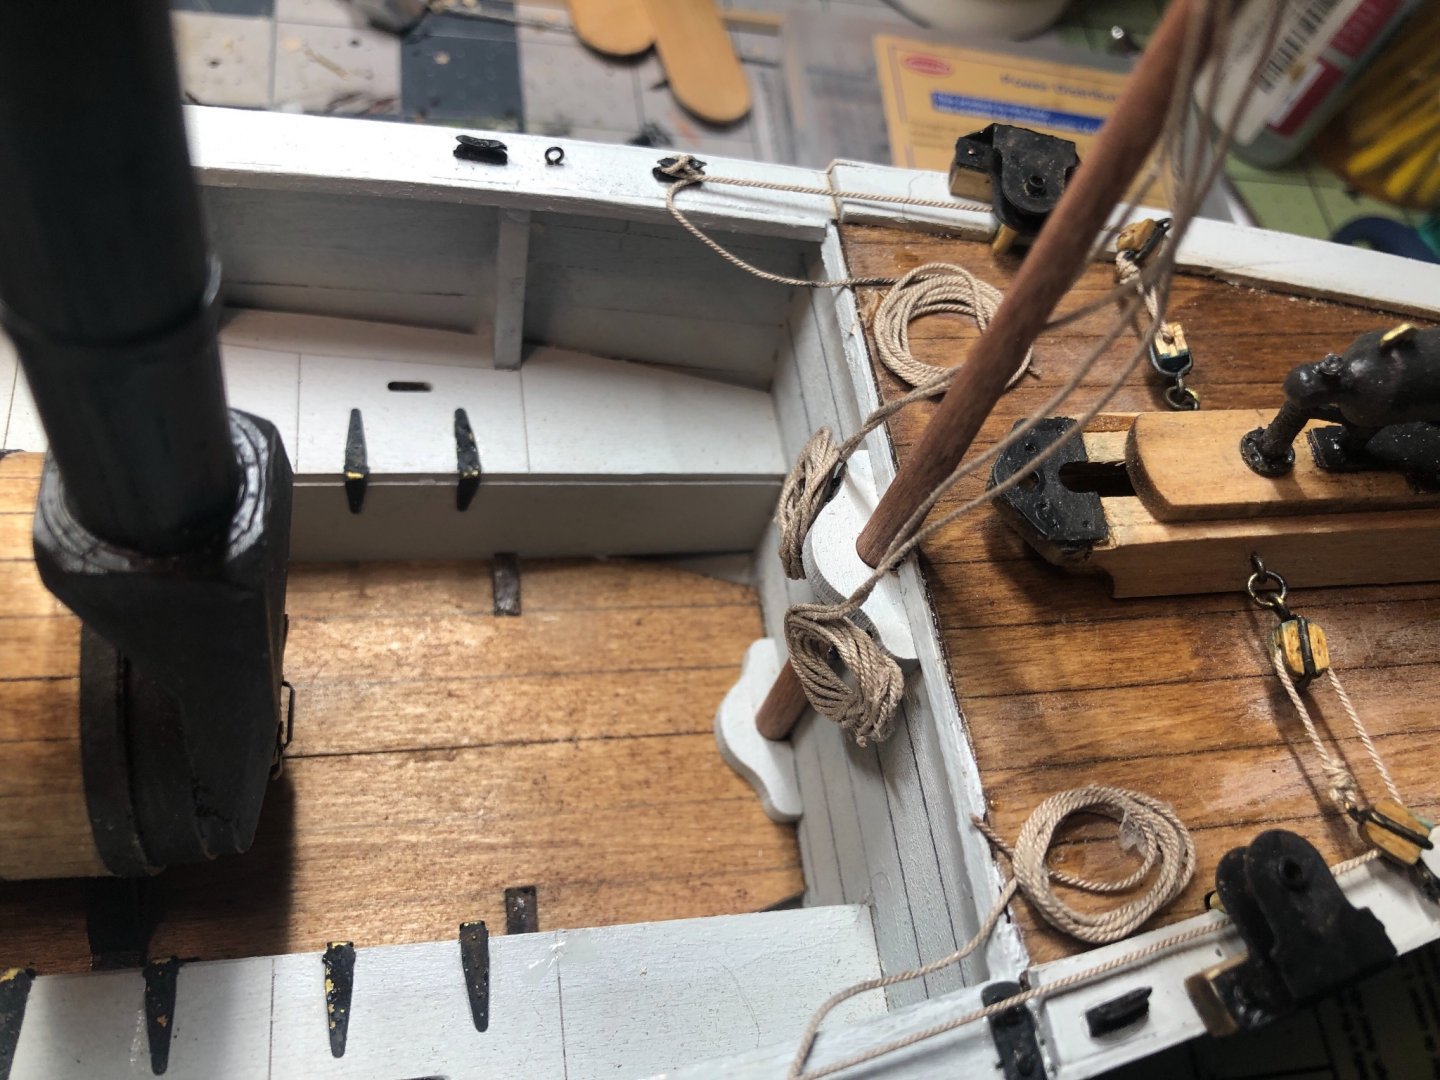
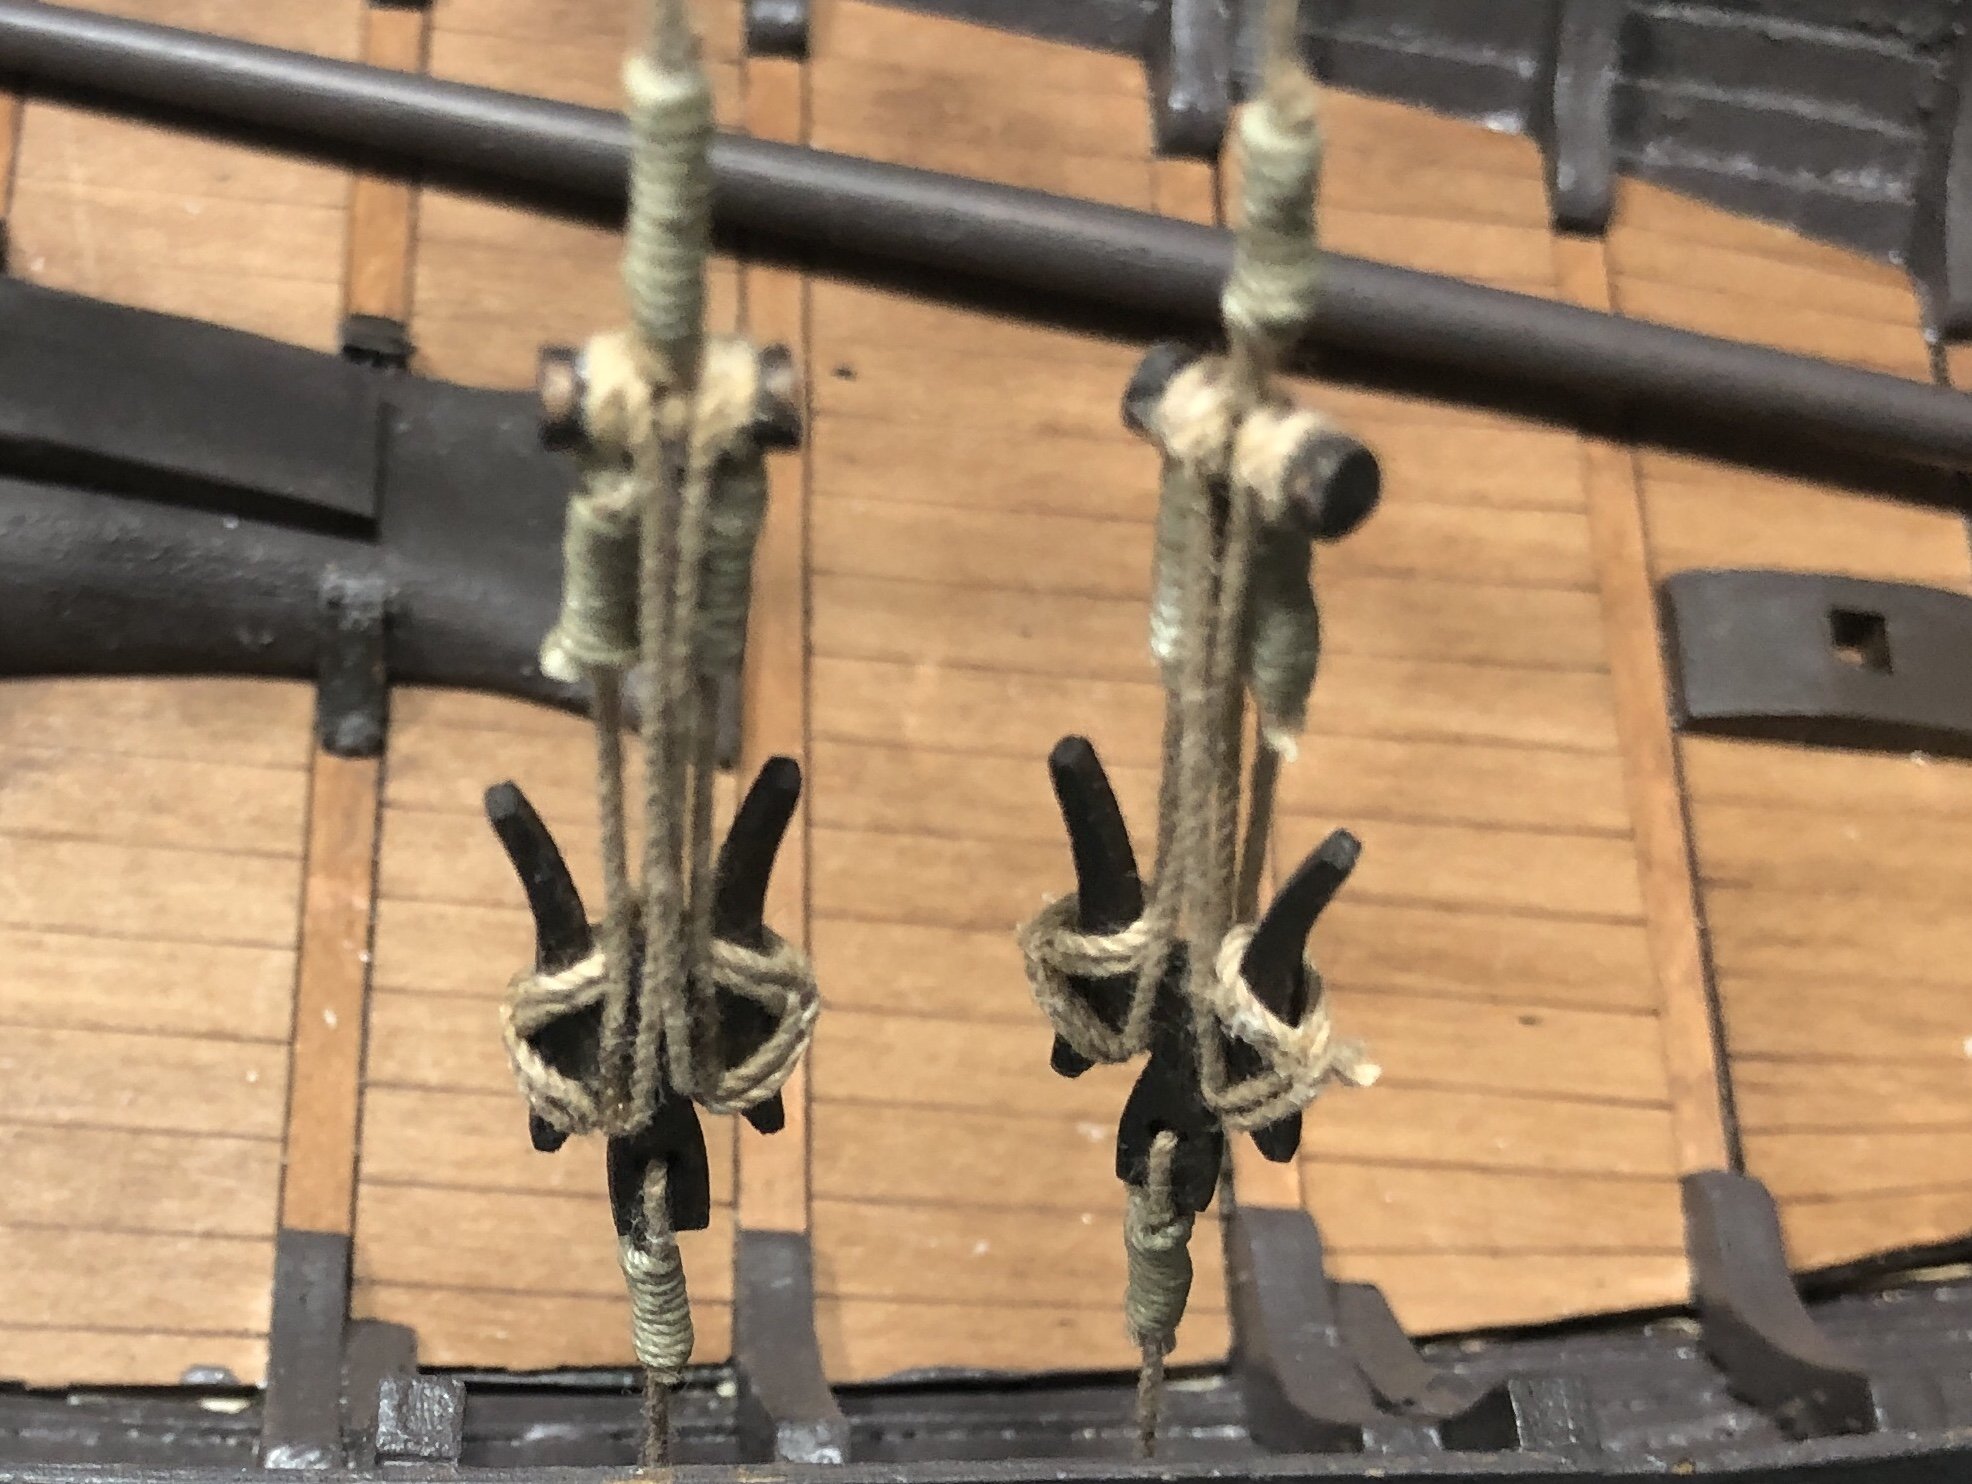
I have recently put the mast and main stays in place.

Shrouds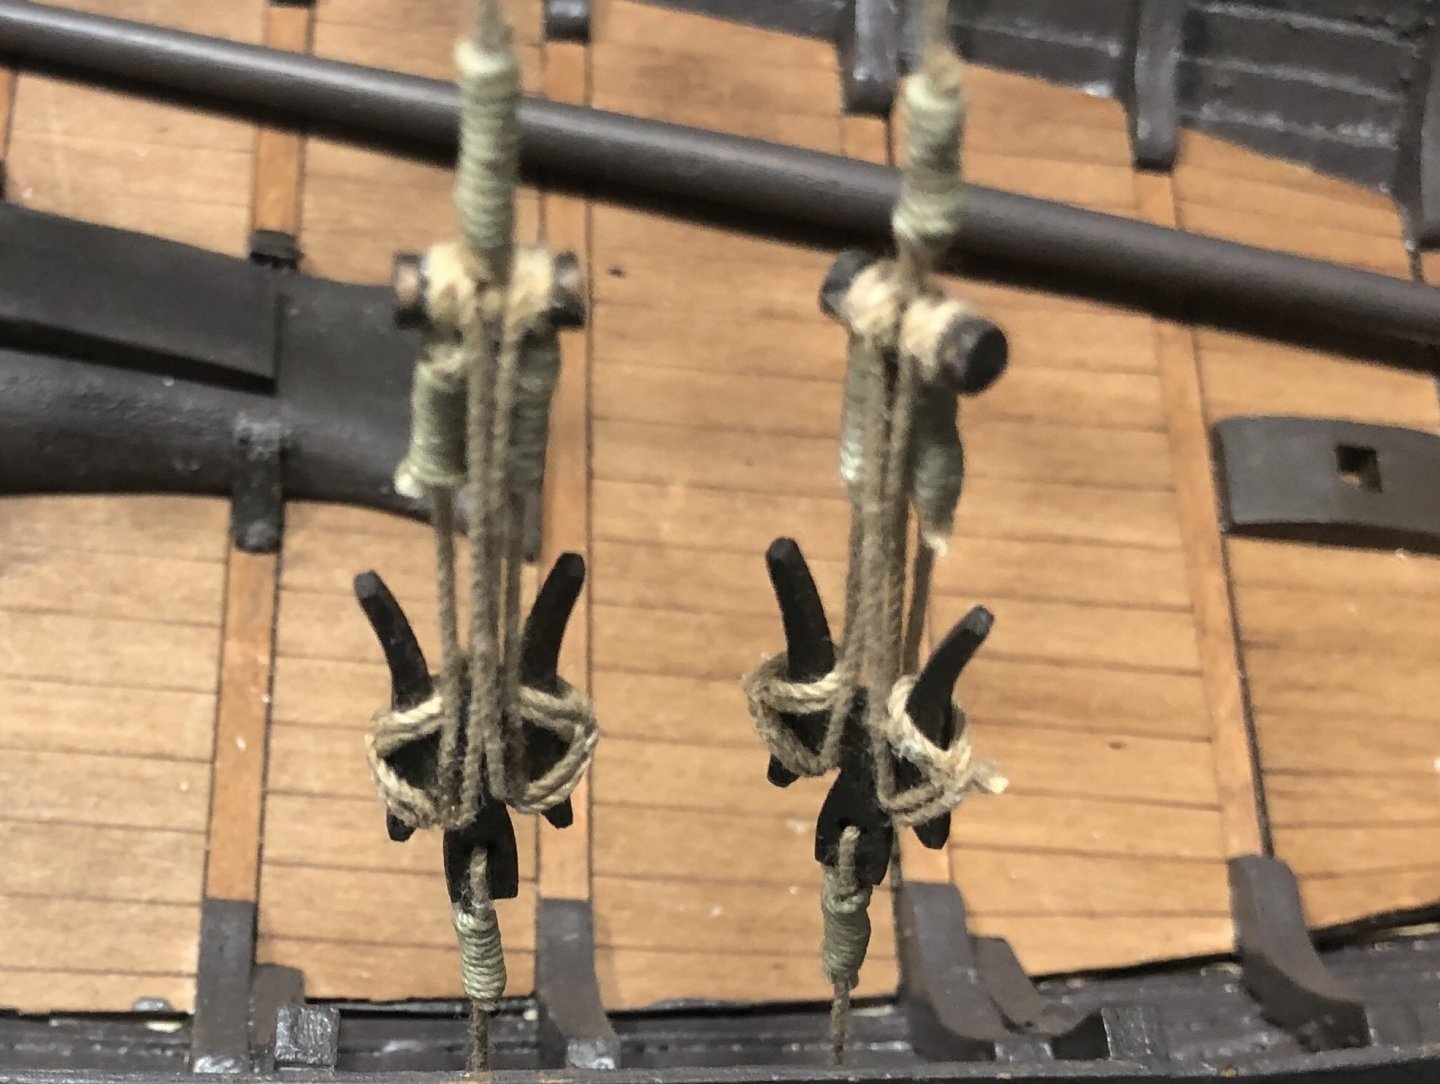
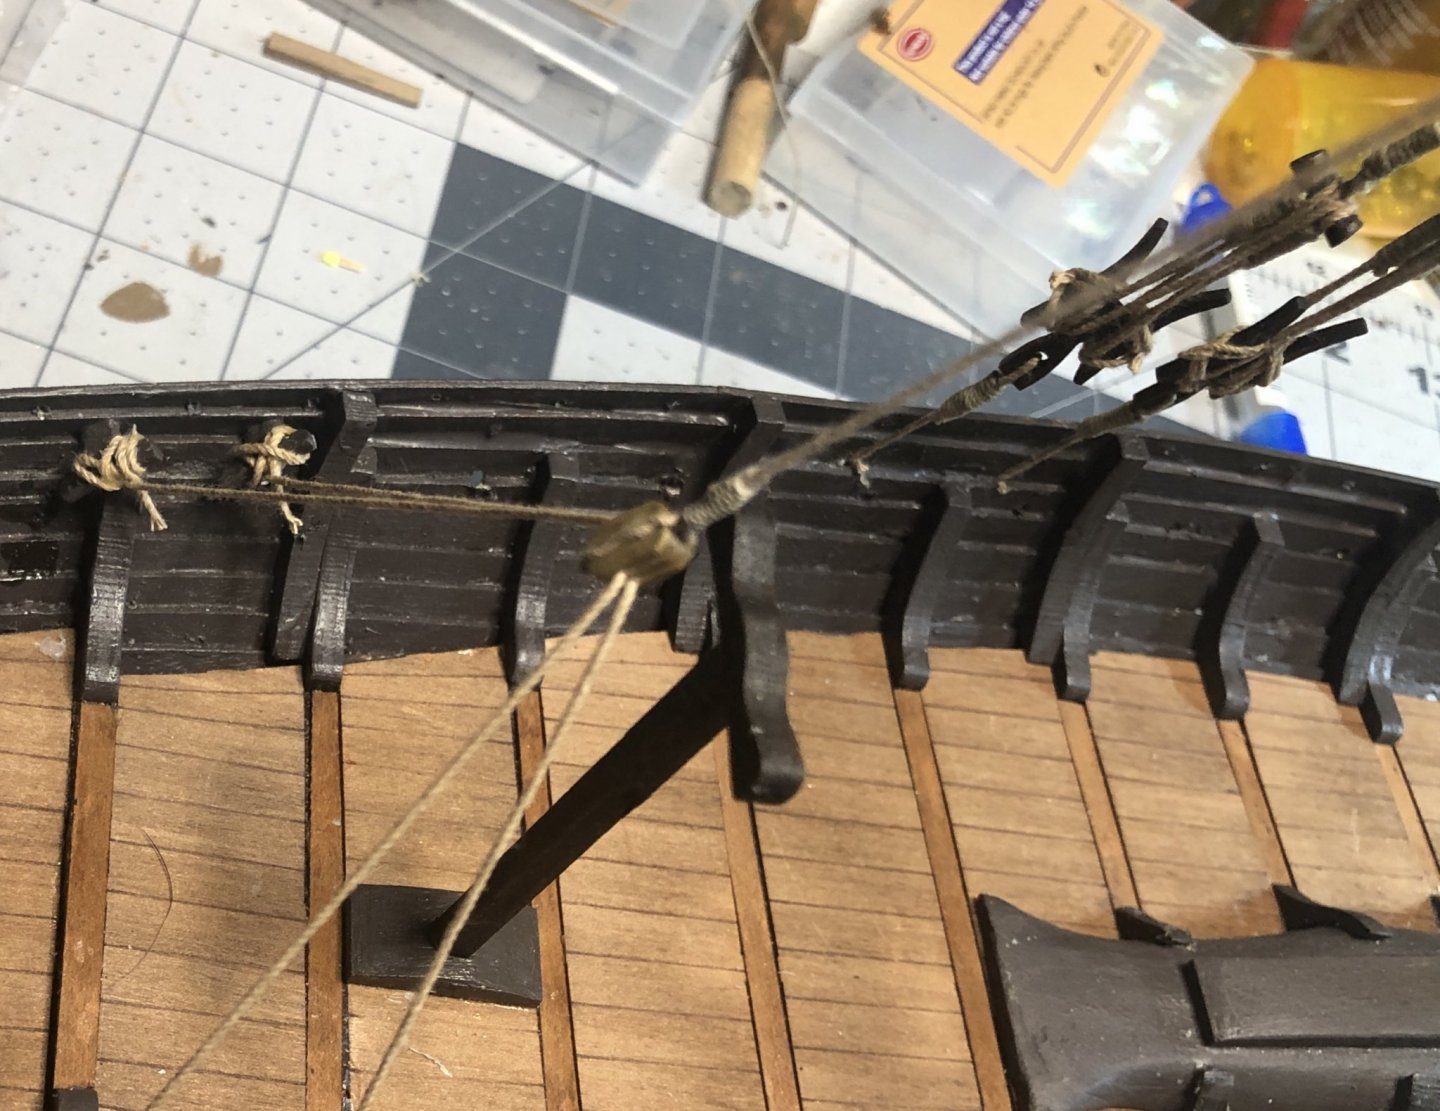
Now I am working on the yellow shields.
- Binho, Louie da fly, Cathead and 1 other
-
4
-
-
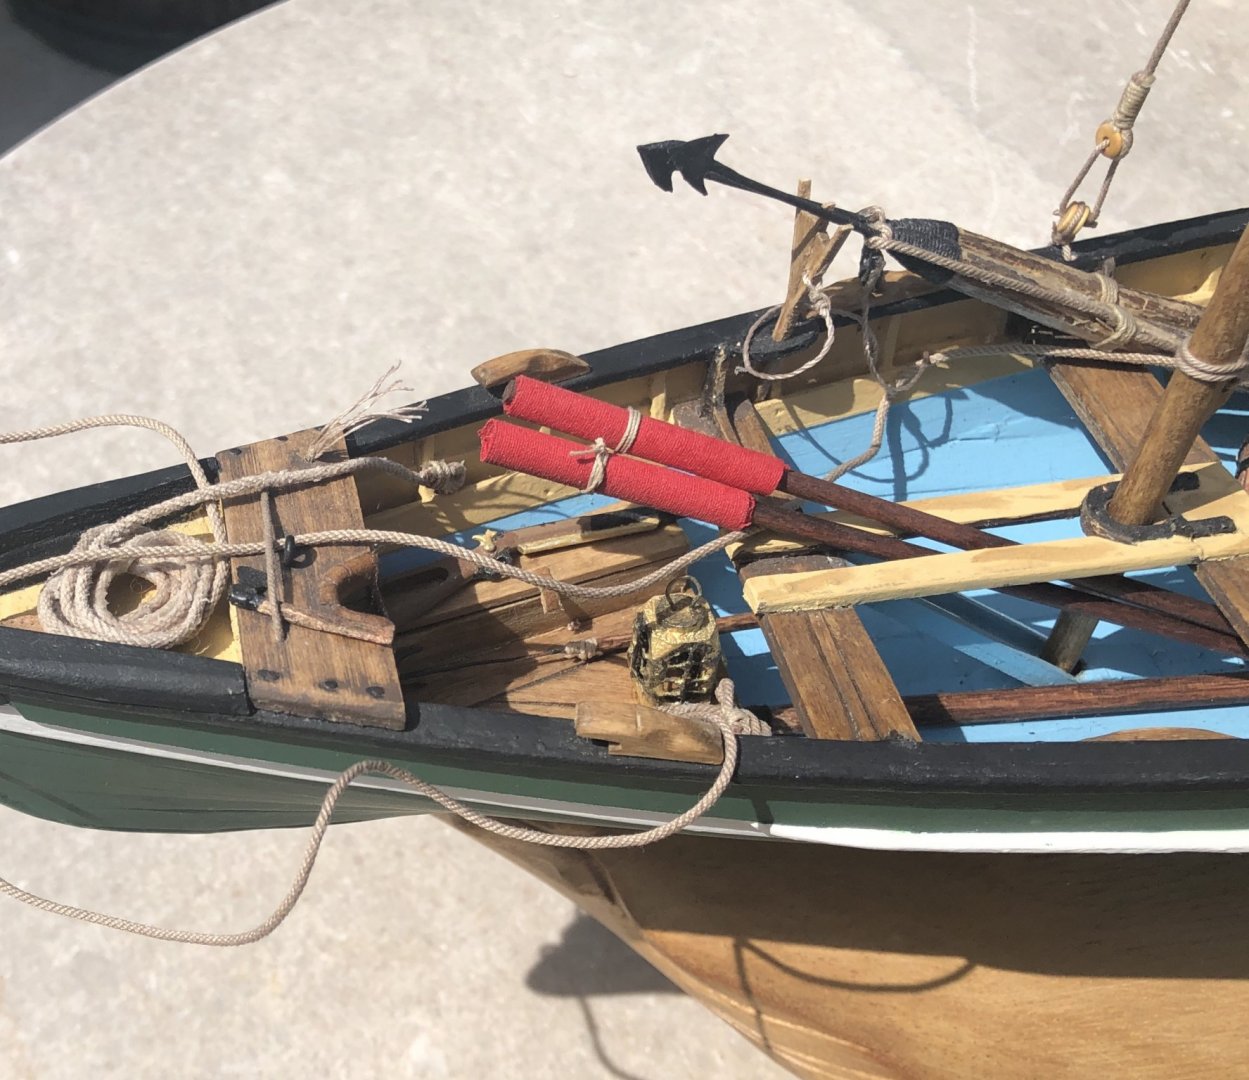
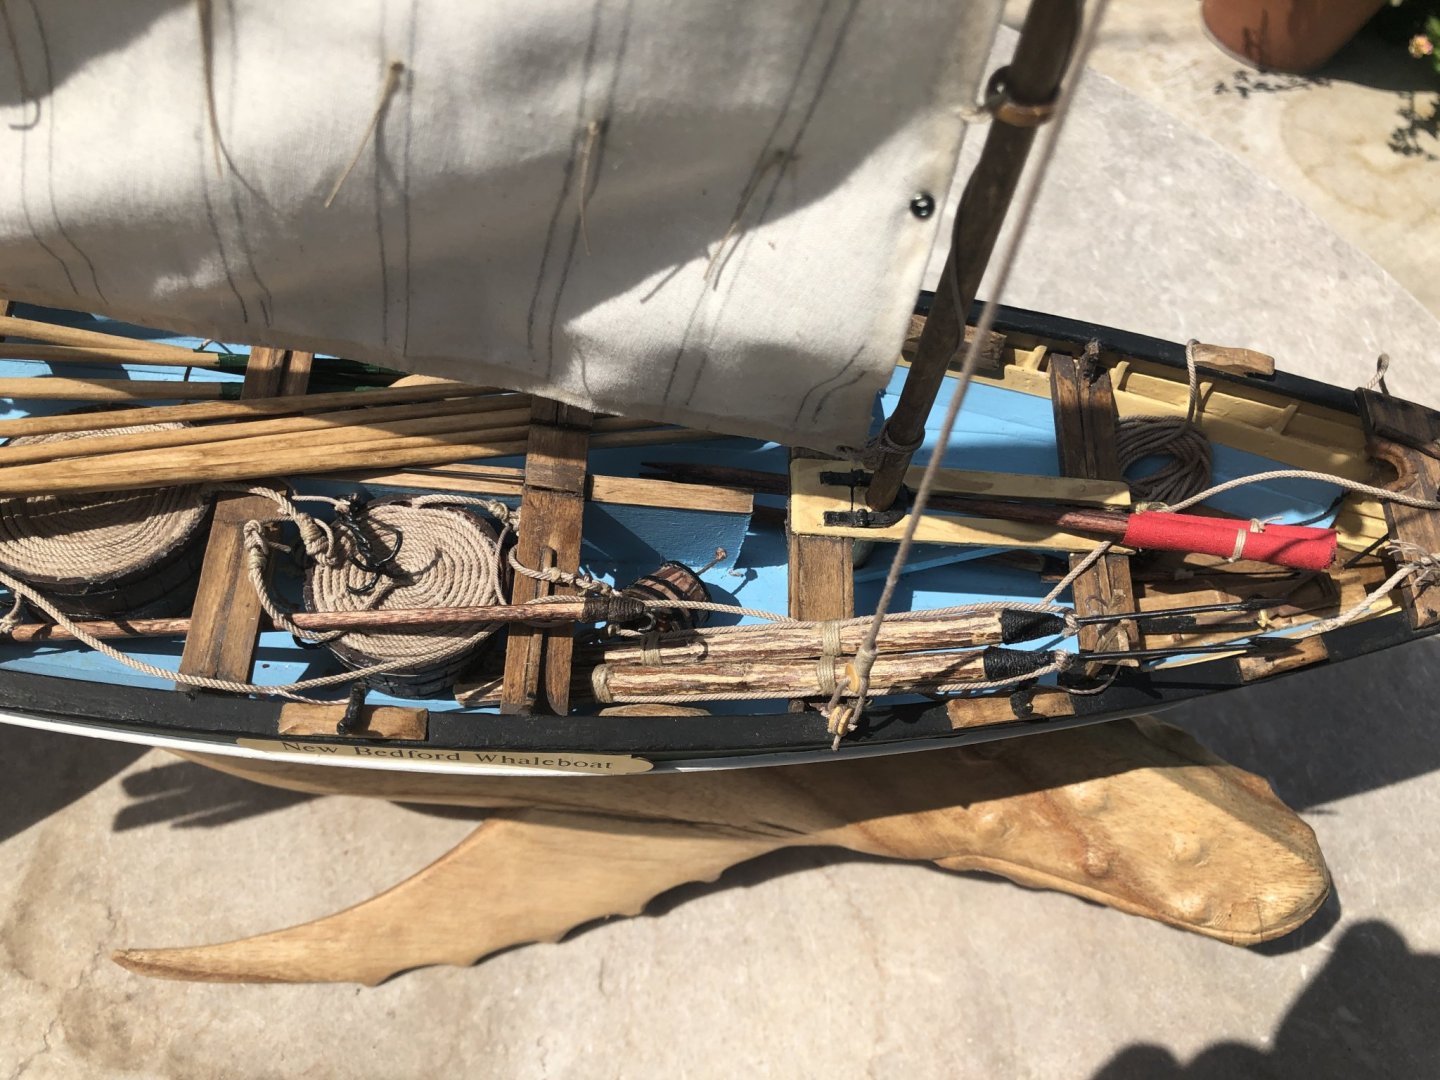
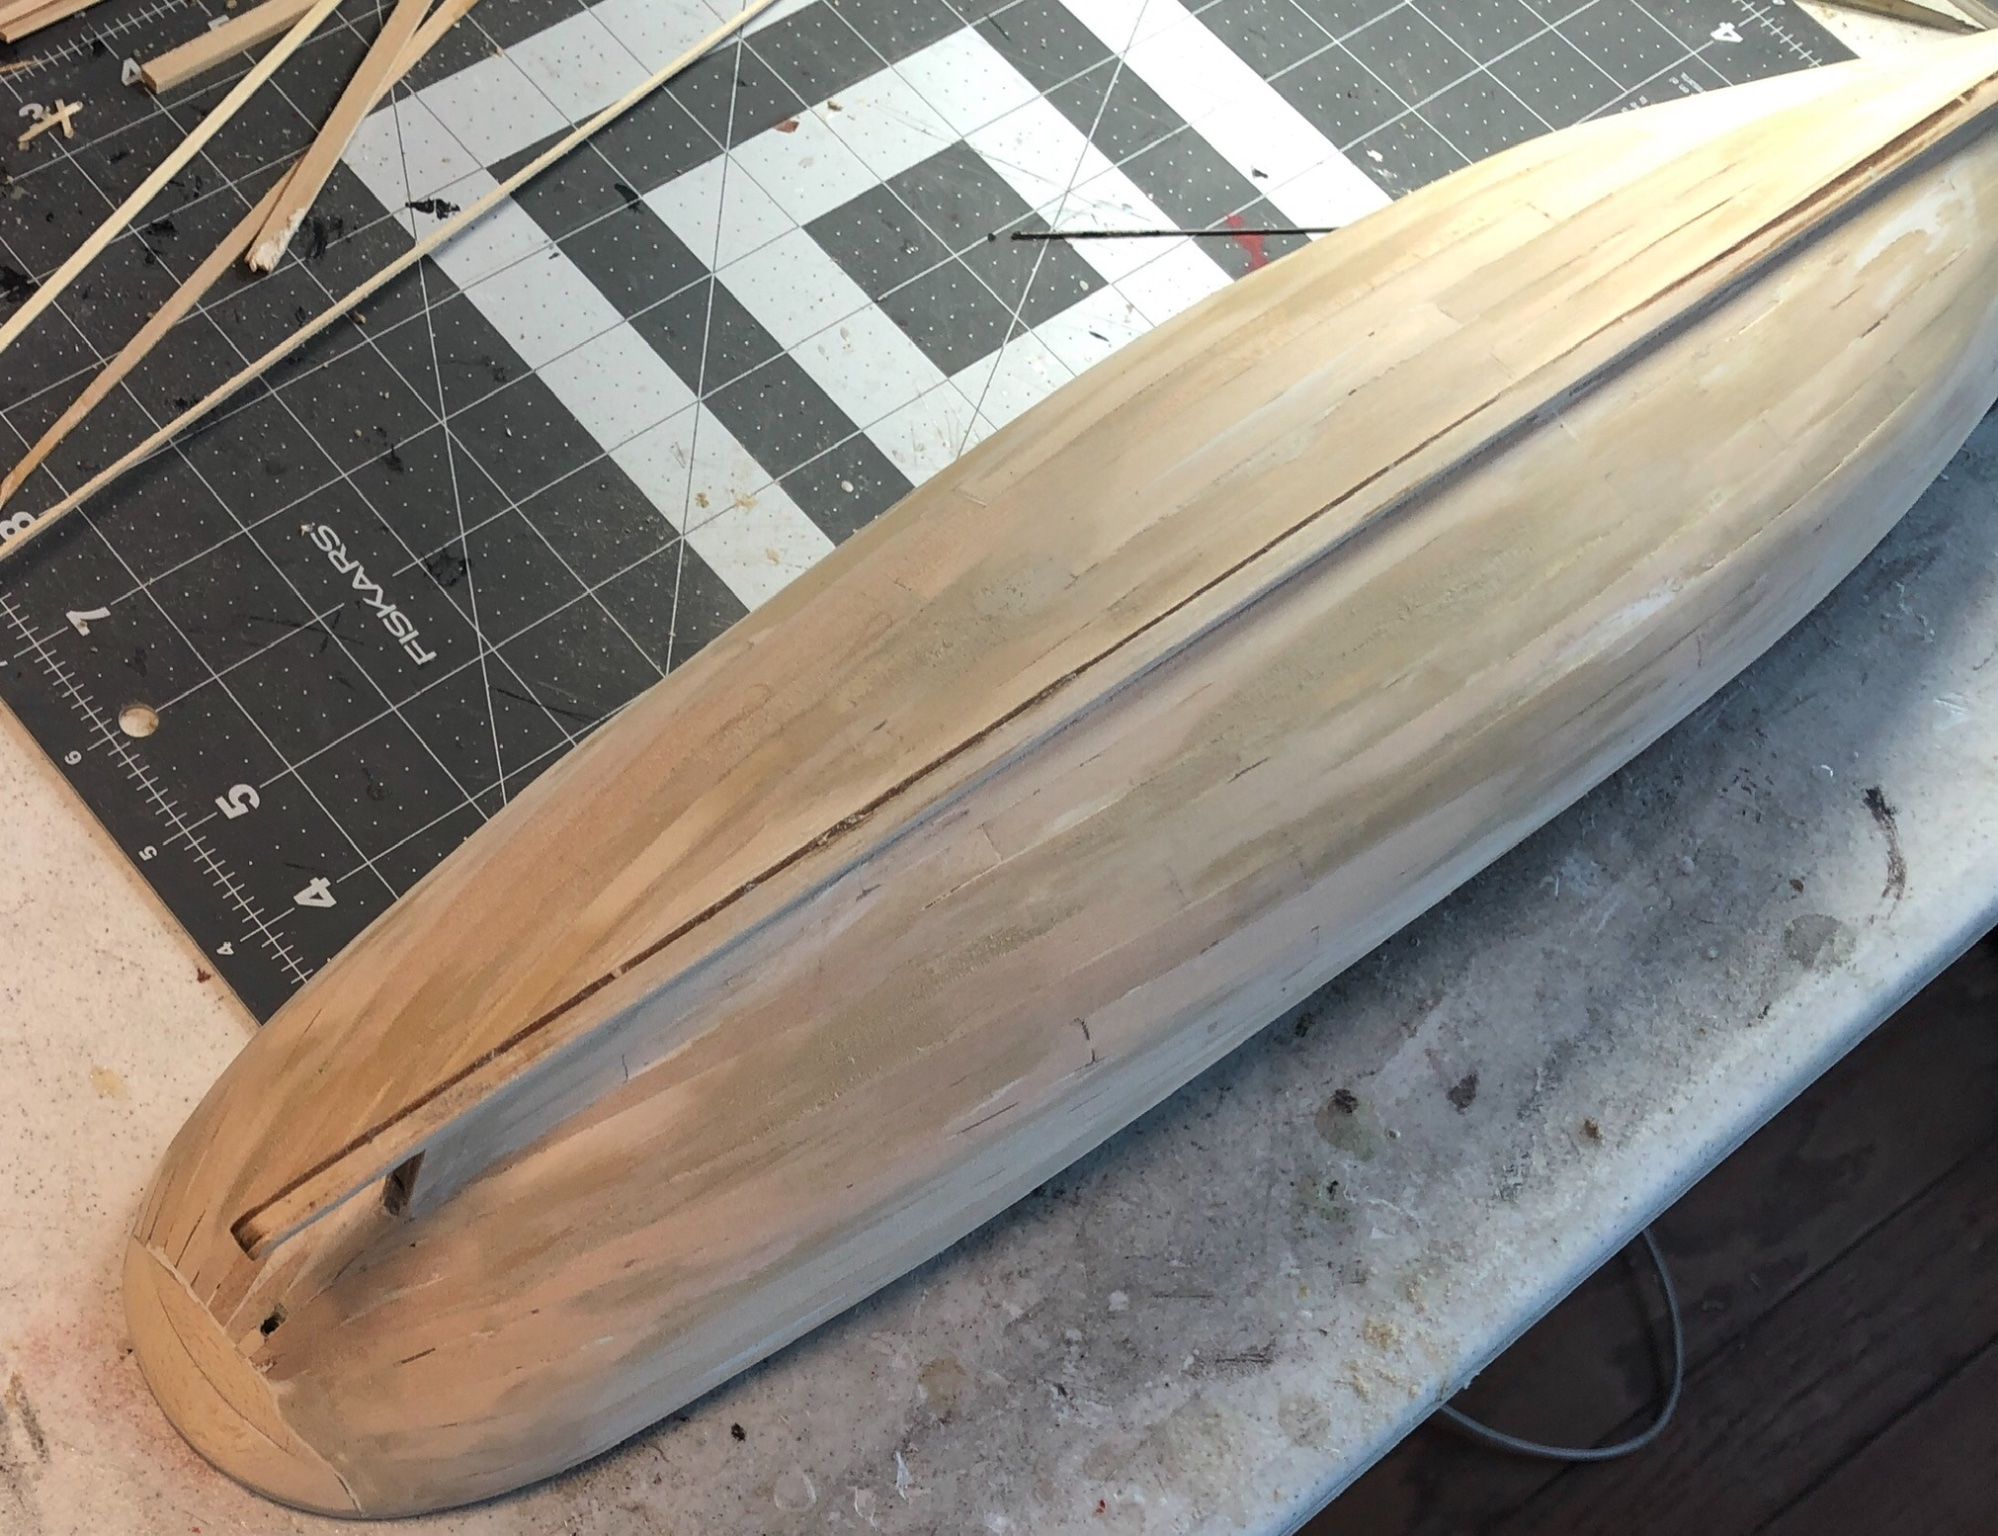
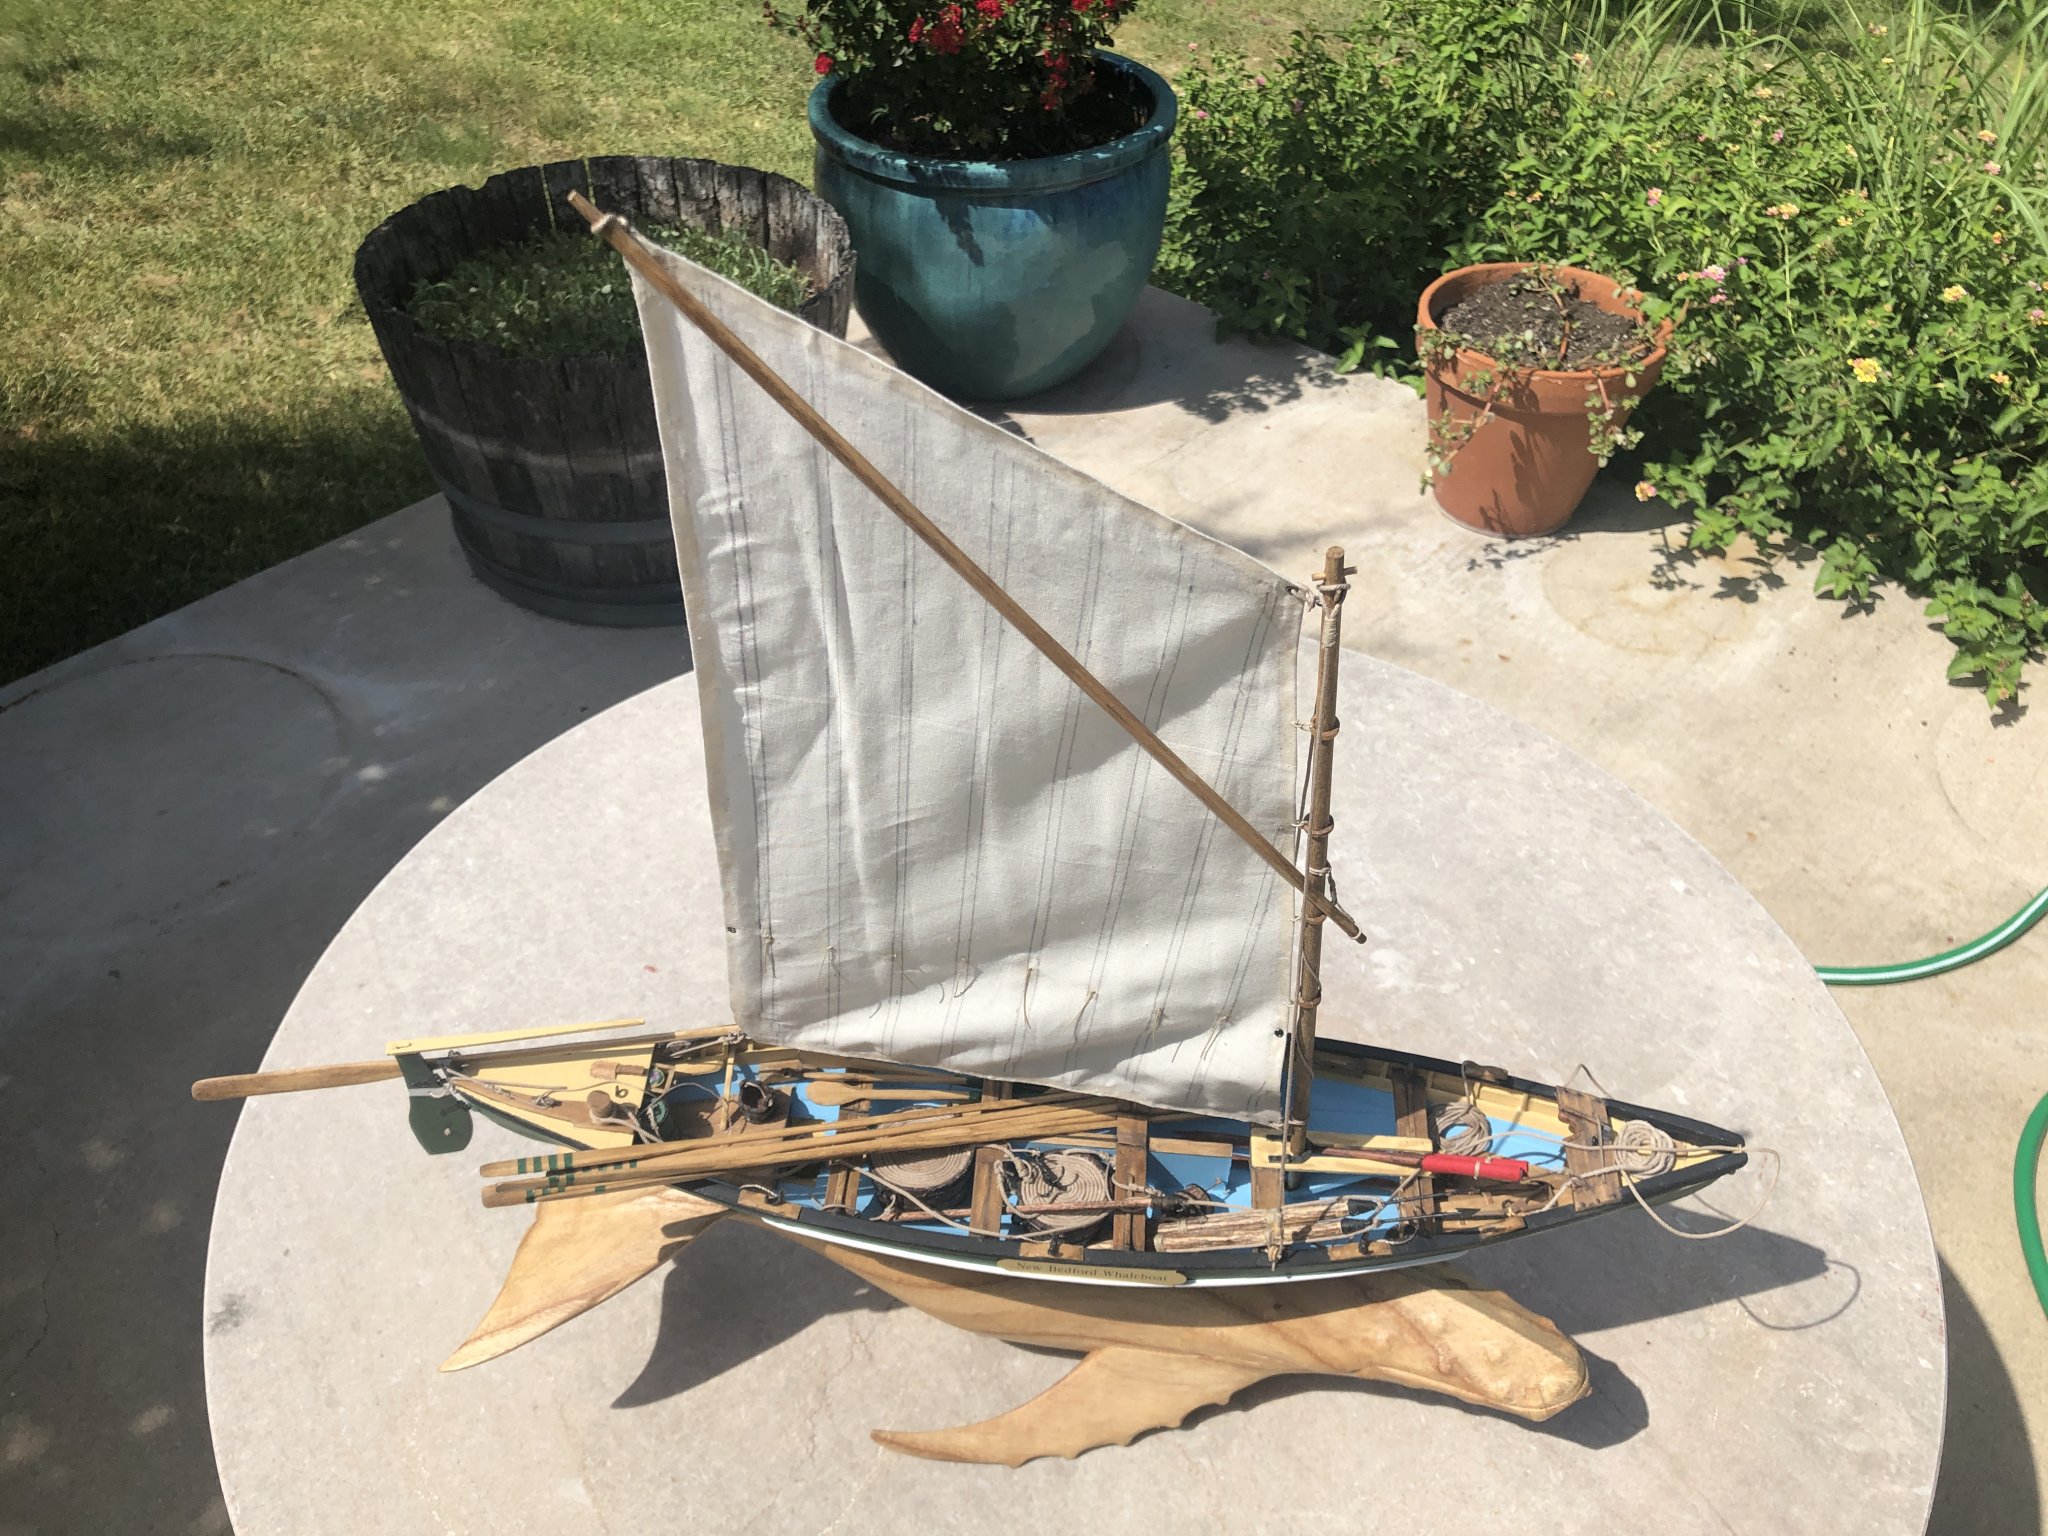
Went back to my New Bedford Whaleboat and decided to raise the sail. No log steps but I have some parting shots.

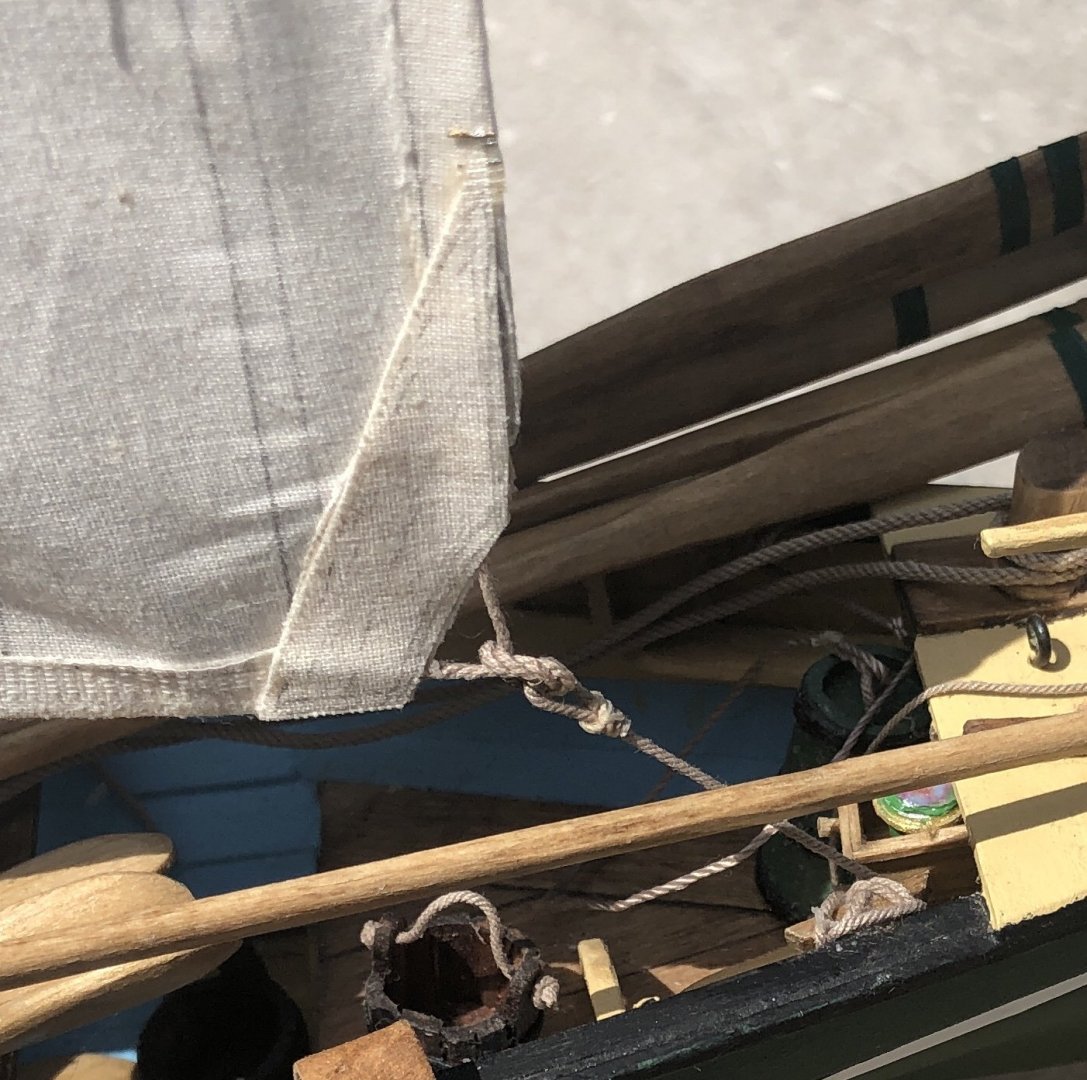

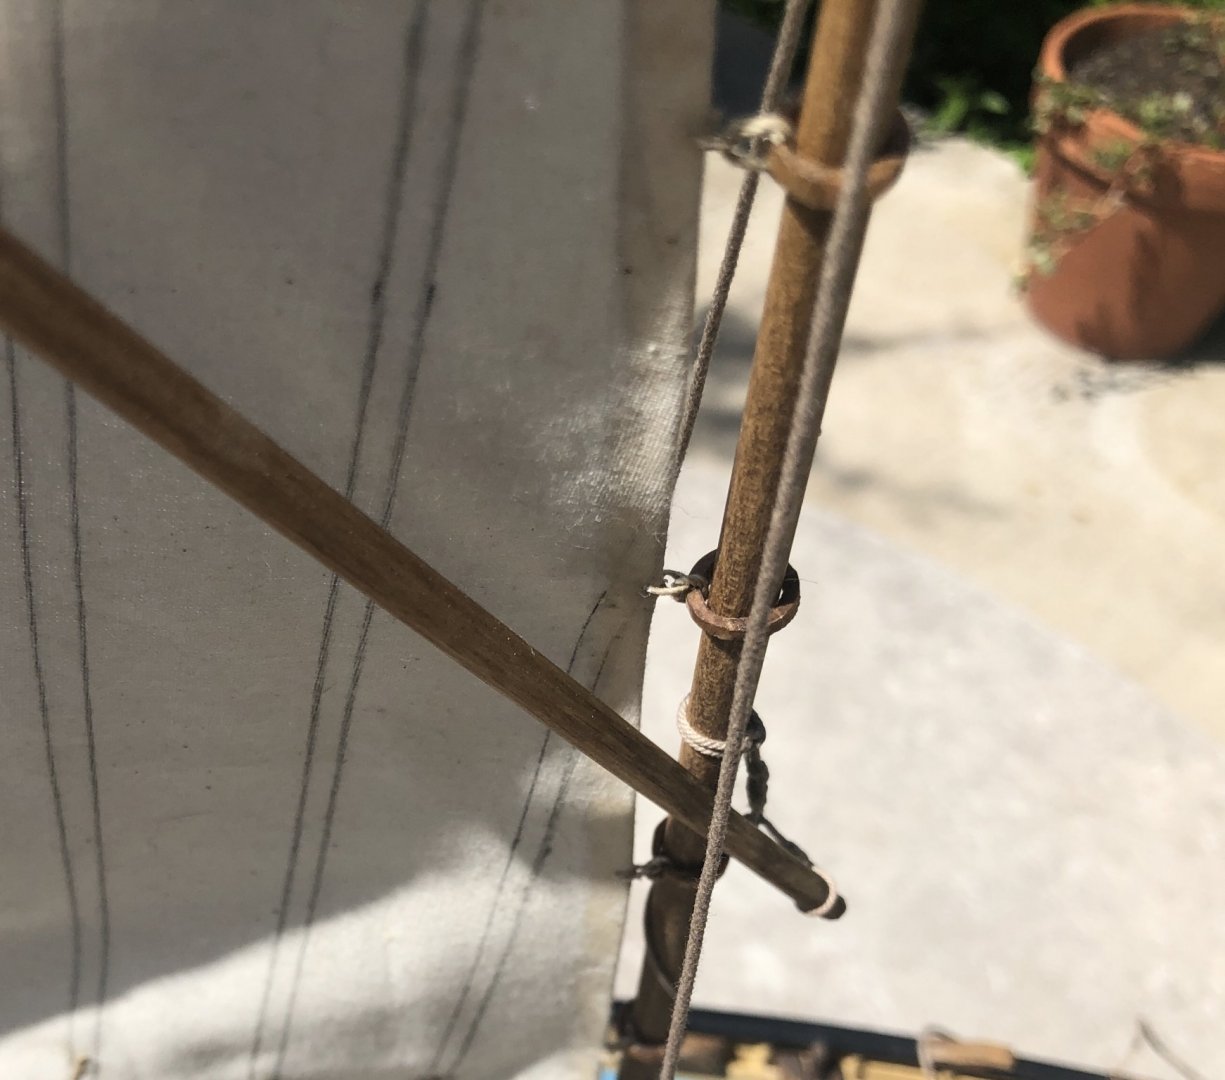
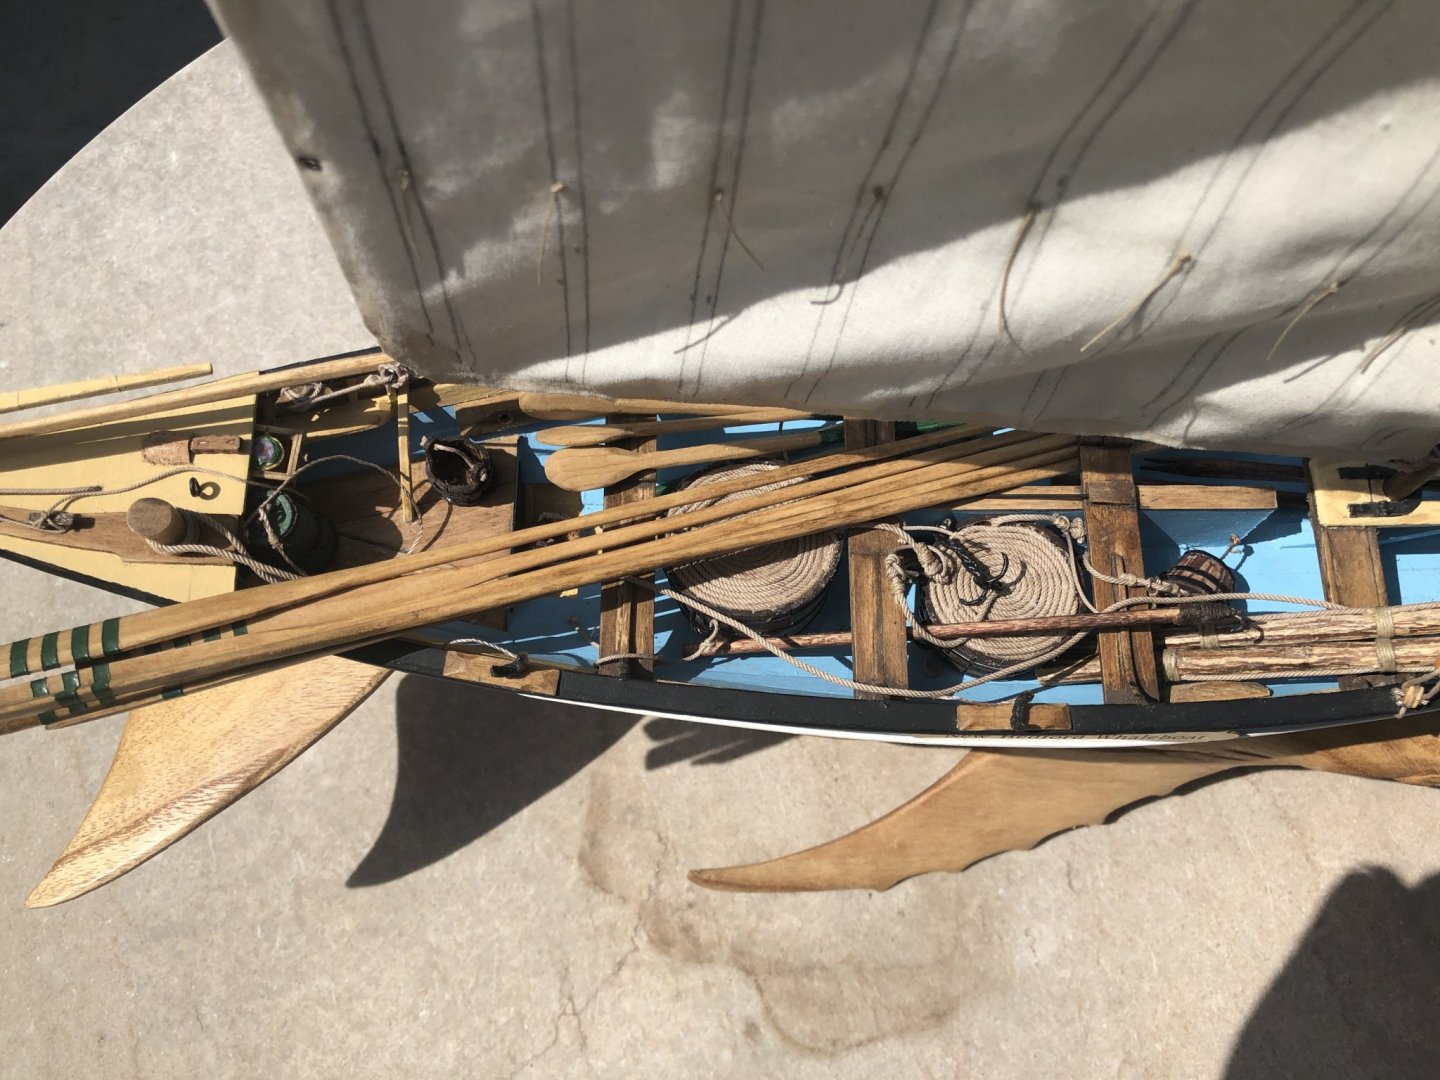
- Moab, GrandpaPhil, G.L. and 4 others
-
7
-
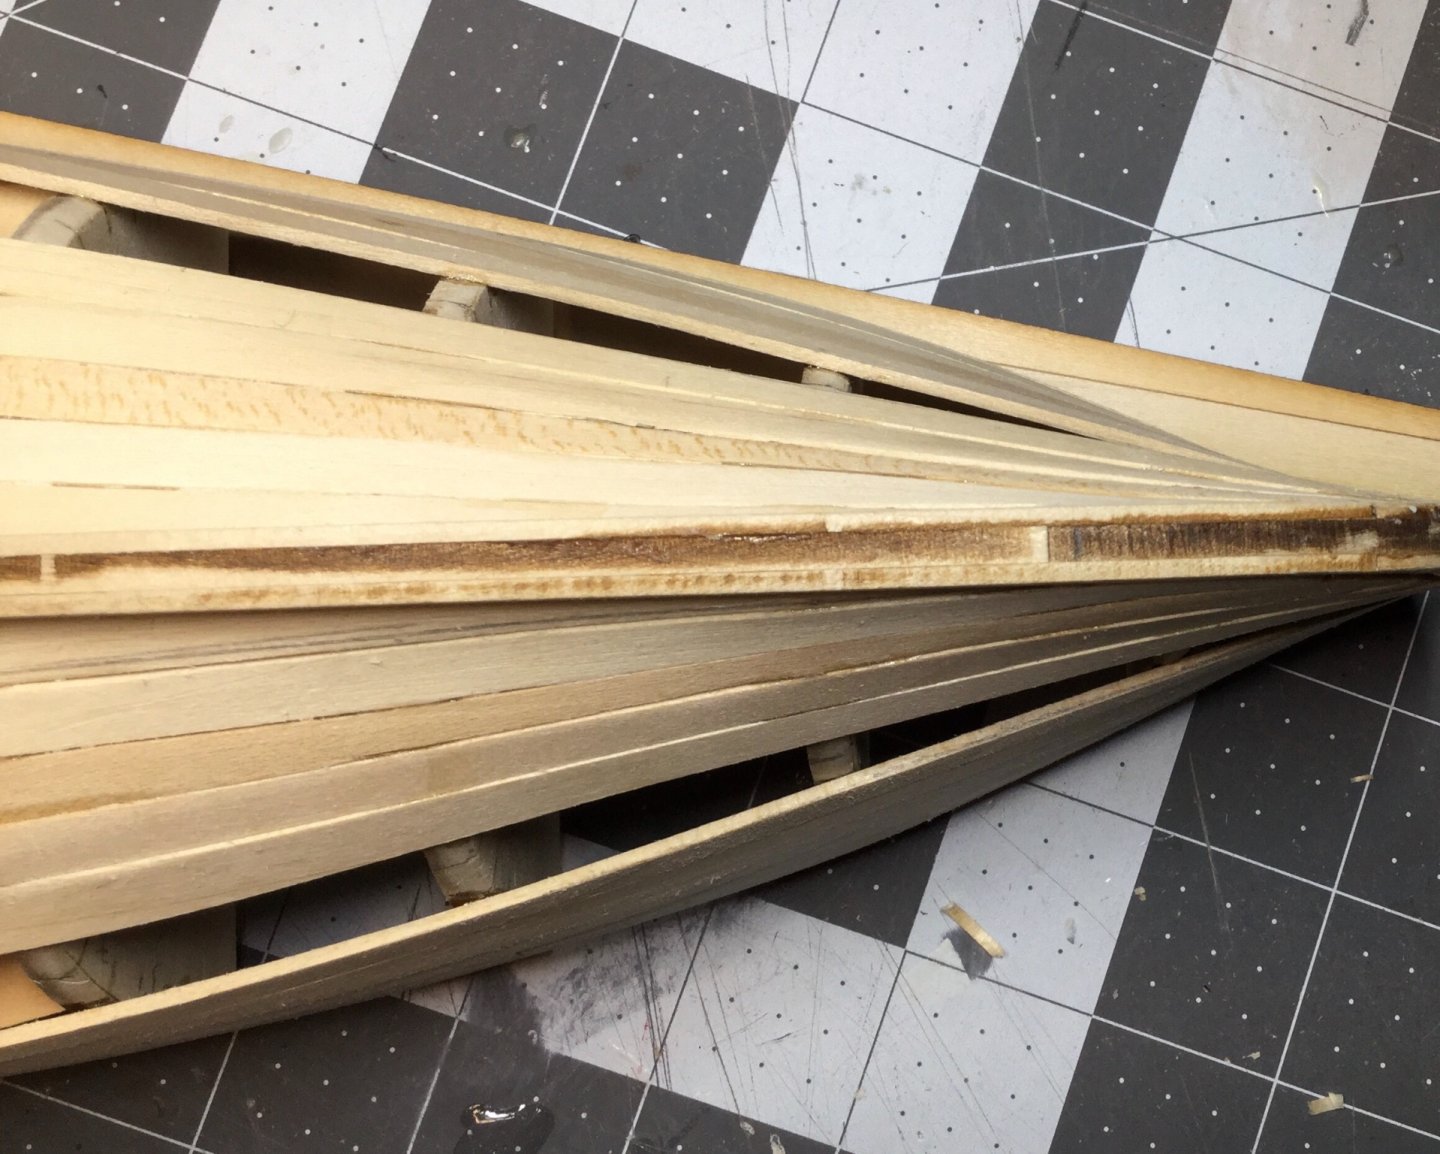
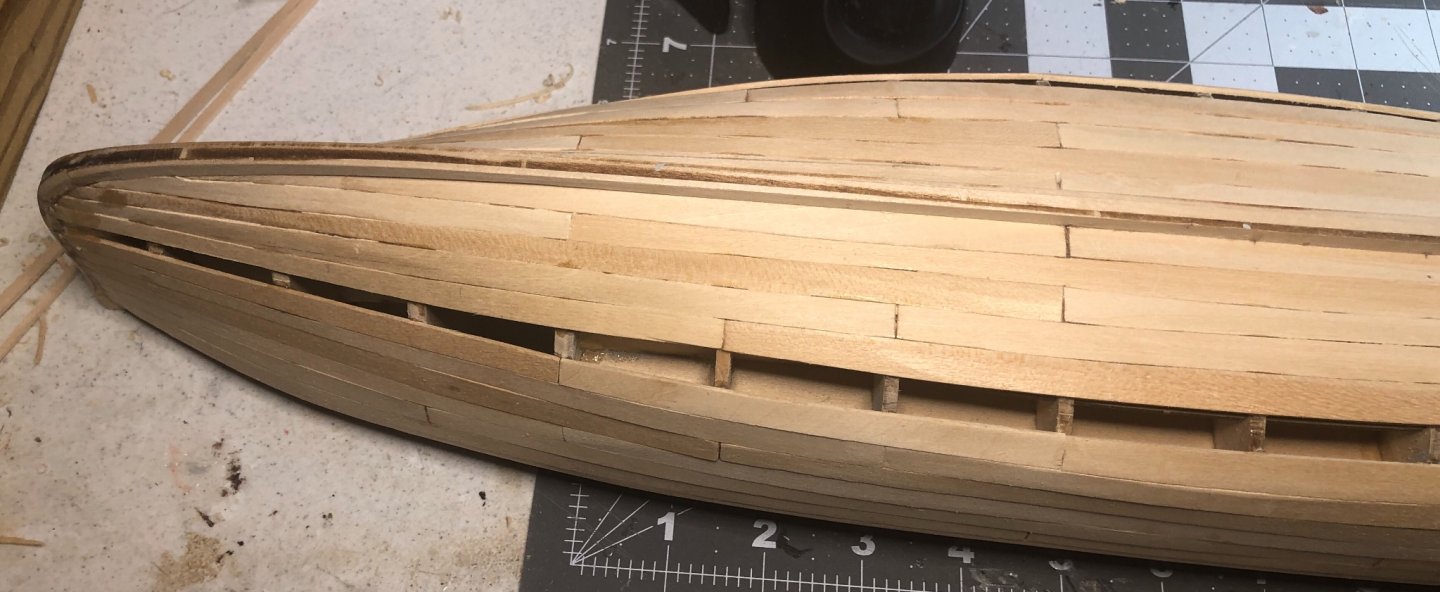
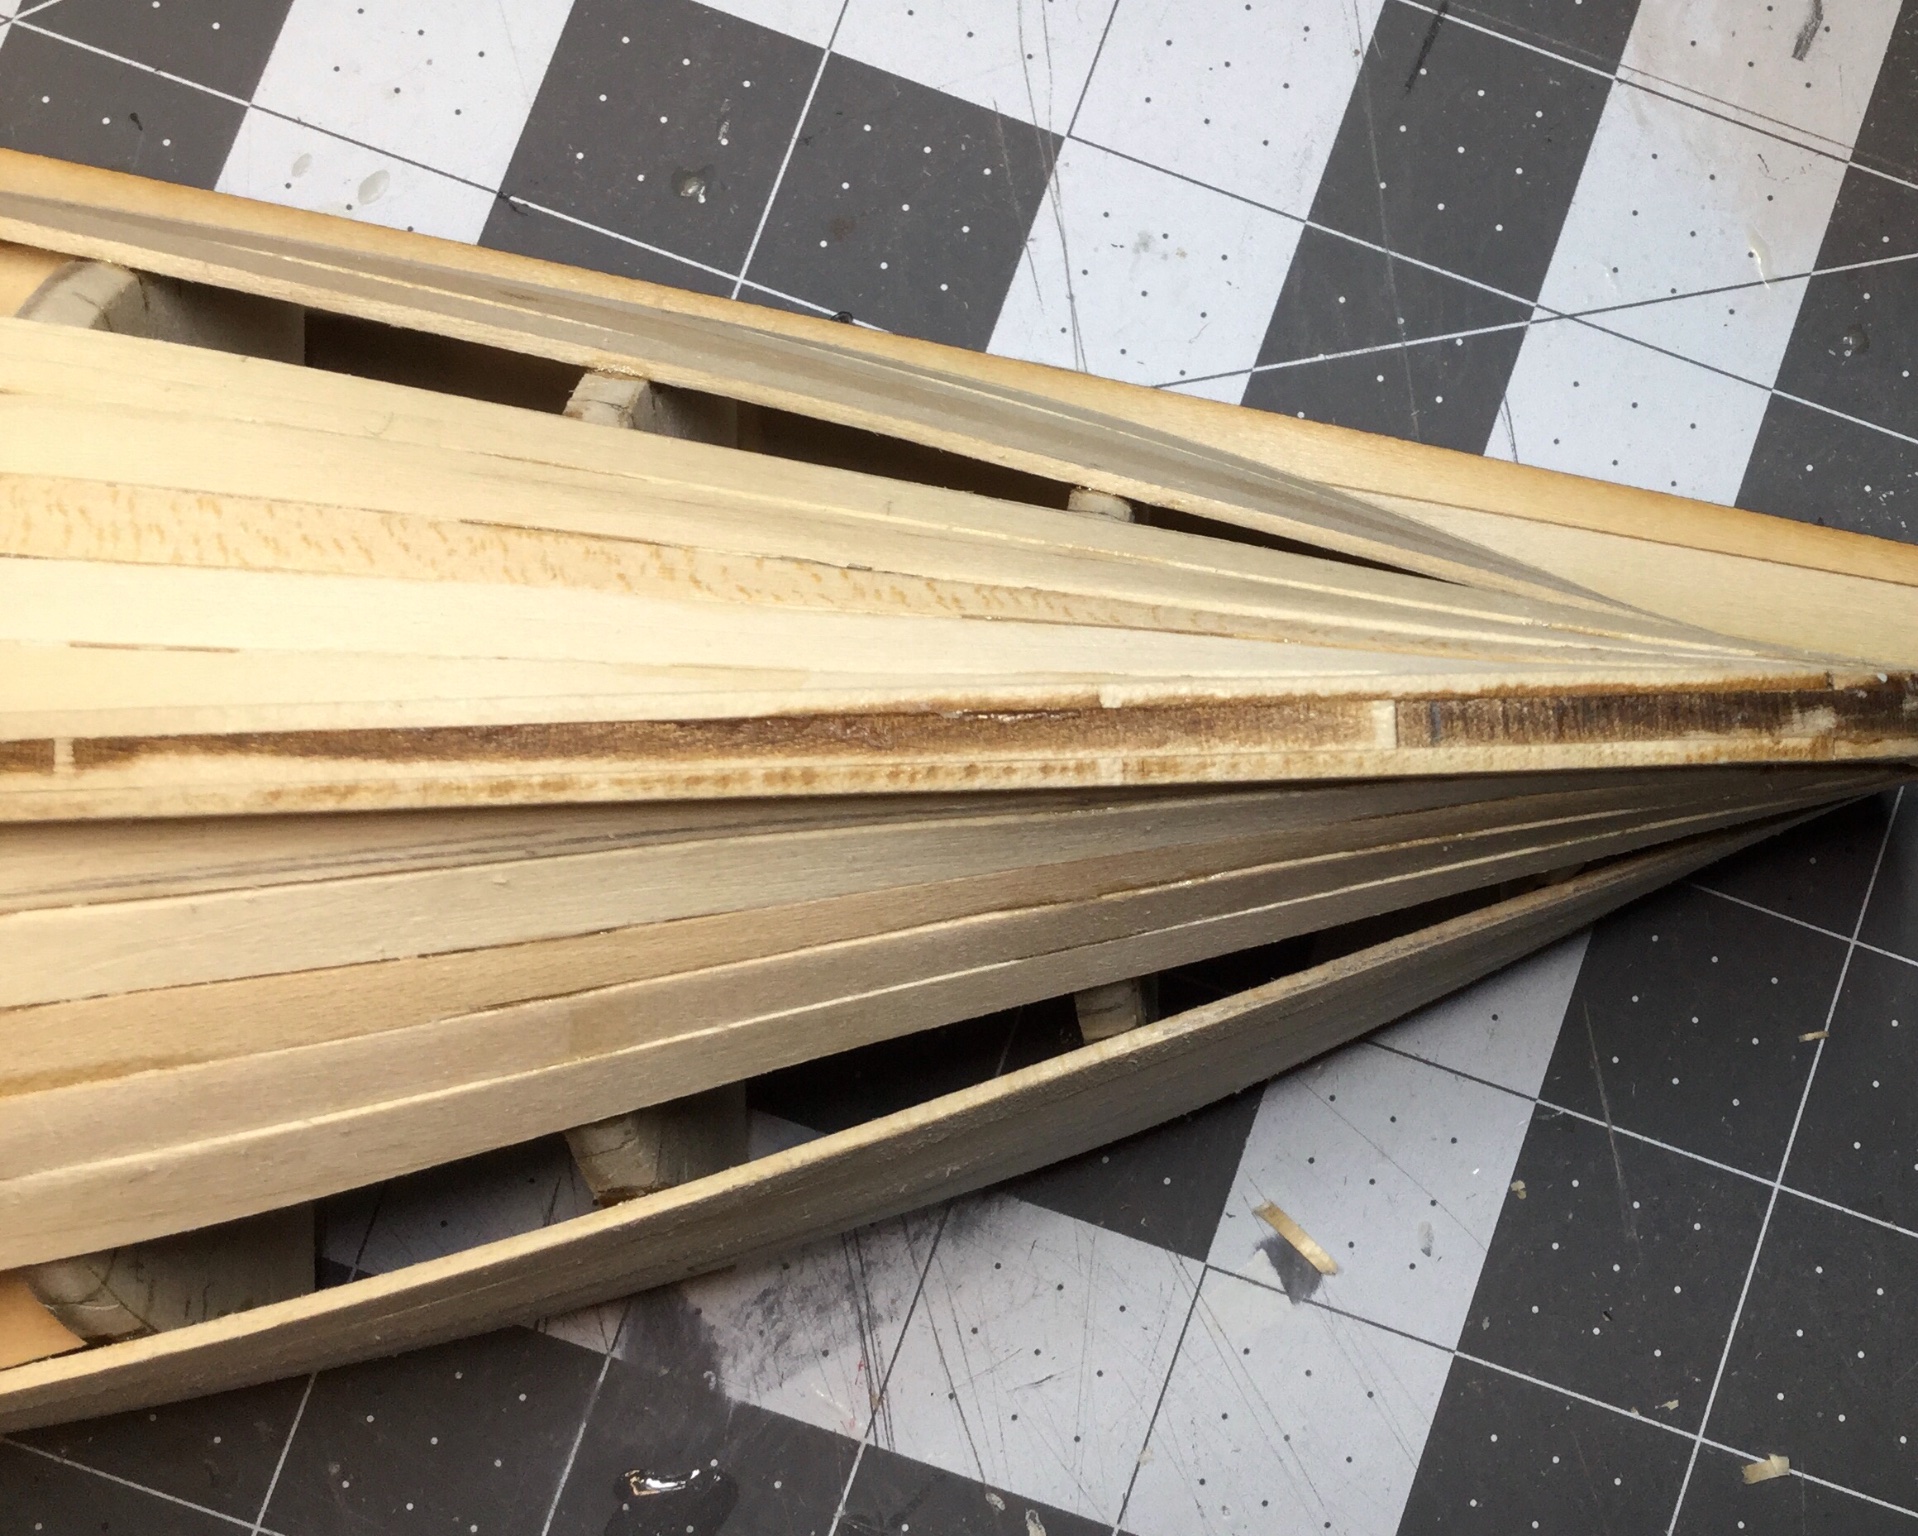
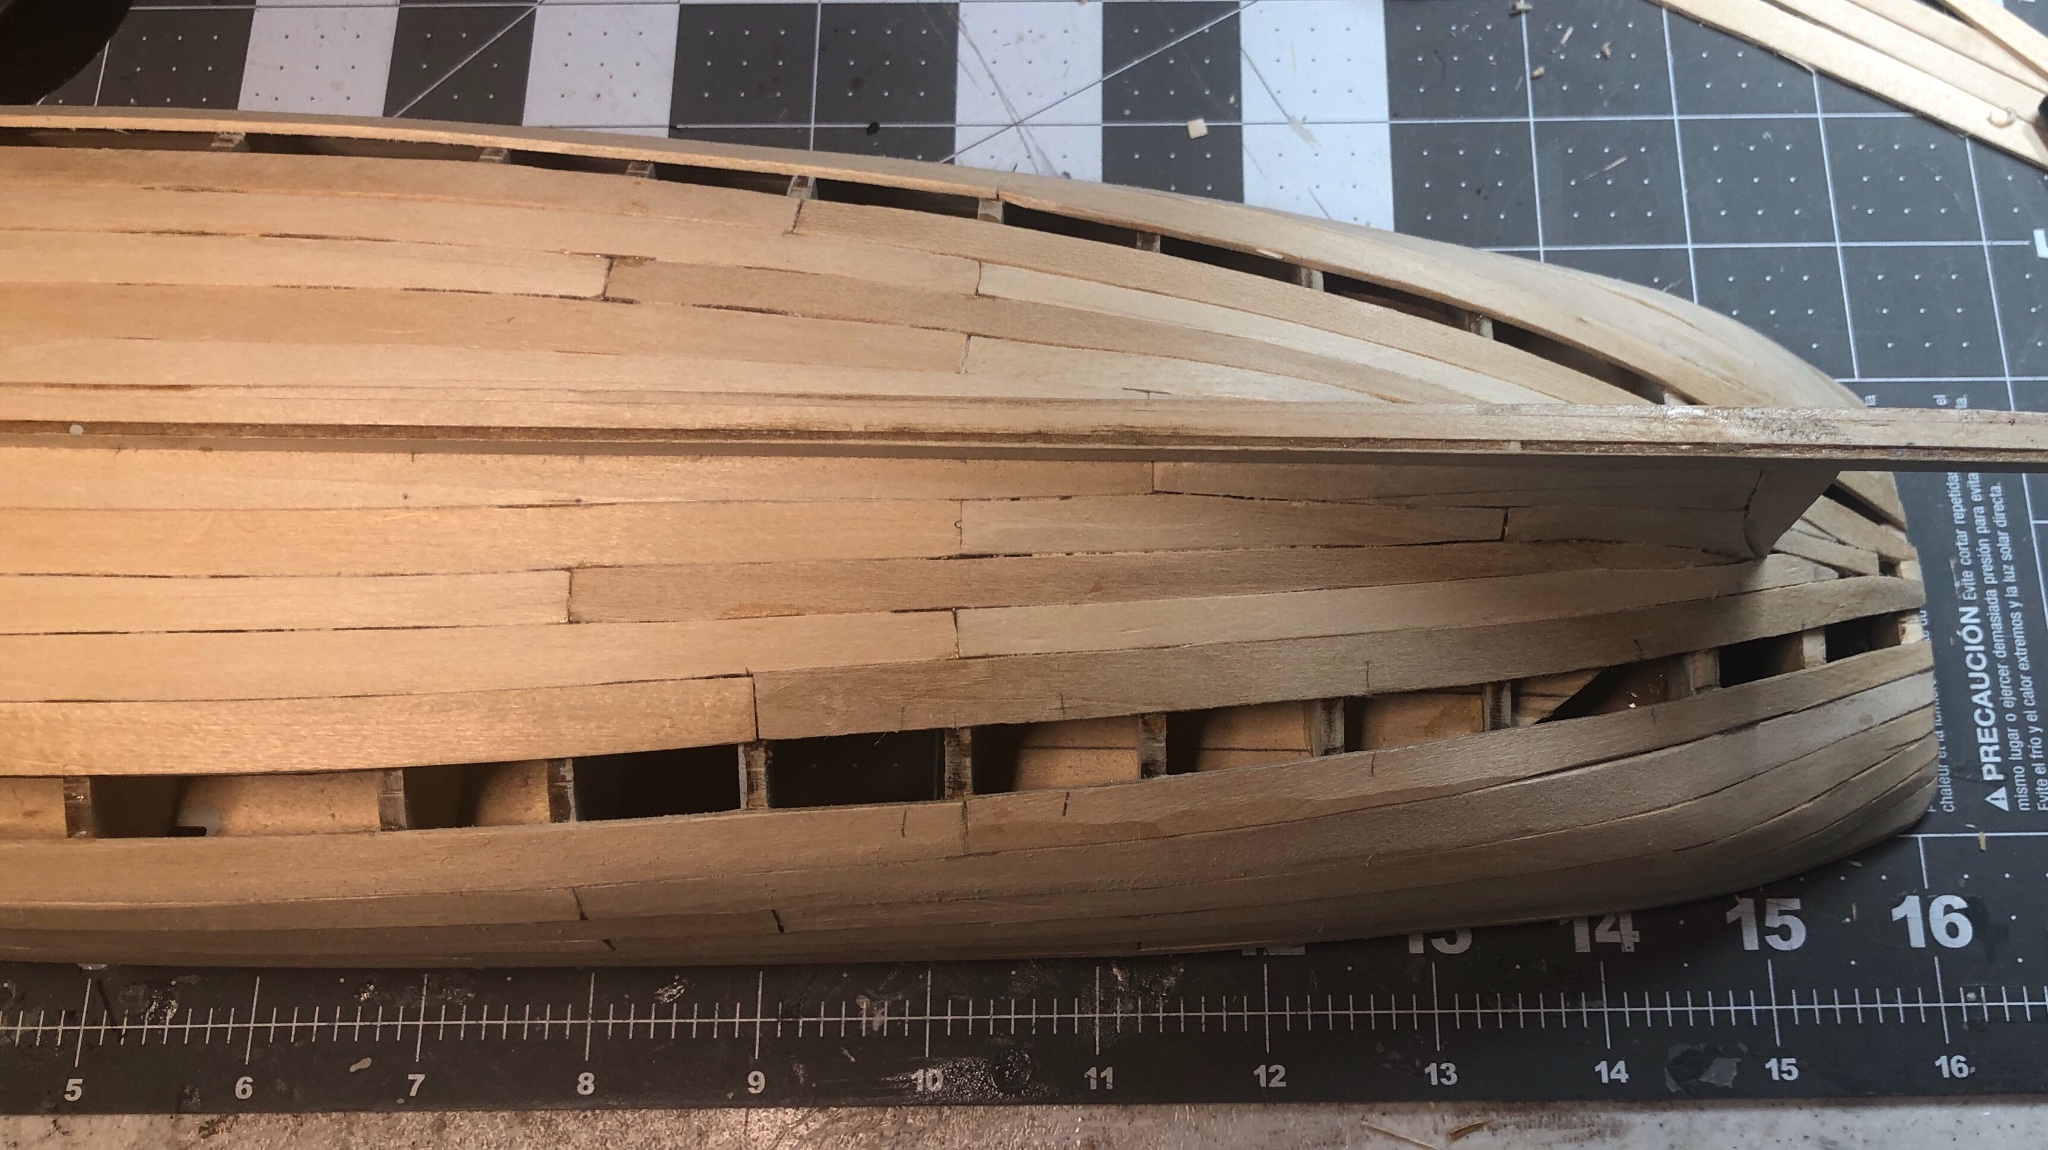
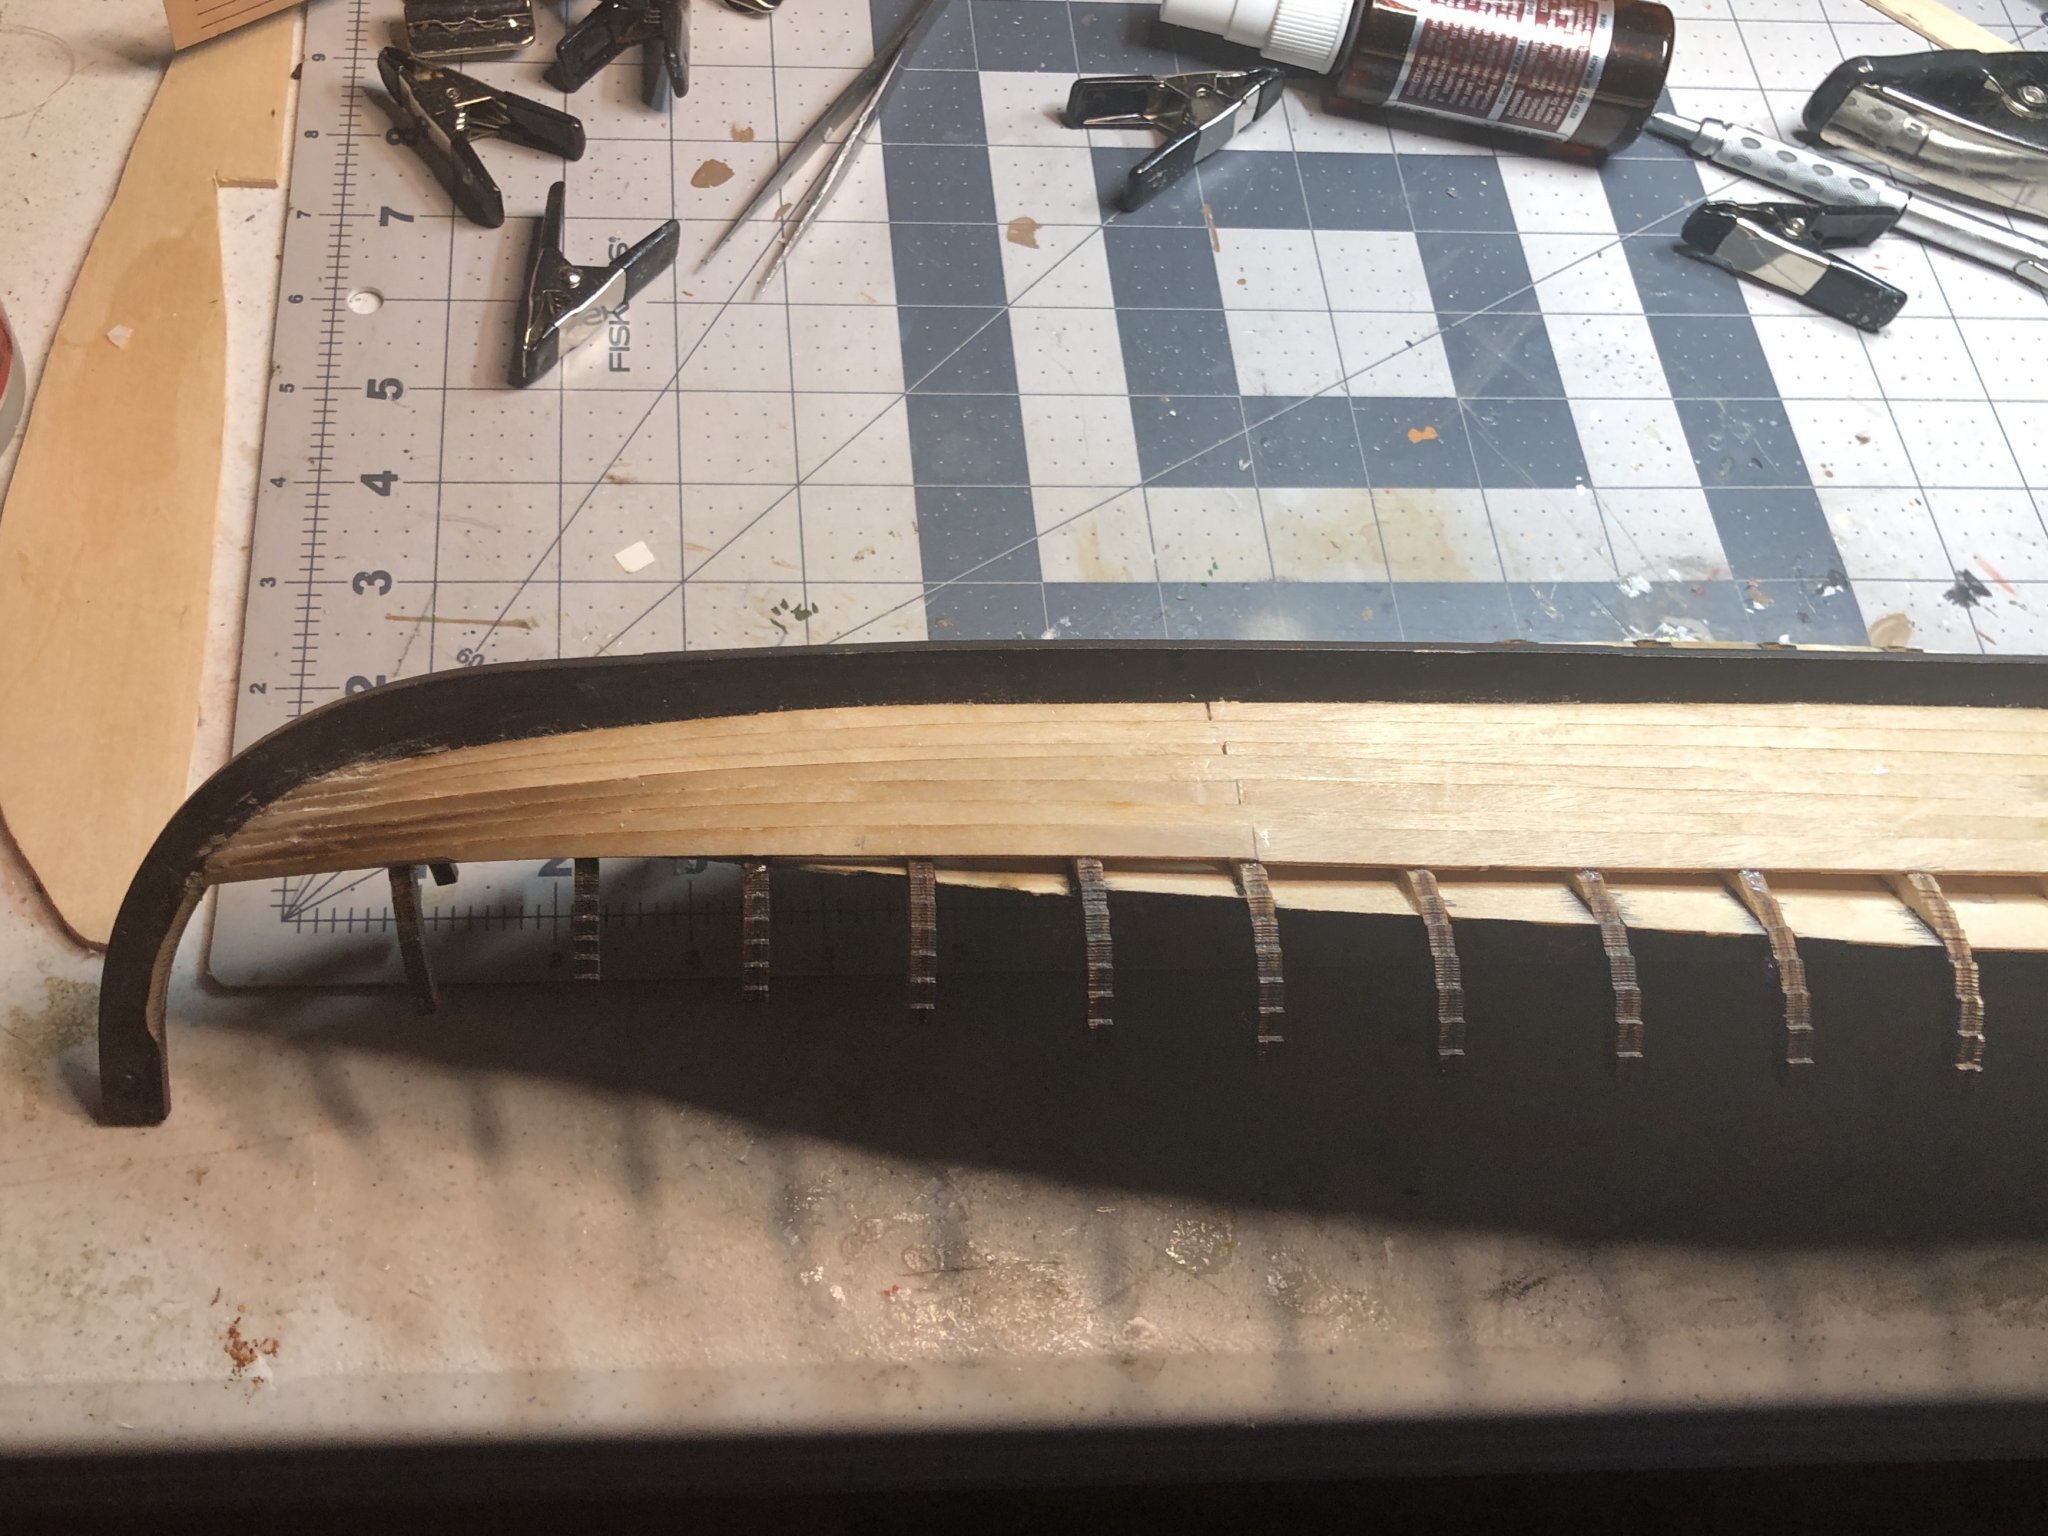
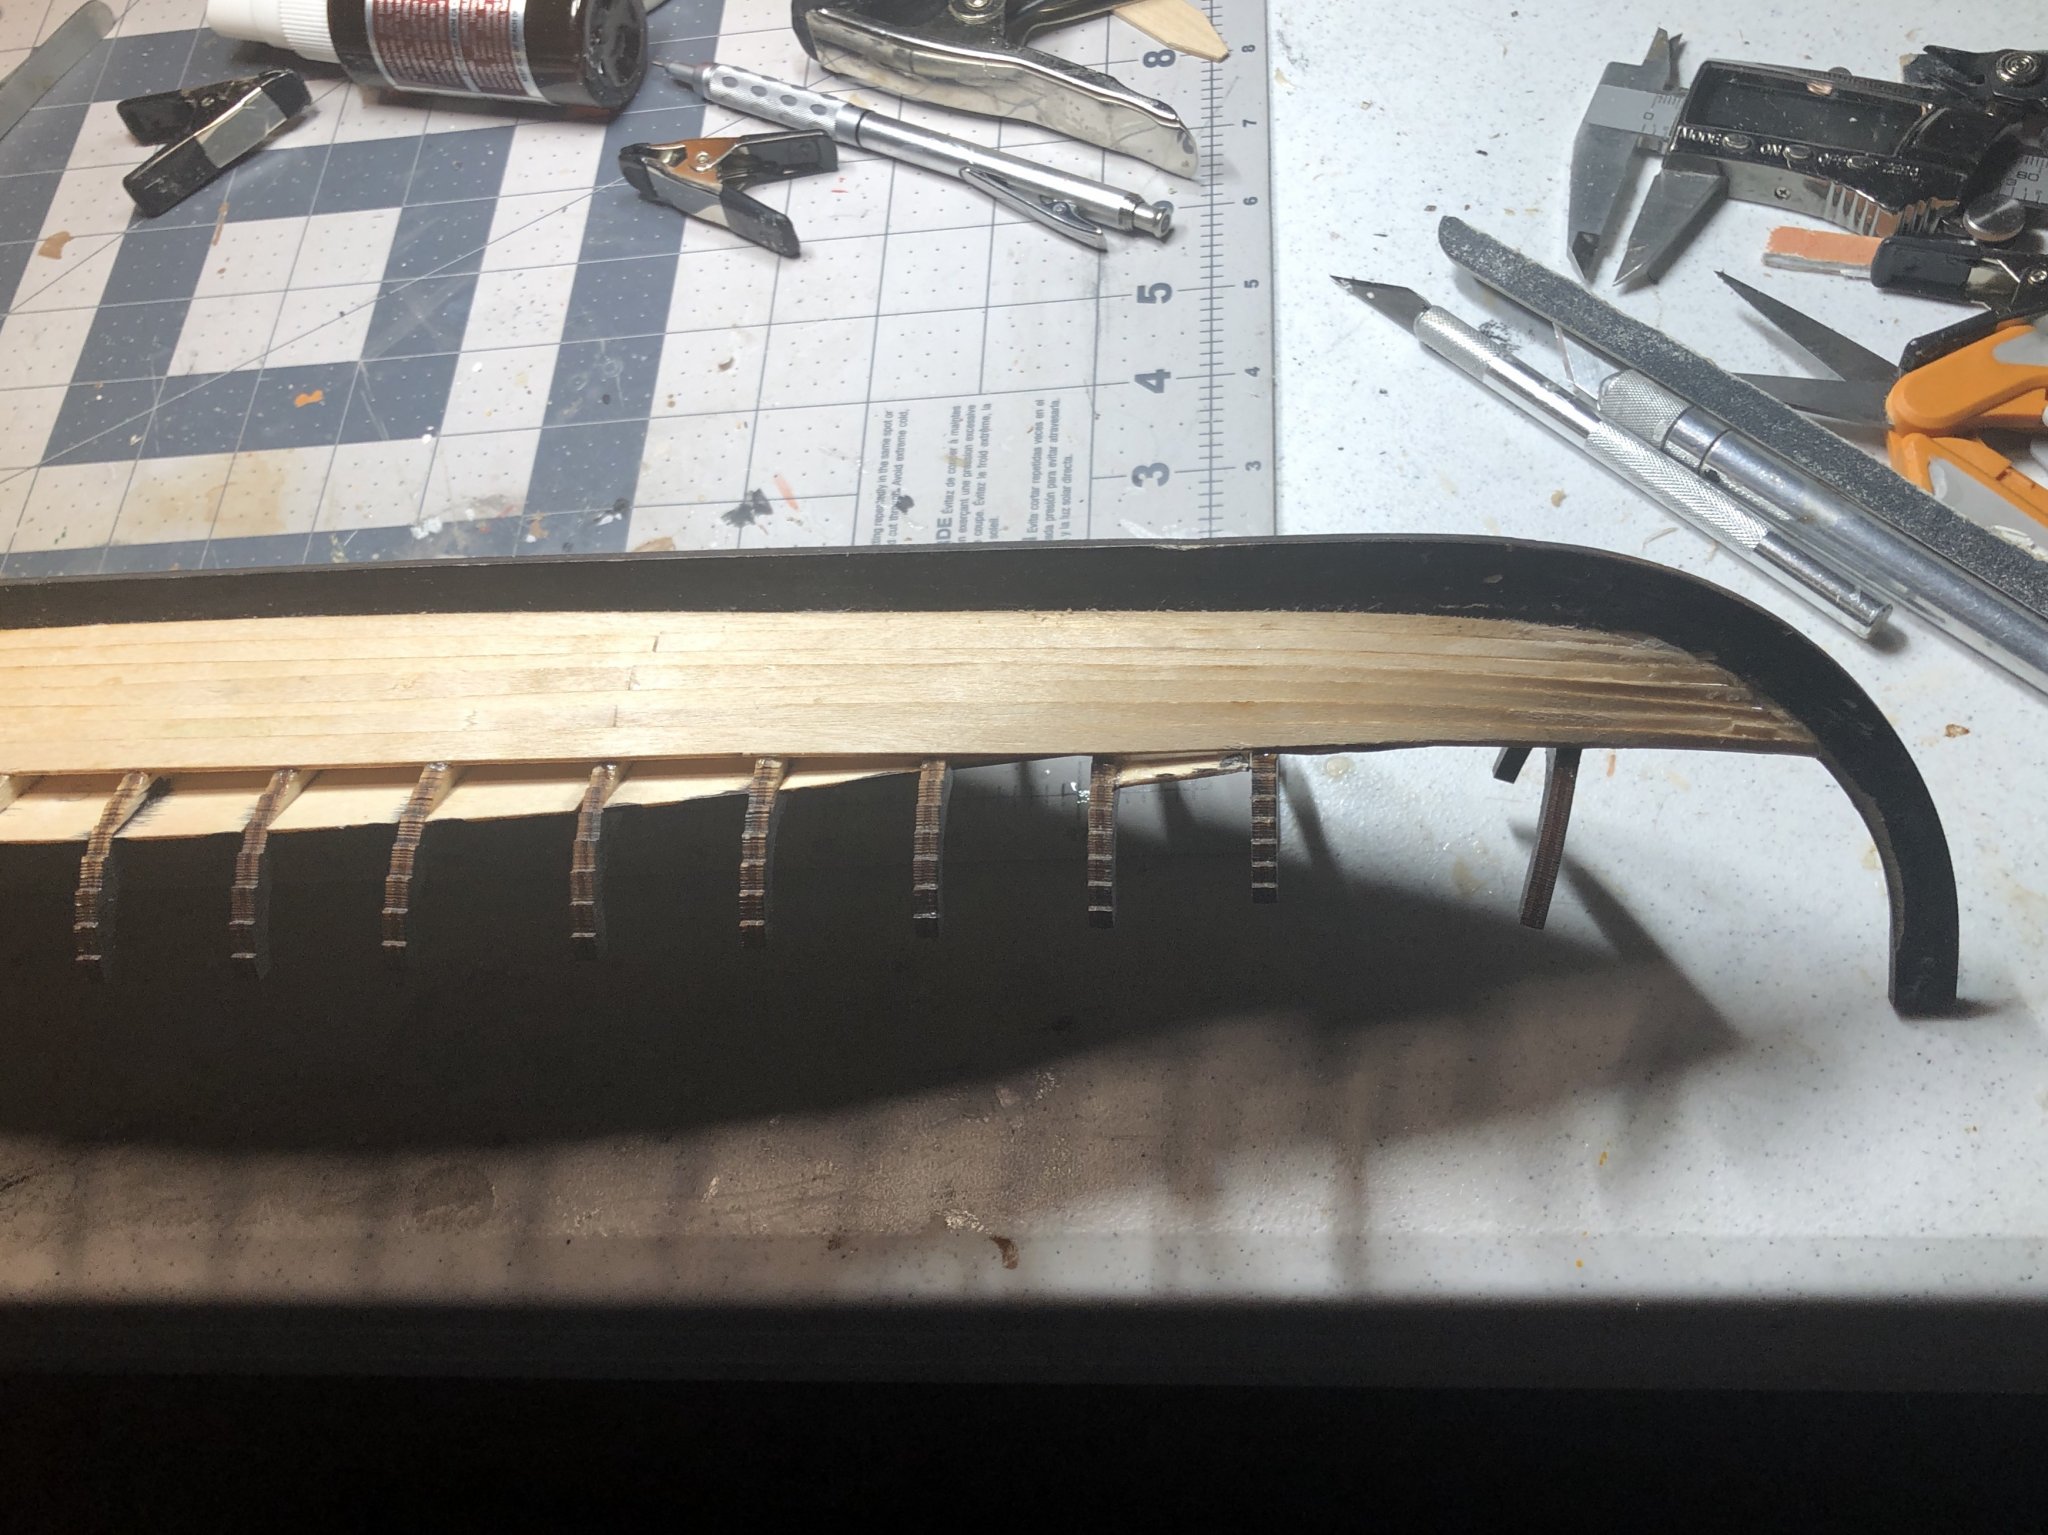
I thought about using acetone to free them up, but allowing the strakes to follow their natural flow would result in shortening the strakes at the stem. The only solution then would be to cut new boards I believe you are correct in saying the shields will hide small errors. I have not had this issue before but I have learned I have to be more careful.
-
4 hours ago, Srodbro said:
Outstanding work on that planking. Getting it right at the bow and stern is really challenging. Very good looking.
Thanks, Paul
-
22 hours ago, Louie da fly said:
The ship is looking good by the way and that mast step is particularly nicely done. But I noticed in one of the photos you're about to get rid of (the view from above) there seems to be a small "kink" in the planking on the right near the bottom of the picture (second frame from the bow - or stern - who can tell with these double-ended ships?). Or is that just a fault of the photo?
Yes there is a small kink on that side near the stern. I noticed it later after I was finished planking and did not know how to fix it except to remove several layers and reshape the frames as needed. That option was nixed as I have been using CA glue for the strakes. I should have been more careful and watched the fairing as I proceeded.
Thanks for your comments, Paul
-
I tried to edit out the last four photos in last post with no luck. Would like to know how to solve this reoccurring problem.
-
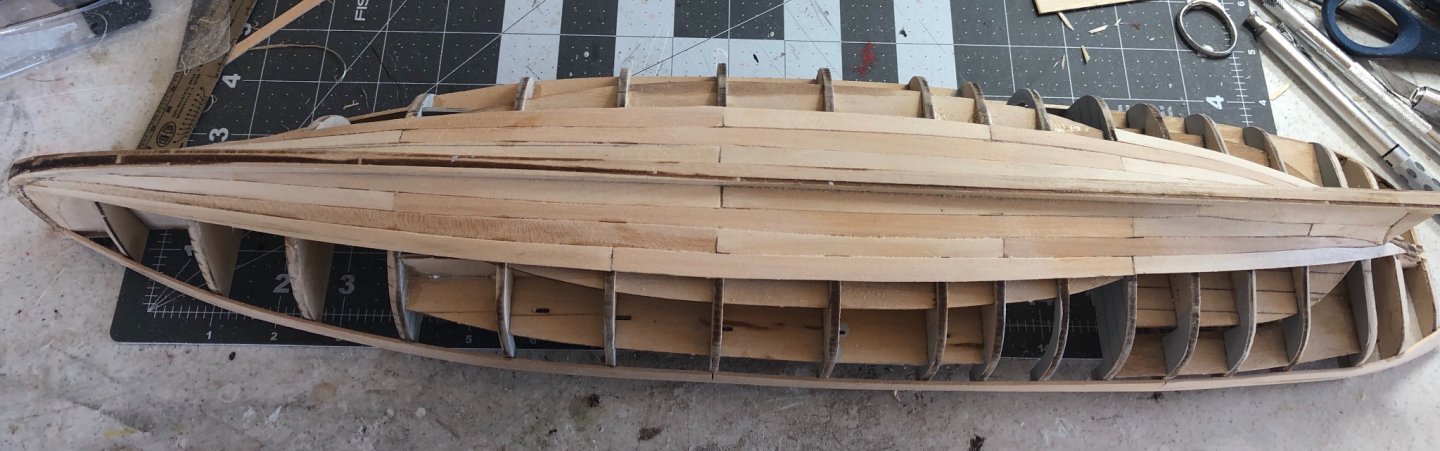
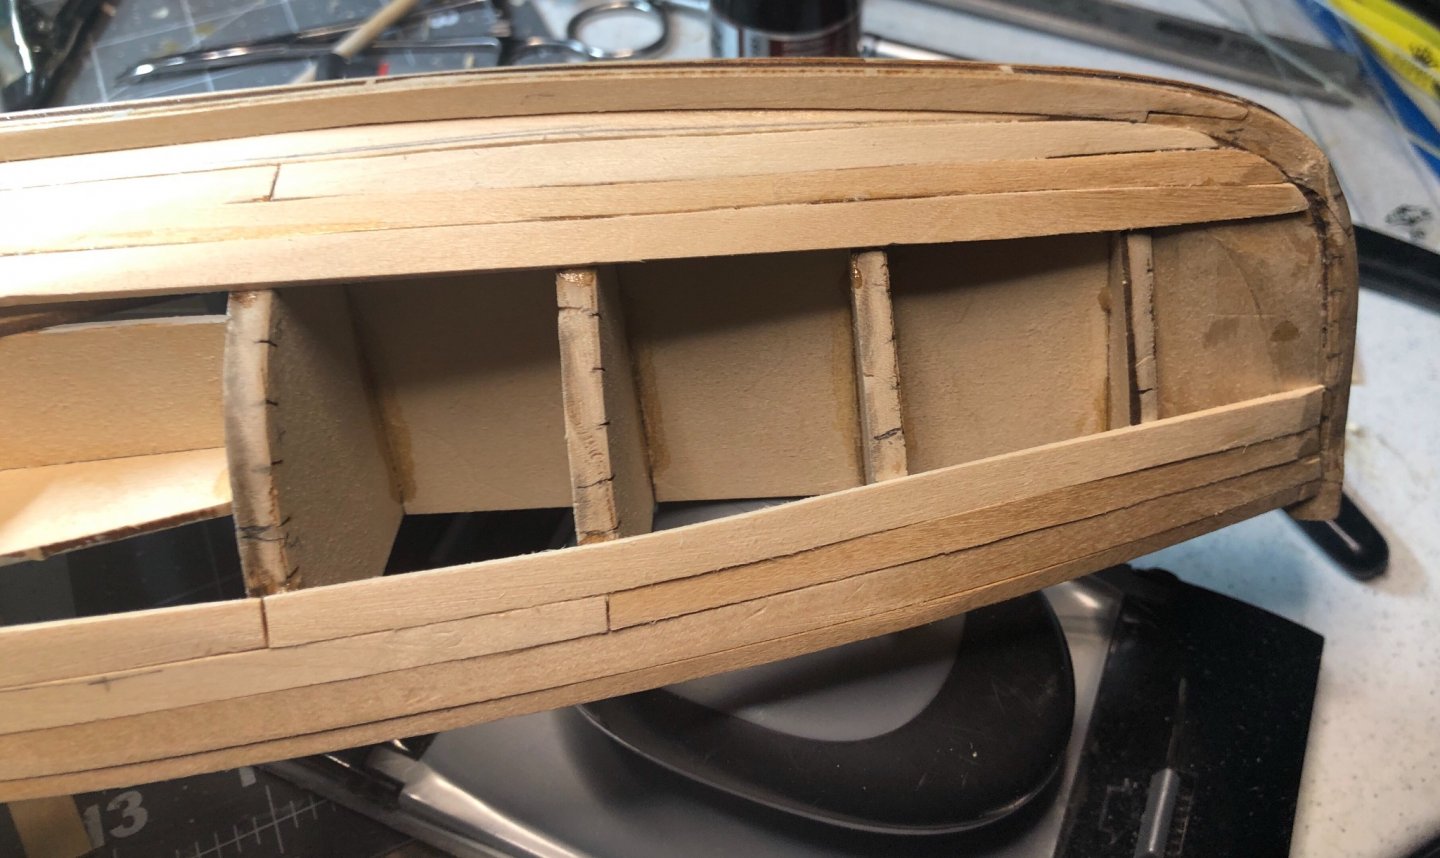
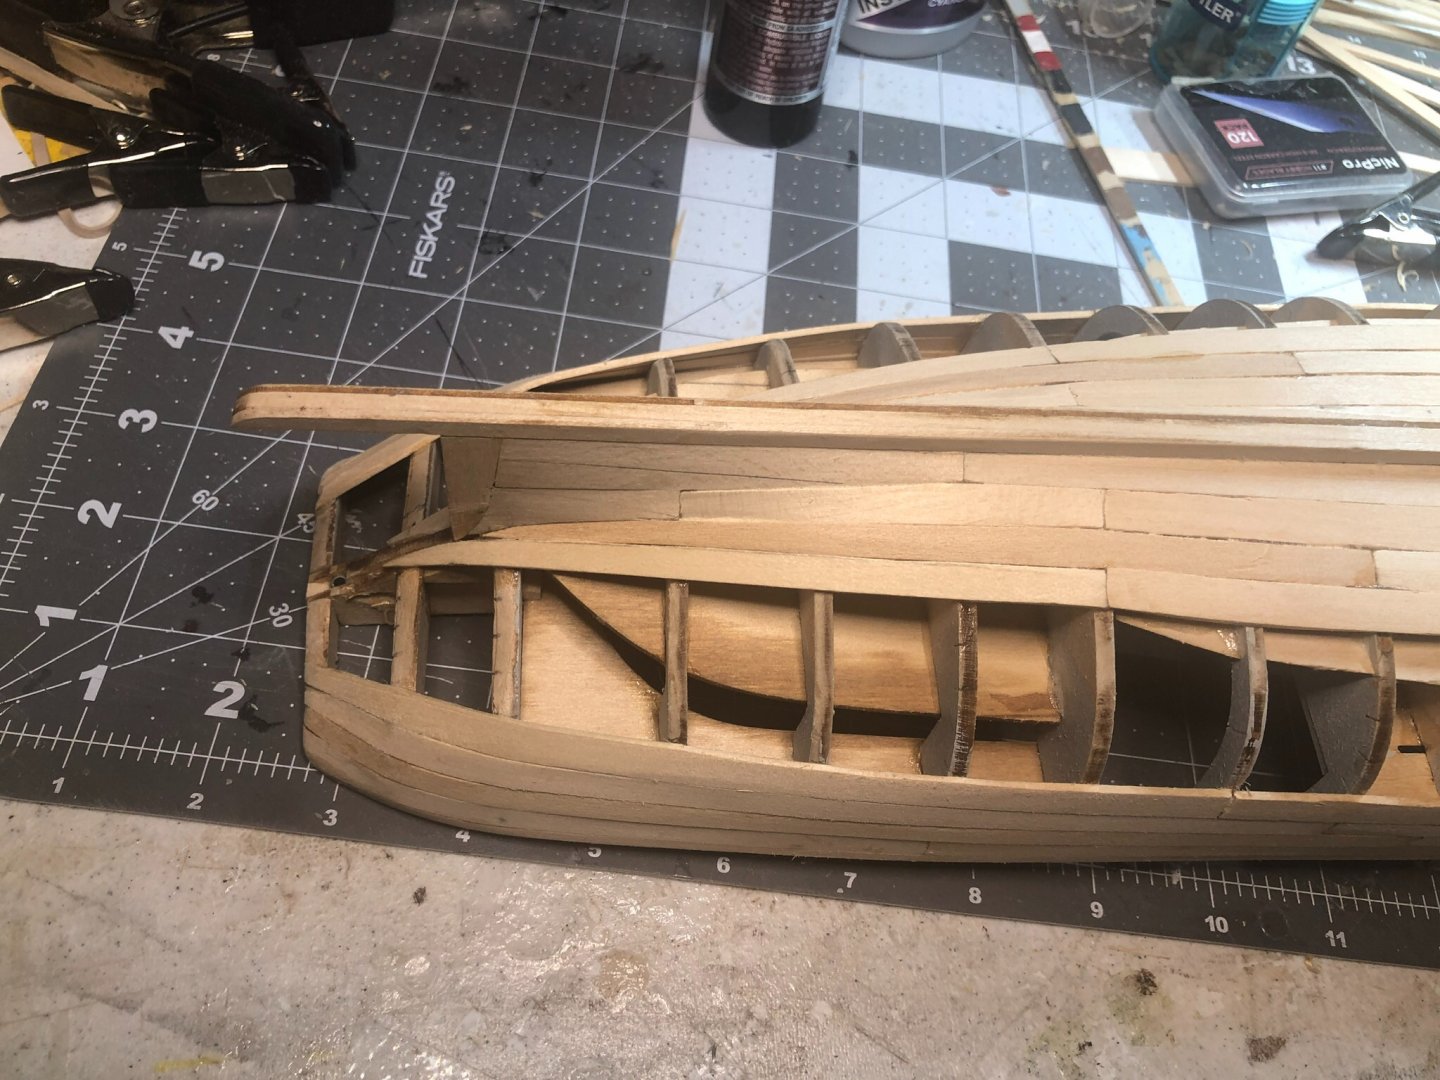
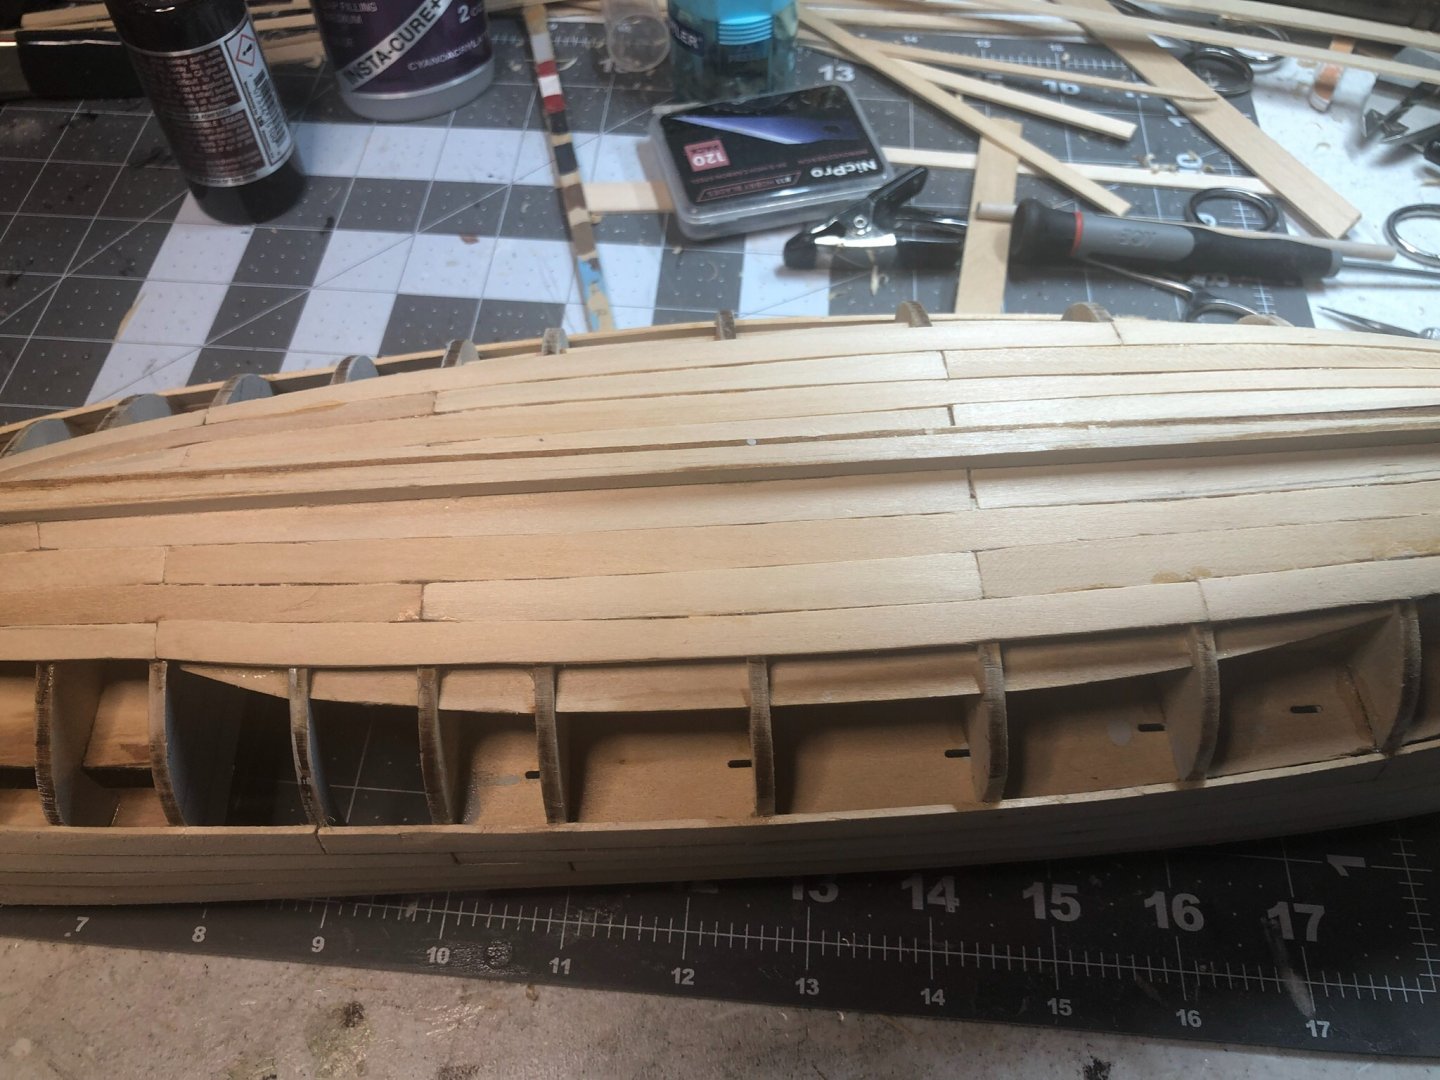
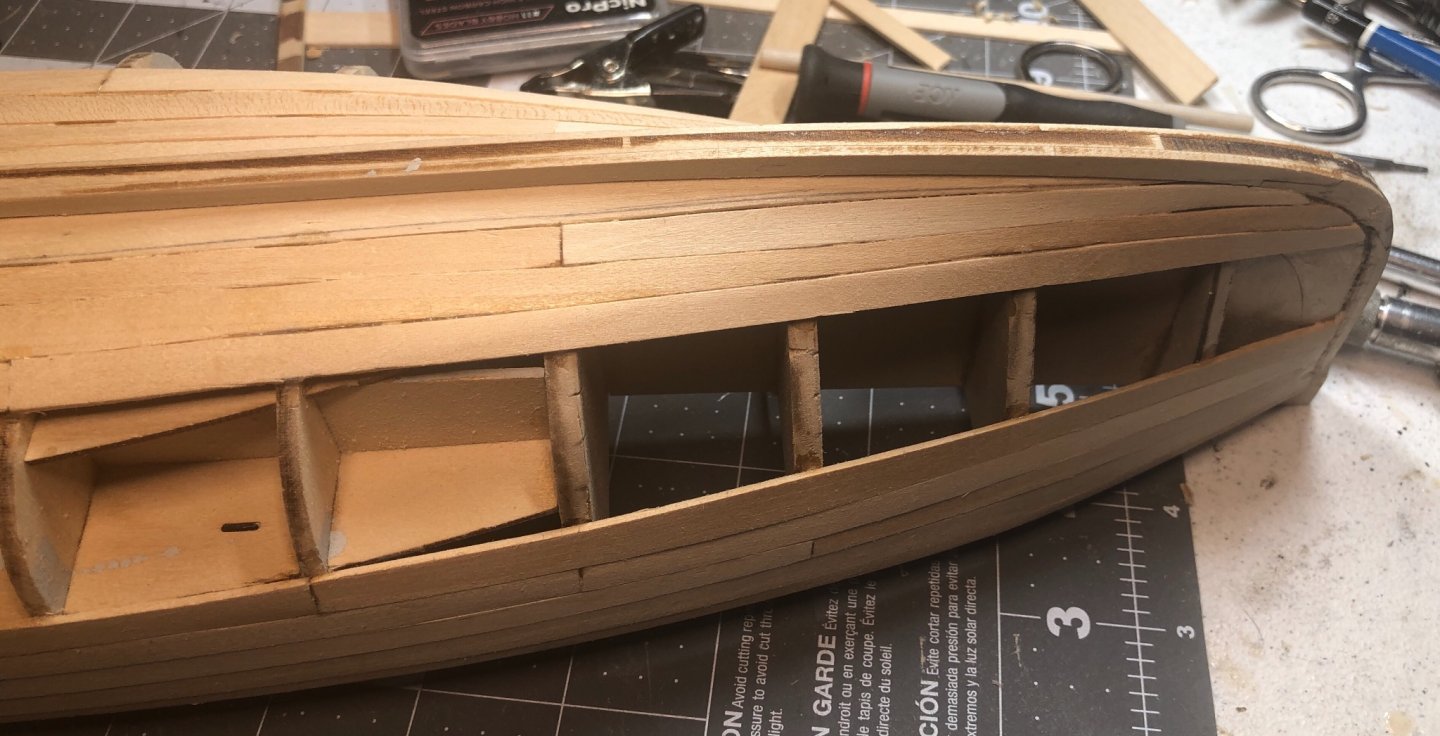
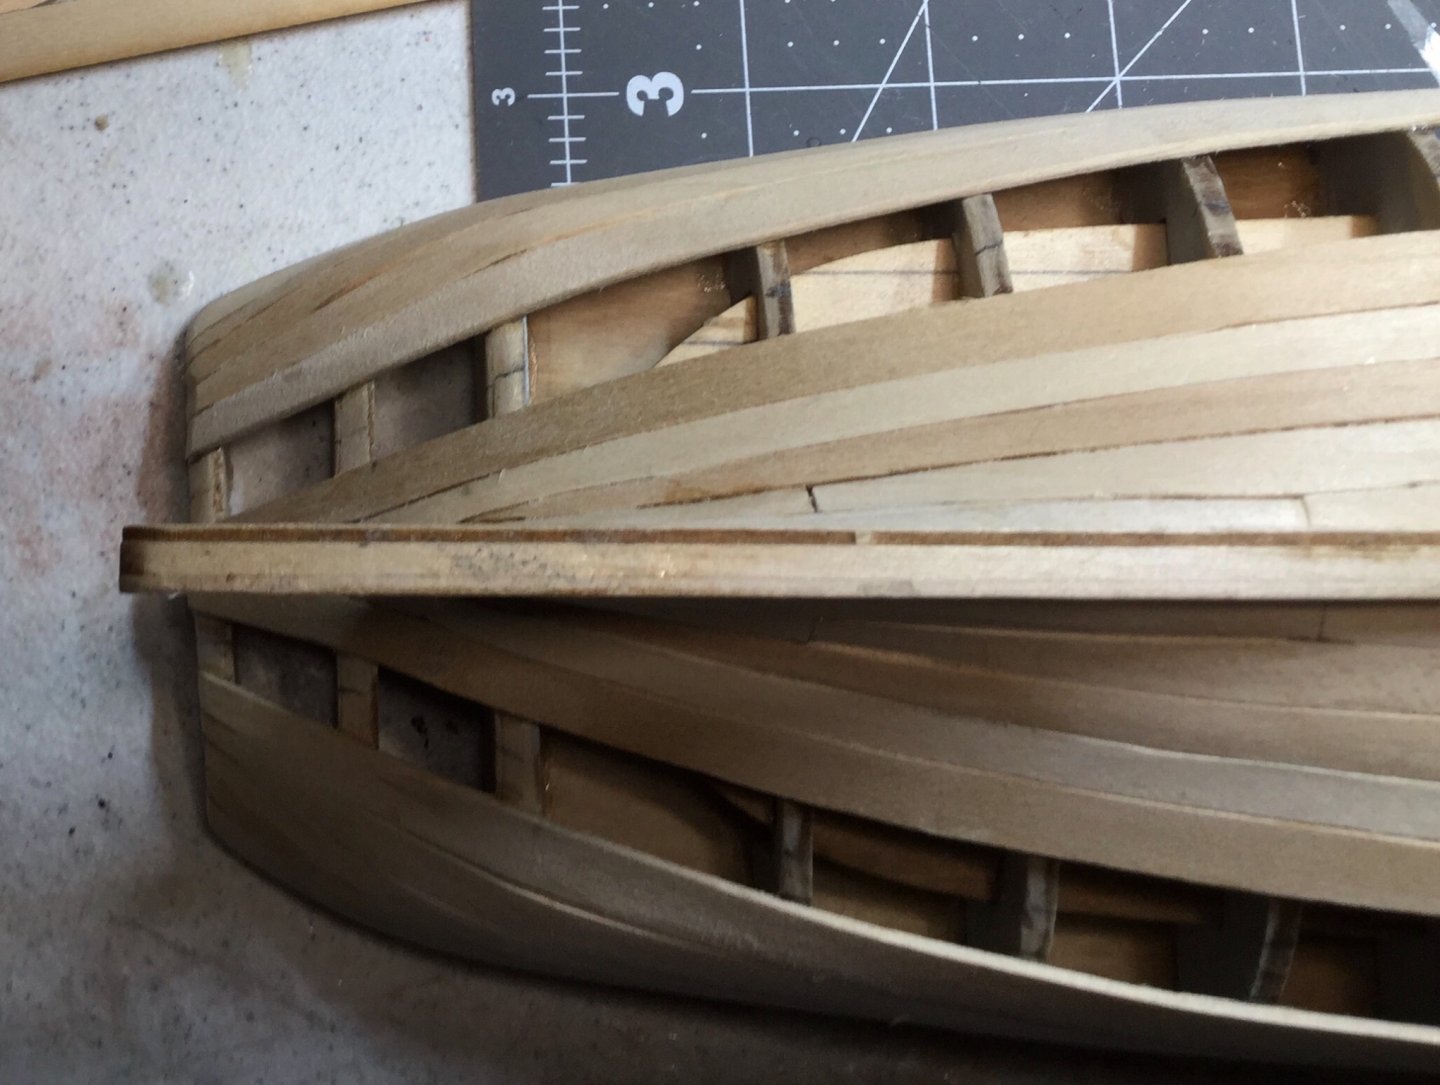
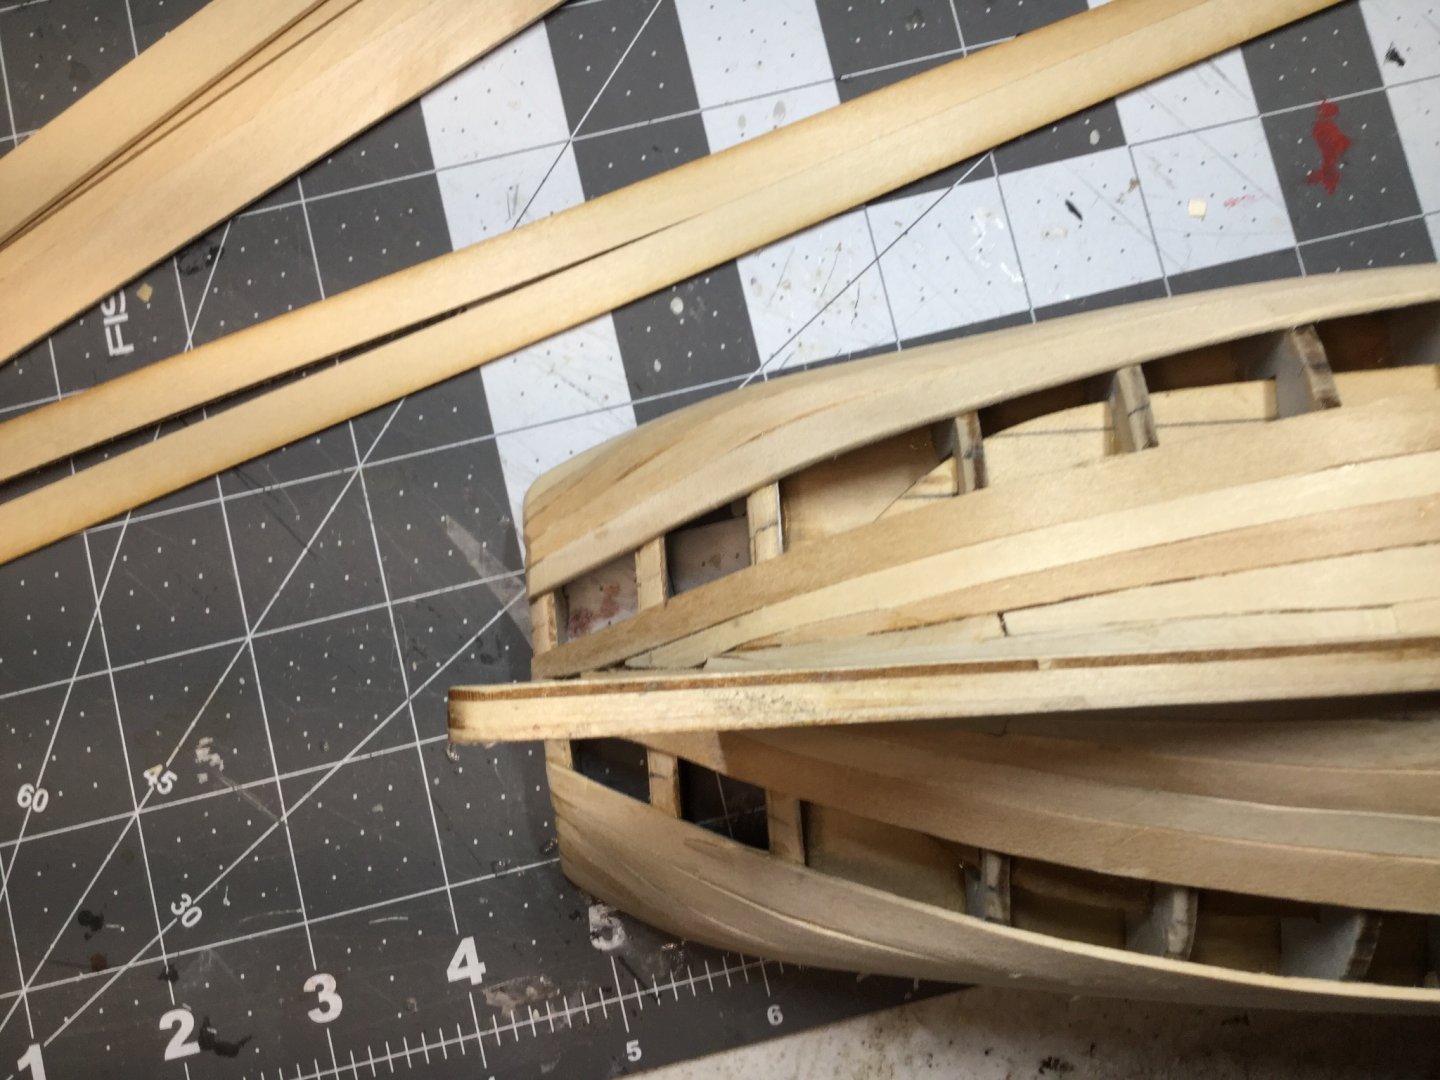
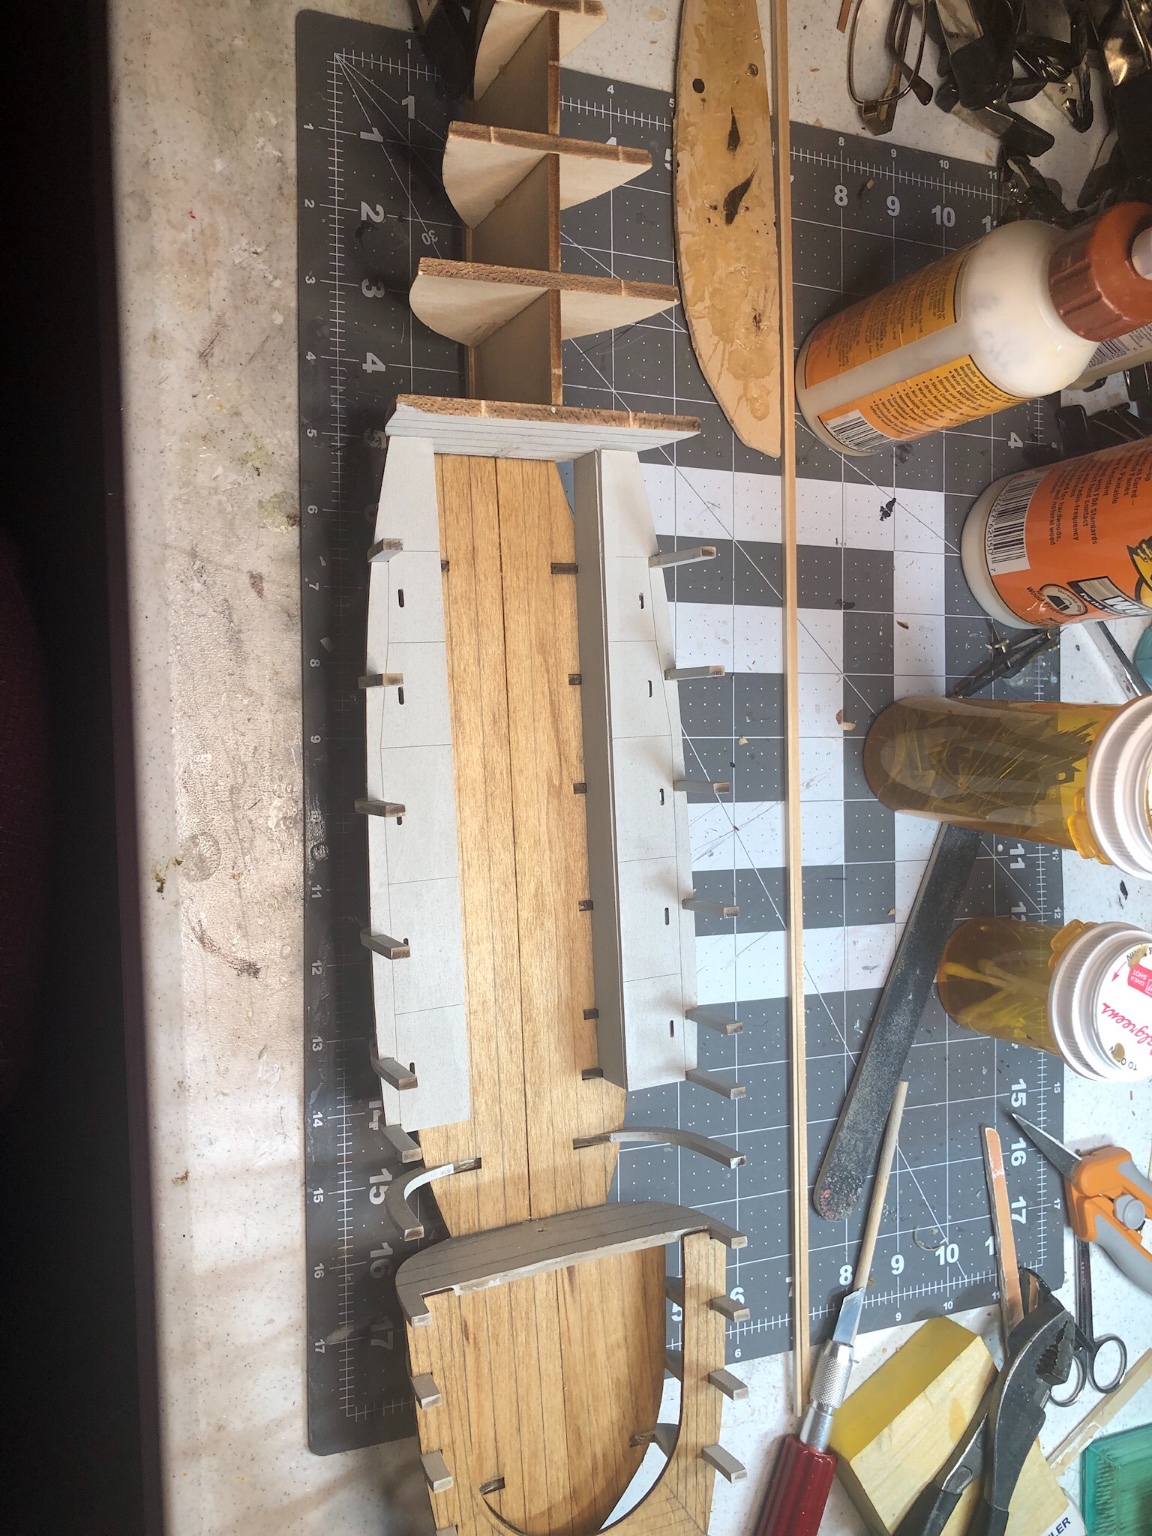
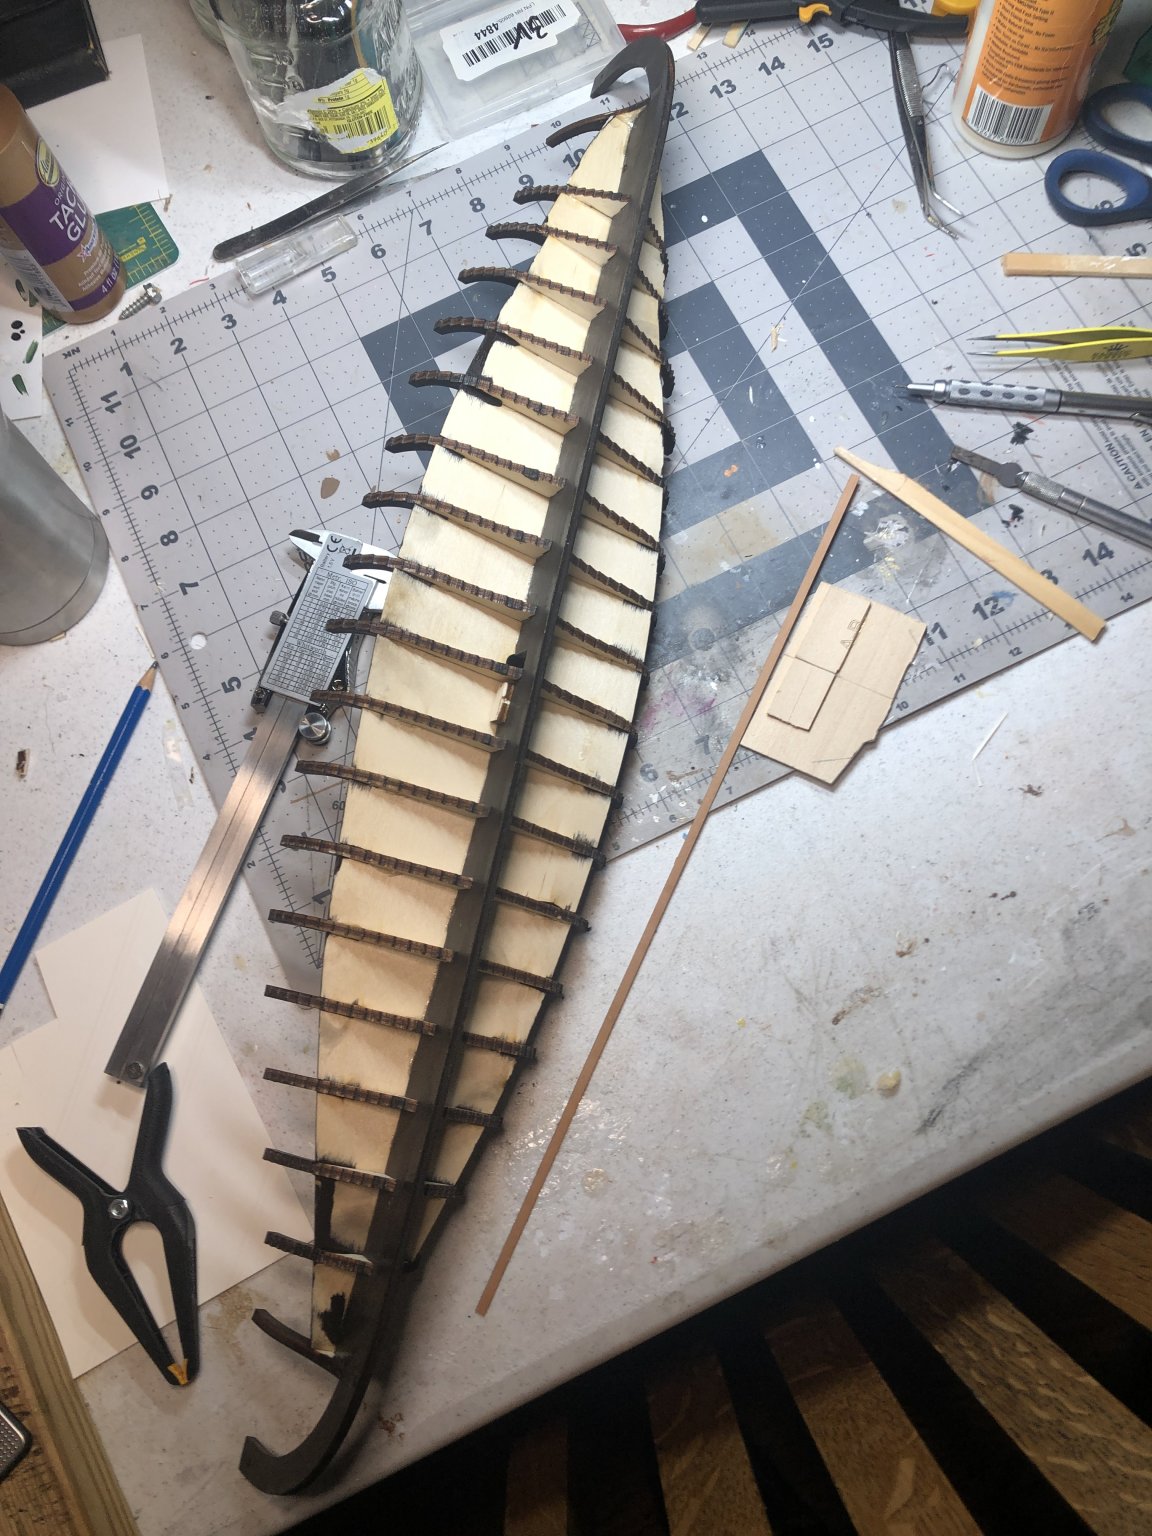
I have not posted in a while but progress was made. The following photos and brief comments will take this log up to date.
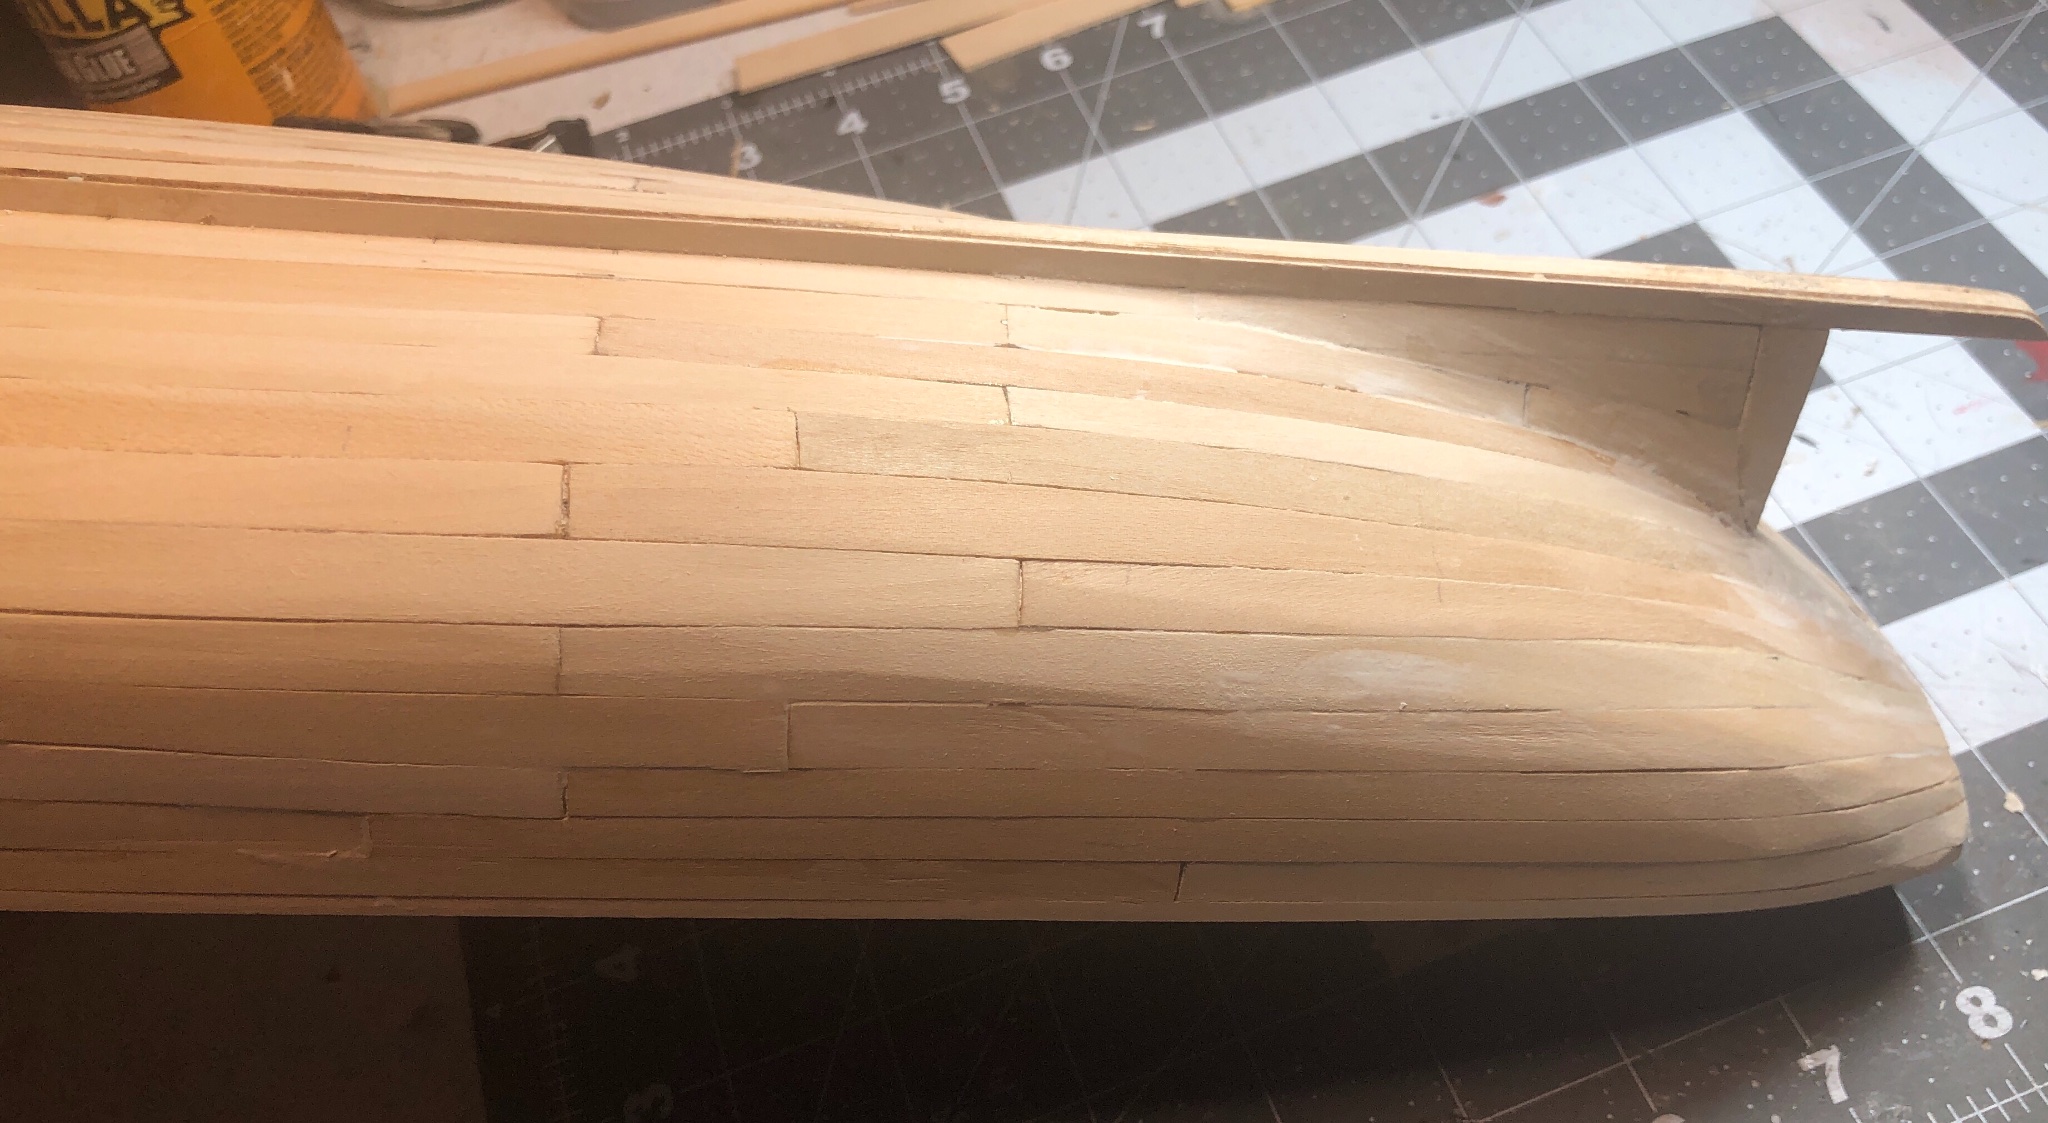
Finished Keel all stained.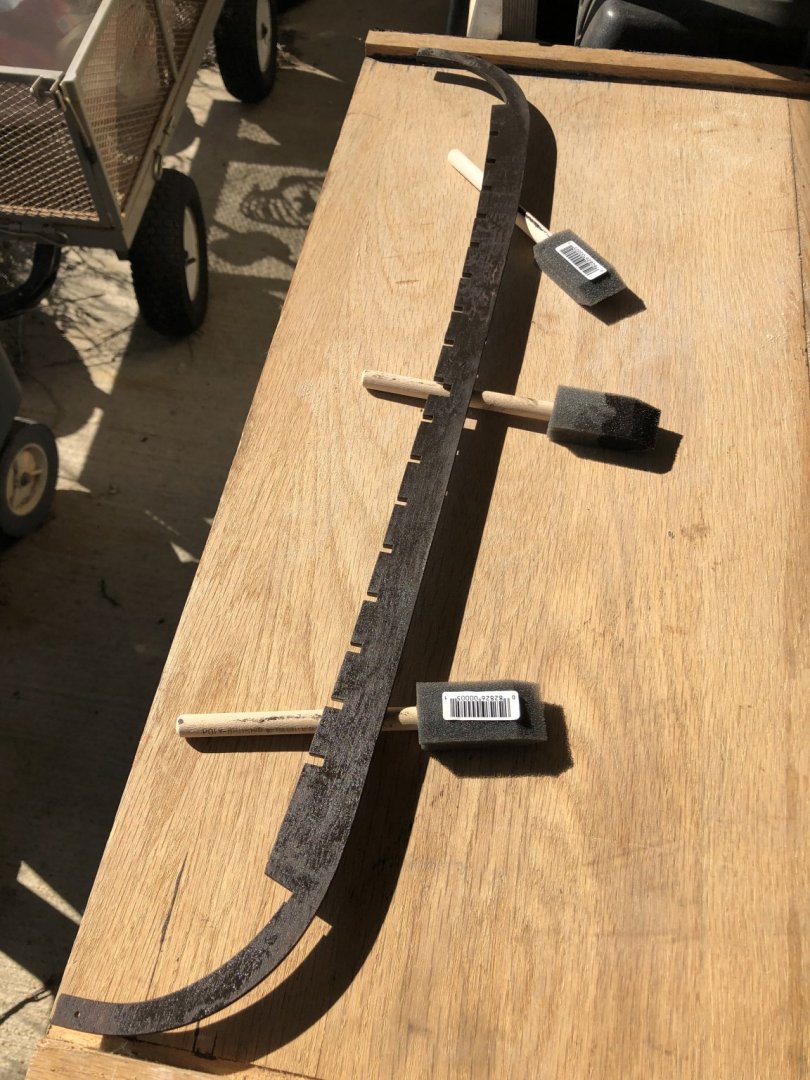
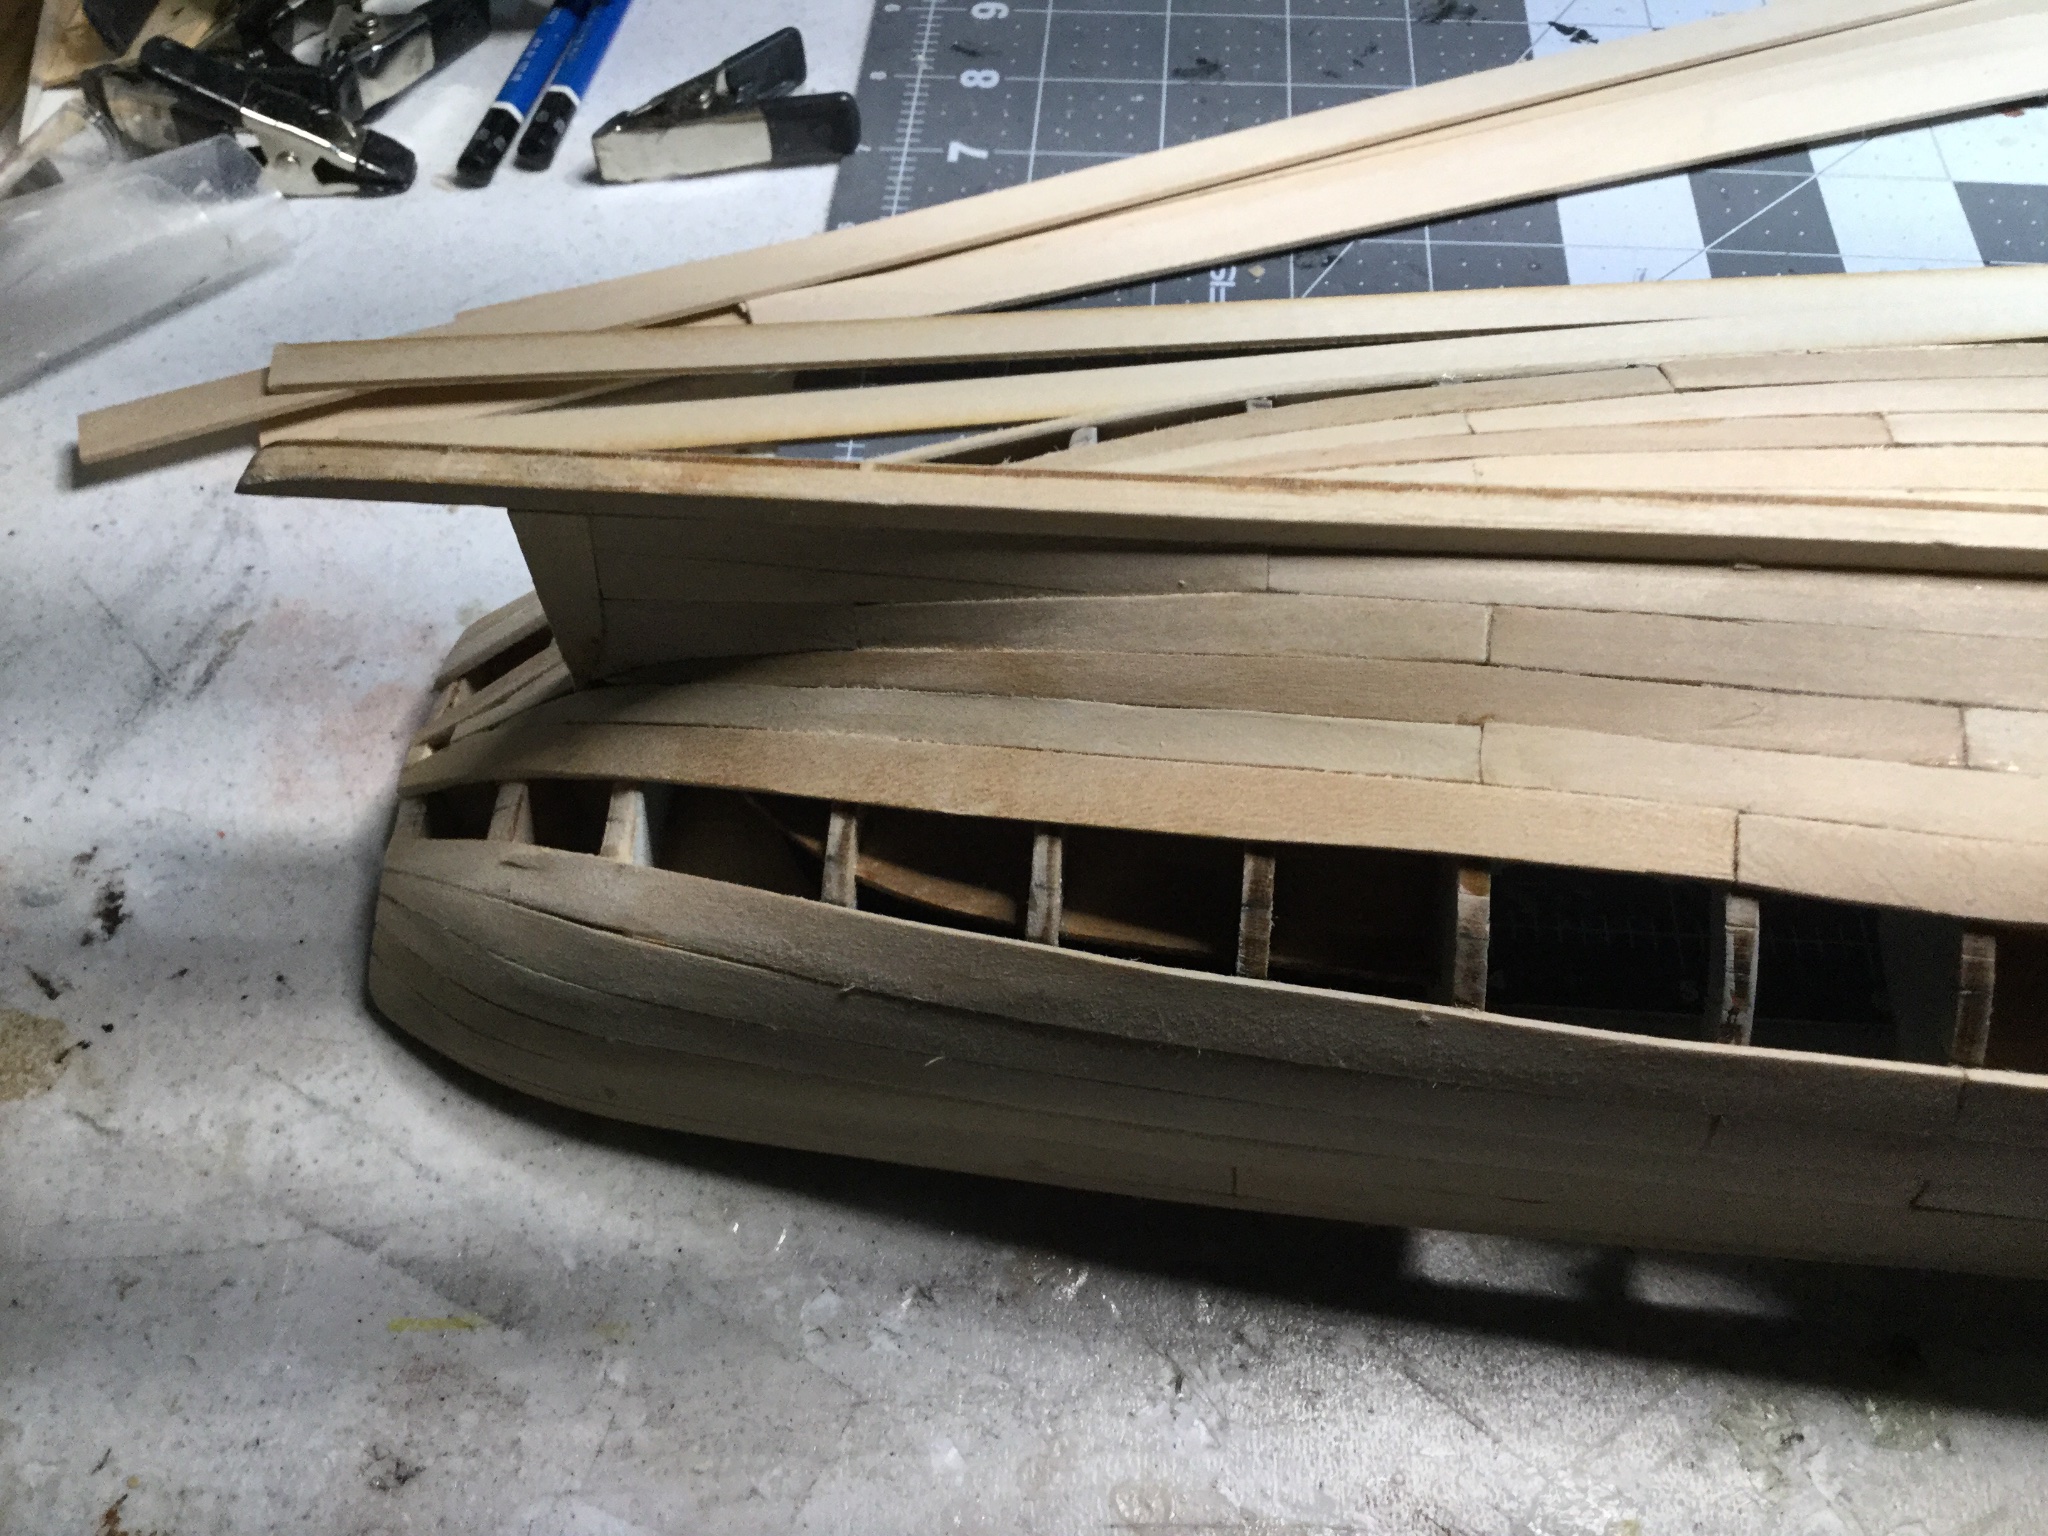
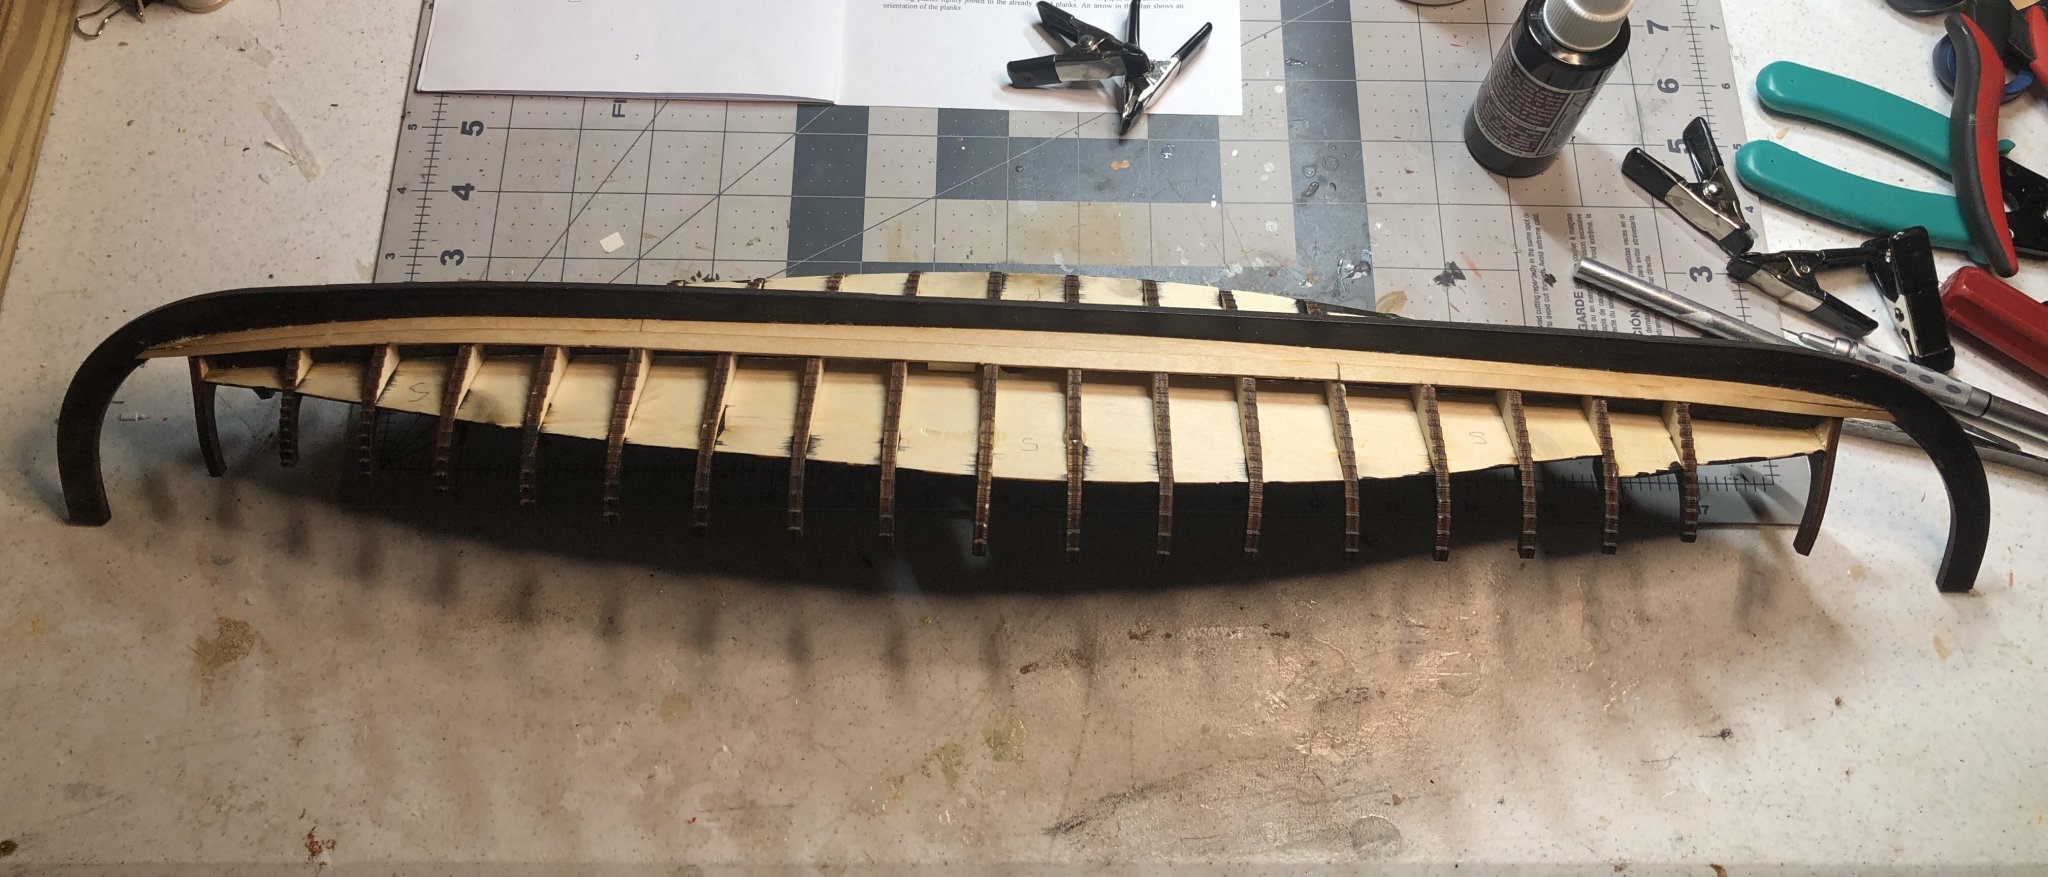
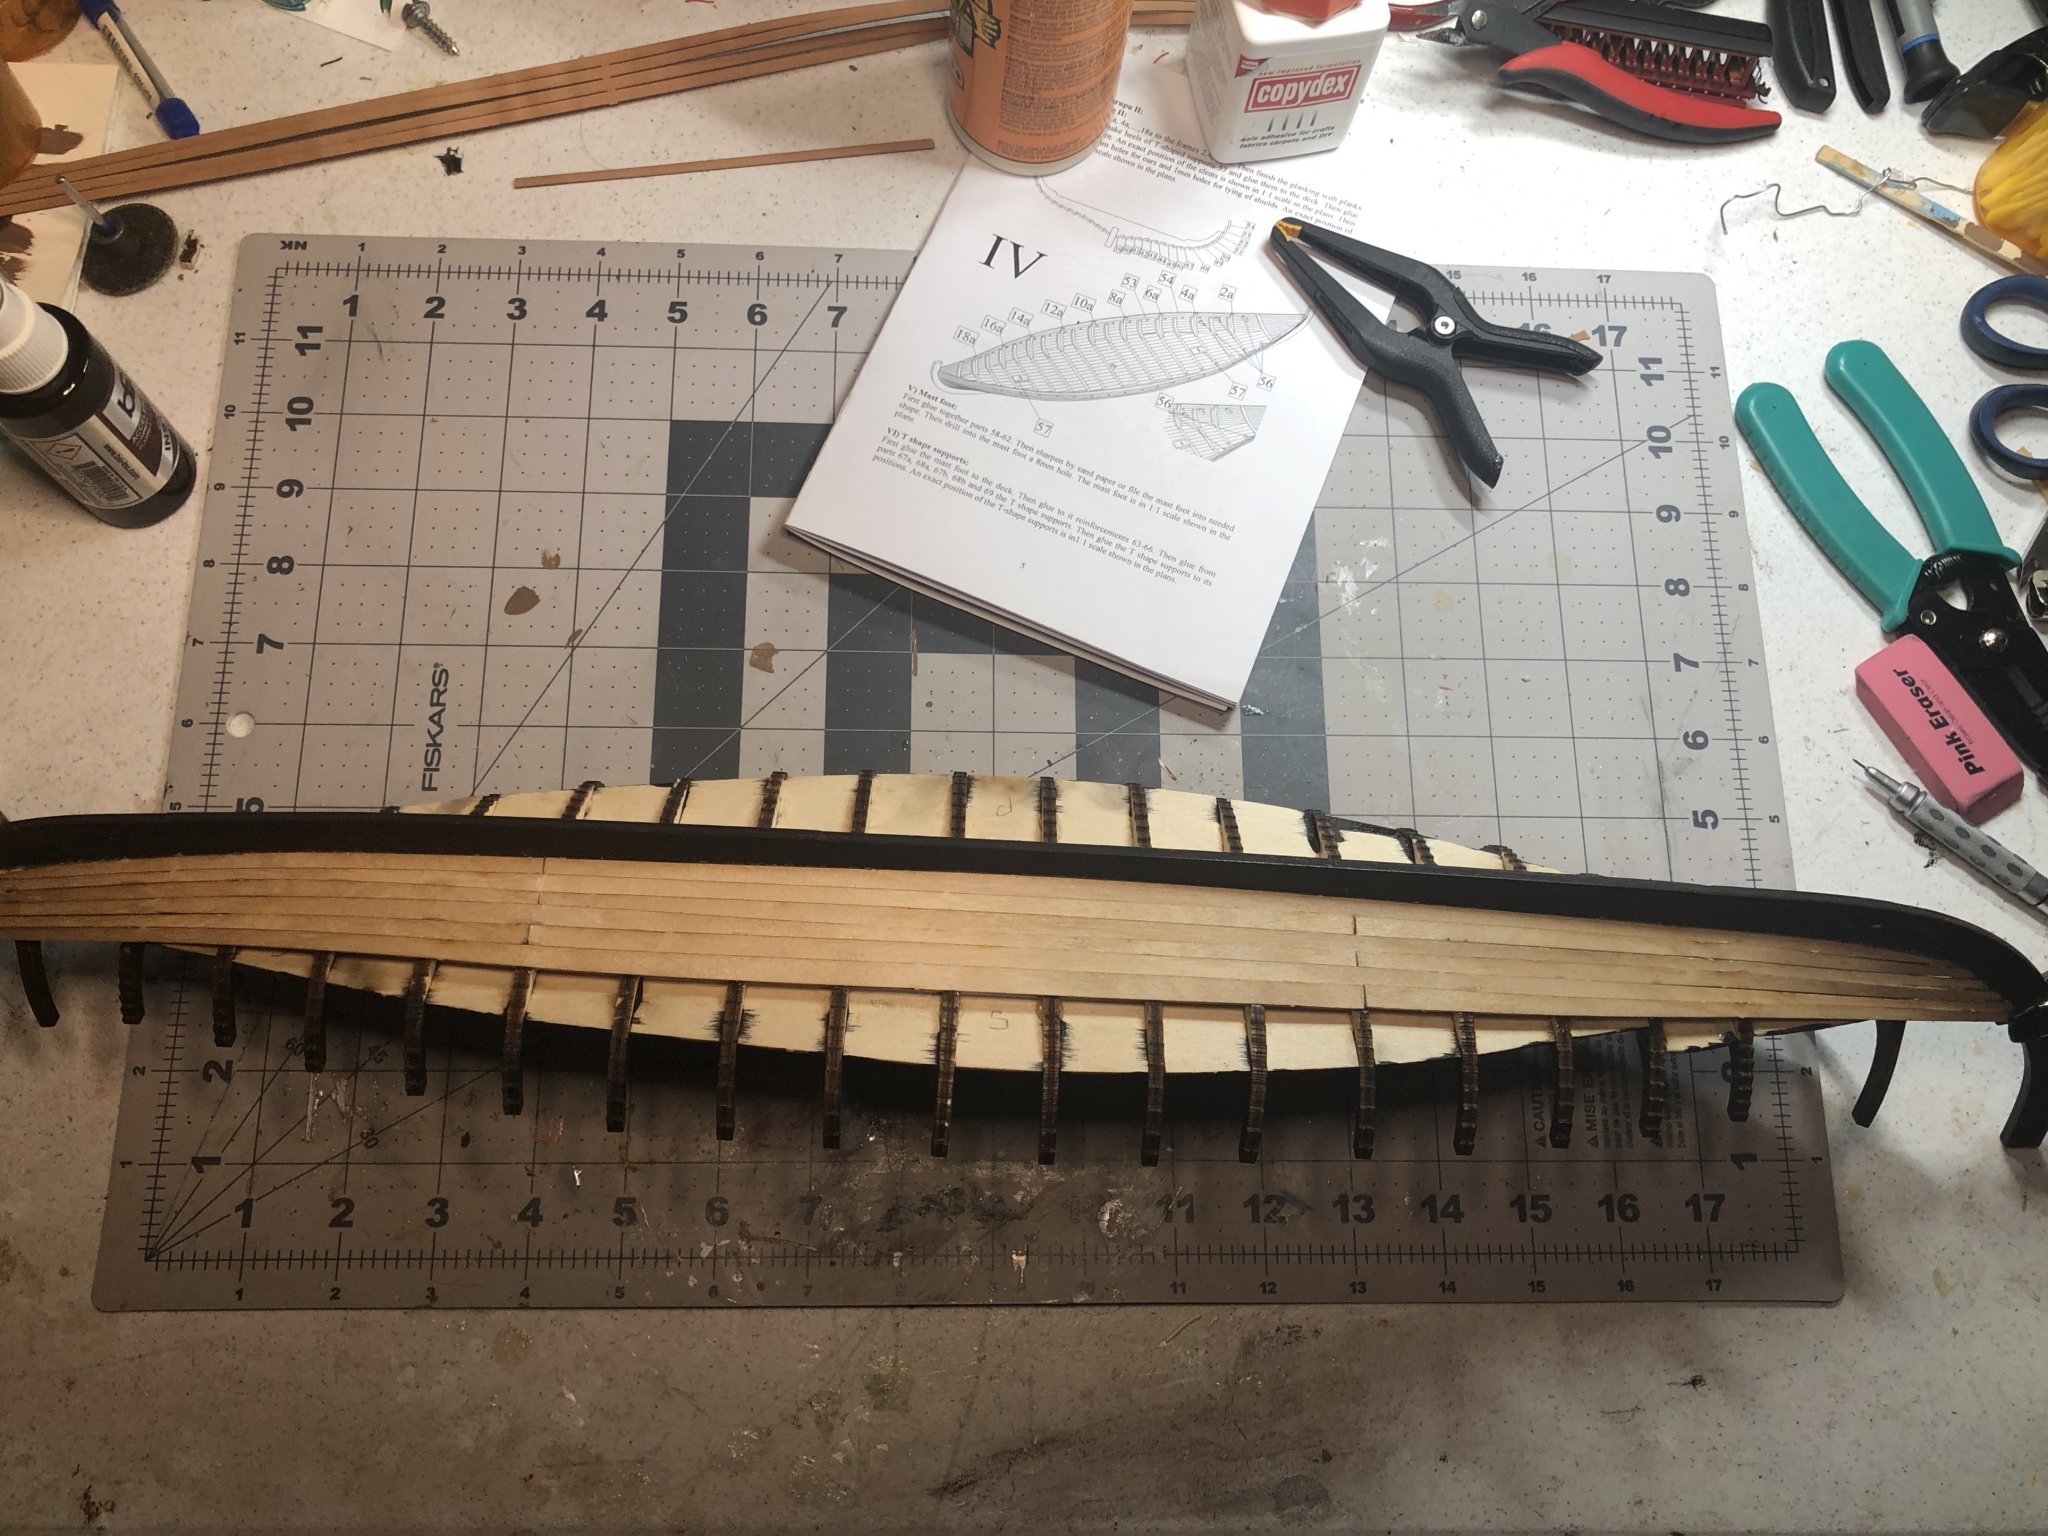
Below, the keel, frames and false deck were simultaneously assembled and glued.
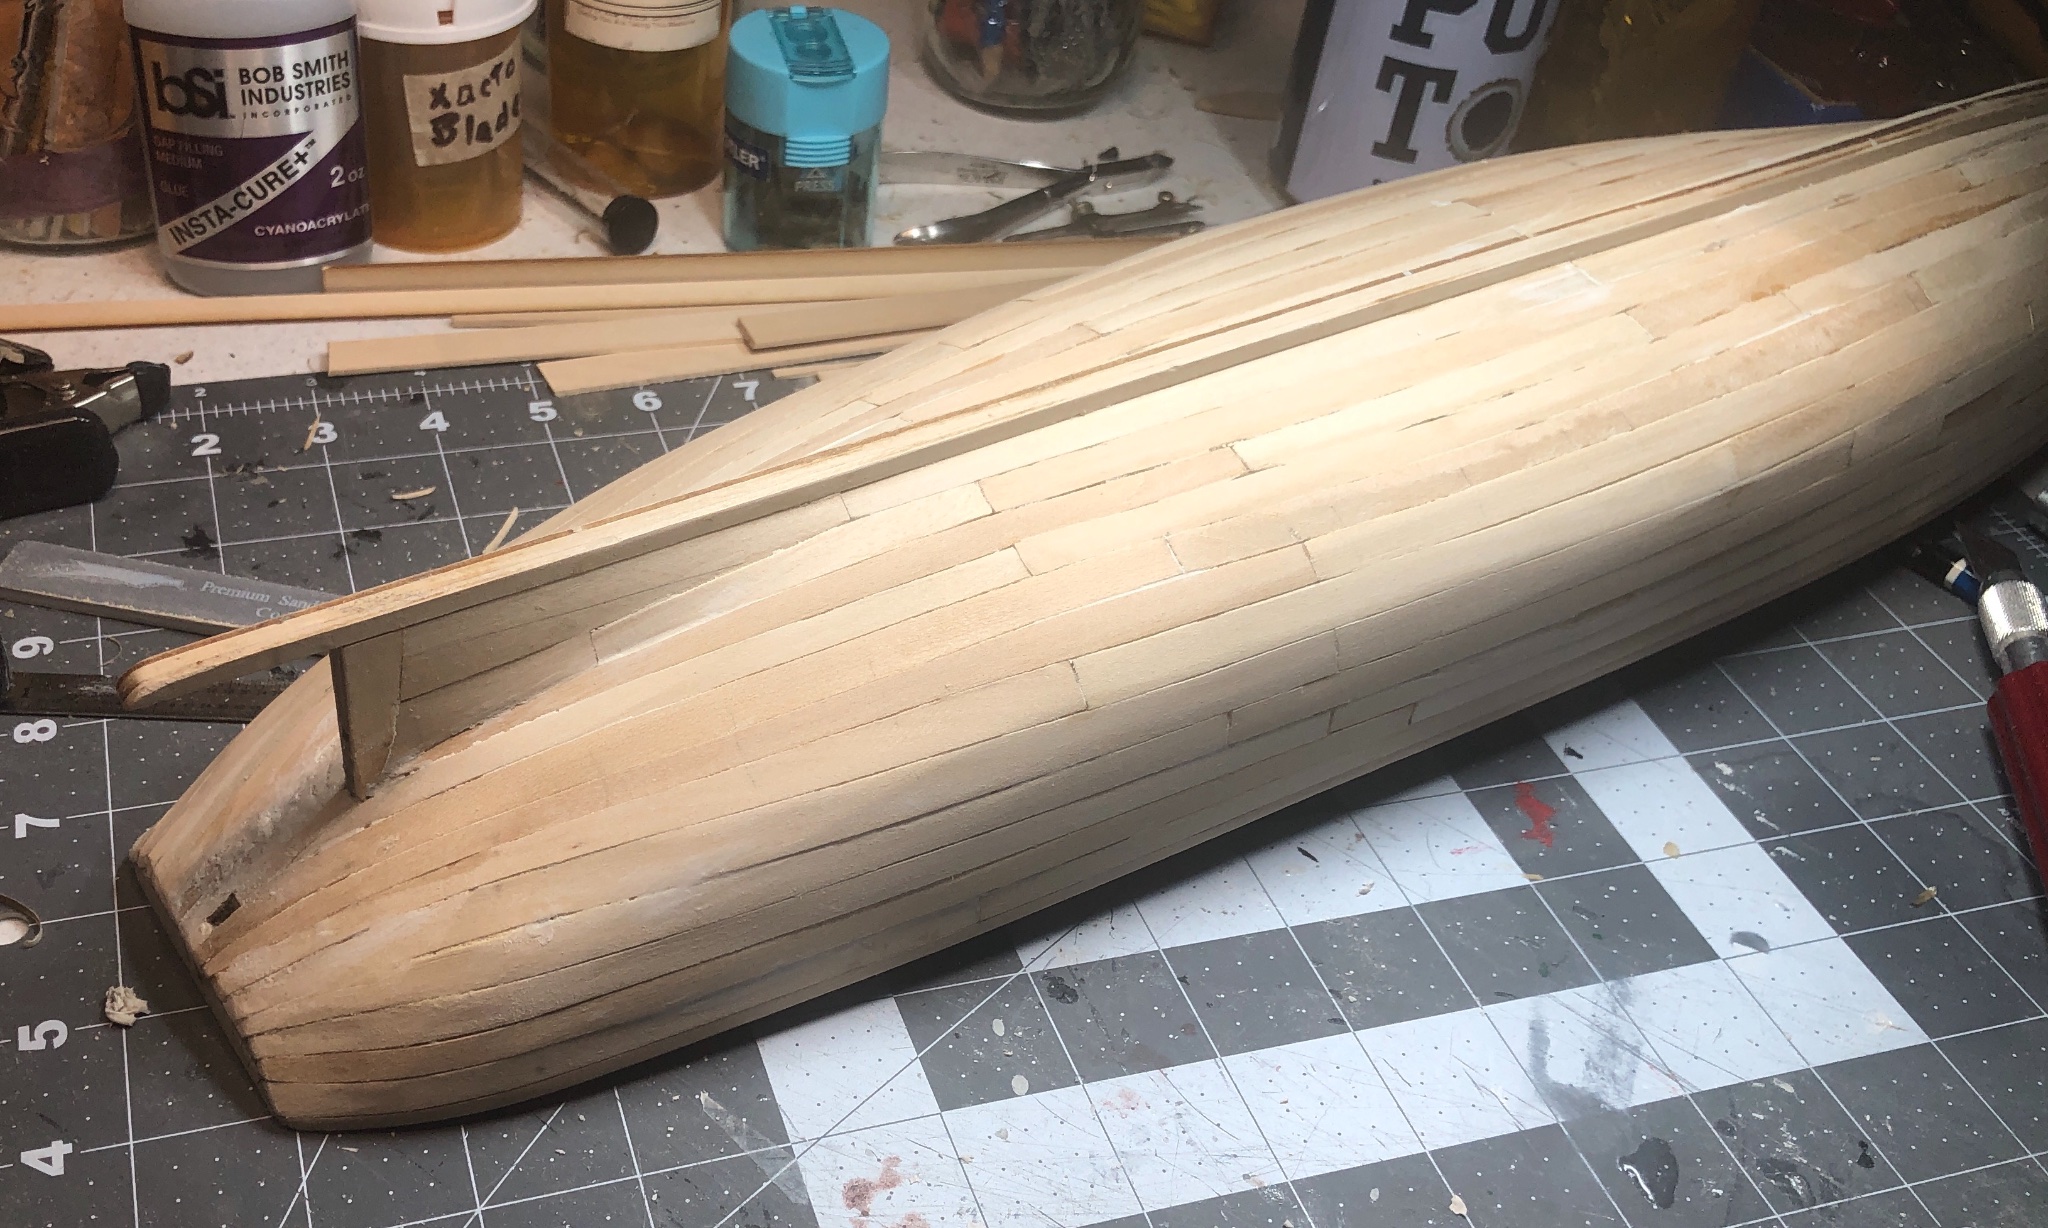
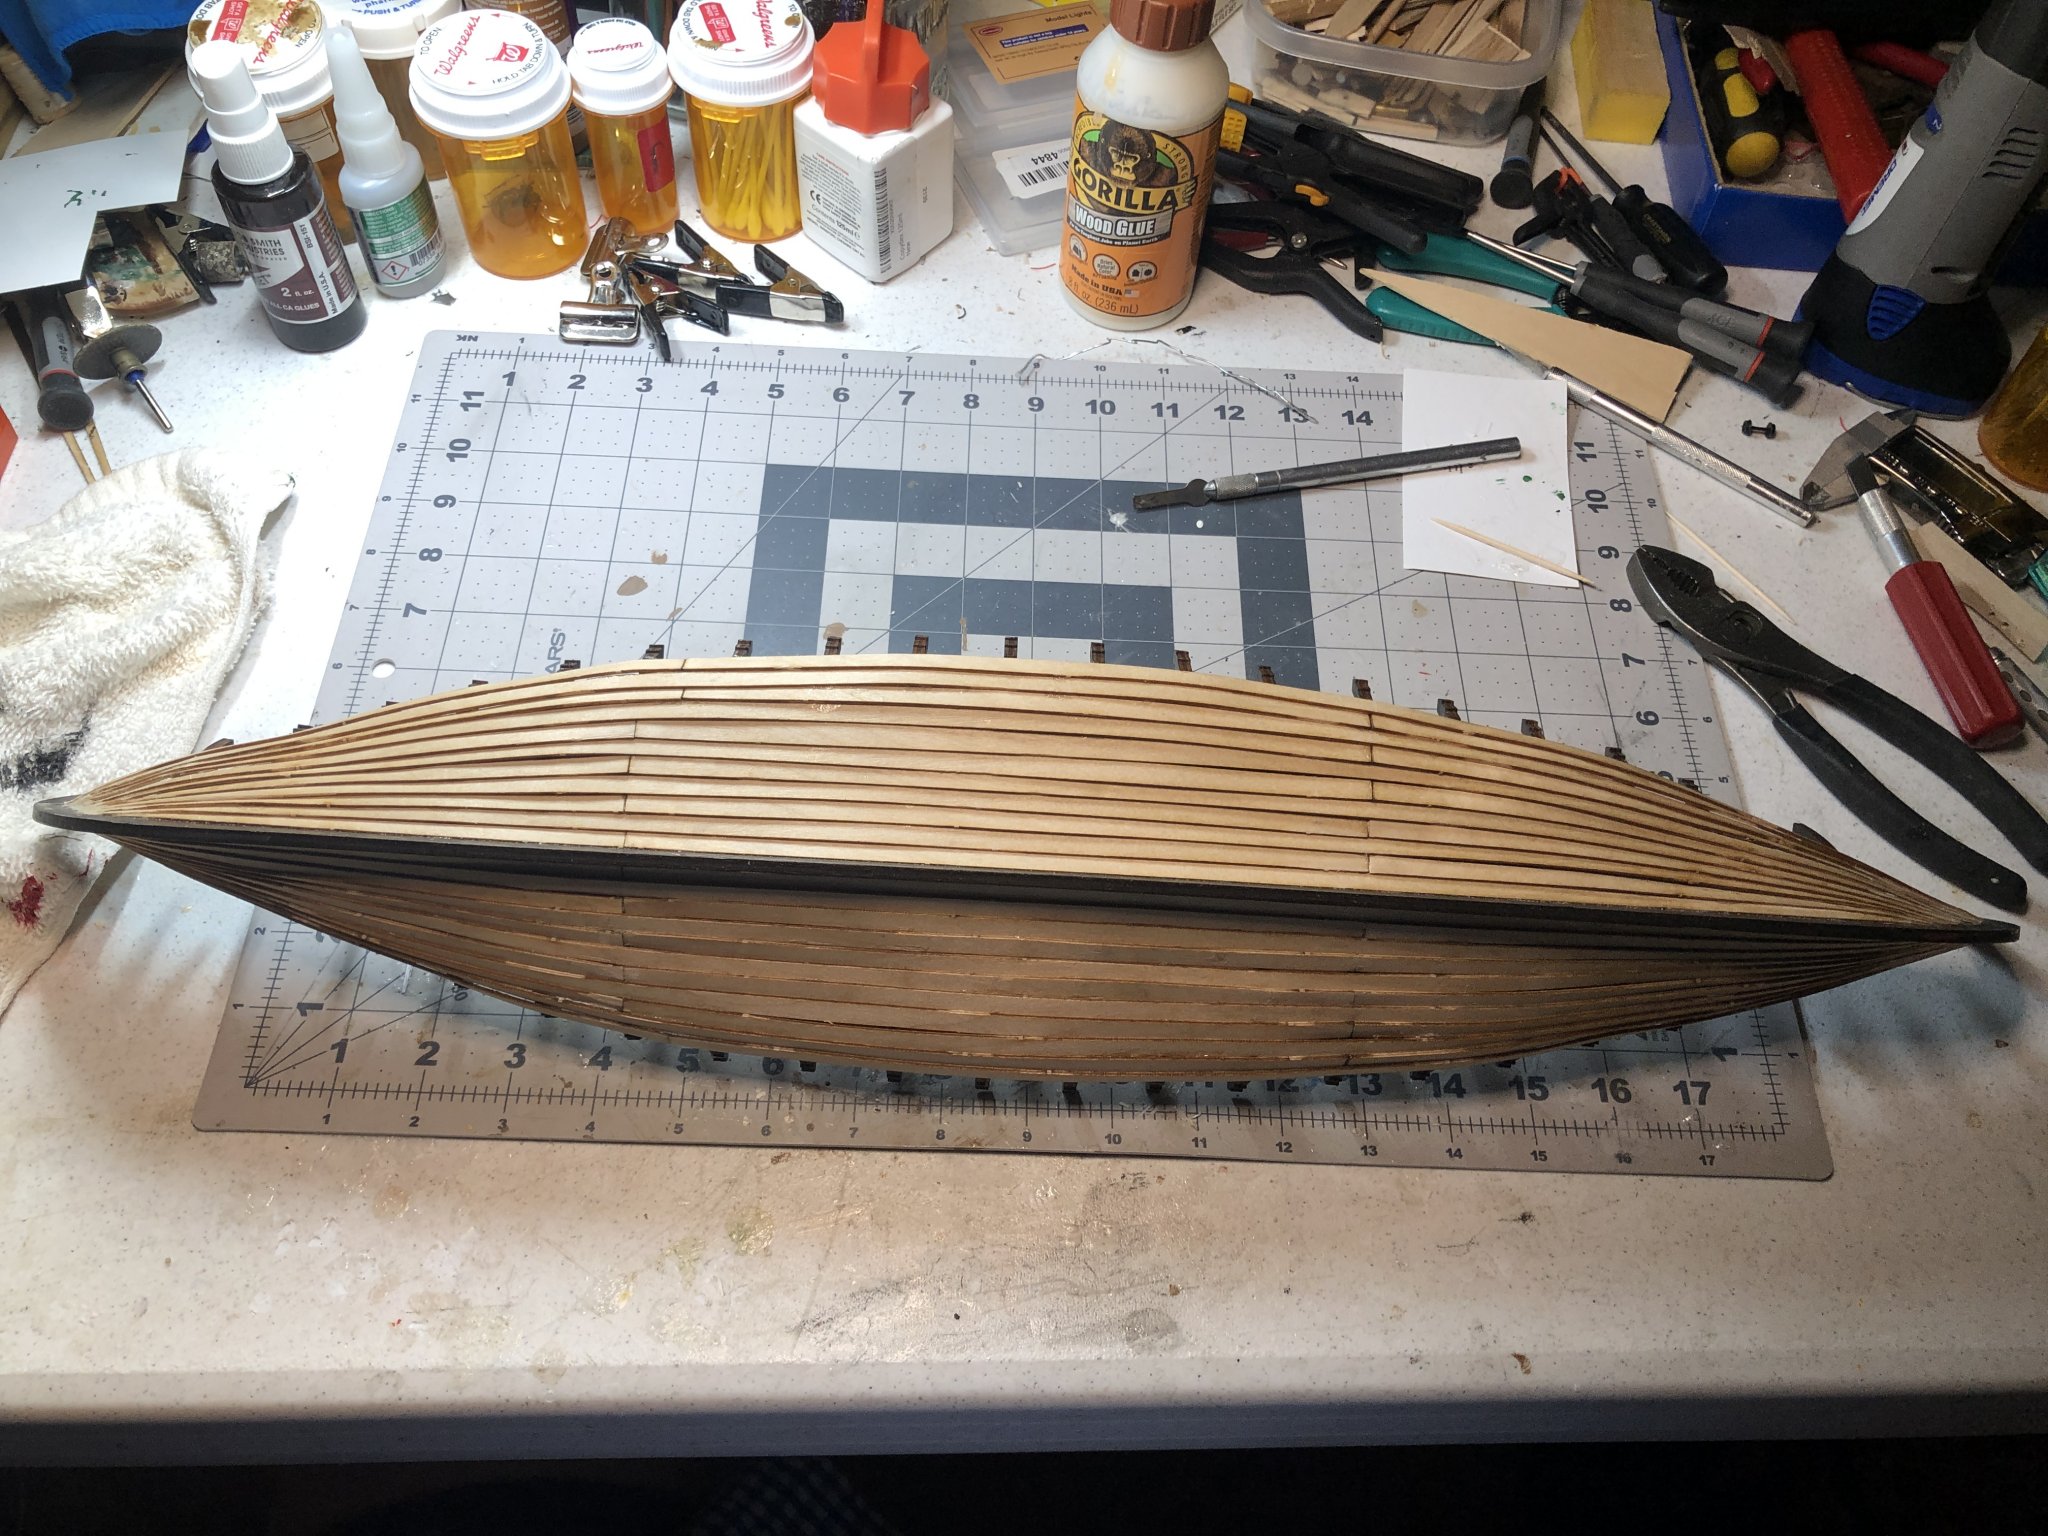
Next the garboard is fitted and glued.

Then other strakes were attached.

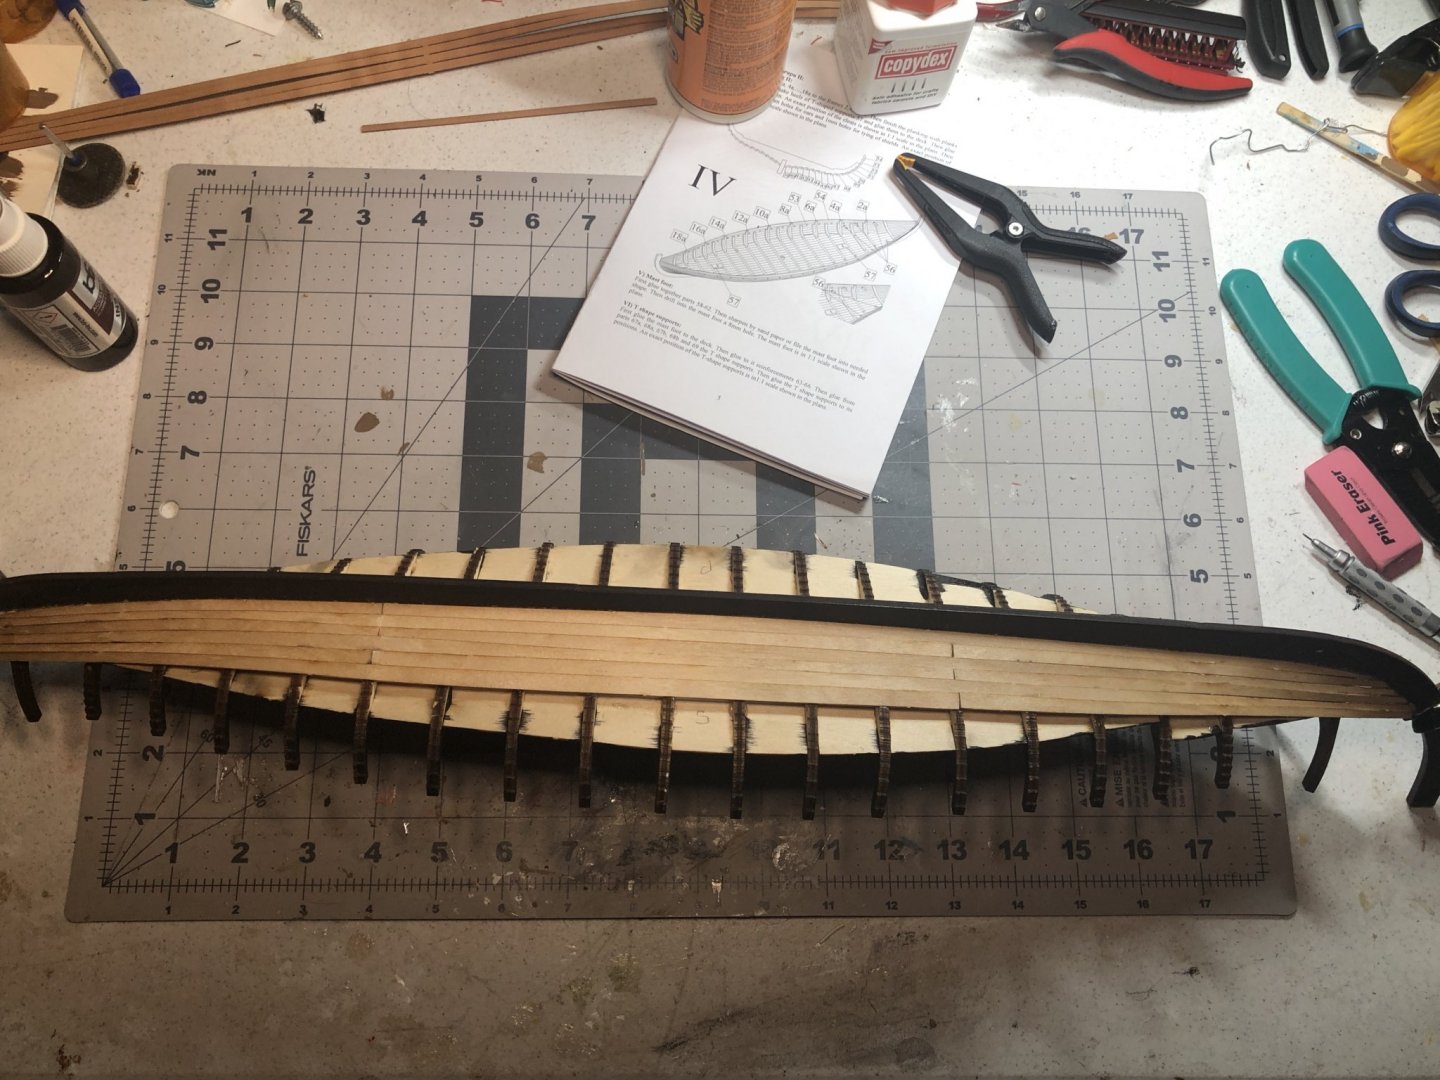

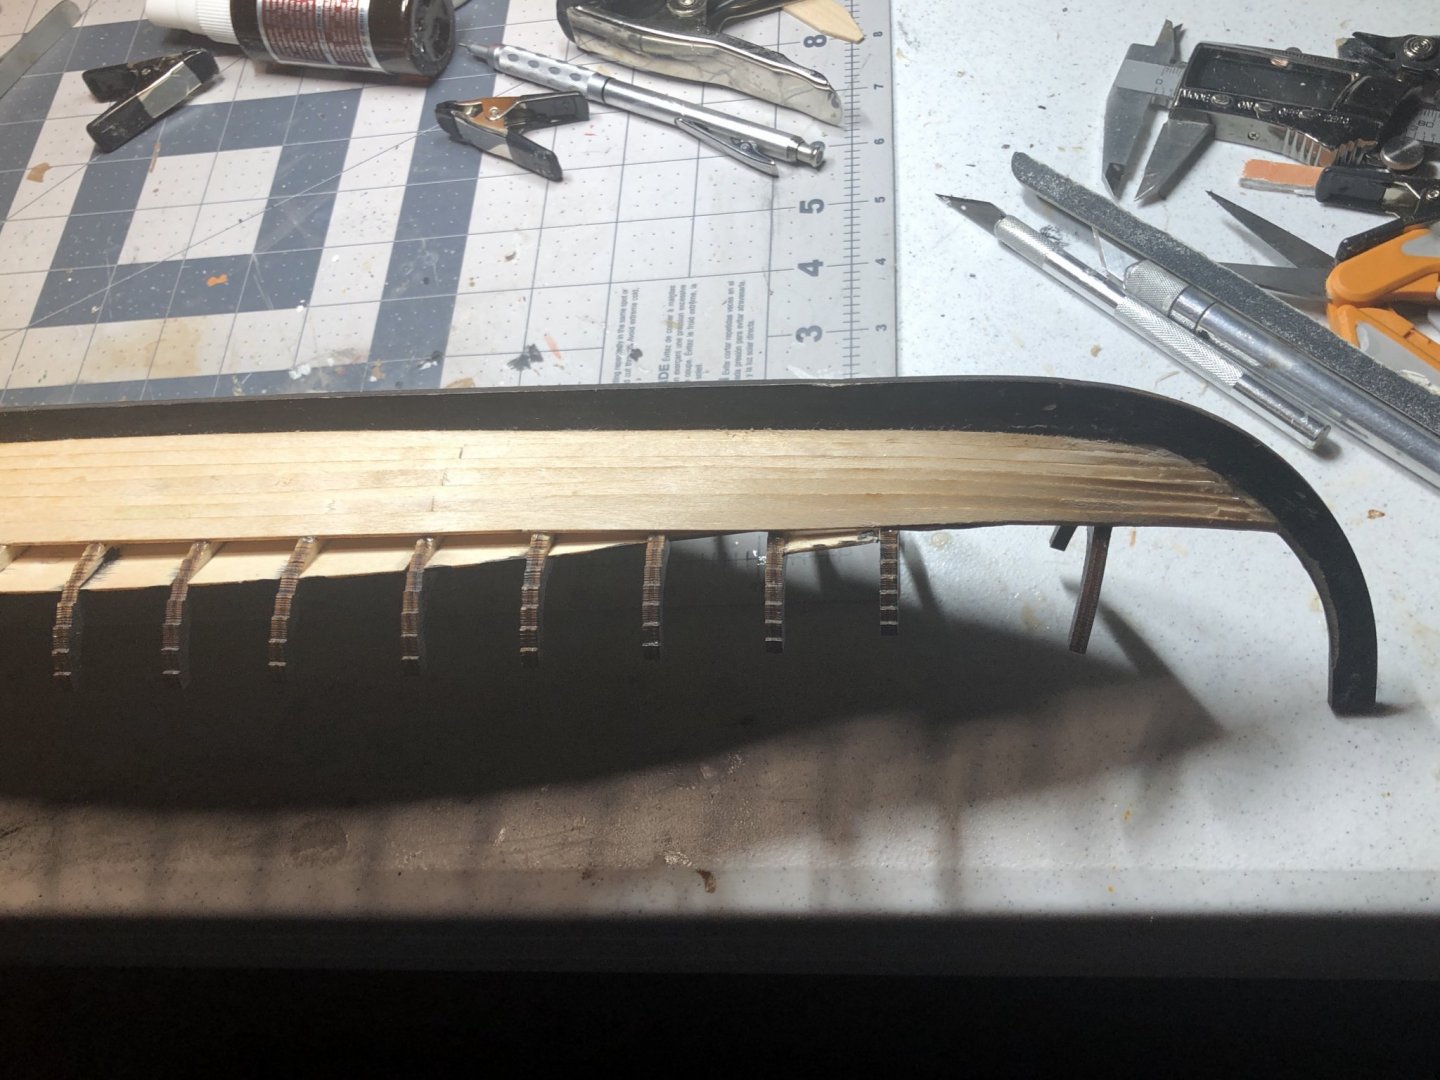

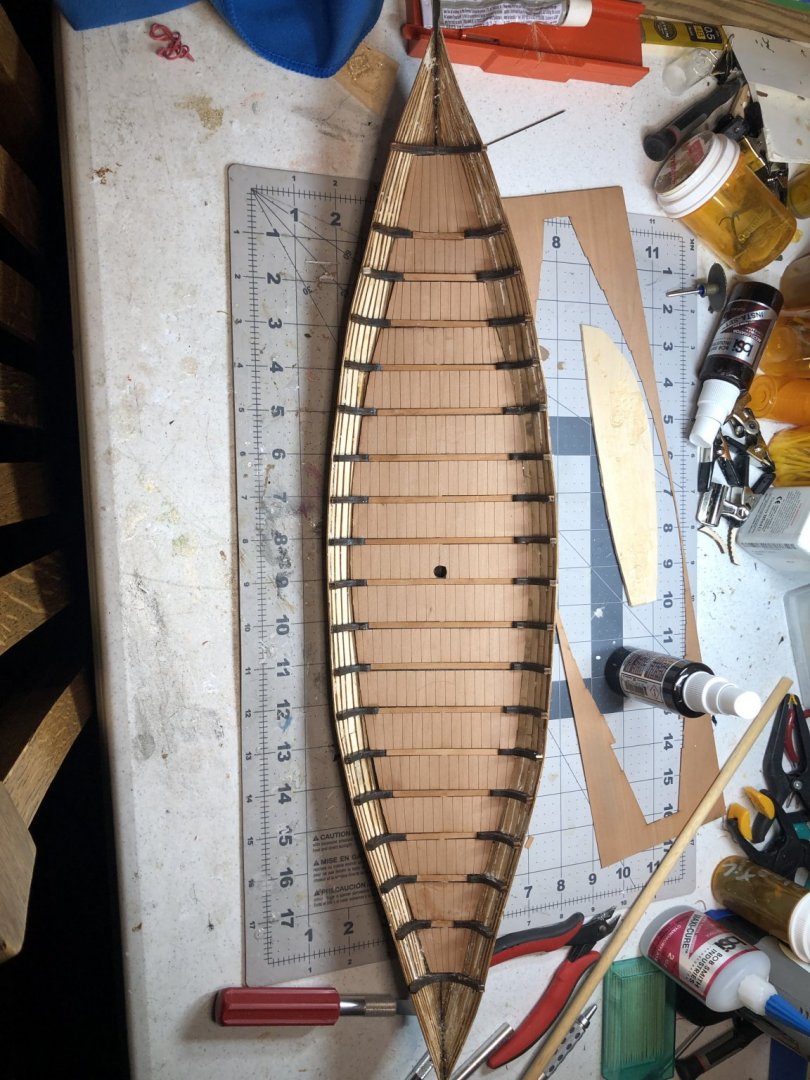
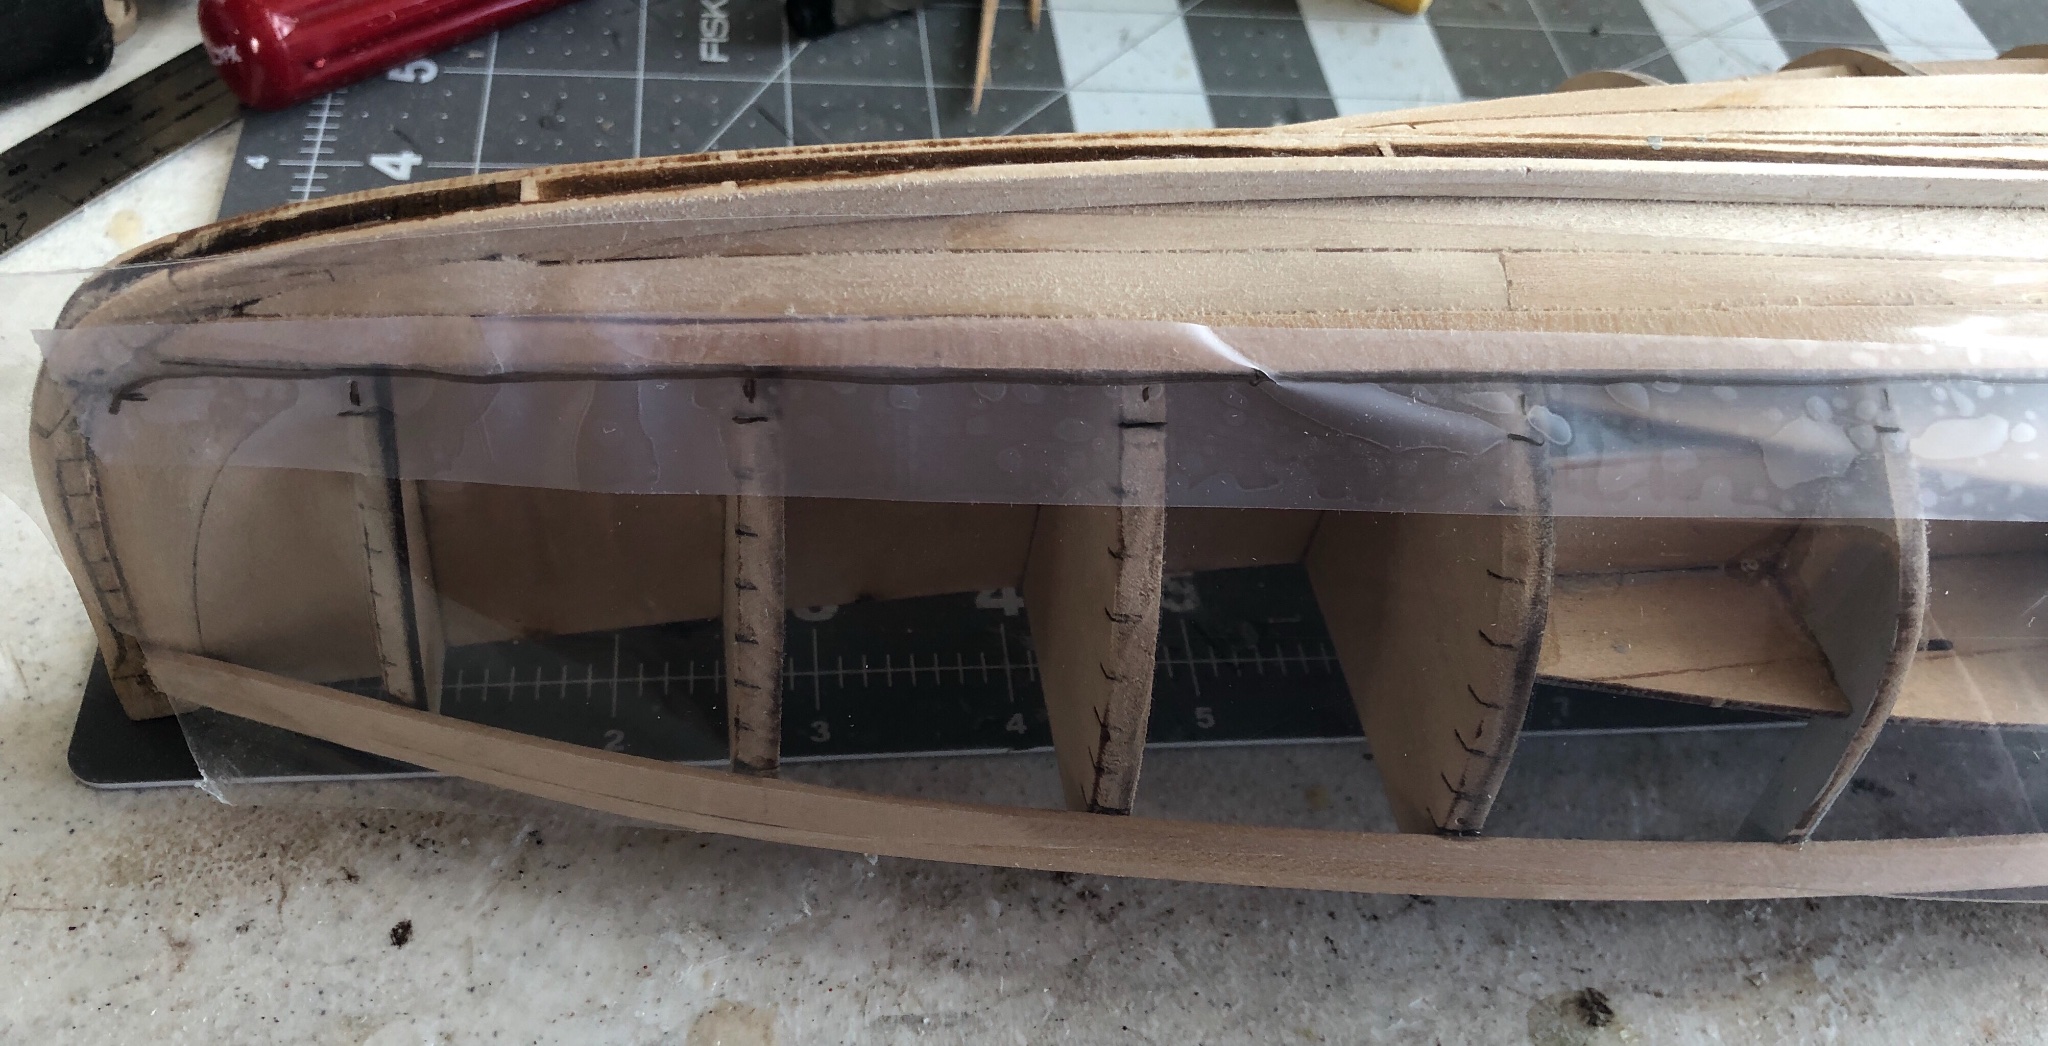
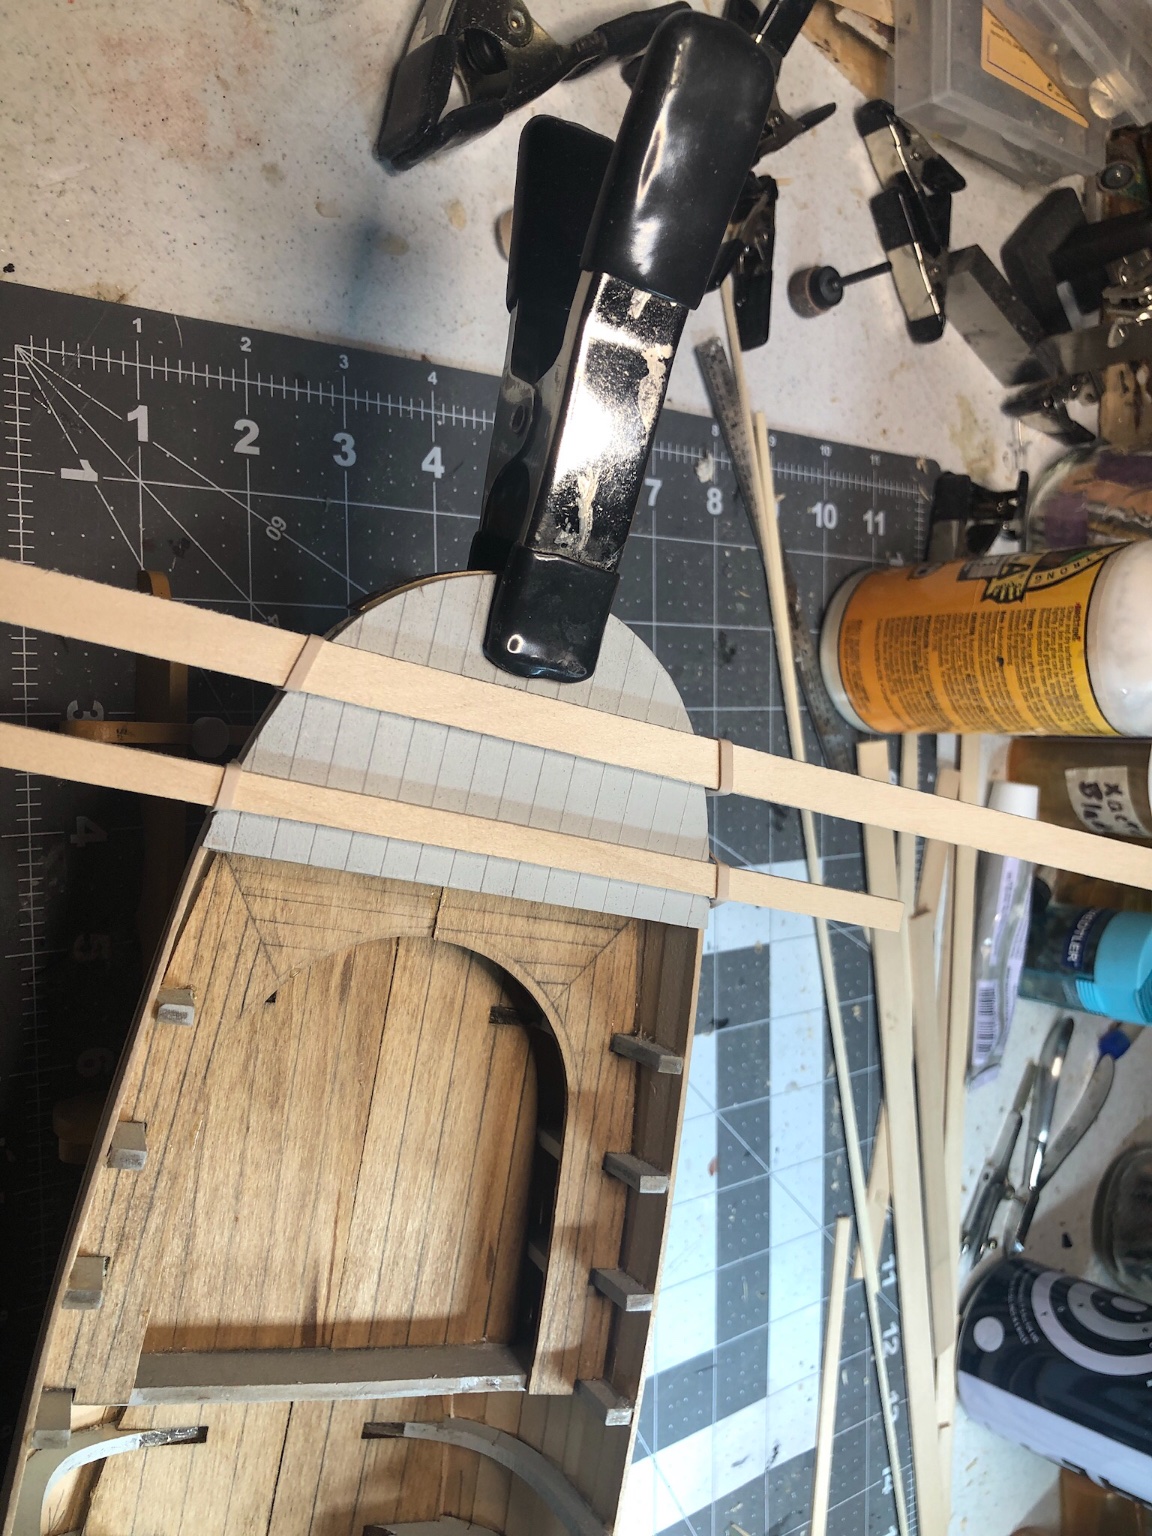
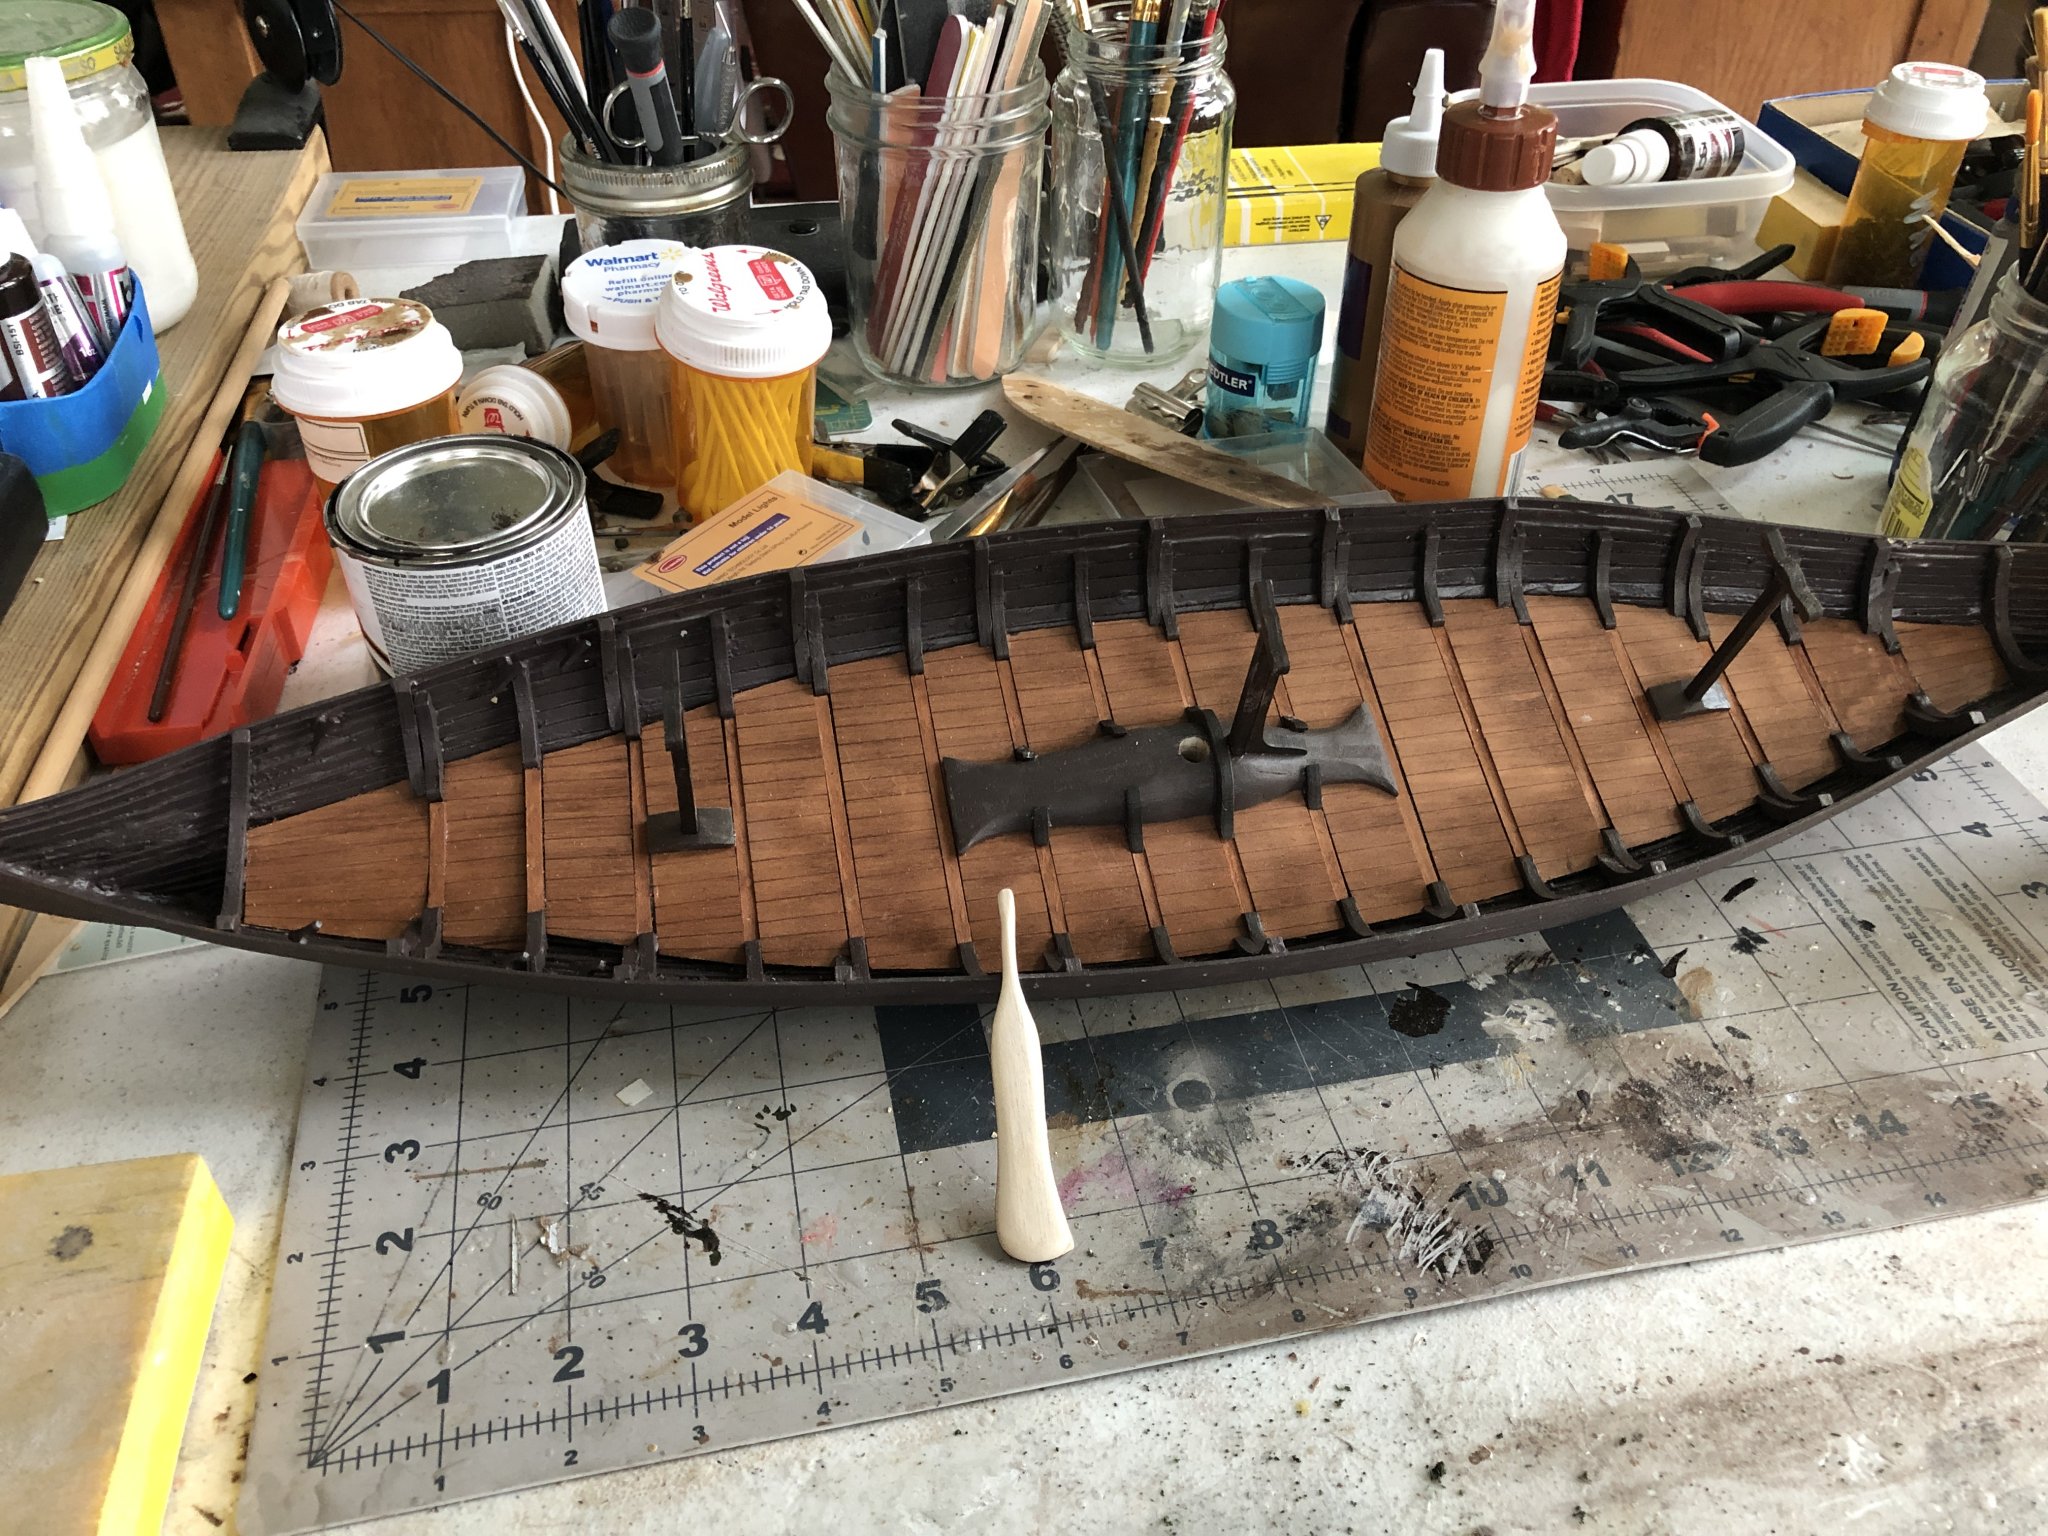
The deck and interior.
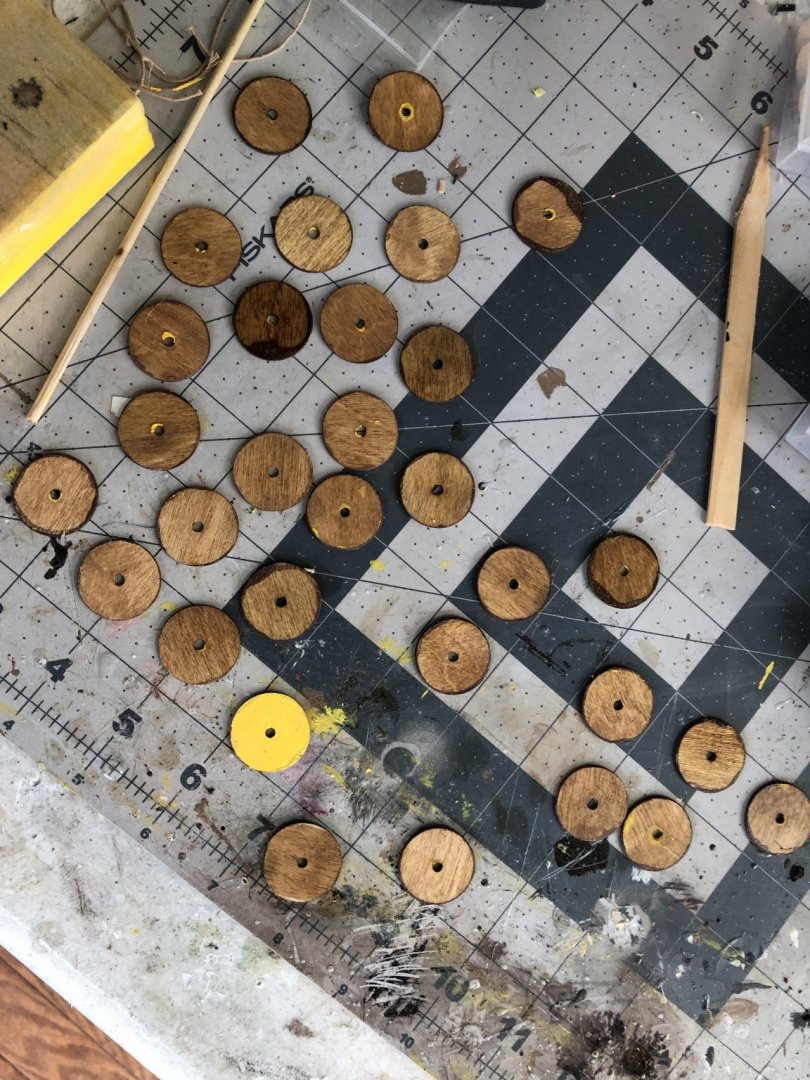
The mast foot is fashioned using a dremel.

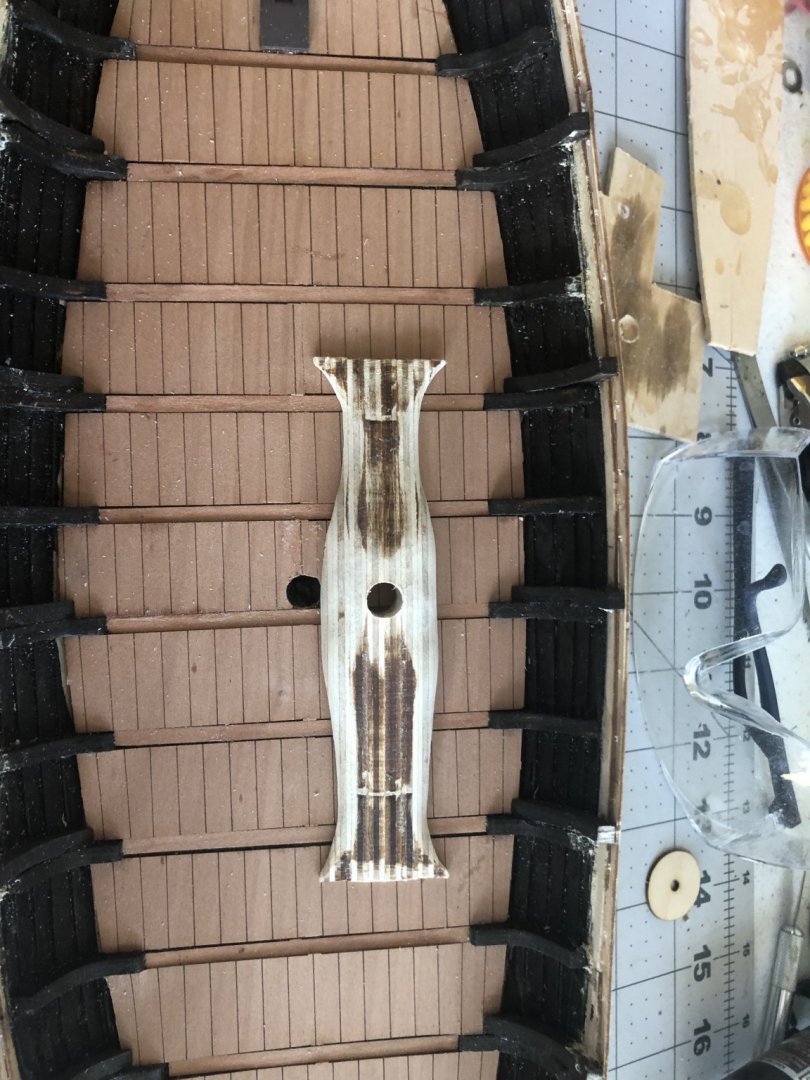
The deck was stained with a light oak stain. The mast foot, shown, was stained and attached. The rudder, hand sanded, is shown ready for staining.


- GrandpaPhil, Cathead and Binho
-
3
-
-
-
-
-
-
I am trying to figure out how the strakes on a clinker built ship or boat overlapped (the sud) at the stem and stern. I find it possible to bend strakes from having sud to not having sud as you approach the stem and stern but I feel this may be incorrect. If the strakes do overlap at the stem and stern, how are they joined at the stem and stern posts? Are they beveled or notched in some way? Is there an article or post on this which I might have missed.
Thanks
-
6 minutes ago, Jonathan11 said:
Here's the English translation for the book PDF. Looking forward to your build!
401201988 The viking ship at Gokstad in Norway english translation.pdf 35.82 MB · 1 download
Johnathan, thanks for the translation. I looked at a bit of it and it looks like a fantastic read.
-
6 hours ago, Srodbro said:
Just a suggestion:
I found the jig in this build log listed below very useful. Even using the jig, with the keel and frames quite plumb and square, aligning some of the planks from one frame to another was a challenge.
Nice color choice.Gokstad Viking Ship by jack.aubrey - Dusek Ship Kits - 1:35 Scale
Thanks for your suggestion. I am not sure what I will do as yet.

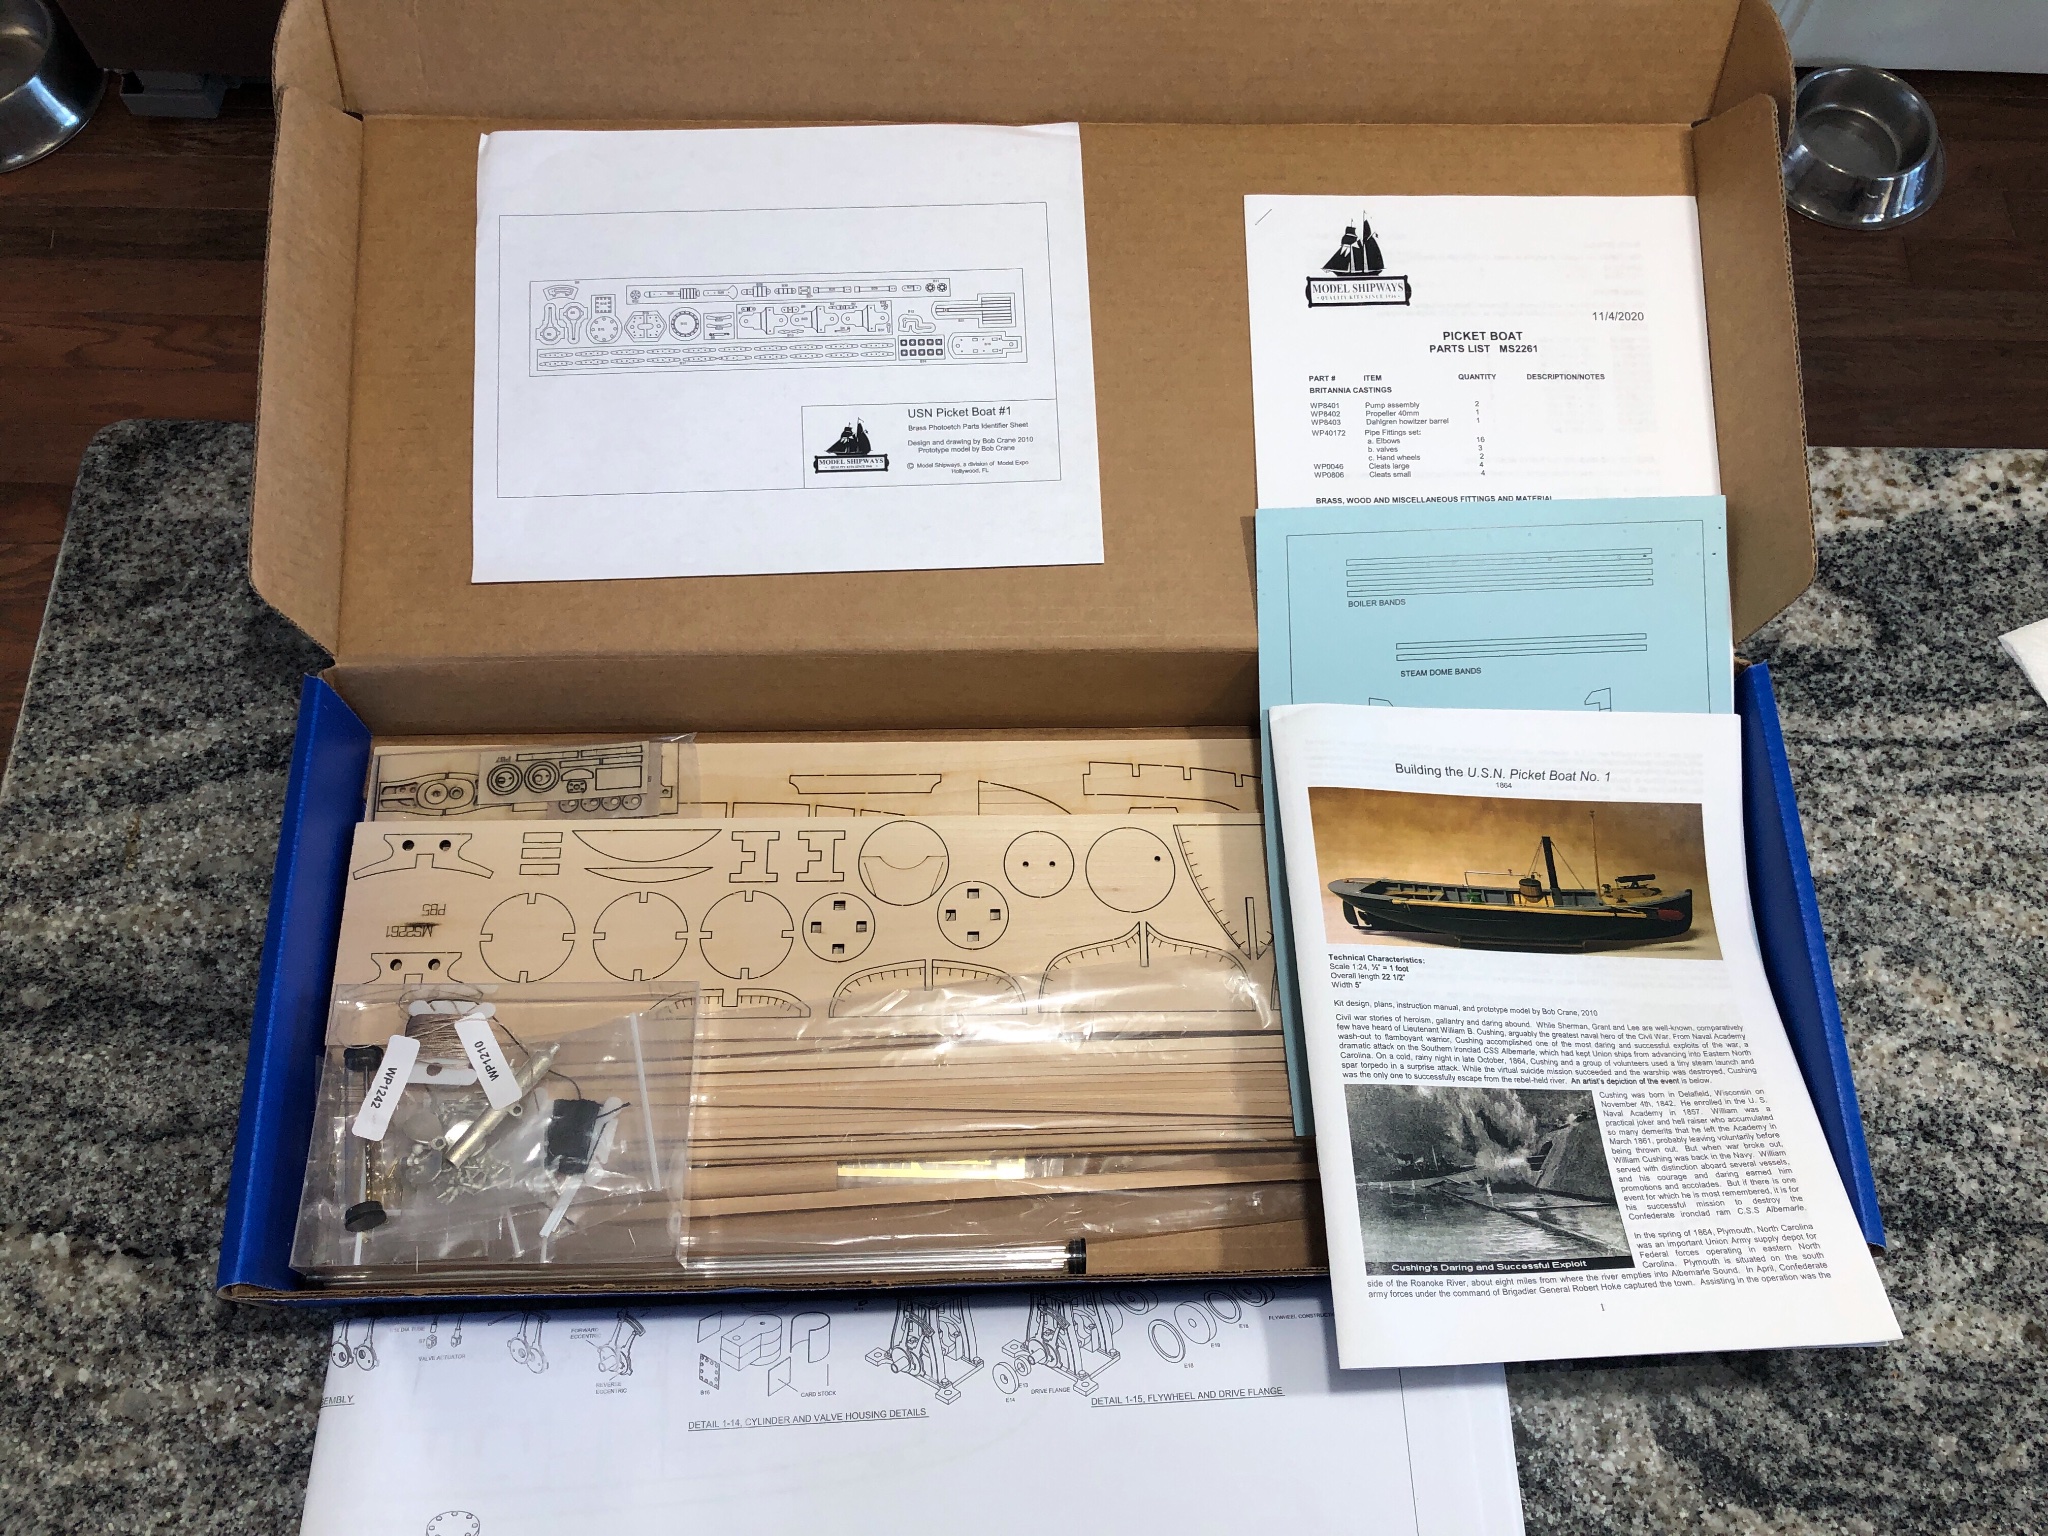


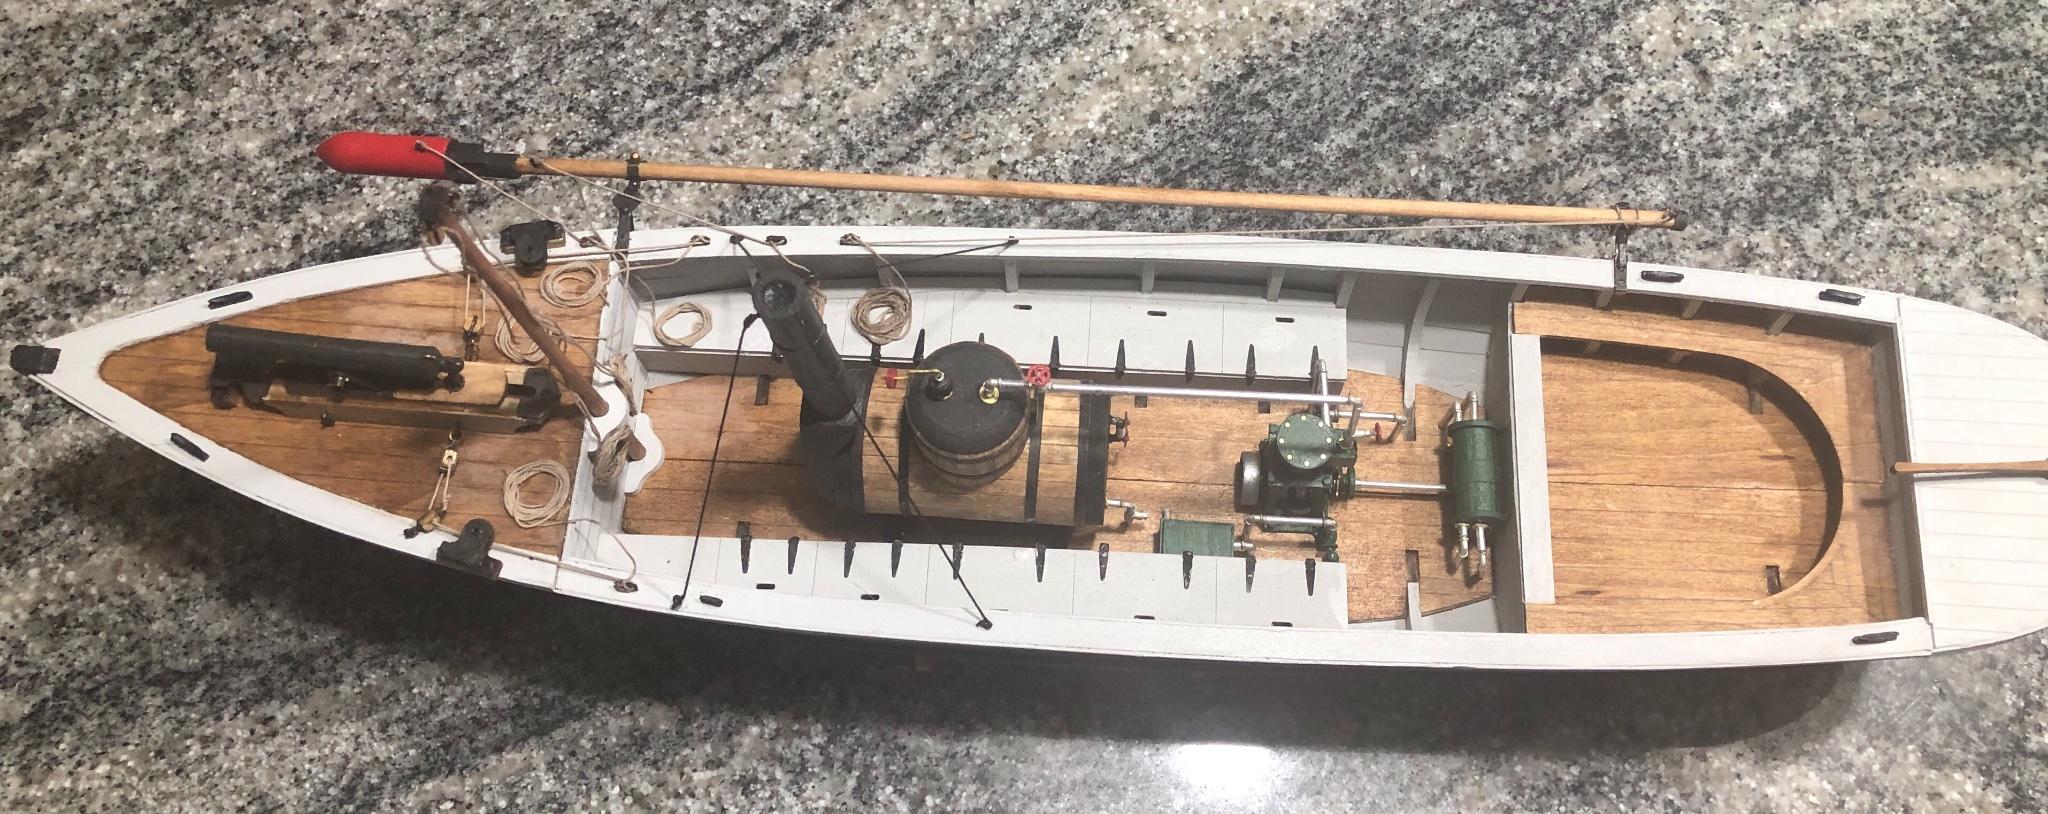
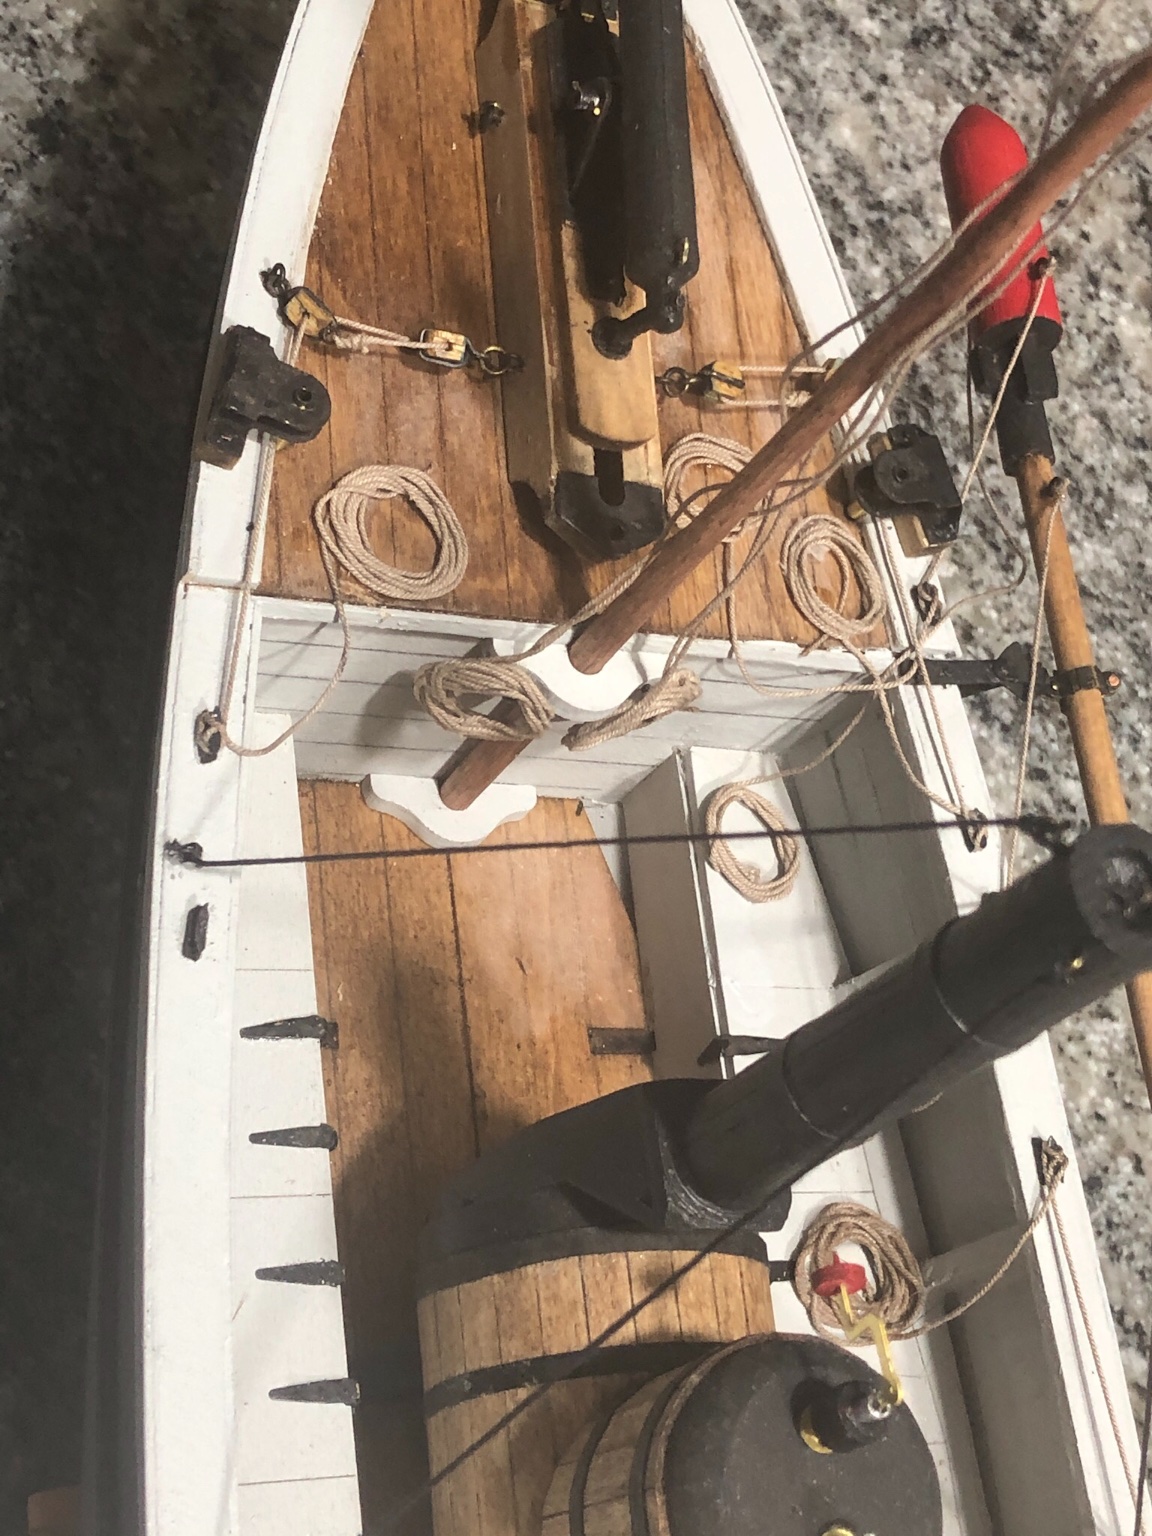
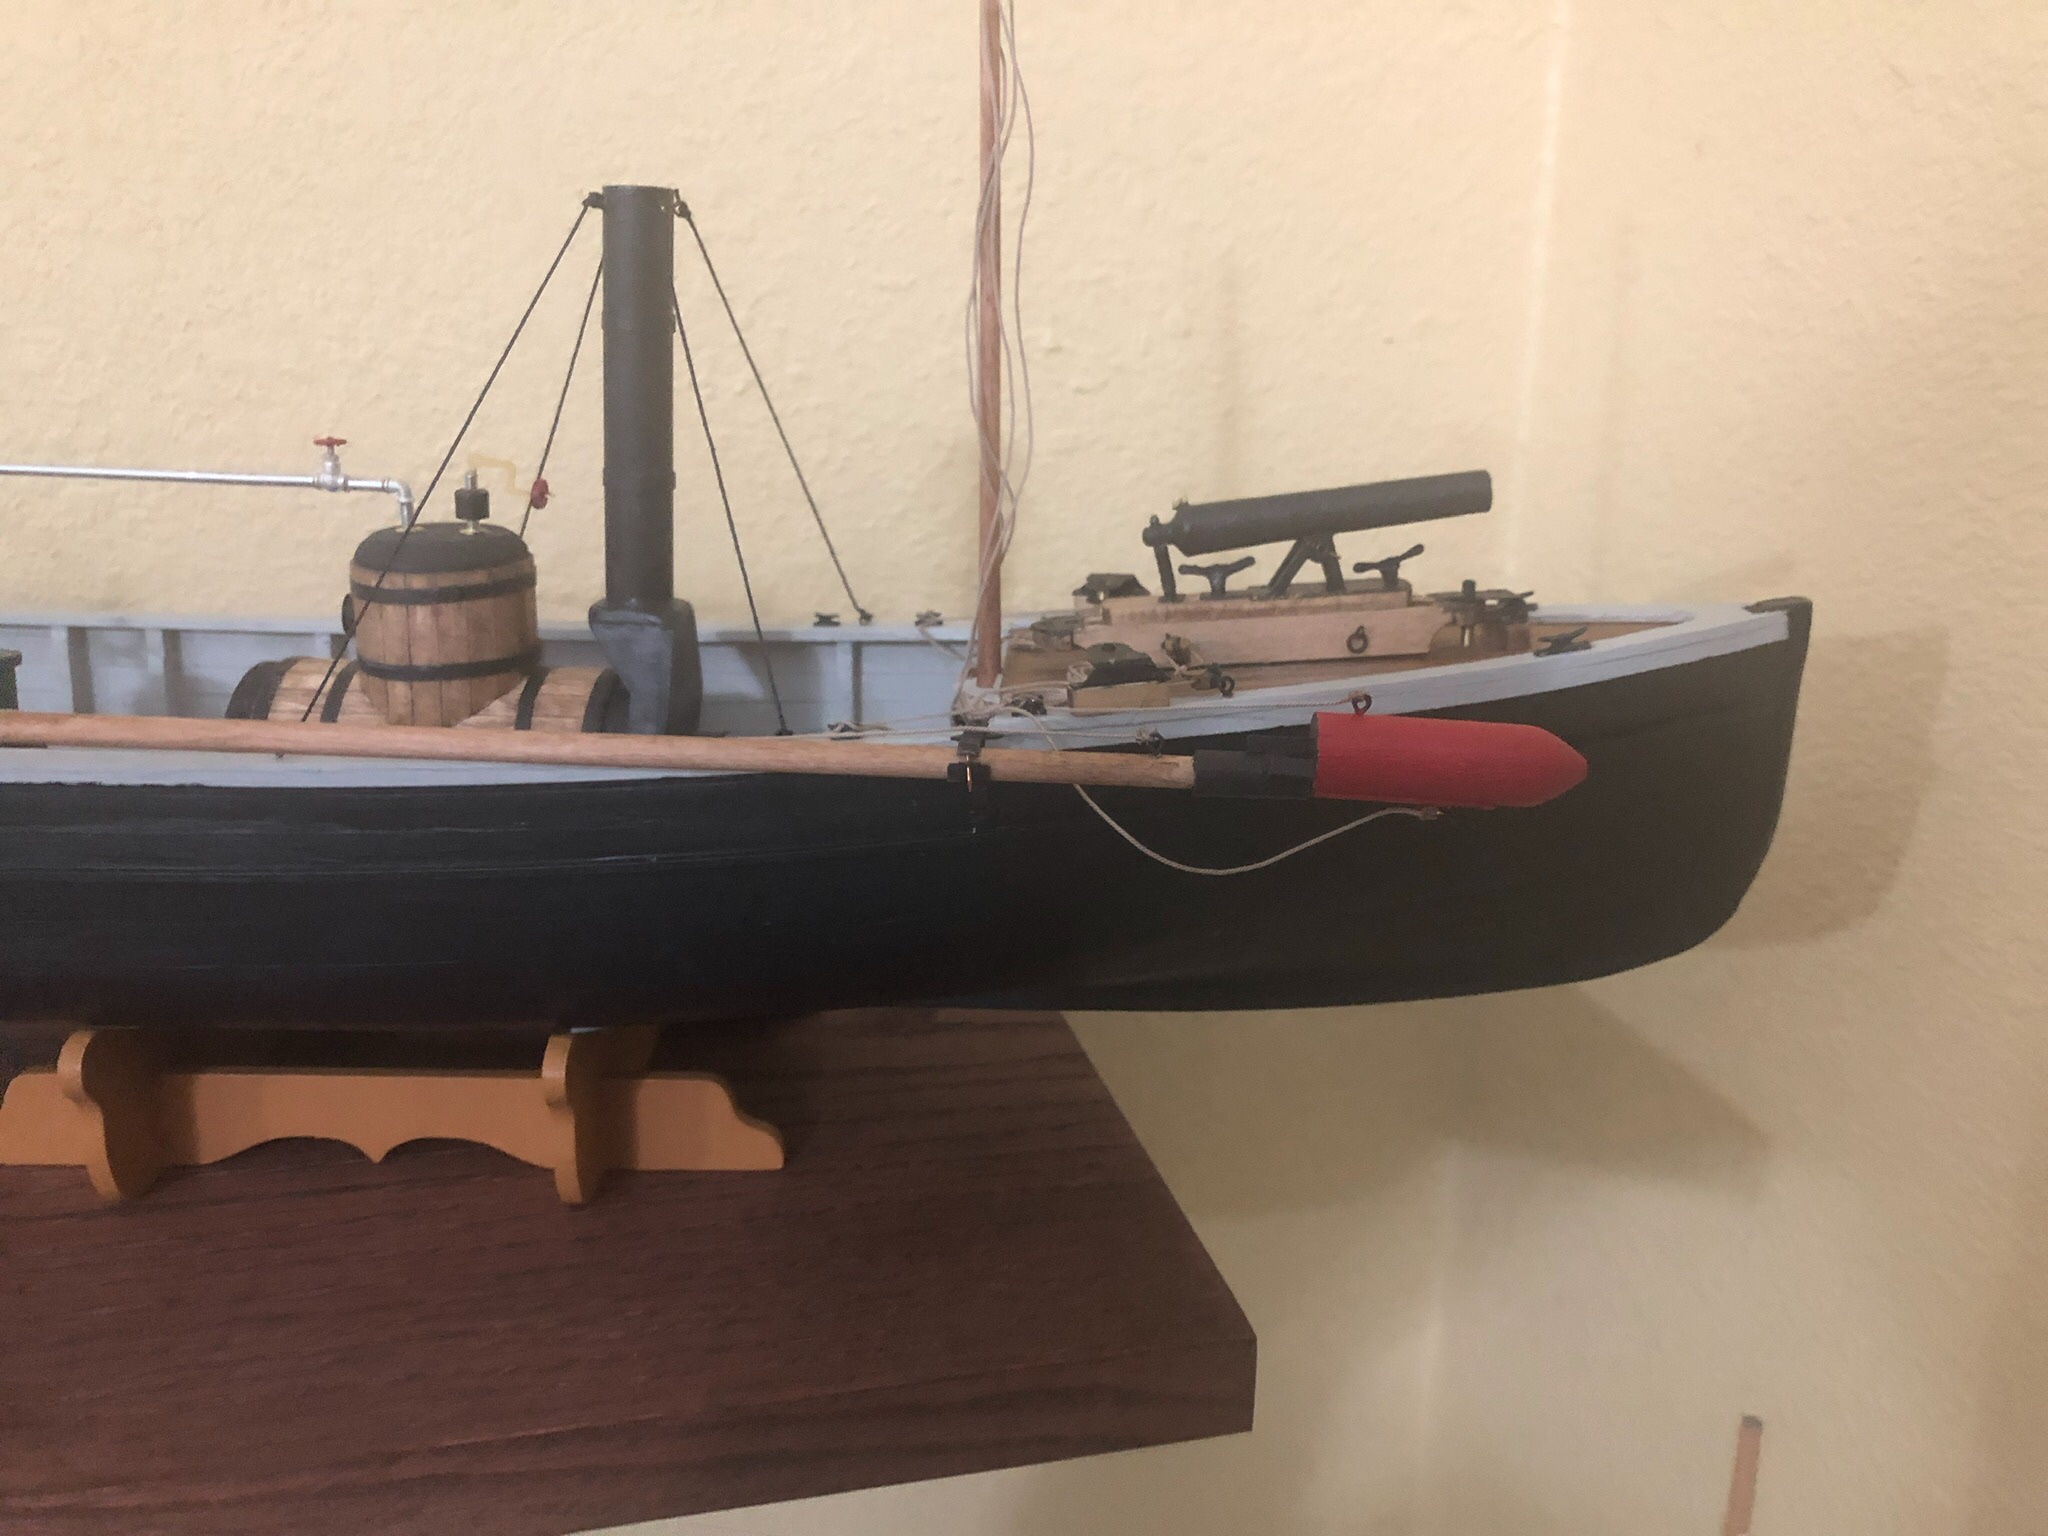


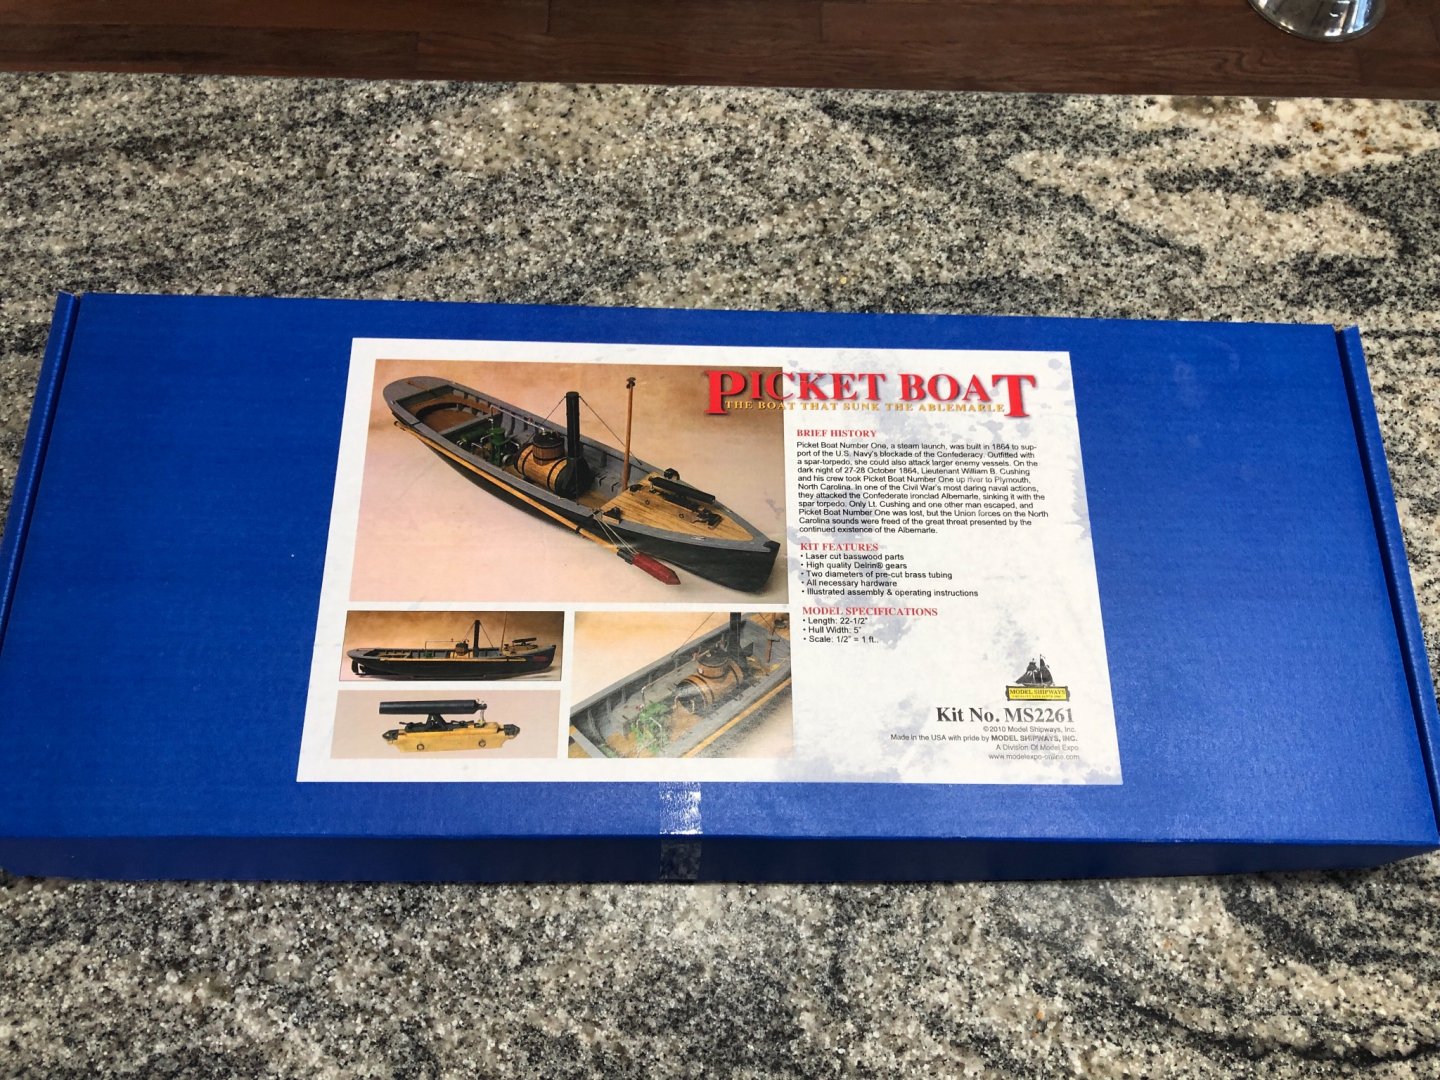
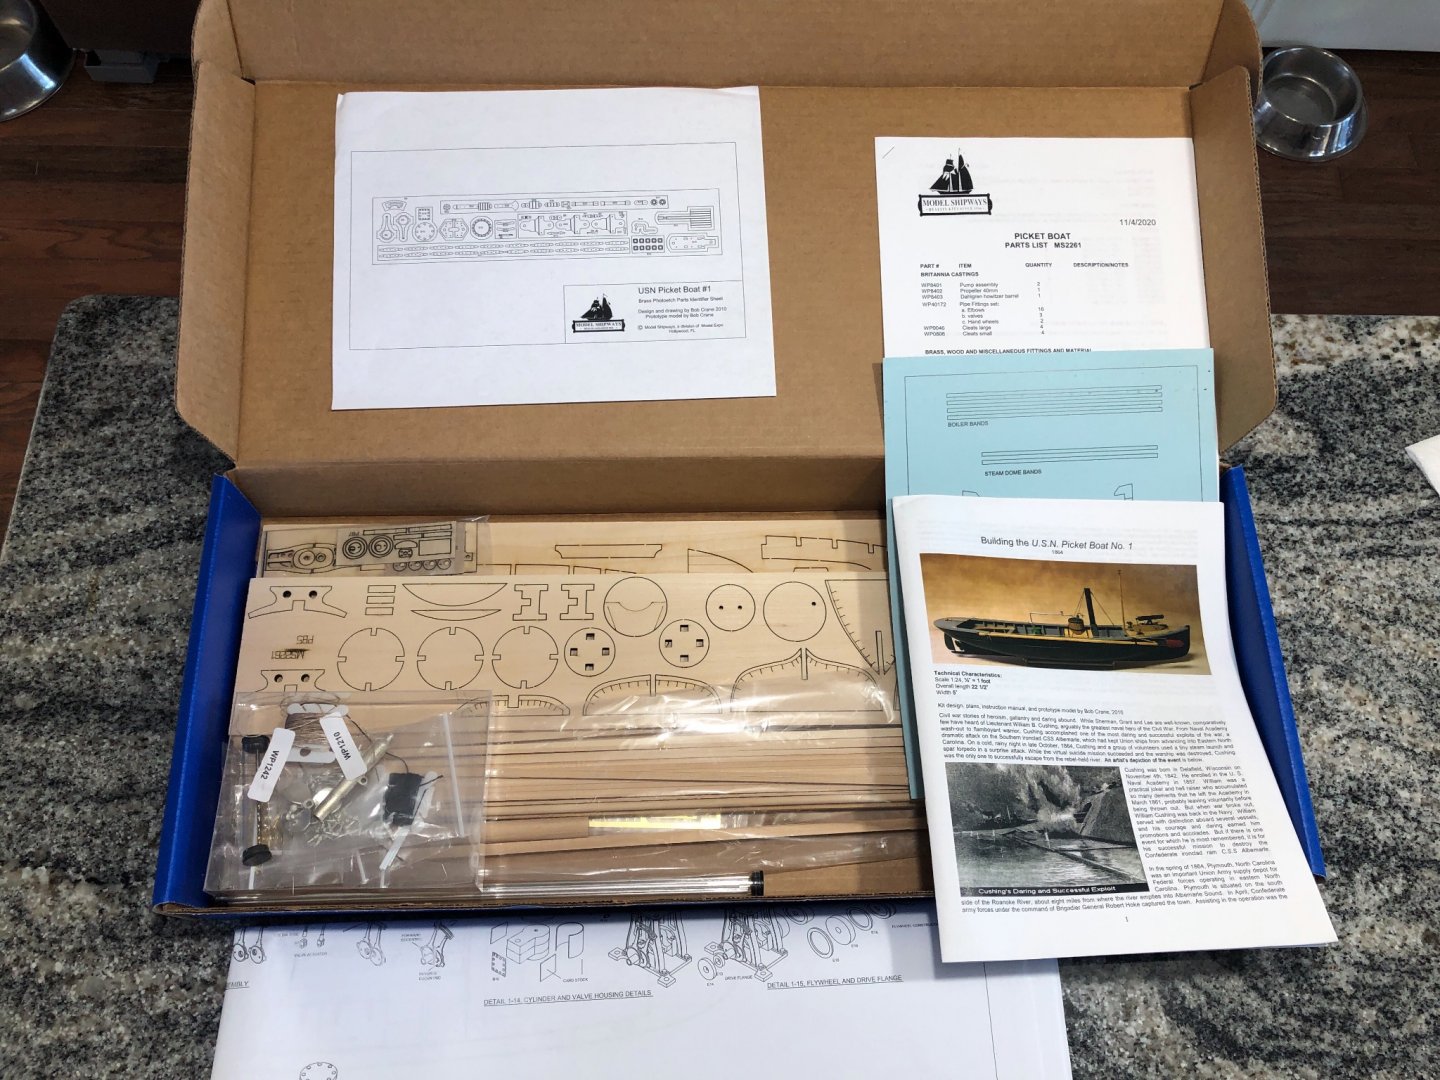
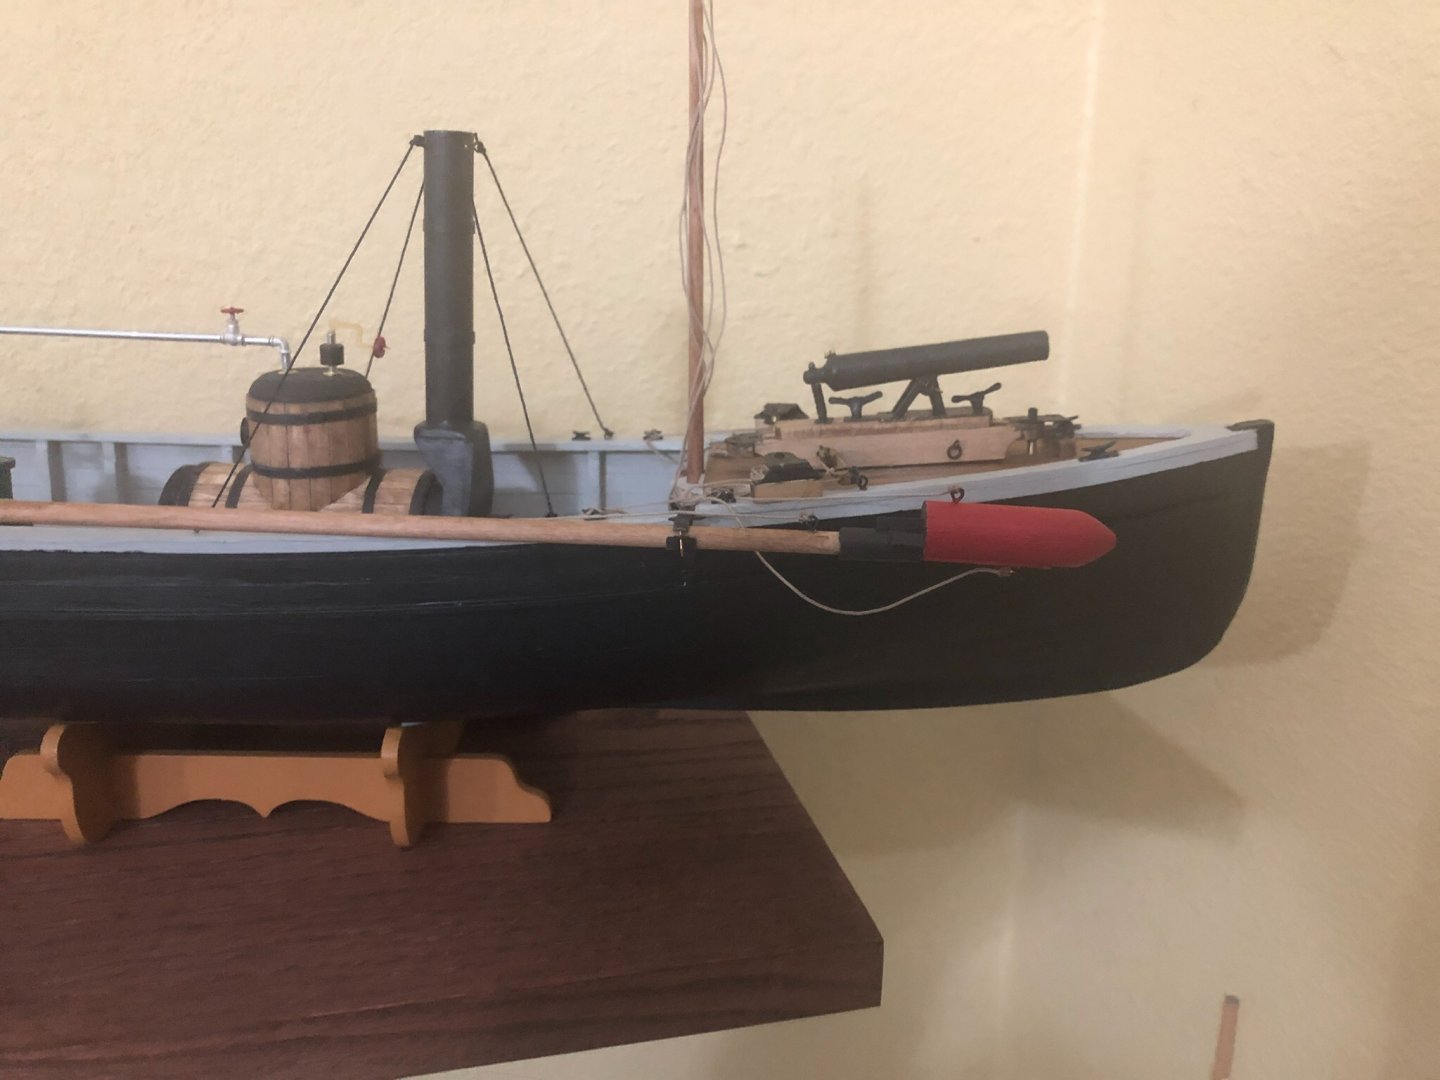
Picket Boat #1 by Dr PS - FINISHED - Model Shipways - Scale 1:24
in - Kit build logs for subjects built from 1851 - 1900
Posted
Thanks all 😎