

The Lazy Saint
-
Posts
264 -
Joined
-
Last visited
Content Type
Profiles
Forums
Gallery
Events
Posts posted by The Lazy Saint
-
-
Hi Vane,
I have enjoyed looking through your build log, l will have to find your others too. It certainly sounds a good idea to alternate between builds while waiting for the glue to dry. Your second planking is very good indeed, are you using wood glue or a super glue?
Keep up the good work.
Best wishes as always,
The Lazy Saint.
-
Hi Edward,
You didn't waste any time did you, back off holiday and straight back to the shipyard, and you are going great again. Well done.
Hope you had a great holiday.
Best wishes as always,
The Lazy Saint.
-
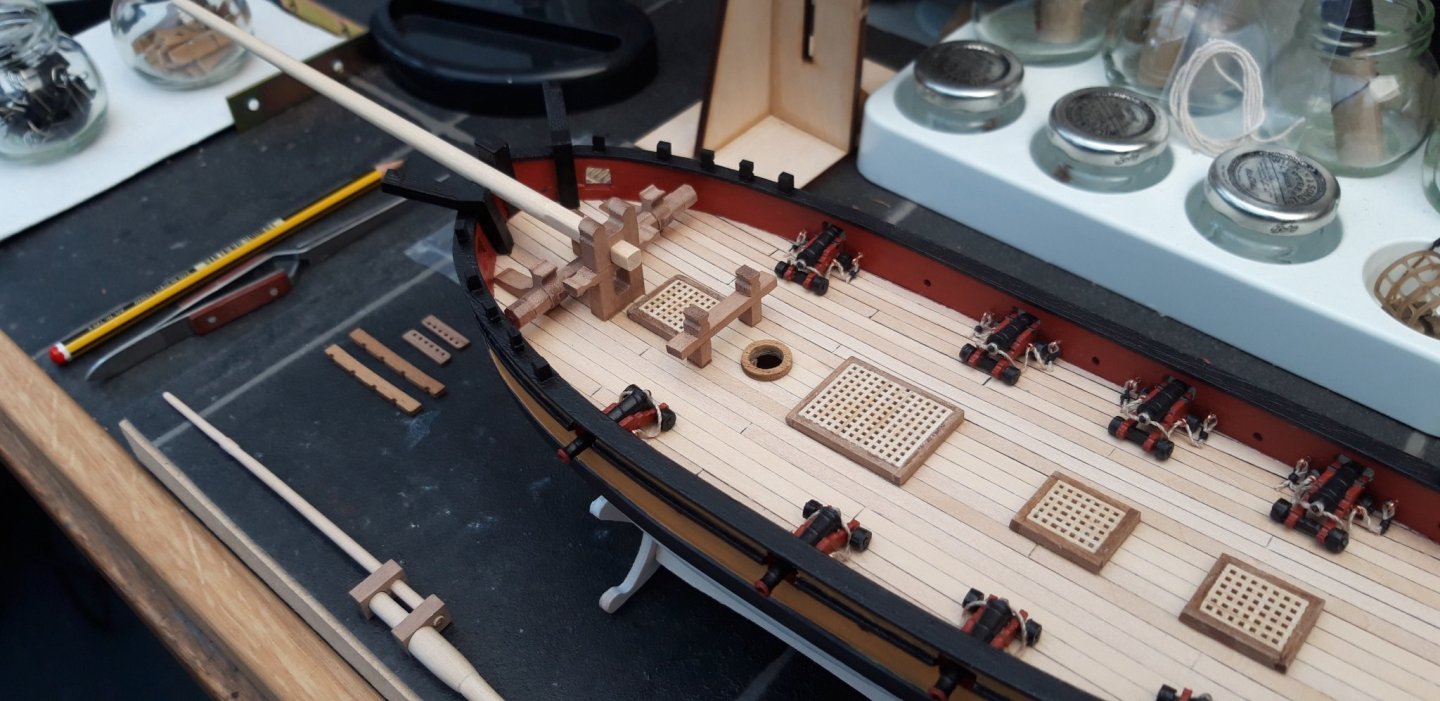
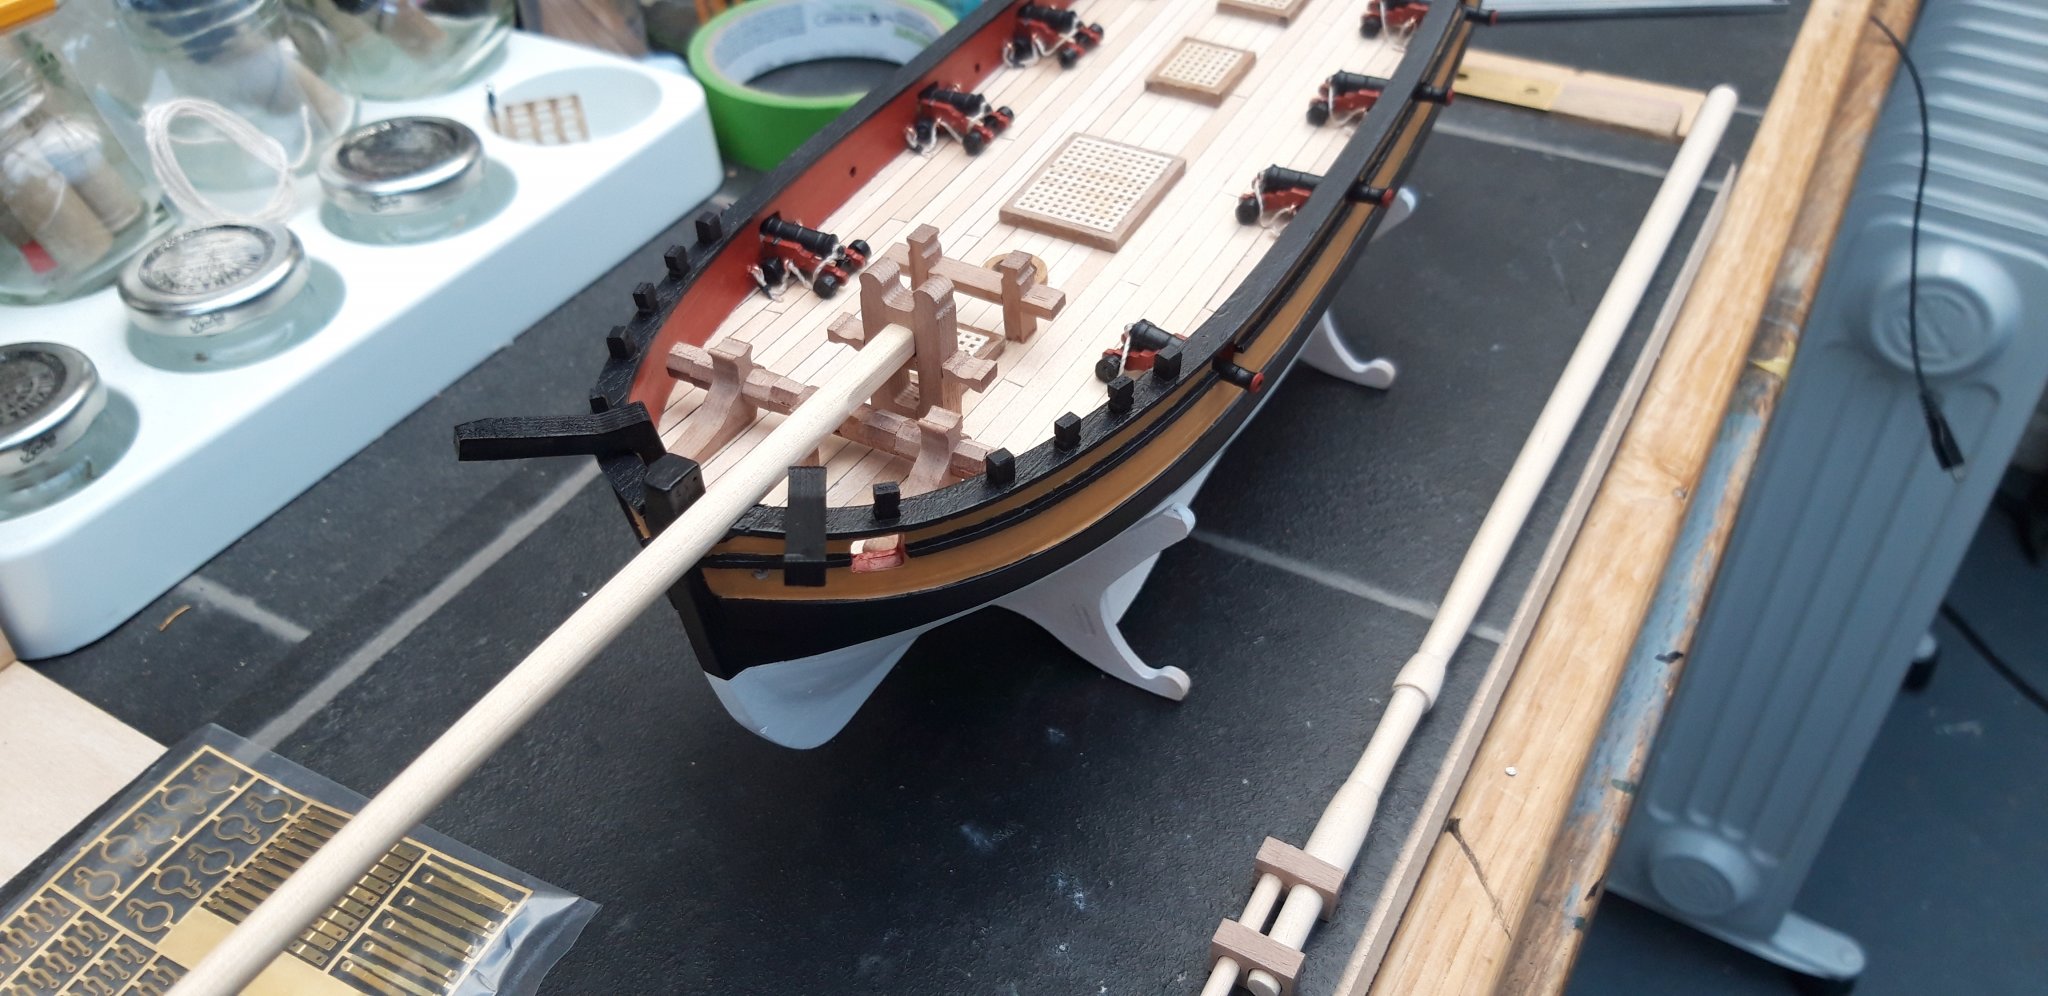
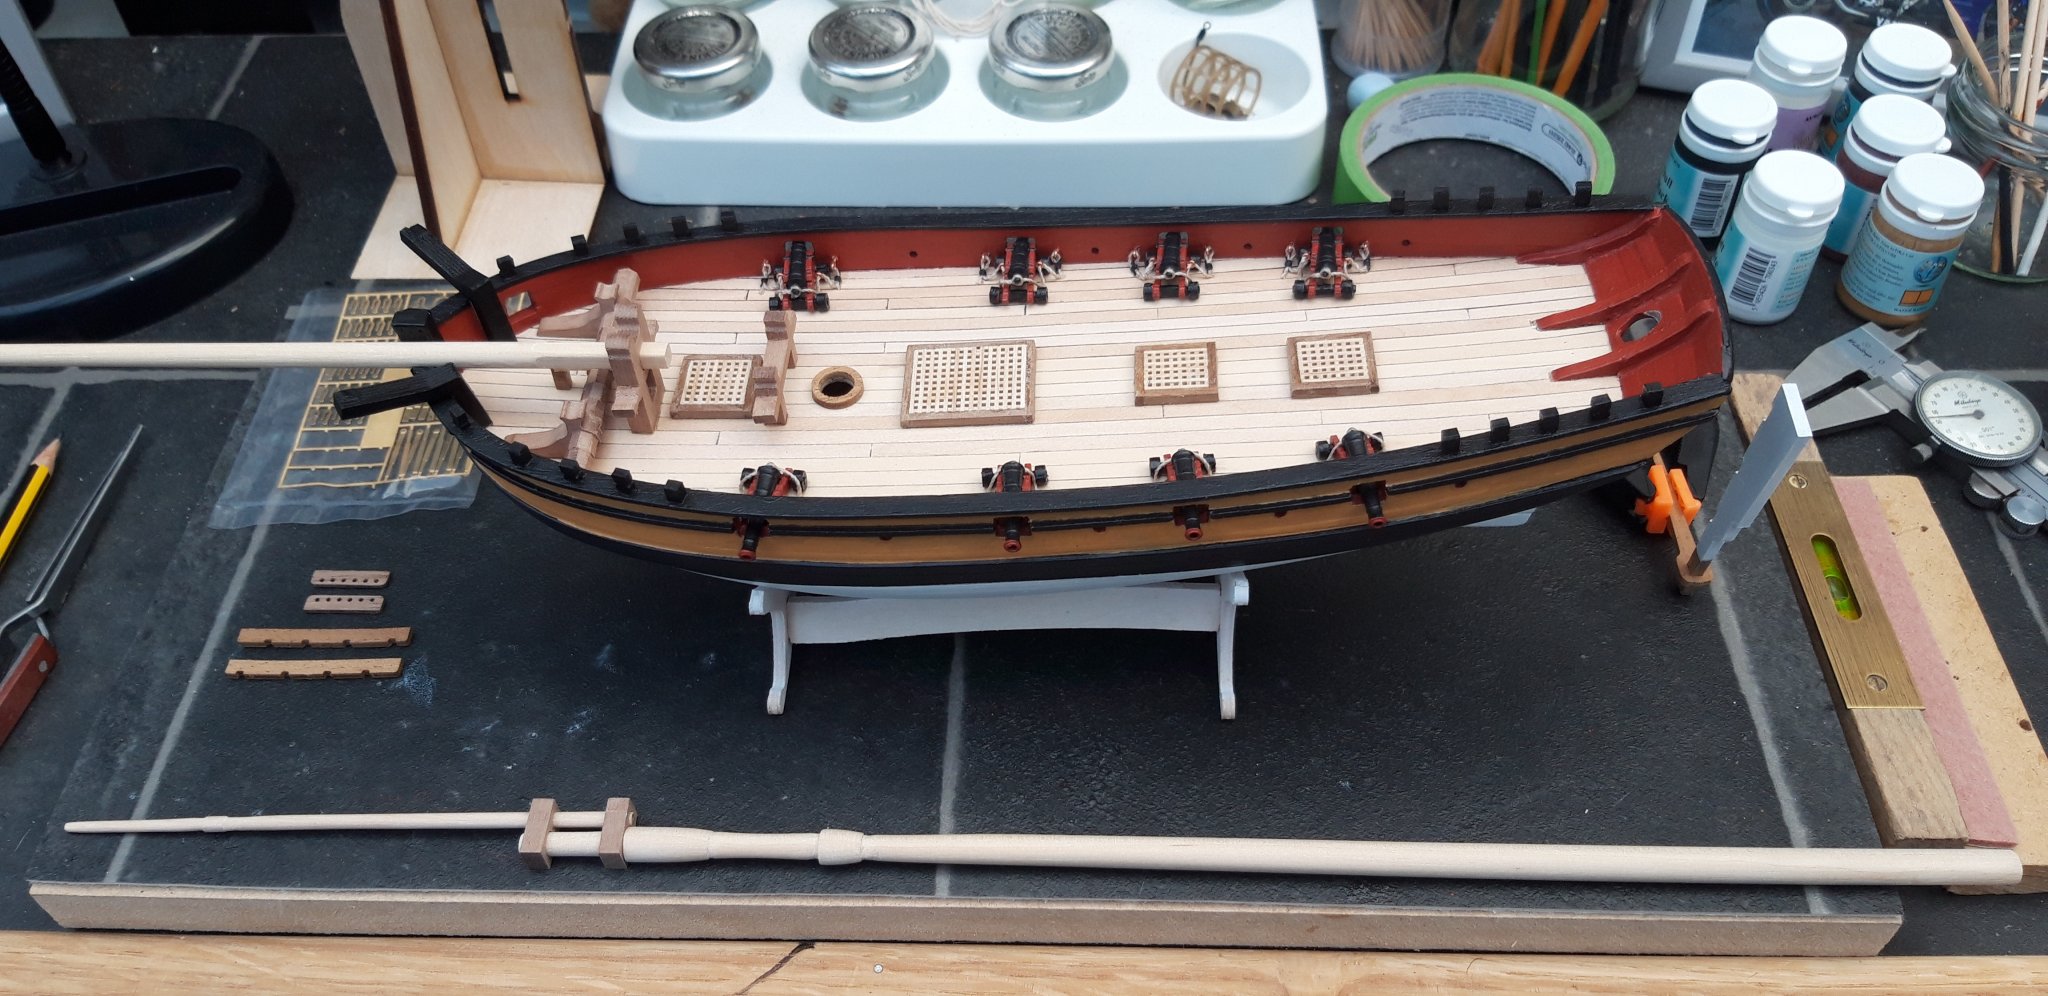
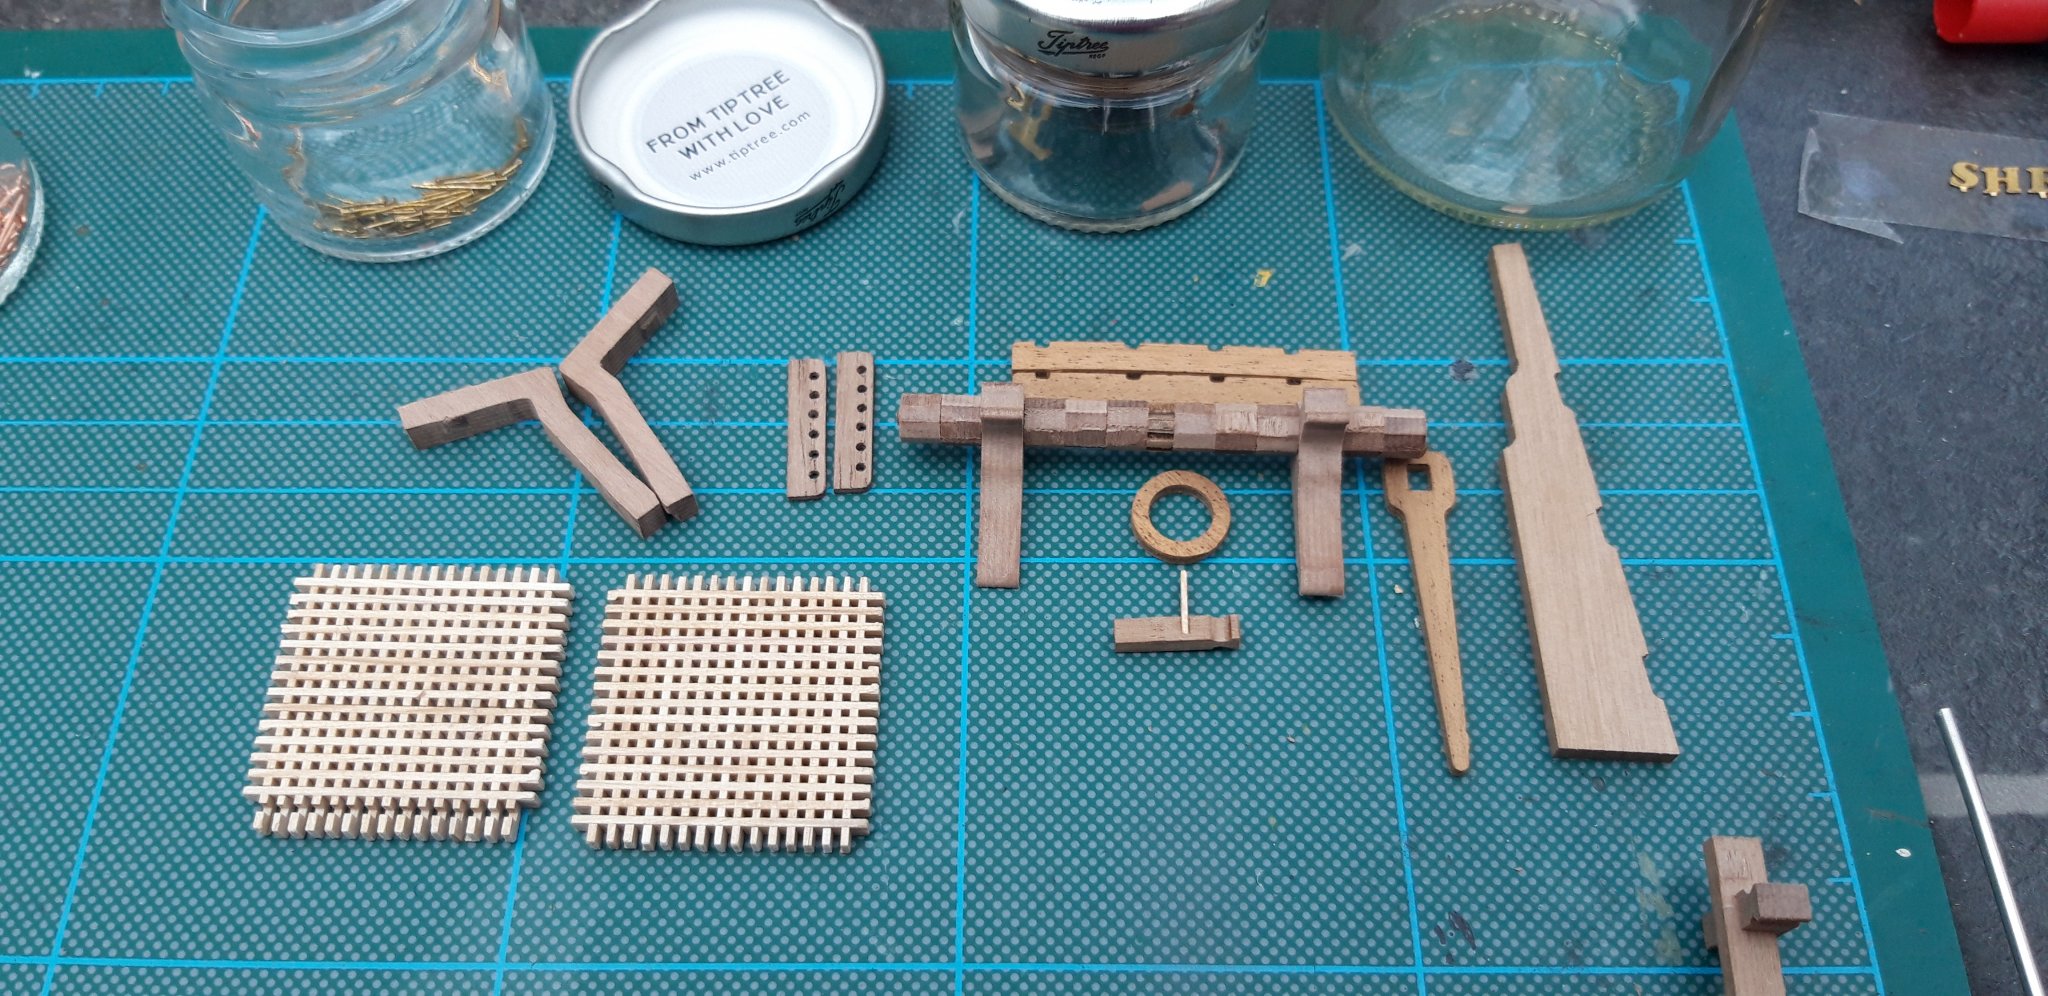
Hi all,
l have been slowly but surely working my way through the deck fittings. So far l have managed to fit:
Four sets of Gratings, the Winch and the Catheads.
The Bowsprit Support bitt assembly and
I have squared the Bowsprit to fit. It has also been tapered to the correct (ish) dimensions as has the Main Mast.
All Deck fittings have been pinned as well as glued.
All in all a very good day and certainly cooler than of late, l am glad to say.
I think l will call it a day now, put the build down and tidy up my den. My work surfaces certainly get cluttered up with tools, off cuts, wood shavings etc etc. as l am sure you all know only too well.
Best wishes as always,
The Lazy Saint.


- mugje, bruce d, paulsutcliffe and 10 others
-
 13
13
-
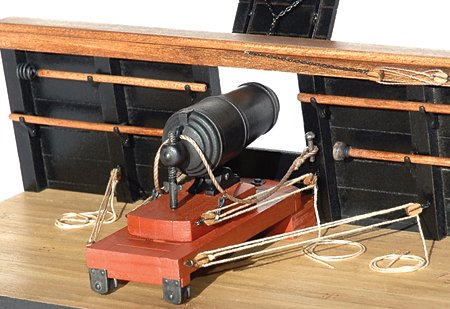
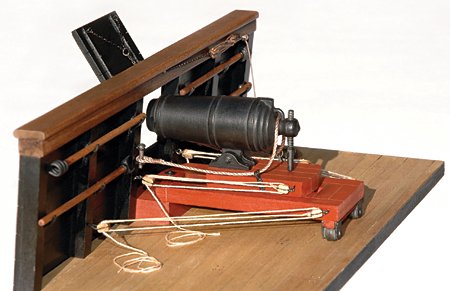
Hi mugje,
Yes you are right, the instructions are vague. I have had the same problem, it is a problem most beginners like us face, however, there is no end of examples on the internet. A part of the fun/enjoyment is the investigating/learning. Here is a couple of examples but Google it you will find as much info as you could wish for.
Best wishes as always,
The Lazy Saint.
-
-
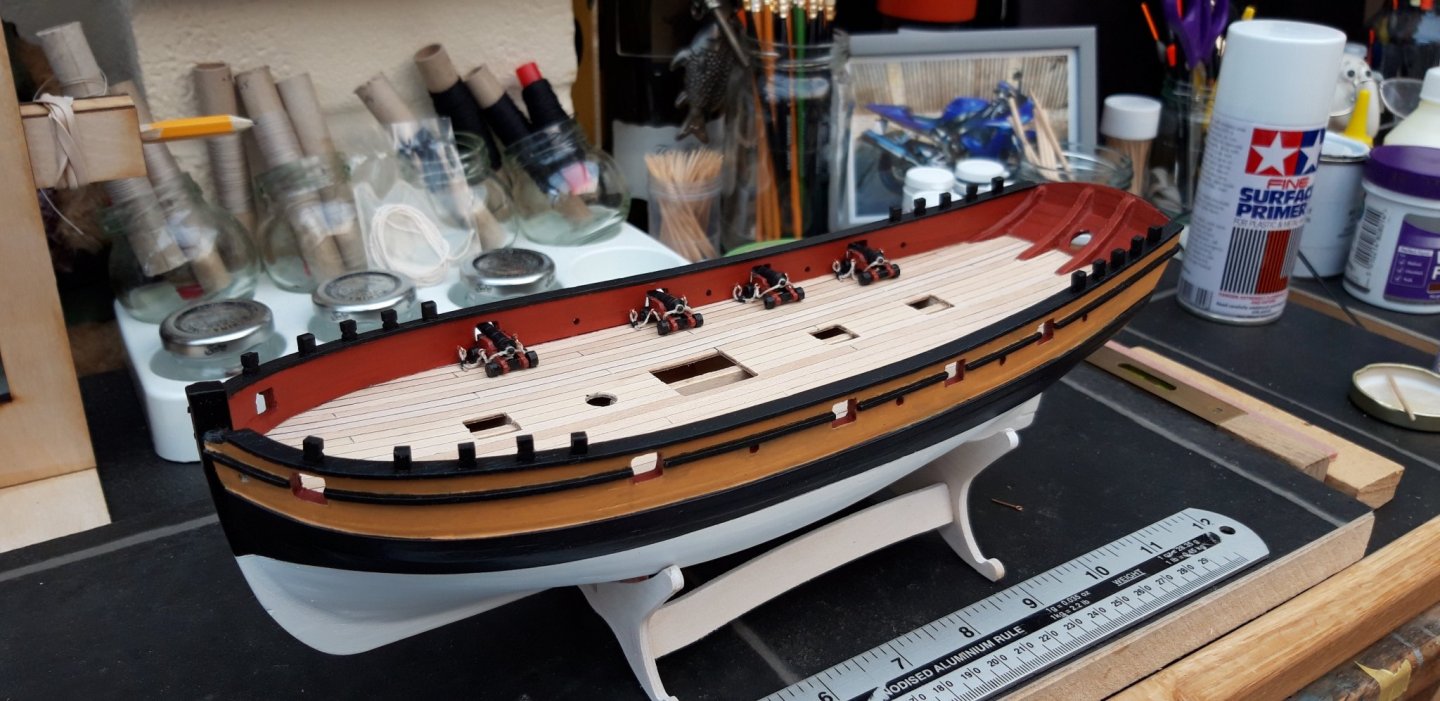
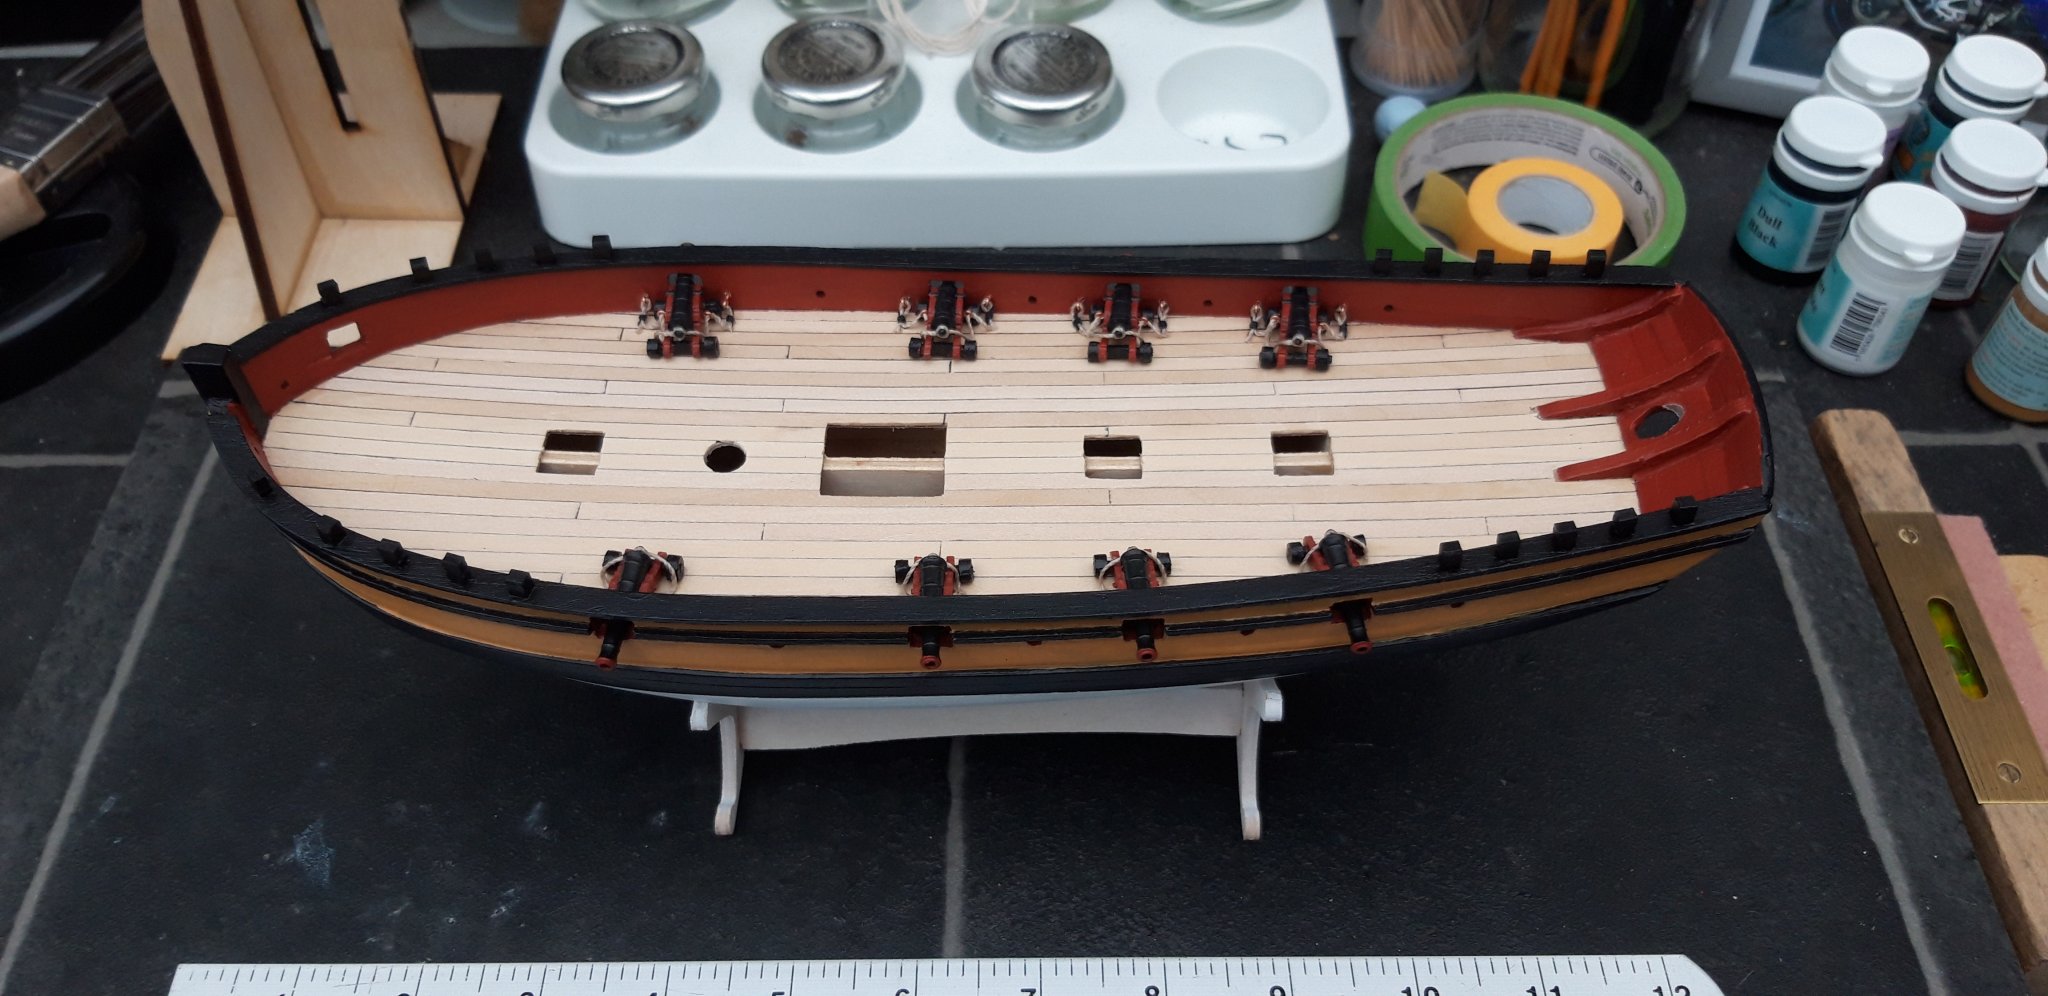
Hi all,
I managed an early start today as it is going to be too hot in my den later on, phew, l am not liking out record temperatures.
I have managed to fit the four Starboard cannons, another very fiddly job. With luck, and when the sun has gone over, l will fit the four Port cannons. After that it will be all hands on deck for the rest of the deck fittings, but not tomorrow, tomorrow l am going fishing with my Grandson.
Best wishes as always,
The Lazy Saint.
-
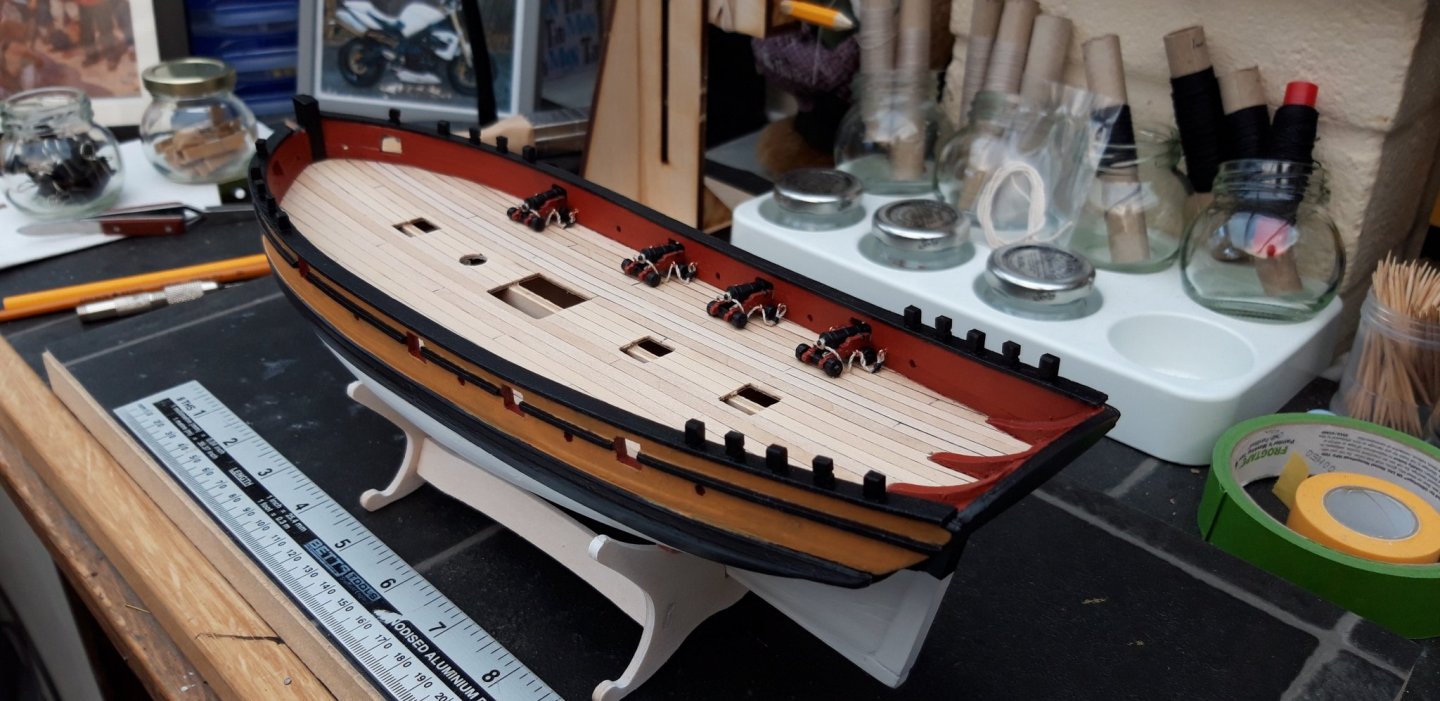
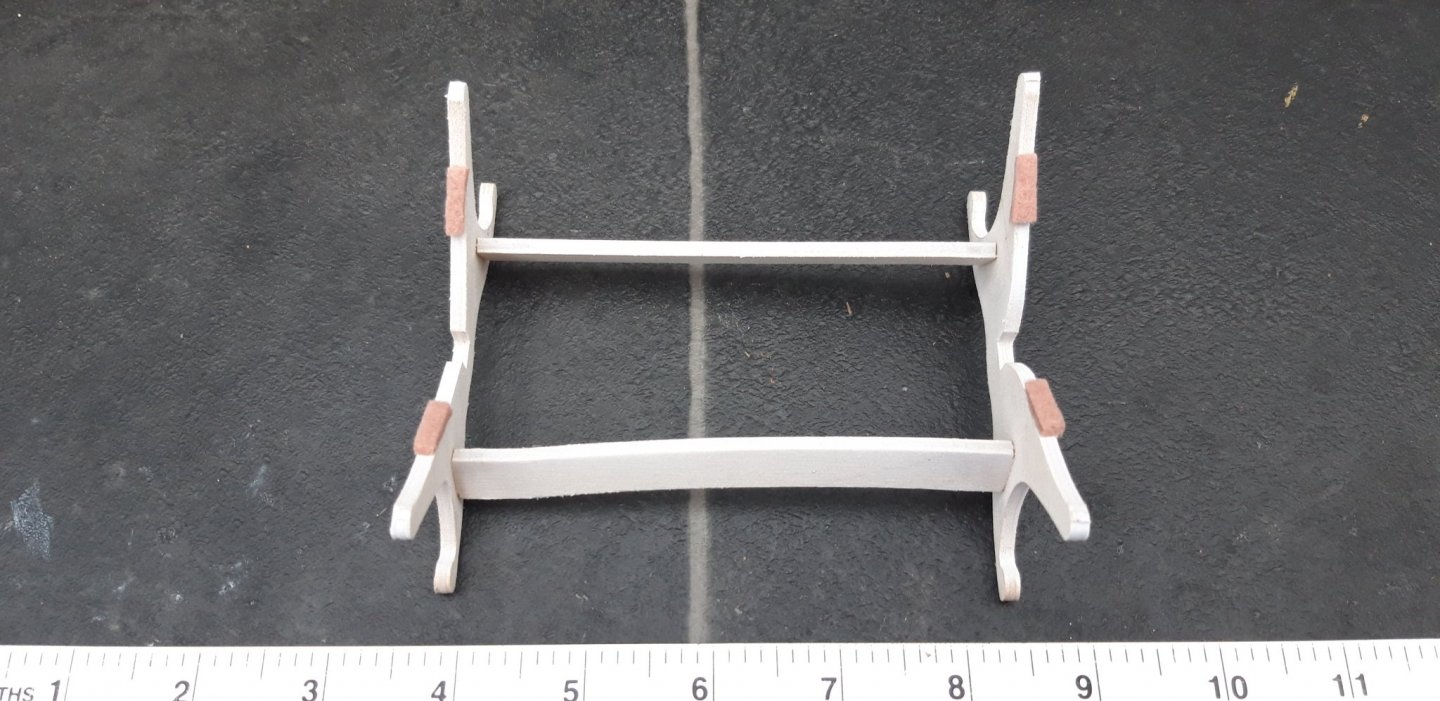
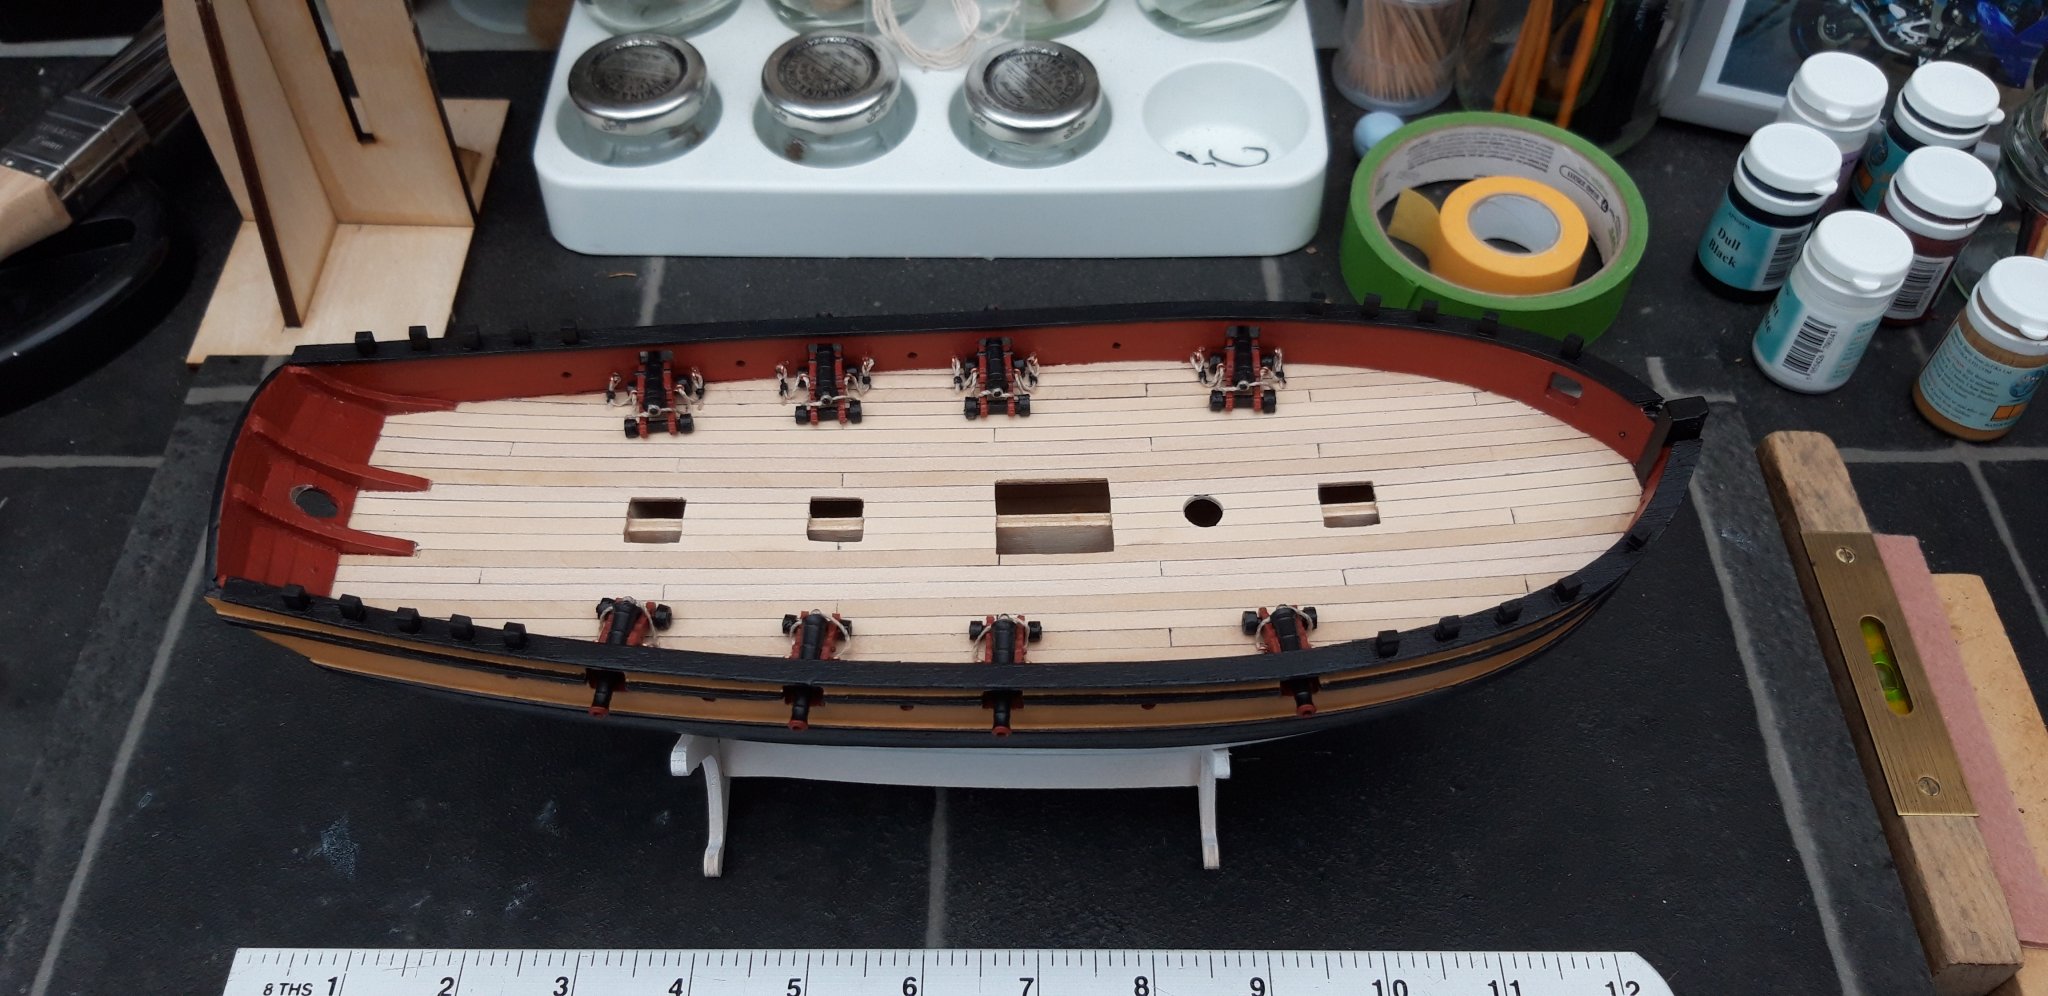
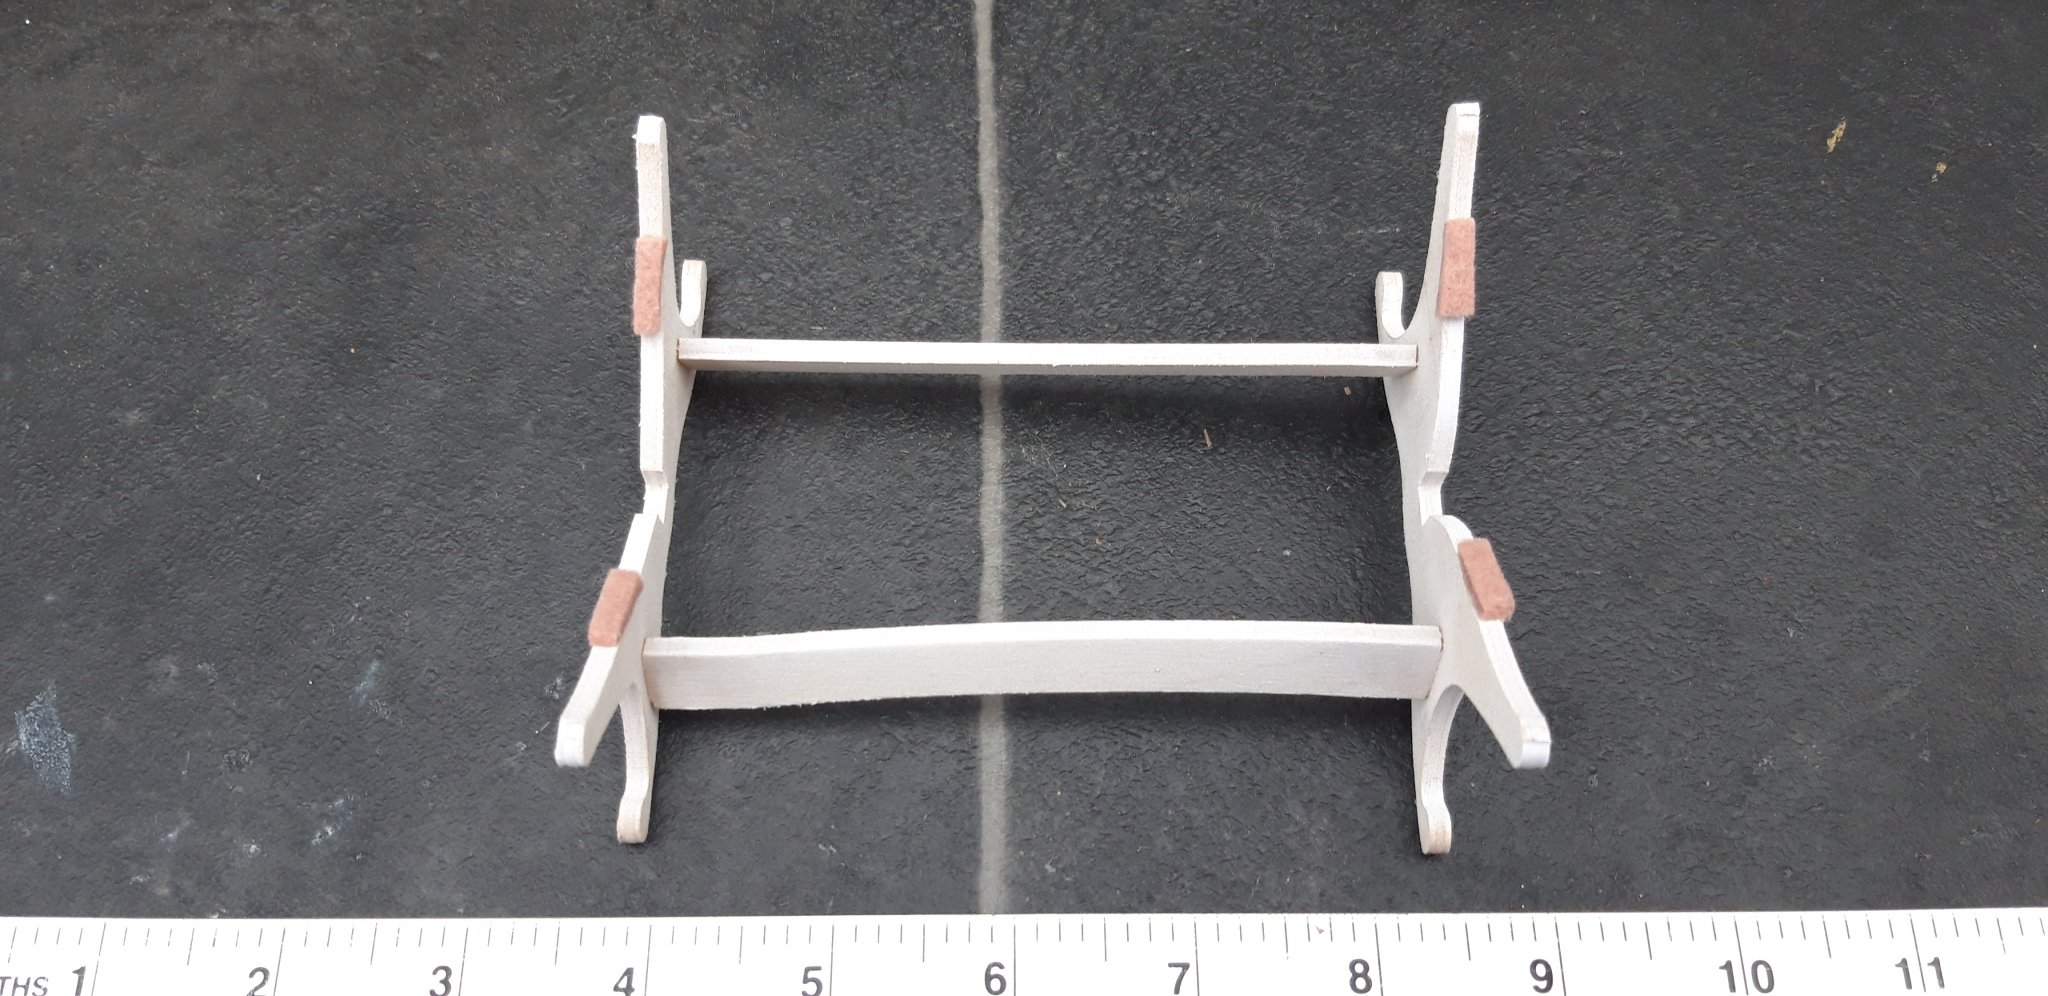
Hi all,
I too use protection on my stand Jörgan, it makes sense doesn't it.
Today l fitted the swivel gun posts, timber posts and painted them. There is quite a bit of fiddly filing to get them to fit, but finally they are all in. I also started to put together the Deck Fittings.
Best wishes as always,
The Lazy Saint.


- Ryland Craze, mic-art, GrandpaPhil and 3 others
-
6
-
Hi Eamonn,
11 hours ago, egkb said:Great Work As Usual Mate .. Re the coat of Varnish, did you do the same with Ballier ? (am wondering if it would change the colour of the underlying paintwork)
All The Very Best
Eamonn
Yes l put a coat of varnish on my Ballahoo too, as far as l can see it makes no visible difference at all, just adds protection. The primer l used made it more difficult to get an even finish, but only with the yellow ochre, other than that it was fine.
Best wishes as always,
The Lazy Saint.
-
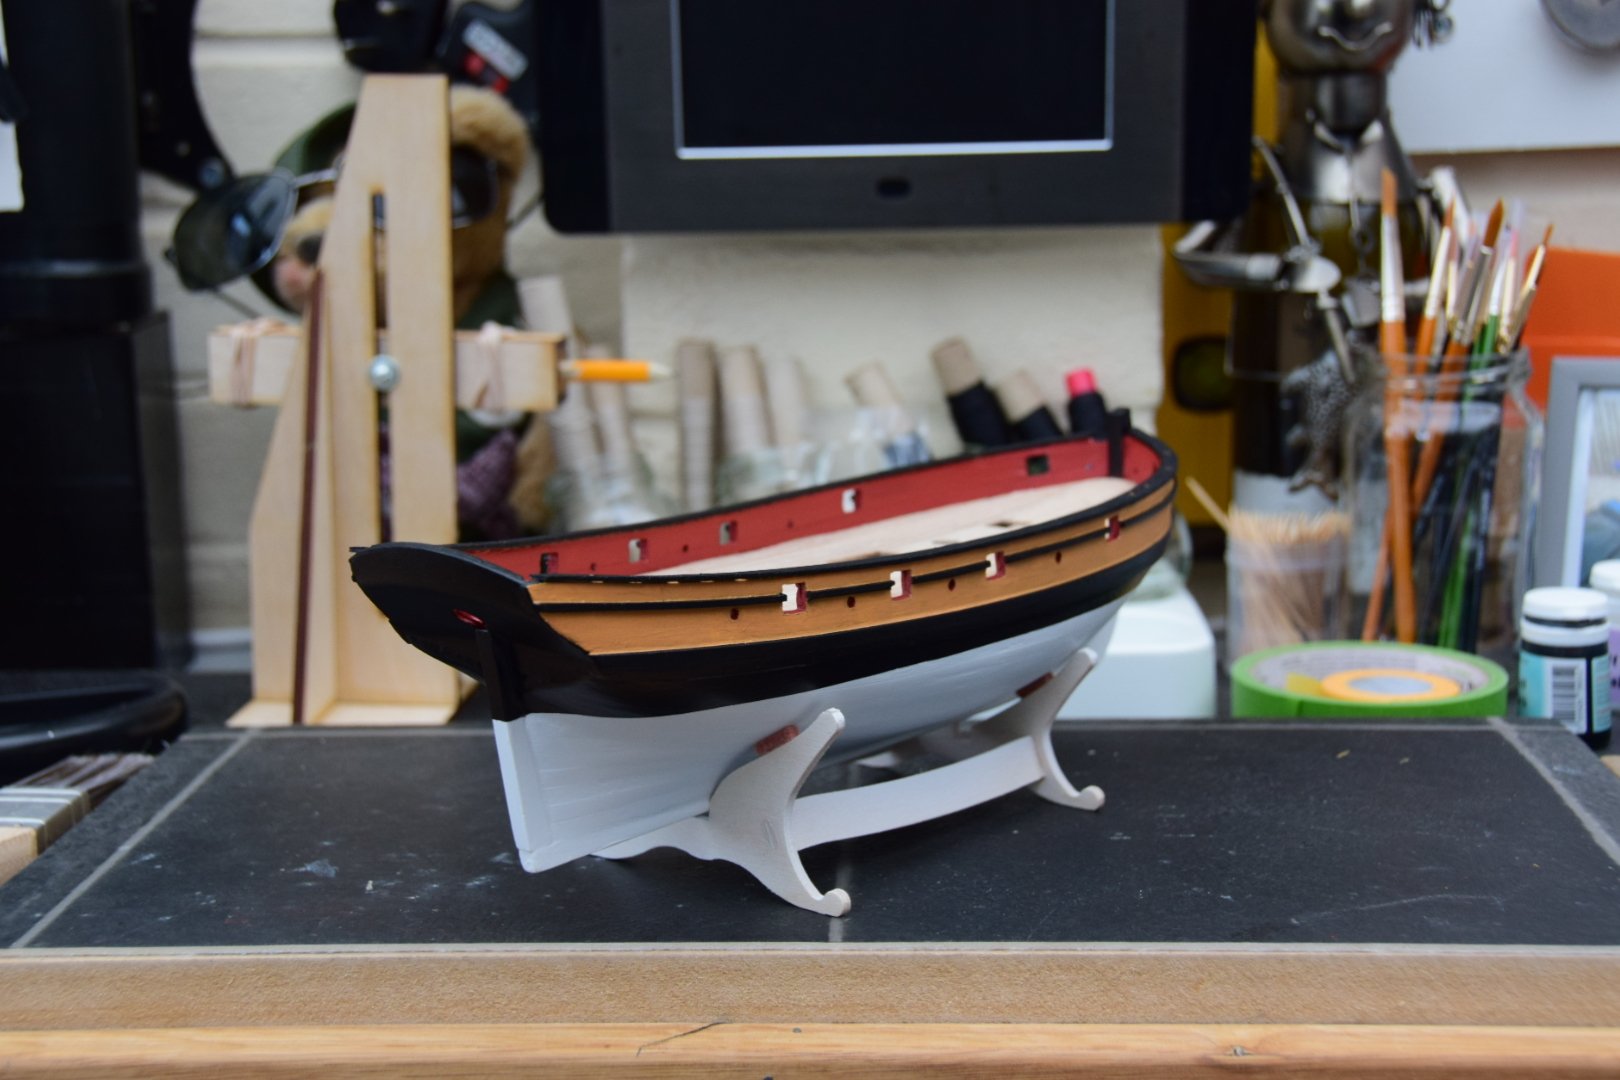
Hi all,
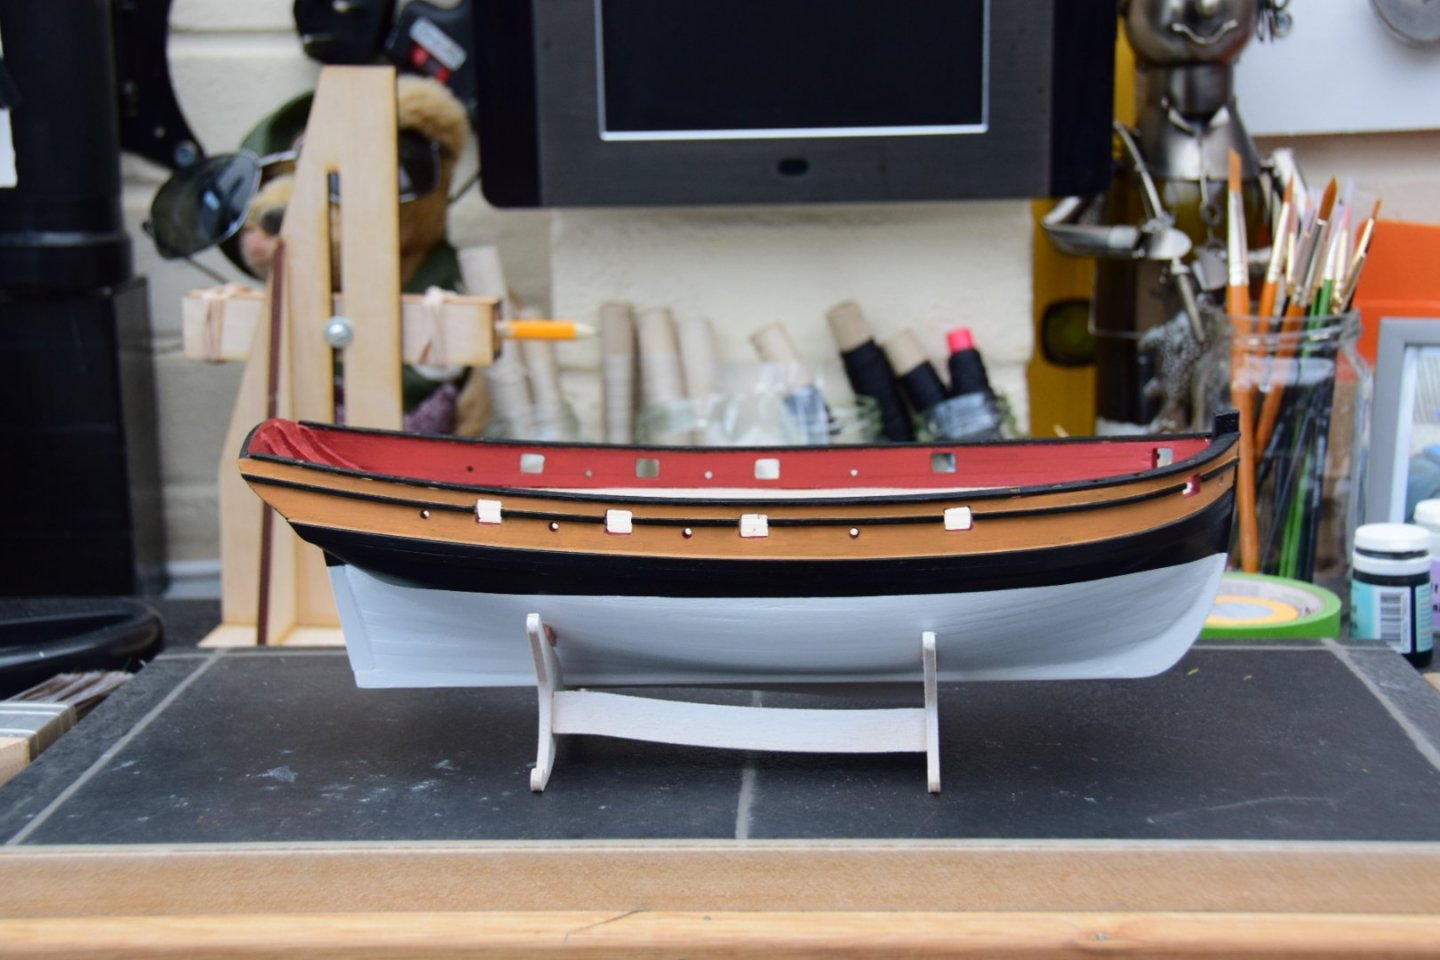
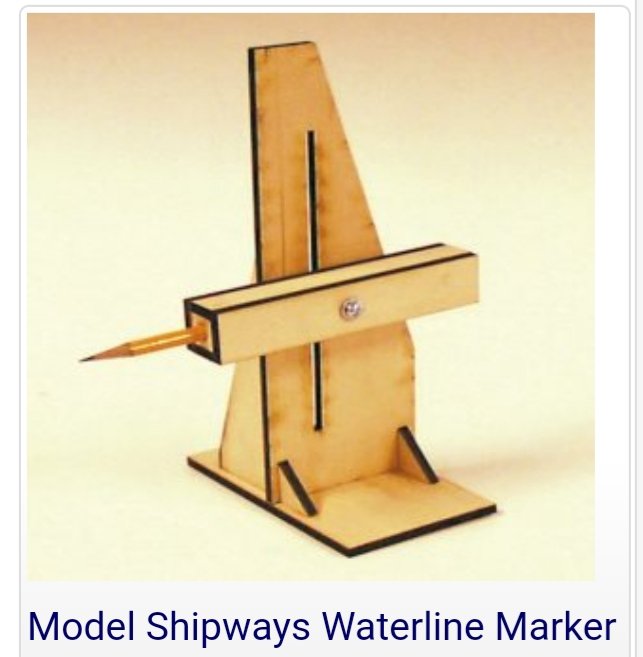
A painting day for me today. I had a real struggle marking the waterline on my Ballahoo, this time it was a breeze using my water line marker. This is another tool l would recommend and it comes in kit form, another building job, ha ha.
Using primer has helped in the preparation phase, but is not without problems. Every time l scratch or knock the model the white shows through which entails re coating that area. Ok, to be honest, perhaps the answer is that l should be a bit more careful, and indeed l will from now on.
Apart from that, all has gone well and, to protect the paint work from future clumsiness, l shall apply a coat of clear varnish.
Best wishes as always,
The Lazy Saint.

- Jonny 007, GrandpaPhil, mic-art and 7 others
-
10
-
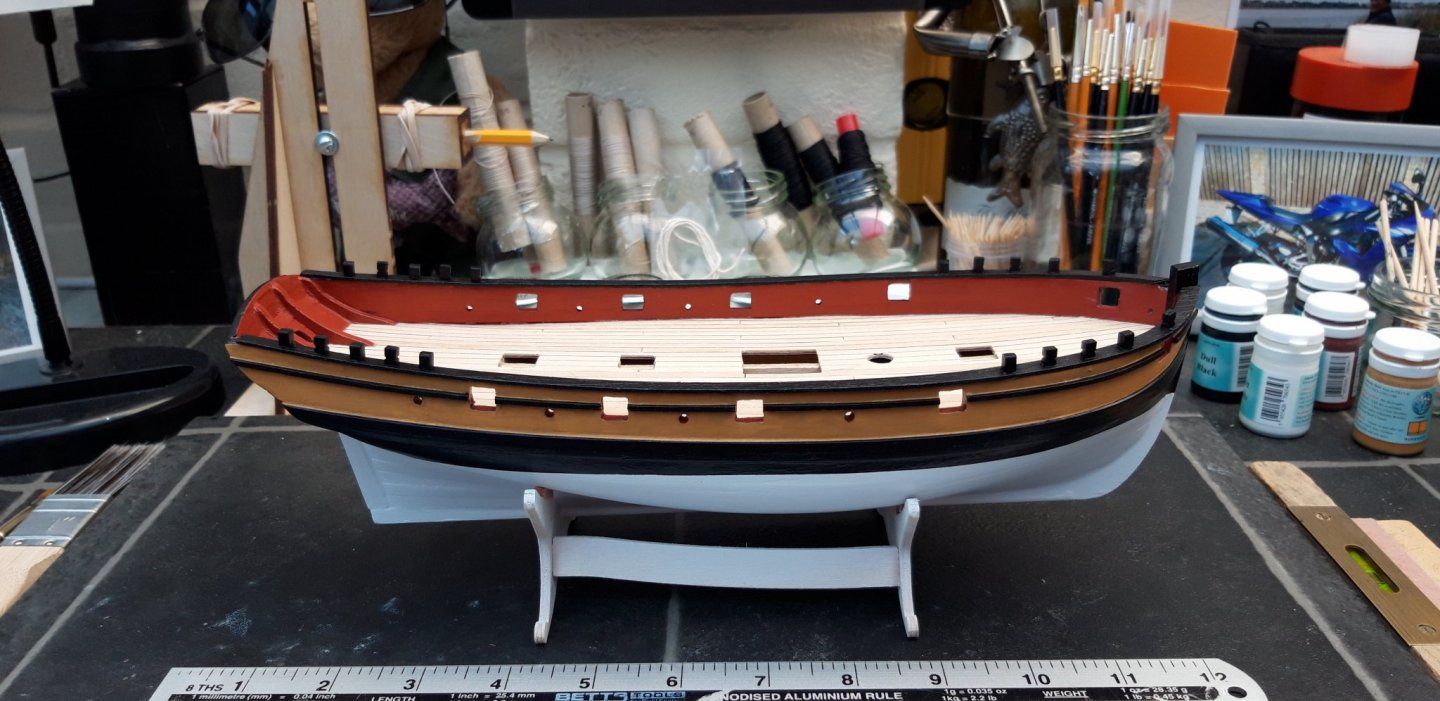
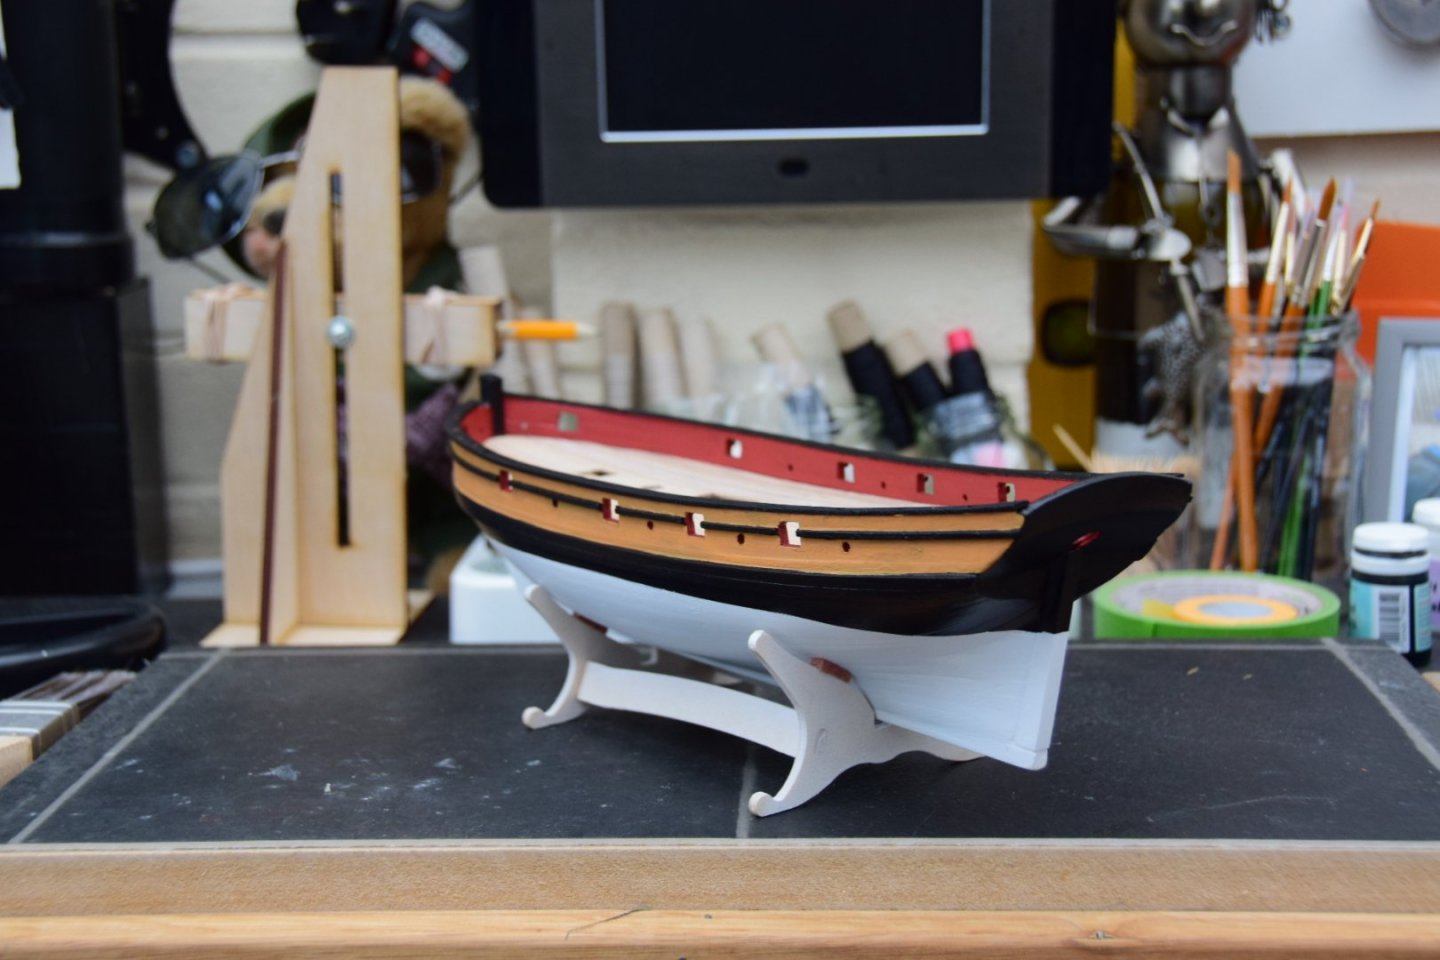
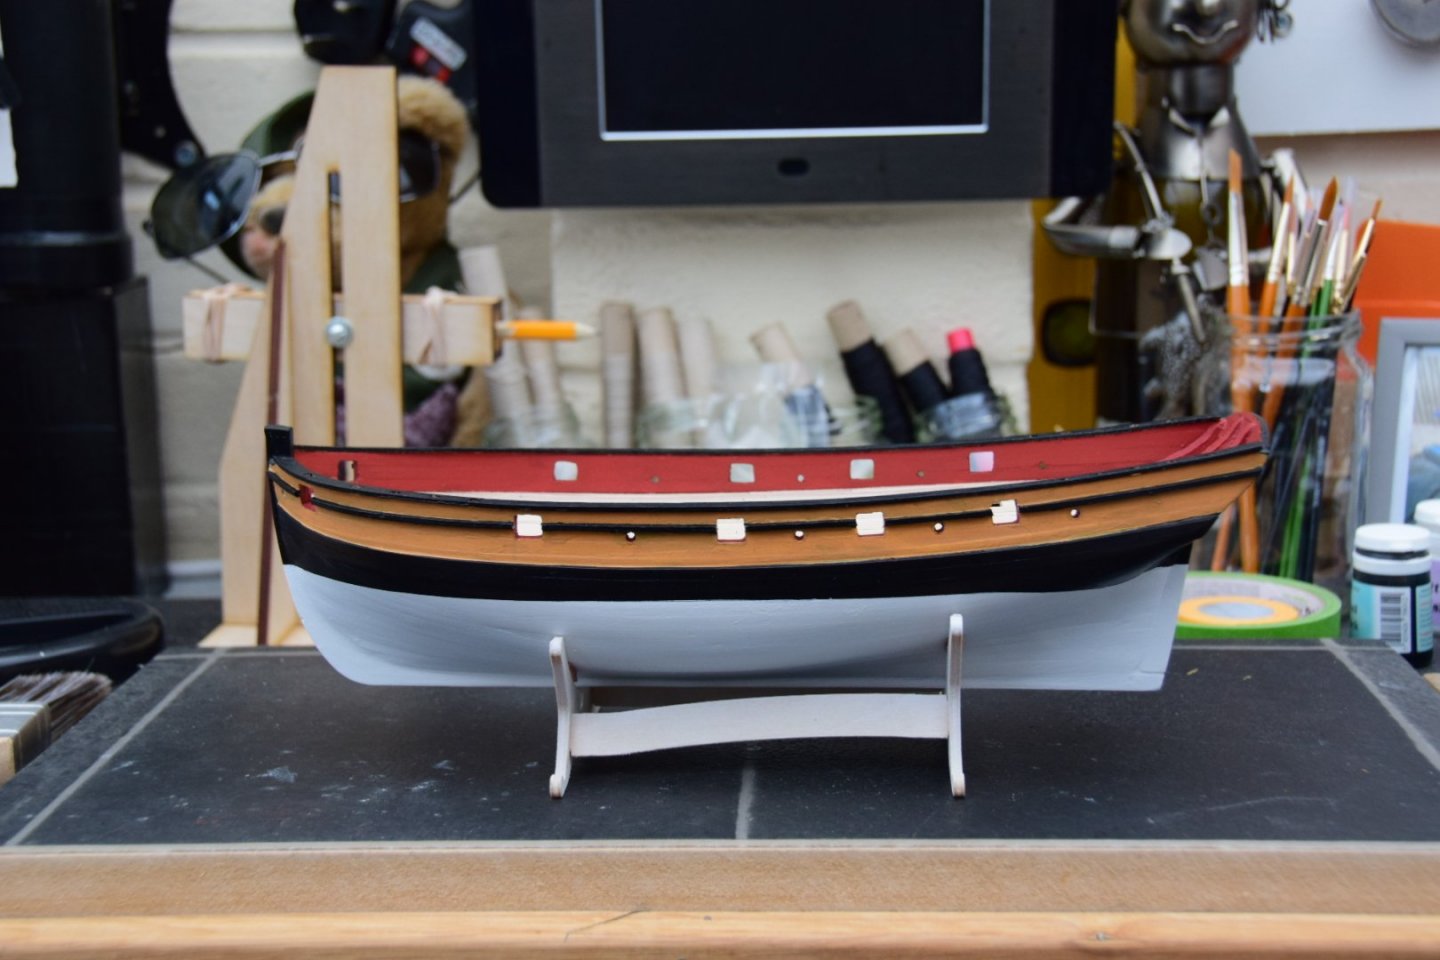
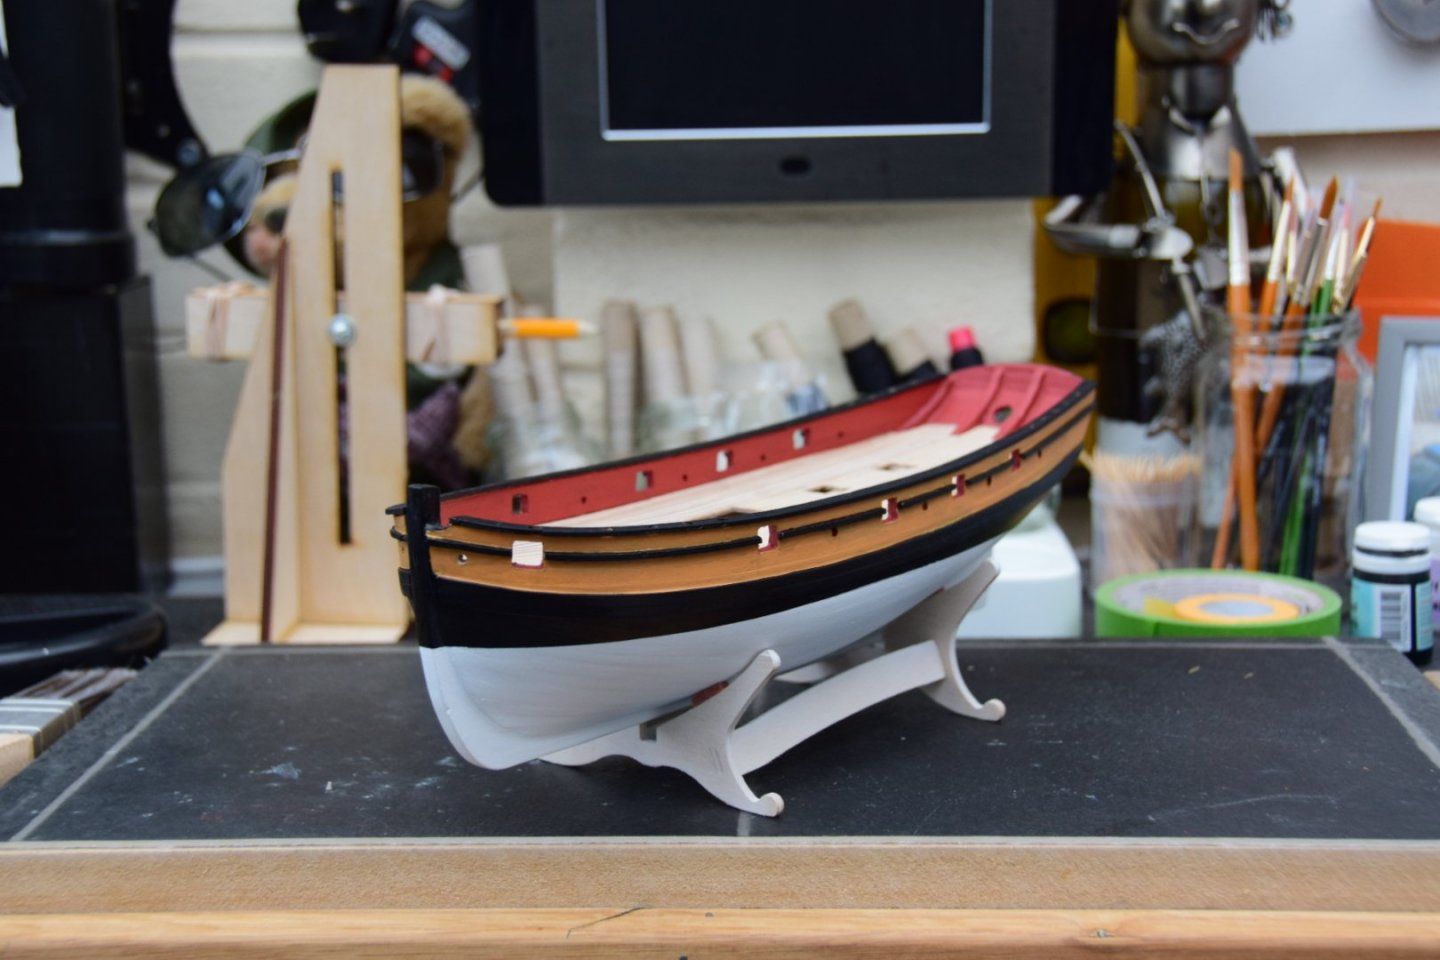
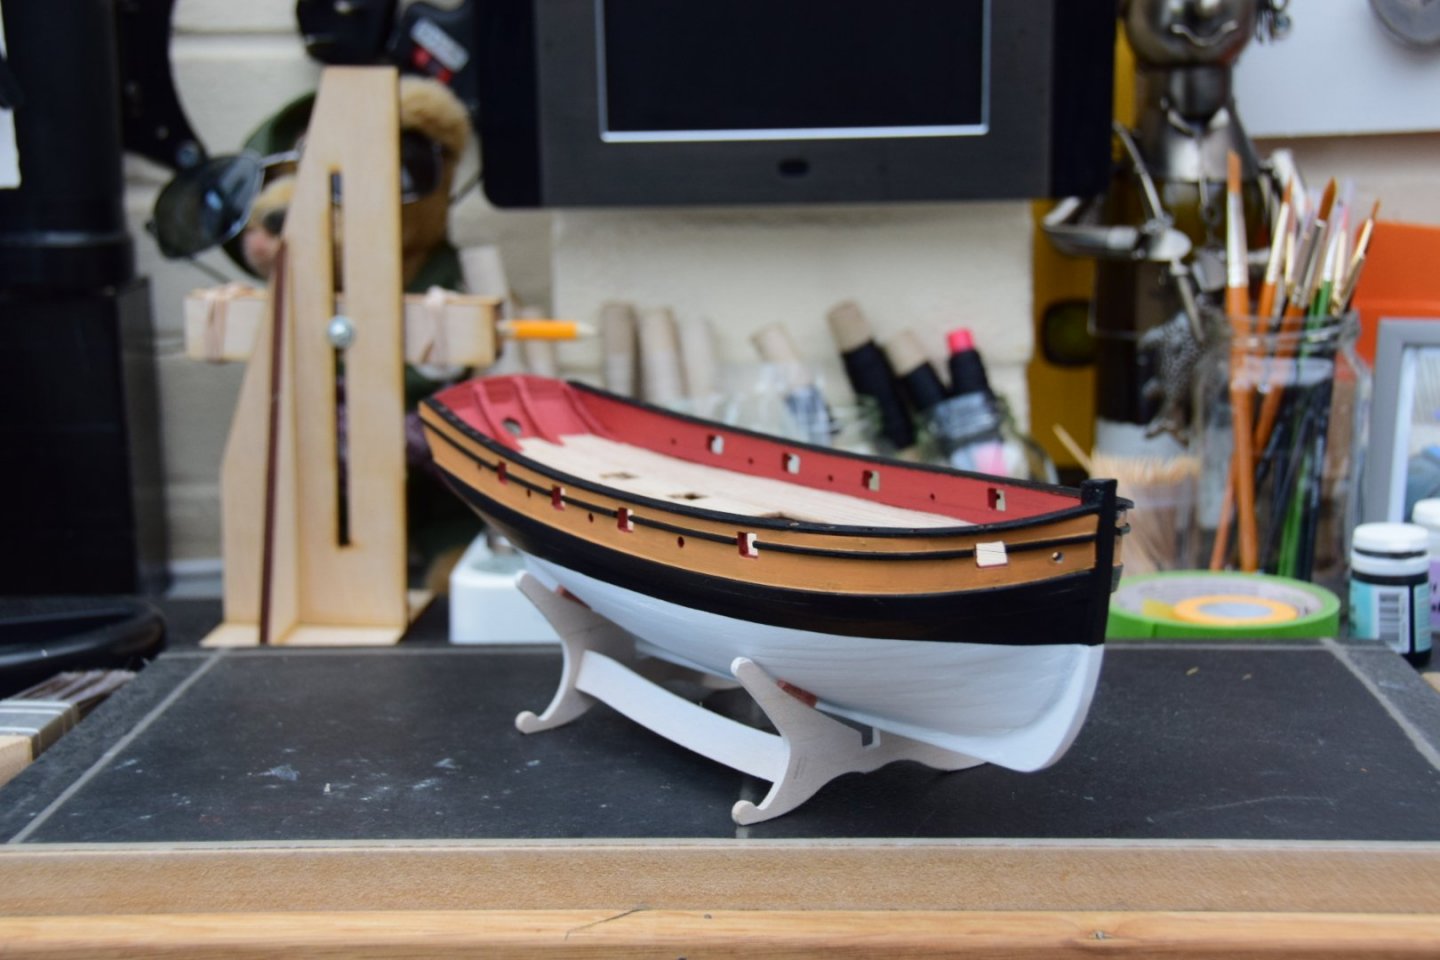
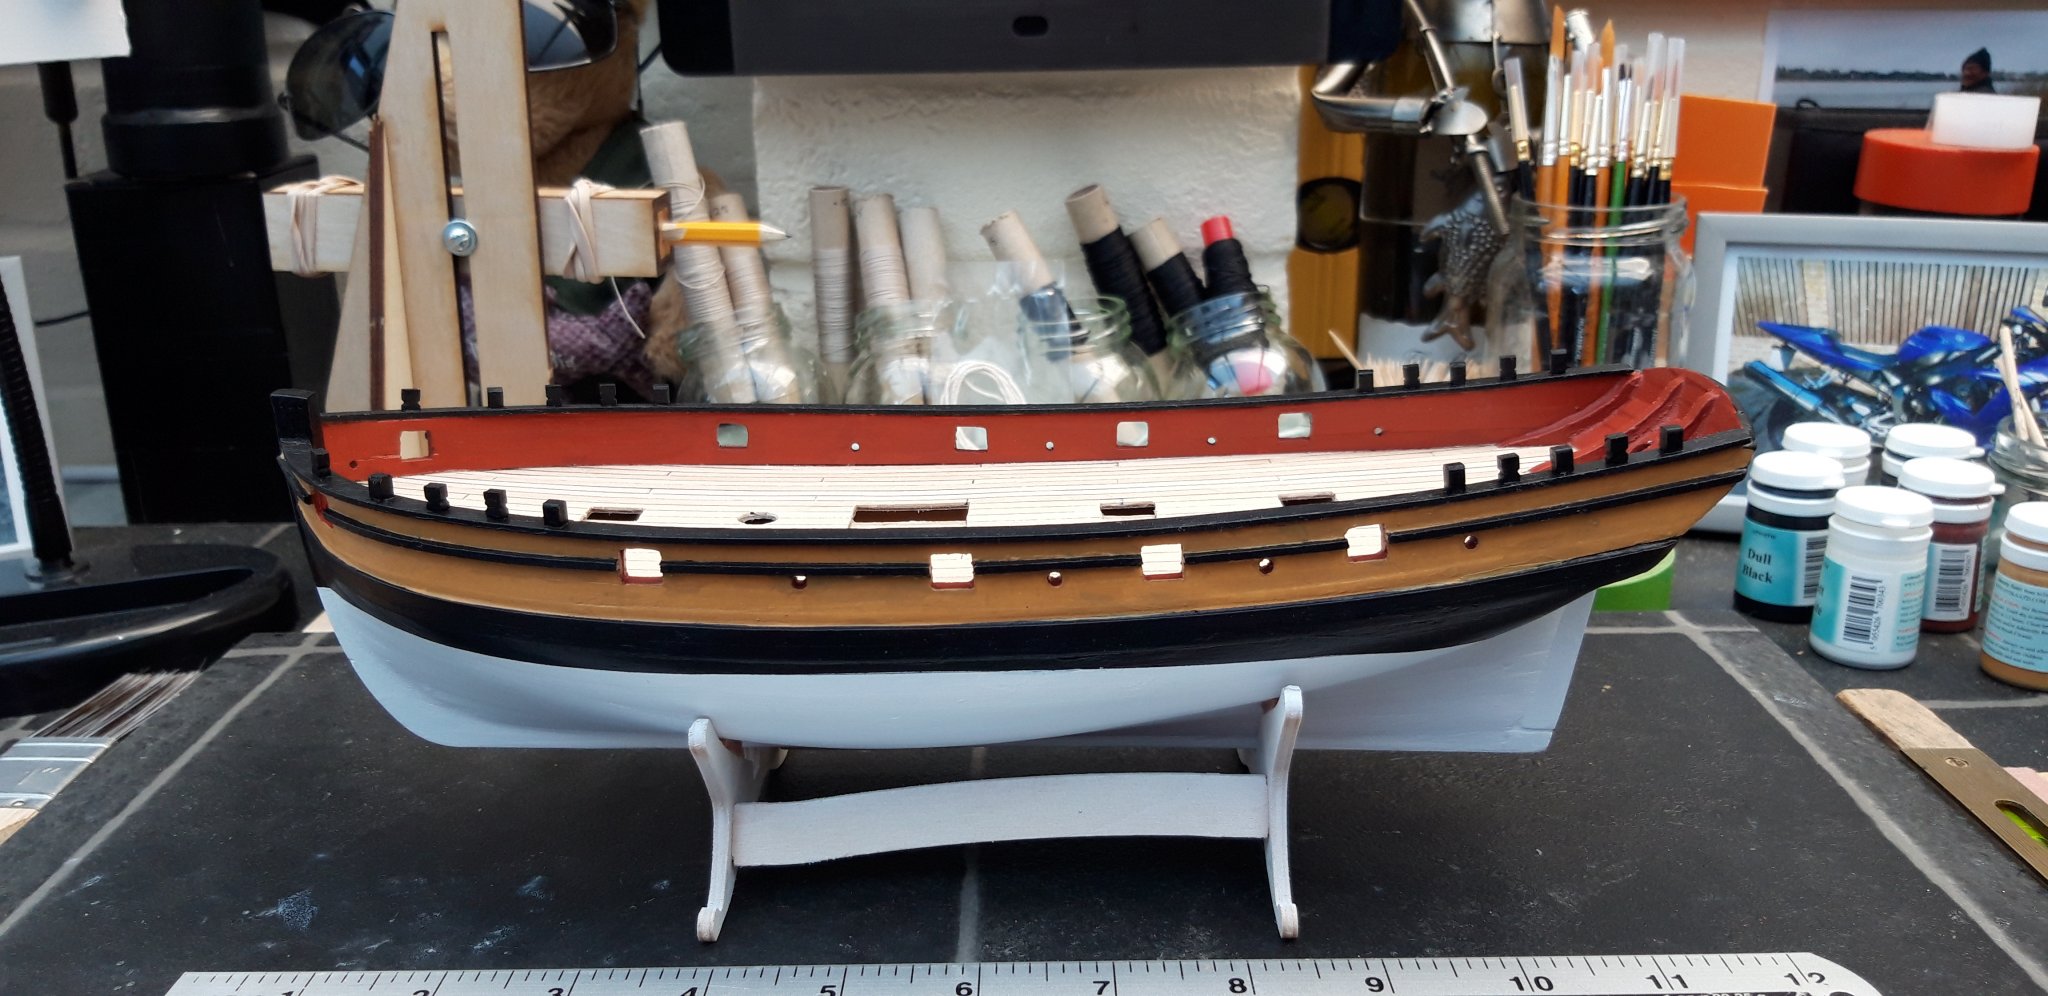
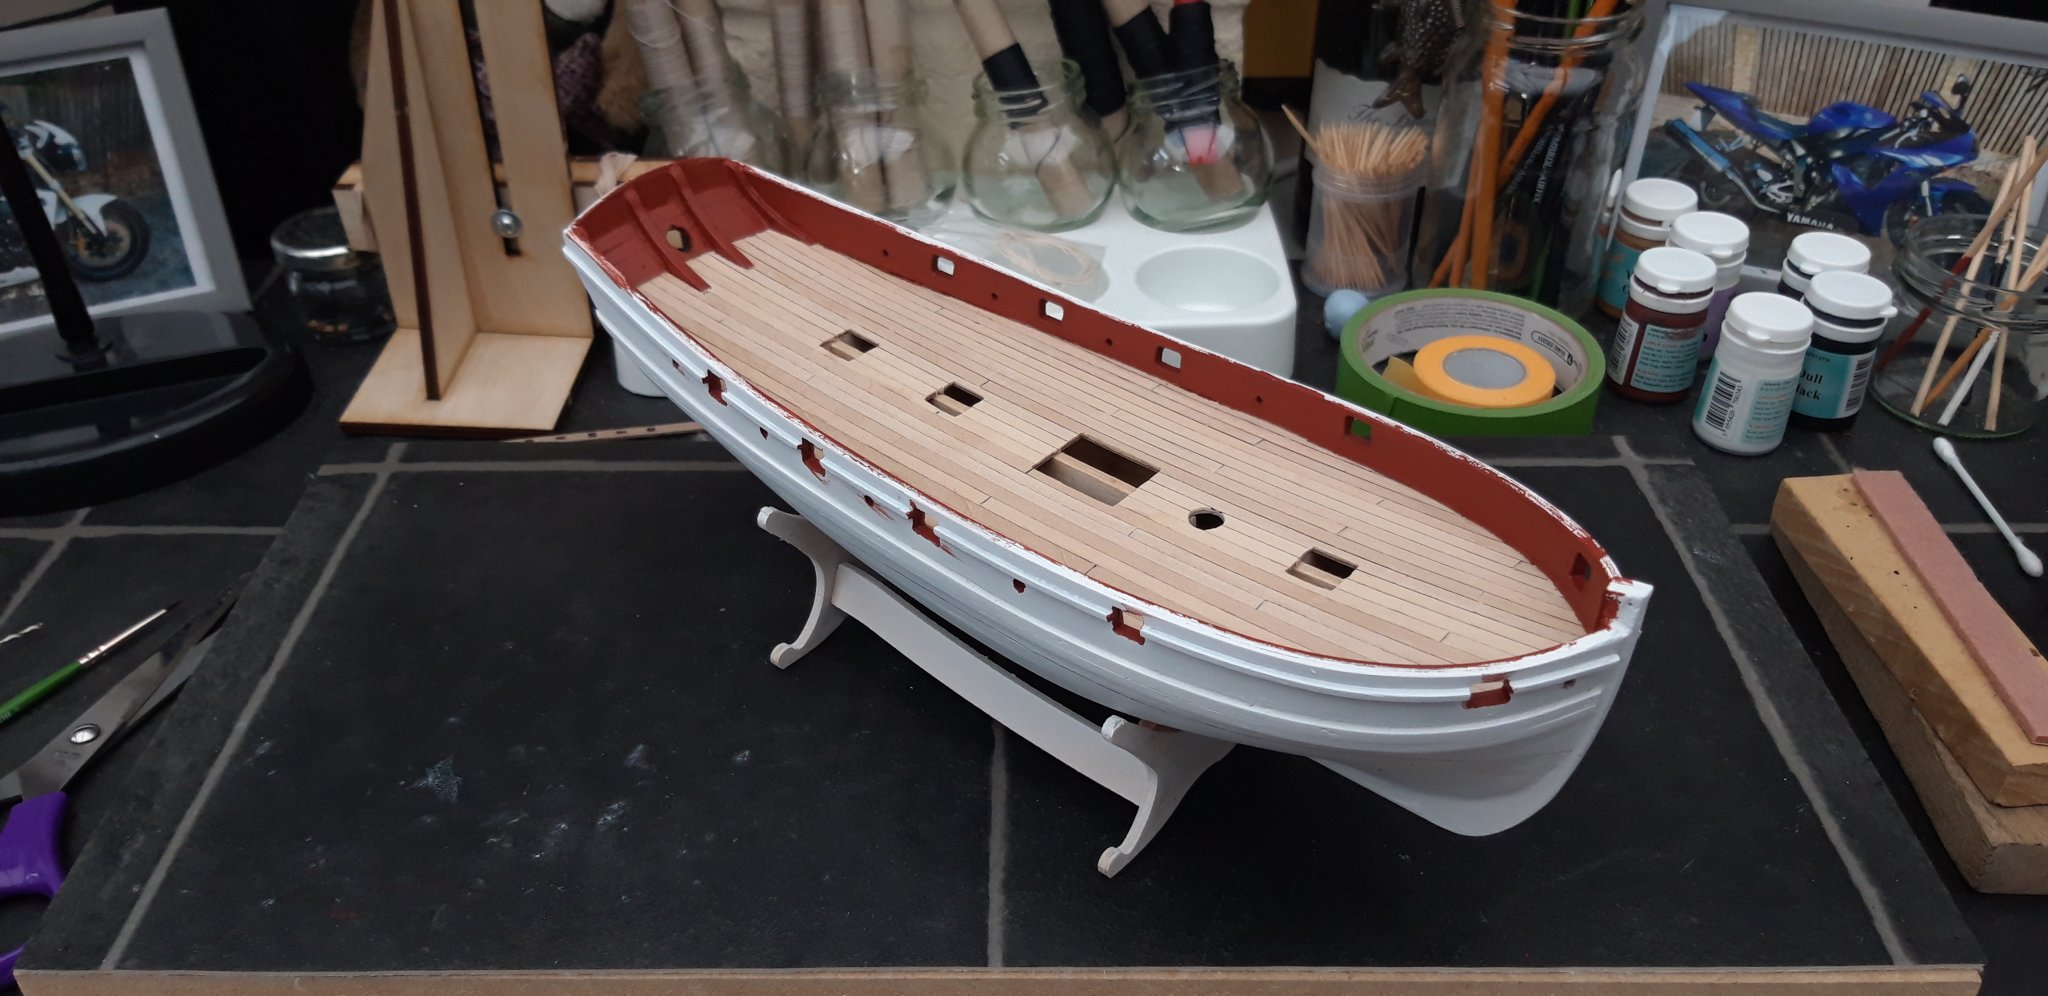
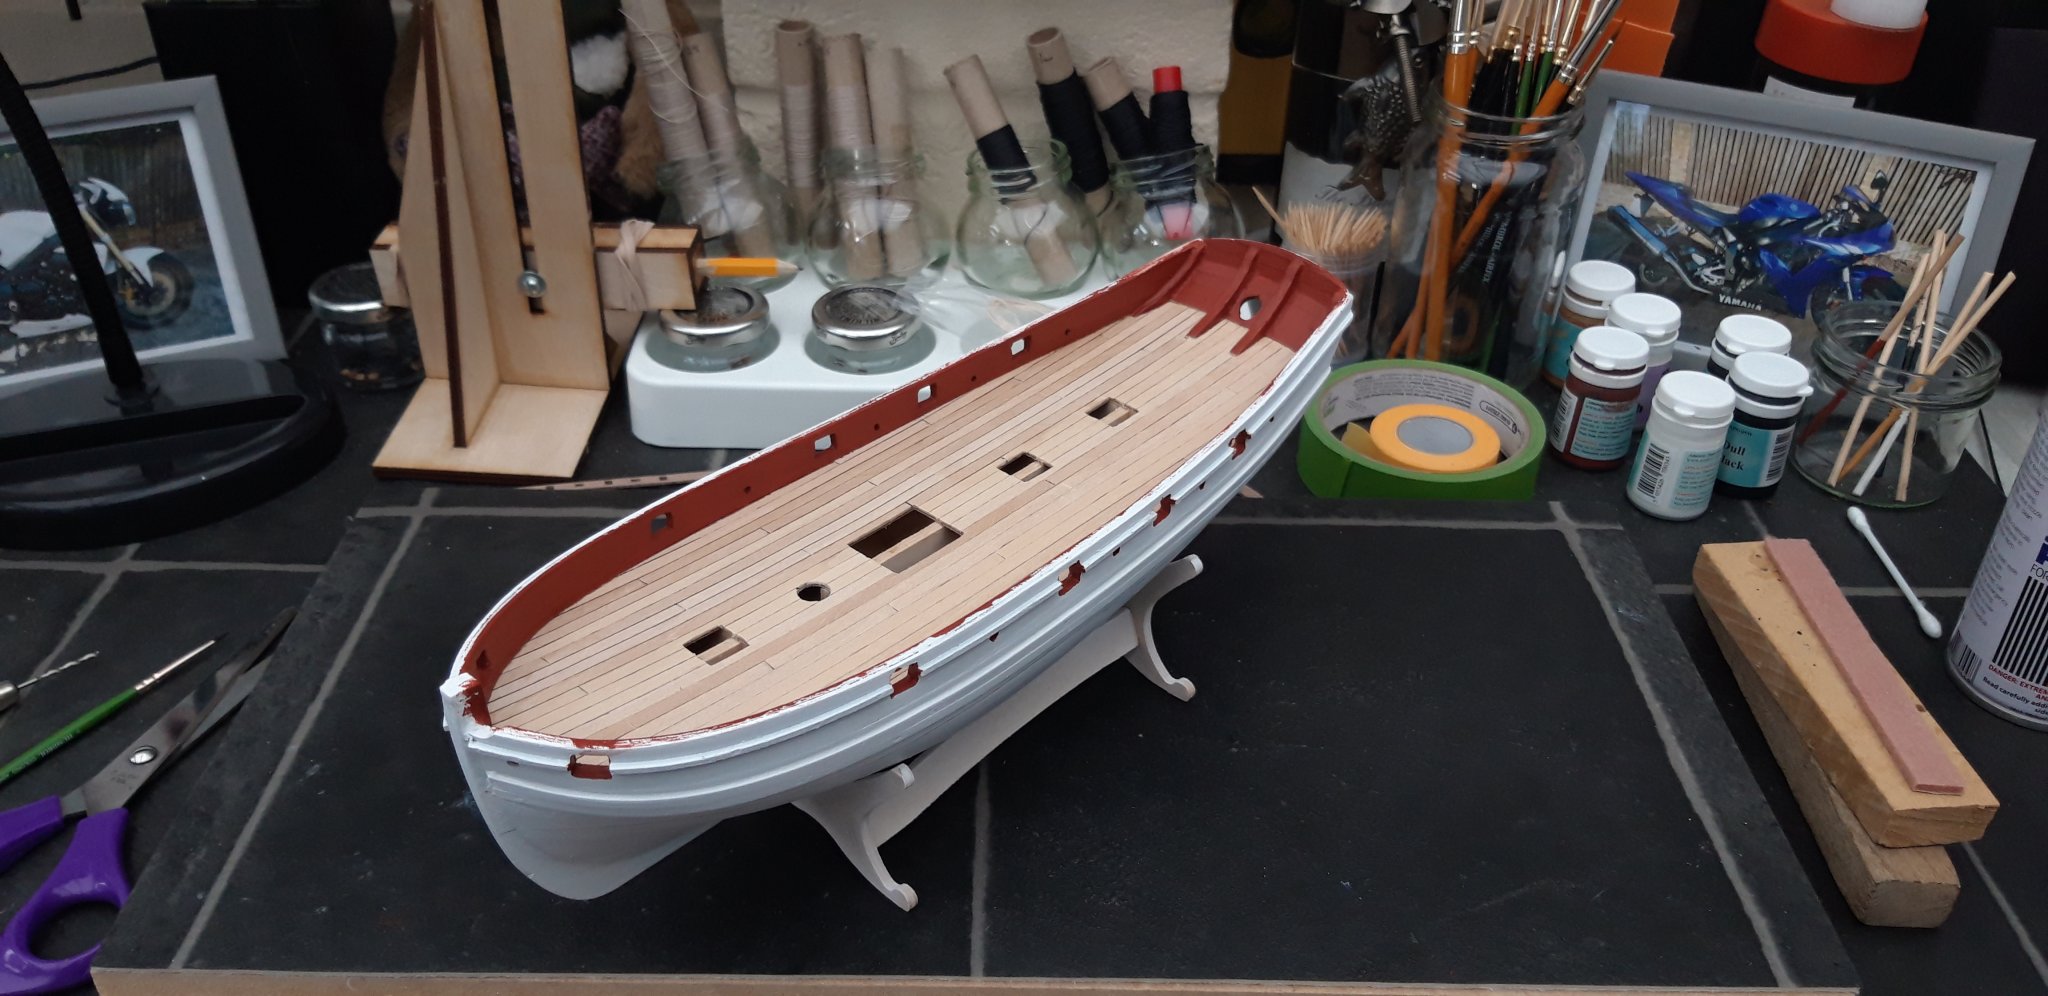
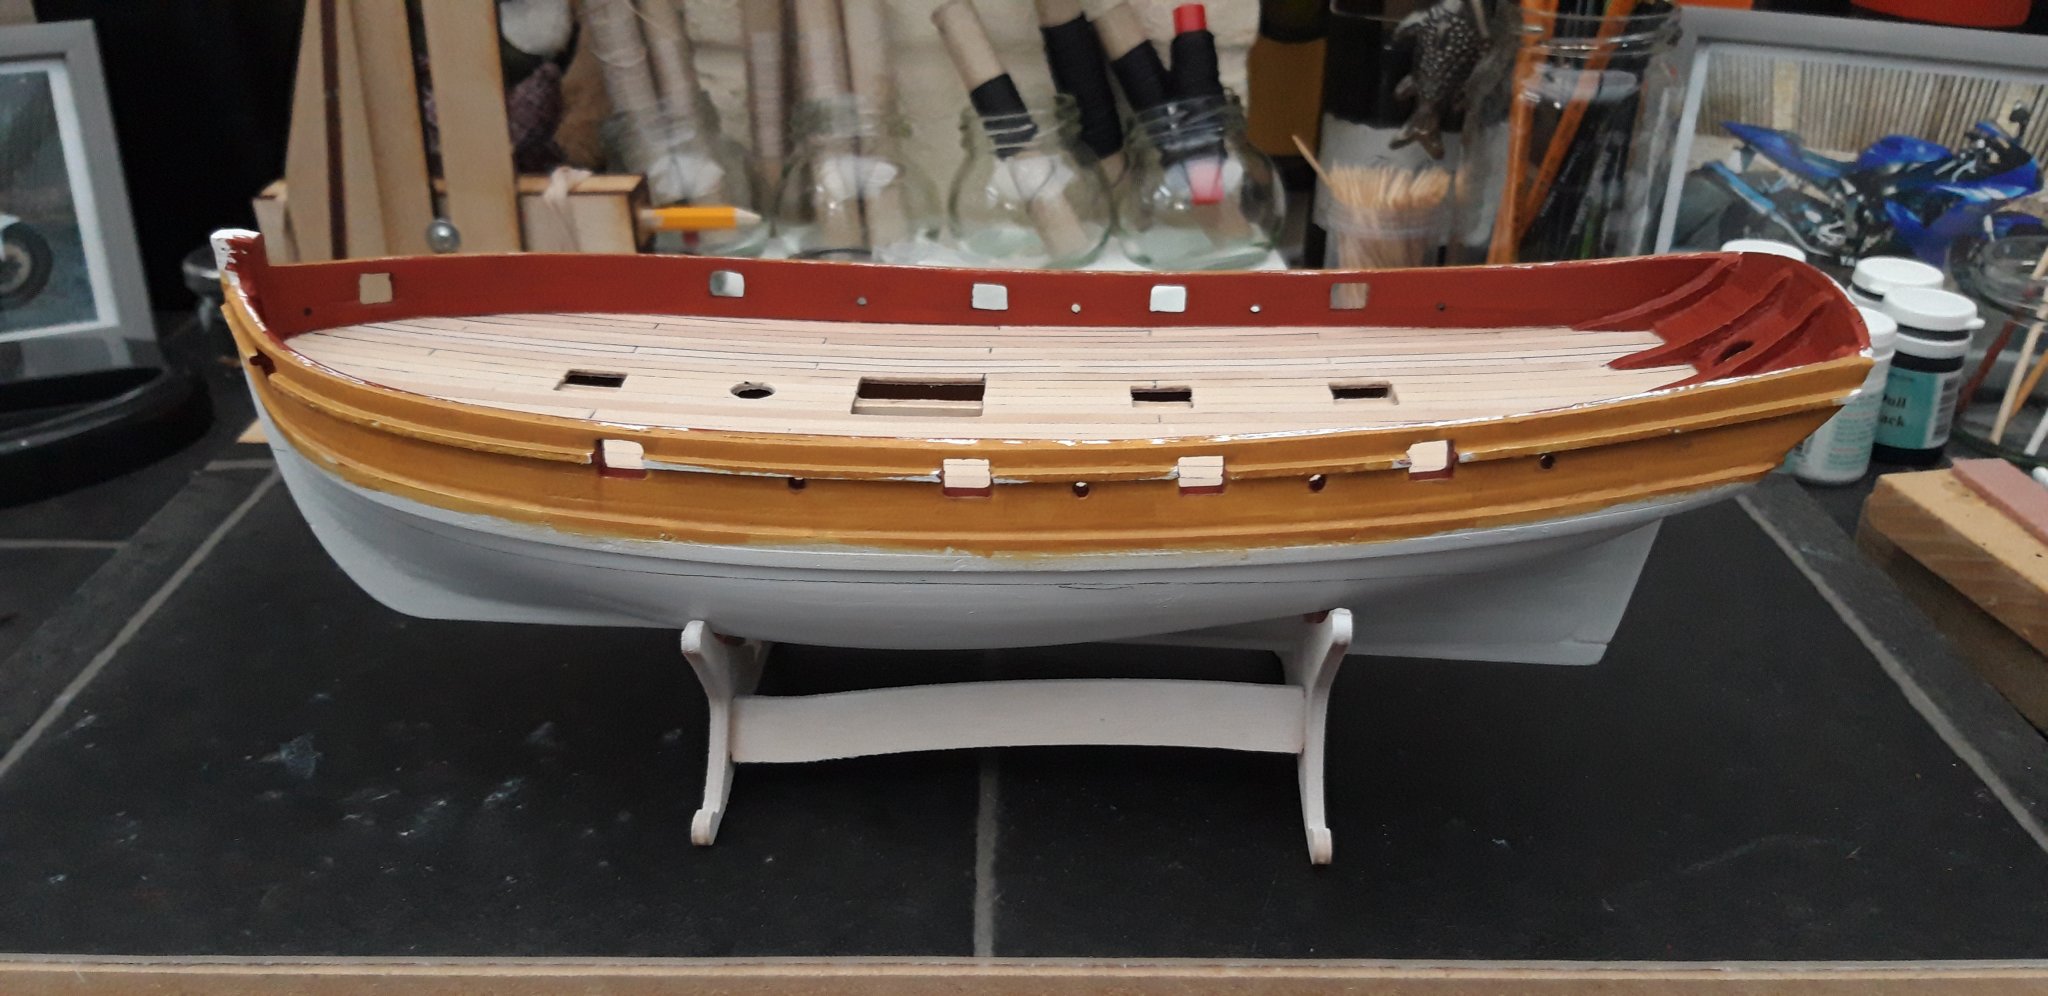
Hi all,
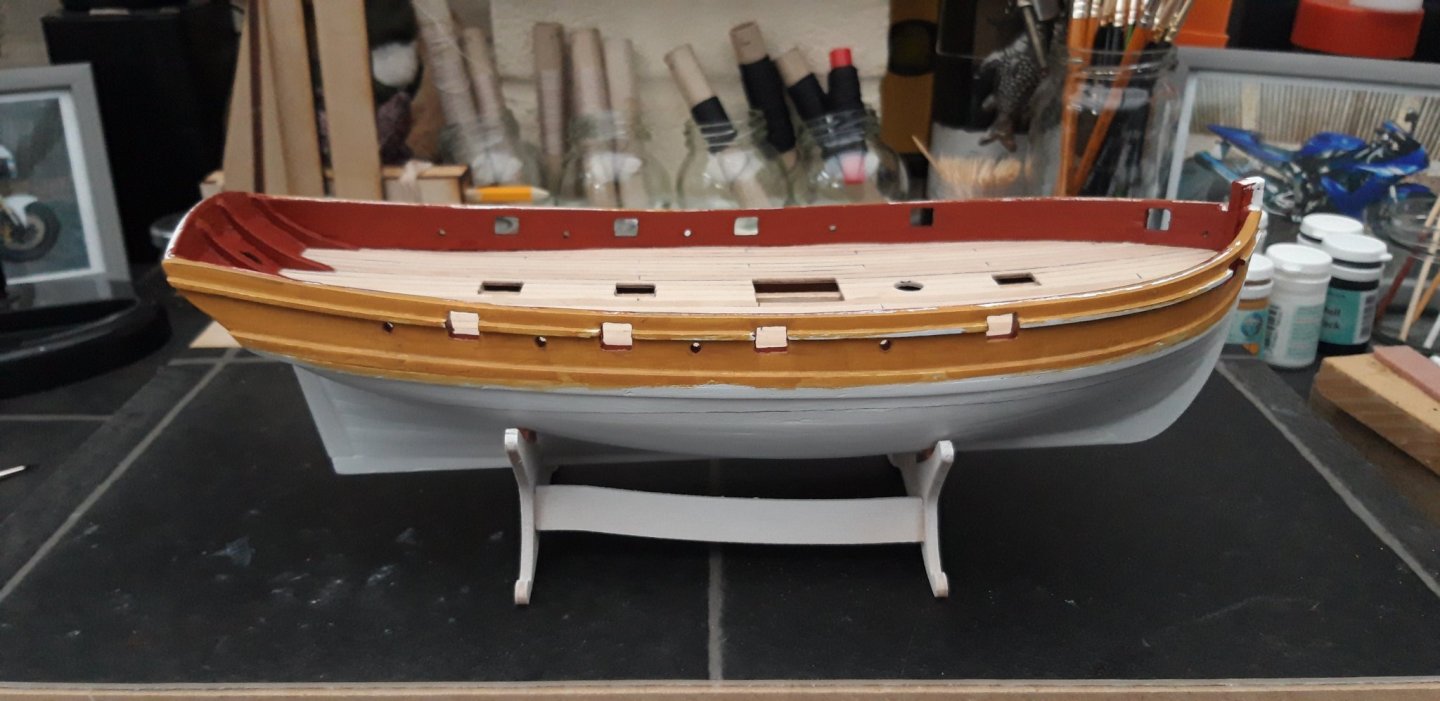
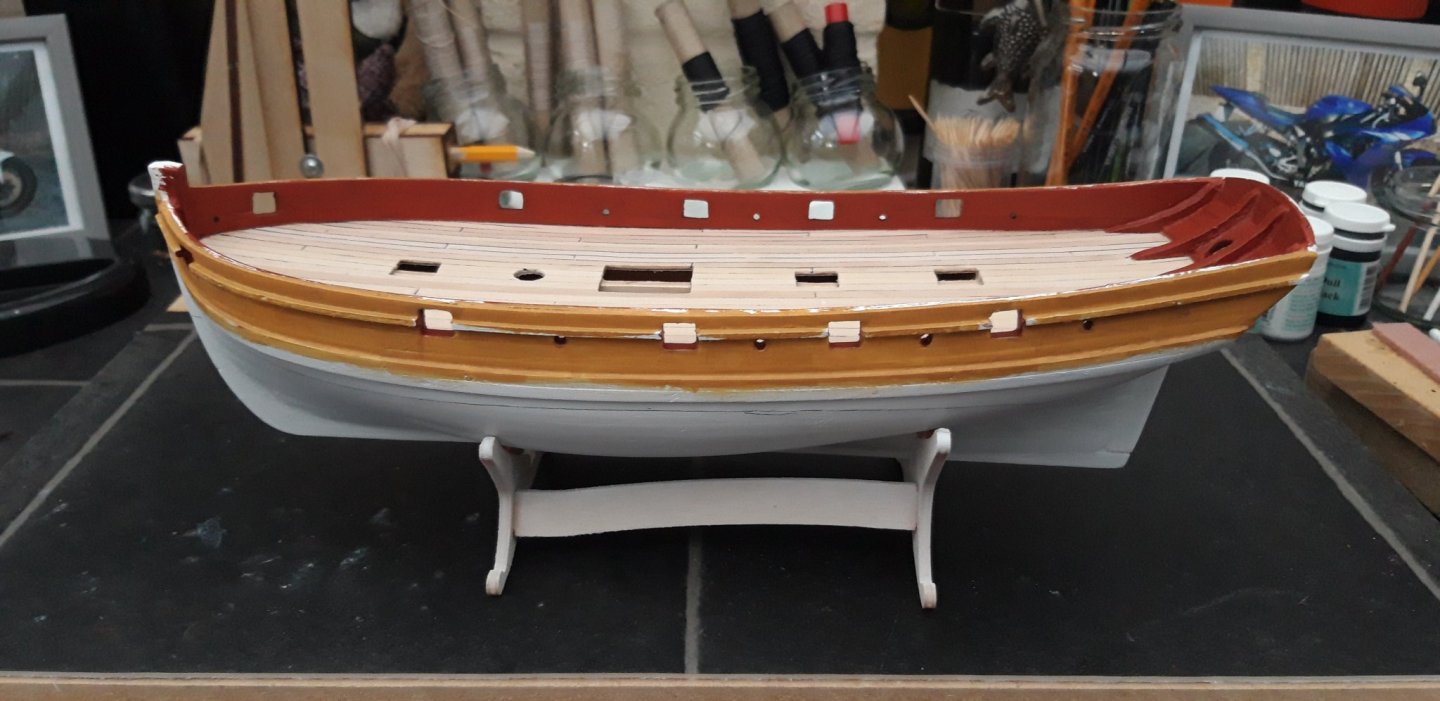
First colours applied, red and yellow ochre. Several coats are required to give depth to the colour, probably because it's water based paint. Best to apply several thin coats rather than one thick coat.
Best wishes as always,
The Lazy Saint.


- Edwardkenway, Jörgen, egkb and 4 others
-
7
-
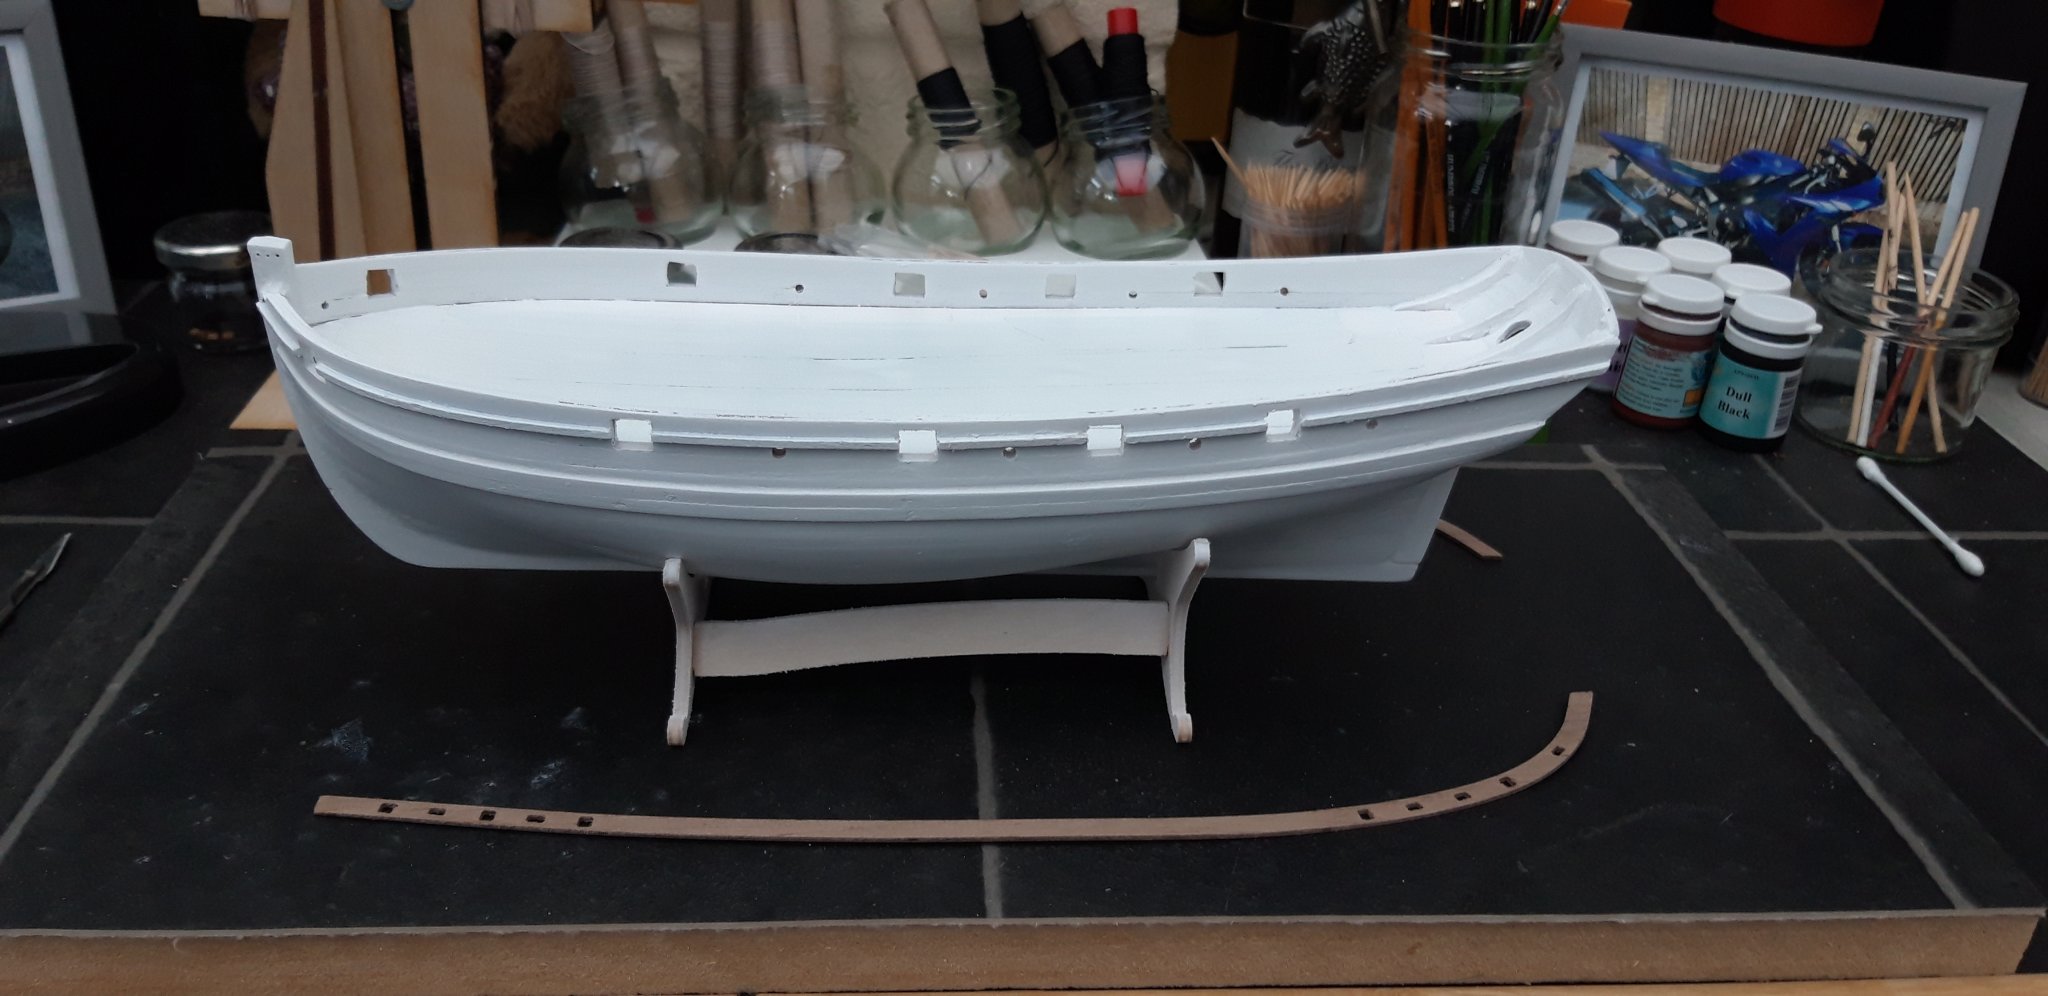
Hi all,
Thank you for your kind words, both of you.
I have been busy preparing for painting this evening by applying the primer. The application of white primer certainly shows up all the flaws and imperfections. Tomorrow l will have a little bit of filling and sanding with fine wet and dry paper to do and then it is on with a bit of colour.

- mic-art, Jörgen, GrandpaPhil and 3 others
-
6
-
7 hours ago, mic-art said:
Hello and thanks for all the replies and support!
")
Here is a small update on my slow
Next step was to plank the stern. There was a gap between transom and the planking which I covered with a bullnose batten. Would that be historically out of line?
Hi mic-art,
Maybe it is out of line, historically, but only if you are building a museum piece. I assume you aren't so build it the way you want, its it's you build, just enjoy.
Your first planking looks great and l am sure the second will go on just as smartly. Well done and keep up the good work.
Best wishes as always,
The Lazy Saint.
-
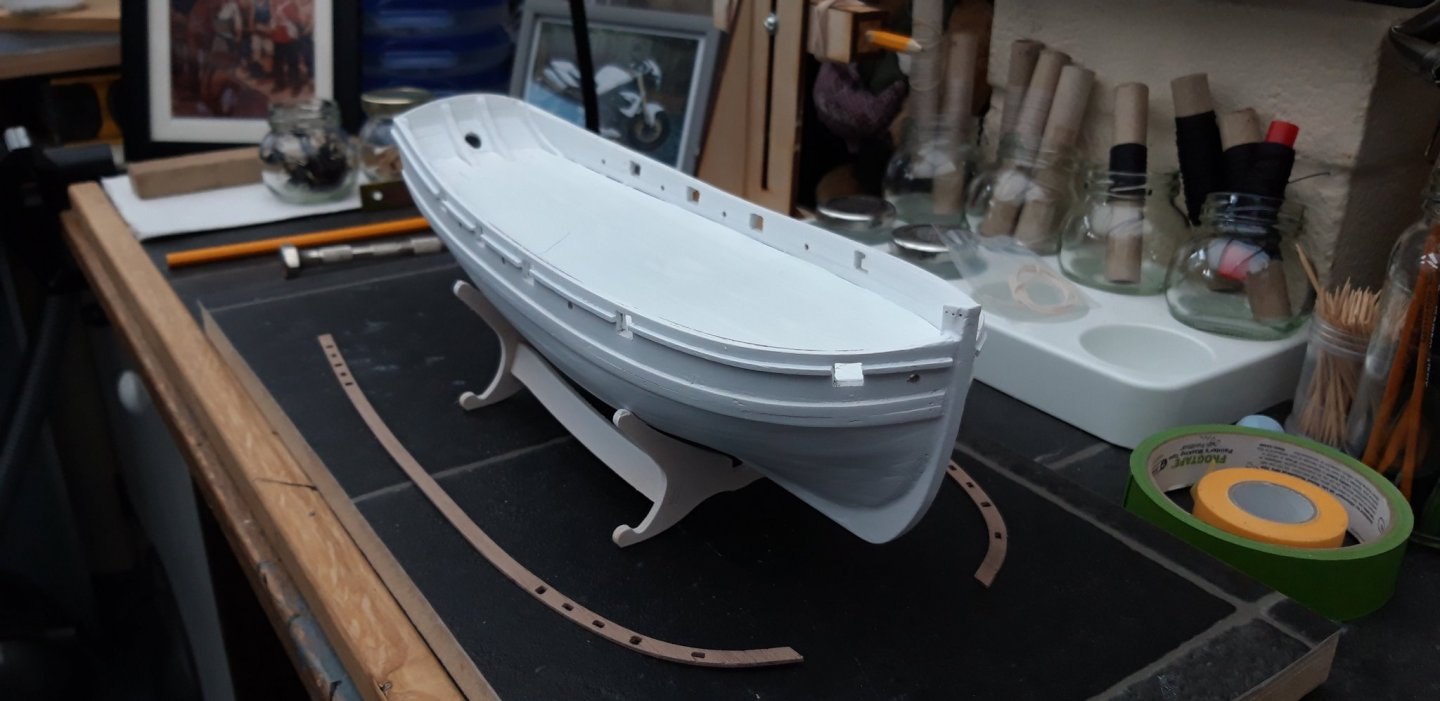
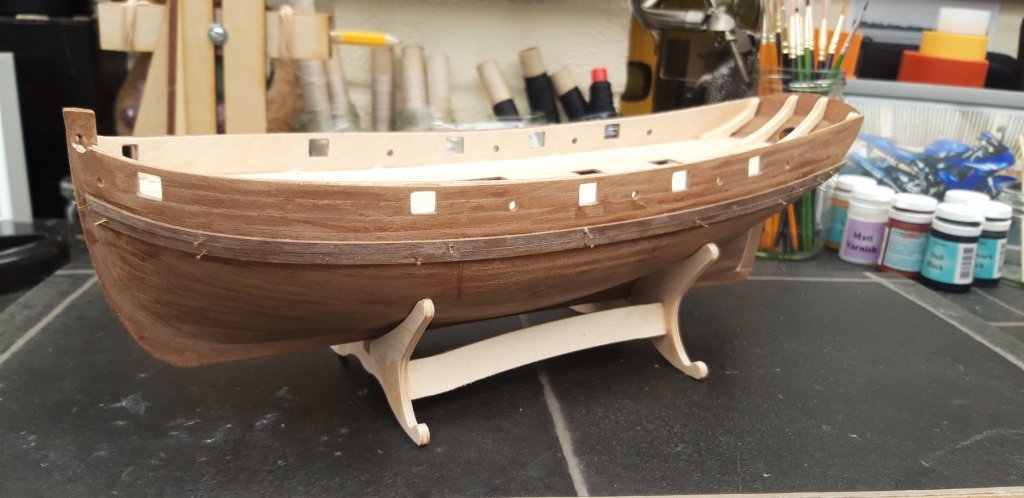
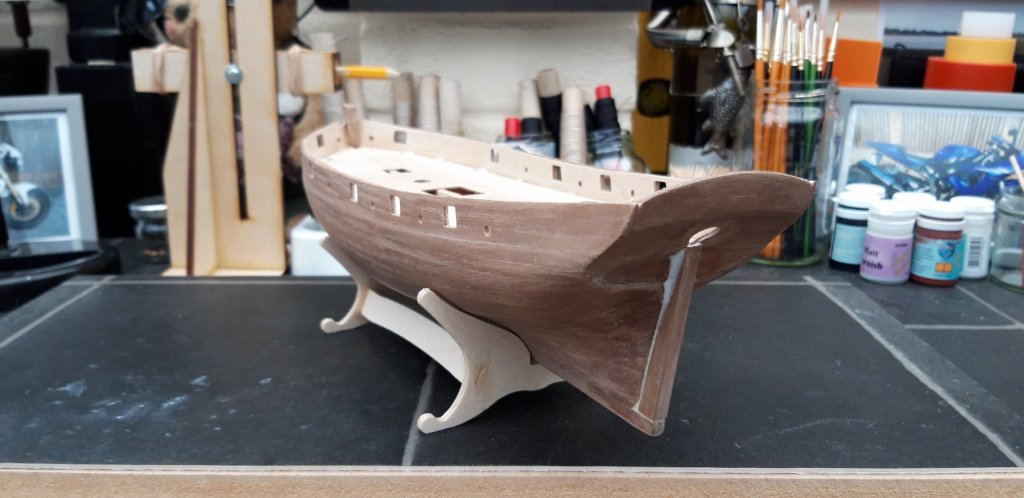
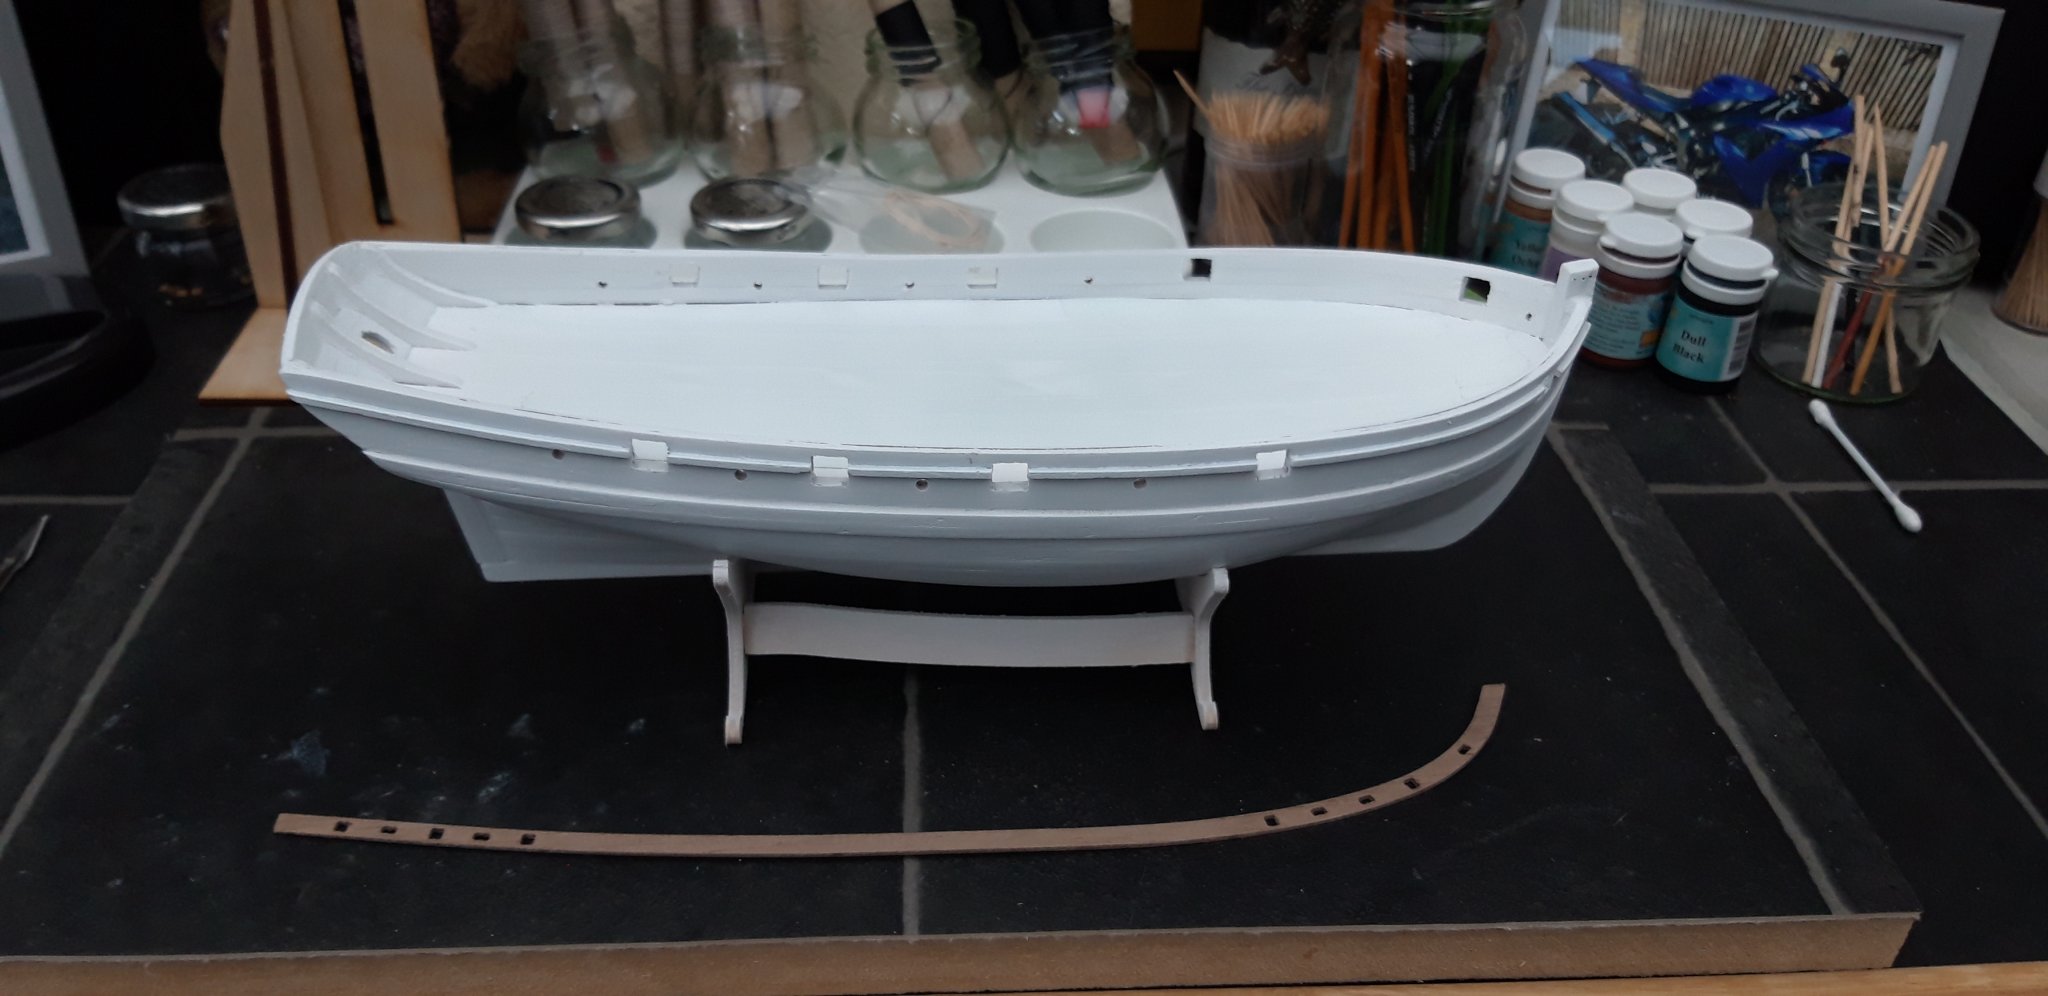
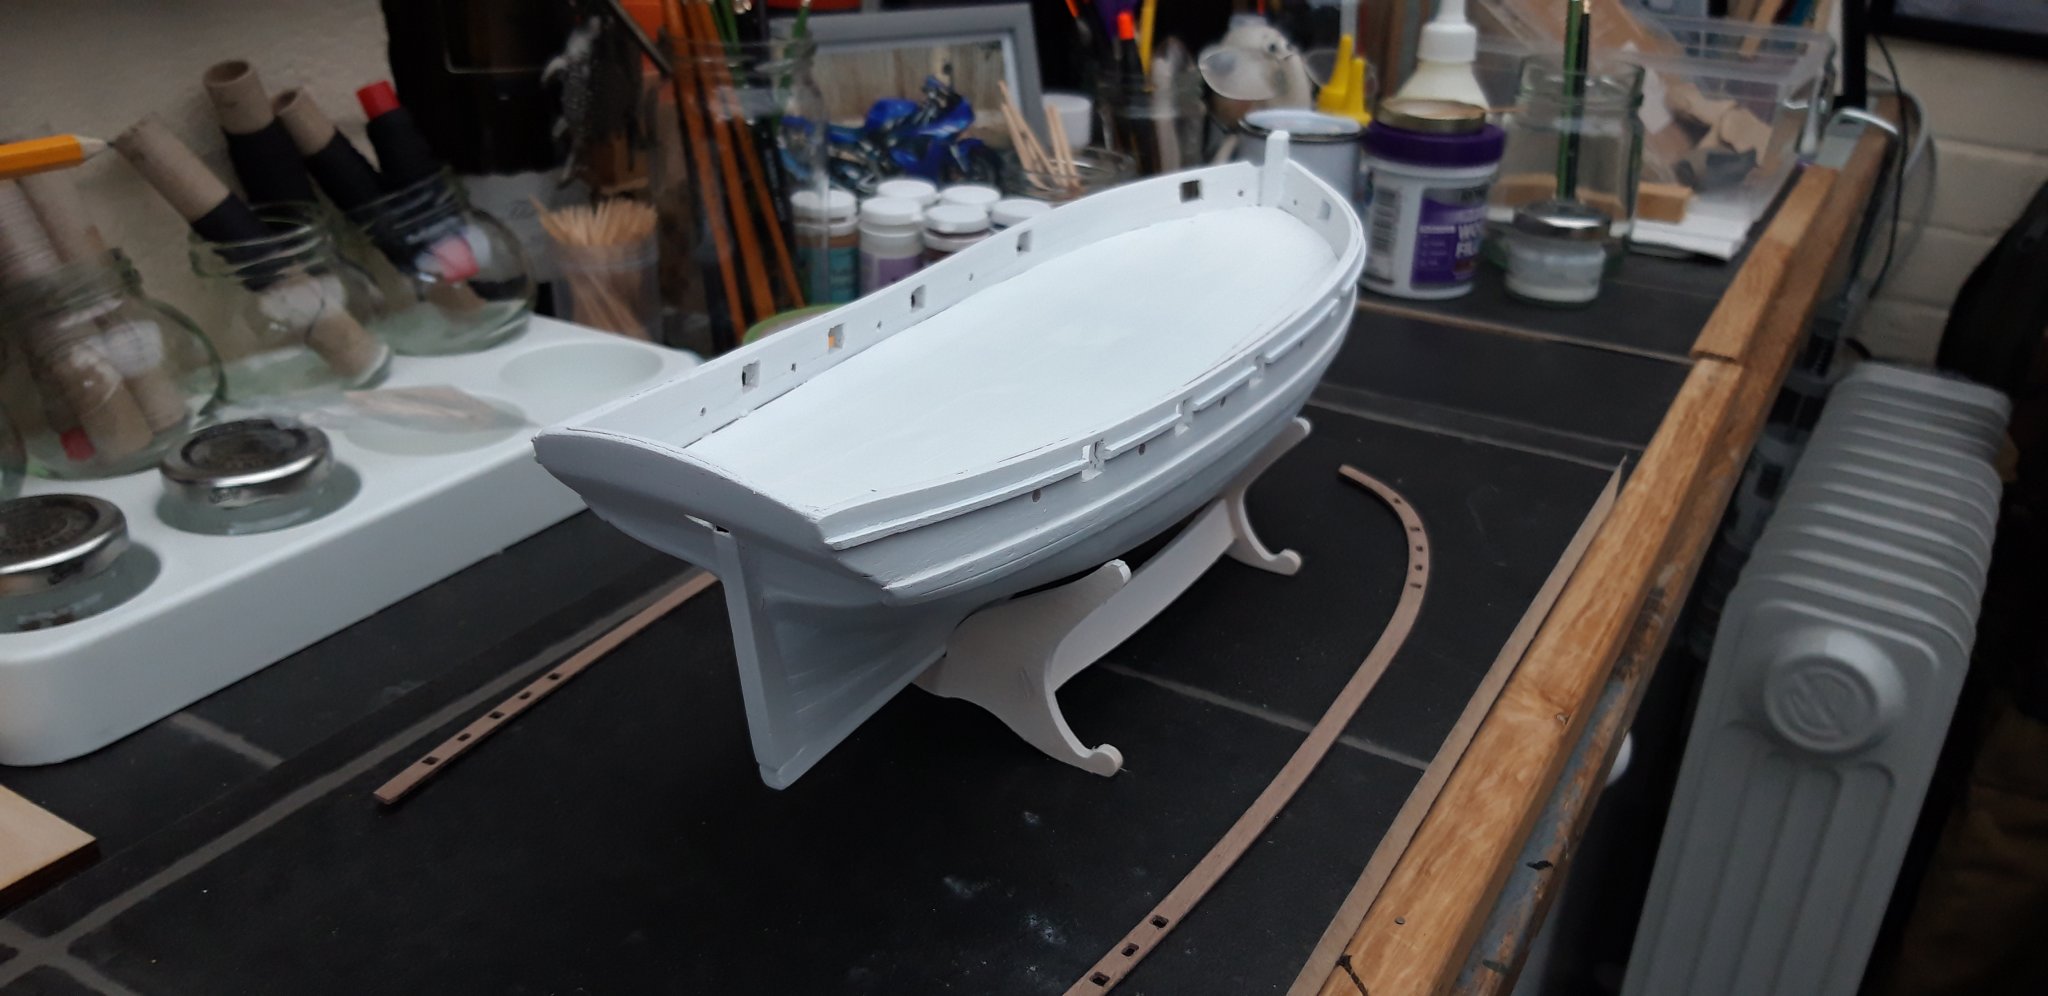
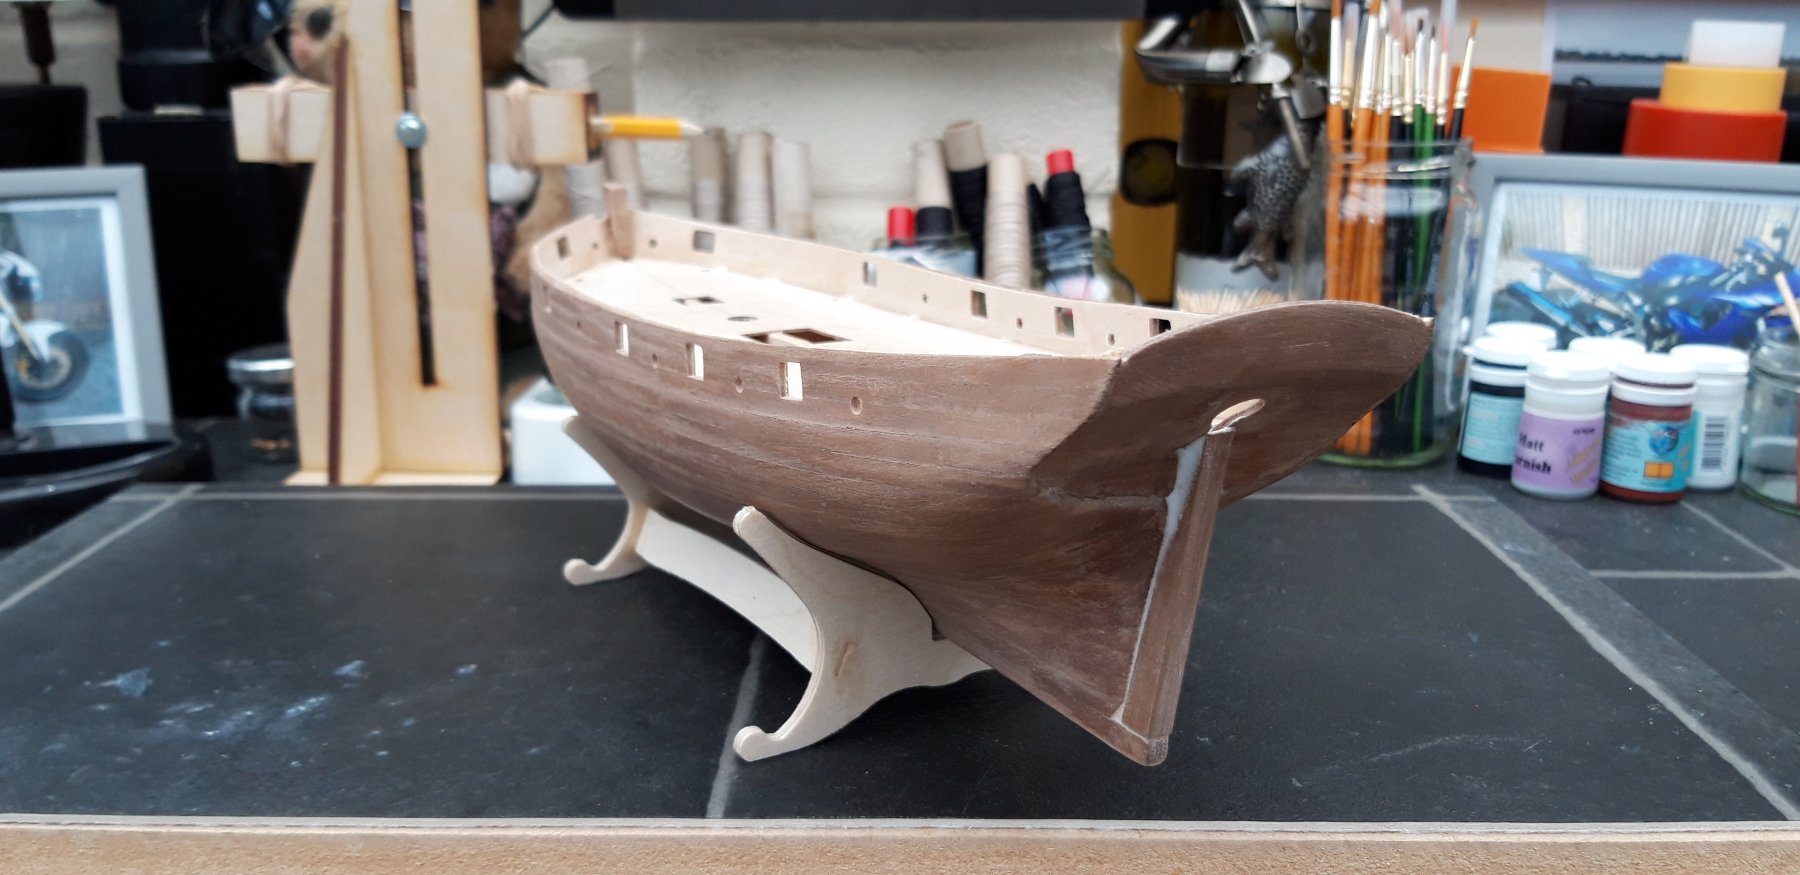
Hi all,
I have now completed the planking of the inner bulwarks and cut again the Gun and Oar ports. I am quite happy with the job so far and tomorrow I hope to fill any nooks and crannies followed by a final sanding.
Once that is completed l shall prepare for painting.
-
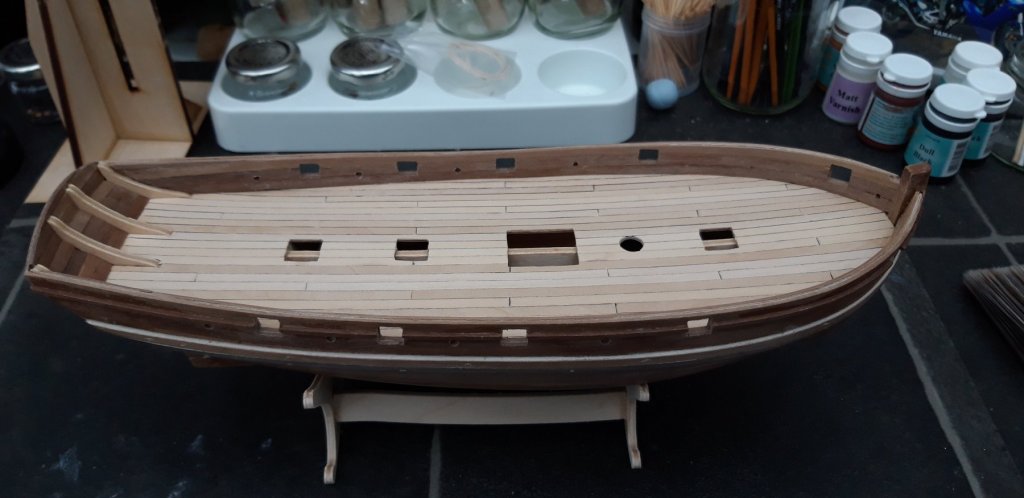
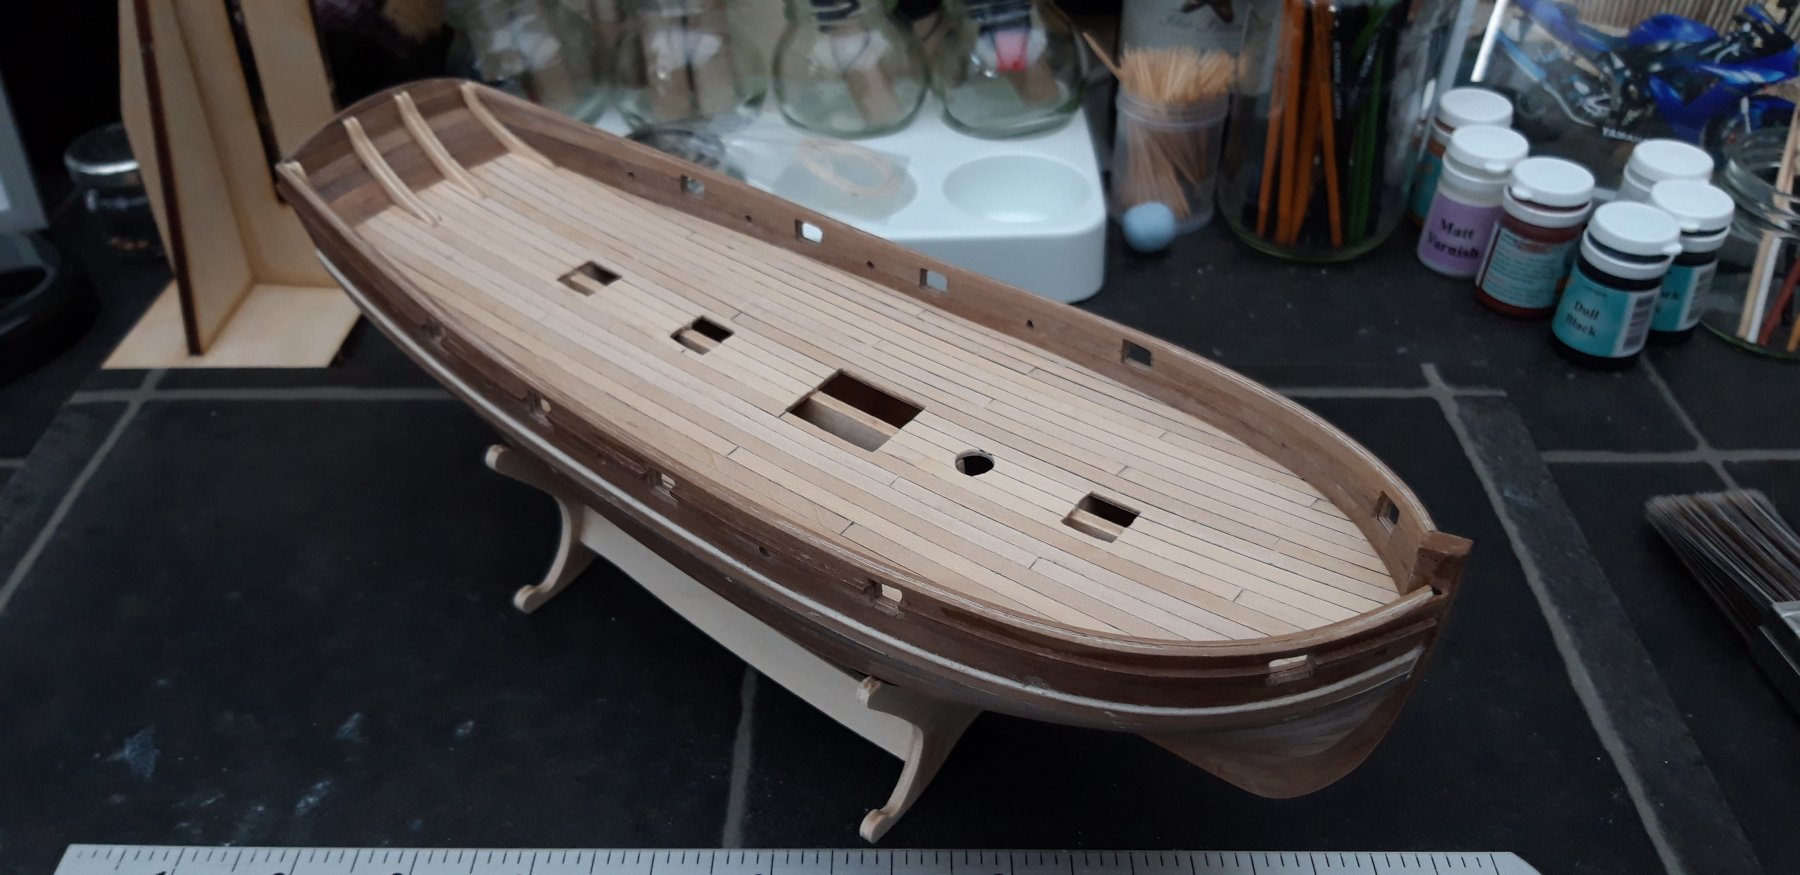
Hi all,
The deck planking plan went ok today. I finished with a light sanding, which caused some of the plank ends to disappear under a coating of very fine sawdust. Not a problem, when l finish sanding this evening l will brush it out.
I practiced planking using Jörgan's method of wood glue plus little drops of super glue to hold instead of pins. I managed quite well towards the end.
Thanks Jörgan.
Best wishes as always,
The Lazy Saint.

-
Hi GrandpaPhil.
Another success, well done you. I suspect your carving will improve the more you do it so keep up the good work.
Best wishes as always.
The Lazy Saint.
-
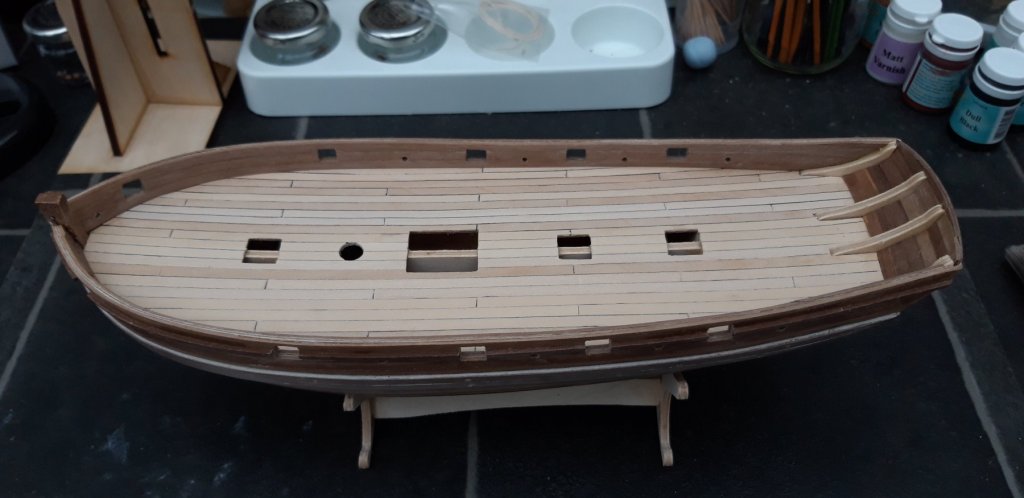
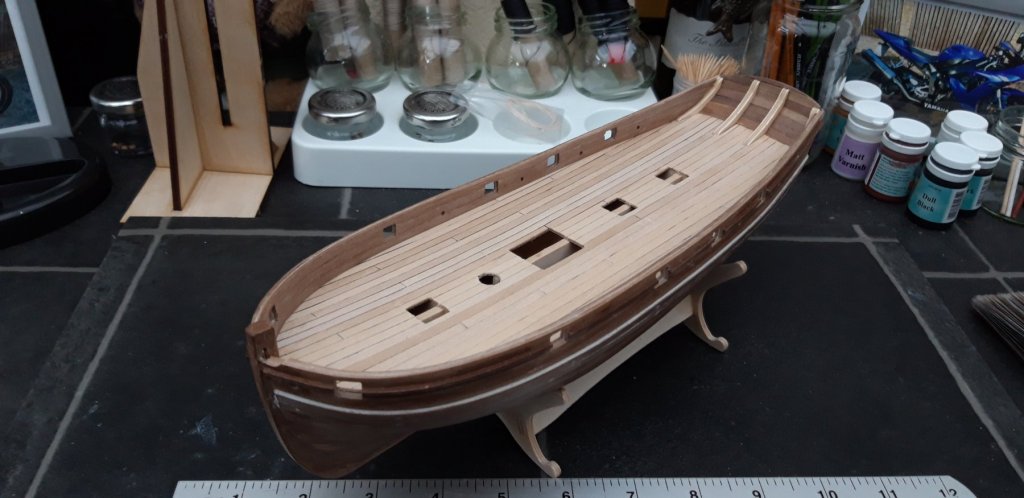
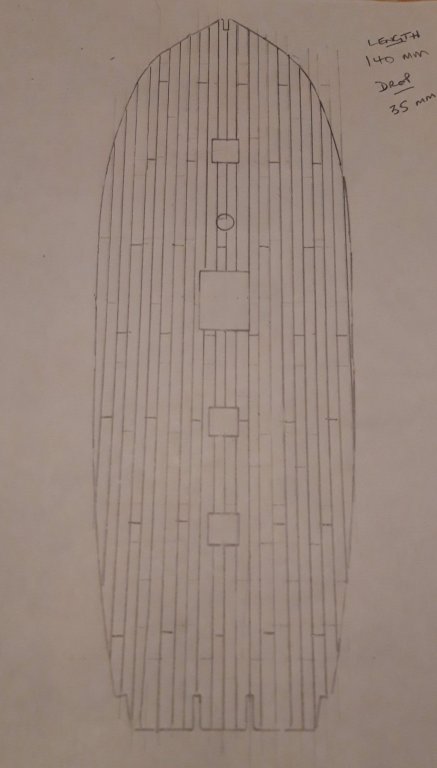
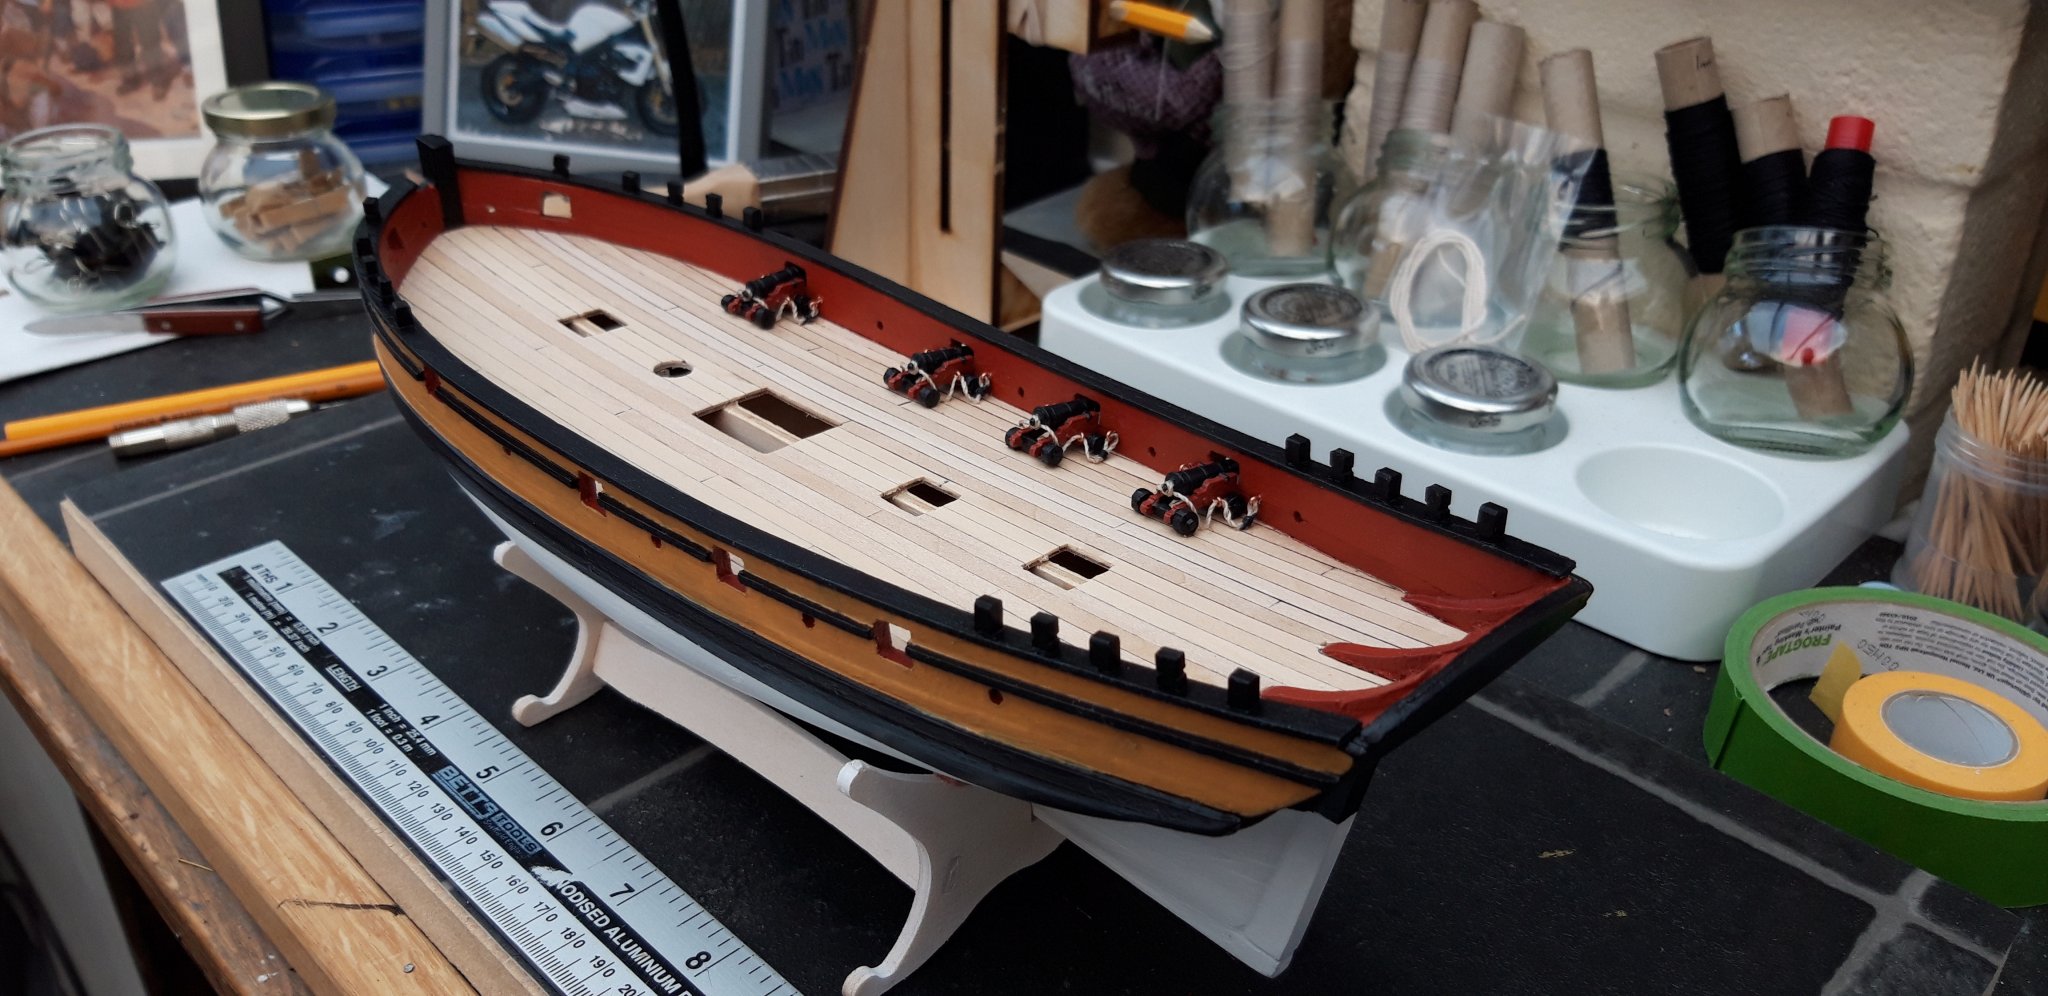
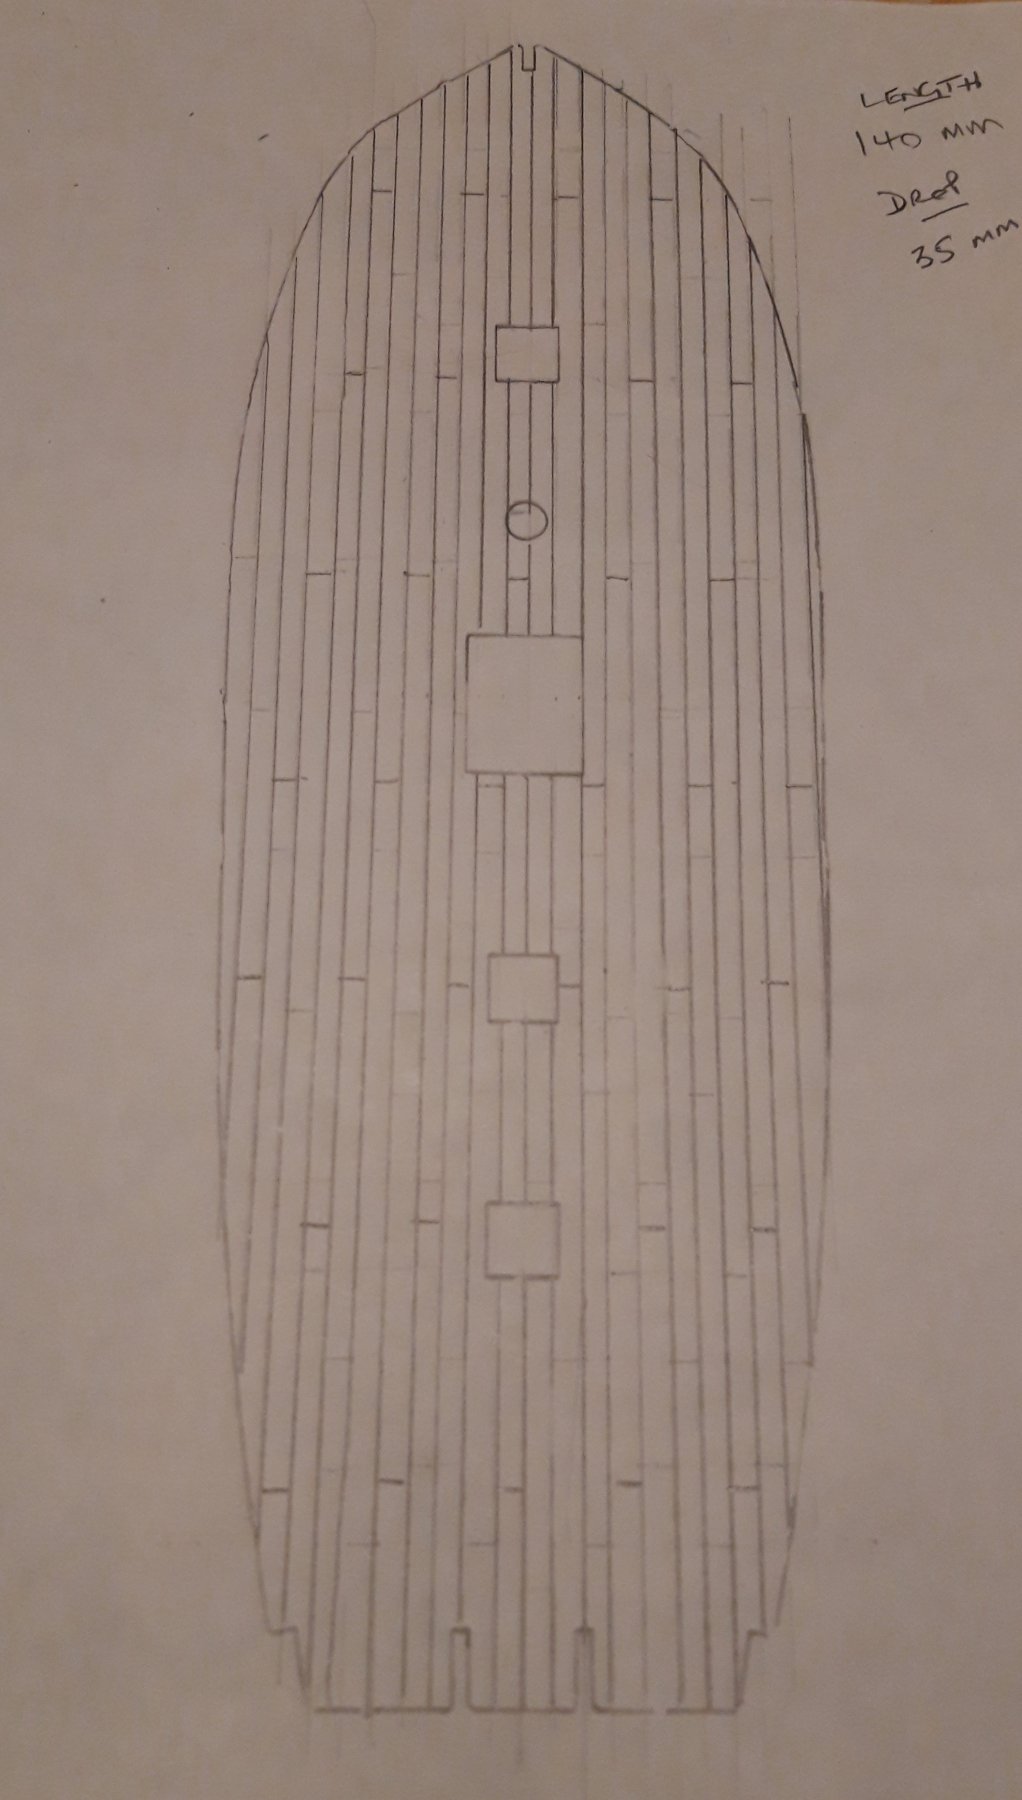
Hi all,
I have spent this evening pondering over my deck planking. It is probably not correct in terms scale or, indeed, practicality but it is evenly spaced, without awkward/inconveniently placed joints and, to my mind, pleasing on the eye. After several attempts and rubbing's out l found a plank length of 140mm and a drop of 35mm was the best combination.
I managed ok on my Ballahoo deck but then of course l did use the SWAG method.
Best wishes as always.
The Lazy Saint.
PS A good tip l picked up on another build log was trace out the false deck before the start of construction, this makes it much easier at this planning stage.
- Ryland Craze, GrandpaPhil, egkb and 5 others
-
8
-
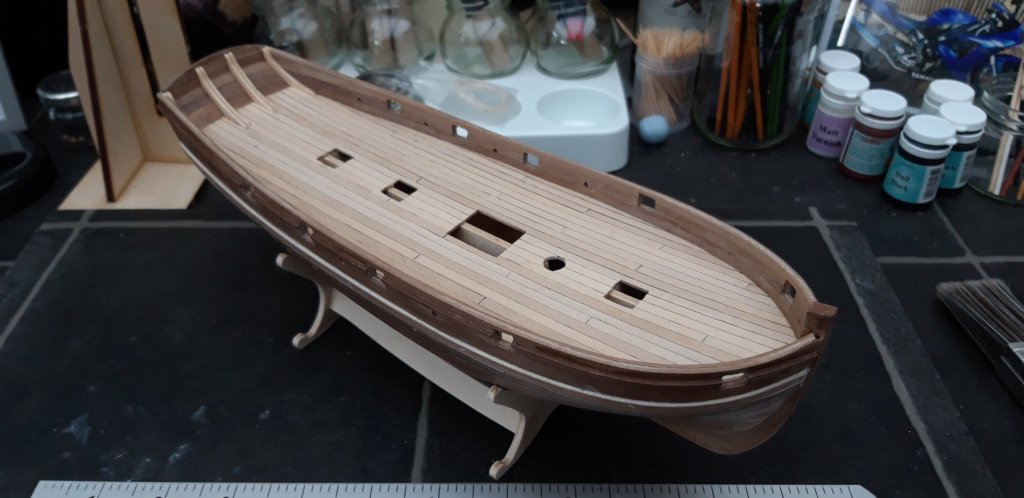
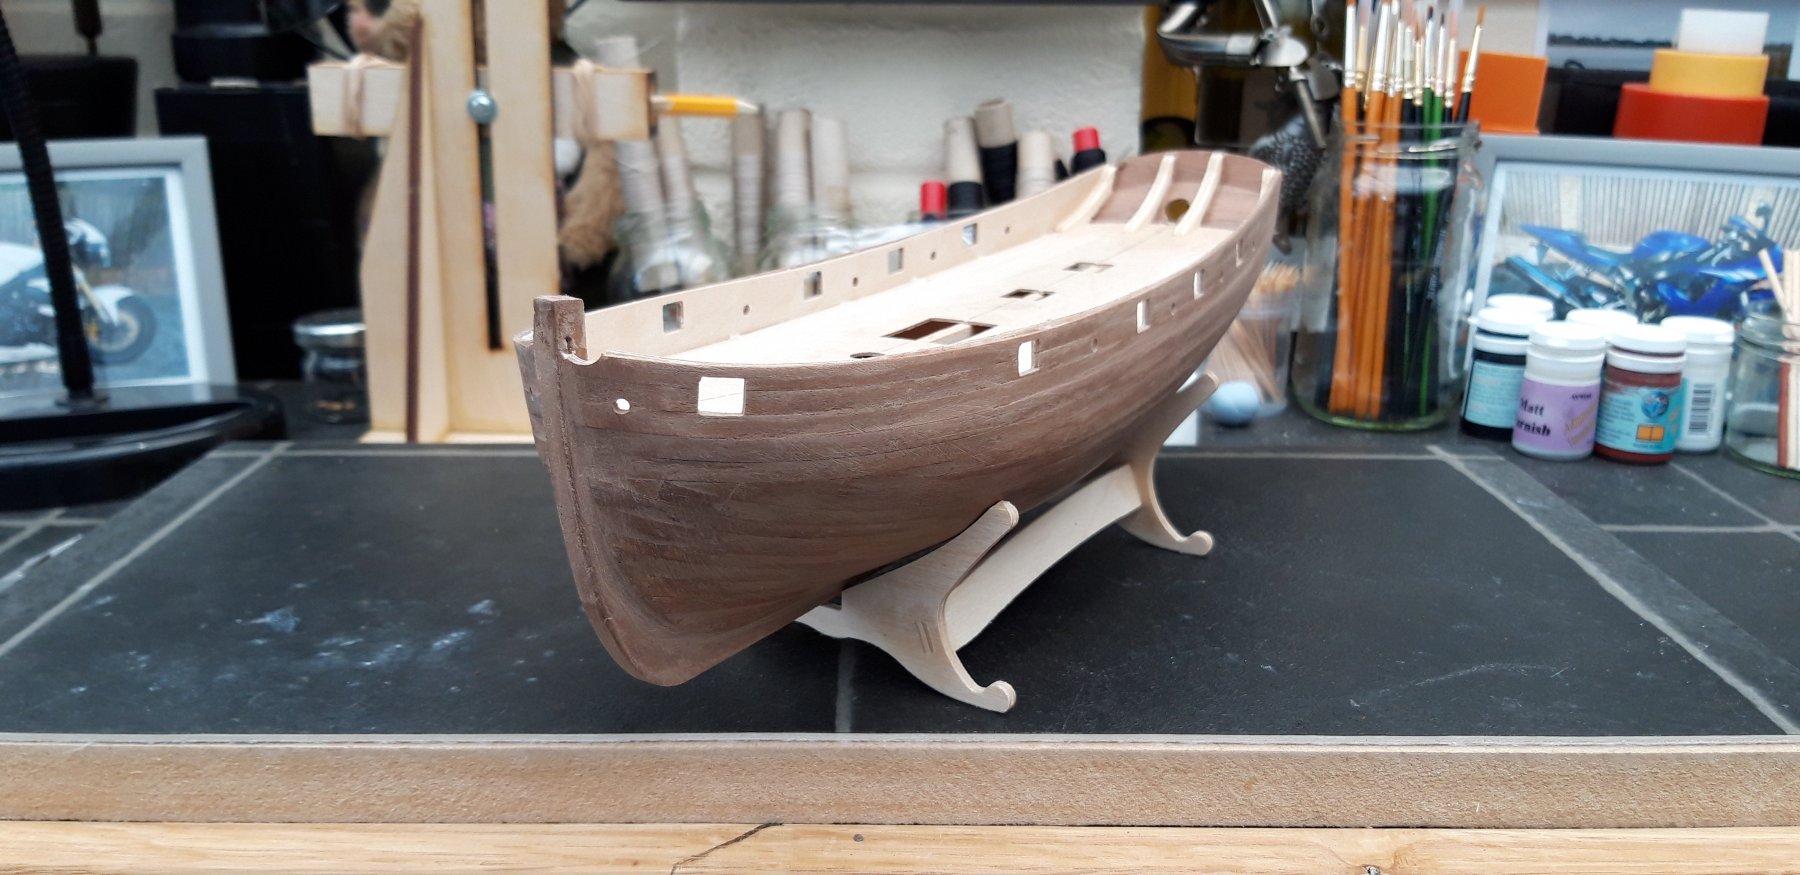
Hi all,
Just a quick update. I didn't manage much today, just the small rail that runs along the gunports. I put it on as a single piece and then removed the sections that passed over the gunports. Just incase anyone is wondering, no l didn't use pins as, in this case, the wood was too thin. I used mini bulldog clips which proved to be the right tool for the job.
Best wishes as always.
The Lazy Saint.

- tarbrush, Ryland Craze, JpR62 and 5 others
-
8
-
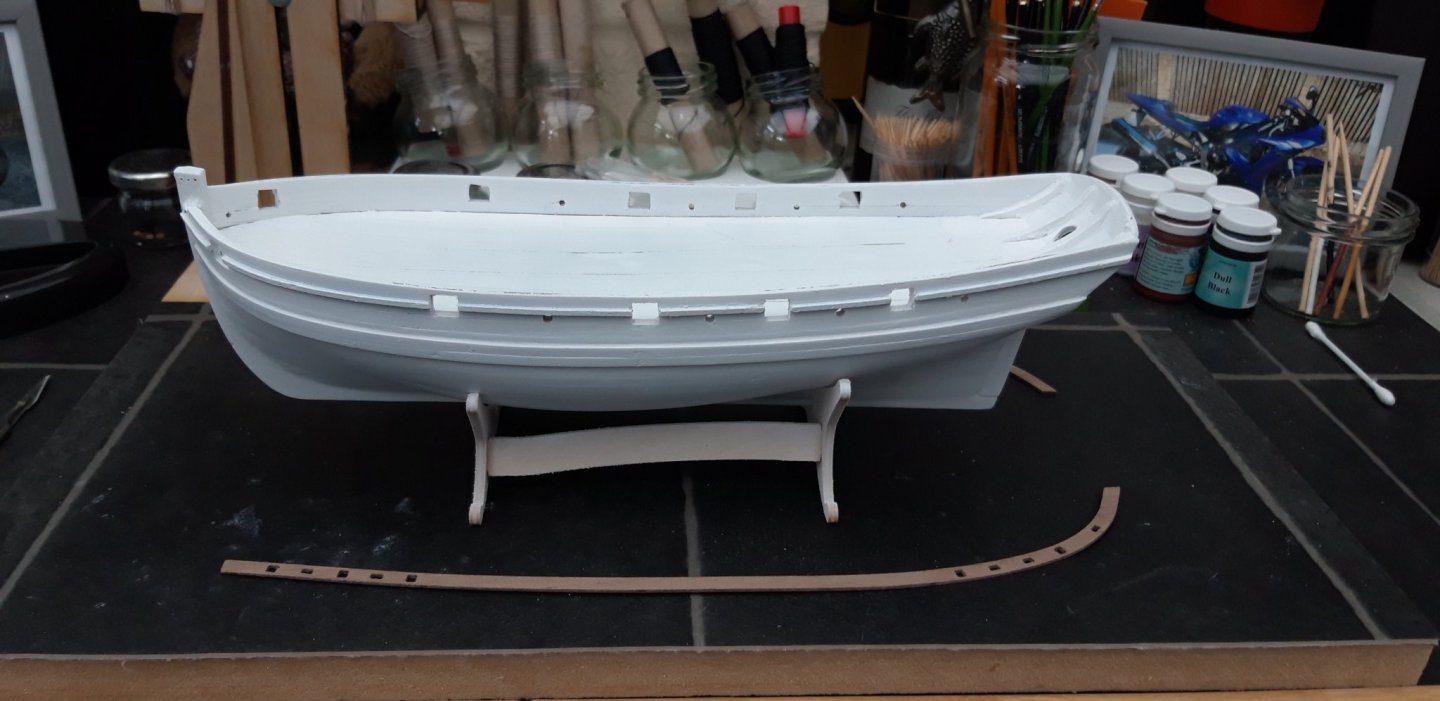
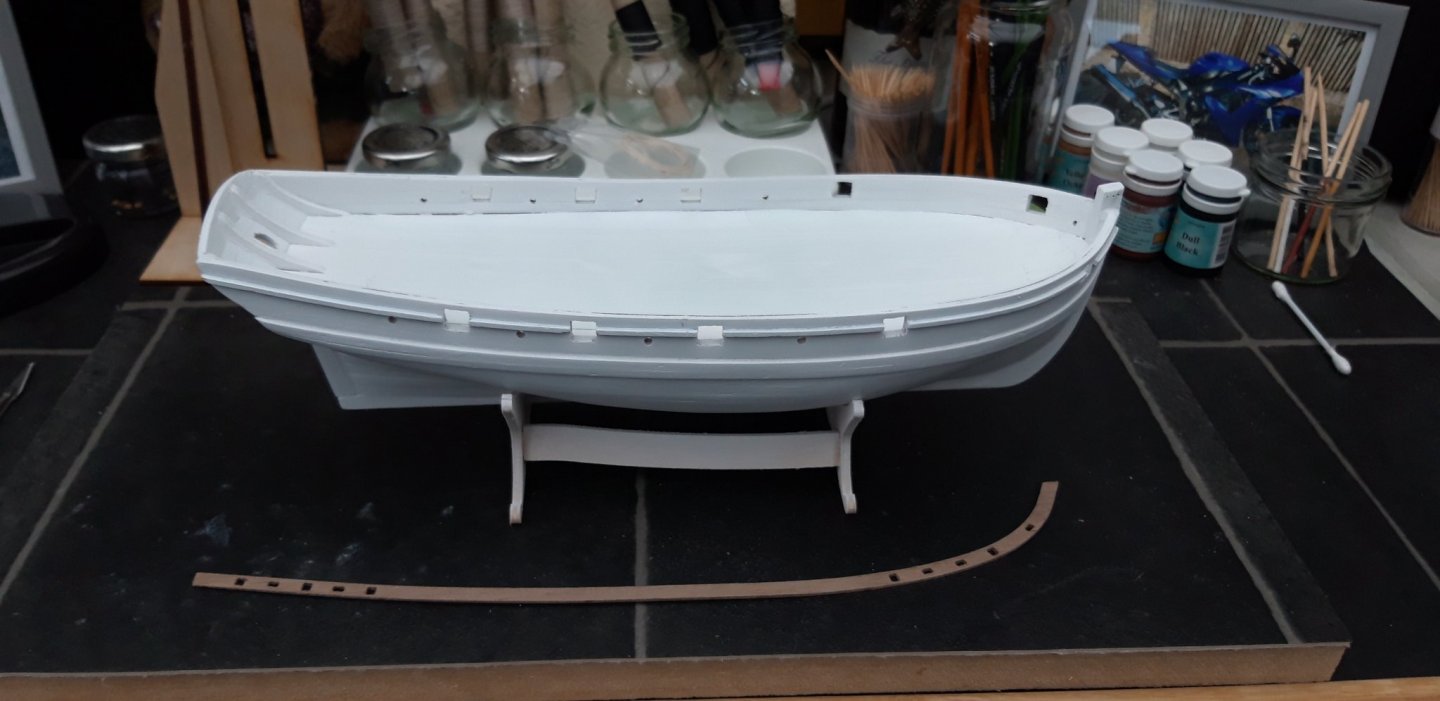
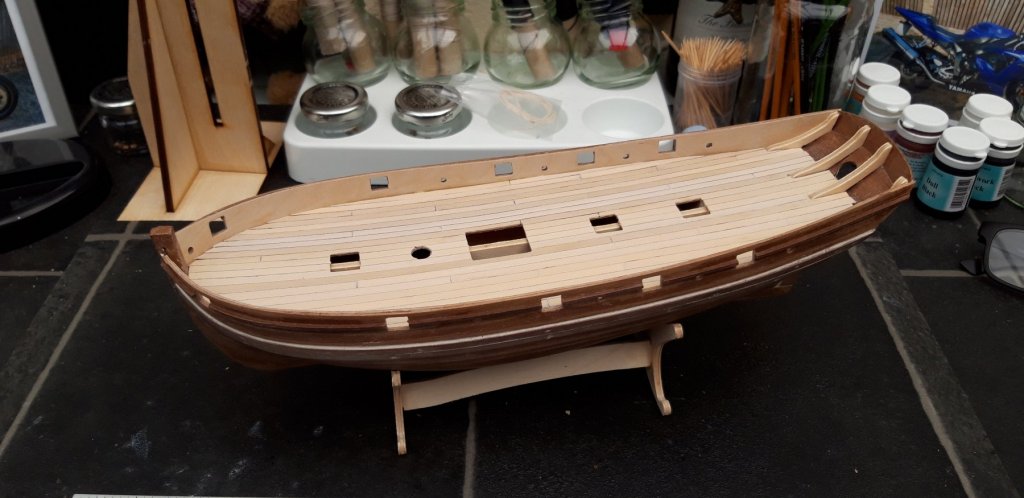
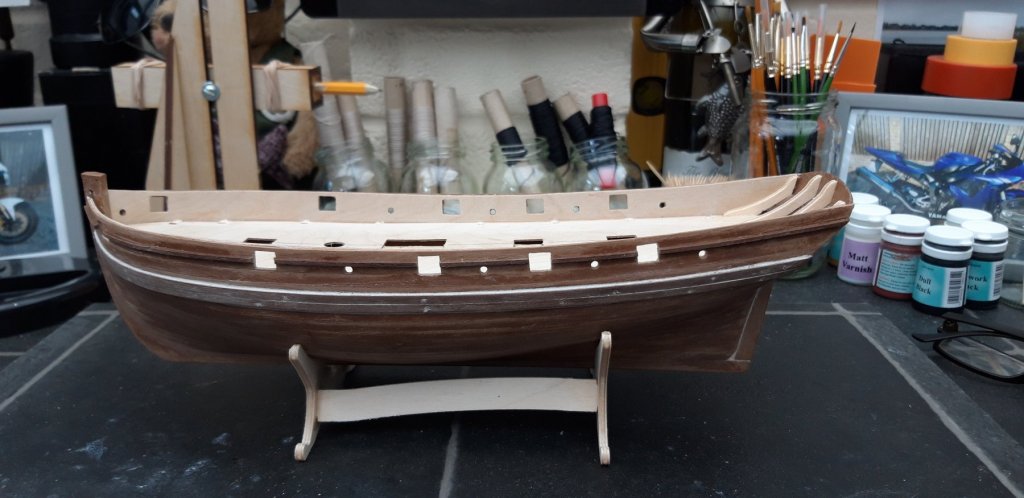
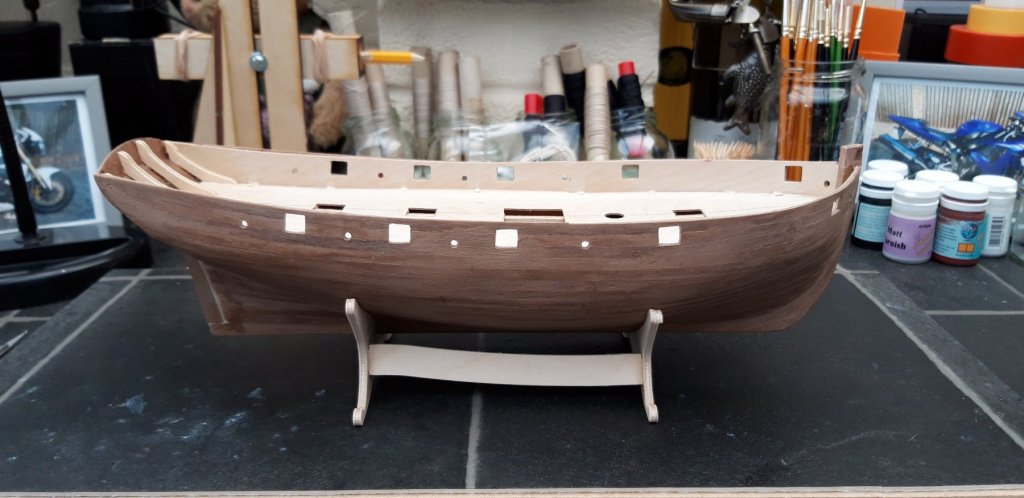
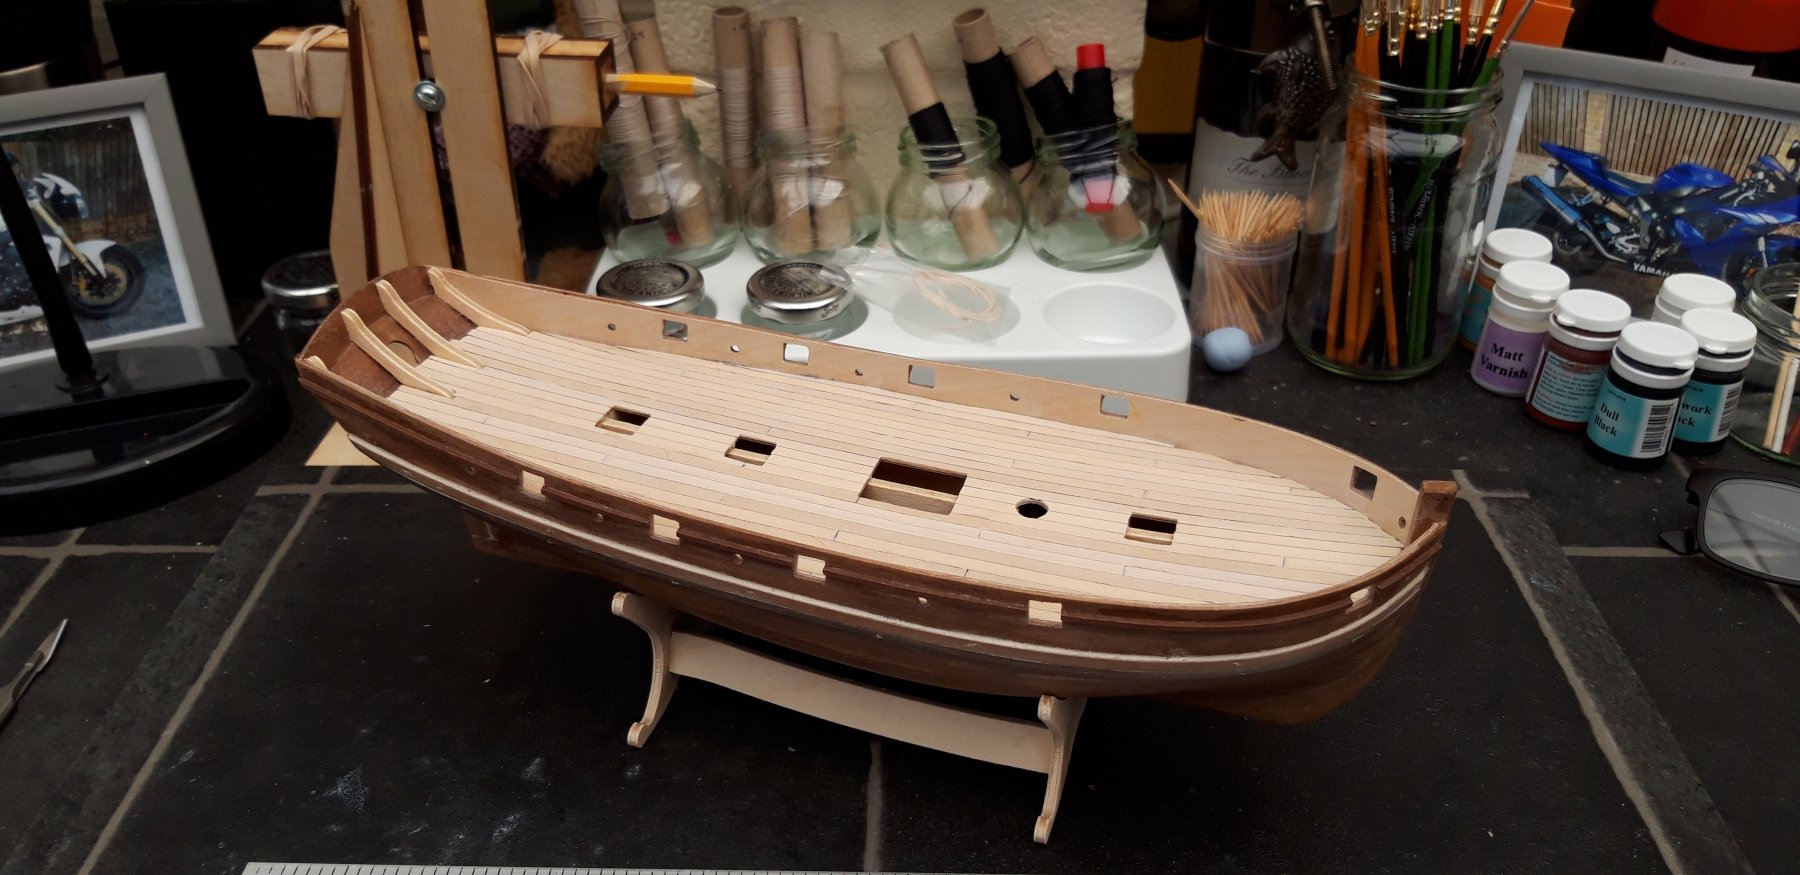
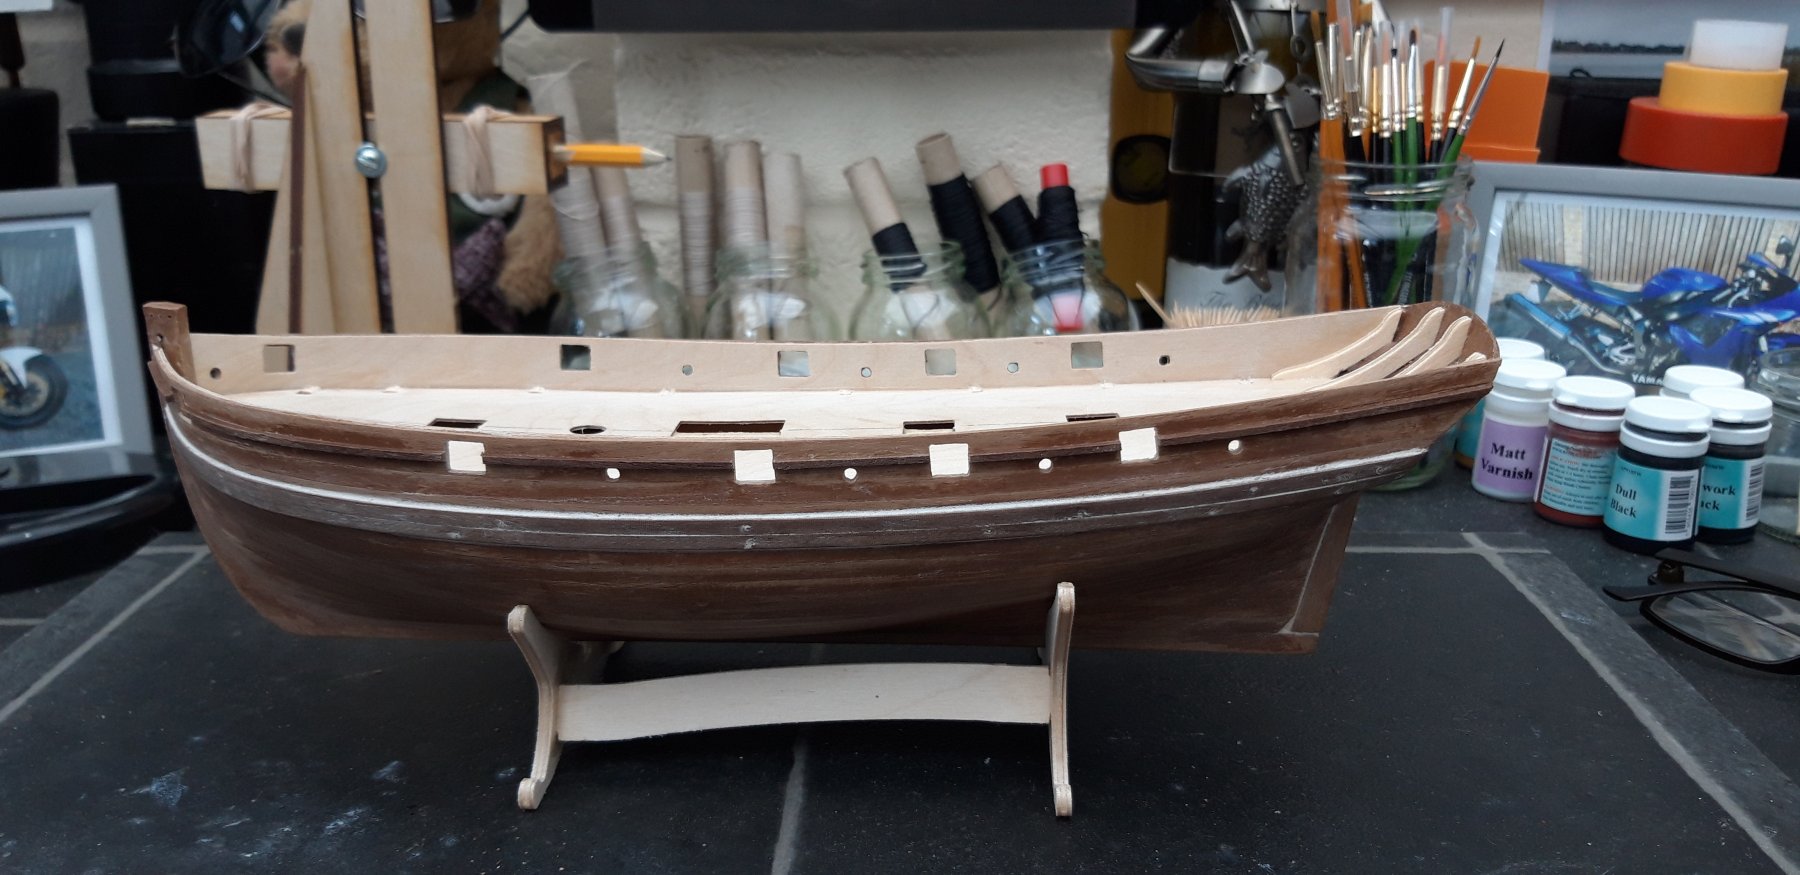
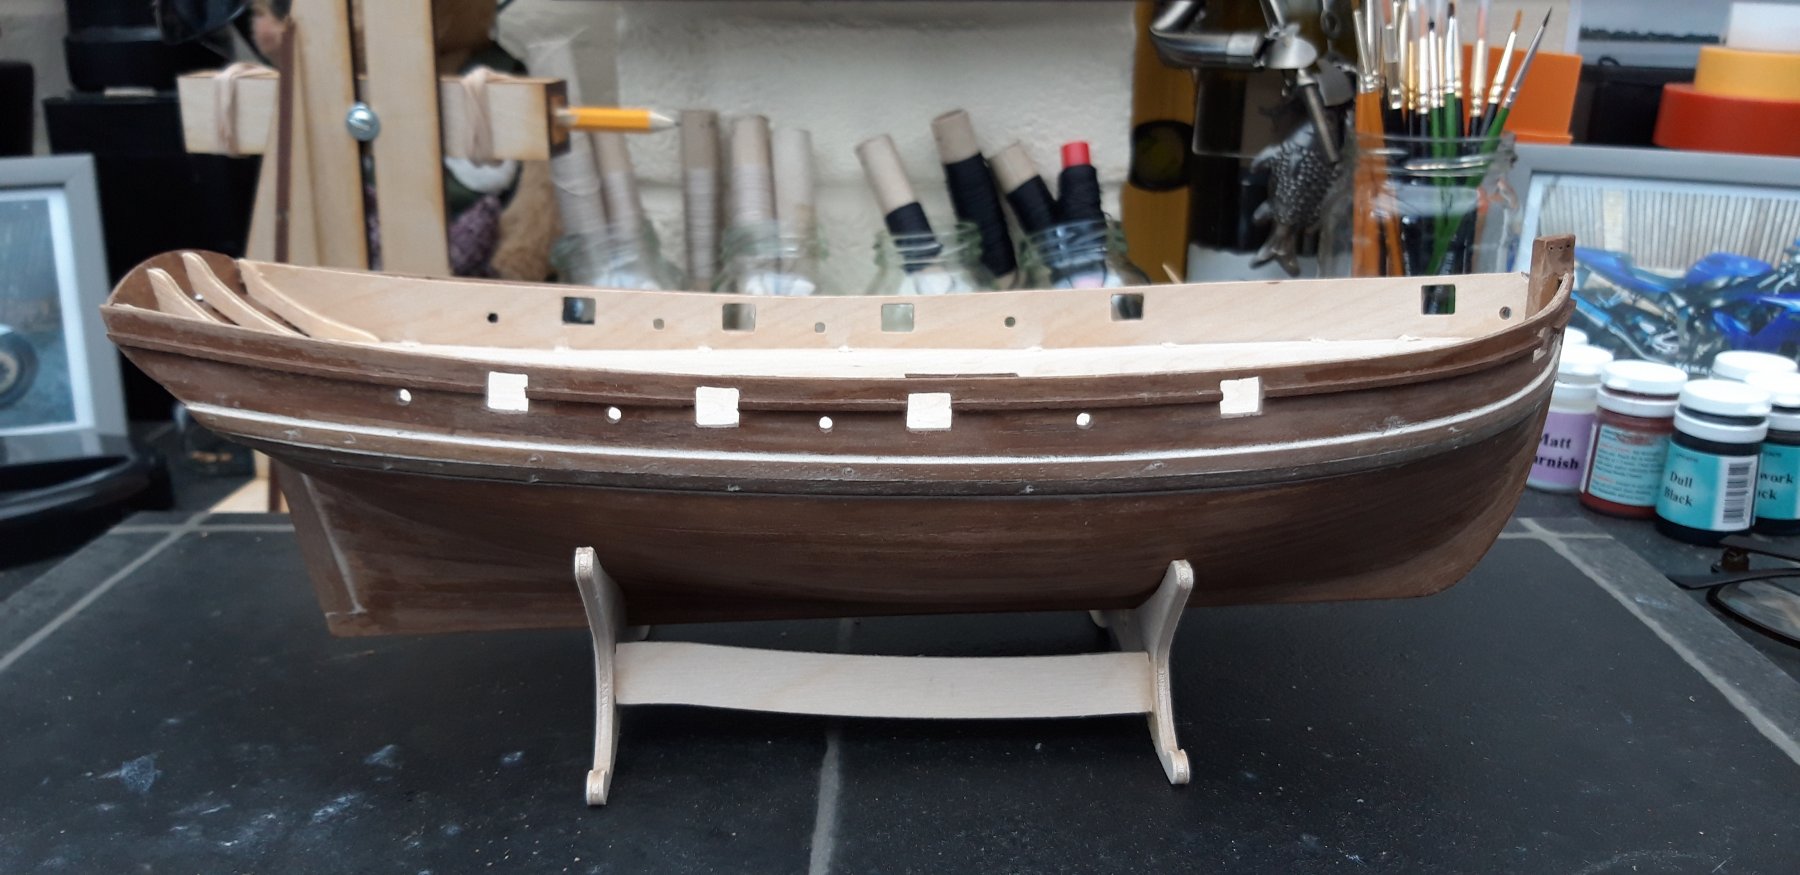
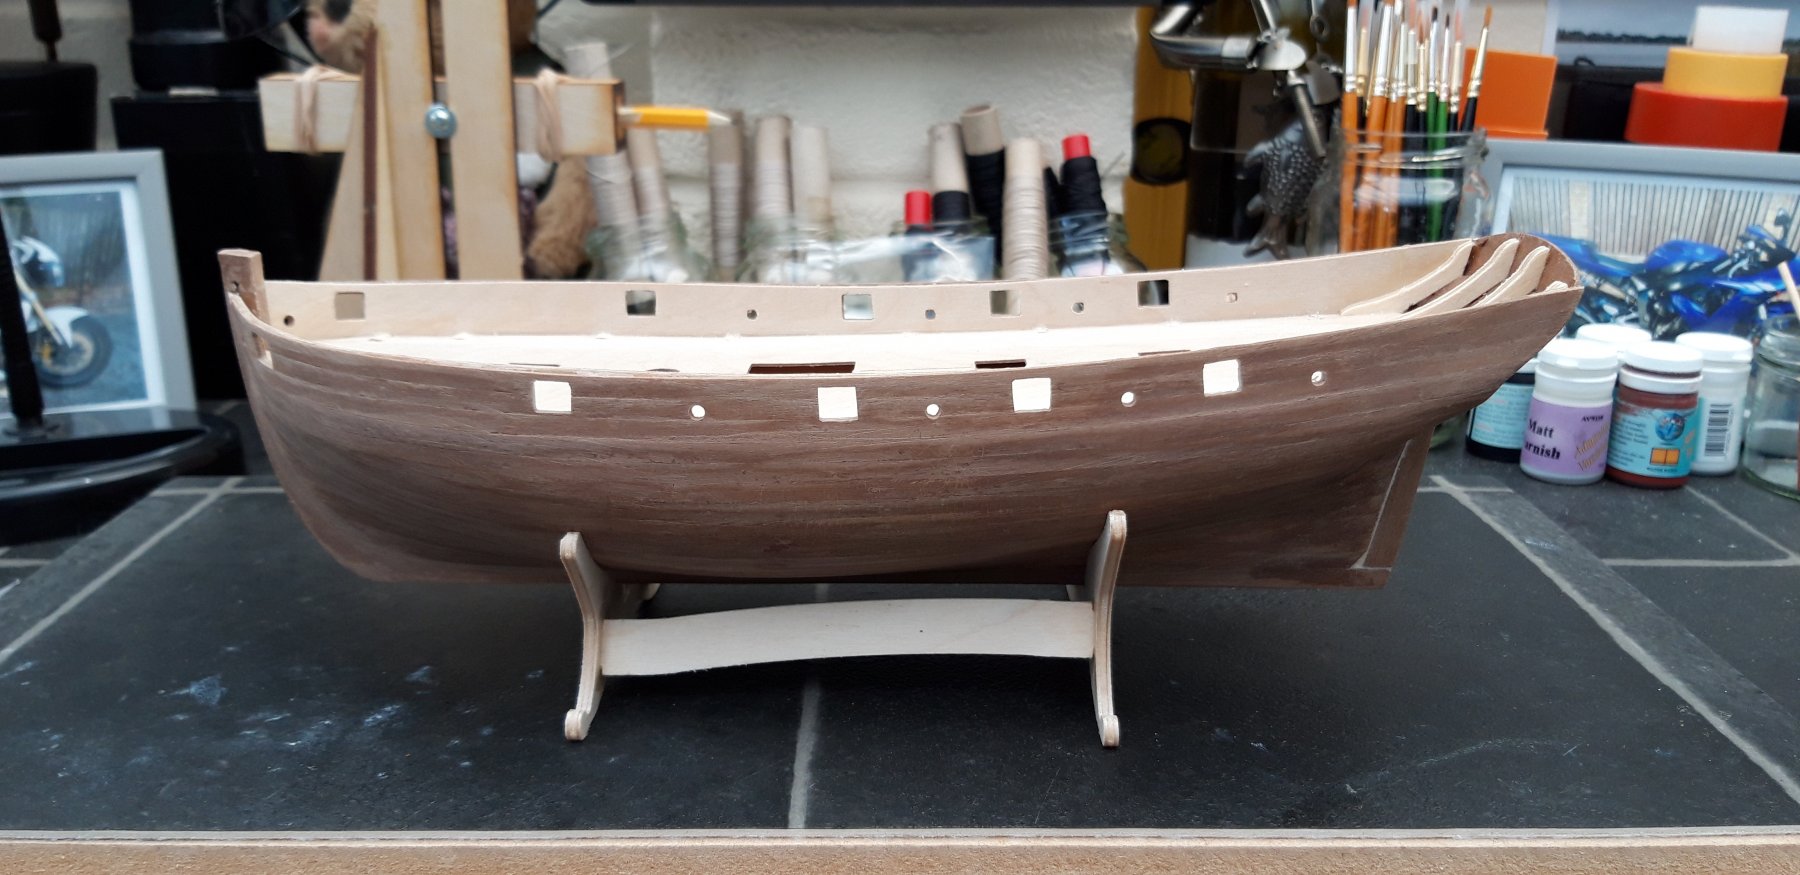
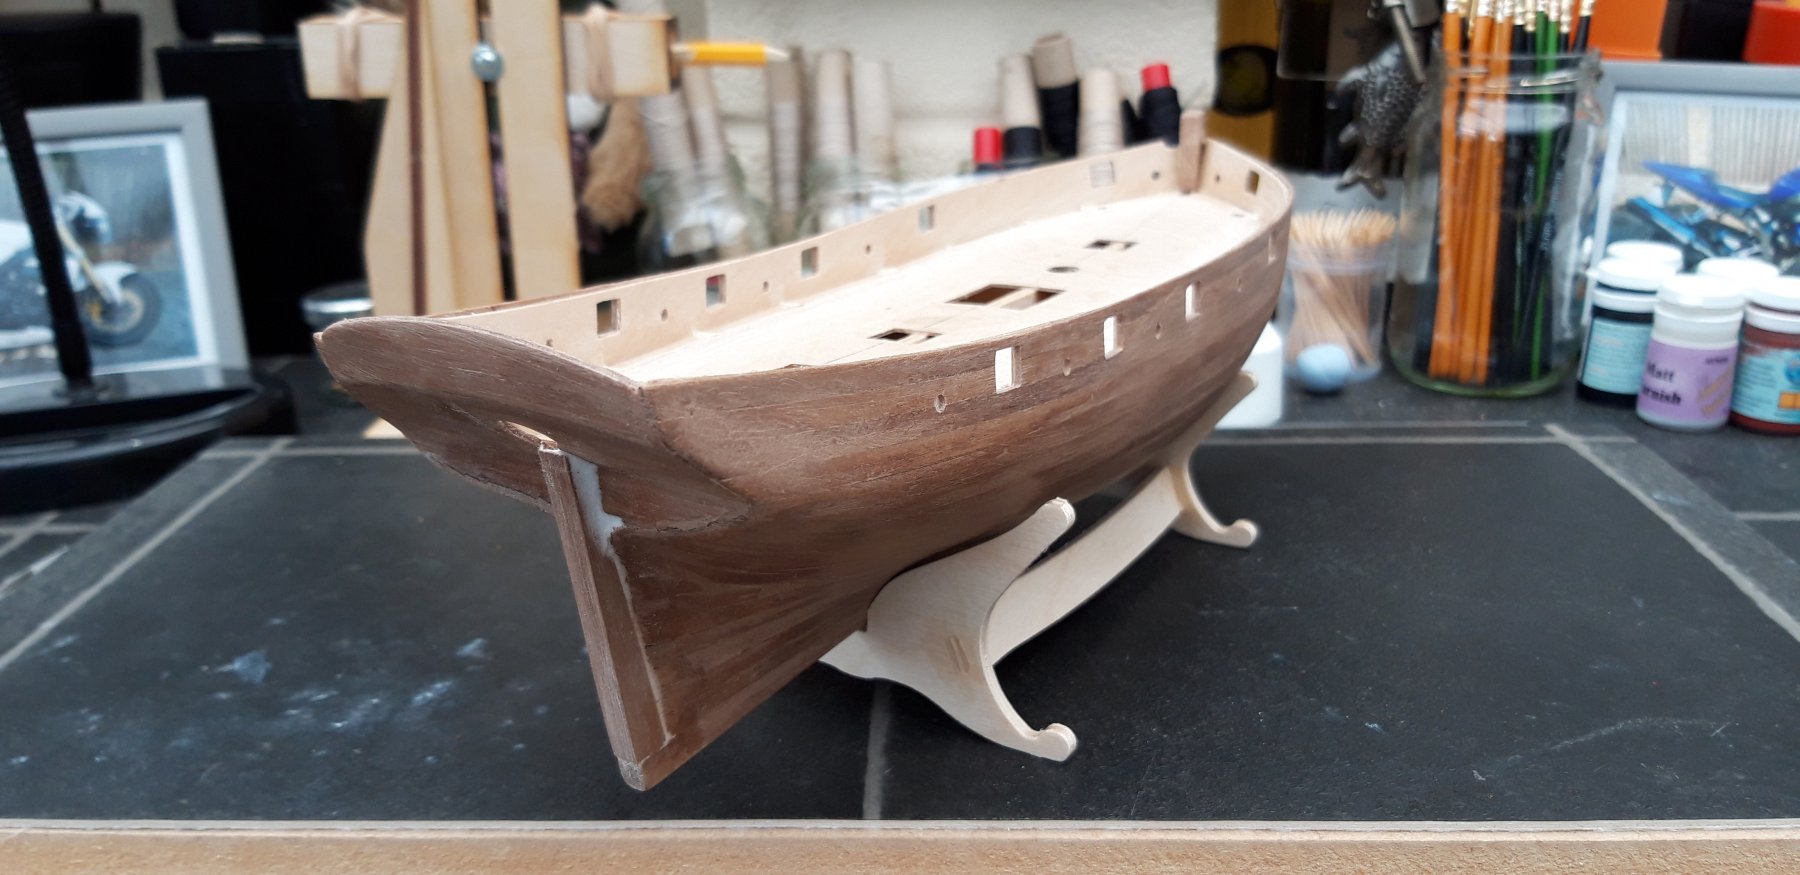
Hi all,
Here l have fitted the main wale, l have left the pins in for you to see. Don't push them all the way in as they are the Devils own work to get out, as you will find out. I say that because that is what will happen until you get used to the pressure required.
My next task, l think, will be decking and inner bulwark planking.
Best wishes as always,
The Lazy Saint.

- Jonny 007, Edwardkenway, tarbrush and 5 others
-
8
-
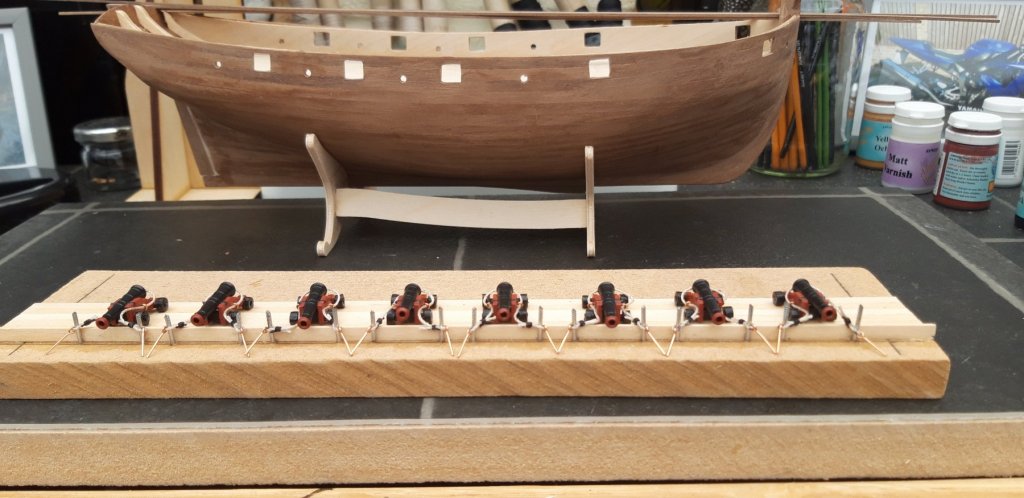
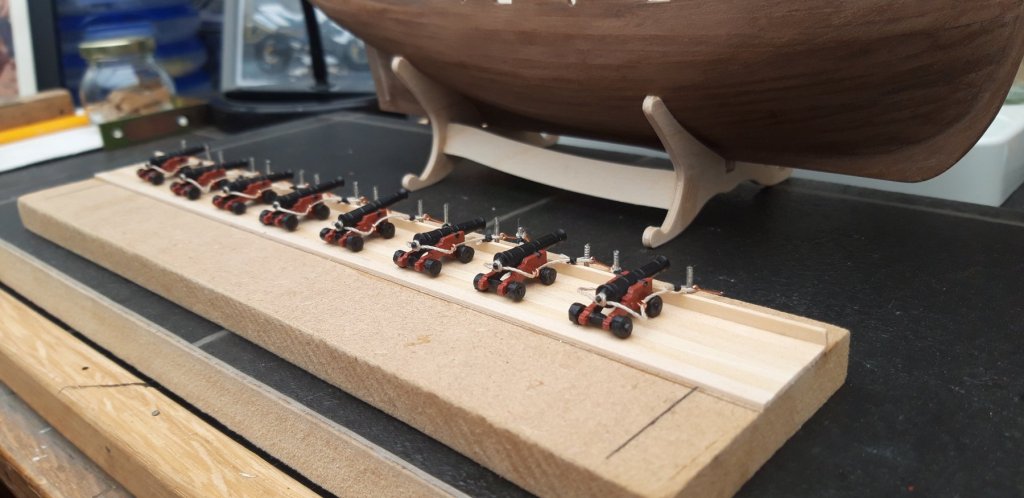
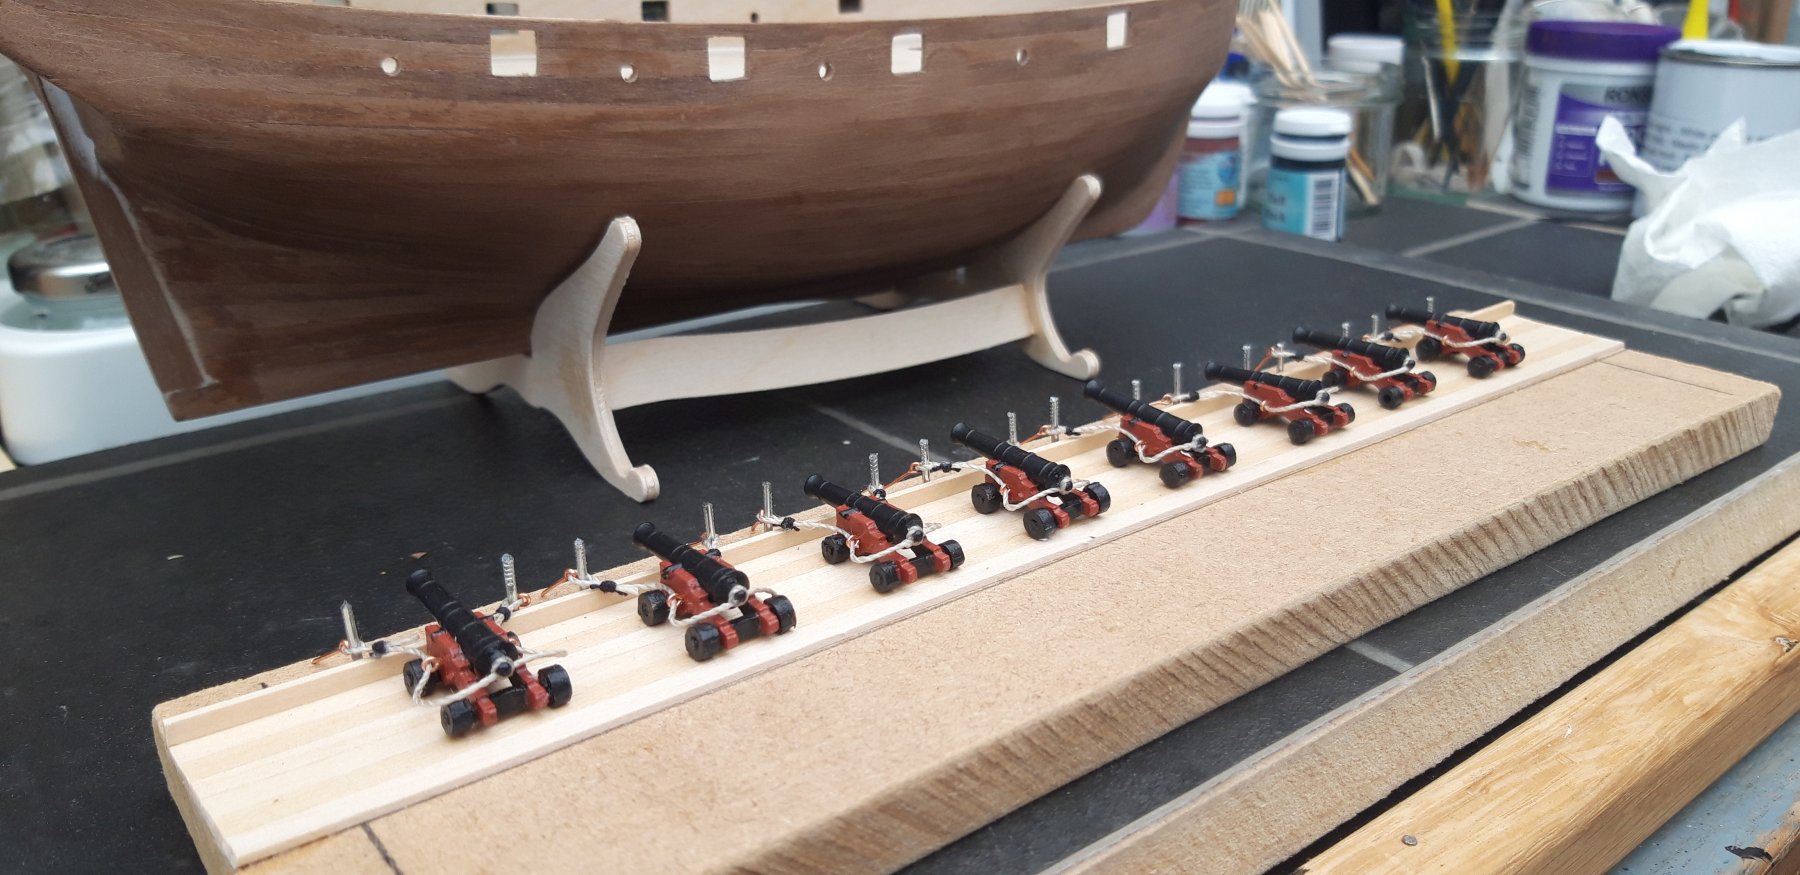
Hi all,
Thanks for the tip Jörgan, when l am ready to tackle an oiled/varnished ship l will use your method.
I have just completed my gun battery. They are as close to identical as l could make them, l hope they pass the captain's inspection when they are on board.
Best wishes as always.
The Lazy Saint.

-
Hi Edward,
Good job, l think the guns look great, that is the look l am aiming for. Your Pumps also are very pleasing and with the work on your masts done you are all ready for your return.
Have a great holiday with the Grandchildren, don't forget to pack a kite, assuming of course they aren't already teenagers.
Best wishes as always.
The Lazy Saint.
-
Hi all.
I am sure some people will disagree with me and say that pin pushers are a waste of money, however, l now think of mine as almost indispensable. During my first ship build and, without any experience, l used the little nails that came with the model along with a little modeling hammer. This did work, however, the little nails did make rather large holes and l found the task quite laborious, trying to hold the little nails with my fingers was a bit of a challenge too. The pin pusher with very fine pins is fiddly and some dexterity is required but with practice it has proved to be a very good method. The very fine pins make very little damage to the wood and l can fit a plank quite speedily.
I don't think it's a suitable tool for those builders who like an oil finish but l, at this stage, have not the skill to show off my wood. I prefer a painted ship and, if prepared/filled/sanded well, it matters not that l put a few dozen tiny holes in her. I hope this helps guy's but l think the top answer is to try different methods until you hit on the right one for you. Good luck and enjoy, l am.
Best wishes as always.
The Lazy Saint.
- Sea Hoss, Edwardkenway and mic-art
-
3
-
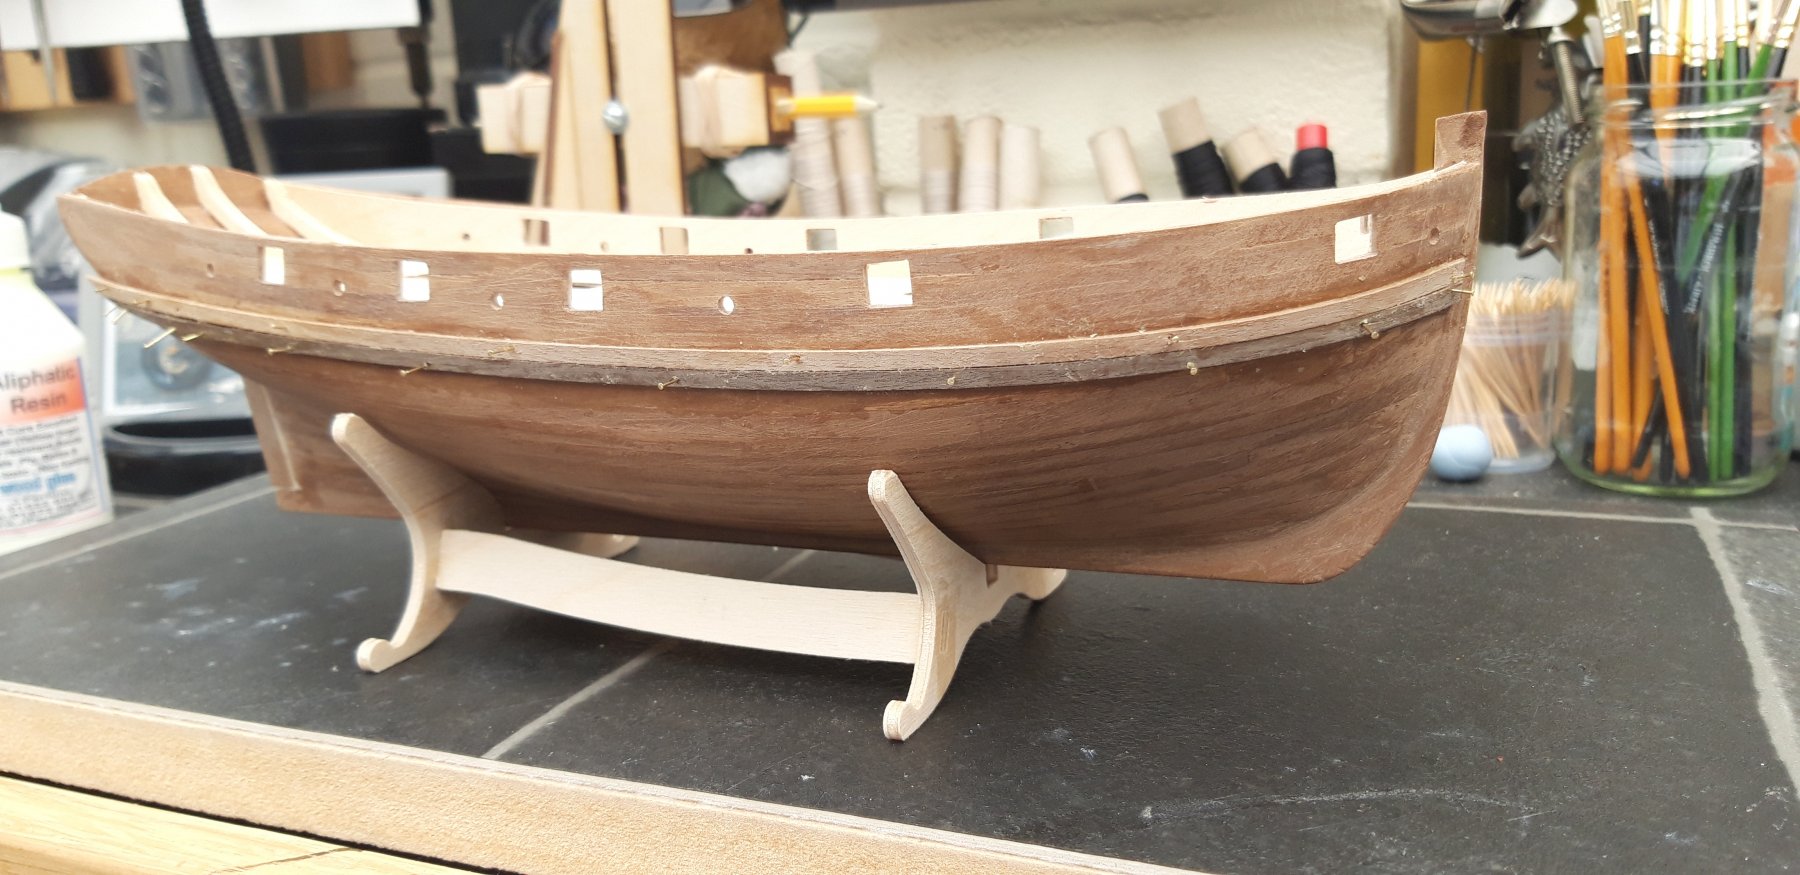
Hi all,
And thanks all for the encouraging words. Thanks also Tony for your invaluable advice/tips, l really appreciate it.
I have just completed my 2nd planking and l am quite happy. It is considerably better than my Ballahoo, but not, l fear, good enough for oil/varnish as Jörgan suggested. I do aspire to that standard, but will have to practice more. Perhaps net time.
I have to say that one of the best tools l have, l find, is my pin pusher coupled with very fine pins. I found it awkward at first as l lacked the dexterity required but as the build has progressed l have learnt and now find it quick and easy to use.
Best wishes as always.
The Lazy Saint


-
Hi Mic-art.
It looks like all is going well so far and l must say l am glad you decided to post a build log. This is a great way of learning and sharing knowledge. I will watch with interest, good luck.
I have just completed the second planking on my Sherbourne and l think that, providing the first planking is filled/sanded down well, the second planking is a little easier.
Best wishes as always.
The Lazy Saint.
- Edwardkenway and mic-art
-
2
-
Hi GrandpaPhil.
That really does look good, well done you. Now, on to the next one. 👍
Best wishes as always.
The Lazy Saint.


HMS Victory by Vane - Corel - Scale 1:98
in - Kit build logs for subjects built from 1751 - 1800
Posted
Hi Vane,
You often say there's a lack of detail, l don't know why, you have done so well and the detail is fantastic, keep up the good work. It will be hard keeping your hands of the new build but keep going with the Victory, the rigging is the best bit.
Best wishes as always,
The Lazy Saint.