
Duanelaker
-
Posts
571 -
Joined
-
Last visited
Content Type
Profiles
Forums
Gallery
Events
Posts posted by Duanelaker
-
-
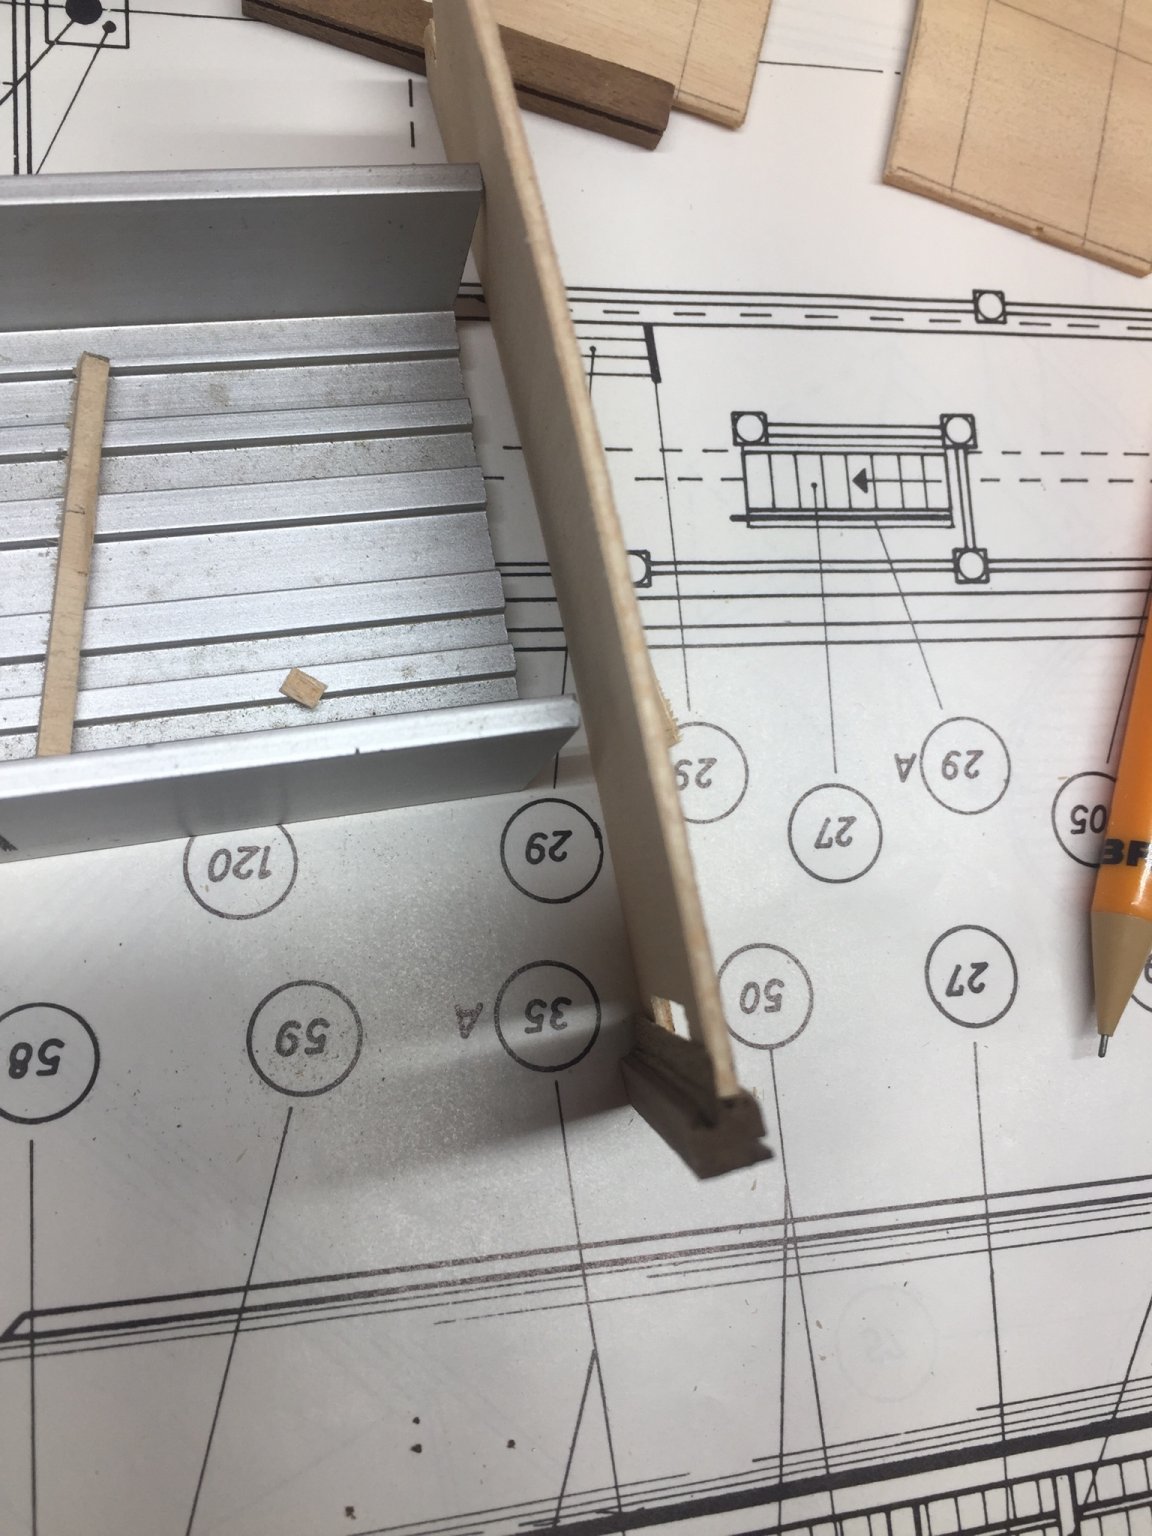
Putting together the engine room and all of the bottoms structures will be fun...I’m doing my best to read, check against the drawings, look at the pictures, think about it....
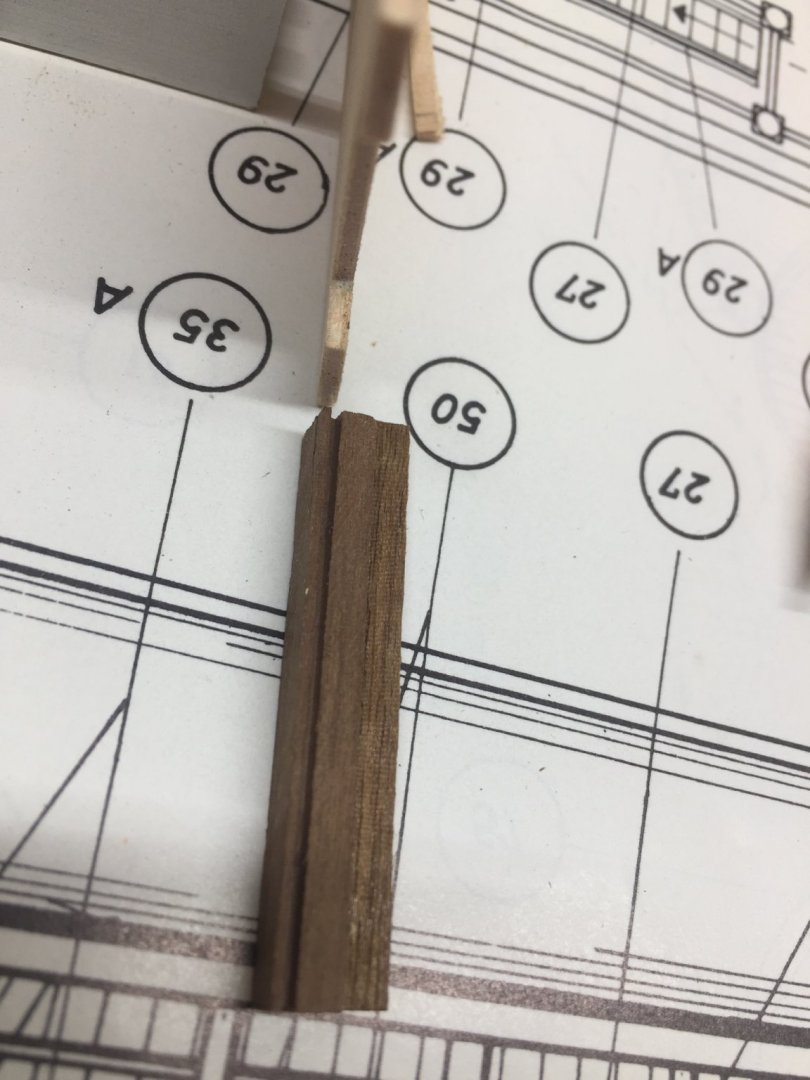
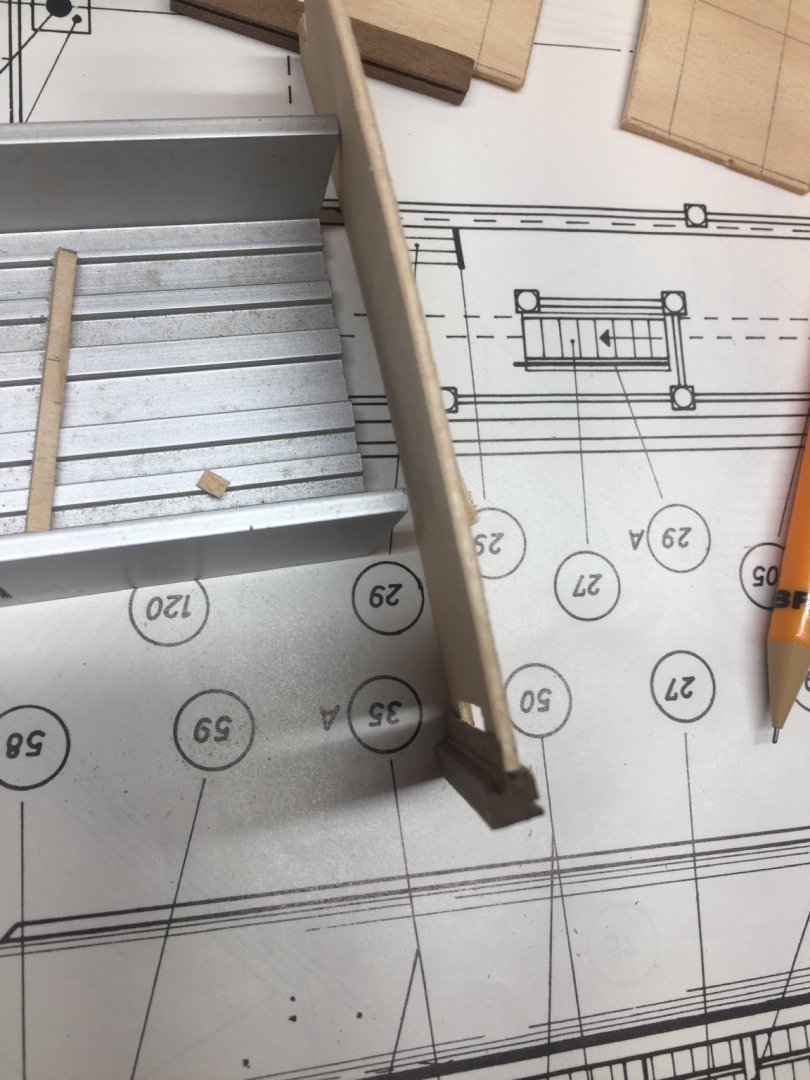
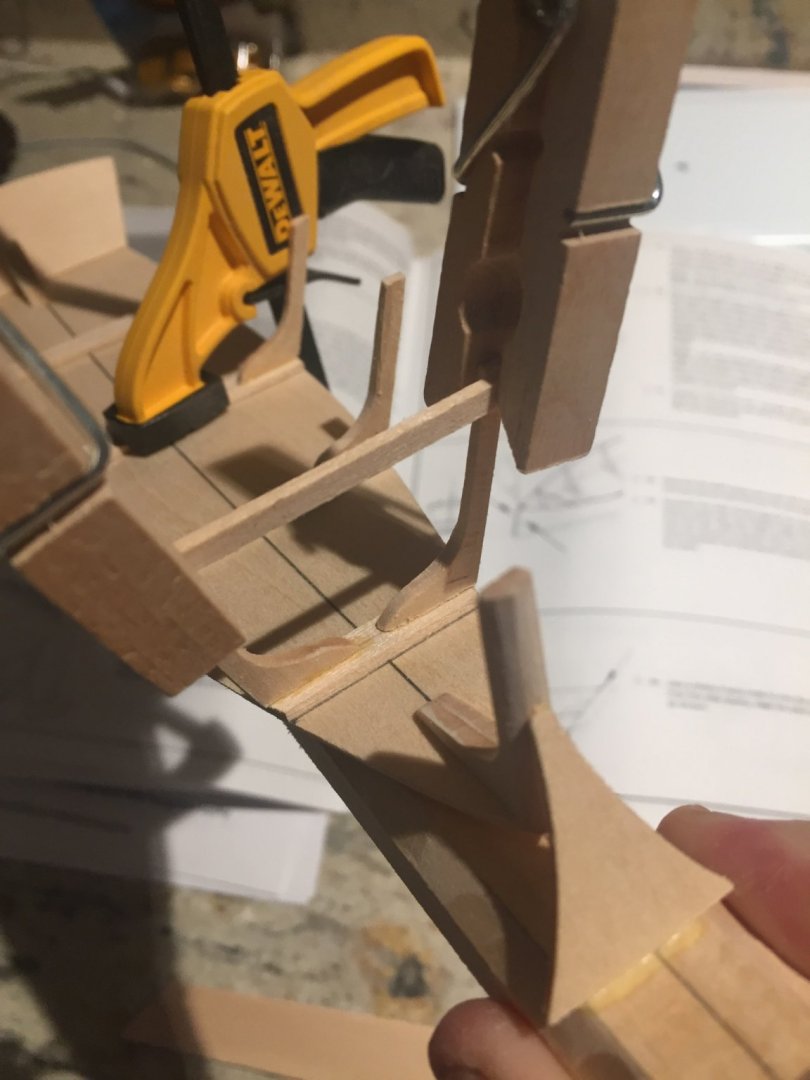
this pictures shows you how the slot is not nearly wide enough for the plywood...but I need to figure out how to make the structures the correct size and maximize glueing and strength, without creating interference. Fun!- JayCub, ccoyle, GrandpaPhil and 1 other
-
 4
4
-
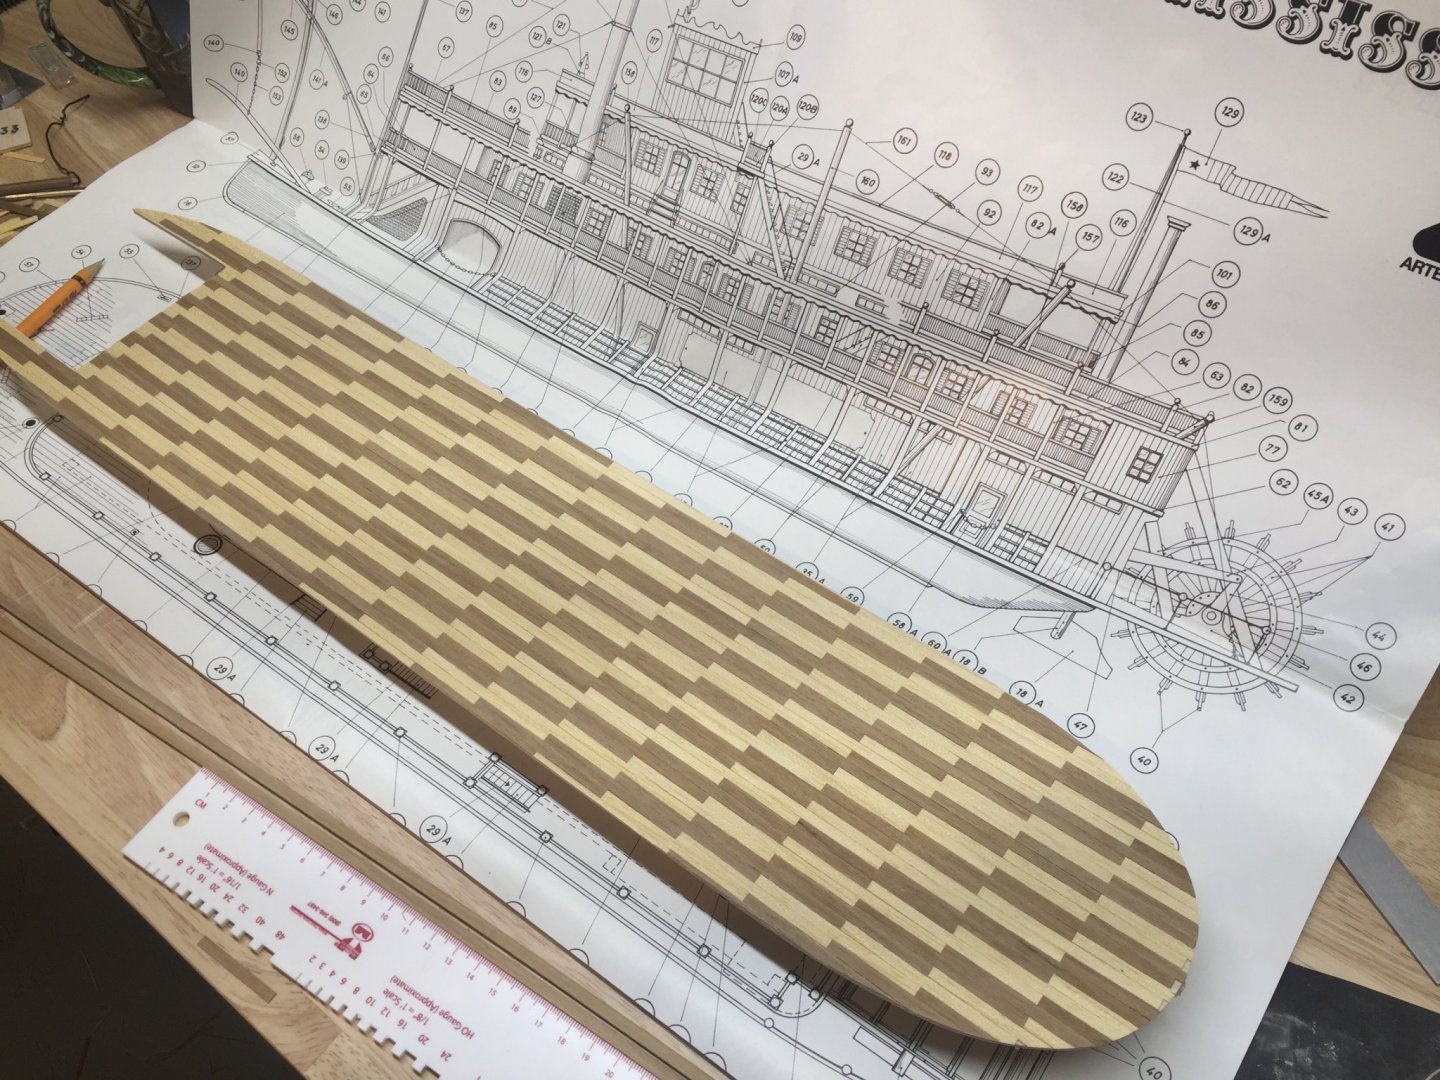
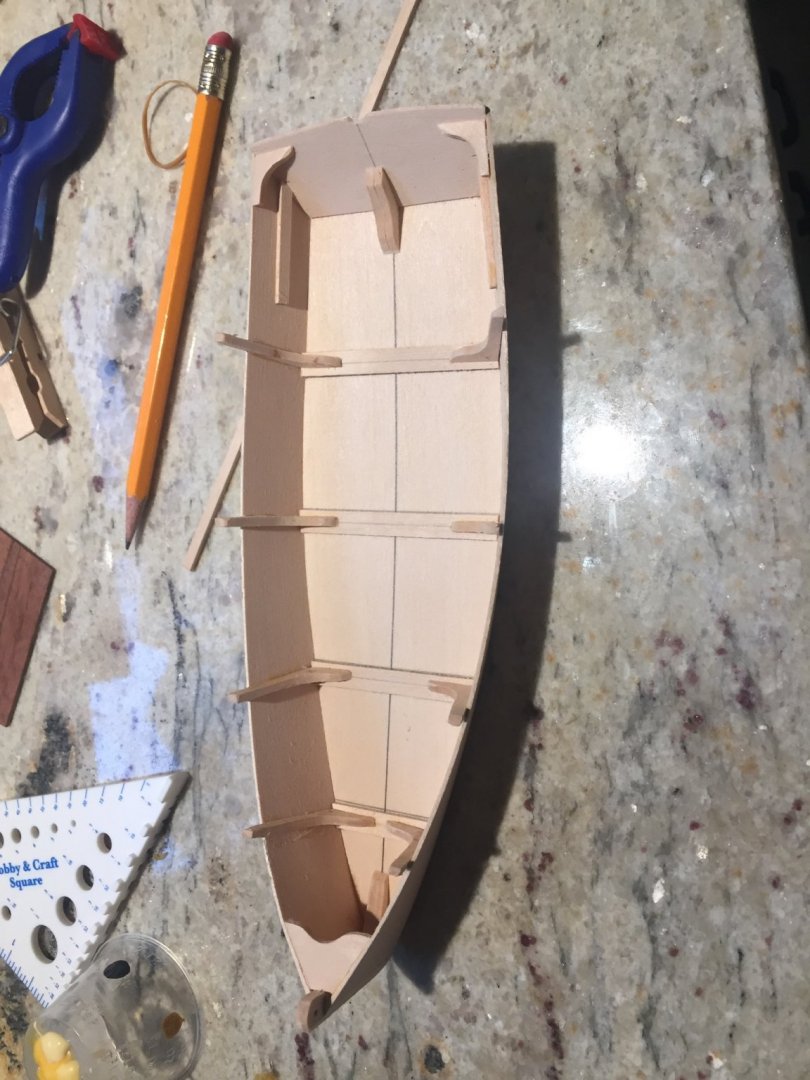
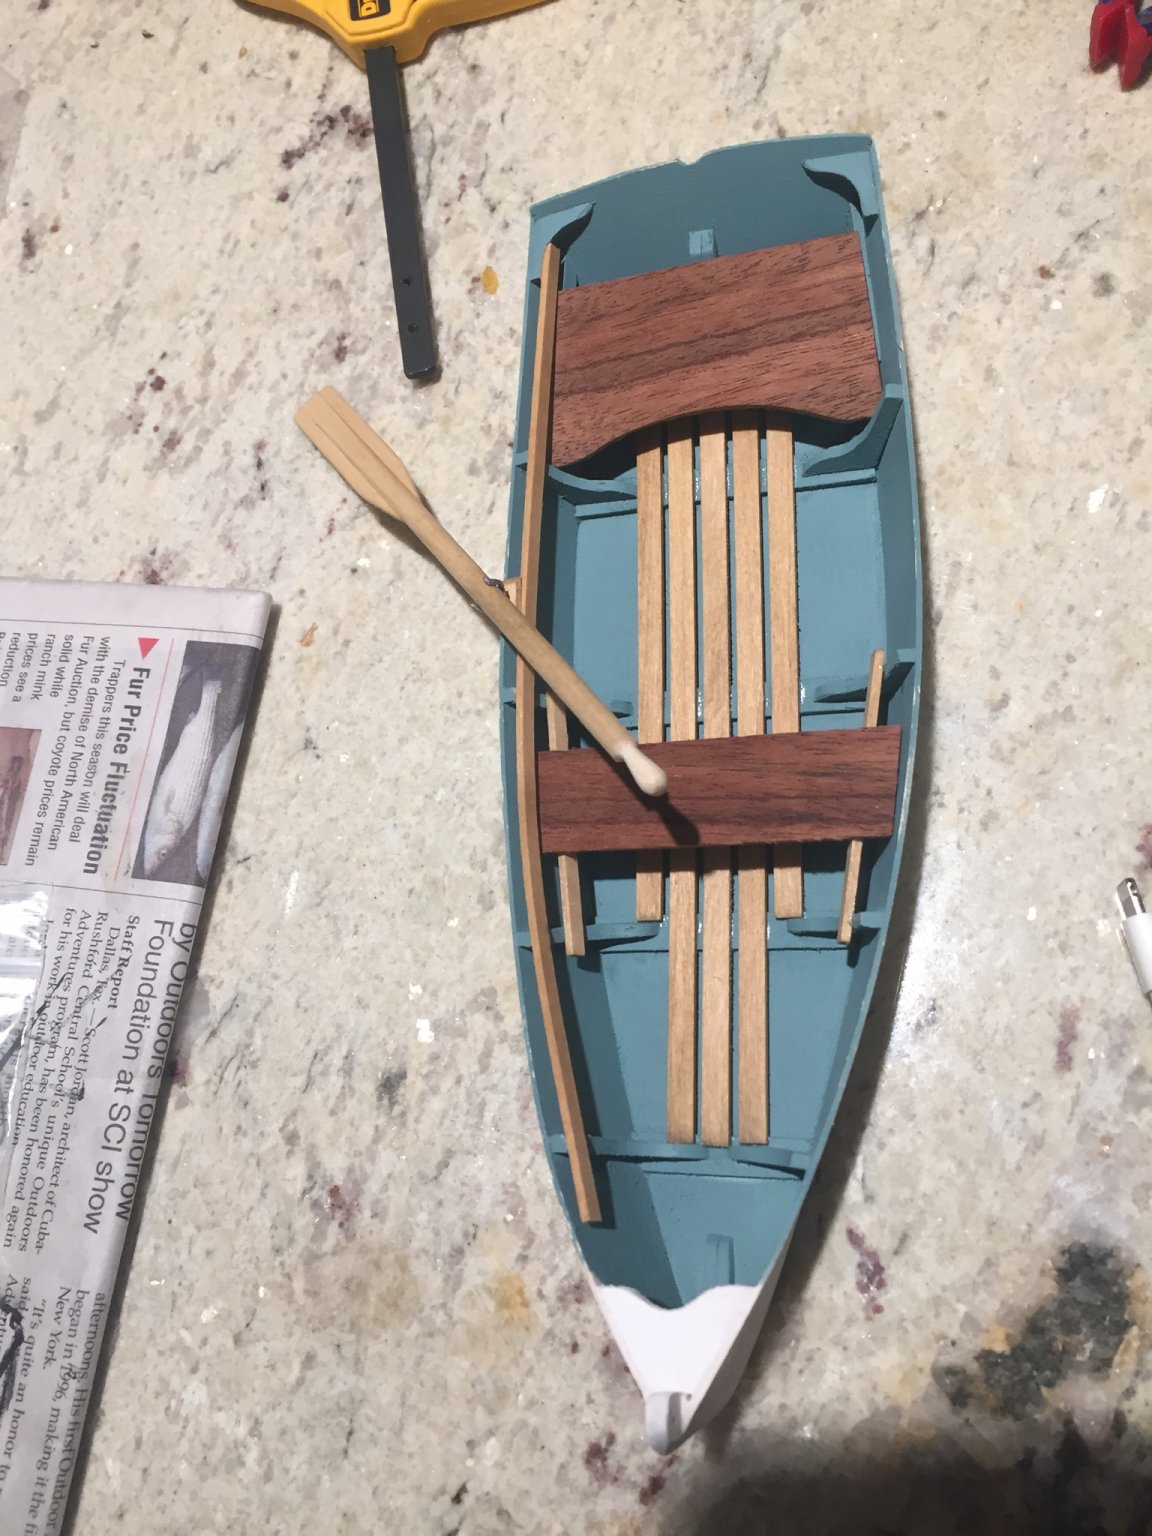
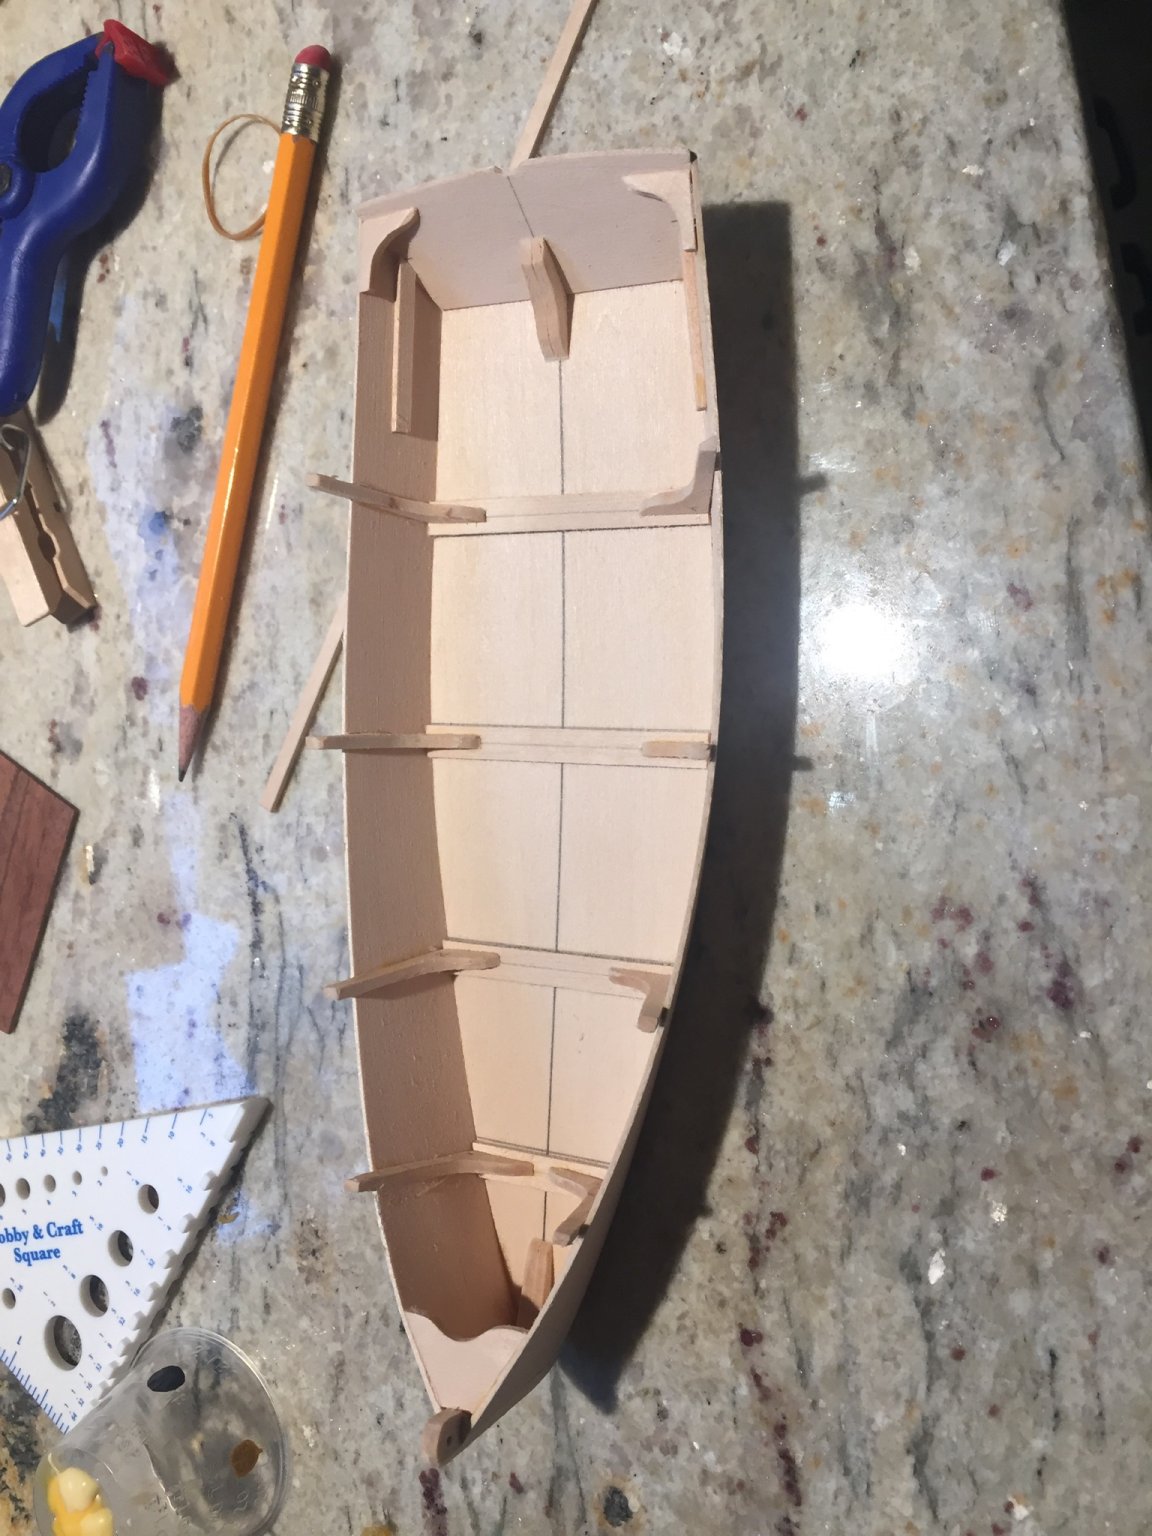
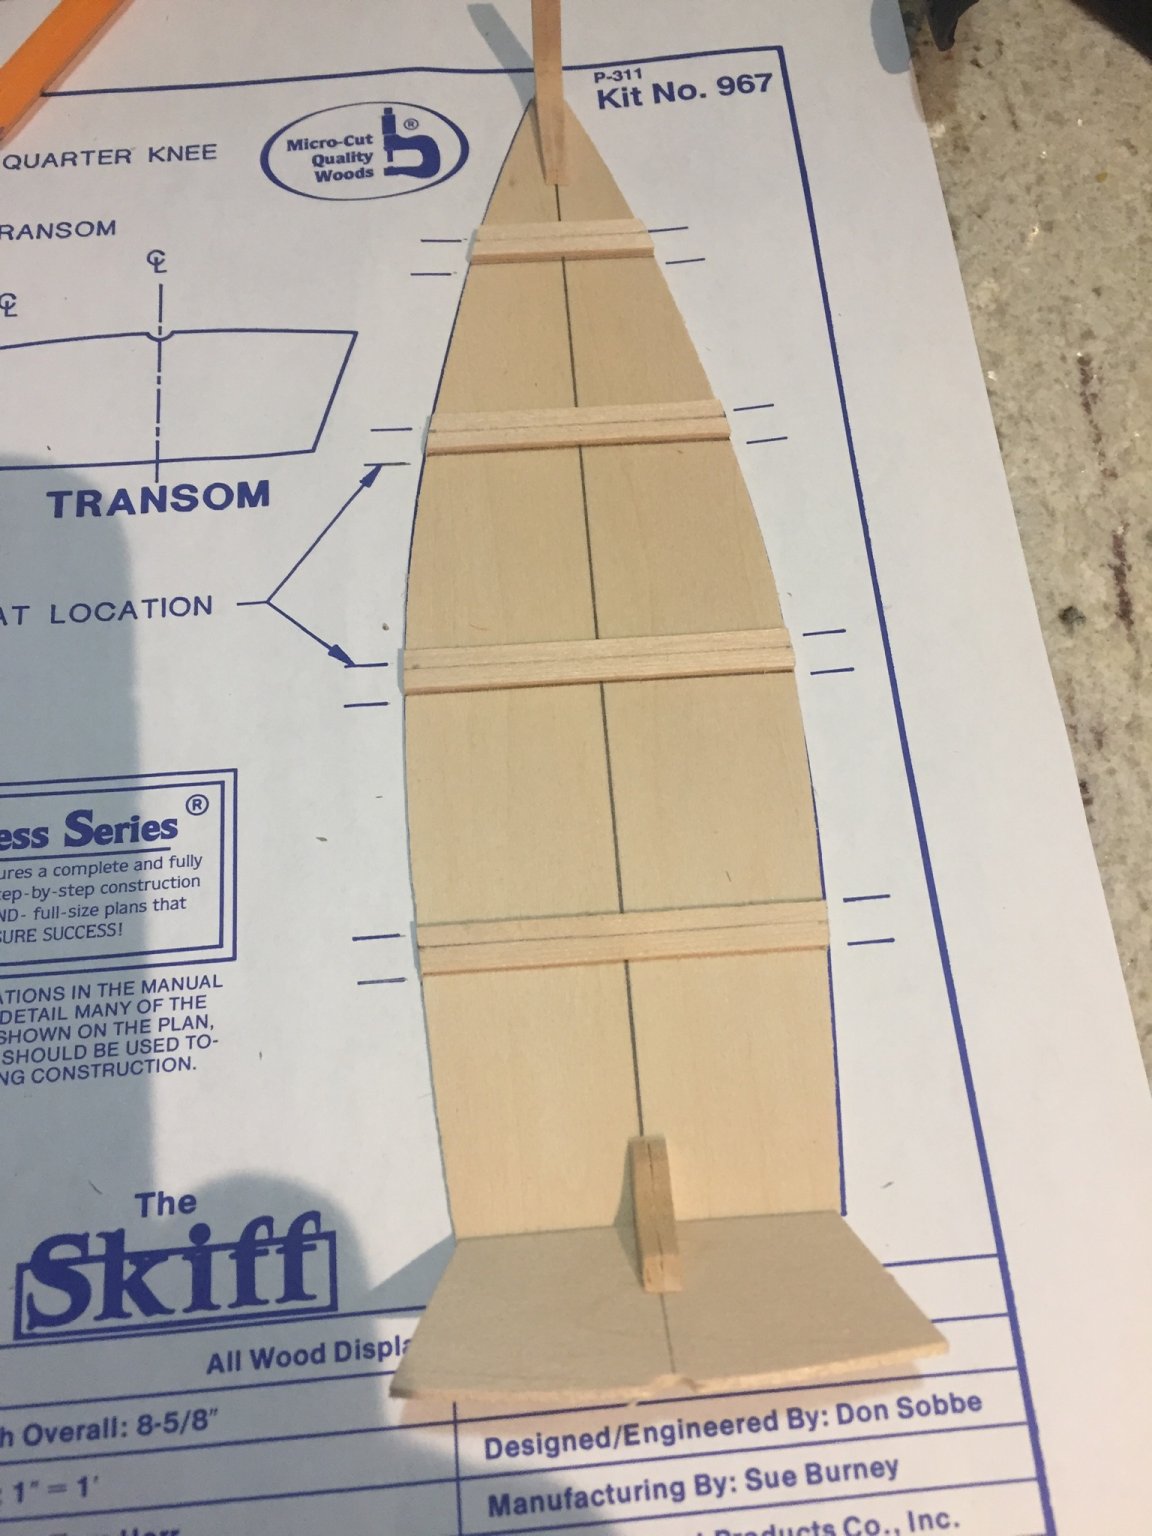
I did finish the first decks planking, so far I like it.

-
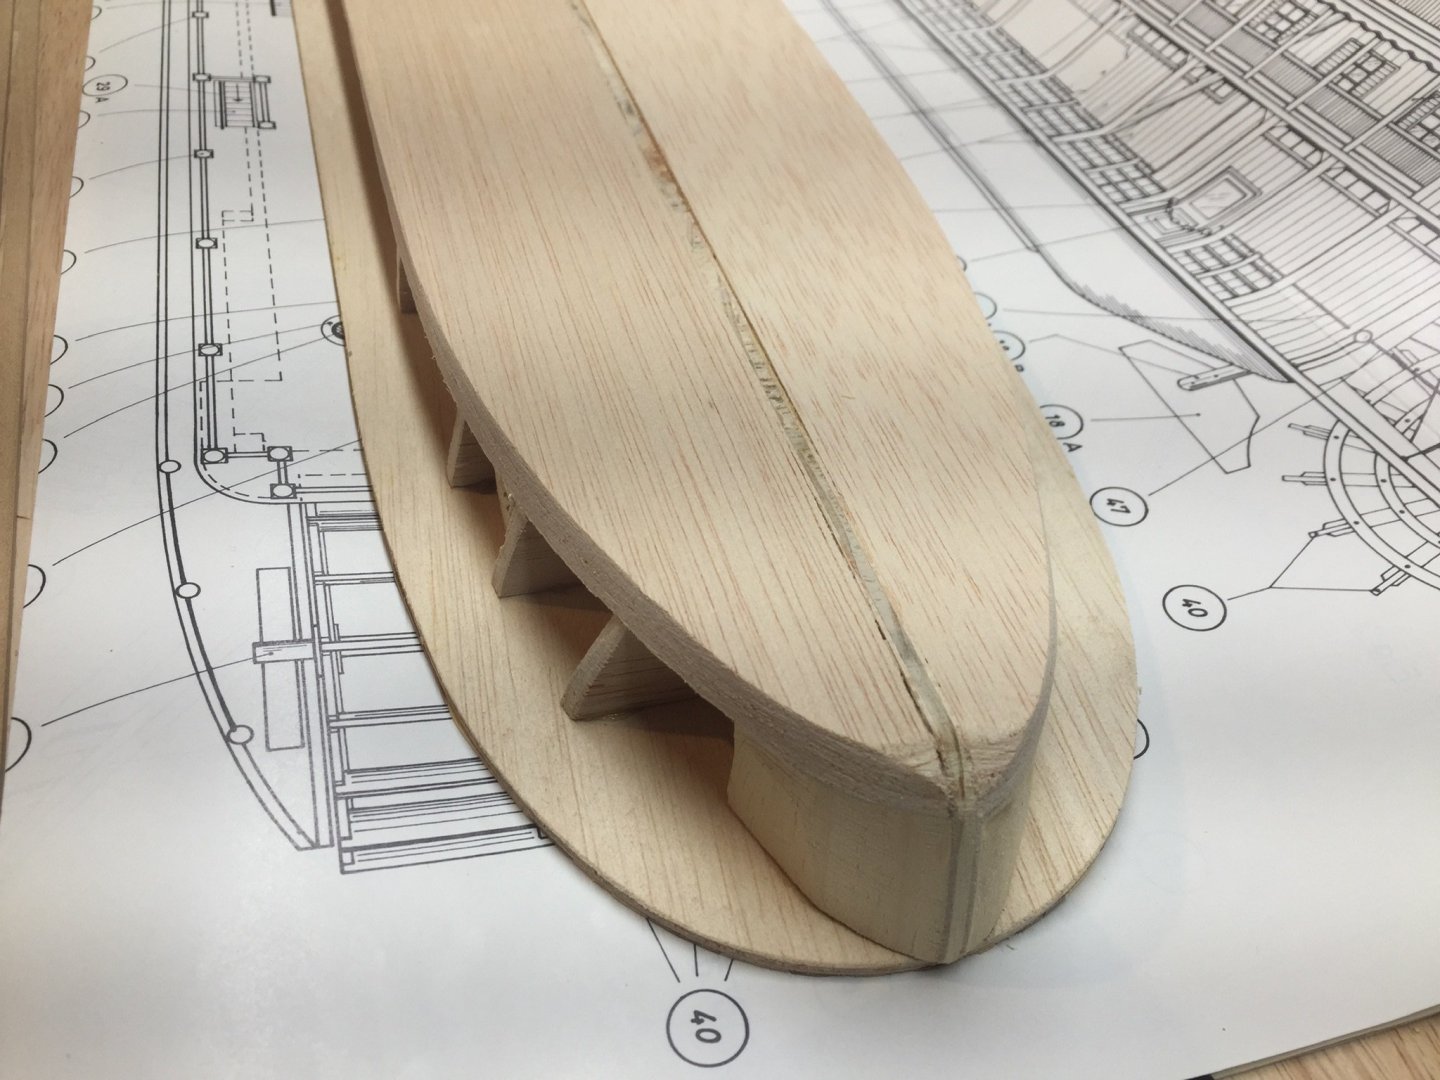
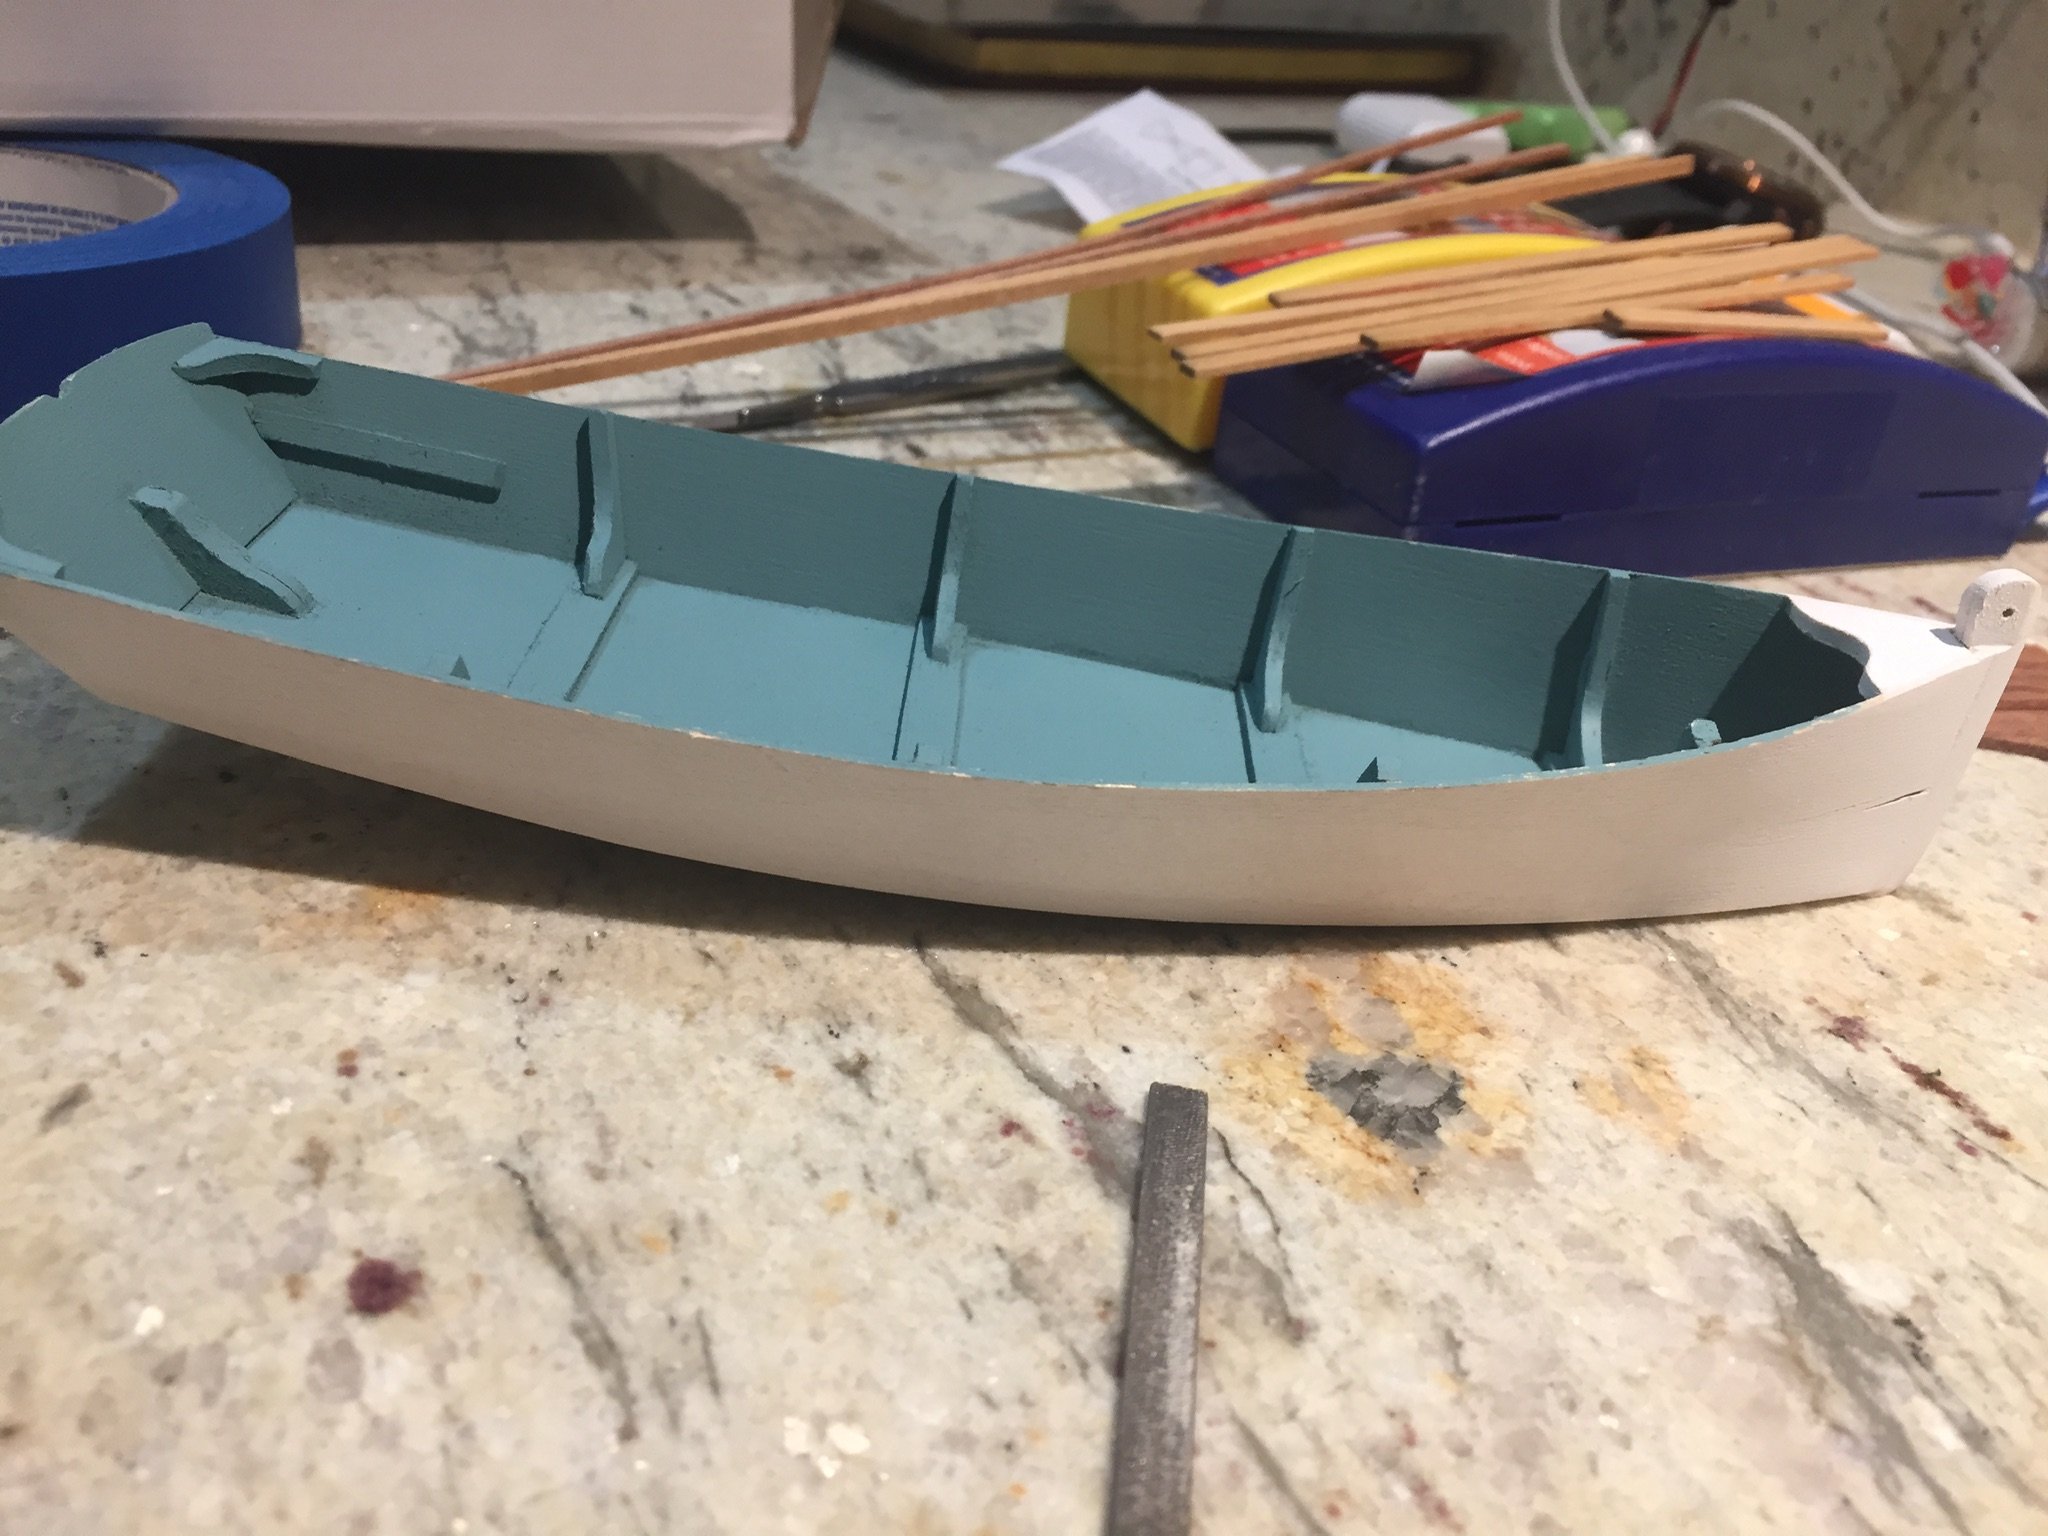
More pictures of the hull...the rear piece needs some work as well.

-
So this kit is different as the hull is created differently. Both sides cracked on me so I will have to brain storm and figure out how to replace it...
-
I purchased this kit on EBay for what I thought was reasonable...

-
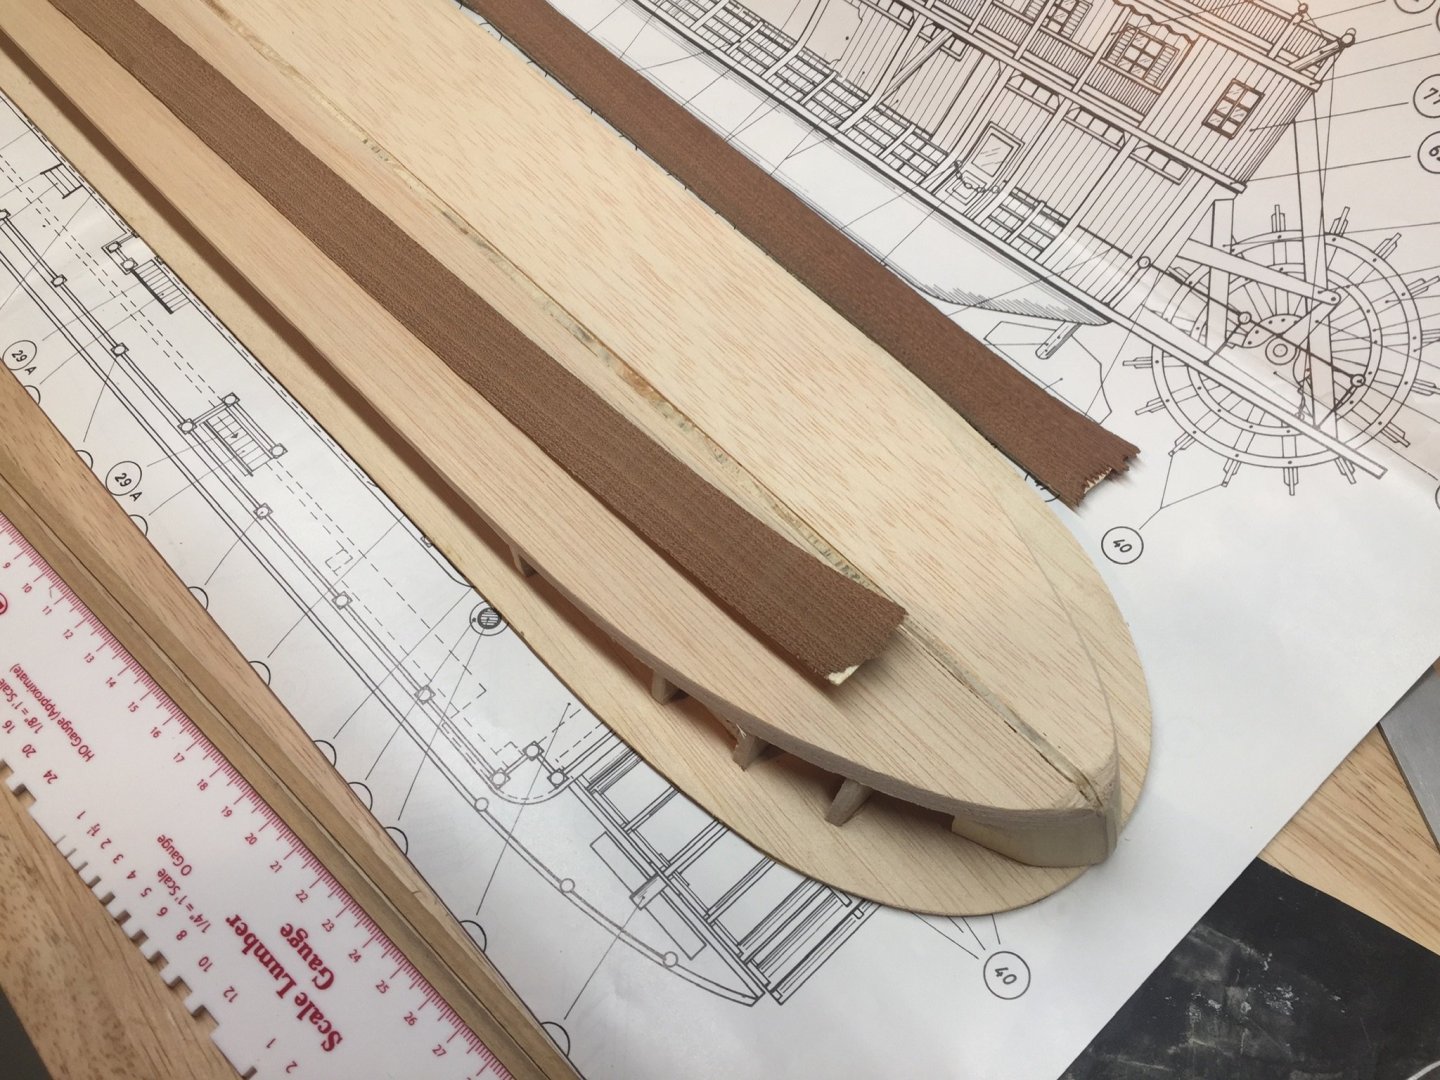
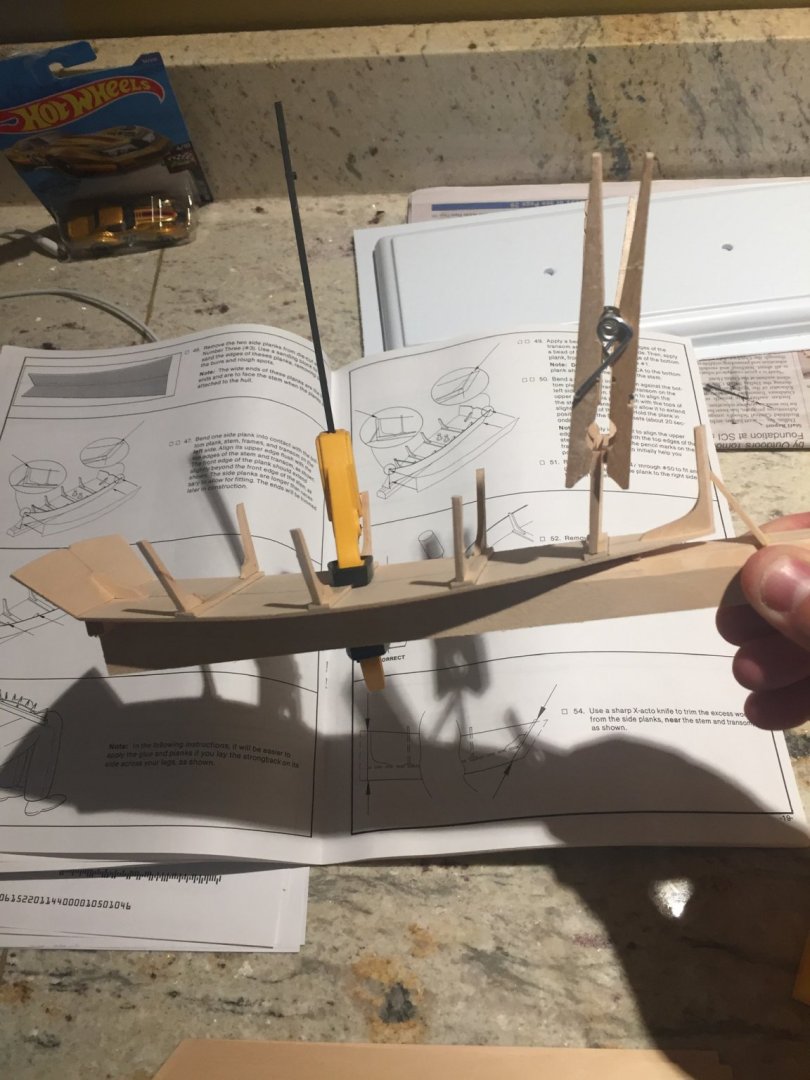
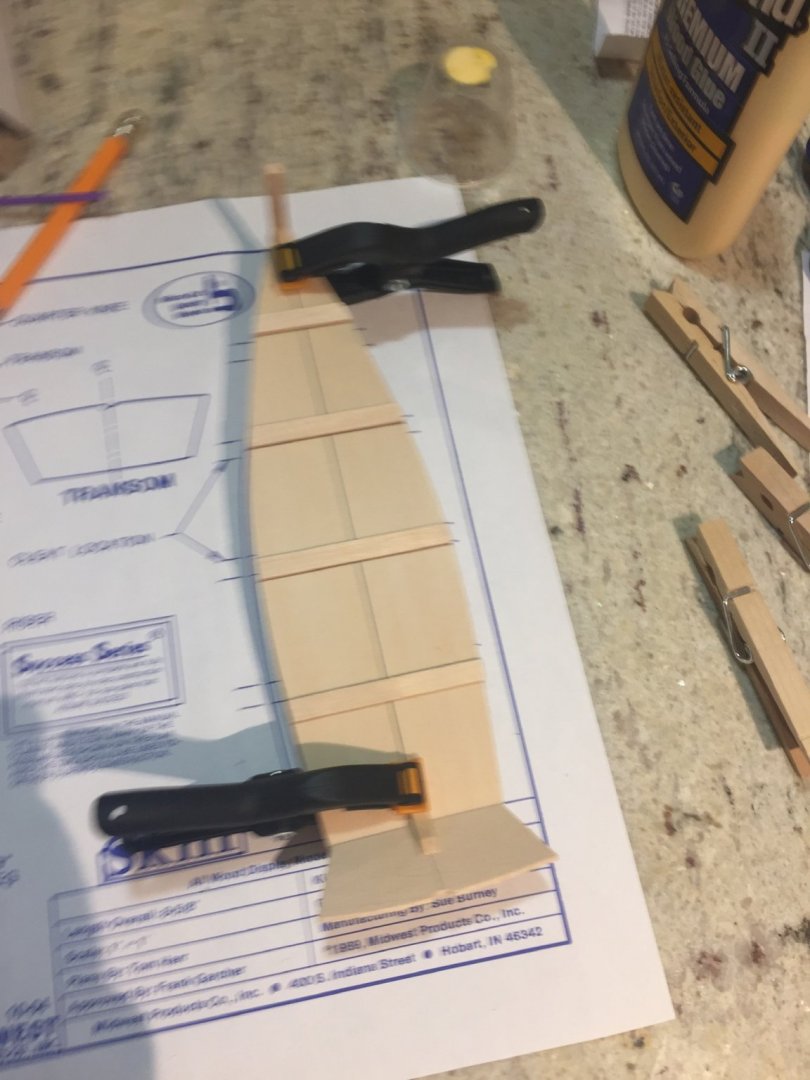
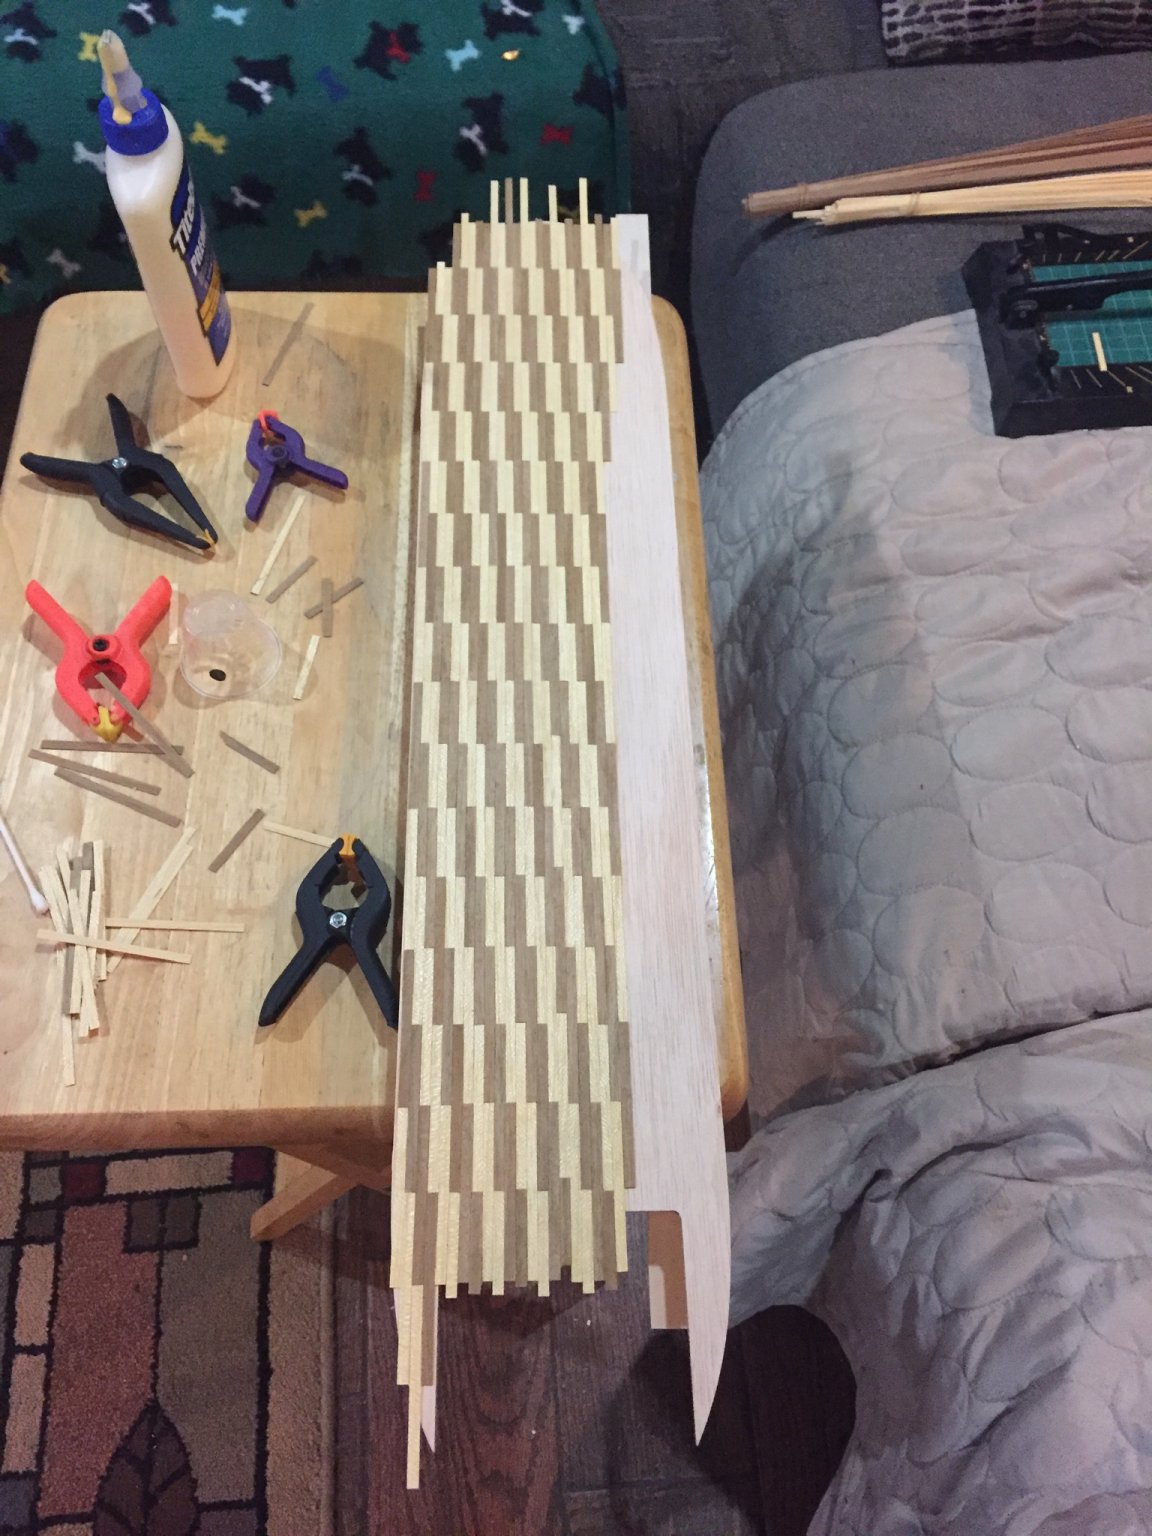
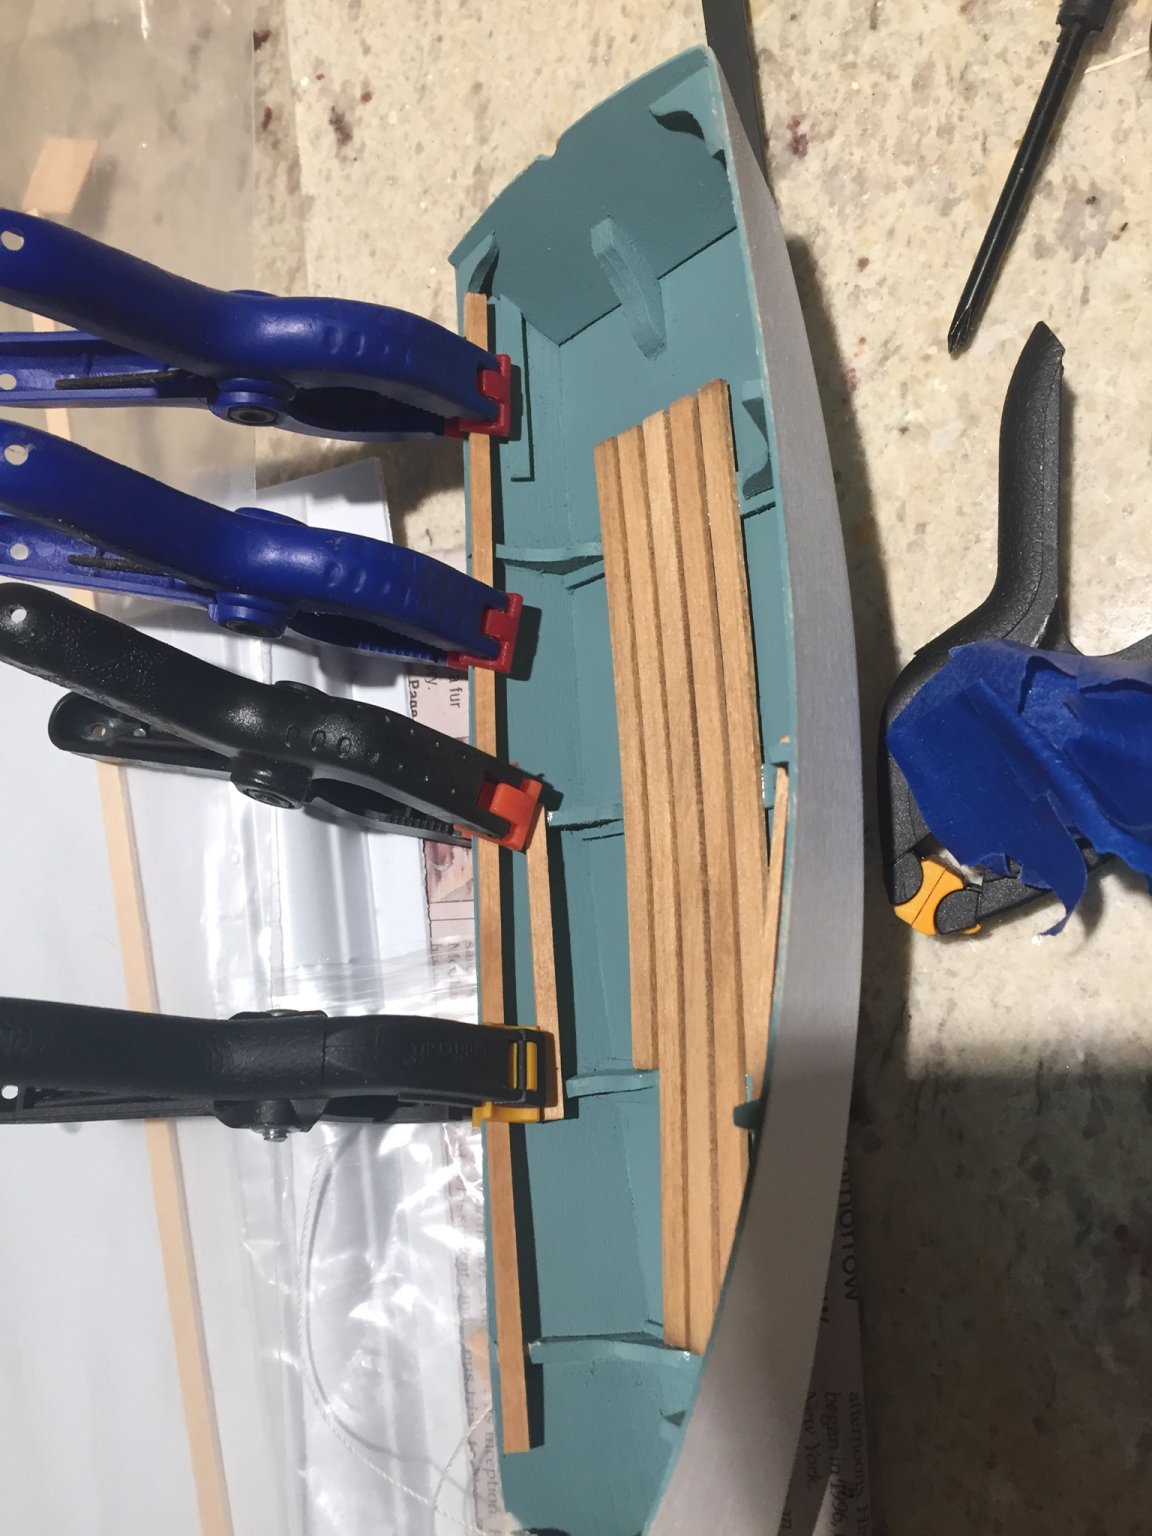
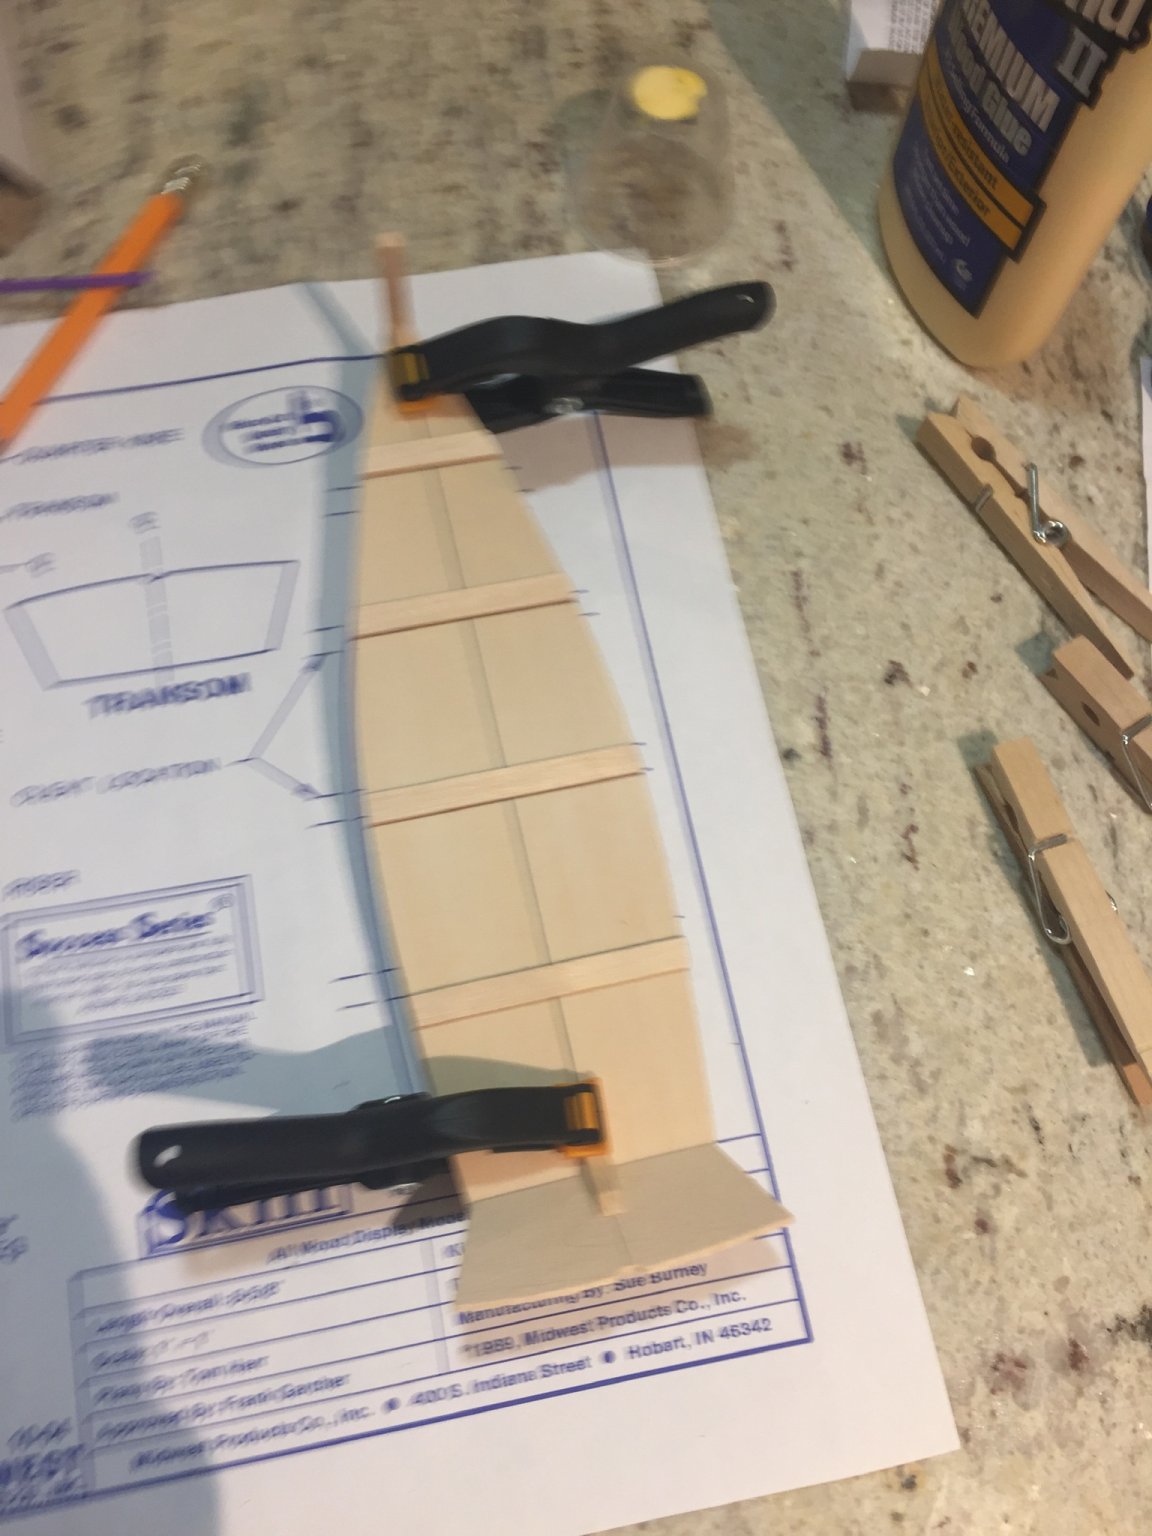
So in laying the second planks I decided to do the port and starboard simultaneously and before I cut and glued them to the stem, it dawned on me that I hadn’t edge glued them to the previously placed plank. I had been using CA since it was in such small amounts but I don’t want to edge glue with the CA as I don’t want to over expose my self to it. I really want to be able to just put a clear coat on it when I am done.
my question is what is the best way for me to edge glue the planks to one another? I would like to use PVA, I usually use TITEBOND, should I switch to elmers white glue?

- JayCub, Haliburton, GrandpaPhil and 7 others
-
10
-
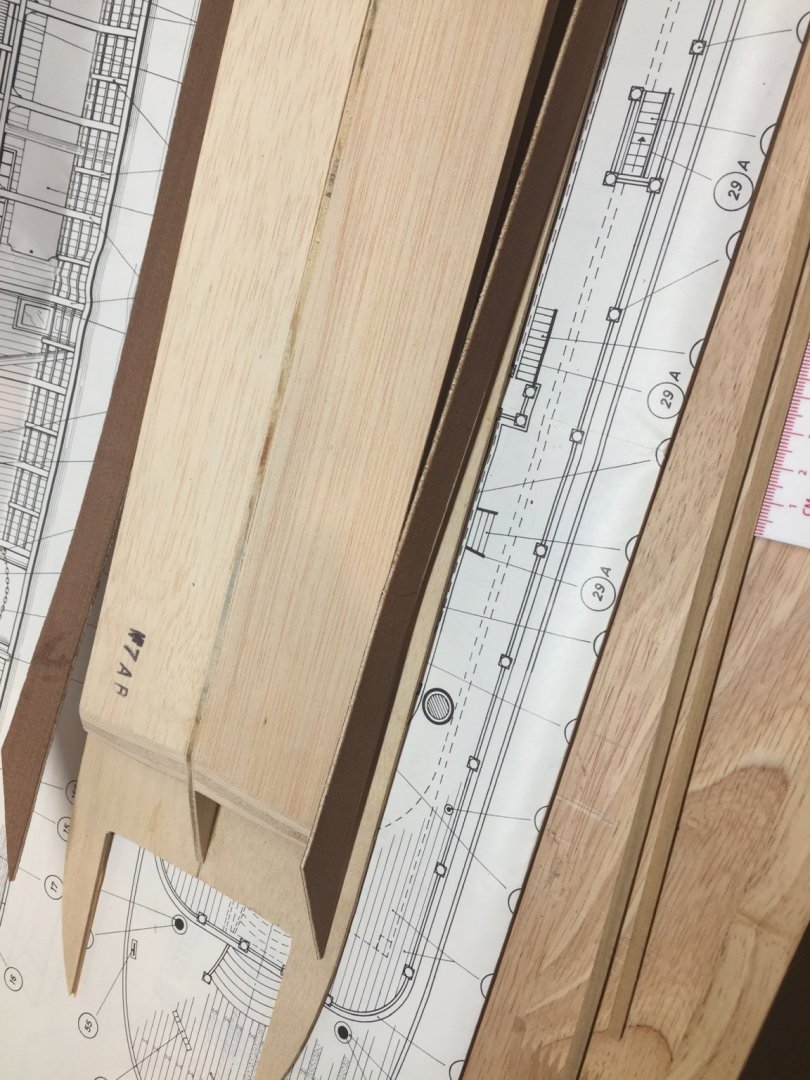
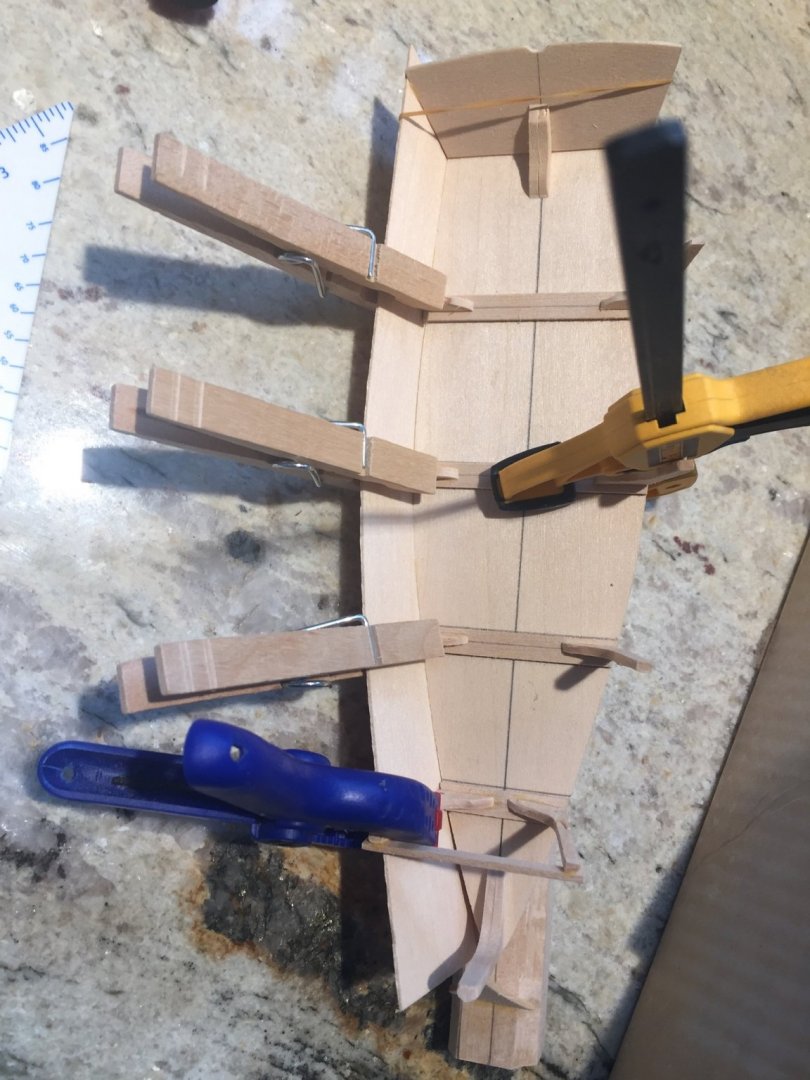
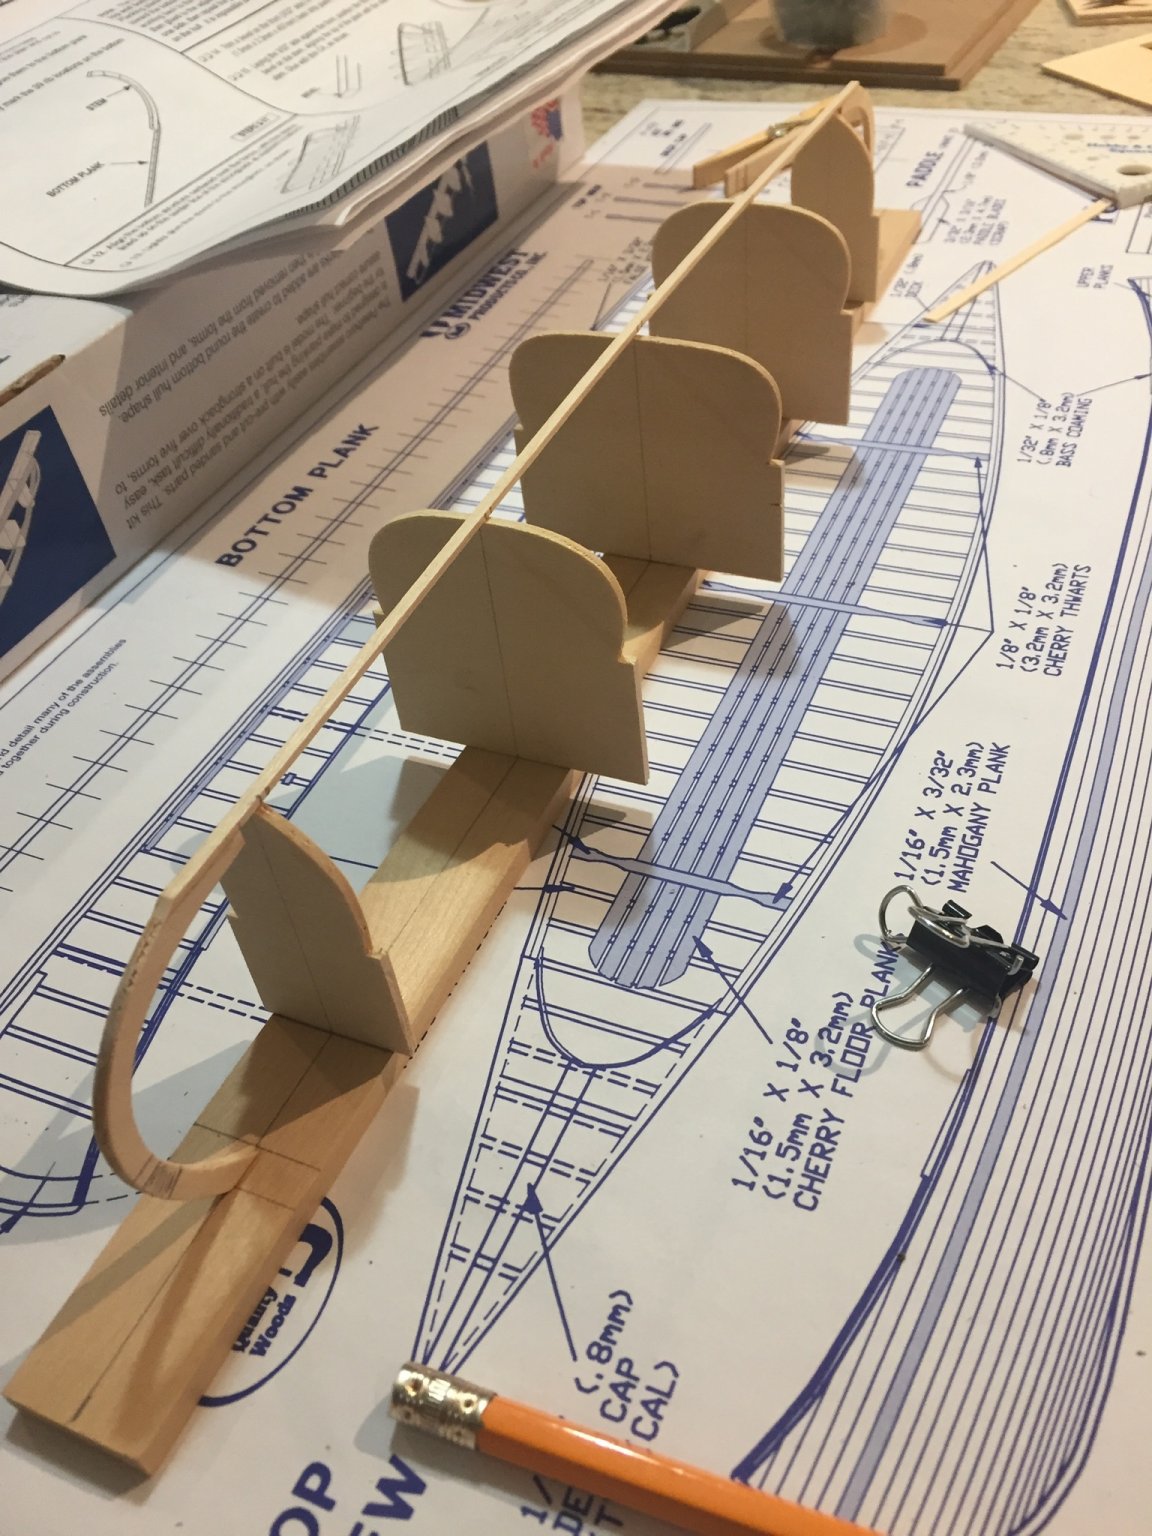
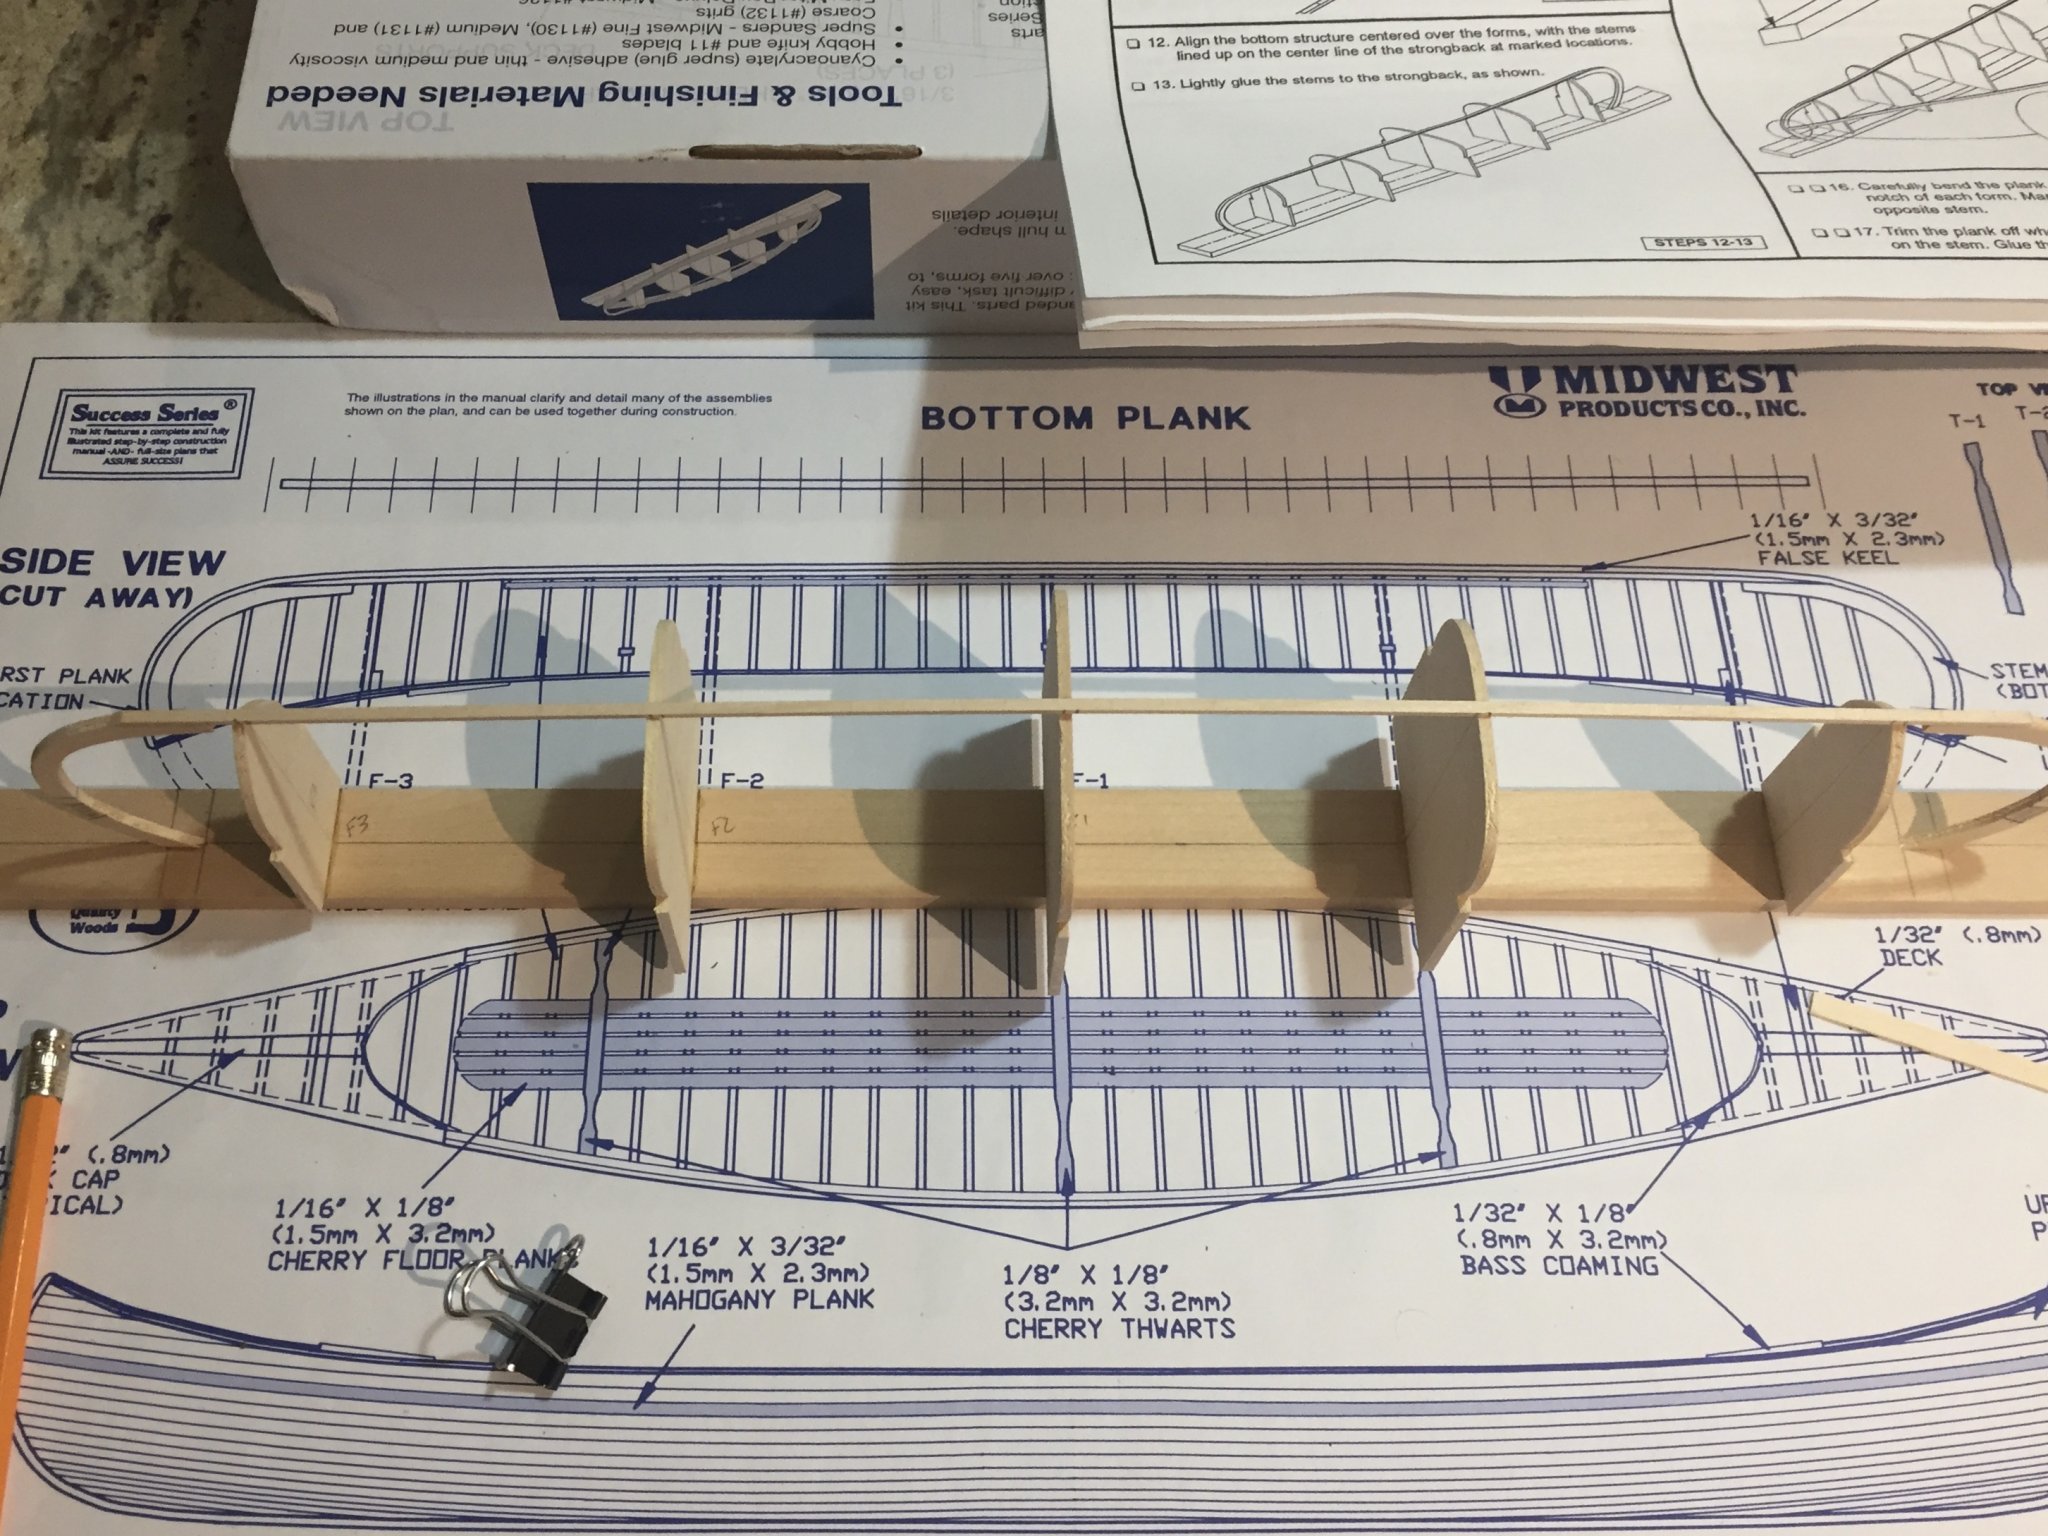
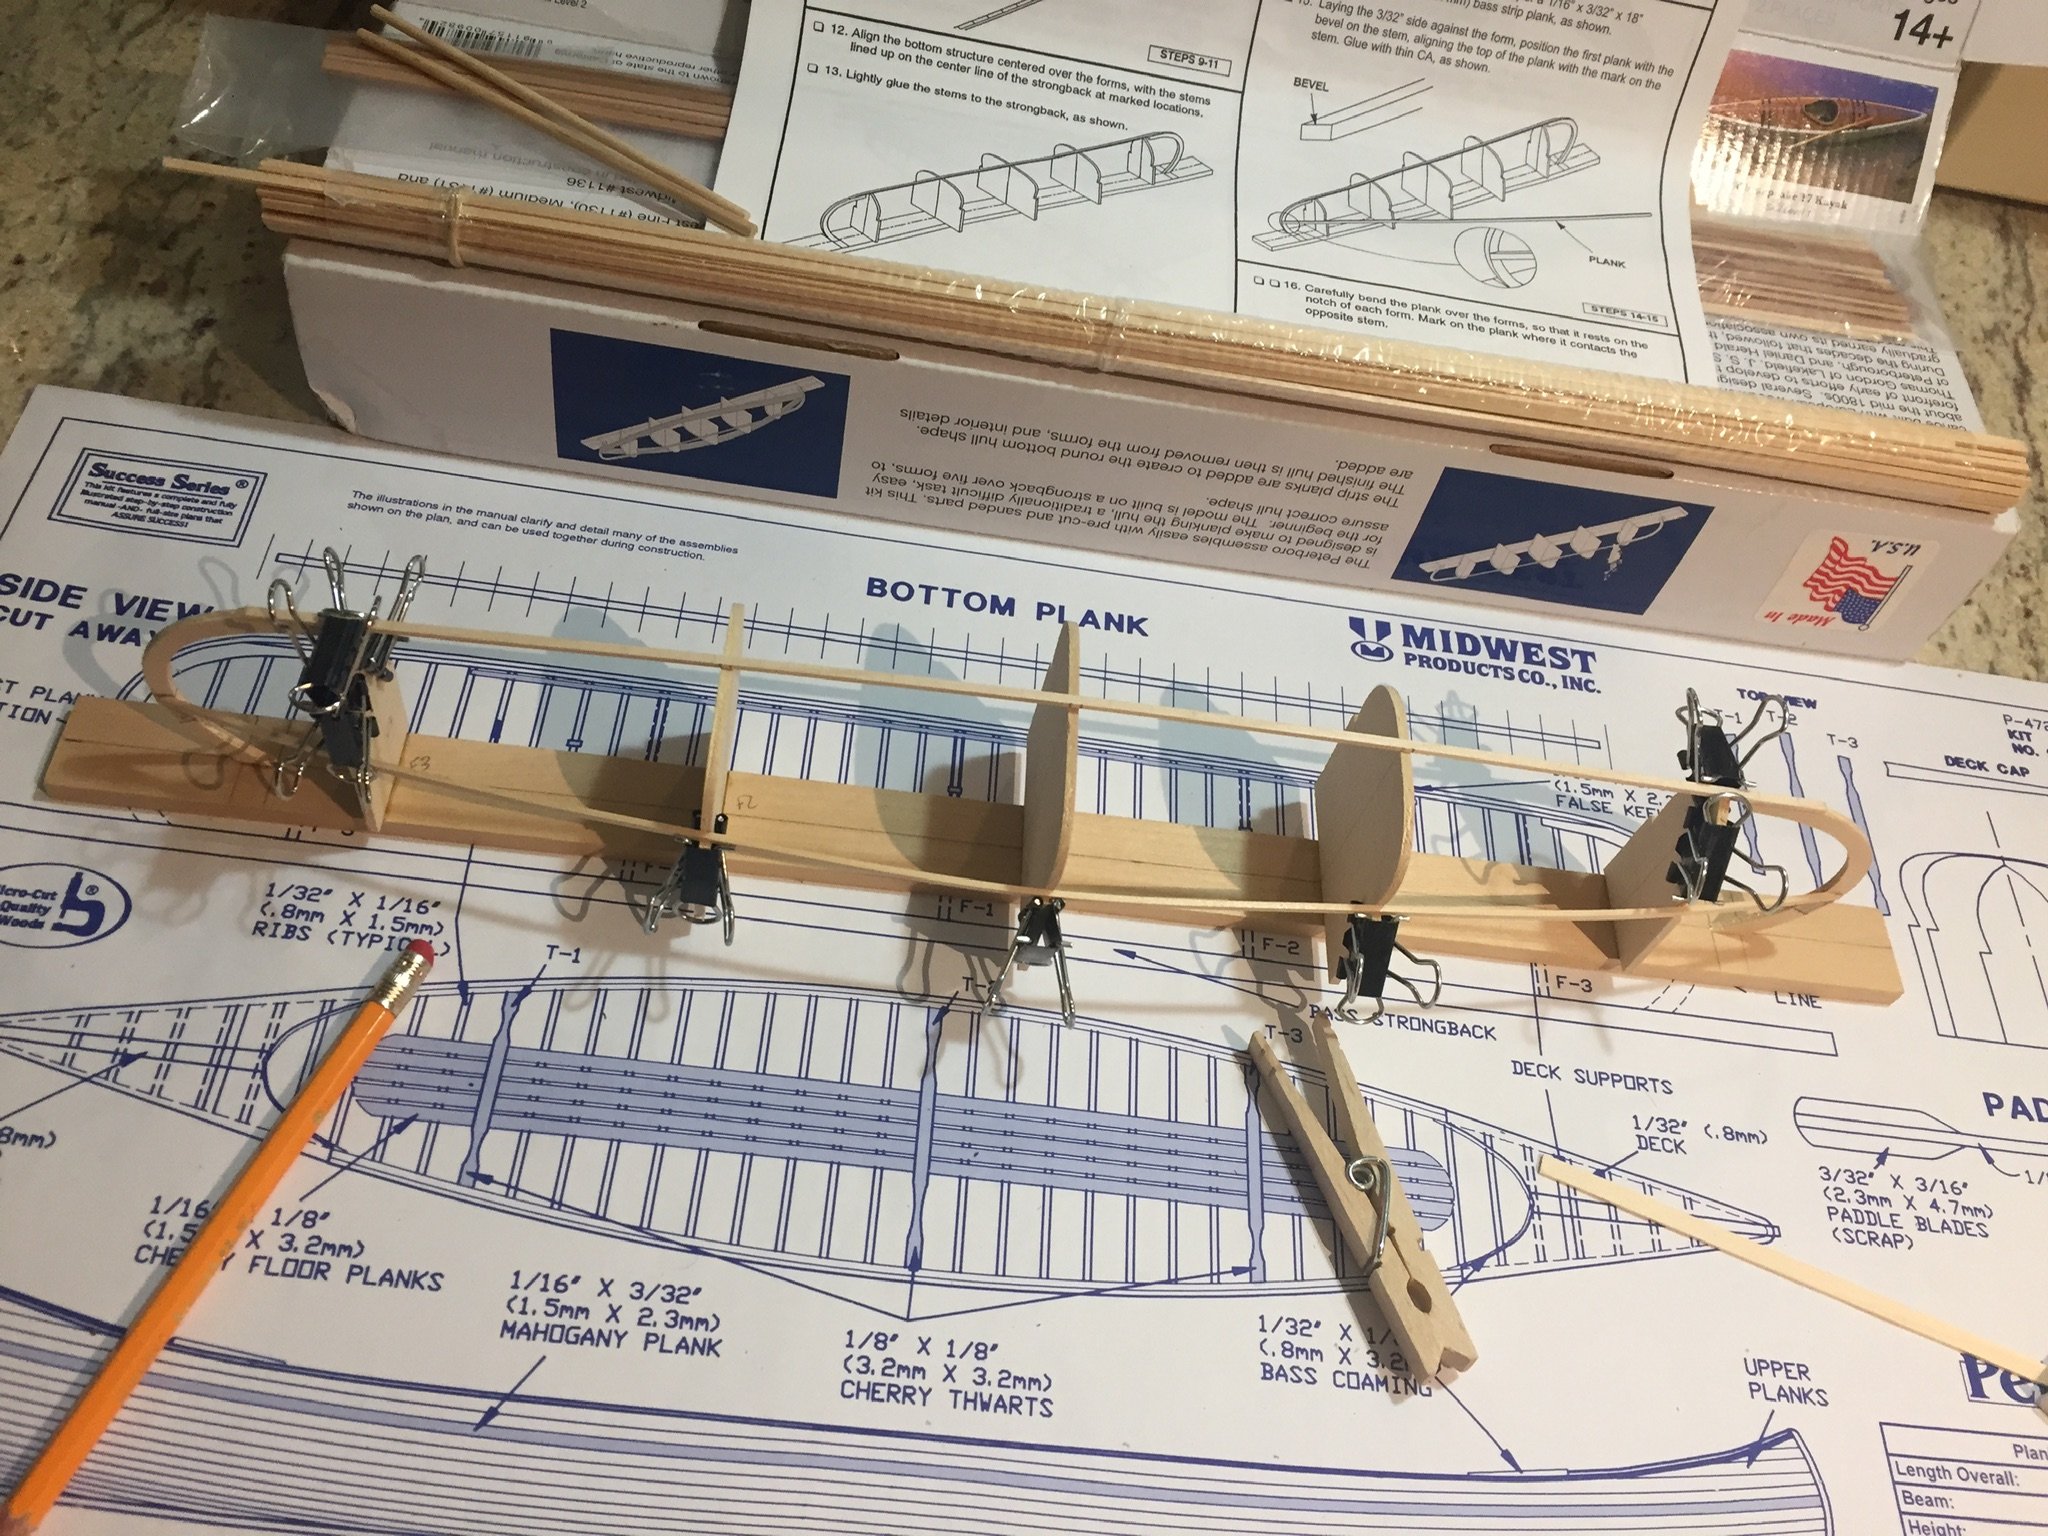
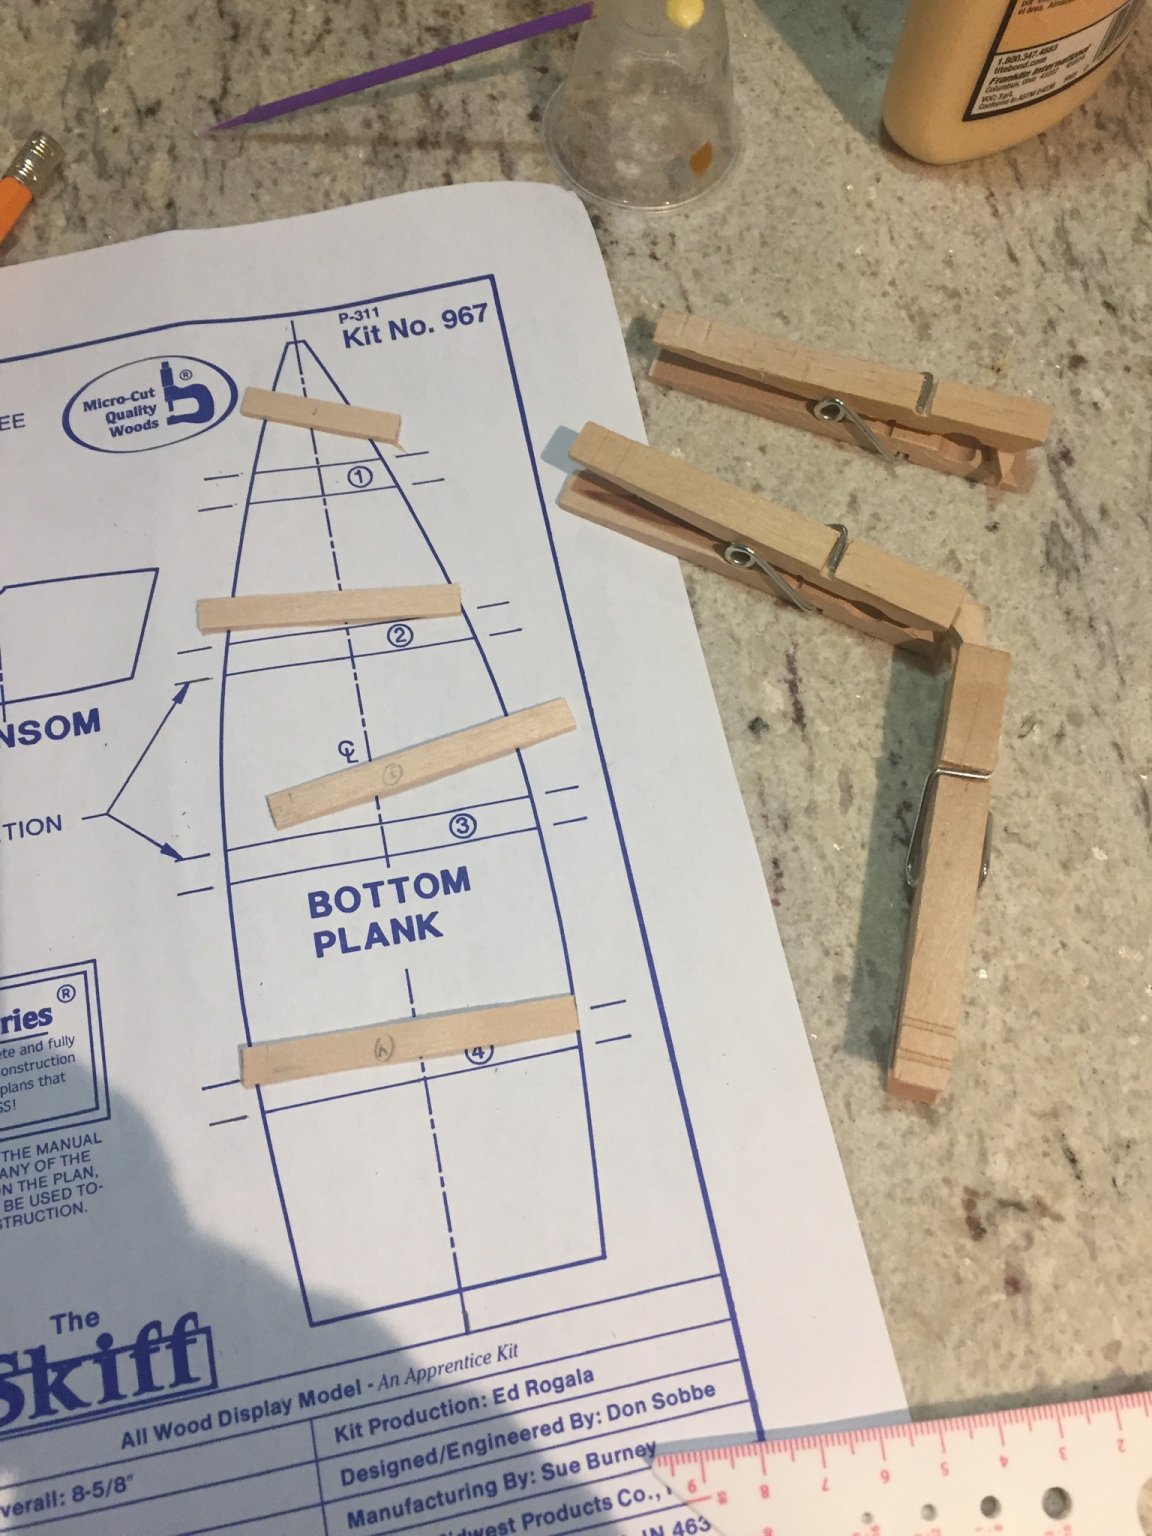
Quick note: DO NOT GLUE YOUR BOTTOM PLANK OR ANY PLANK TO THE FORMS, only the stems get glued to the building board. I didn’t make this mistake, but I almost did!
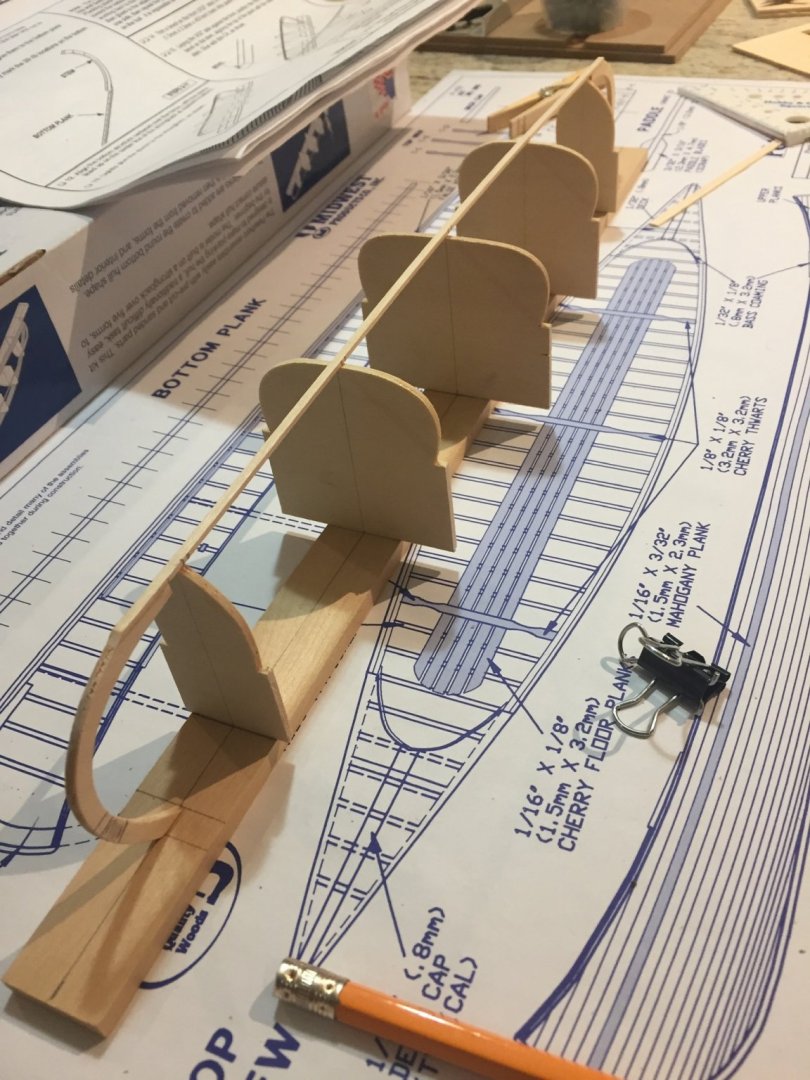

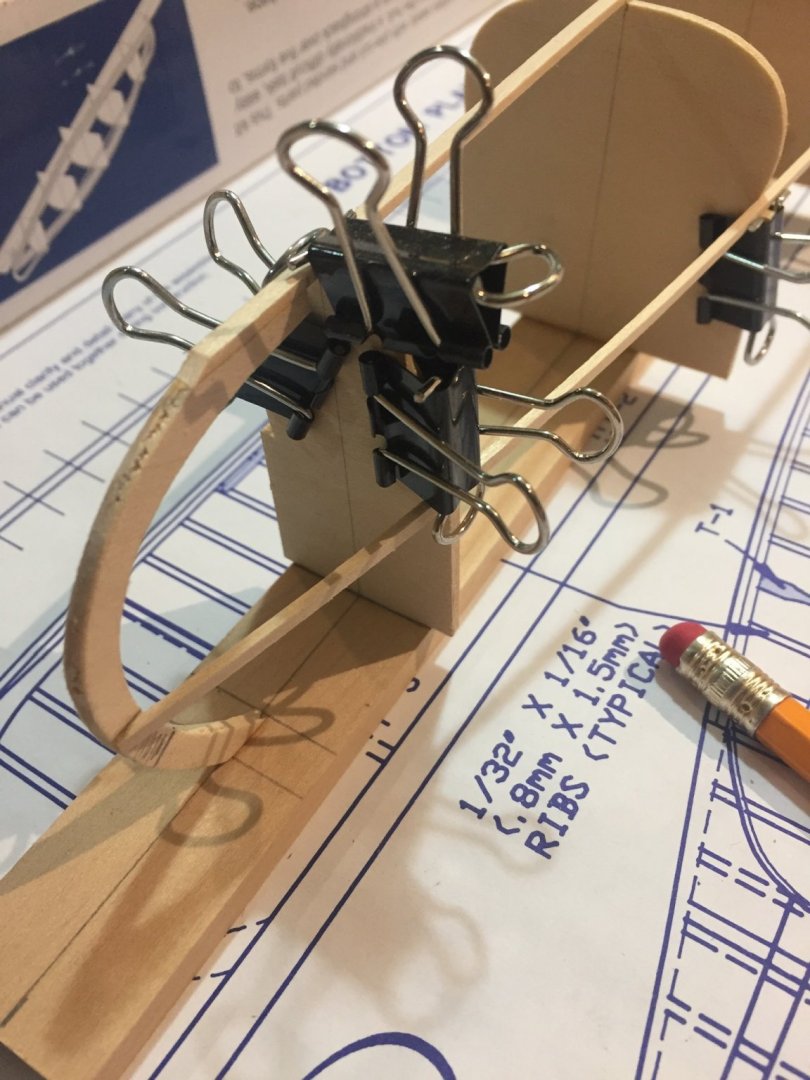

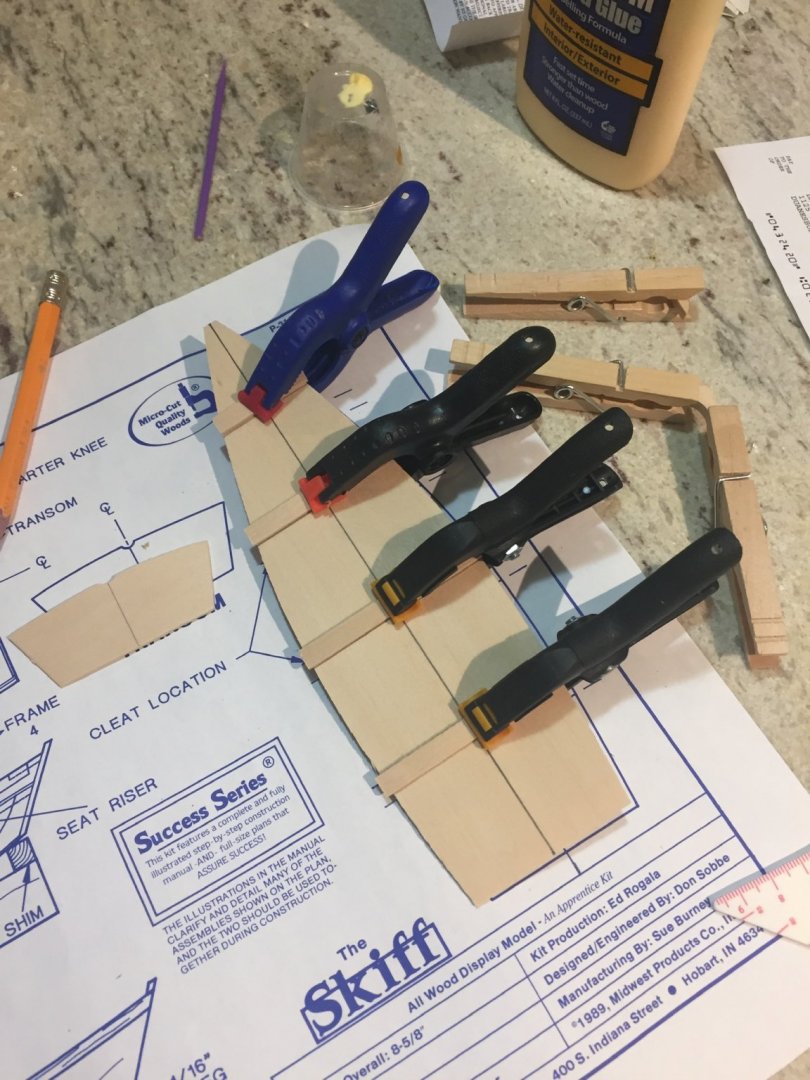
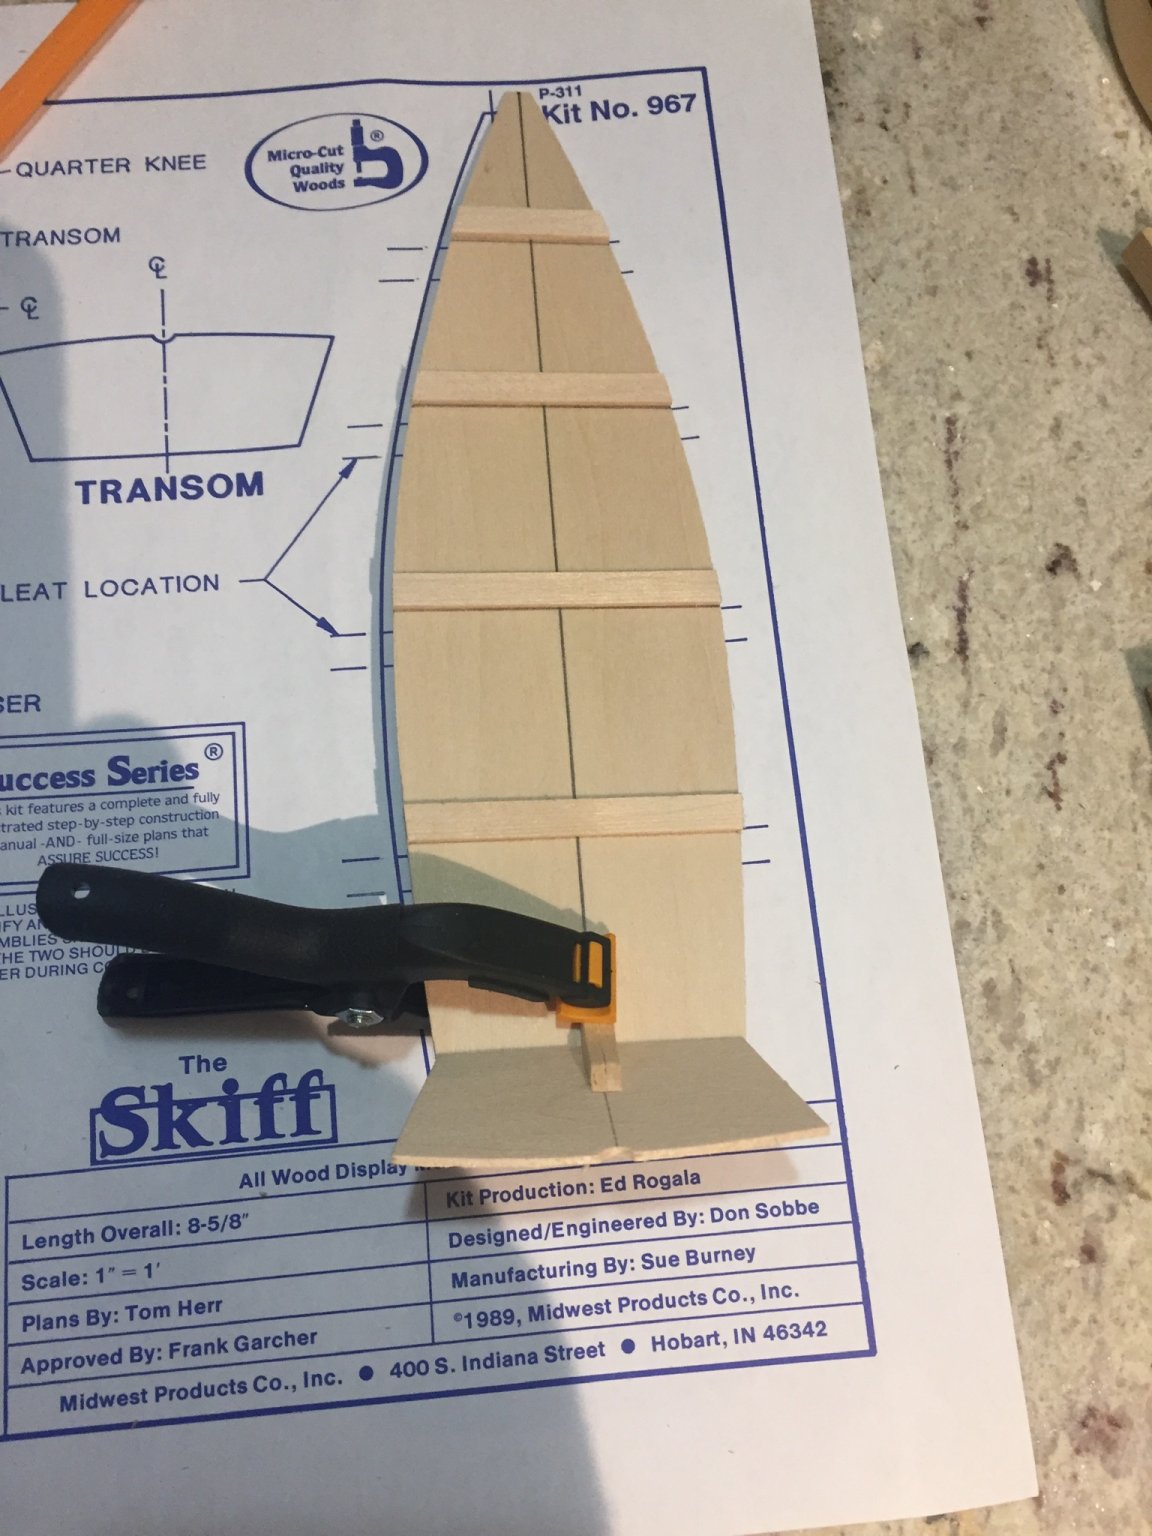
I the glued the stem/bottom plank assembly onto the strong back and laid down my first plank. It went on fairly easy so fingers crossed. I am also lightly sanding each of the planks as I put them on in hopes to cut down on the basswood fuzz.
- DonInAZ, GrandpaPhil, Moab and 7 others
-
10
-
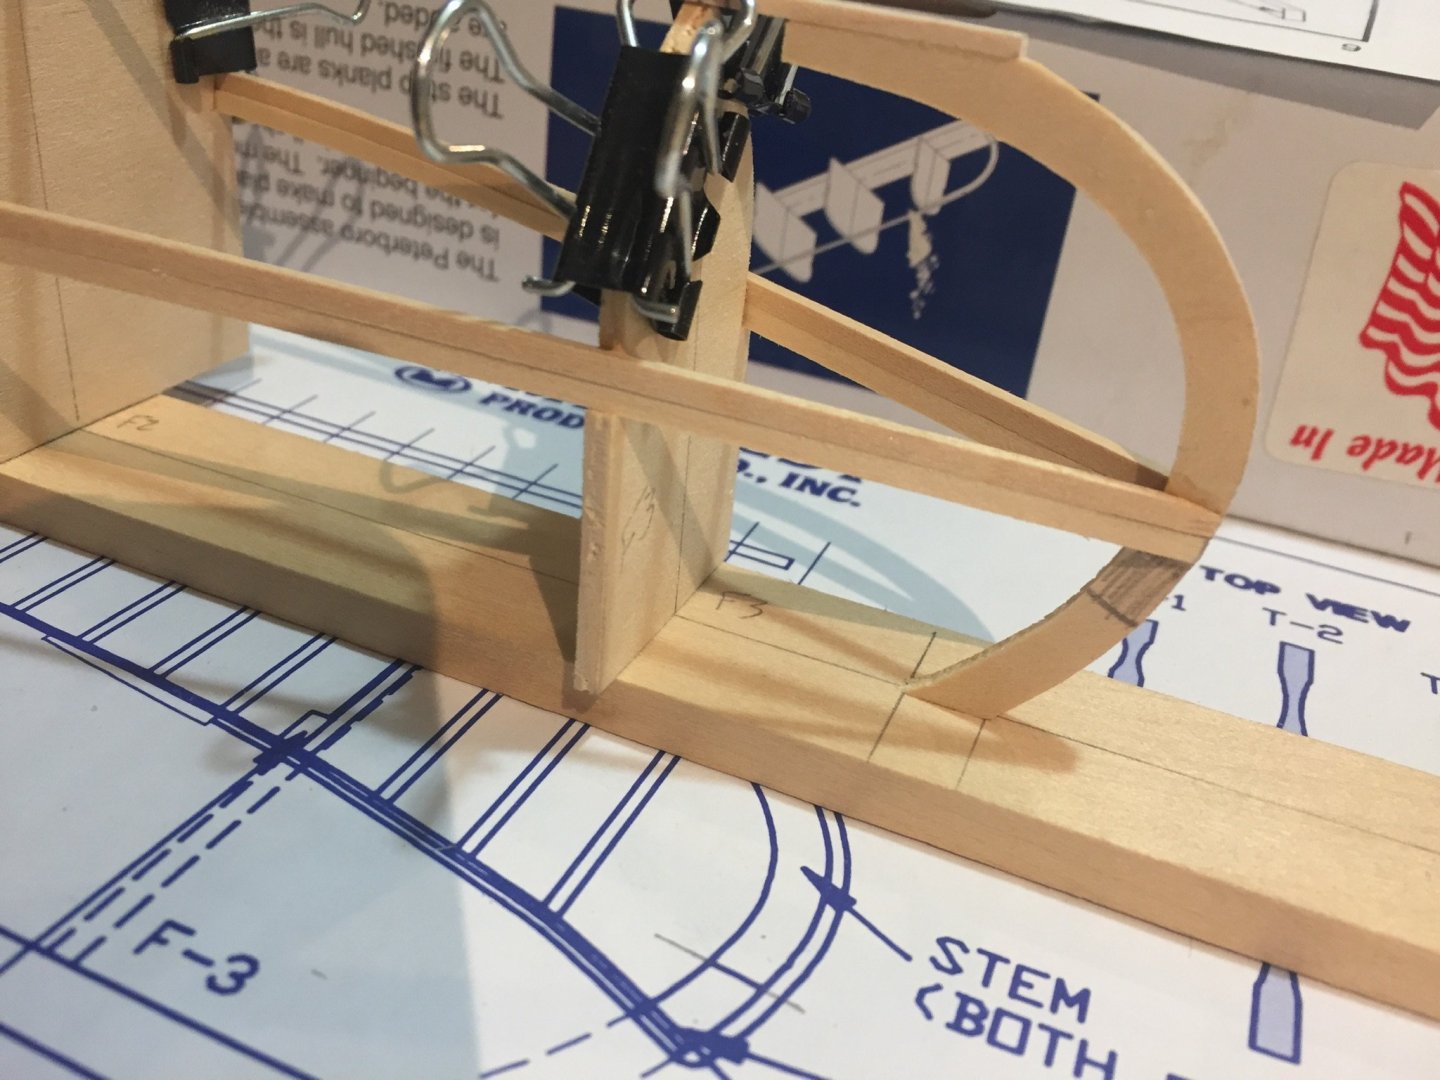
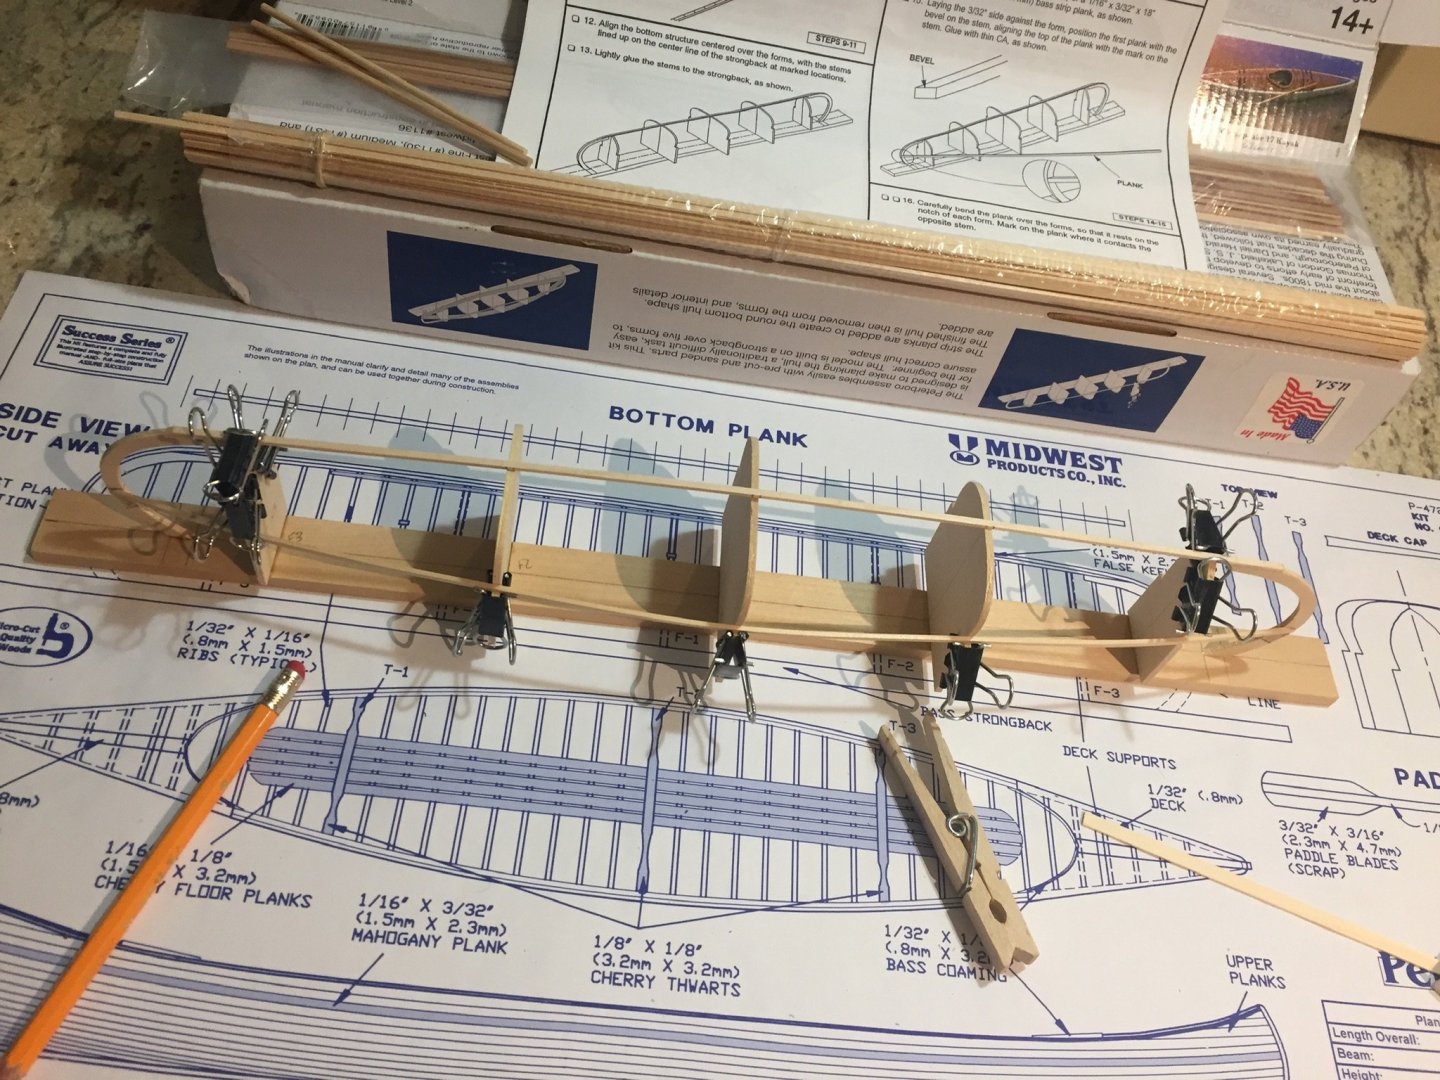
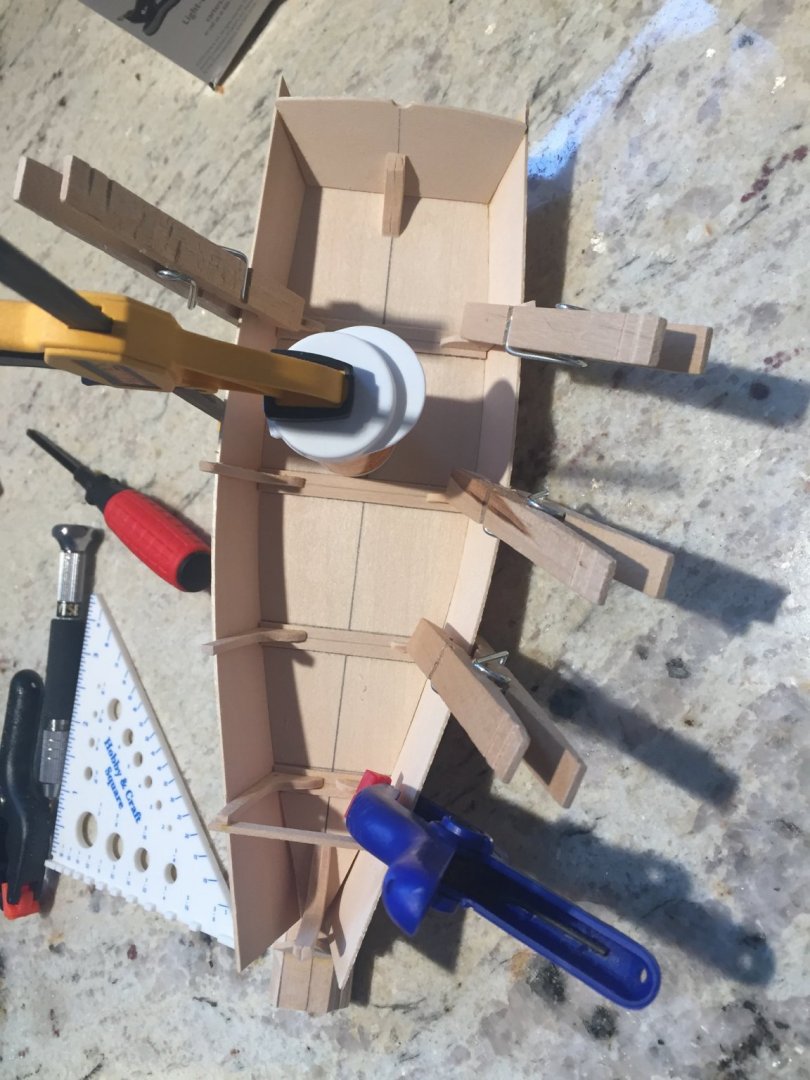
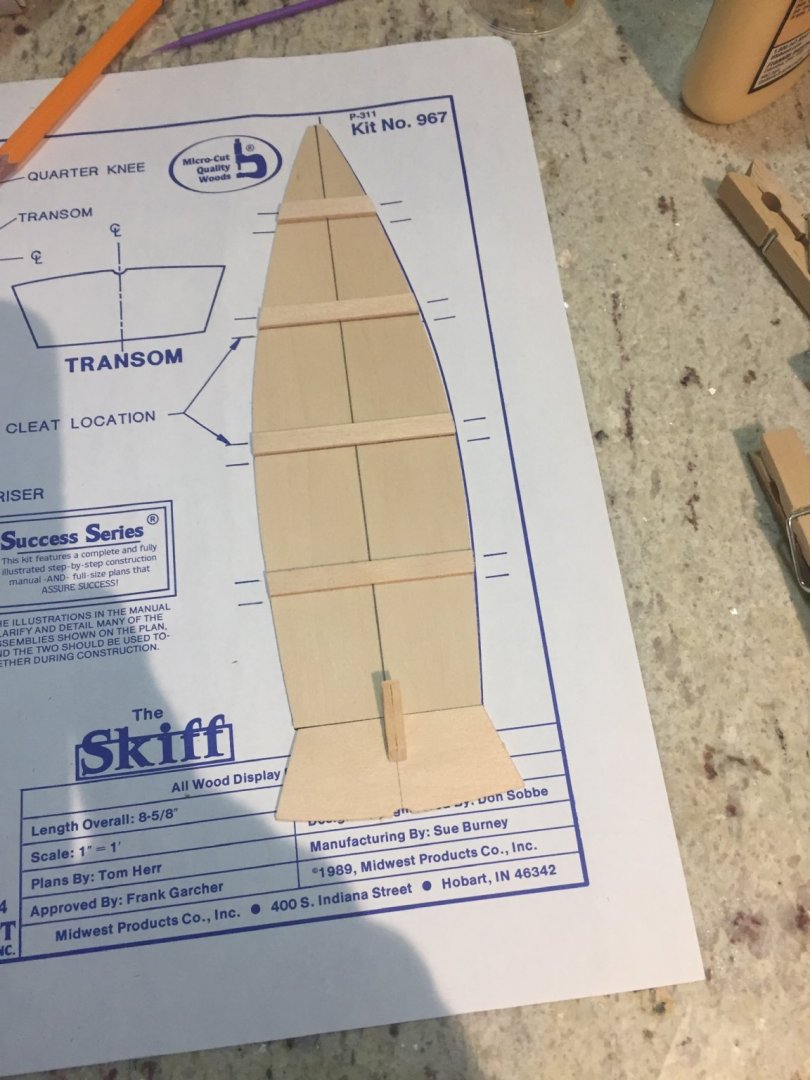
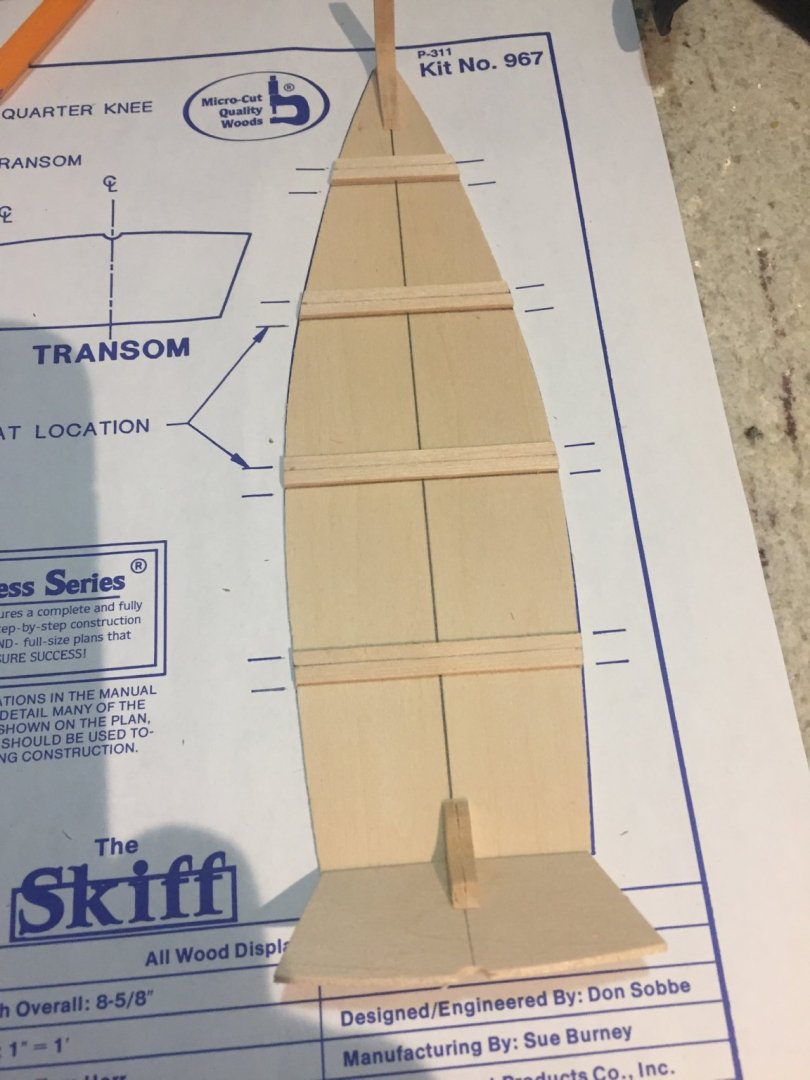
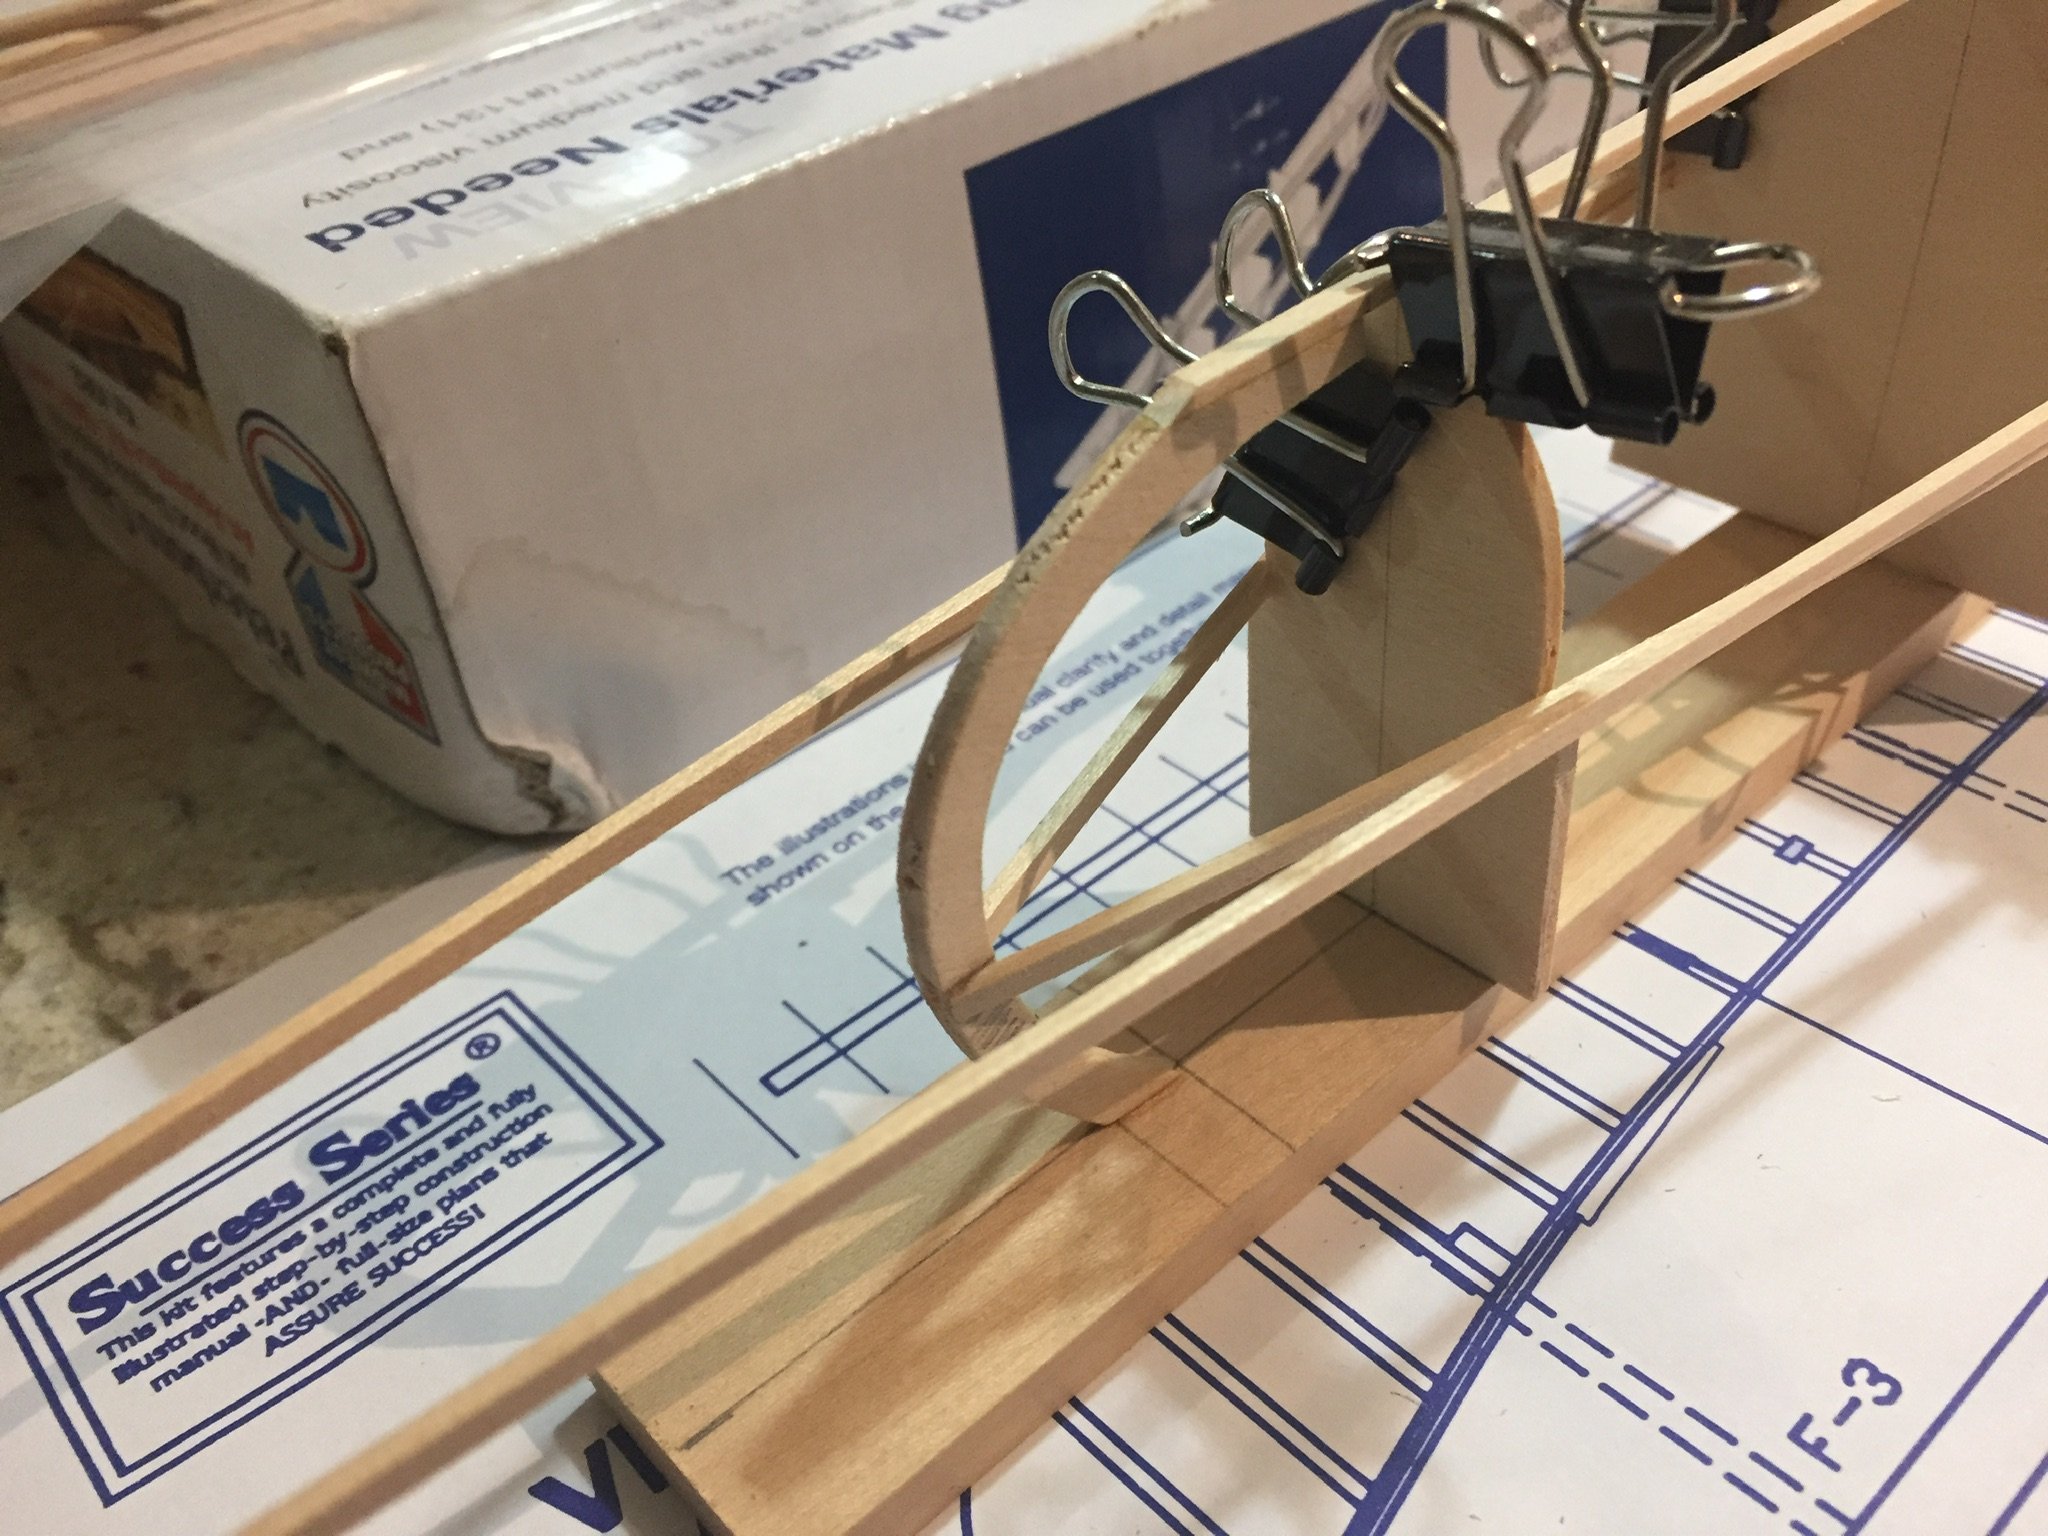
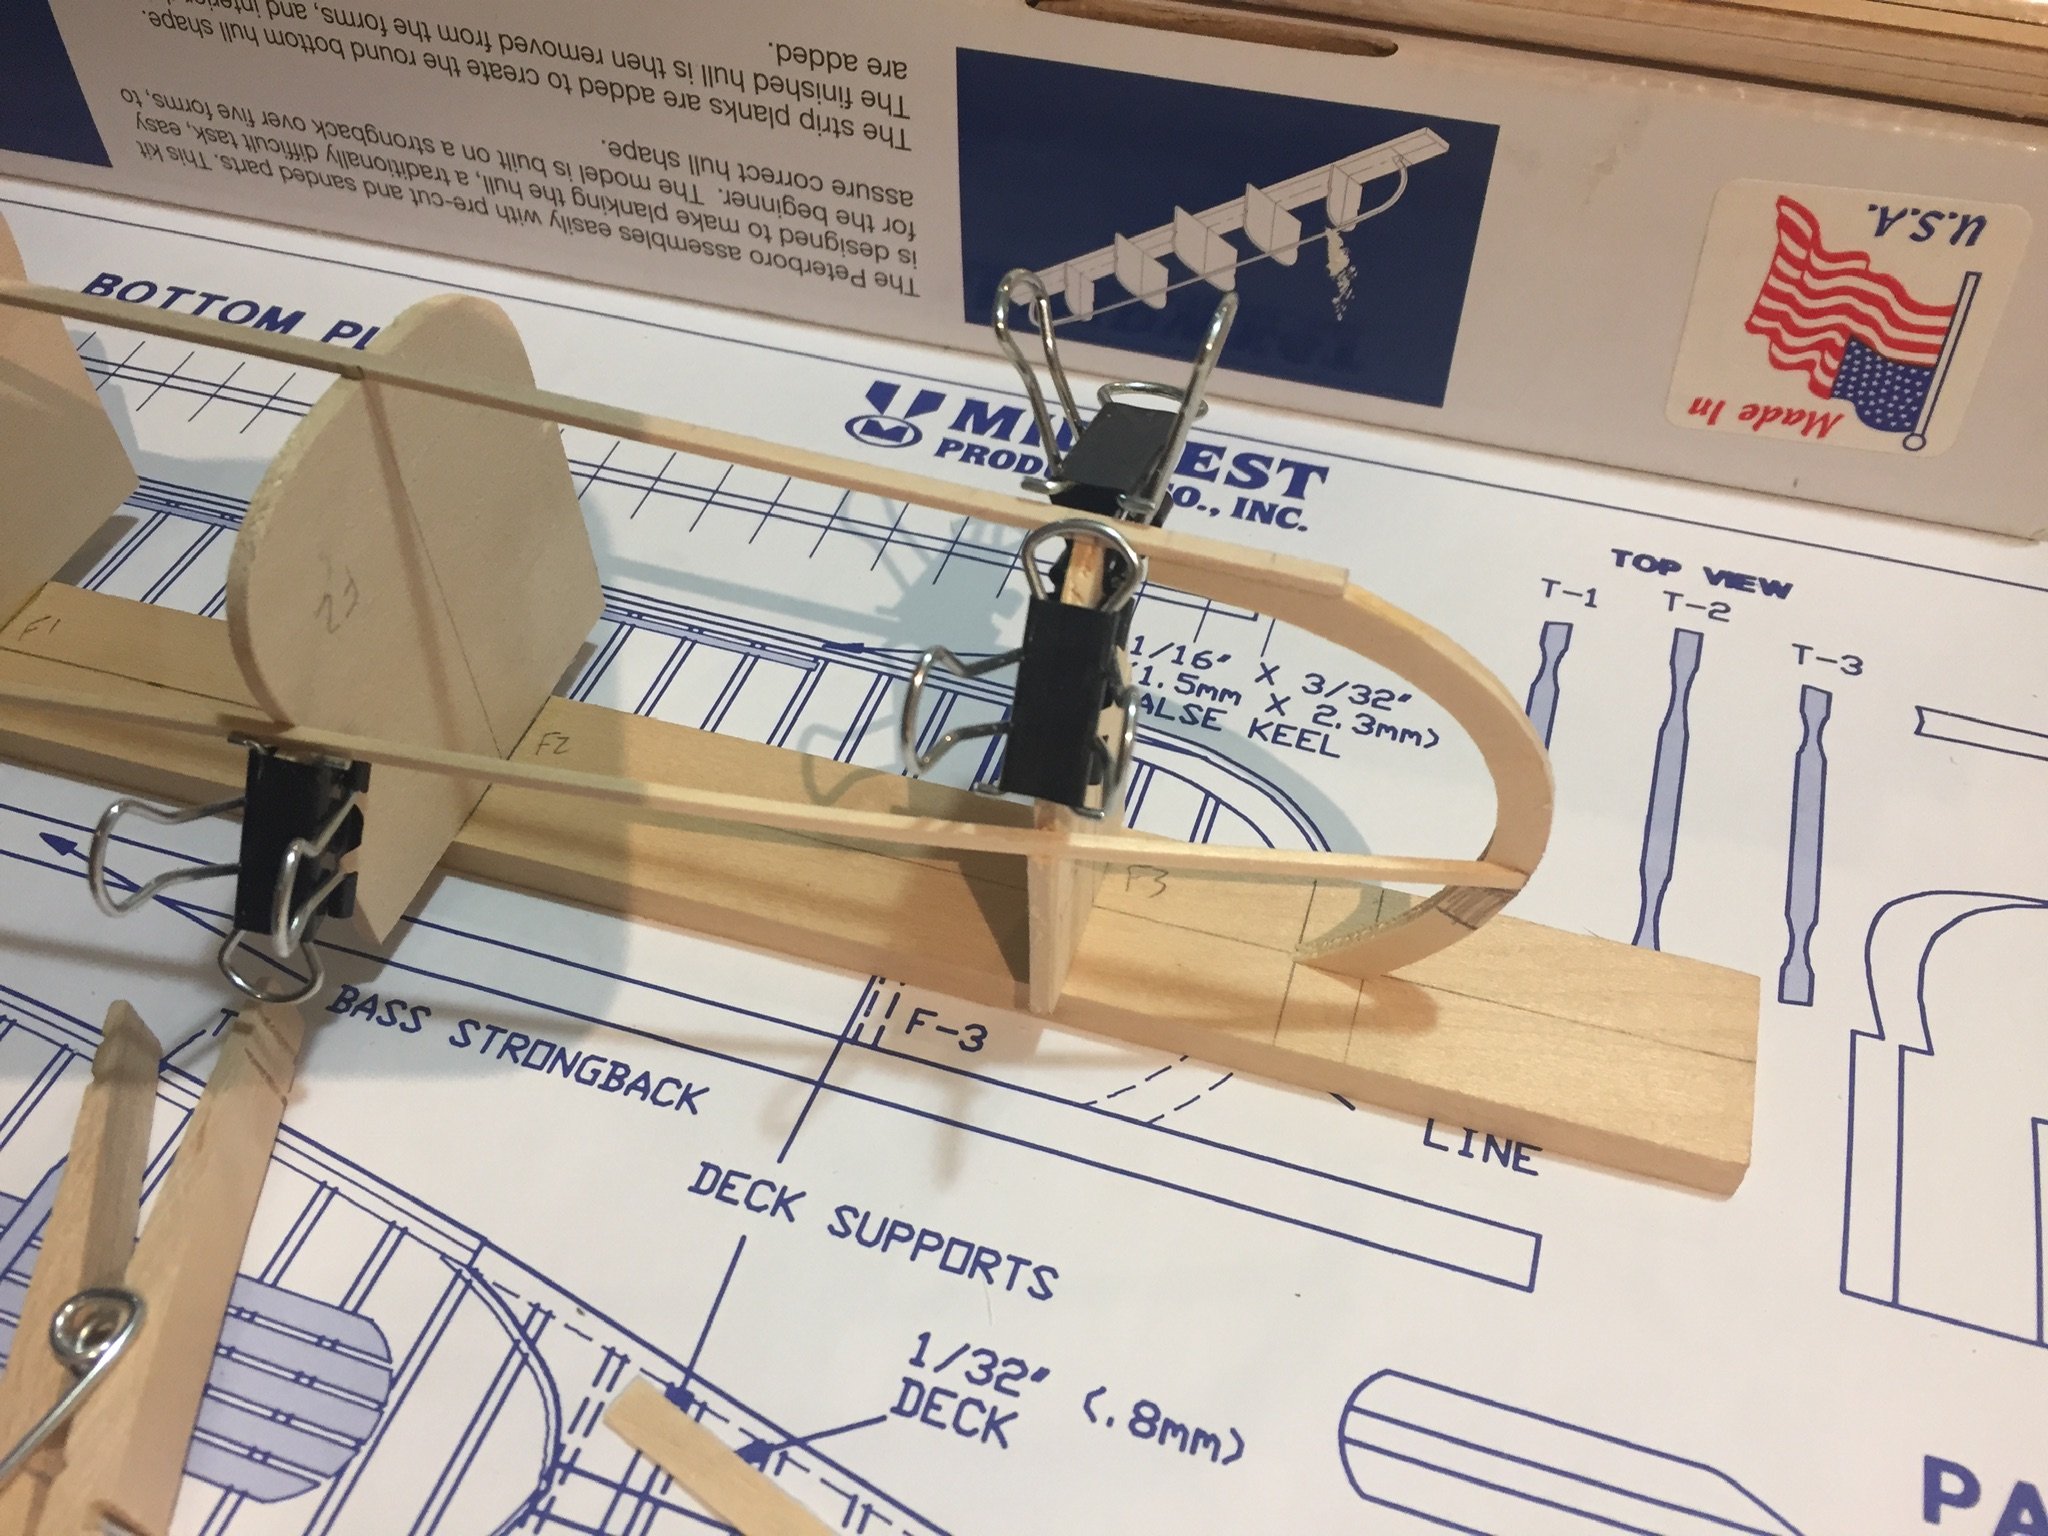
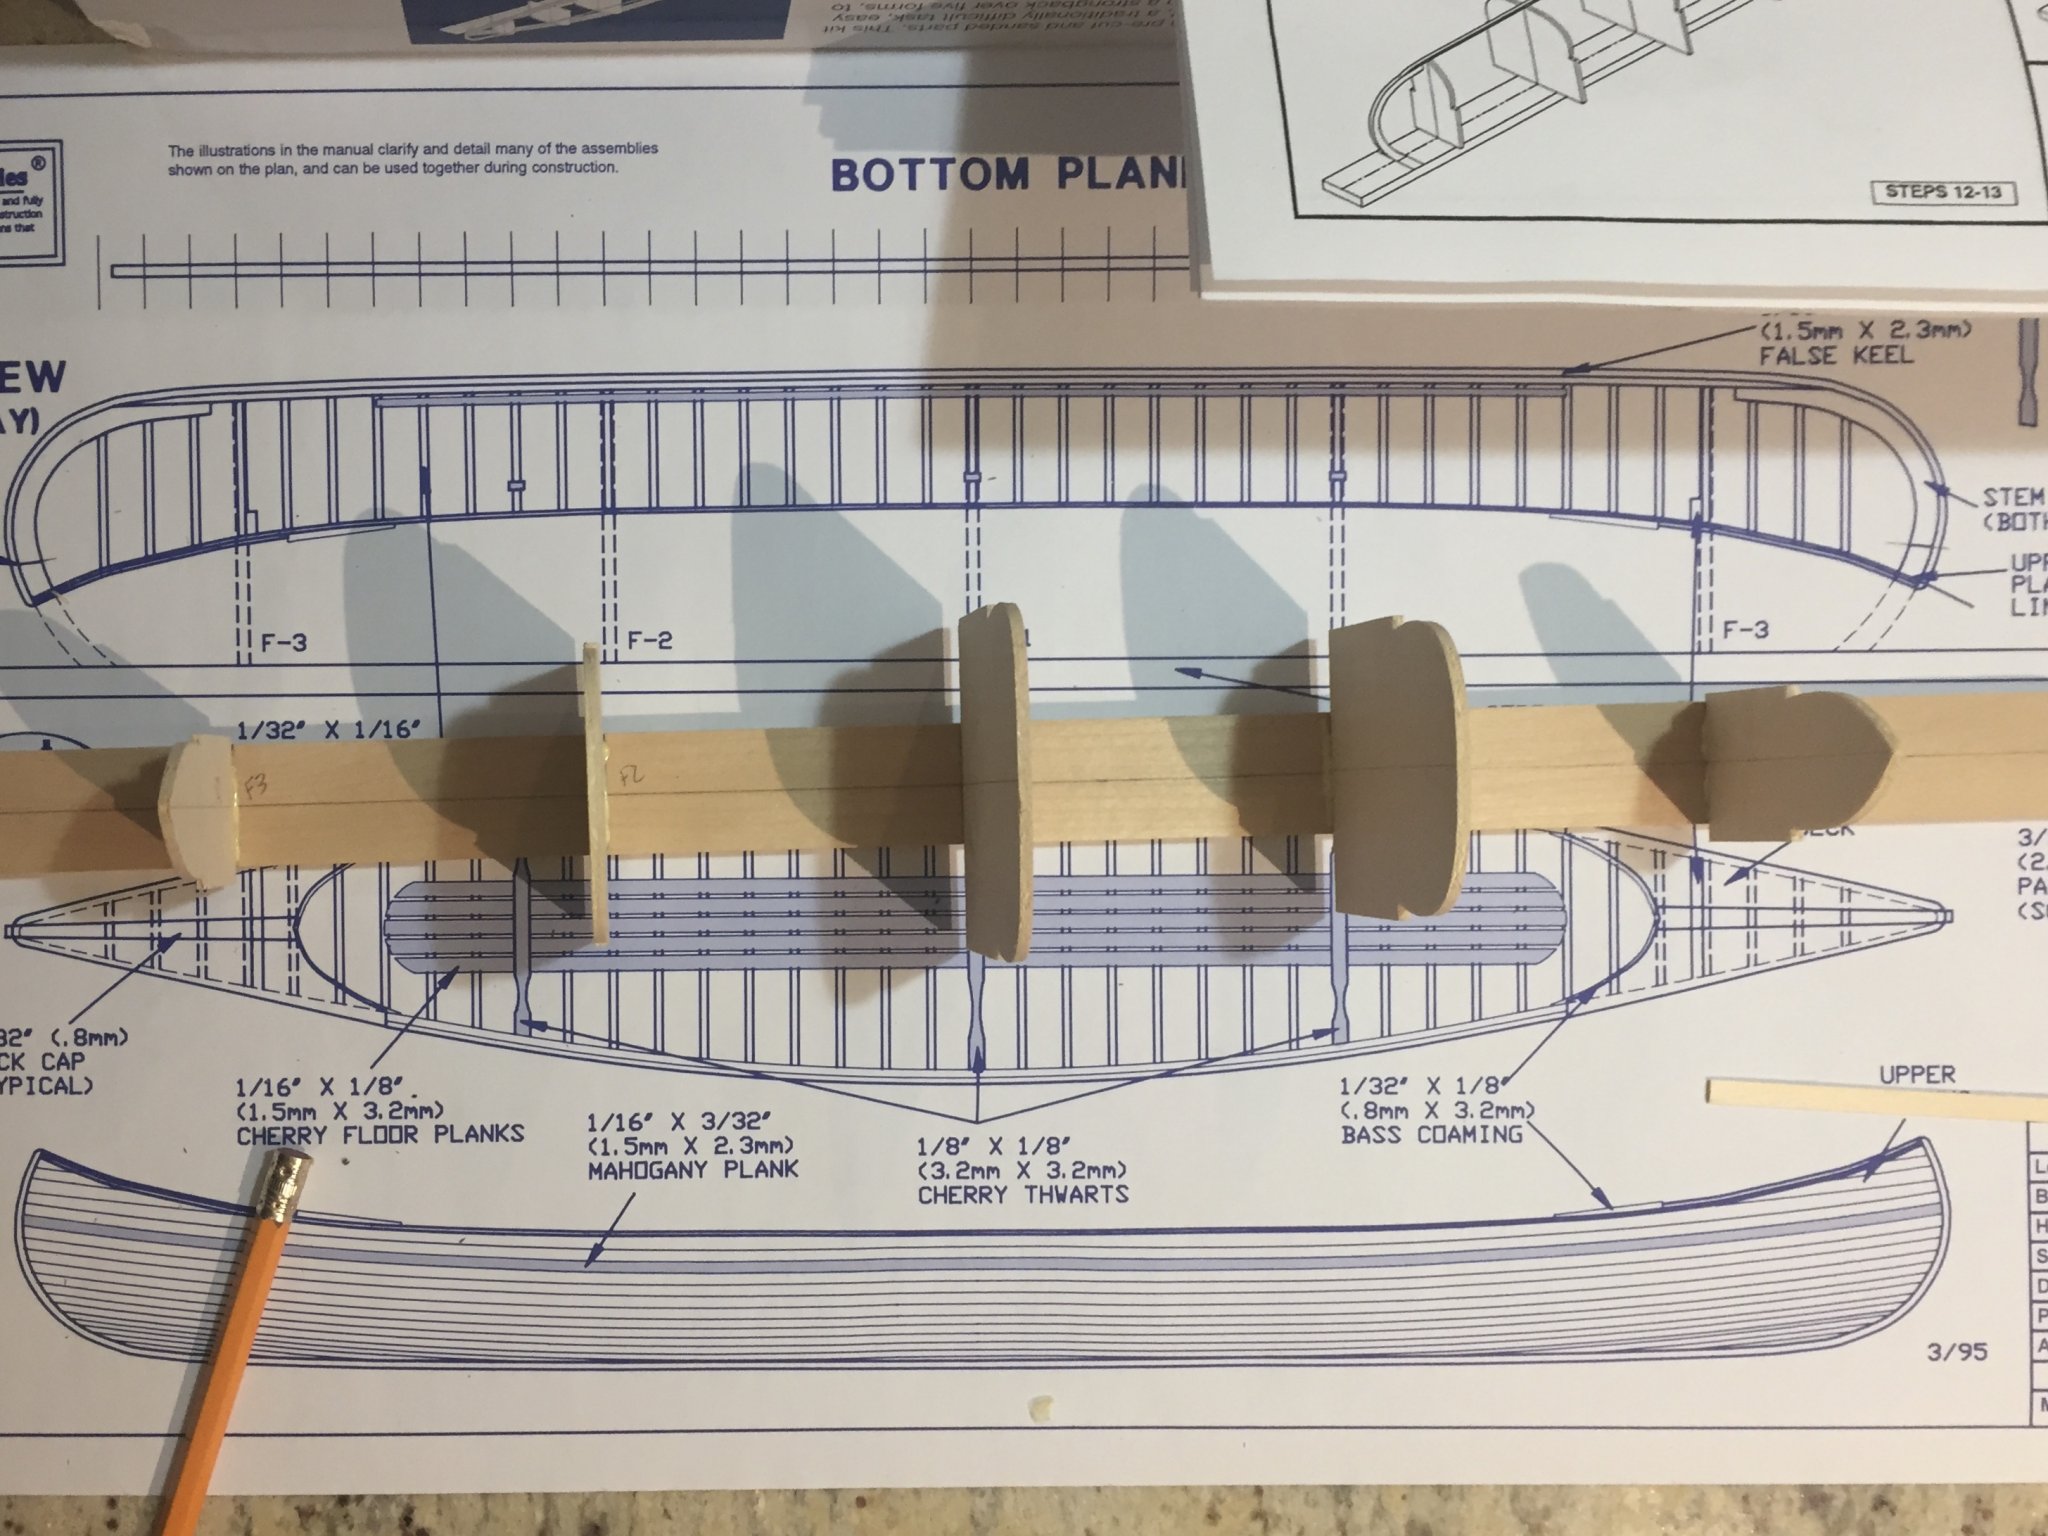
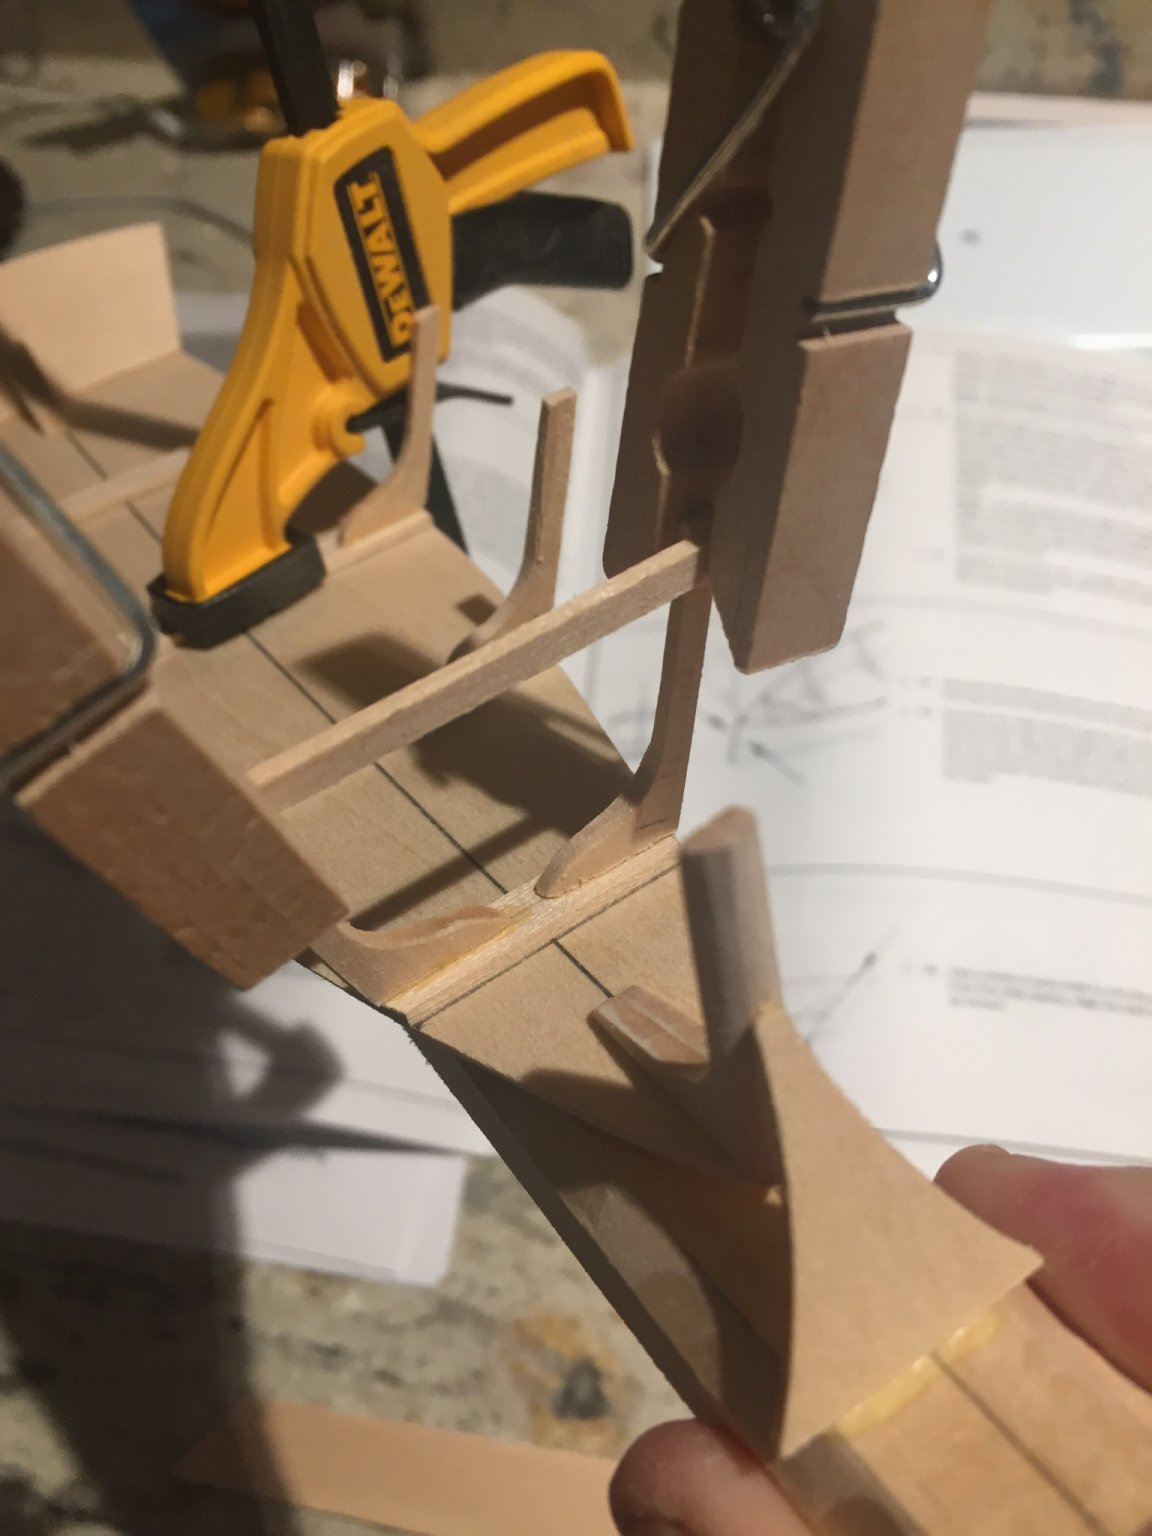
Next up was setting up the building board with the forms. After gluing the forms onto the strong back I glued the stems to the bottom plank and marked it per the drawing.
I ended up having to remove one of the stems and shorten the bottom plank. Once I compared it to the drawing it was about a half inch long.
- BobG, EricWilliamMarshall, JayCub and 4 others
-
7
-
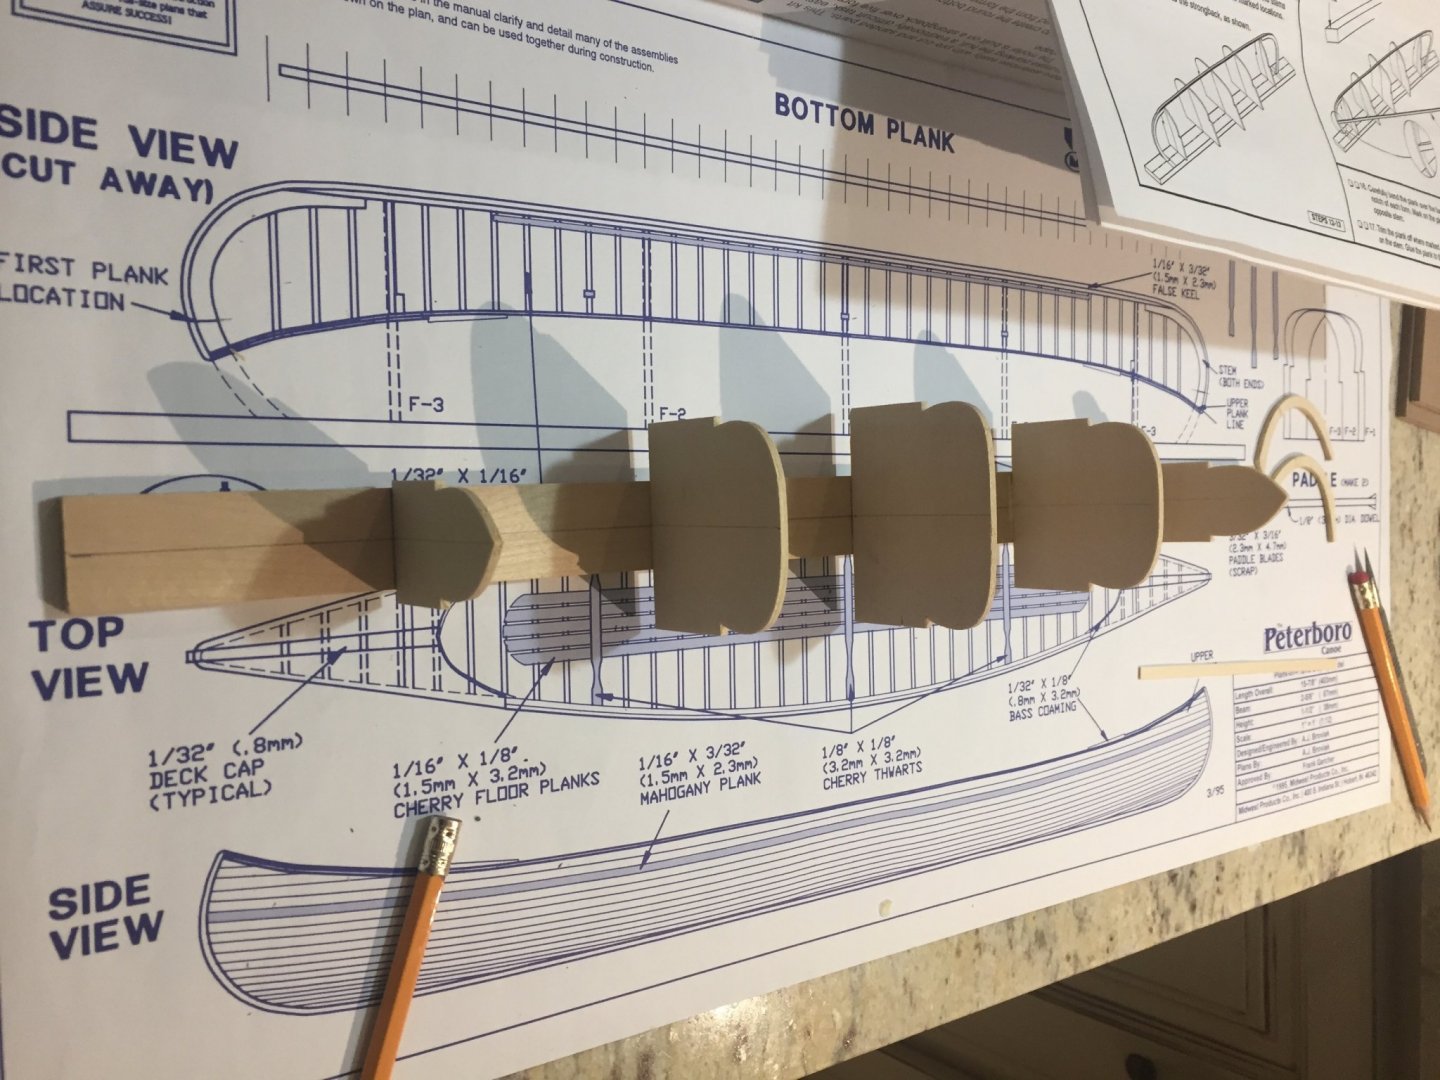
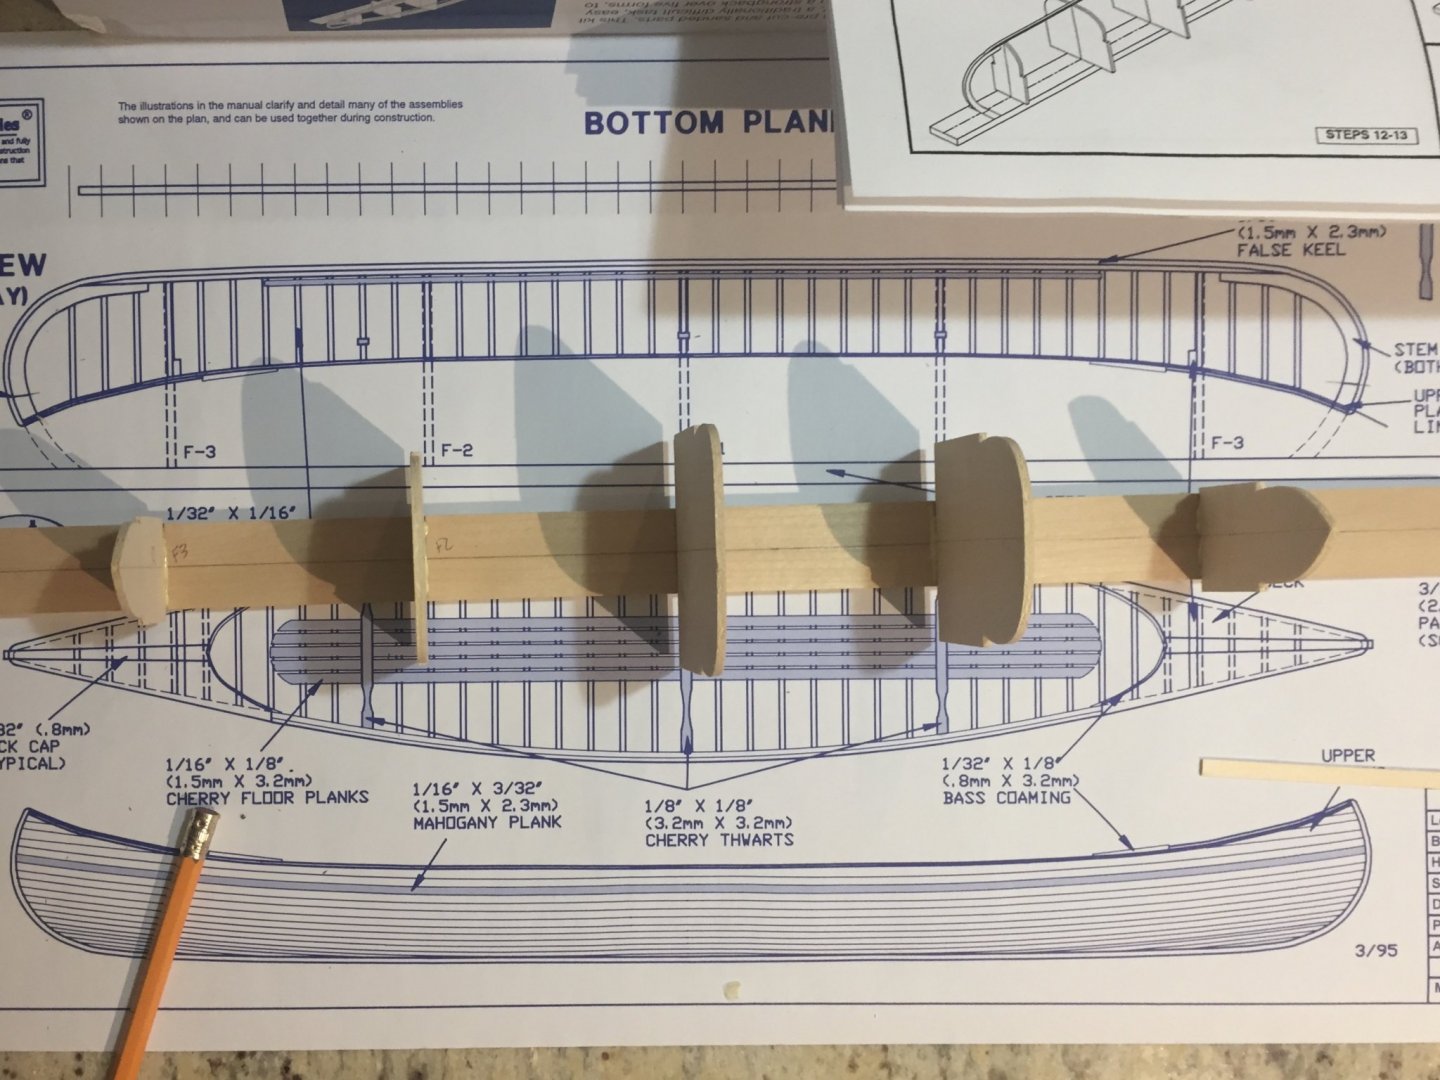
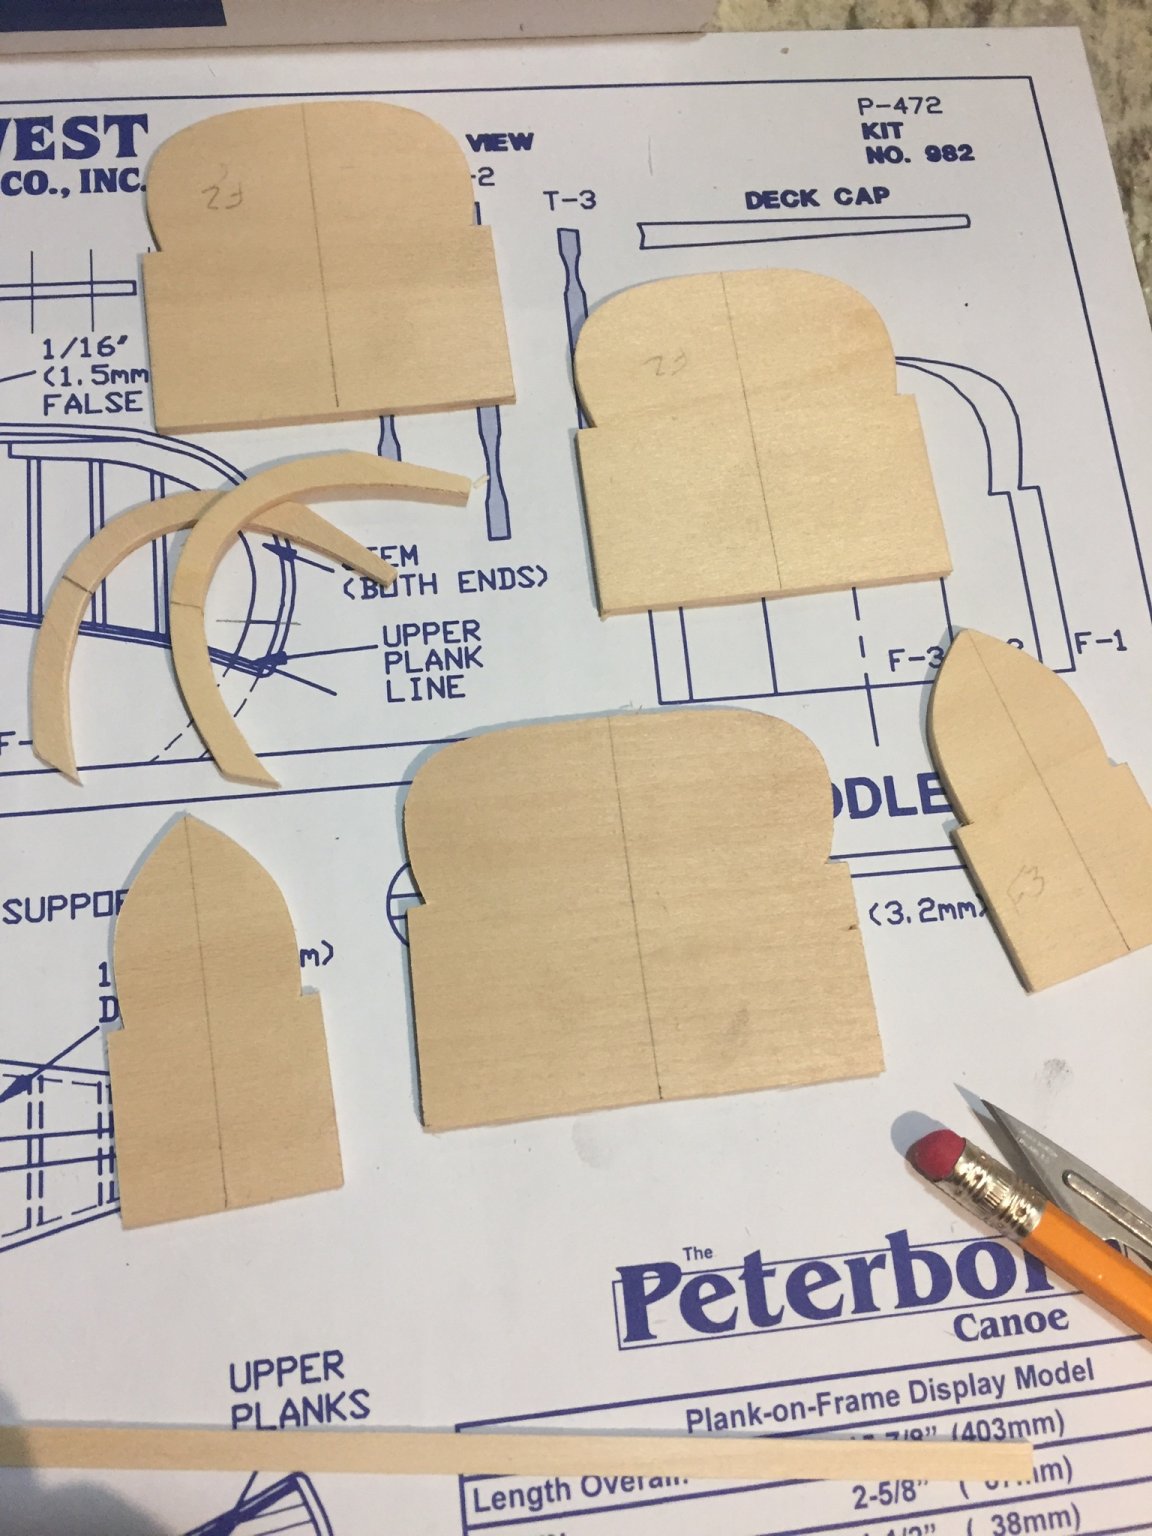
So I followed the very well written instructions and took the Forms and stems out of the kit. I used my Sand it from micro mark to cleanup the edges.
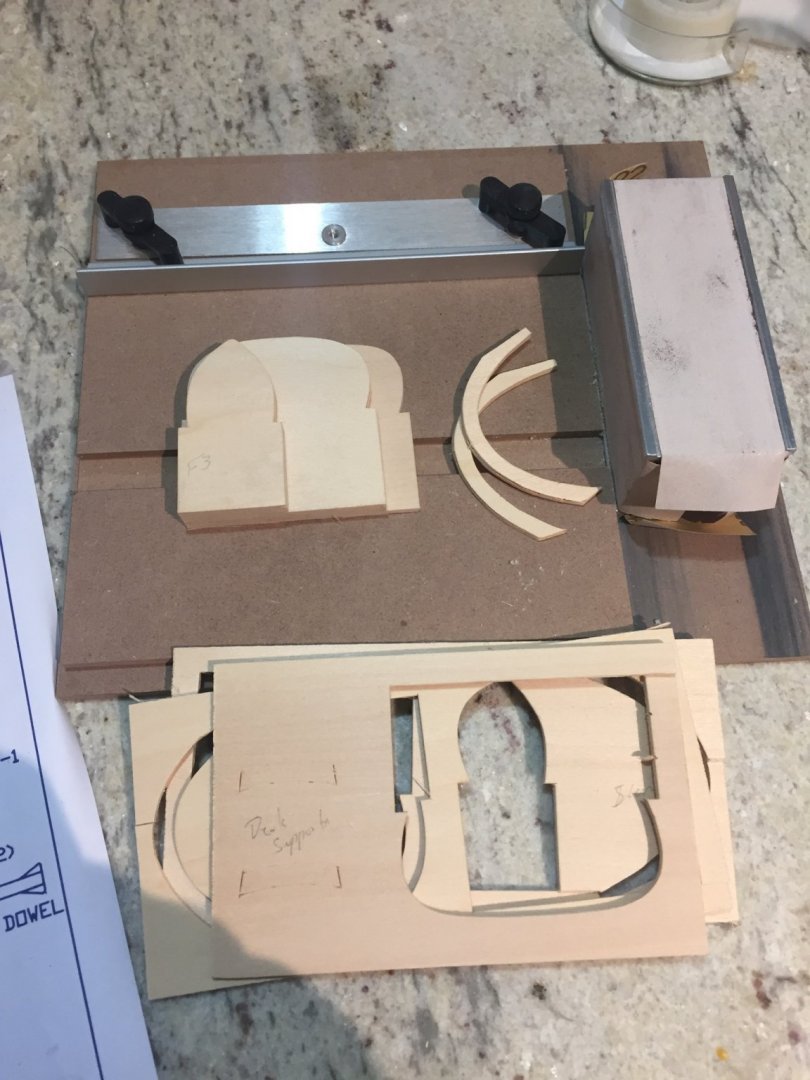
I then marked out the building boards and center lines

-
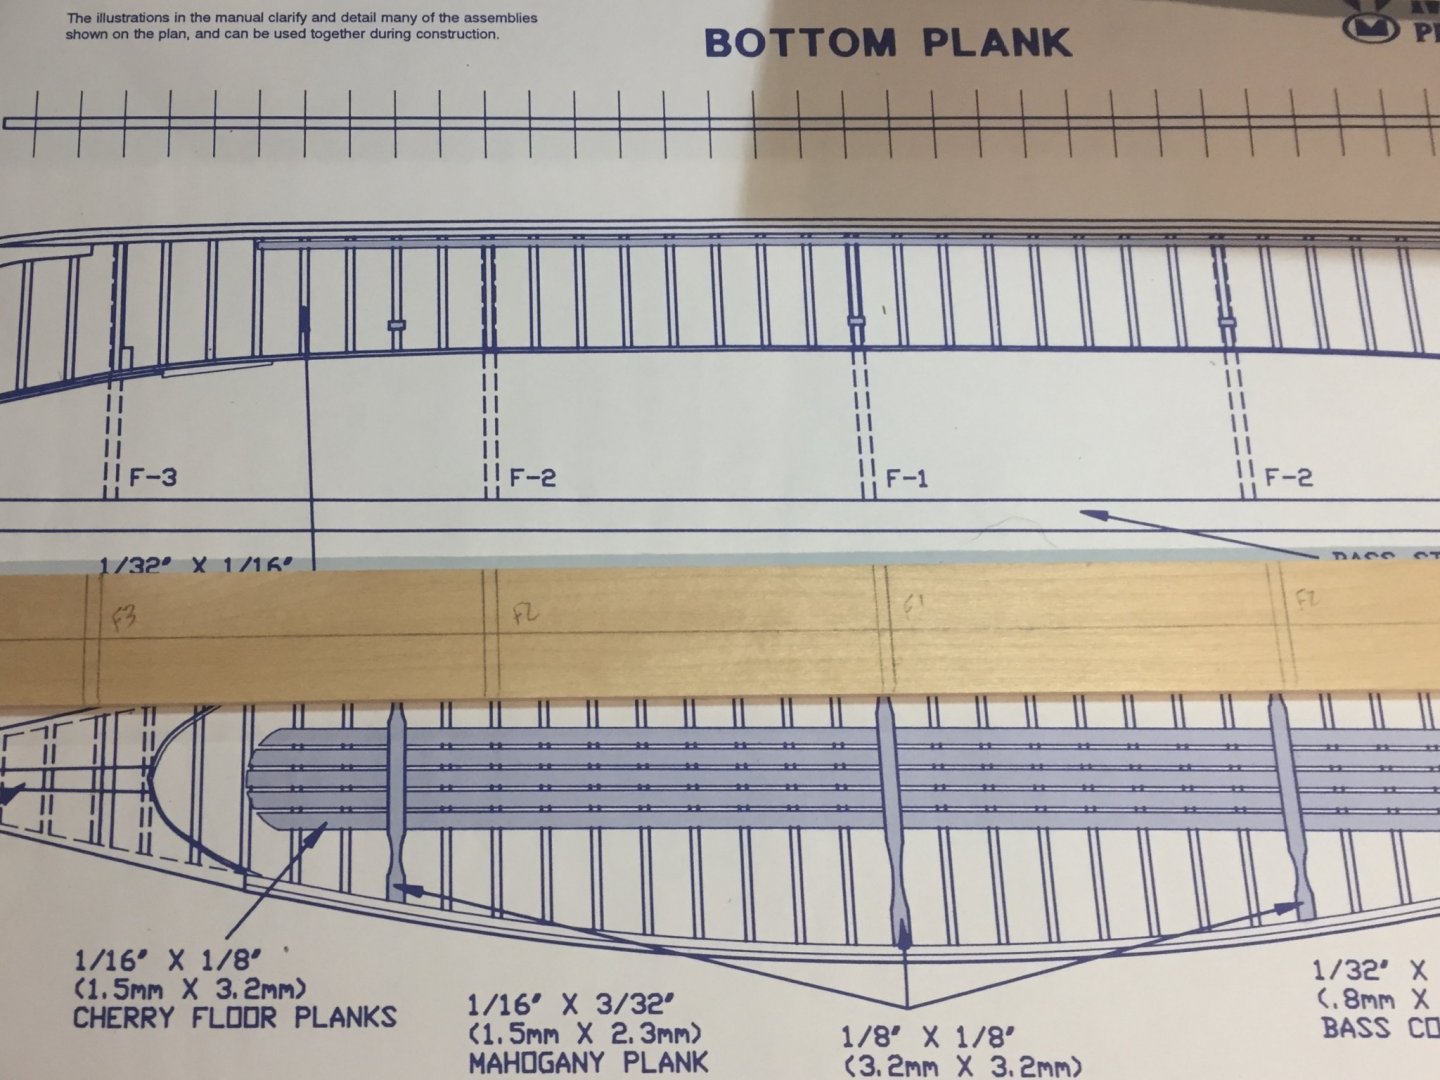
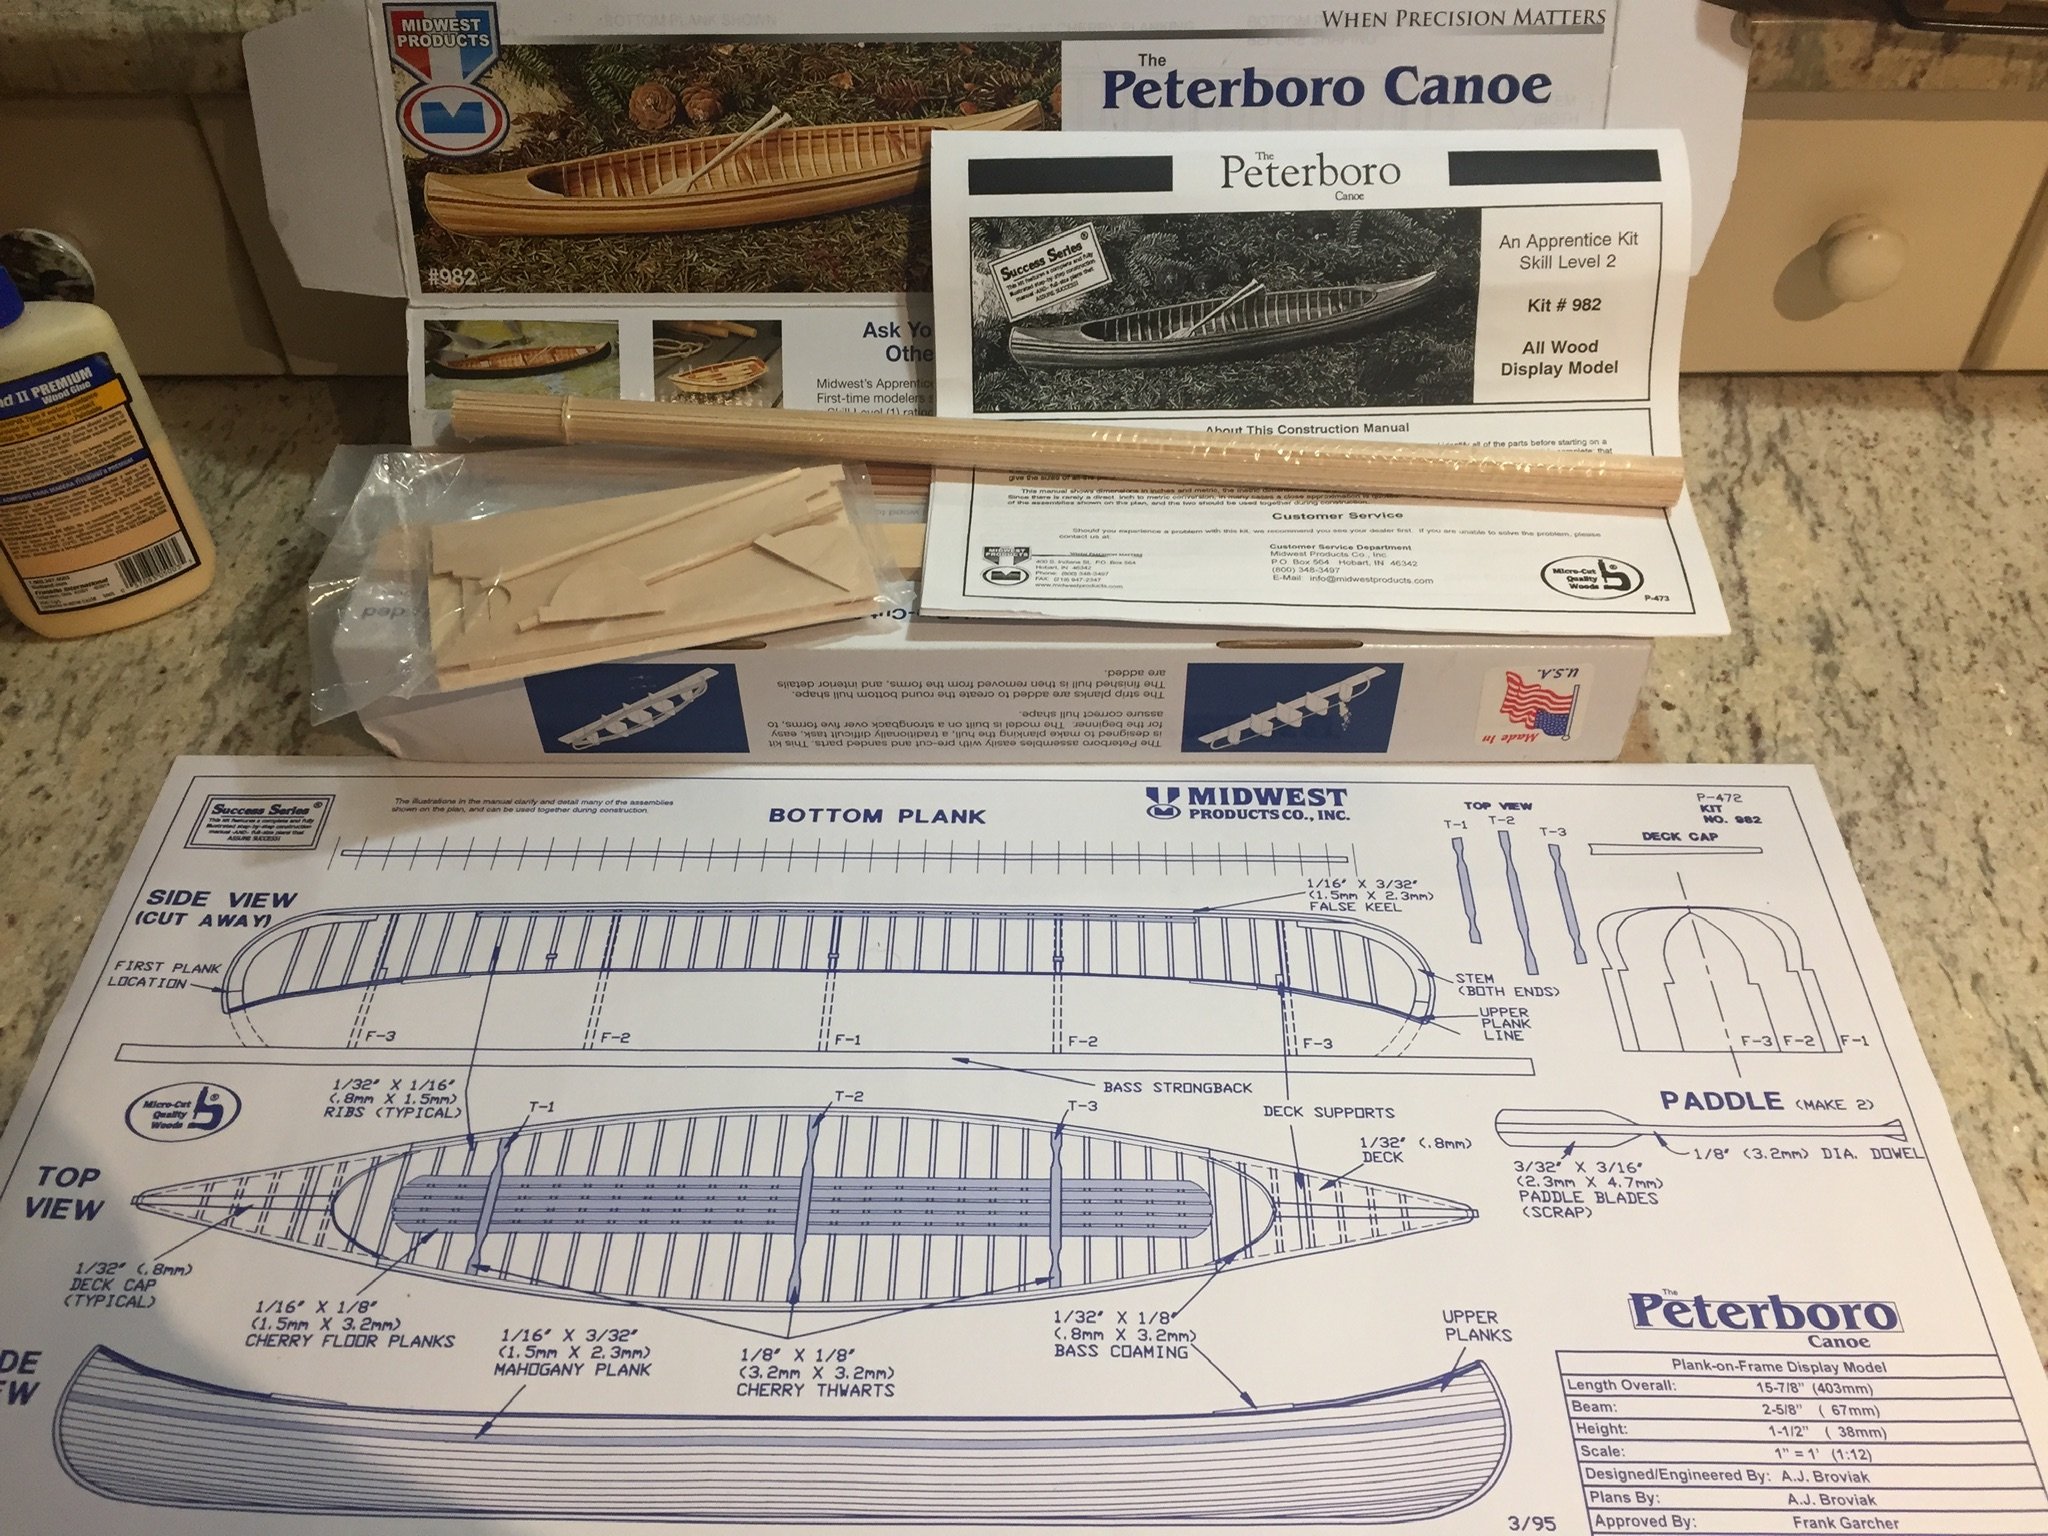
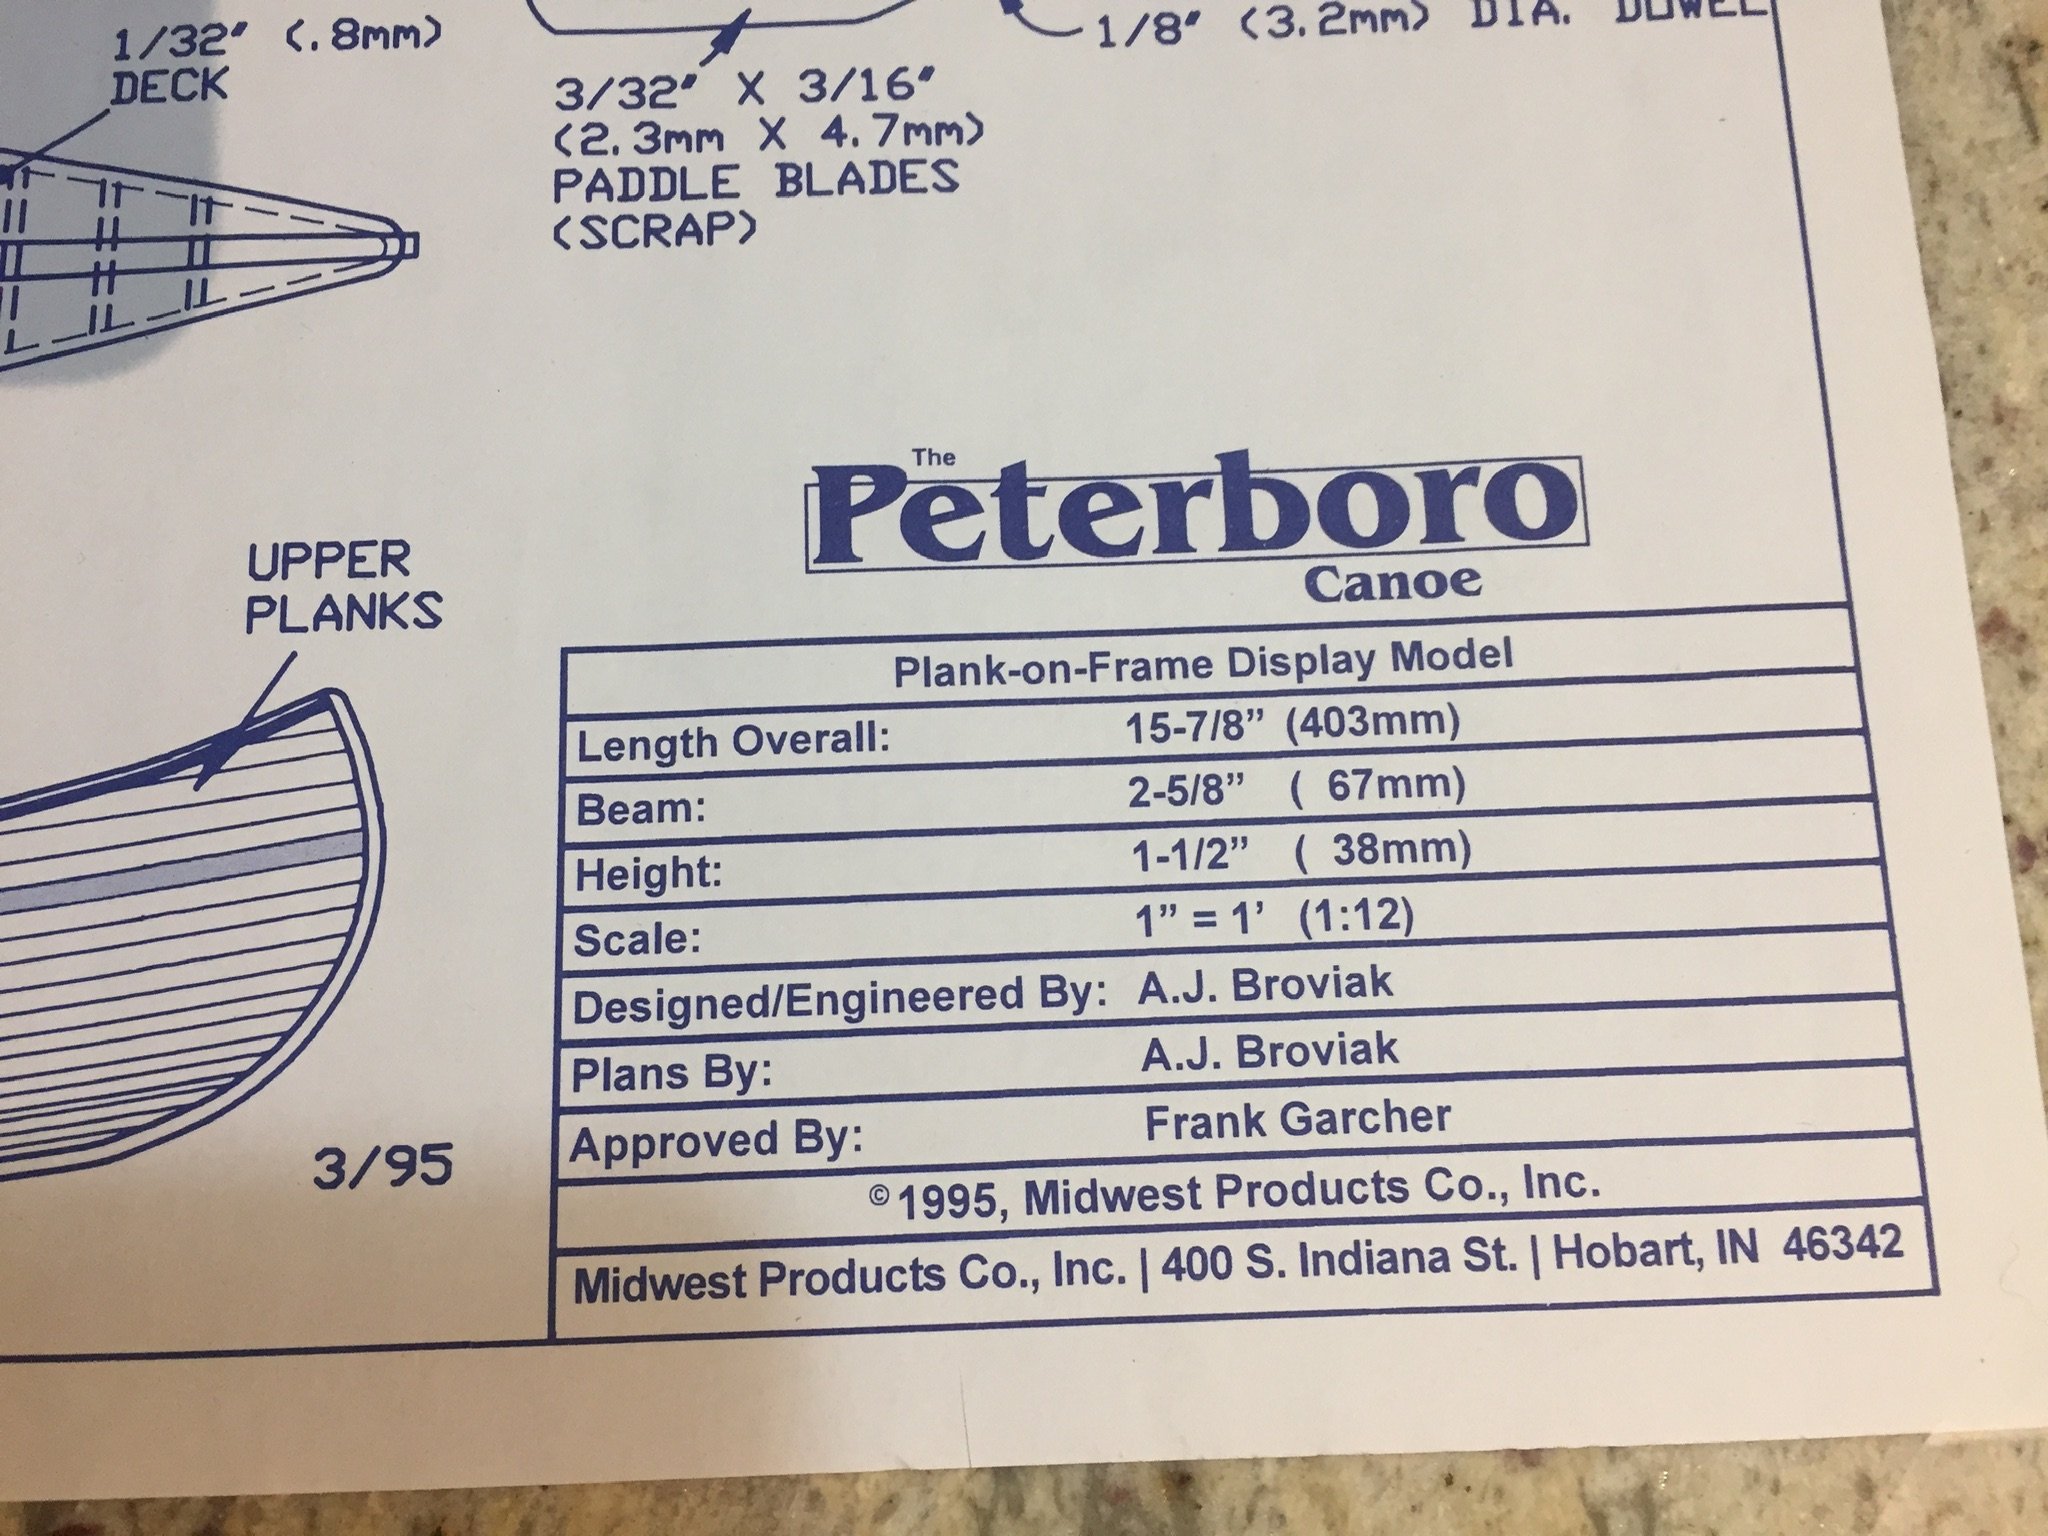
 It was interesting to find out that “The Peterboro Canoe” was named due to the association with Peterborough, Ontario.
There was a time almost any wooden canoe In the traditional Canadian style, that is, one basically having the appearance of the woodland bark canoe of the North American Indian, could be referred to as “a Peterboro”
certainly a rich history with these canoes. So here is a kit I purchased on eBay for less than $50, well worth the hours of entertainment.
-
1 hour ago, VTHokiEE said:
It looks really nice! I completely agree about the Midwest kits. They are a great intro for beginners. It’s a shame they aren’t still being made.
What do you think you’ll tackle next?
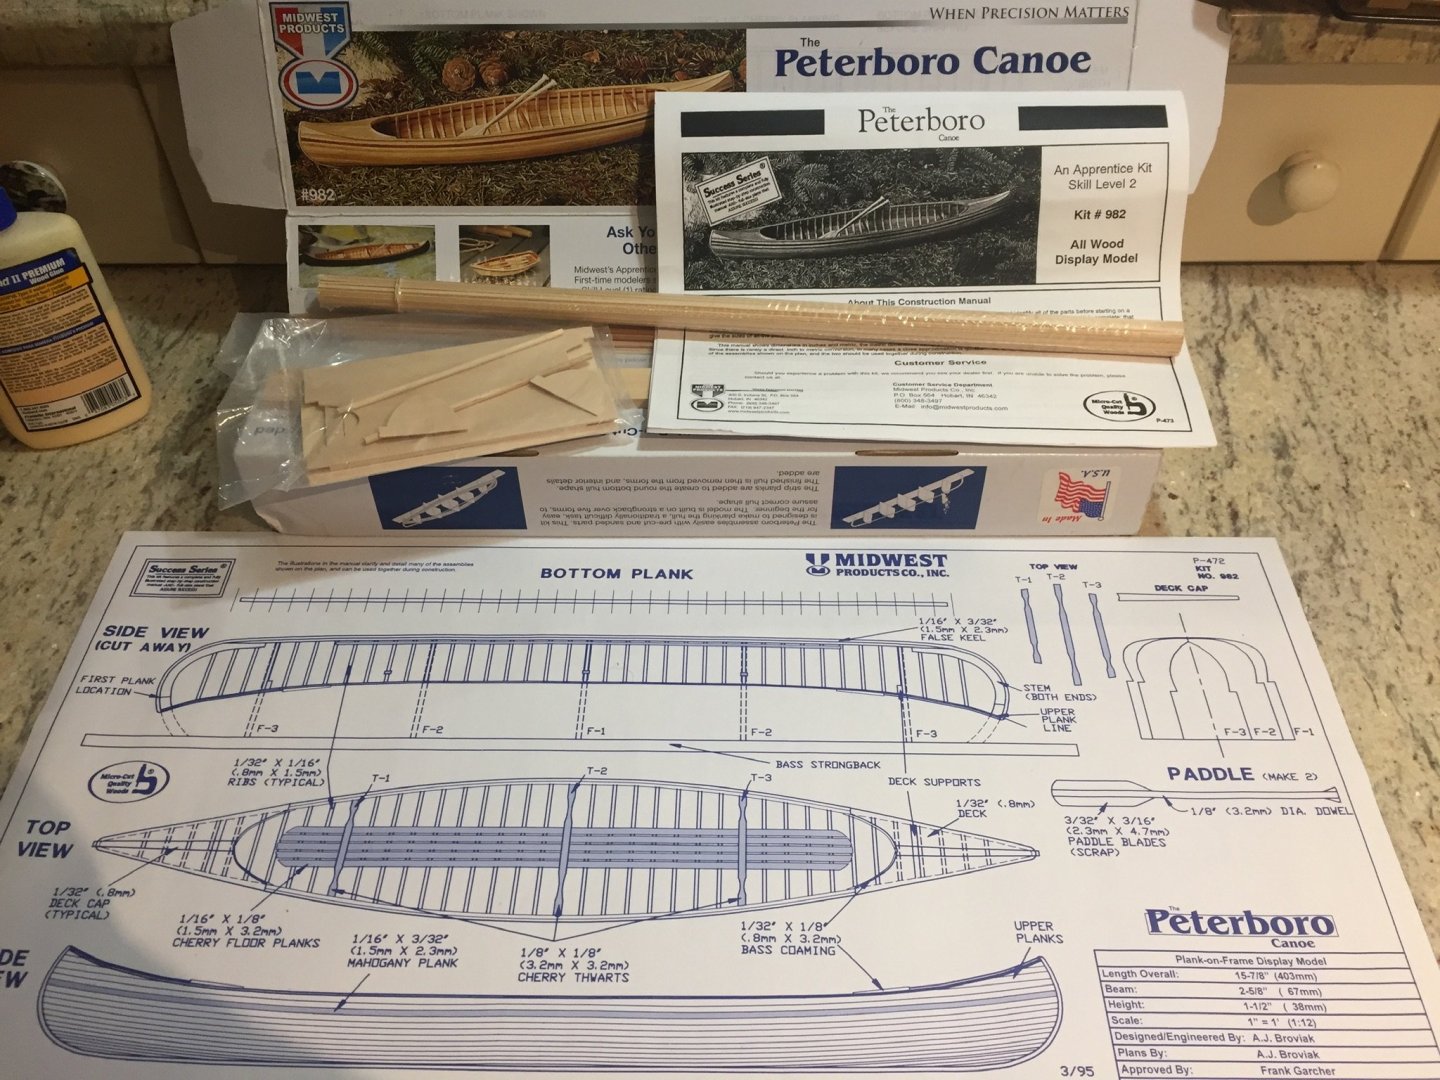
I will be starting two logs actually 😝.
Following In the wake of the ridiculous money I have spent on eBay, I will be starting a Peterboro Canoe which is a level 2 kit and one I am hoping to do a nice job on and also a Artesania Latina King of mississipi but this kit is probably 80’s...it’s also advertised as 1:50 scale which I don’t think it is, the newer ones are 1:80 I believe.
-
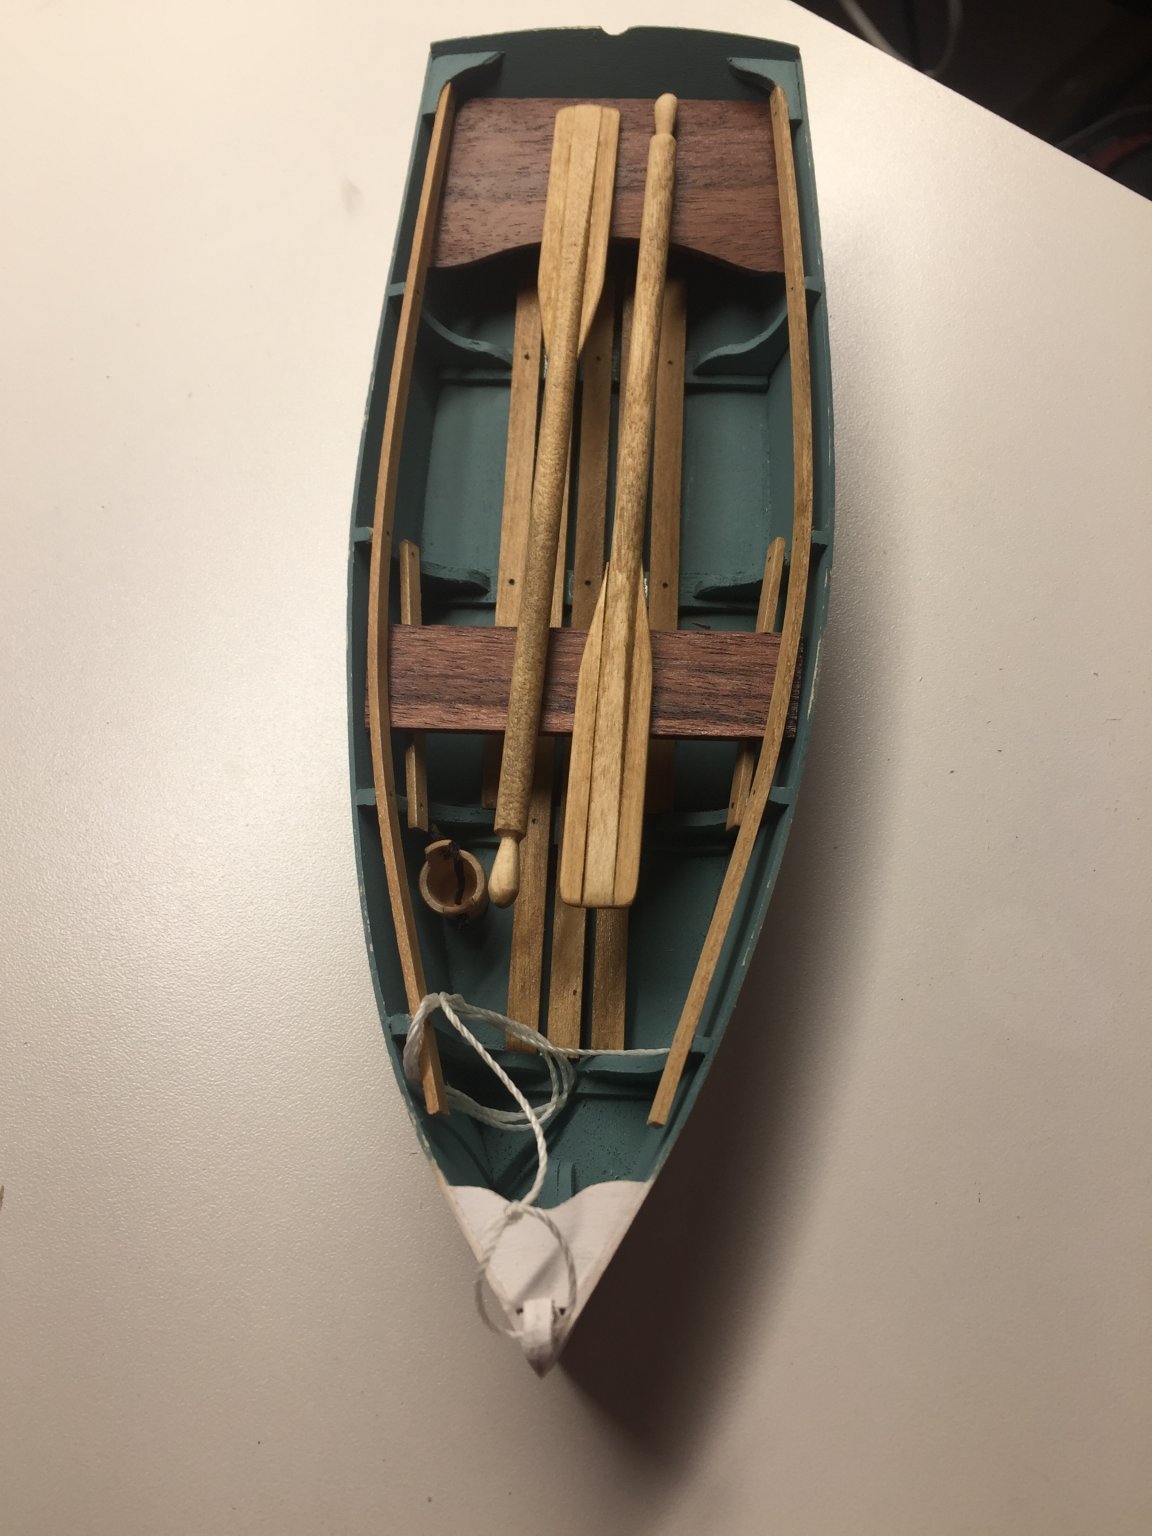
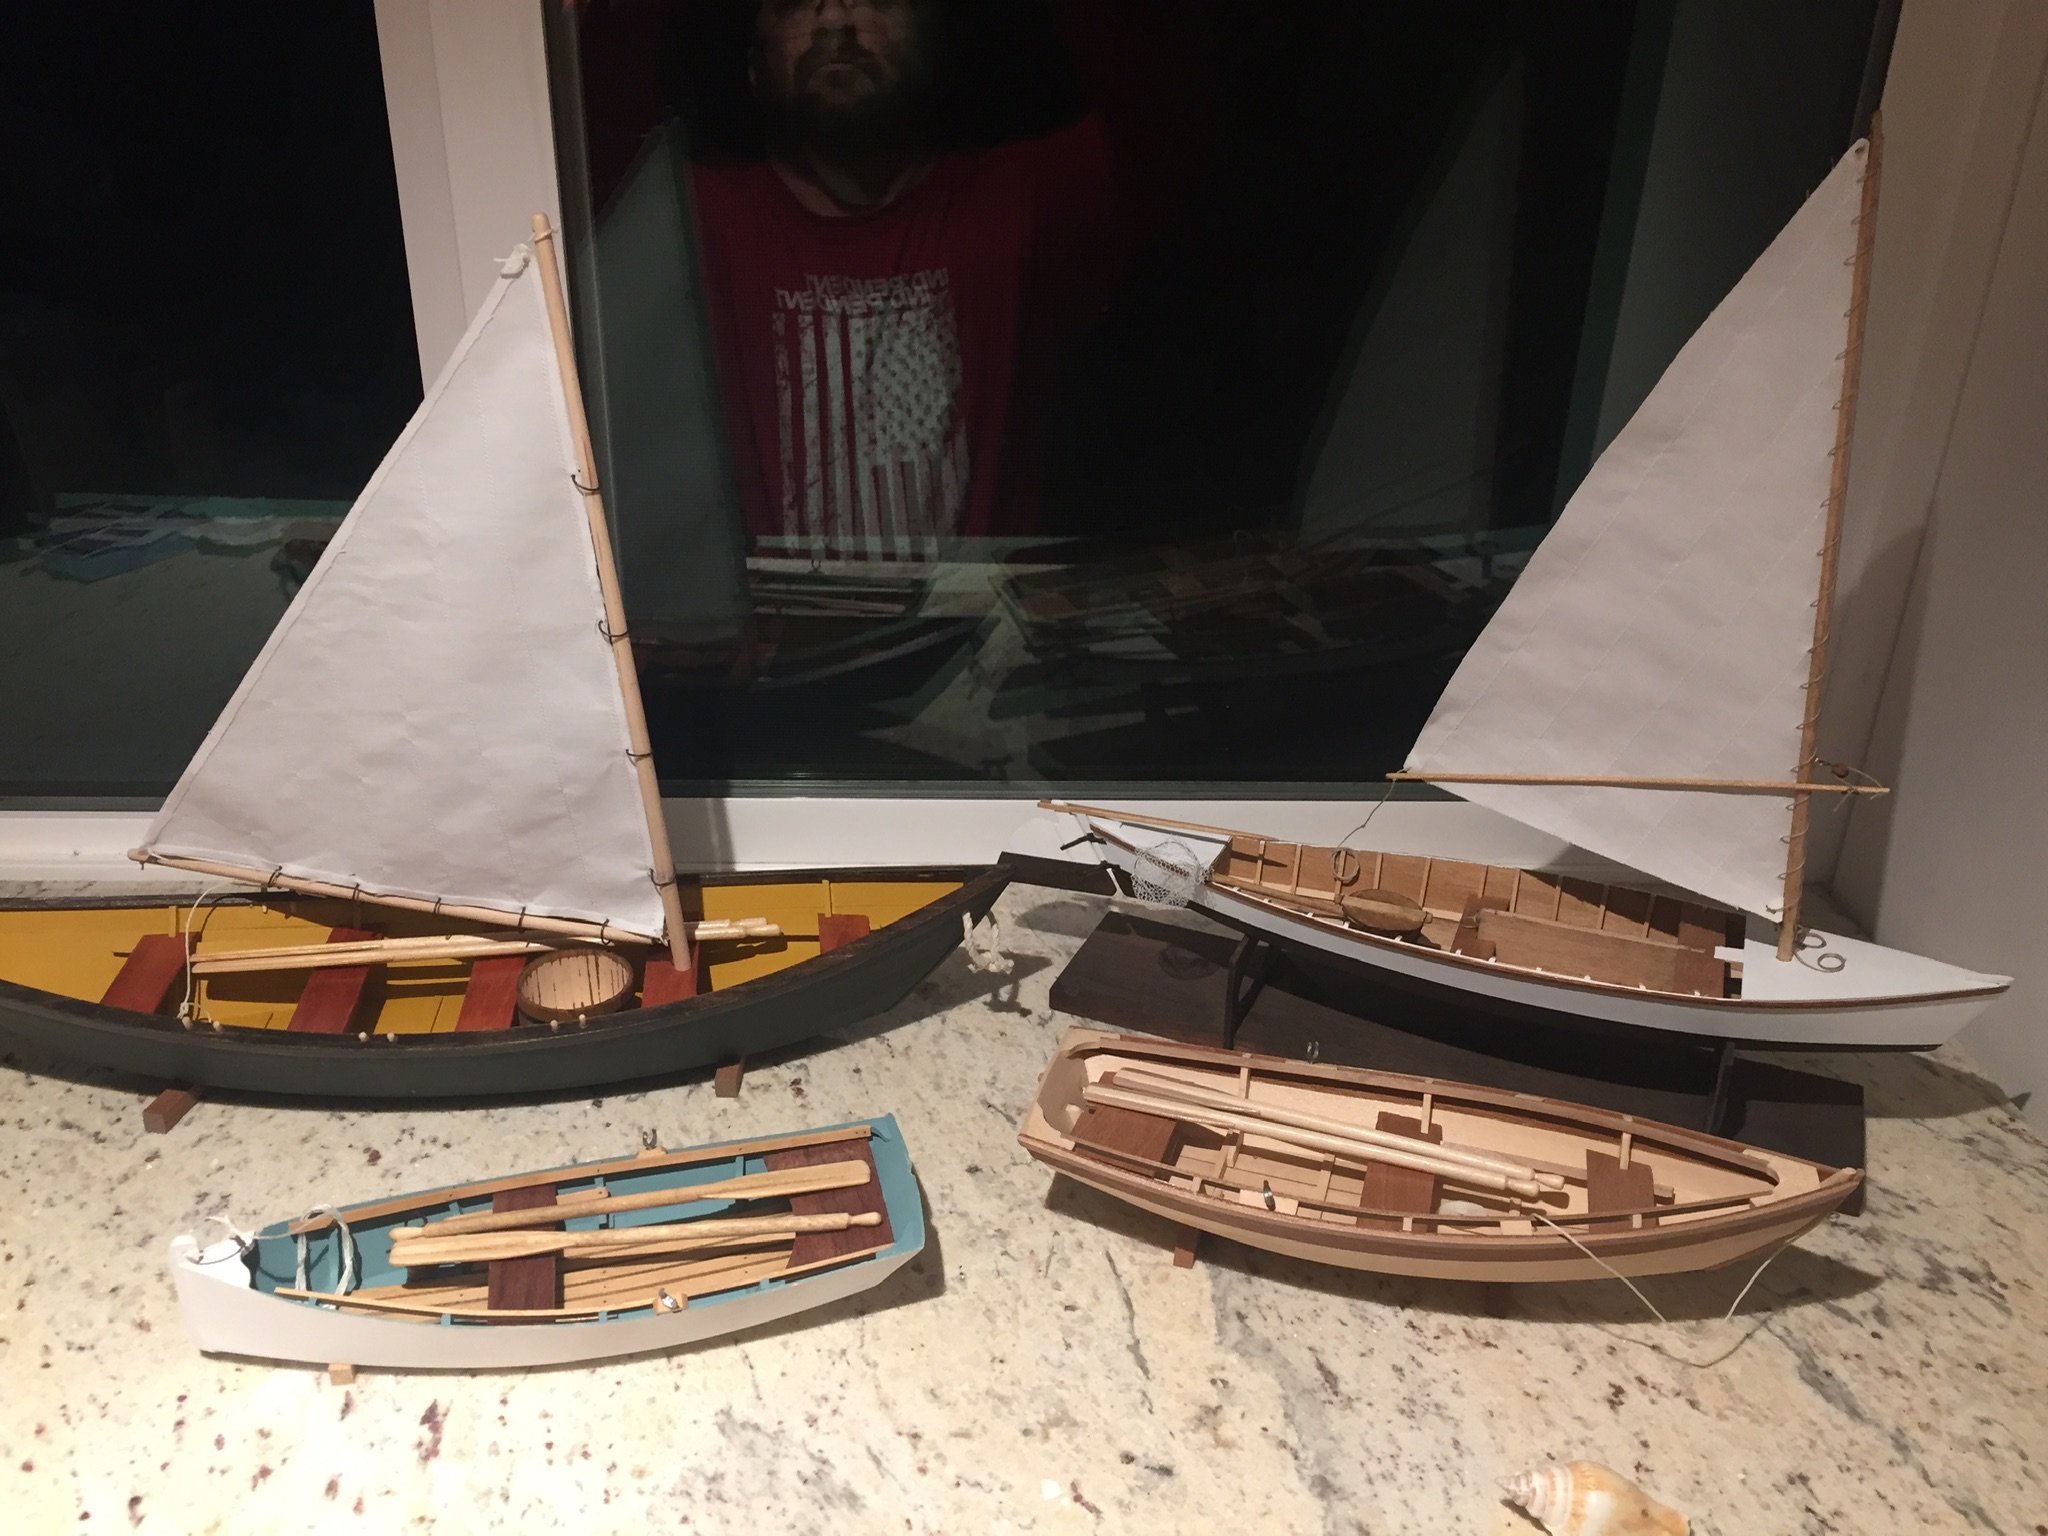
Another one completed. Would definitely recommend any new modeler that wants to get his feet wet without diving in the deep end to pick up a Midwest kit. I believe even that hardest ones still have great plans, instructions and material.

- modeller_masa, TOM G, VTHokiEE and 6 others
-
9
-
-
1 hour ago, Osmosis said:
Very nice job on this one. I love these little Midwest kits to bad they are getting so hard to find.
Regards Art
I bought just about every type I could find lol...their are still quite a few at a good price on eBay. I even found a two seater Chesapeake bay kayak 😆
- BobG and thibaultron
-
2
-
-
-
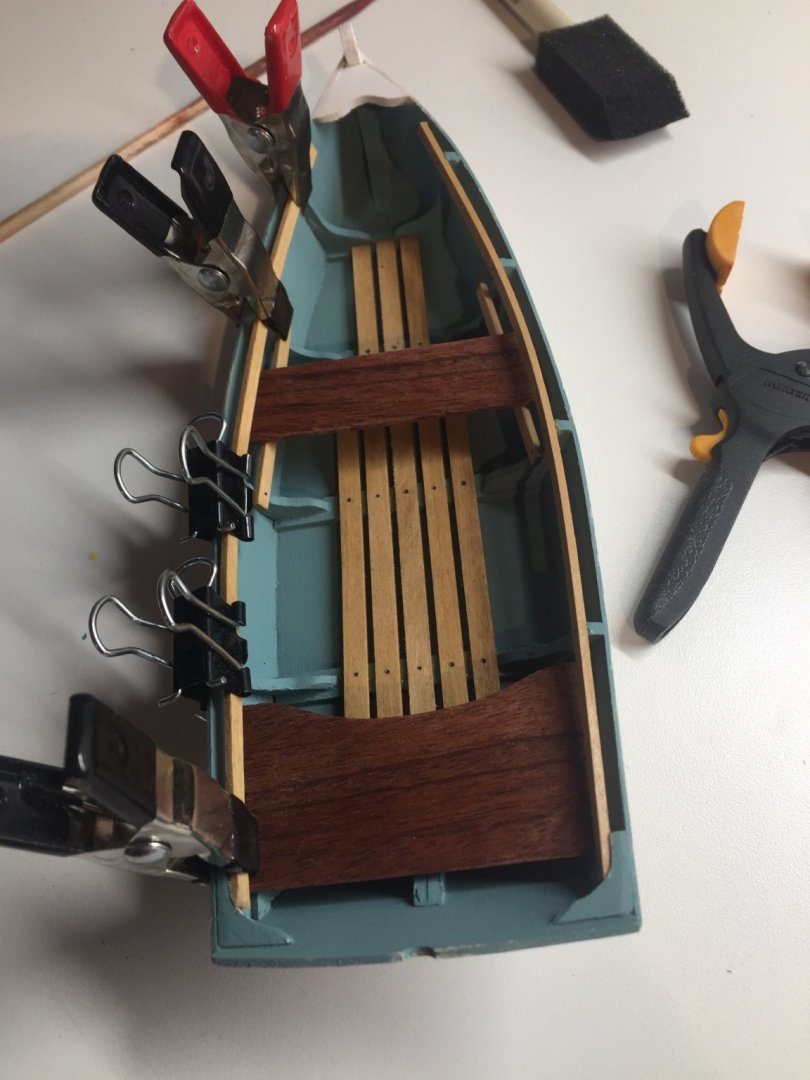
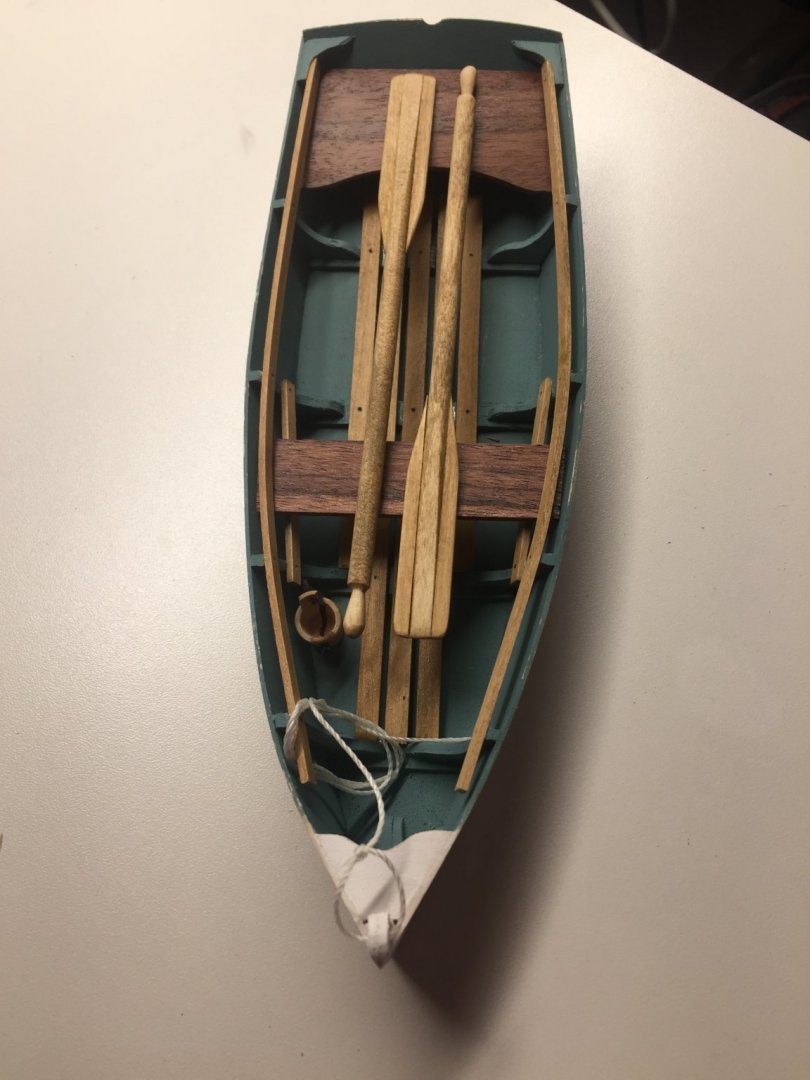
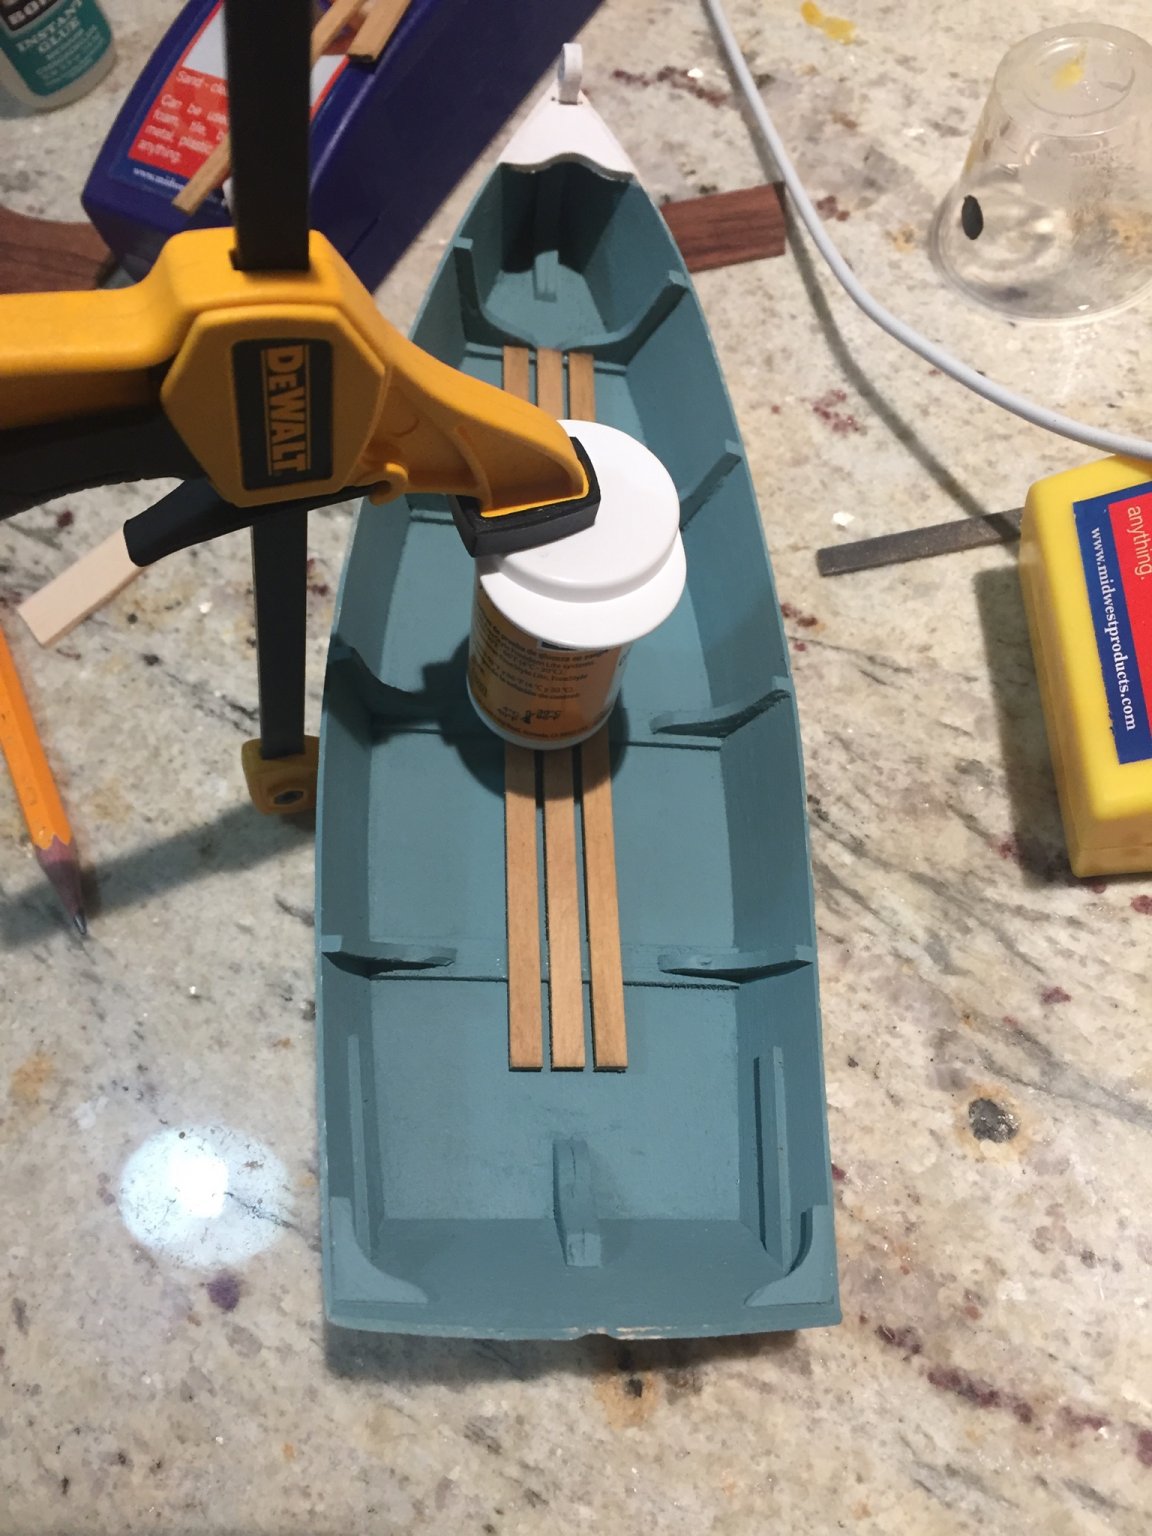
I had a blue color I happened to like, it is a little darker then what the plans call out, but I like it.
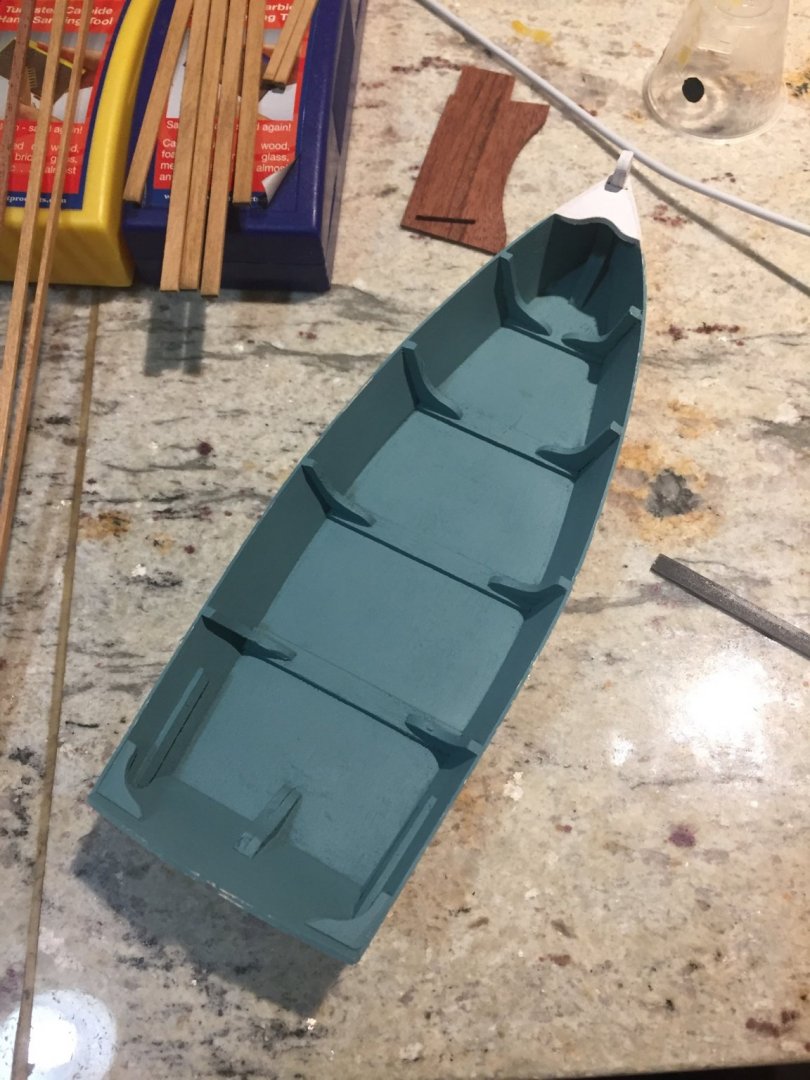

you can see the crack on the planking above 😳
- thibaultron, yvesvidal, GrandpaPhil and 1 other
-
4
-
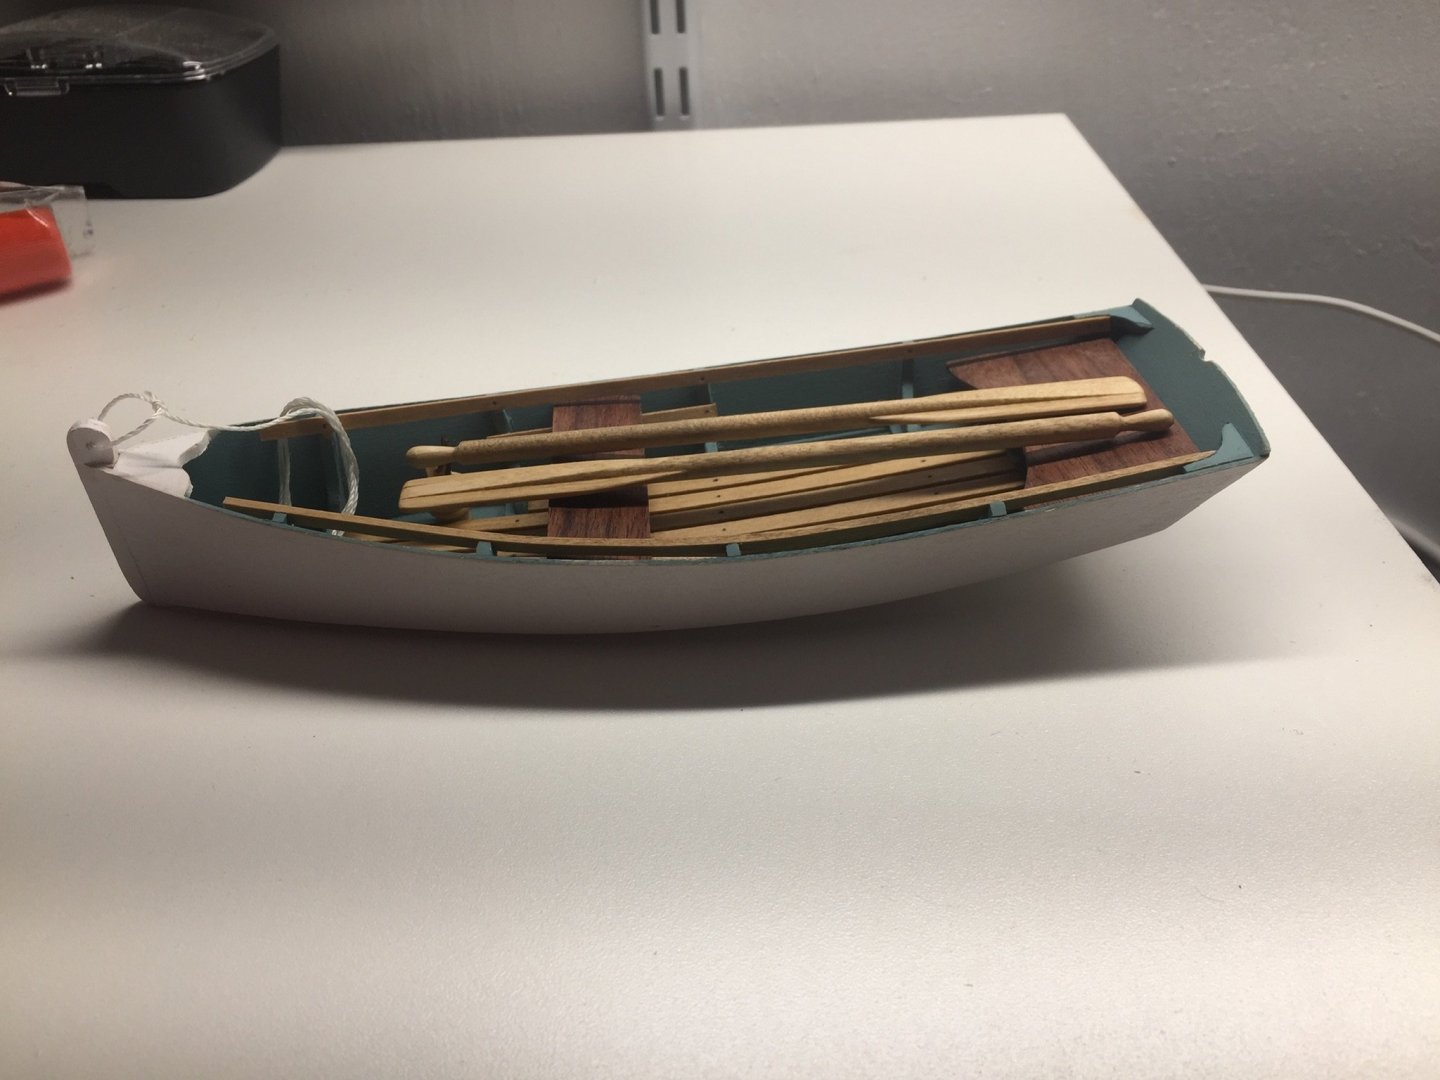
I ended up cracking the one side of the planking due to one of the frames being out of whack...it didn’t bother me enough to fix it lol
- thibaultron and GrandpaPhil
-
2
-
I built the building board. I always do whatever I can in order not to have to put tacks through the bottom of the hull.


- thibaultron and GrandpaPhil
-
2
-
So like always I follow the directions that are very straight forward. I try to think about painting and finish before I start. I enjoy these basic kits but I am certainly wanting to go big...


- GrandpaPhil and thibaultron
-
2
-
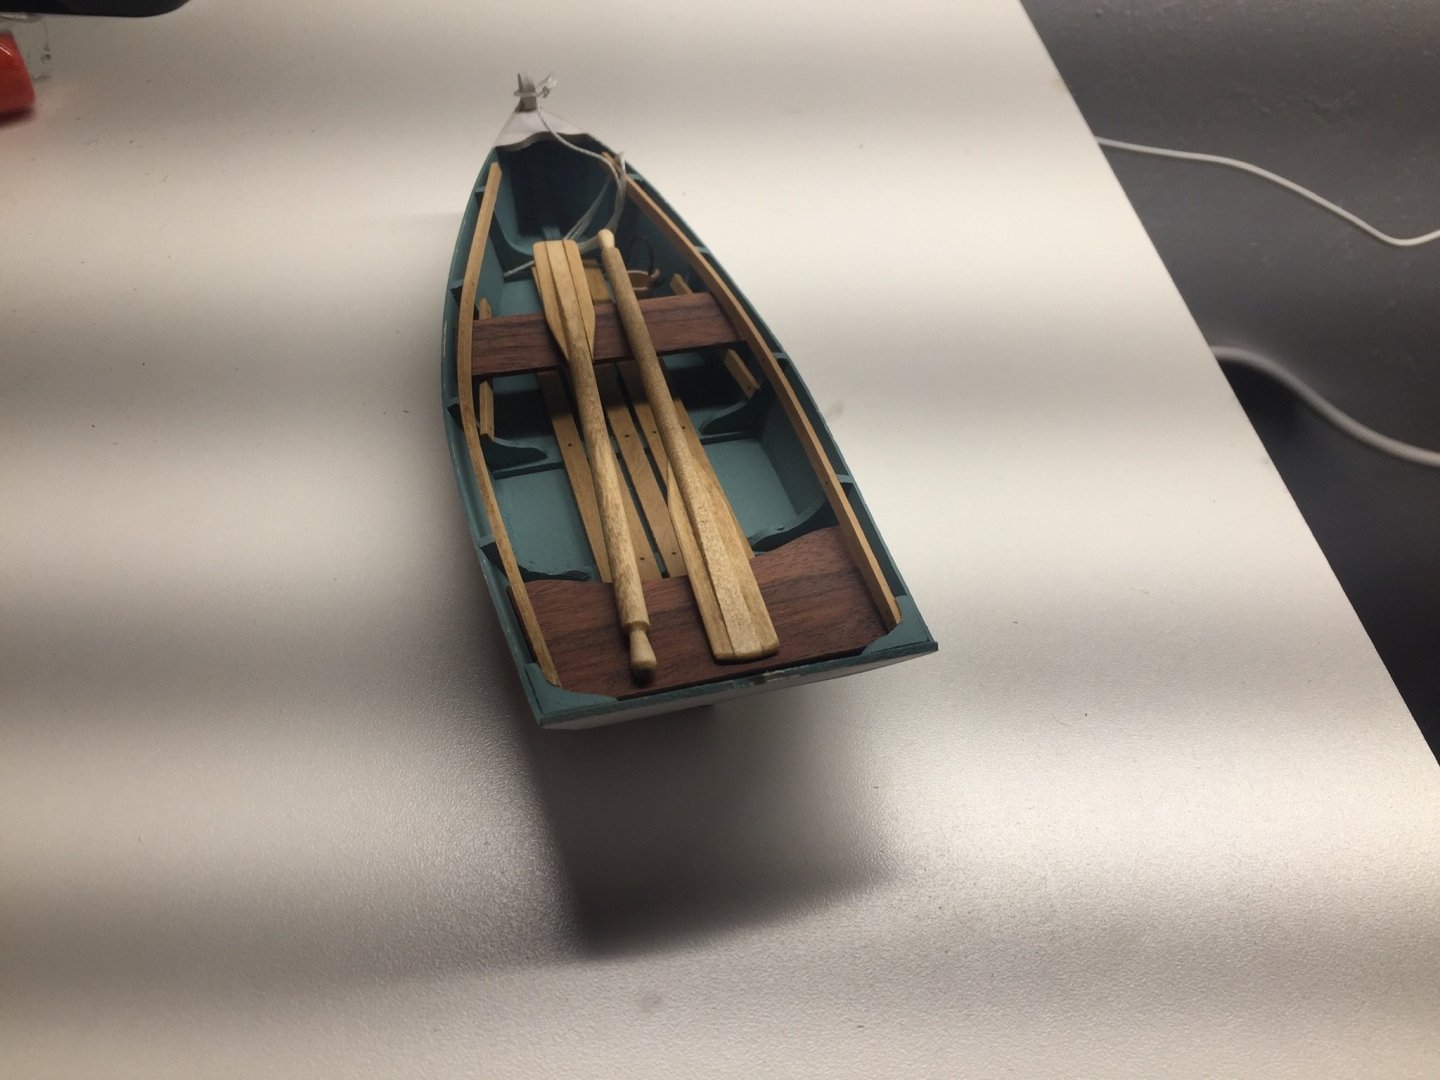
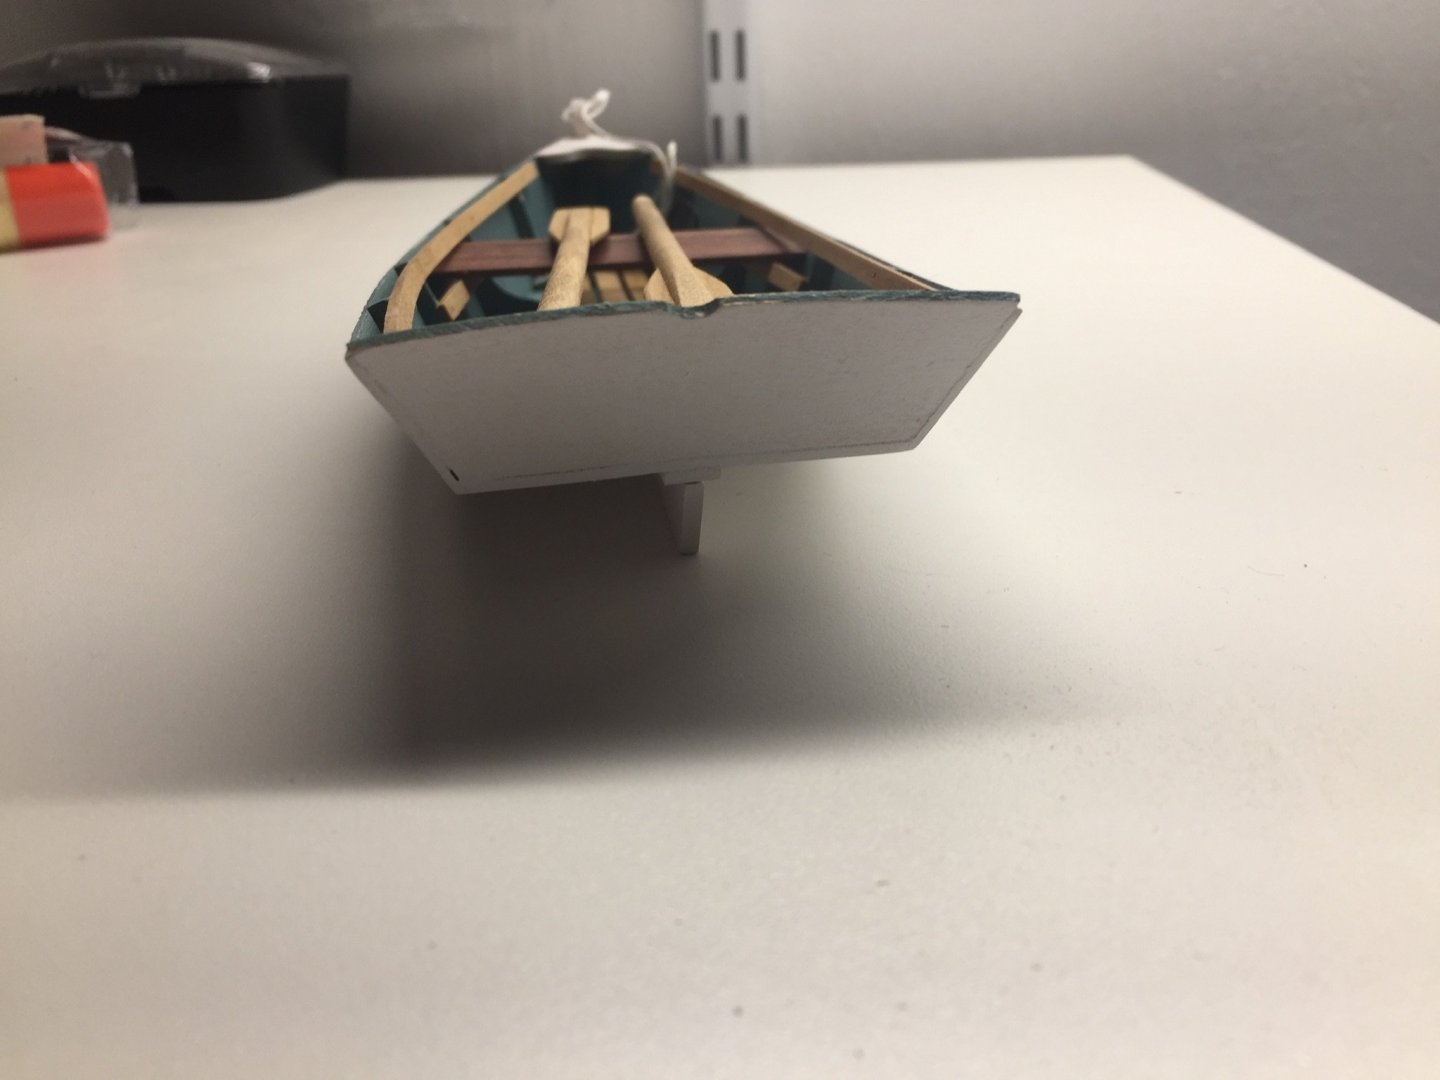
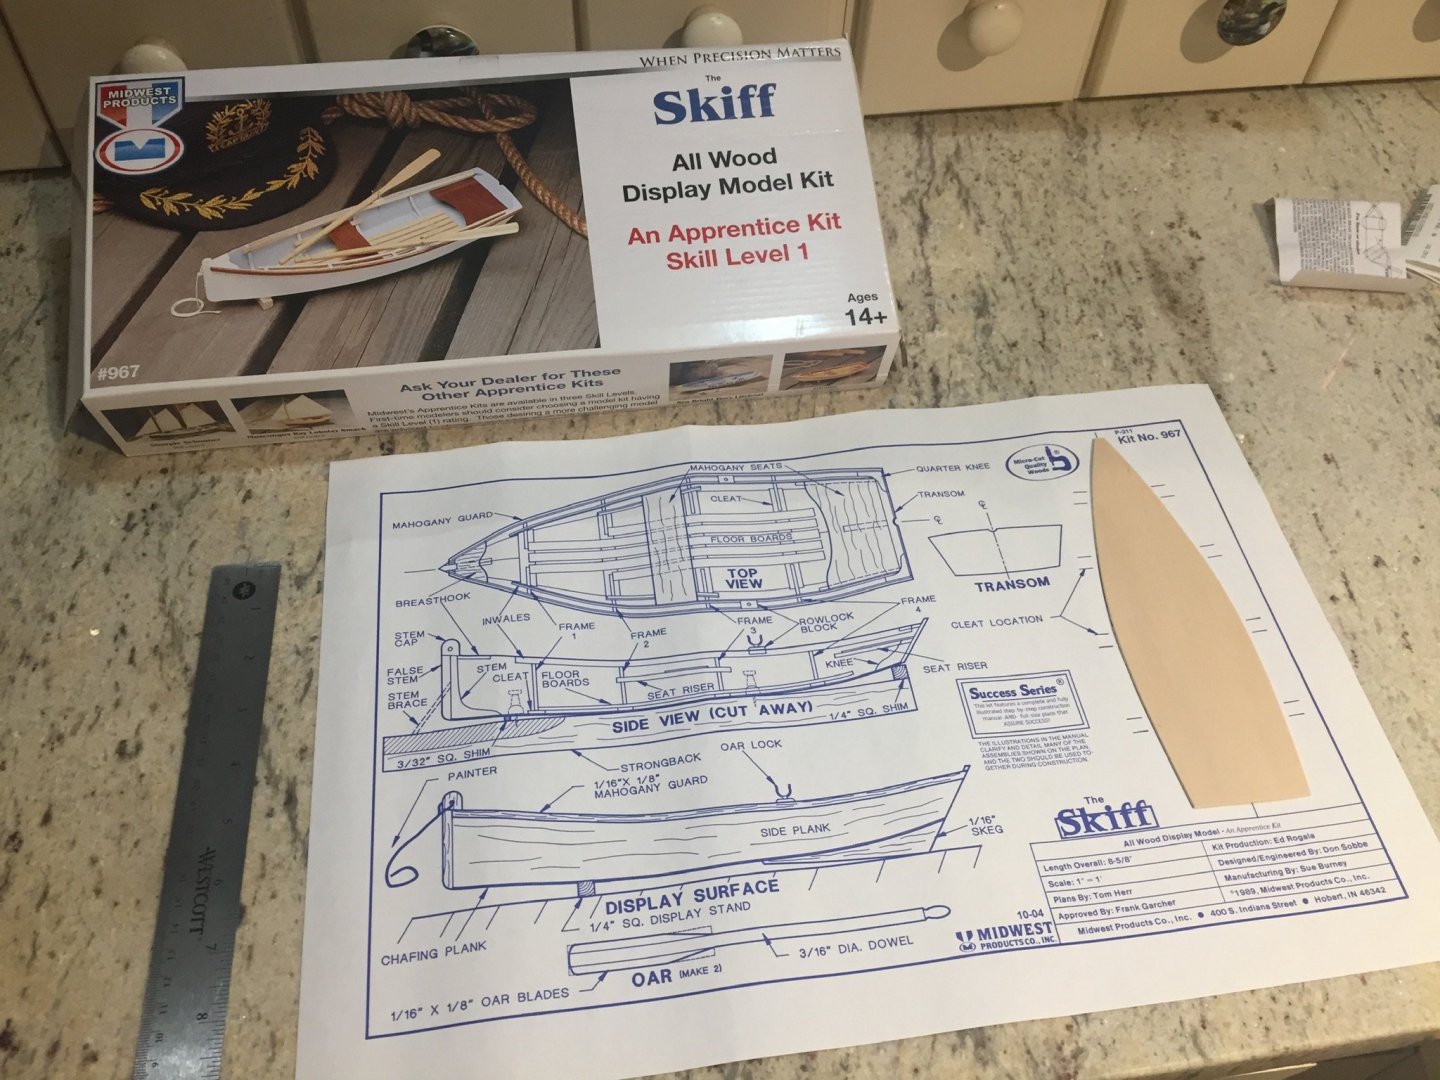
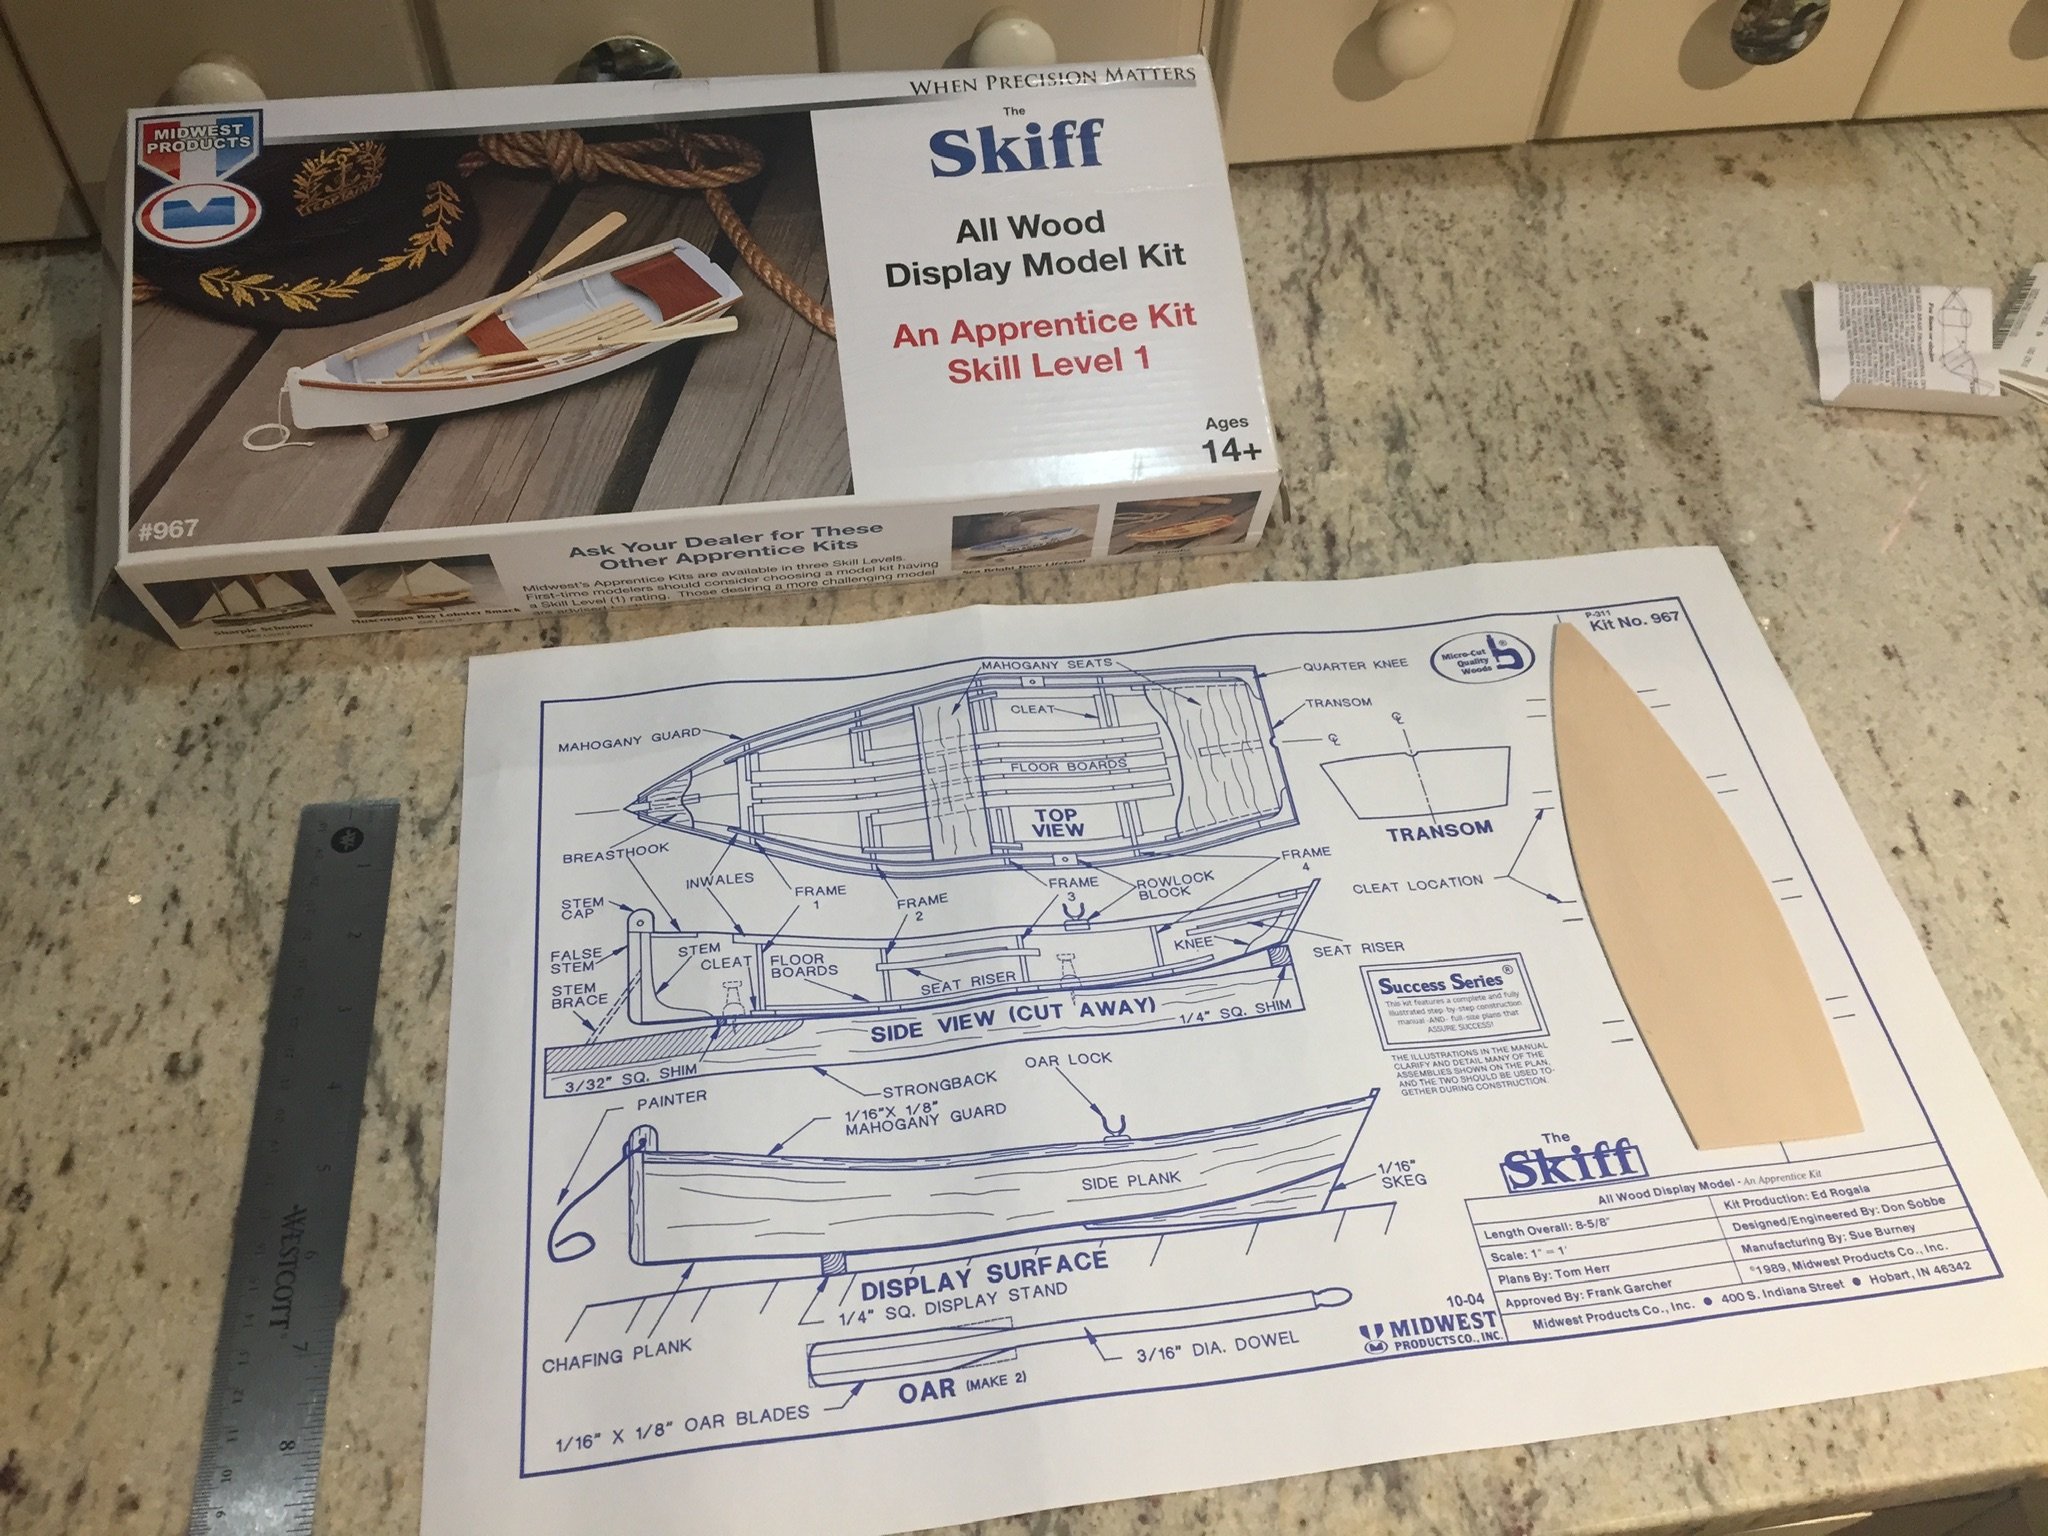
Another weekend project and this one is Skiff by Midwest.
- GrandpaPhil and thibaultron
-
2
-
-
-
On 1/17/2020 at 11:15 AM, DonInAZ said:
I started this kit many, many years ago (sometime in the mid 1980s if I remember right) and I keep that uncompleted first attempt as a reminder to slow down and not rush through steps. It actually doesn't look terrible but it's a far cry from what you and others have done with your kits. I bought a second kit and am hoping to have another go at it sometime in the not too distant future.
For now I'm cutting my wooden ship modeling teeth on a couple of the smaller Midwest kits and to be honest, I'm having trouble even getting one of those tiny projects across the finish line.
Anyway, you have the right attitude and seem to have the skills and resources to do a great job on the Phantom. Looking forward to your next updates.
After recently finishing my Carronade I took the Phantom out of the box and took a look at it....I then decided to place it back in the box. I might do another Midwest kit in the meantime. I think working on multiple projects caused a Log Jam. I would like to finish what I have started, I am about 80% done with the Taurus, I have a few planks on the planking exercise and I also have the Phantom going....


Artesania Providence - Vertical keel and frames question
in Building, Framing, Planking and plating a ships hull and deck
Posted
Looks like you are doing the Providence whale boat! Start a log I am sure someone can help 😊