HOLIDAY DONATION DRIVE - SUPPORT MSW - DO YOUR PART TO KEEP THIS GREAT FORUM GOING! (Only 13 donations so far - C'mon guys!)
×


Mirabell61
-
Posts
7,407 -
Joined
-
Last visited
Content Type
Profiles
Forums
Gallery
Events
Everything posted by Mirabell61
-
 thanks very much for your comment Pete, Nils
- 2,625 replies
-
- 5
-

-
- kaiser wilhelm der grosse
- passenger steamer
- (and 1 more)
-
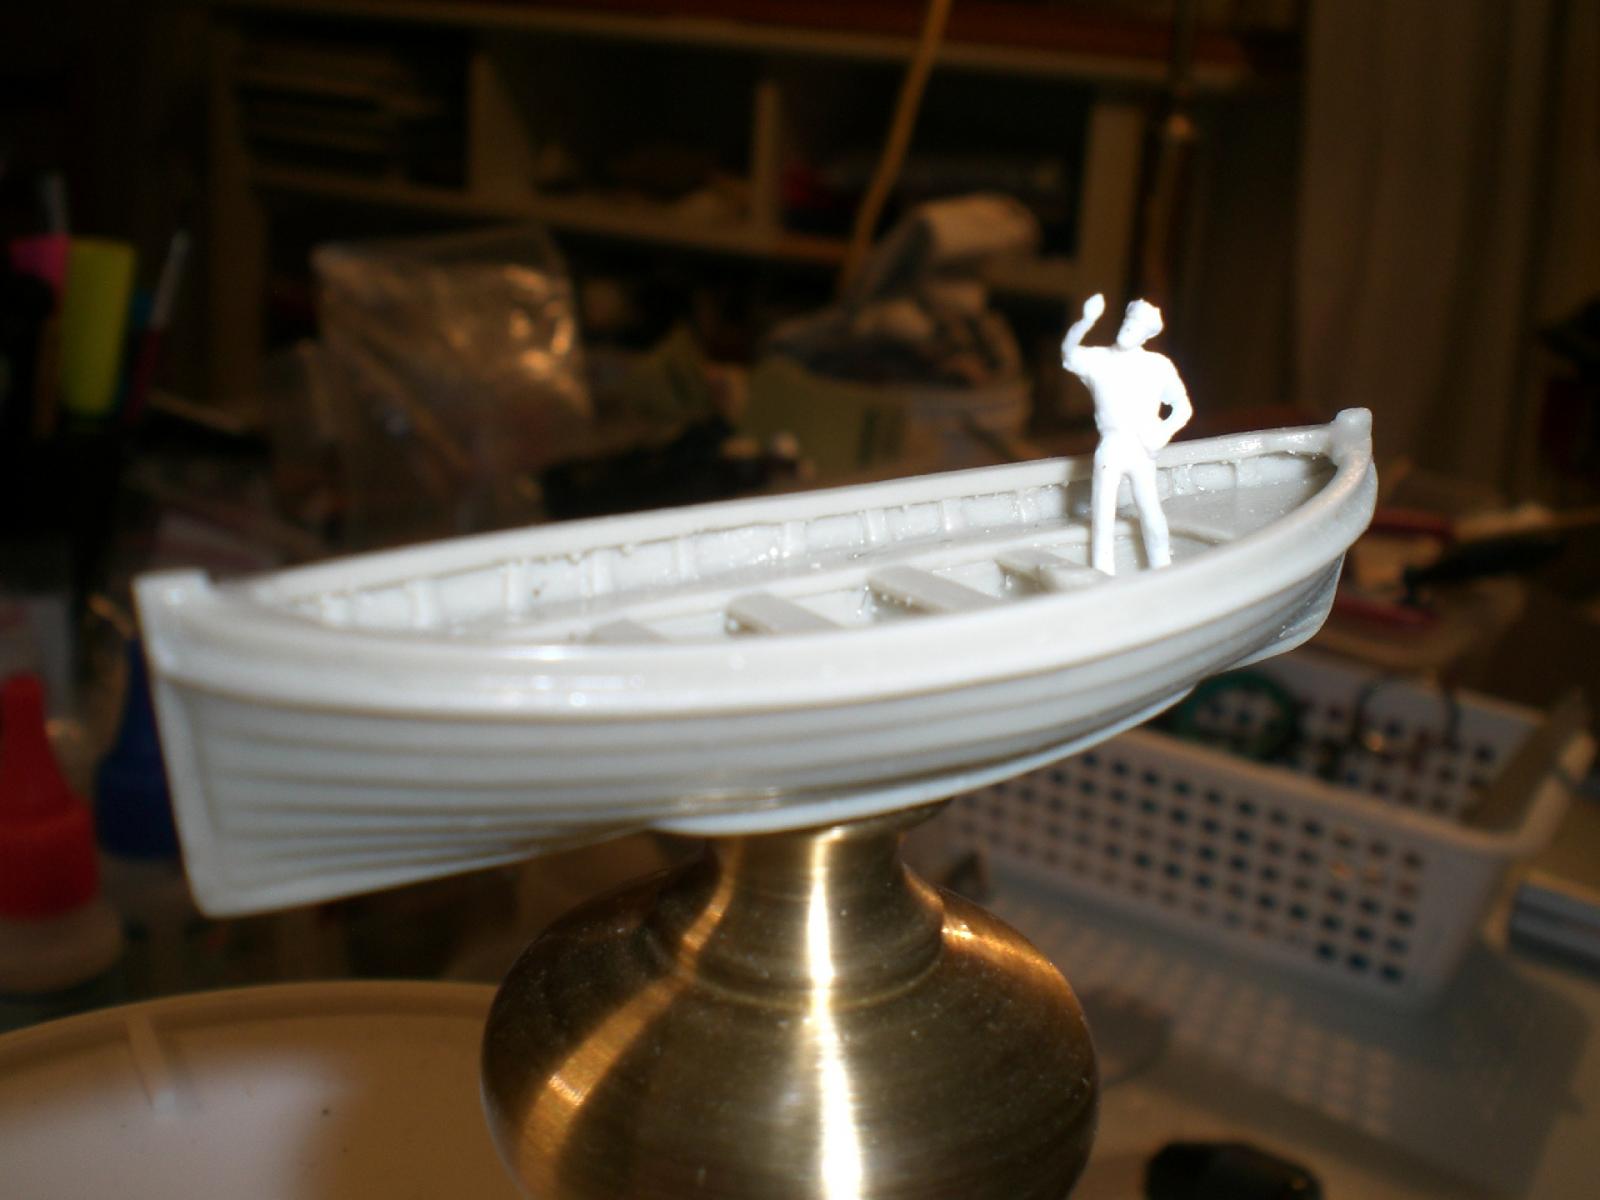
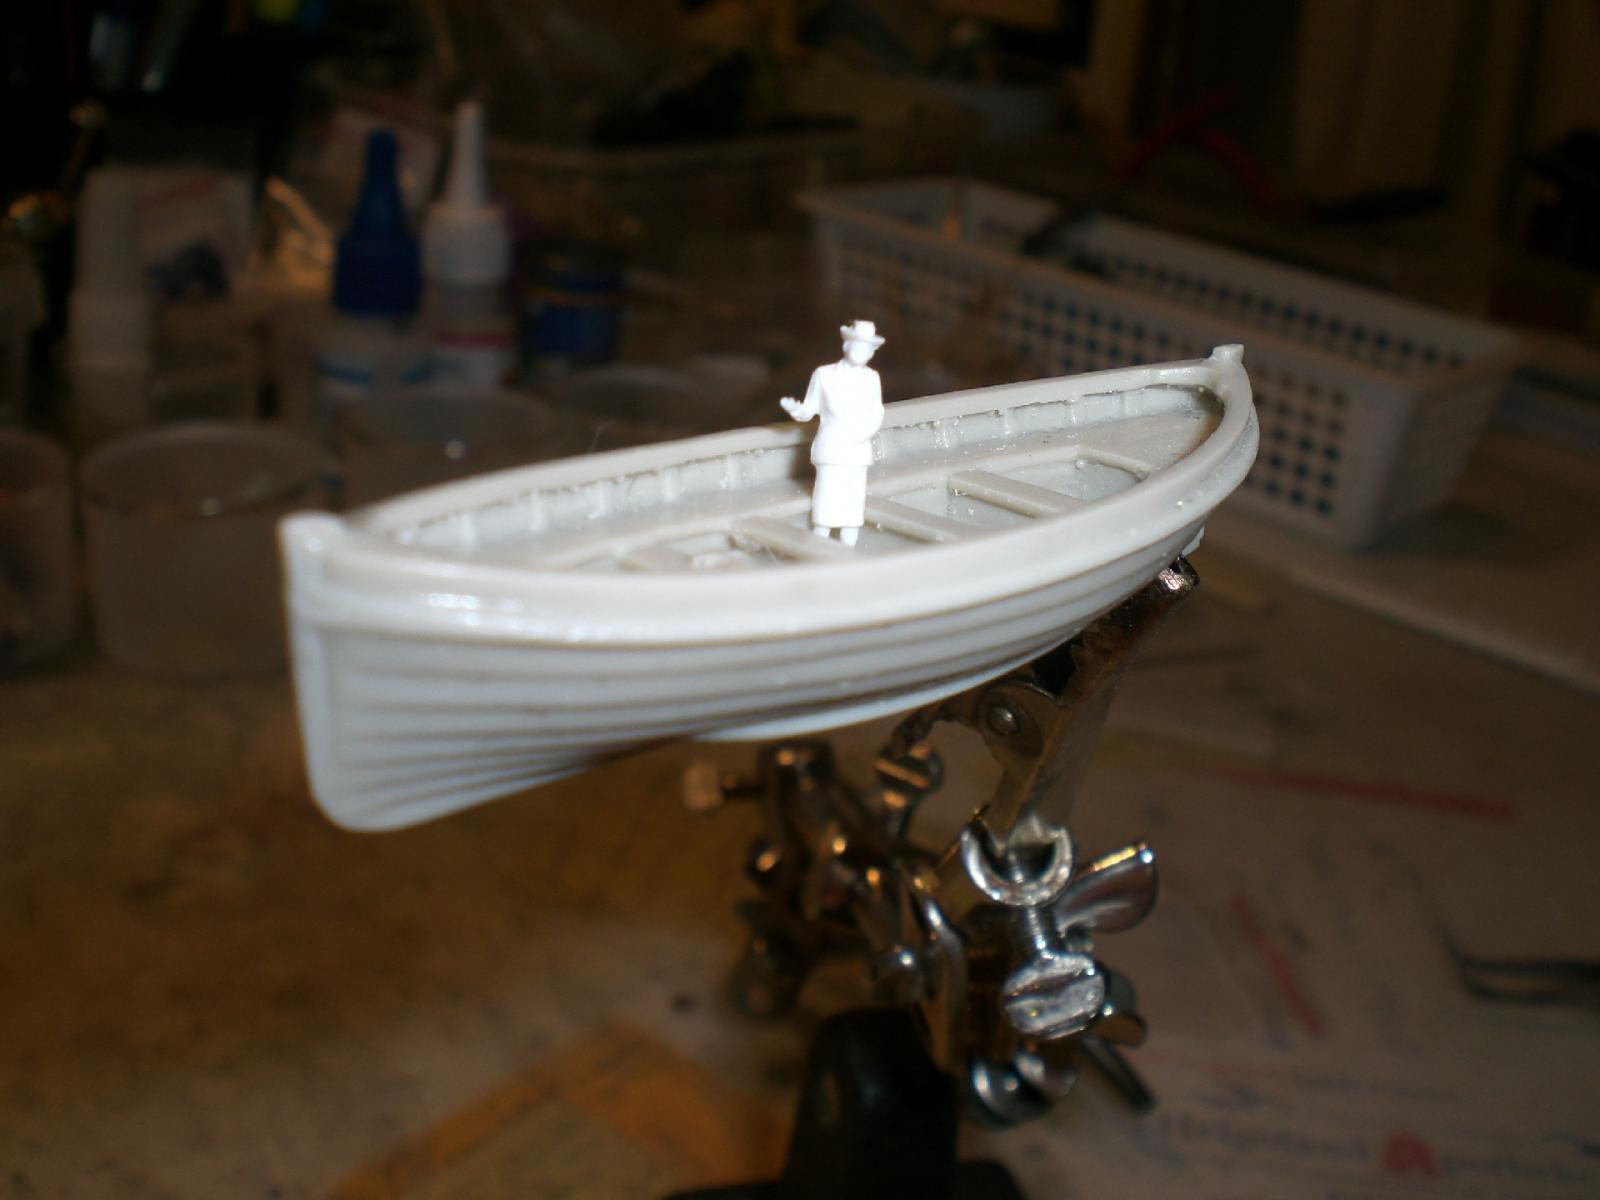
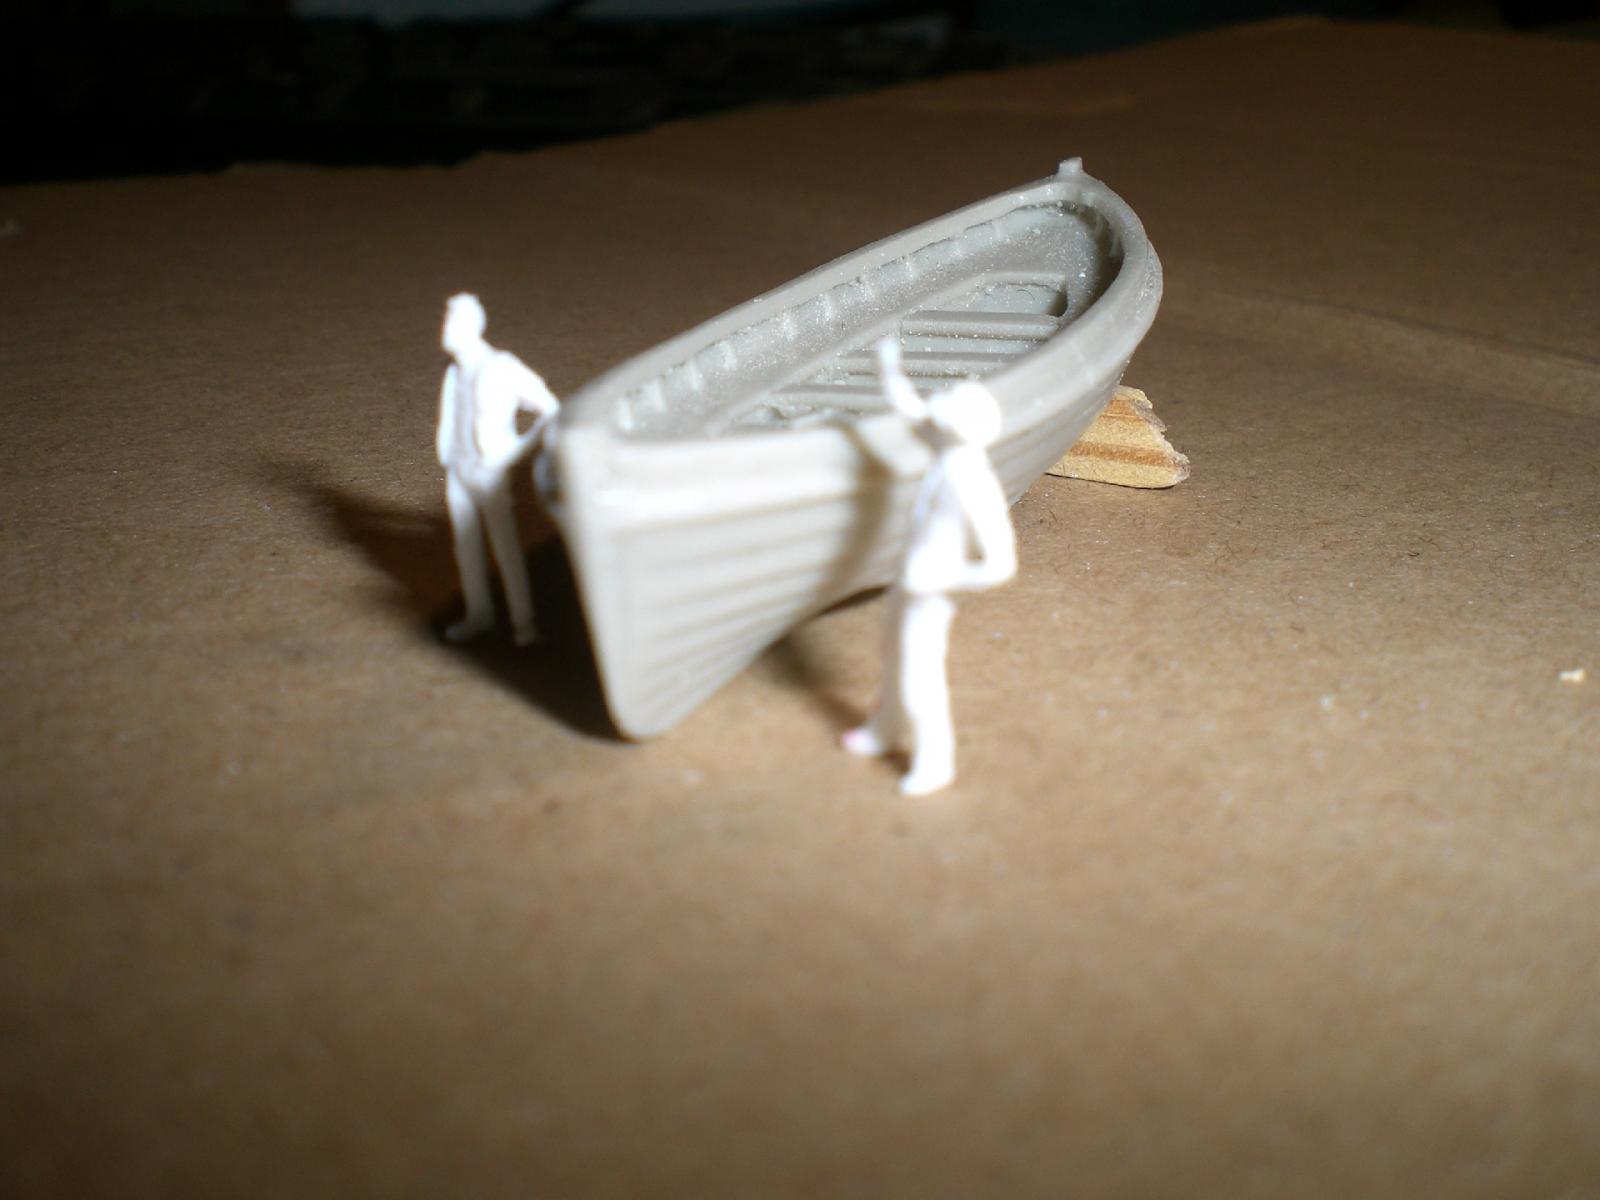
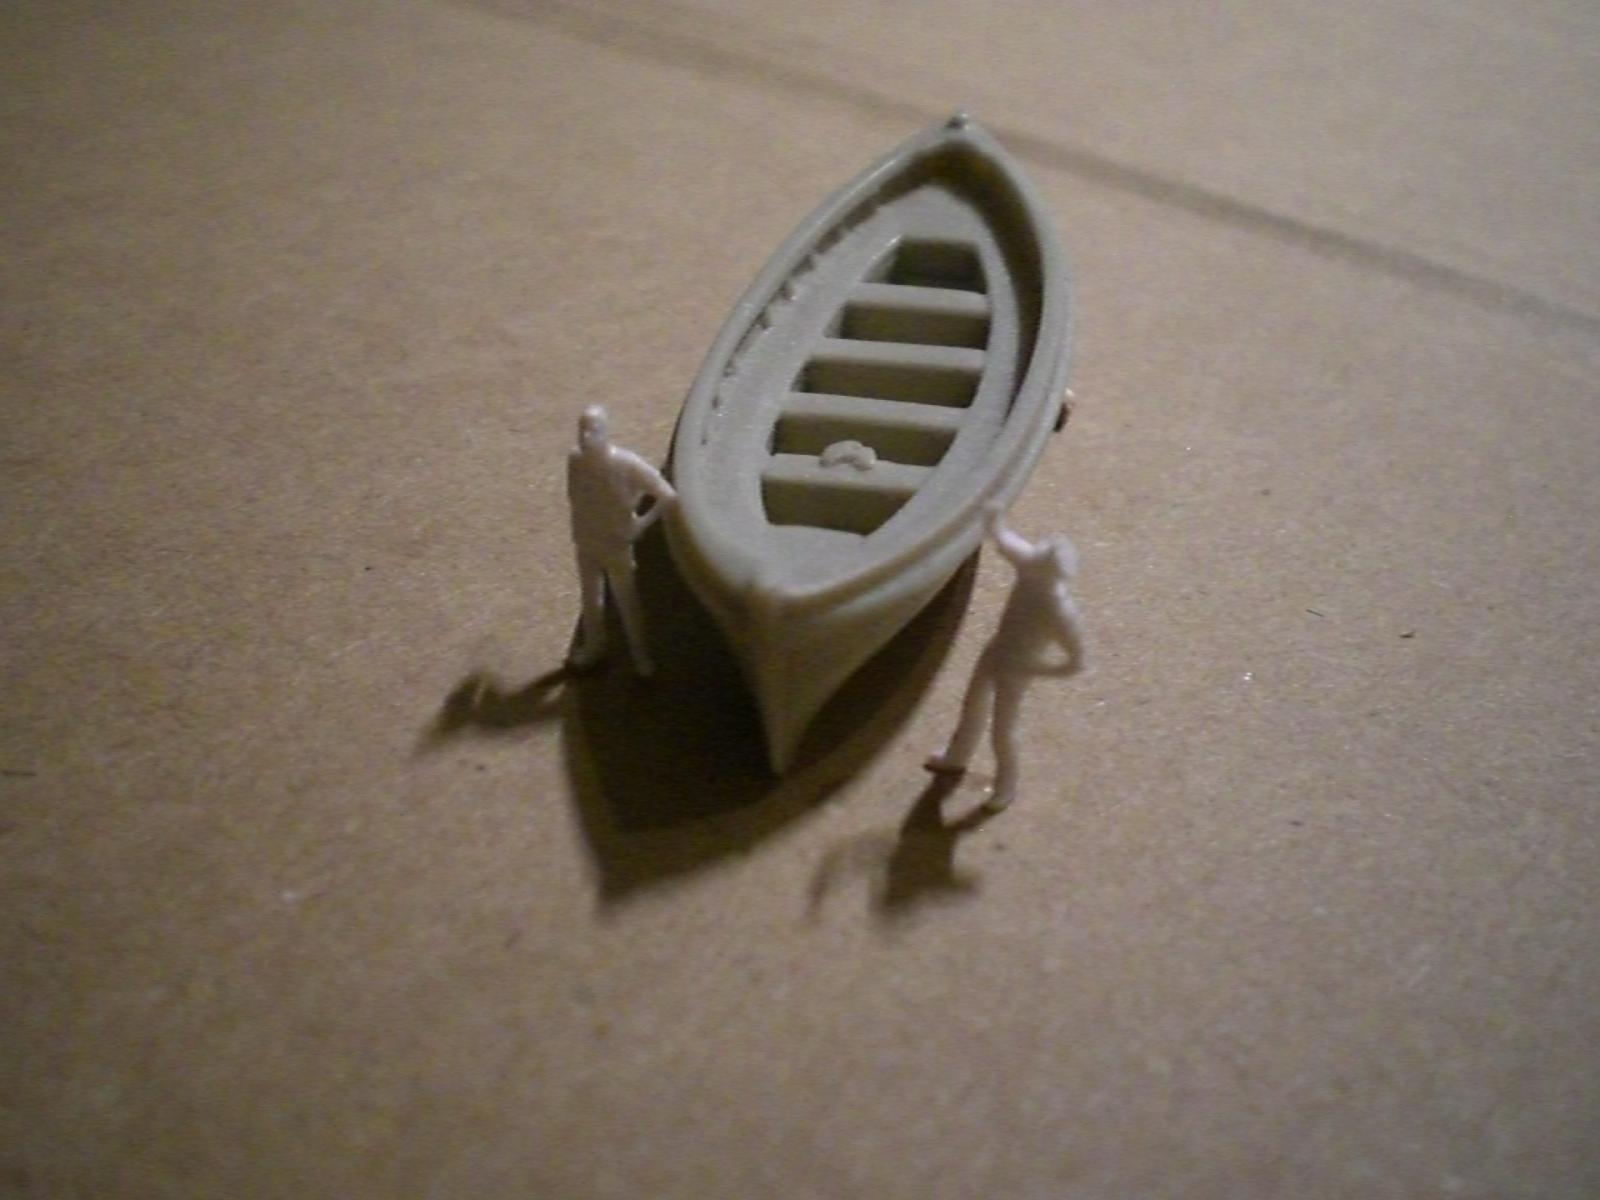
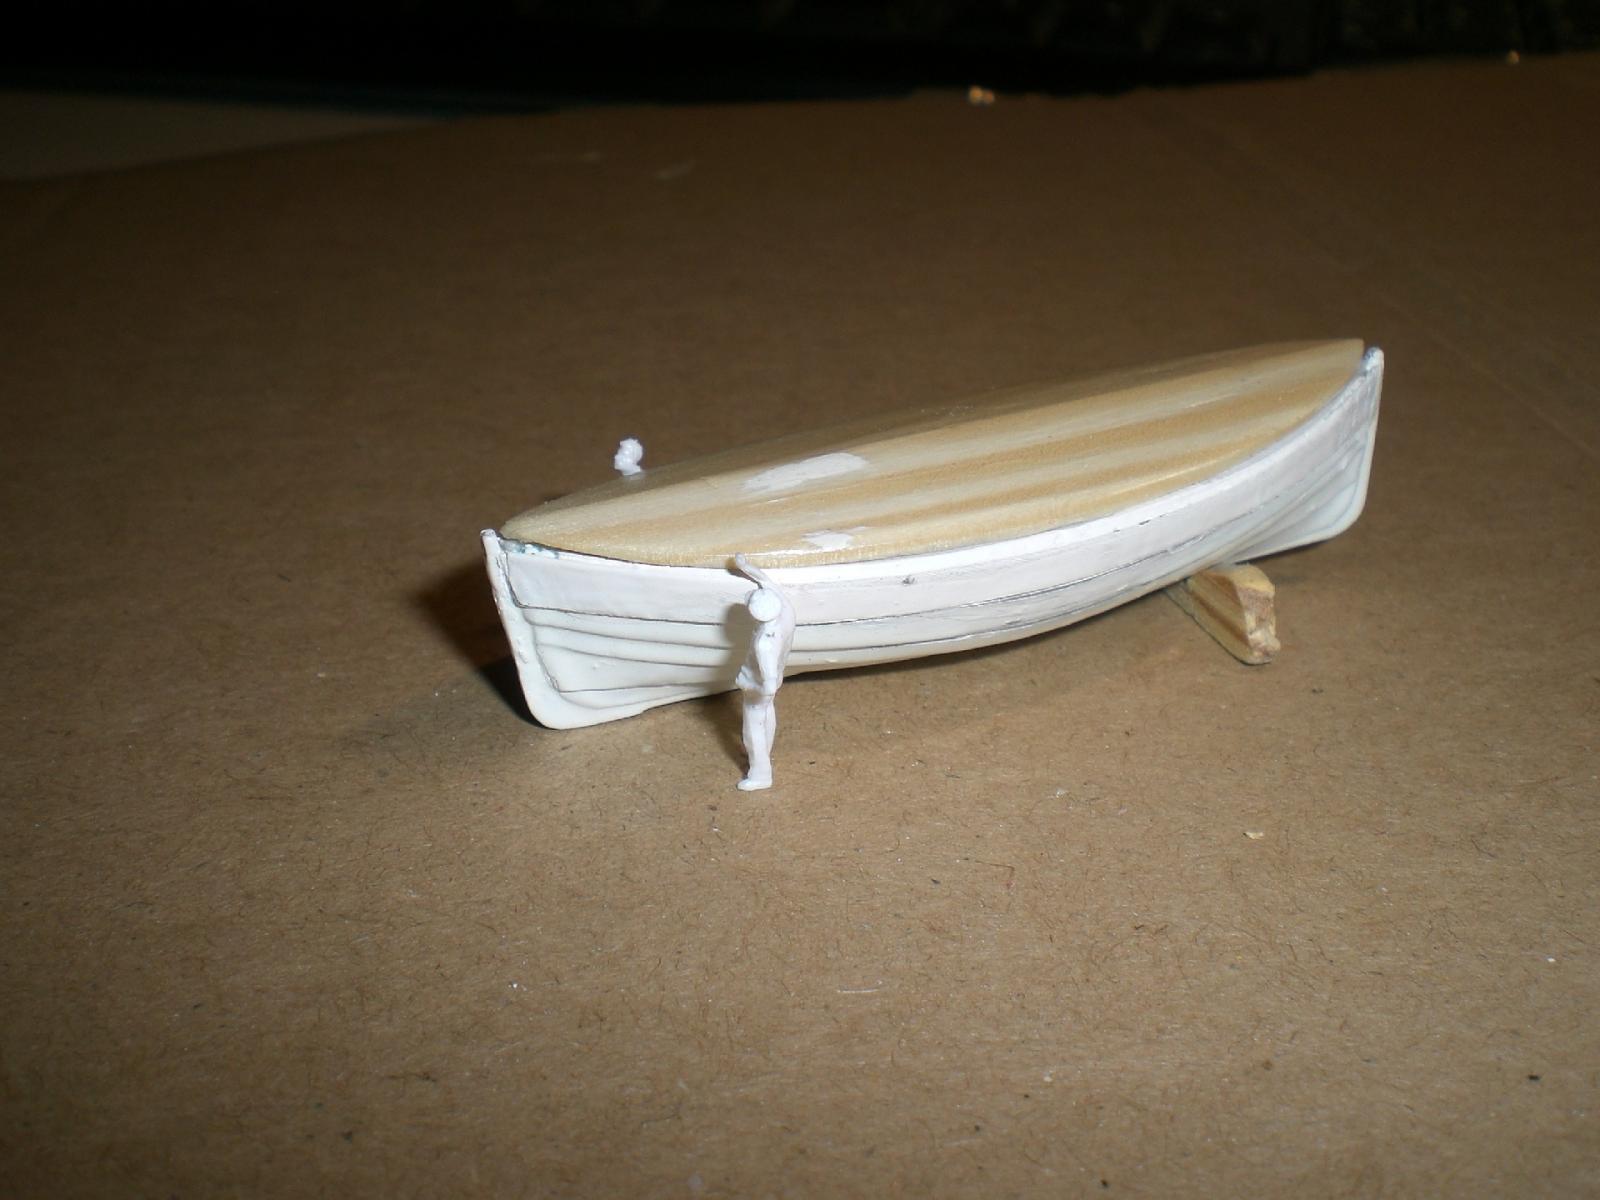
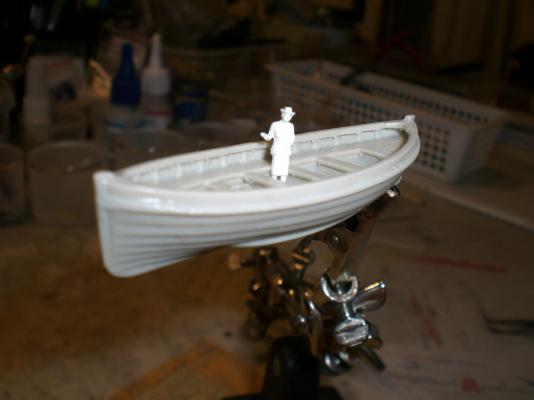
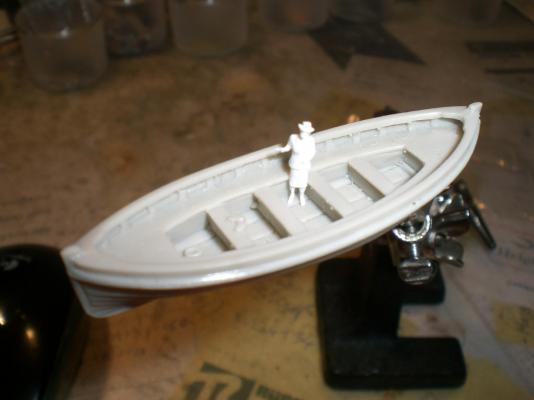
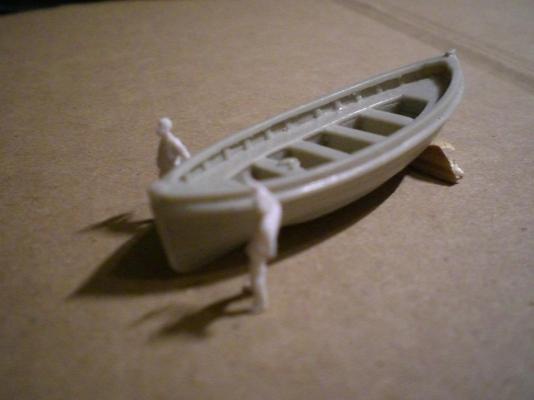
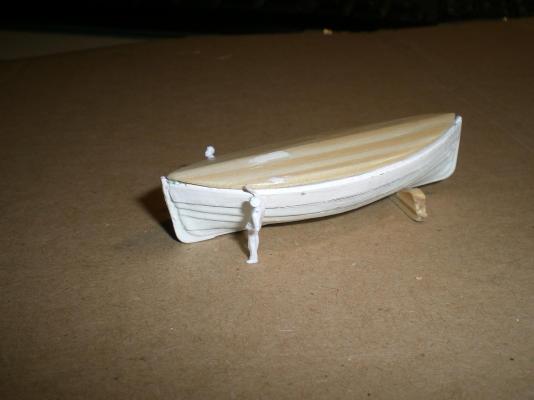
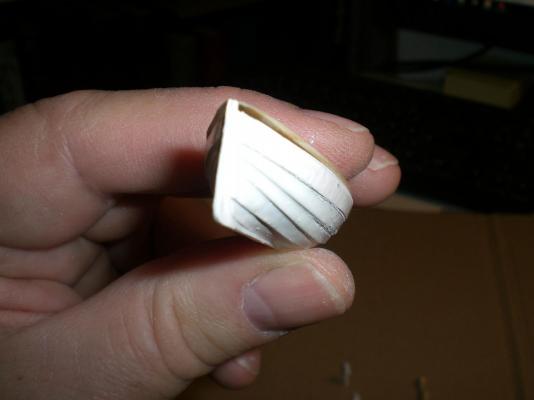
Update I`m still waiting for mini toothwheels to arrive, in order to build the cargo winches in brass, as good as possible to scale. In the meantime I`m checking with the lifeboats. A raw protptype was already made (as shown in an earlier pos of this thread). Probably I will make resin cast boats after that prototype in series production. For weather protection I made a "cavas" cover out of wood, that will be fitted on the sample boat when making the silicone mold. Around the sheerline there will b a strong fender rope A few weeks ago I found a boat (in scale 1:144) from a british model web shop which is a good alternative for using, but that`s a rather expensive solution to go. Also compared with the scale figures that boat seems to be a wee bit to small, although my first made prototype is only 1mm longer and 0,5 mm wider, I think it looks more seaworthy.... I will let the impressions work on my mind to find the best solution Nils This is a wonderful detailed looking cast boat both figures are 1:144, the male of course is slightly taller, that`s natural... I have the feeling that this boat is a bit too small ( although it`s nominal in scale) This is the first built prototype to suit the figures in scale, it looks a more rough water resistant boat the clinkering is a bit wider, but I wanted it to be seen afterwards, when the boats are in their davits


- 2,625 replies
-
- 23
-
-
- kaiser wilhelm der grosse
- passenger steamer
- (and 1 more)
-
Hi Charlie, hollowing out the room for the great cabin is a smart idea, it will give a beautiful stern with those windows Nils
-
Peter, your rigged sails look very nice indeed, the hoops give the realistic touch Nils
- 293 replies
-
- 2
-
-
- pickle
- caldercraft
- (and 1 more)
-
very nice work Igor, it`s a beautiful (pleasure) schooner yacht Nils
-
nice work Martin, I second Bob`s comment (beautiful bulkheads), but perhaps you may be planing a cutaway in the quarterdeck to allow sight below.... Nils
- 467 replies
-
- 1
-
-
- fly
- victory models
- (and 1 more)
-
Cutter Cheerful 1806 by rafine - FINISHED
Mirabell61 replied to rafine's topic in - Build logs for subjects built 1801 - 1850
lovely work Bob, shrouds and pendants are well done... Nils- 525 replies
-
- 3
-
-
- cheerful
- Syren Ship Model Company
- (and 1 more)
-
a beautiful rendering of that frigate Bava, love those pics in your Post # 2, very elegant lines Nils
-
Hi Ben, nice that you`ve fixed the warp, it would have looked at you ever after if not..... The planking now is coming nicely. For the planking ends I would choose version 1 (overlap the transom) so you see the planks against the transom in view from aft. If the transom also has a structural planking, the side planking would also end up overlapping with the stucture-planked transom Nils
- 38 replies
-
- 3
-
-
- artesania latina
- Virginia
- (and 1 more)
-
Many thanks for your nice compliment Rob, glad you like the build... Nils
- 2,625 replies
-
- 2
-
-
- kaiser wilhelm der grosse
- passenger steamer
- (and 1 more)
-
Thanks for those links Gerhard, I have just found and ordered a whole bunch (Convolute) of small toothwheels from used wrist watches, but trust from your "links" there will also be a useful source. Perhaps I`ll get them on Saturday, we`ll see... Nils
- 2,625 replies
-
- 5
-
-
- kaiser wilhelm der grosse
- passenger steamer
- (and 1 more)
-
Thanks for you complement John, I`m thinking about how to build those cargo winches with twin steam cylinders drive. (two of six winches in total go onto the forecastle deck), looking for toothwheels to suit the scale.... Nils
- 2,625 replies
-
- 4
-
-
- kaiser wilhelm der grosse
- passenger steamer
- (and 1 more)
-
Peter, many thanks for that information. When I looked at that video taken by divers off the Dakhla peninsula I was amazed that the name lettering was still so well visable appr. 102 years under the ocean surface. Would highly appreciate any updates on this if you should be able to get some in due time.... Nils
- 2,625 replies
-
- 6
-
-
- kaiser wilhelm der grosse
- passenger steamer
- (and 1 more)
-
Keep your Lady happy Gerhard and also enjoy your hobby, that smoothens life for the near 60 ties.... Nils
- 2,625 replies
-
- 3
-
-
- kaiser wilhelm der grosse
- passenger steamer
- (and 1 more)
-
Hi Gerhard, looks very encouraging your involvement in metal working, turning, soldering, and you`ve also been very busy with repeatable mass production these days, Good work !! Nils
-
Hi Gerhard, thanks for your word, by the way, (know you`re only kidding....) there is a beautiful 4 meter long "beast" in 1:50 scale, to be seen in post #181, fist pic, of this thread, so you would know what you`re in for with that.... Nils
- 2,625 replies
-
- 2
-
-
- kaiser wilhelm der grosse
- passenger steamer
- (and 1 more)
-
Many thanks for both your nice complements Bob + Bob and your kind appreciations, I`m happy that you like the build... Nils
- 2,625 replies
-
- 3
-
-
- kaiser wilhelm der grosse
- passenger steamer
- (and 1 more)
-
Your kind comment is very much appreciated Denis, Nils
- 2,625 replies
-
- 3
-
-
- kaiser wilhelm der grosse
- passenger steamer
- (and 1 more)
-
beautiful work Ed, thanks for sharing, the planking of the boat looks fantastic Nils
- 3,618 replies
-
- 4
-
-
- young america
- clipper
- (and 1 more)
-
Very nice build Hartmut, I am missing the view into the beautiful furnished cabins, as the deck seems to hinder quite some sight to the interior, maybe it`s only the angle and distance of the picture taken.... A wonderful ship !! Nils
-
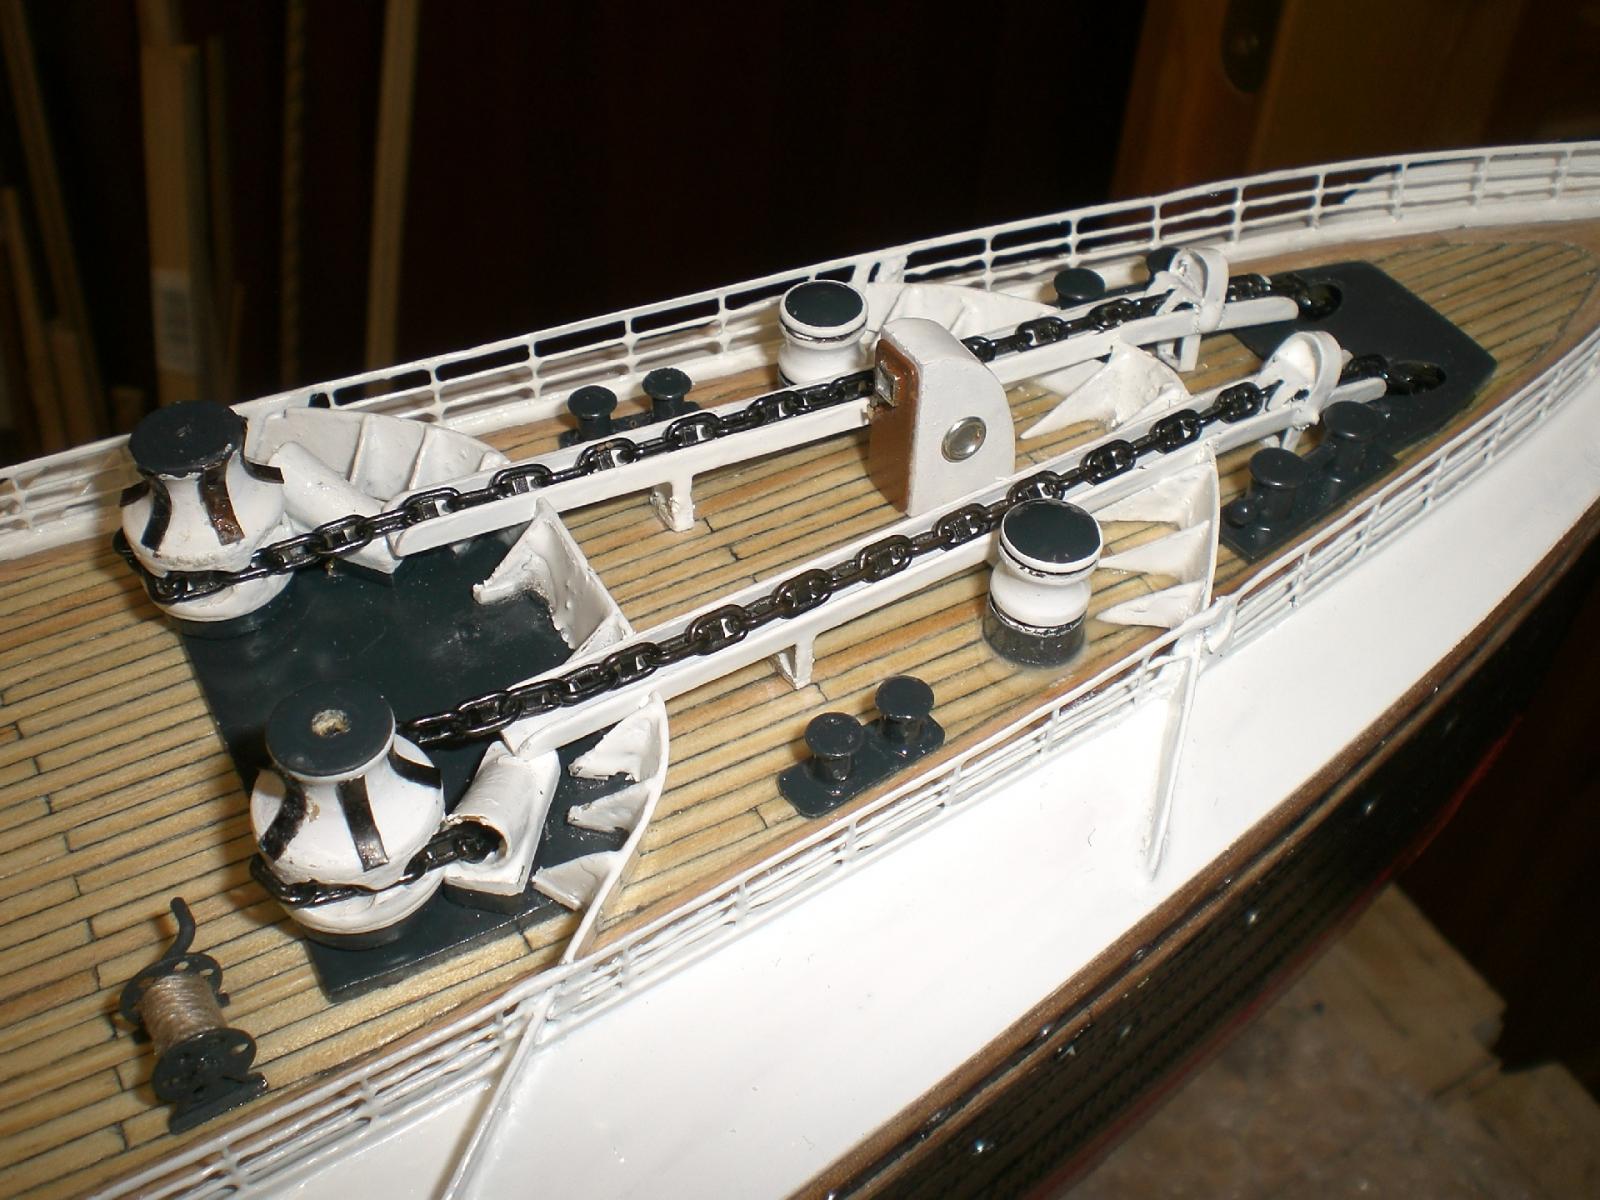
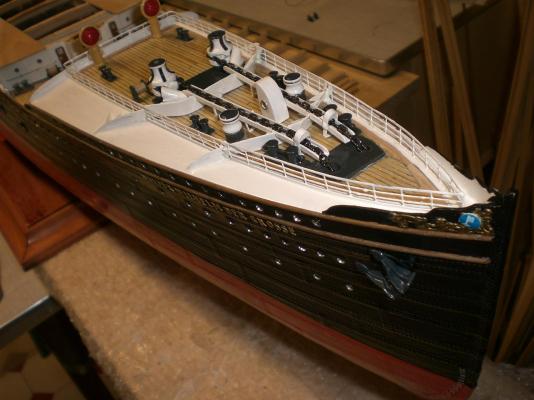
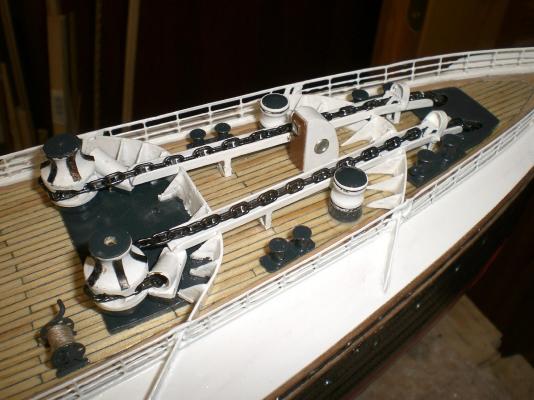
Many thanks to - Pete - Peter - Patrick - Ed - Albert - Dirk - Steve - Greg - Mark (Taylor) - Piet- for those nice comments and remarks as well as to the appreciations by all who activated the "likes" button Pete, the foredeck is obviously not complete yet, there are still to come steam winches, skylights, hatches, bollards, chocks spare anchors, etc... Peter, you`re right, the Stettiner Vulcan had quite some innovative ideas for their builds, and had been improving from ship to ship, especially in that decade around turn of the century Patrick, glad you like it, it`s not that Lillyput scale as yours, but here 1:144 is also quite a challenge Ed, Yes Ed, if one sees how the ship dip-sticks her nose into the onrolling rough sea, these breakwaters are very welcome and they have to be strong enough to withstand the water forces Albert, Thanks for your nice complement Dirk, thanks, it`s not so easy to stick close to the scale at all times..... Steve, access to the forecastle, next to that companionway between the chain slides, will be over a gangway from the promenade deck and by two stairways leading up from the "waist" (pit) deck I was wondering myself how the crew would pass over the breakwater barriers, if not with some sort of short steps or doors in the breakwaters. Would appreciate if someone knows.... For the mooring lines there will be some more bollards and plenty of chocks mounted on the forecastle deck. May need to cut some fields free in the railings Greg, a very nice complement, highly appreciated, Mark (Taylor), a very nice complement, highly appreciated, Piet, I thought I could do all in soft soldering, but some small parts have to be glued with CA (a "mix" so to say) Nils
- 2,625 replies
-
- 8
-
-
- kaiser wilhelm der grosse
- passenger steamer
- (and 1 more)
-
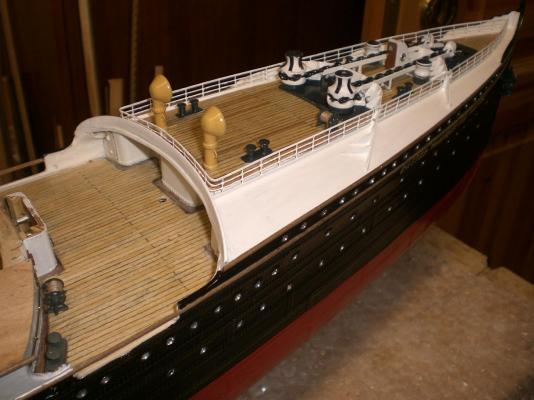
Update fitting out the forecastle deck..... now the capstans, the chain slideways, some bollards, anchors, etc. ...... have been fitted, and some painting is done.The breakwaters are permanently mounted Nils
- 2,625 replies
-
- 32
-
-
- kaiser wilhelm der grosse
- passenger steamer
- (and 1 more)
-
Ben, yoùr comment is right, and as the warp is only effecting the stern end, I suggest to end the horizontal circular saw cut appr. 15-20 mm before the transom. The keel will then be fixed at the end and the warped part will pull into the correct position. For safety reasons I would put a (removable) clamp over the aft keel area in order to prevent this portion from splitting and giving the sternpost stability during the process (depending on the keel`s ply quality). There`s no risk in ruining the model, as the warp is minimal as you said.... Wish you good success, thumbs up.... Nils
- 38 replies
-
- 4
-
-
- artesania latina
- Virginia
- (and 1 more)