
Gaffrig
-
Posts
161 -
Joined
-
Last visited
Content Type
Profiles
Forums
Gallery
Events
Posts posted by Gaffrig
-
-
Hello all!
Thanks for looking in and commenting and liking.
It’s very inspiring!
I had planned to start the deck gratings/coamings but decided to try finishing the gunport lids that is closed first.
Didn’t really have a plan for how to do this other than a general idea.
Made the port lids of scrapwood and cut a groove where they overlap eachother.
I decided to use styrene strip and rod to make the hinges.
I imprinted with an awl on the backside to imitate bolts.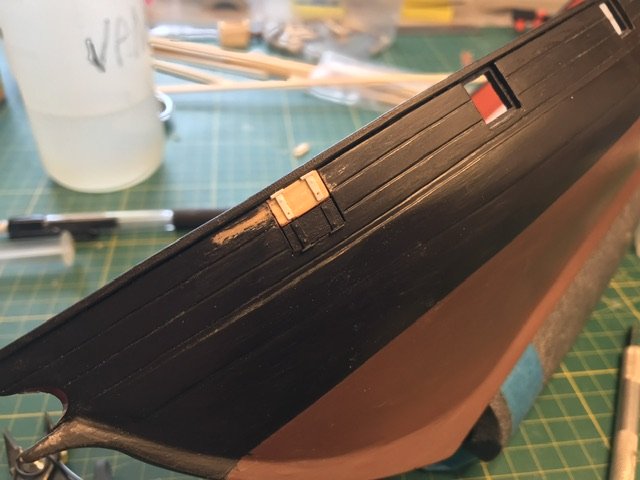
Glued them on with ca glue, added eyebolts and painted..
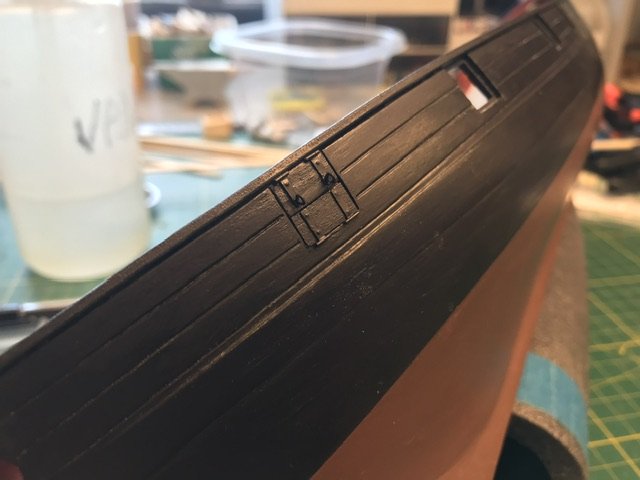
And added eyebolts on the inside aswell.

I think I have found the way to do these, as I think the result is acceptable.
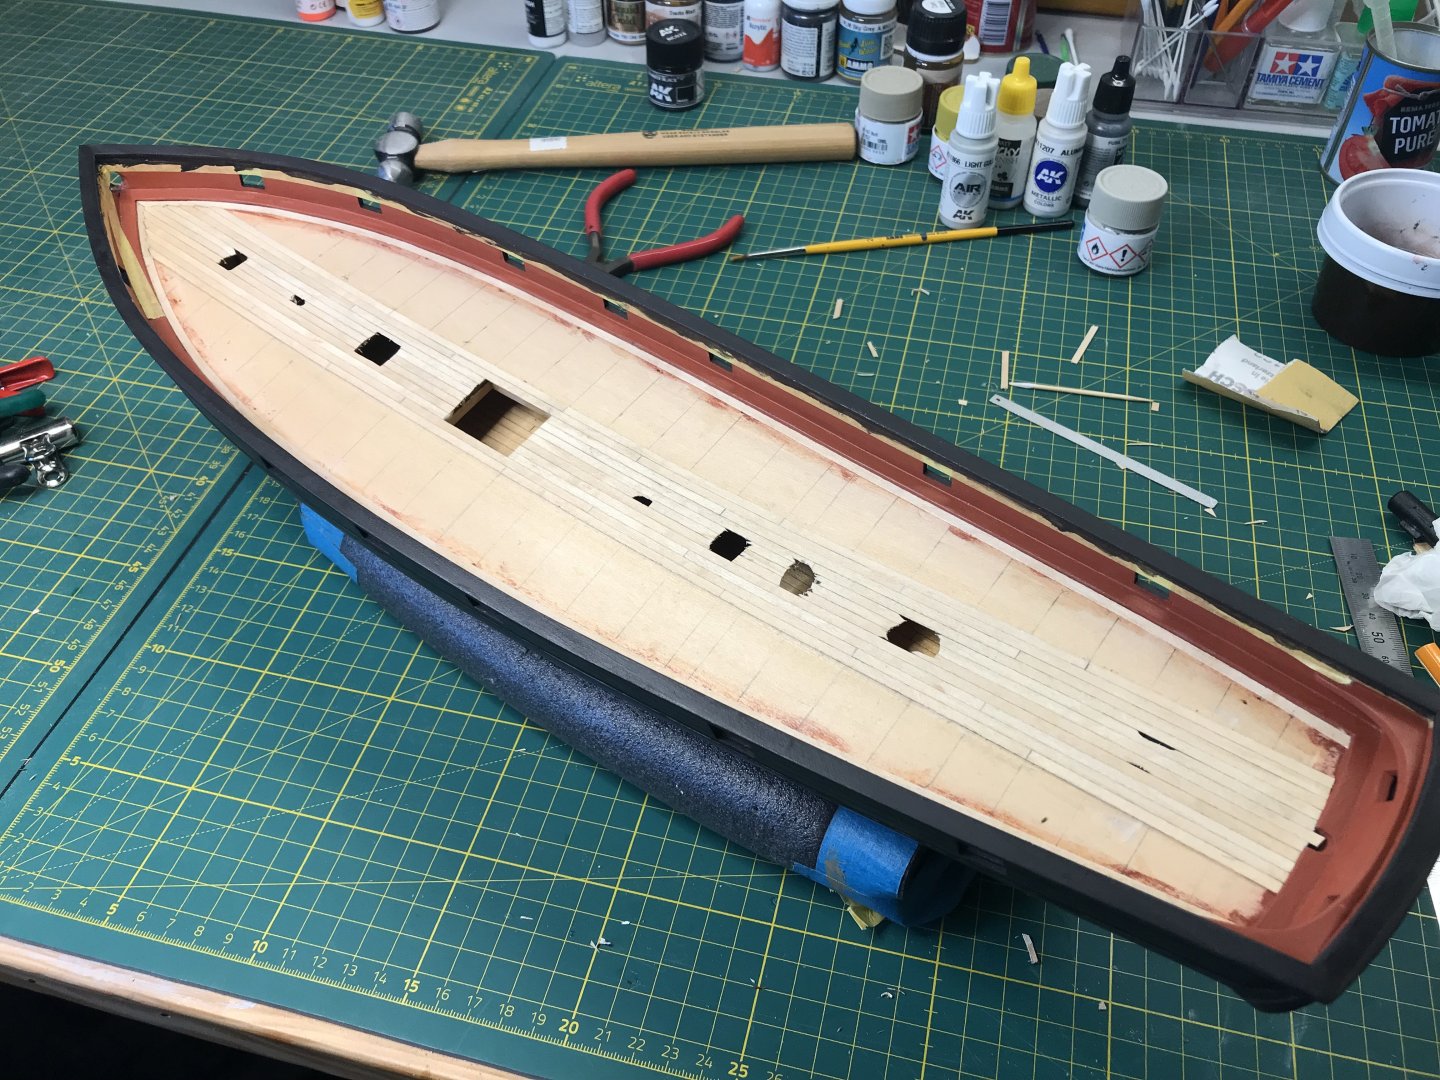
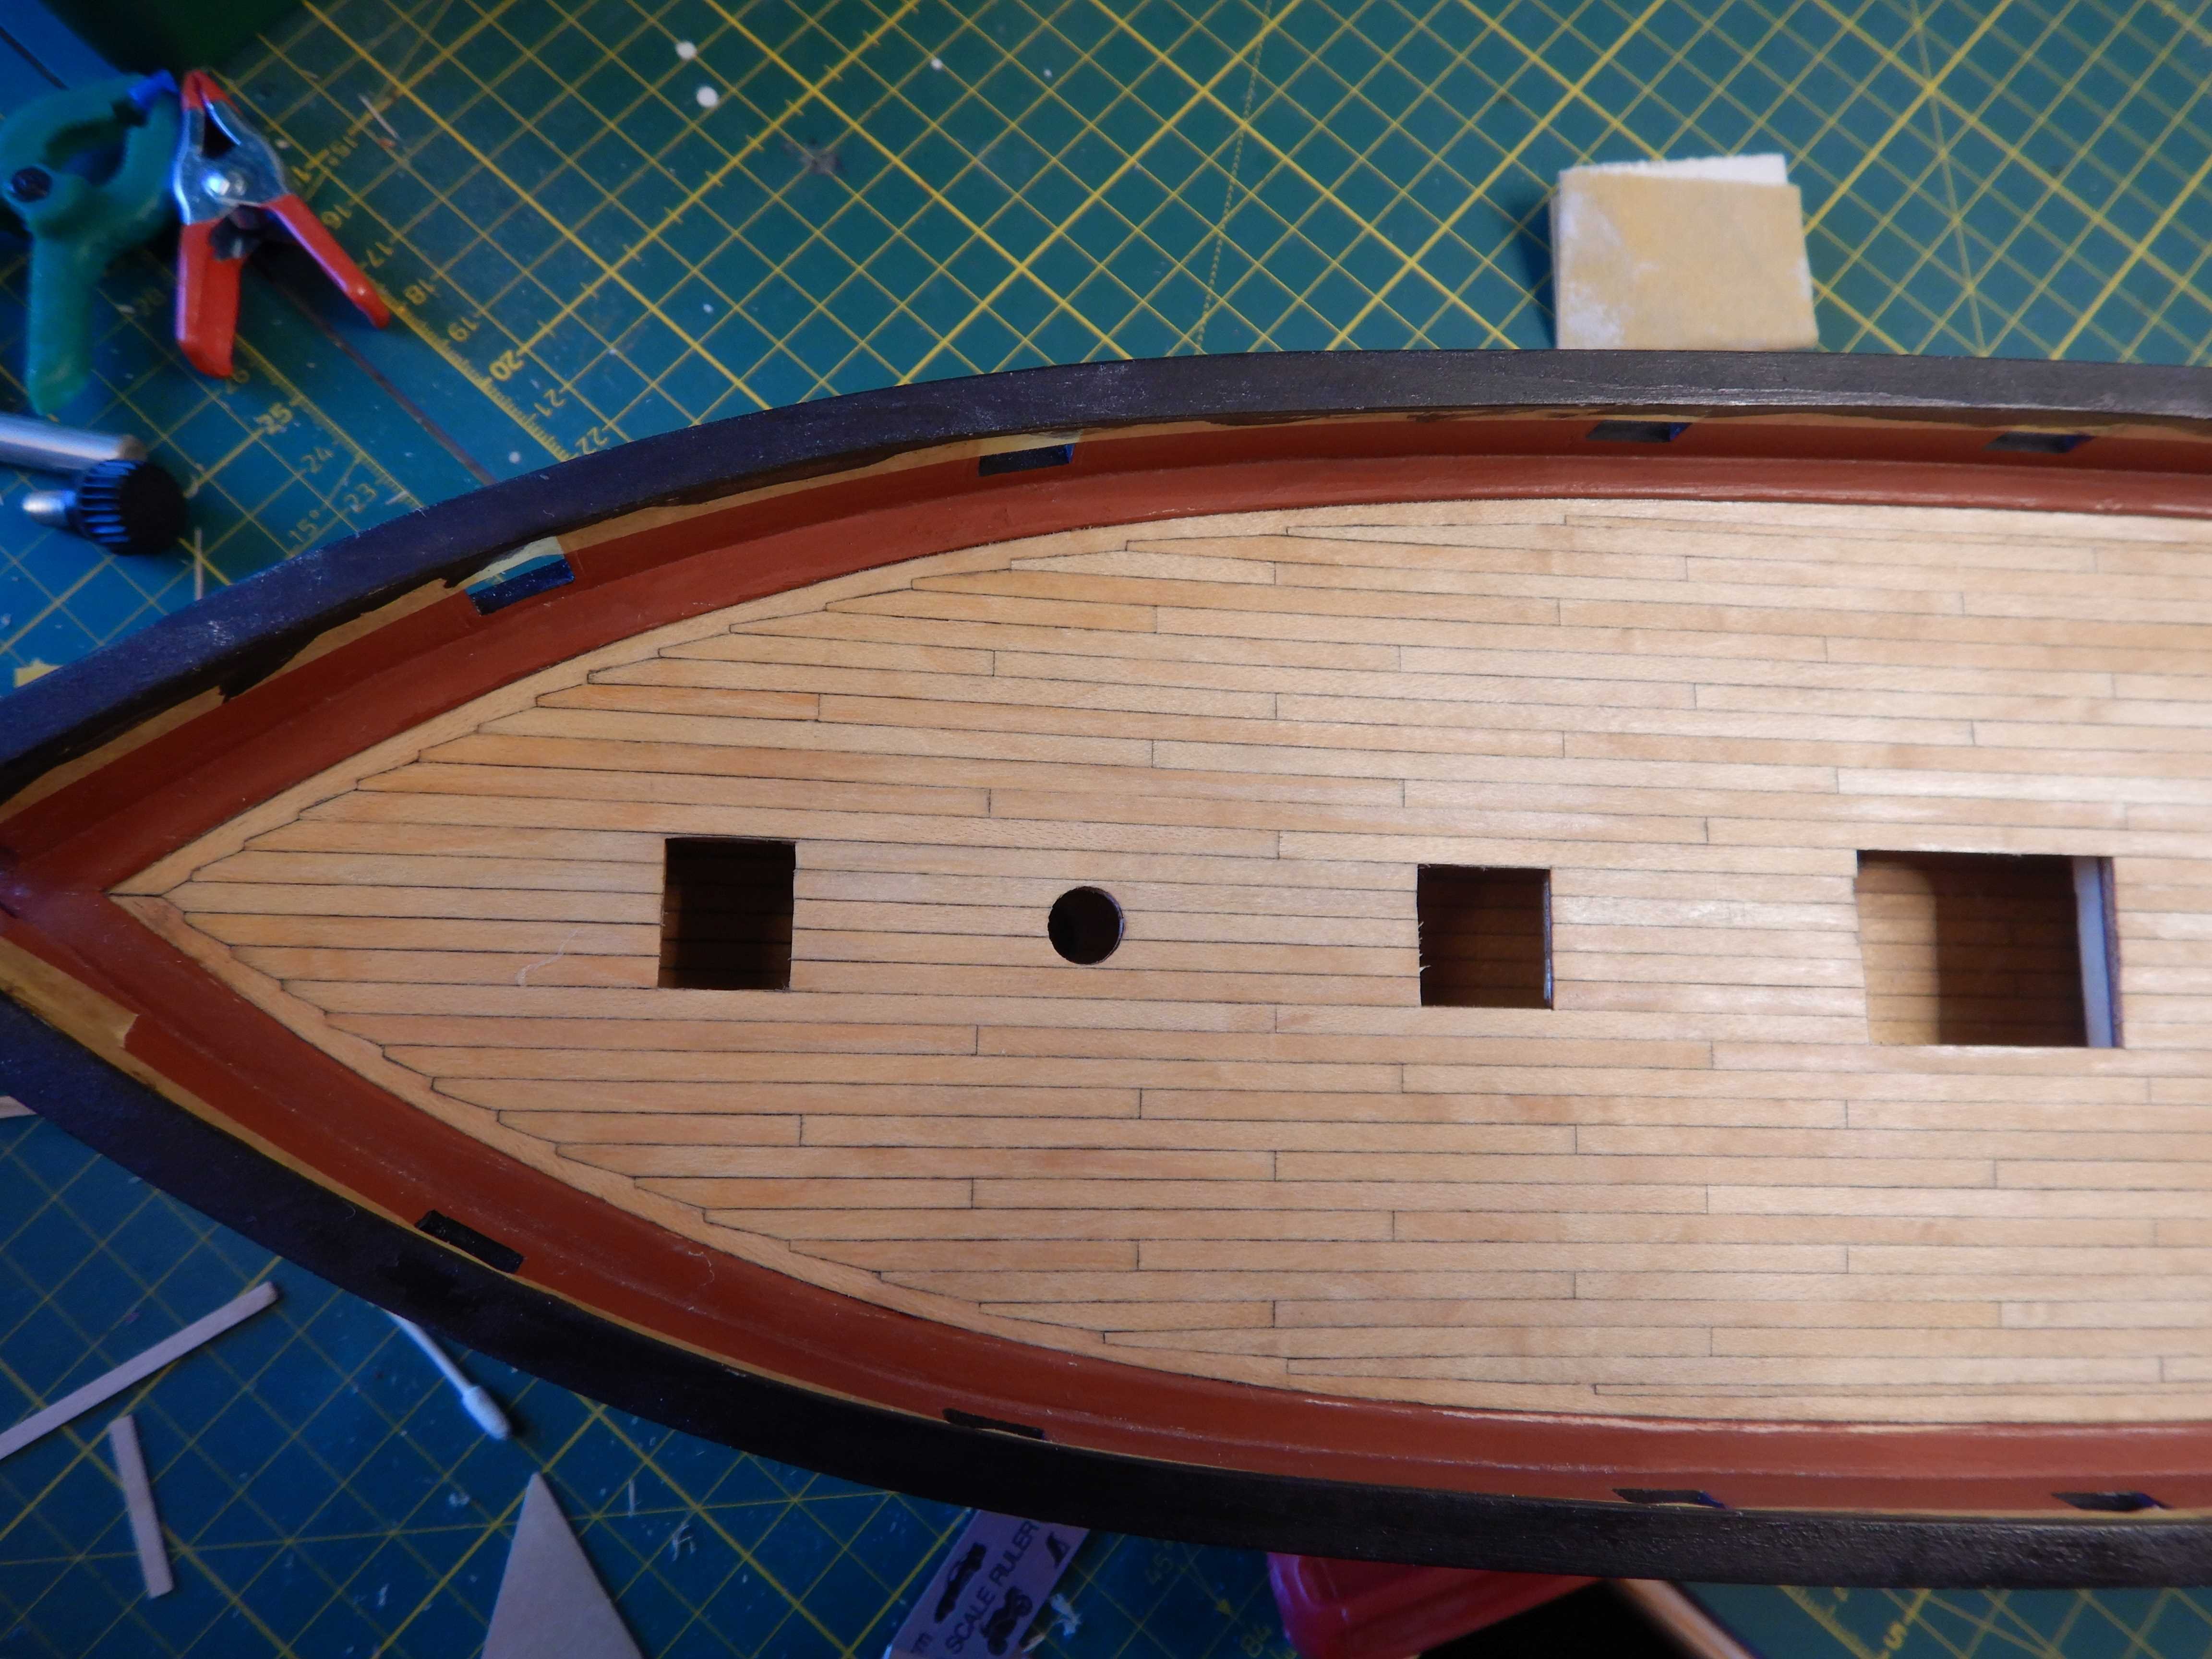
I have also given the red another coat of paint after sanding the deck. I first brushed a coat of matt varnish along the masking tape to avoid bleeding. This worked great! No bleed at all. Recomended!
Gaffrig.
-
-
-
-
Hello all!
Thanks for taking the time to look in and liking!
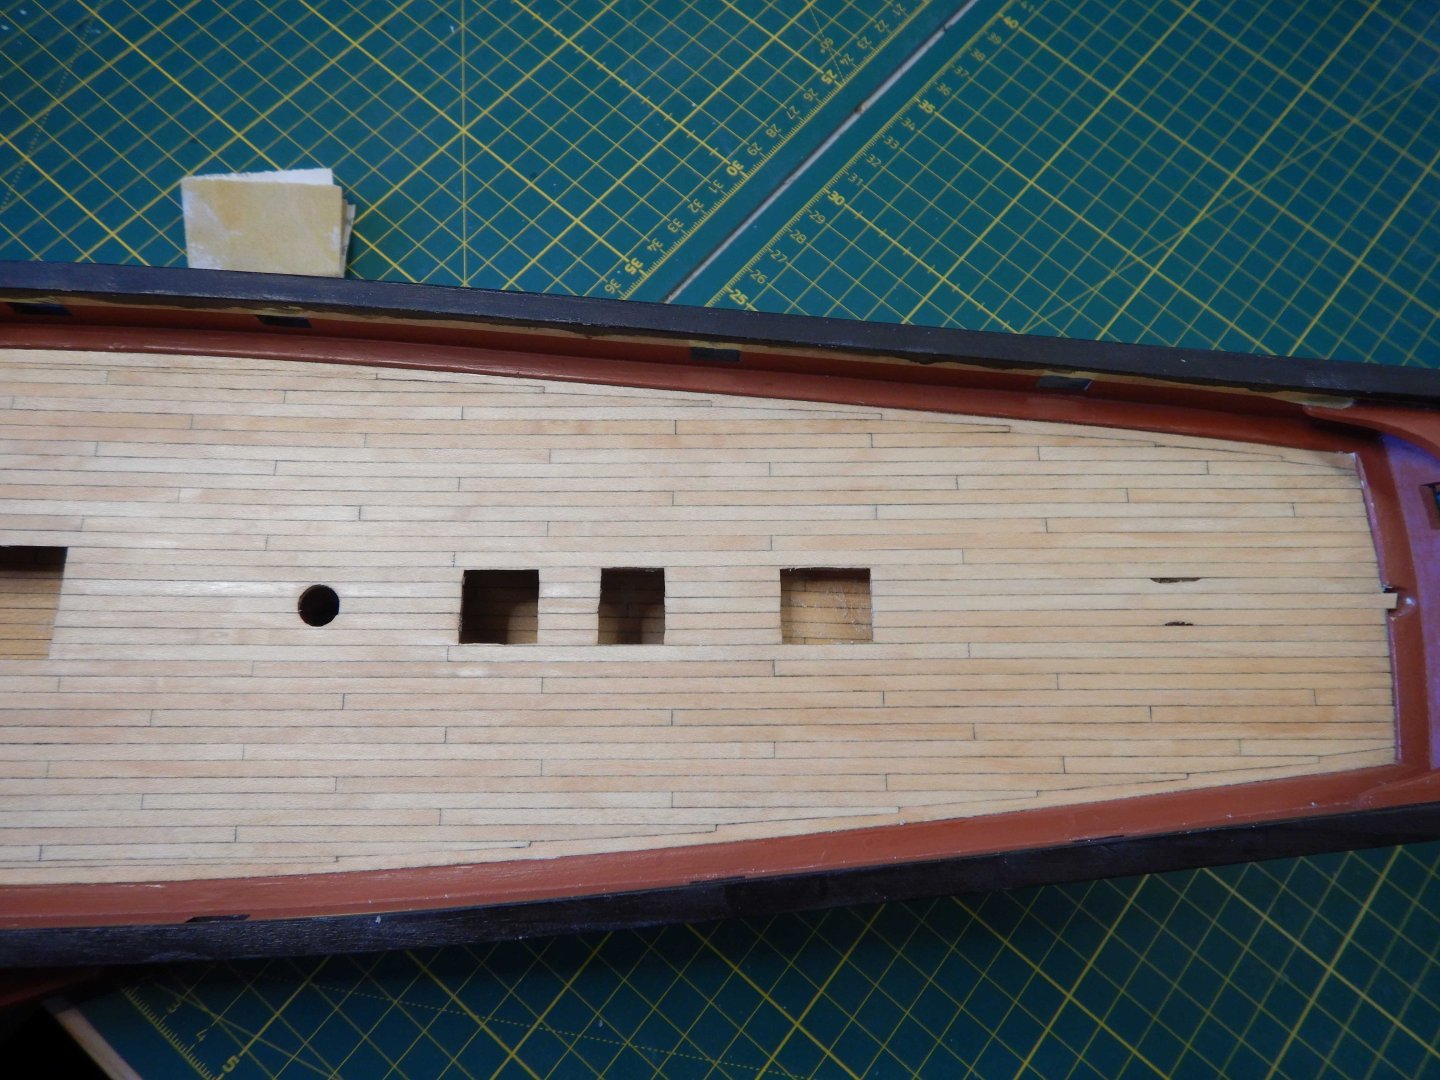
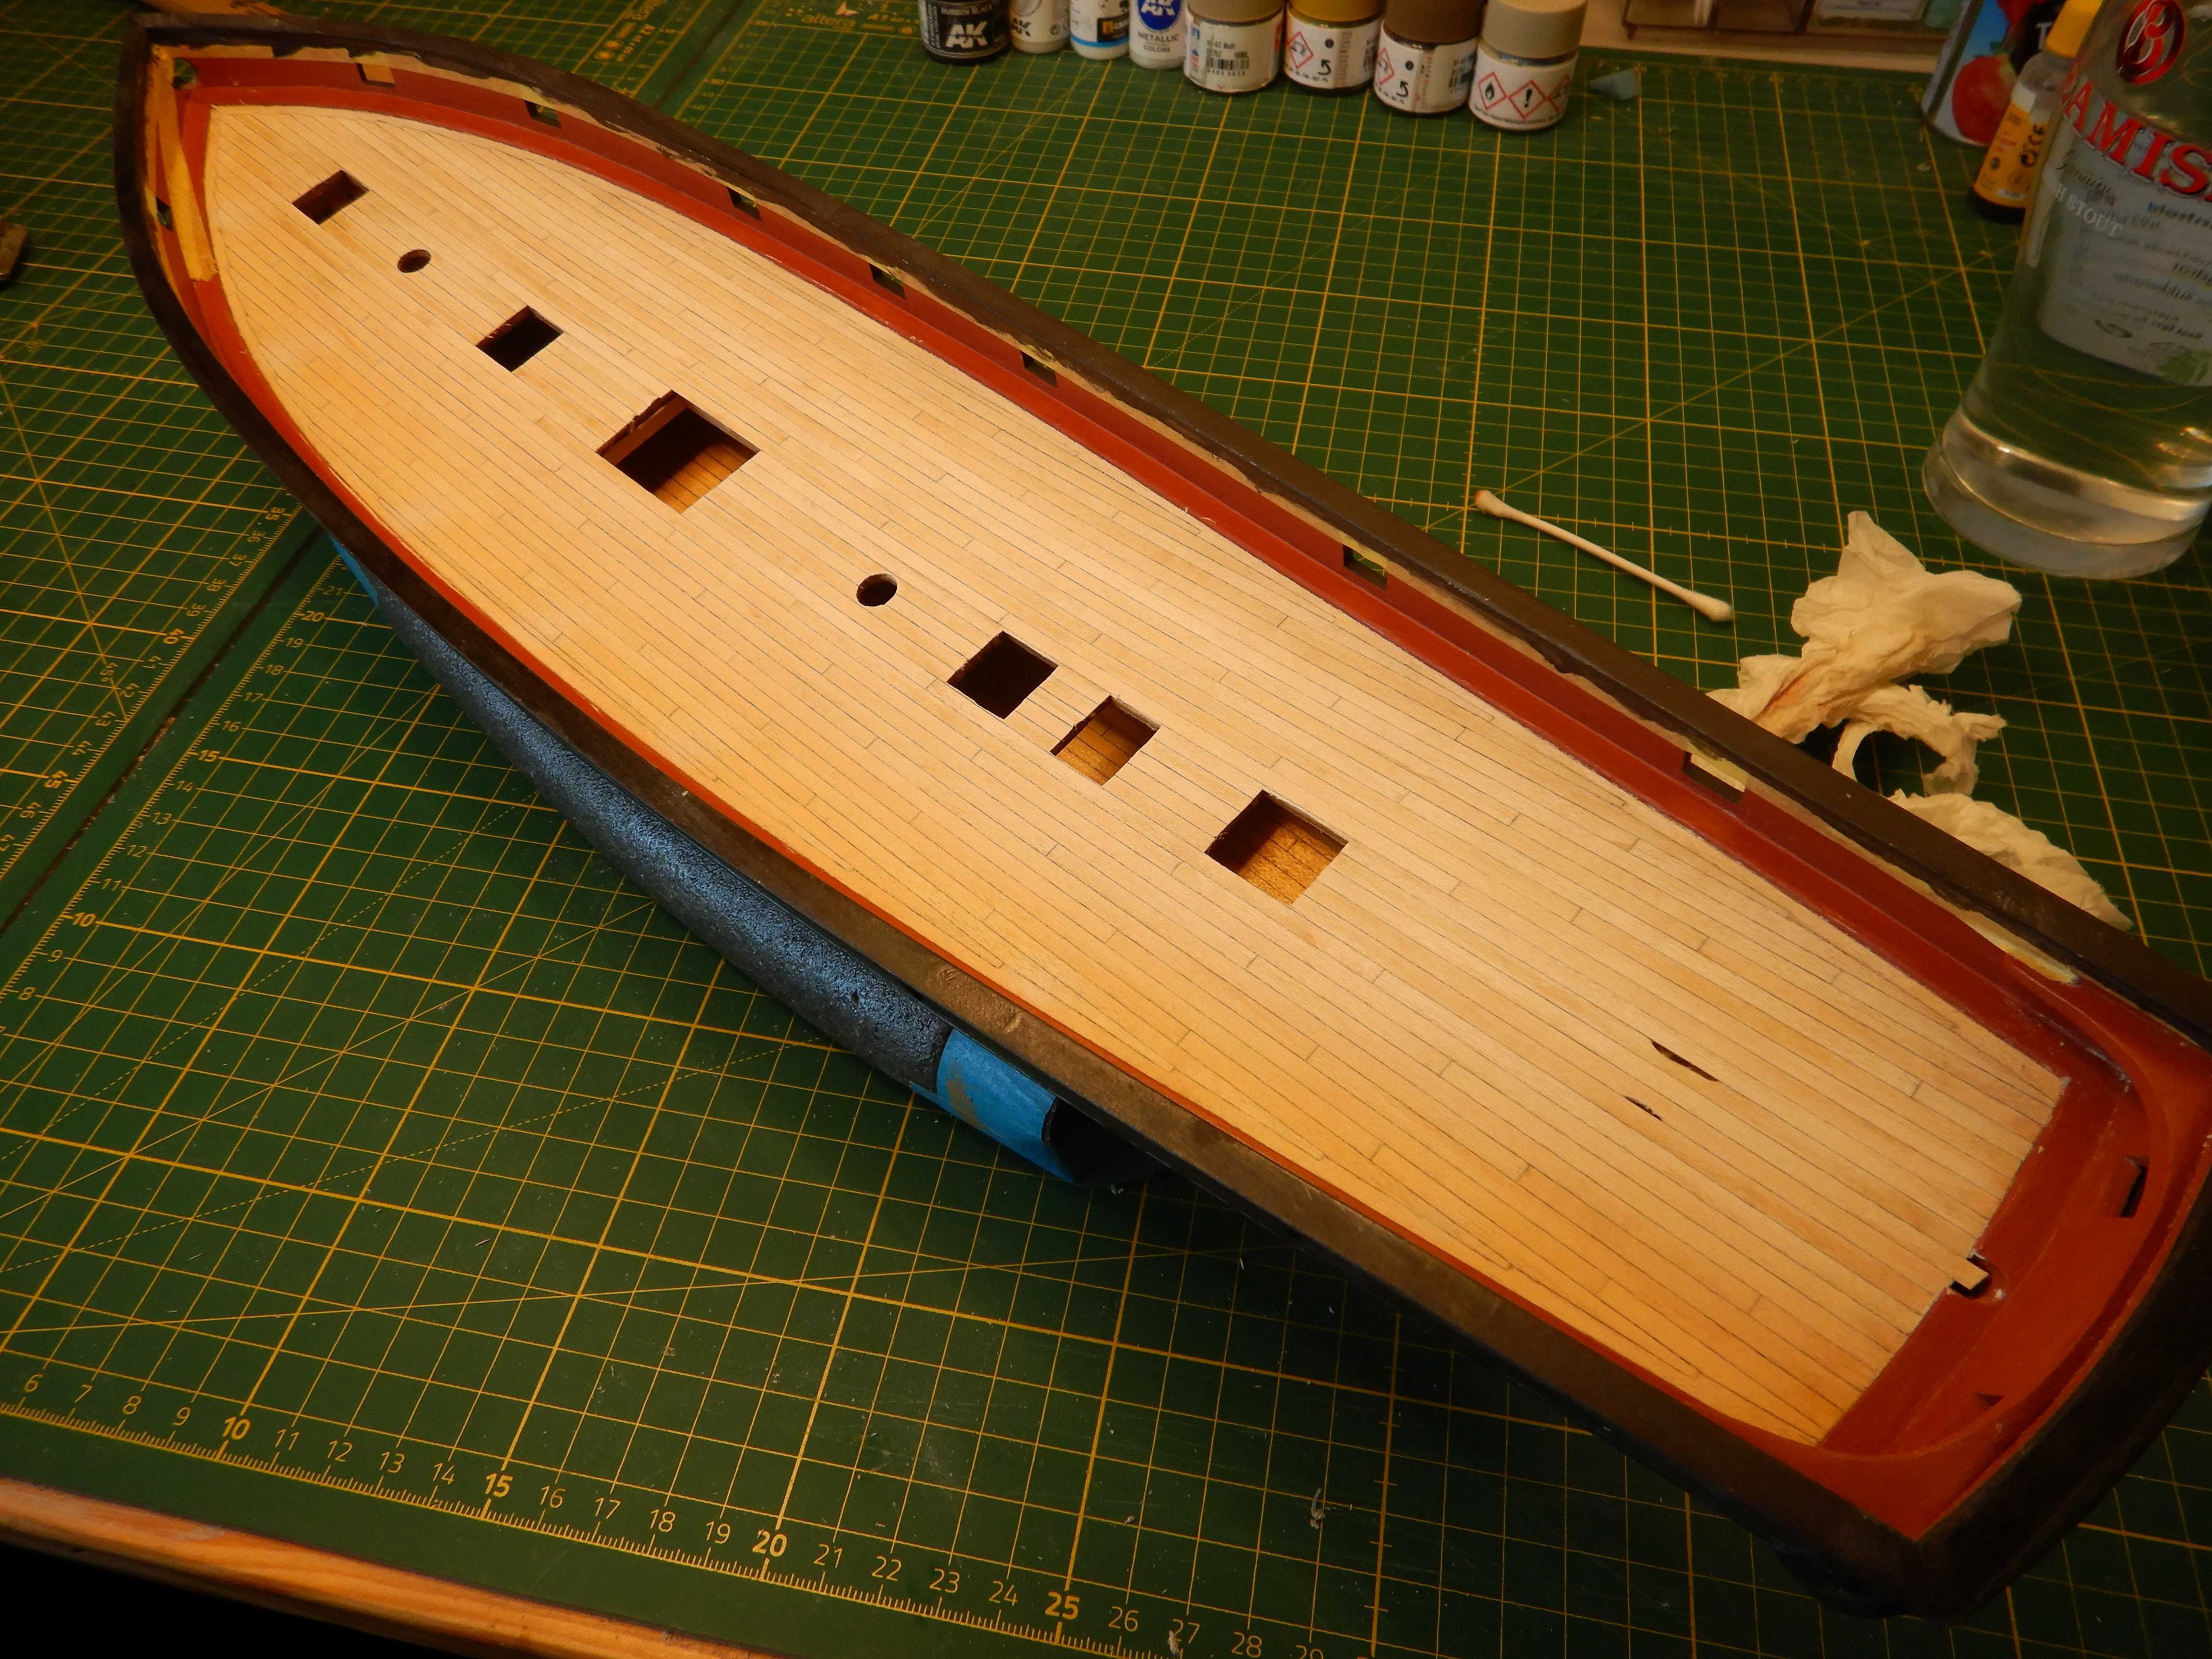
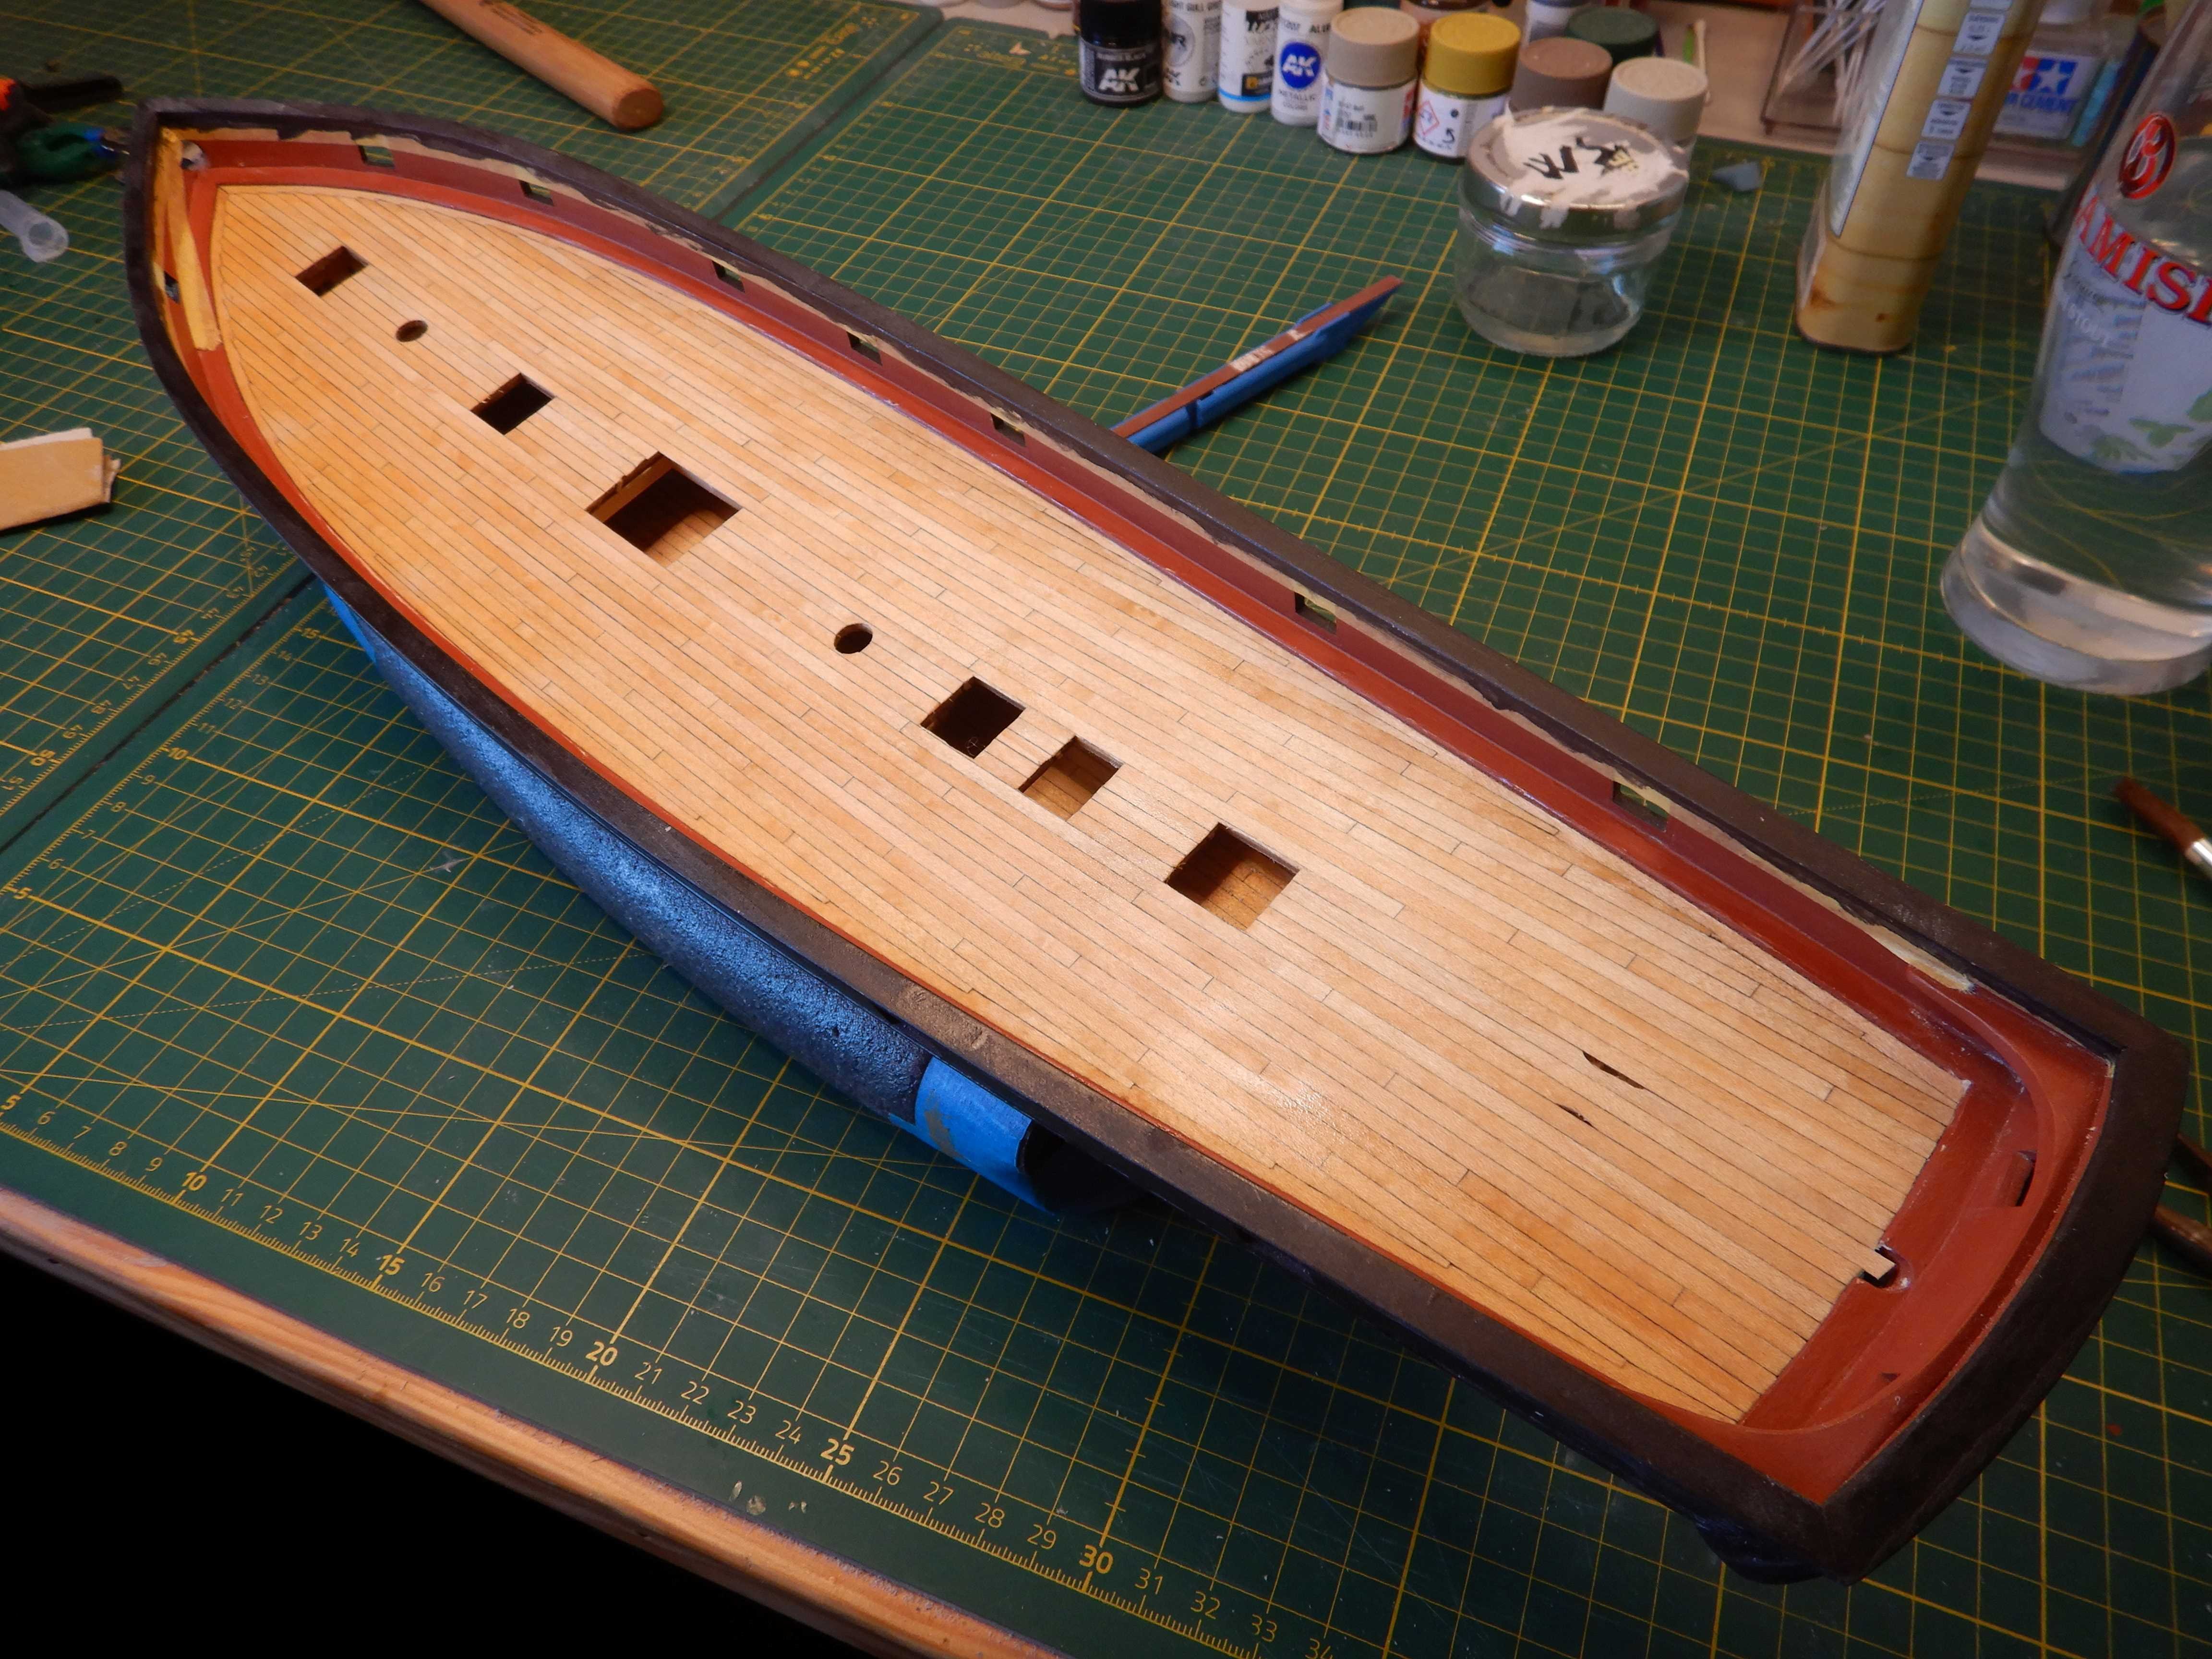
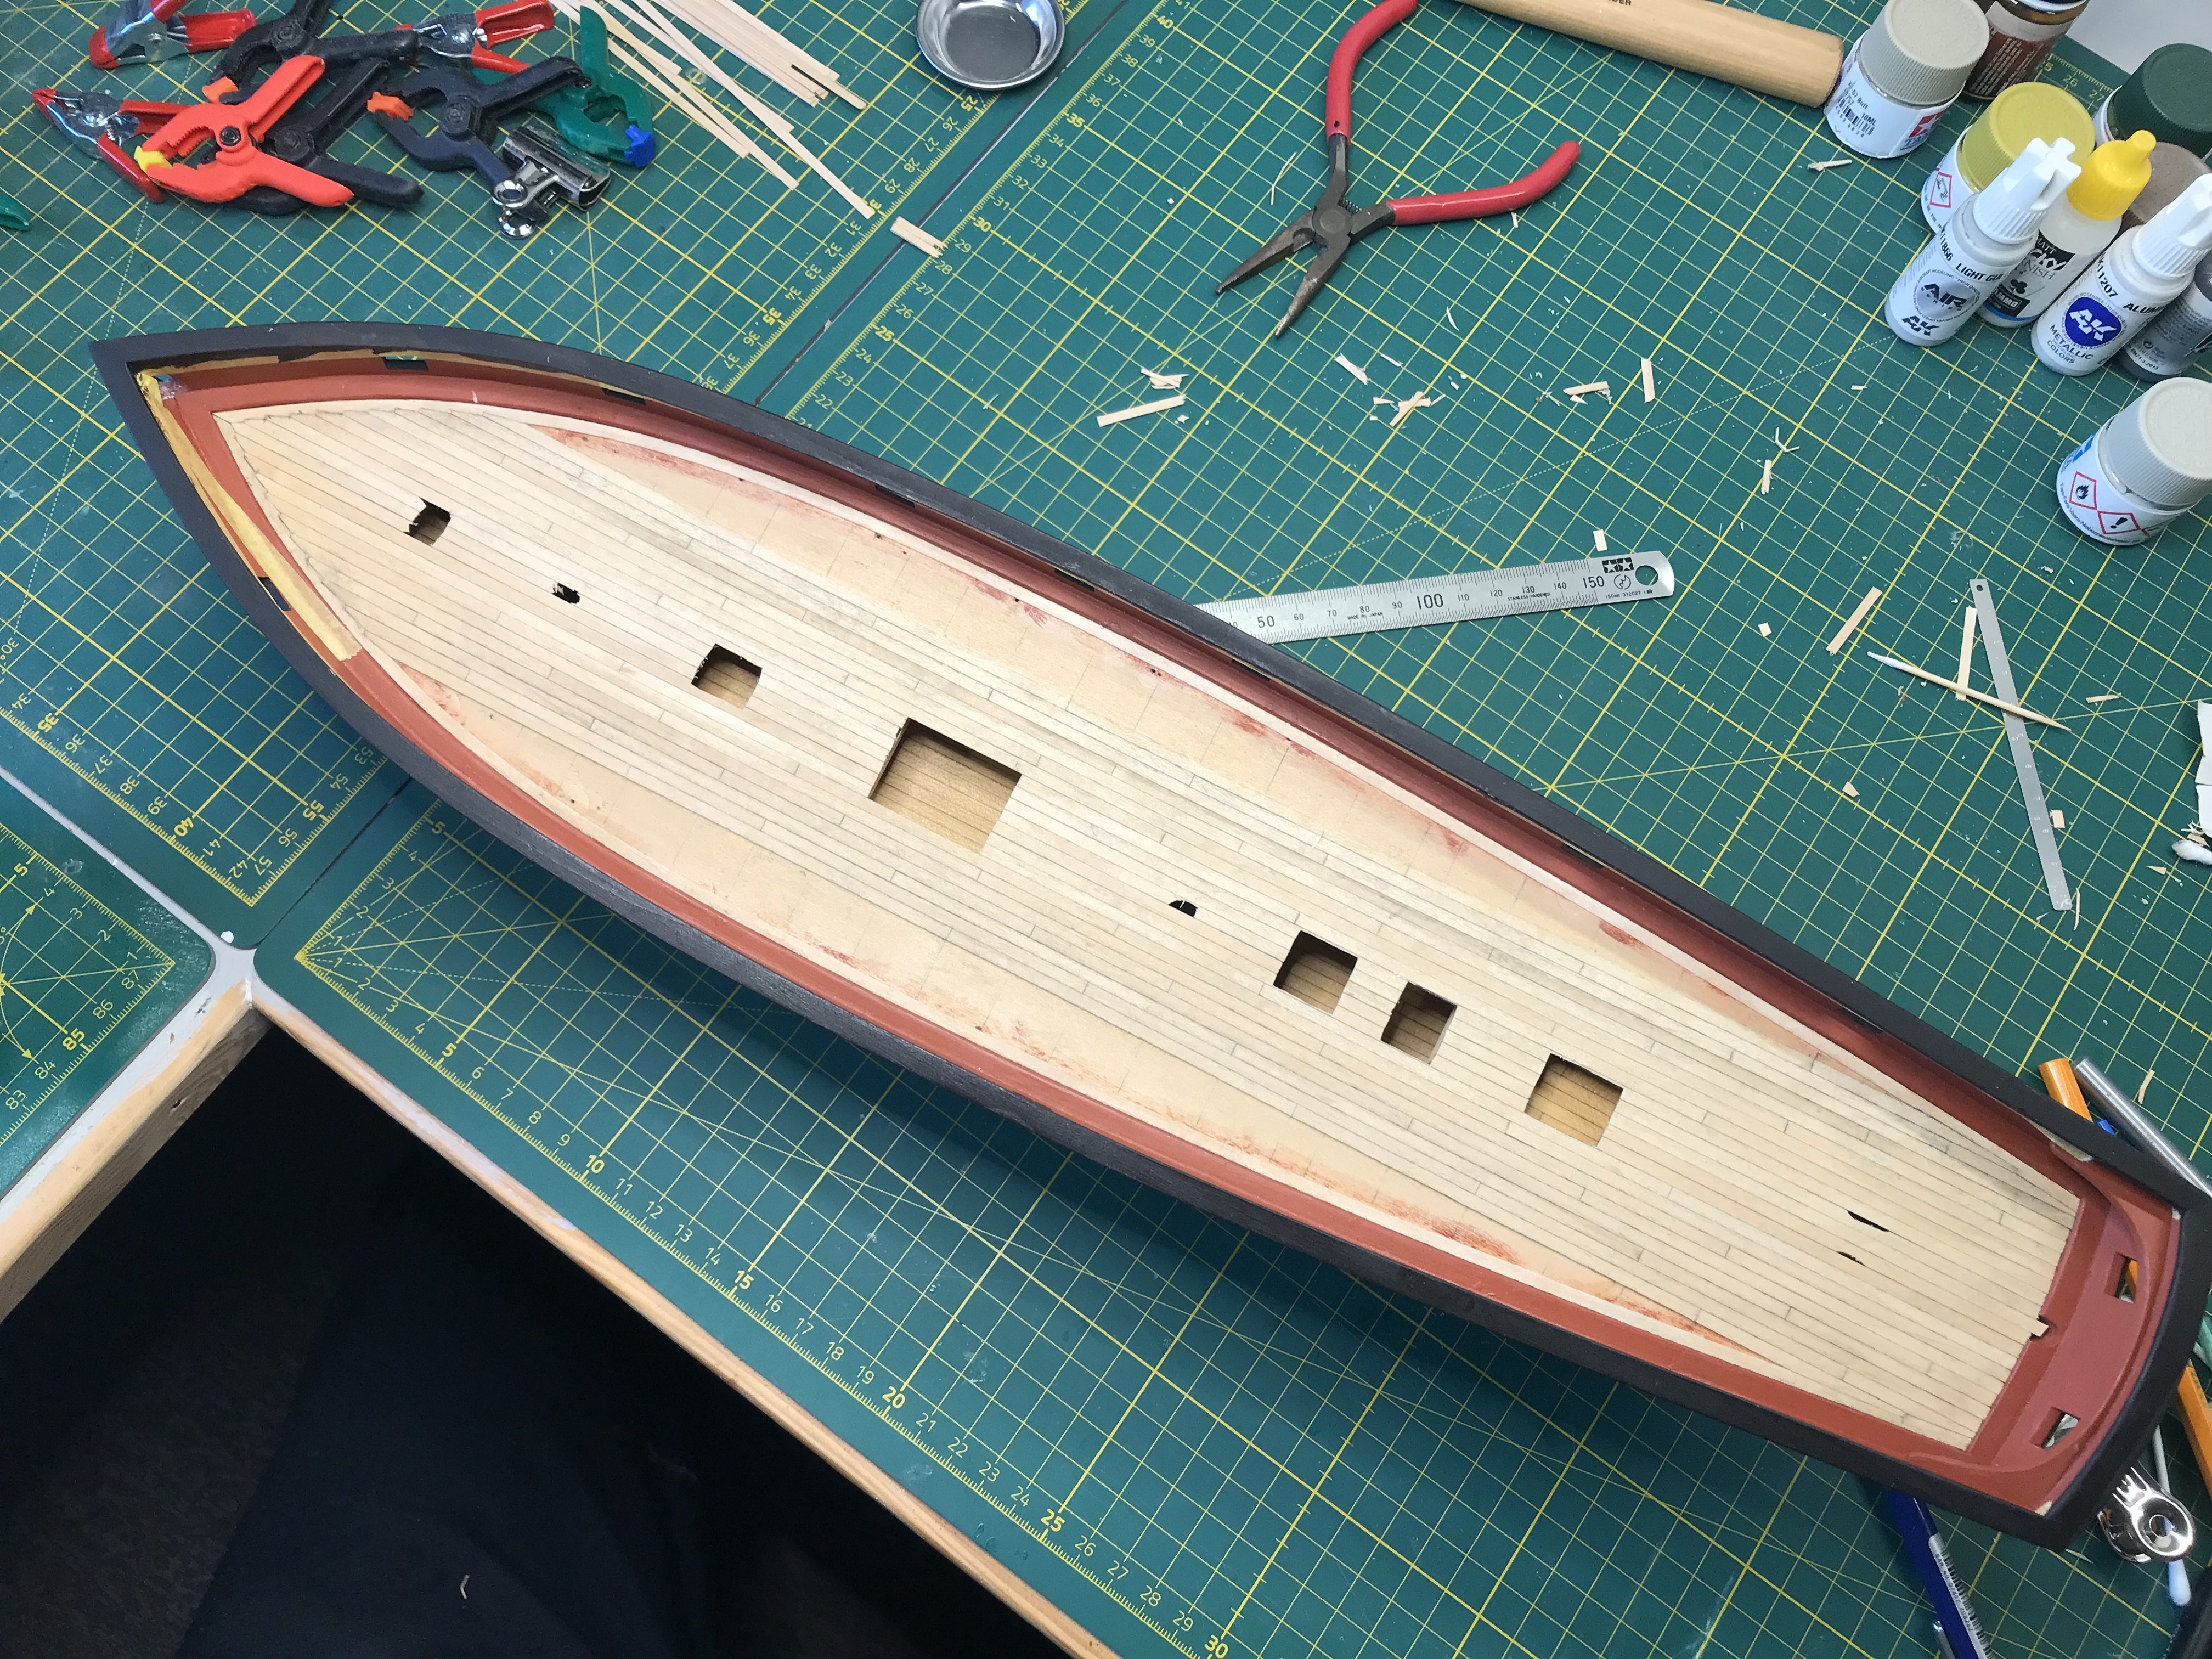
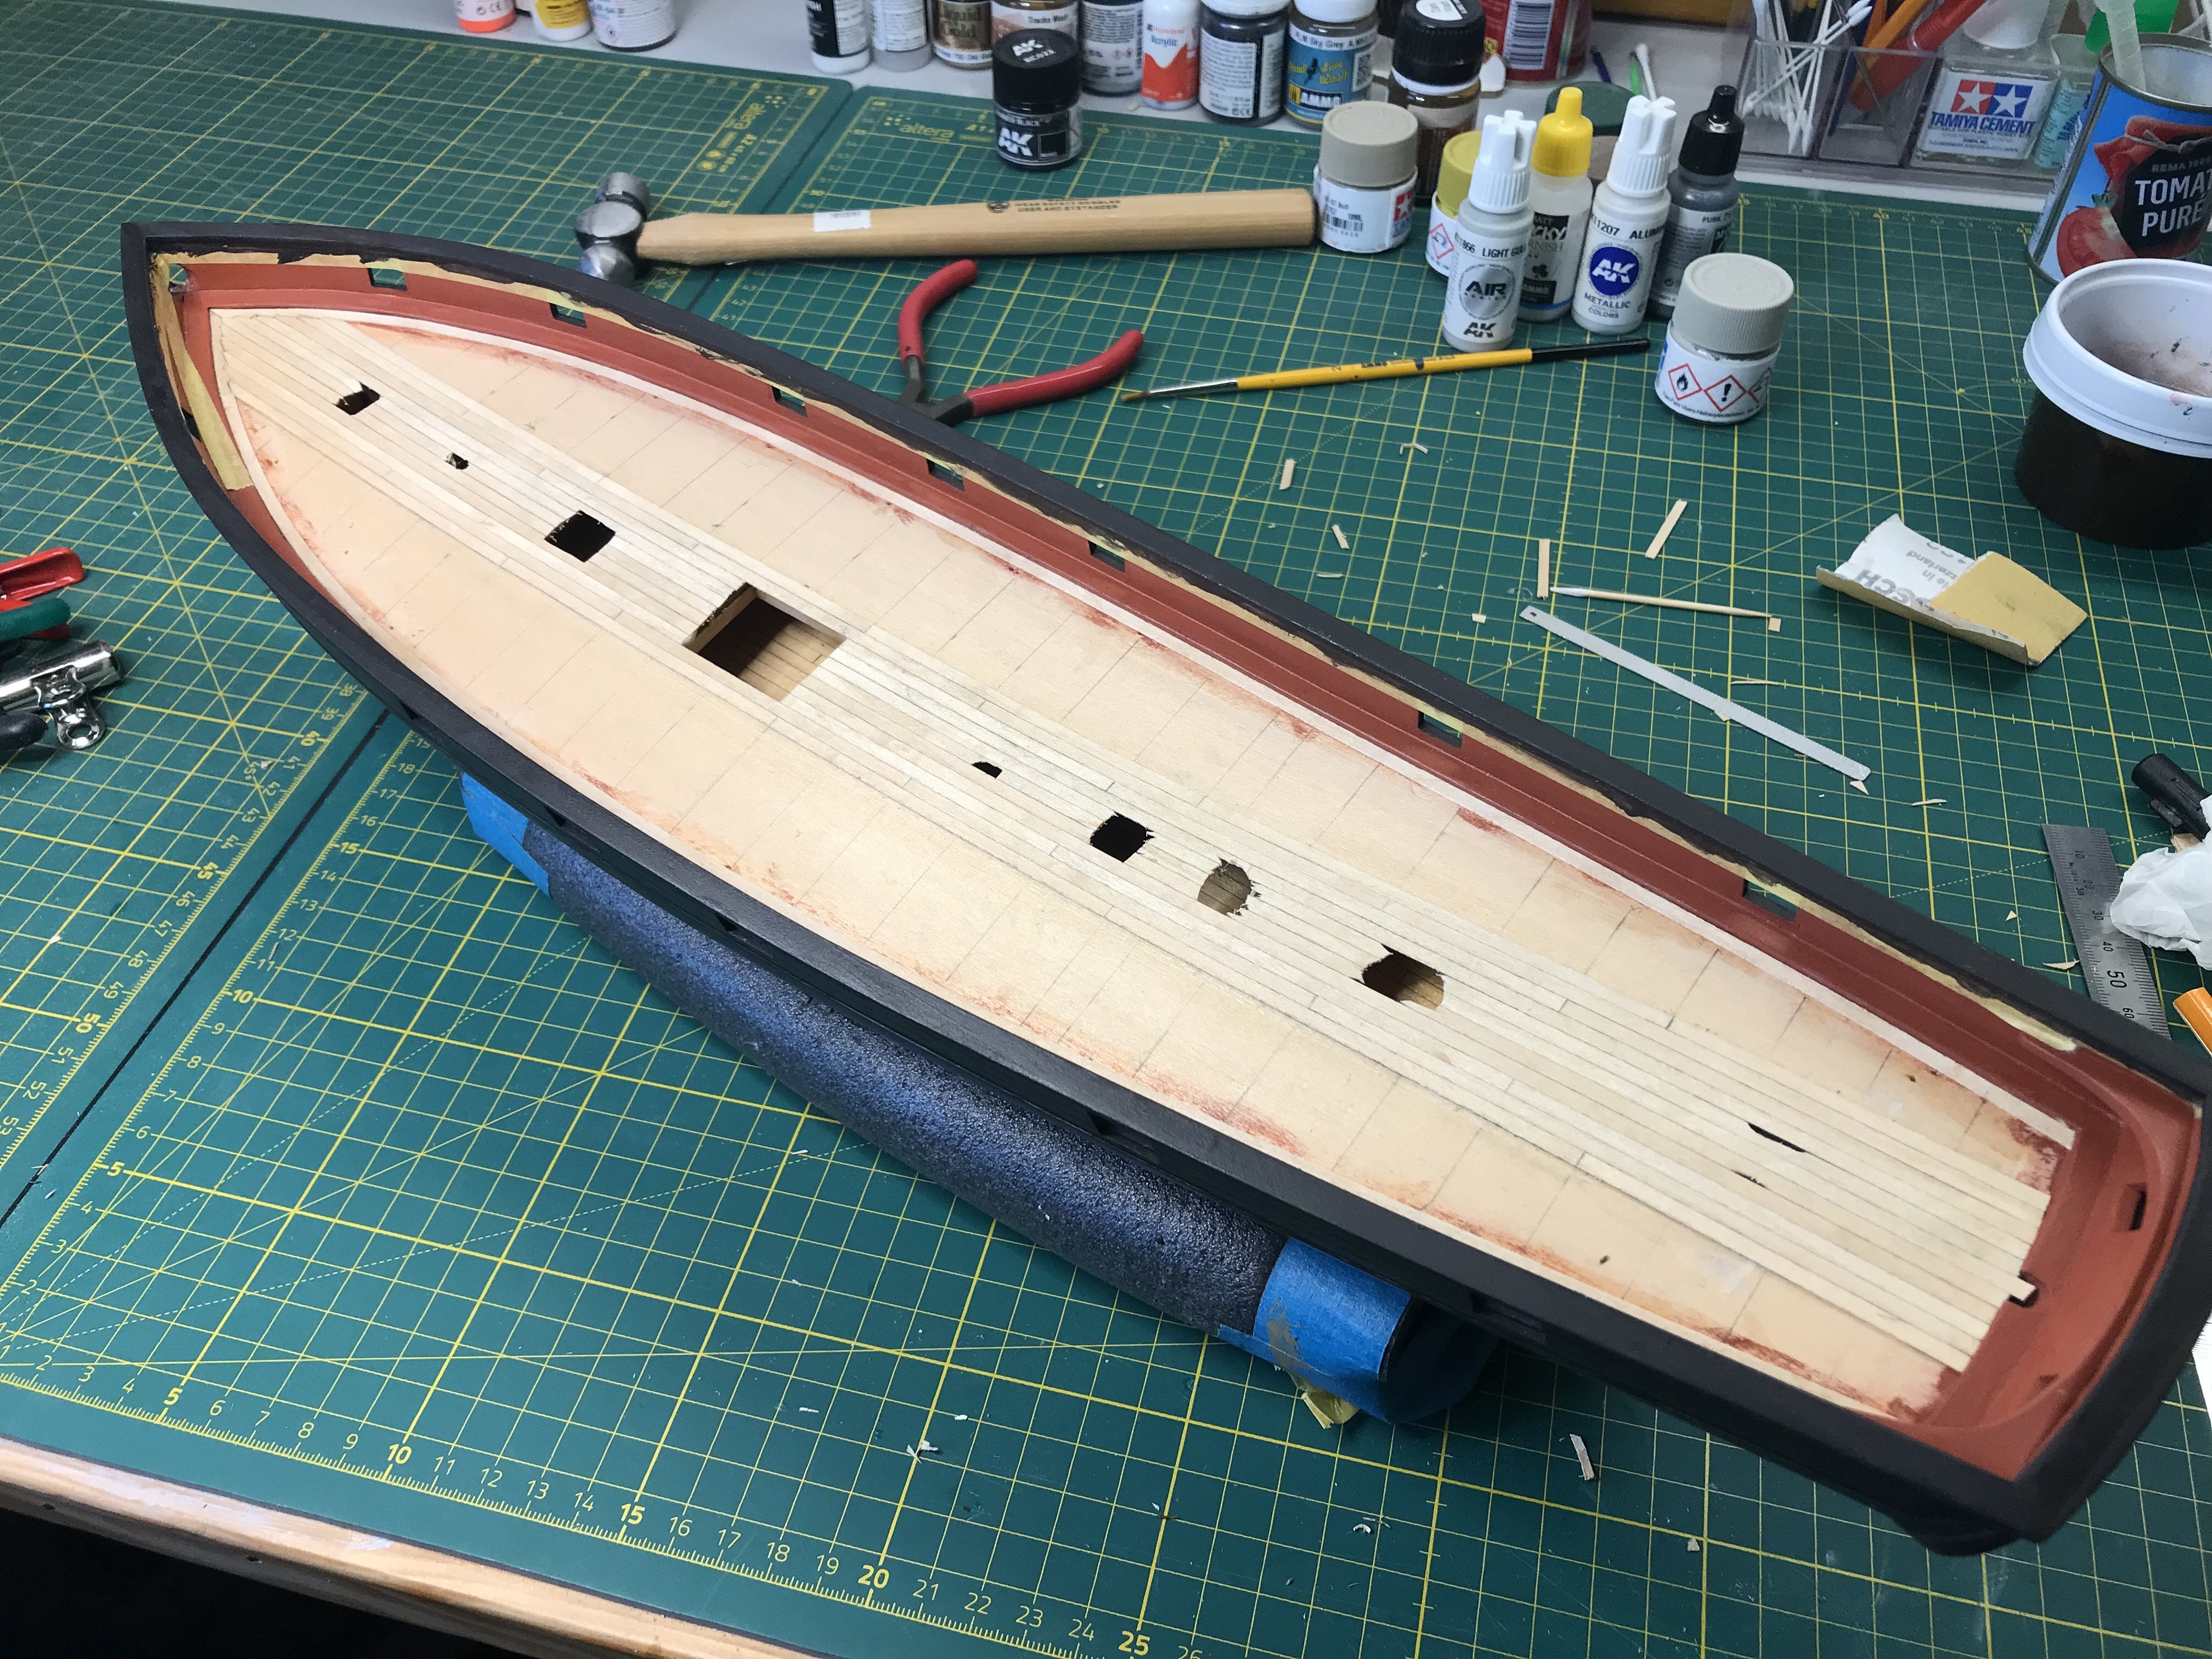
Have finished the deck...
Gave it a round of scraping.
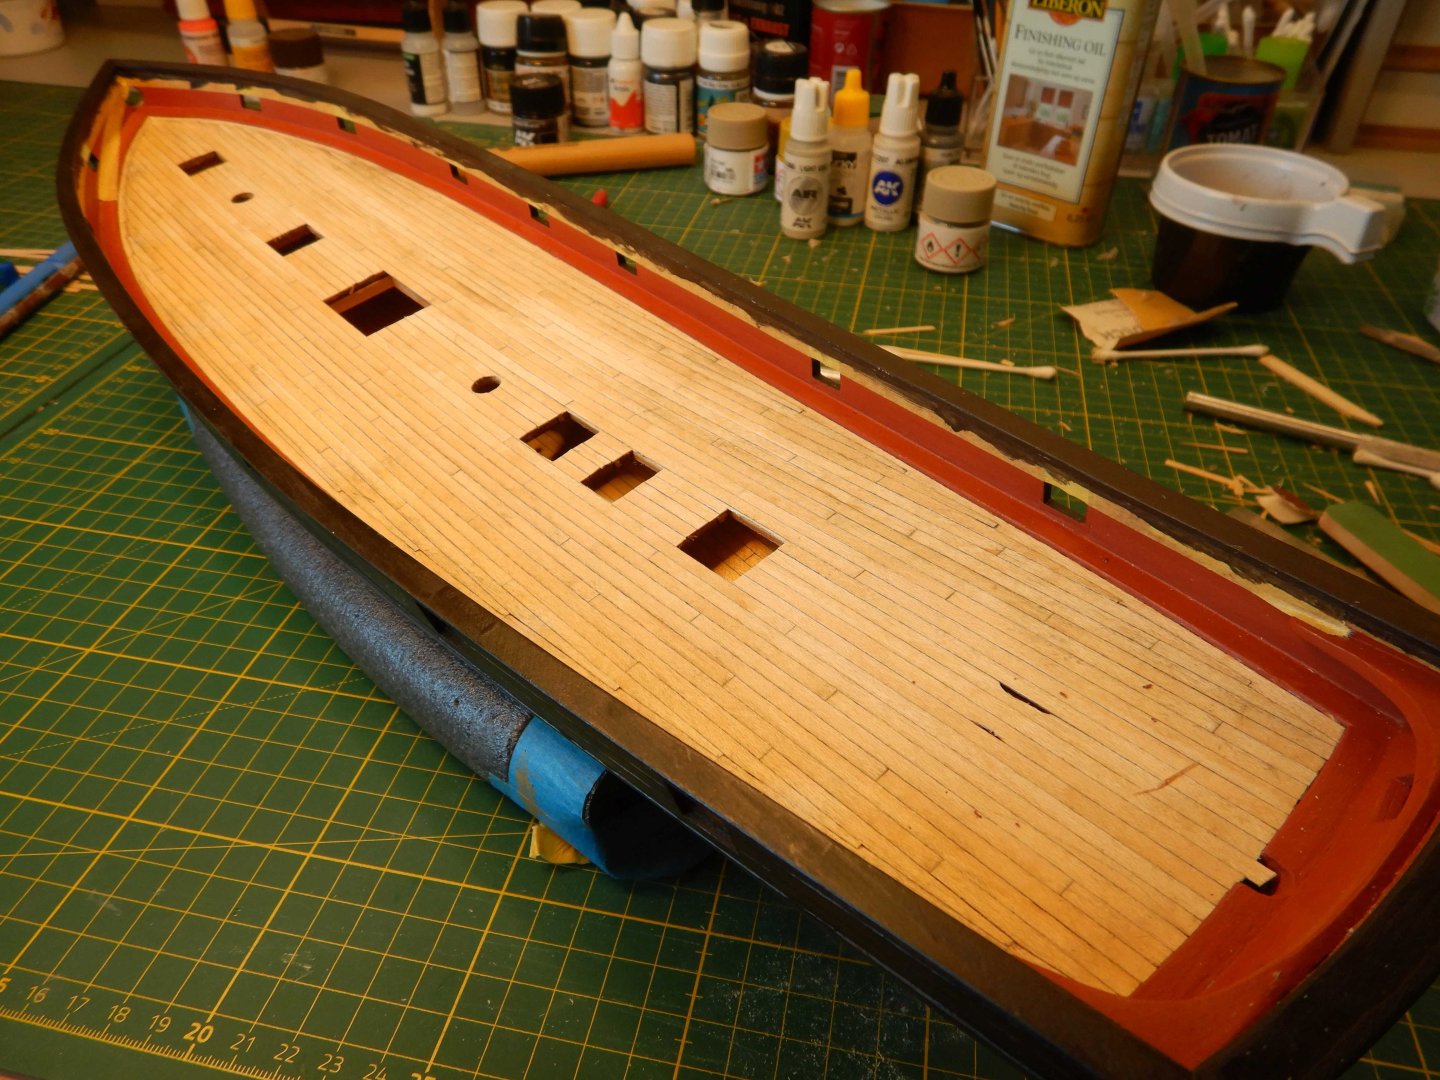
And sanding..

And a coat of oil..

Ended up quite ok I think.
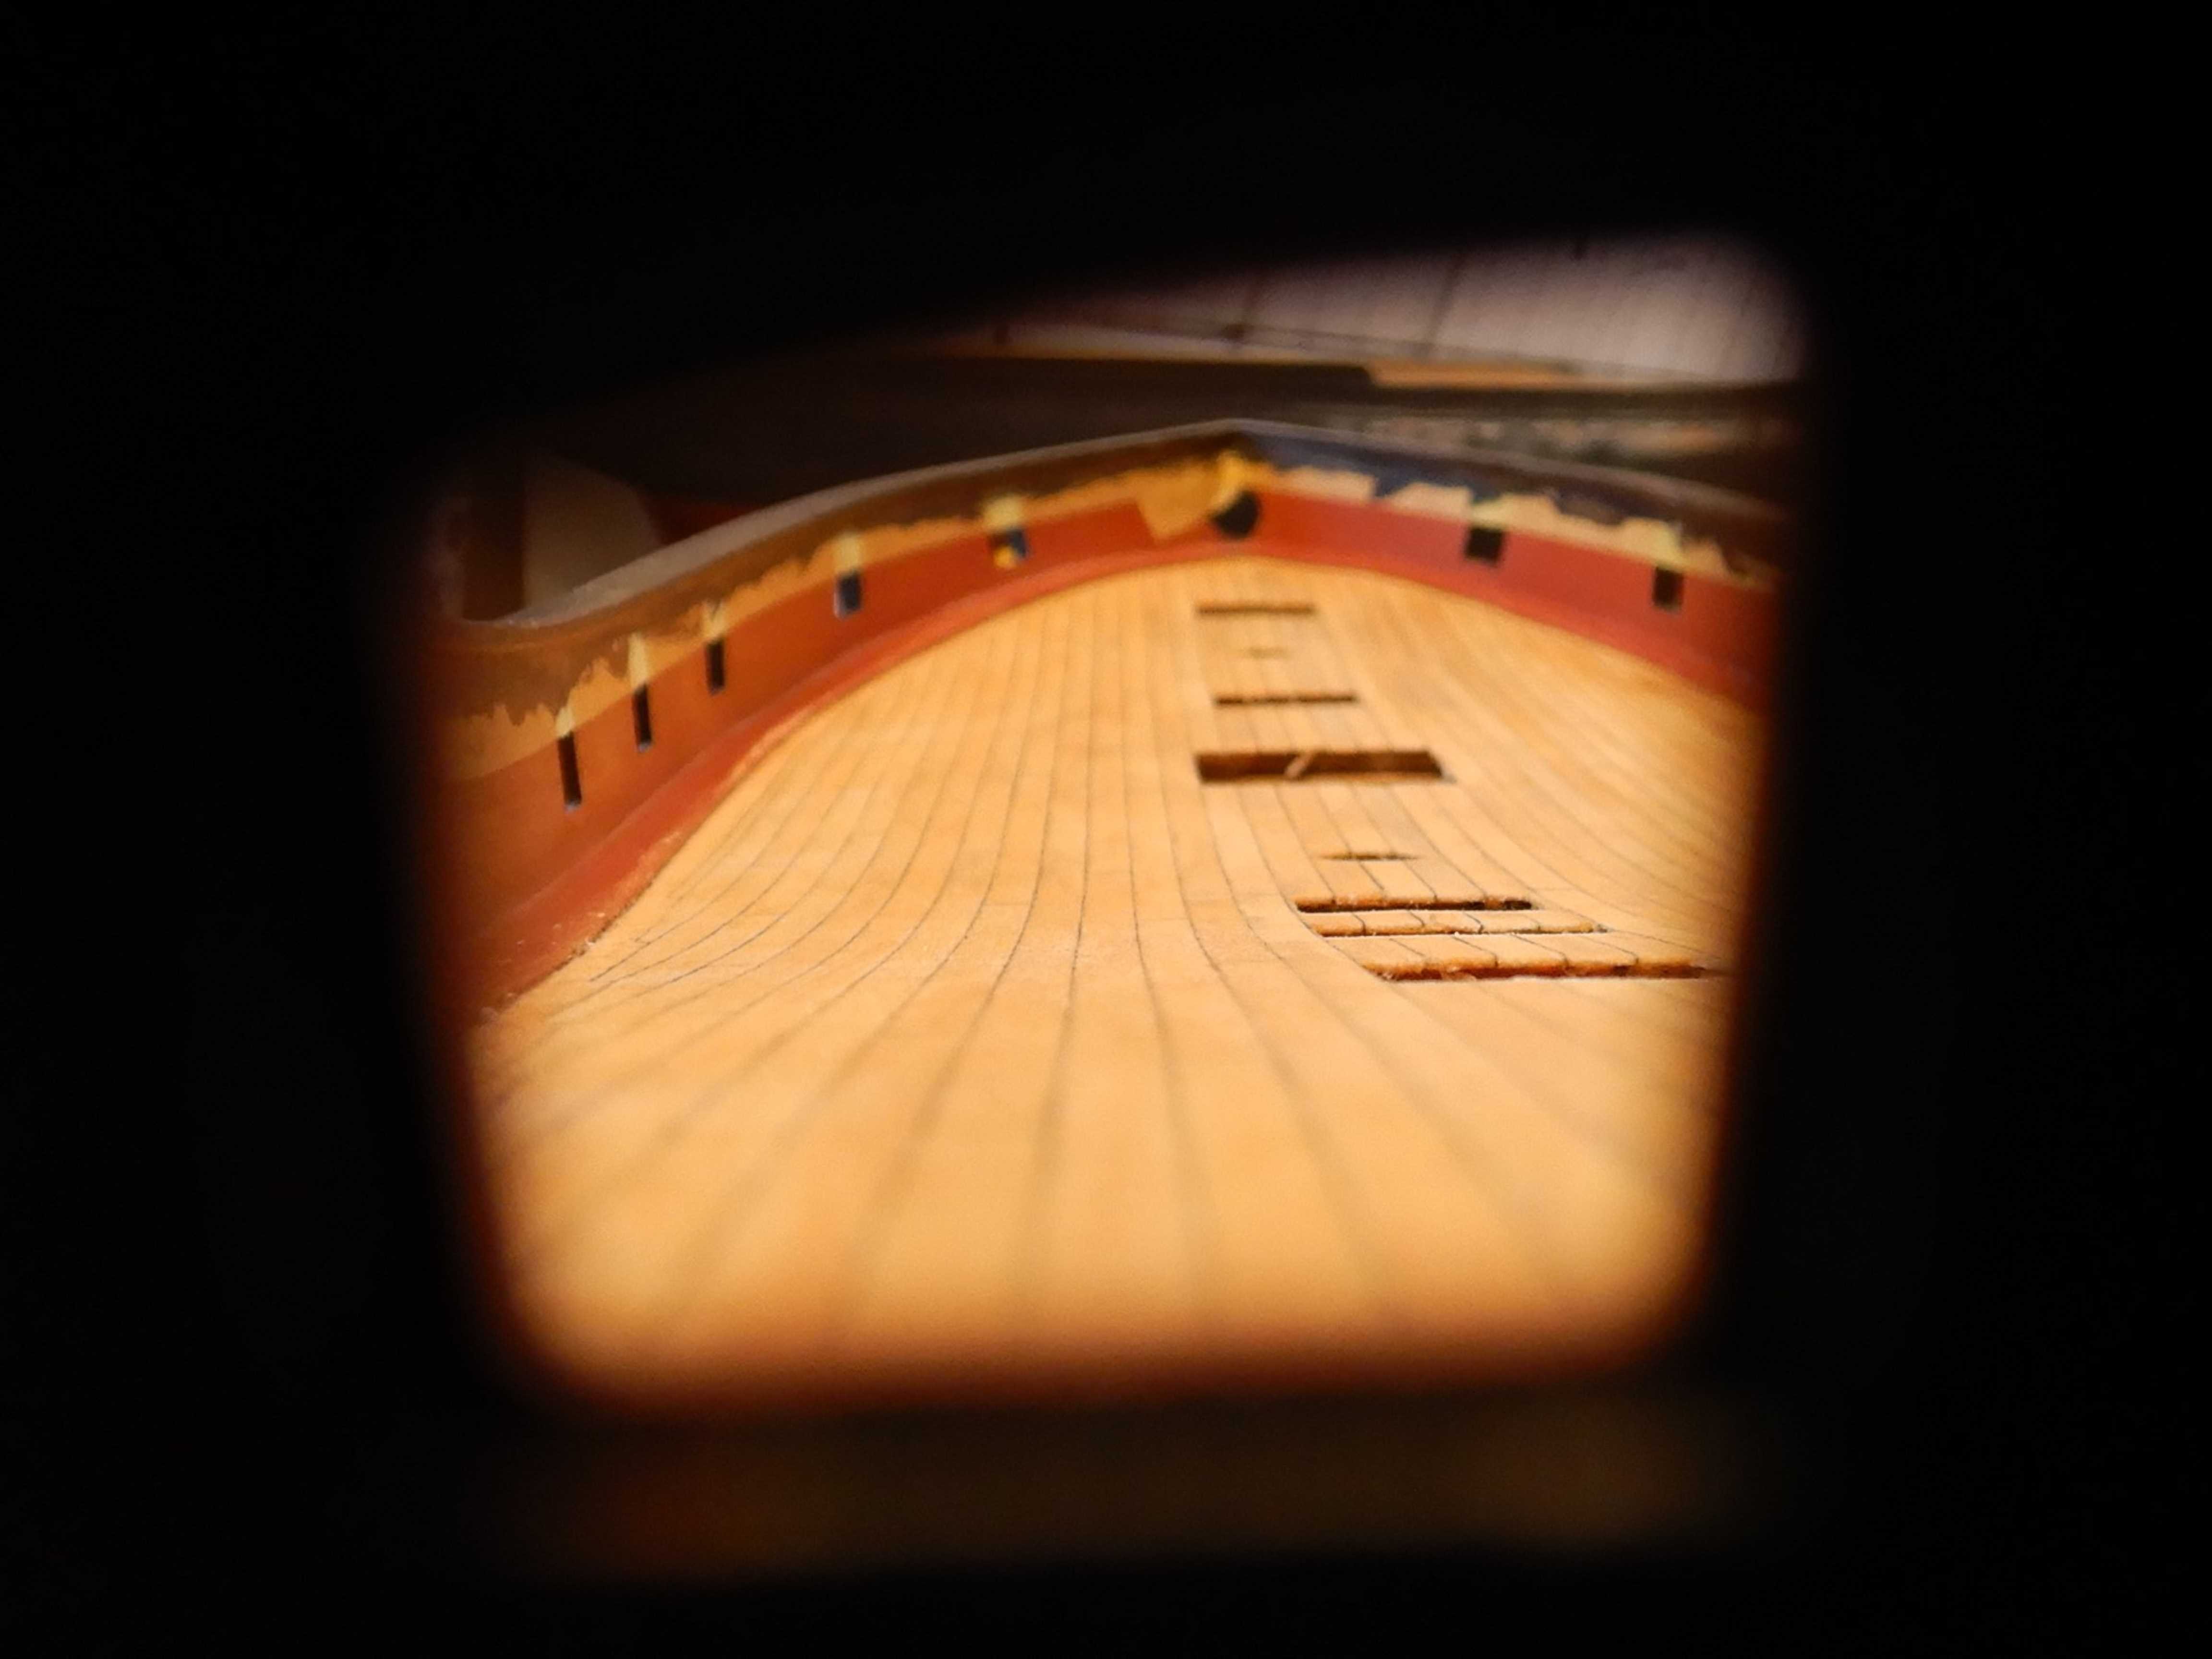
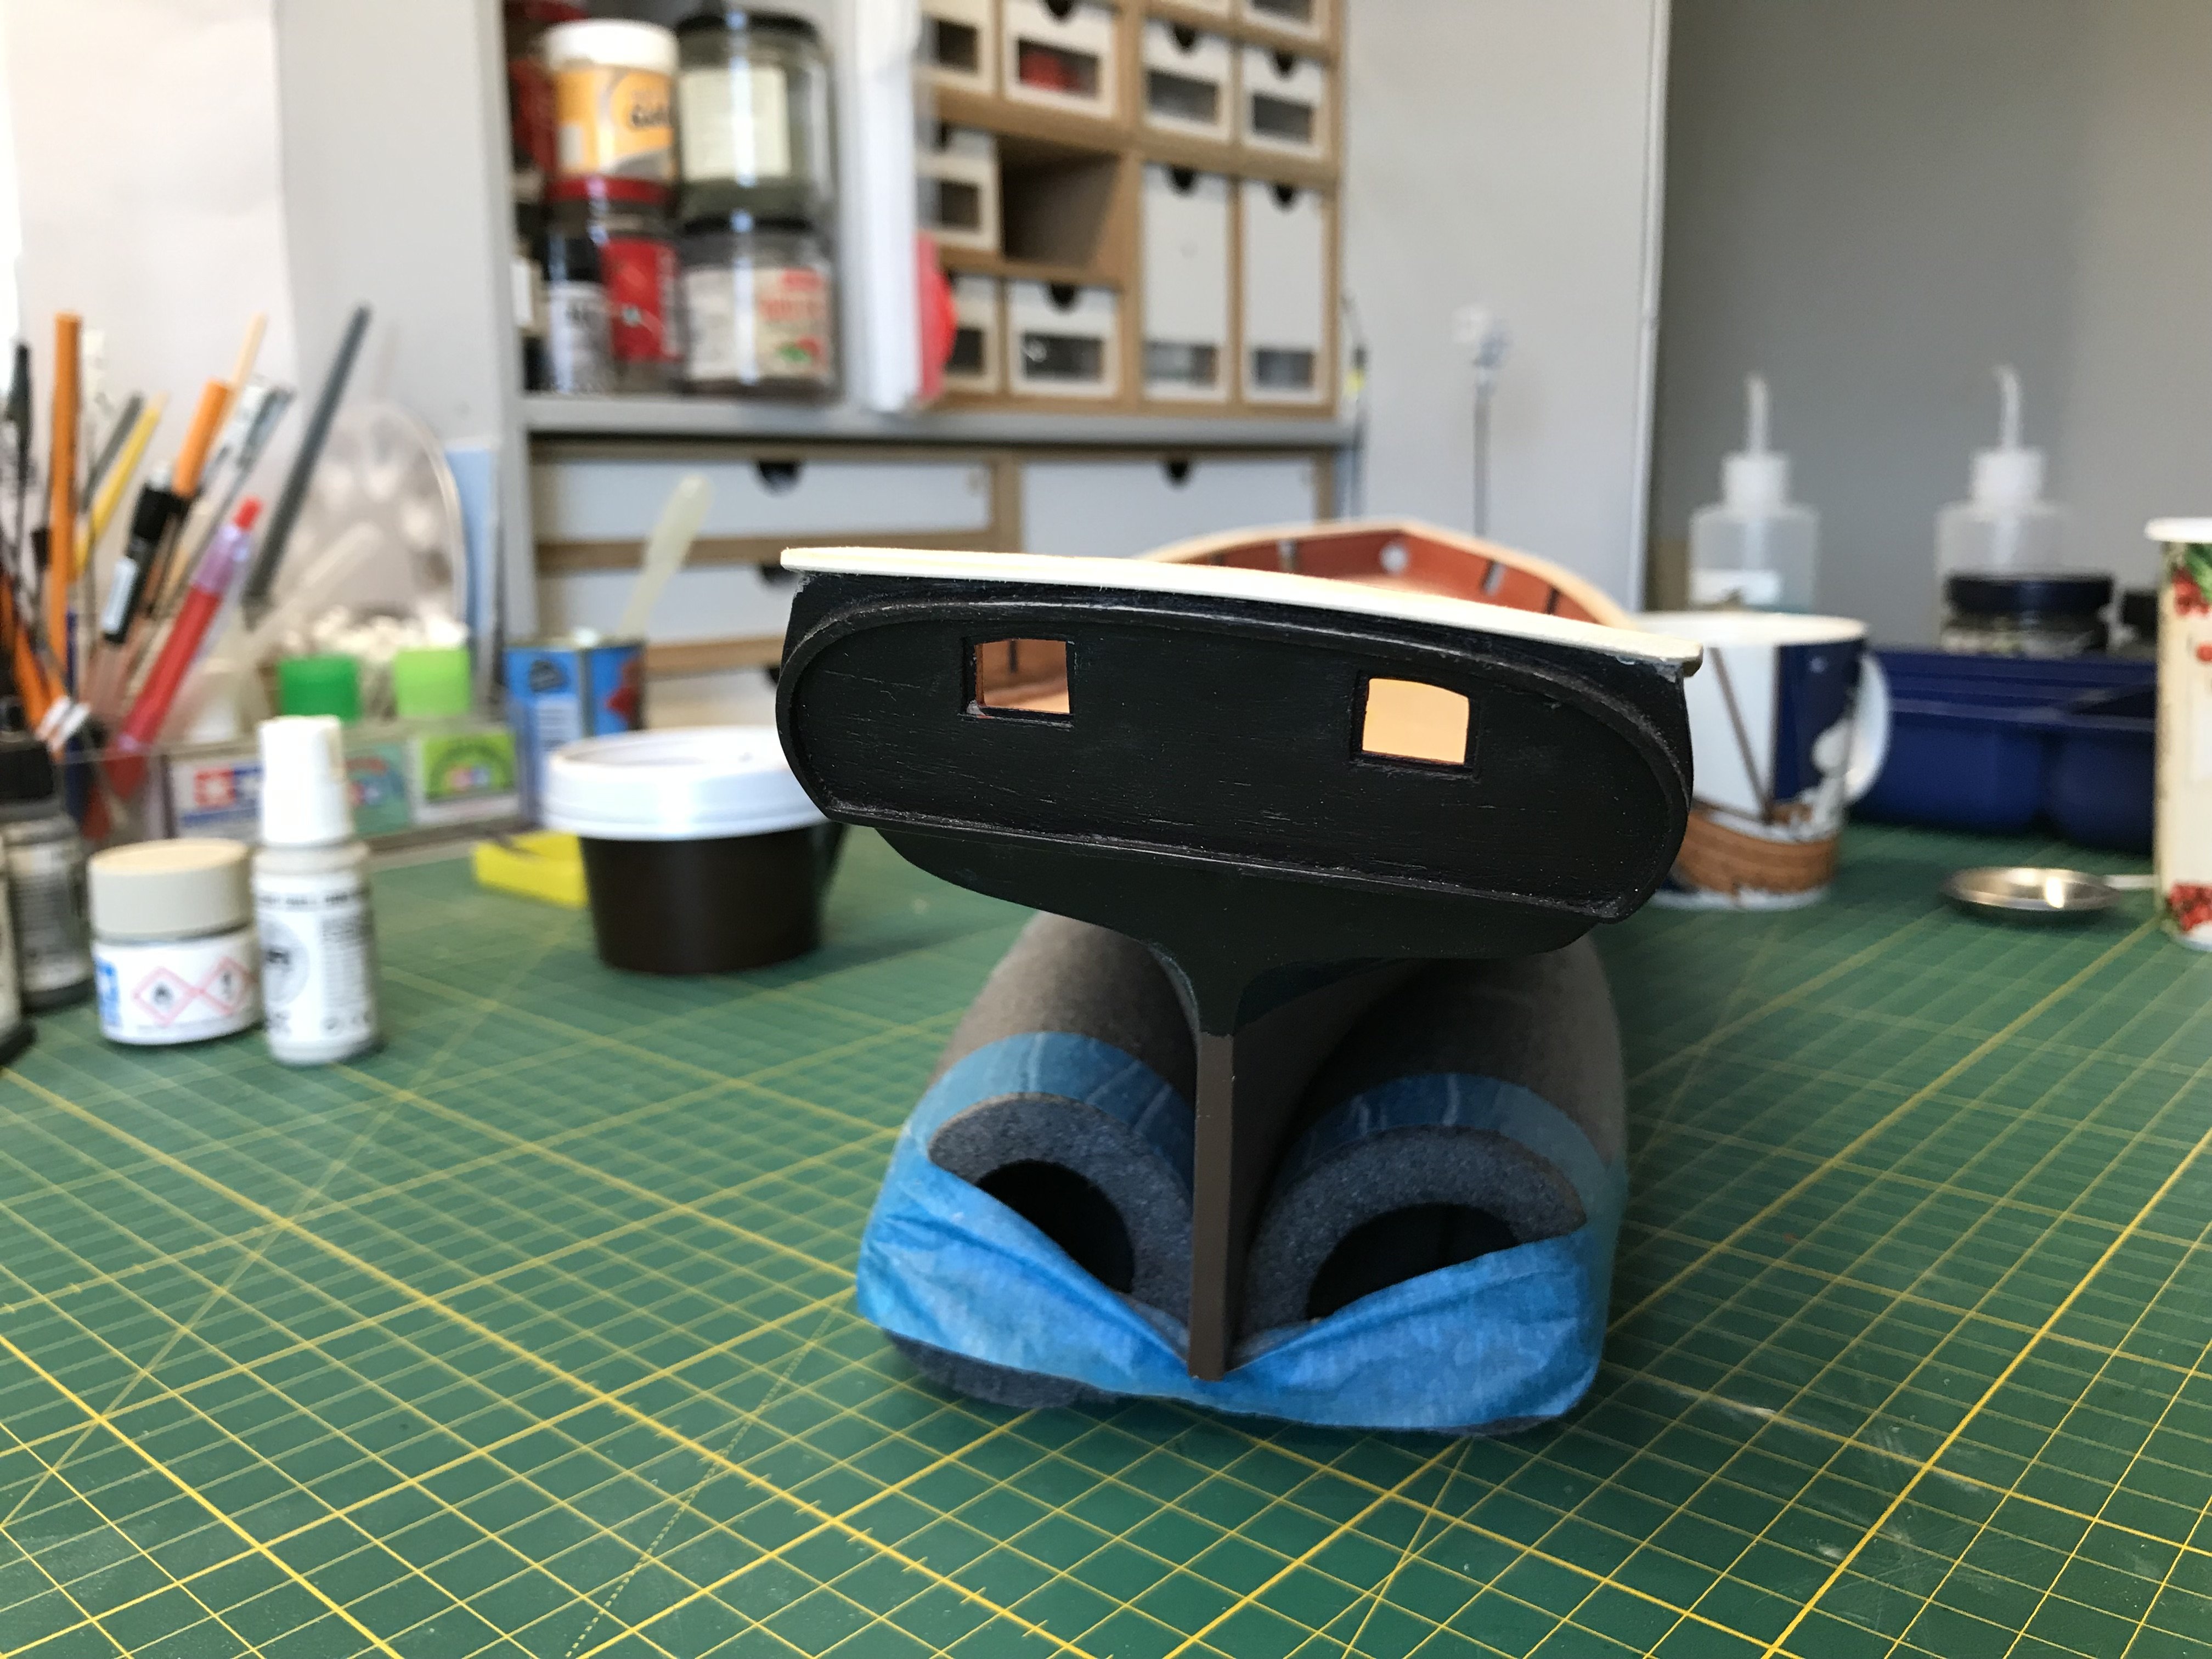
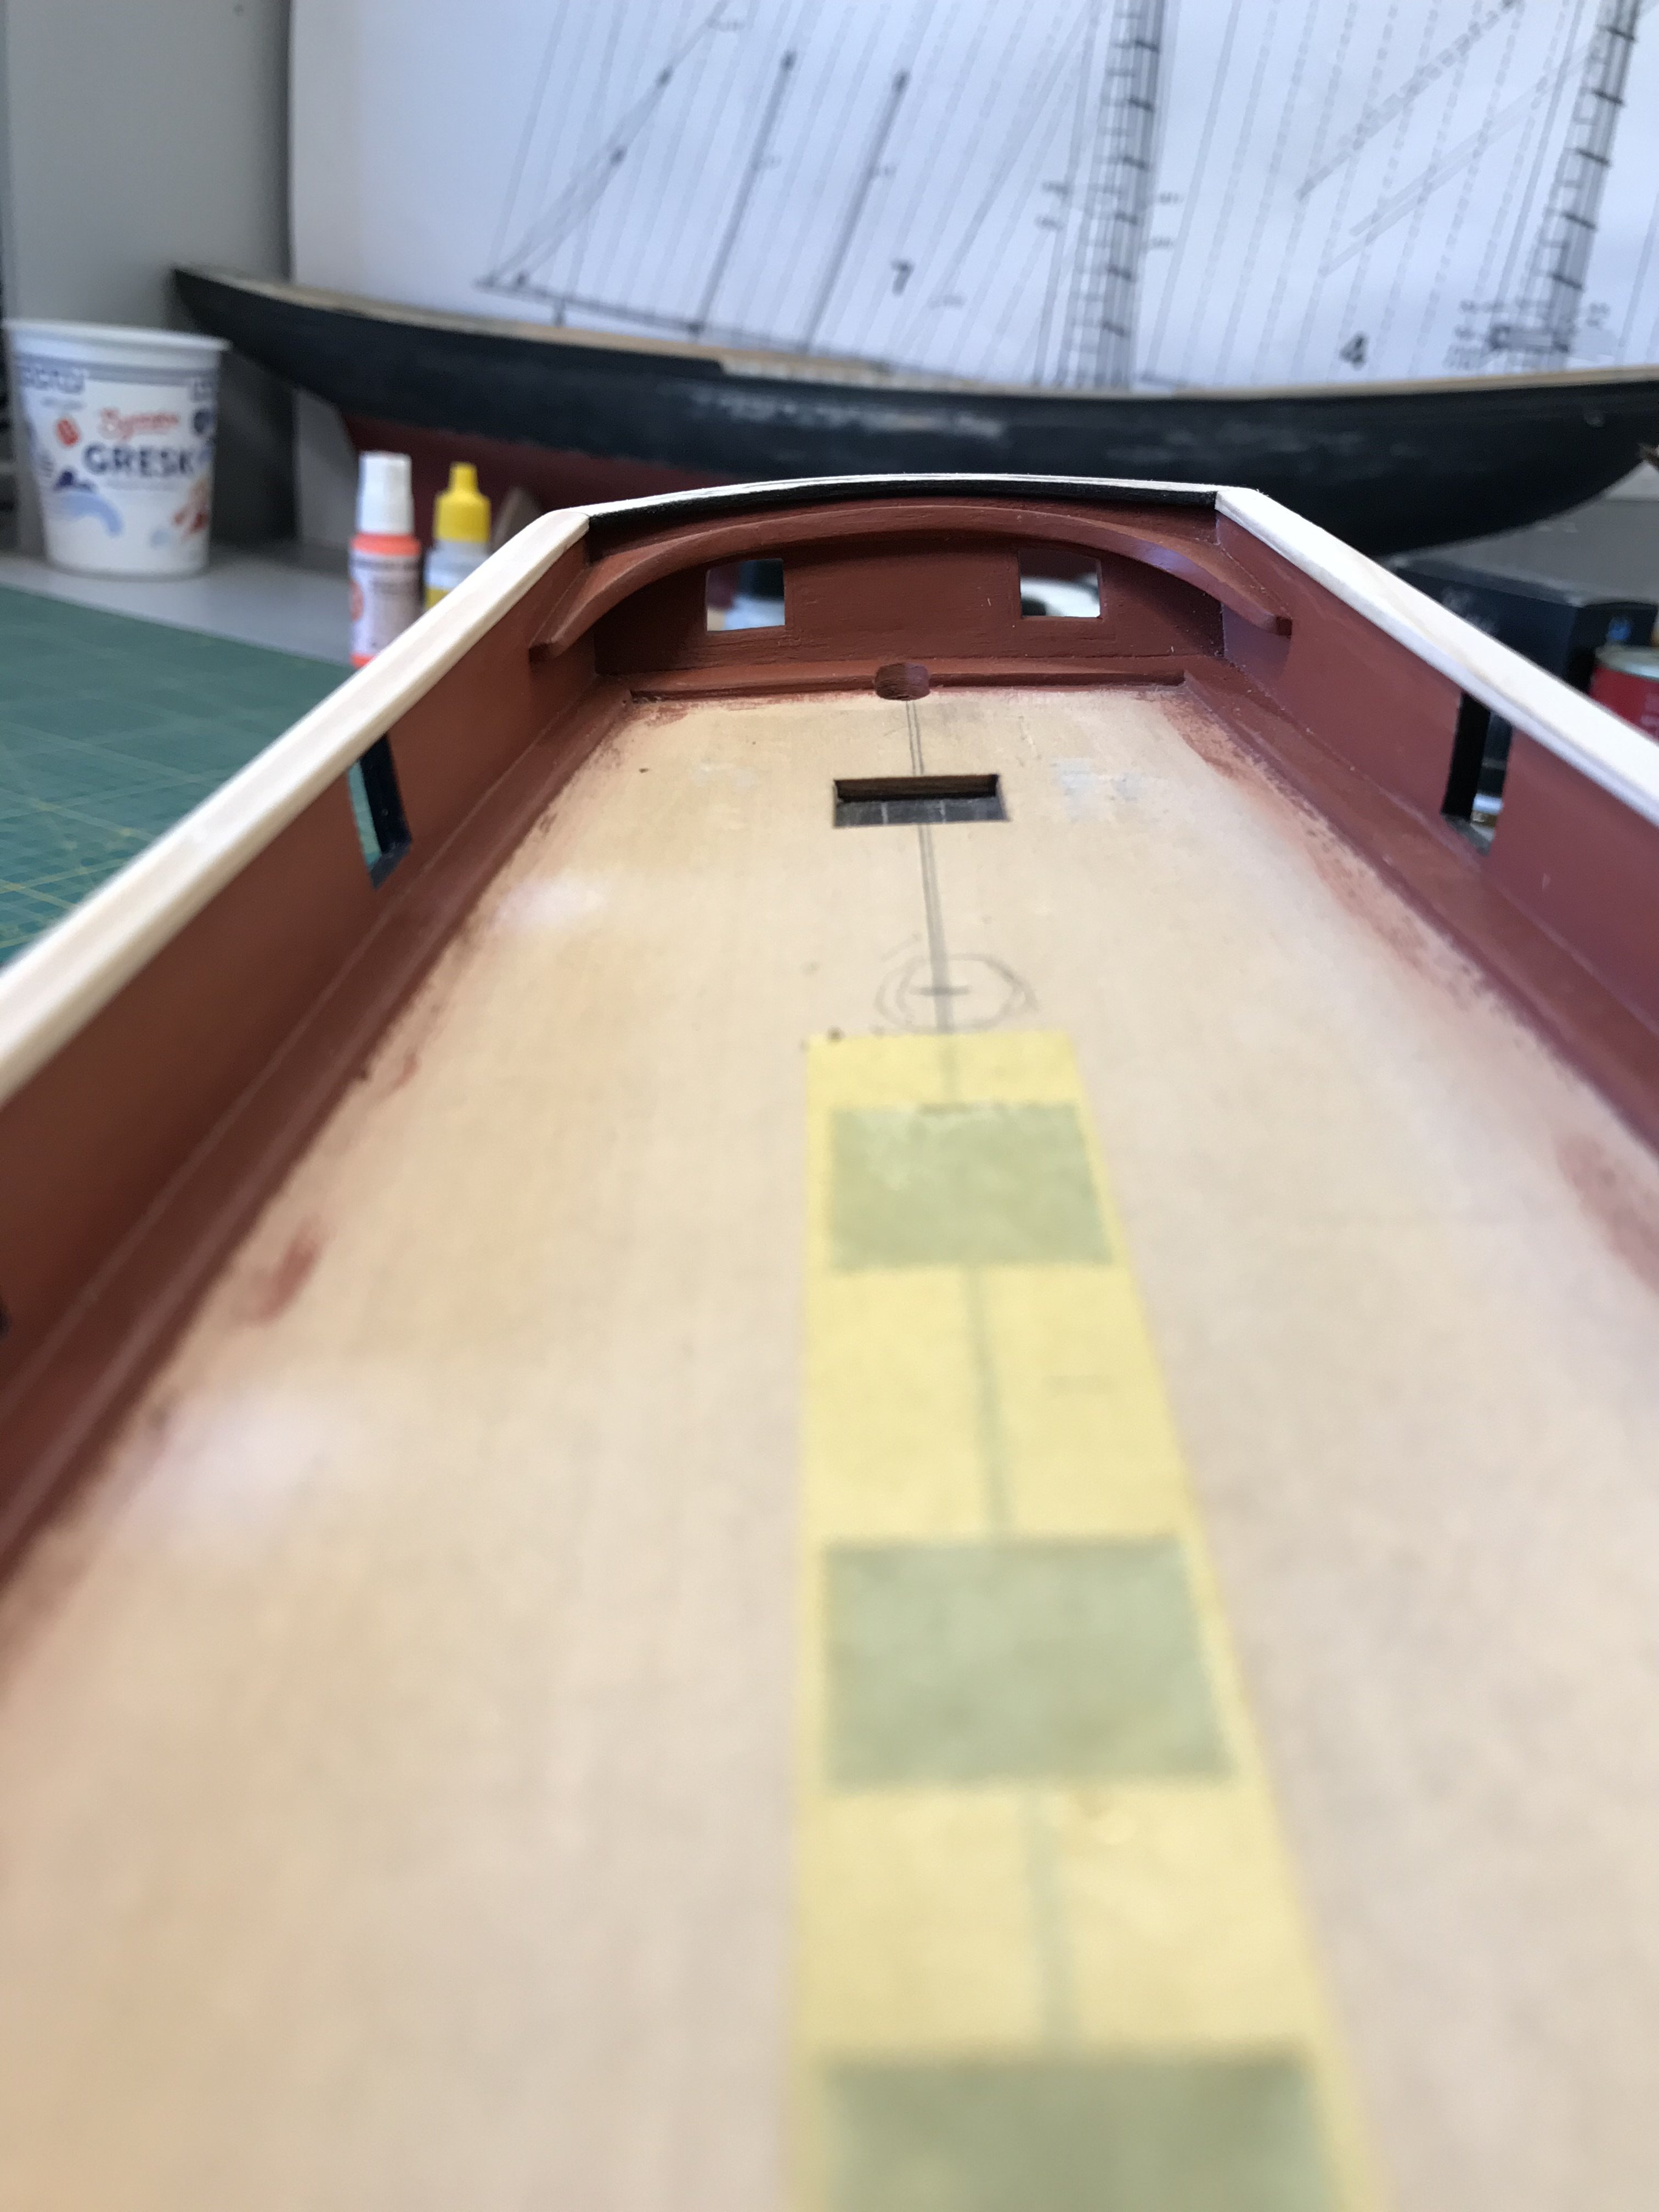
Looking through the stern porthole..

And a overview. Funny how the colours change with the light.

Now I need to clean up the hatches and start on the frames/gratings. I also need to touch up the red paint after sanding the deck.
Gaffrig.
-
-
Hello all!
Thank you for looking in and the likes!
Work progressing slowly..
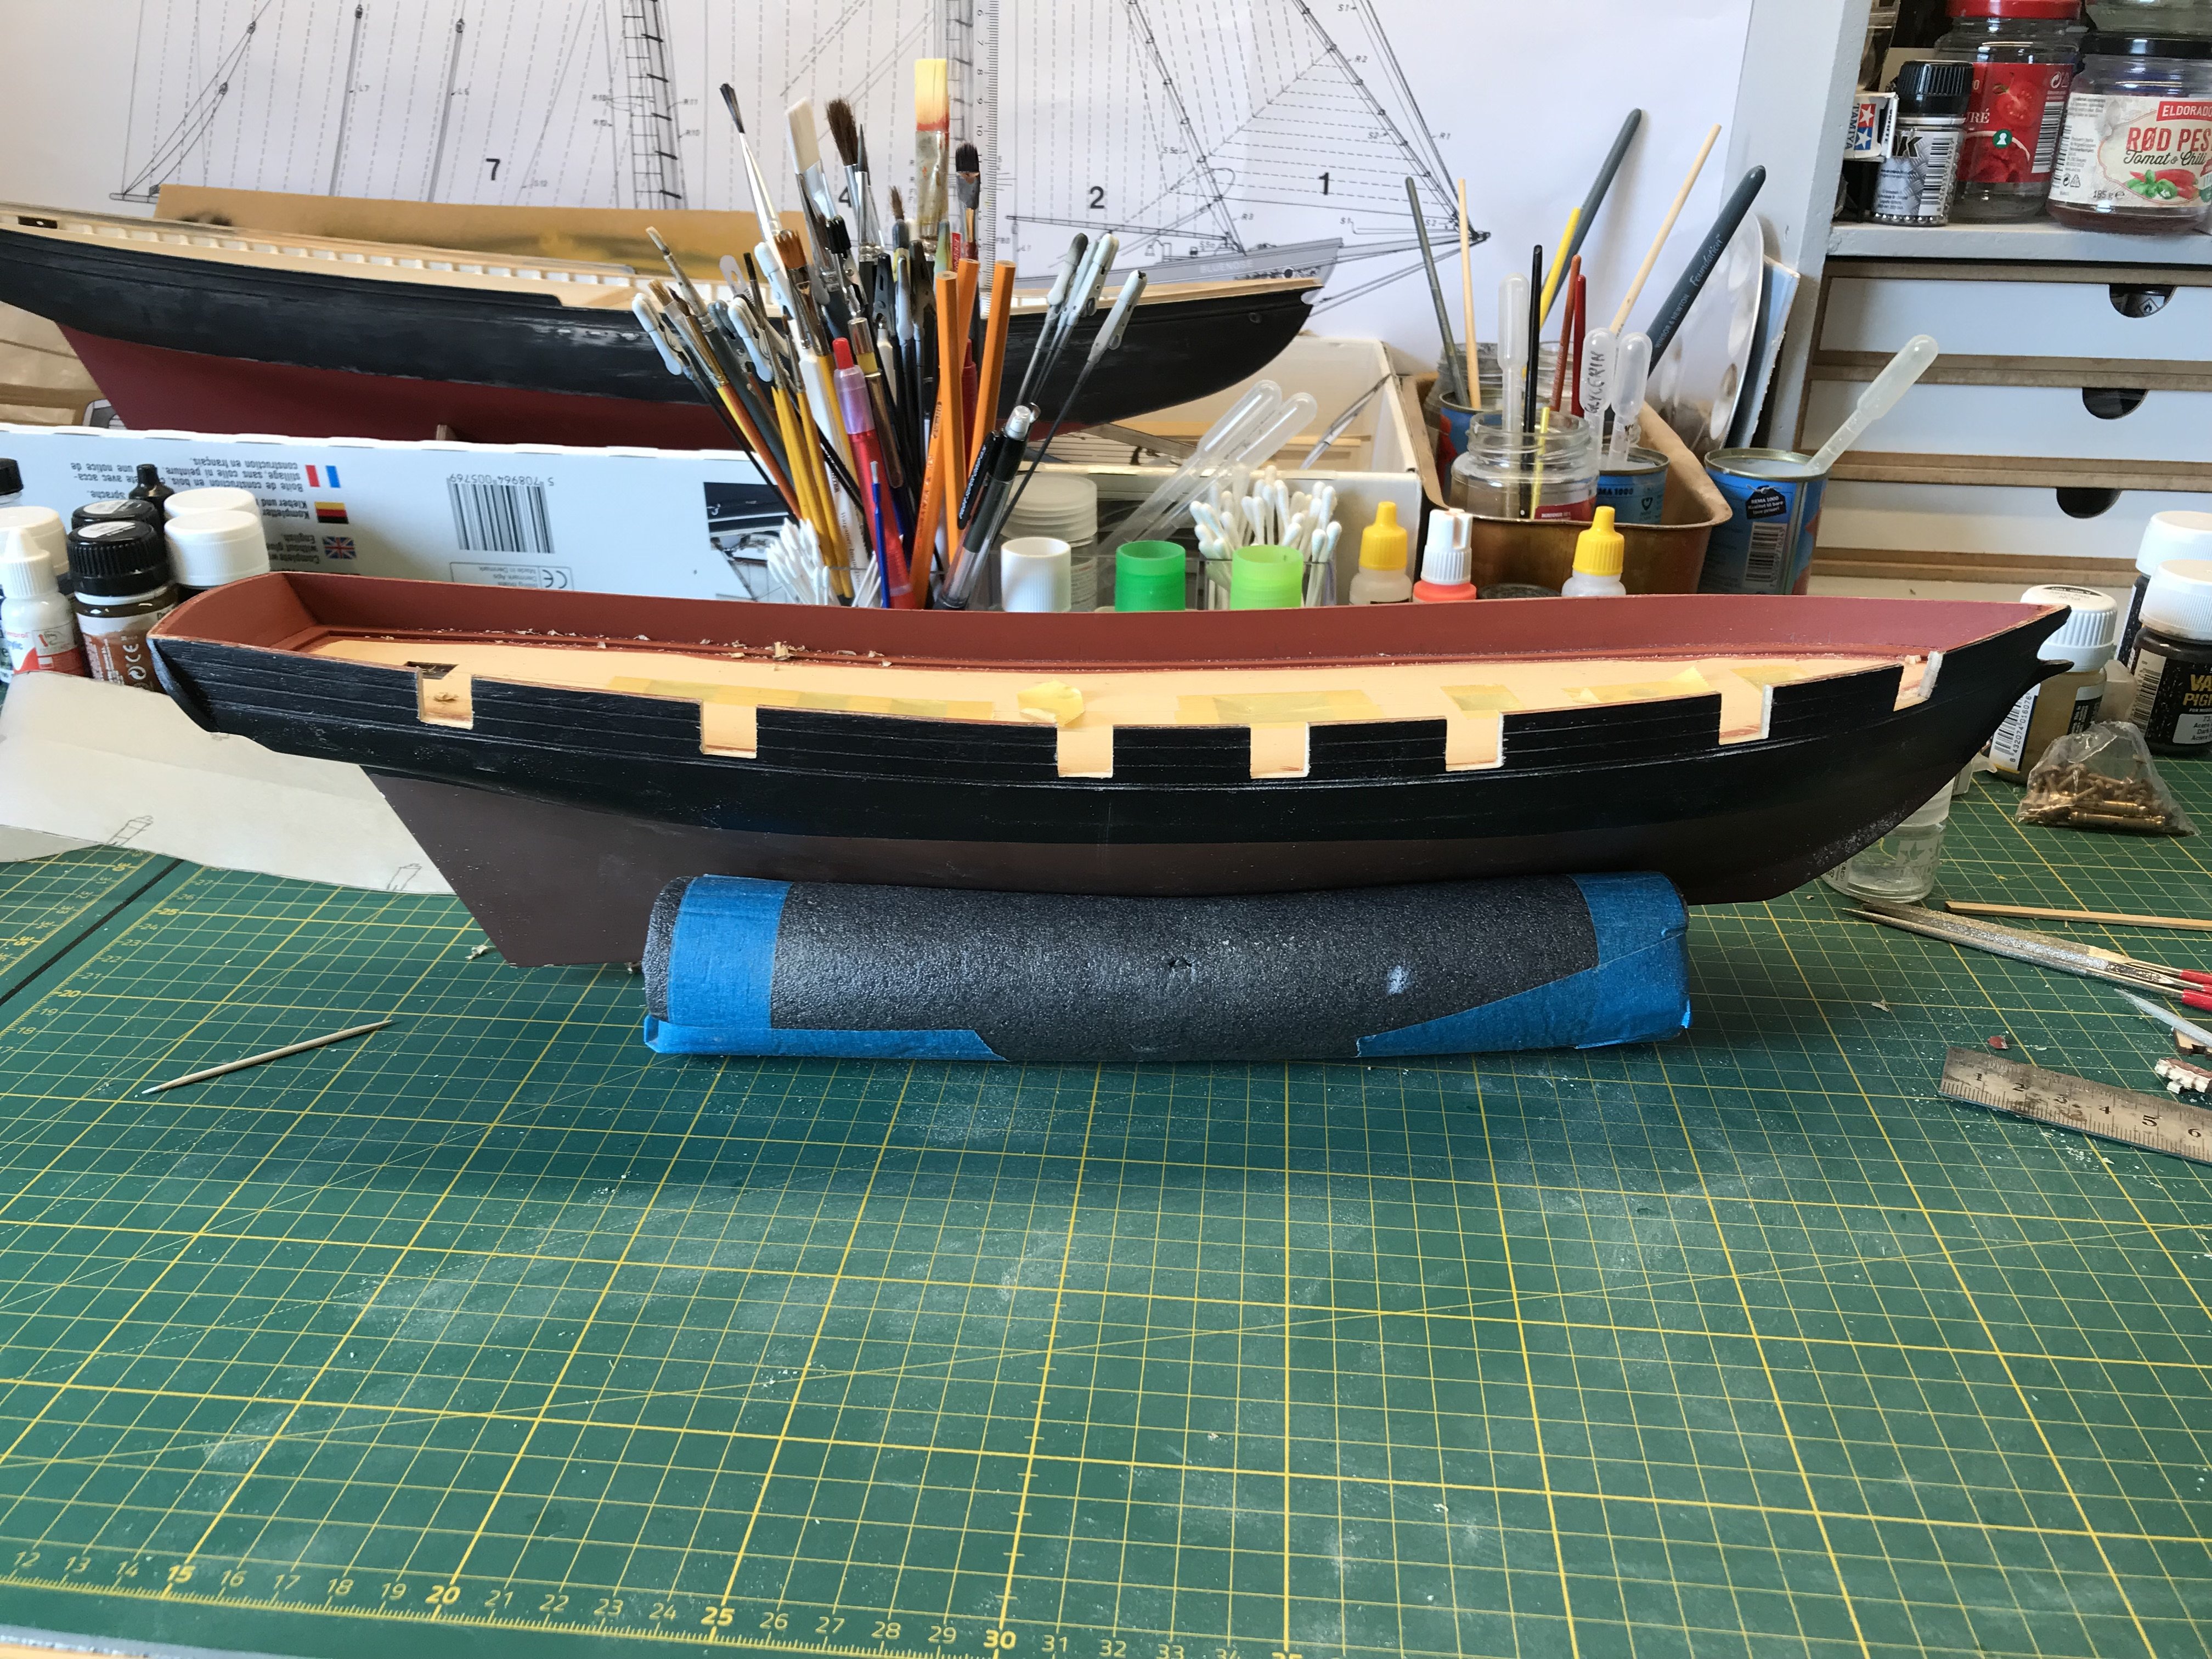
First coat of paint on the caprail.
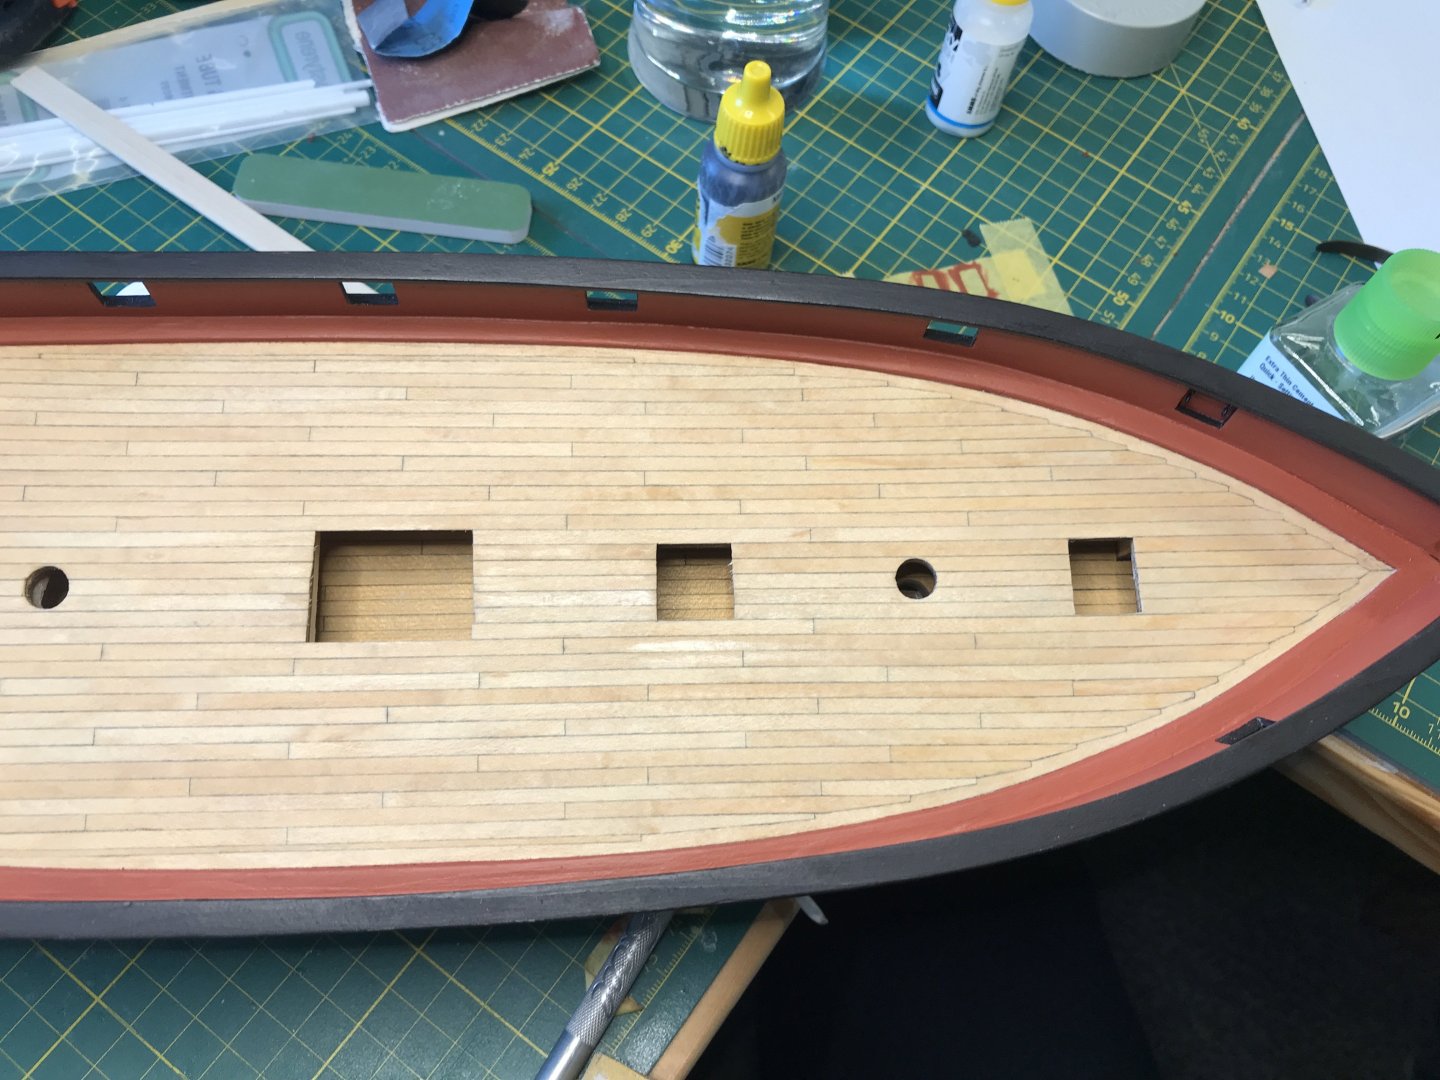
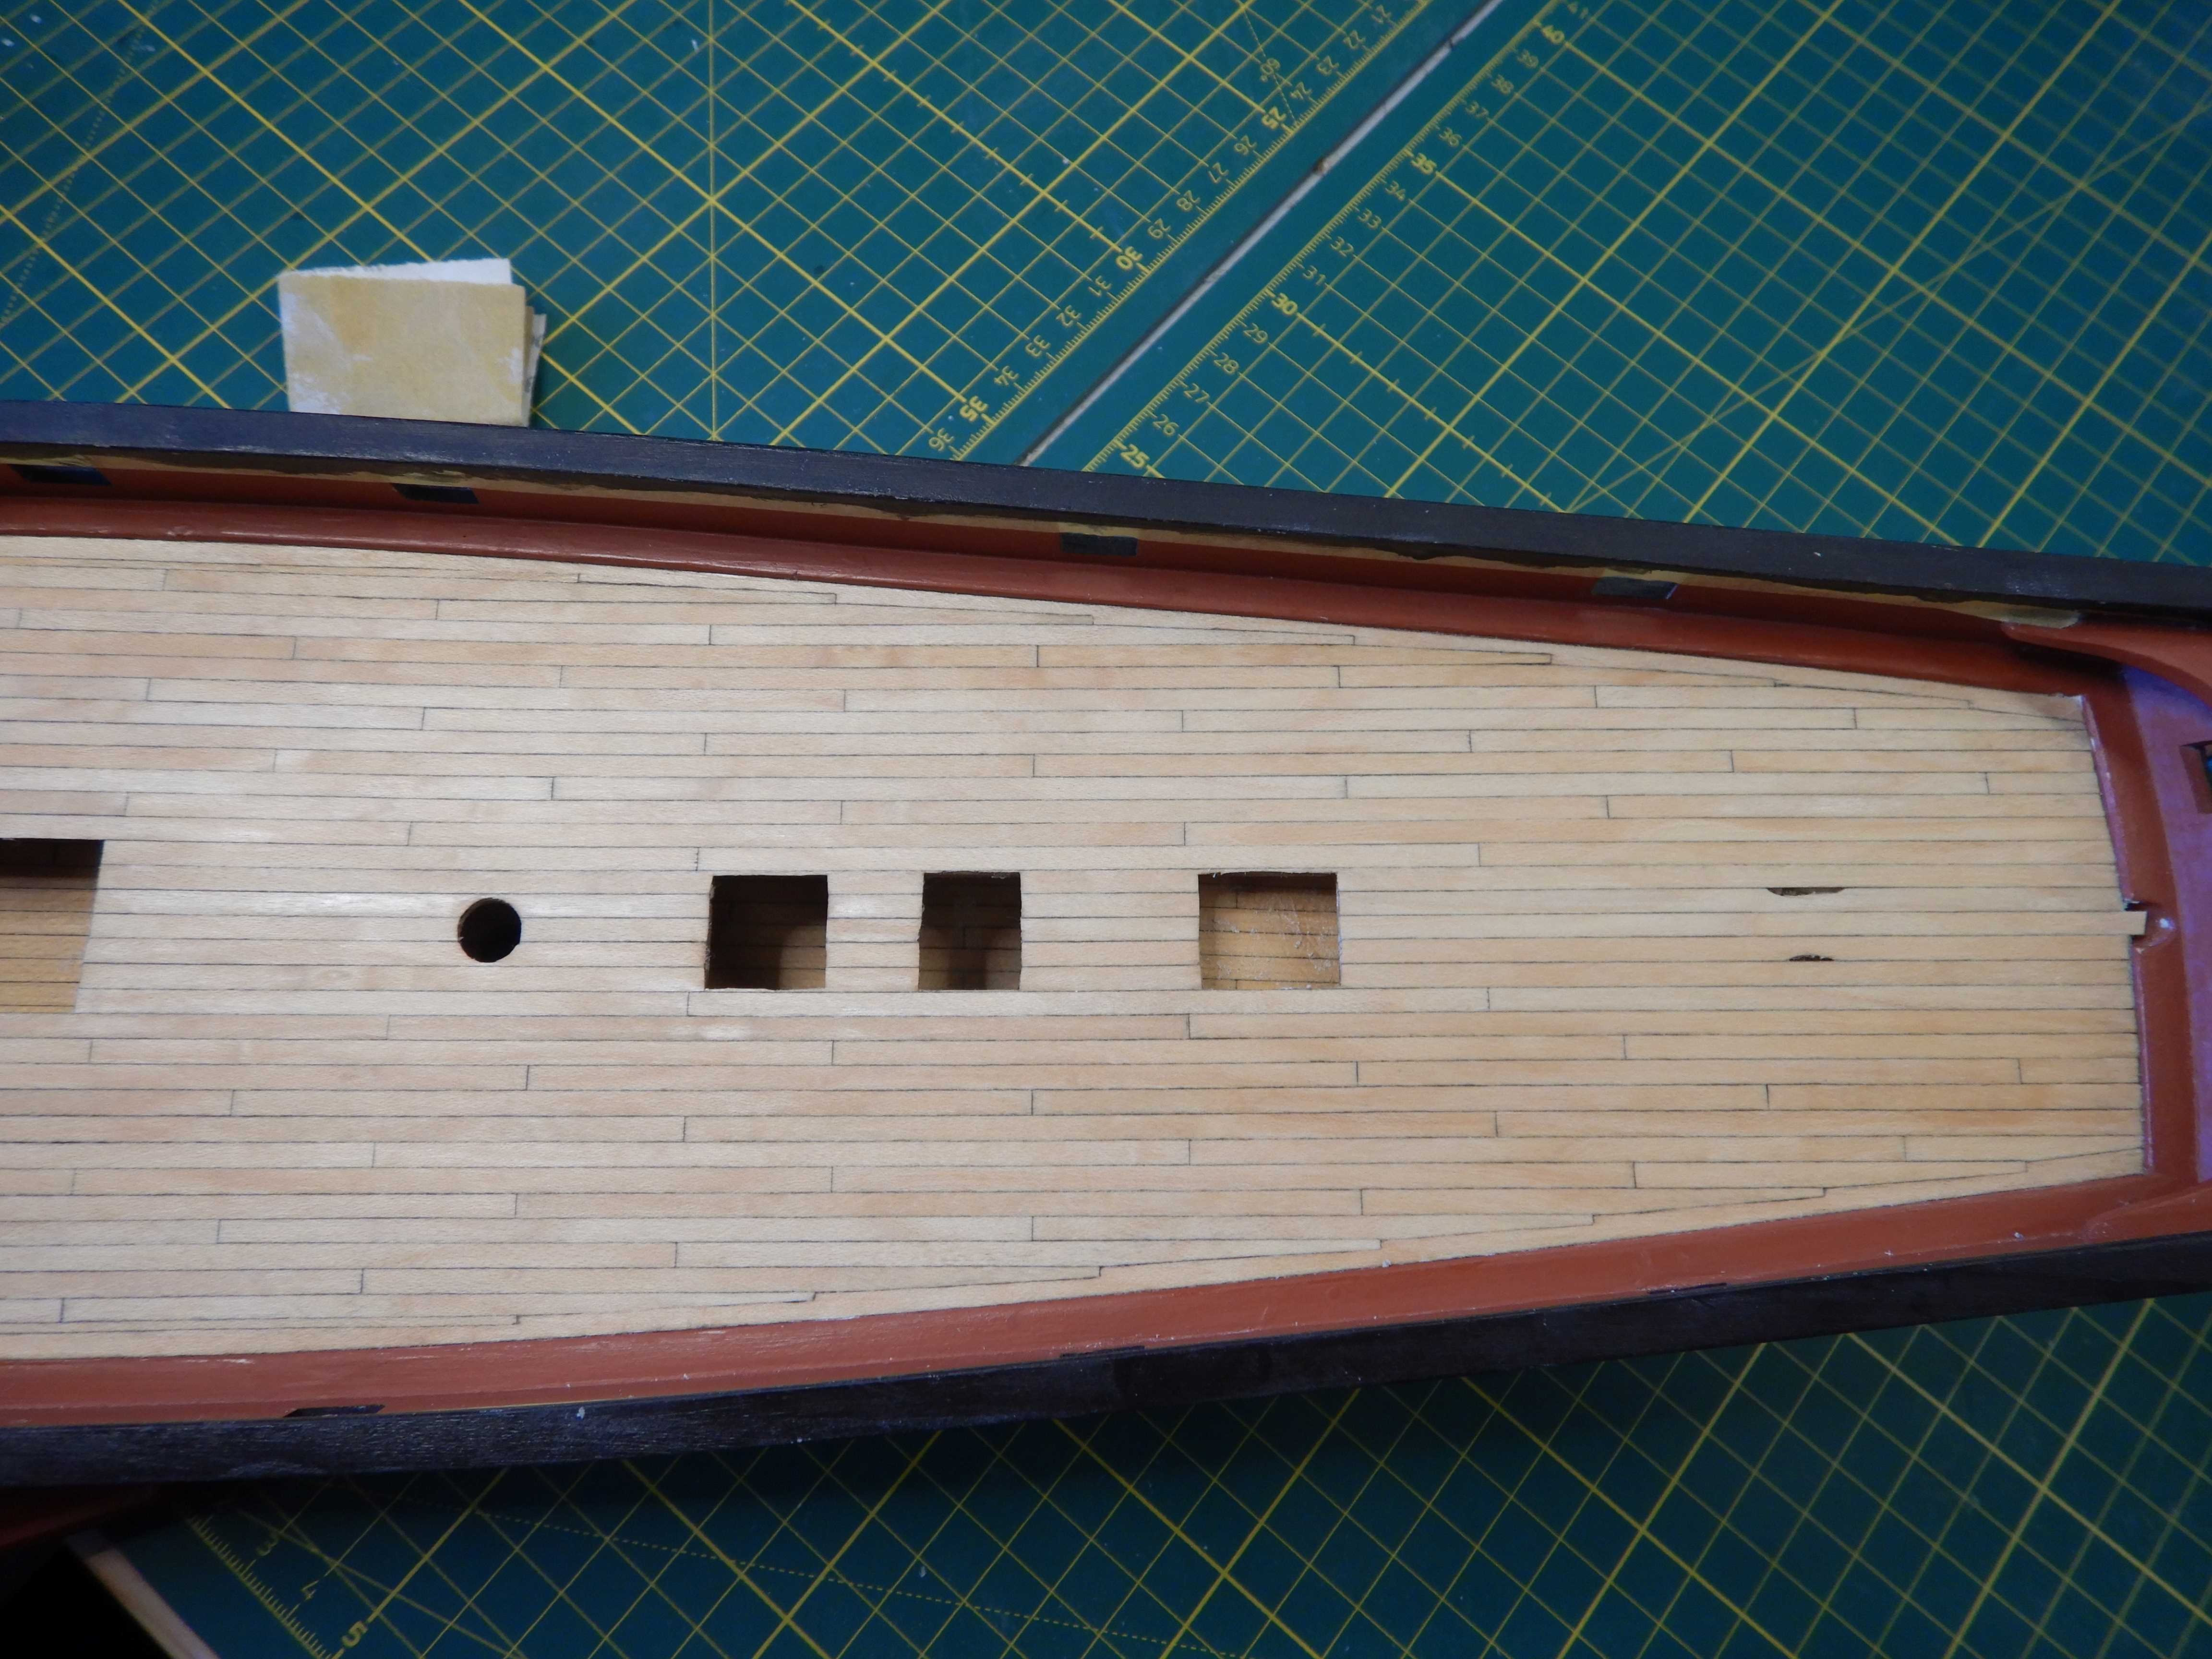
Started on the deck. Using pencil for caulking and following a four step butt planking pattern.
(hatches very rough cut for now)
Gaffrig.
- Gregory, Ryland Craze, Coyote_6 and 1 other
-
 4
4
-
-
Hello!
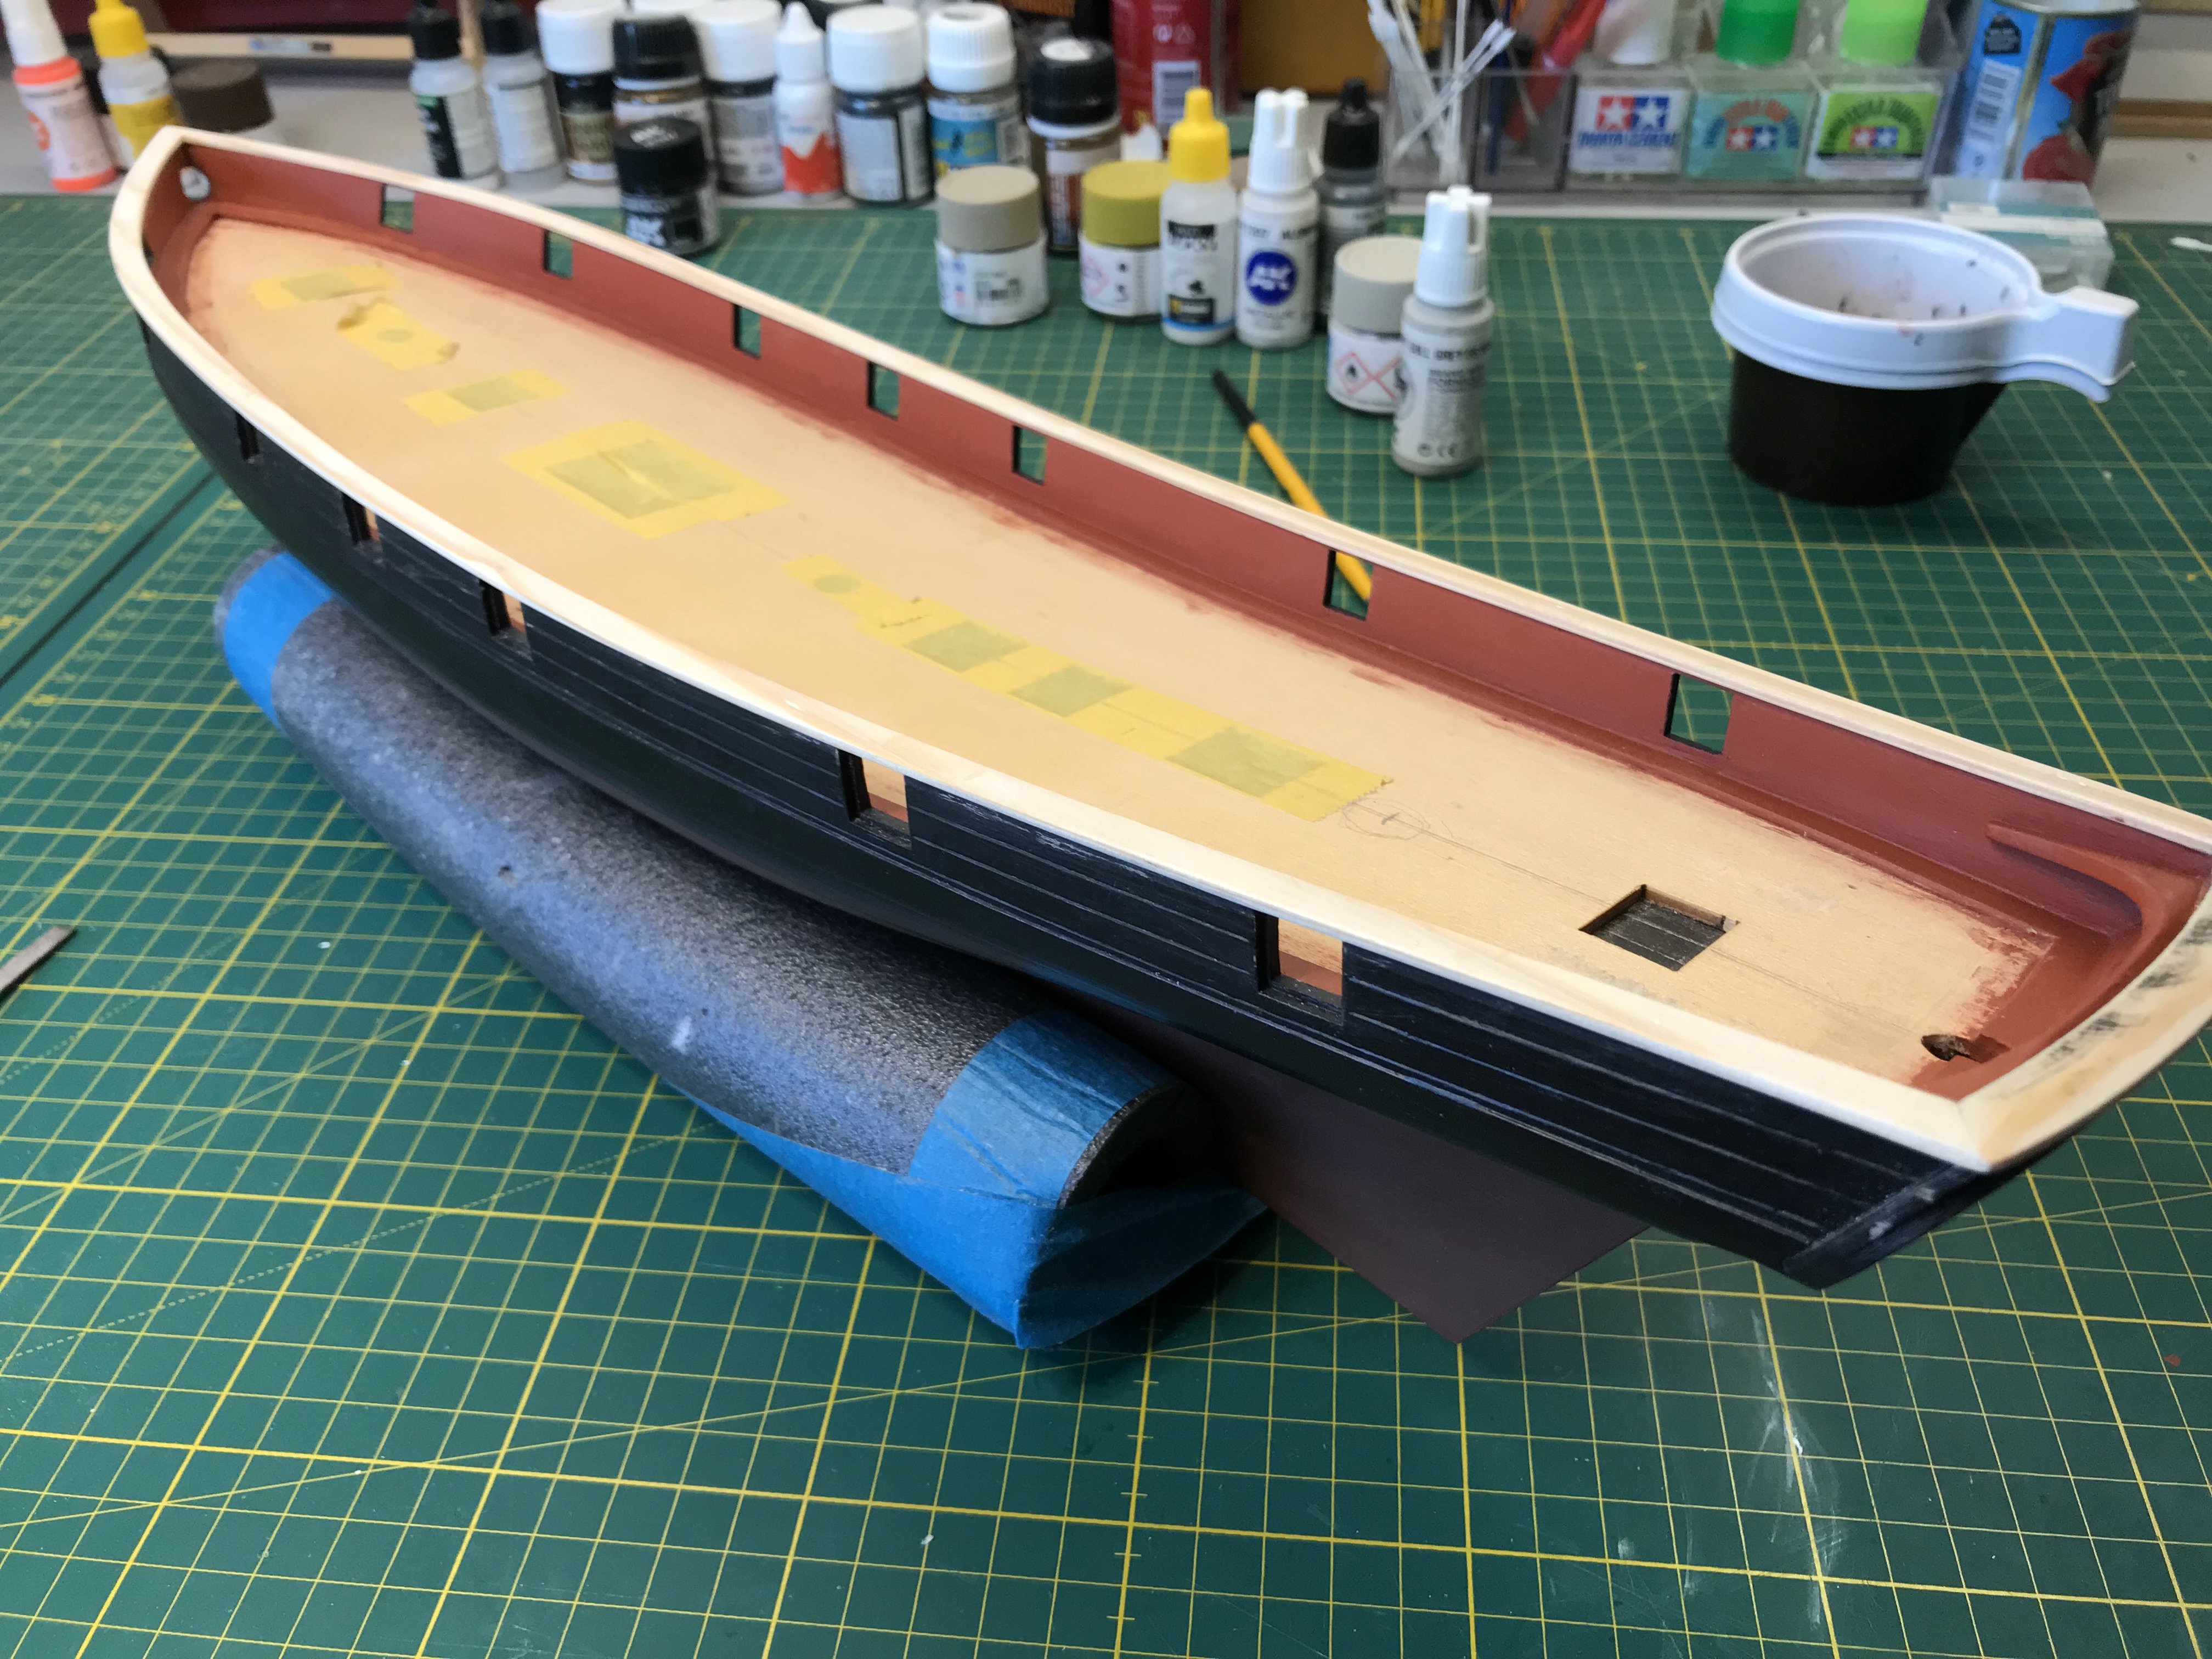
I’ve made the caprails and glued on to one side.
The other dryfitted in this picture.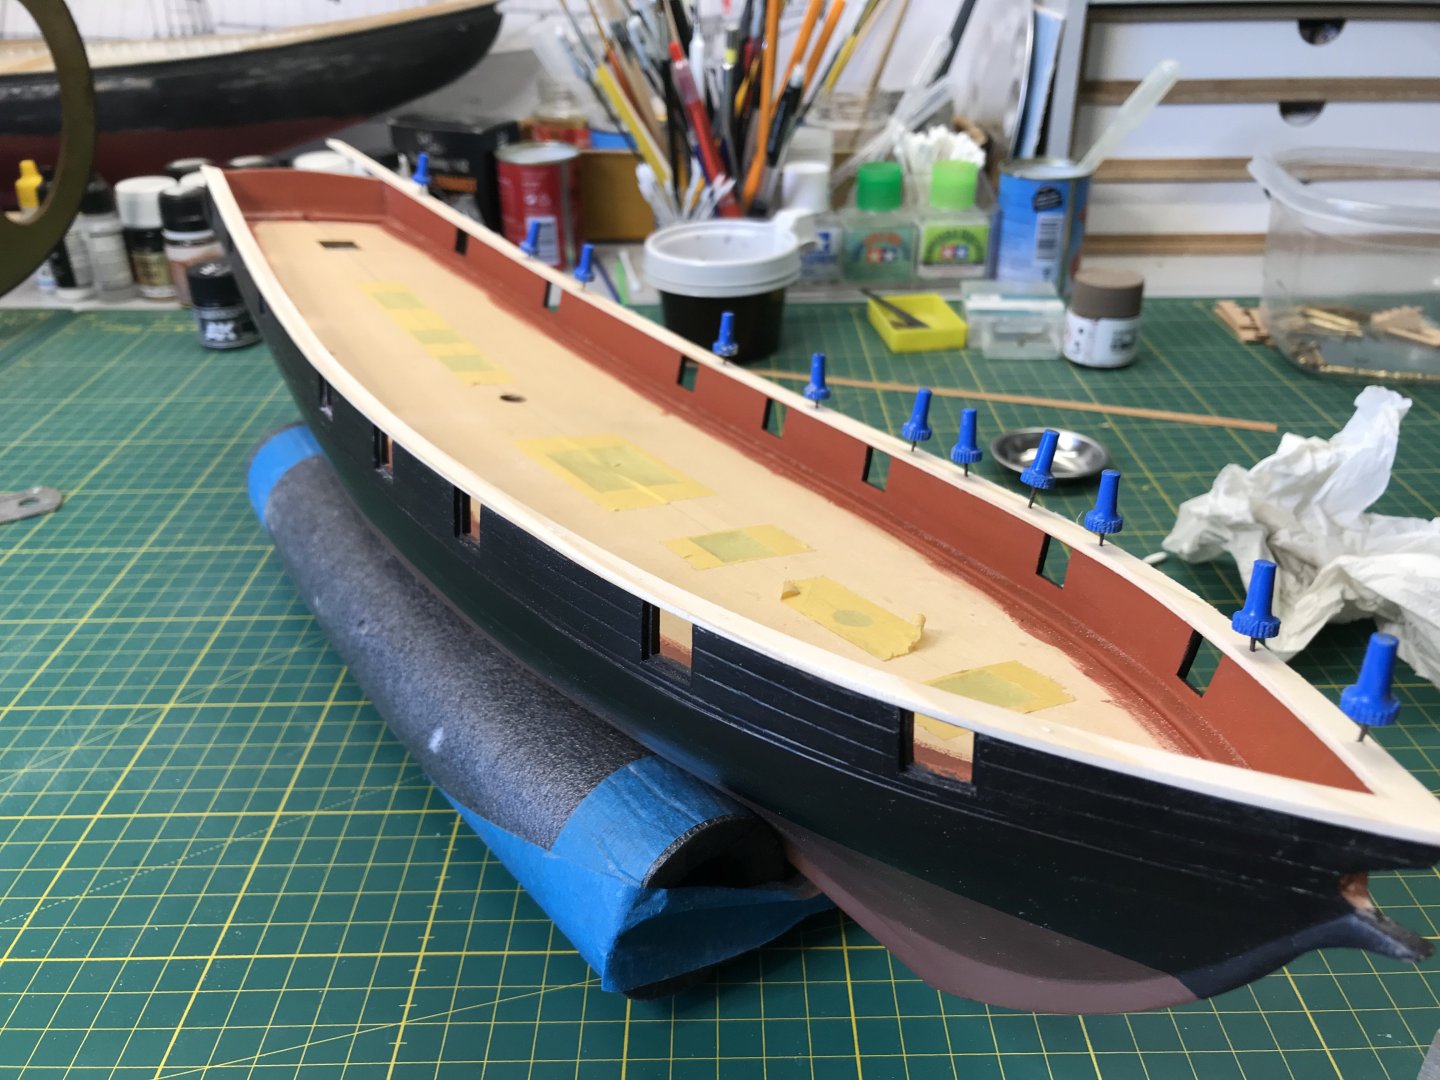
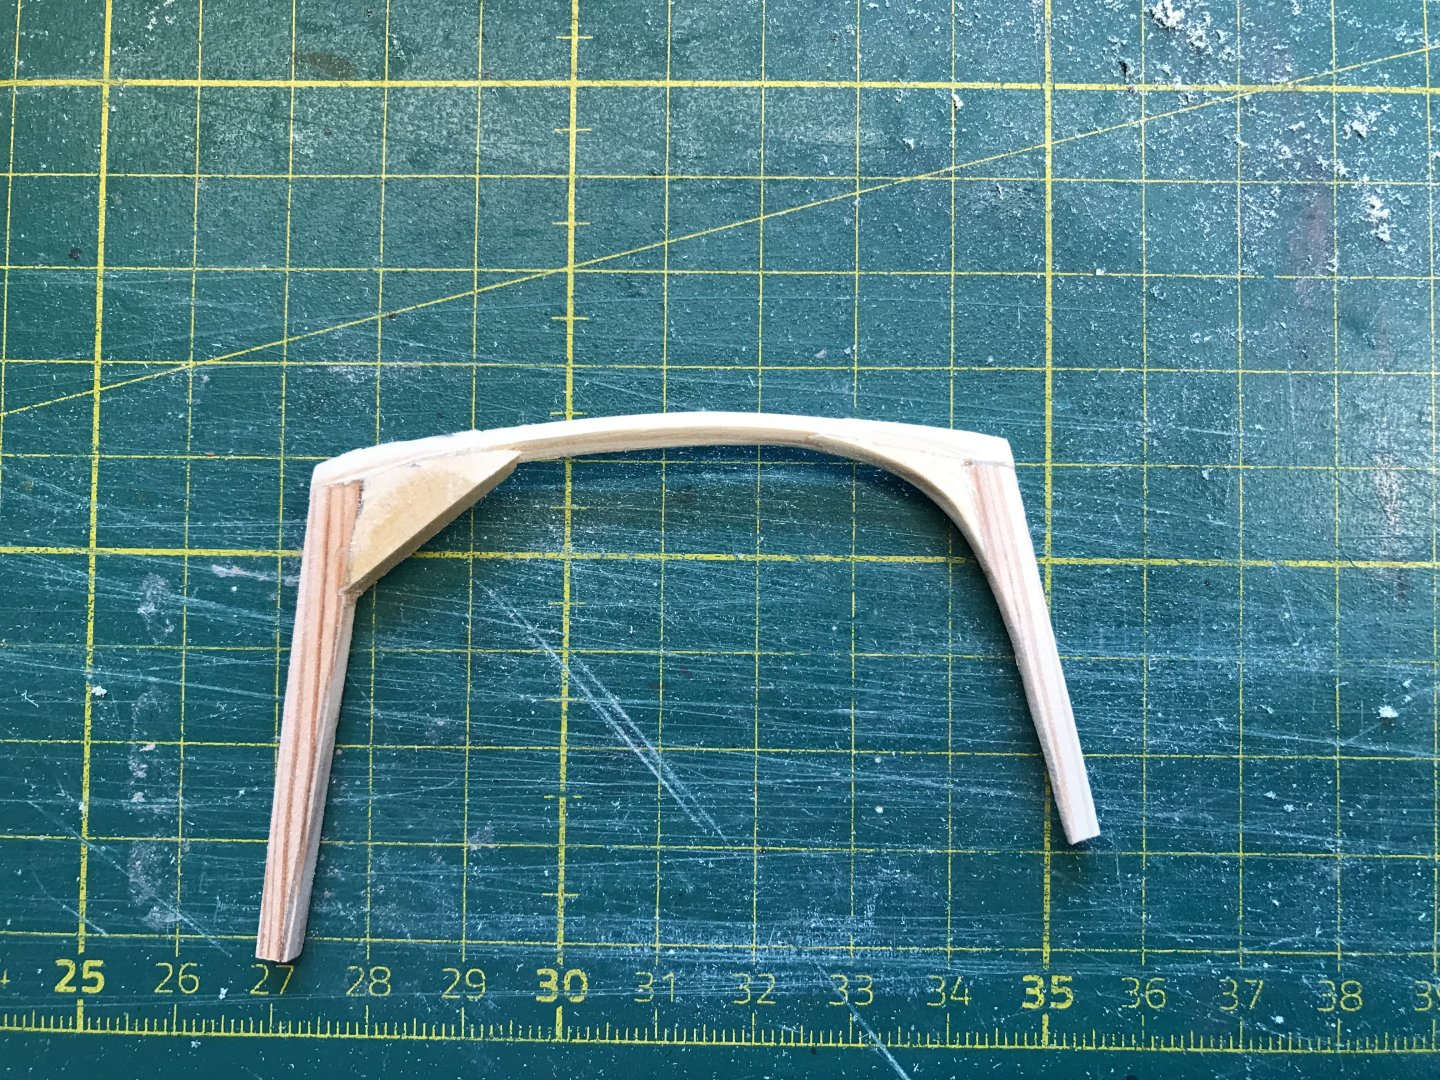
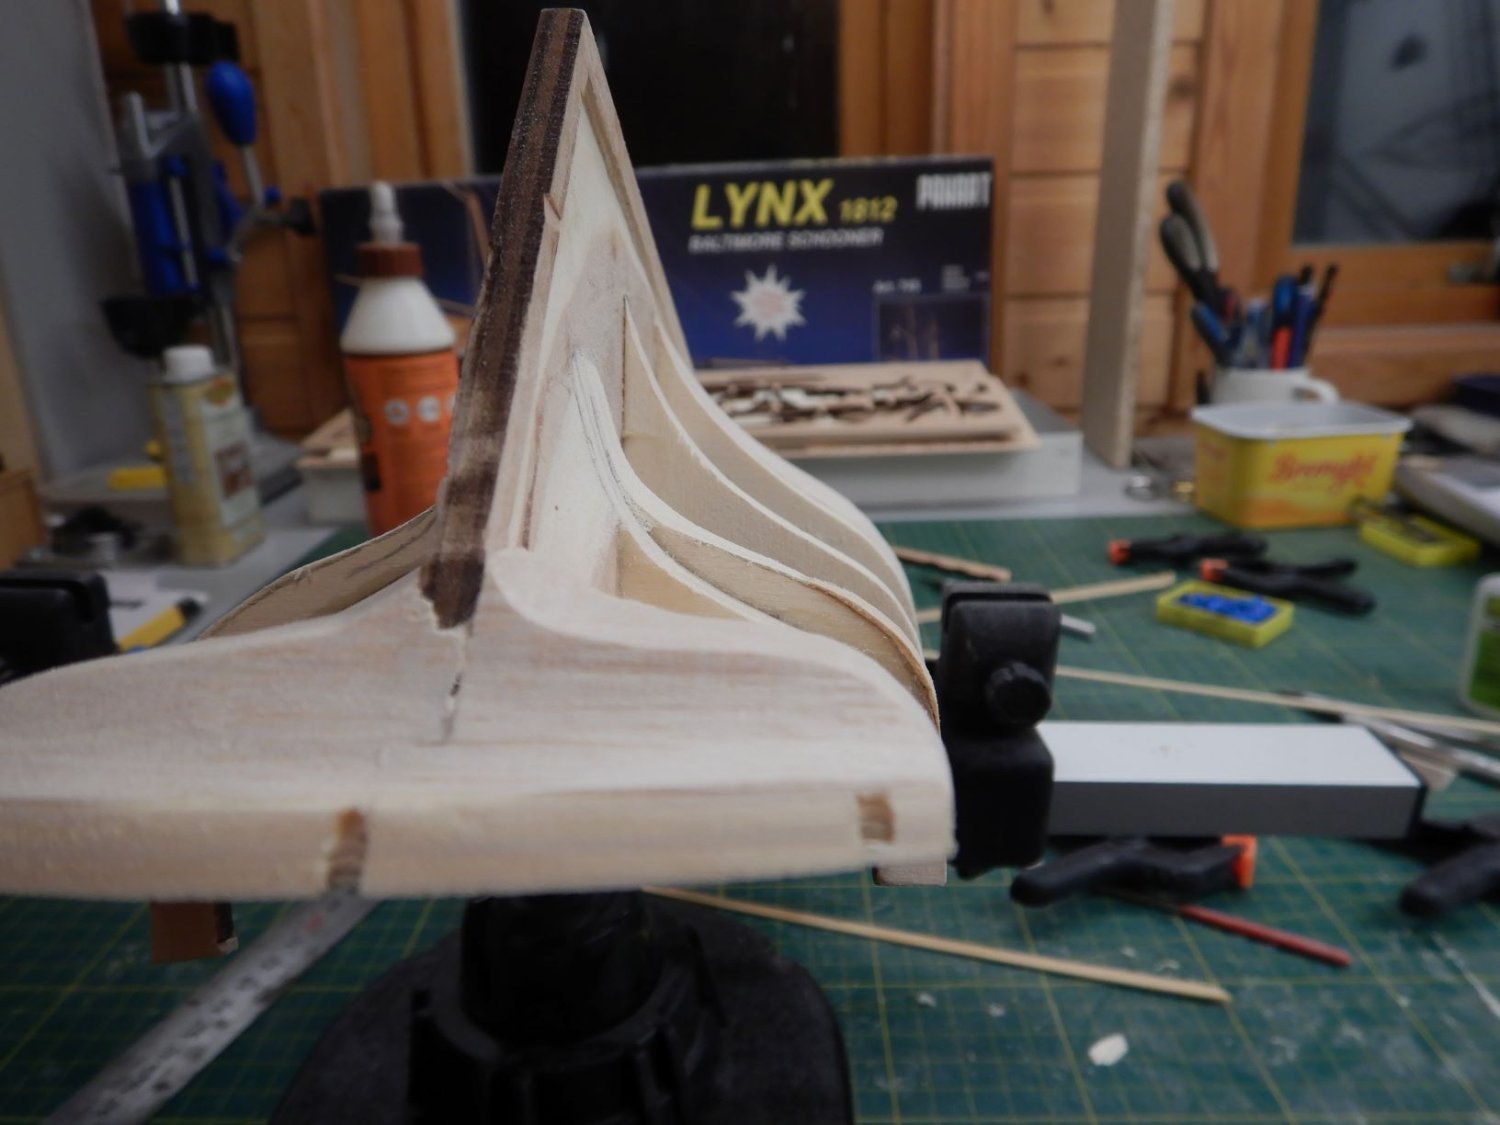
I then thought it would be a good idea to make the «strengthening piece» (for lack of a better word) on the inside of the transom first. This piece is not mentioned in the kit but appears in the model I use for reference. (Marked in green)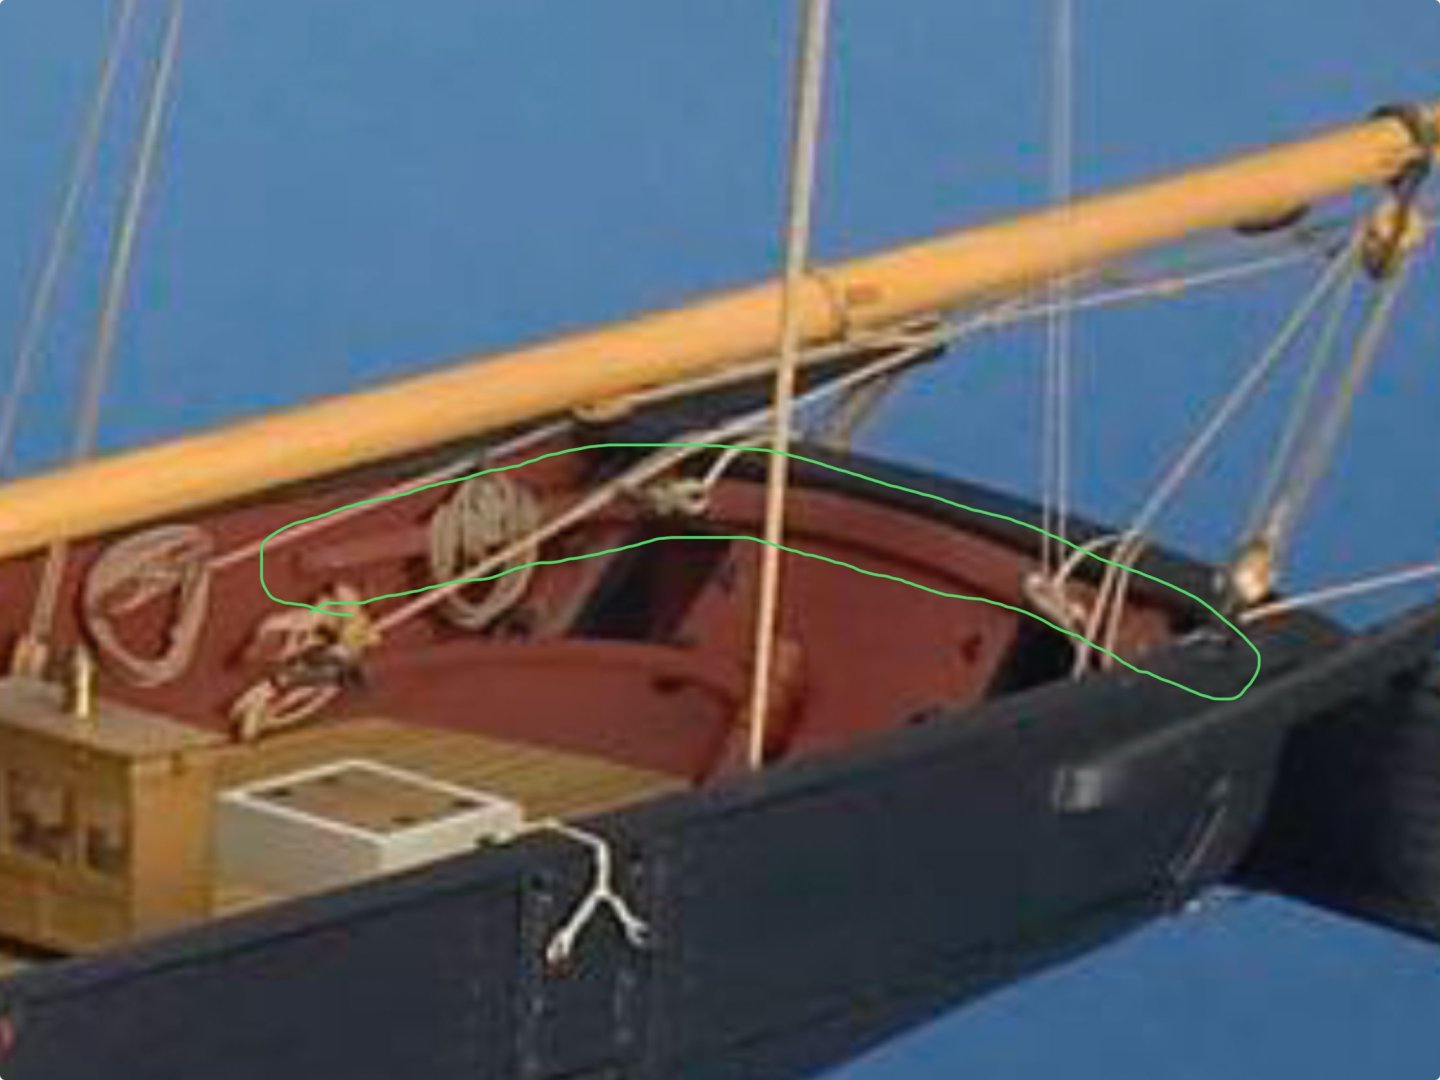
So I glued some pieces of wood together and started chipping away, and this is how it turned out..
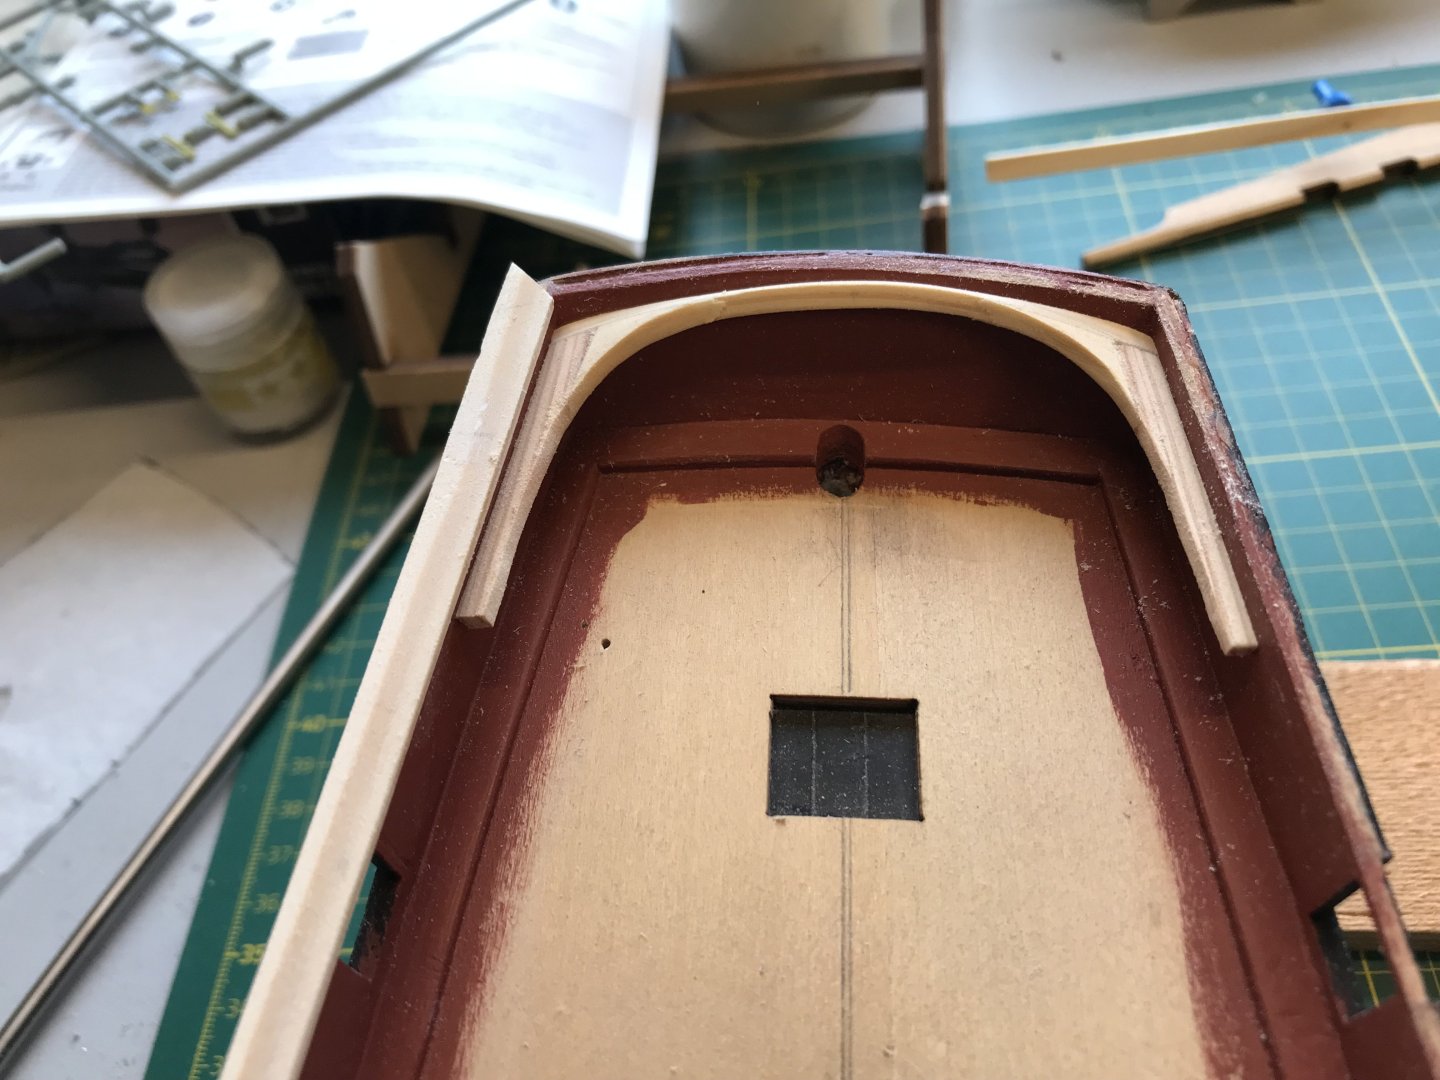

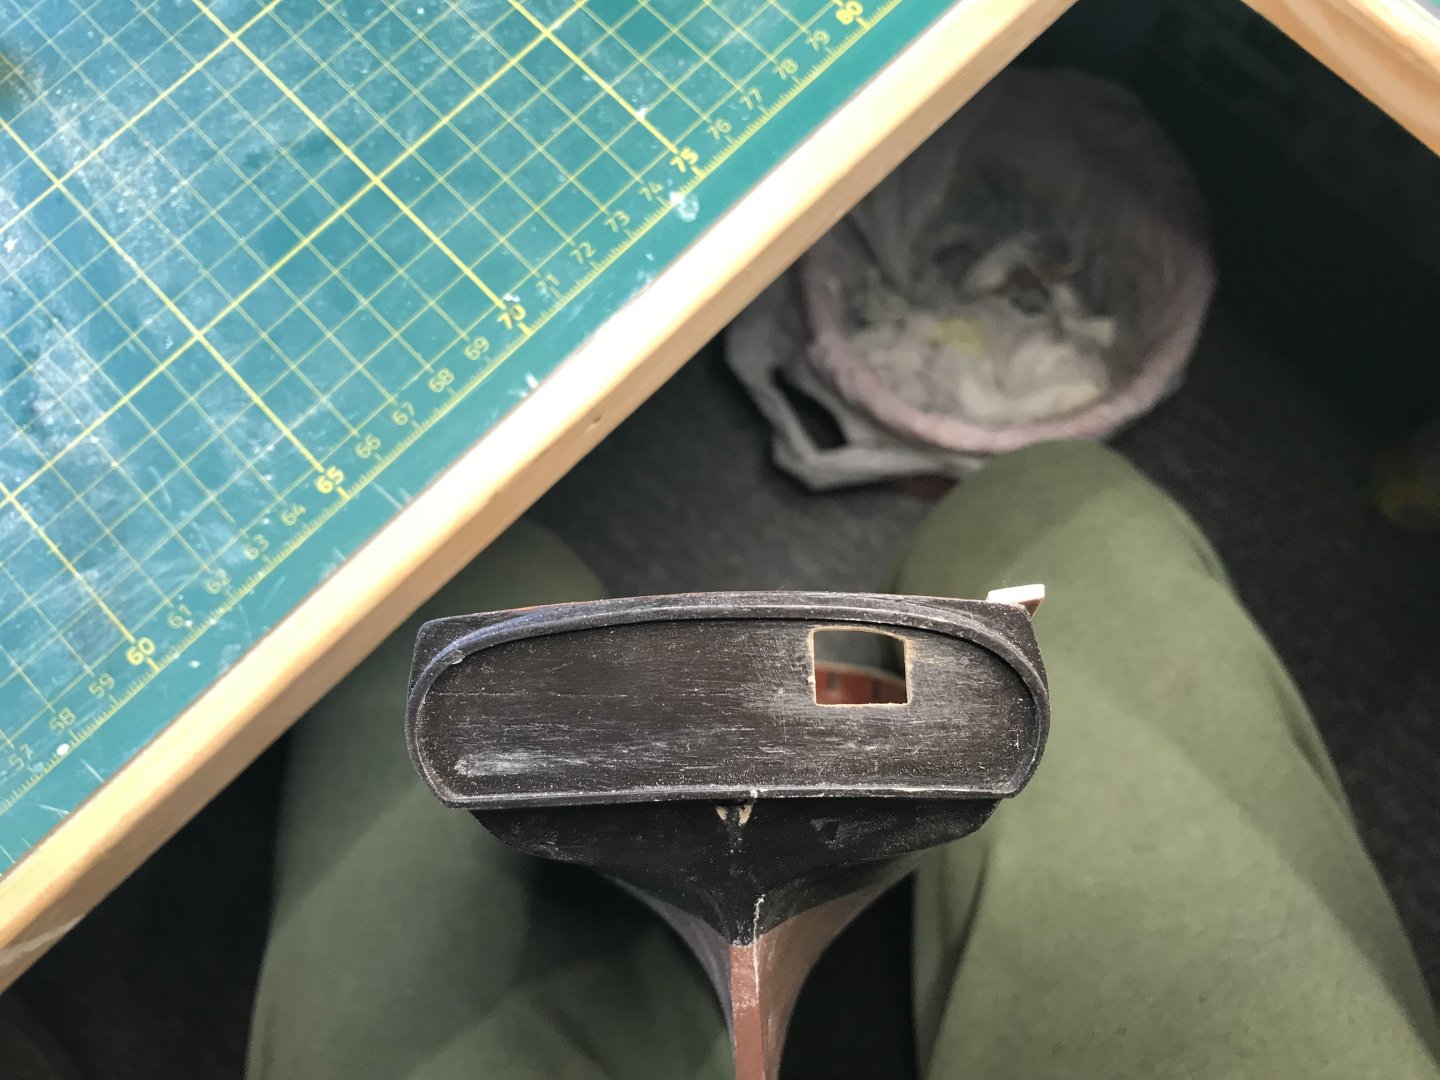
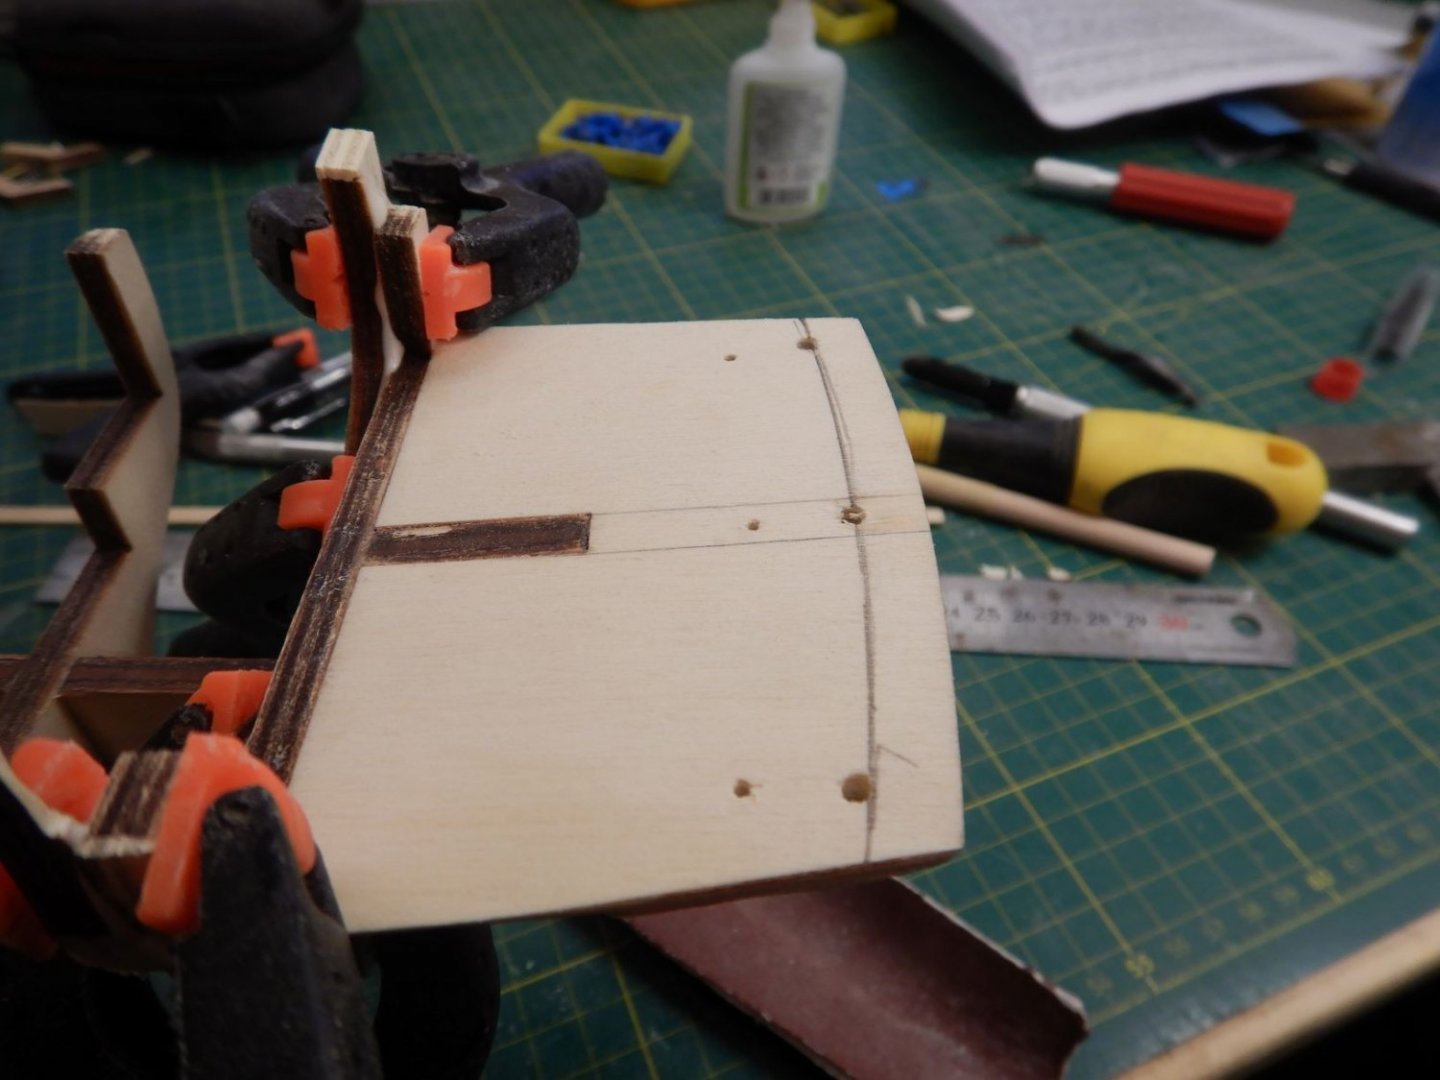
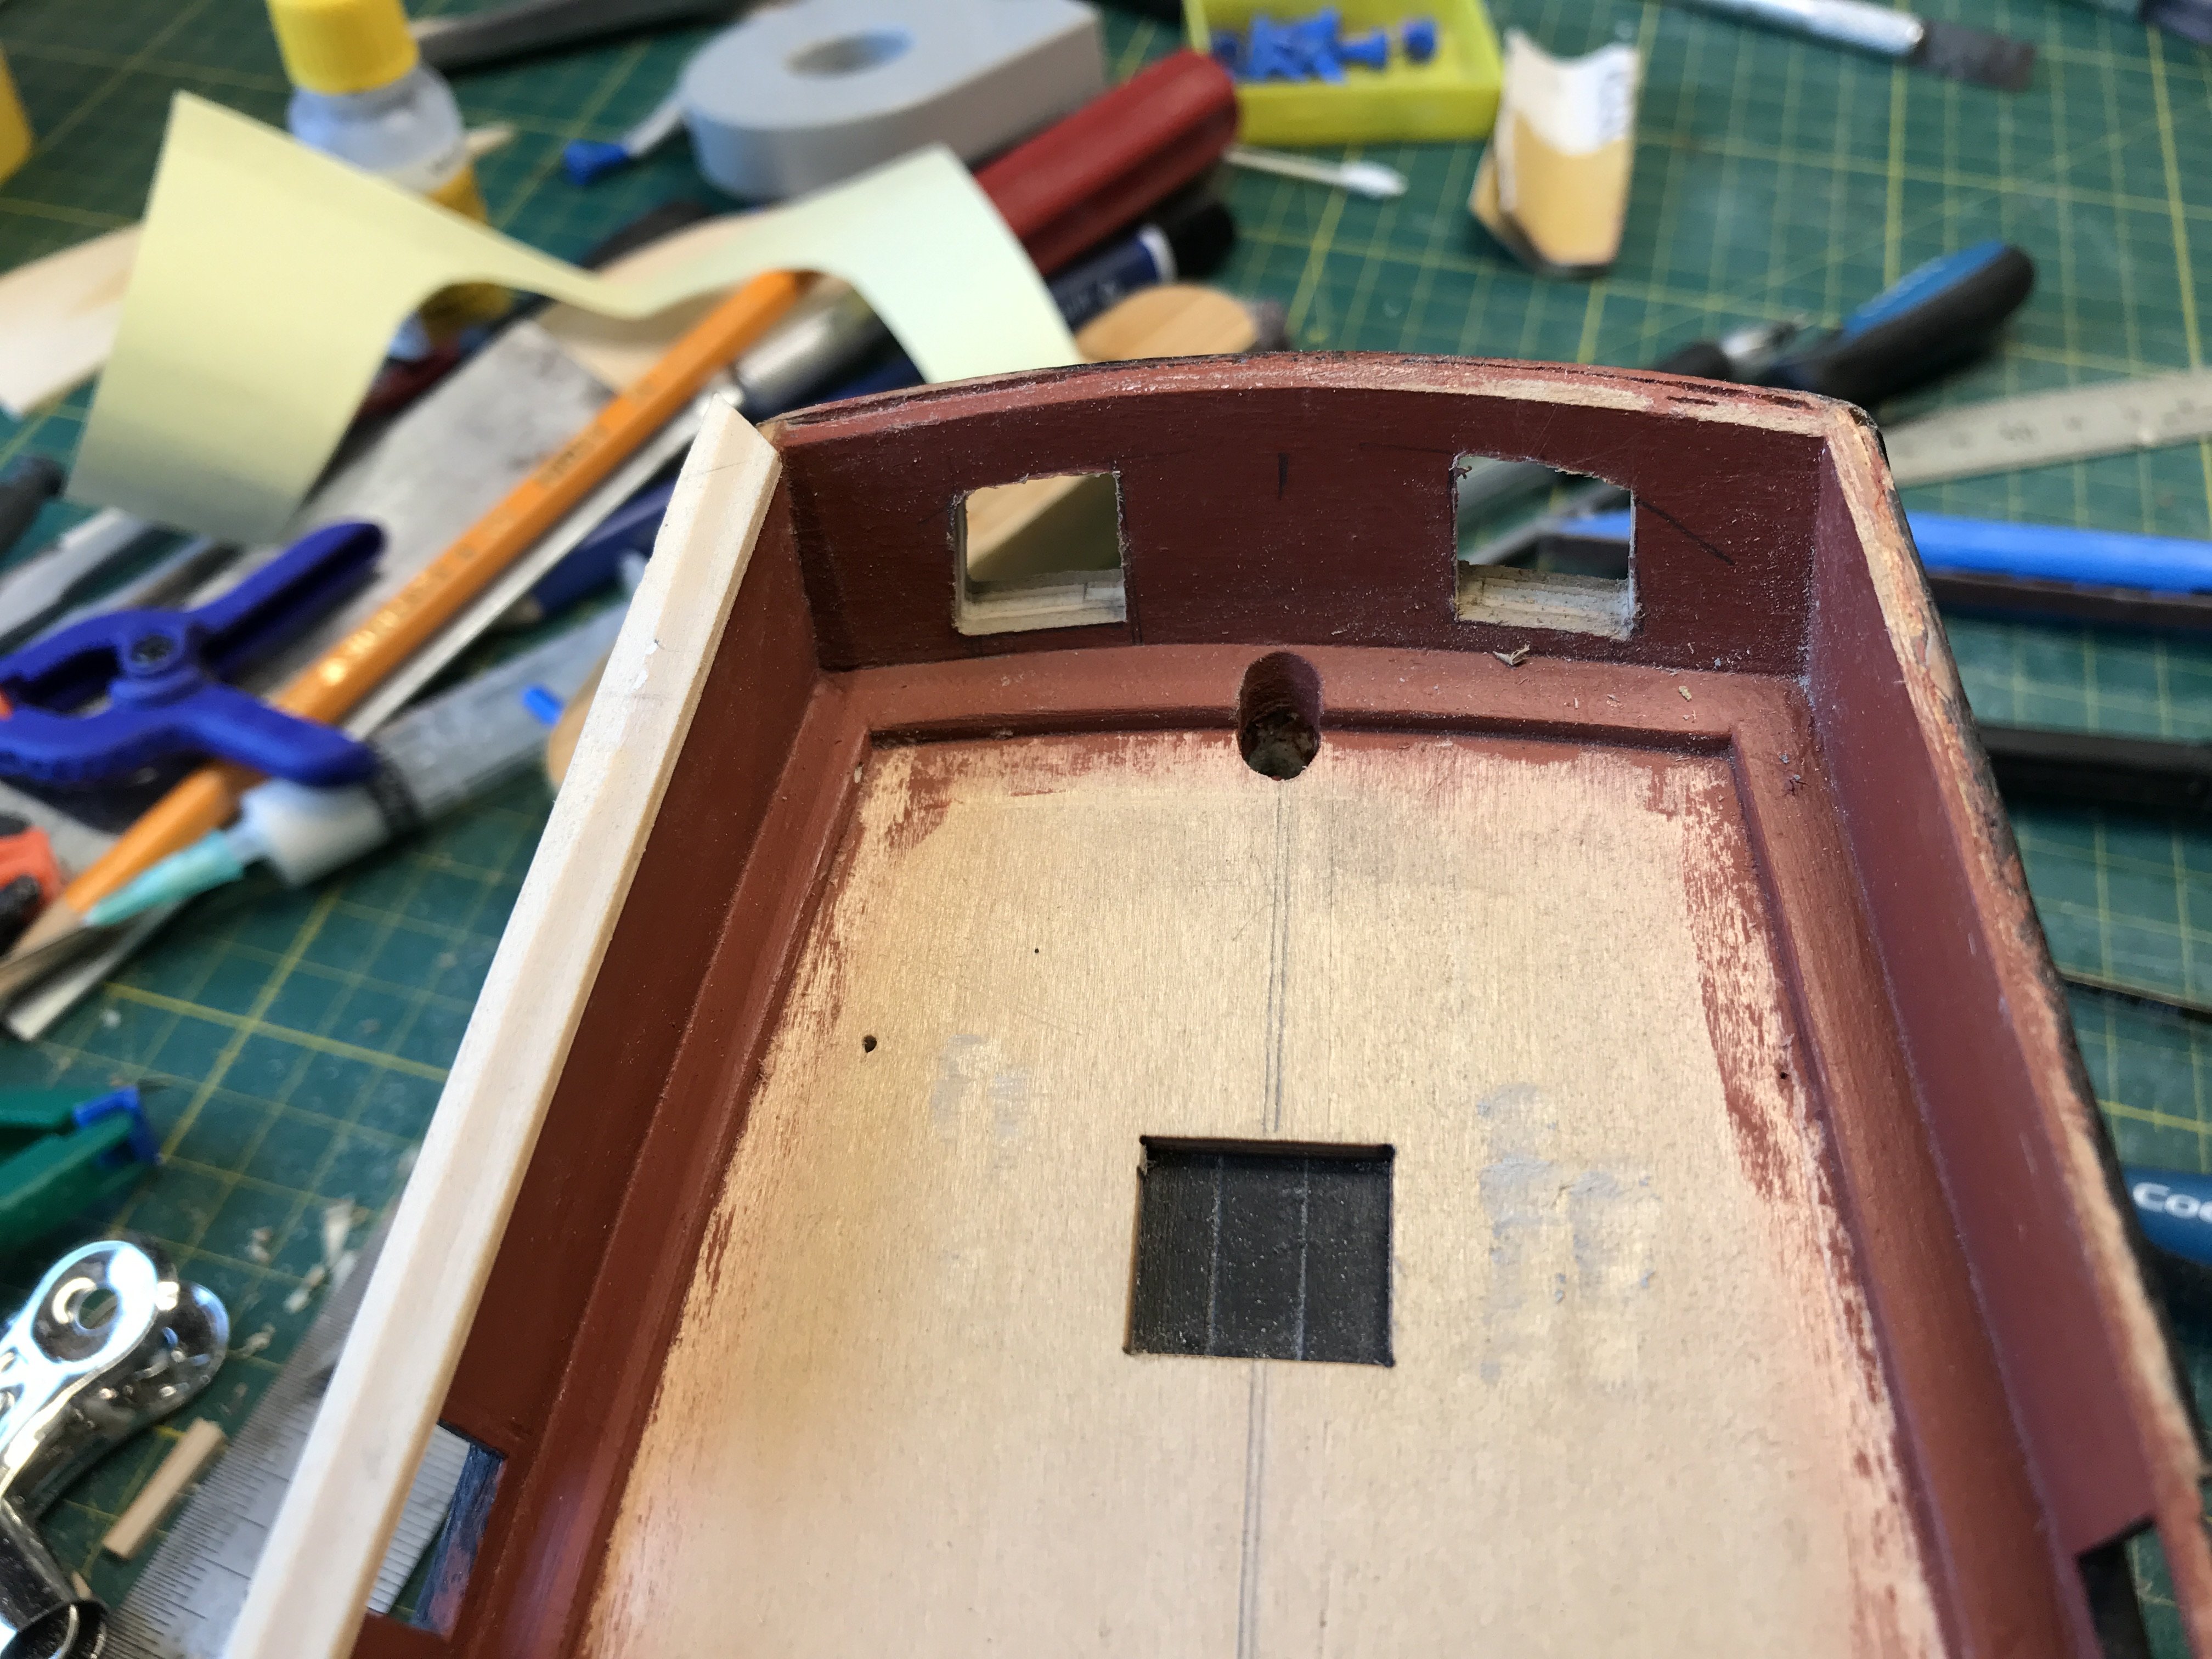
Then before mounting it inplace I decided to cut the gunports in the transom first.
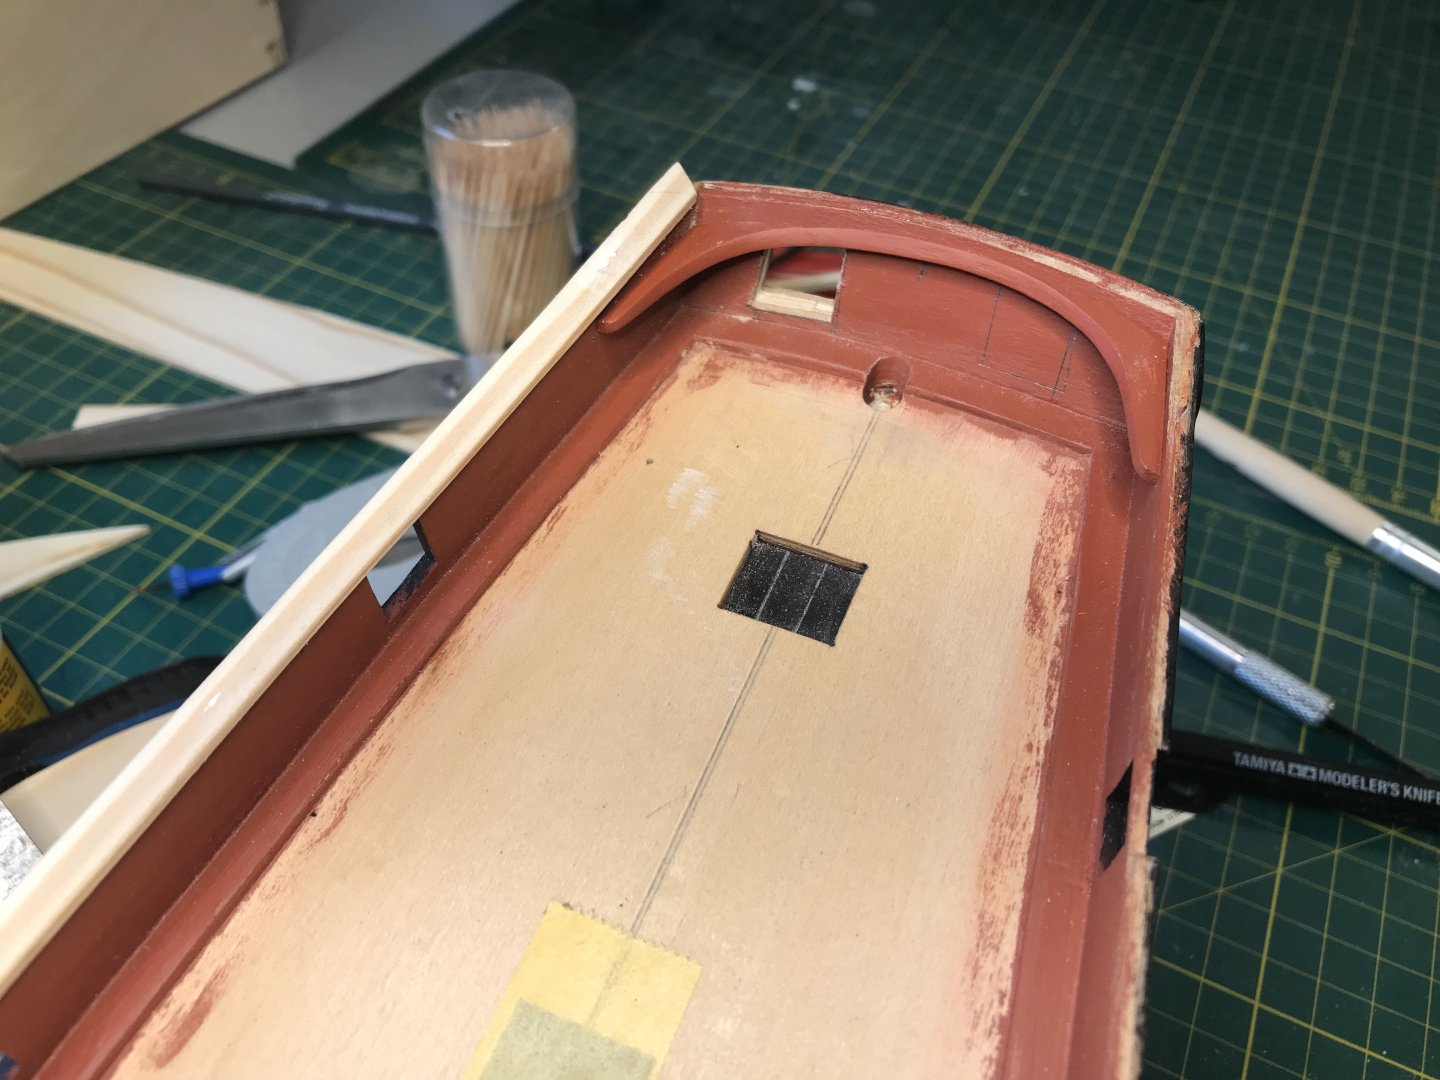
One port cut out, the piece painted and test for fit in relation to the gunport.
Both gunports cut out..
(Looking closer at the picture I see one is slightly bigger than the other! Need to adjust this!)

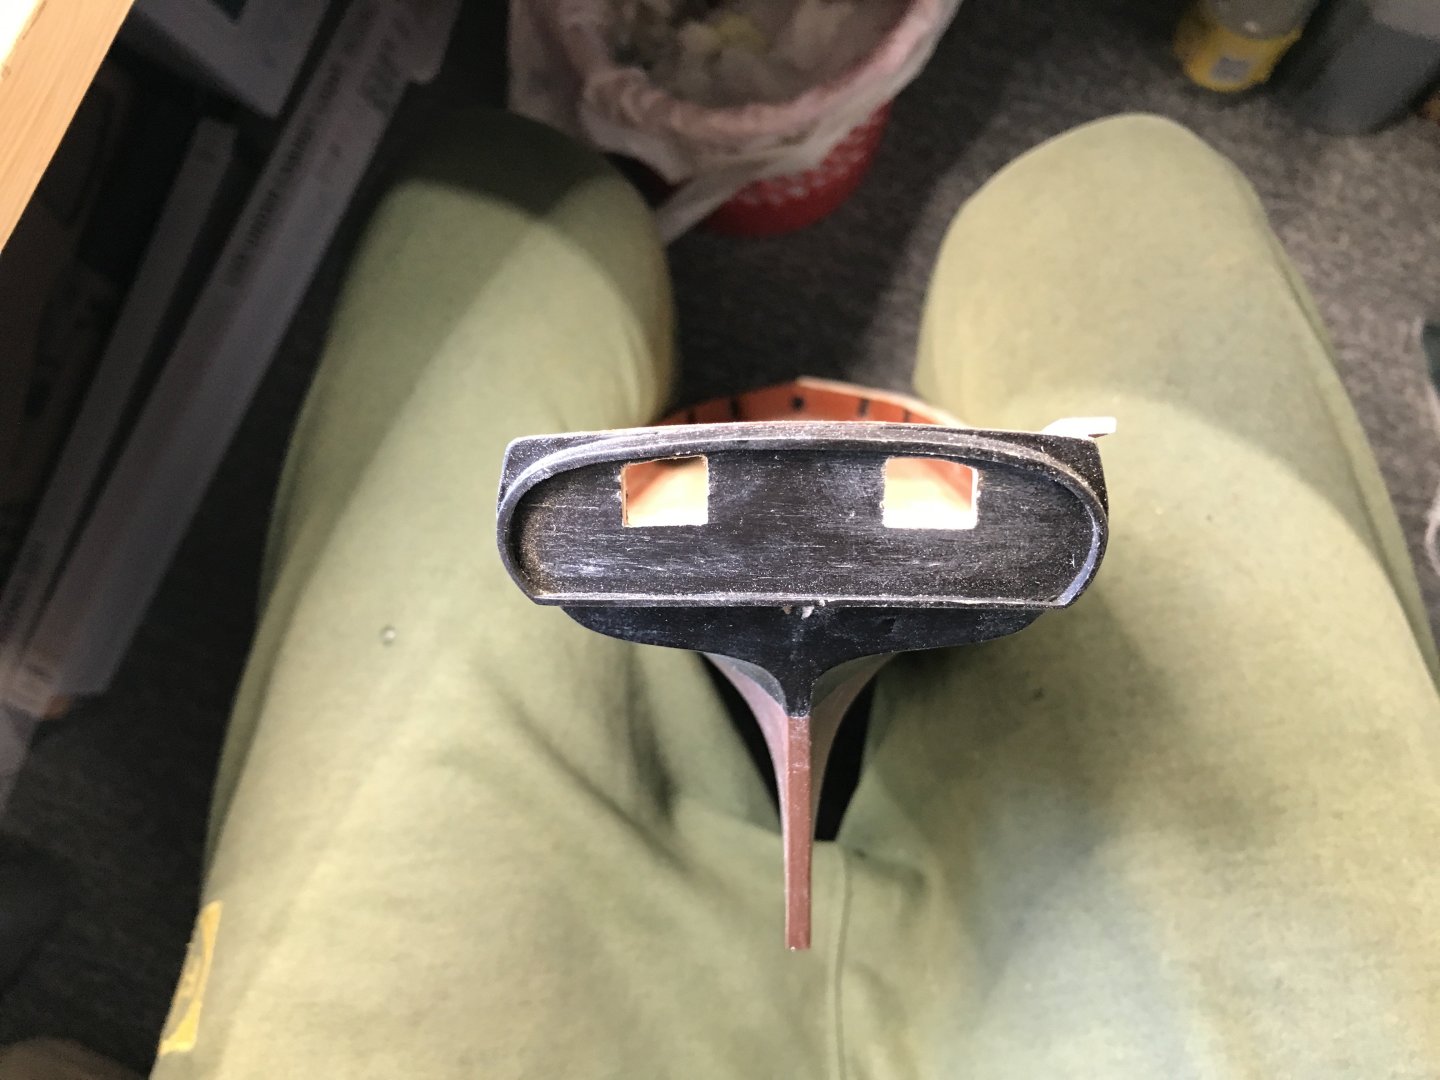
Now I need to clean up the edges and line the gunports.
Then I can fix the piece and finish the caprail.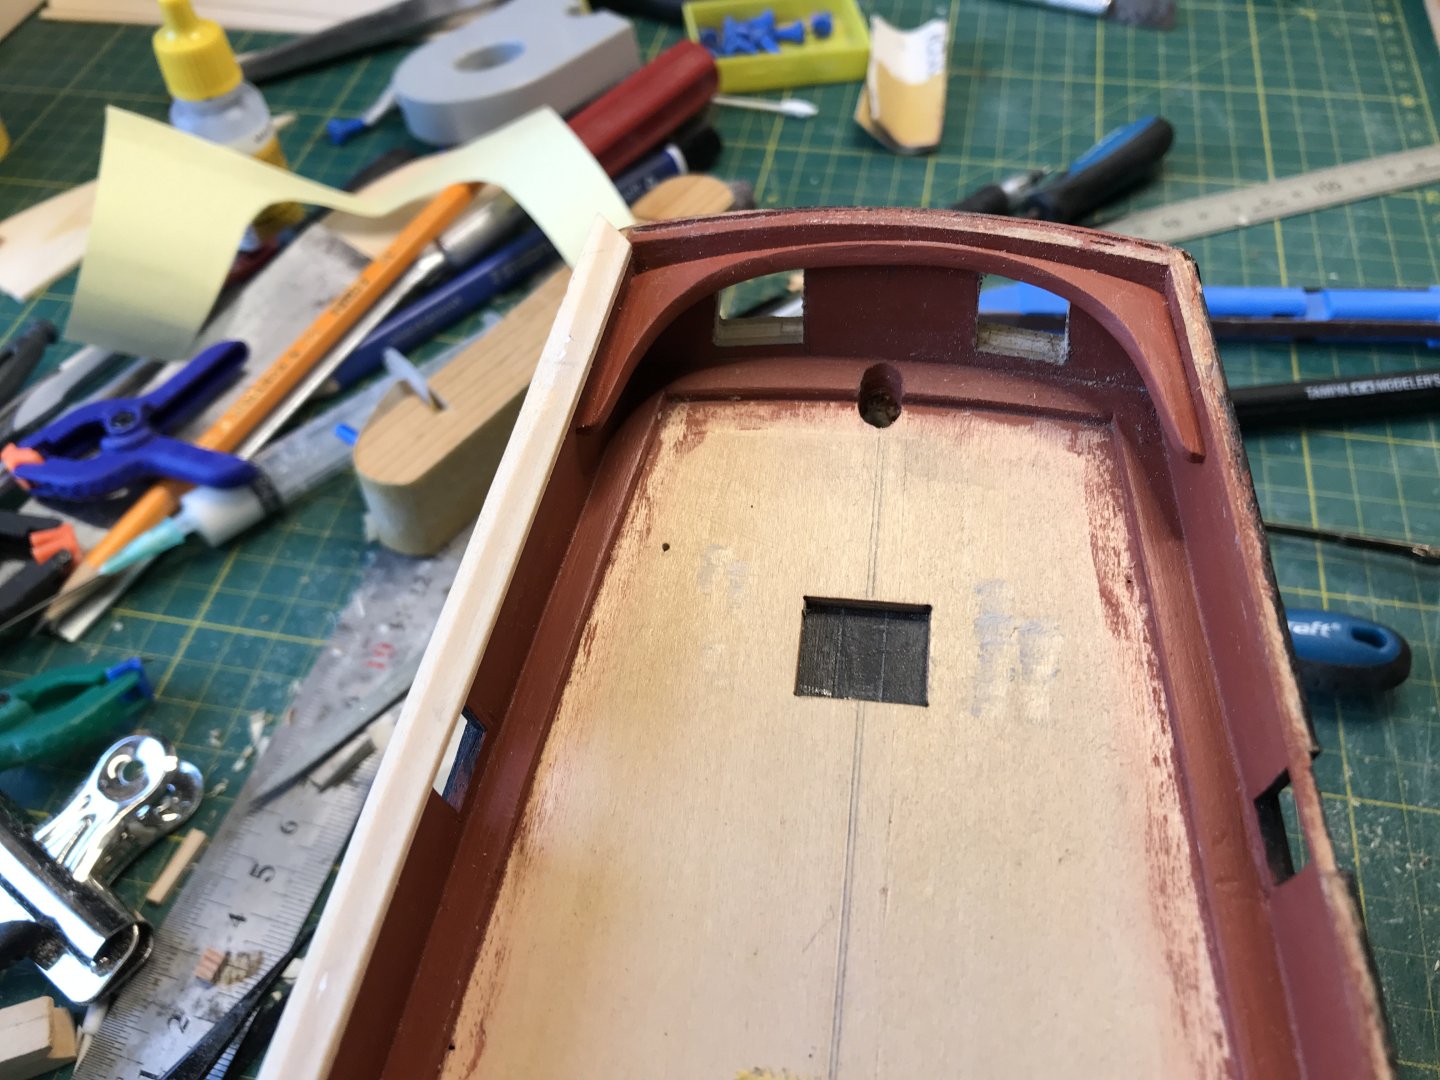
Slowly getting on with the build, but I’m not in a race, I enjoy every minute of it!
Gaffrig.
-
35 minutes ago, Snug Harbor Johnny said:
Looks like your Bluenose in the background is coming along nicely! ... Love it !
Thank you!
The truth is it’s been on hold for quite some time..
Gaffrig
- AJohnson and thibaultron
-
2
-
-
Beautiful planking!
Well done! 👍👏
Gaffrig.
- AJohnson, FrankWouts and Ronald-V
-
2
-
 1
1
-
Hello!
Work on Lynx progresses slowly..
Got all the gunports finished, and painted on one side.

Sanded of most of the paint when lining the ports, so another coat or two is needed.

Next will be the caprail, and then the deck planking.
Gaffrig.
- SiriusVoyager, Ronald-V and clearway
-
3
-
Hello.
Yes, I am referring to gunport lids/covers. I found a picture of a model of lynx online, that I’m trying to replicate. (Link a couple of posts up, don’t want to post picture here because of copyright)
This model has split port covers with one hinged down and one up. This is the way I plan to do them.Thank you for tips on reference books, I will look into them and see if they are available here.
Gaffrig
-
Hello all!
Not much time for model ship building this time of the year, but I’m able to squeeze in a little here and there!
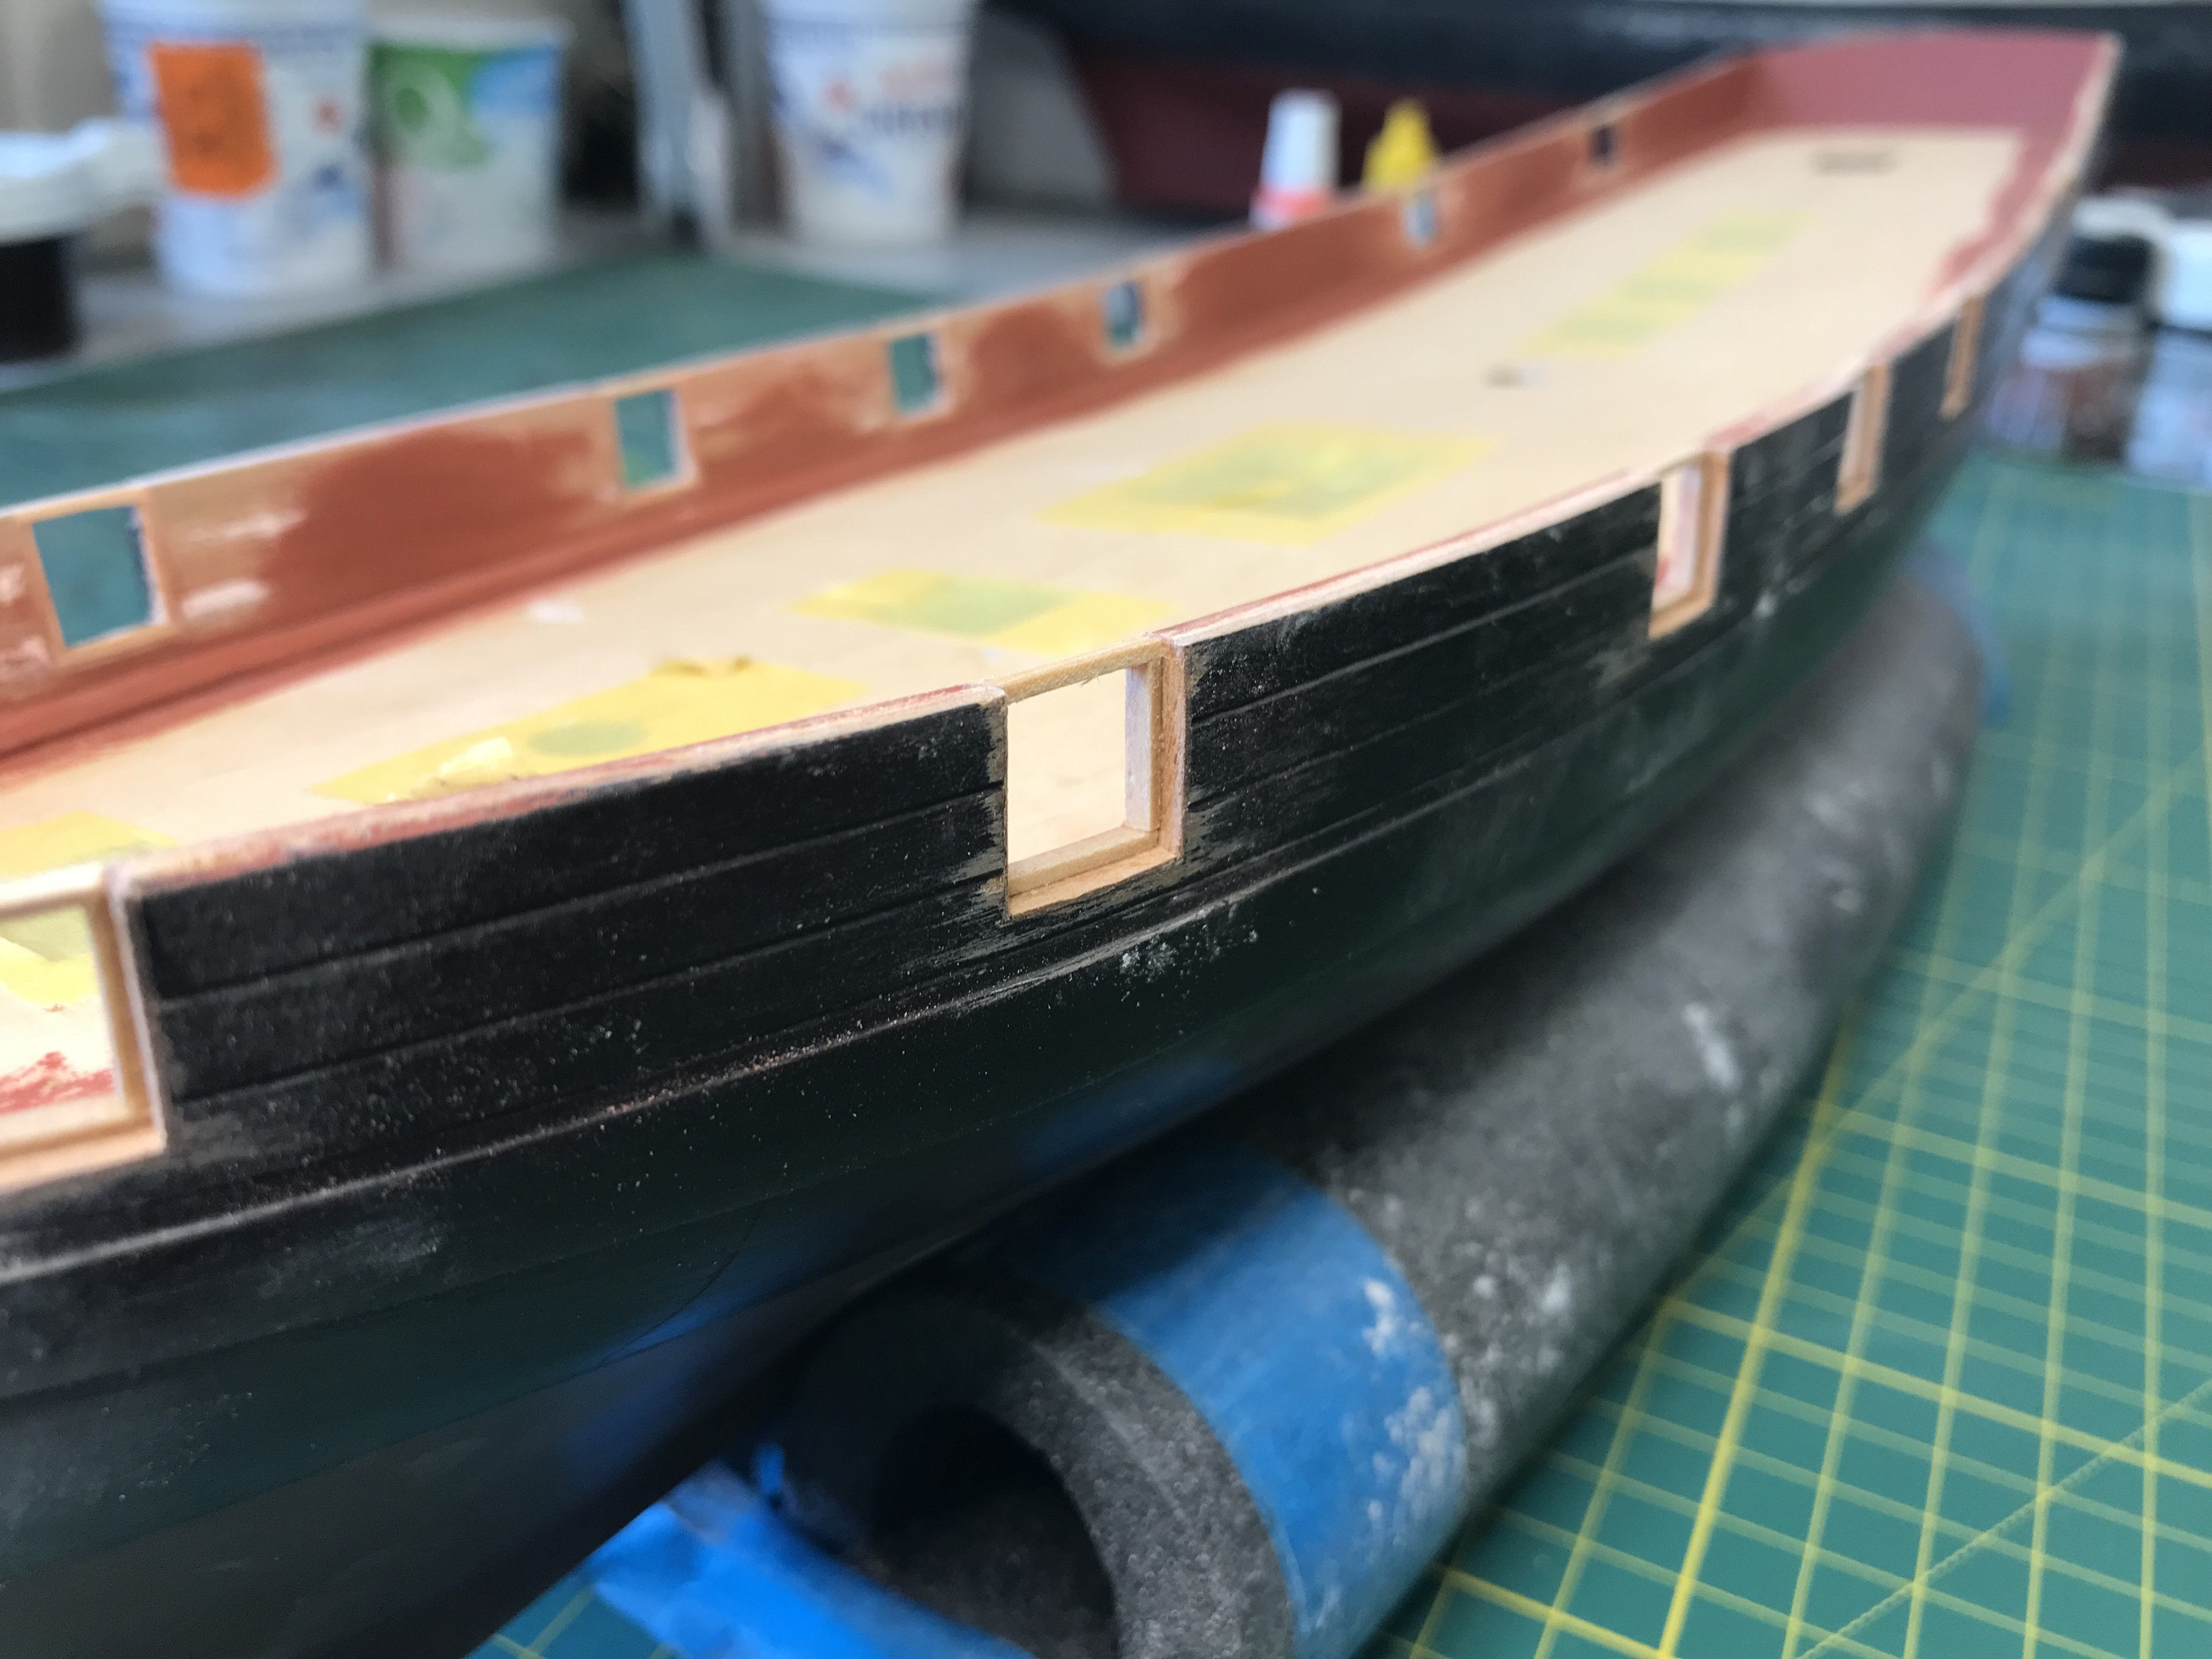
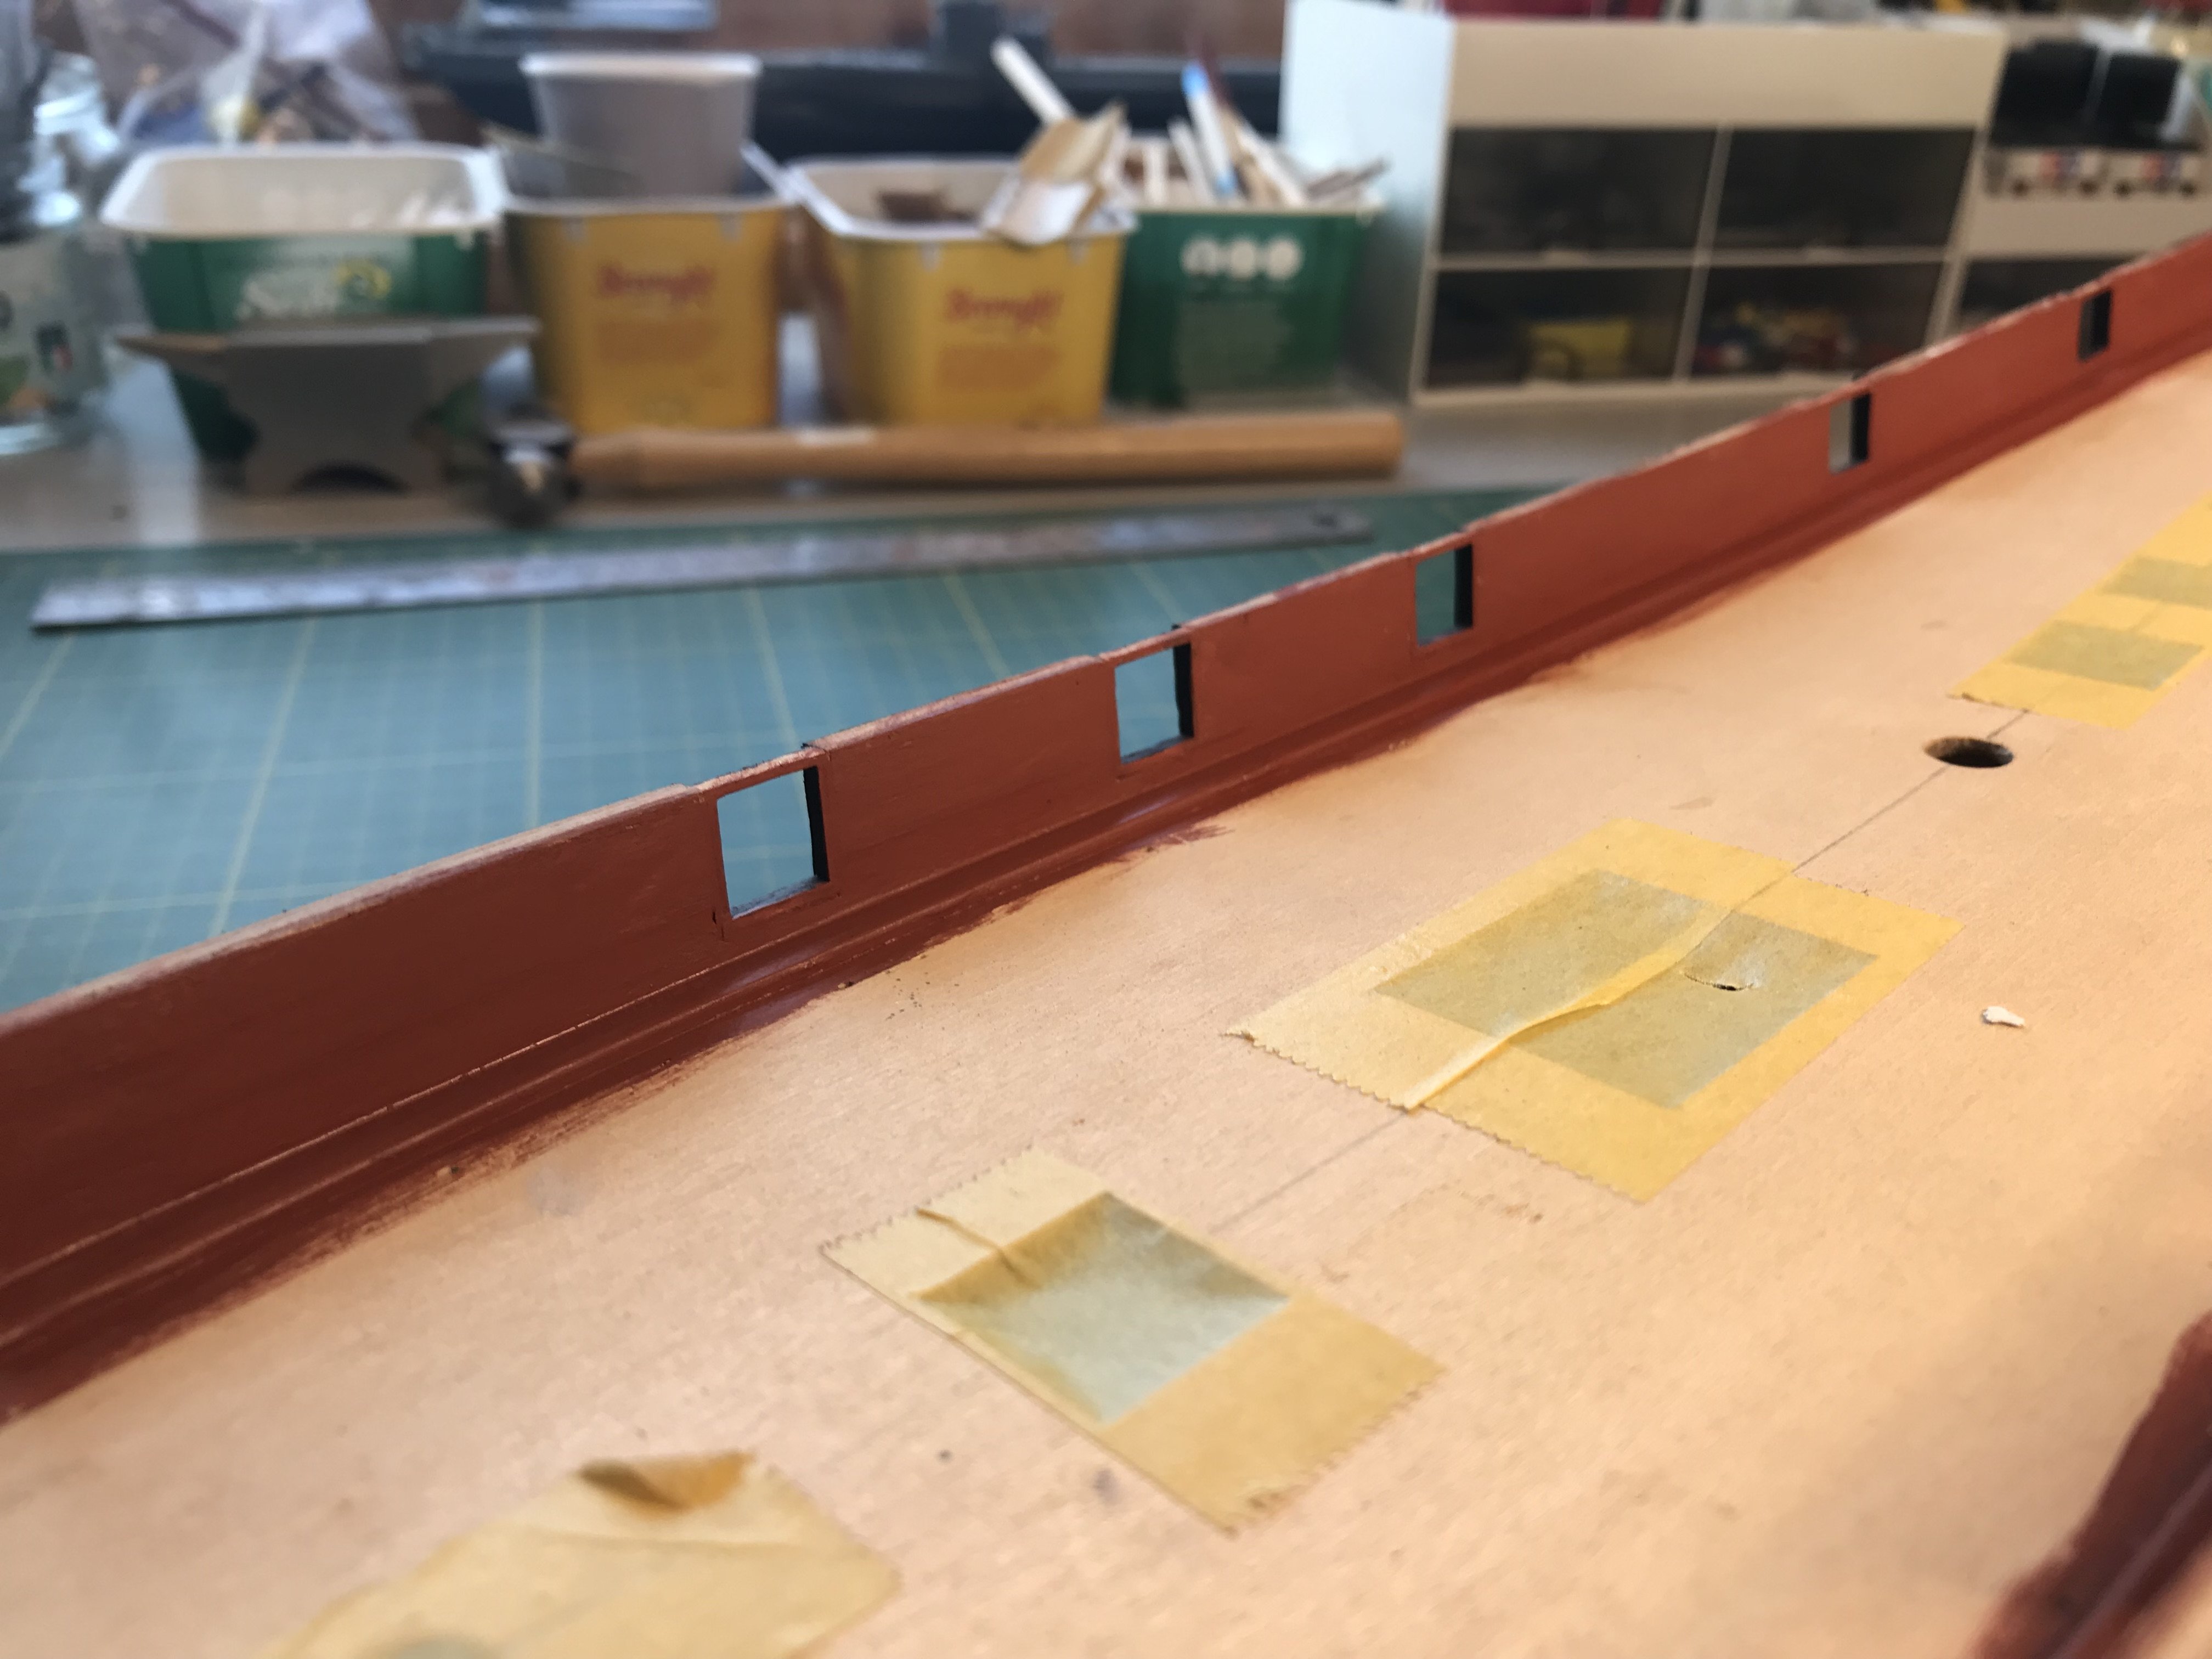
I decided to follow the sheerline as base for the gunports, and also to cut them before mounting the caprail.
One side cut out, went quite well.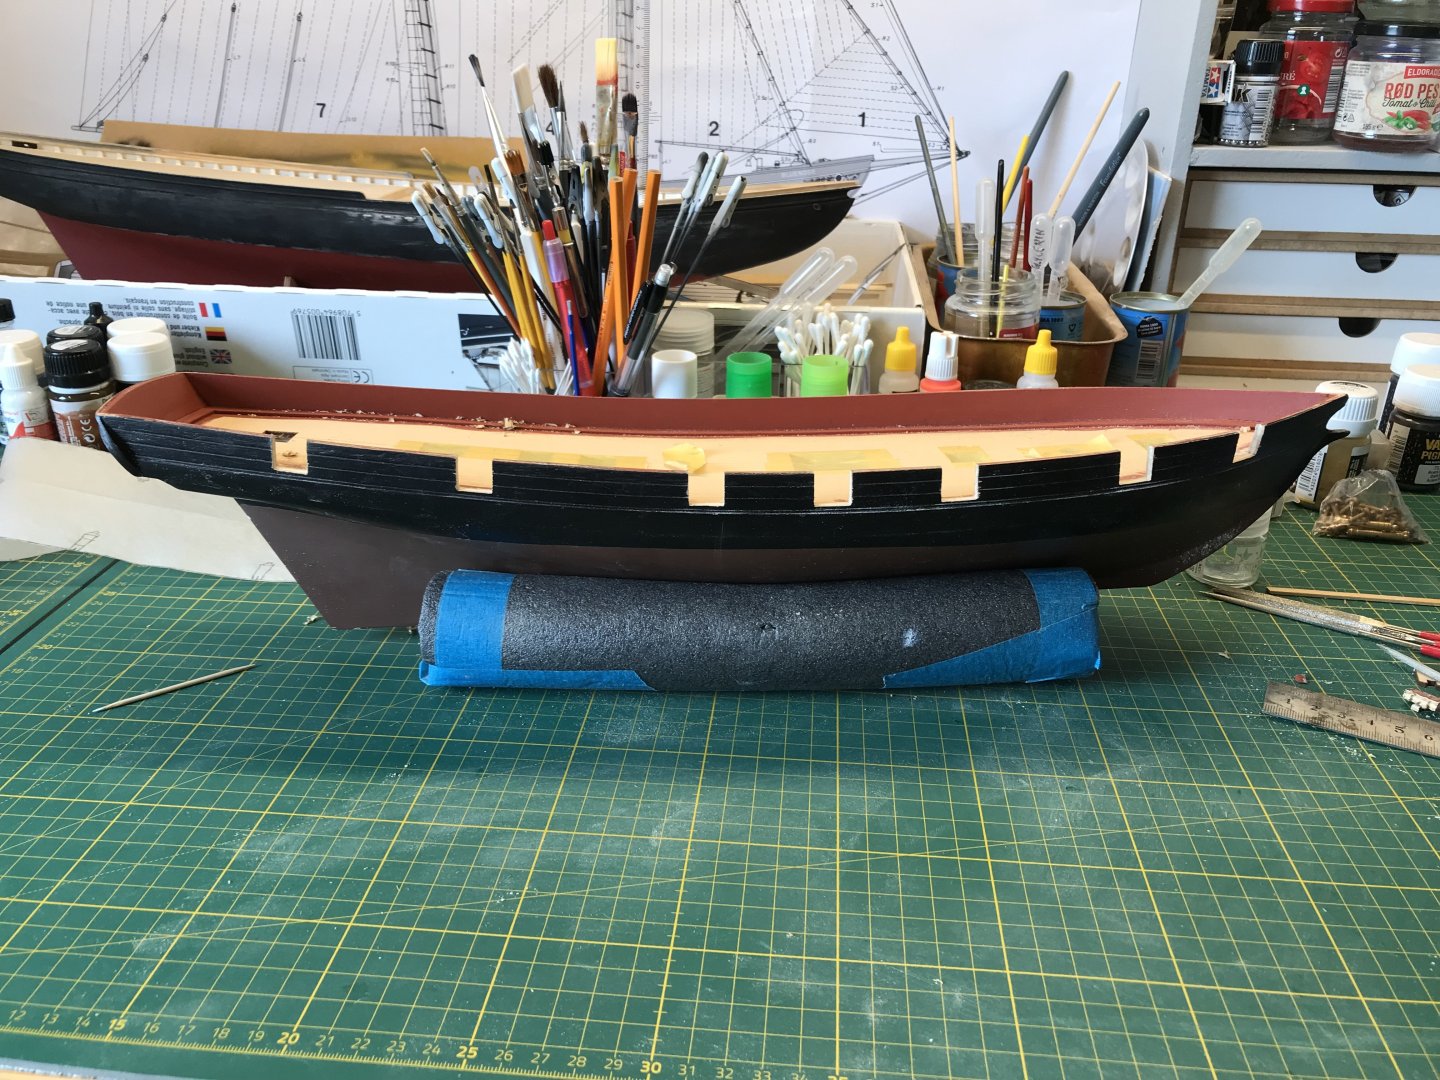
Cut out the other side and lined with 0,5mm wood.
Now time for lining again to get the little edge for the gunports to close up against. The kit doesn’t have any gunports, but I’ve decided that my model will!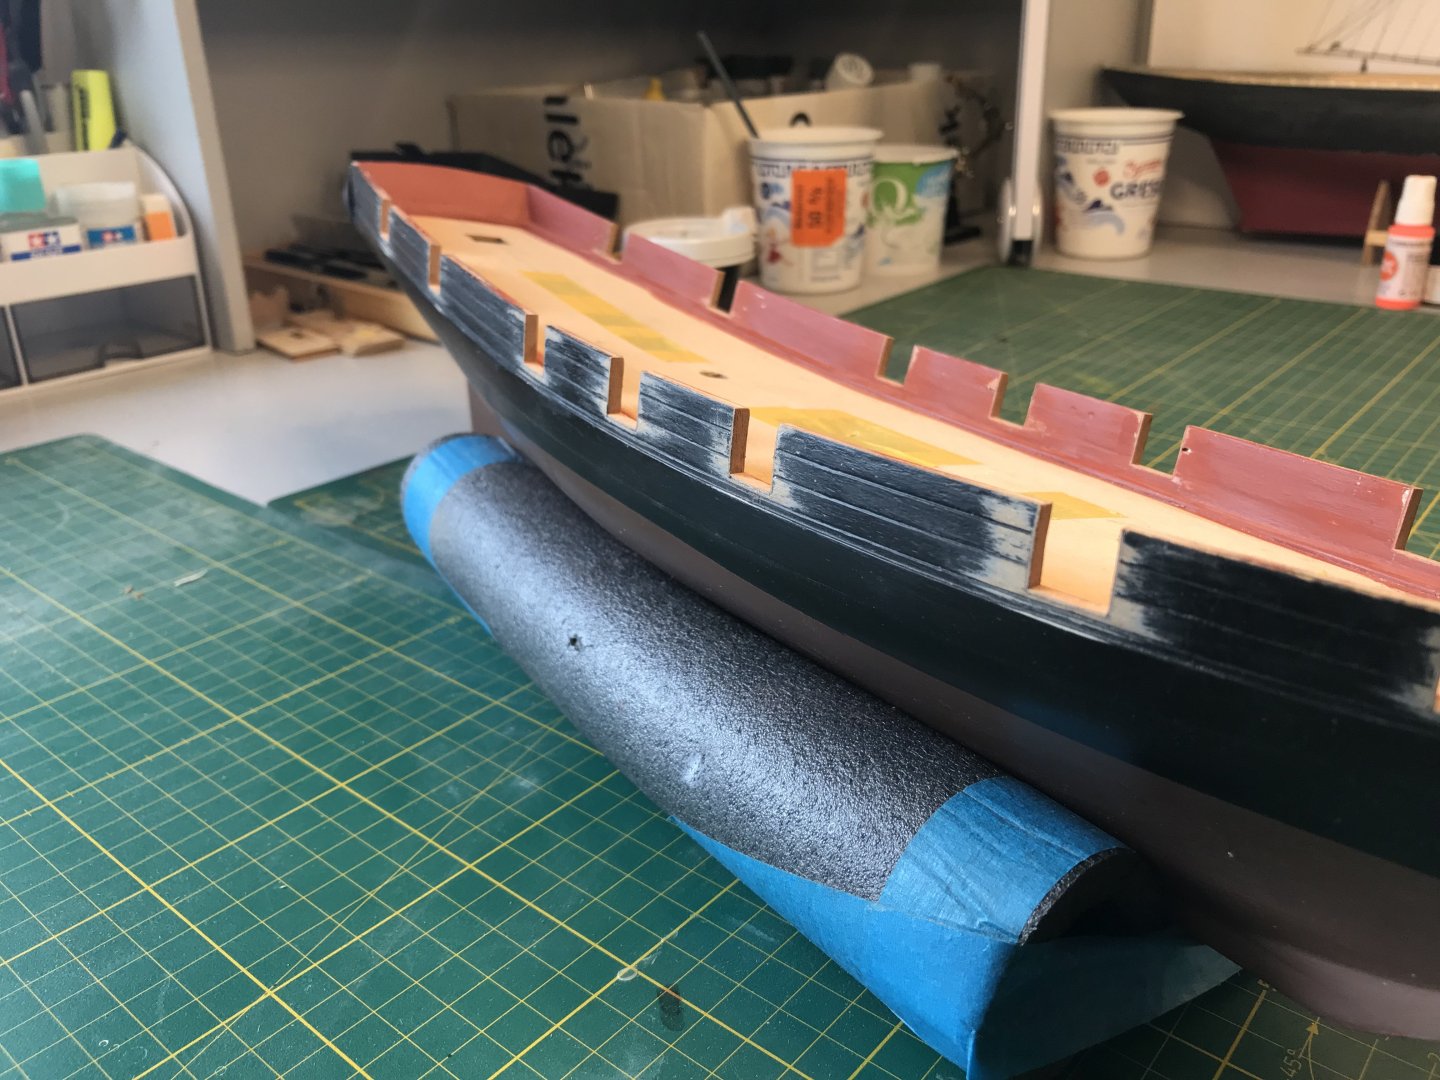
That’s it for now.
Gaffrig.
-
Hello!
I have been working on the inner planking of the bulwarks. Got it sanded and painted.
(Bought more clamps!)
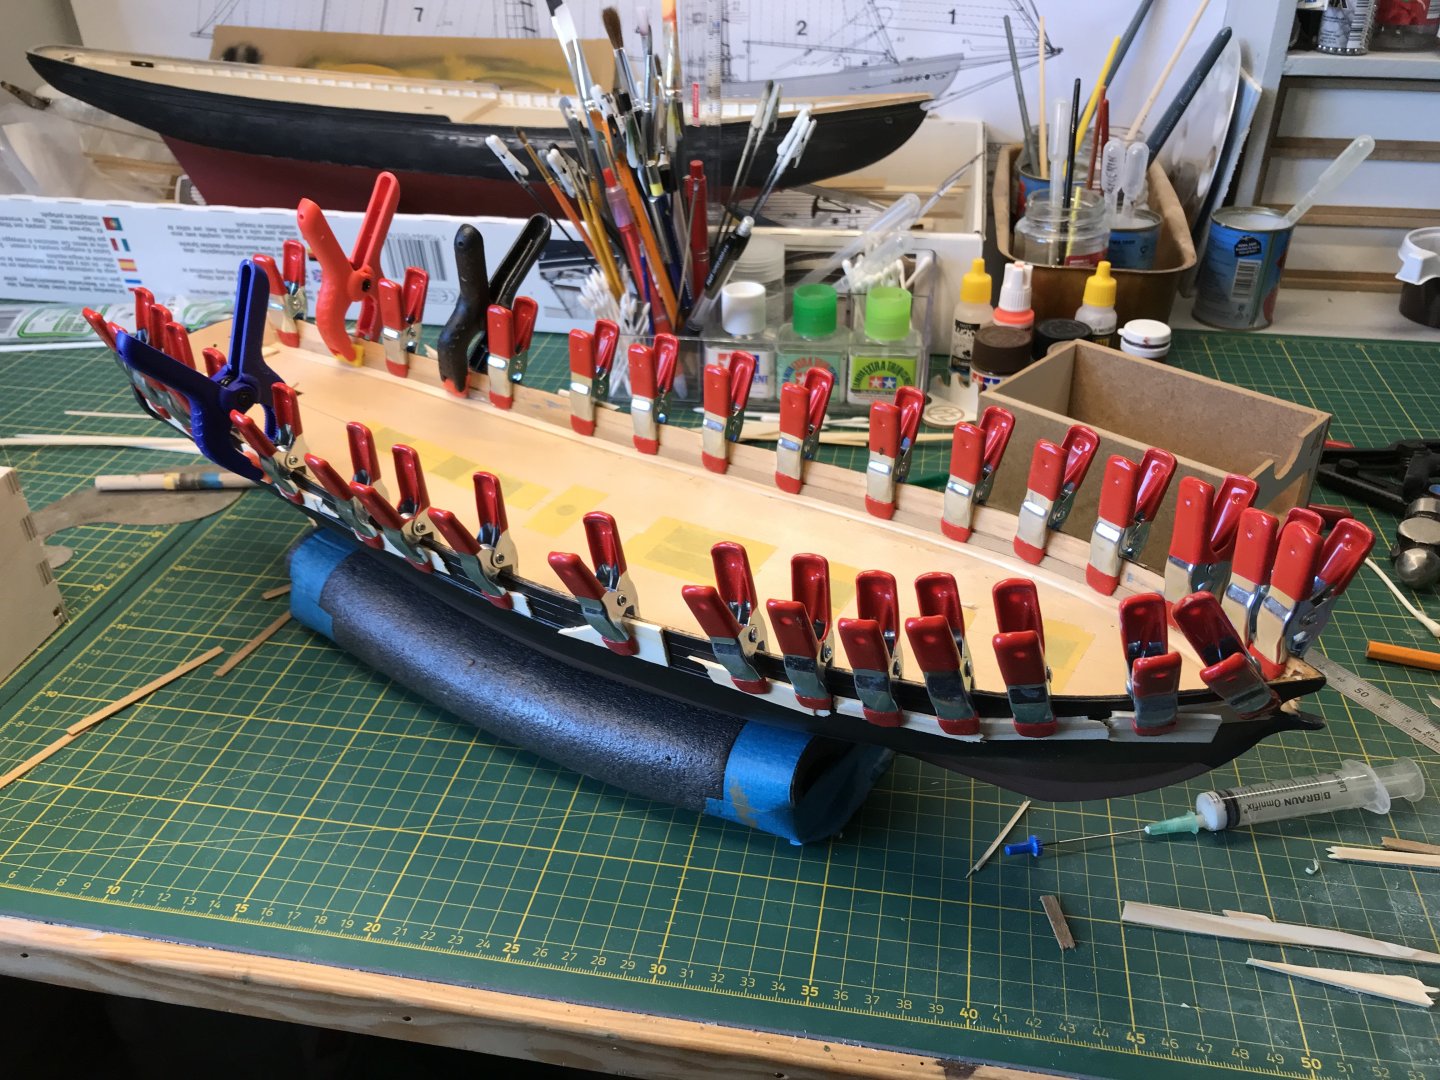

I think I want to make the gunports before laying the deck, to minimize risk of damageing the deck when cutting/filing the gunports.
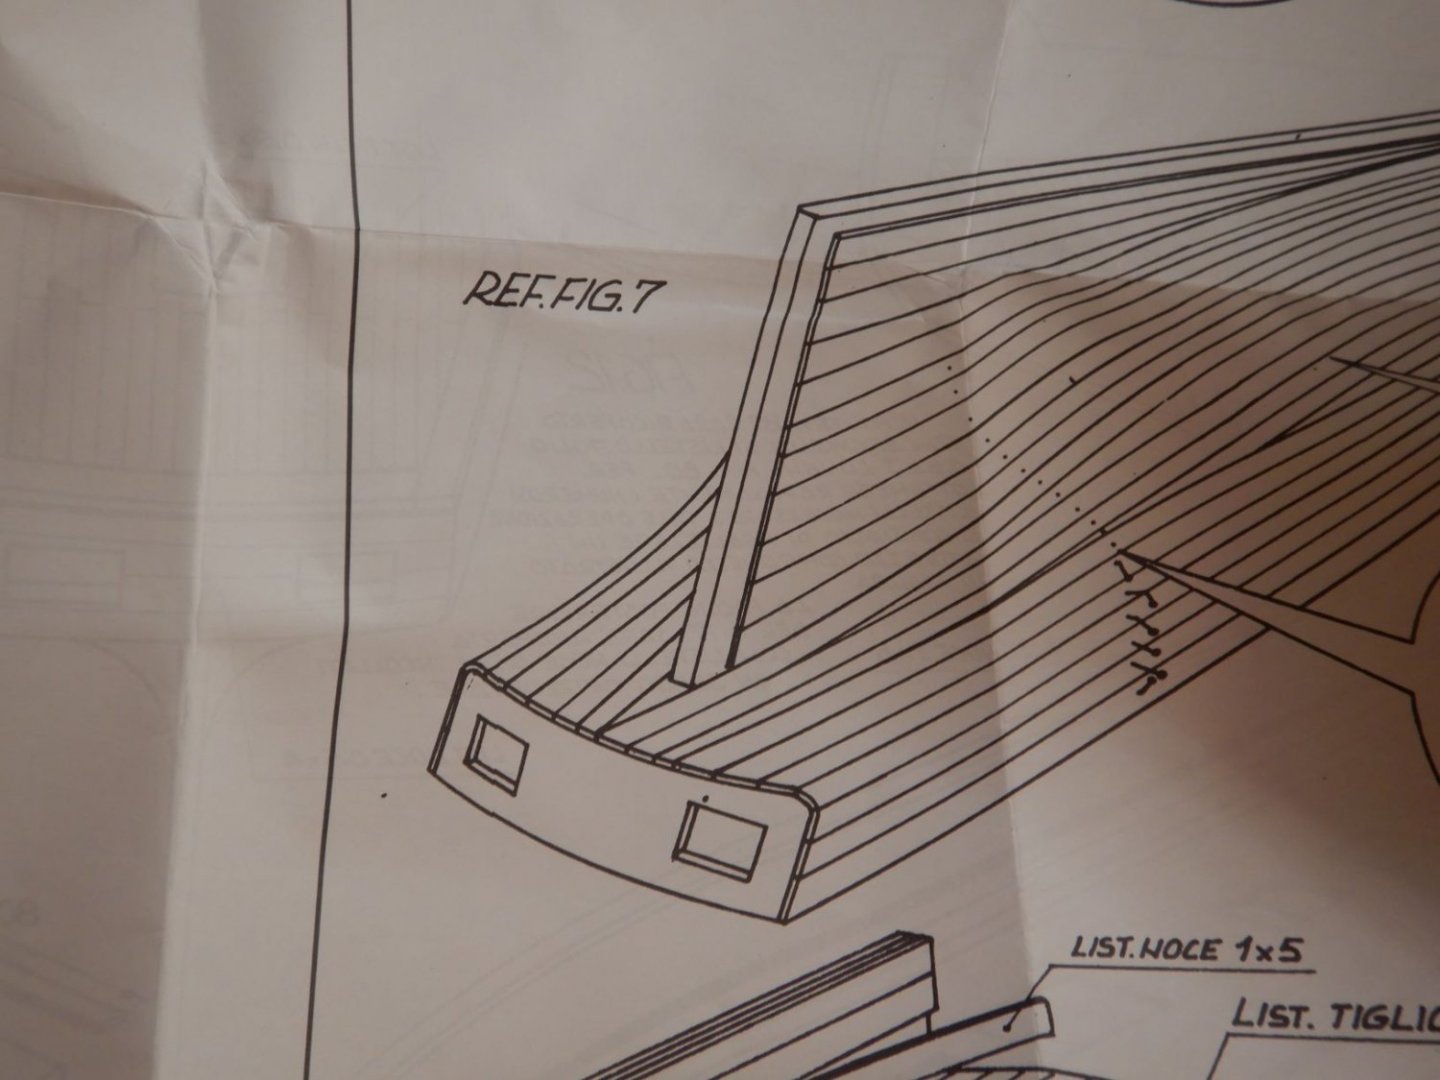
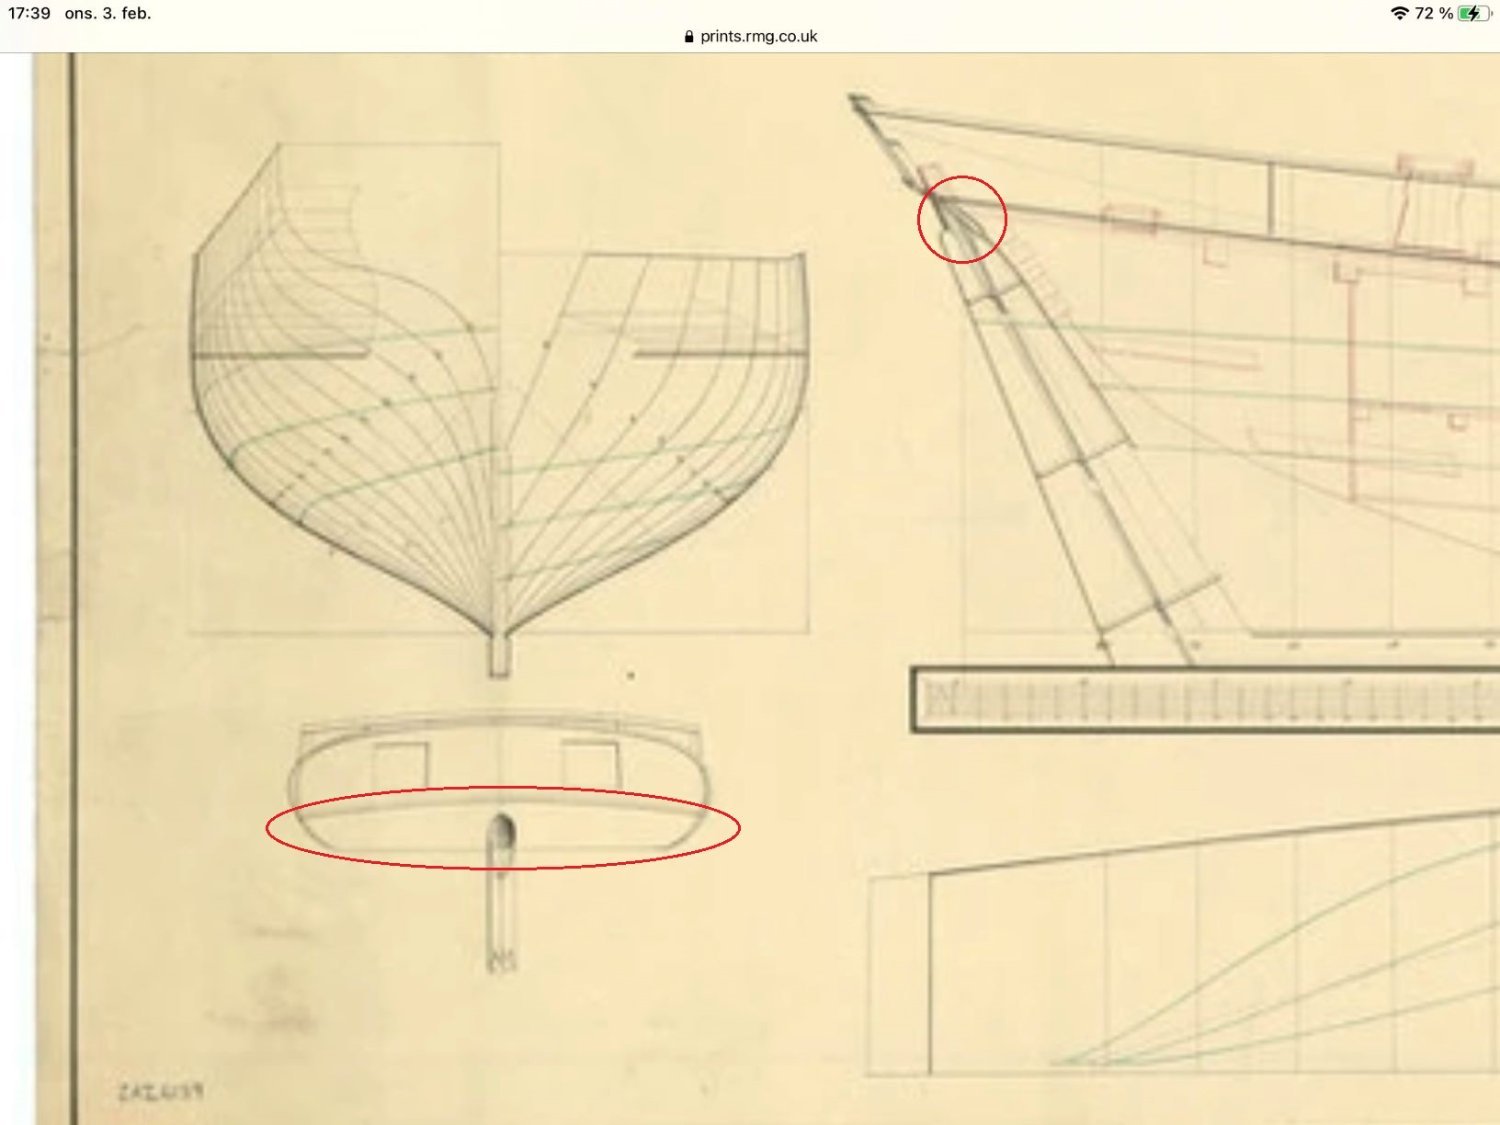
This is where I have met a small challenge.. the plan shows the gunports 90 degrees to the waterline. I think it looks much better with gunports 90 degrees to the sheer/deckline. See pic of plan.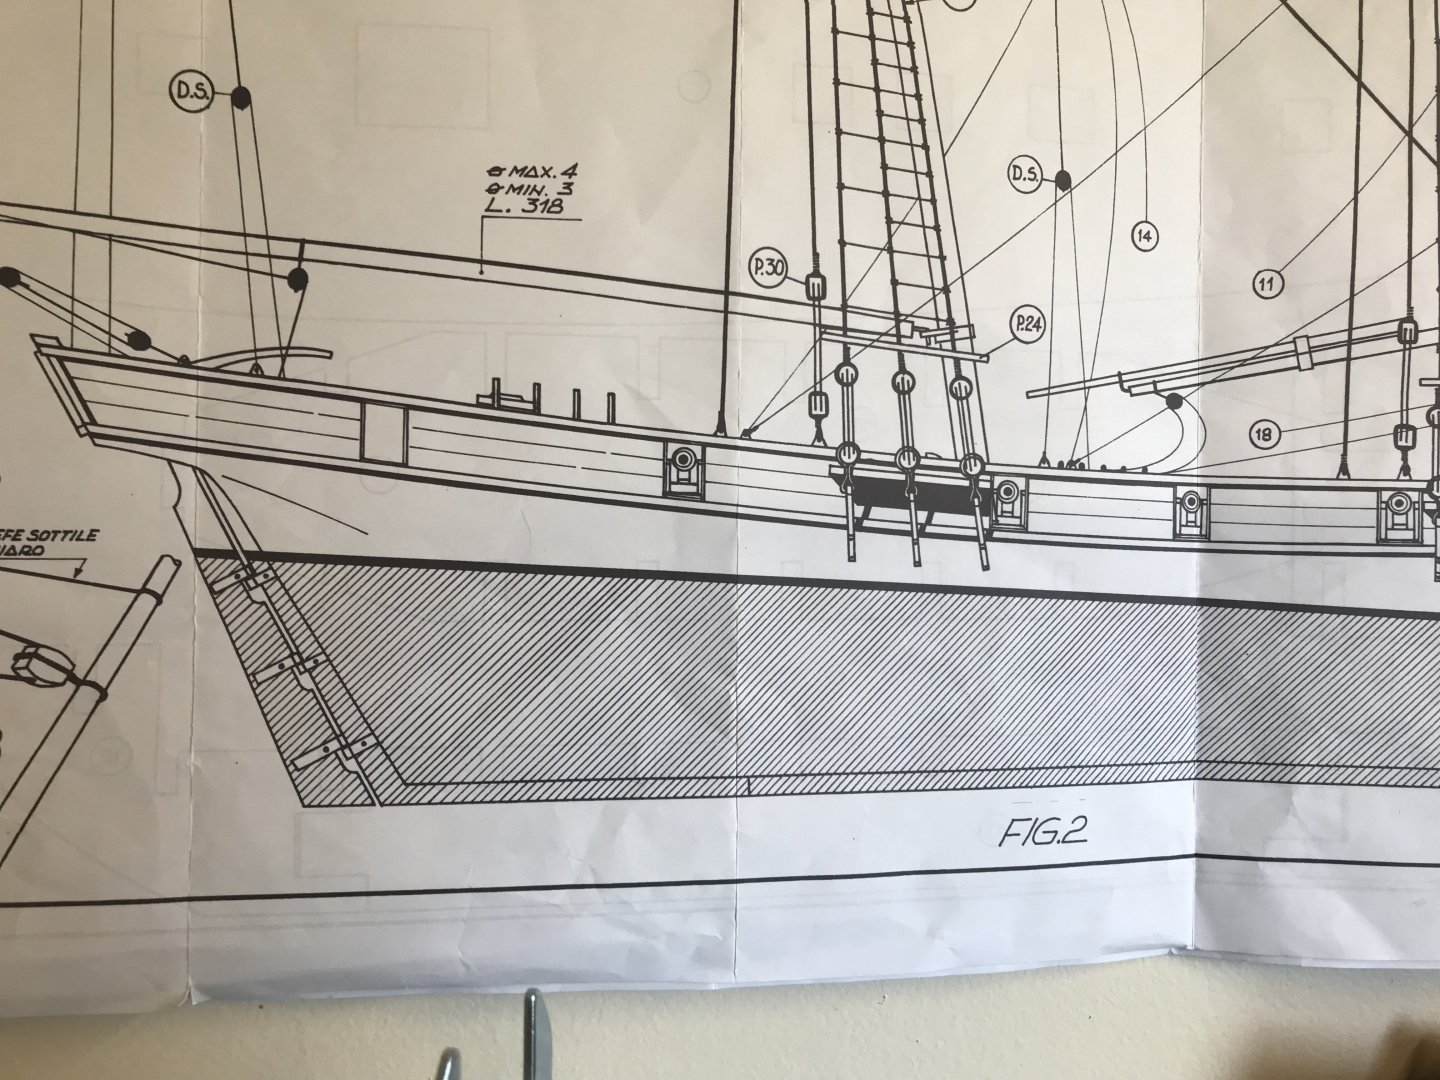
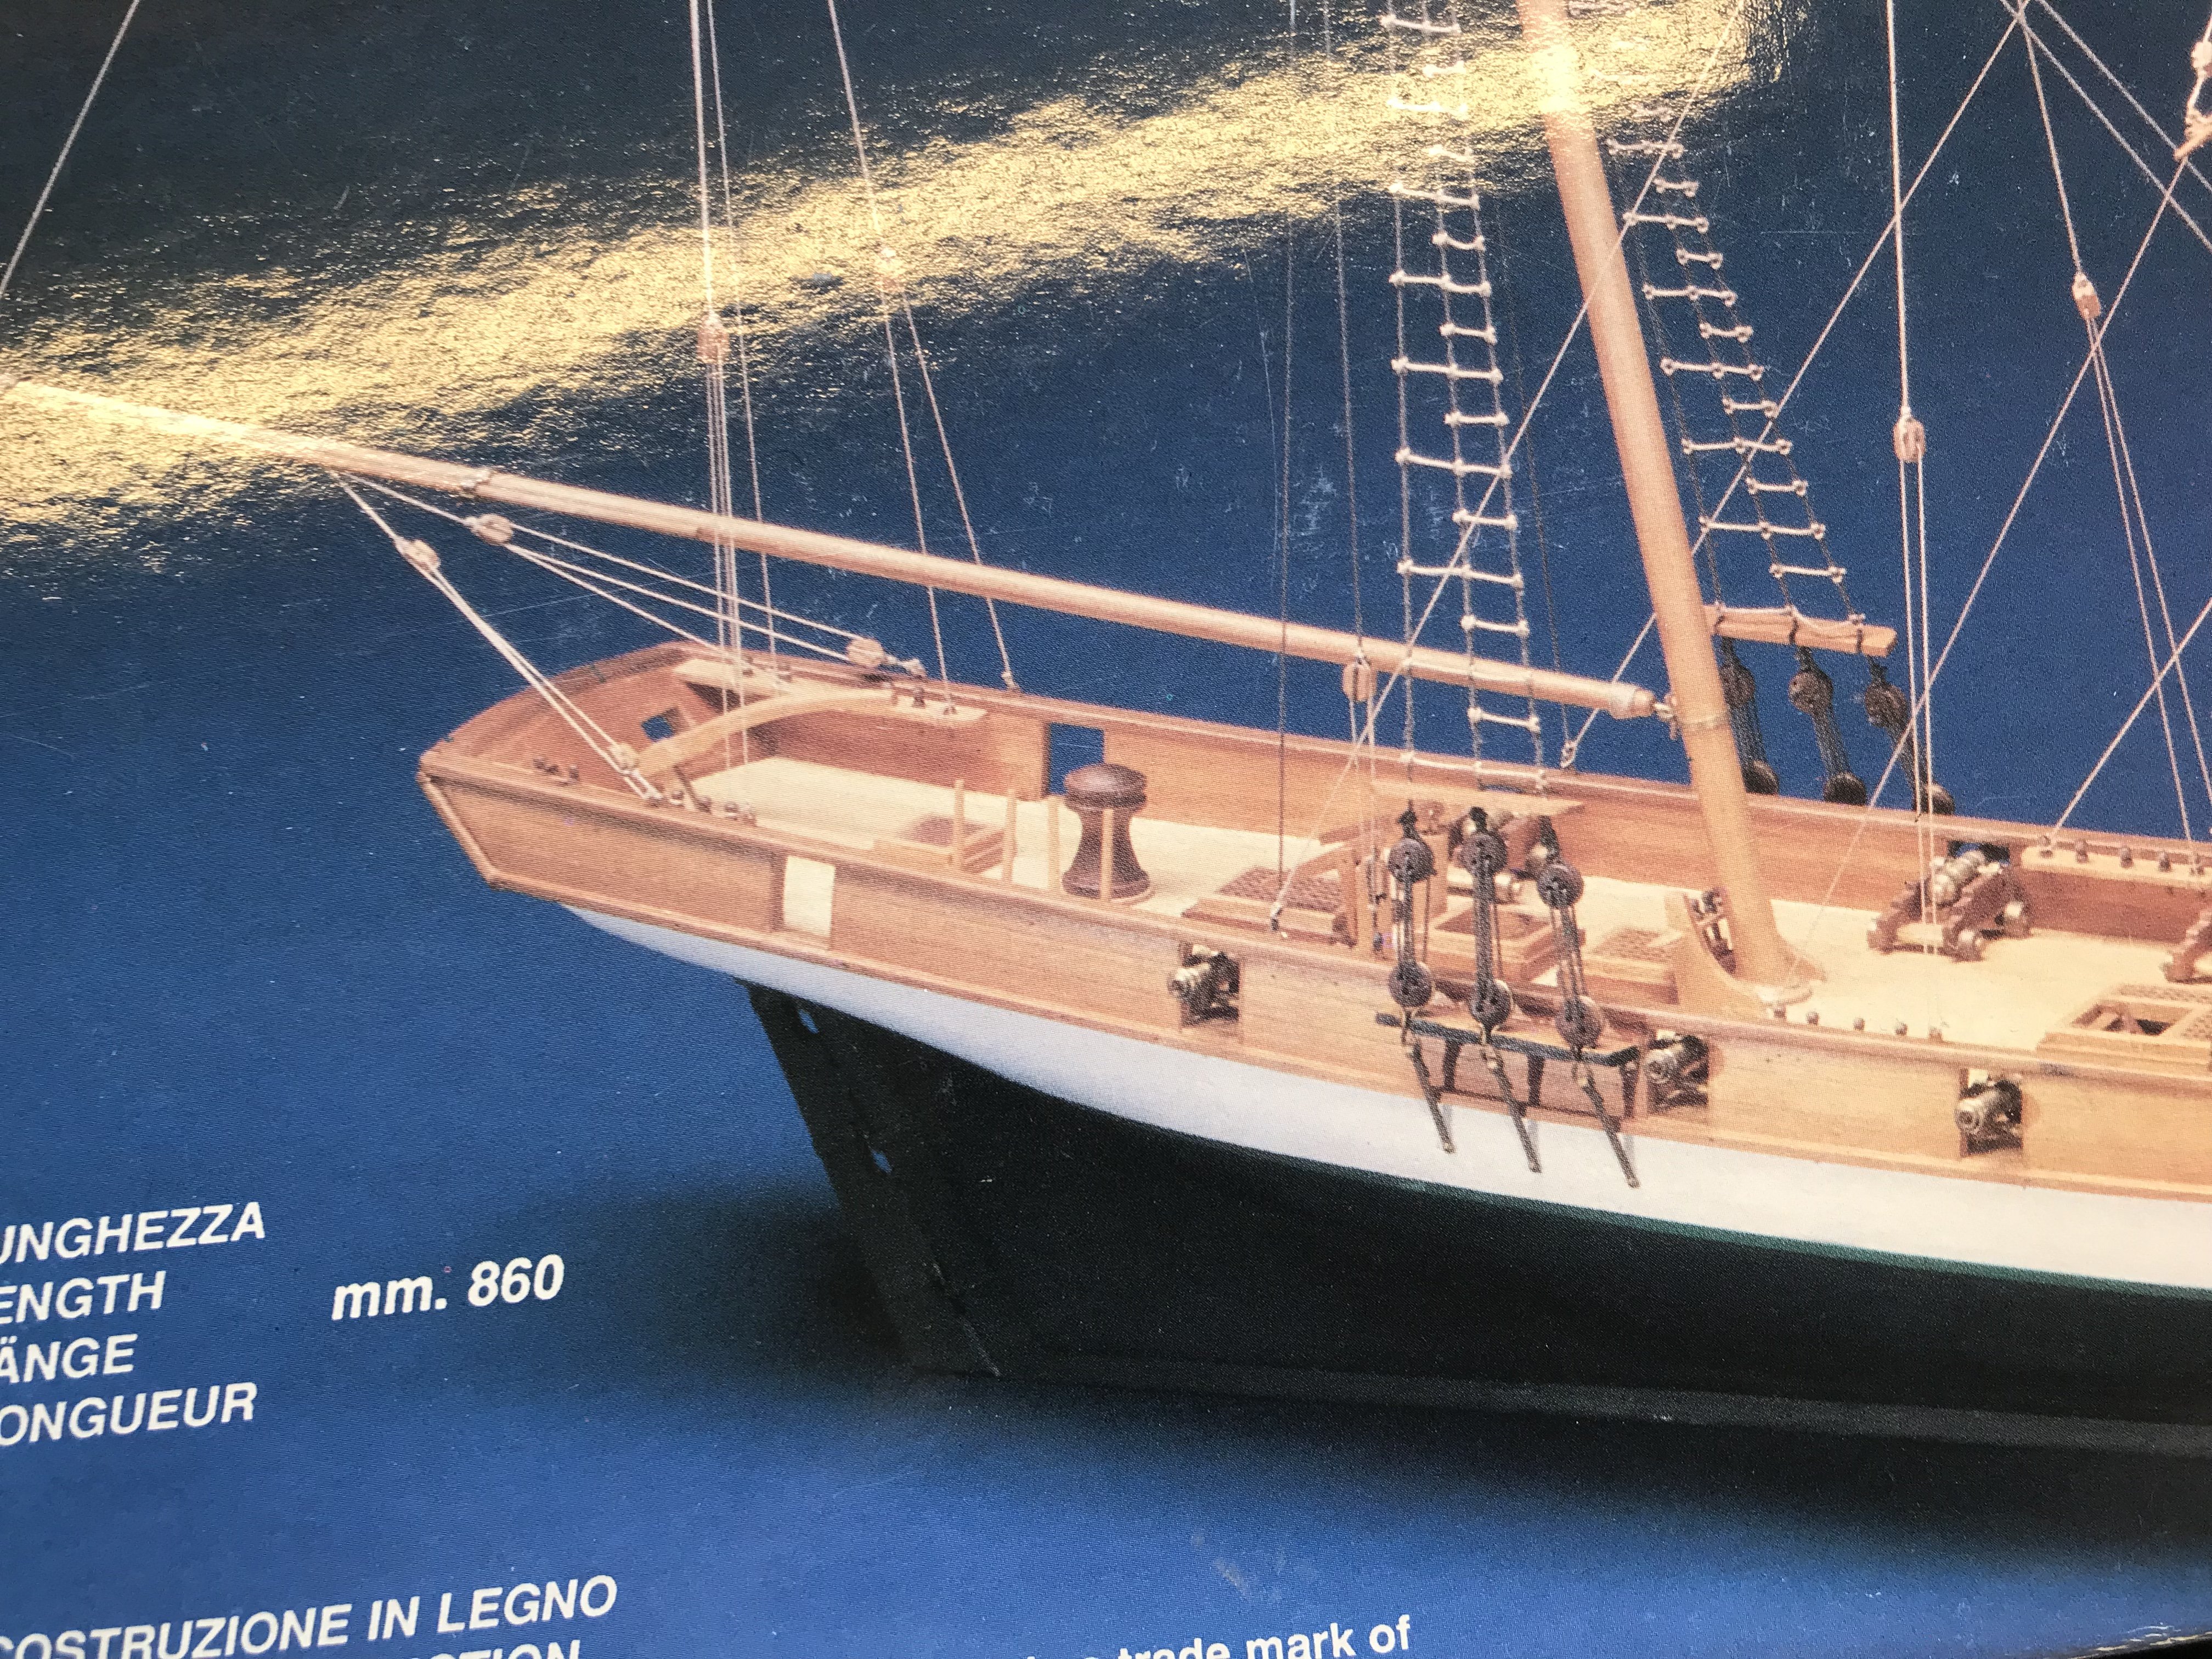
Looking at the boxart, it seems they have made gunports 90 degrees to sheer/deckline. Most other vessels I have seen also have this. I’m almost decided to follow this instead of the plan. What do you guys think?
Also a question that arose.. would it be best to cut the gunports first, and then glue on the caprail? Or glue the caprail first to help stiffen up the bulwark while cutting in it? I guess it will be easier to cut the gunports without the caprail inplace, but also easier to break of the bulwark unintentionally while working on it.. hmmm. Desicions.. any thoughts or tips here?
Here is a link to pictures of a model I’m trying to make my model look like. (More or less)https://www.si.edu/object/letter-marque-topsail-schooner-lynx:nmah_844182
Gaffrig.
-
Hello.
Yes, the bulkhead tops are to be removed according to the instructions. The bulwark is now to be planked on the inside with 1x5mm walnut. Same as outer planking.
Gaffrig.
-
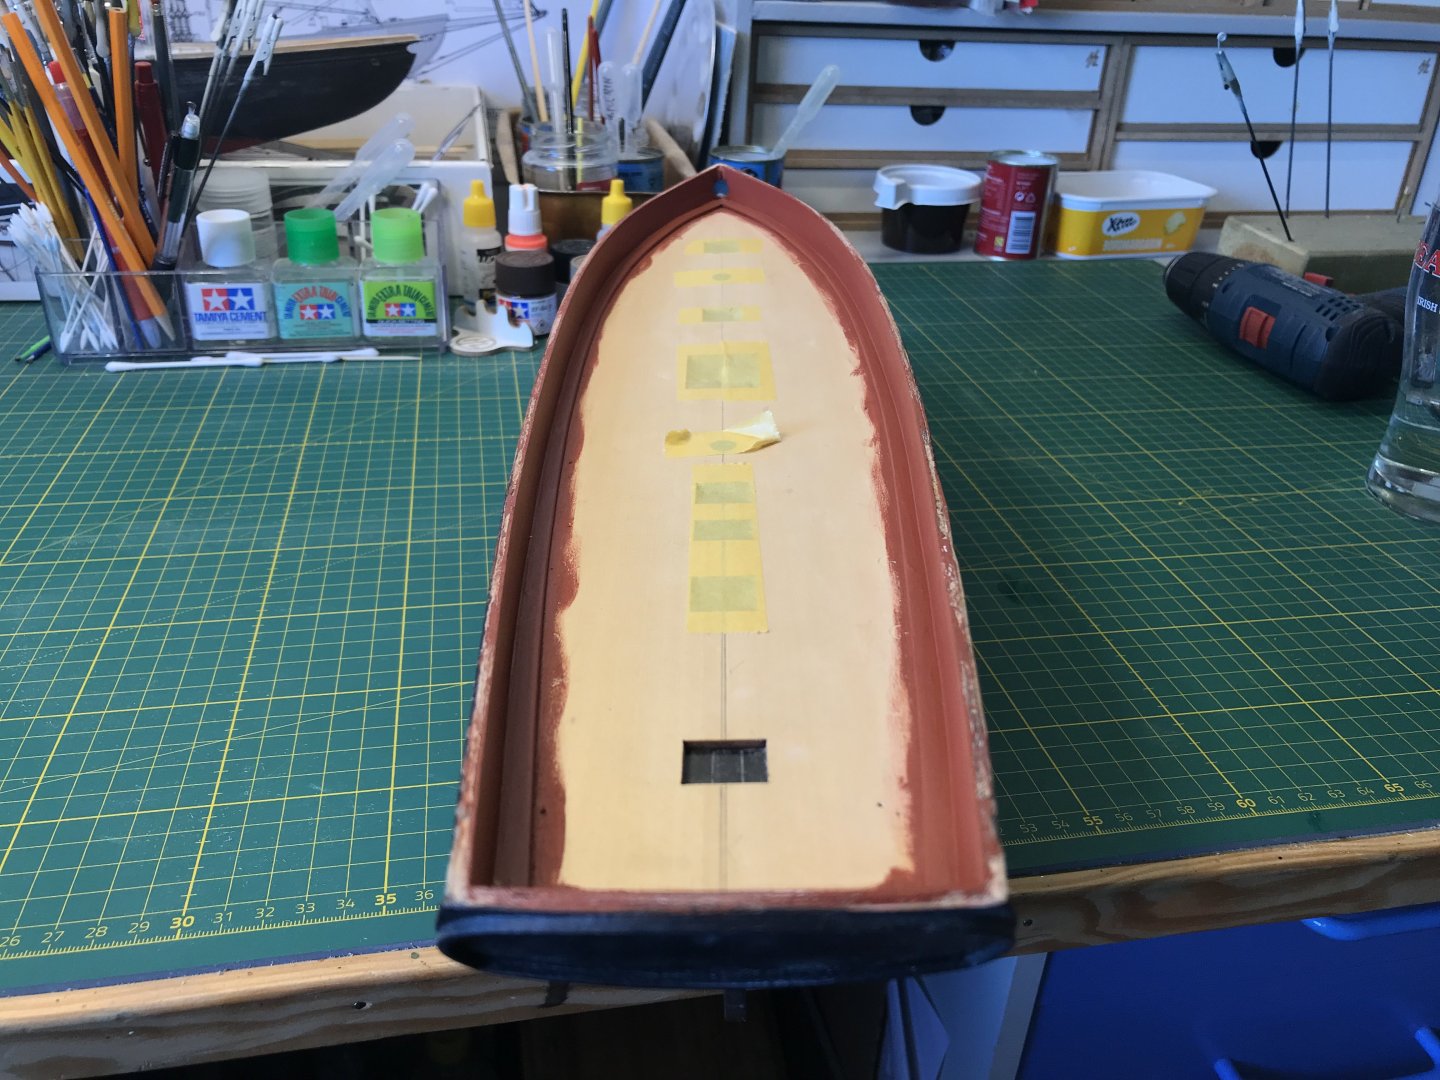
Hello!
Work continues on Lynx.
Got the plywood subdeck glued inplace, dowels to keep mastholes aligned.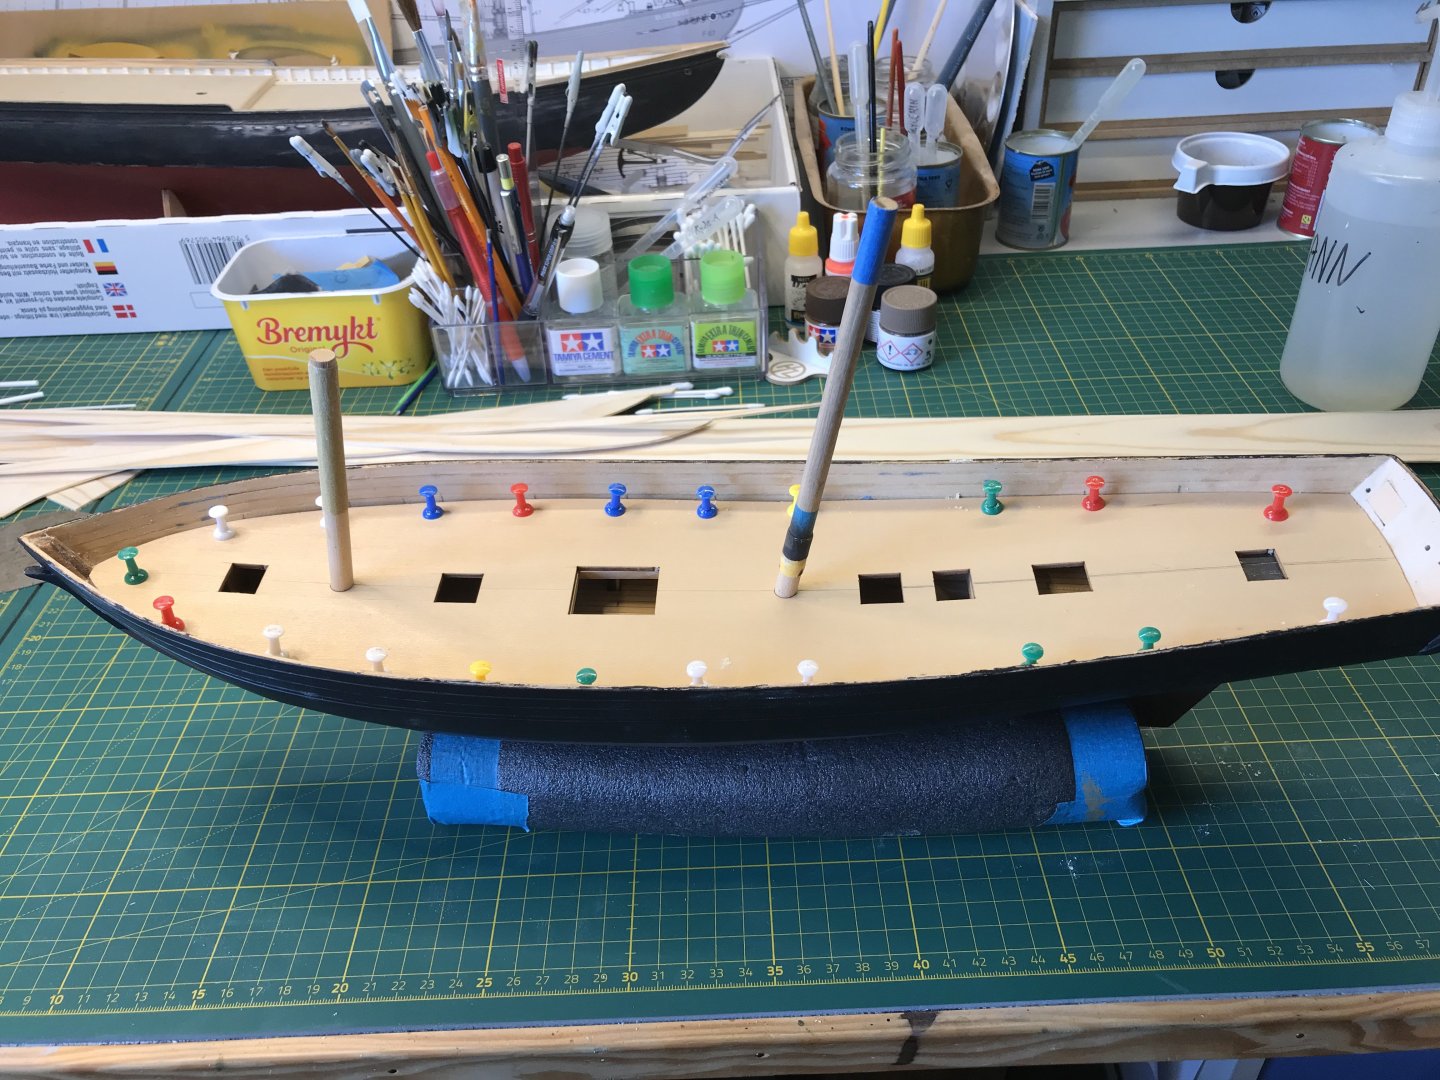
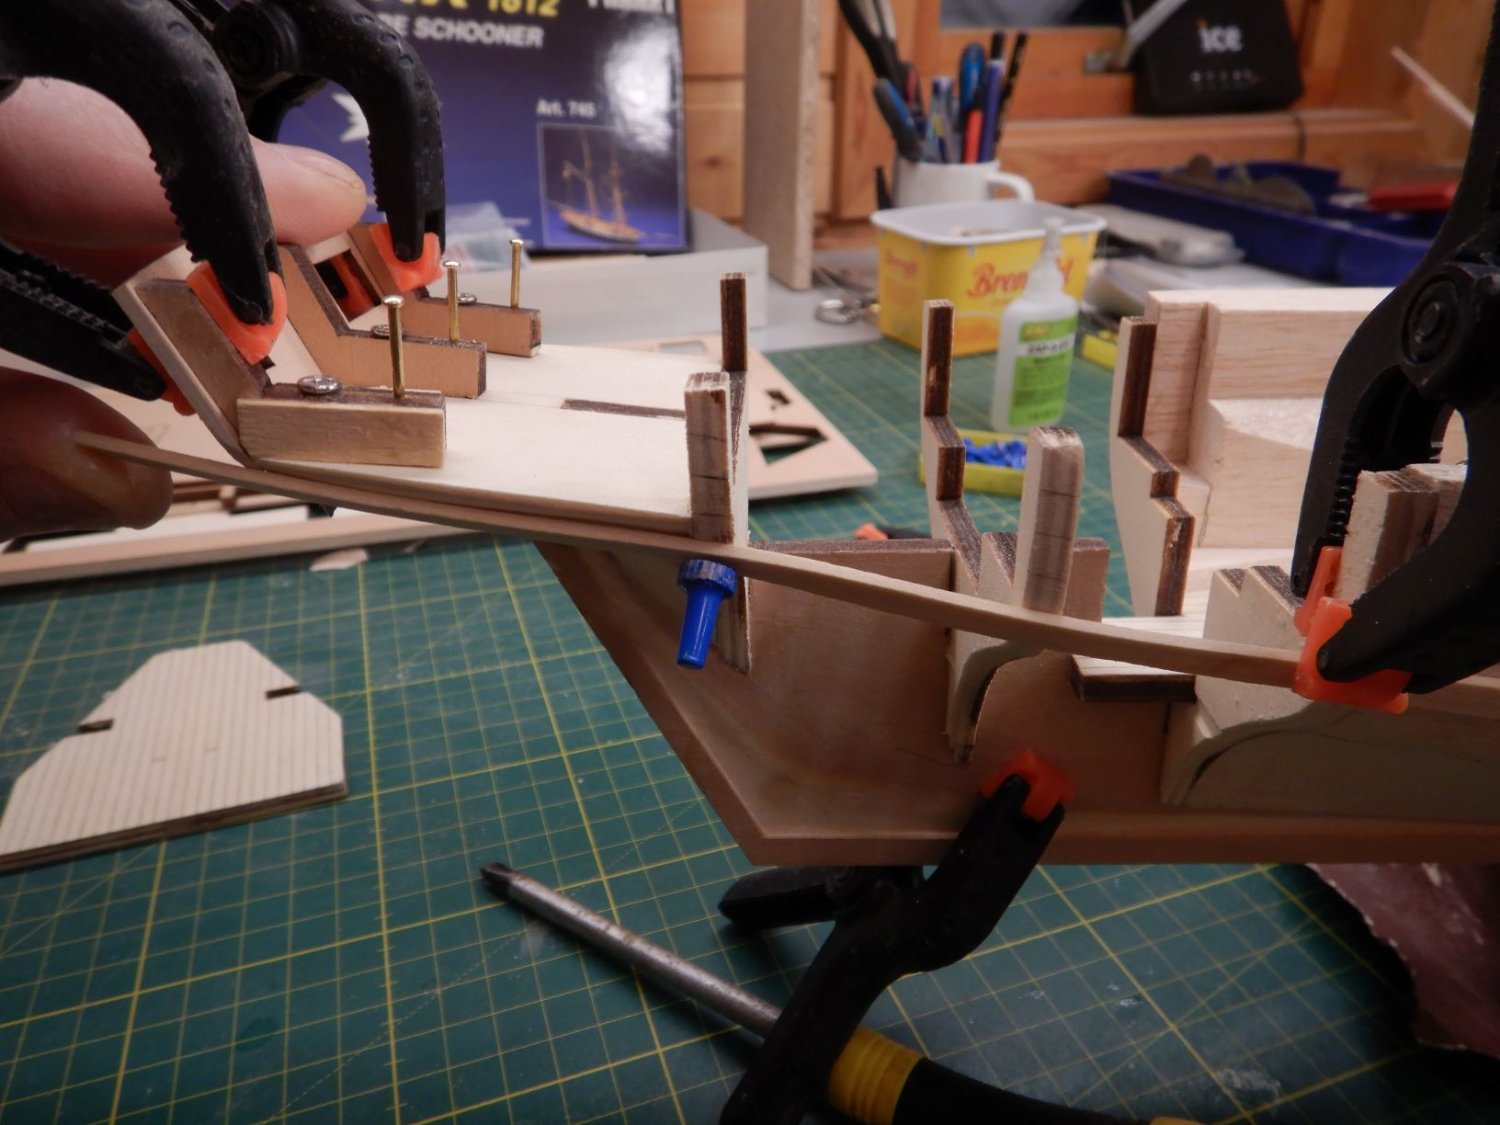
There is no mention of the waterways in either plans or instructions, but i decided to make these as I think it looks better.

Drilled the hole for the bowsprit, to remove the inner stem so the waterways could fit up in the bow.
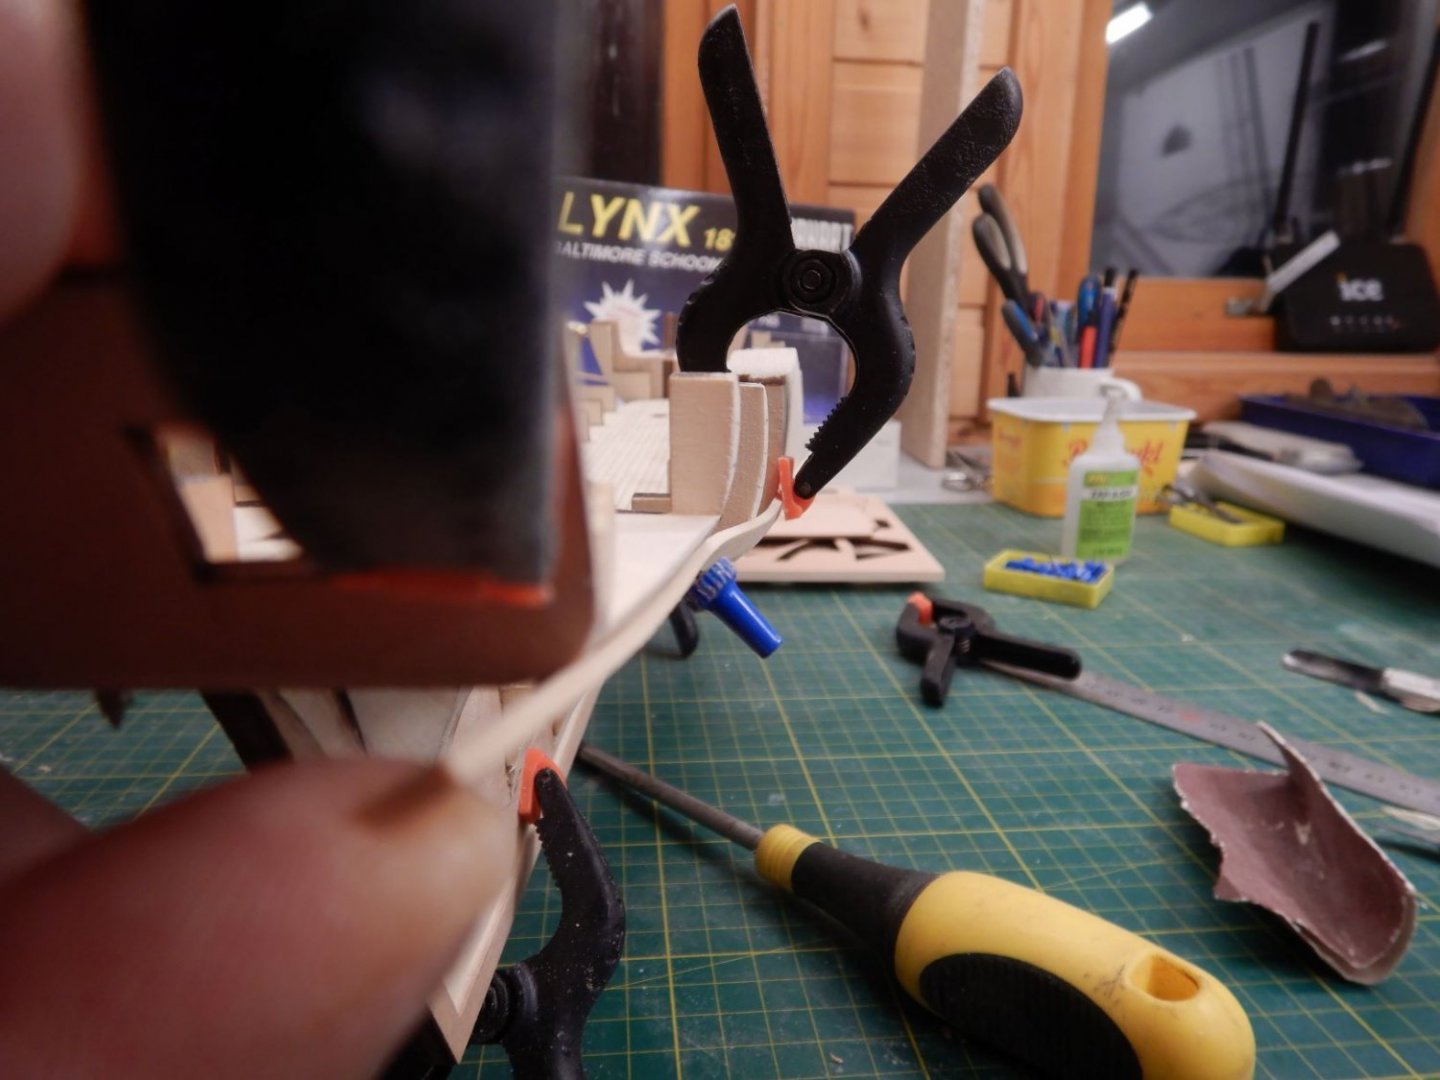
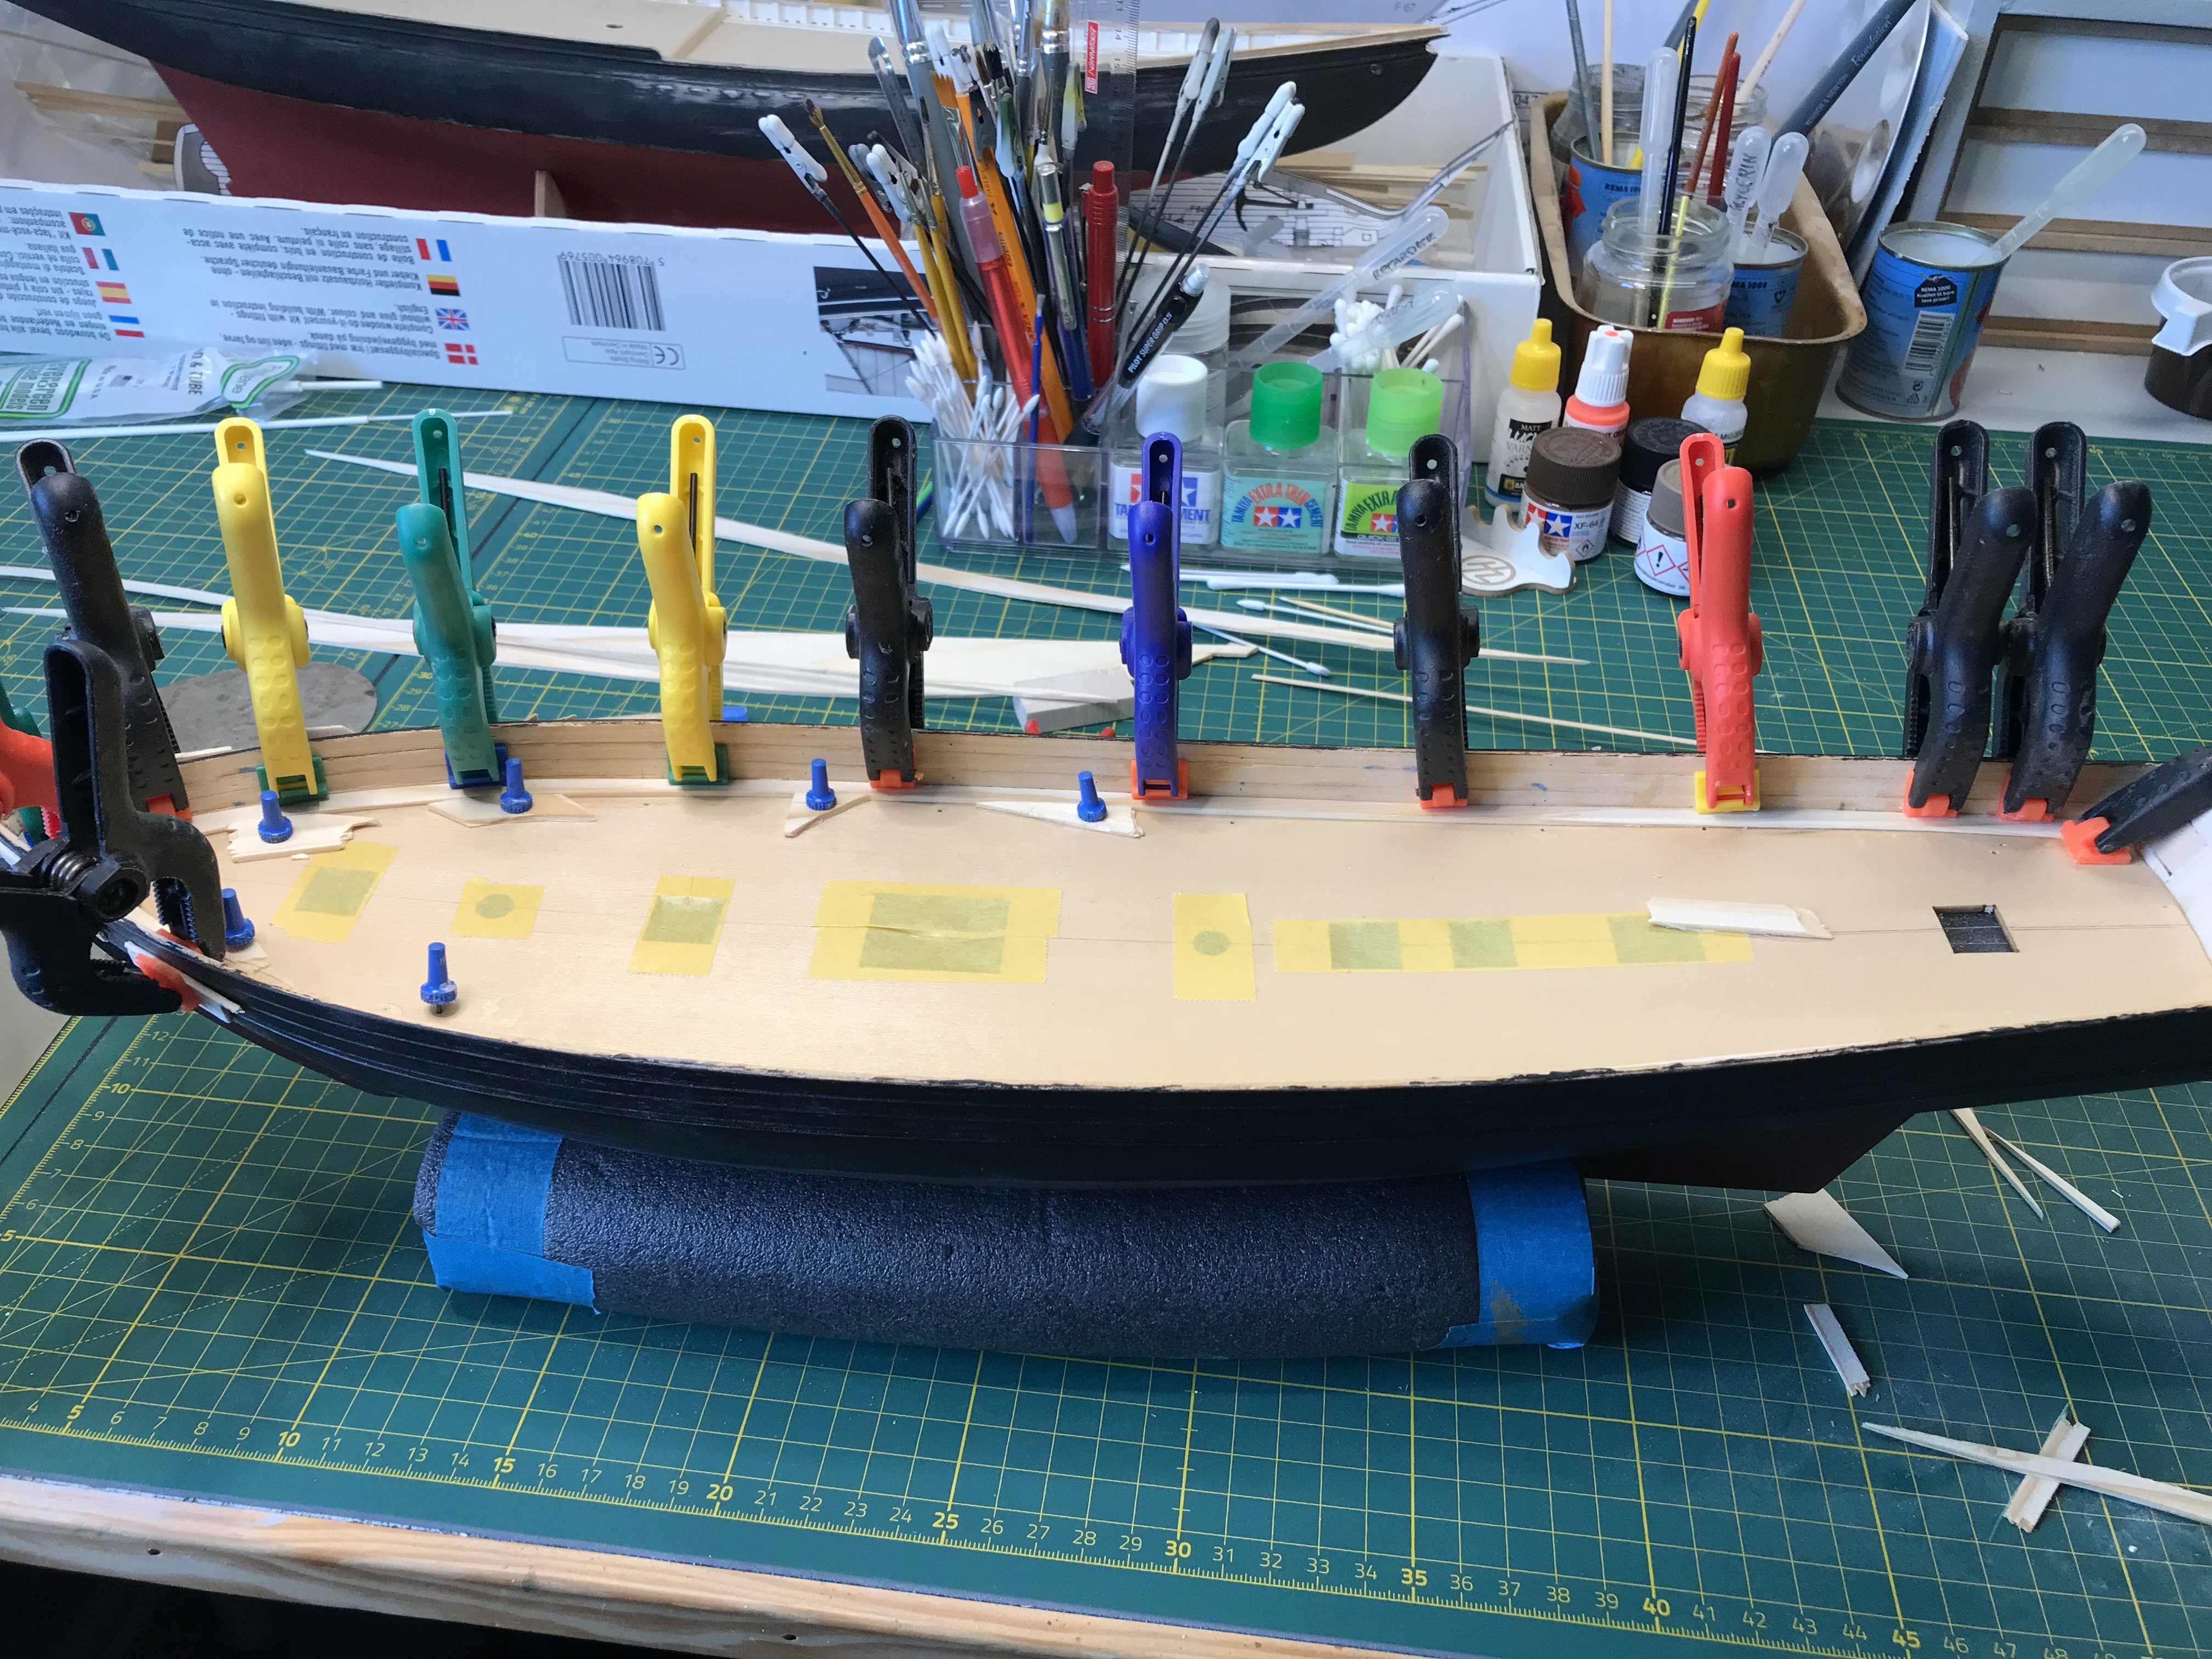
First waterway glued inplace.

Need more clamps to glue the other side!
Gaffrig.
- chris watton and Javelin
-
2
-
Hello all!
The slowest buildlog continues!
Since the last update I’ve been playing with plastic models for awhile.
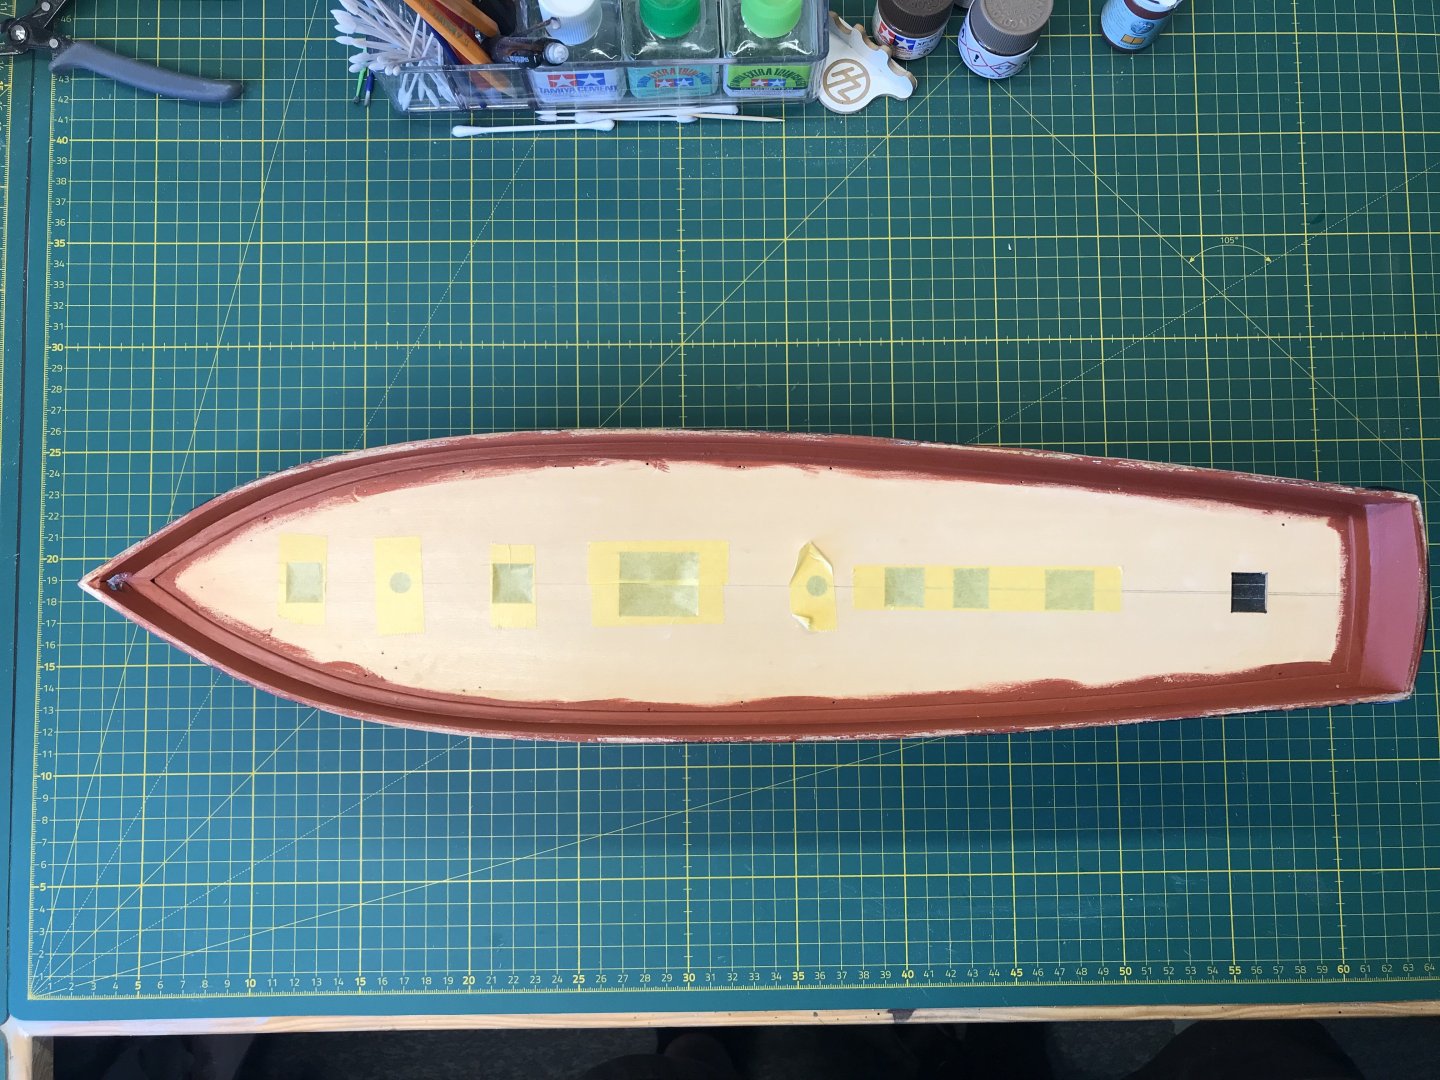
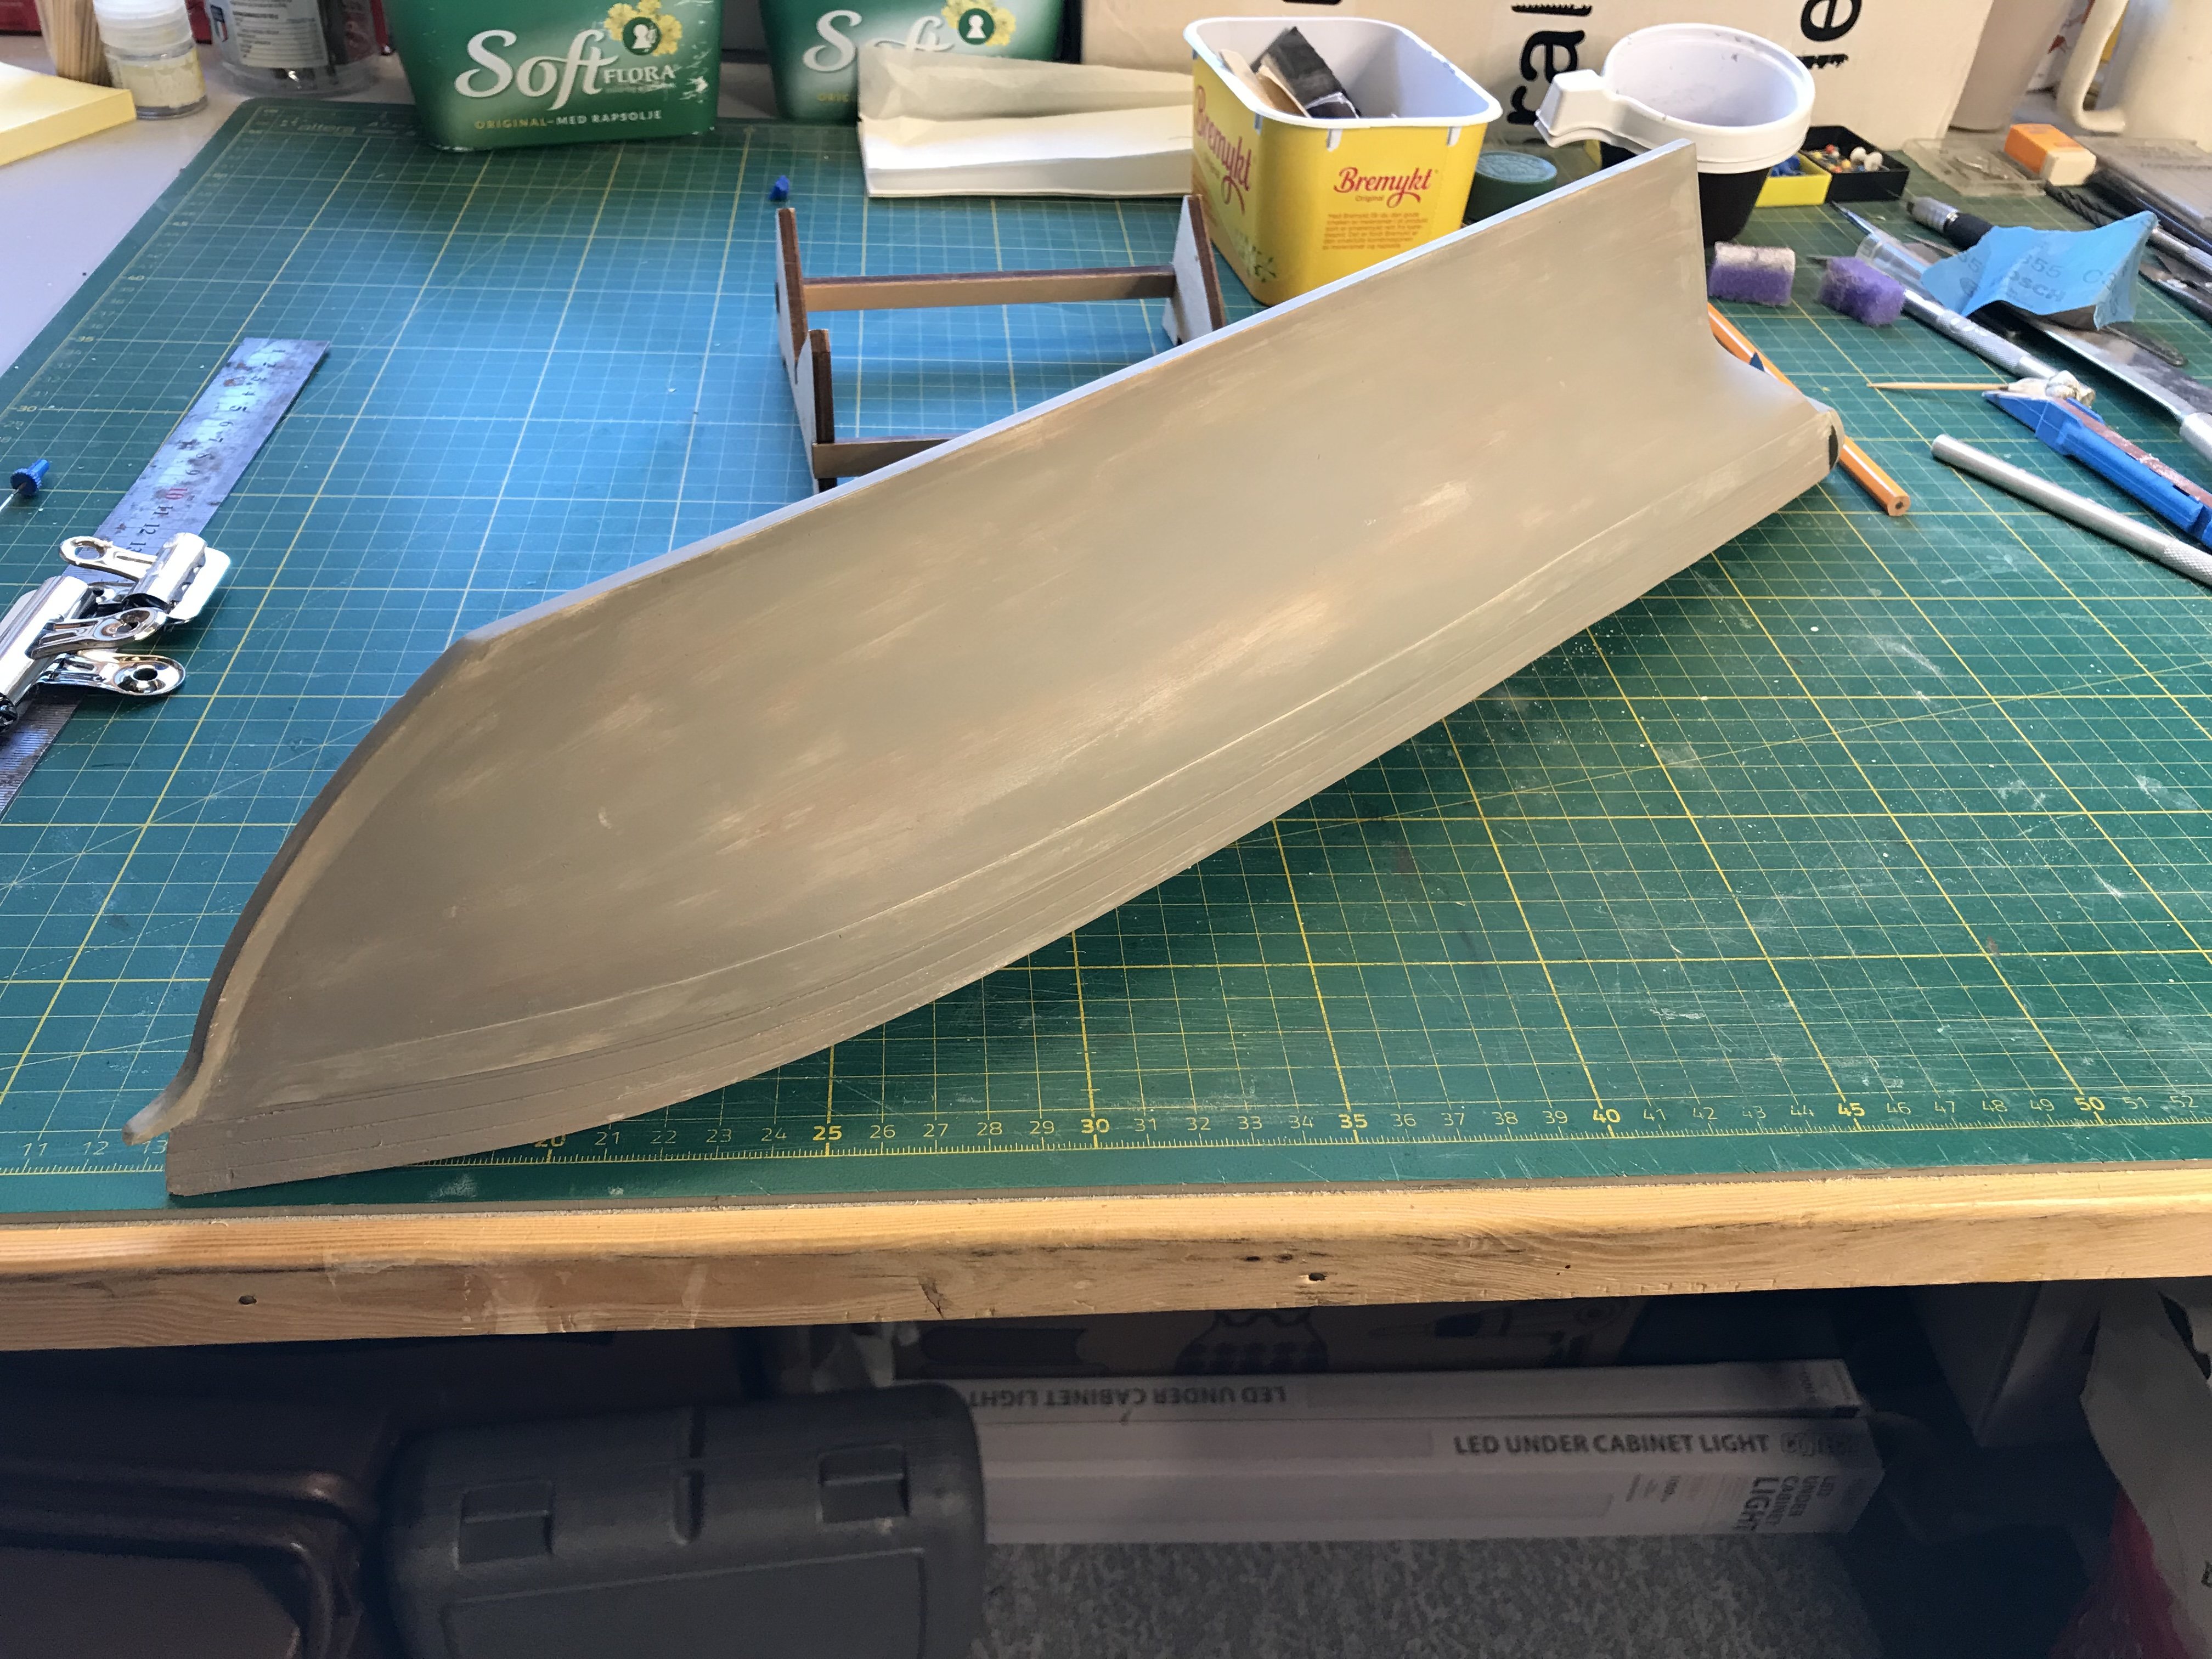
But now I’m back at the Lynx.Hull has been through several rounds of sanding and filling.
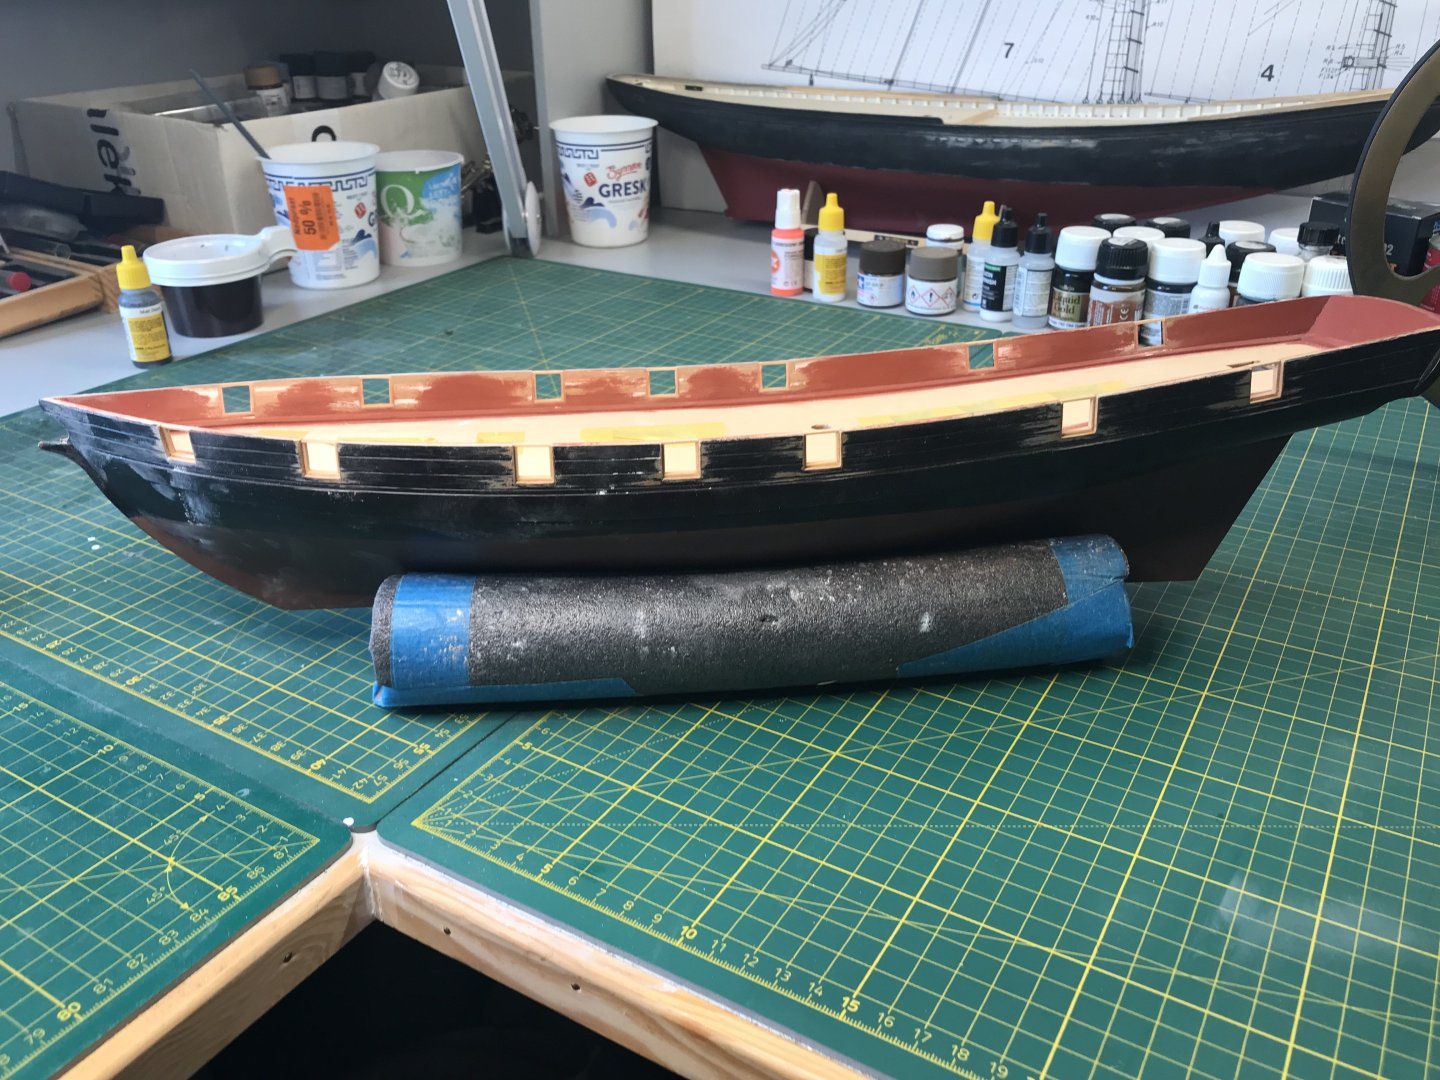
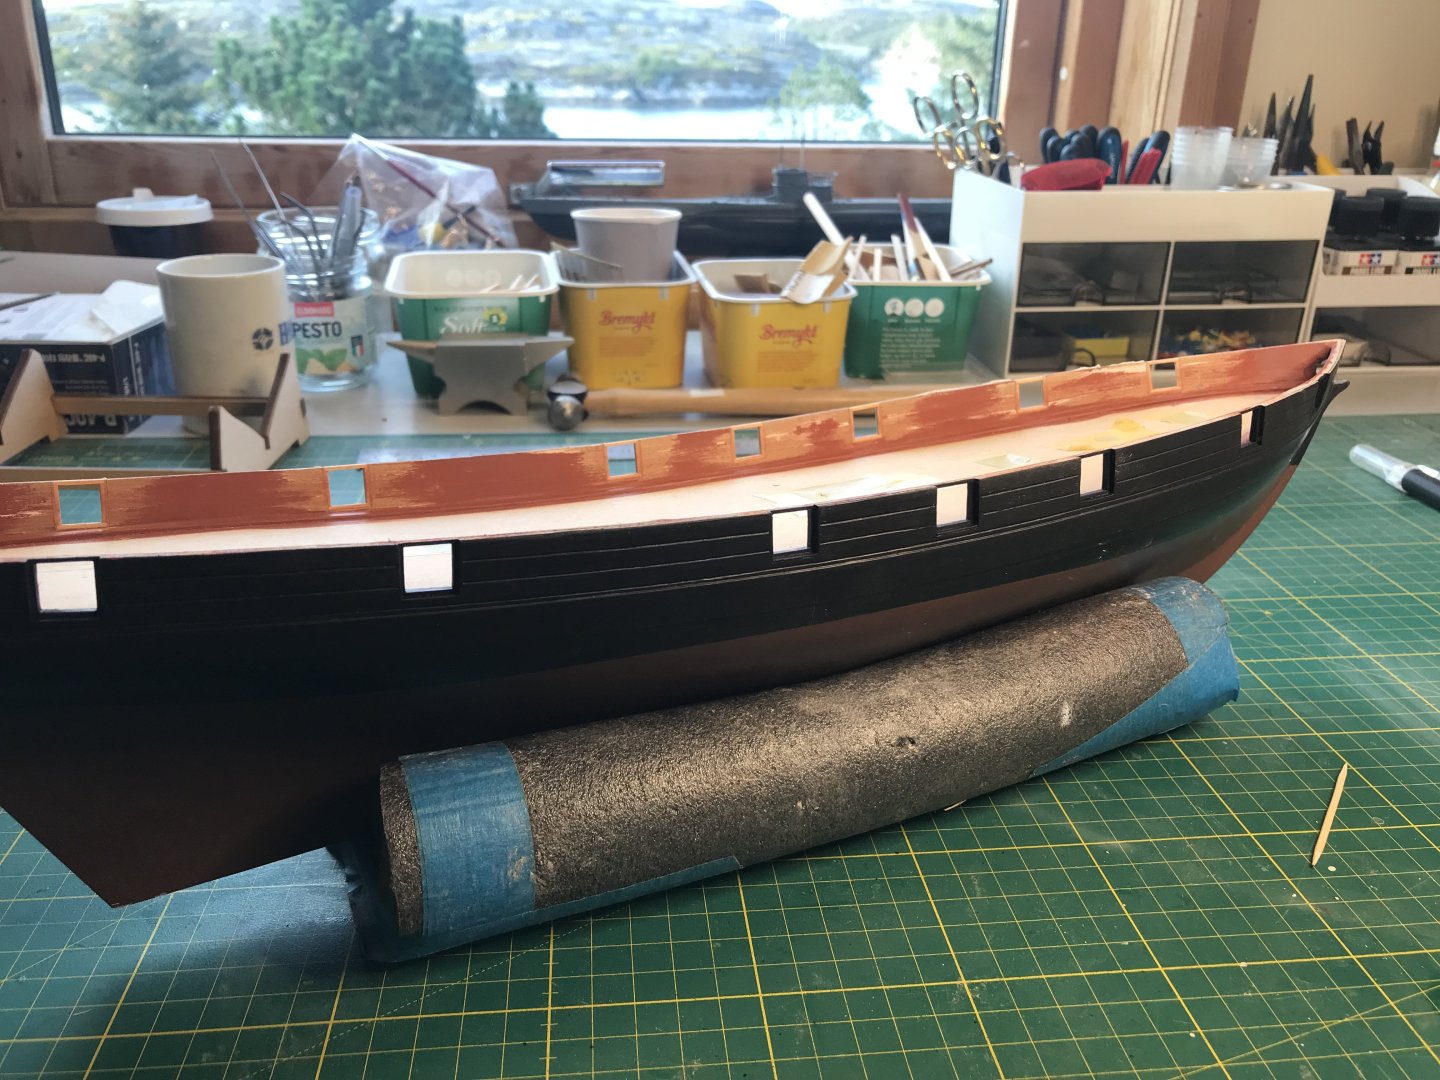
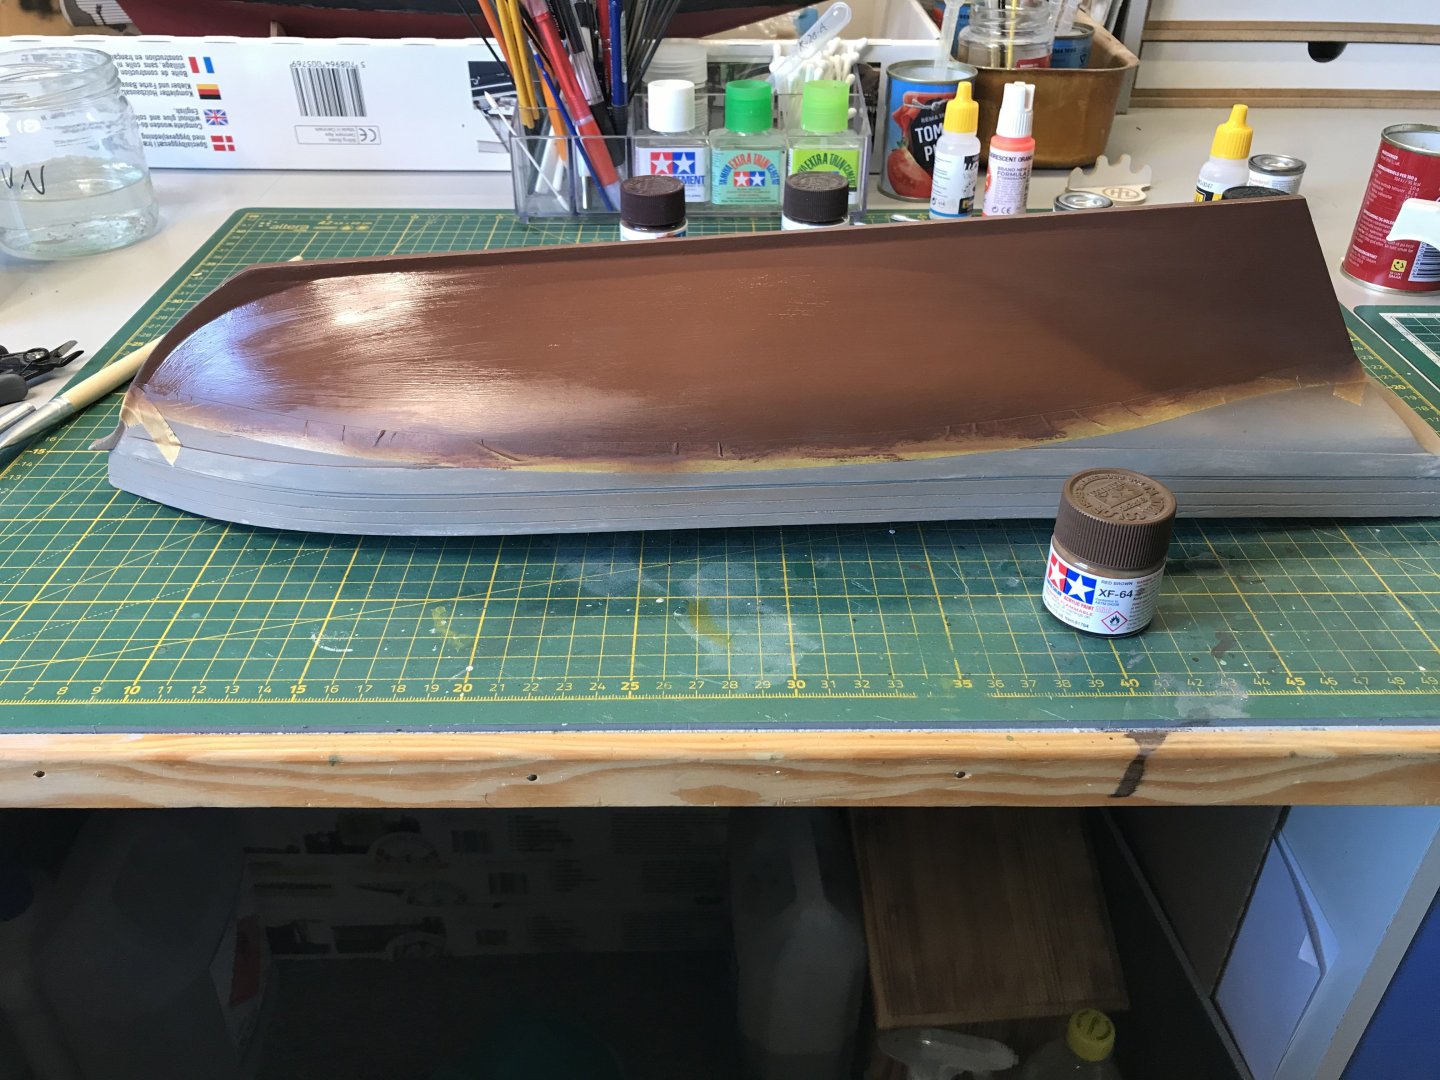
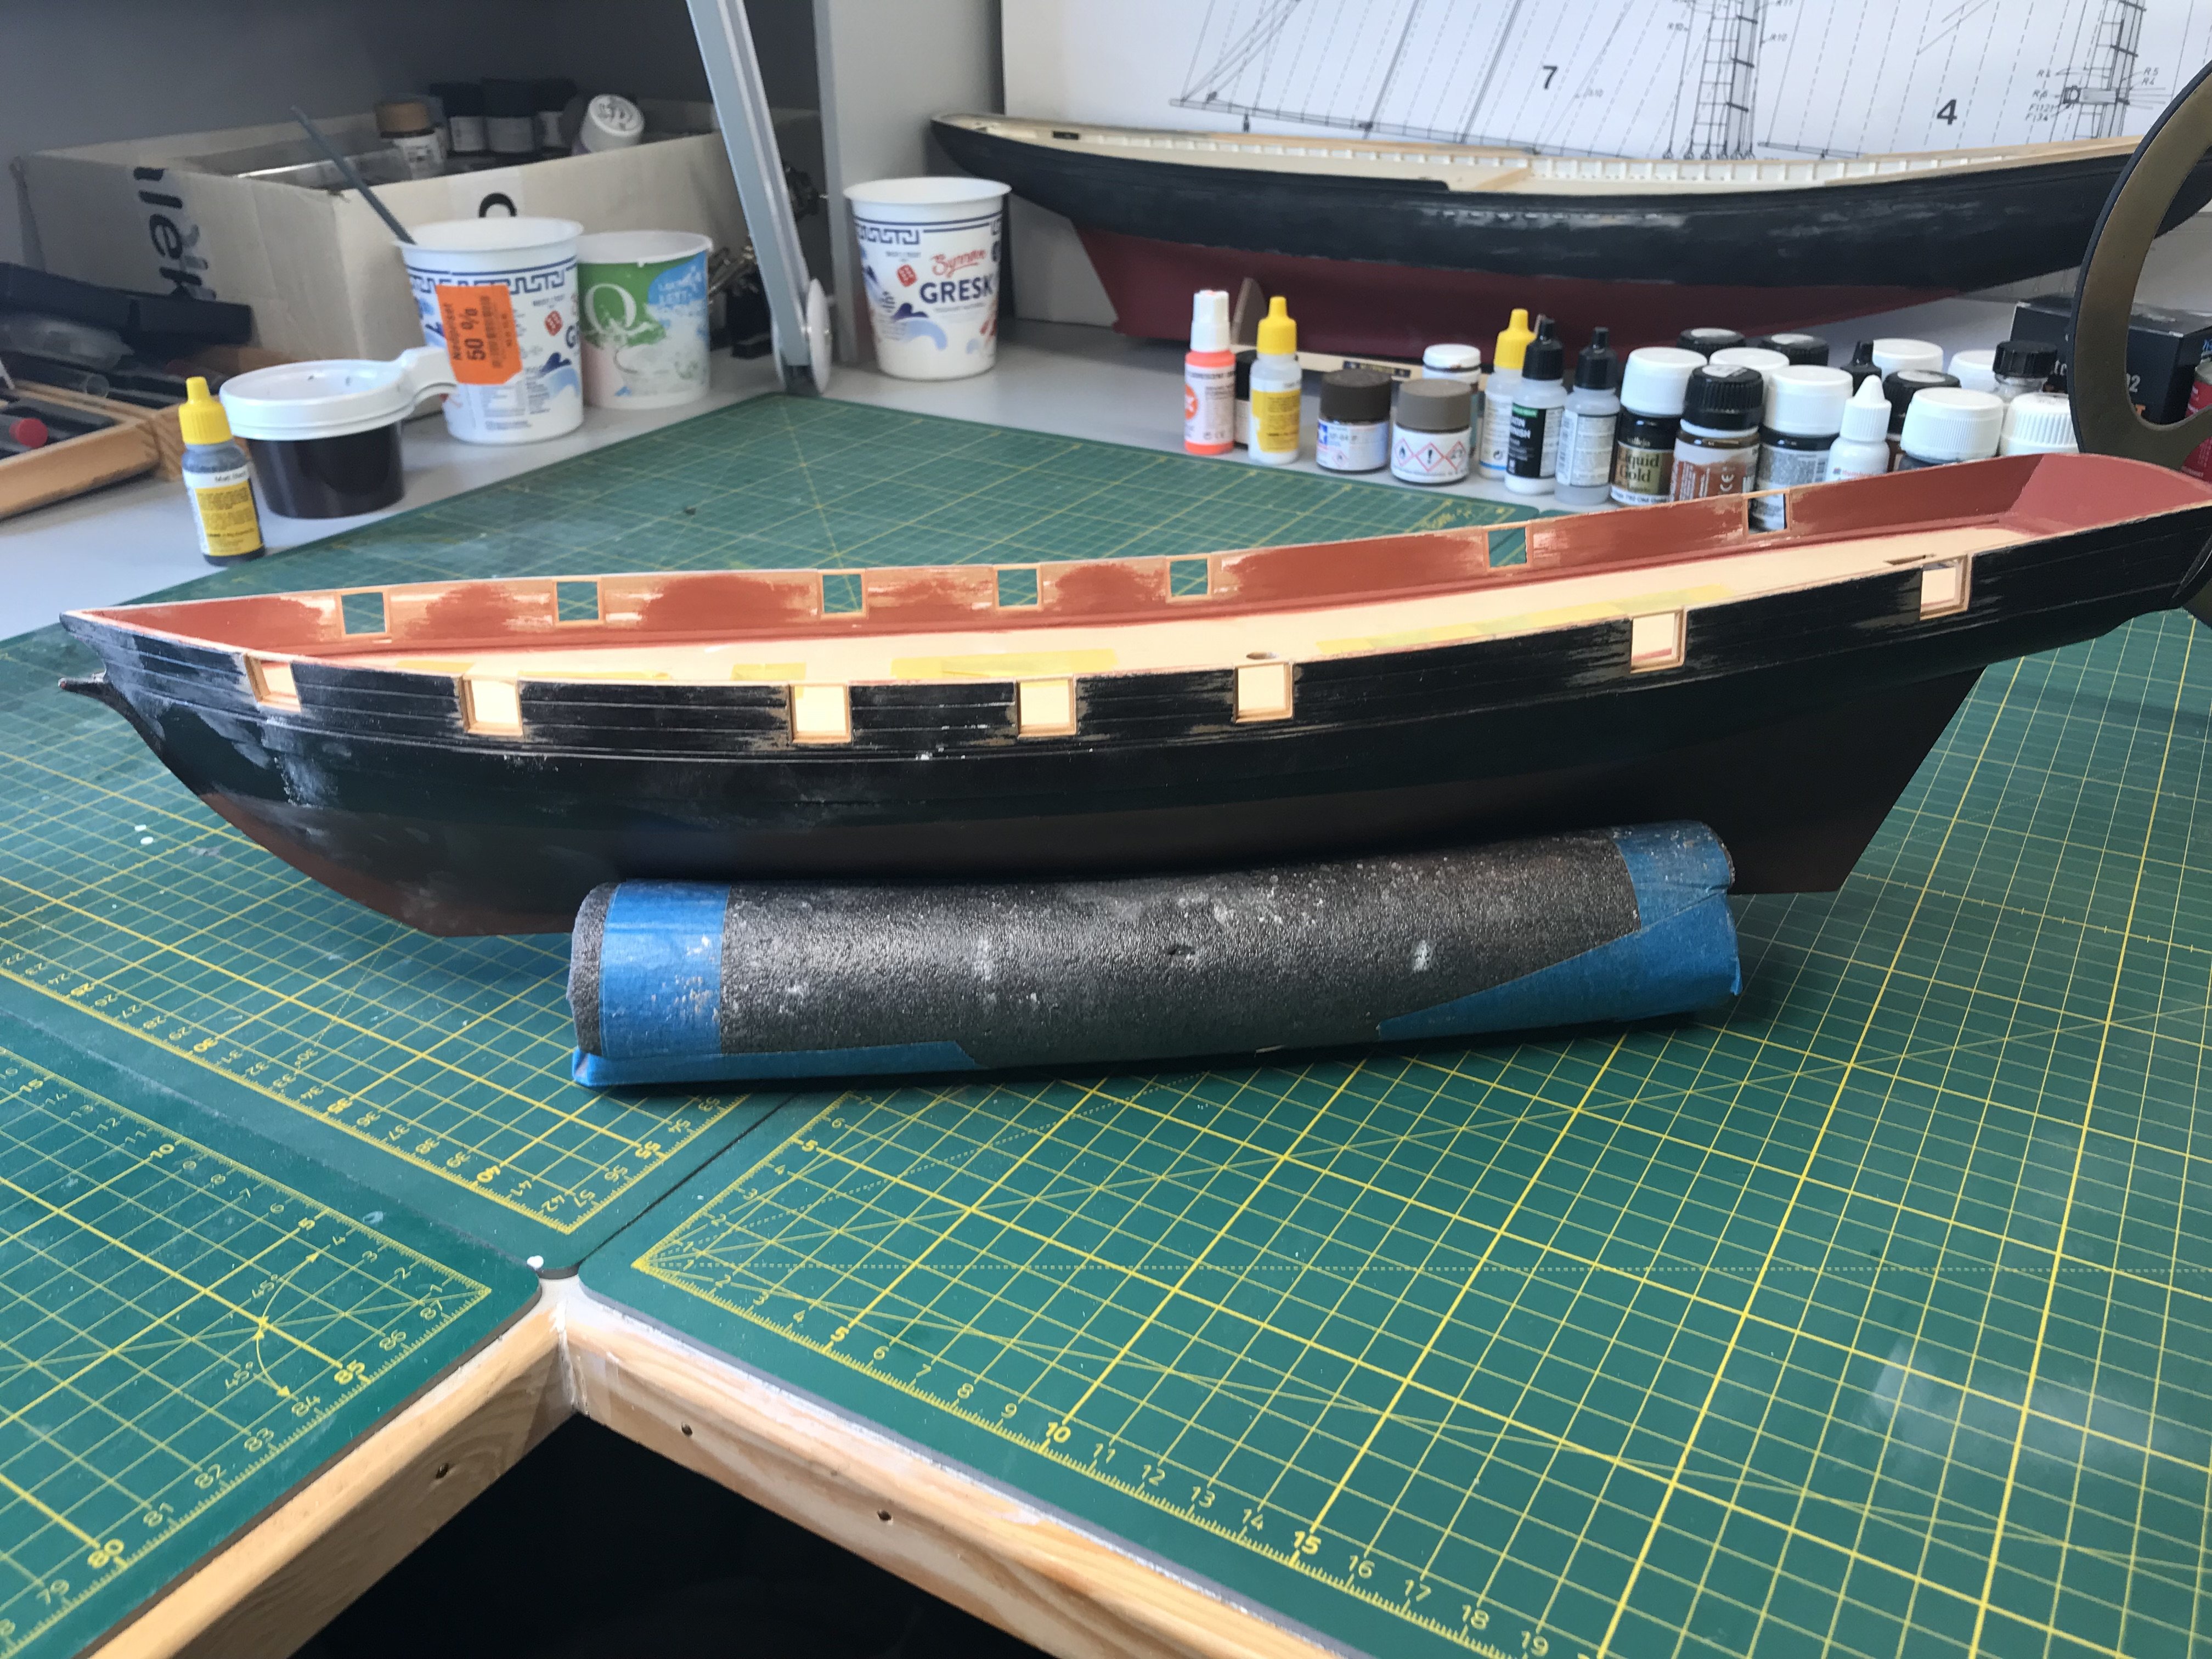
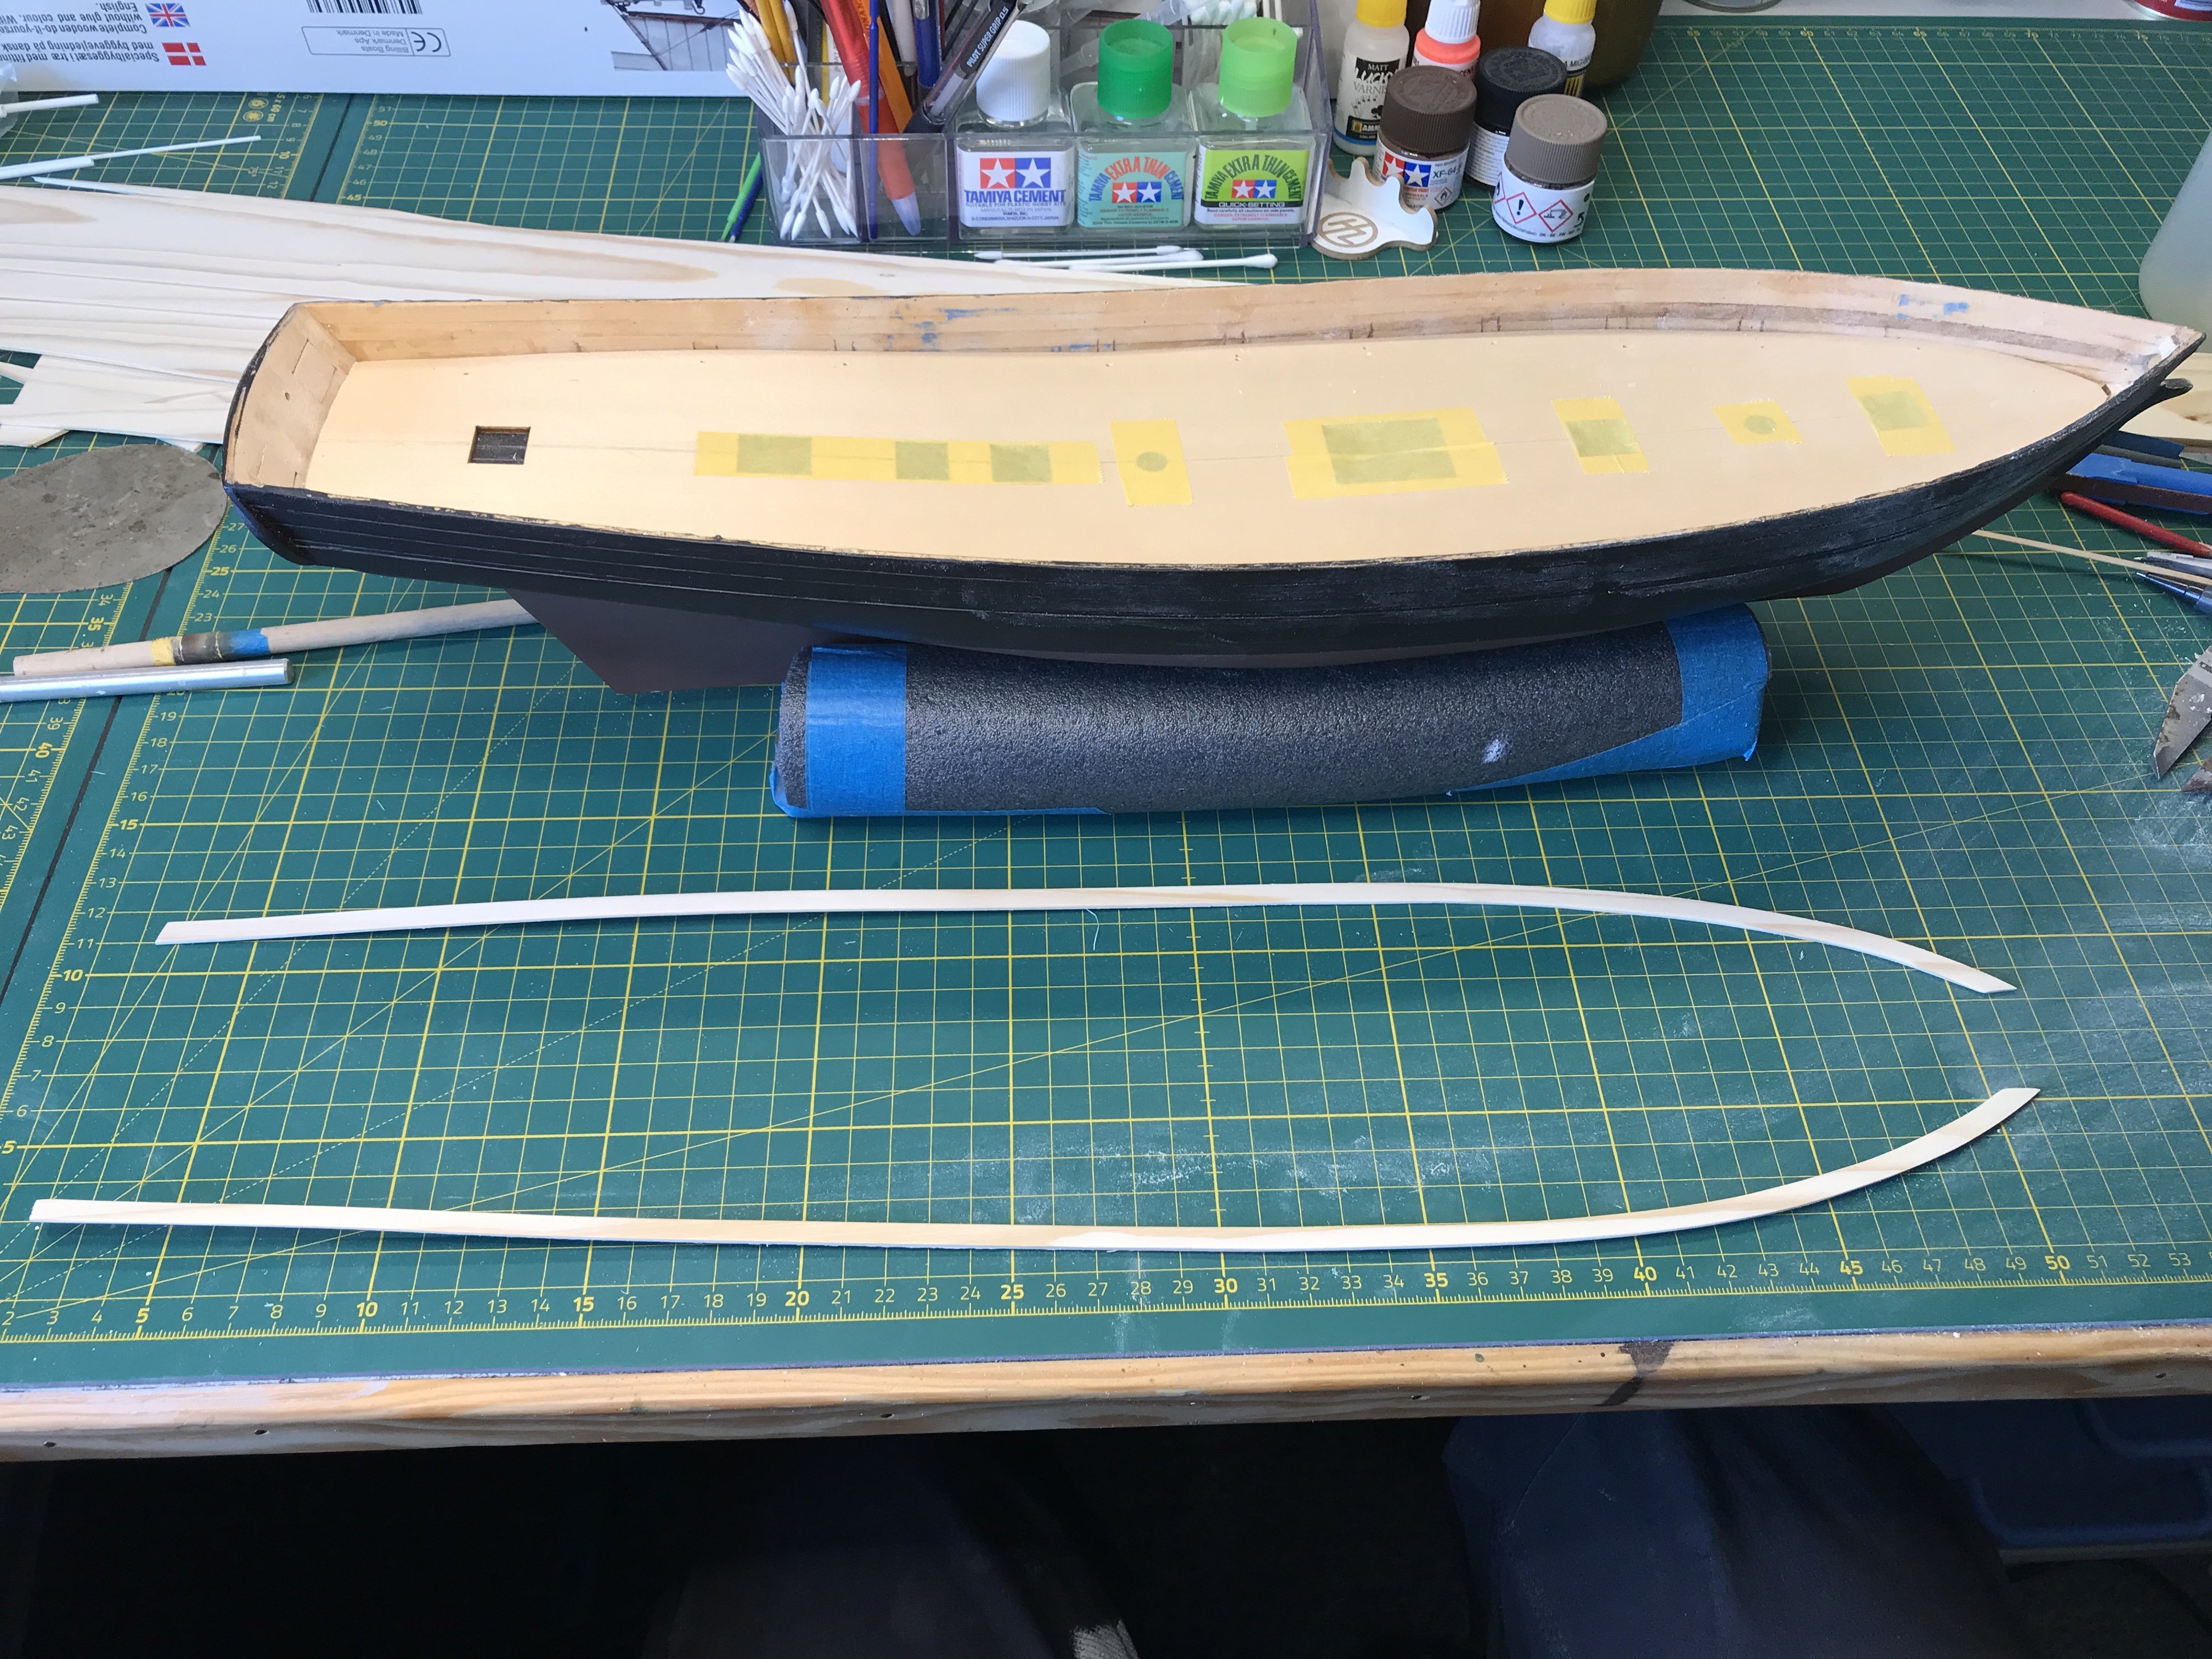
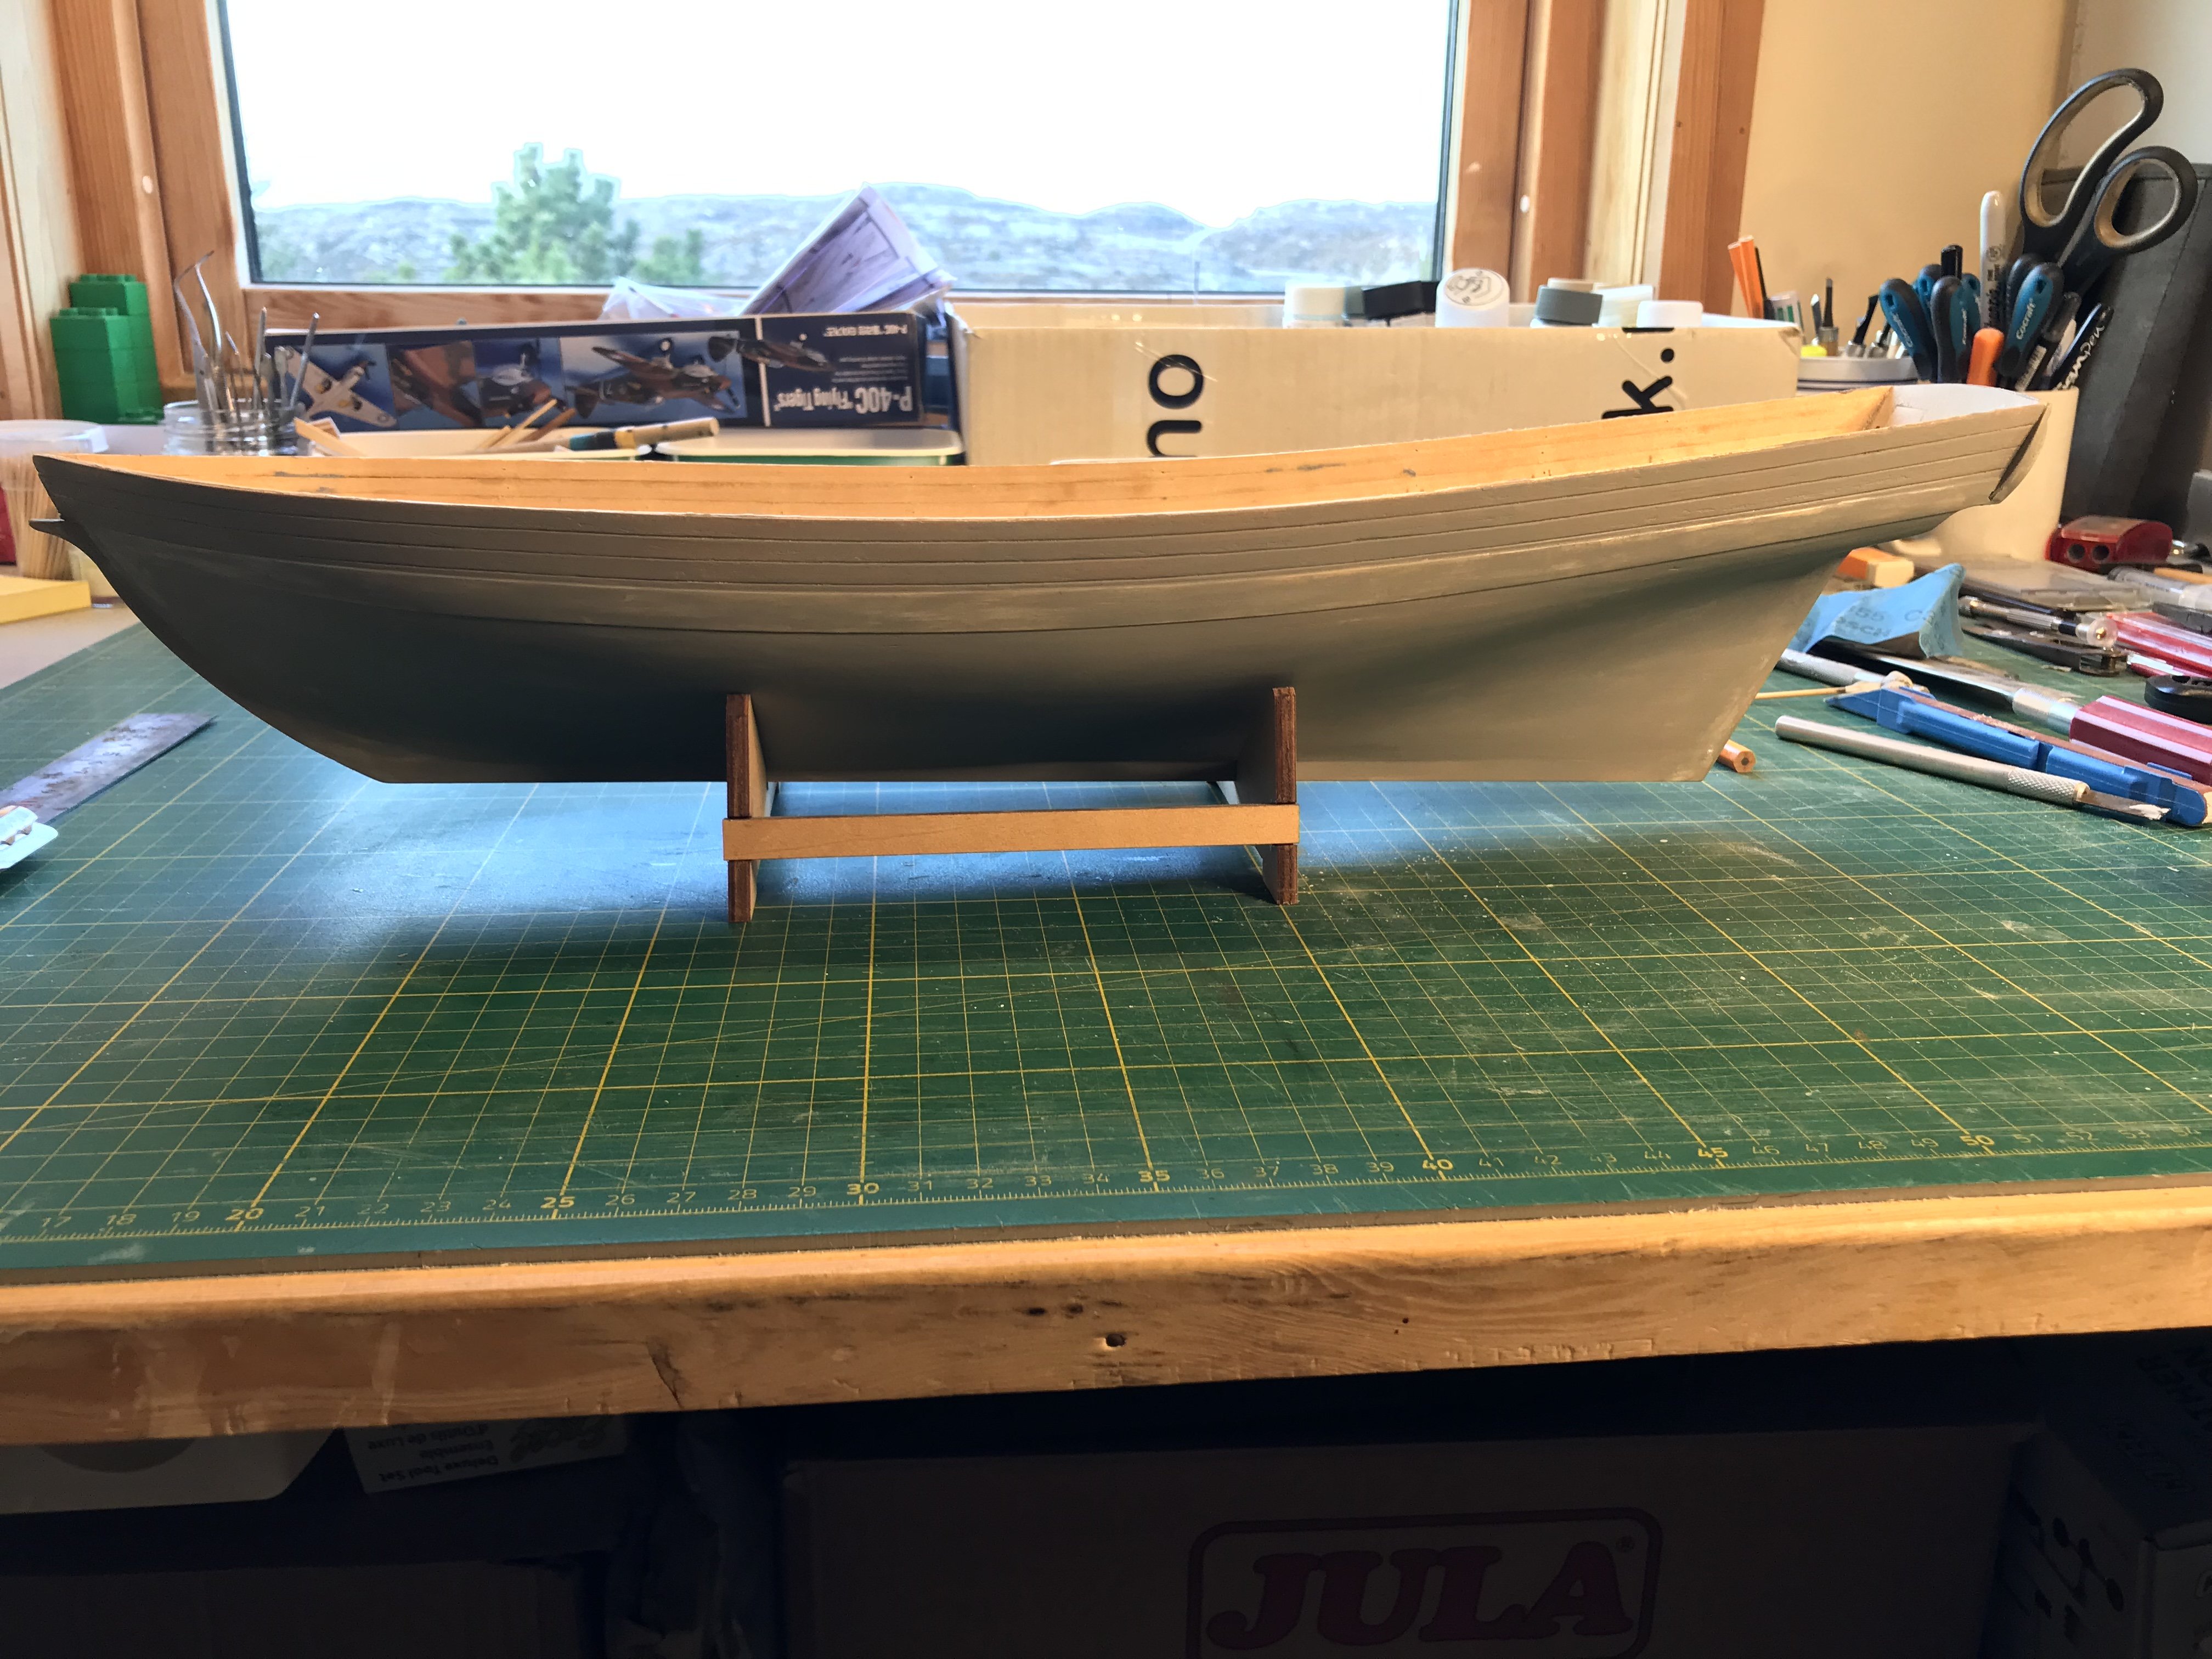
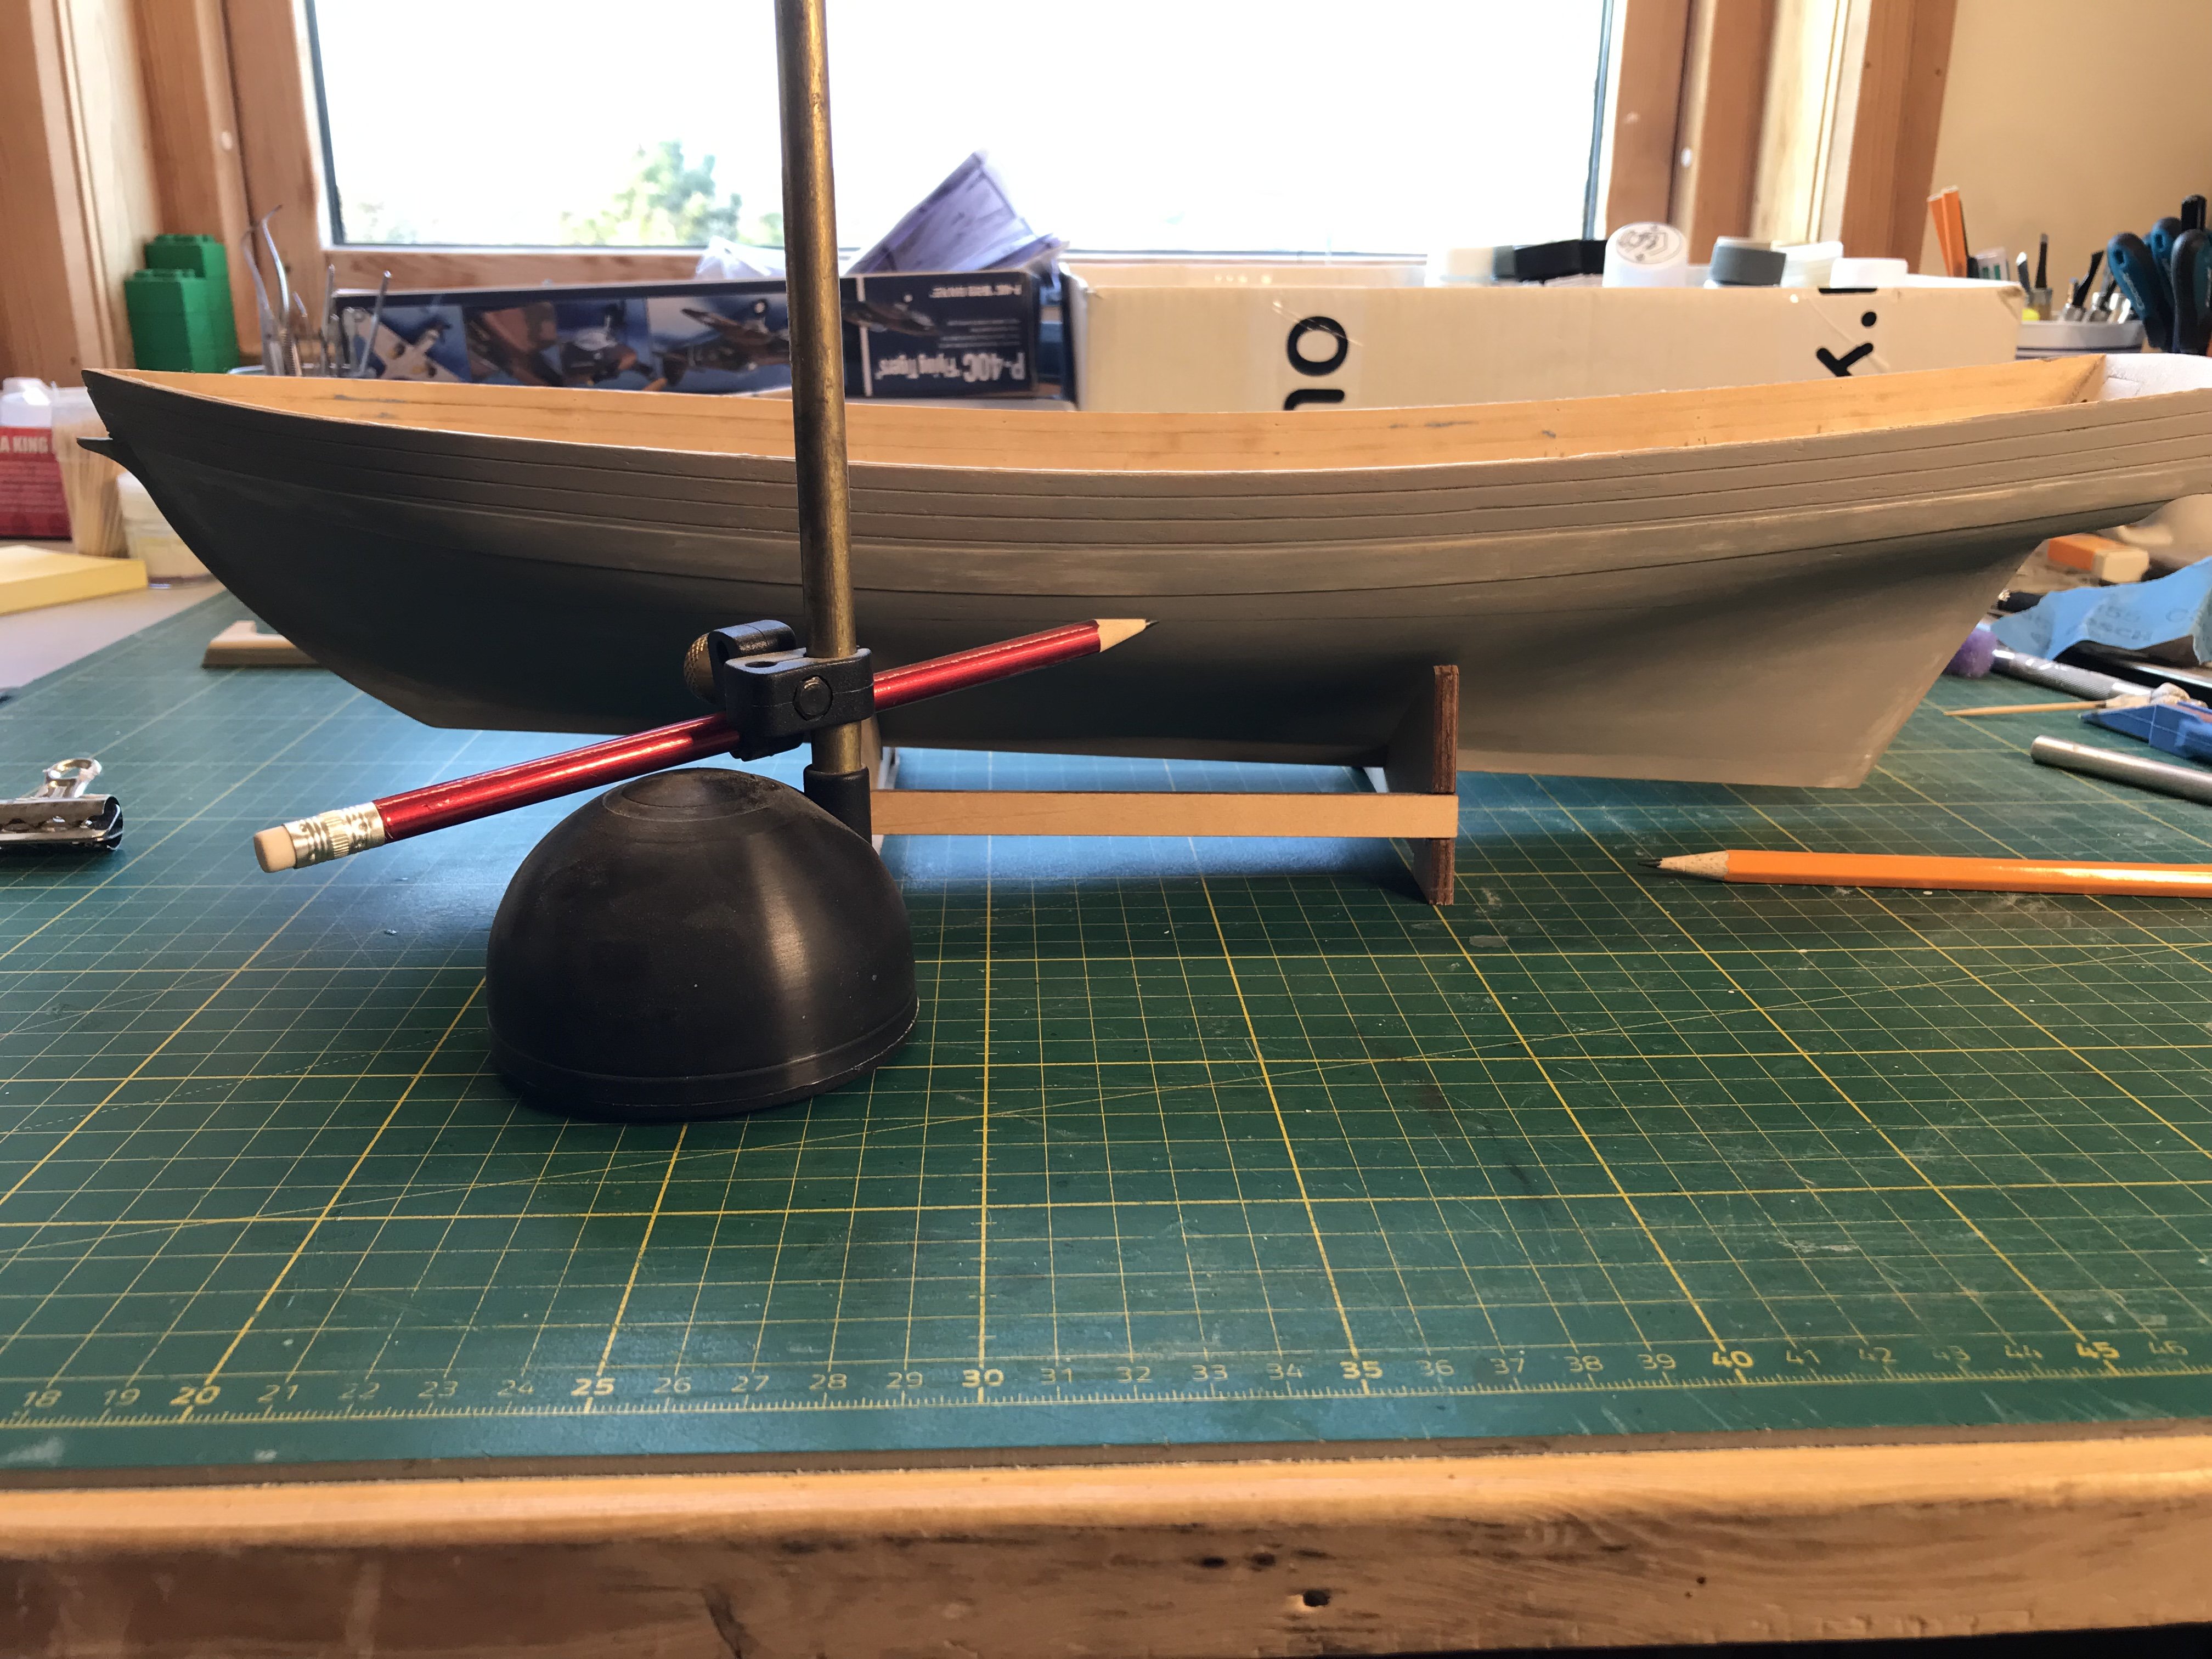
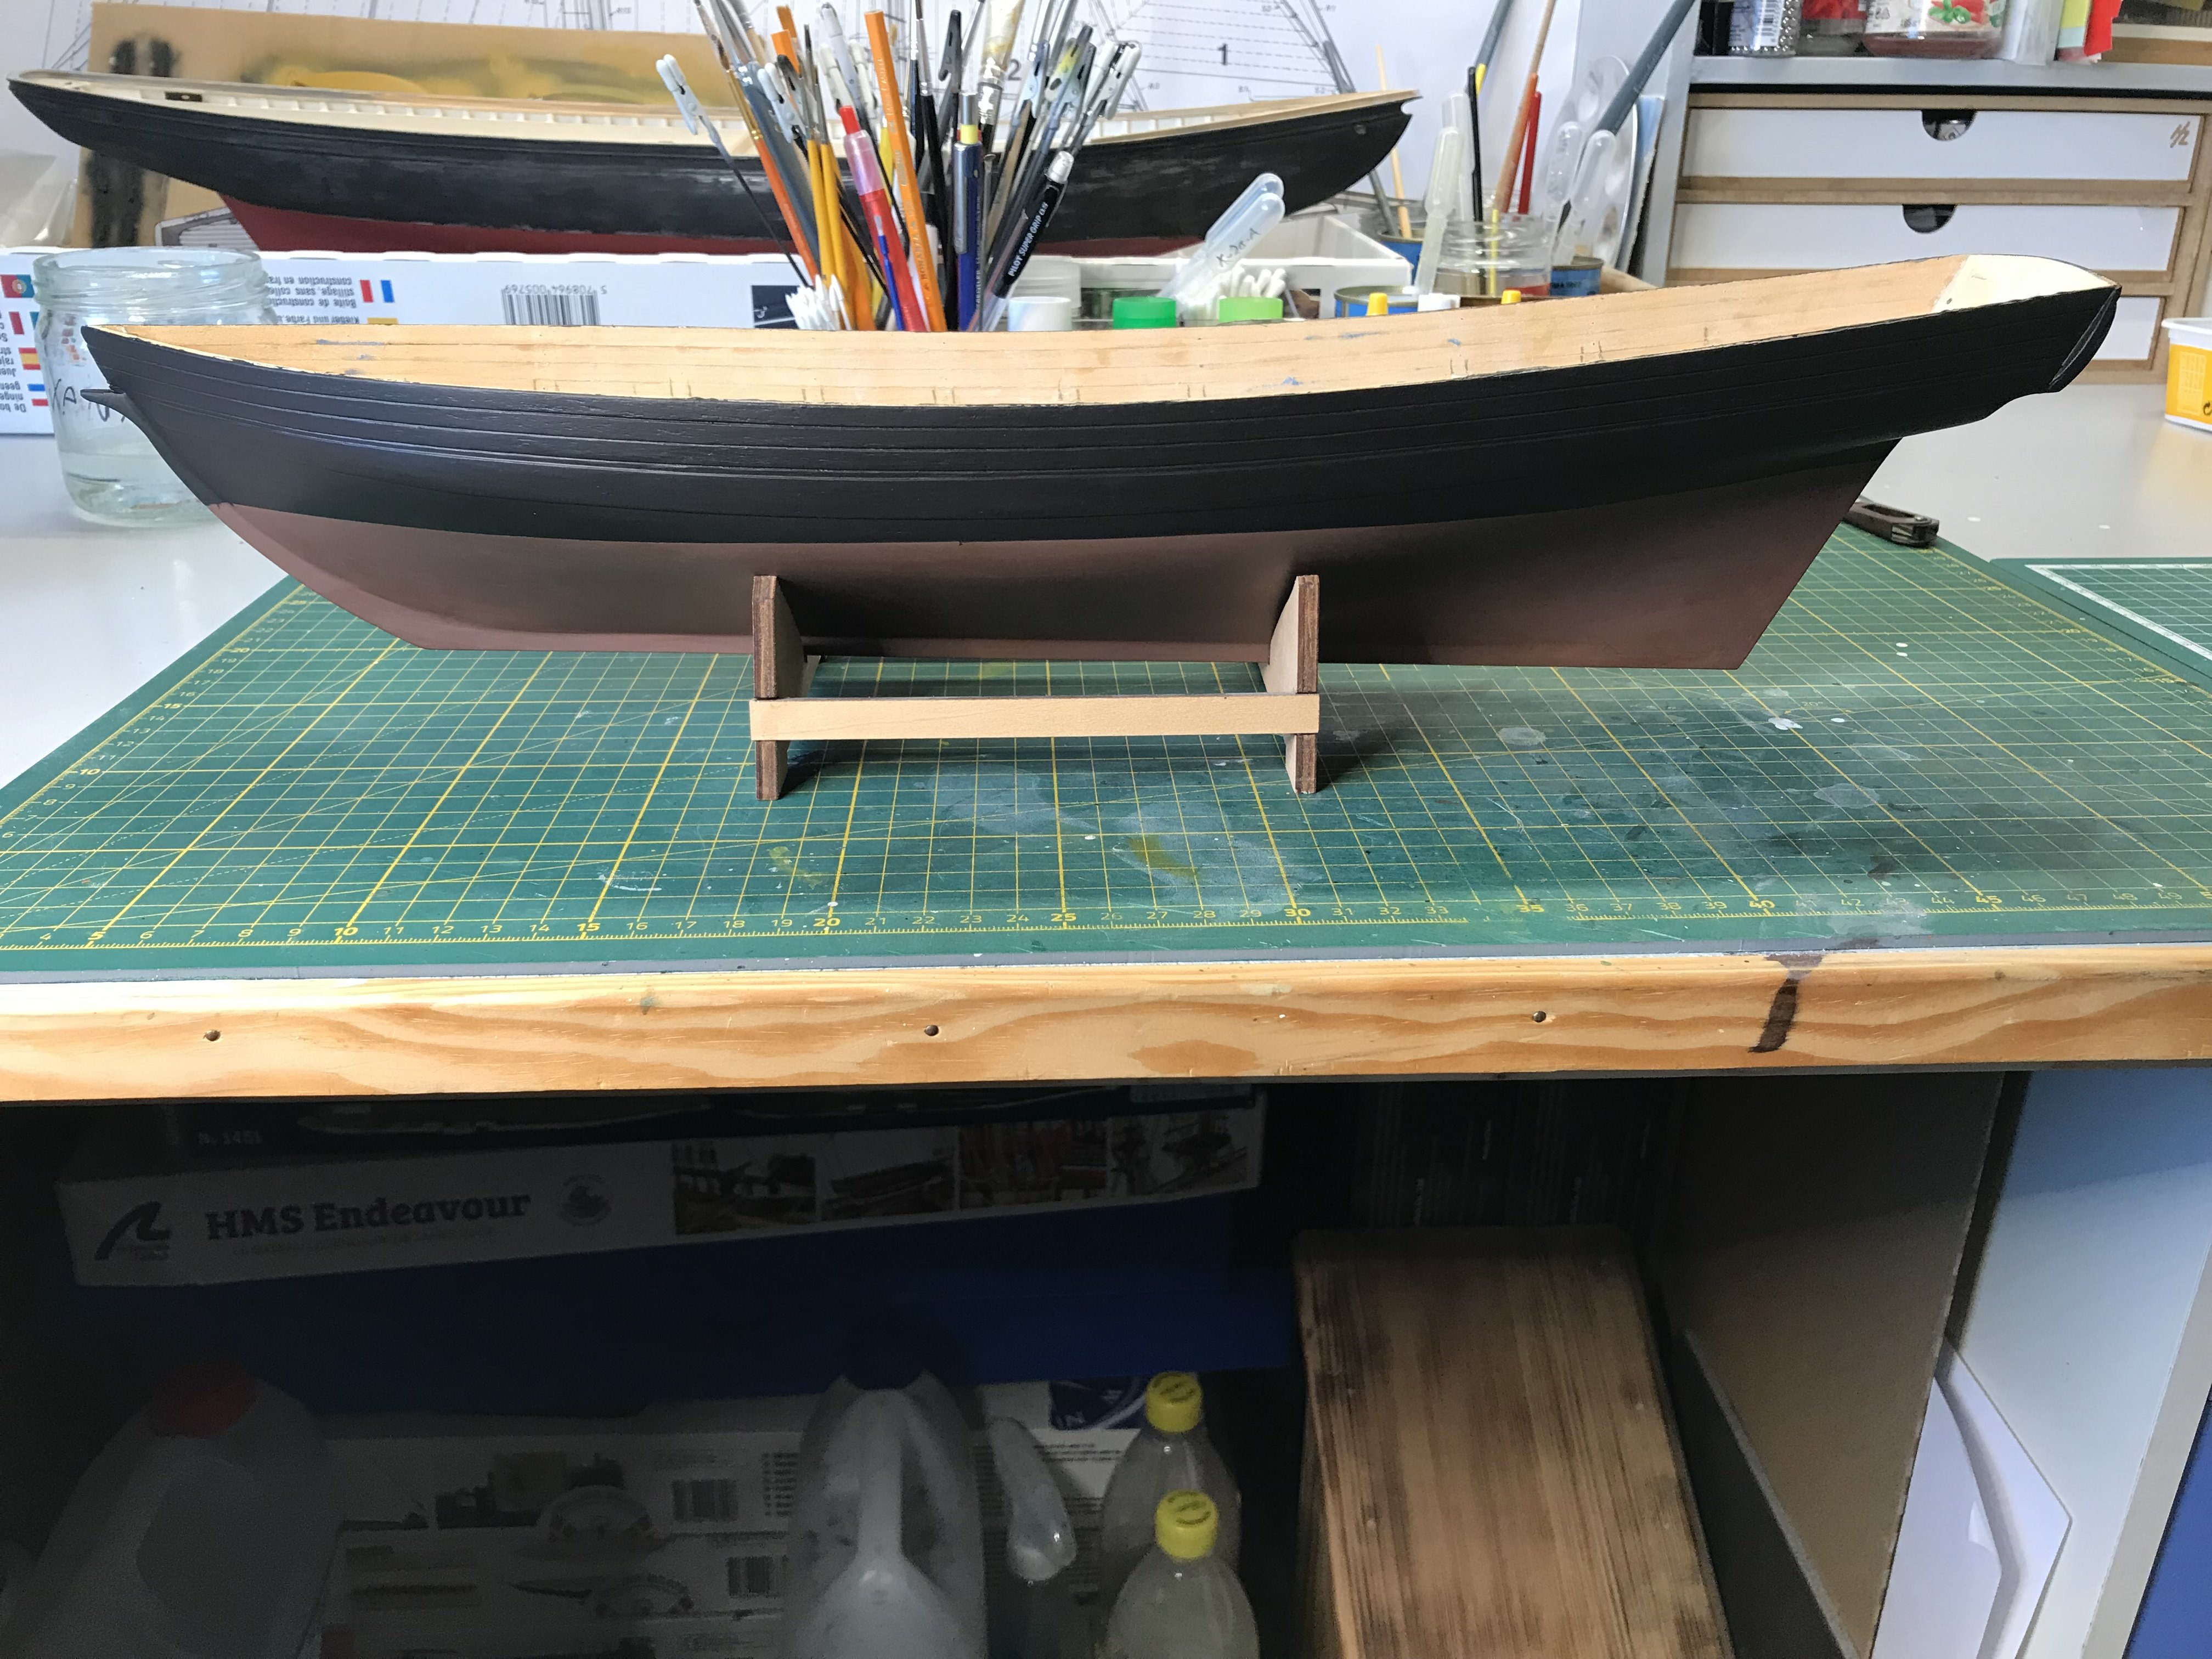
A wale (whale?) has been added and the hull primed.


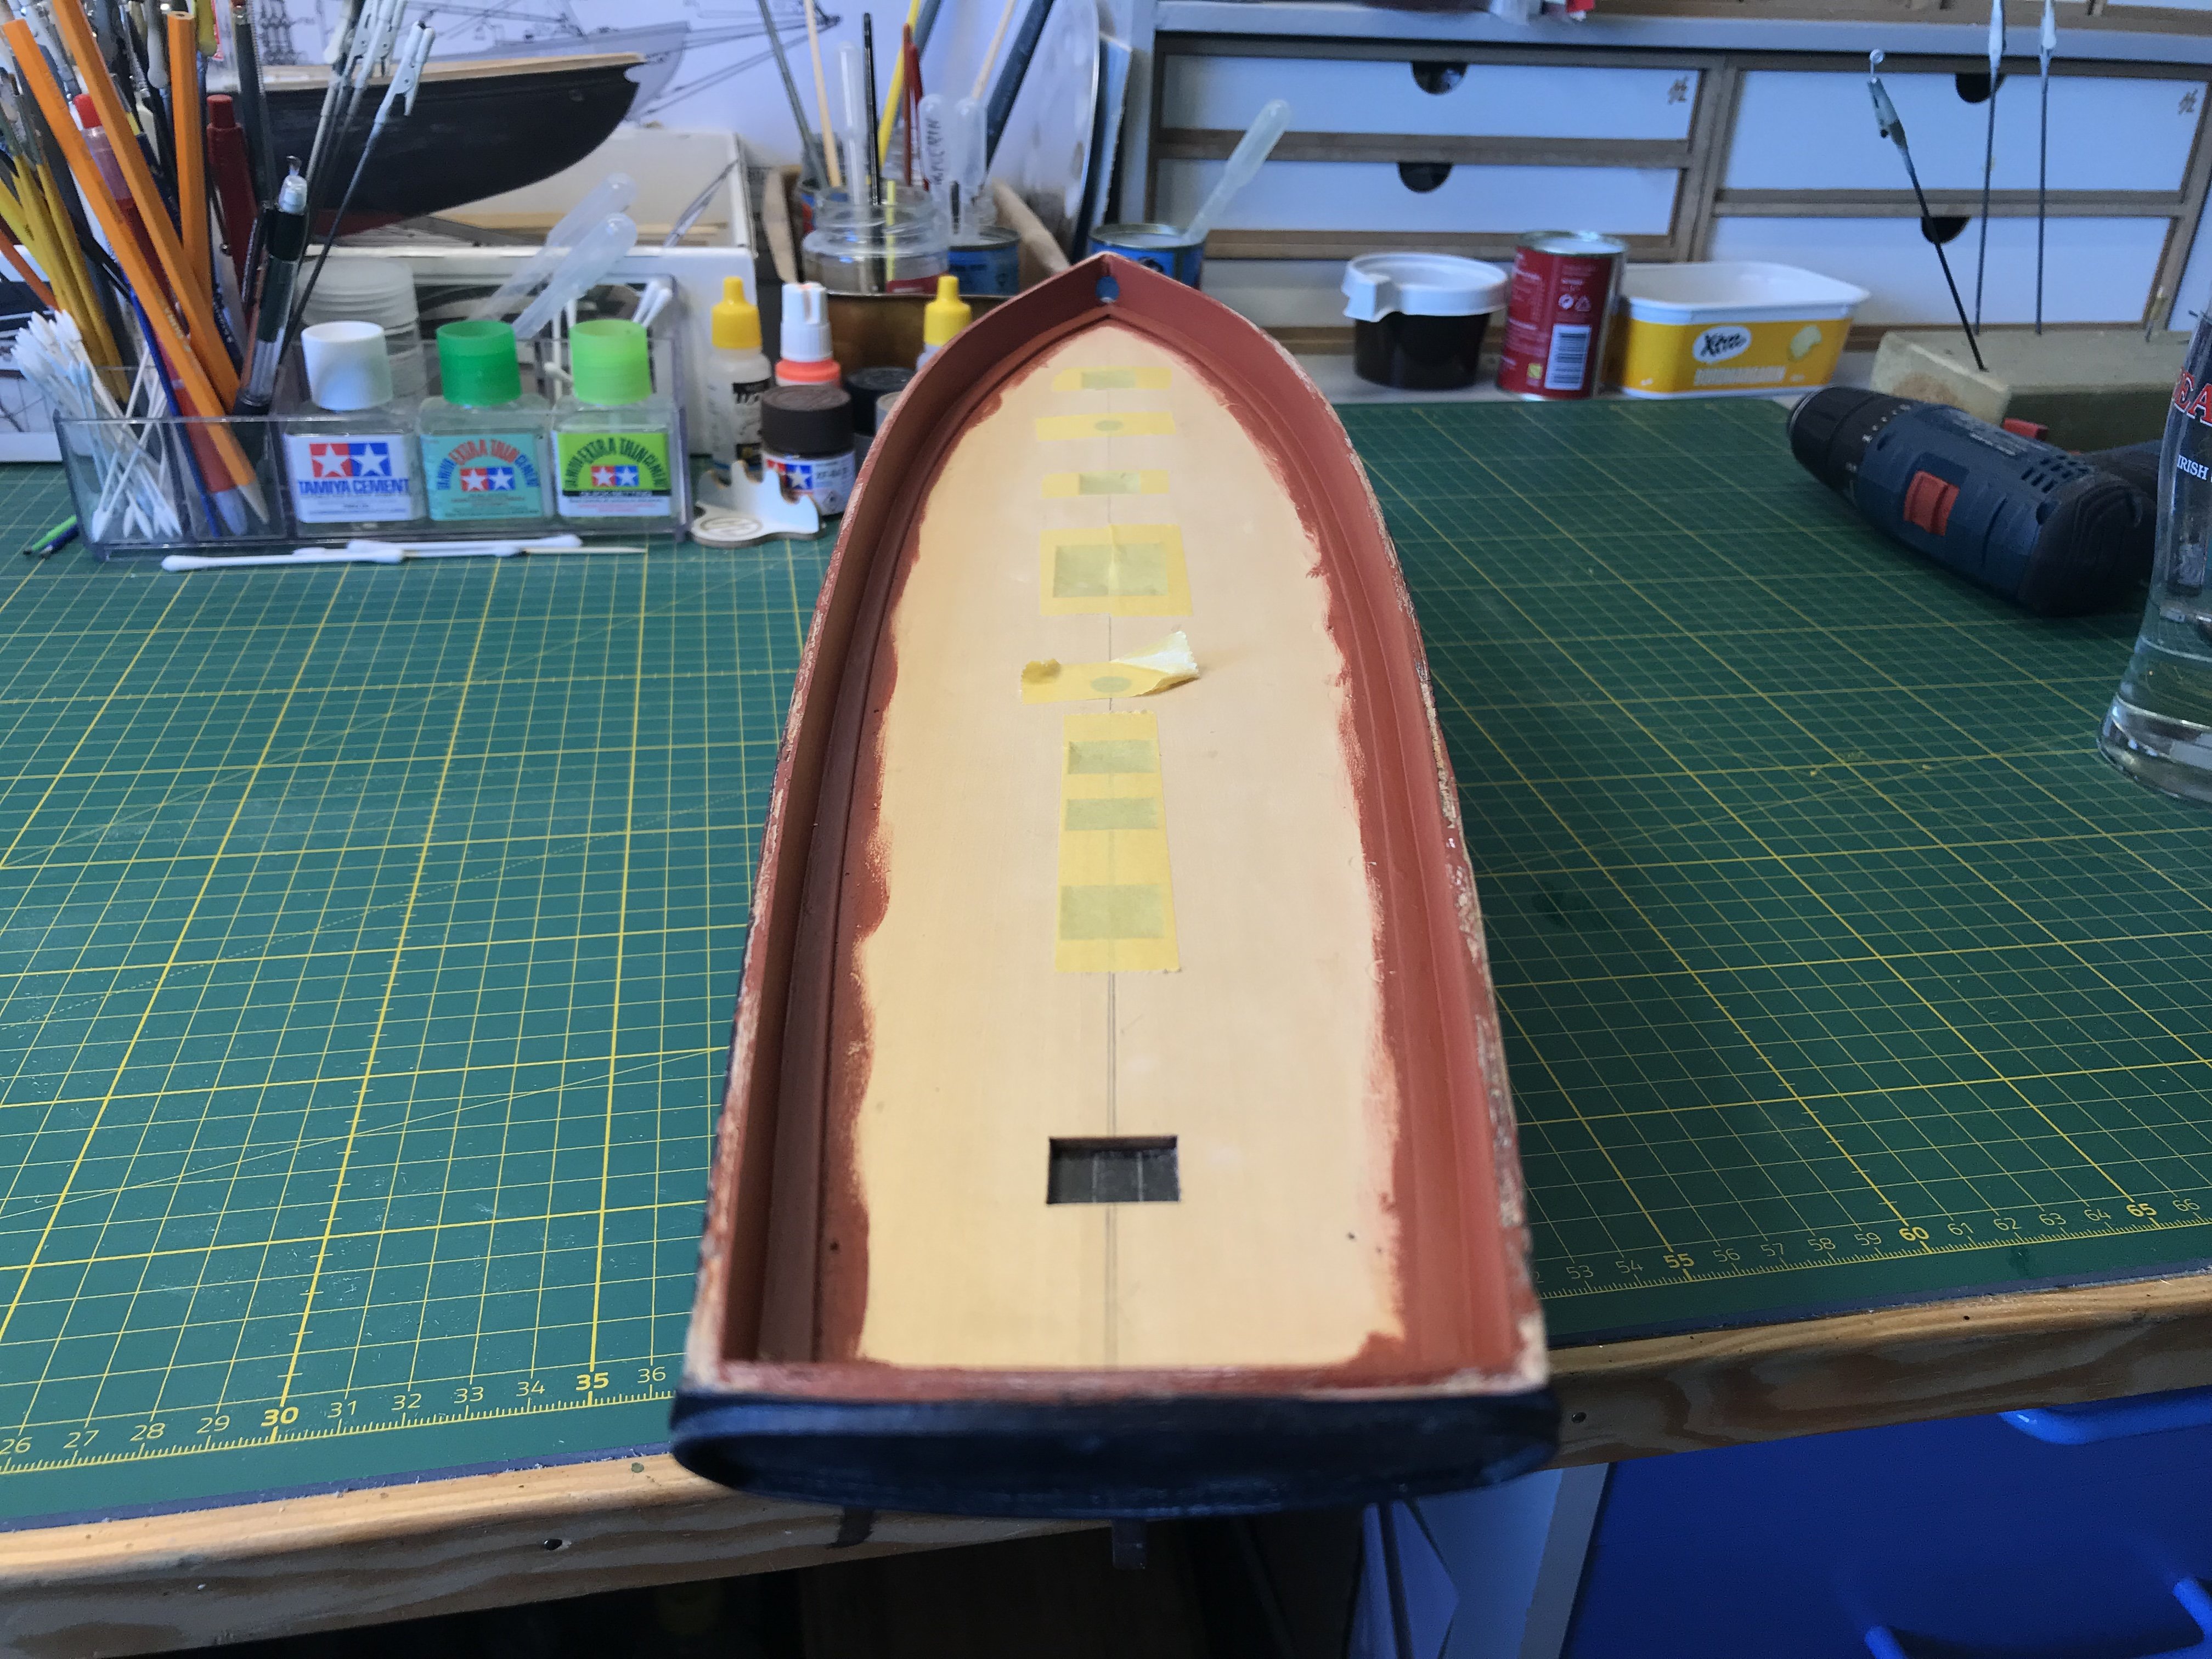
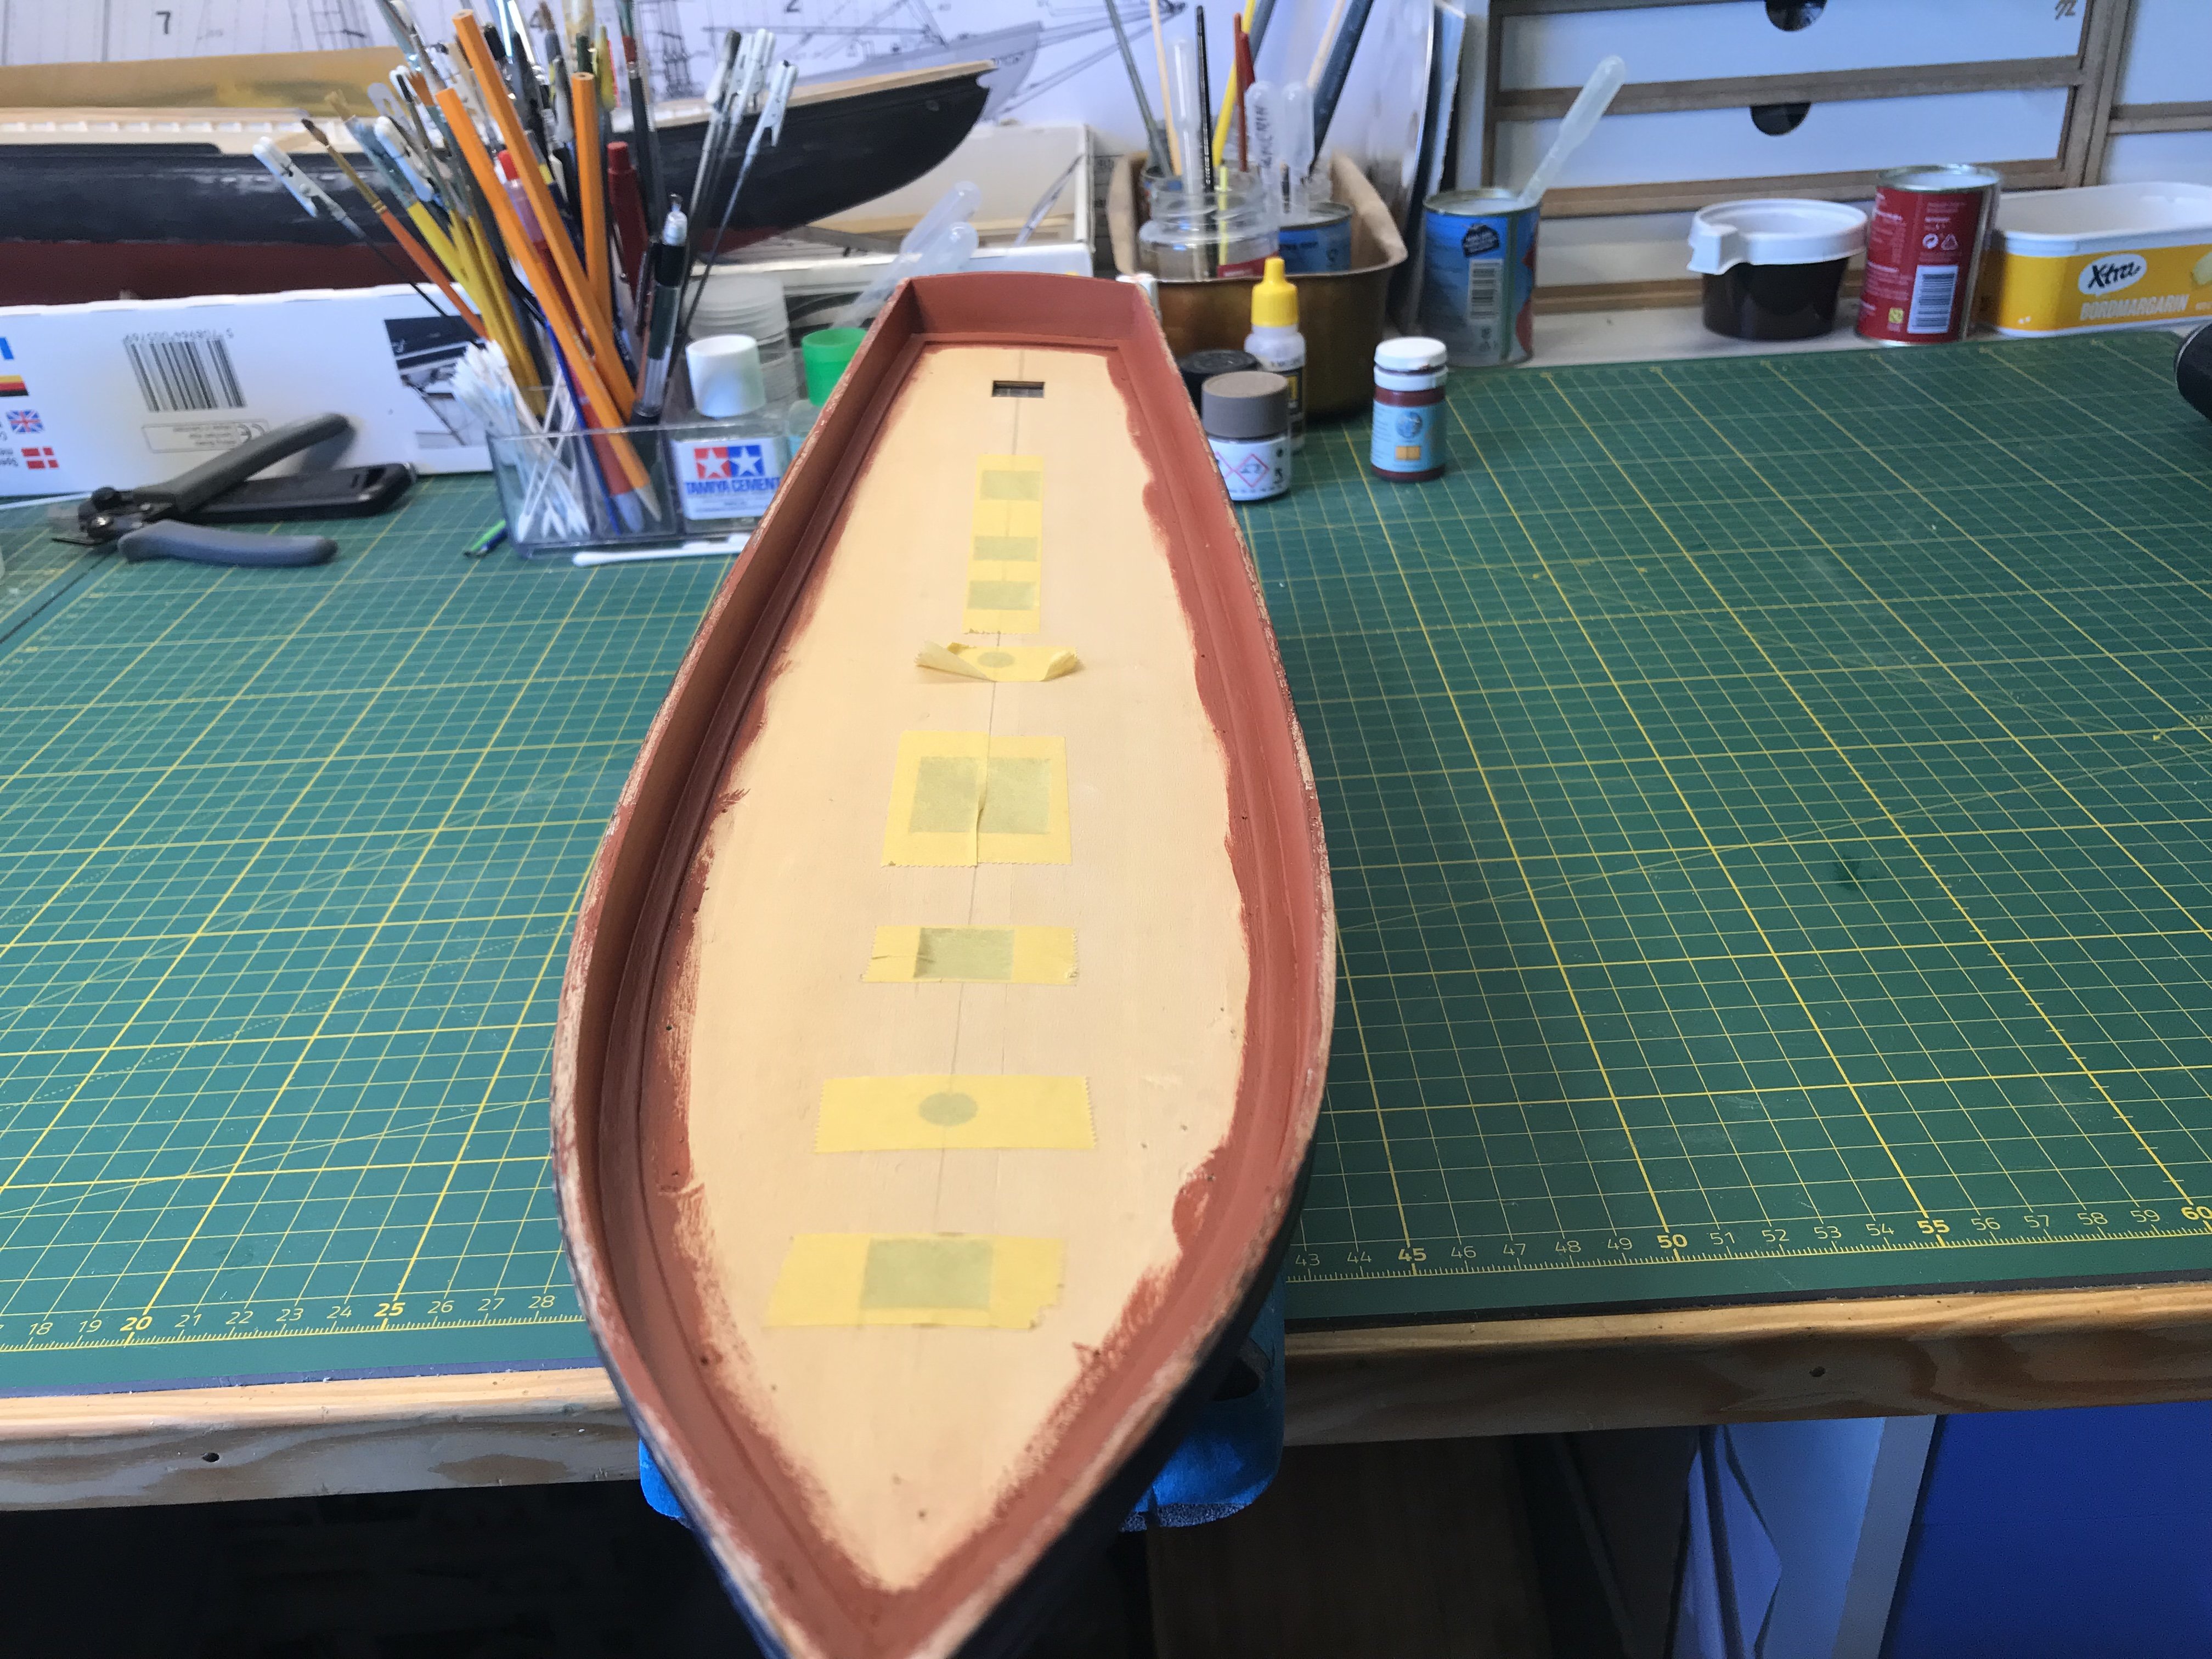
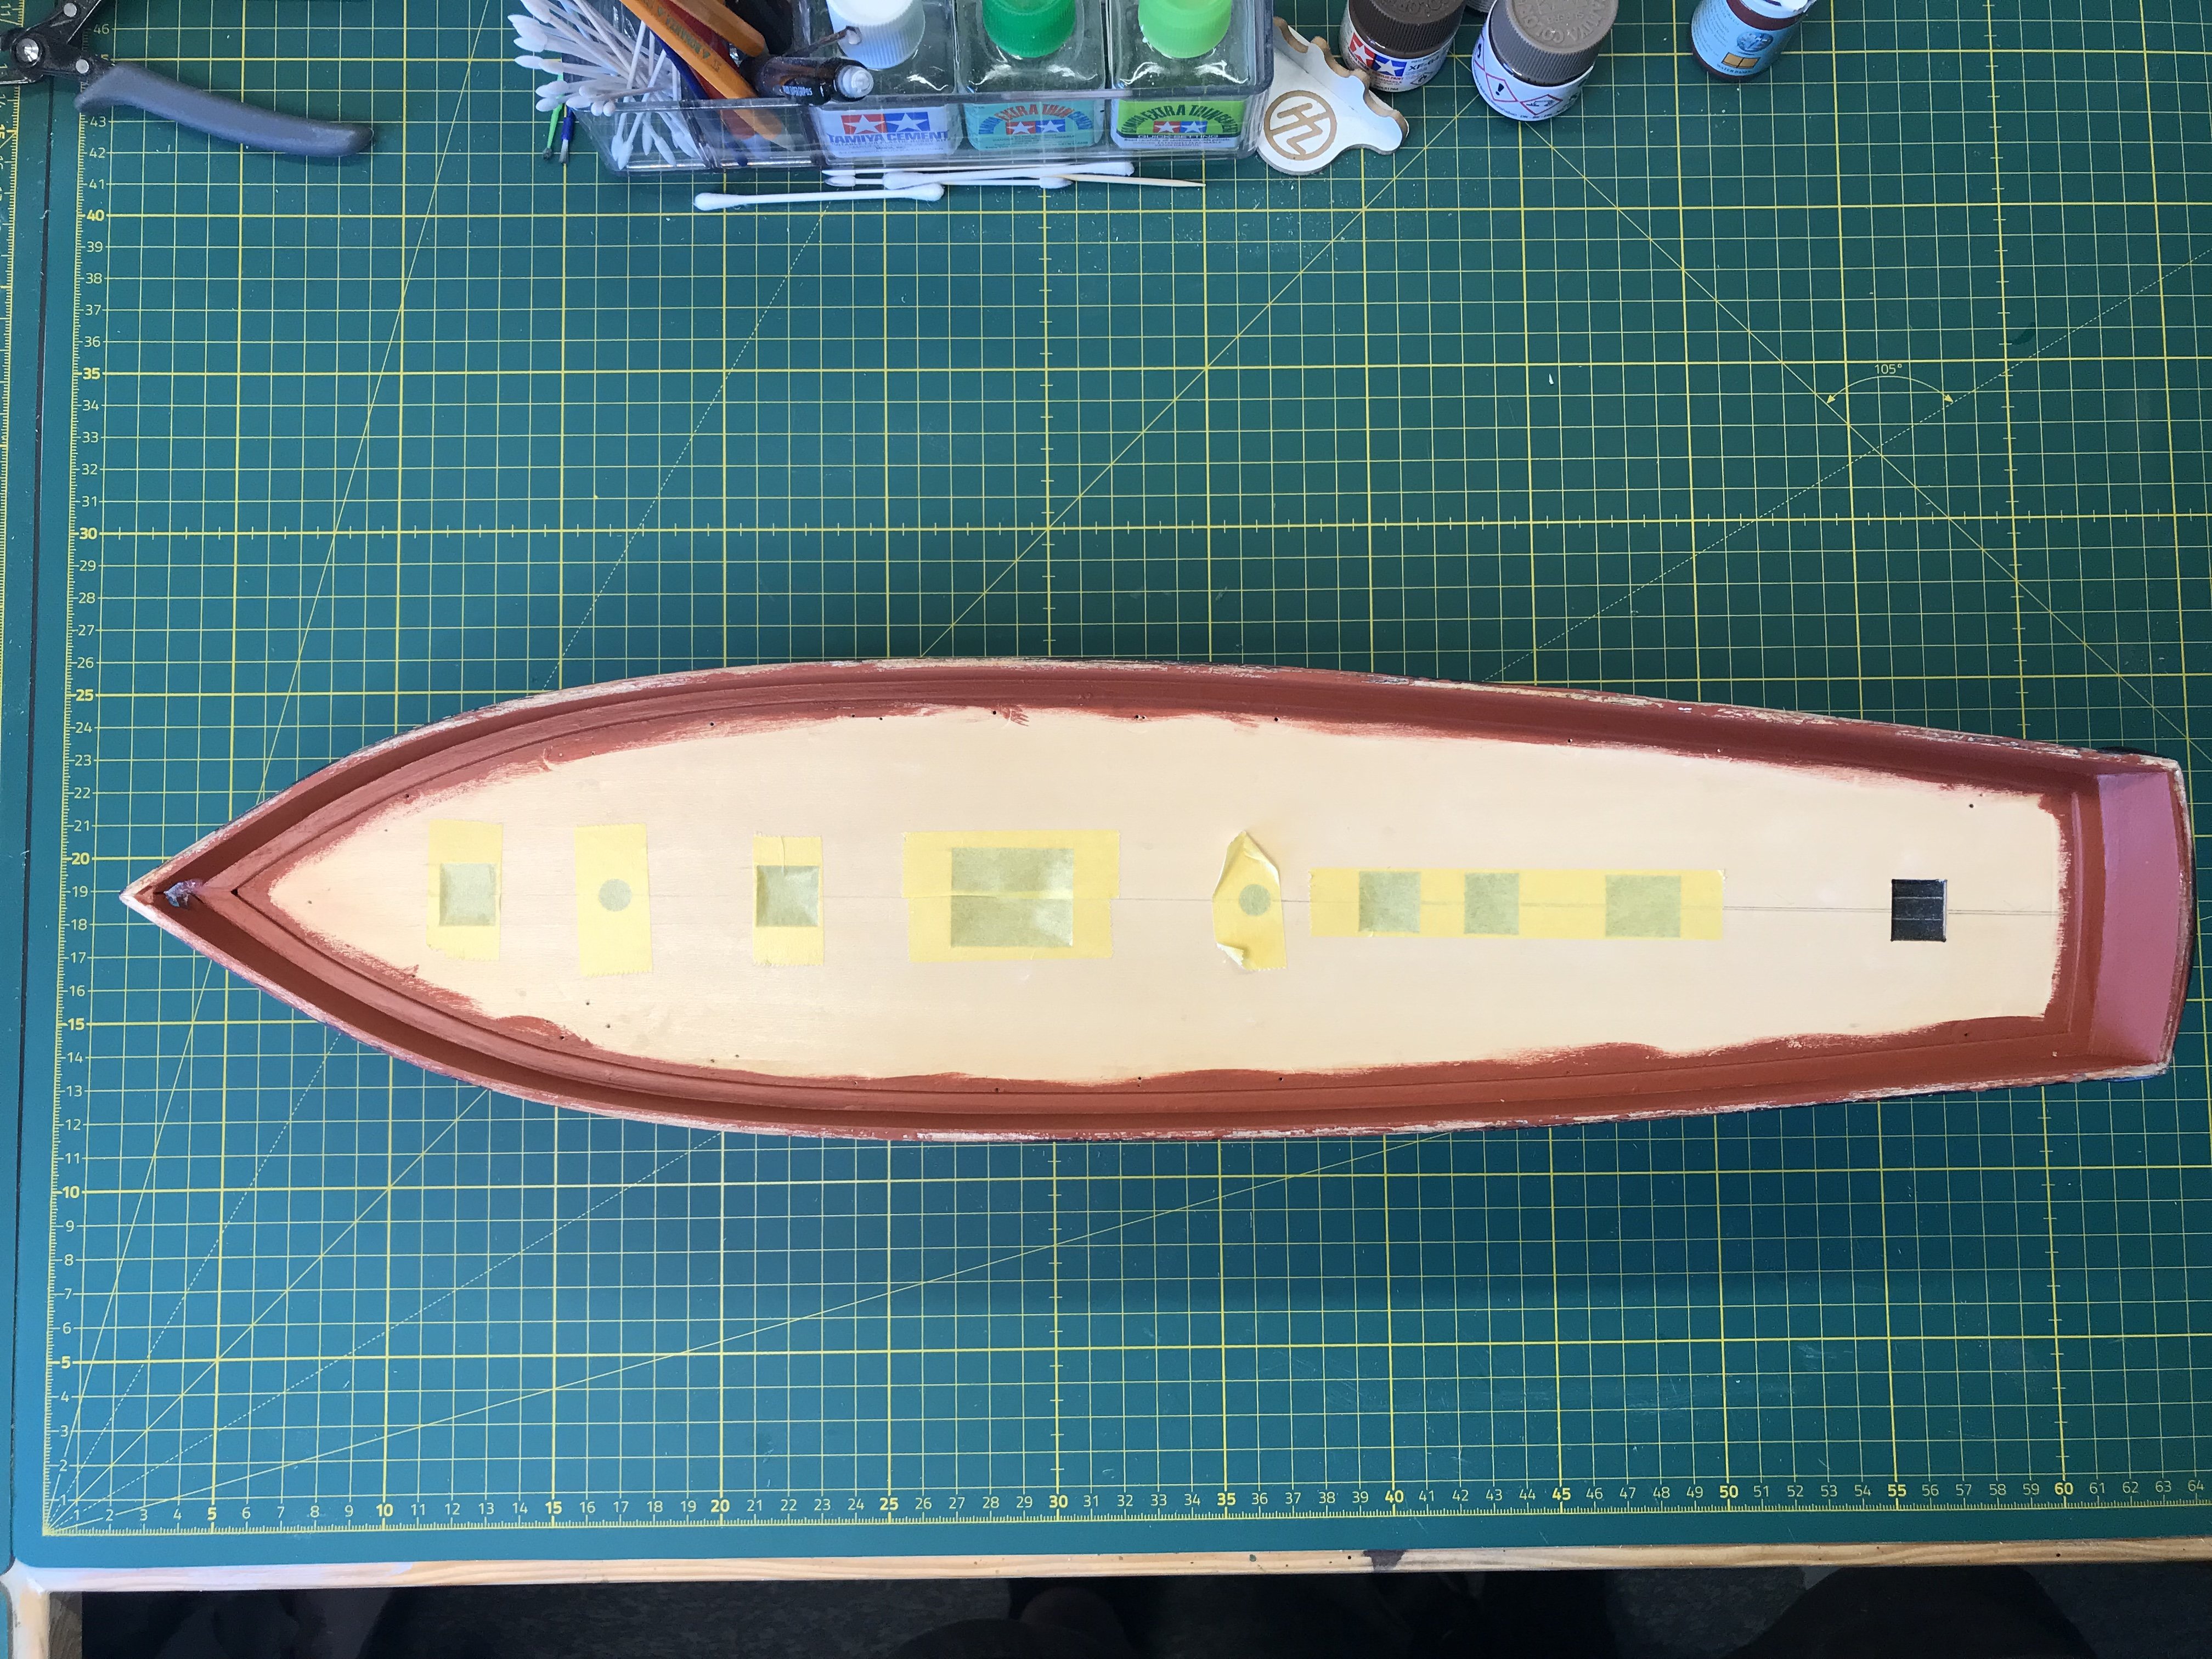
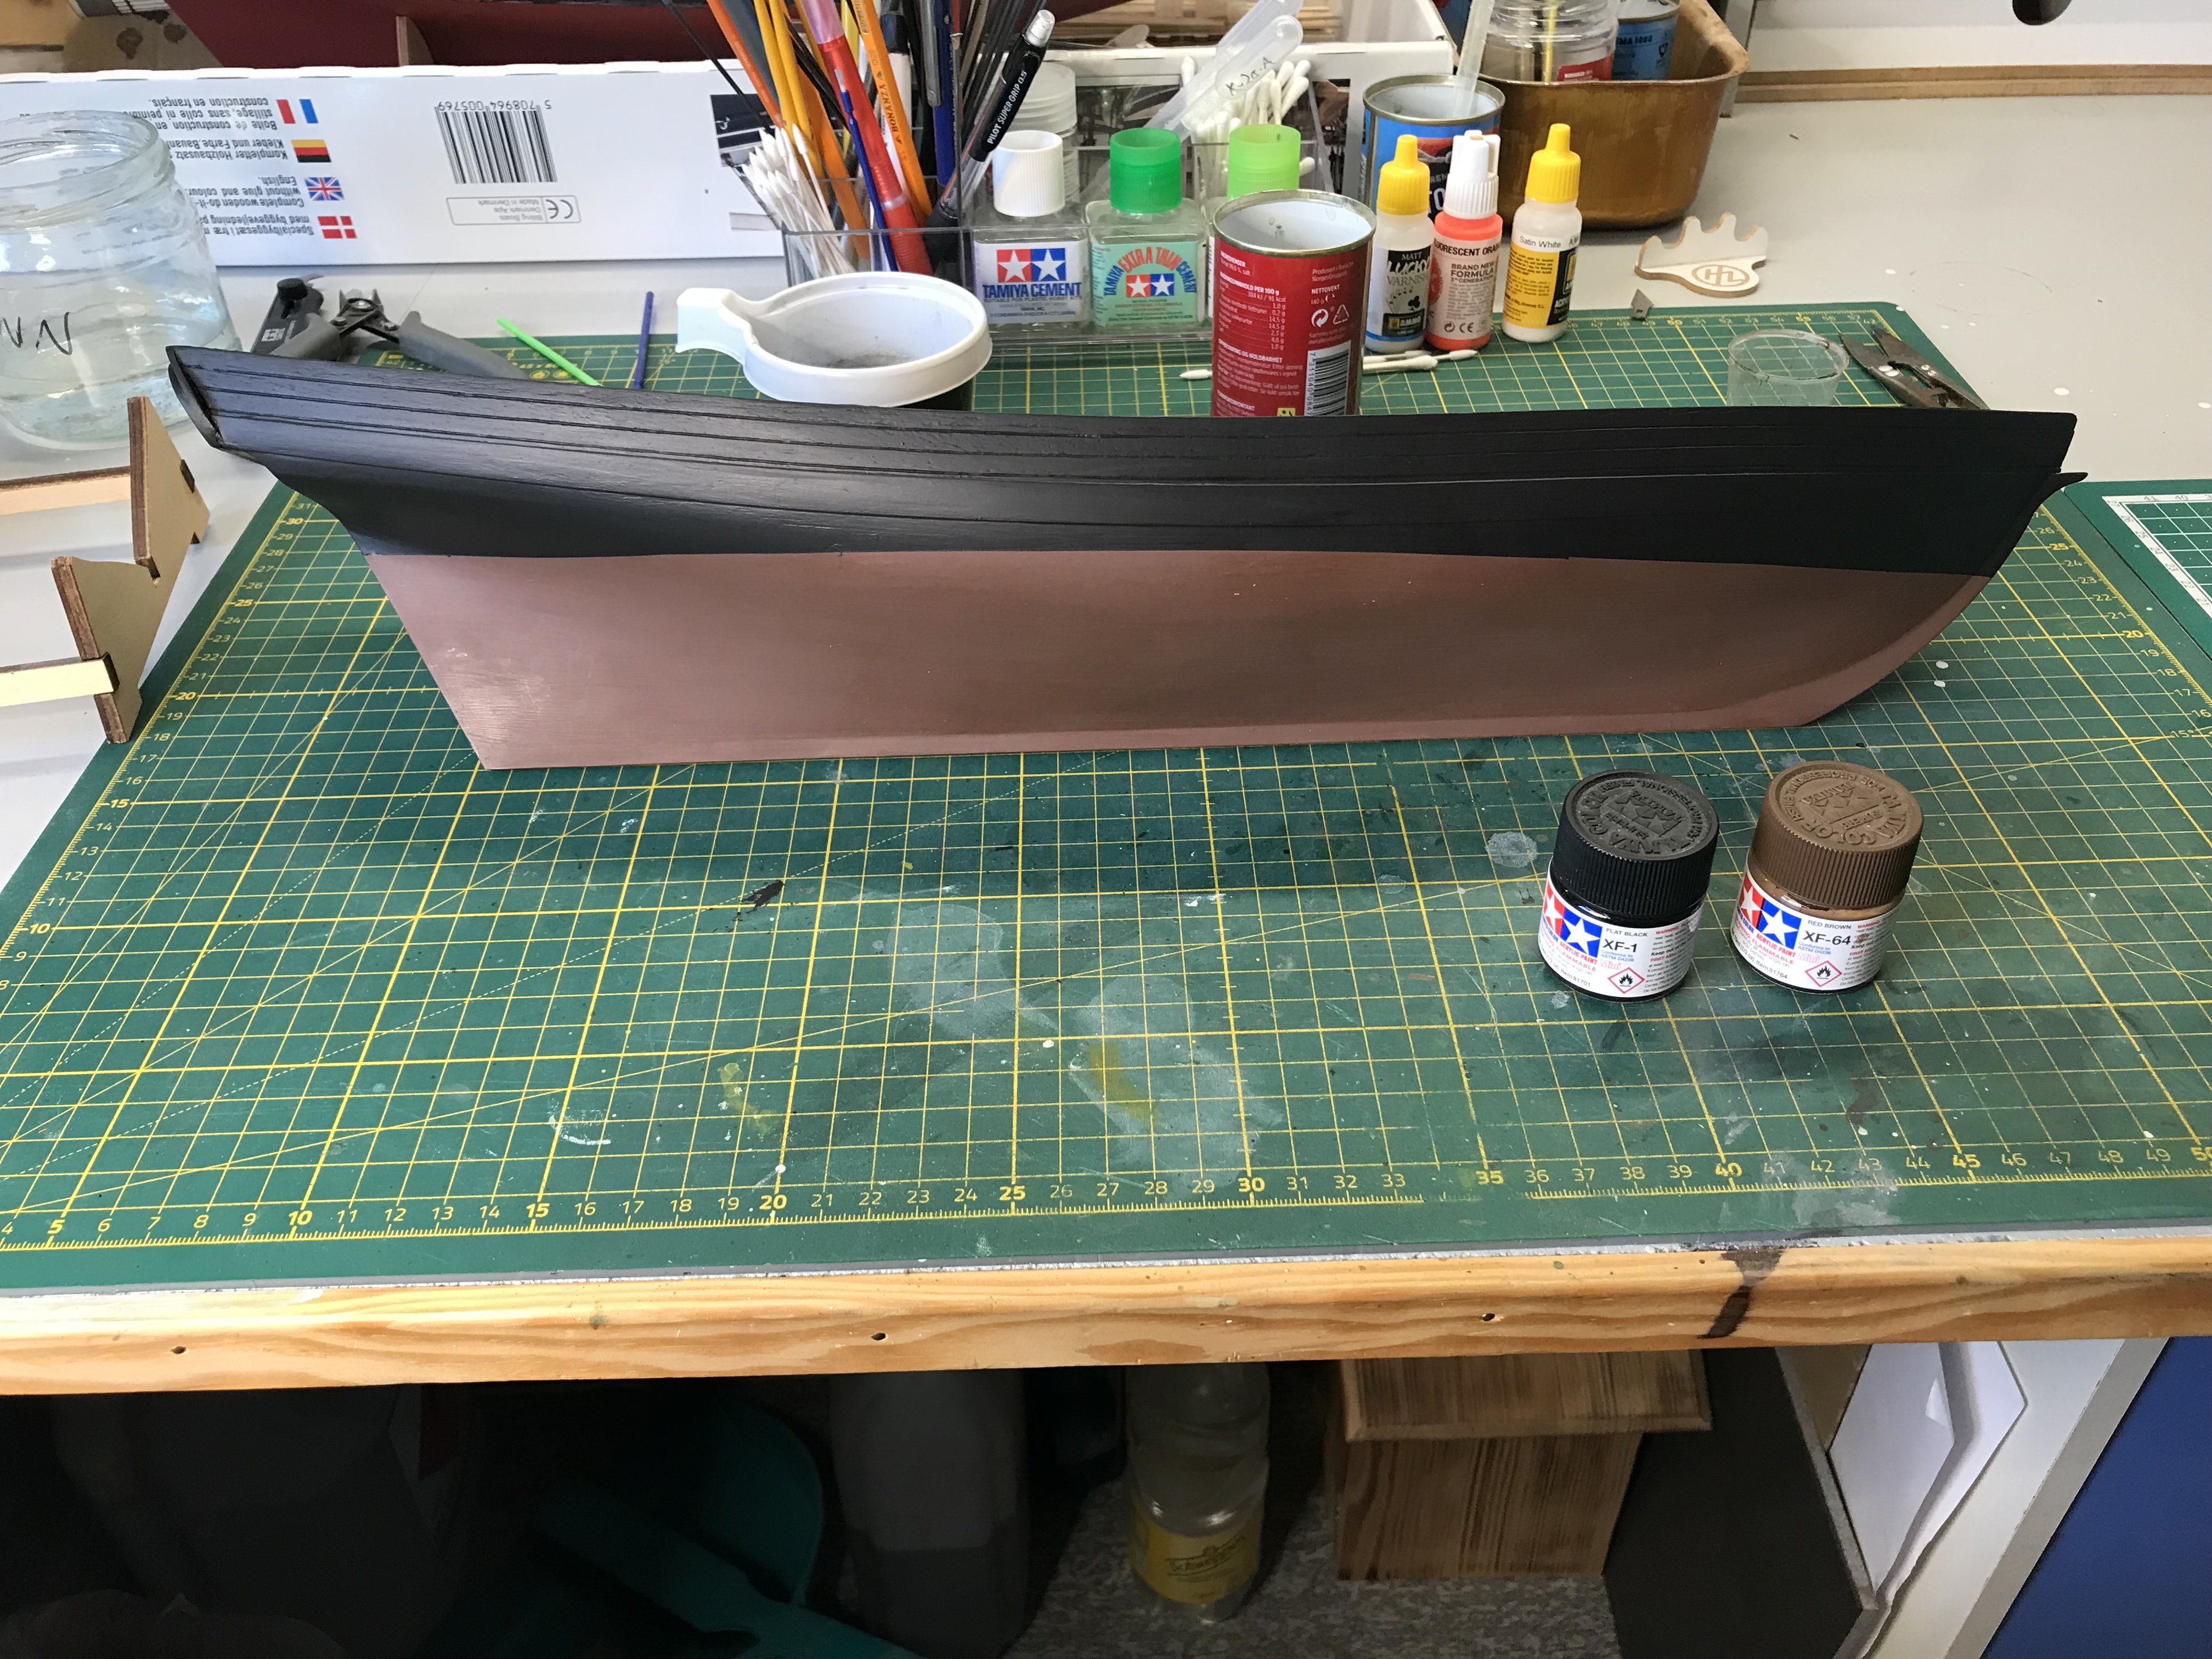
The waterline has been marked and the bottom painted. I used tamiya xf-64 redbrown for this.

I then painted the topsides black with tamiya xf-1.


The waterline needs a couple of touch-ups where paint has creeped under the tape in some spots.
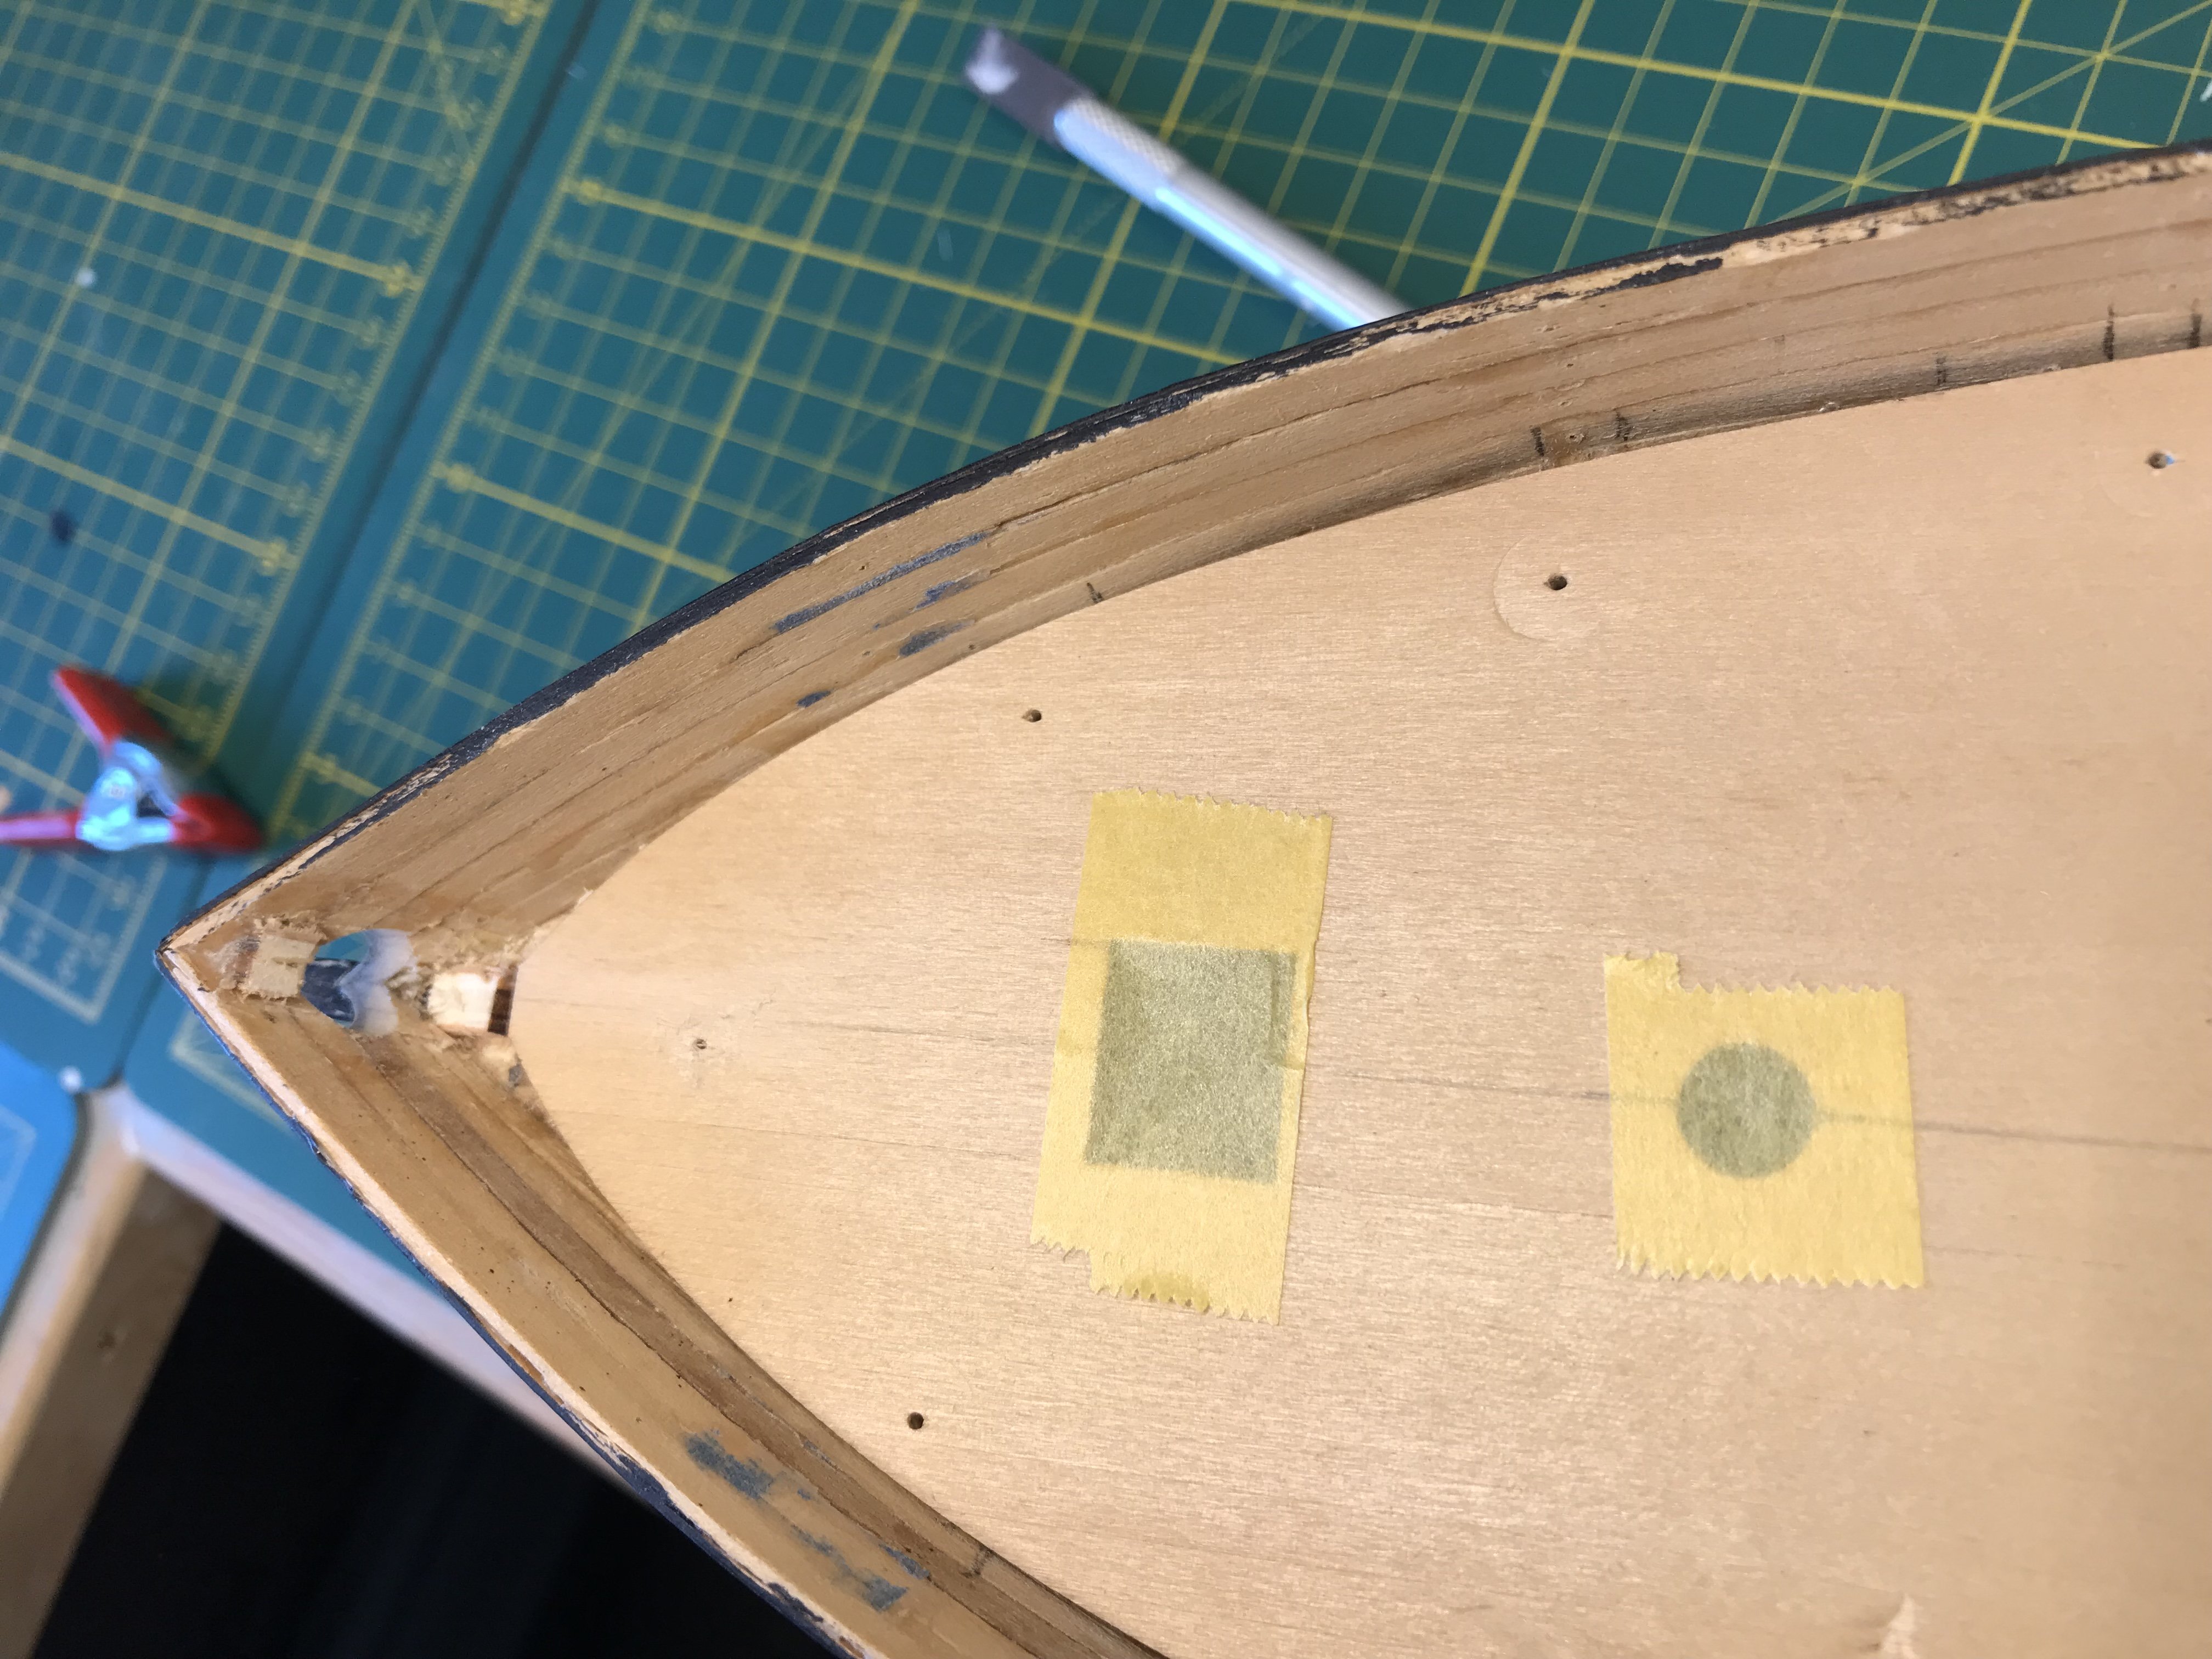
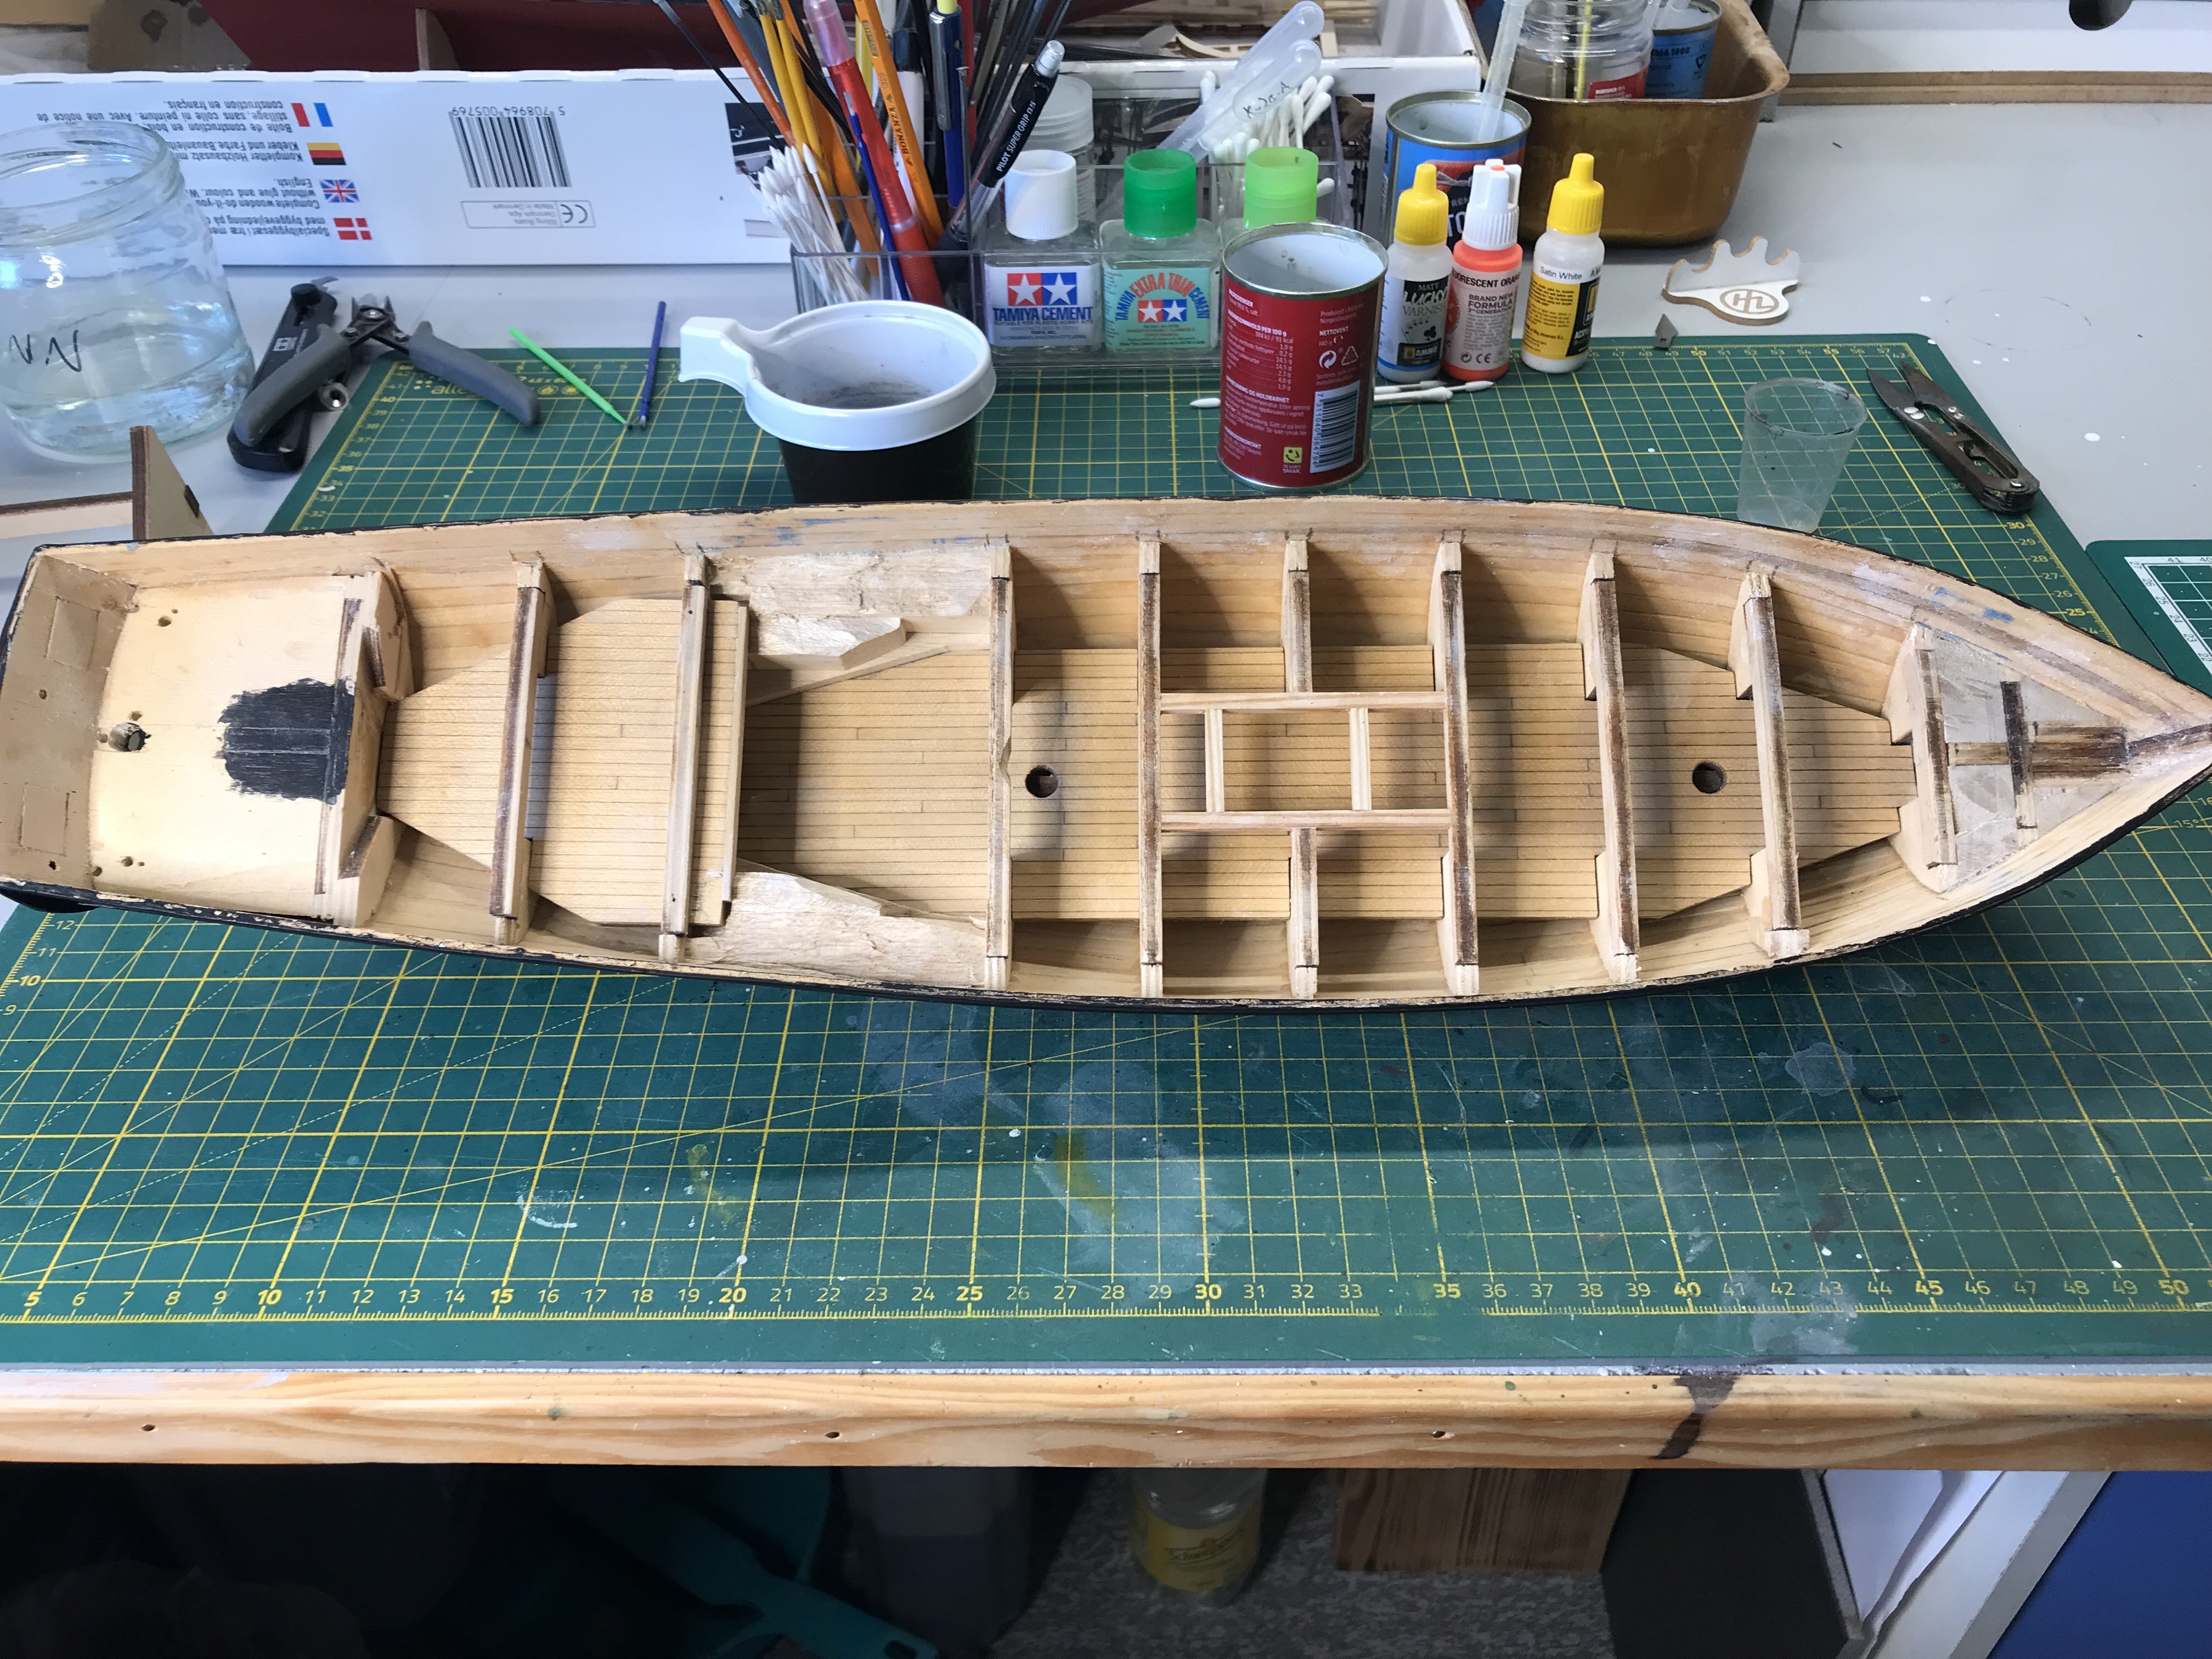
In preparations for the deck, I realised that one of the deckbeams crossed right over the main hatch, so I cut the deckbeam and built a framework for the main hatch. One of the deckbeams also interferes with the mainmast, so this needed a little trimming.

So this is how she sits today, slowly progressing and not not forgotten!Gaffrig.
- ccoyle, chris watton and Coyote_6
-
3
-
Here’s a link to the norwegian wikipedia site.
https://wiki.cdd.no/index.php/Motorfabriken_Dan
and here from putting the engine back in the vessel after restoration.https://frammuseum.no/nb/blog/2017/07/09/originalmotoren-tilbake-pa-gjoa/
Hope this helps a little!
Gaffrig.
-
Thank you!
I try my best, and hopefully it will be good enough in the end!
Gaffrig.
-
Hello everyone!
This must be MSW's slowest updating buildlog?! Updates roughly once a year...
I have found out that when you buy an old house that needs a lot of work, it really cuts into your modeling time..
Anyway, the most important room in the house is finished, (We all know what room that is, don't we?) and work on the Lynx is progressing slowly but surely.
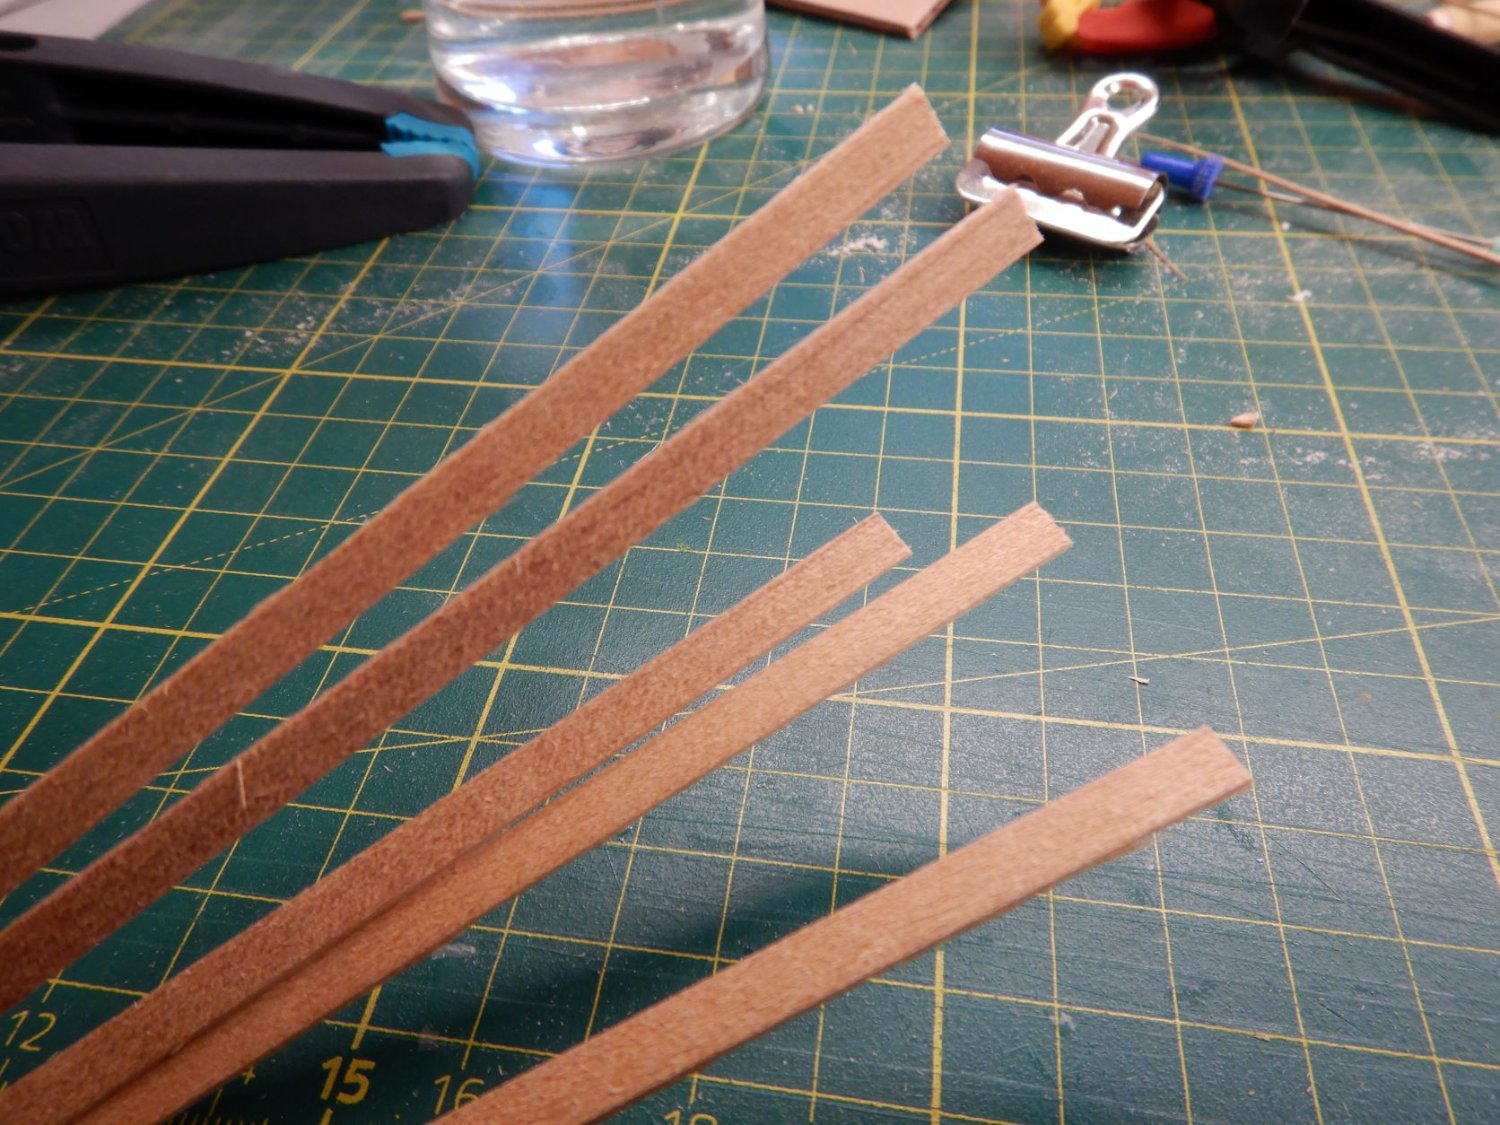
I have been working on the second planking, using the 1x5mm walnut supplied with the kit. They were a little rough looking but after some sanding they turned out ok.

I started at the top of the bulwarks and worked my way down.
I thought it would look good to round the edges of the first three planks, but if it doesn't I can always fill and sand it smooth.


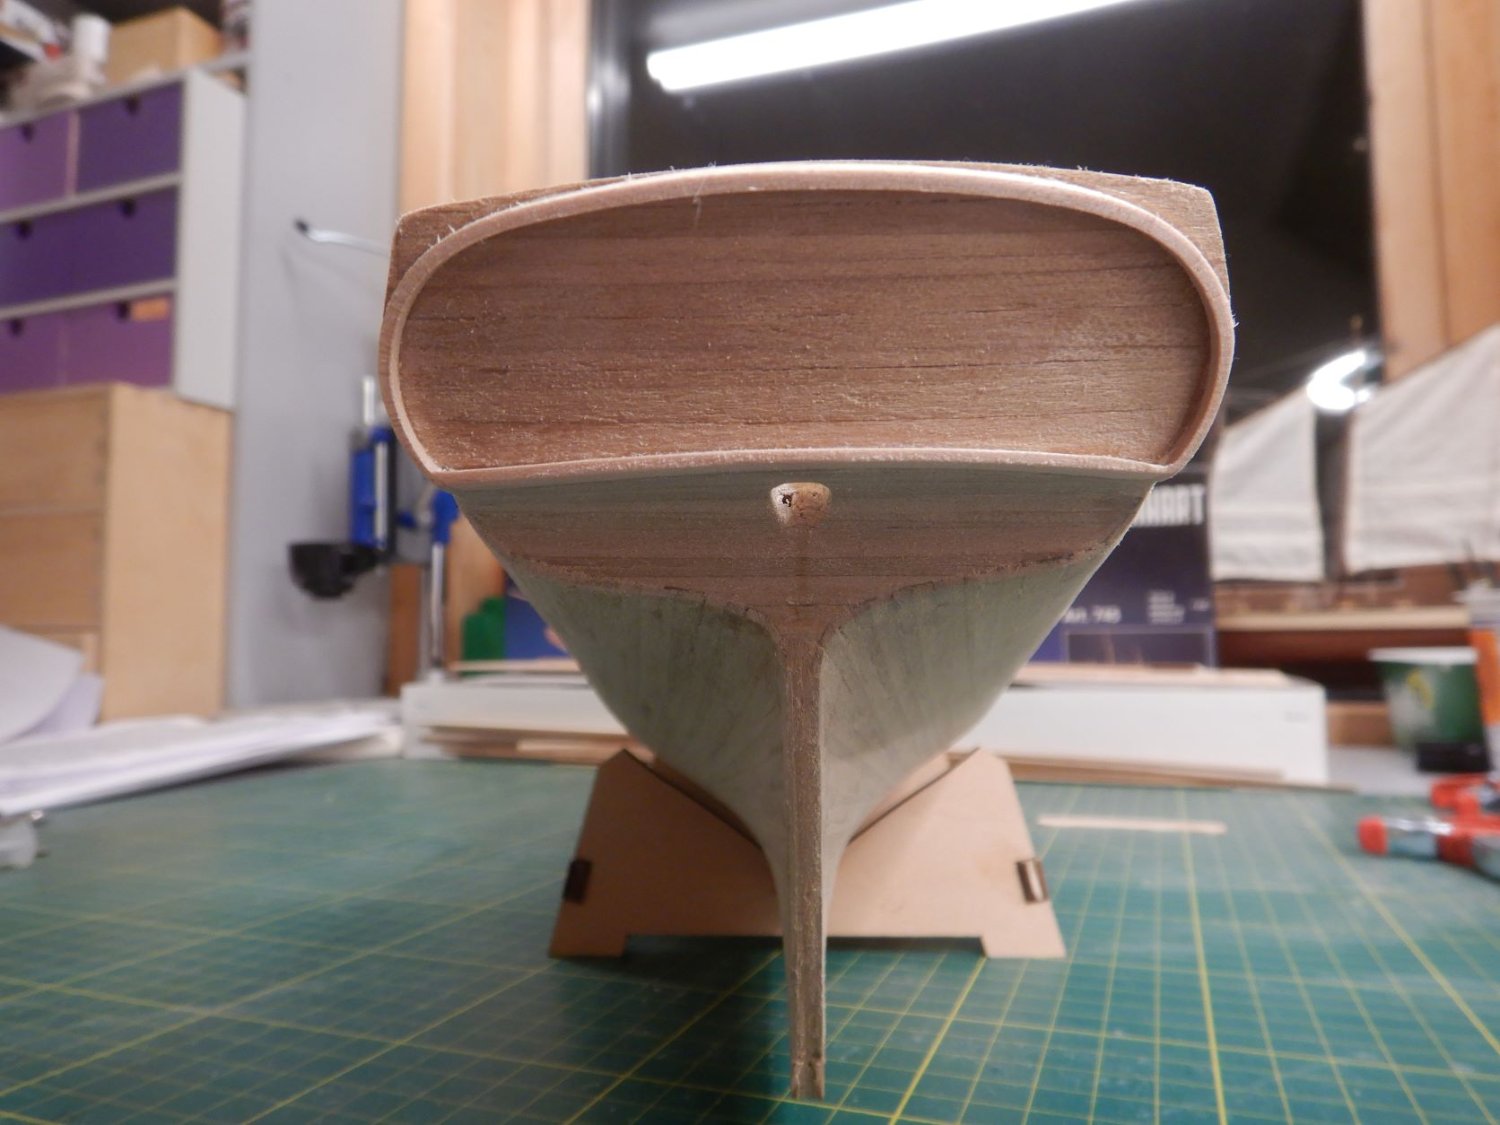
The stern turned out the way I had hoped, looking in my eyes more correct.
In the last pictures here the hull has only got a rough sanding, so that is the next project, to fine sand and fill, and sand... And then some paint.
Hopefully it will turn into a shipmodel in a year or two at the speed I'm going!
All the best,
Gaffrig
-
Hello all!
Wow, I knew it had been a while since I updated this build log, but one year?!
Well, life has gotten in the way quite a bit this past year, but I have been building a little now and then.
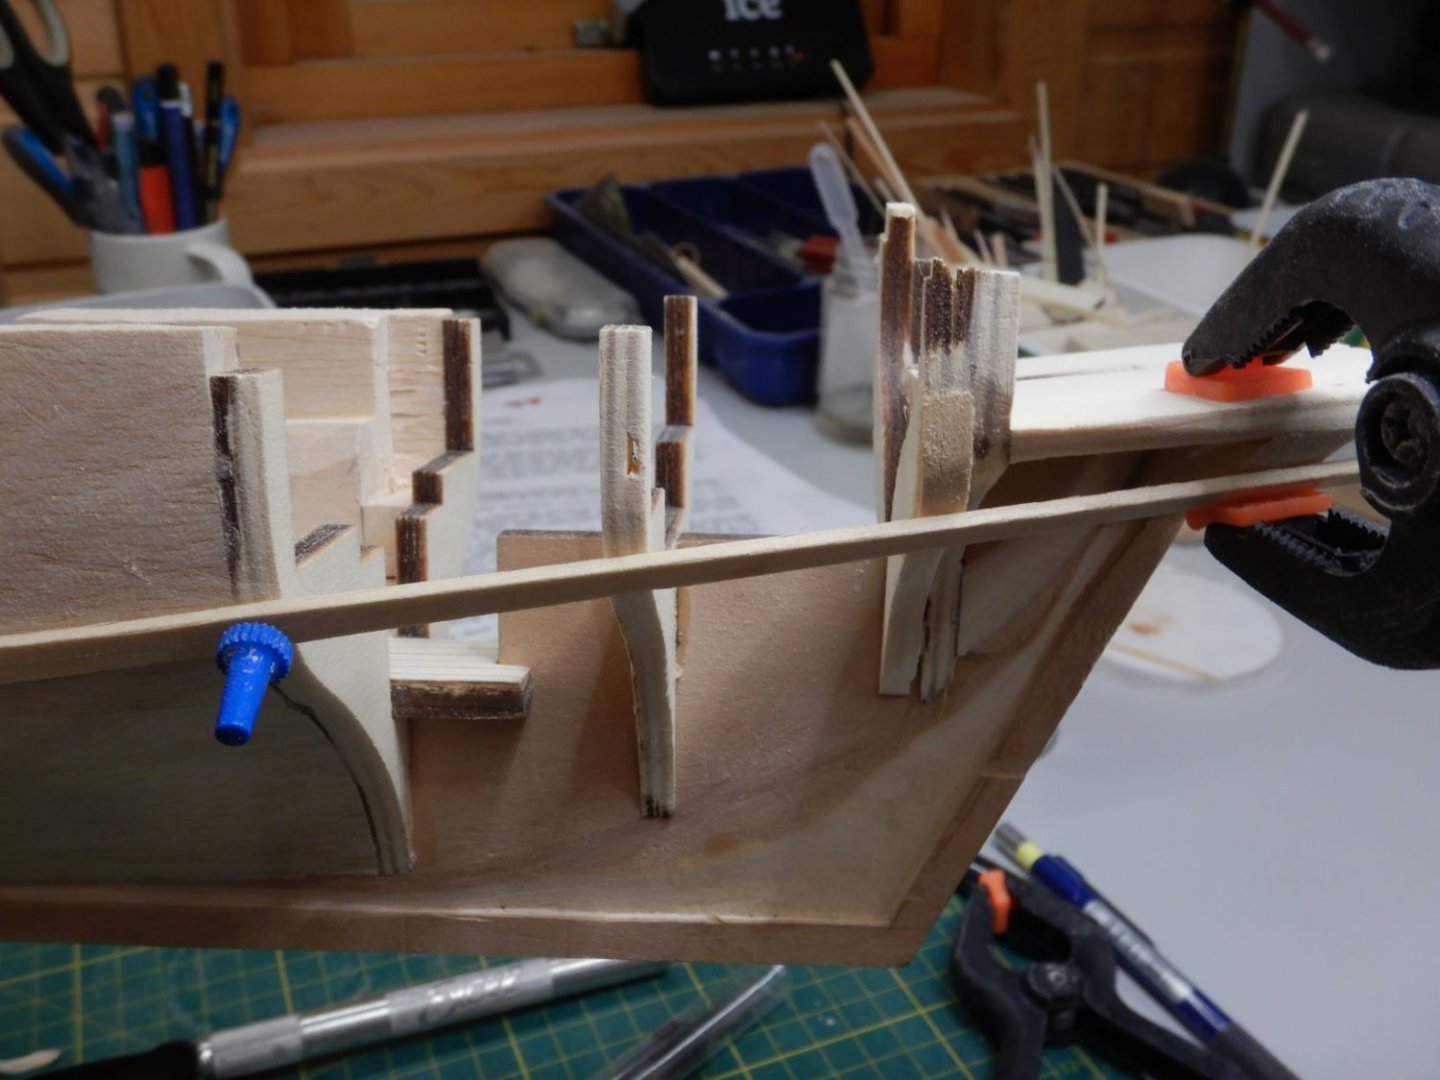
When beveling the bulkheads I got a problem with the last couple of bulkheads not lining up right to get a nice run of the planking.

So I had to make a decision on how to fix this. Looking at the picture on the box, there is a little "dent" at this spot, but not nearly as much as this.
Maybe this got worse because I moved the aftmost bulkhead up to get it level with the deck? (see previous post)
Picture on box..

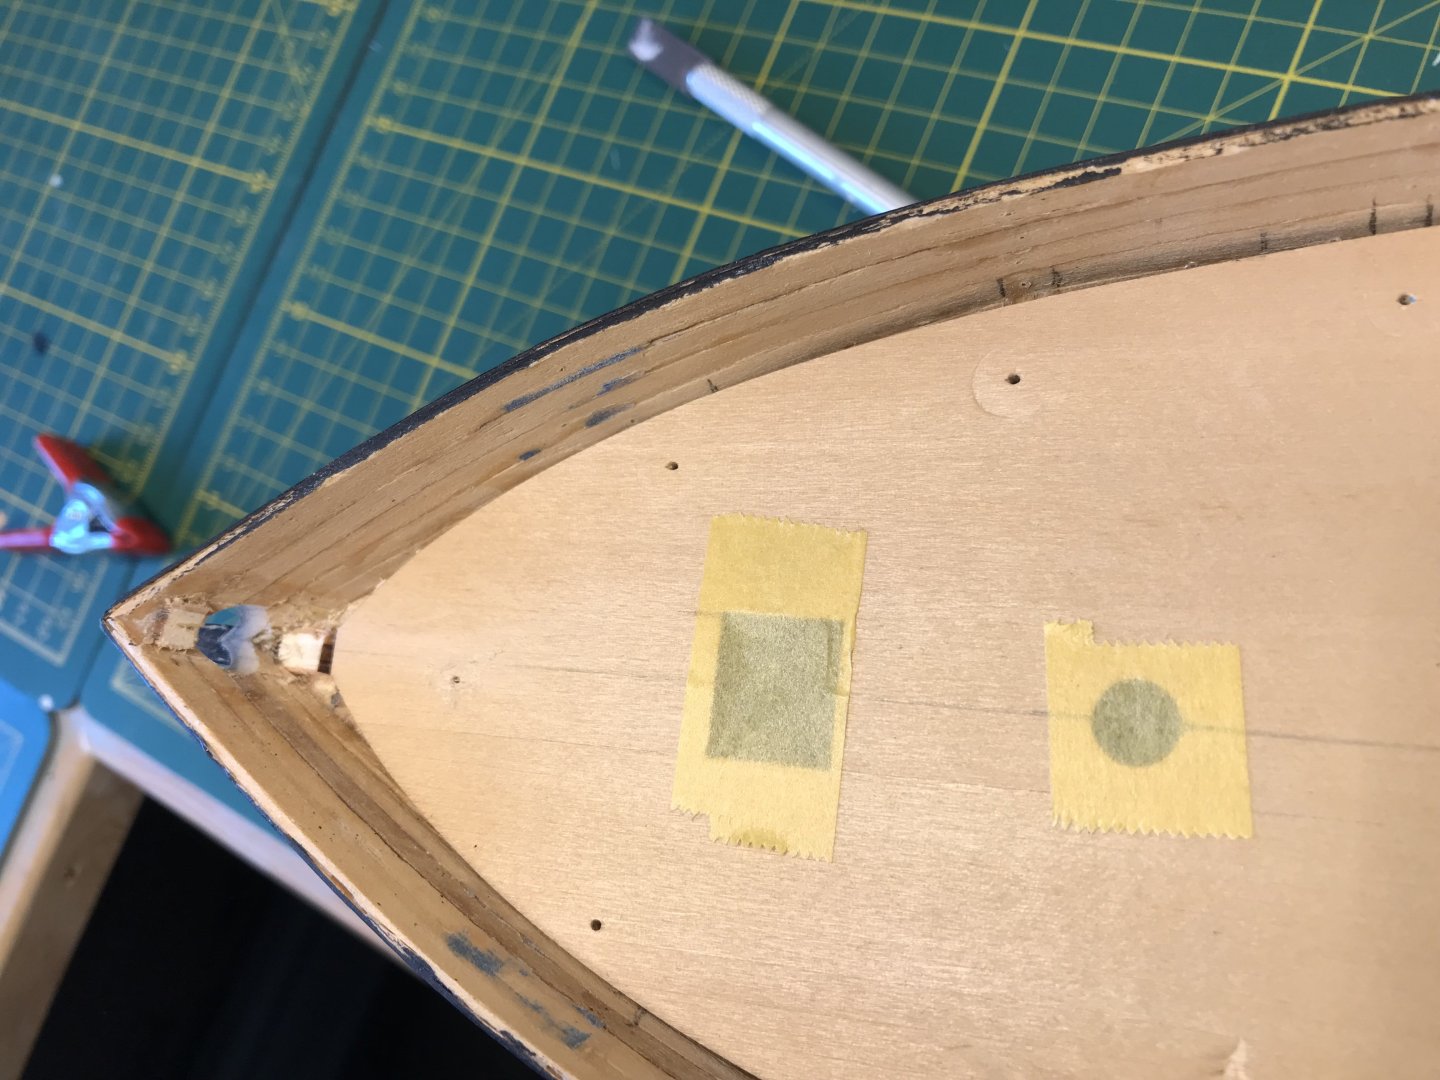
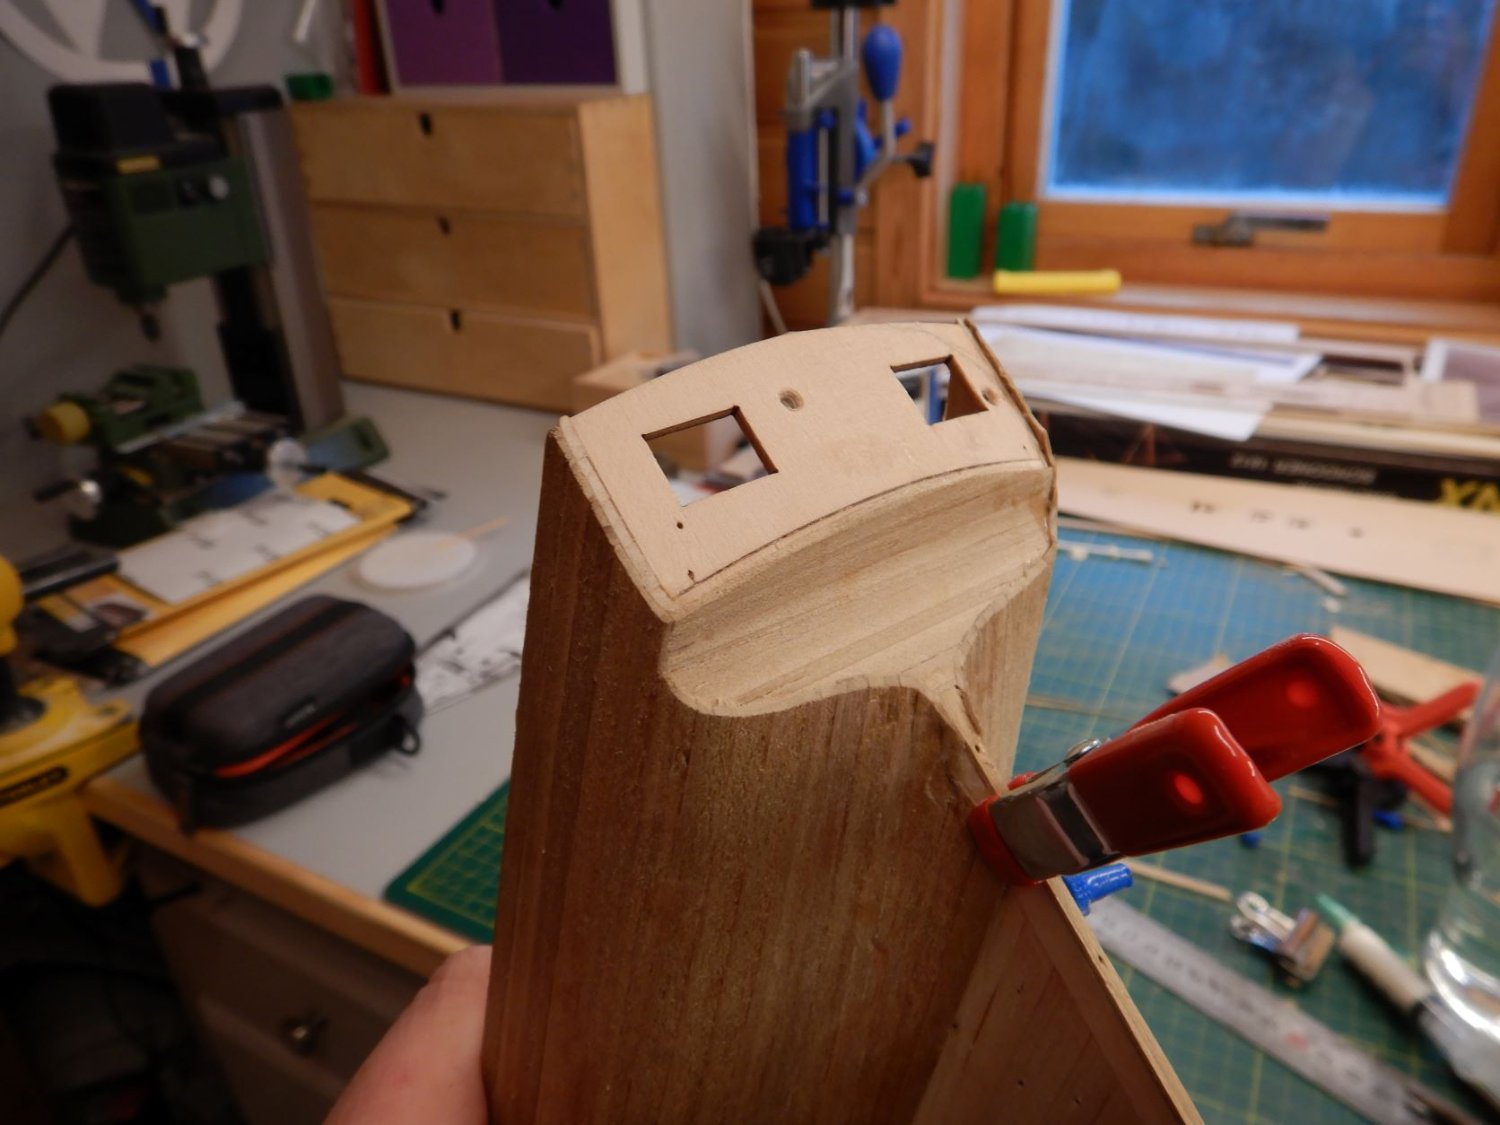
So I did a little research and found the musquidobit lines plan at NMM, and there it looks to be a small transom below the transom with the gunports.
Marked in red in picture.
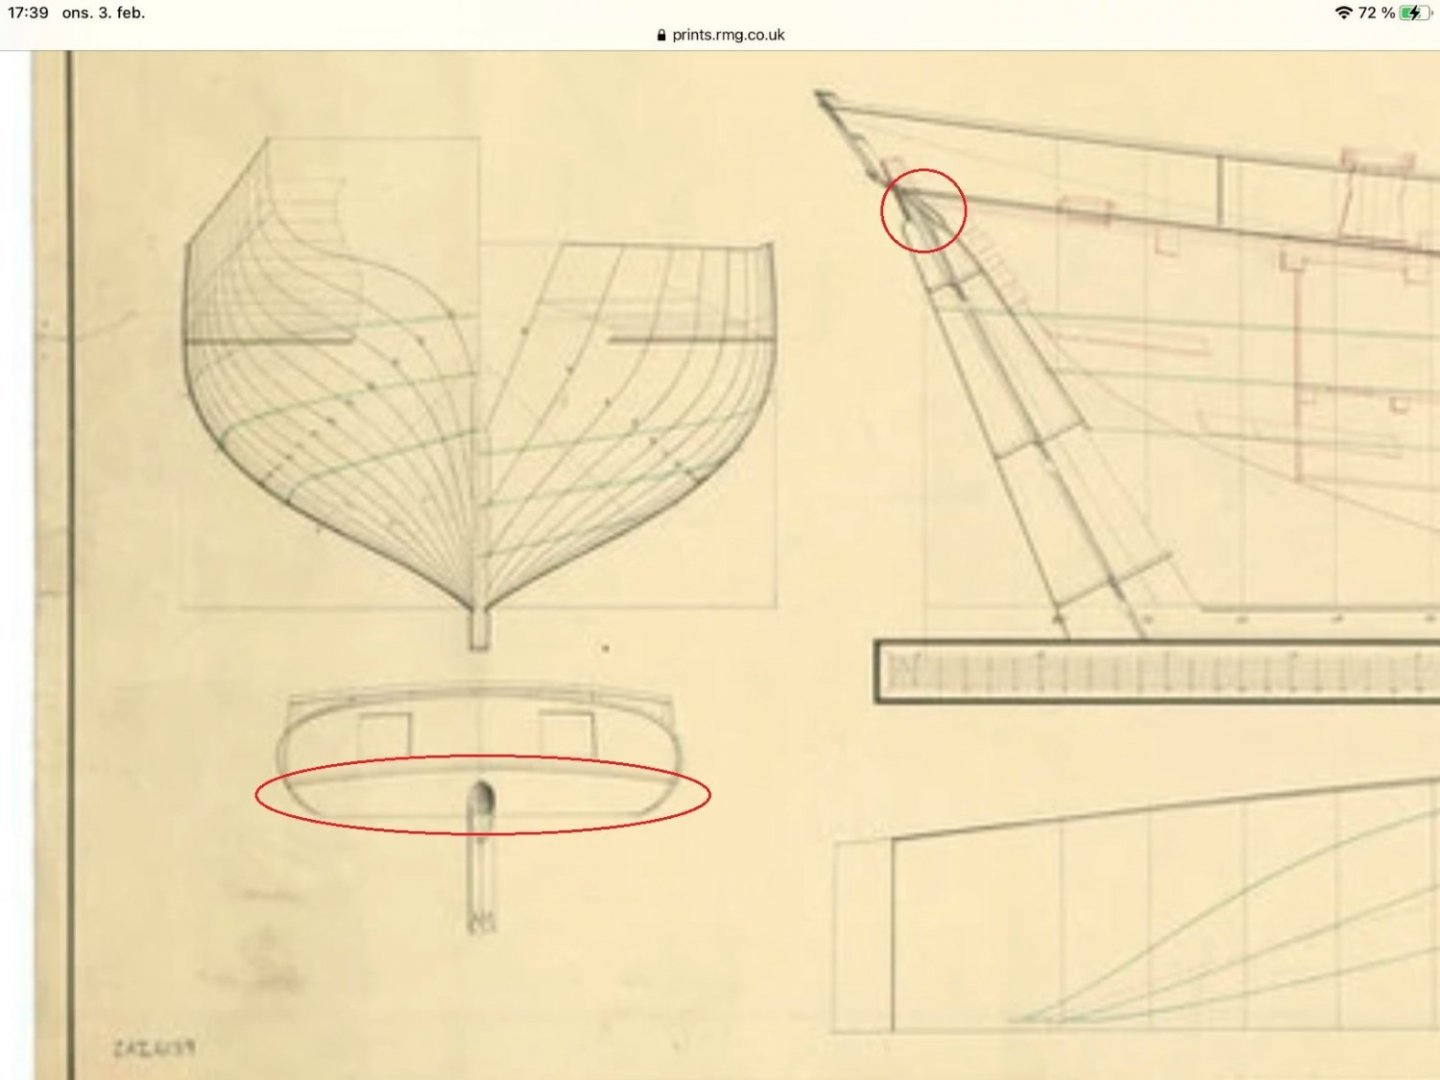
The plans in the kit makes no mention of this..
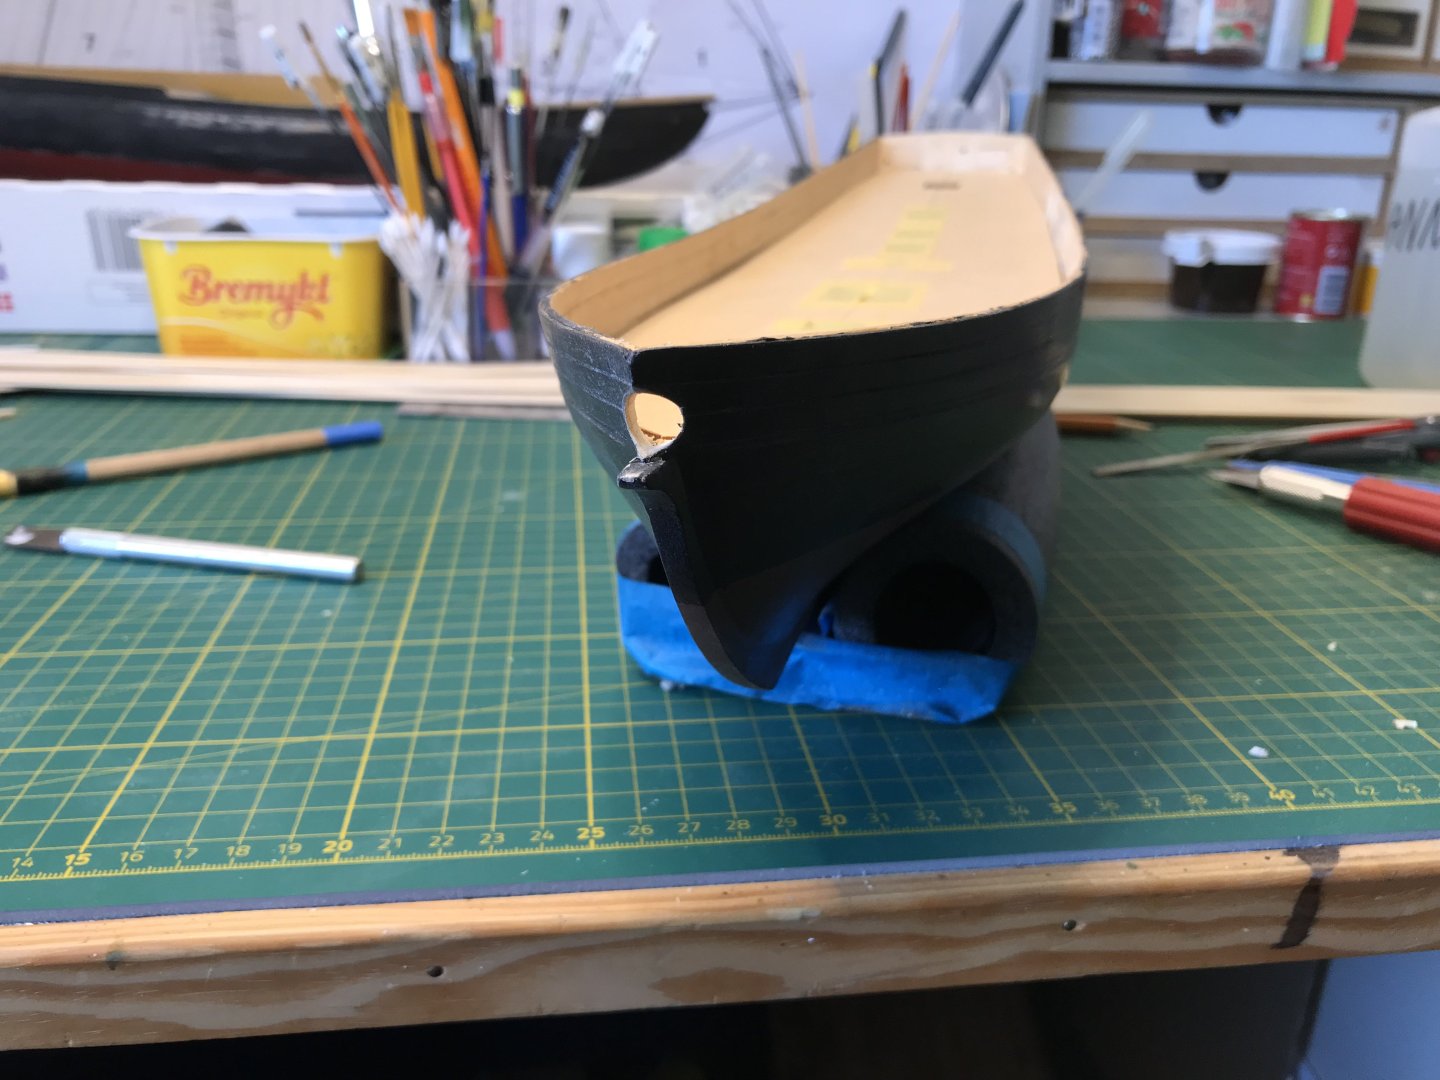
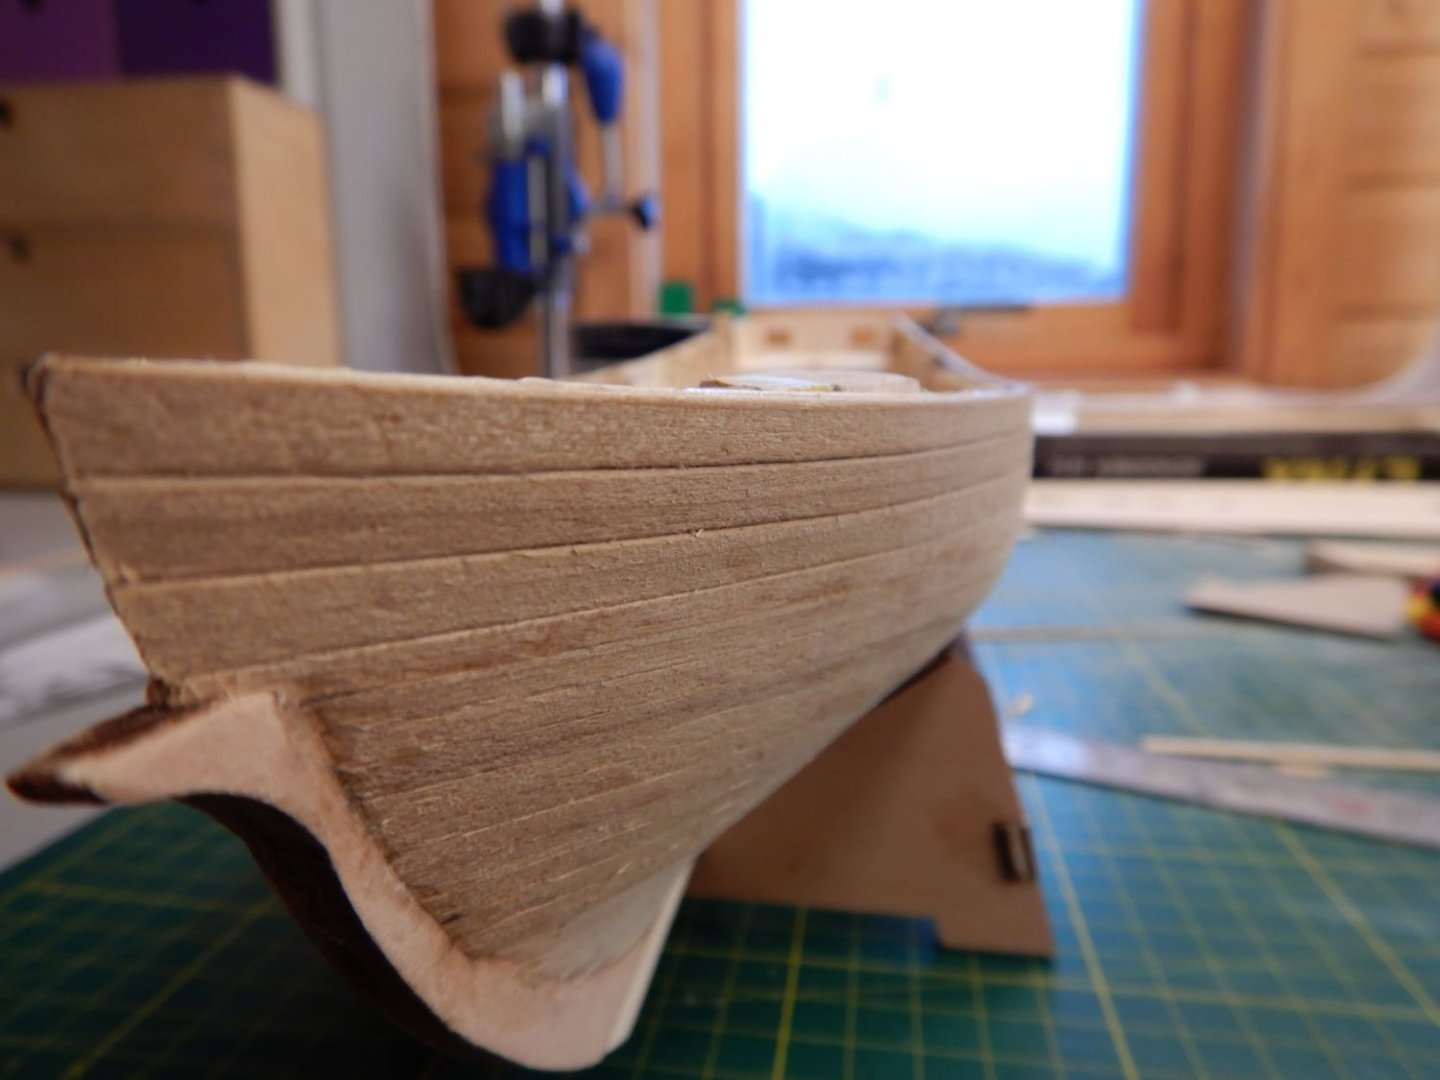
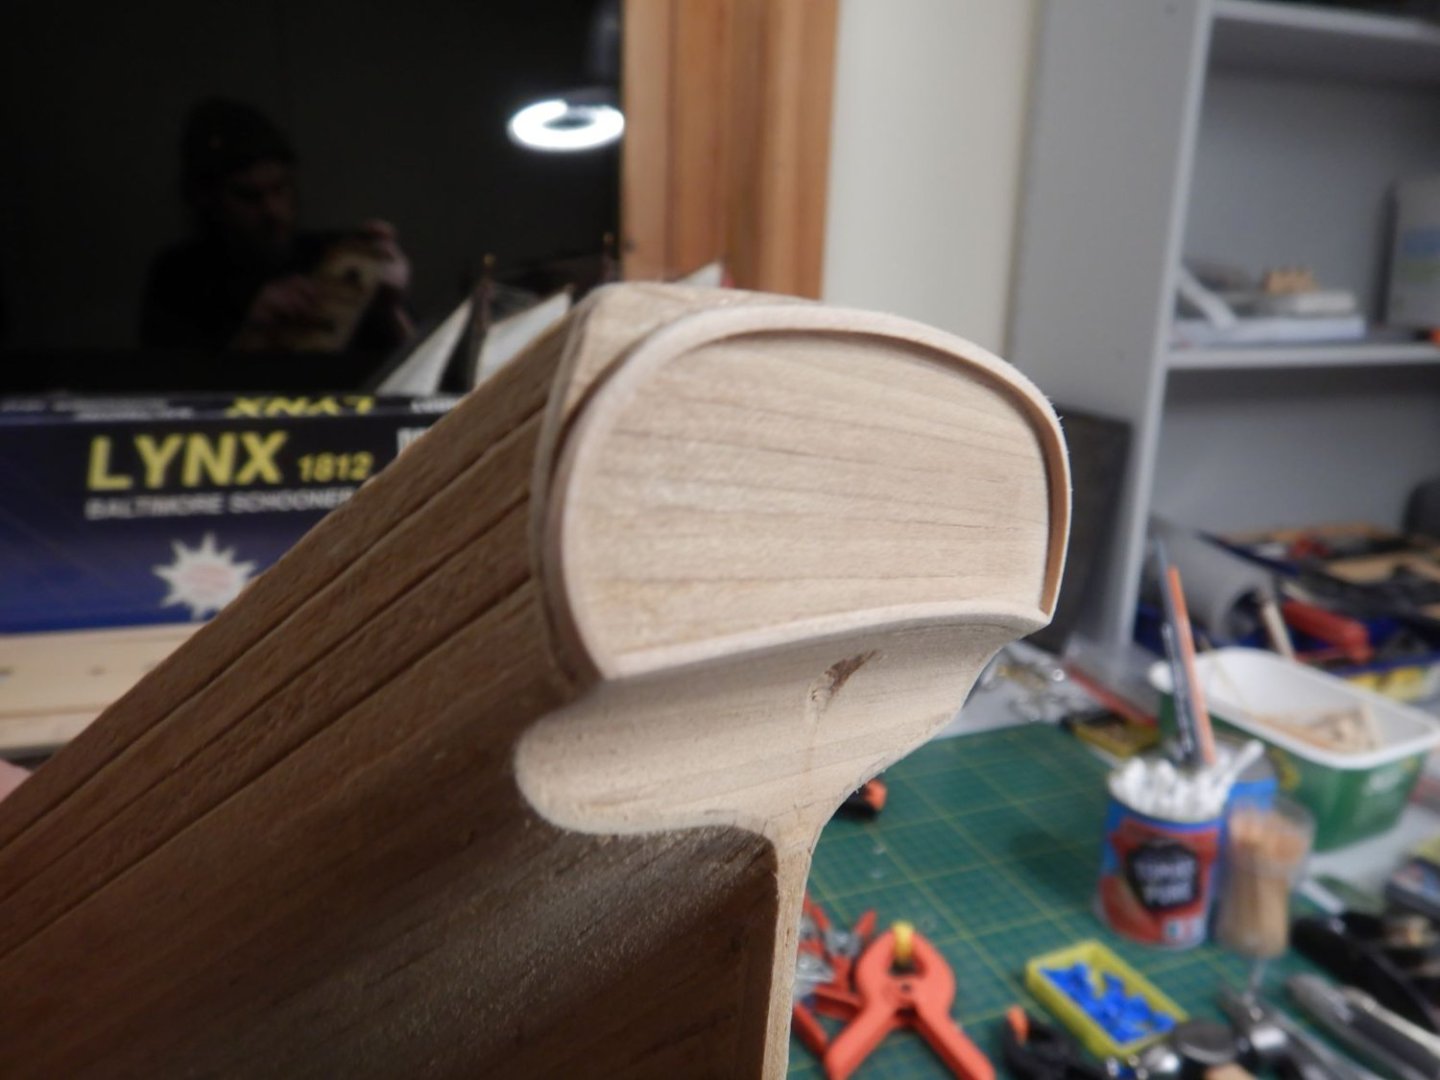
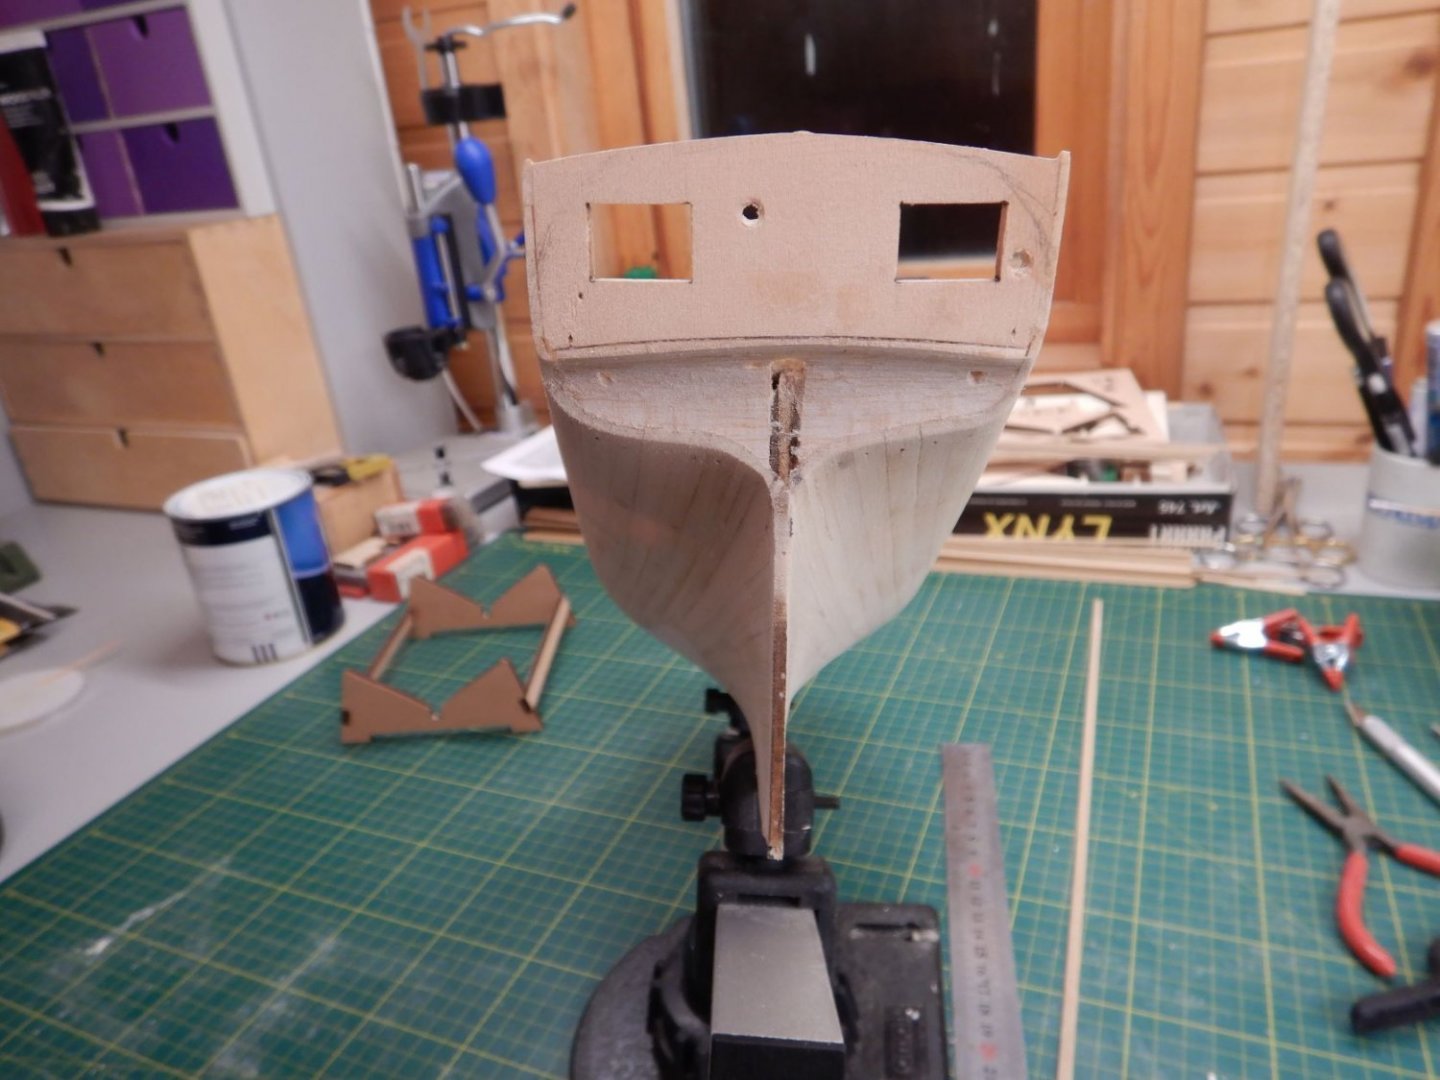
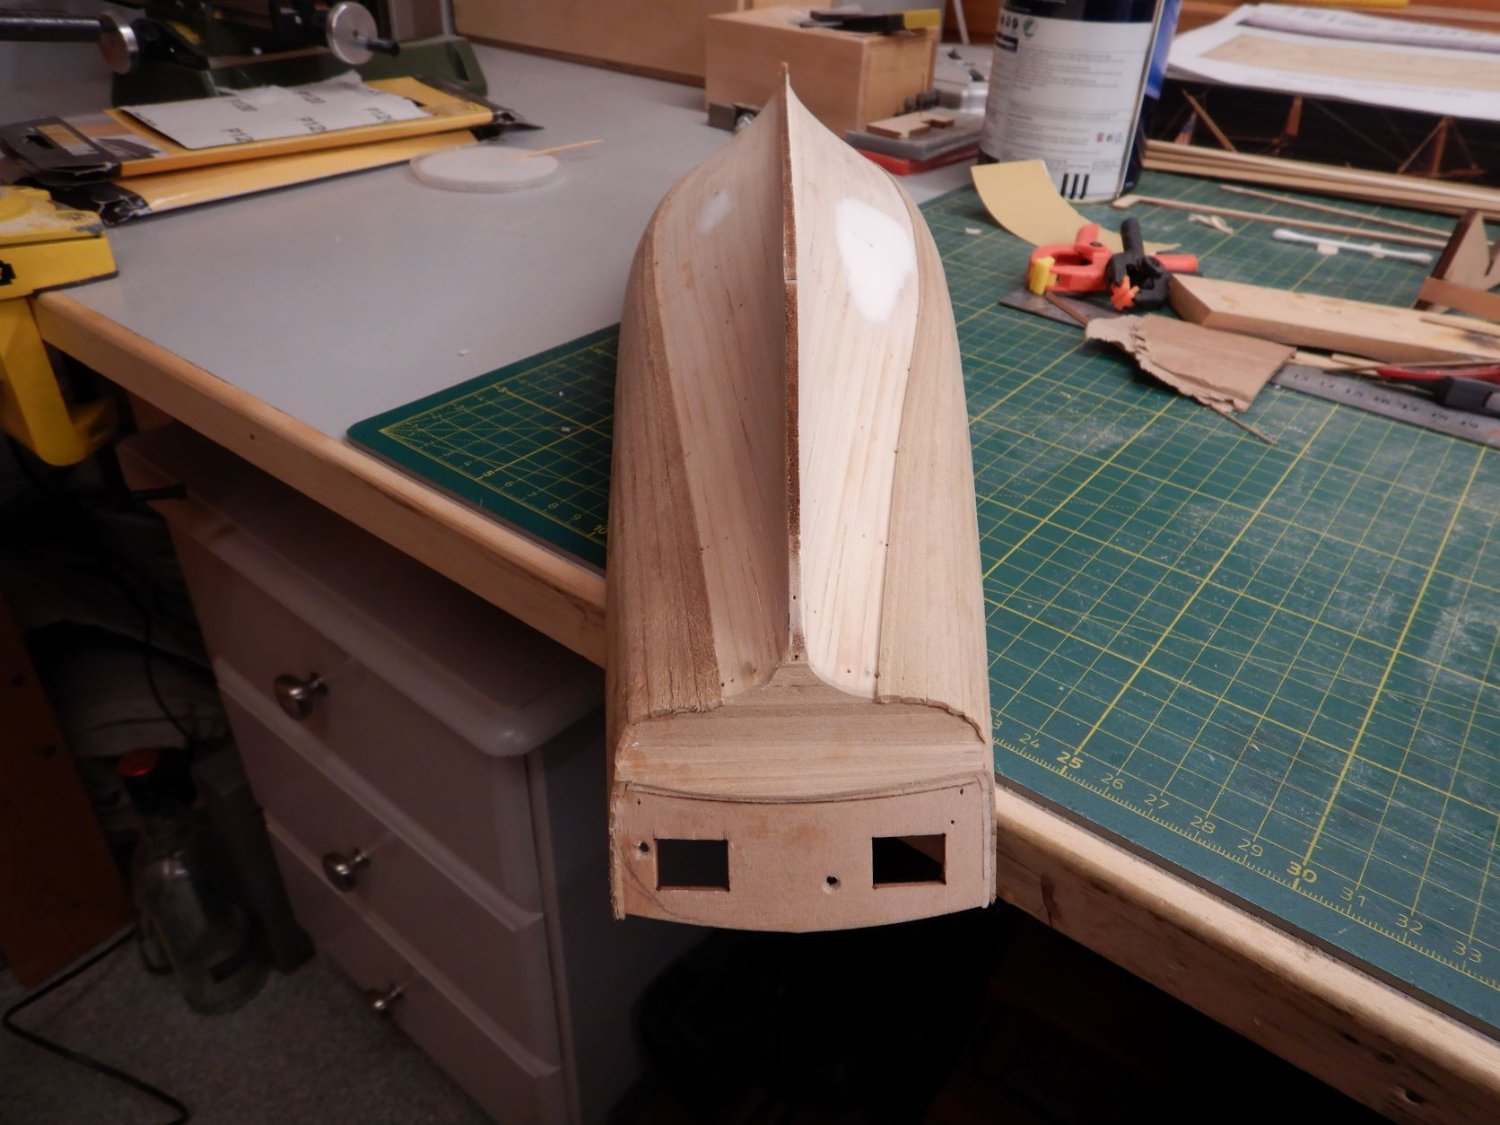
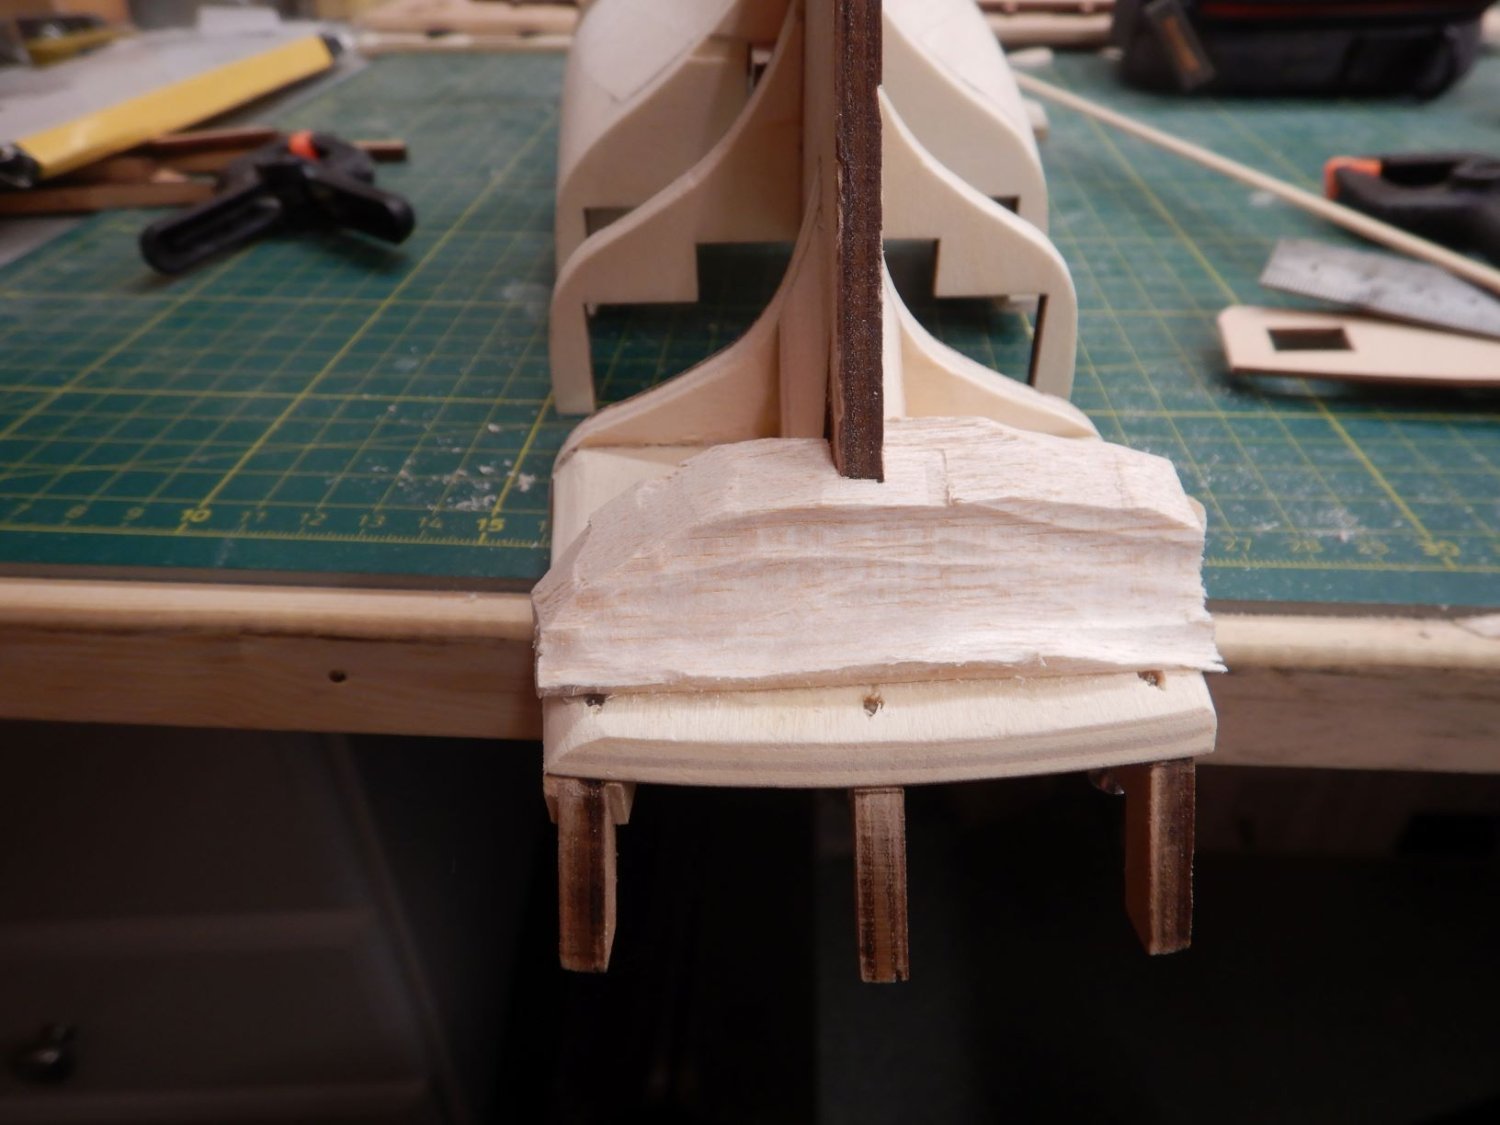
So I decided to wander off on my own and make a transom here. I then worsened the problem with the dent in the planking, but since this had to be fixed anyway I could do this by adding to the last bulkhead.
Glued on some balsa wood and started to chip away, having no idea really if this would work out or not!
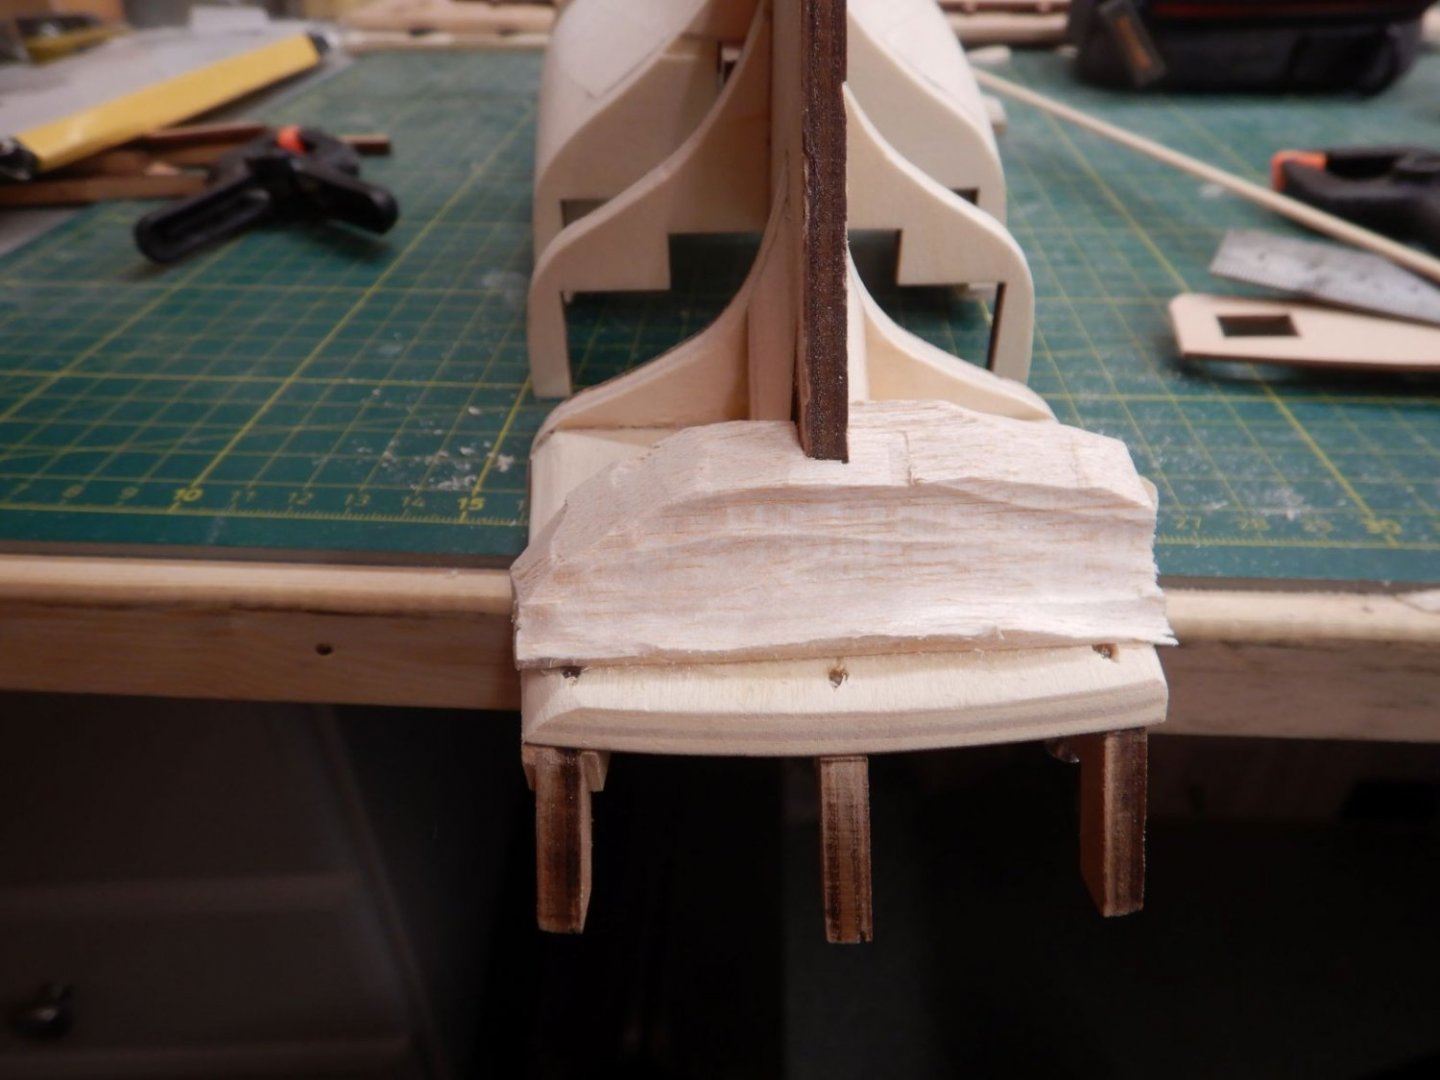

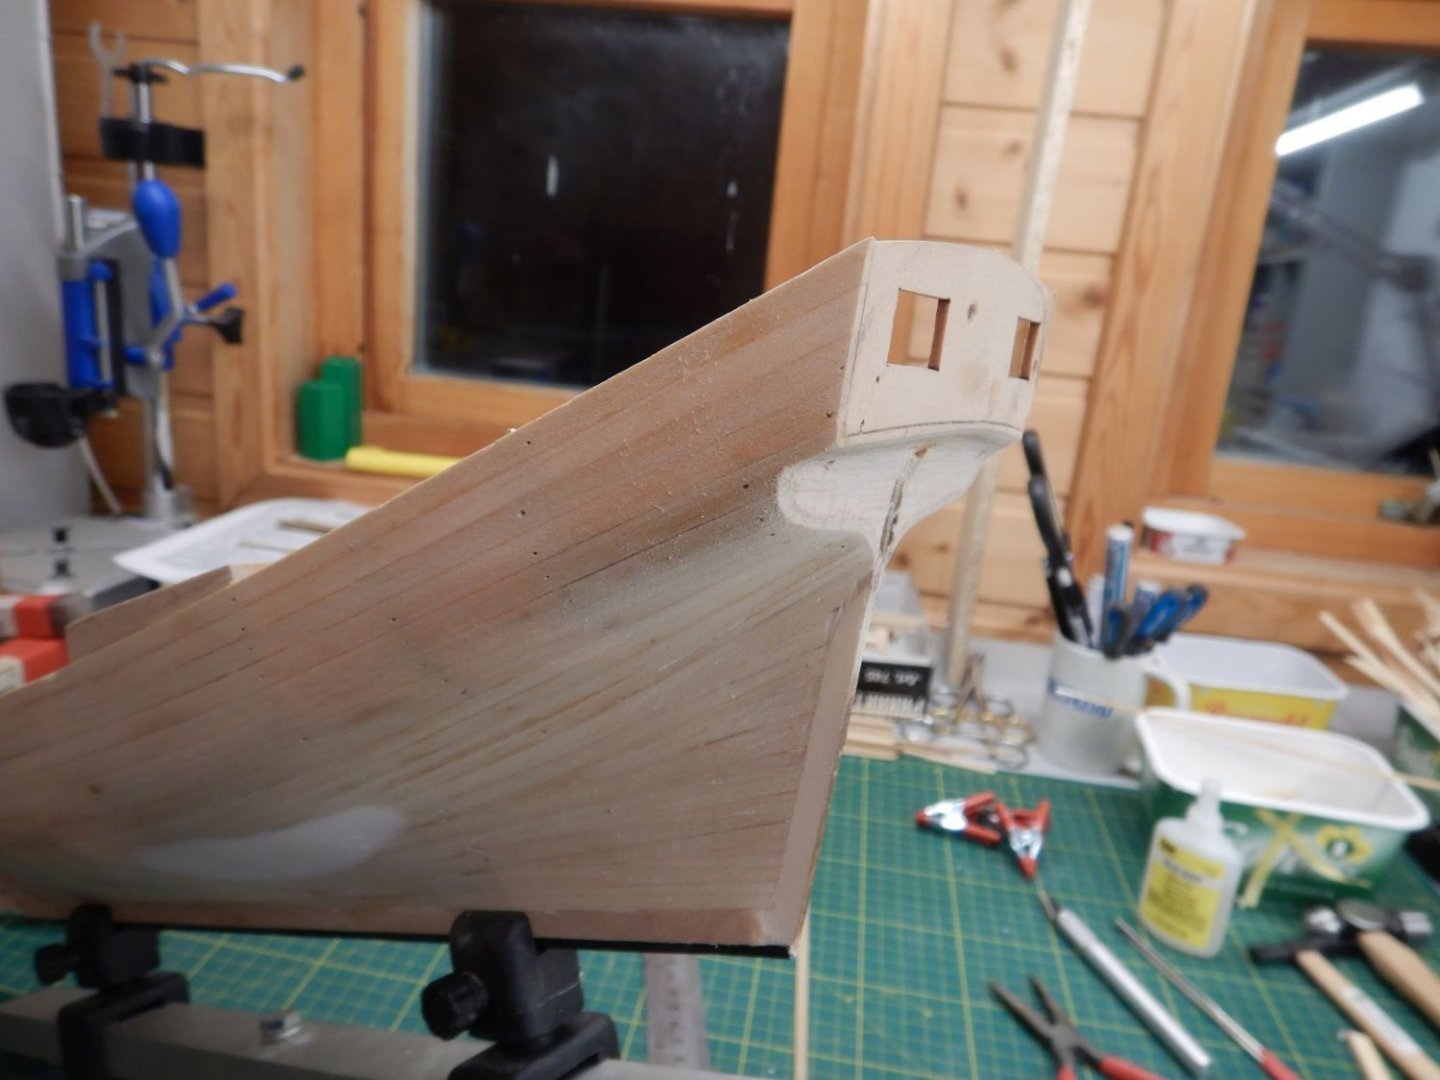
After some shaping and sanding, I think I'm getting somewhere..

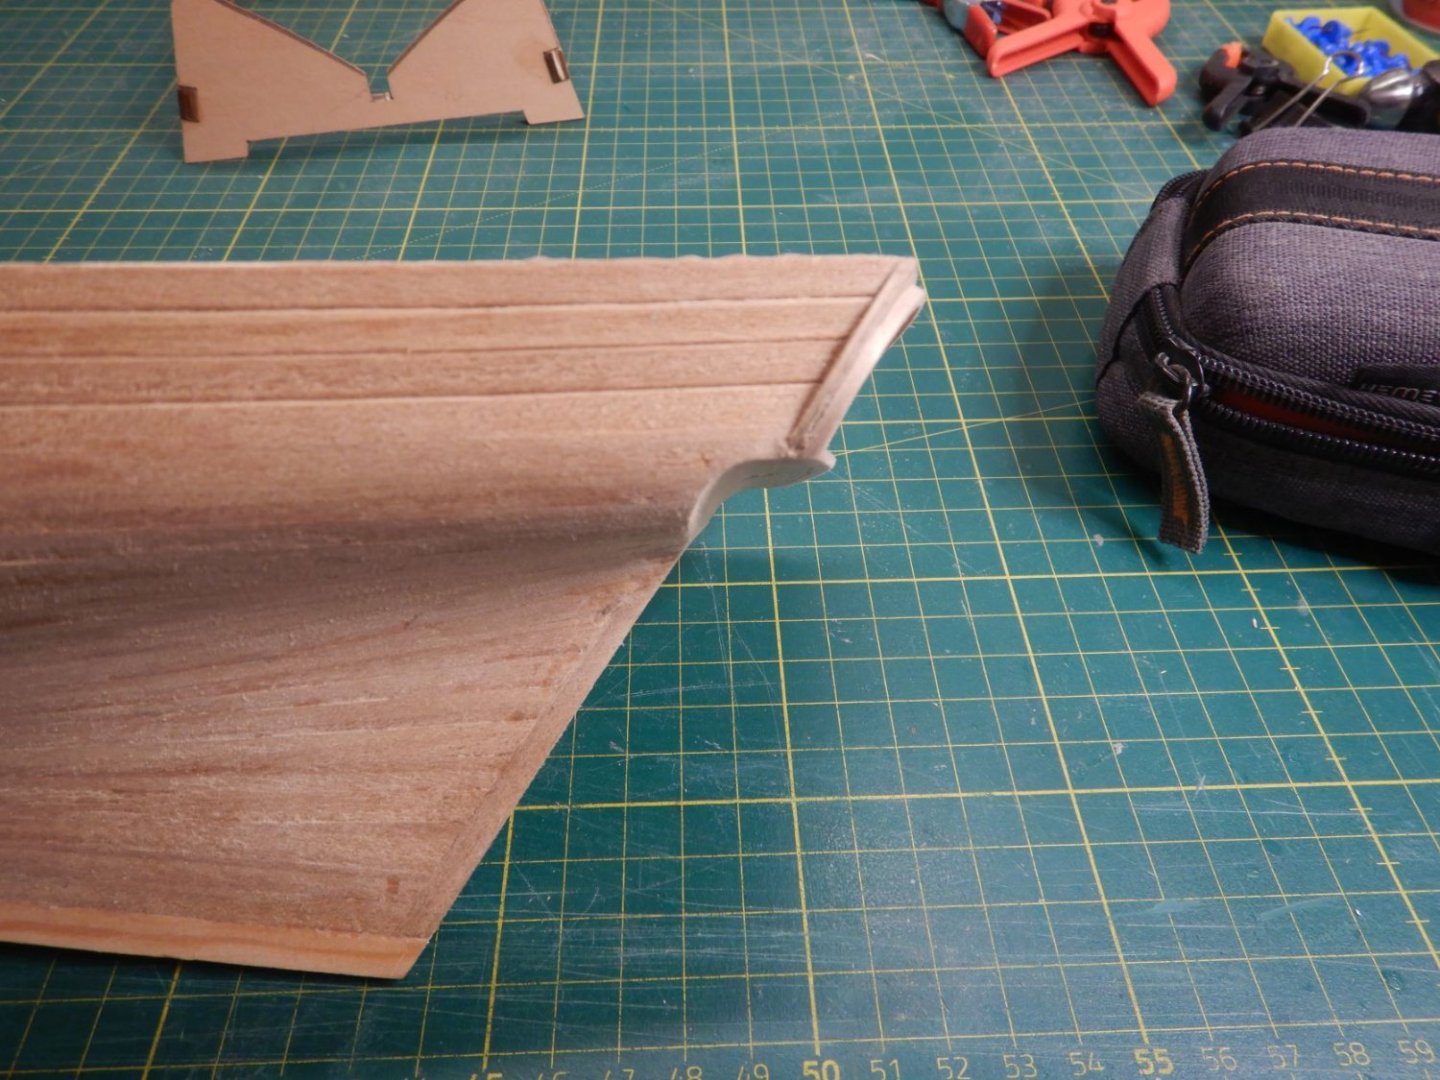
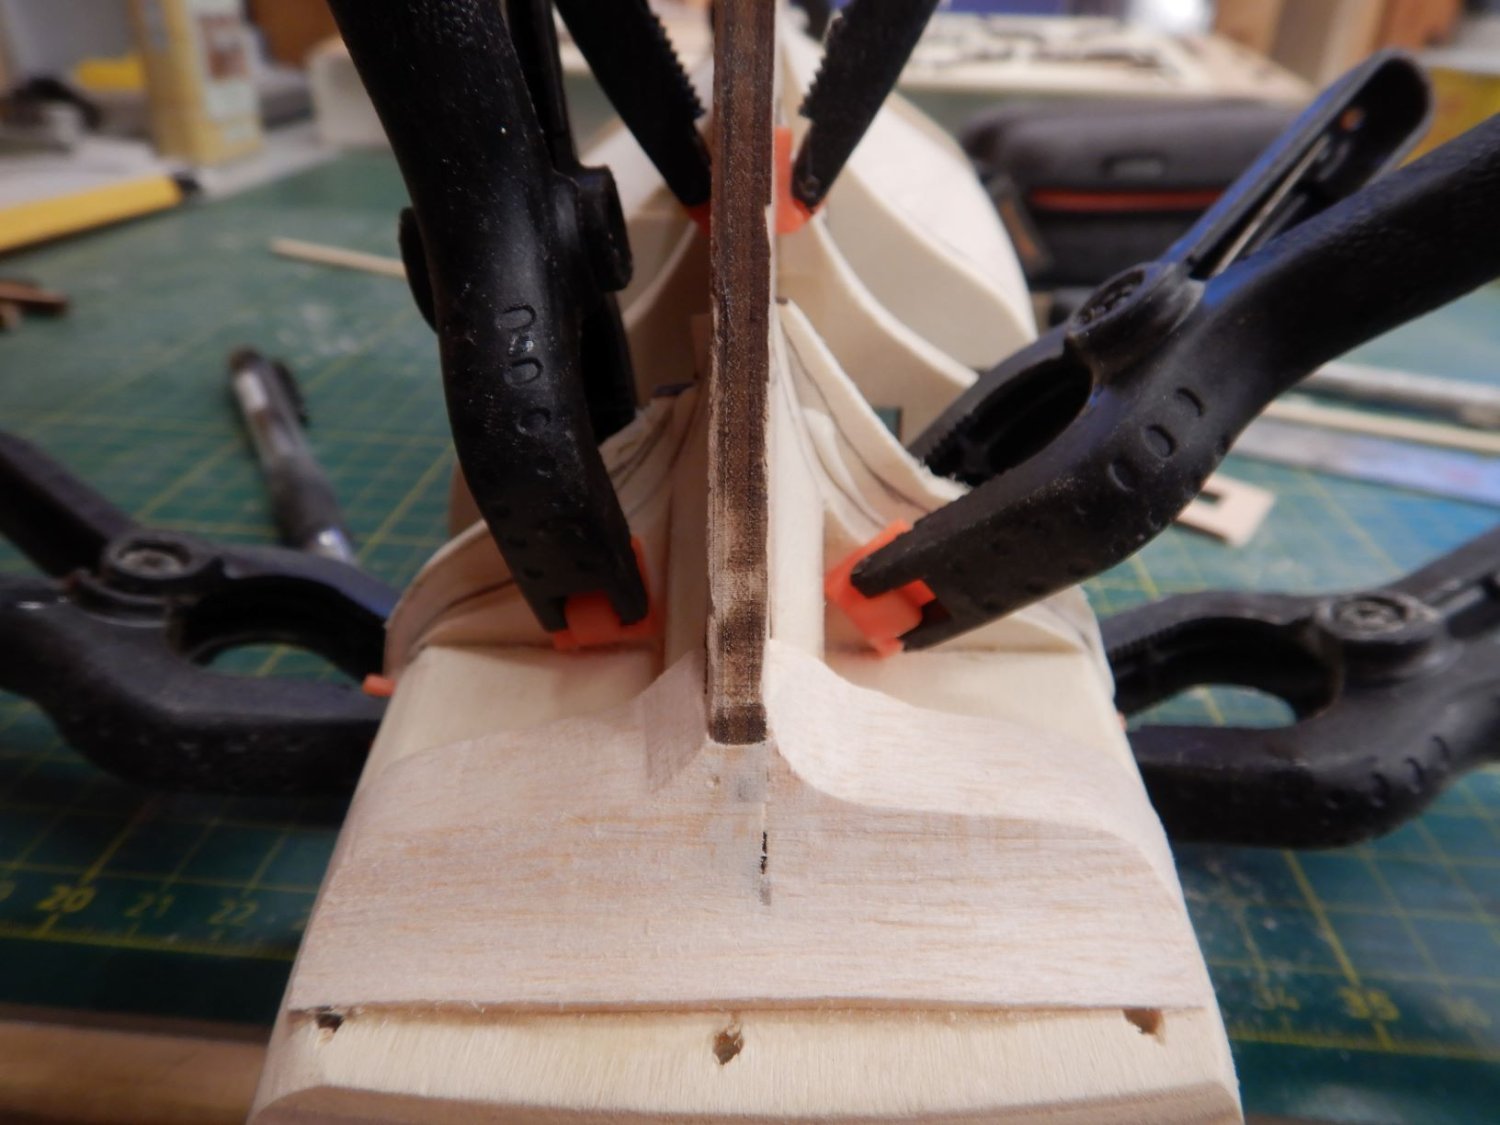
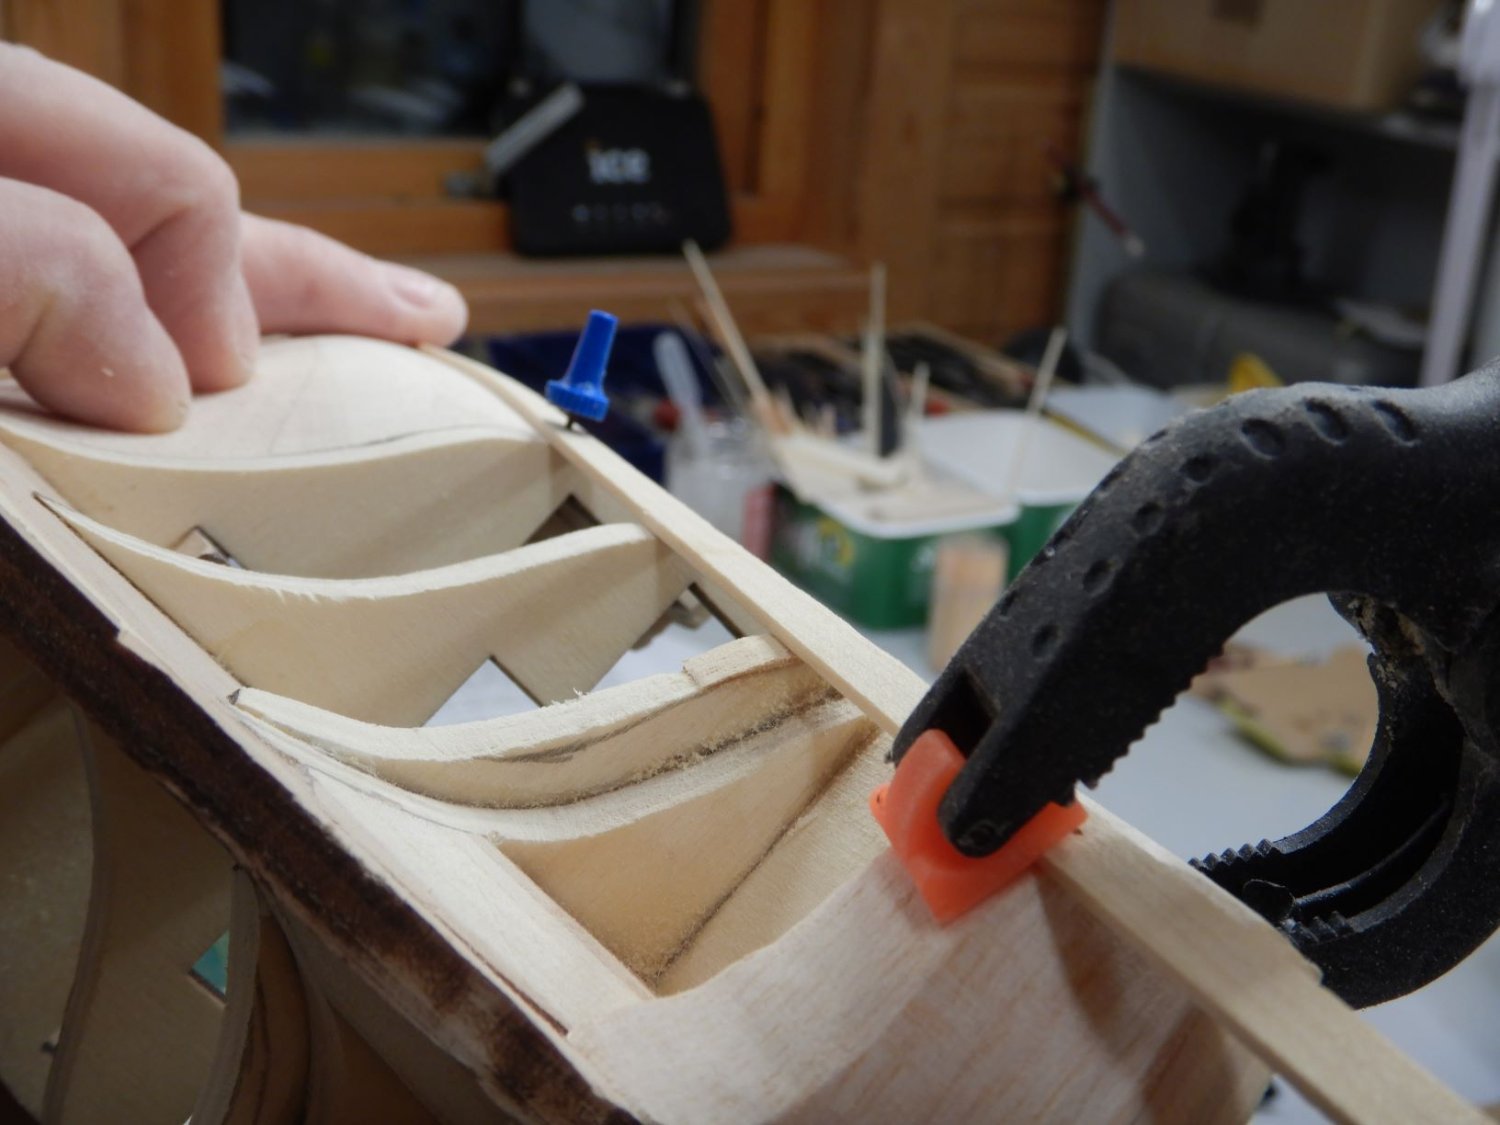
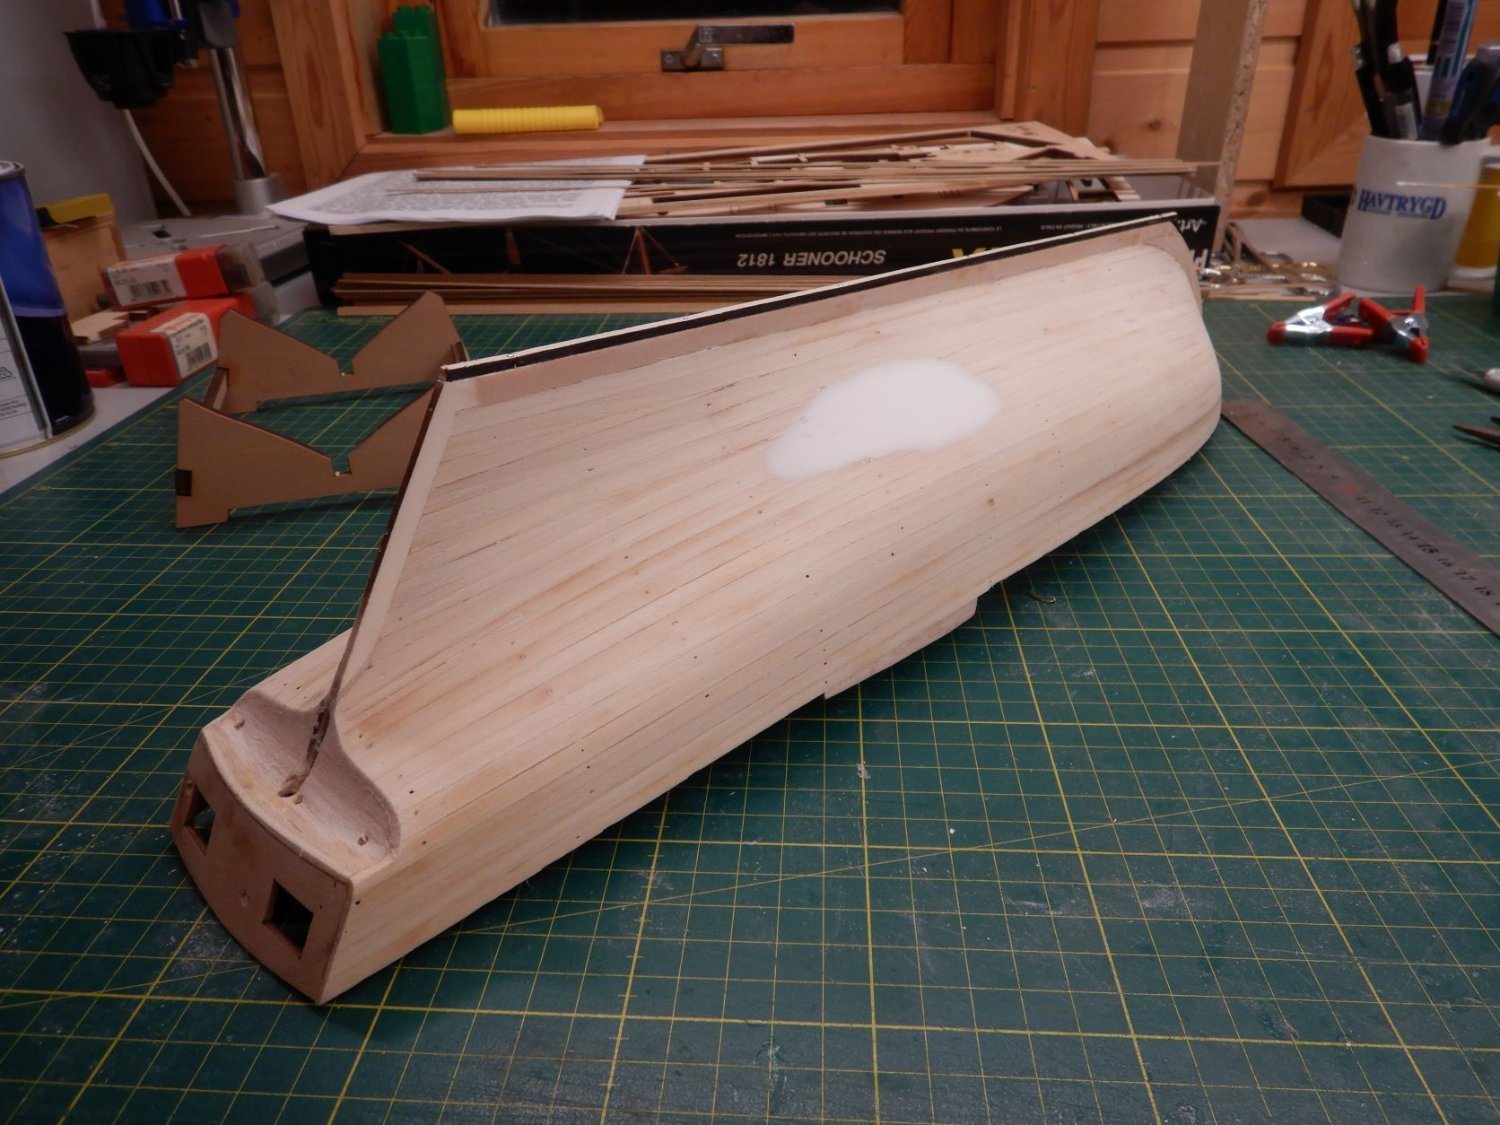
I realized from the musquidobit plan that the stern overhang also was a lot shorter than in the kit, so I decided to shorten it..
Cut of about 10 mm from it.
I then added to the aftmost bulkhead a little..

And voila! the run of the planking looks a lot better, at least to my eye!

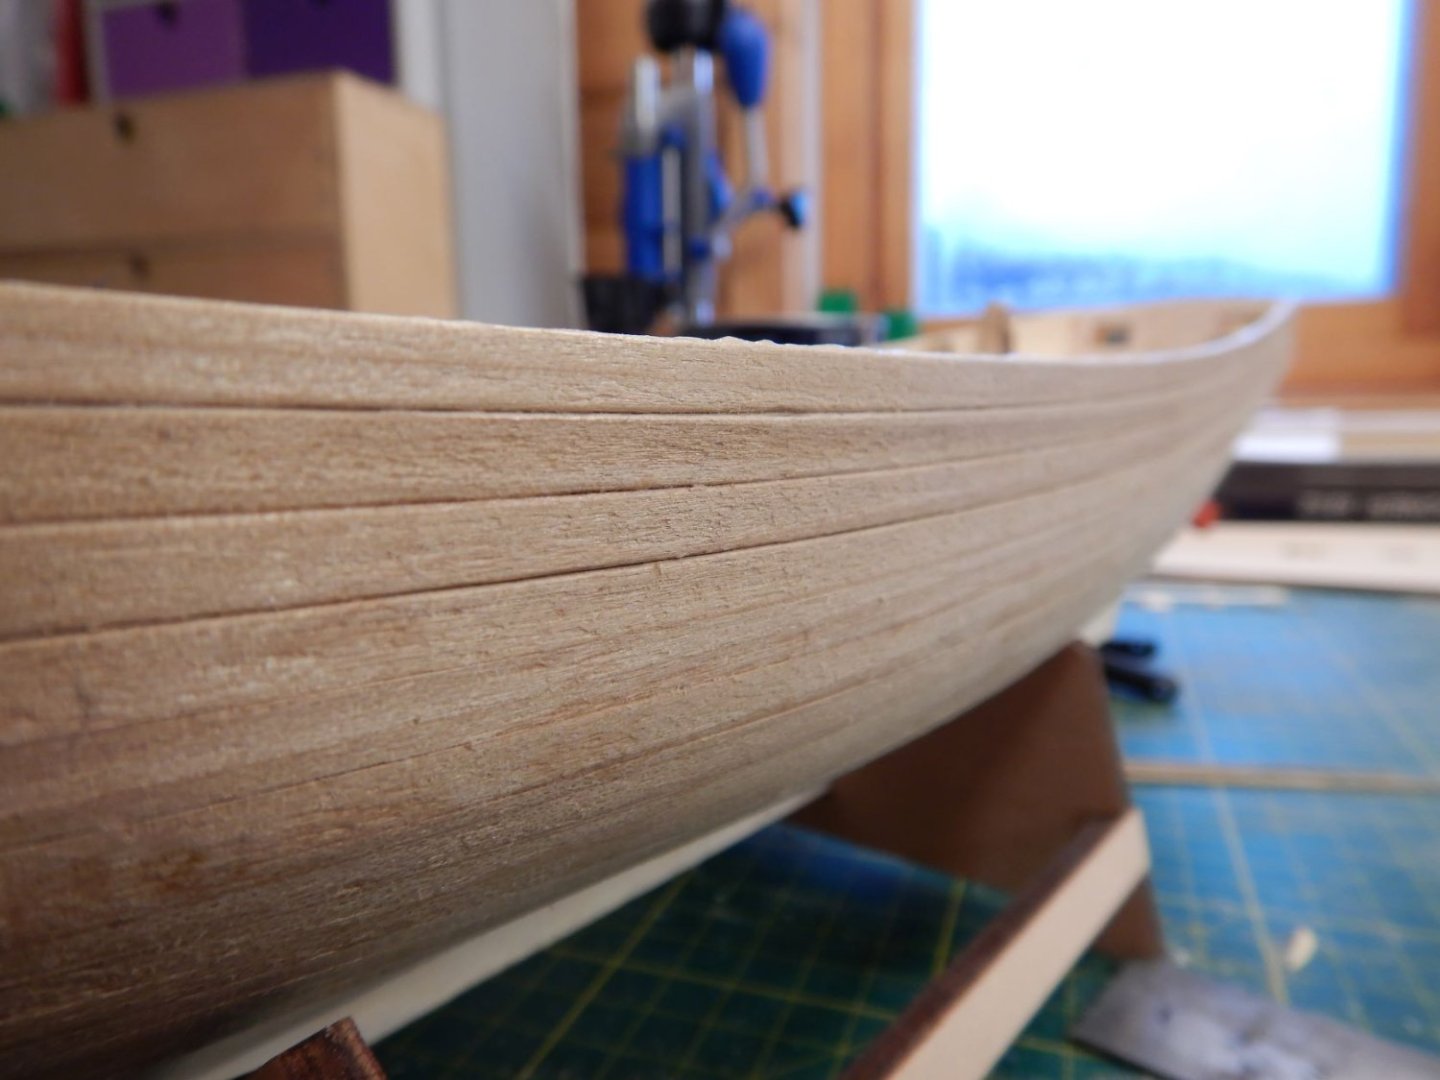
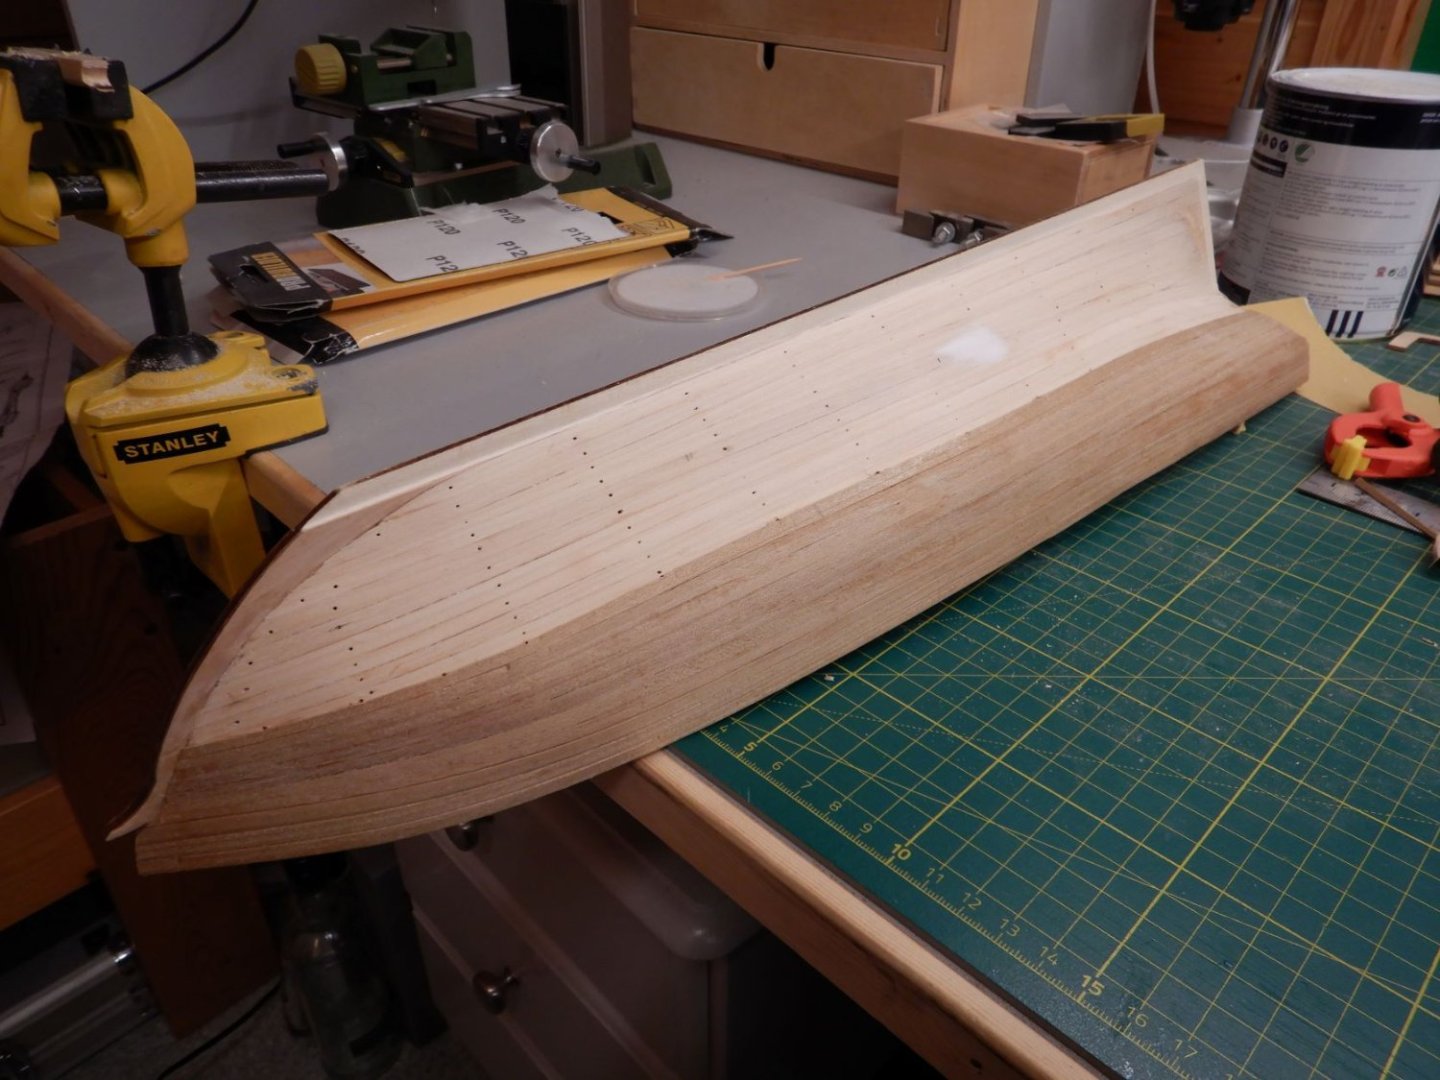
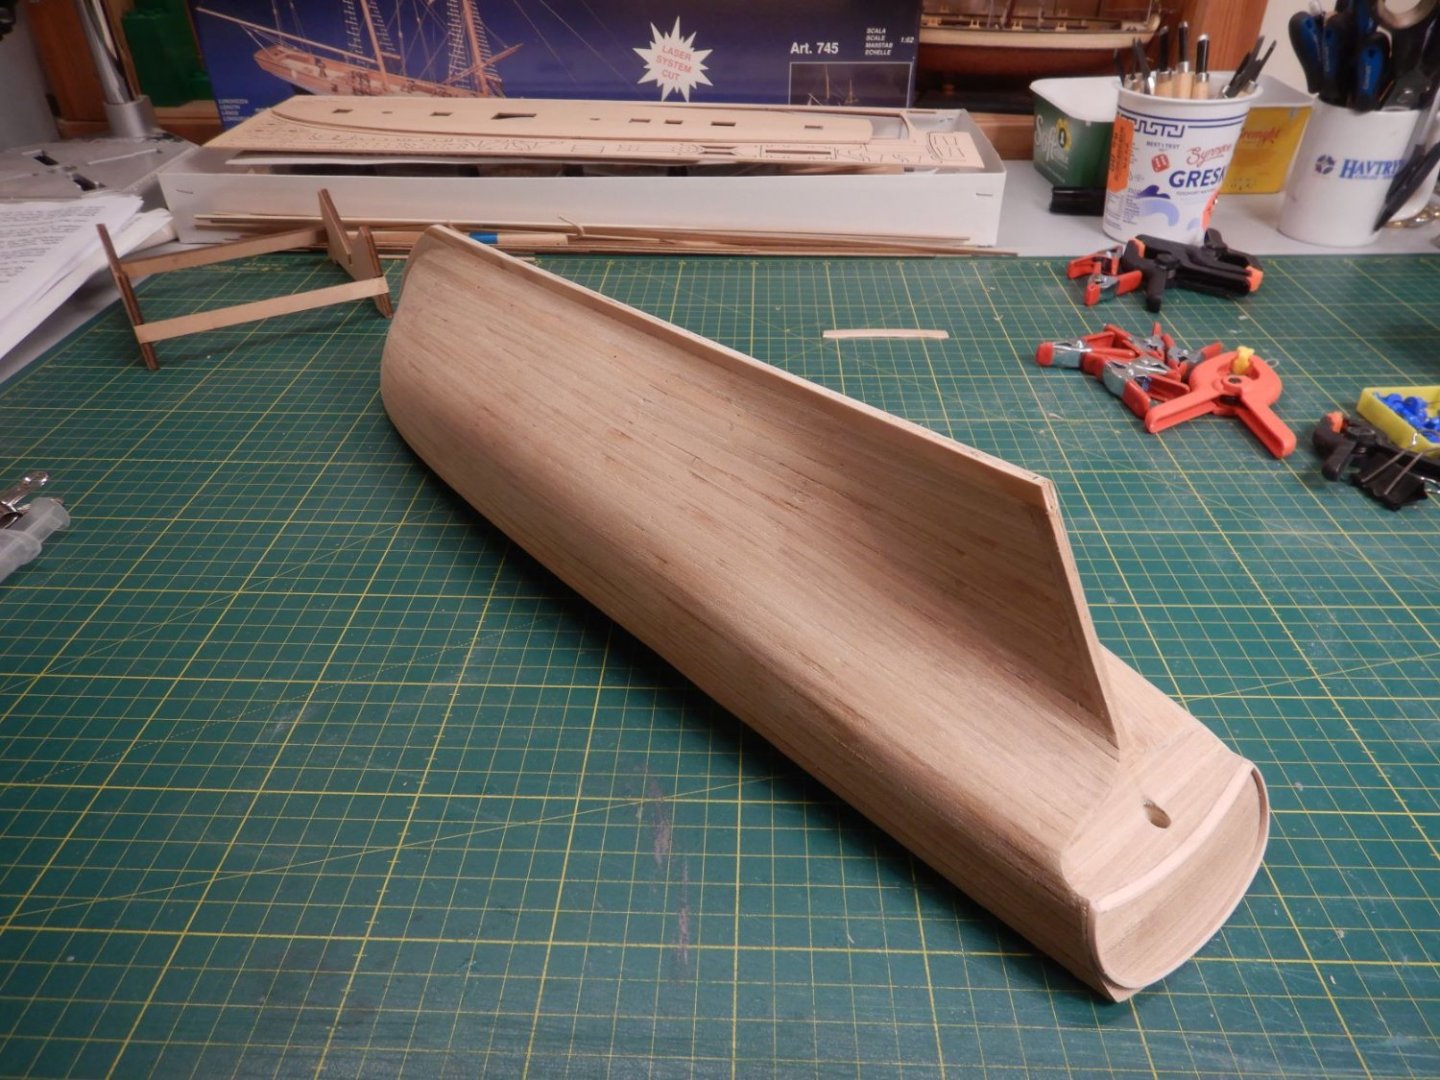
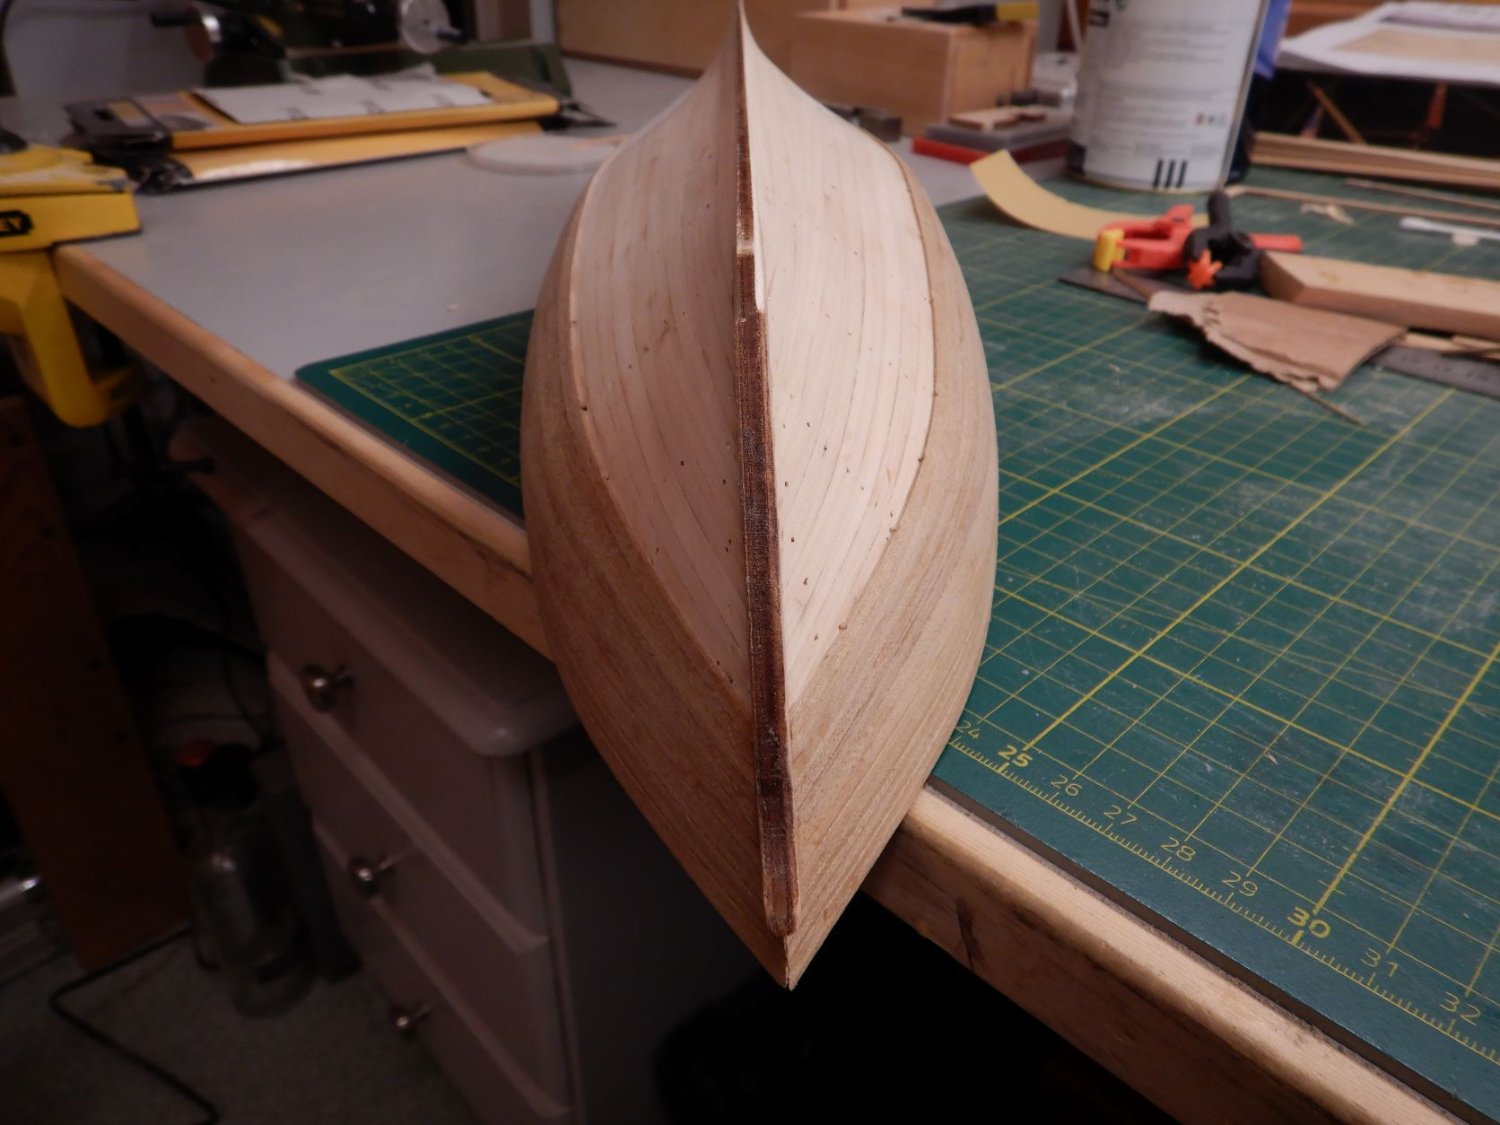
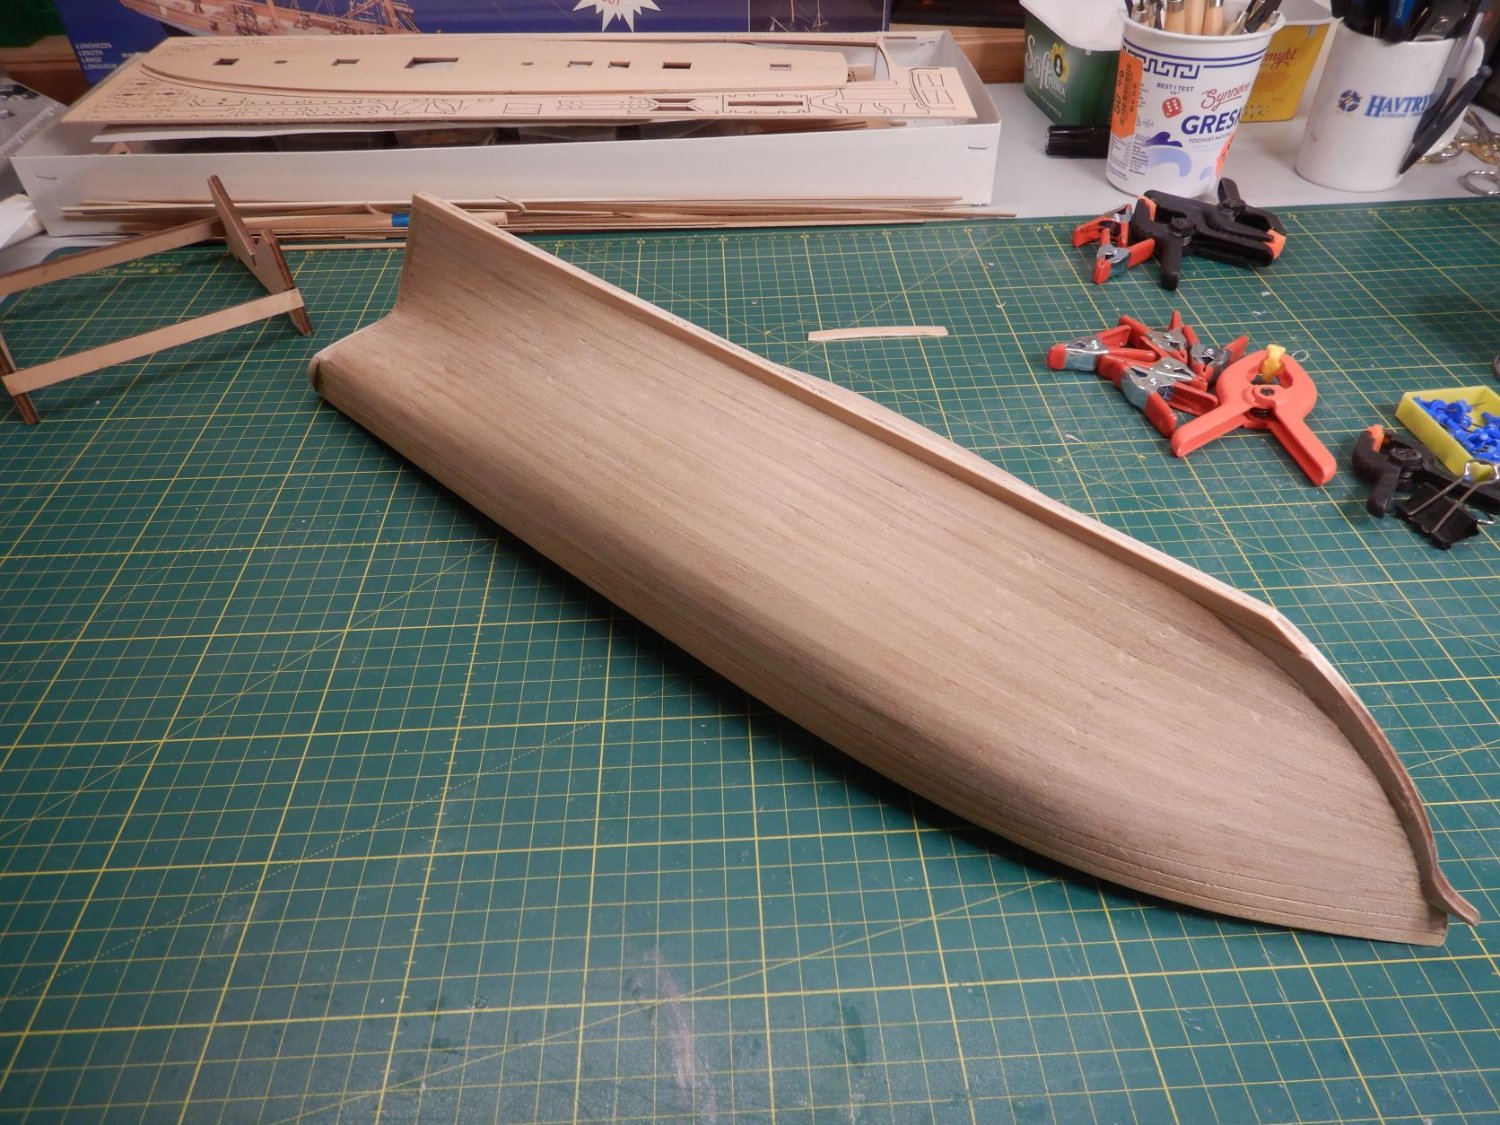
So, onwards with the first planking.. It seems the house photographer (me) has been sleeping or something, because the next pictures i have is with first planking done!
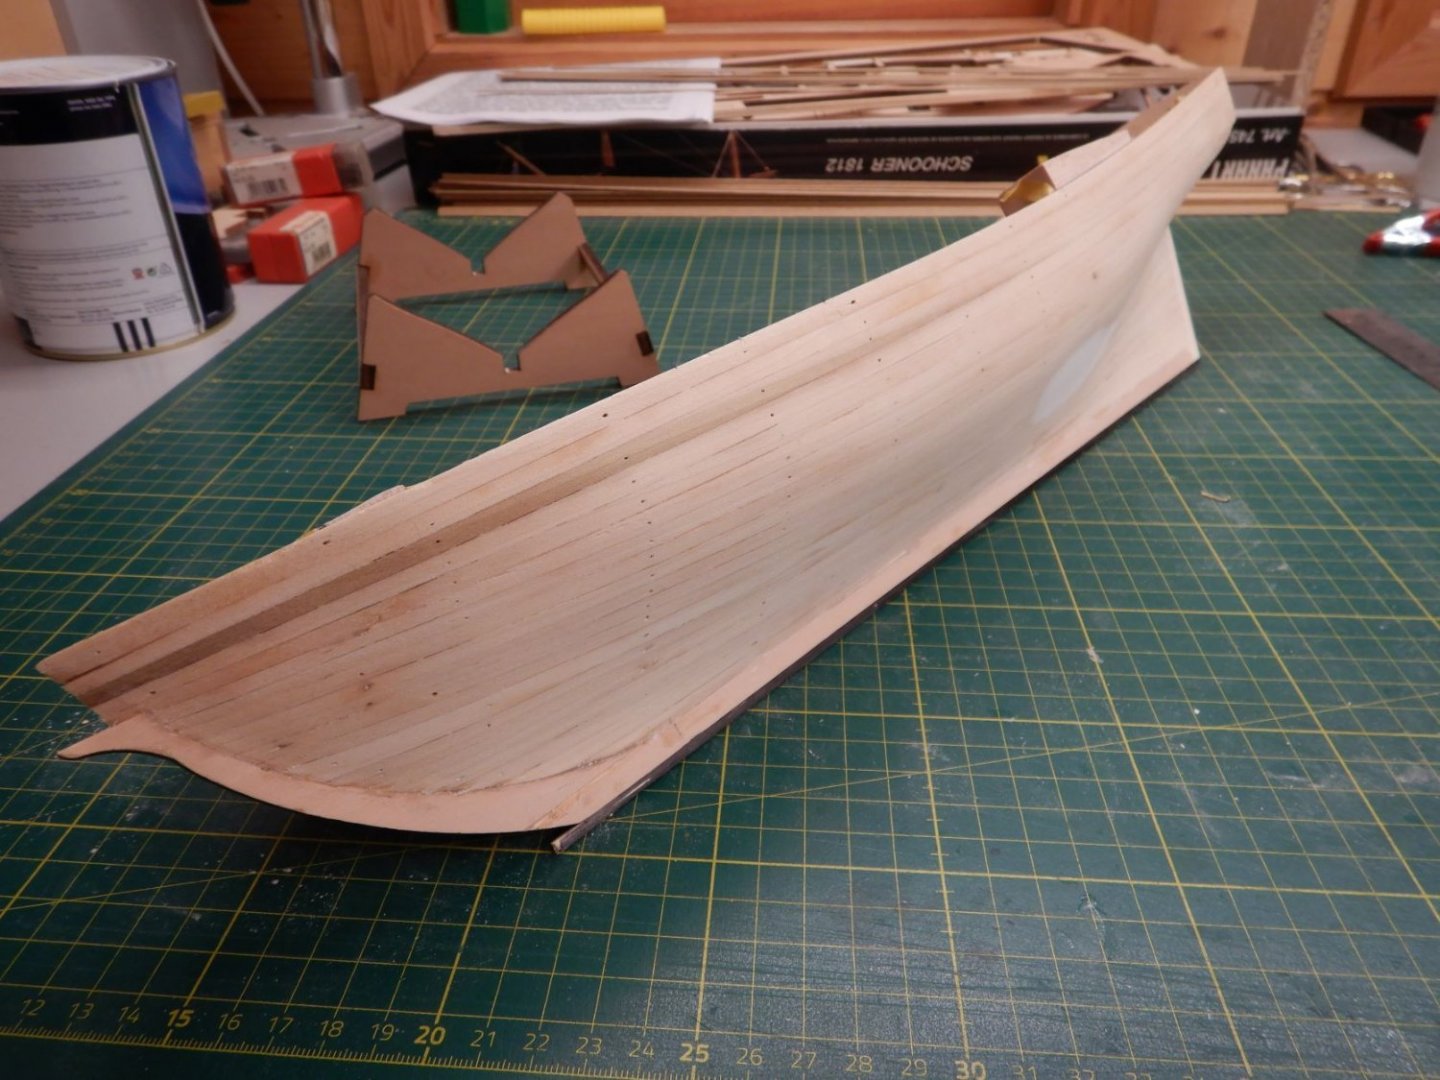
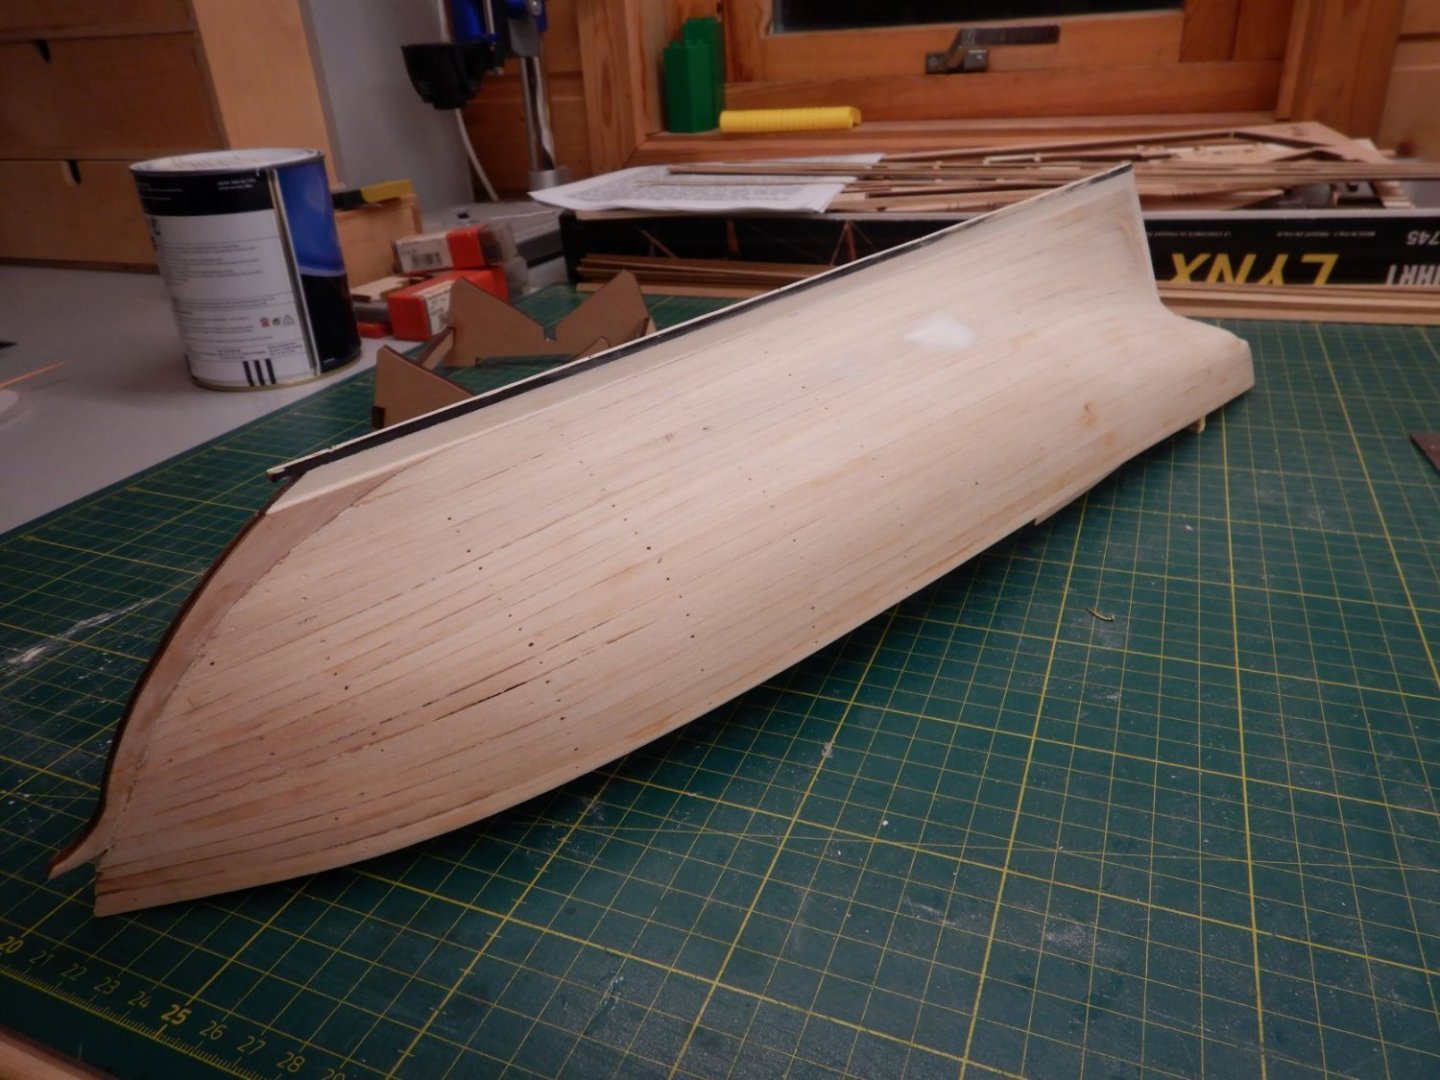

I think the stern turned out ok, at least it ended up looking like something I imagined.
So this brings the log up to date at where the build is now, next step will be second planking.
Gaffrig.
- ibozev, chris watton, clearway and 1 other
-
4
-
Hello.
I see you’re located in Norway, as I am.
I recently bought a few of these at biltema, https://www.biltema.no/verktoy/handverktoy/klemmer/miniklemmer-10-stk-2000017620
They work pretty good and are not to pricey. They also have clamps similar to the ones you have.
I also use these from clas ohlson, https://www.clasohlson.com/no/Papirklyper-10-pack/p/34-1537
Your bounty is looking good!
Gaffrig.


Lynx by Gaffrig - Panart - Scale 1:62
in - Kit build logs for subjects built from 1801 - 1850
Posted
Hello Dan.
Thank you!
I used the materials supplied in the kit. They are listed as lime tree, so I guess that it’s limewood!
I used a product called finishing oil from the manufacturer Liberon, and this brought out a nice level of detail and glow in the wood.
Gaffrig