
pwog
-
Posts
223 -
Joined
-
Last visited
Content Type
Profiles
Forums
Gallery
Events
Posts posted by pwog
-
-
Thanks so much for the kind words and encouragement, Gary! They mean a lot coming from you and they are appreciated.
-
-
The Red Baron was a fun build. Enjoy!
-
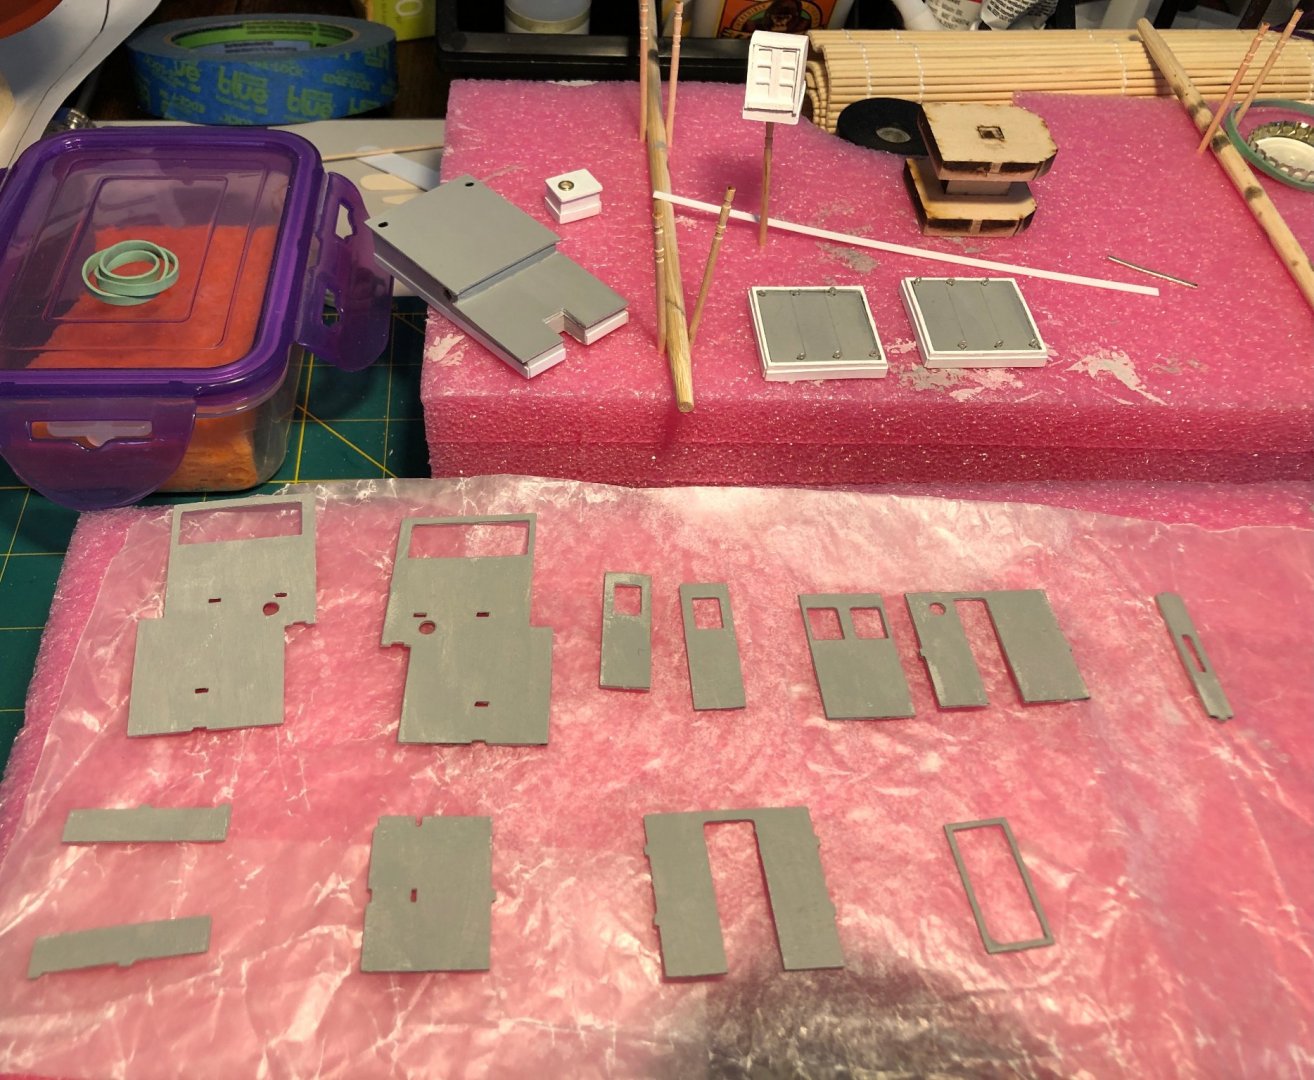
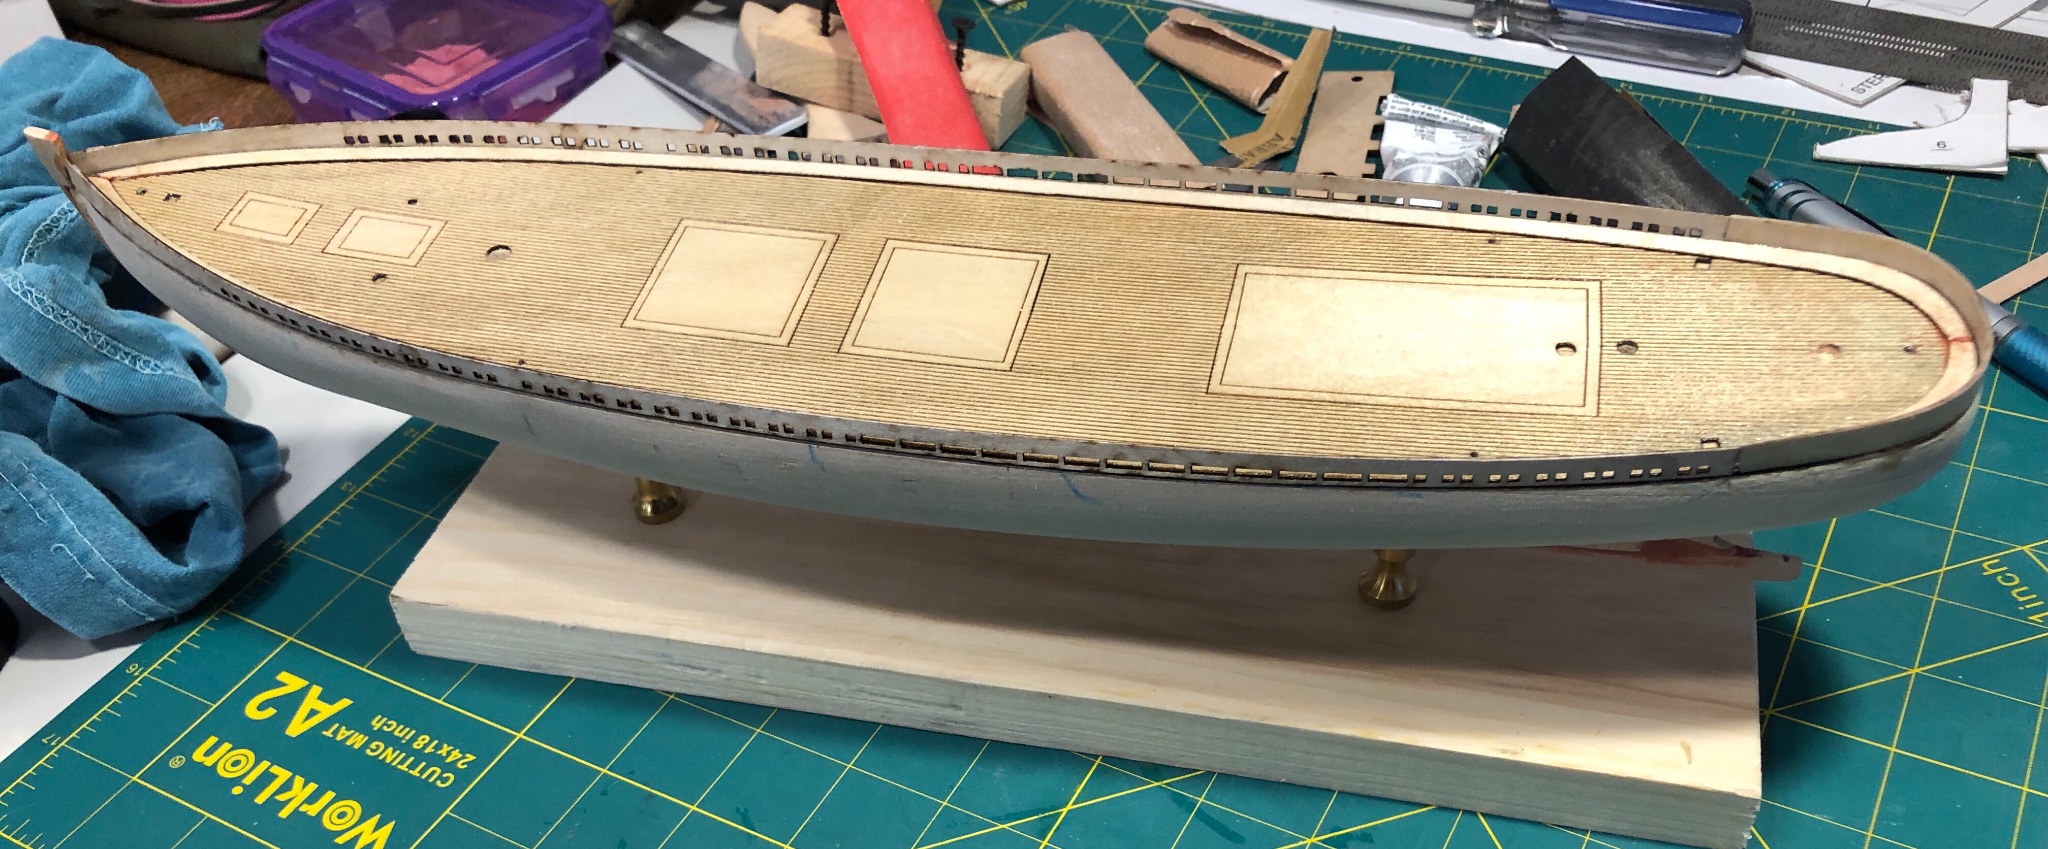
Didn't want you all to think I was idle. 😂
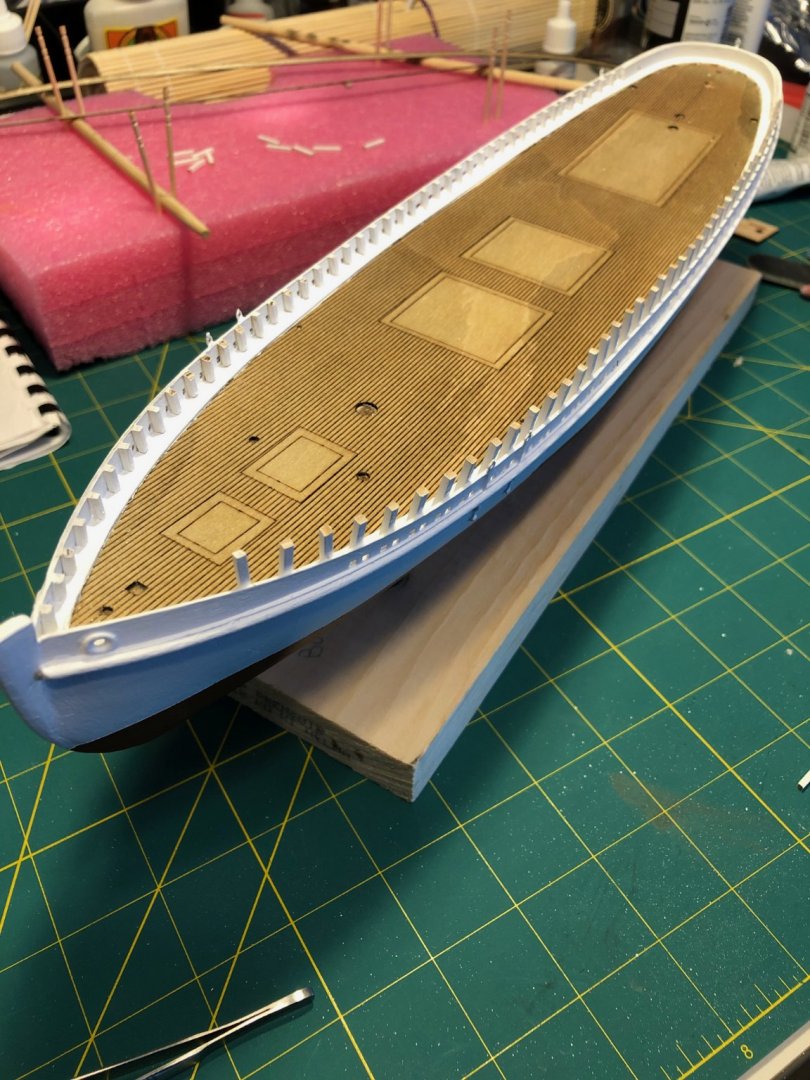
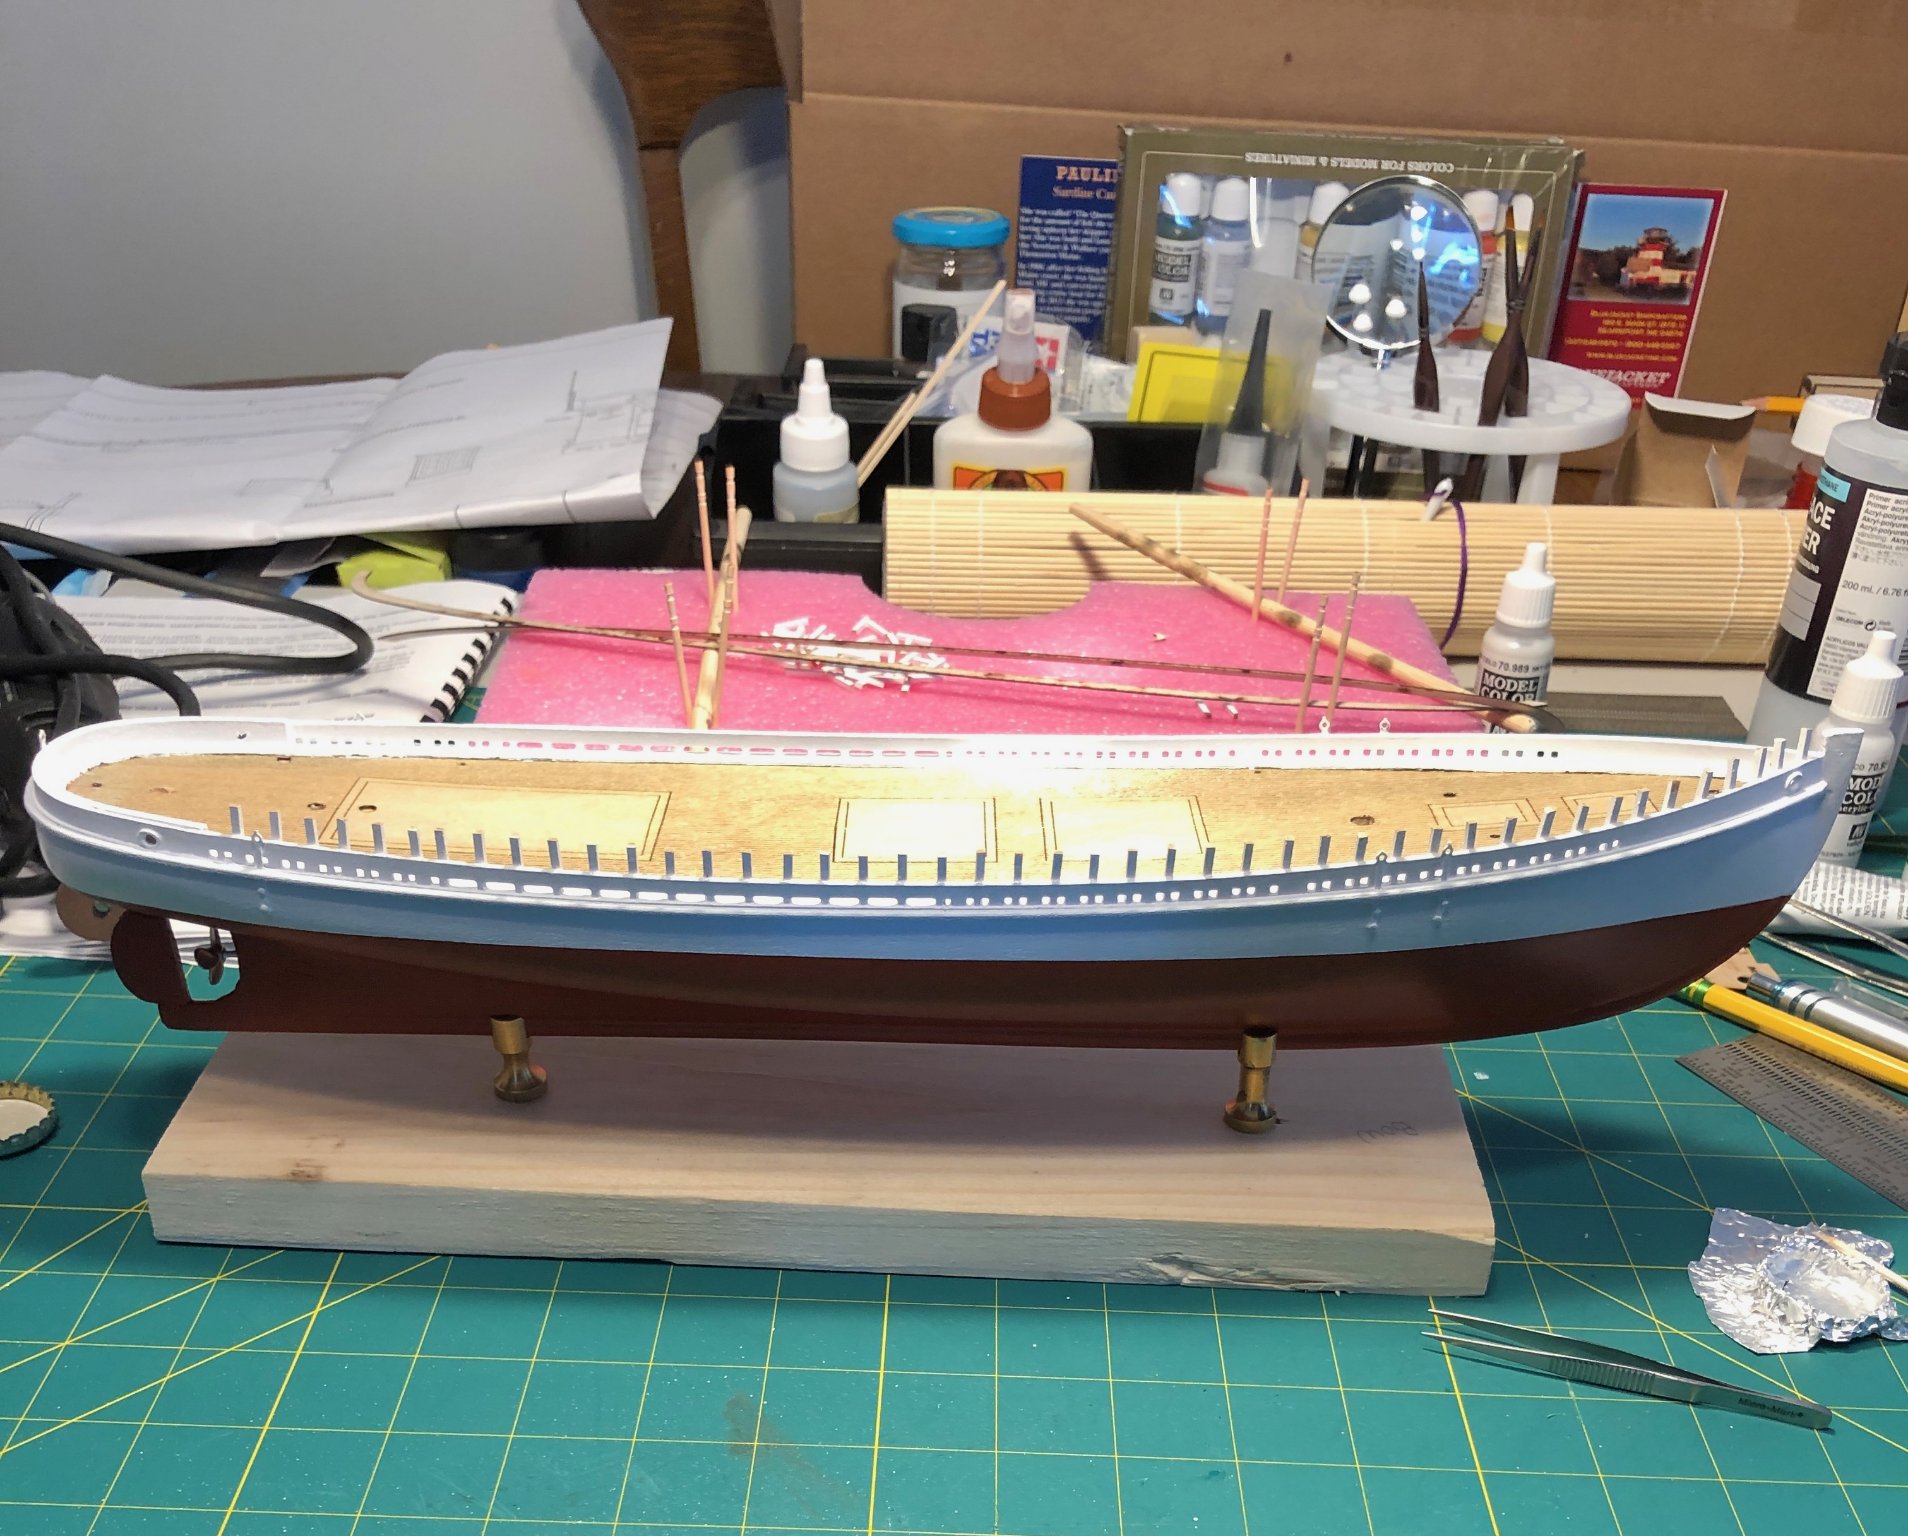
I am working on building out all the deck structures. Currently working on the pilot house; priming and sanding before construction. In the following image you can see the forward hatch, companion way, hatch covers, pilot house deck and the pieces I'm sanding and priming.
-
-
Paul,
You did an amazing job! I’ve always loved this boat. I’m working my way up to building this kit some day.
-
-
Everything looks amazing! This build is beautiful!
-
-
@Red Rhino Thanks Dave, for the kind words.
-
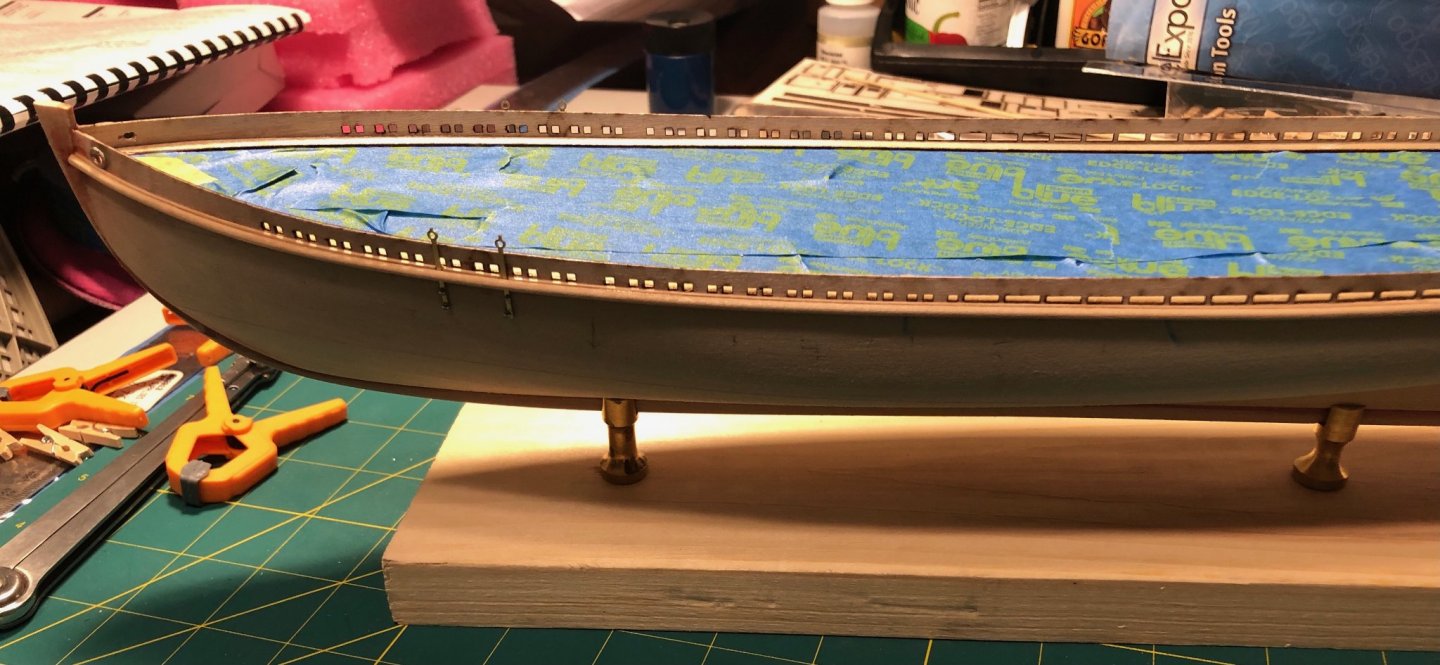
Hi All - A quick update.
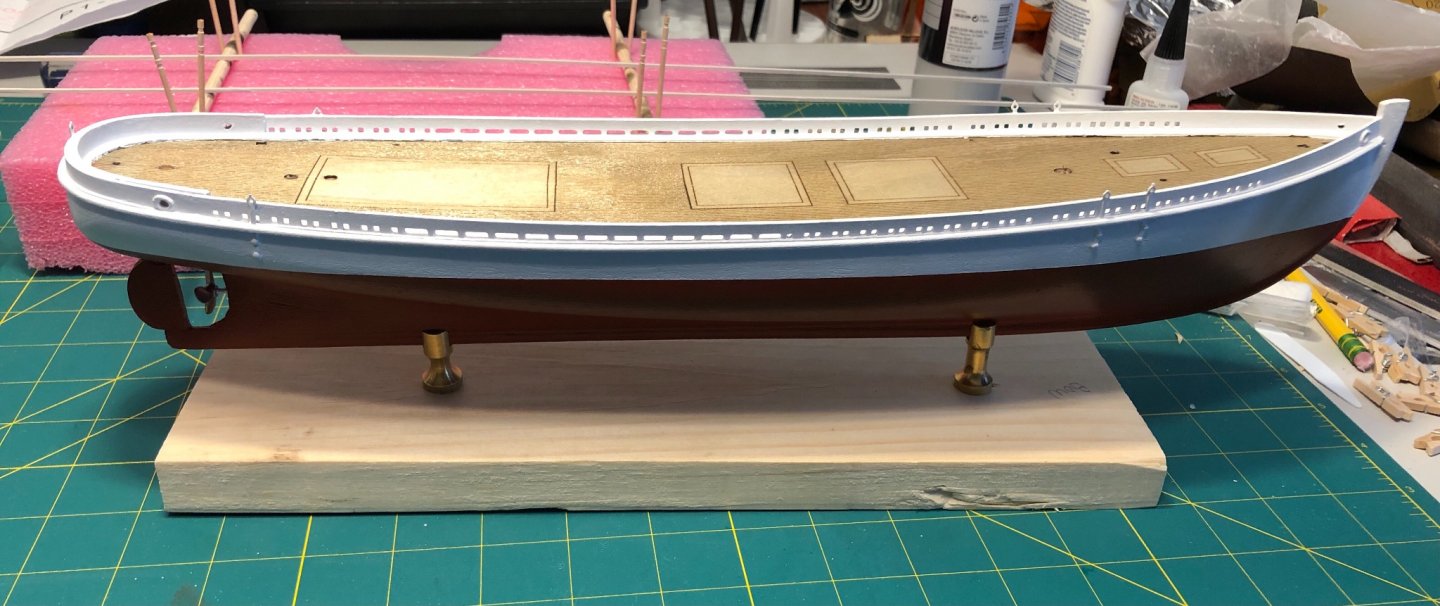
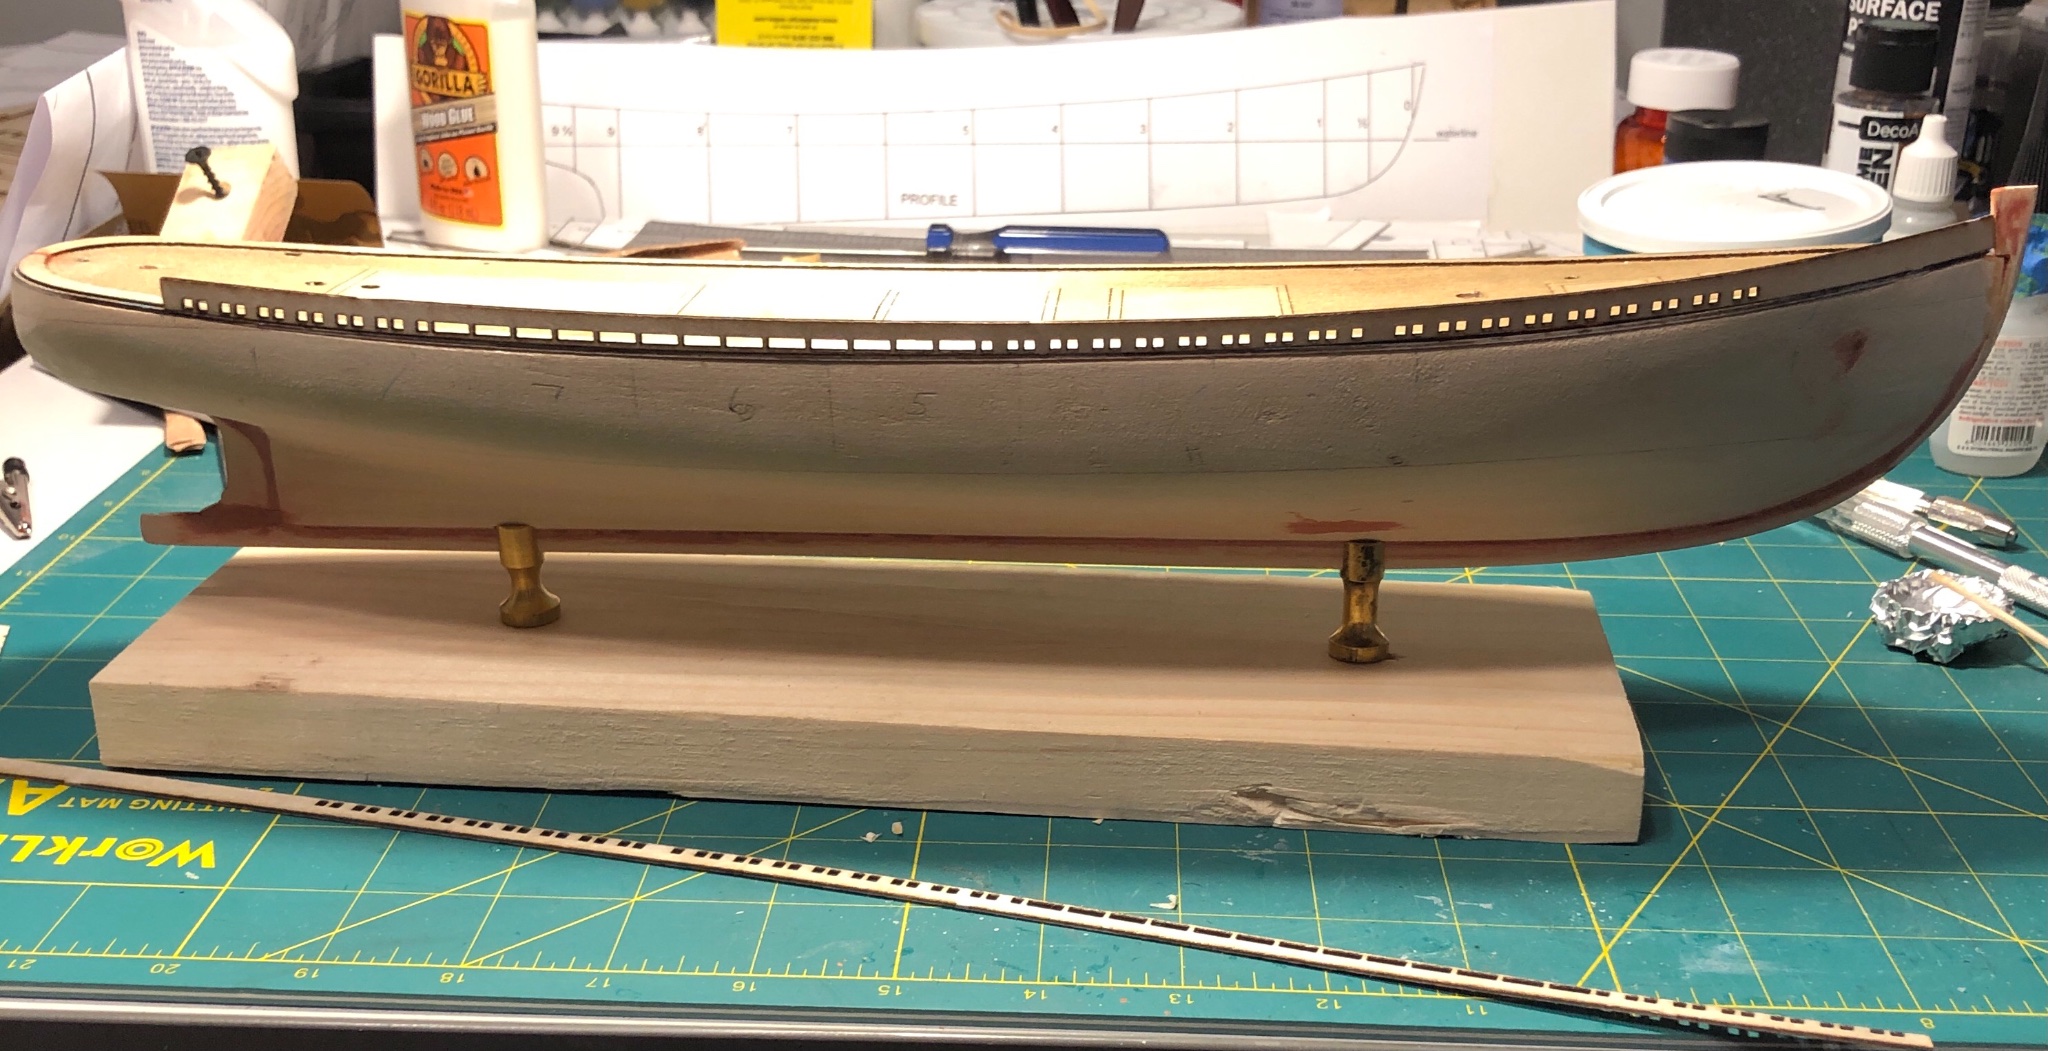
I have painted and attached the cap rails, buffalo rails, breast hook and the pins/assembly for the fore mast stays. This assembly was supposed to be painted black, but in all the images of the Pauline I've seen in it's various stages of life, including the instructions, it's always white. So, I painted it white.
Now it's on to the deck structures.

-
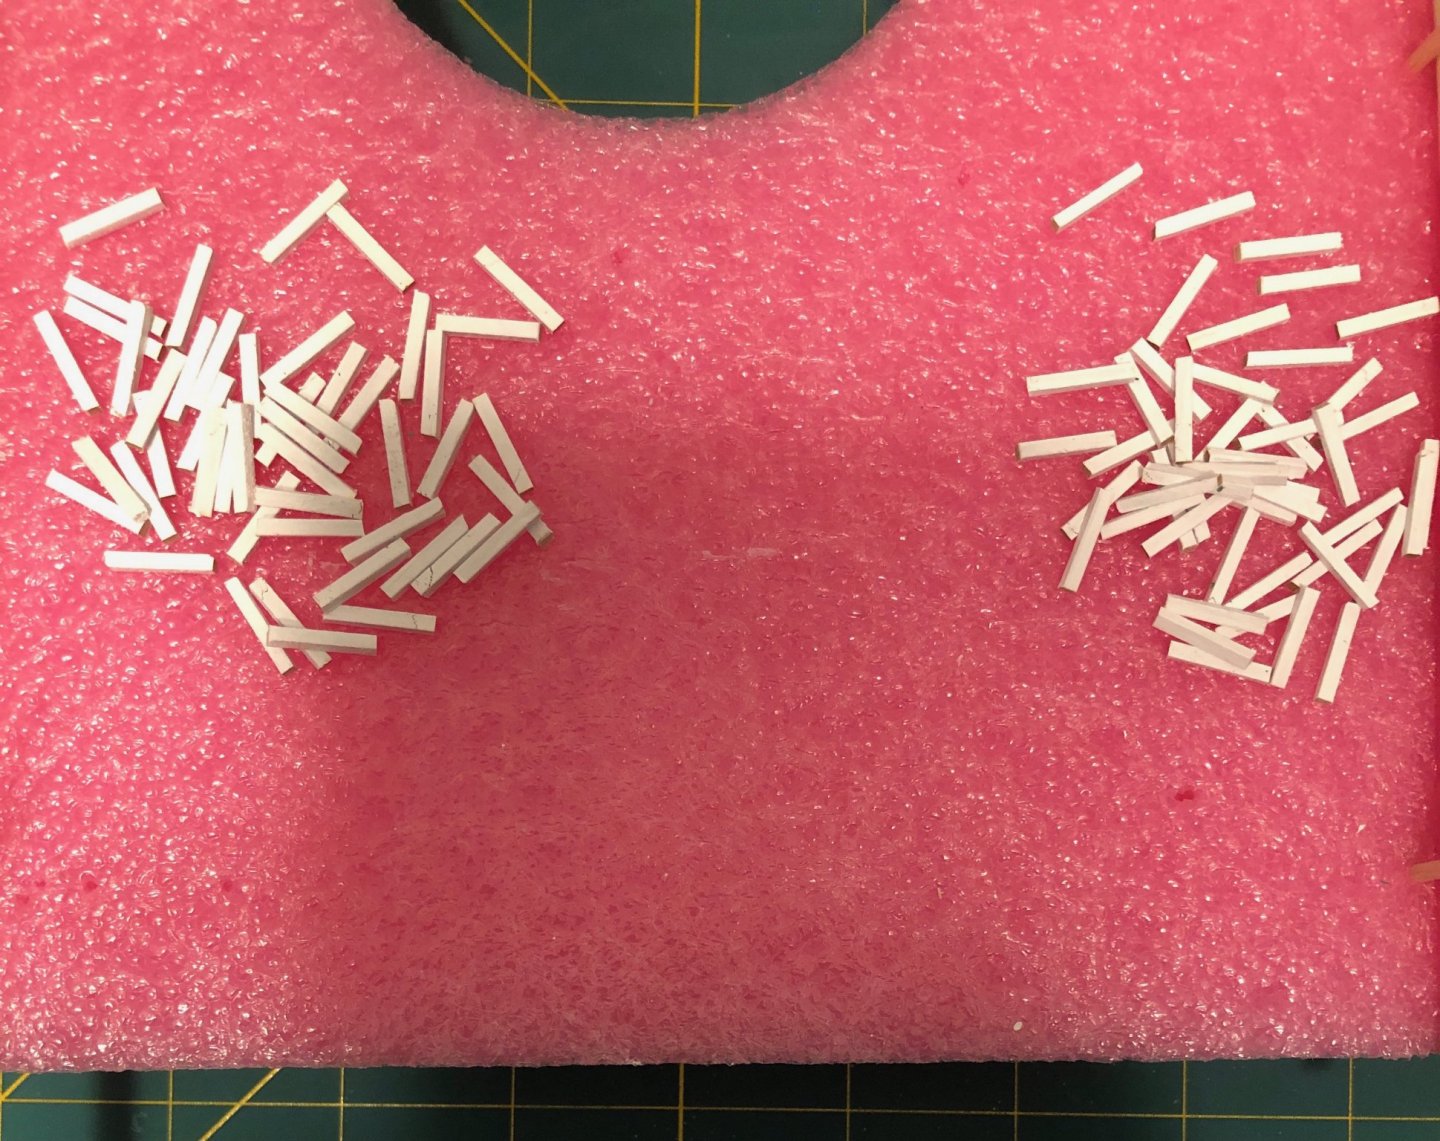
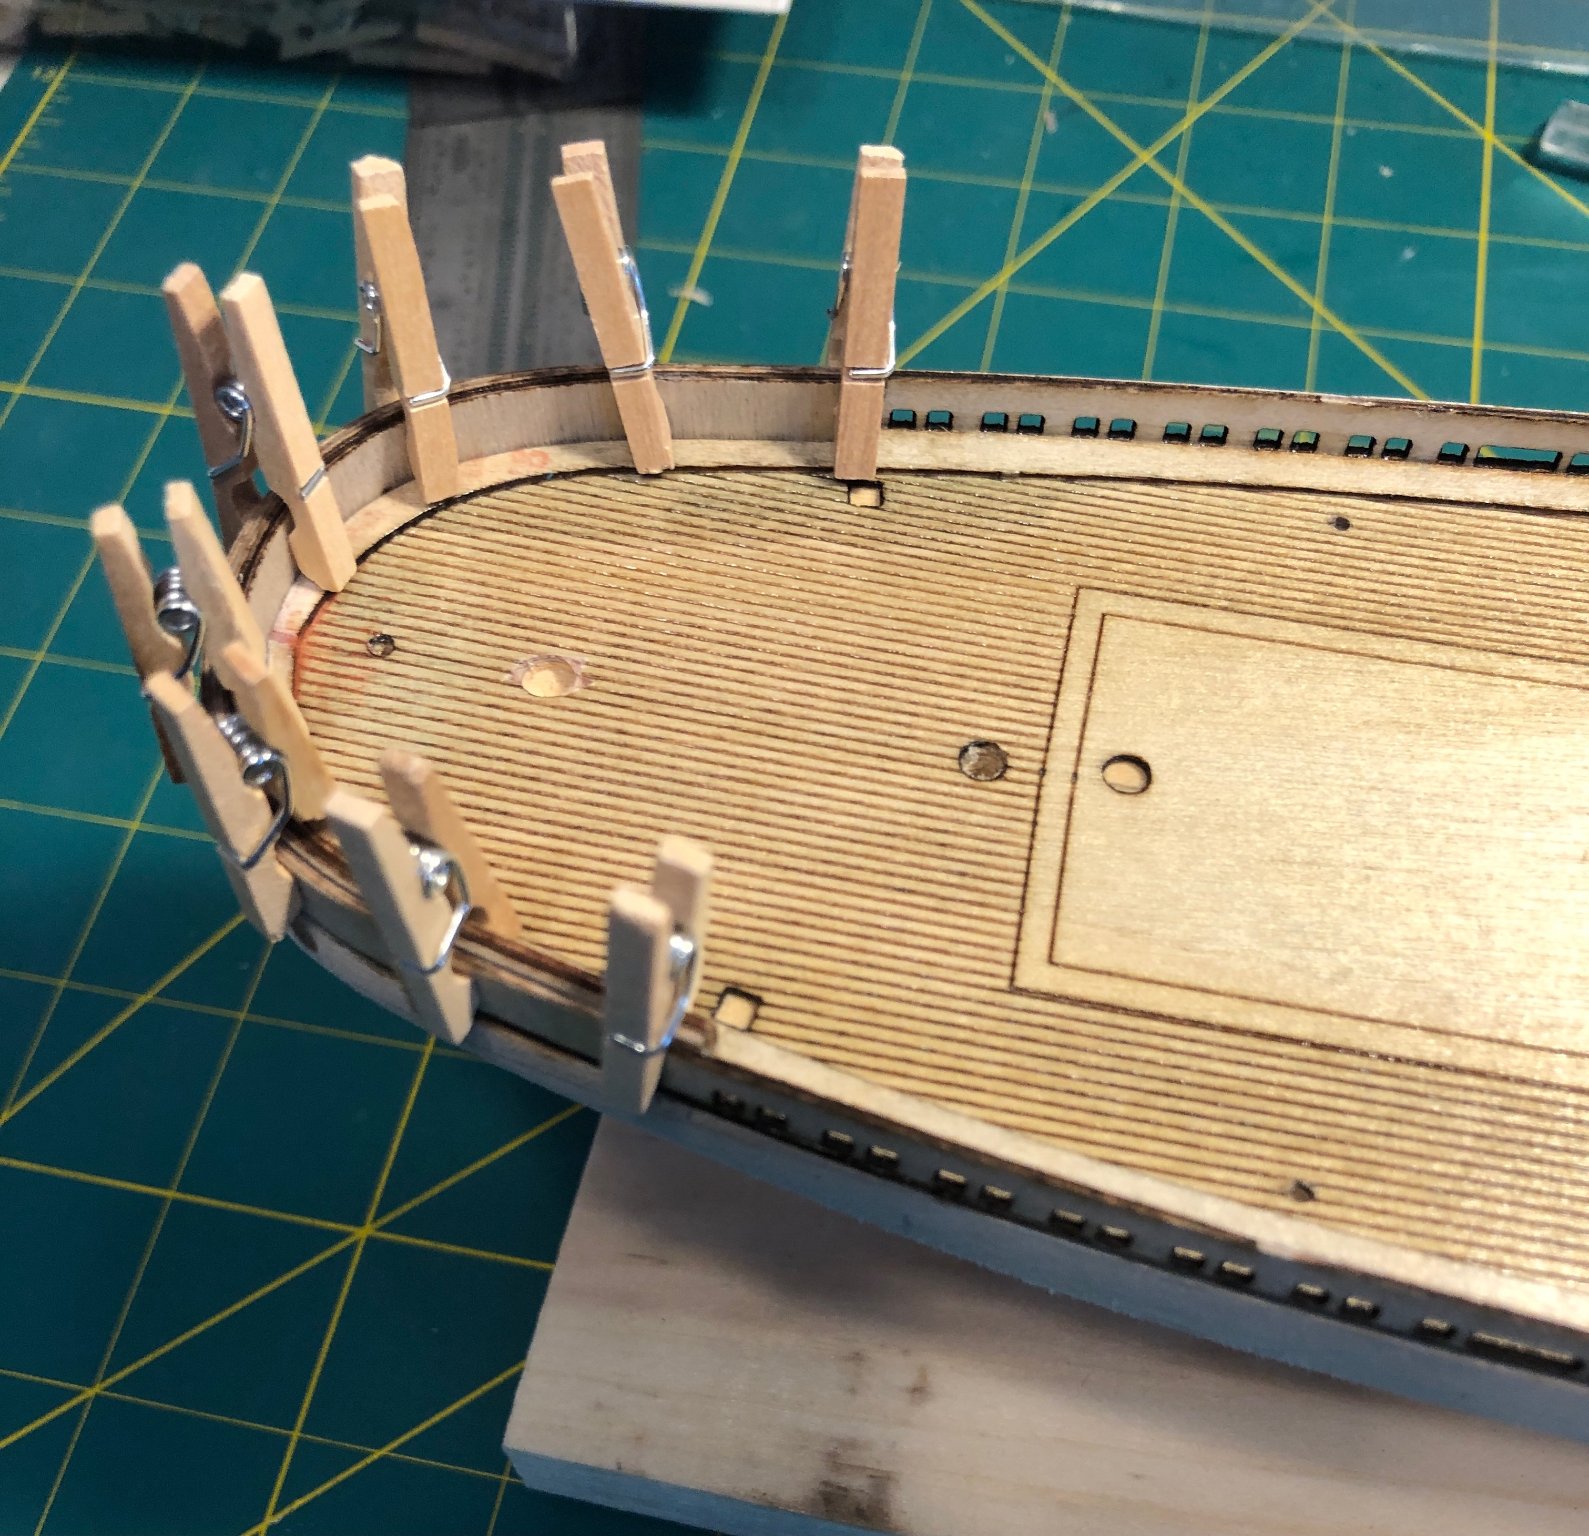
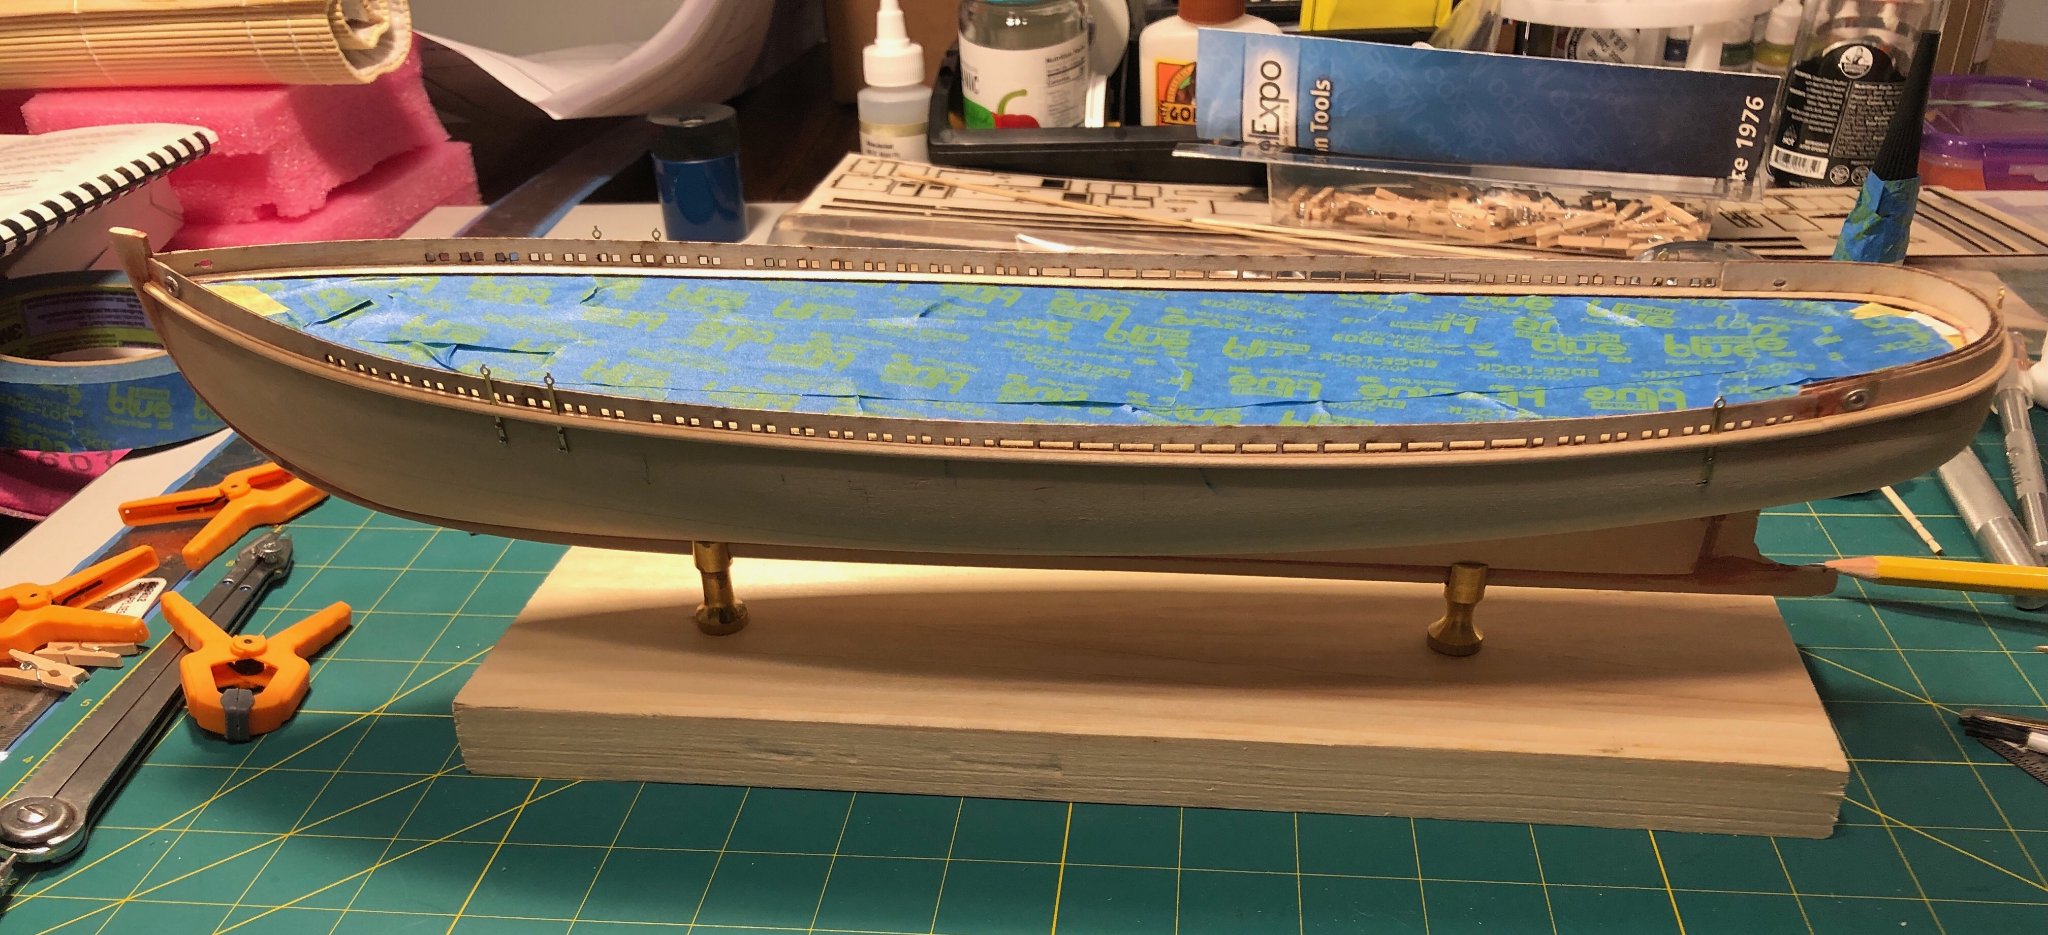
I painted then cut the timber heads to the instructed length.
Next step was to glue the timber heads to the water ways and against the bulwarks. The instructions stated that the timber heads should be perpendicular to the waterline, not the deck. I tried my best.
Here is the starboard side:
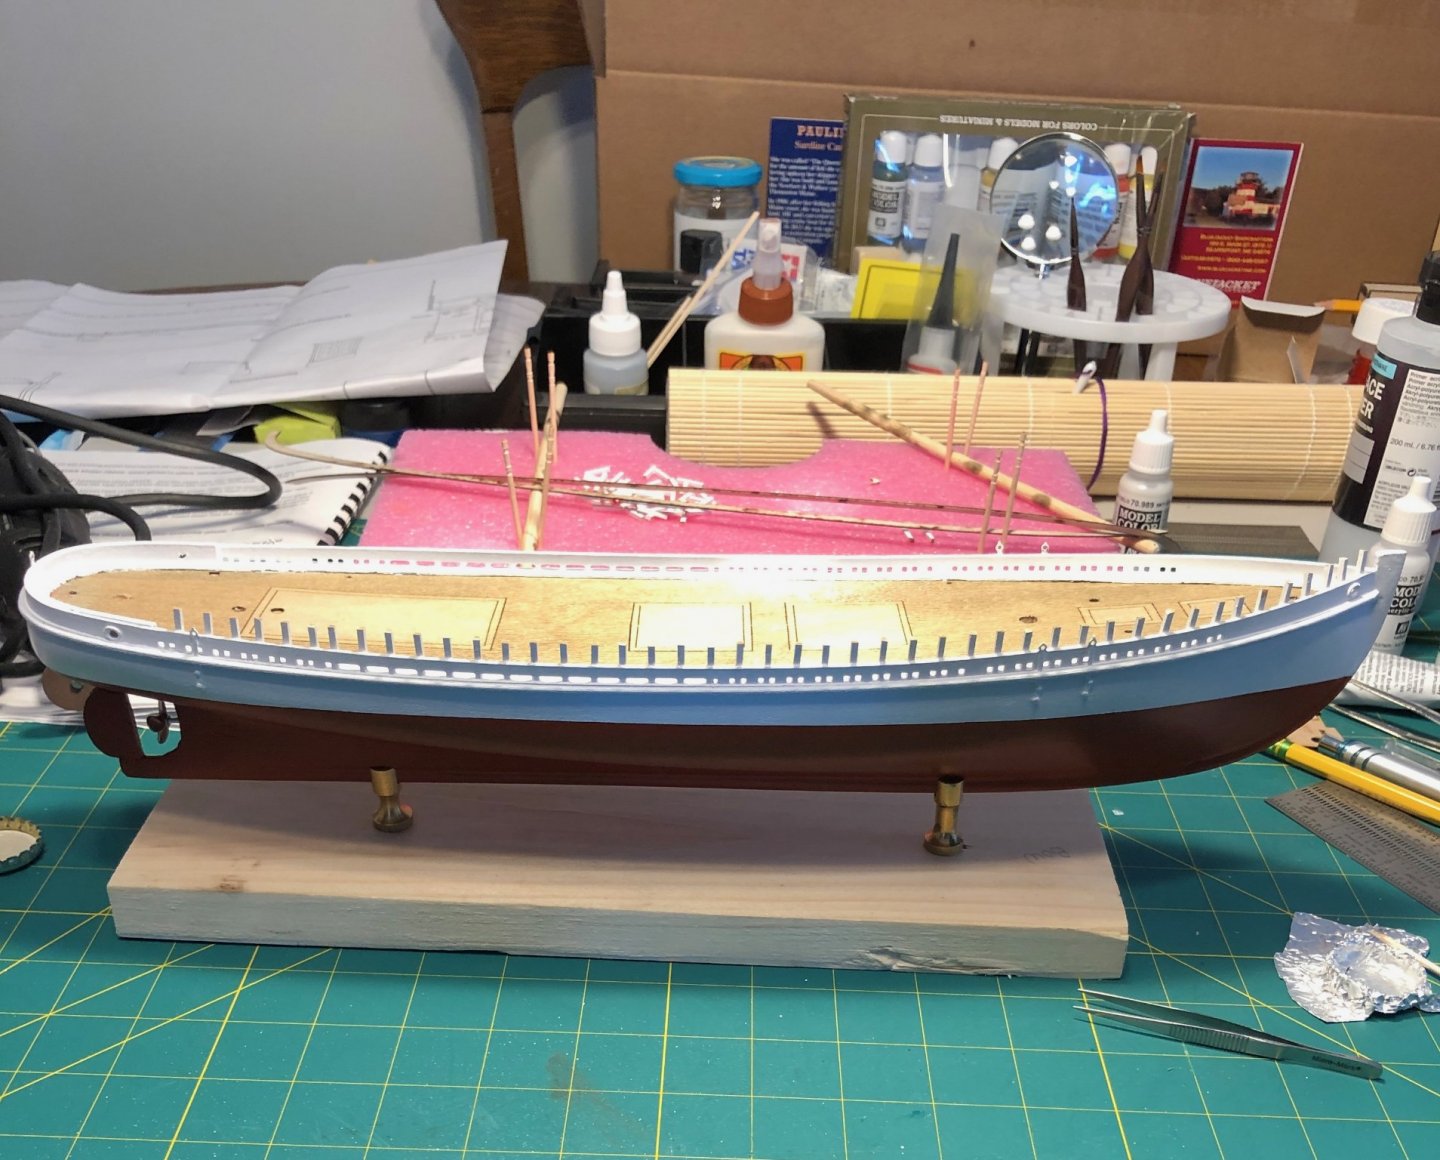
I needed to cut the excess off the timber heads, so that they would be even with the top of the bulwarks. I used my Dremel with a cut off disk.

Next, I had to do the same with the port side.
And the timber heads are in place.

-
She’s looking great! It’s not a race. Enjoy the build.
-
-
She’s looking great! Really nice job on the timber heads, as well as everything else.
-
-
Happy New Year!
I painted the hull white, marked the waterline and painted the bottom. The rudder and propeller has been installed. Now, I am preparing the timber heads that will be installed around the inner bulwarks.
- schooner, BobG, Duanelaker and 4 others
-
 7
7
-
A brief interlude:
I was telling my wife, Julie, how I wanted to go with a planking model after the Pauline. Yesterday this was under the tree!

Not only does she support my hobby, but she also listens to me. 😆
- yvesvidal, Duanelaker, FriedClams and 7 others
-
10
-
-
-
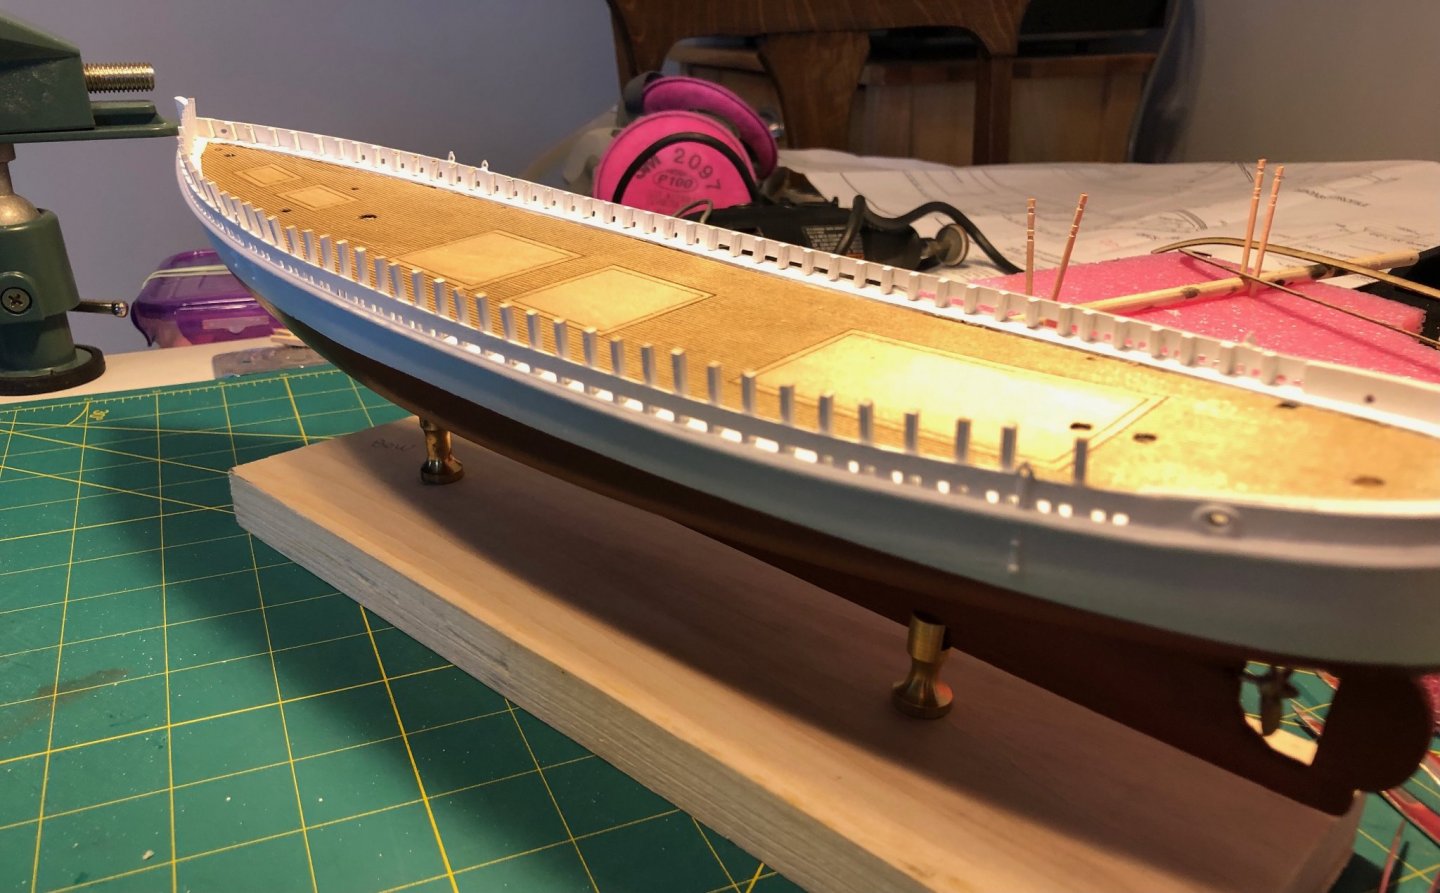
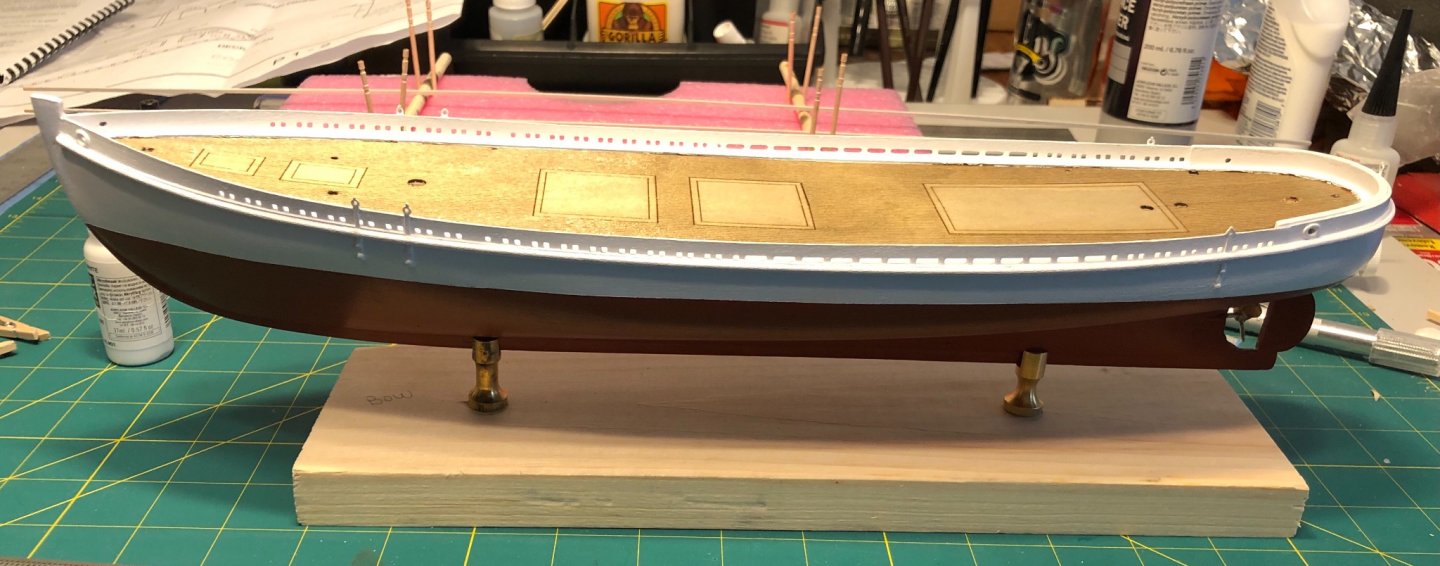
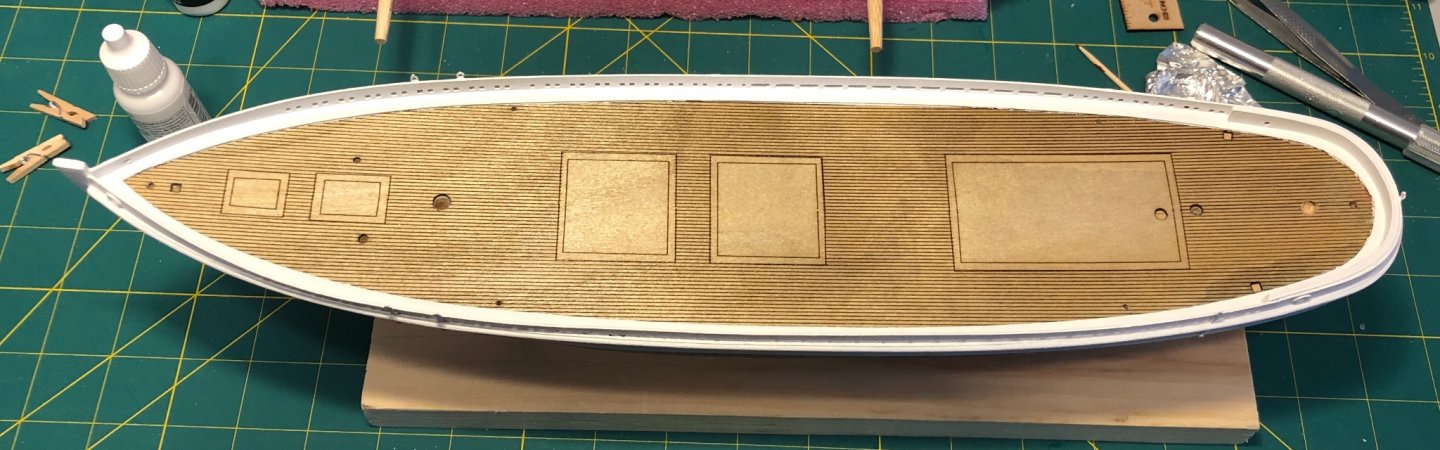
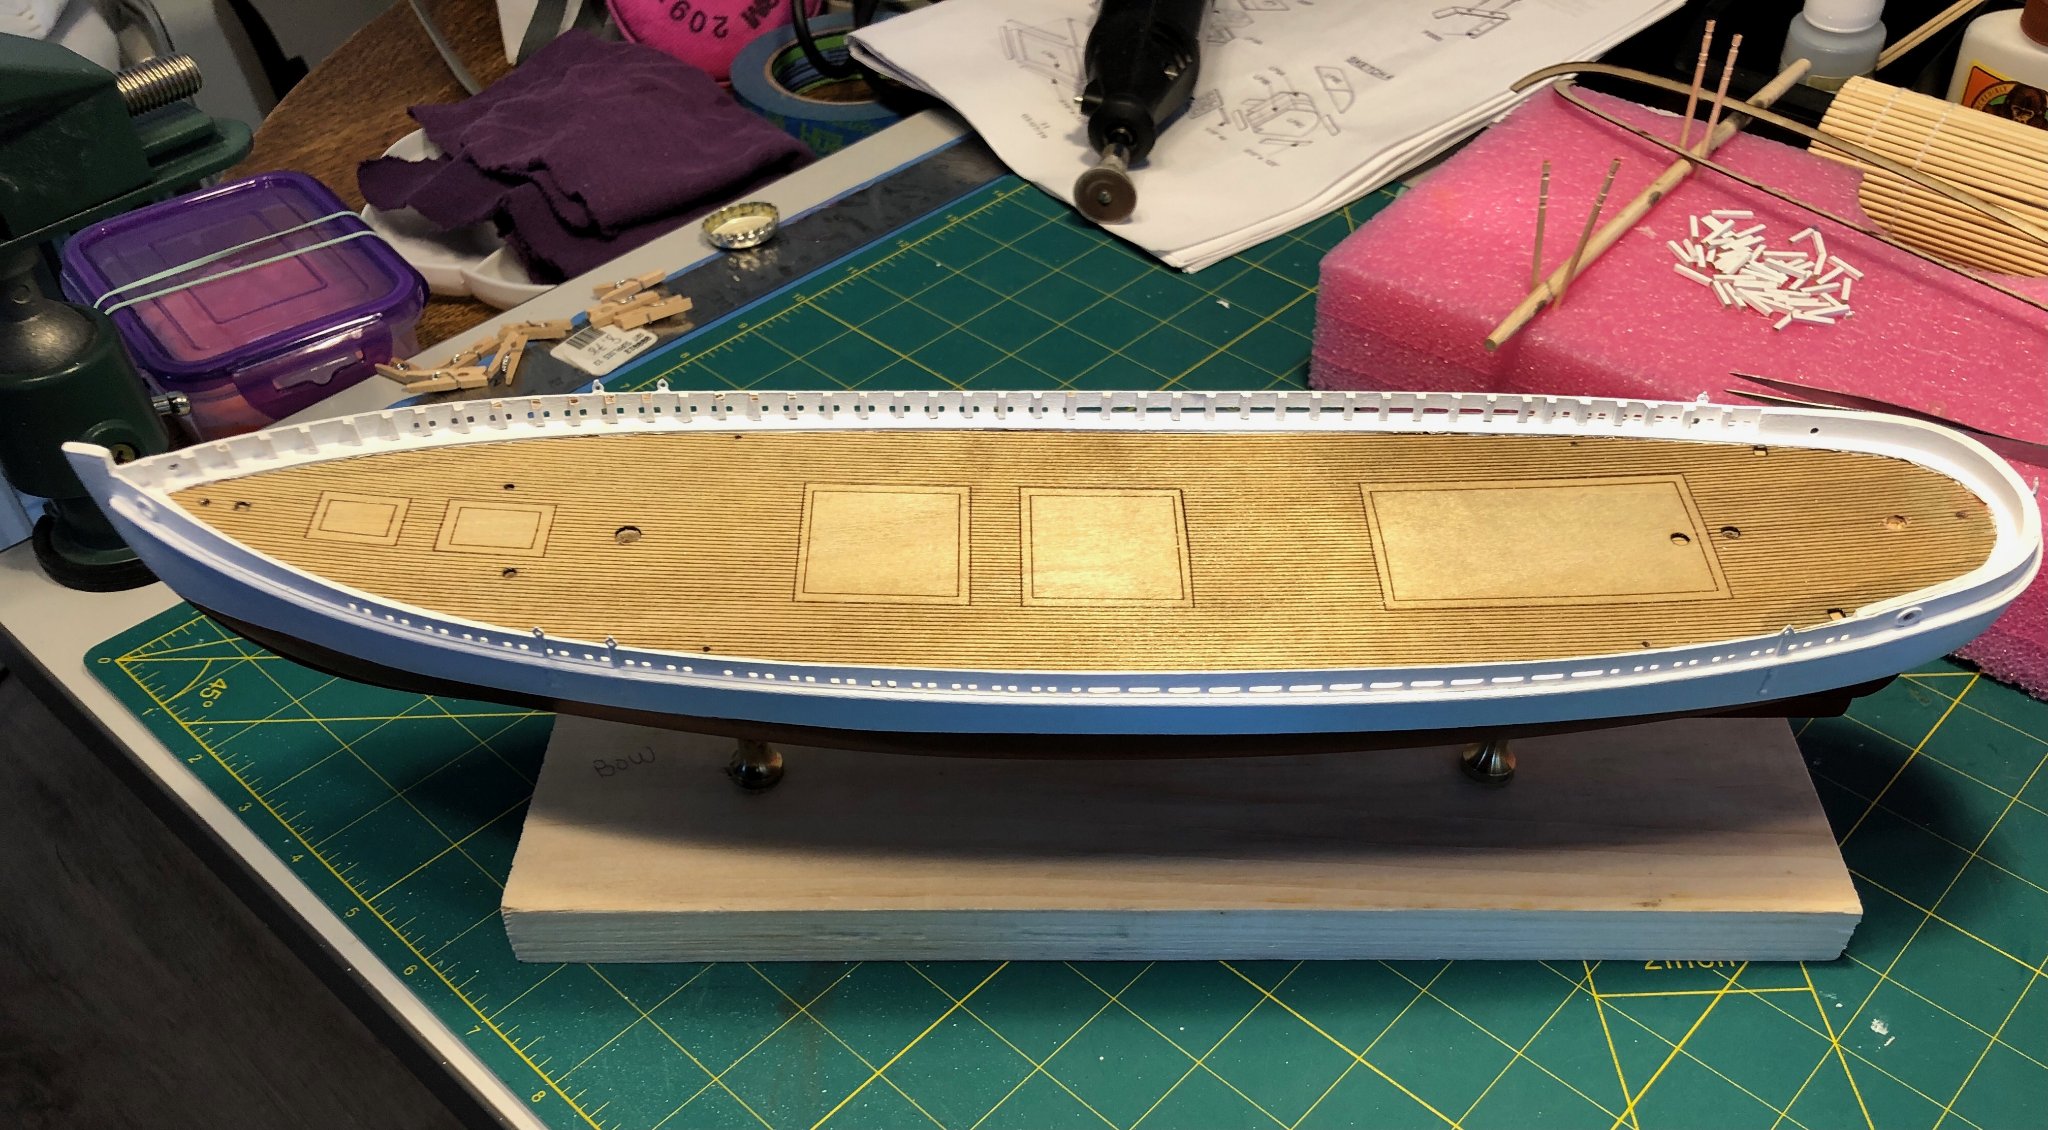
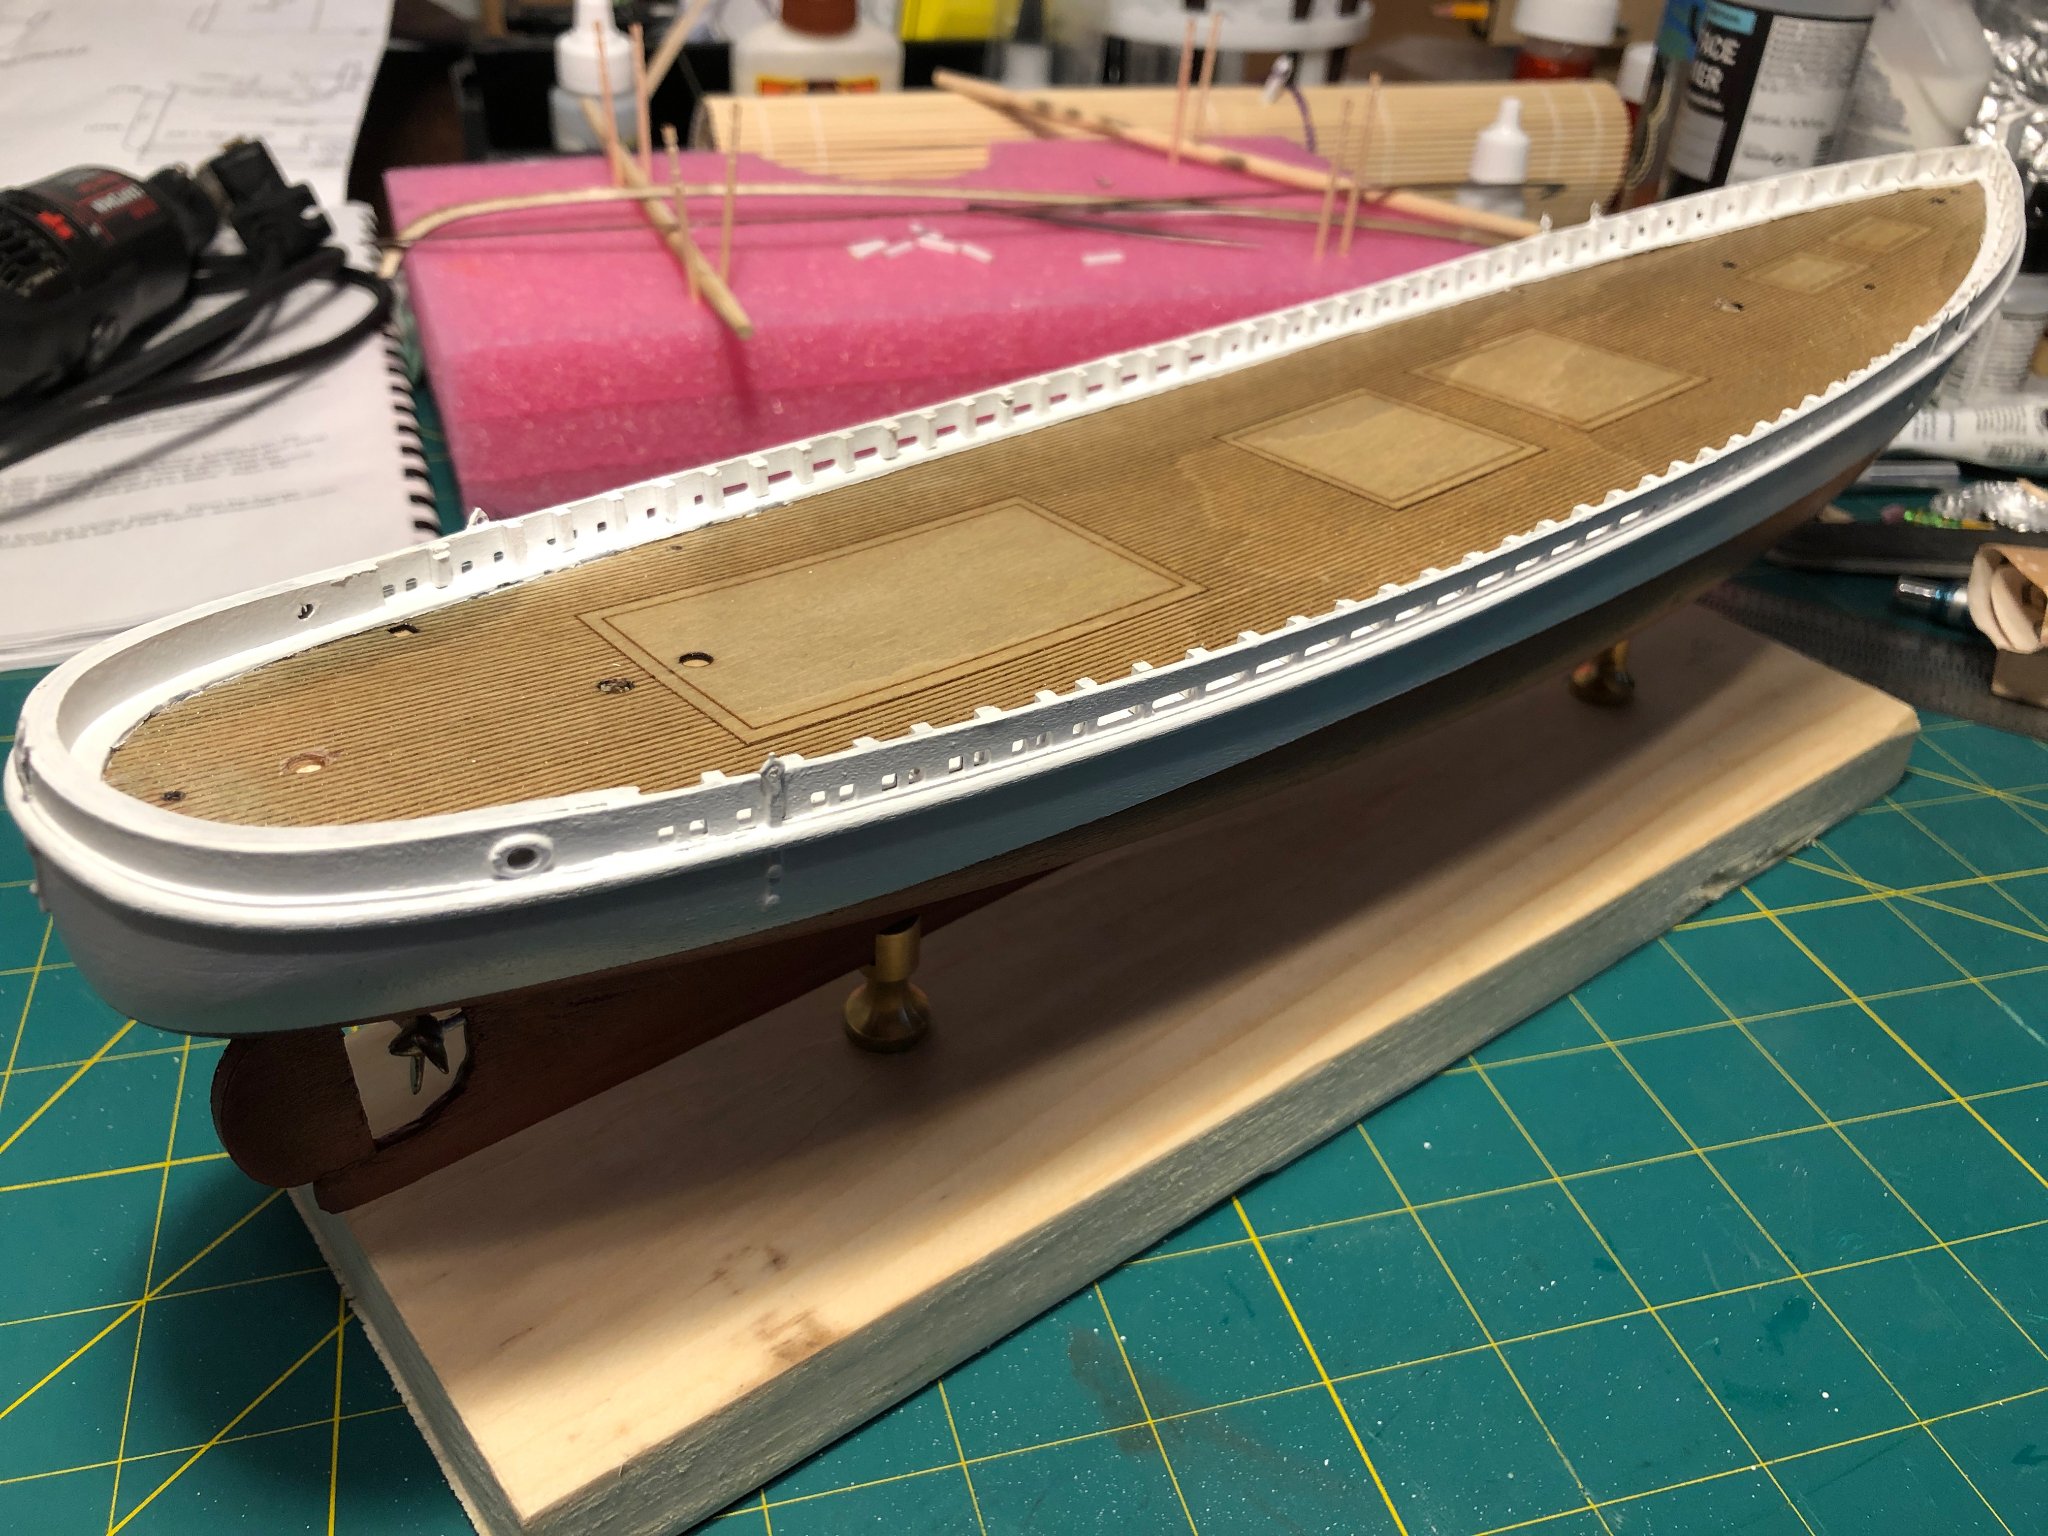
I have attached the inner aft bulwarks.

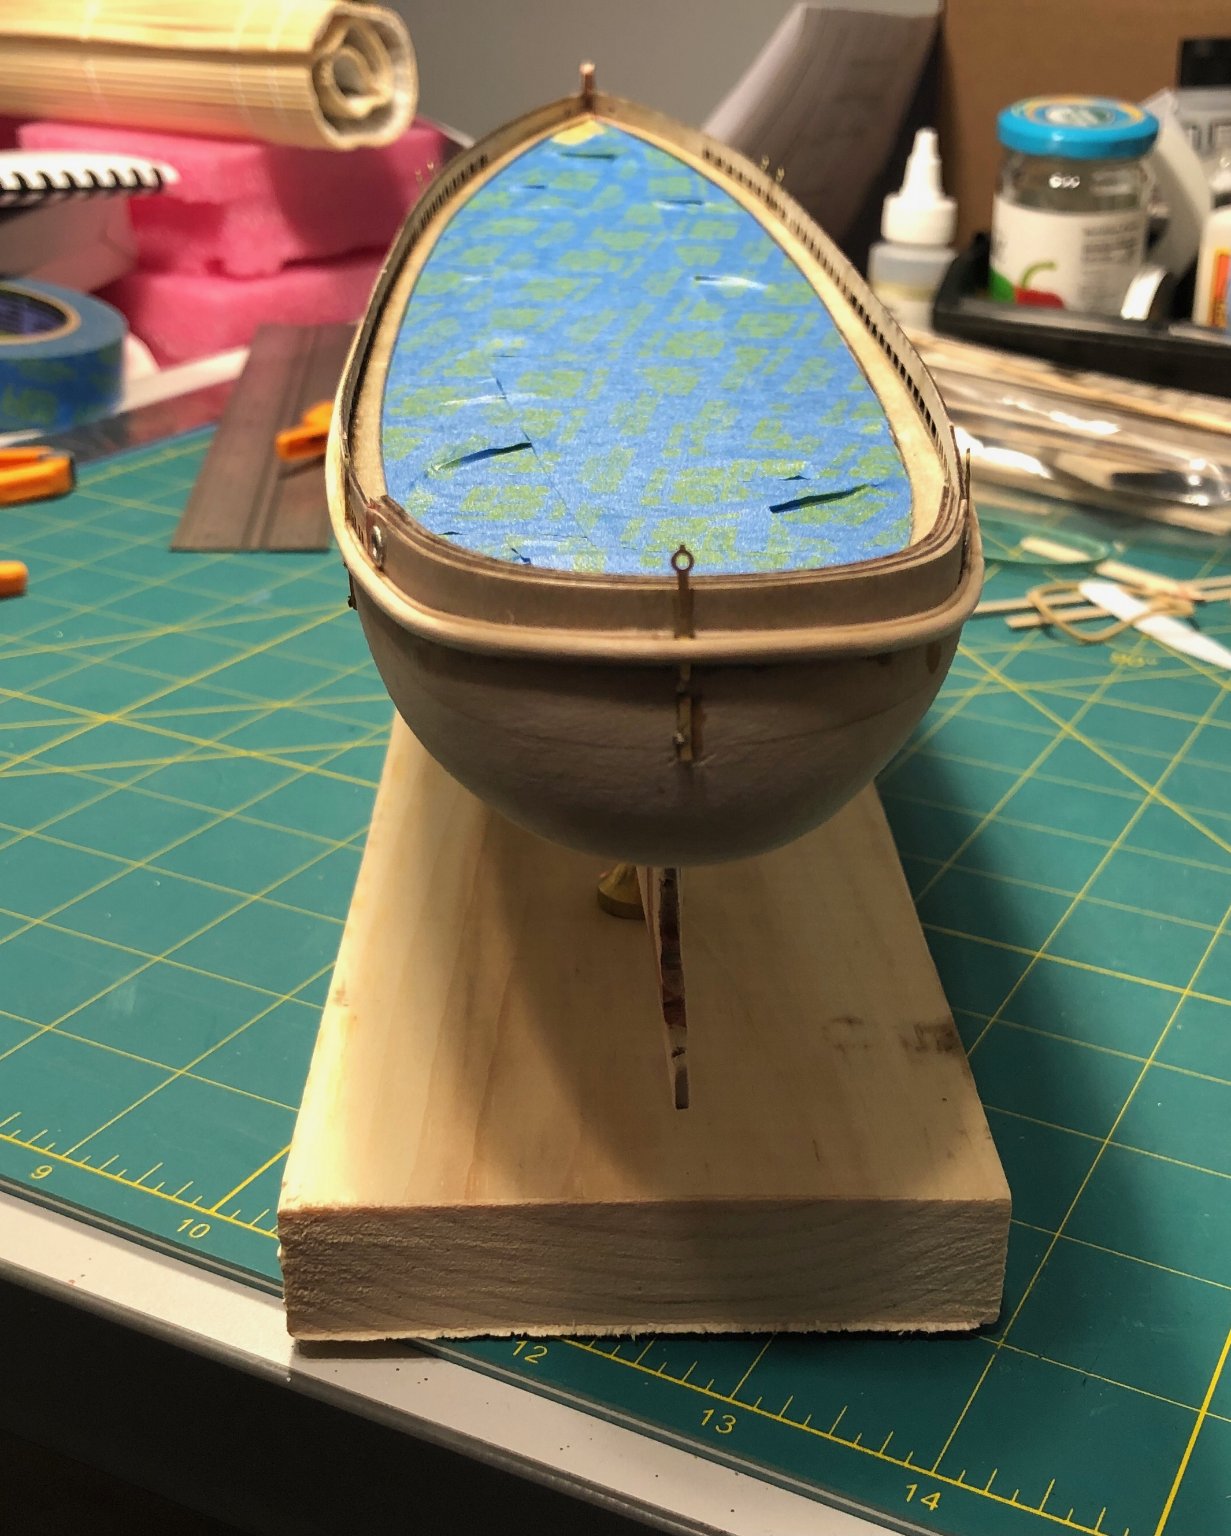
The instructions wanted me to mark the location of the four oval freeing ports and glue them in place. The kit supplied the four oval freeing ports/hawse lips. However, the plans only showed two, both on either side aft. I went back and checked all the photos I have gathered of the Pauline and found some images showed four, two aft and two forward and other photos only showed the two aft ports. I got hung up on this and went back and forth until I decided to use four. It made sense to me that these freeing ports or hawse pipe lips would be desirable both forward and aft, especially when securing the boat to the dock.
Once I positioned the lips I drilled them out and used a needle file to shape the openings to match.
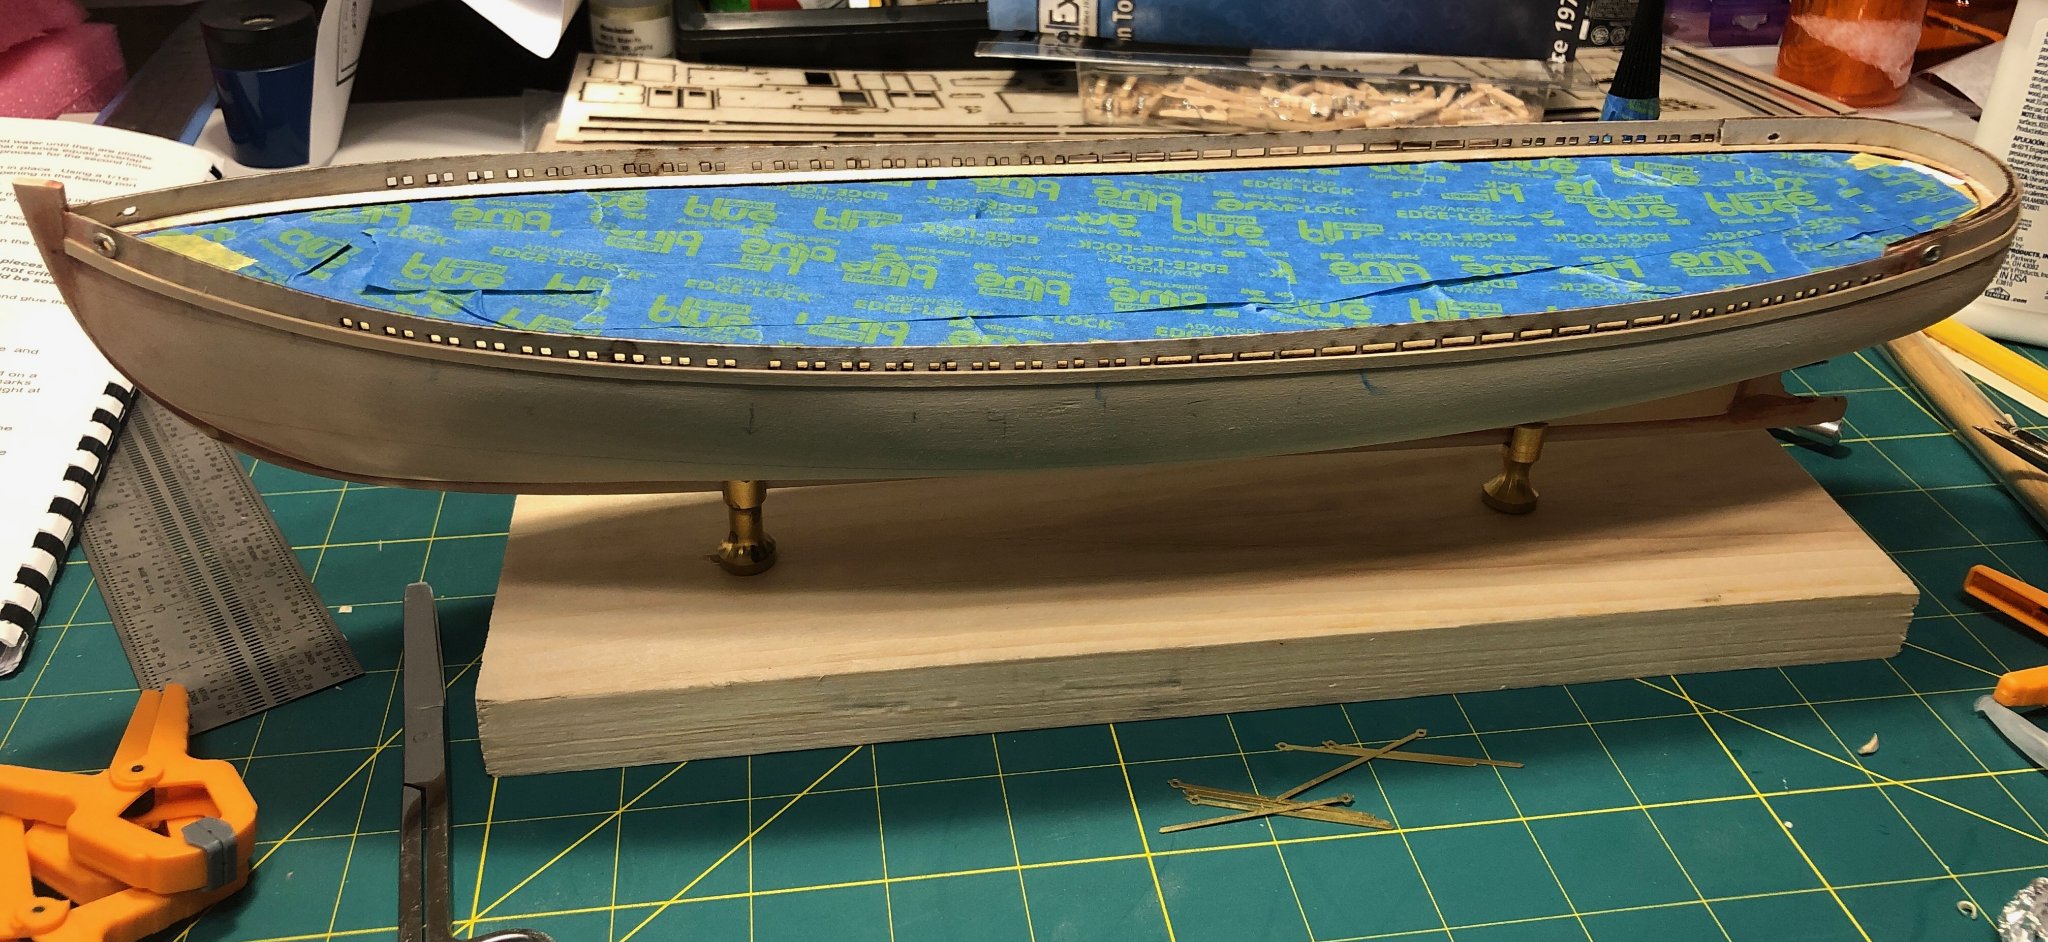
Next, I fitted and glued the sheer moldings onto the hull. Then I marked the location of the chain plates on the sheer moldings and notched the strips. After gluing the chain plates on the hull I drilled holes in each and glued pins into each hole.

My next step was to fit and place the sheer rub rails onto the sheer moldings. It needed to be done using three pieces, as the curve of the stern is tight. I soaked the piece for the stern in water, making it pliable and glued it on.

You can also see from the pics that I masked the deck off, readying the hull for final sanding, priming and painting; my next steps.
Finally, I would like to wish everyone here a Happy Holiday!

- VTHokiEE, FriedClams, Nirvana and 3 others
-
6
-
-
-


Pauline by pwog - FINISHED - BlueJacket Shipcrafters - 3/16" - Sardine Carrier
in - Kit build logs for subjects built from 1901 - Present Day
Posted
@MichaelW
Thanks for checking my log out. The Pauline has been a fun build, so far.