
pwog
-
Posts
221 -
Joined
-
Last visited
Content Type
Profiles
Forums
Gallery
Events
Posts posted by pwog
-
-
Looks great Melissa! This kit is next on my list. I’ll be referencing your log too.
-
-
-
Hello Everybody!
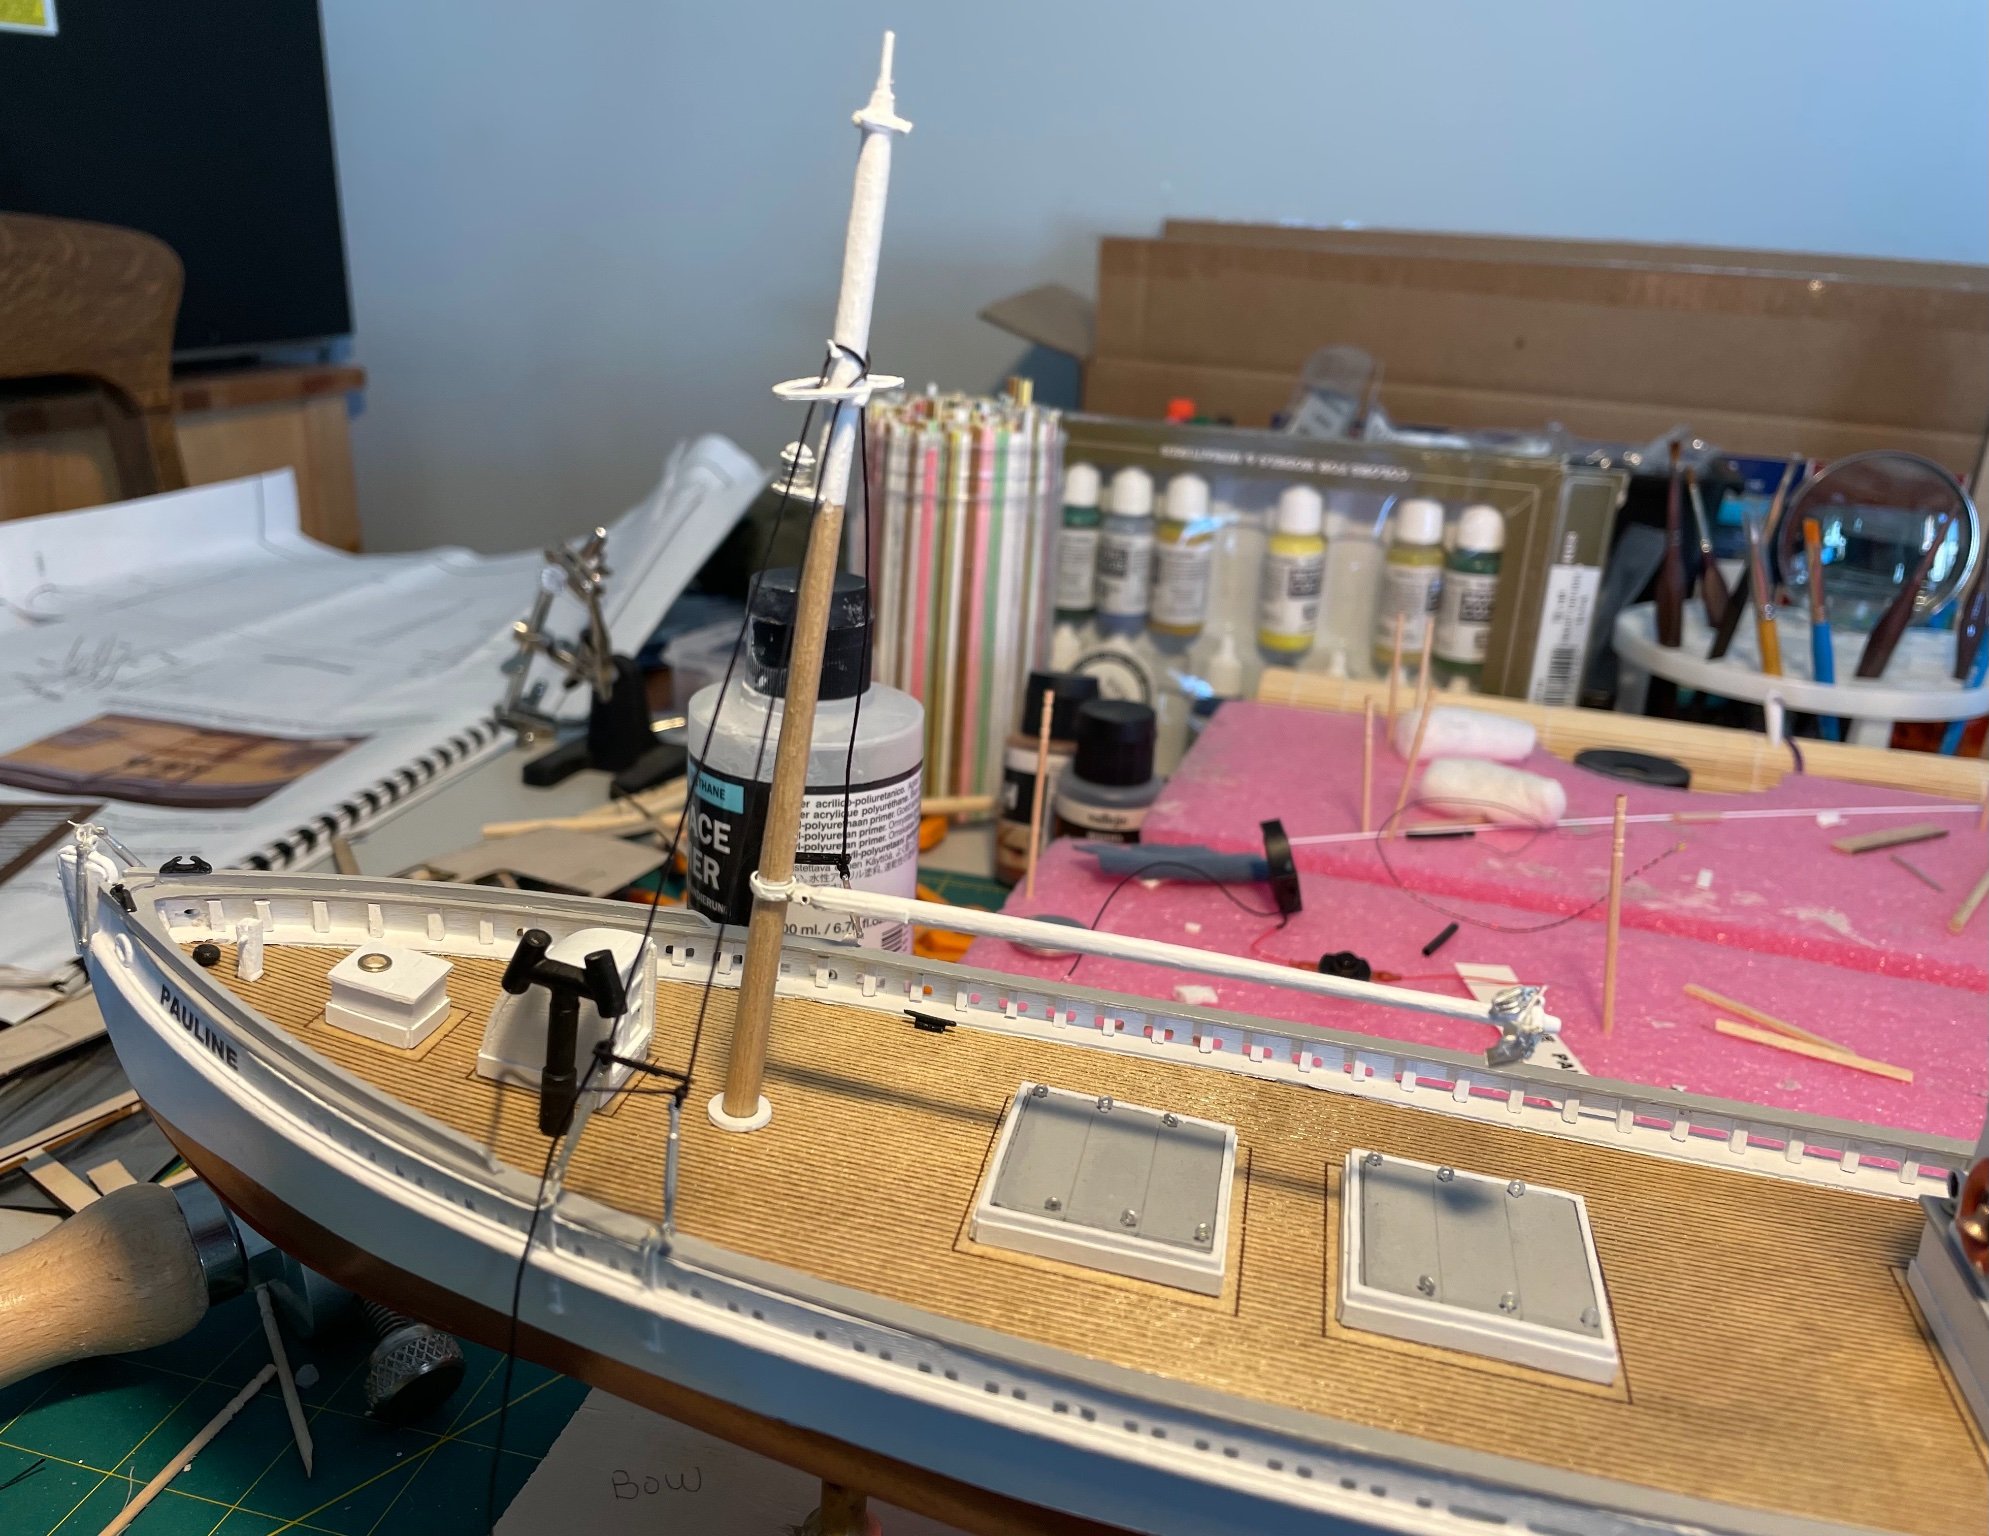
Now that my 1:1 boat is on the hard and ready for a long Maine winter, I am starting up again on the Pauline. It’s good to be back at it.
Although, the rigging on the Pauline looks very simple compared to that of sailing ships, this is my first attempt at rigging.
I’ve tied the turnbuckles to the eye pins and chain plates and tied the shrouds to the turnbuckles and mast. I also threaded the shrouds through the pin rails, as well. The laser cut pin rails that were included in the kit were so fragile that I ended up breaking both of them! So, I just made my own out of scraps.

- BobG, yvesvidal, FriedClams and 2 others
-
 5
5
-
-
Tim,
I'm just amazed that it's all paper,card stock! I think it looks great!
- Canute, Old Collingwood, VTHokiEE and 1 other
-
4
-
Hello Halvor,
I just came across your build. She's looking good. I've often eyed this kit. I'm going to follow your build, if you don't mind.
-
Hey Tim,
It looks great! I've never seen a card model before. I'm looking forward to watching your progress.
-
If you have any questions on my build, please don’t hesitate to ask. It’s a fun build. Enjoy!
-
-
Gary! There is no way your model will disappoint. It’s my gold standard. Enjoy the show and I hope you fill us in with details afterwards.
-
@FriedClams Thanks so much Gary. I am so happy that the boating season is back here in Maine. Now I have a list of new projects that need doing on my 1:1, as well. 🤣
-
-
Hi to all following this build.
I haven’t posted in a while, but I’ve been working steadily on “The Pauline”.
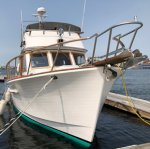
I’ve been busy getting my full scale boat ready for the season! We splashed last Thursday. The weather for Memorial Day weekend set us back a bit, but we’re in the water and looking forward to the season.

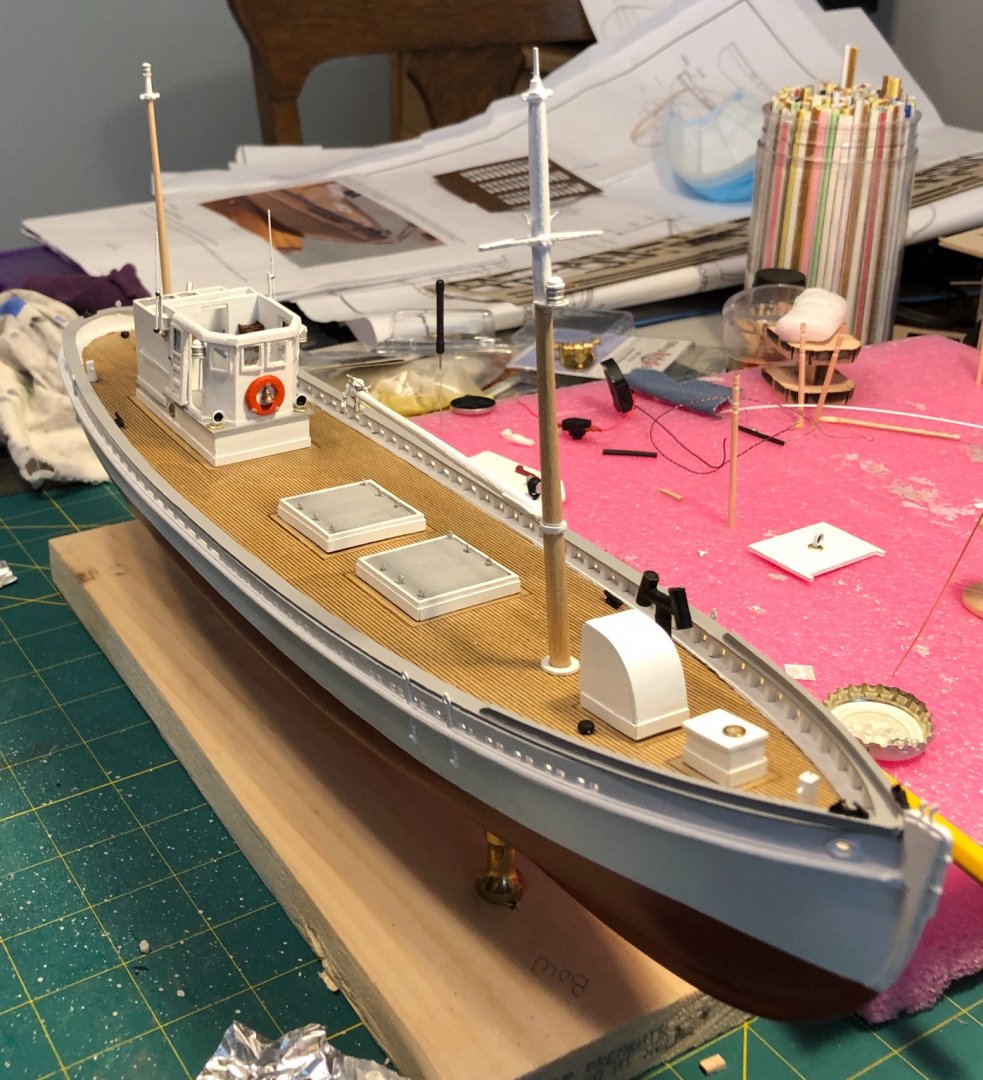
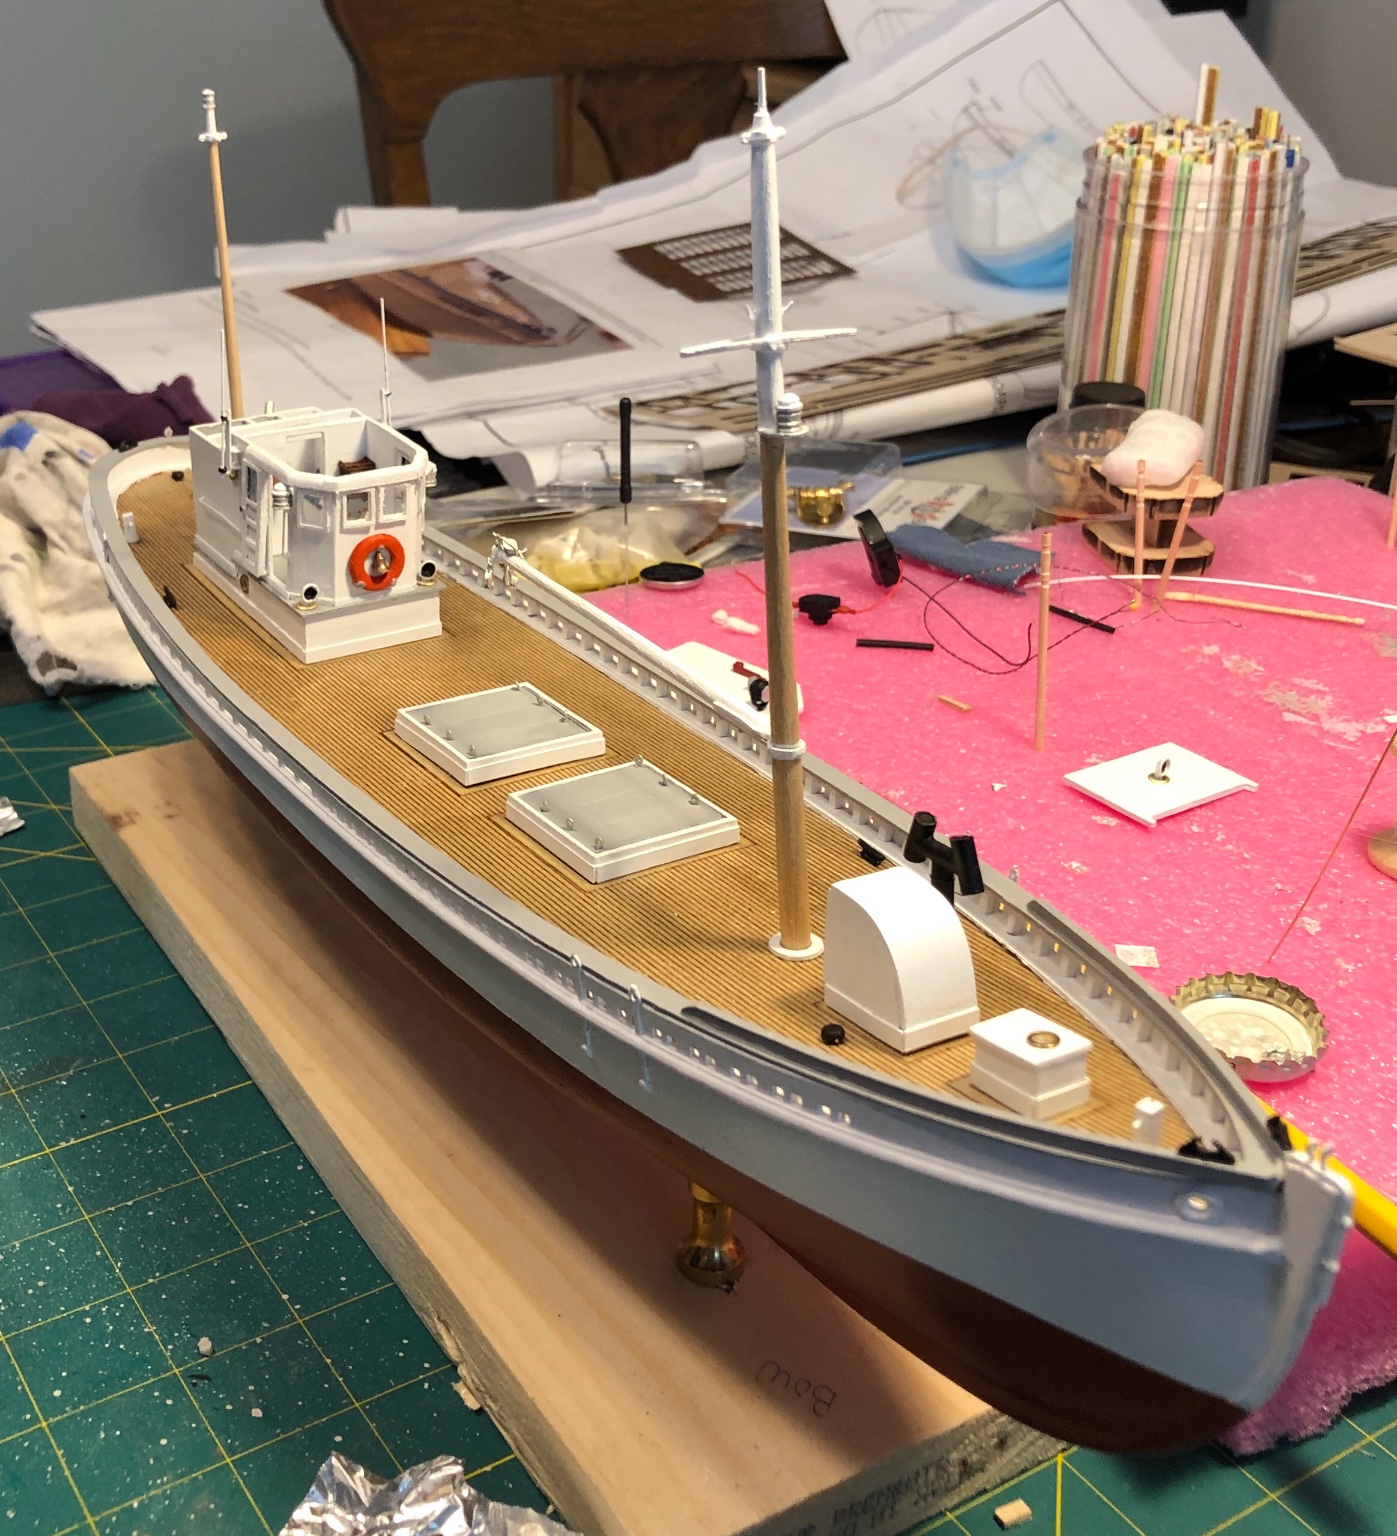
As far as “The Pauline” goes I am getting close. I have all the deck features built and mounted, now I have to rig her and I’m going to be adding some additions based on some photos I have of her.
Thanks if you guys are still following.
- gieb8688, Duanelaker, MrBlueJacket and 4 others
-
7
-
She looks great! The paint looks great too!
- Old Collingwood, Egilman, Canute and 2 others
-
5
-
Hey Popeye! I don't know how I missed the rest of this build. She looks fantastic! I love the "extras" you added.
-
Here's another update.
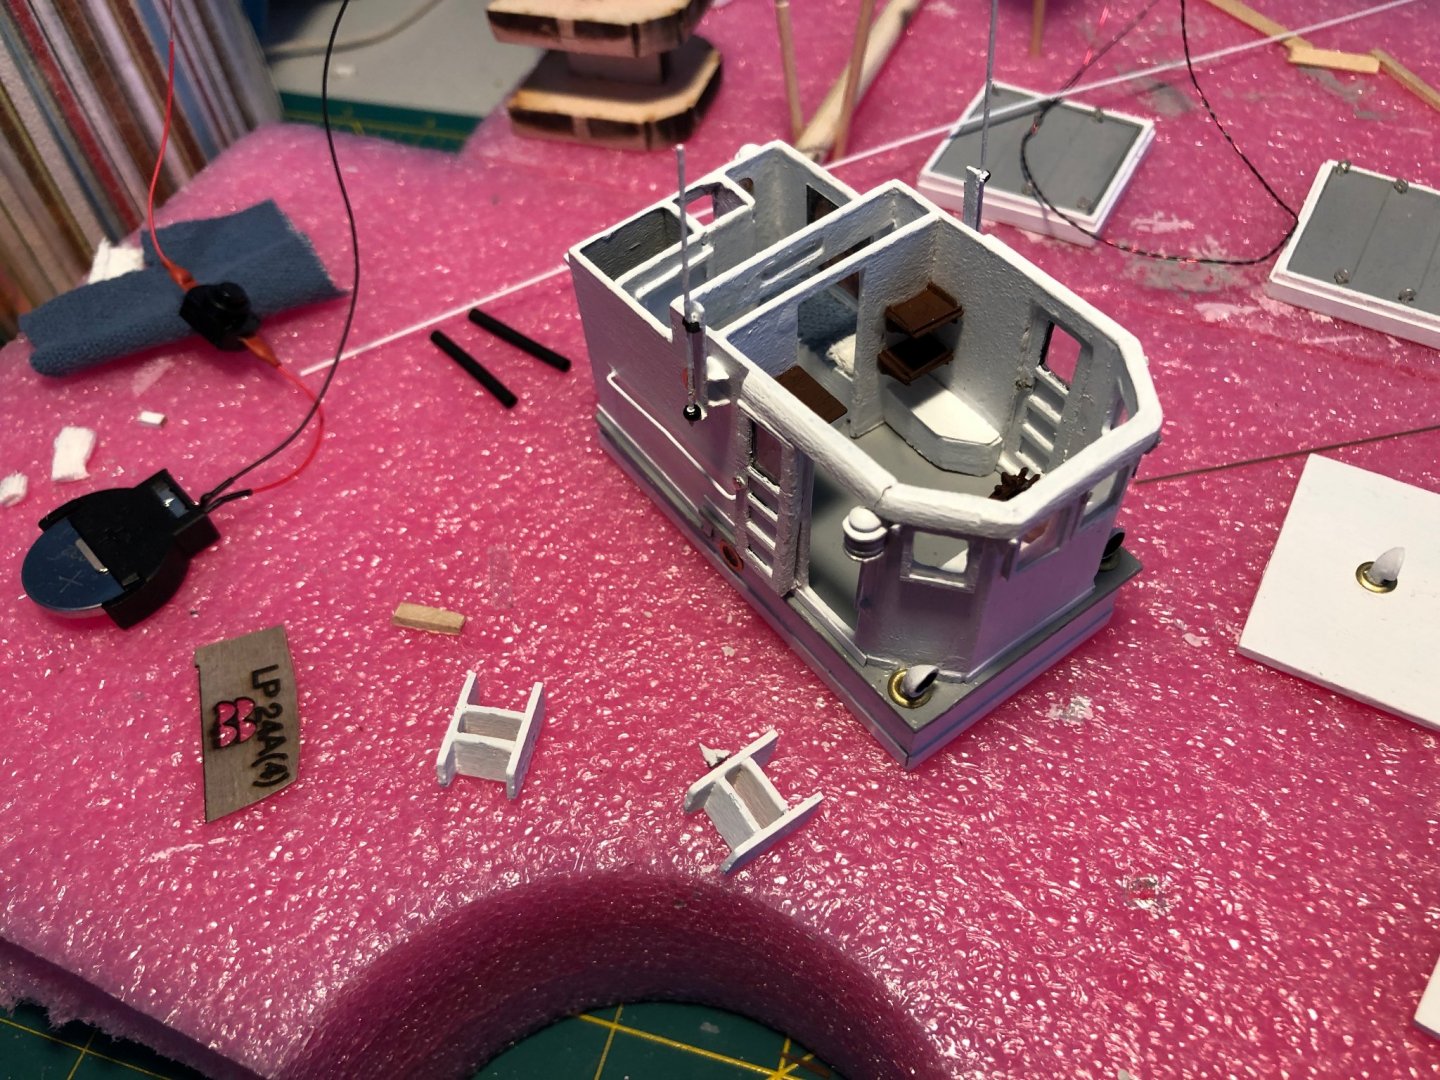
I am finished with the pilot house and stairs. I added the doors, lights, compass binnacle, wheel, engine controls, window frames, stairs, shelves, chart table and the antennas. The instructions suggested that I paint the antennas silver, but all the images I have of the original Pauline show them as white. So, that is how I painted them. The door on the starboard side is attached in the open position.
The pilot house was challenging for my skill level, but I am happy with my results. It's not perfect, but most of the wooden work boats that I have seen aren't either.
Now, I will start with the masts, booms and rigging.
- schooner, yvesvidal and FriedClams
-
3
-
@alross2 Thanks Al! I'm finding the challenge both rewarding and sometimes frustrating. But, afterall, it's my second build and I'm learning a lot!
-
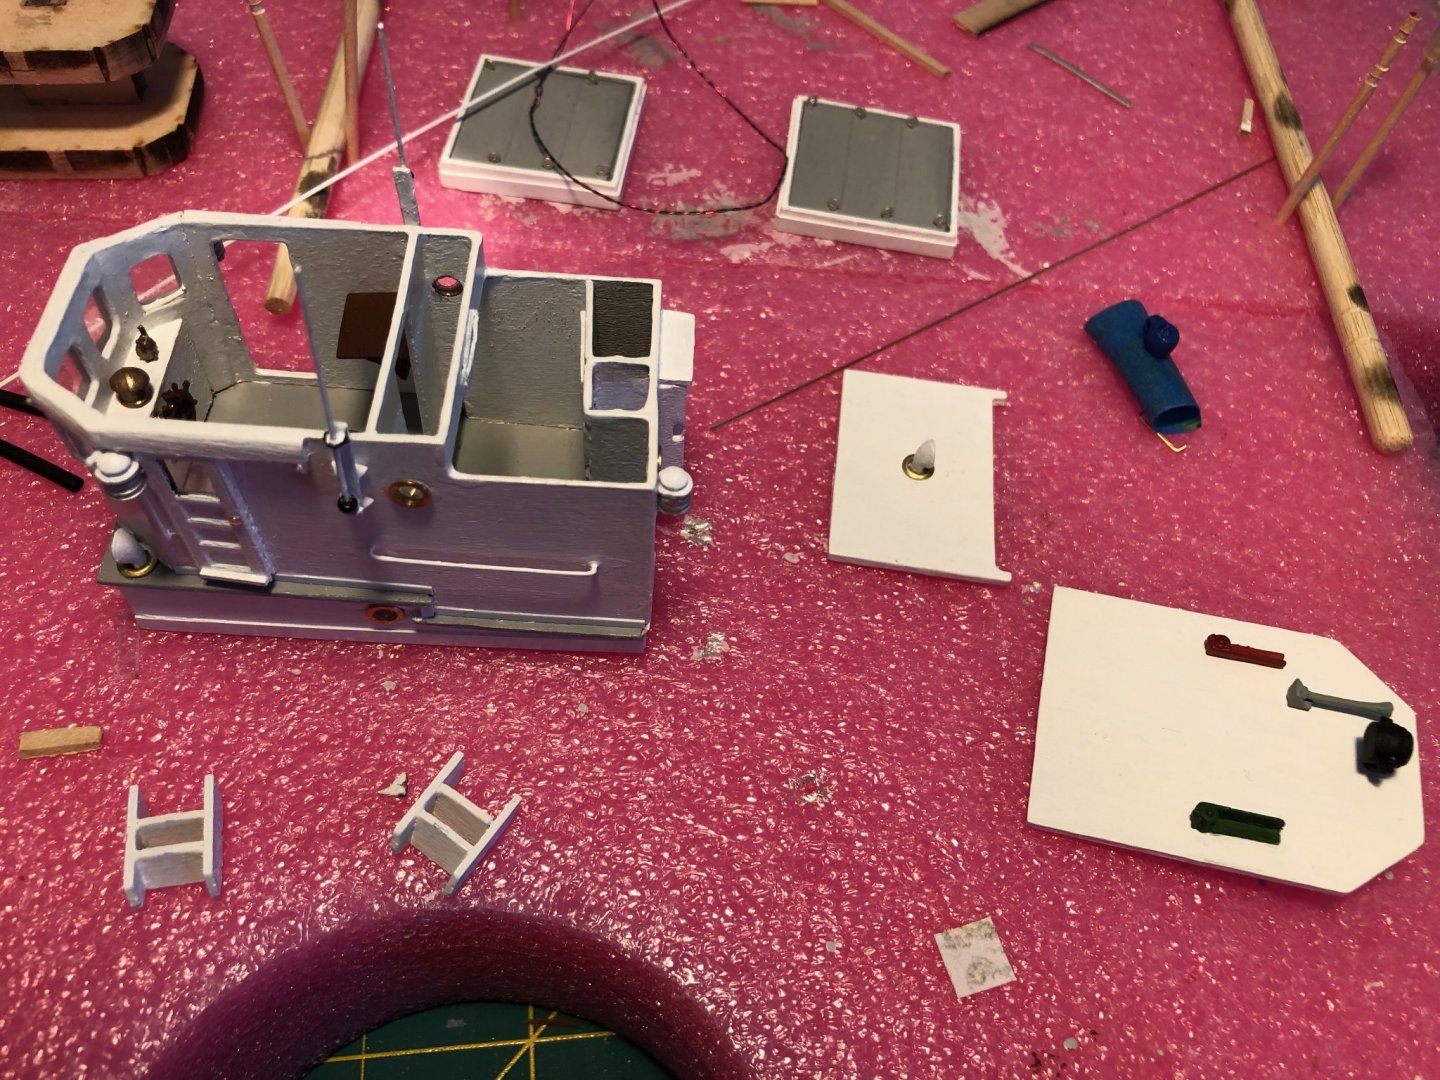
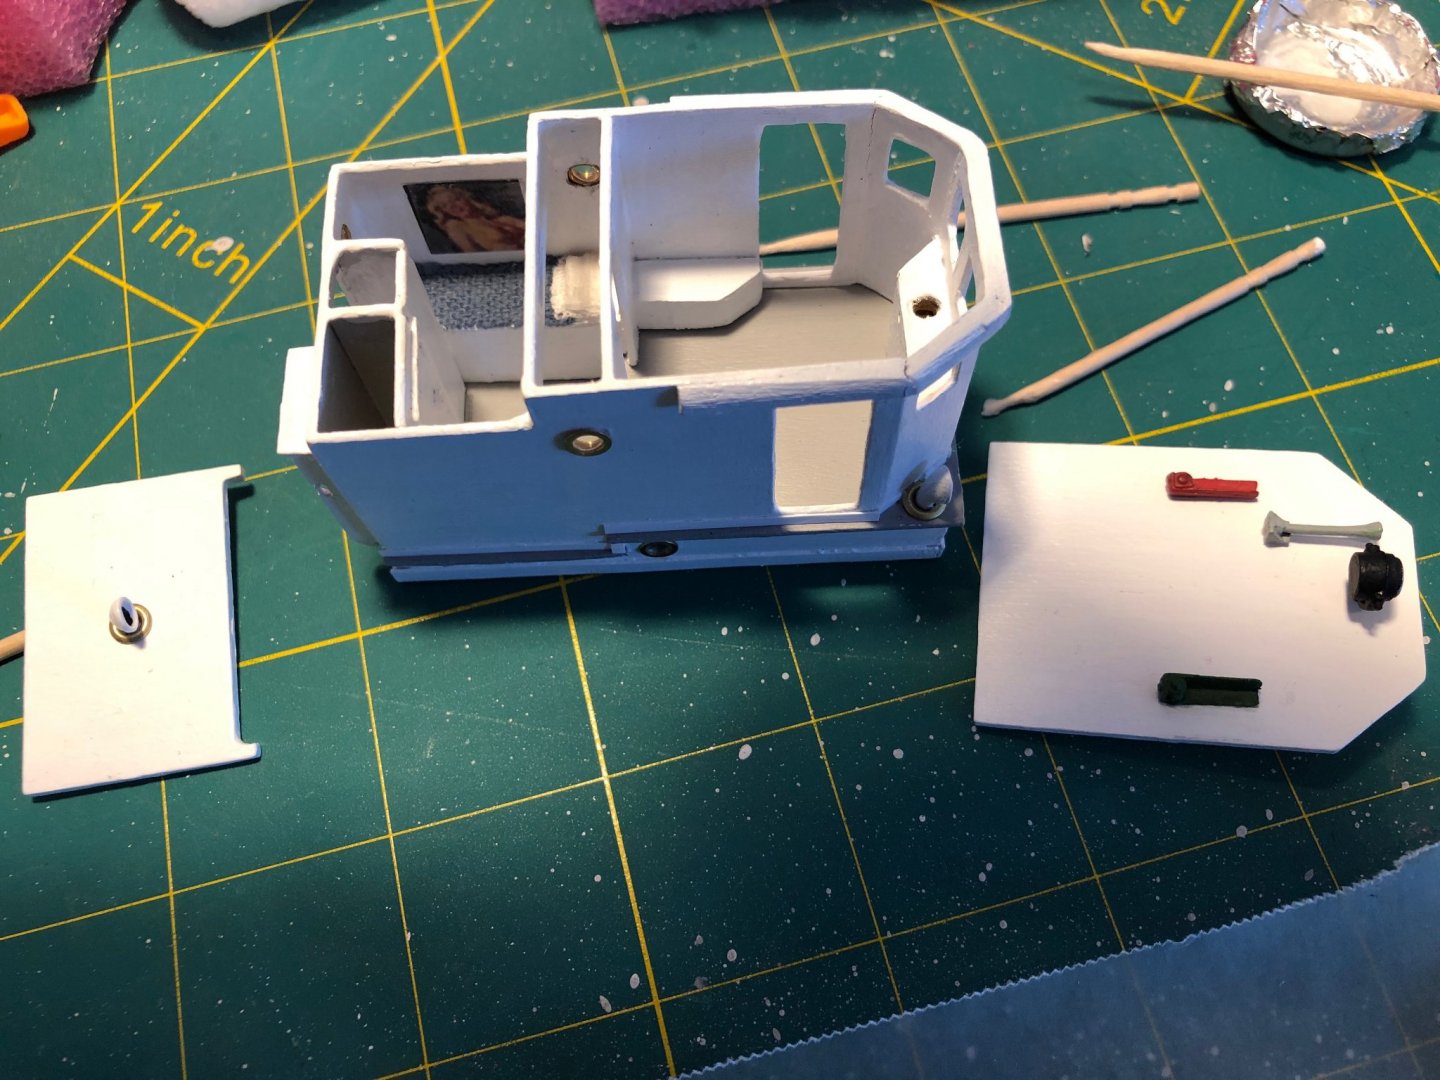
The instructions and BlueJacket say that the pilot house is a complicated build and that I should take my time. At least for me, this turned out to be true.
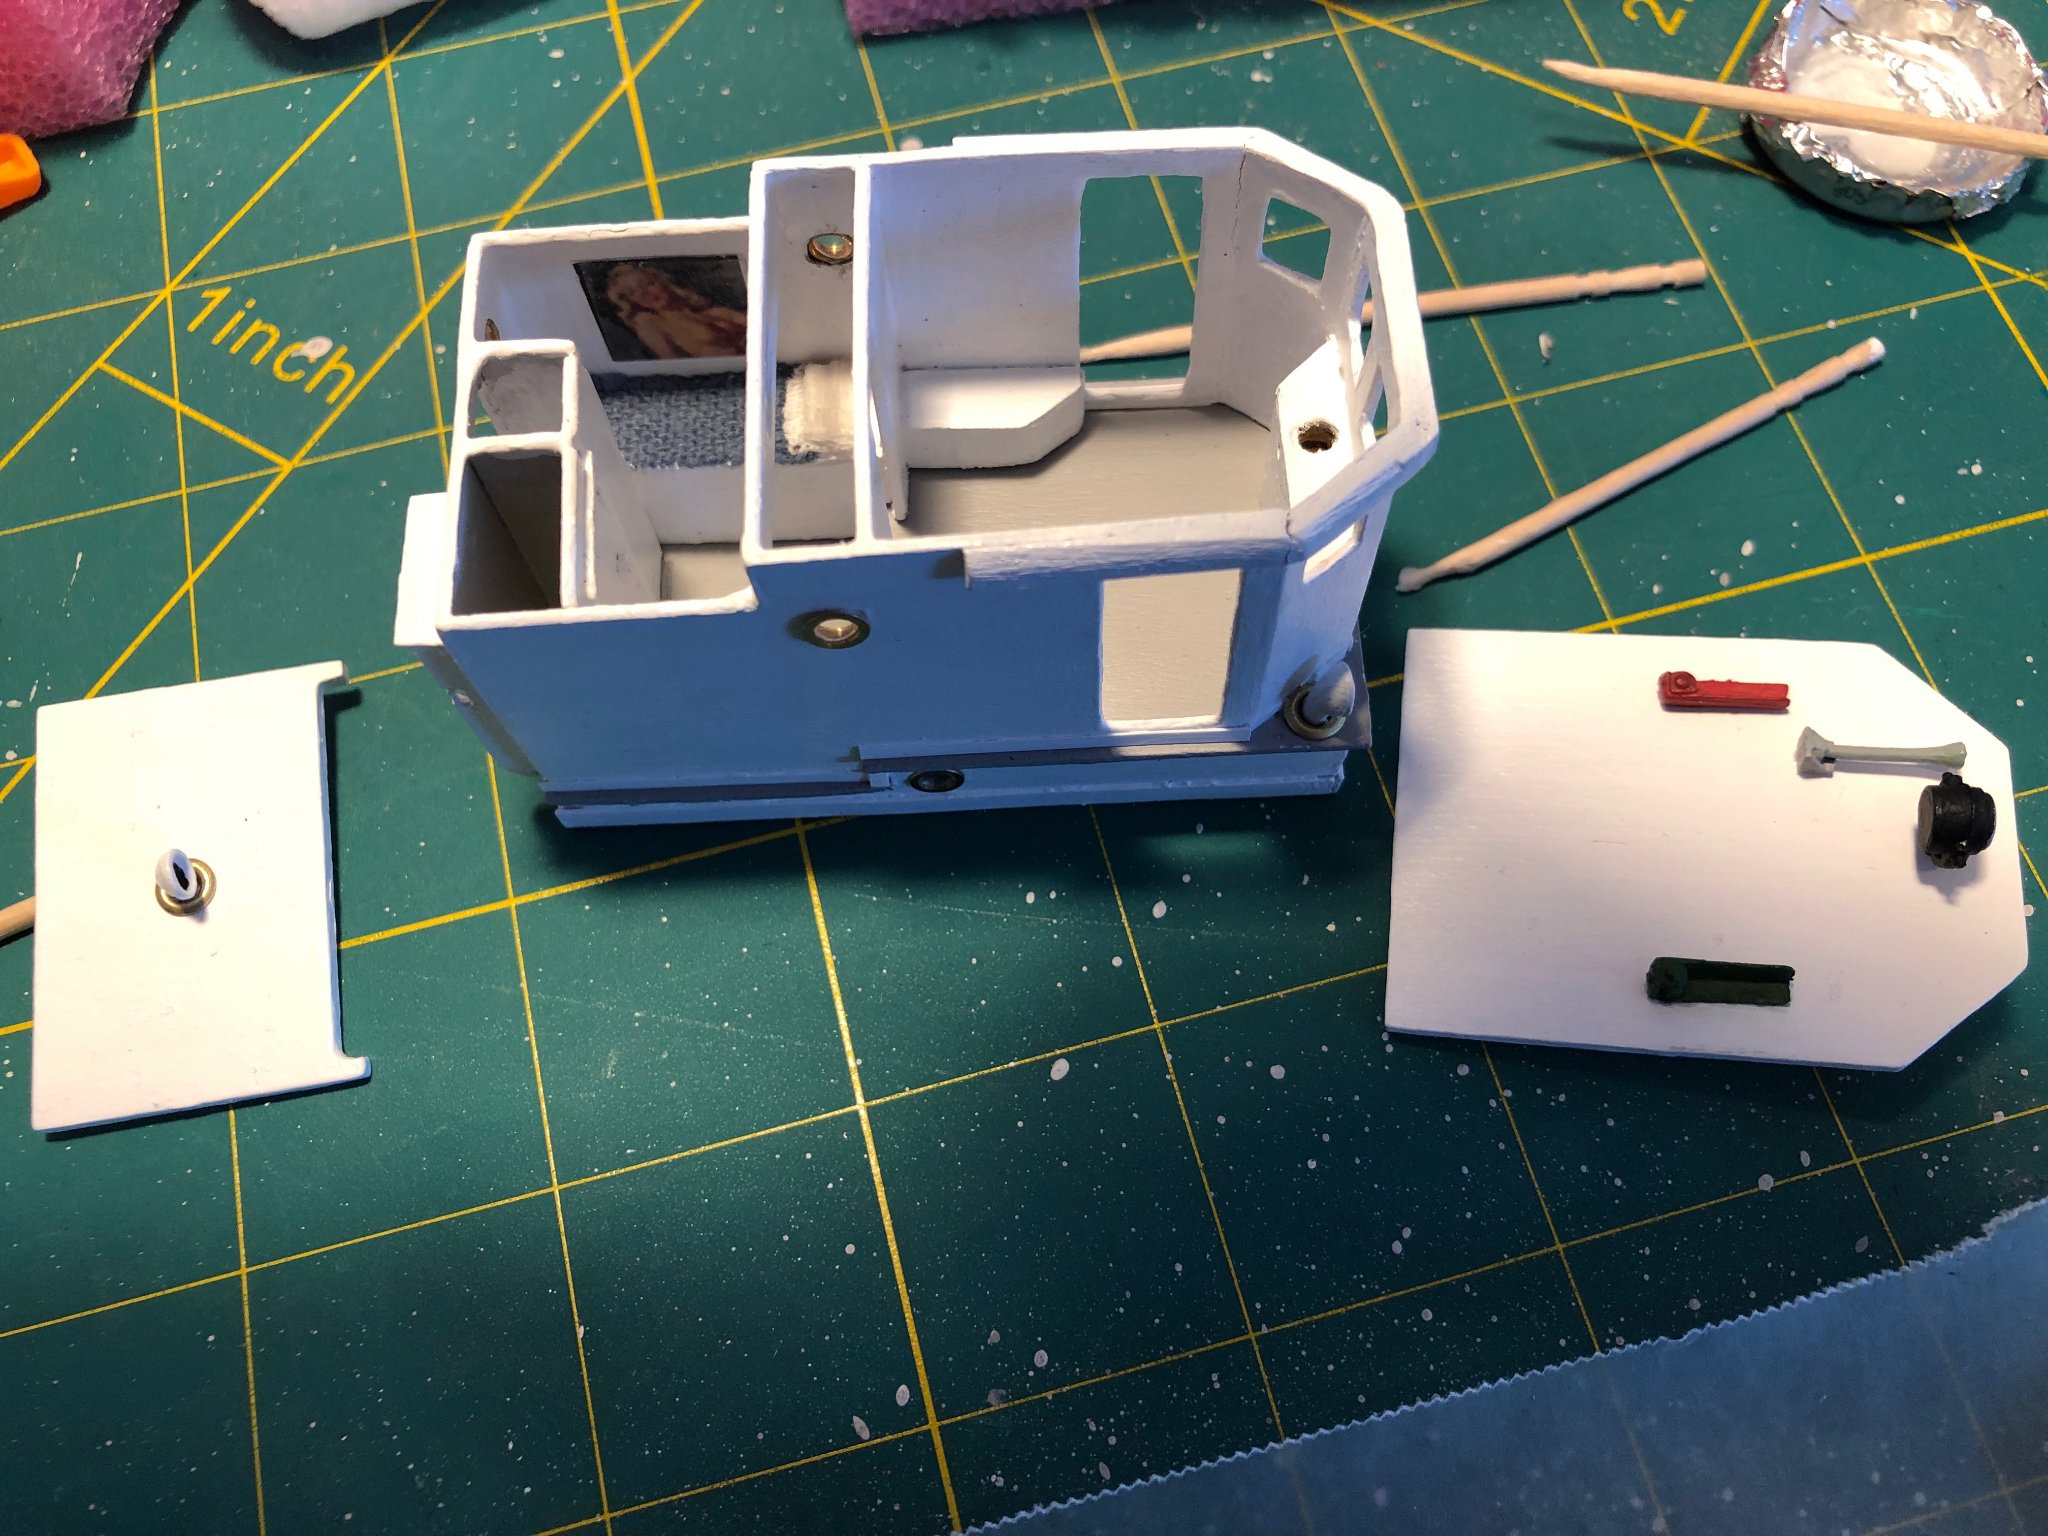
Many of the laser cut pieces are very delicate, so I did spend some time repairing pieces that I broke. That being said, I'm pretty happy with my progress so far. I still have several steps left before the pilot house is complete.
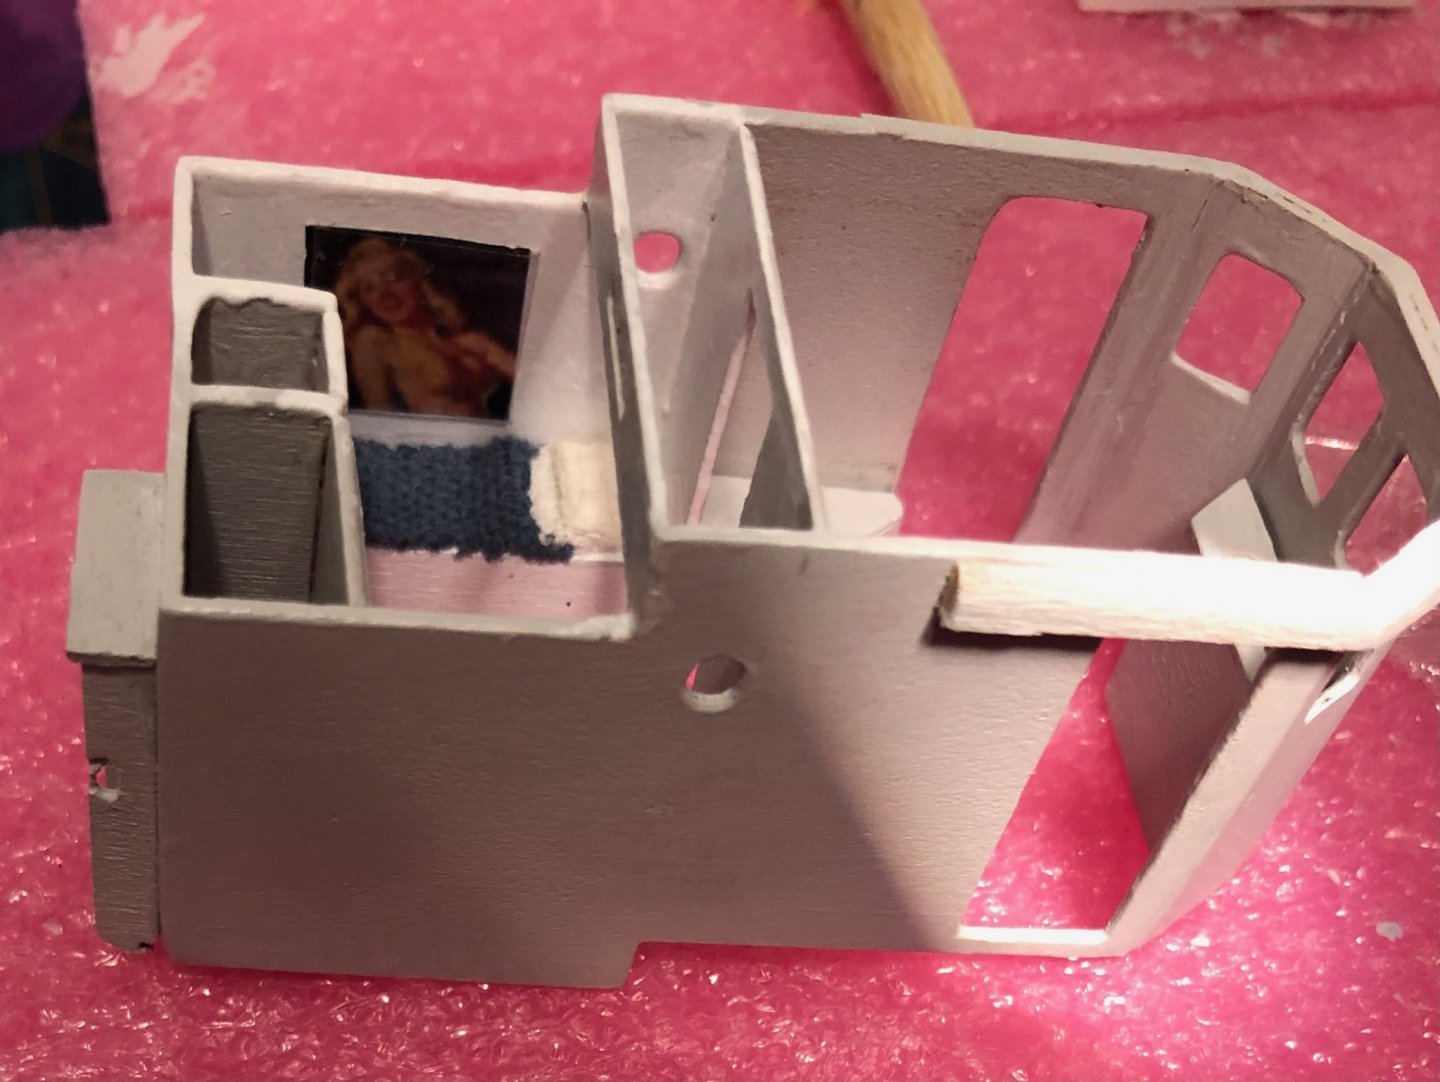
I added a sheet, spread and pillow to the captain's cabin. Since, the vessel was launched in 1948, I added a picture of Marilyn Monroe from 1948.
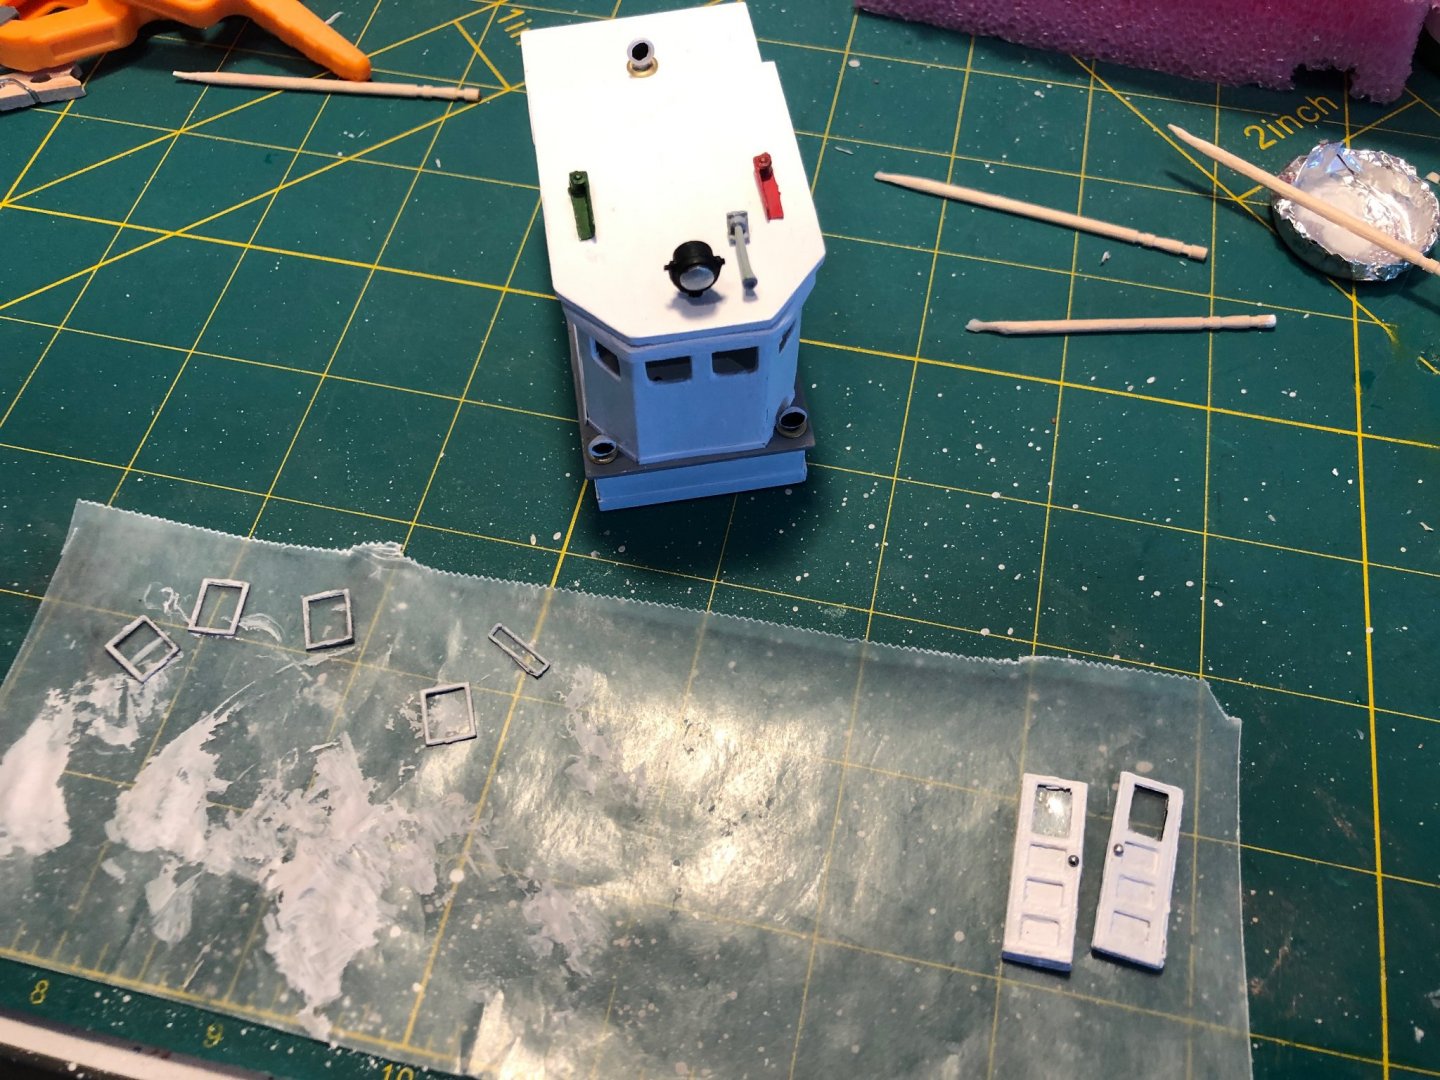
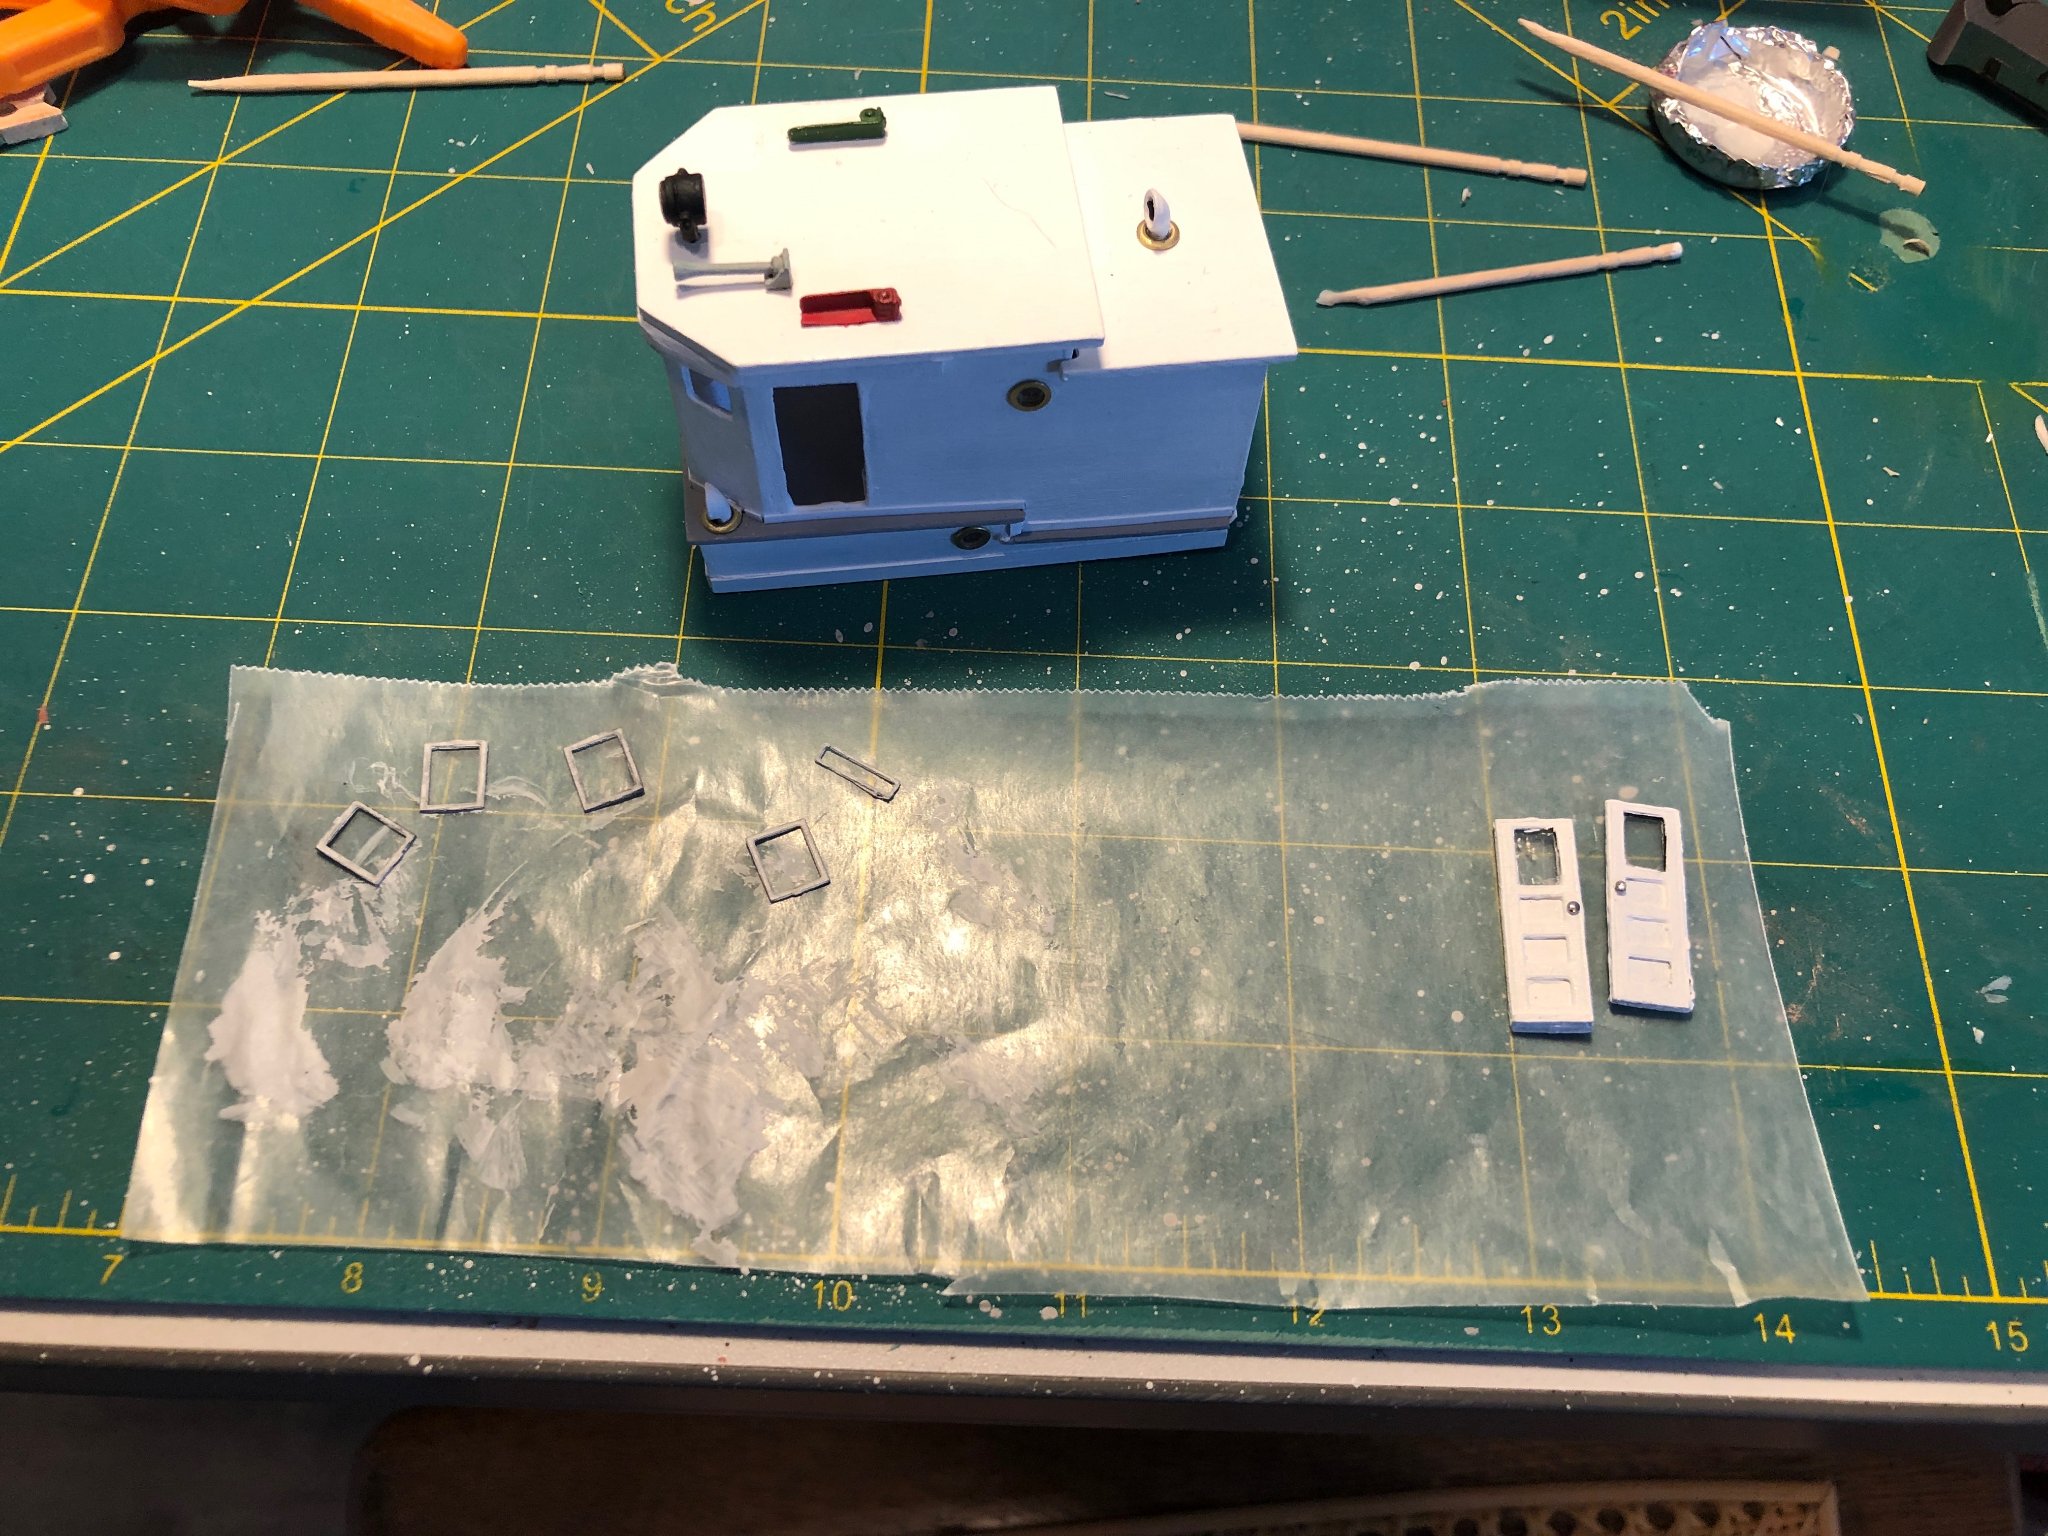
Here are some other images of the pilot house after painting and completing the cabin roof and pilot house roof, both of which are removable to enable seeing the detail inside. Also you can see the window frames and doors in the foreground, that I am currently working on.

- VTHokiEE, FriedClams, schooner and 5 others
-
8
-
-
-
Hi Per, I think I like the black pins over the brass.
-
-
Thanks so much for the kind words and encouragement, Gary! They mean a lot coming from you and they are appreciated.


Pauline by pwog - FINISHED - BlueJacket Shipcrafters - 3/16" - Sardine Carrier
in - Kit build logs for subjects built from 1901 - Present Day
Posted
Hello Dick,
I’m trying to remember the antenna assemblies specifically. I looked at my build and it looks like I was able to get the wire through the holes. That being said, there have been several parts that are so delicate I broke them while working with them. Usually I ended up fabricating new parts from the wood that initially held the pieces that broke. In some cases I glued the parts together and used paint to try and camouflage the damage.
currently I am at a stand still, as I am finding assembling the rat lines to be very tedious and have broken a few parts in my attempt to assemble the lines. It’s very frustrating!
Concerning painting the antennas; I painted them after completing the assembly.
I’ve reached out to Nic at Bluejacket for advice before and have found that useful at times. I hope this helps. Good luck!
paul