


AJohnson
-
Posts
2,053 -
Joined
-
Last visited
Content Type
Profiles
Forums
Gallery
Events
Everything posted by AJohnson
-
 You do that as well! 🤣 I dread to think what treasures are lurking in my “safe place” when I find it!
 -
Welcome to MSW Simon as for Vanguard kits they are worth it and has a good fleet of fishing Vessels if you don't want cannons festooning your models! Hope you do a build log of them.
-
Well done Alan on reaching this milestone, really impressive looking model! How big will it be in bench area with the cliffs and surrounding land?
-
Maybe it was along the lines: “if we make it ugly enough the air will just jump out of the way!” 🤣
-
Shelby 427 S/C Cobra by CDW - FINISHED - Fujimi - 1:24 Scale
AJohnson replied to CDW's topic in Non-ship/categorised builds
Great finish, another fine build Craig. -
Welcome to MSW!
-
Great to see your update Mike and the happy coincidence that we both posted the same milestone today on our cutter builds. Your planking looks excellent.
-
Very neatly done Glenn, where in your boatyard is the beast going when done!? 😲
- 587 replies
-
- 1
-

-
- Indefatigable
- Vanguard Models
- (and 1 more)
-
Looking very good. Although I'm building a slightly different cutter, yours and B.E.'s Alert logs are my go to references on MSW!
- 562 replies
-
- 2
-

-
-
- vanguard models
- alert
- (and 2 more)
-
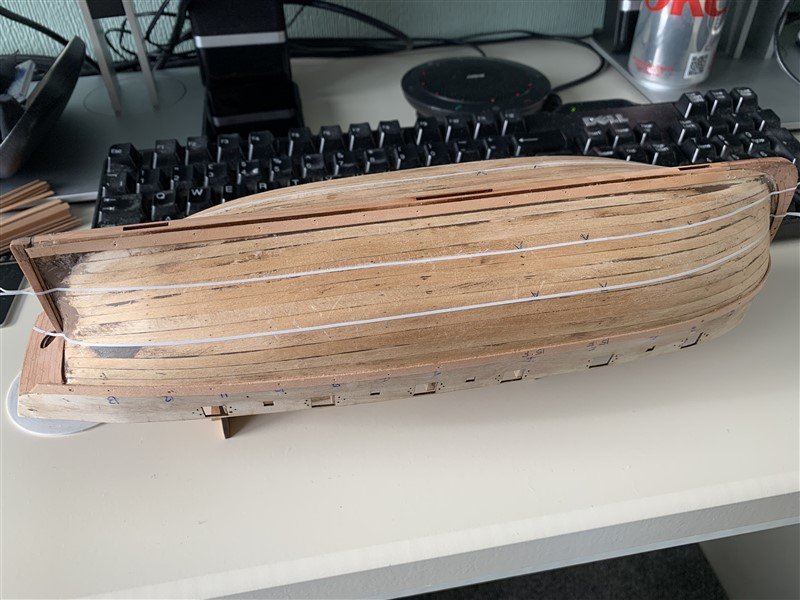
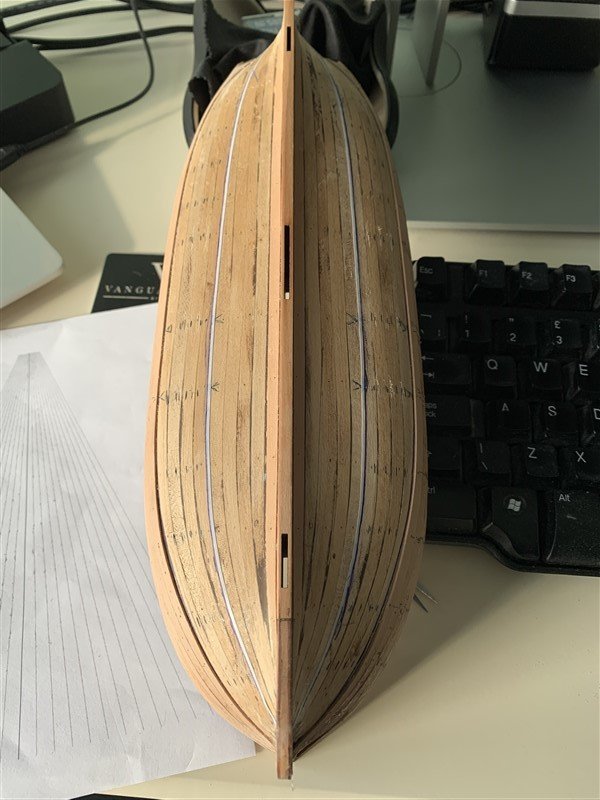
Big milestone today, second planking complete (well apart from a few sessions of sanding!) Overall happy with the way it came out but still glad this is going to be painted as my woodworking skills; especially at the Stem & stern still need improvement. Paying much more attention to lining off the hull and splitting the hull into bands to plank did help in the long run. Initially frustrating at times, having to bend and shape planks, then re-bend then trial fit again, this process seemed to fall into a rhythm I could follow by the end. A couple of planks went wrong, but (one split under the pins/clamps which I didn't notice and another I shaped too narrow, again not noticing until it was dry.) as I said, all okay as its all going under paint soon! - Phew... Additionally I paid no attention whatsoever to grading of the strips, so I ended up with nearly all the dark ones on one side, which would have looked bad if left unpainted. So next update will be the sanding, filling, primer & painting stages. Thanks again for the likes and following along.


- 207 replies
-
- 27
-
-

-
Looking good from here and well done on wanting to get things right and redoing some parts Don’t worry about breakages and other “whoops” moments, I dropped my current build and needed to repair a few parts, many of us do that kind of thing all the time.
-
I shall be interested to see how the figures come out with your painting skills! 😲
- 562 replies
-
- 2
-
-
- vanguard models
- alert
- (and 2 more)
-
Those are good looking cannons David, I will be pinching your idea of spare belaying pins for quoin handles! 😉 As a break from second planking I've also made a start on the Cannons, likewise I think 2mm blocks the smallest my eyes could cope with also! 🤓
- 152 replies
-
- 3
-
-
- Vanguard Models
- Cutter
- (and 2 more)
-
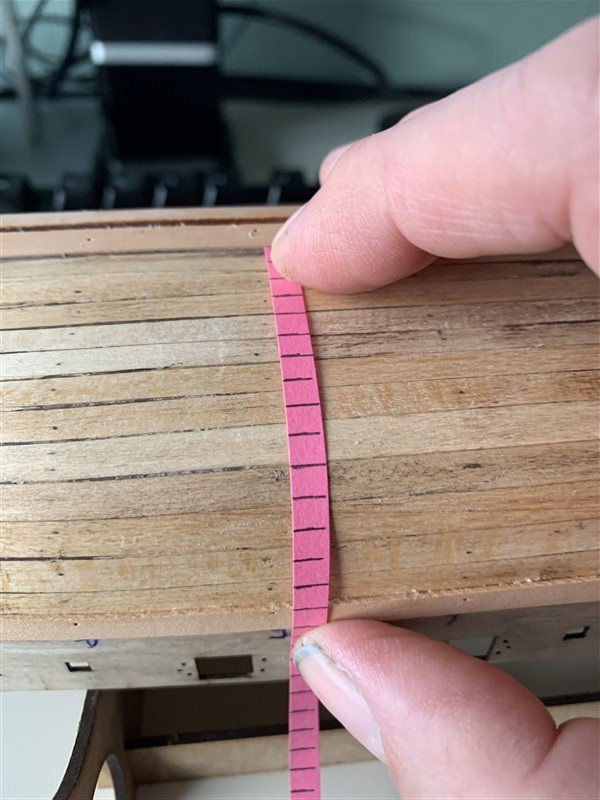
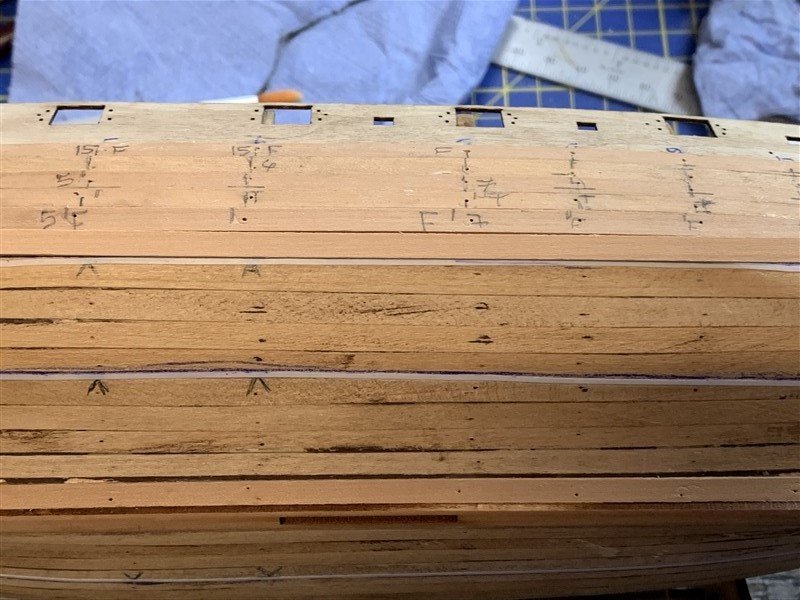
Progress update, not as long has been spent on Trial as I would like but steady progress is still something. Started the second planking, by first adding the top plank and the garboard as per. Chris's instructions. Then the remaining area was divided into plank widths mid-ships then divided into three sections for planking and (hopefully) a symmetrical appearance. The bands were divided up using flexible masking tape I got from Chris, tacky enough to stay on the first planking, but easy enough to peel back for adjustments. The intervening spaces divided up using Chuck's planking fan as post #42. There has been some odd-shaped planks coming out of all this measuring and edge bending, but I guess that is the point, overall satisfied with the results, by still no way would I dare leave my planking unpainted! 😱 Another week at this rate and second planking might be about done. Again thanks for the likes and comments and looking in!


- 207 replies
-
- 16
-
-
Nice upgrade Dave.
-
Hi Chris, now that is interesting, I have in my stash an old Caldercraft HMS Snake that I intend to kit-bash into HMS Scylla c.1830. I am mostly just doing research at this stage and had been thinking about the armament amongst other things, so yes, I would be interested in that and any other 18 gun Brig accessories that might become available when you develop your kit in the future. All of this could be completely derailed depending on when your HMS Surprise appears! 😆
-
I think Chris will definitely need bigger premises for the orders of that one! 🤣. But happy to wait a little longer (and means I should finish up one or two projects before Surprise make her debut). Really pleased to hear how things are going Chris, well deserved, really enjoying building your Trial at the moment.
-
Shot Garlands
AJohnson replied to tmj's topic in Discussion for a Ship's Deck Furniture, Guns, boats and other Fittings
A fascinating discussion, if I might ask a minor detail with regard smaller vessels like Cutters; I'm currently making the Trial by Vanguard models. Would these smaller vessels have fixed bulwark or waterway garlands? The RMG plans and a contemporary model do not show them. I understand absence does not mean they were not used, but was it more likely that temporary deck placed garlands were used? and placed beside the guns as discussed already on this thread. For info. Trial had 8# 3 pounder Carriage guns and 4# 12 pounder Carronades from 1793, if that has any bearing. Thanks for any opinions, I'm tempted to add more detail than the kit provides, but inclined to add triangular/square deck garlands if this was more likely than fixed ones.

-
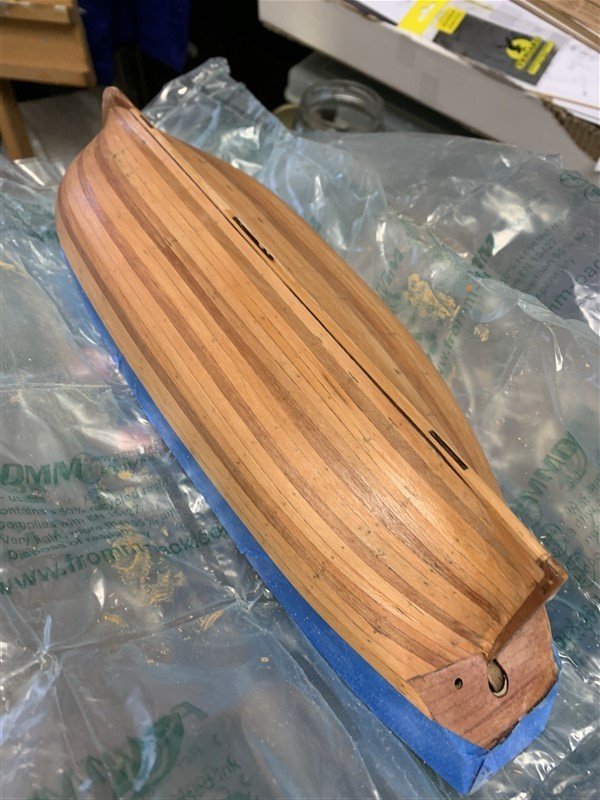
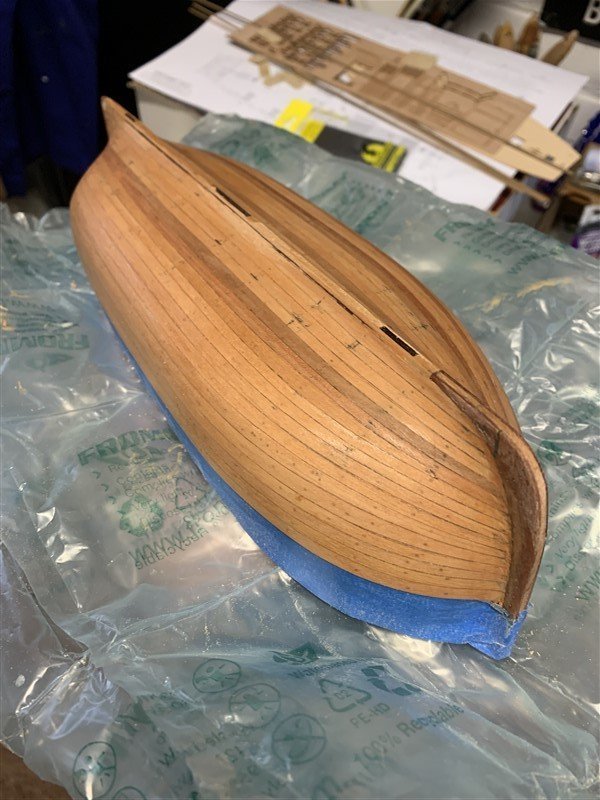
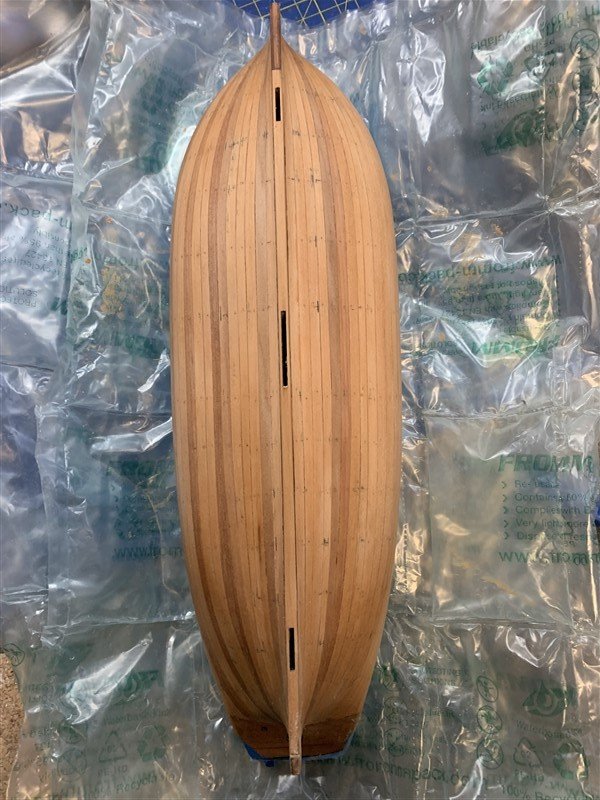
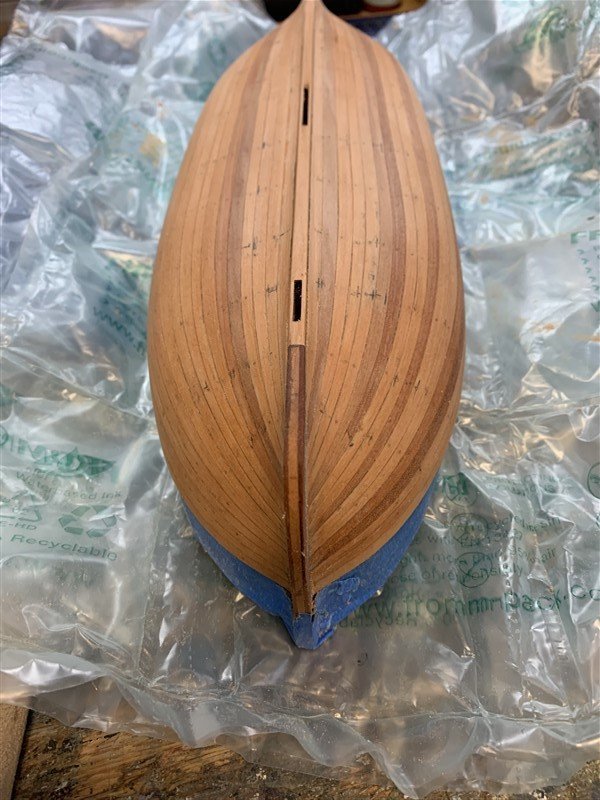
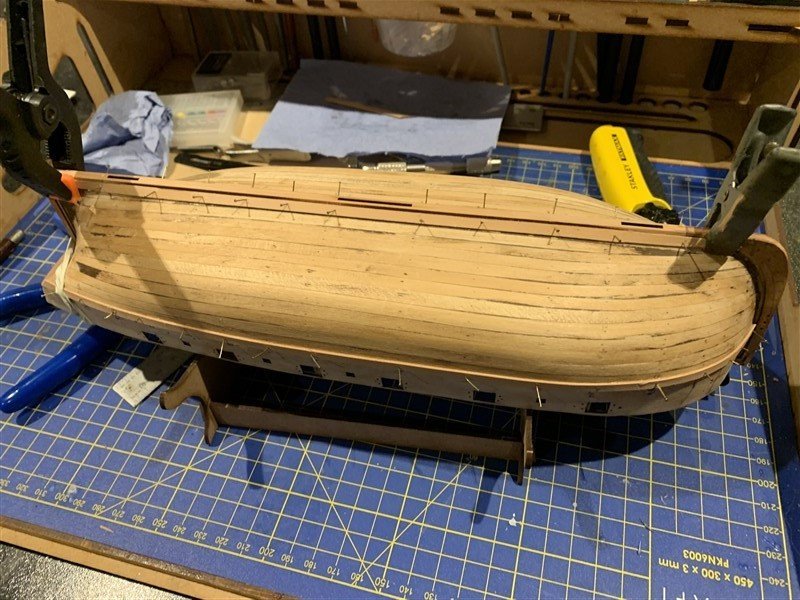
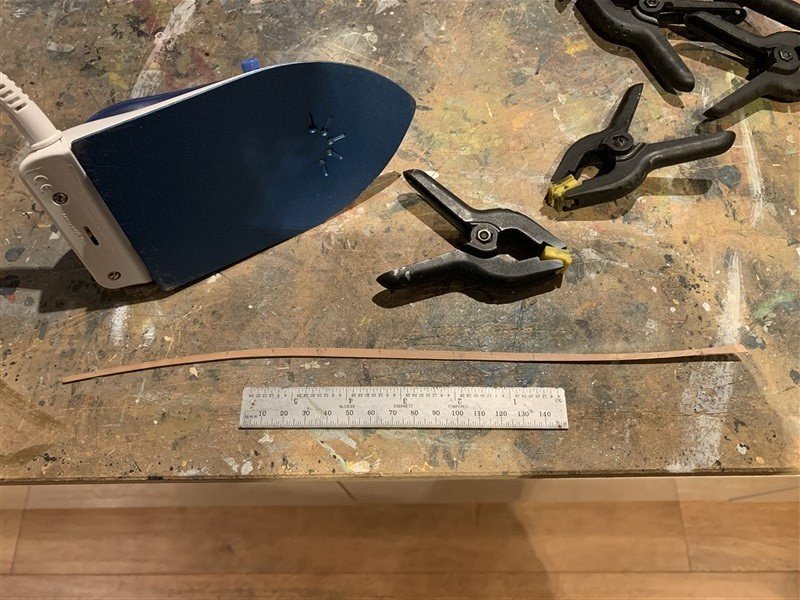
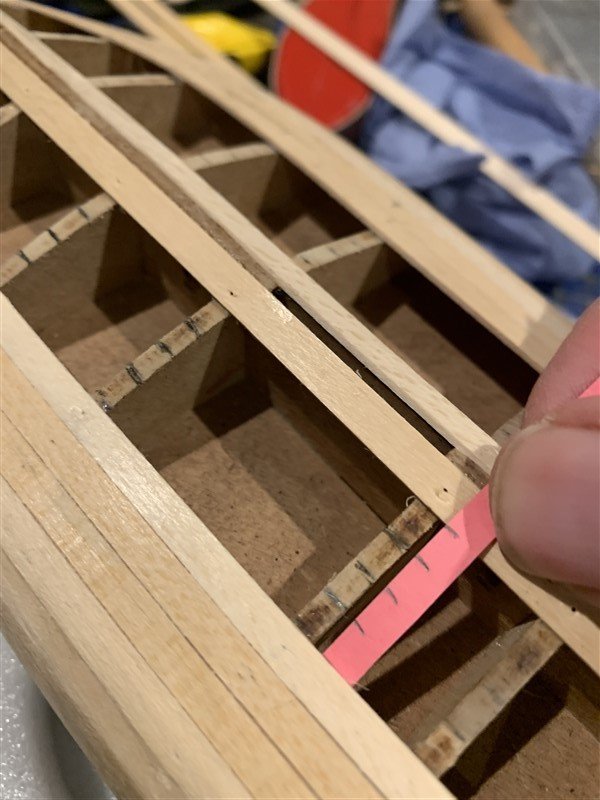
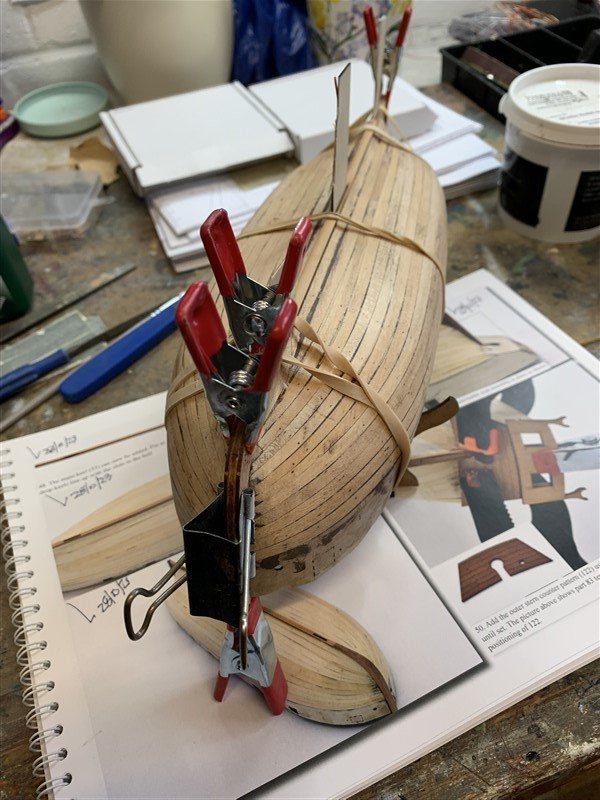
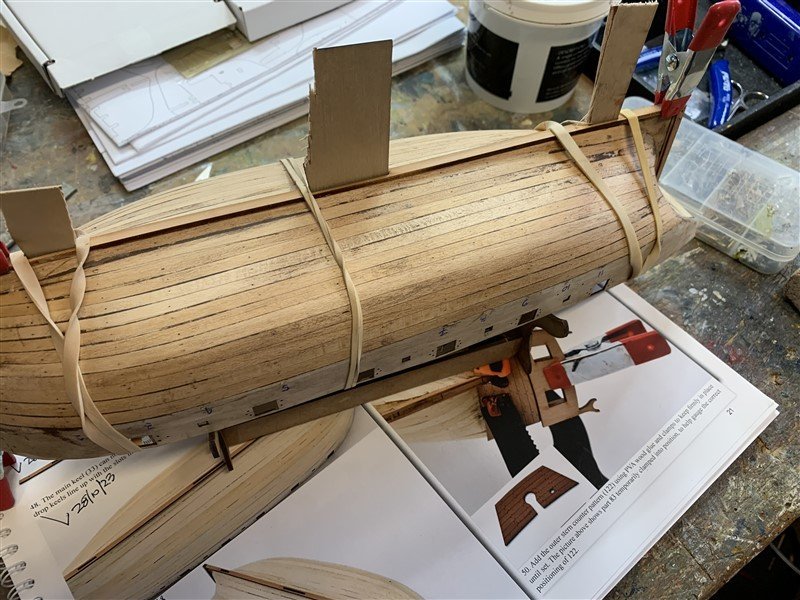
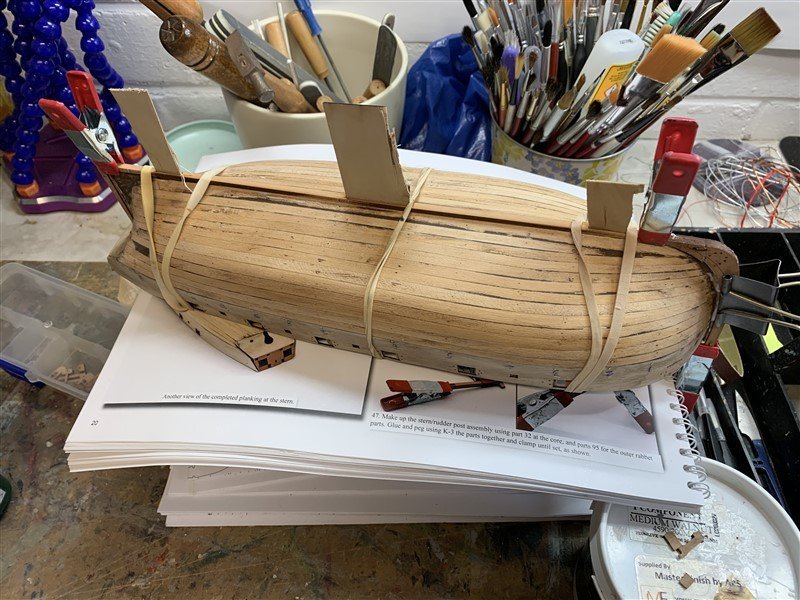
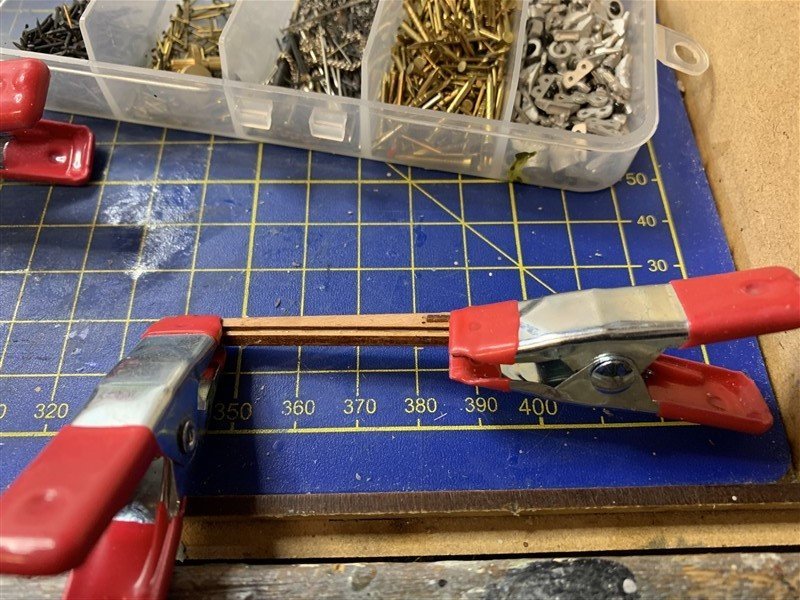
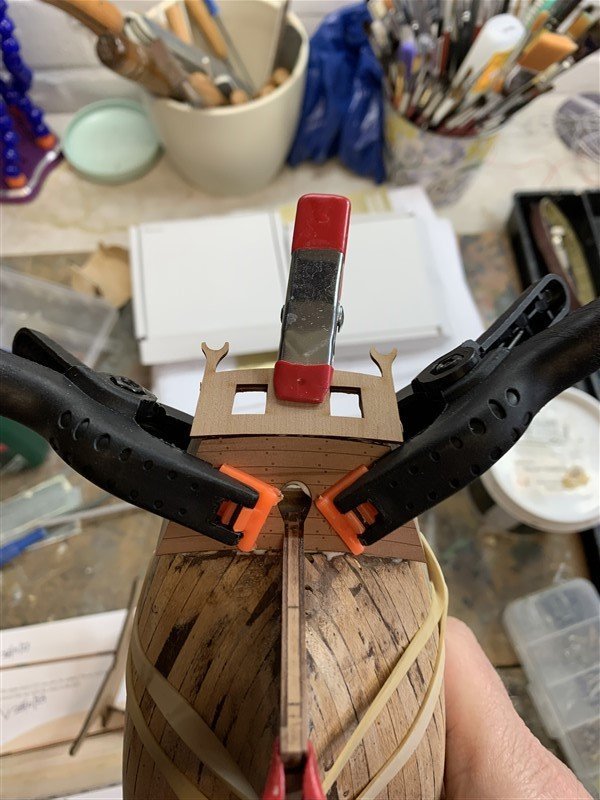
Evening all, thanks you for the likes and comments. Progress update, the first planking is complete, but not without a "whoops" - I dropped the model whilst sanding it and managed to break off the stem and stern pattern which disintegrates into five pieces. After much colourful language the damage has been repaired - good job this is all painted below the wale! 😣 Next glued on the stern post assembly, keel and stem. I used scraps of wood to align the sliding keel slots and keep them free of glue. I'm now looking at the second planking and also, as a change whilst waiting on the repairs to glue I have made a start on the Cannon/Carronade assemblies.

- 207 replies
-
- 16
-
-
Welcome to MSW!
-
Looking forward to it Lyle, hope you had a good Europe trip.
-
Good work David, the additional effort with the rudder is a nice touch.
- 152 replies
-
- 3
-
-
- Vanguard Models
- Cutter
- (and 2 more)
