


AJohnson
-
Posts
2,054 -
Joined
-
Last visited
Content Type
Profiles
Forums
Gallery
Events
Everything posted by AJohnson
-
 I have been following your Diana log and others and it does seem many builders have to deviate from the kit a fair bit in terms of instructions and replacement materials. Funny over the years I had thought that Diana or even Agamemnon would be a grand project one day, but seeing how builders have wrestled with their Diana's and how good VM are in comparison I think I shall wait for Surprise and maybe see if Chris gets to develop any of his other Frigates he has mentioned recently.
 -
Yes the Russell Crowe film "Master & Commander" is indeed based on the books, actually an amalgamation of the plot from about four of them mashed together. If you get to read the books you will be able to pick out the scenes and characters from the film. This series of books is why I am so keen on @chris watton / Vanguard models one day doing a HMS Surprise, I have given up on waiting for the Caldercraft one.
-
The Patrick O'Brian Aubrey-Maturin (Master & Commander) series, at twenty books on a Kindle sounds just the ticket to me! 😉 One of my favourite series of Fiction books.
-
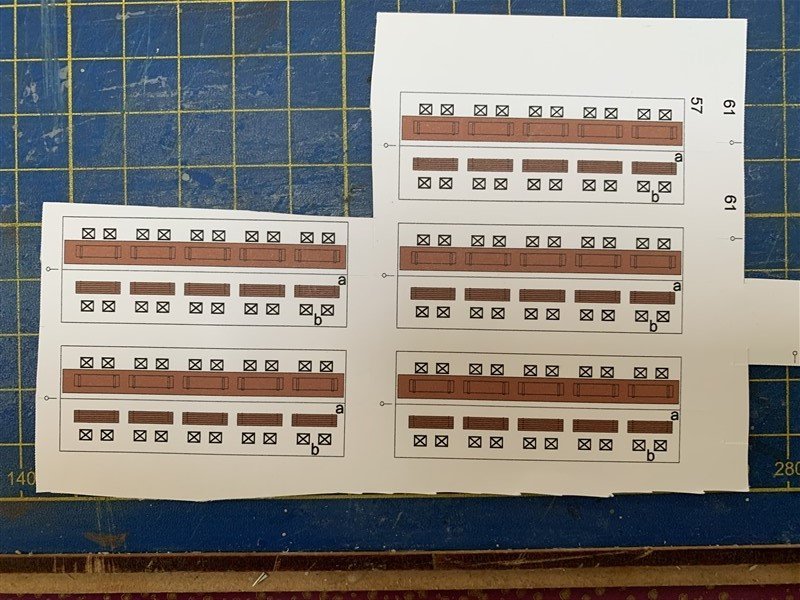
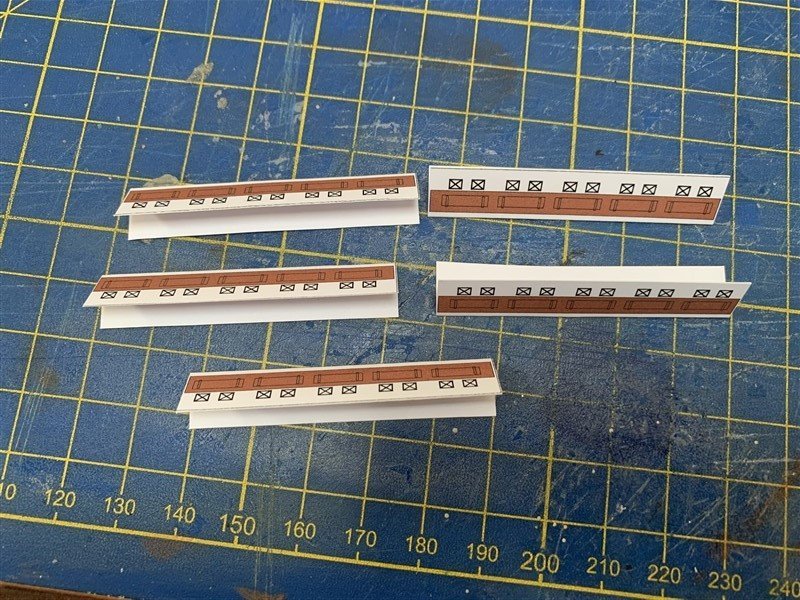
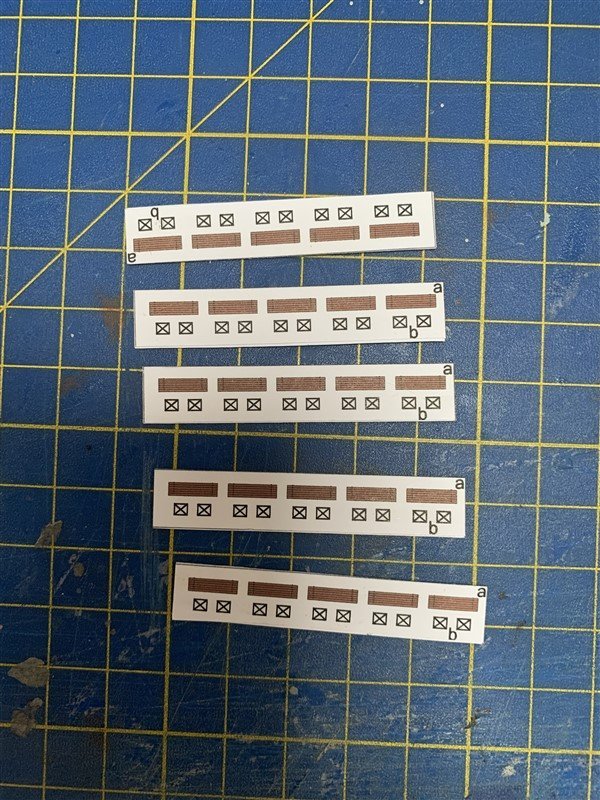
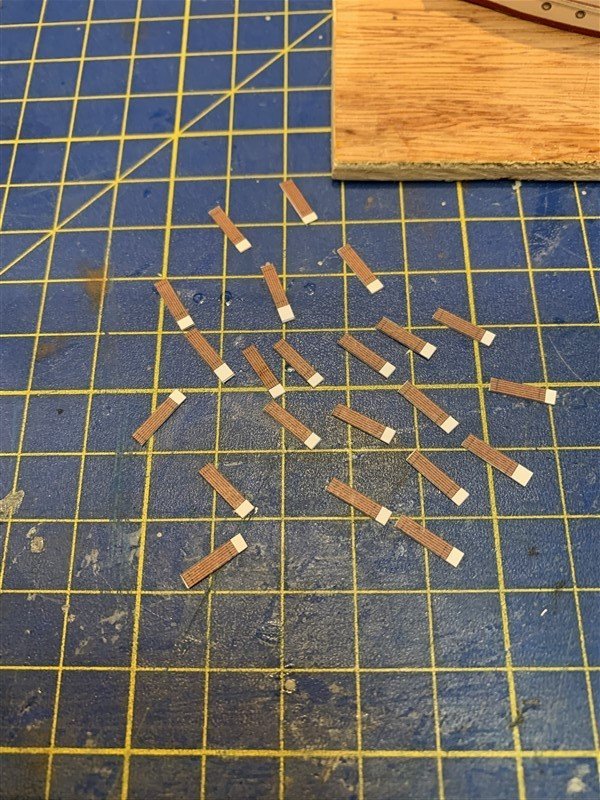
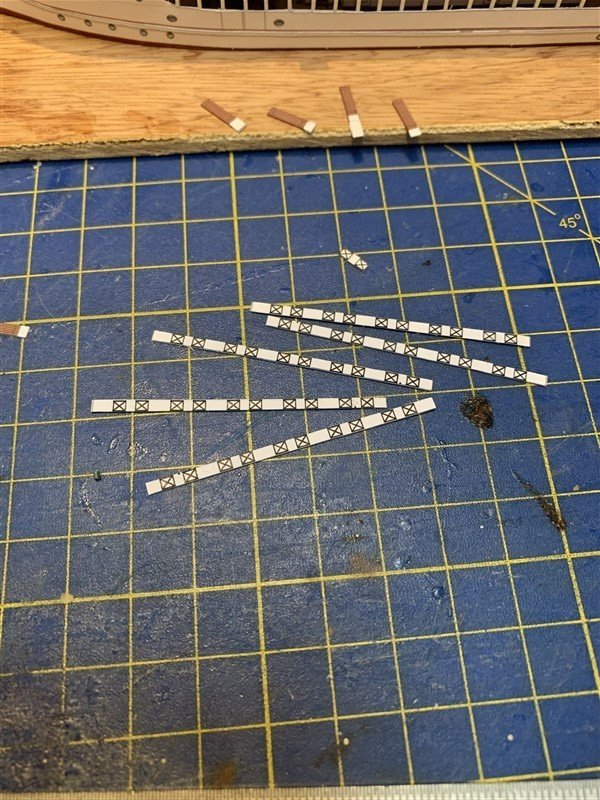
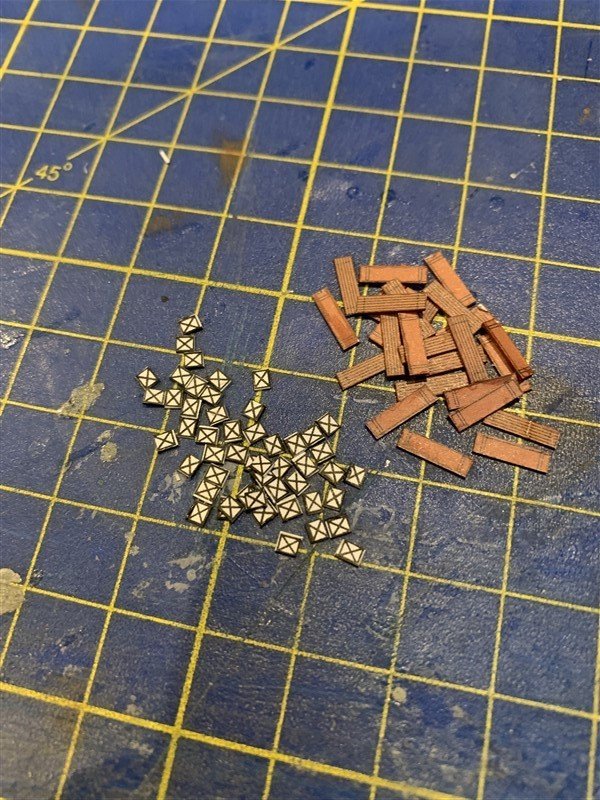
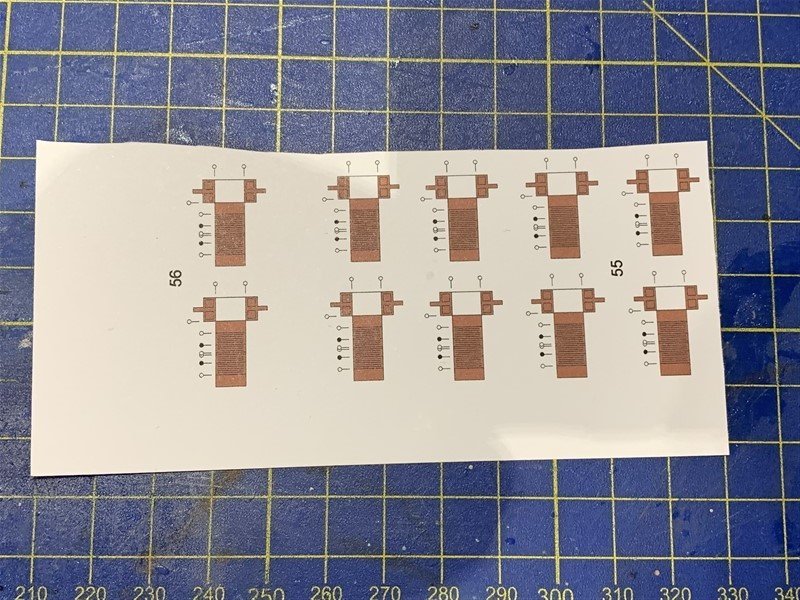
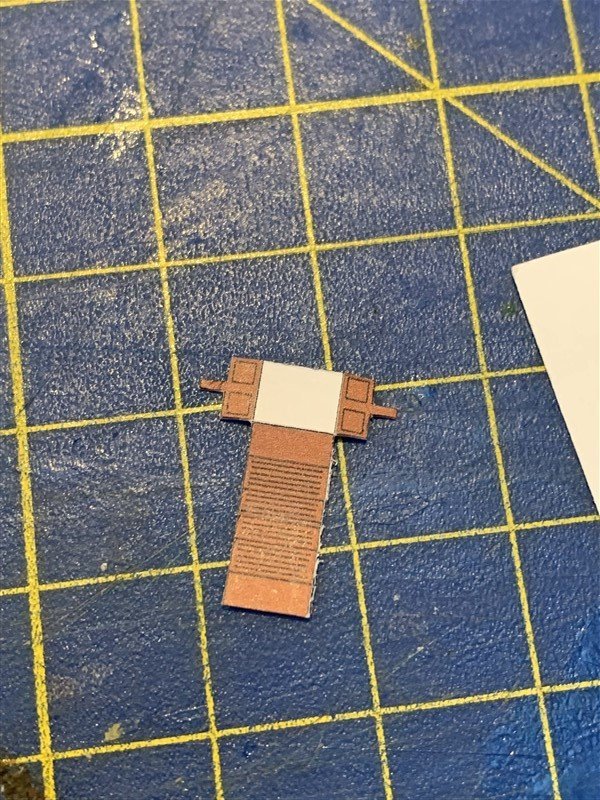
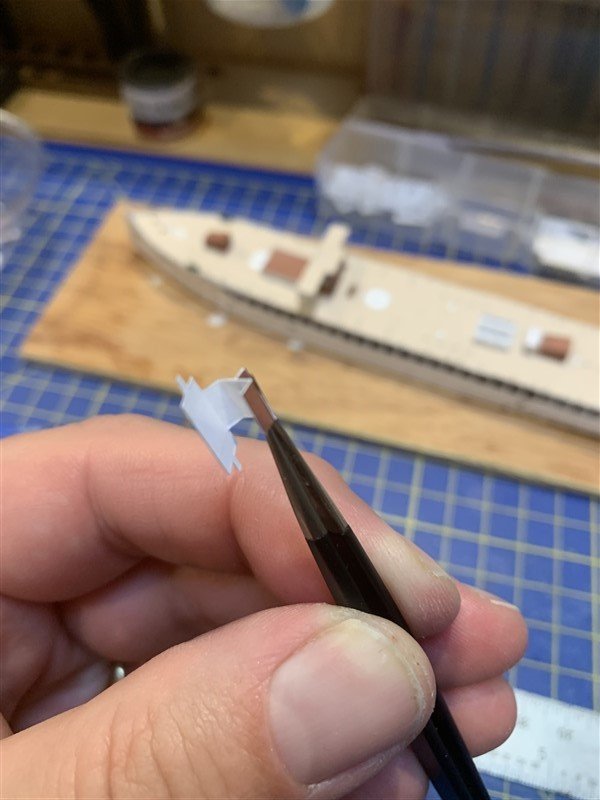
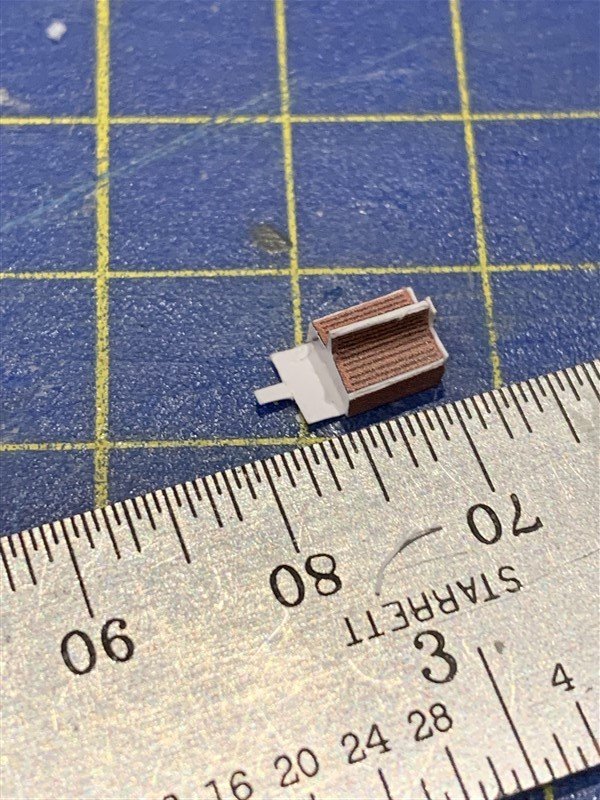
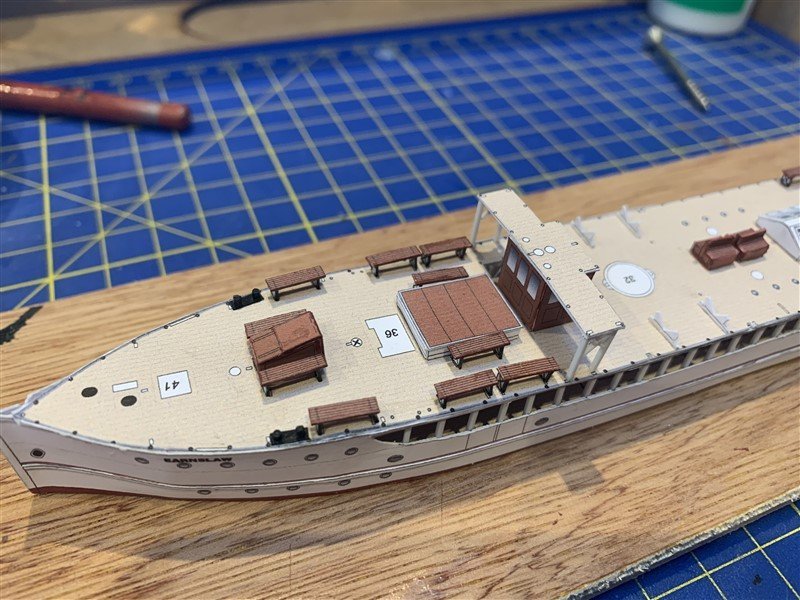
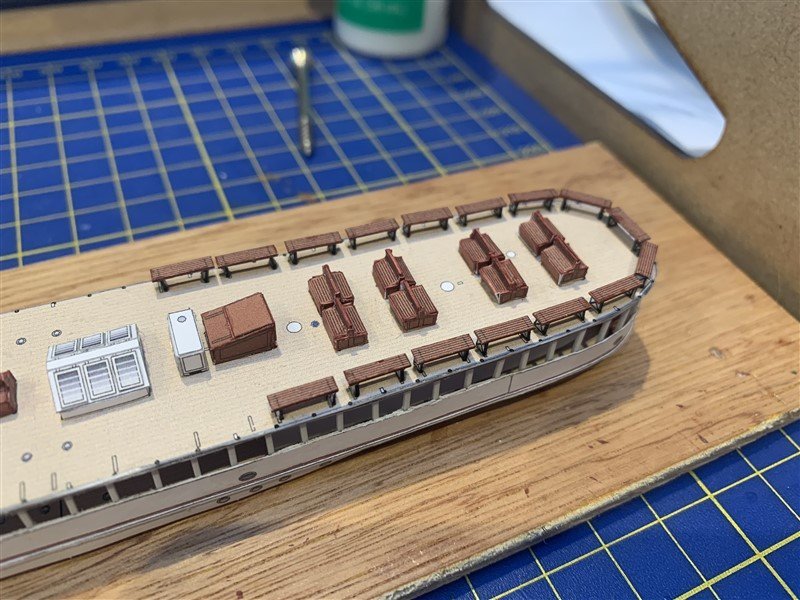
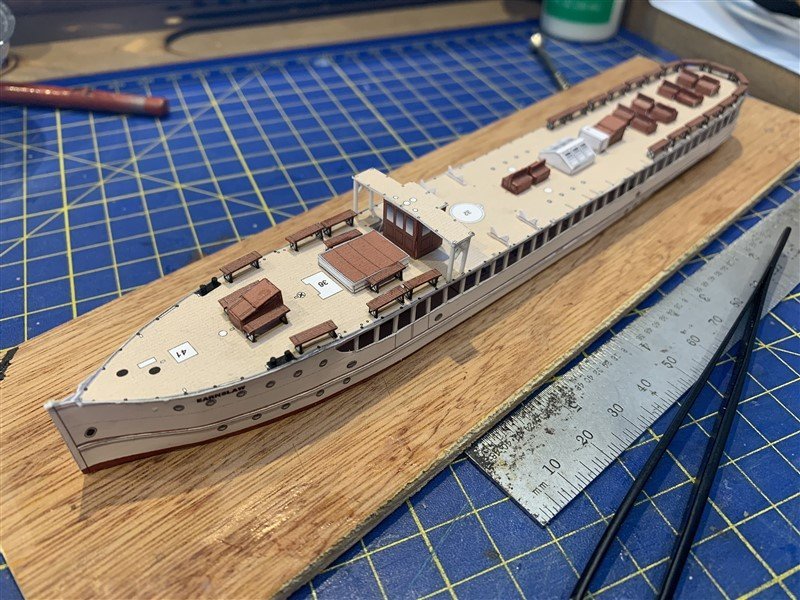
Thank you all for stopping by and the kind comments... Benches, many fiddly benches, but my passengers need somewhere to sit don't they?! 💺 In the end it seemed to go best when I got things into staged production lines, and did batches of assemblies and got them all to the same stage before moving on. However some of my passengers will have to stand as I am three benches short looking at the instructions (actually more but there is a mismatch between the printed model and the instructions.) I am perfectly prepared to accept the "Carpet Monster" got them, but as I am exactly three benches and six supports short, I don't think I can loose stuff so evenly! 😆 Next up some bright yellow funnels I think.
- 45 replies
-
- 8
-

-
- Earnslaw
- Paper Shipwright
- (and 2 more)
-
Beauty is in the eye of the beholder! 😜 If ever I bought from another manufacturer, cough, 😱 it would be for an unusual ship like a mortar/bomb vessel. Partly why I leapt at the Trial when it came out, just something different to the usual suspects we see built. If you can make these “oddballs” commercially viable all power to you Chris, I like seeing them being developed.
-
That looks great Brian, slow is good - more time to enjoy it! 🤣
-
Glad to have you along, I used the same source for how to do sails and there are plenty of other posts on MSW show other builders techniques.
-
That will look so good with some lighting on! I know you can get flickering LEDs, which would be cool. One day I hope to build a large frigate so I can add such lighting to the stern cabins and lanterns.
-
Hi Keith, that does look a big improvement and your profile does look much more like the plan lines. 👍
-
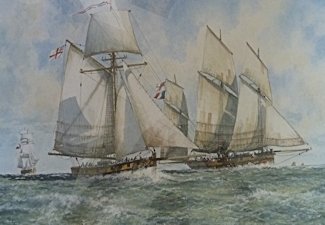
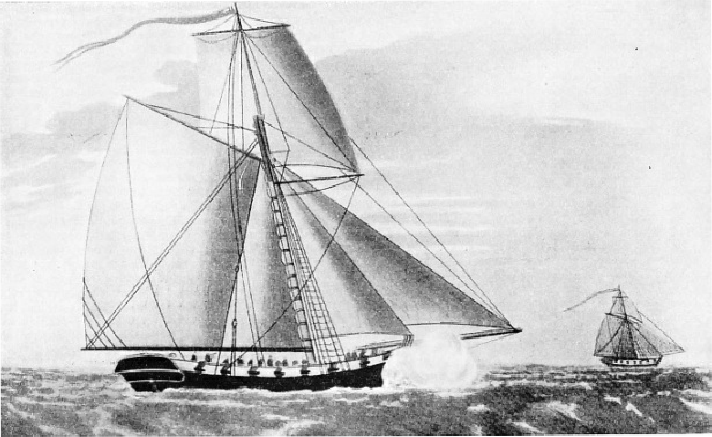
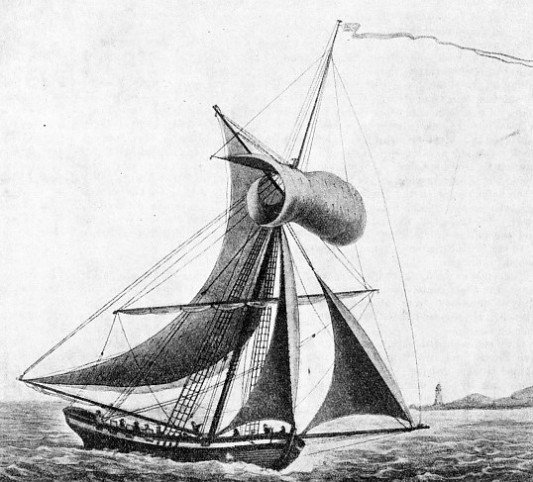
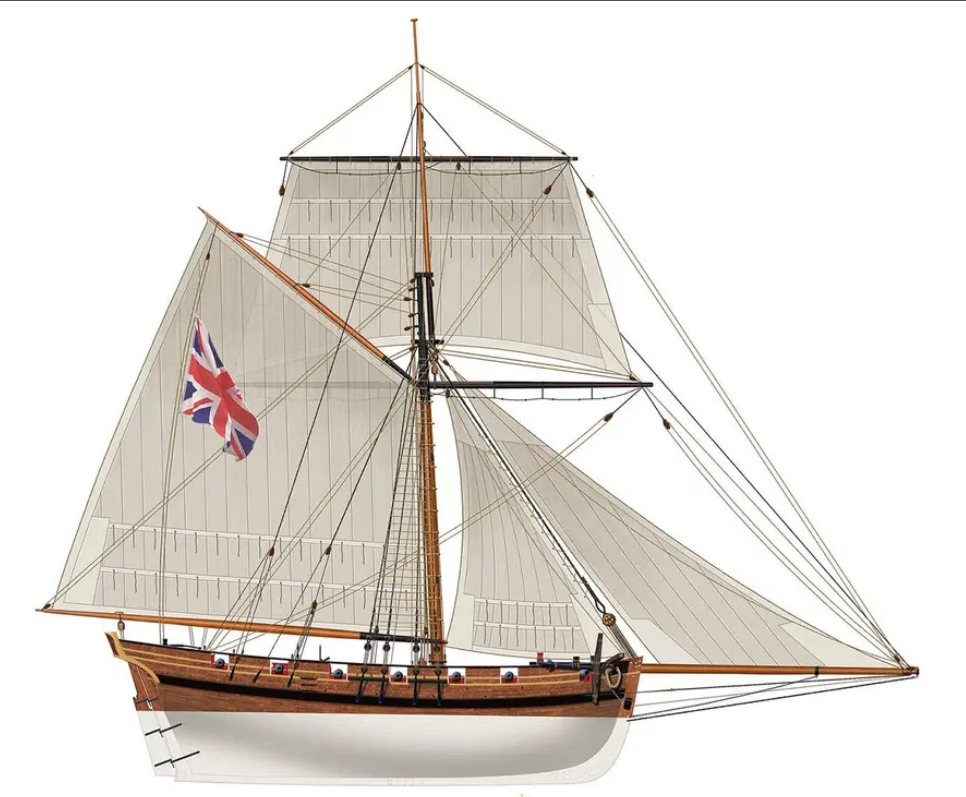
As something of a goal to aim for, I do intend to add sails as I did with the "Nisha" using tissue/parchment paper. The look I will be going for is something along the lines of these pictures. It also has the added advantage that with the yards, at an angle, I won't be needing as deep a case/shelf to store the finished model - that's the plan anyway! 😉
- 207 replies
-
- 13
-
-
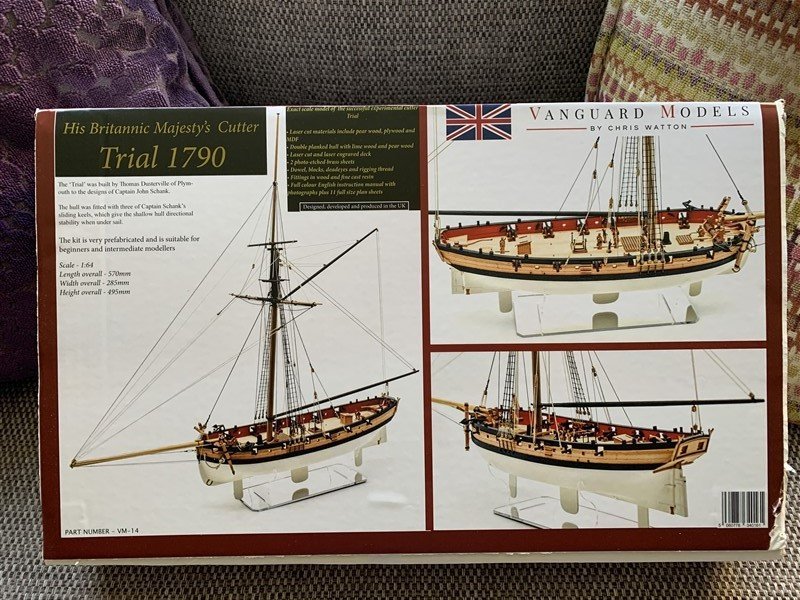
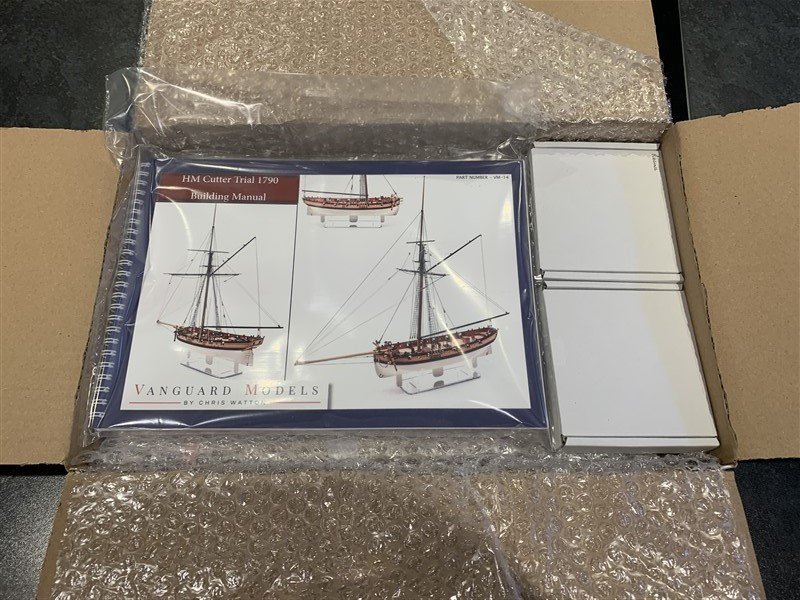
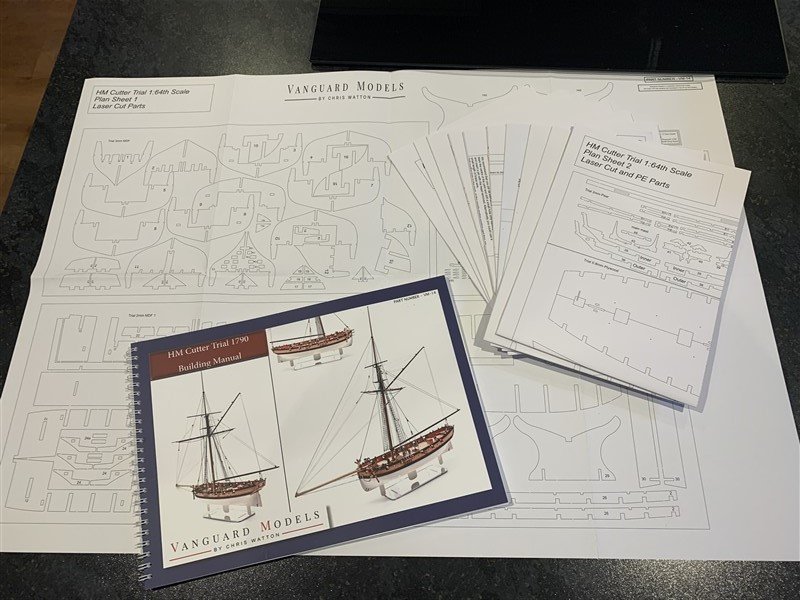
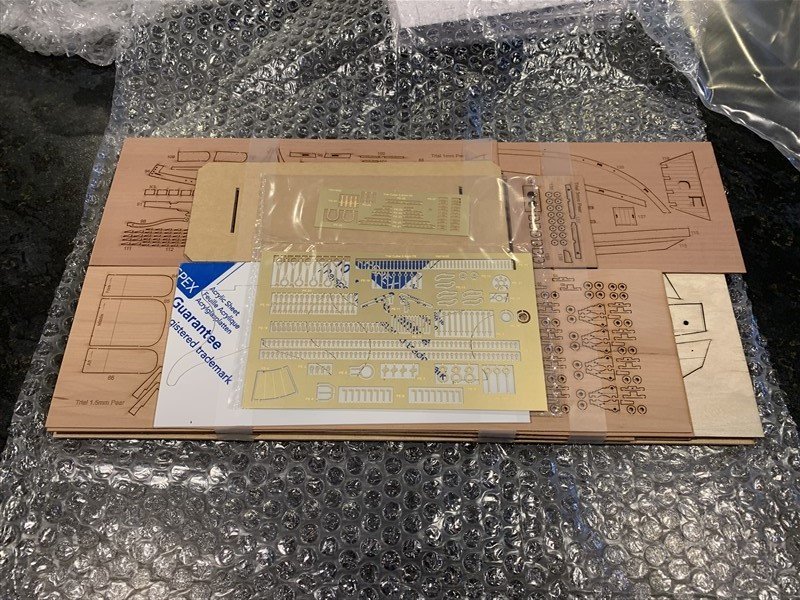
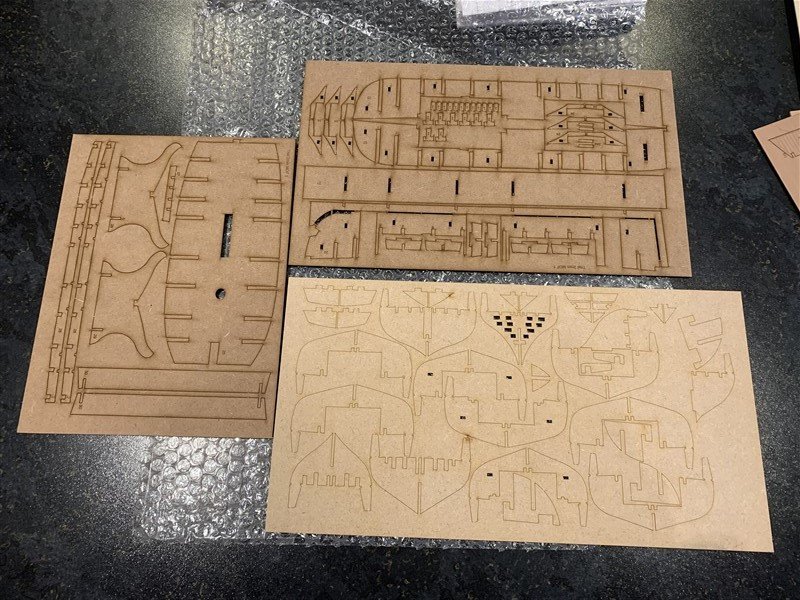
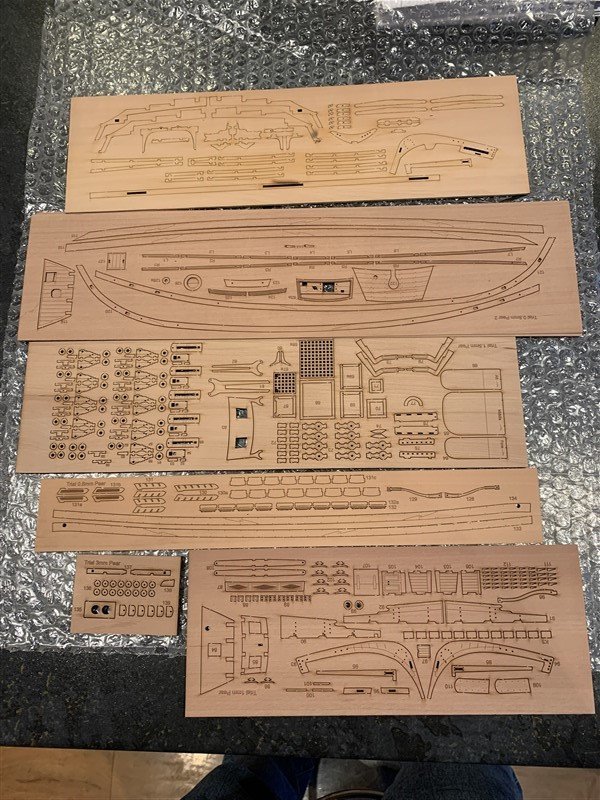
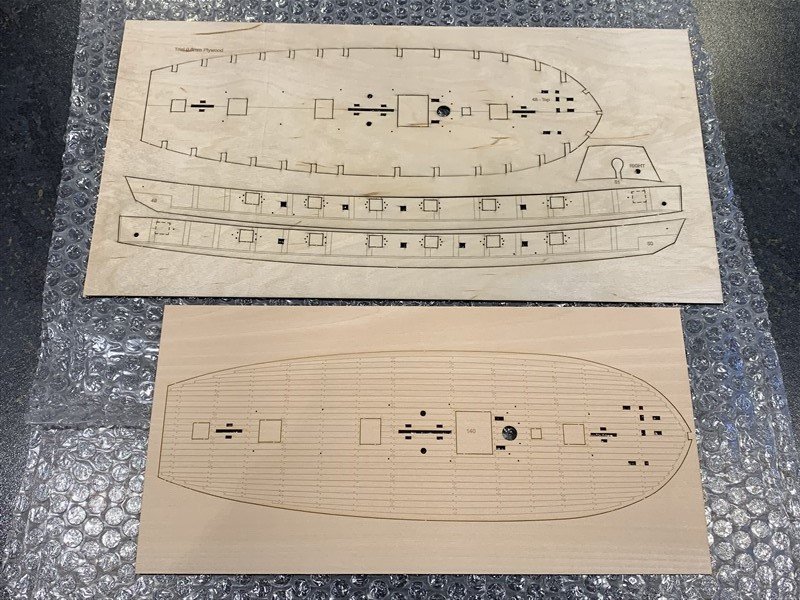
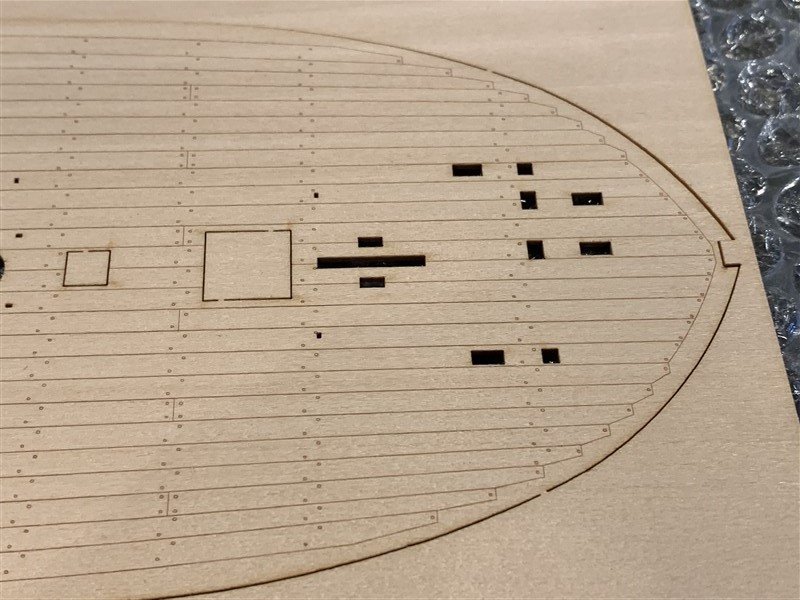
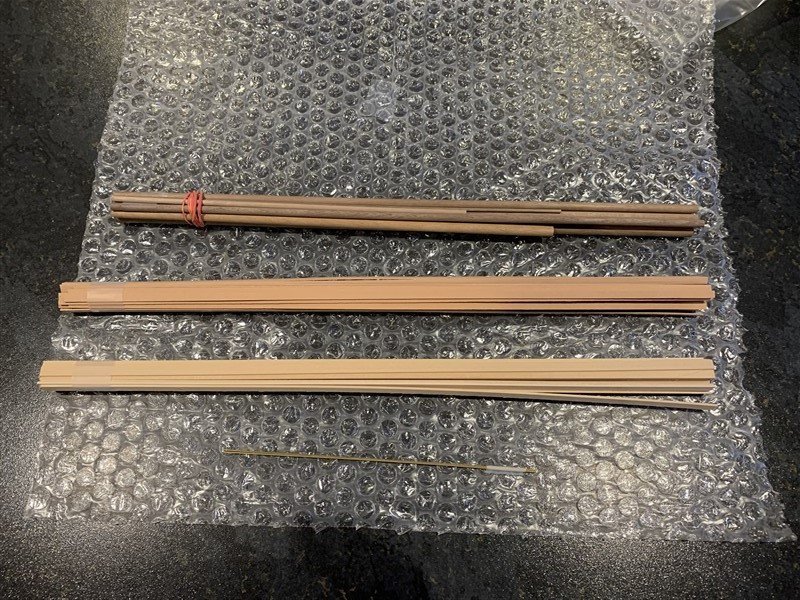
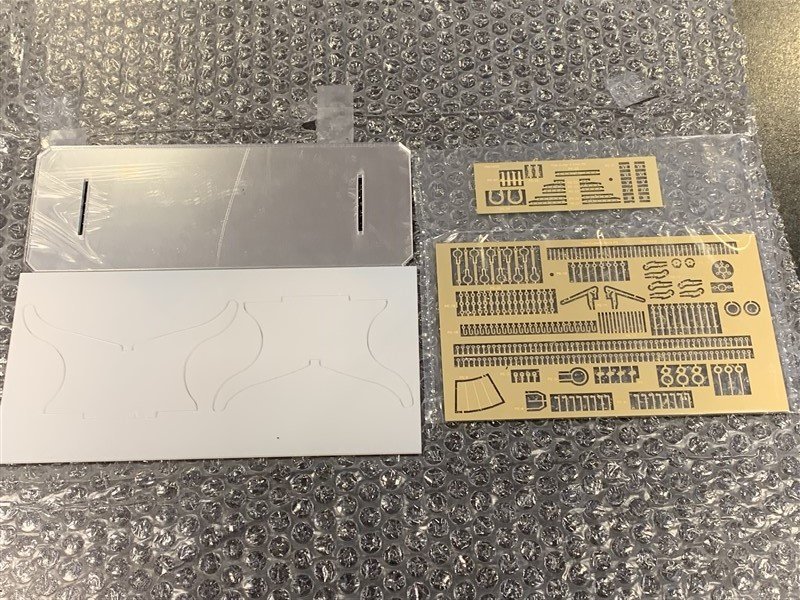
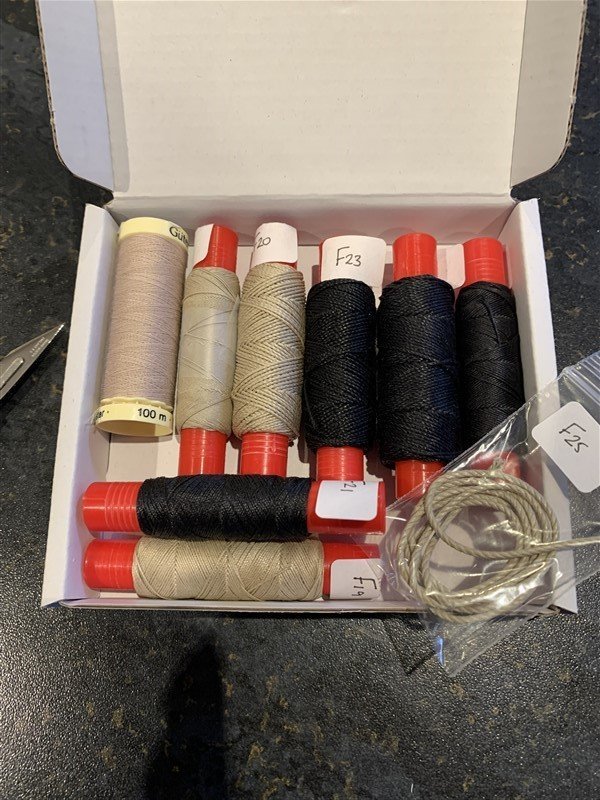
Evening All, I received a wonderful little package today - my next ship build! 😁 I'm starting a Build Log, more in wishful thinking as the house is still a bit upside down since our loft tank decided to spring a major leak back in May, but we are getting there and hope to have the house and workshop back to rights by September(ish.) Time this evening to do a little box opening and have a look through the well packed box. Lying on top a hefty instruction Manual and eleven sheet plans - much bigger than the "Nisha" ones of my last VM kit. When I get chance I will be drooling over these items and reading the plans/instructions between wallpapering and painting (the house). Won't replicate details of the Cutter itself, all explained in detail in Chris's Prototype build log:- The contents.

- 207 replies
-
- 16
-
-

-

-
Hi Mike, looking forward to seeing this take shape, I enjoyed following your Snake build. “Alert” has been on my radar for a while, then Chris went and released “Trial” and I couldn’t resist! 😊
- 34 replies
-
- 1
-
-
- Alert
- Vanguard Models
- (and 1 more)
-
Ah, so that's what has been keeping you quiet Edward! Glad to hear you have been beavering away, looking forward to seeing your Winnie getting her teeth!
-
Hi Jim, I hope you are well. I for one have been missing your beautiful artwork in recent months.
-
Welcome to MSW Dave!
-
Chris, I thought dealing with a plastic version of the Wildcat’s undercarriage was a challenge. I was wondering how the “card-side” would deal with that ! You have my admiration / sympathy!
- 150 replies
-
- 11
-
-
Oh My! Chris, if you do your best to live long enough to design them, we shall do our best to live long enough to build them! 🤣 That list is more than a life times work for many of us "slow coaches"! 👼
-
Yeah, I'm a bit slow picking up on that and the size of the model on the cutting matt, @chris watton if it's in your favourite 1/64th scale I estimate it makes her under 100ft. long? Only thing in the RMG plans I have seen vaguely like this is for an unnamed 75ft Schooner-rigged gun Vessel with sliding keels. But then in post #93 through's me off the scent when you say it is Bristol! 😖 😆
-
Beautiful work, the painting makes for a very "authentic" look to you build. Well done, I like the Alert and have hopes of building it one day, this log will be one of my references!
- 562 replies
-
- 4
-
-
-
- vanguard models
- alert
- (and 2 more)
-
That’s good news Chris, do you still intend to do HMS Suprise after Bristol? 🙏
-
Brian is not the only one who would like to see your Jolly boat finished!
-
Wonderfull build, I really like the sails and crew - brings the subject to life.
- 10 replies
-
- 1
-
-
- Speedy
- Vanguard Models
- (and 1 more)
-
Think you are correct Alan, there will have been an entire inner structure made of wood, long gone now. As for the wall seeming to fizzle out before the cliffs, the possibilities springing to mind (from what I know of my local Knaresborough Castle) are either it has been partially robbed for building stone, much of the centre of old Knaresborough town is built using the Castle masonry from the 17th century onwards. Either that or they simply didn't finish the castle construction. These things took decades to build and so maybe over that time the original reason for having the defences at all had gone and they just stopped building? Other possibilities maybe earthquake damage?
