
HOLIDAY DONATION DRIVE - SUPPORT MSW - DO YOUR PART TO KEEP THIS GREAT FORUM GOING! (89 donations so far out of 49,000 members - C'mon guys!)
×


AJohnson
-
Posts
2,043 -
Joined
-
Last visited
Content Type
Profiles
Forums
Gallery
Events
Everything posted by AJohnson
-
Welcome to MSW
-
 Hi David, yes I’m lagging behind now, but not for want of trying, just other thing get in the way at the moment. I think I have decided I will try and follow RMG Drgs. ZAZ6418 & 6422 as best as my skills will allow. The contemporary model is so confusing in some the deck details compared to the plans available. It would be fascinating to work out the chronological sequence of them all!
- 152 replies
-
- 2
-

-
- Vanguard Models
- Cutter
- (and 2 more)
-
Really nice detailing David. I had also noticed the contemporary models scuppers and was thinking about how I could add that. I have some thin lead sheet I might try to use. Your solution looks very effective though.
- 152 replies
-
- 5
-
-
- Vanguard Models
- Cutter
- (and 2 more)
-
Well done, congratulations! On to the next project. 👏
-
Hi All, Latest updates, just added the Bulwark patterns. Many thanks for the likes and the encouraging comments, next stage the deck and inner Bulwark sides.

- 207 replies
-
- 20
-
-
Figures are looking great Alan, have a great vacation, yeah it’s a bit colder here atm, but nothing compared to continental winter weather!
-
Good to see you back at the workbench Brian. 😀 If that was my build, there would be one or two sad little bits of mdf framing sitting next to the model from my attempts to wrangle a false deck in! 🤣 Looking good!
-
Welcome to MSW Eric.
-
Great detailing you are adding, those last few pictures show your painting off really well, the highlights and shading you do is so good.
- 562 replies
-
- 2
-

-
-
- vanguard models
- alert
- (and 2 more)
-
Excellent work Dave your scratch built head details will be much better, you “Diana” builders certainly seem to be put through it, trying to wrangle this kit into shape. I always had Diana on my wants list, but think I’m going to wait for Vanguard models to do a frigate; either Surprise and/or the others Chris has mentioned like Phoebe or Amphion.
-
Great build Chris, it looks great and the kit deficiencies you highlighted do not detract from your skills in building it.
-
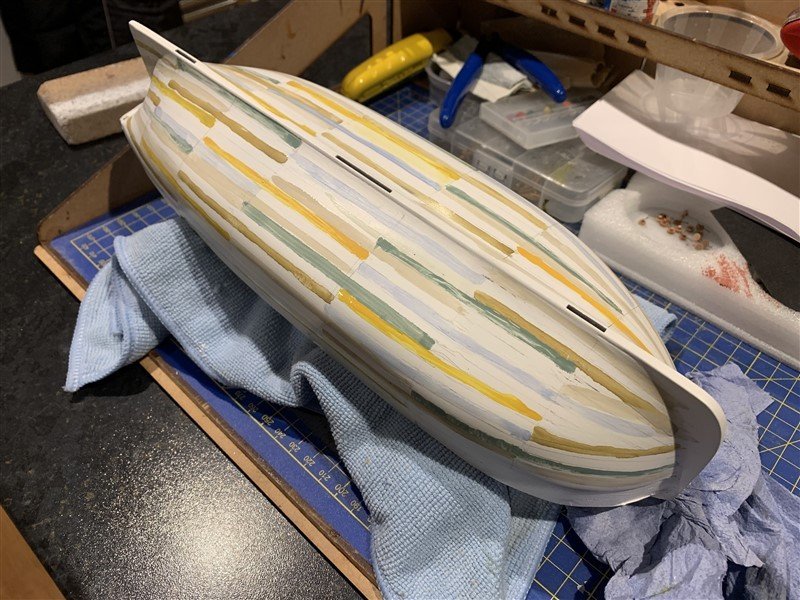
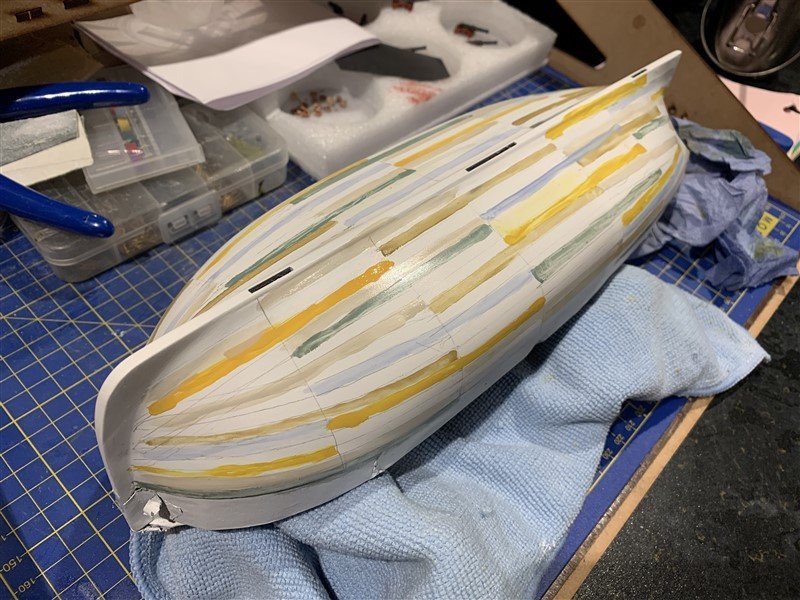
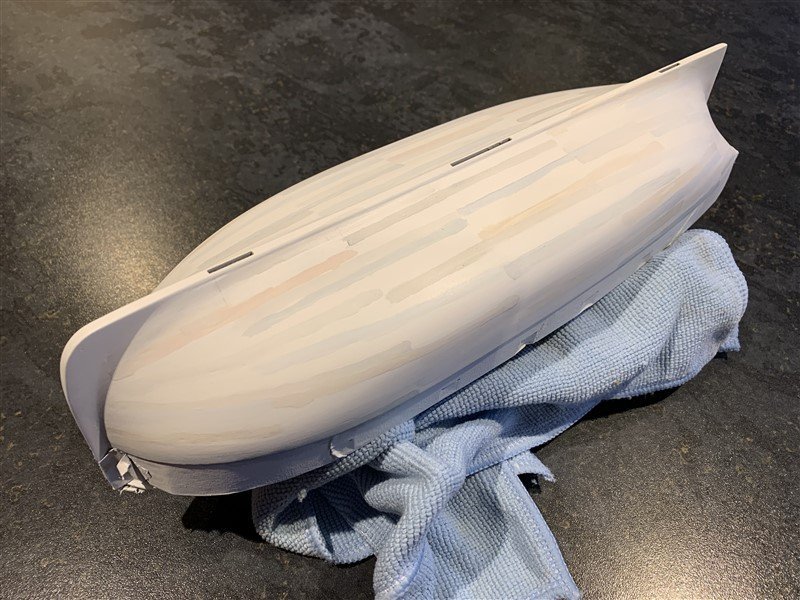
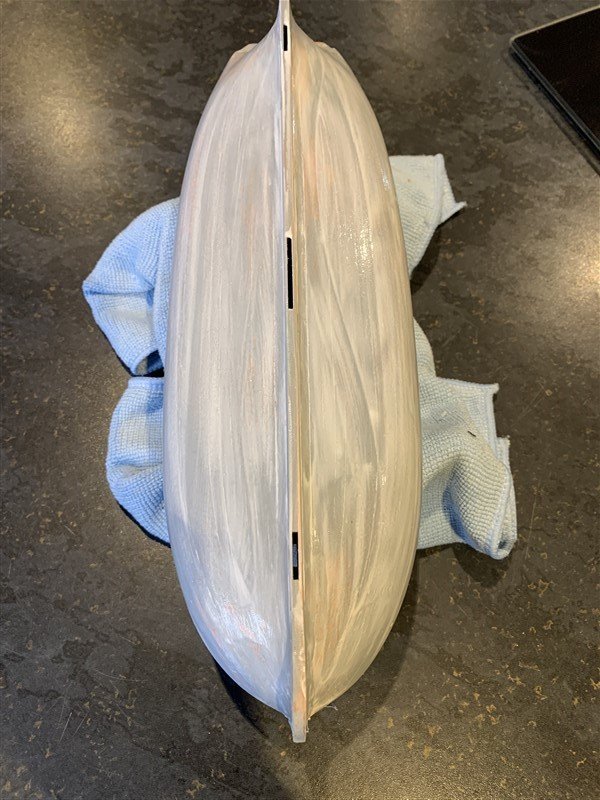
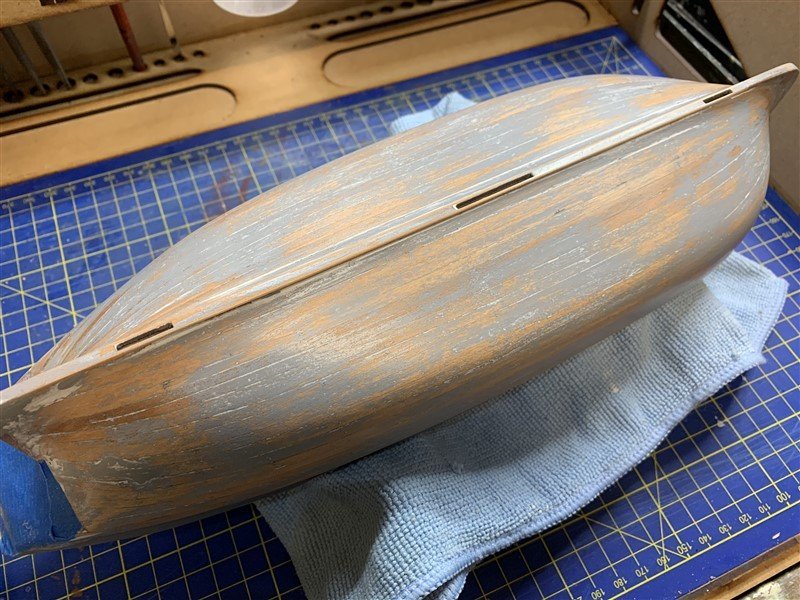
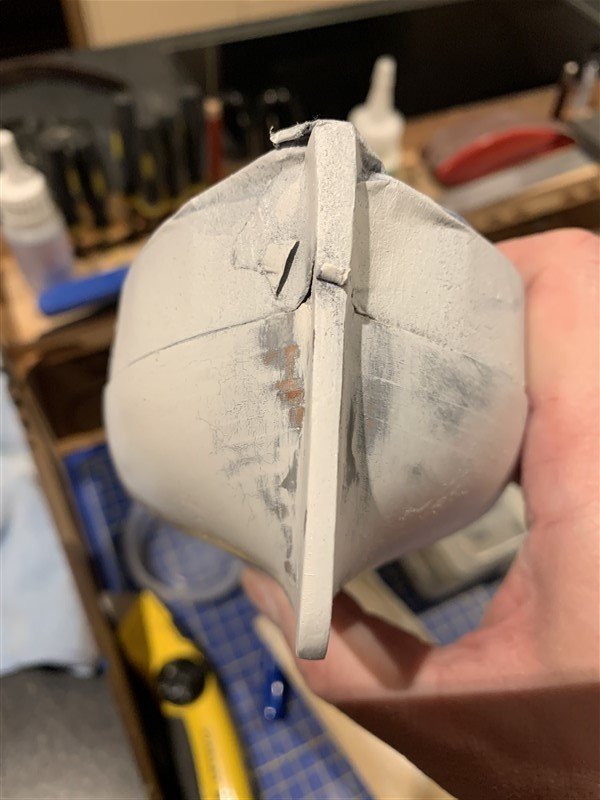
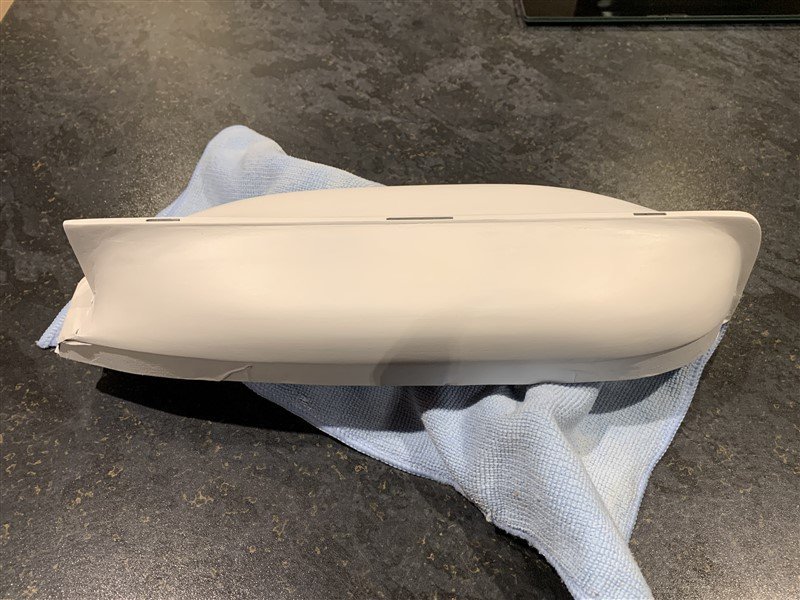
Update to show the hull about ready for adding the P.E. rudder hinges, Horseshoe plates etc. Just a bit more fine sanding and sealing to go. The pre-shading was laid out using the Bulwark patterns as a guide to layout out the plank ends then the planks were sketched back in, so I could colour distinct bands in yellows, browns, greys etc. to provide some shading variation under the final layers of white. The initial look is a bit shocking, but soon calmed down under successive layers of white until finally just a hint of the picked out planking shows (a bit difficult to see in the photos!), just to break up the "mono" look of a pure white hull. Looking forward now to peeling away the tape and getting those bulwarks on! 😁


- 207 replies
-
- 26
-

-
-
That’s looking really nice David, I’m certainly hanging onto your coat tails for my build, looking for hints and tips as I get to the same stages.
- 152 replies
-
- 3
-
-
- Vanguard Models
- Cutter
- (and 2 more)
-
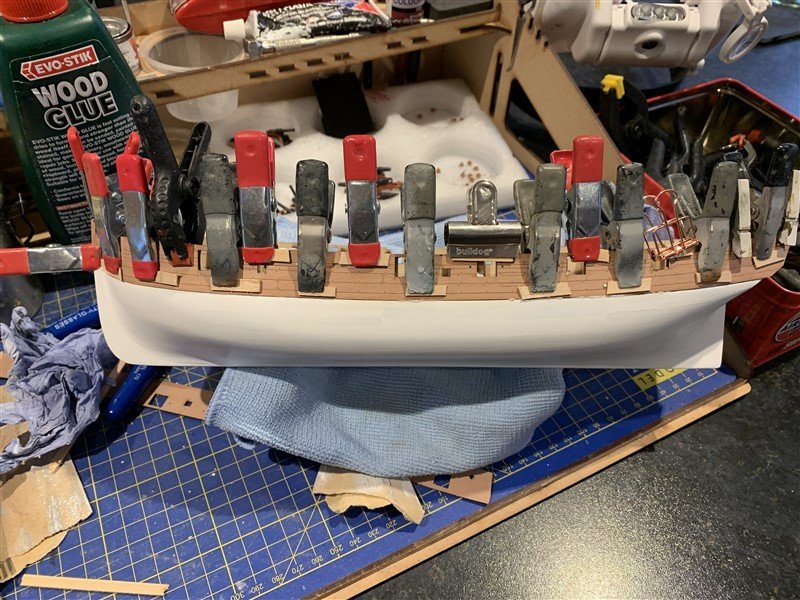
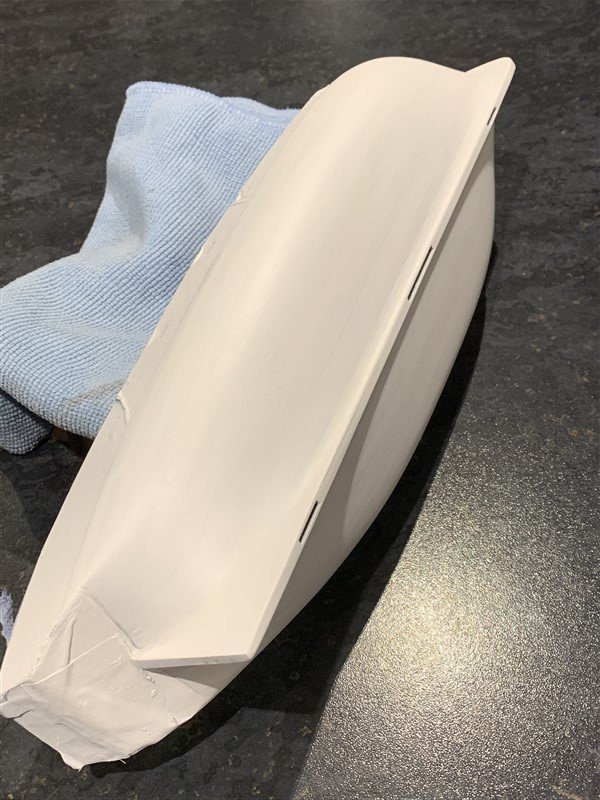
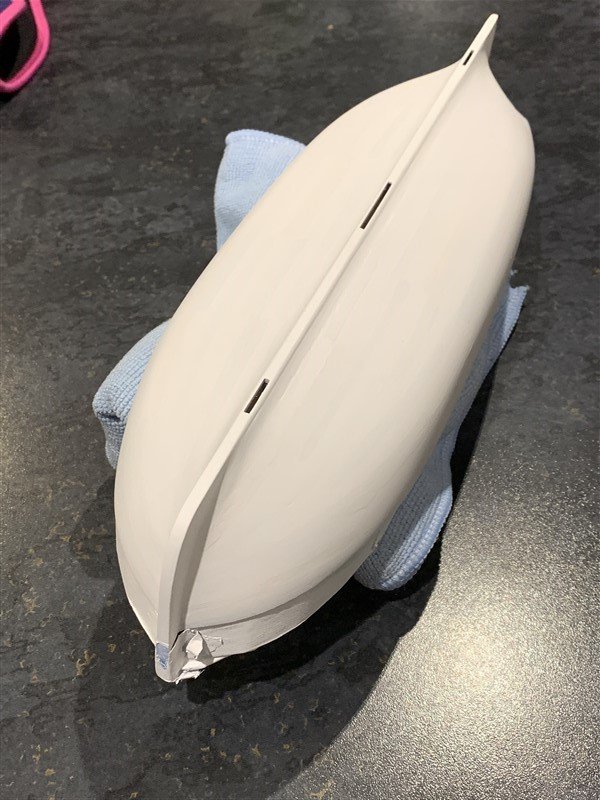
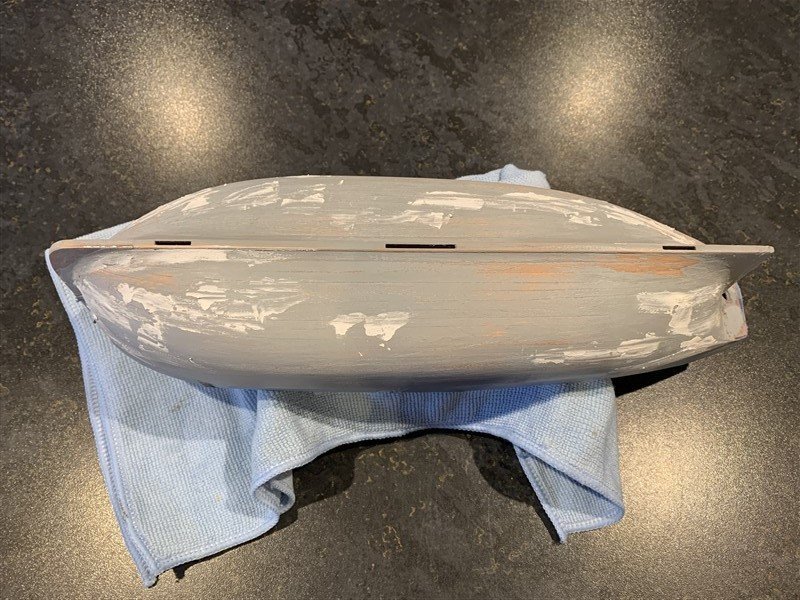
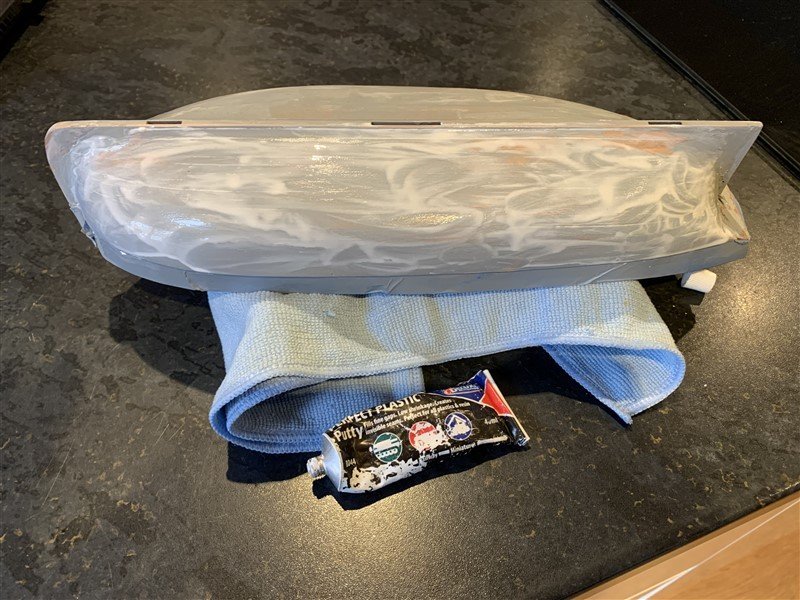
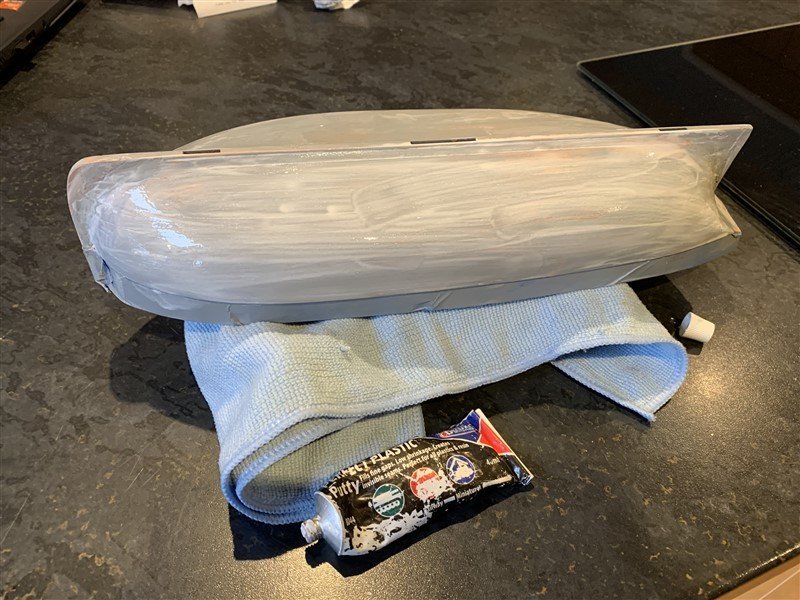
Thank you all very much for the encouragement and likes. Update today just on the seemingly never ending rounds of filling, sanding , primer, paint, repeat! Nearly there I think, just the odd remaining blemish to sort before the final base coat, prior to pre-shading the planking for a more interesting final appearance (I'm not after a uniform monotone white finish.) Thought I would share some pictures of the stages I've been going through. I just used a rattle can DIY grey primer initially, followed by an initial rub down with medium sandpaper to see what a layer of paint showed up - nothing like a layer of paint to point out your lack of woodworking skills! I have then being using water-based plastic putty that can be thinned down to get into all the little imperfections, flat down, rub and repeat! As the surface gets better I then start to use fine wire wool; this doesn't tend to "ball-up" paint layers as easily, then some old blu-roll paper towel to really bring out a shine to go hunting for flaws again holding the hull up to a light source. Work is going to get in the way this week, so might not be much more progress until the weekend. Thanks again for following along.
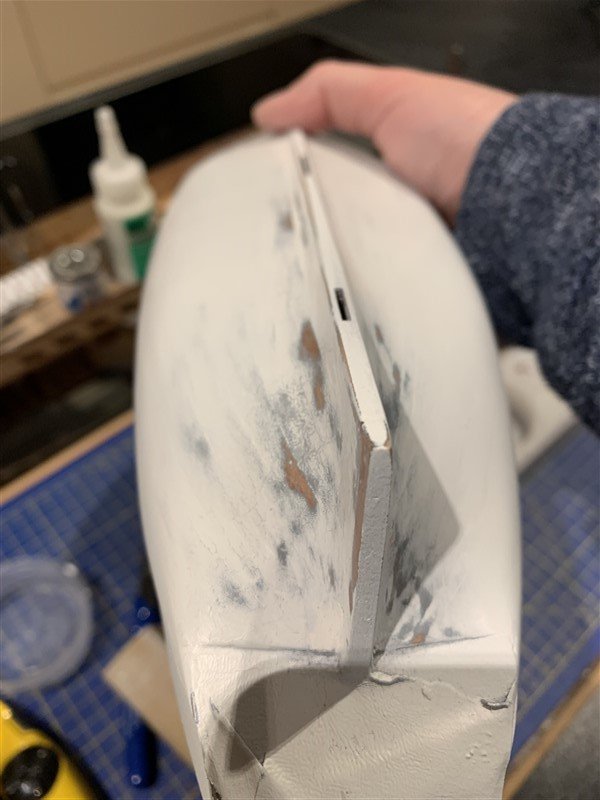

- 207 replies
-
- 18
-
-
Very neat work David. I have also been looking at the RMG plans of which there are a surprising number named “Trial”, though I suspect at least one is just a proposal of the sliding keel arrangement by Captain Schank, a couple say they are copies of plans sent to the yard for building dated May 1790 but one (ZAZ6418) states it is the plan of the ship “built” dated 9th September 1790, so perhaps closest to the final layout? Interesting most of the plans show an additional grating/companion way to the starboard of the forward sliding keel, providing access to the Boatswain, Carpenter & Gunner’s store rooms. That plan also shows a raised skylight over the Commander’s cabin and a cover over the companionway. The contemporary model does not show these details and as Chris has mentioned in his prototype log, it deviates from the various plans in a number of ways, I suppose we shall never know the true relationship of the plans and model to the real vessel - all very interesting!
- 152 replies
-
- 3
-
-
- Vanguard Models
- Cutter
- (and 2 more)
-
You do that as well! 🤣 I dread to think what treasures are lurking in my “safe place” when I find it!
-
Welcome to MSW Simon as for Vanguard kits they are worth it and has a good fleet of fishing Vessels if you don't want cannons festooning your models! Hope you do a build log of them.
-
Well done Alan on reaching this milestone, really impressive looking model! How big will it be in bench area with the cliffs and surrounding land?
-
Maybe it was along the lines: “if we make it ugly enough the air will just jump out of the way!” 🤣
-
Shelby 427 S/C Cobra by CDW - FINISHED - Fujimi - 1:24 Scale
AJohnson replied to CDW's topic in Non-ship/categorised builds
Great finish, another fine build Craig. -
Welcome to MSW!
-
Great to see your update Mike and the happy coincidence that we both posted the same milestone today on our cutter builds. Your planking looks excellent.
-
Very neatly done Glenn, where in your boatyard is the beast going when done!? 😲
- 587 replies
-
- 1
-
-
- Indefatigable
- Vanguard Models
- (and 1 more)
