


Knocklouder
-
Posts
2,996 -
Joined
-
Last visited
Content Type
Profiles
Forums
Gallery
Events
Posts posted by Knocklouder
-
-

A wealth of information is found here on MSW/NRG. Good luck on your journey!!
Bob M.
- Keith Black, mtaylor and Nirvana
-
 3
3
-
-
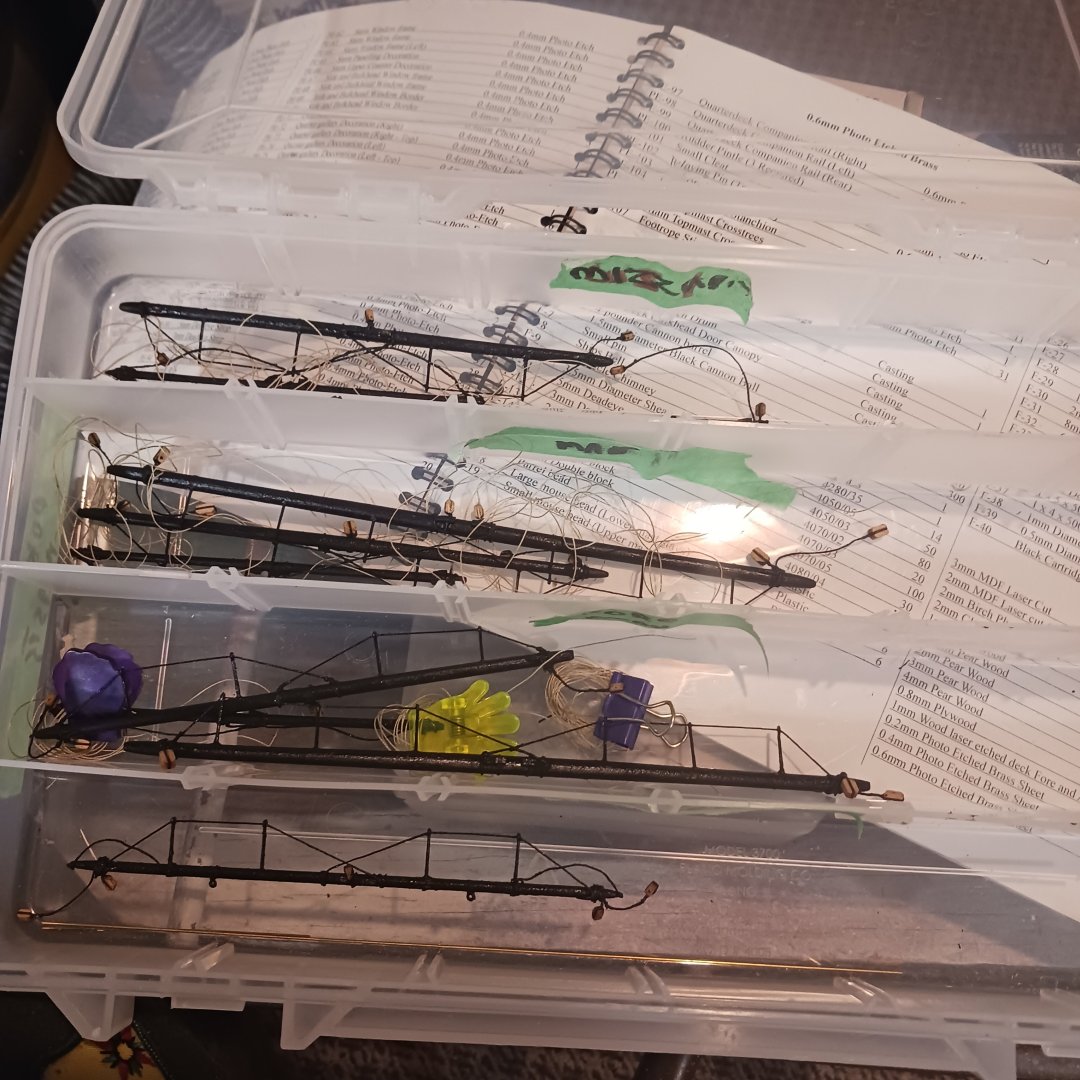
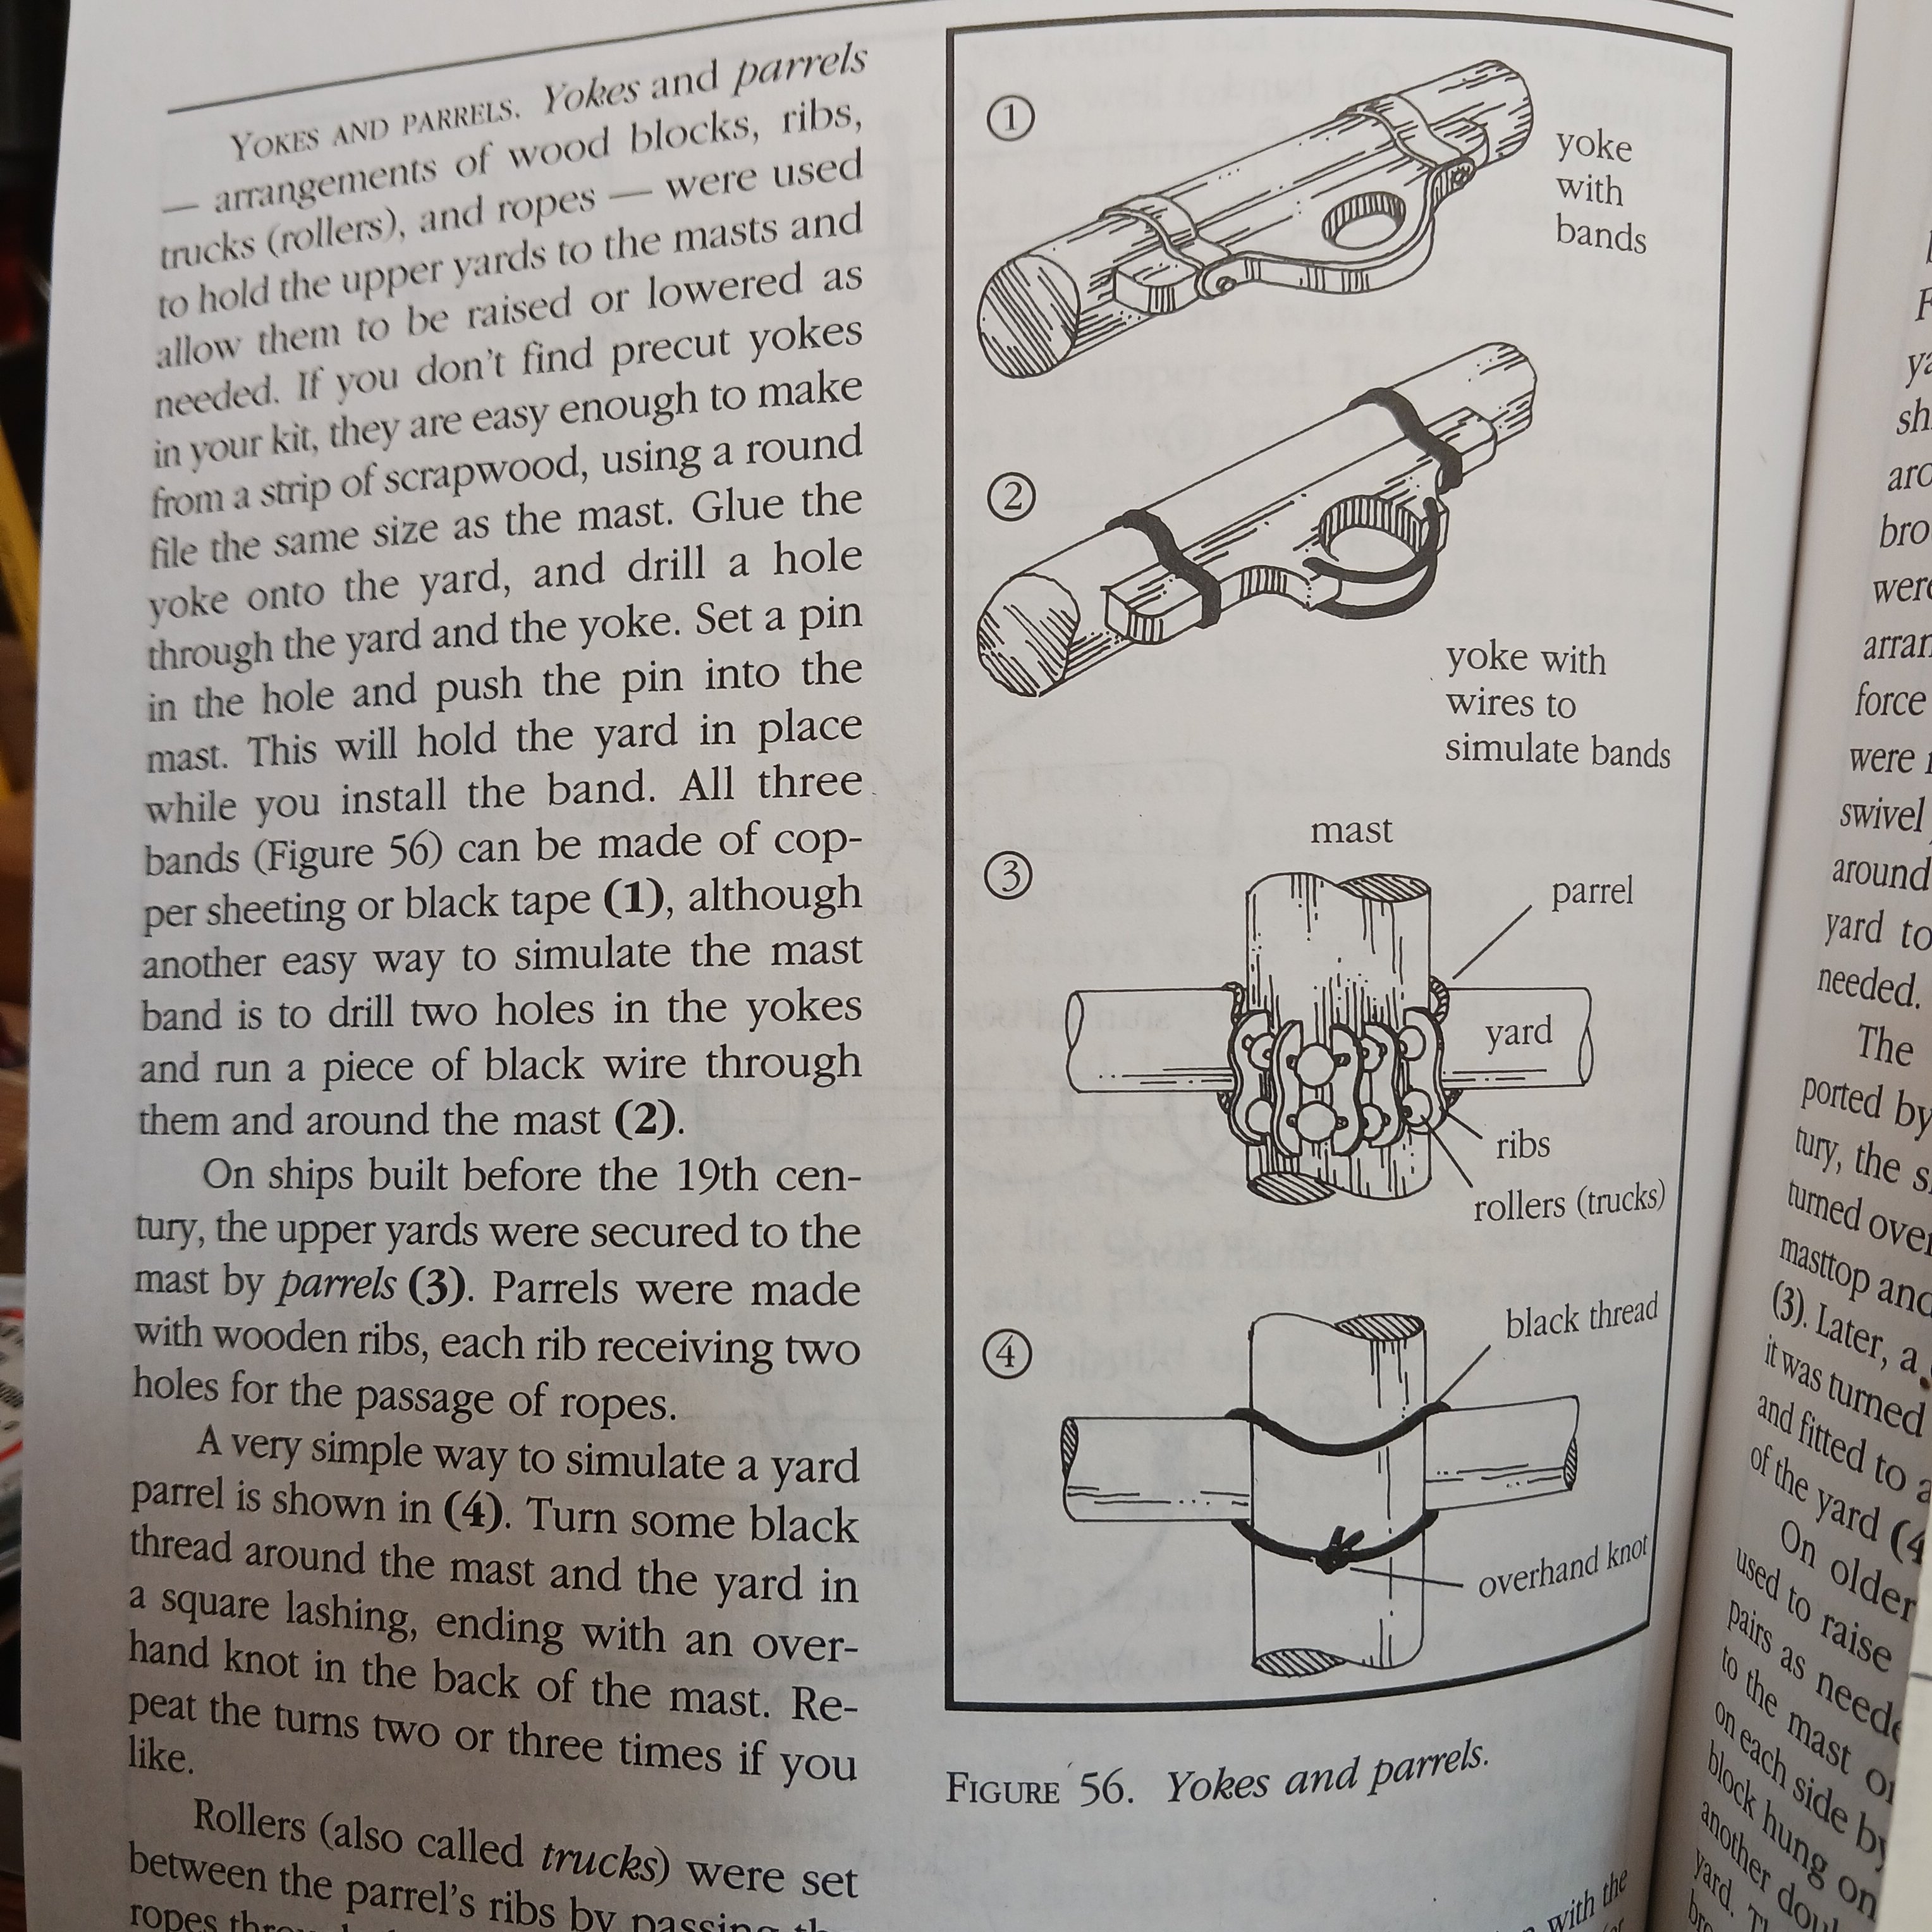
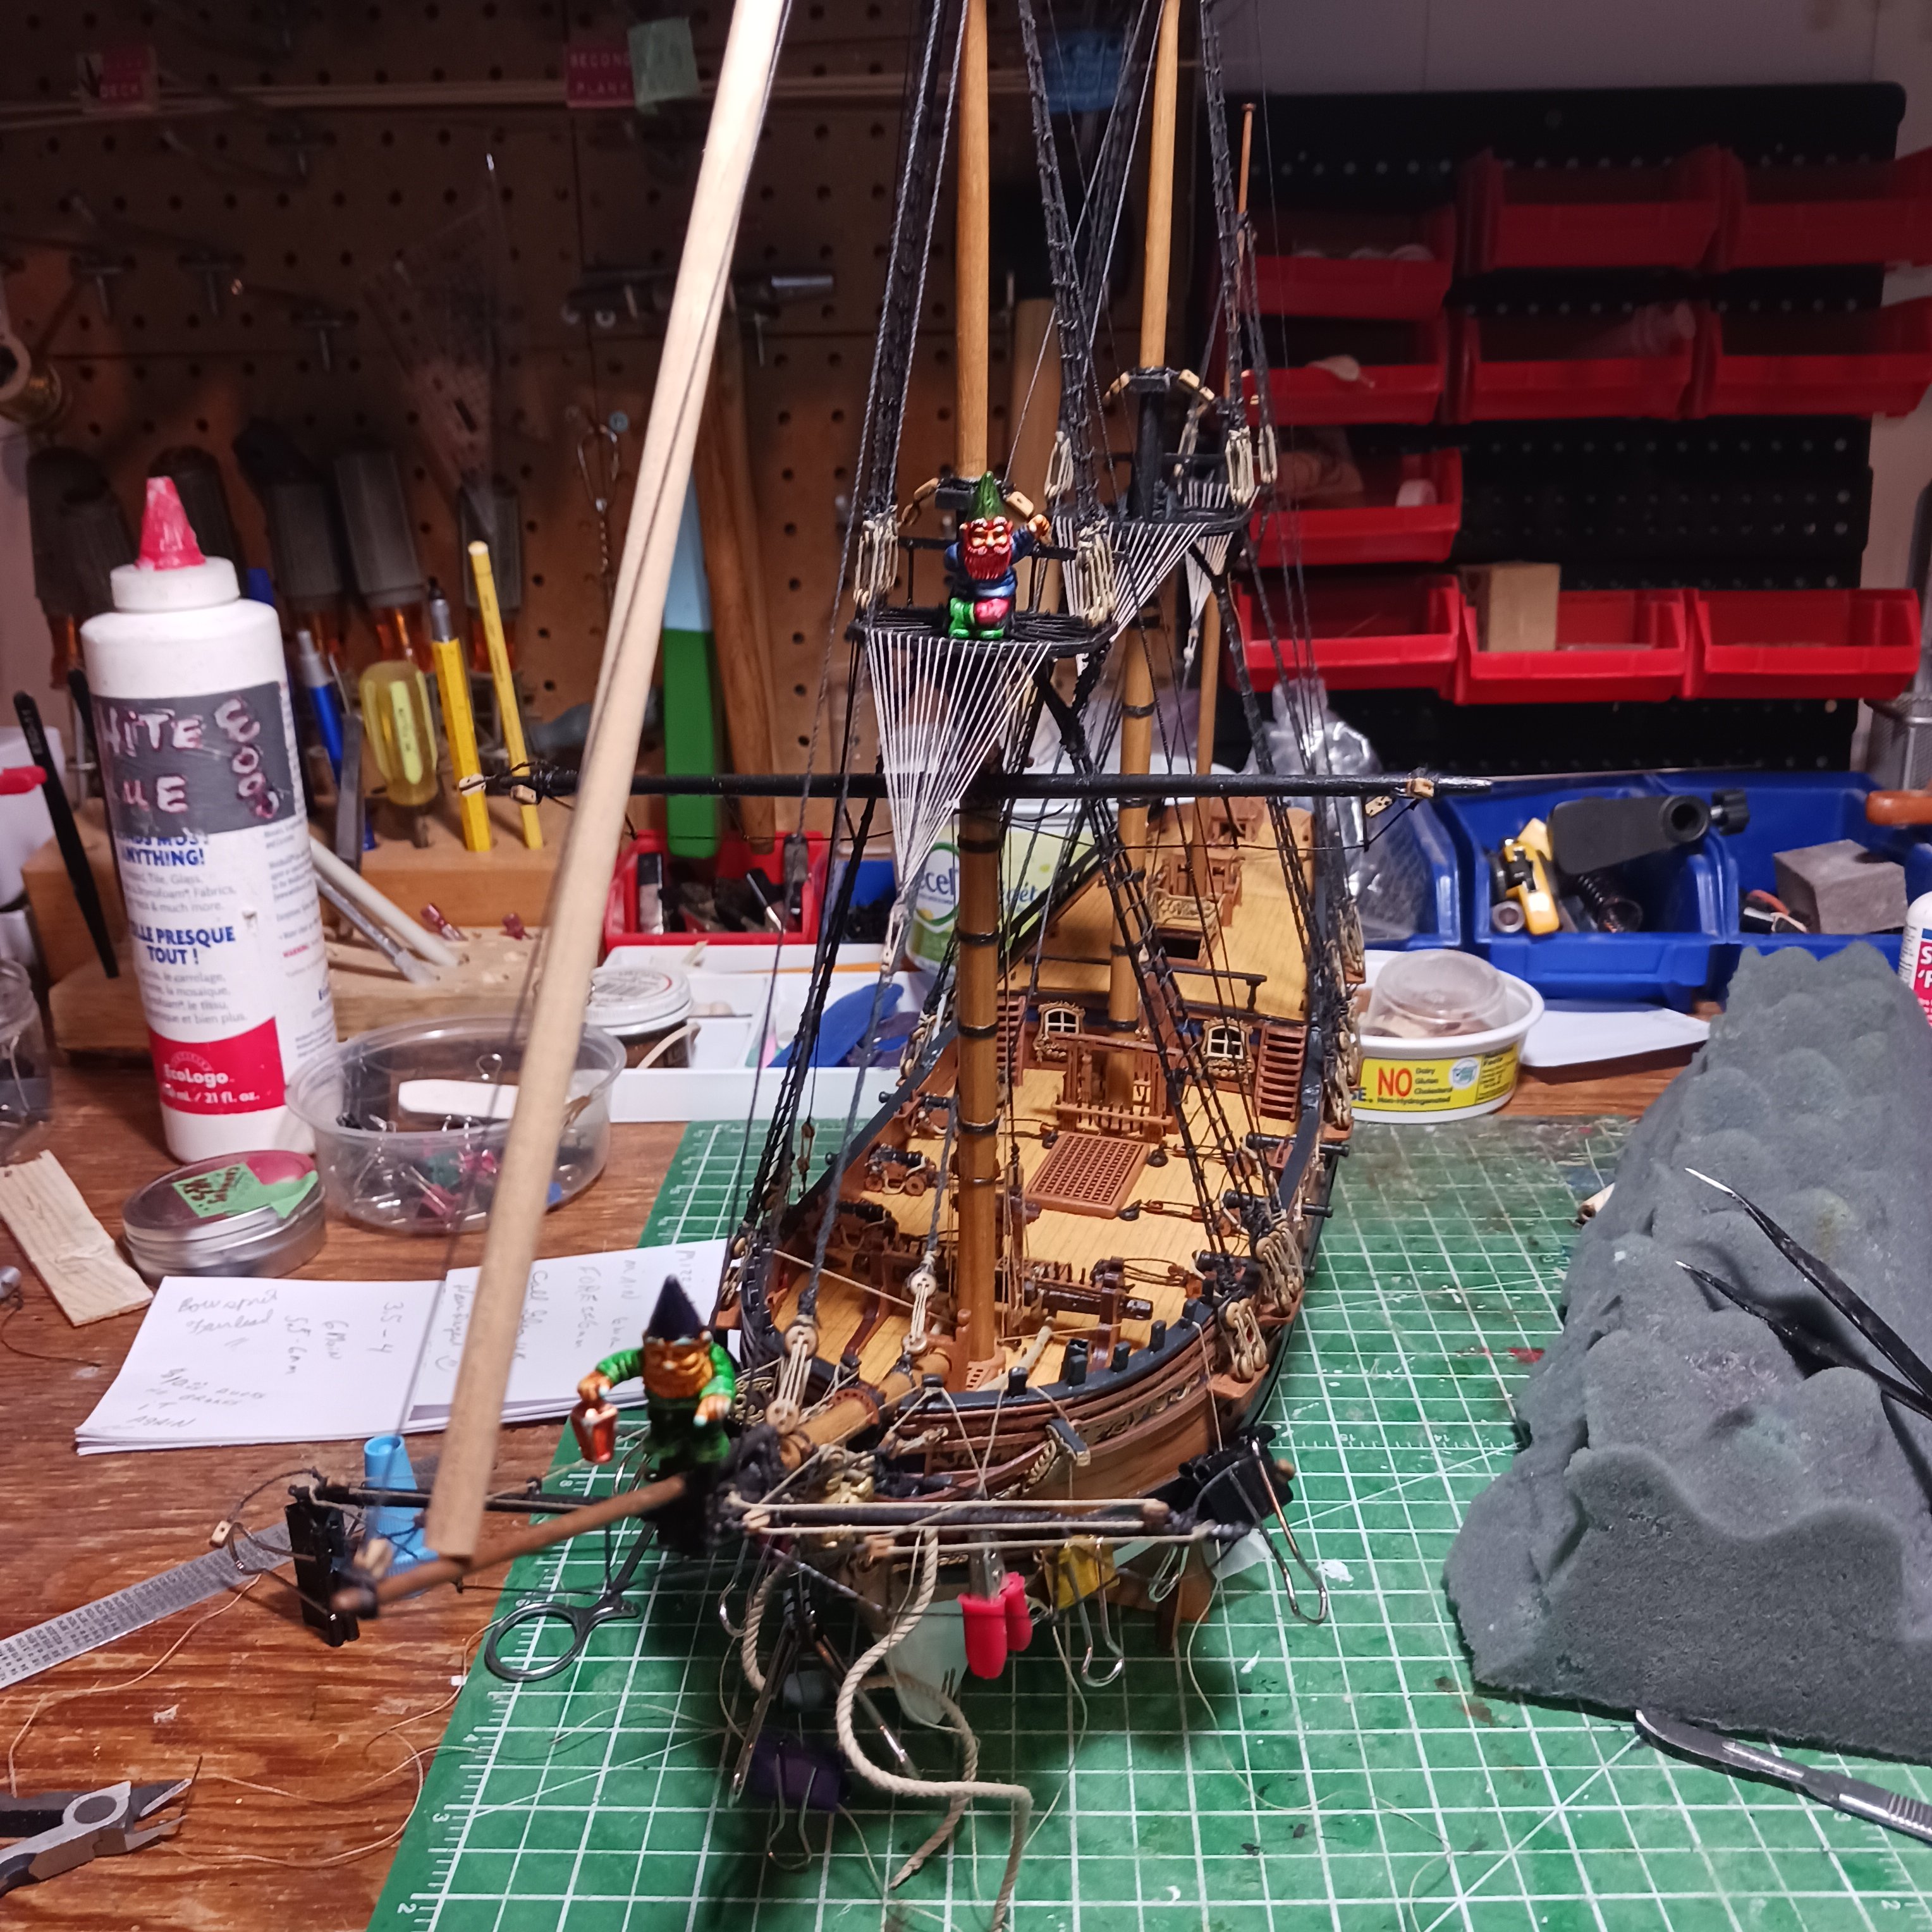
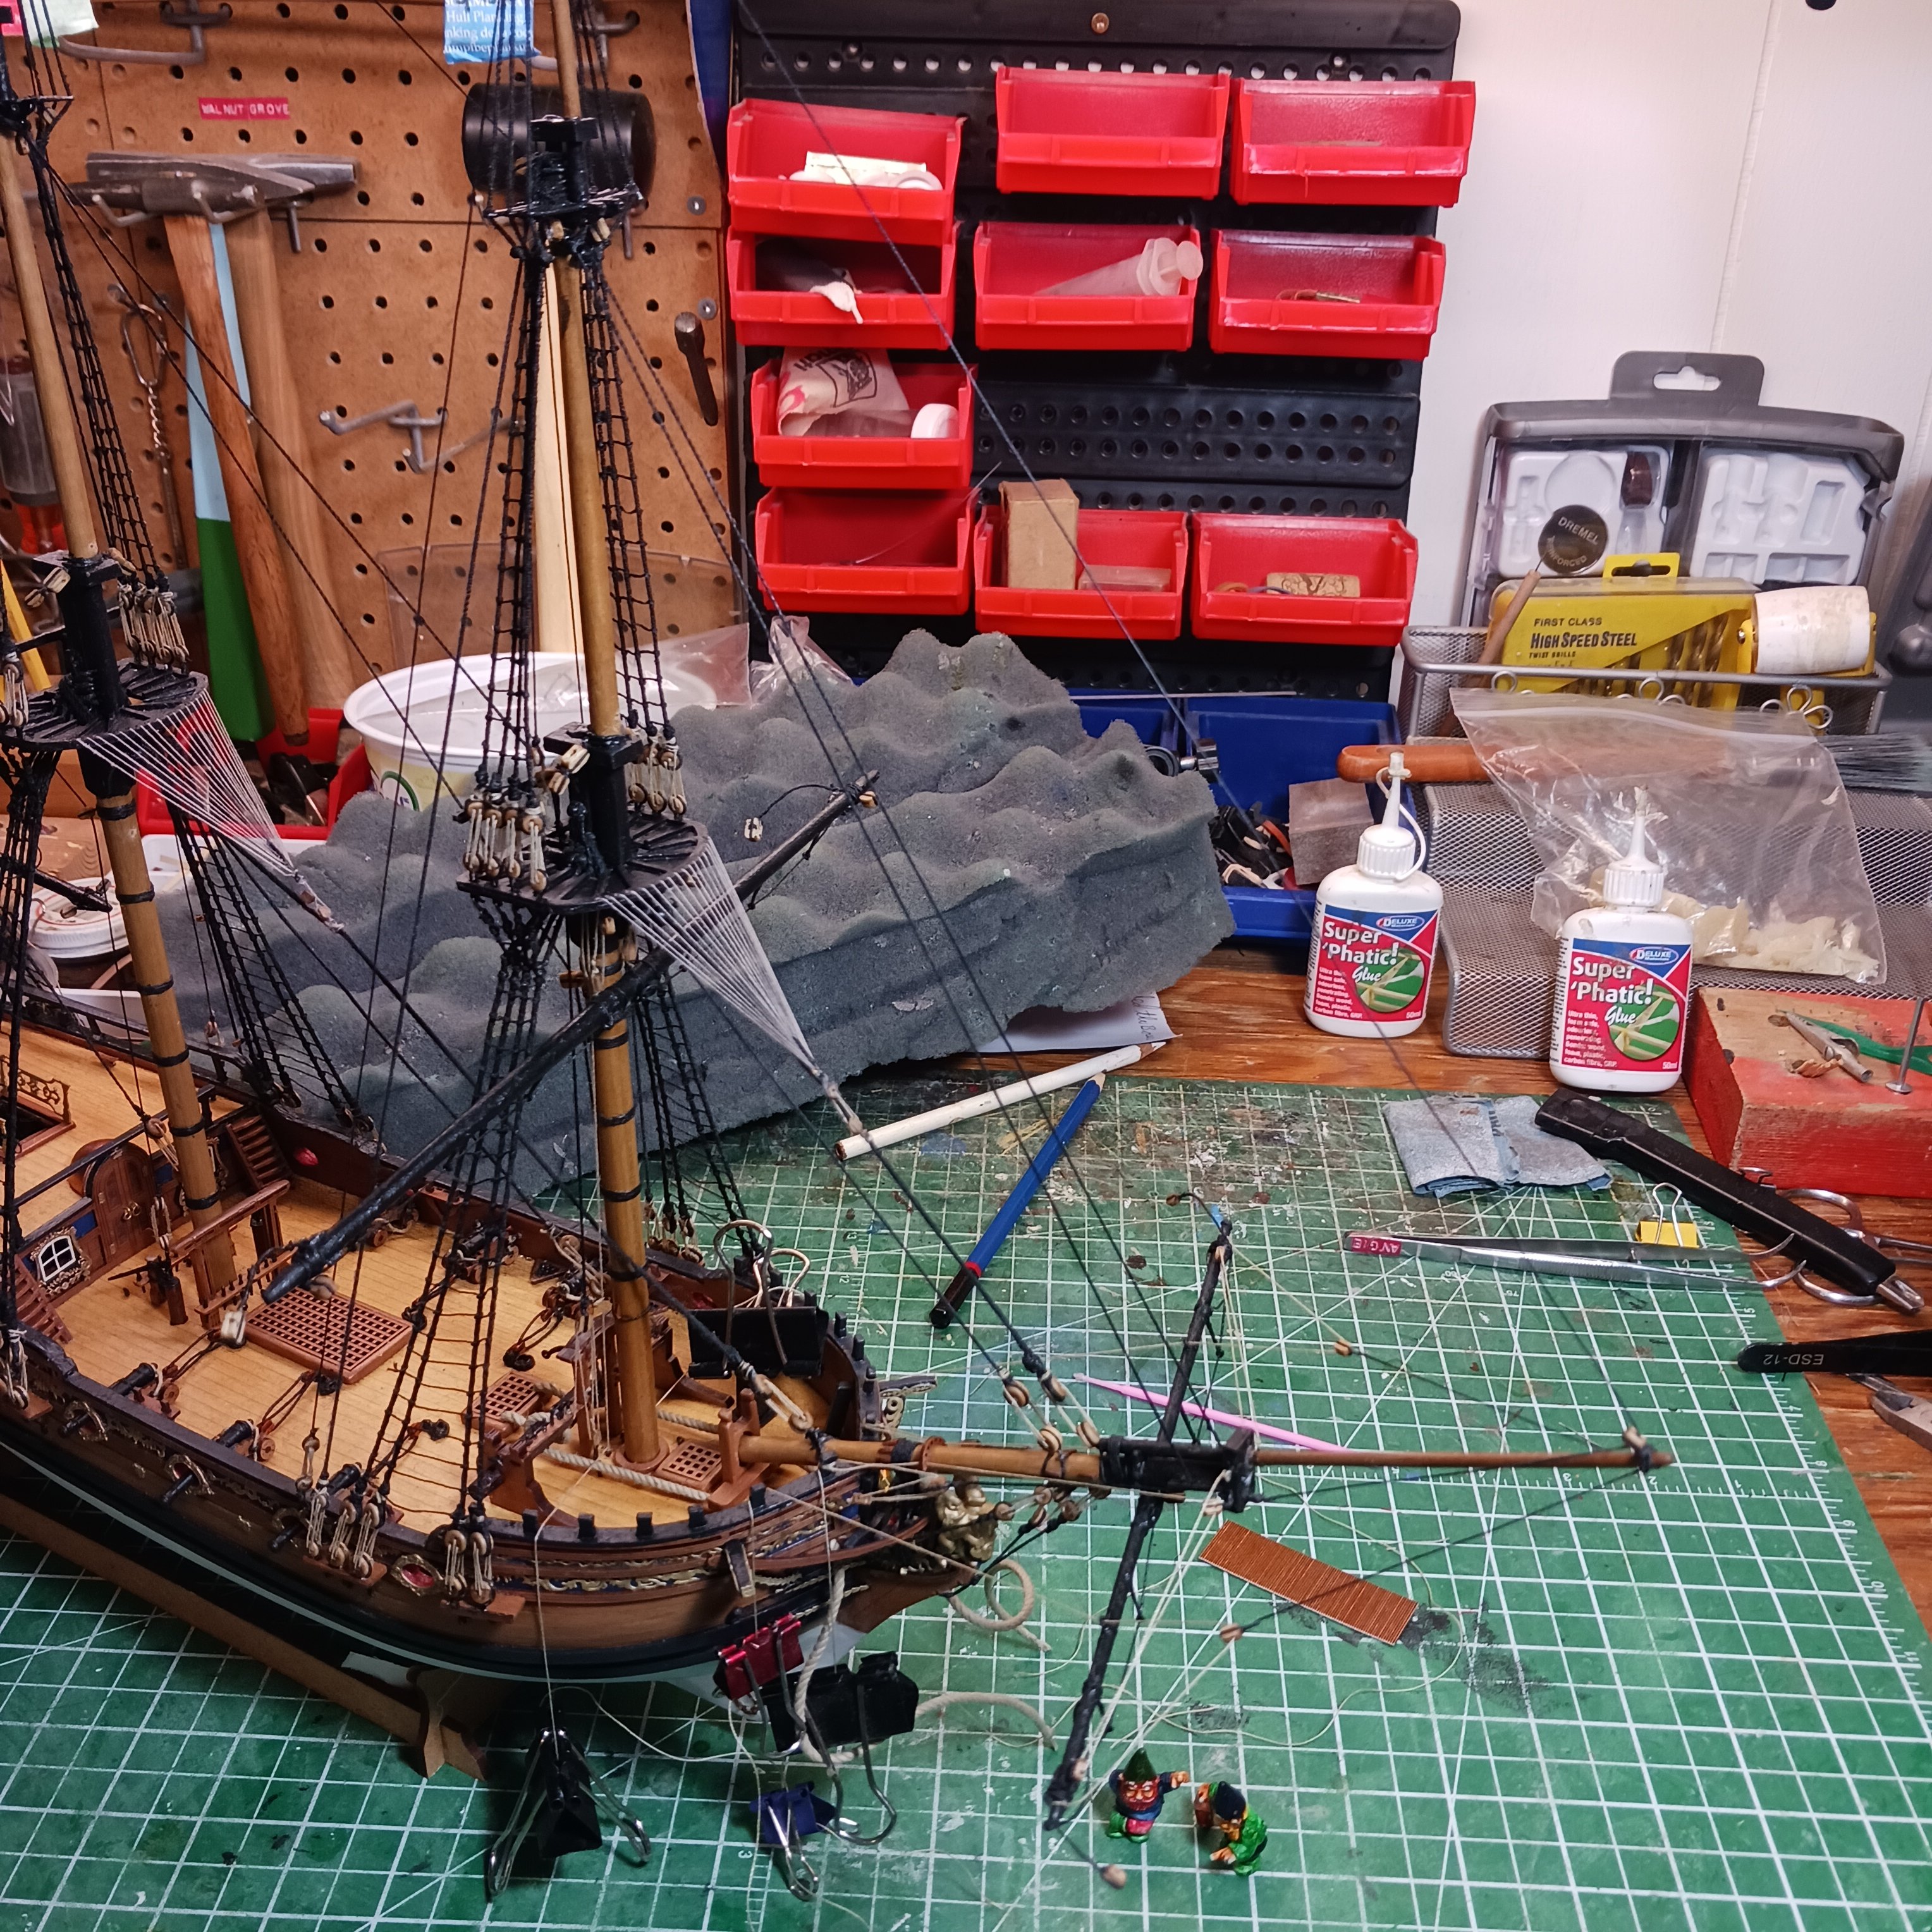
Well can you belive it page 72&73 the last two in the manual. So many of my friends are going through difficult times. But the wee kid in me is just a grinning. I have these double blocks for the main mast that I shook off earlier to reattach. Then it was time to attack the yards.

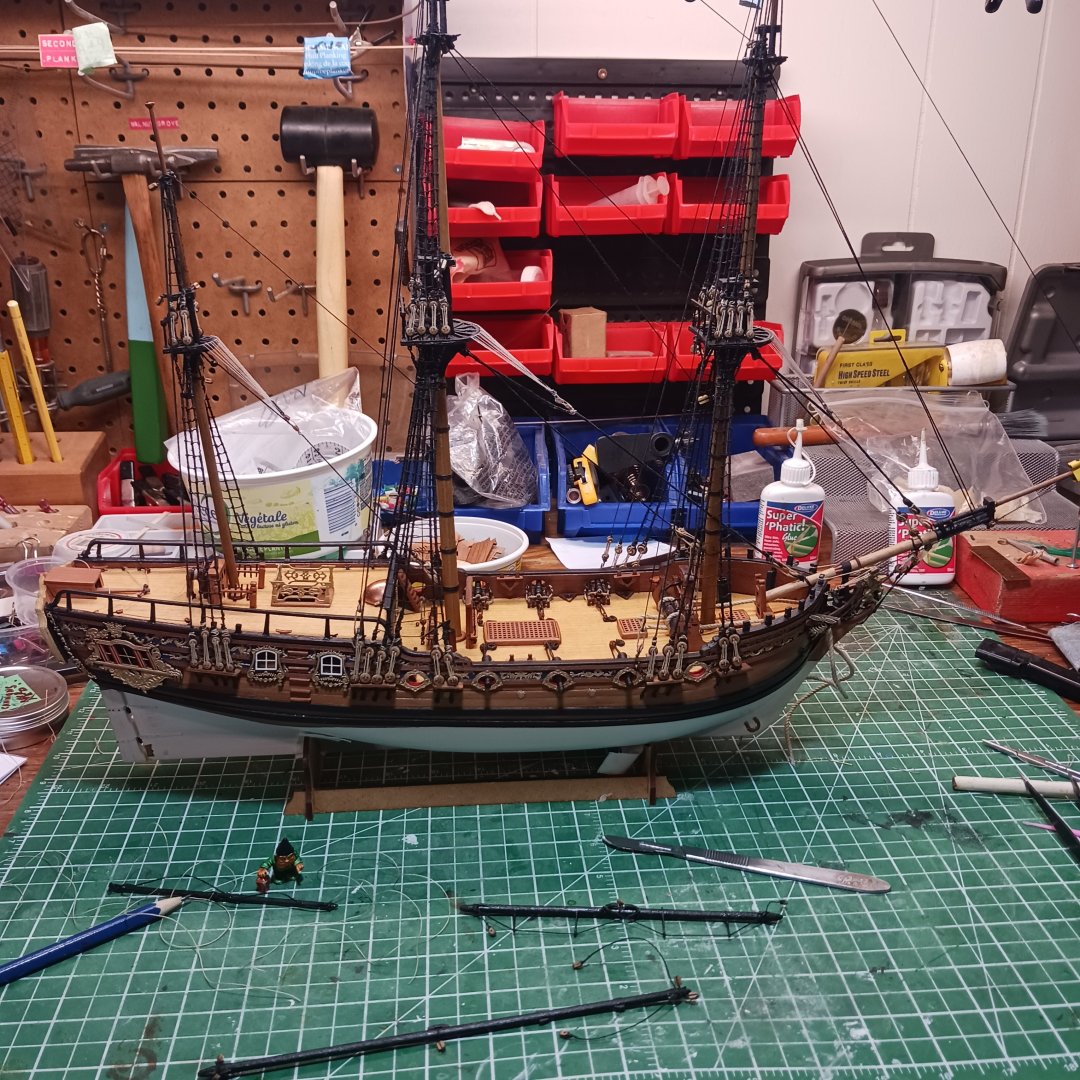
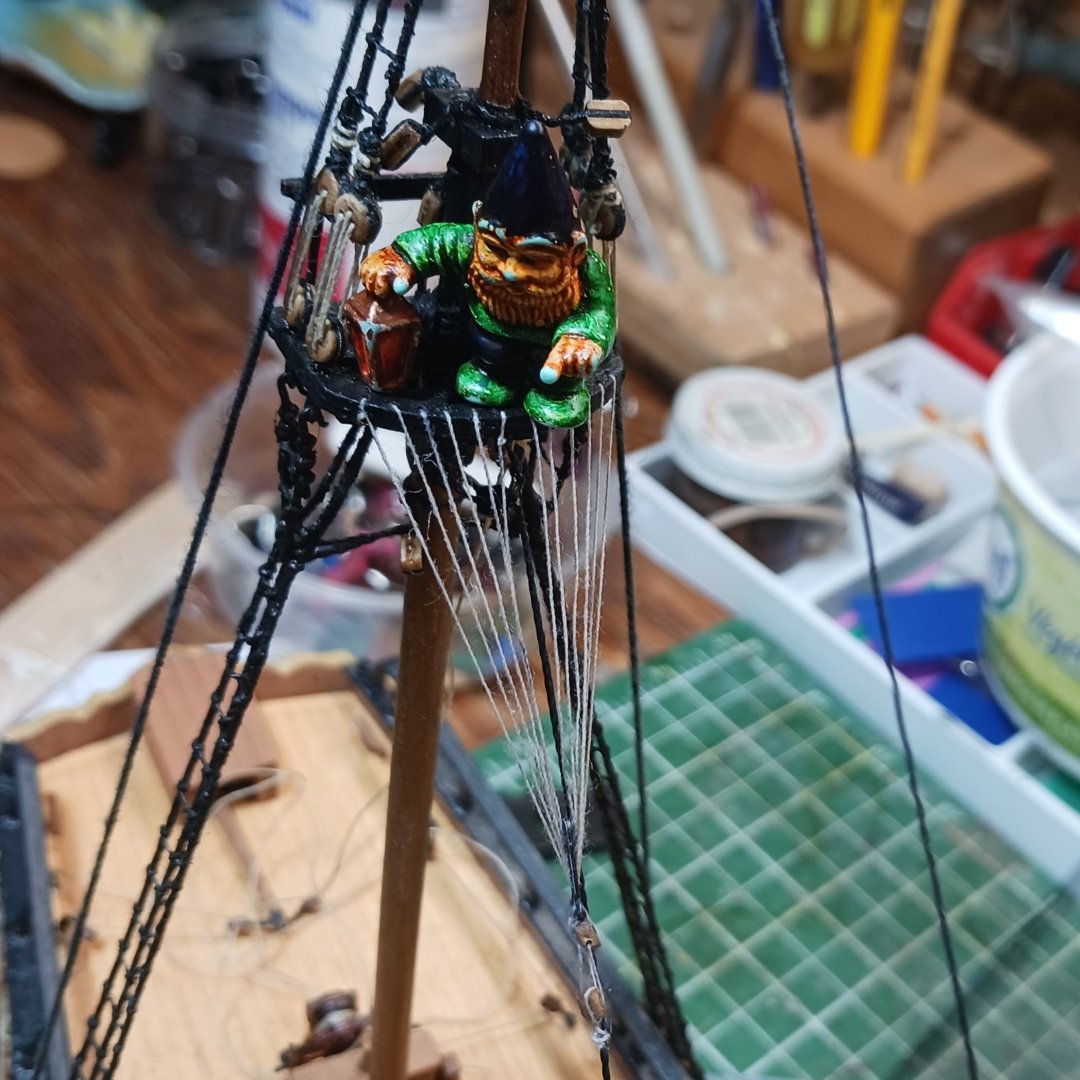
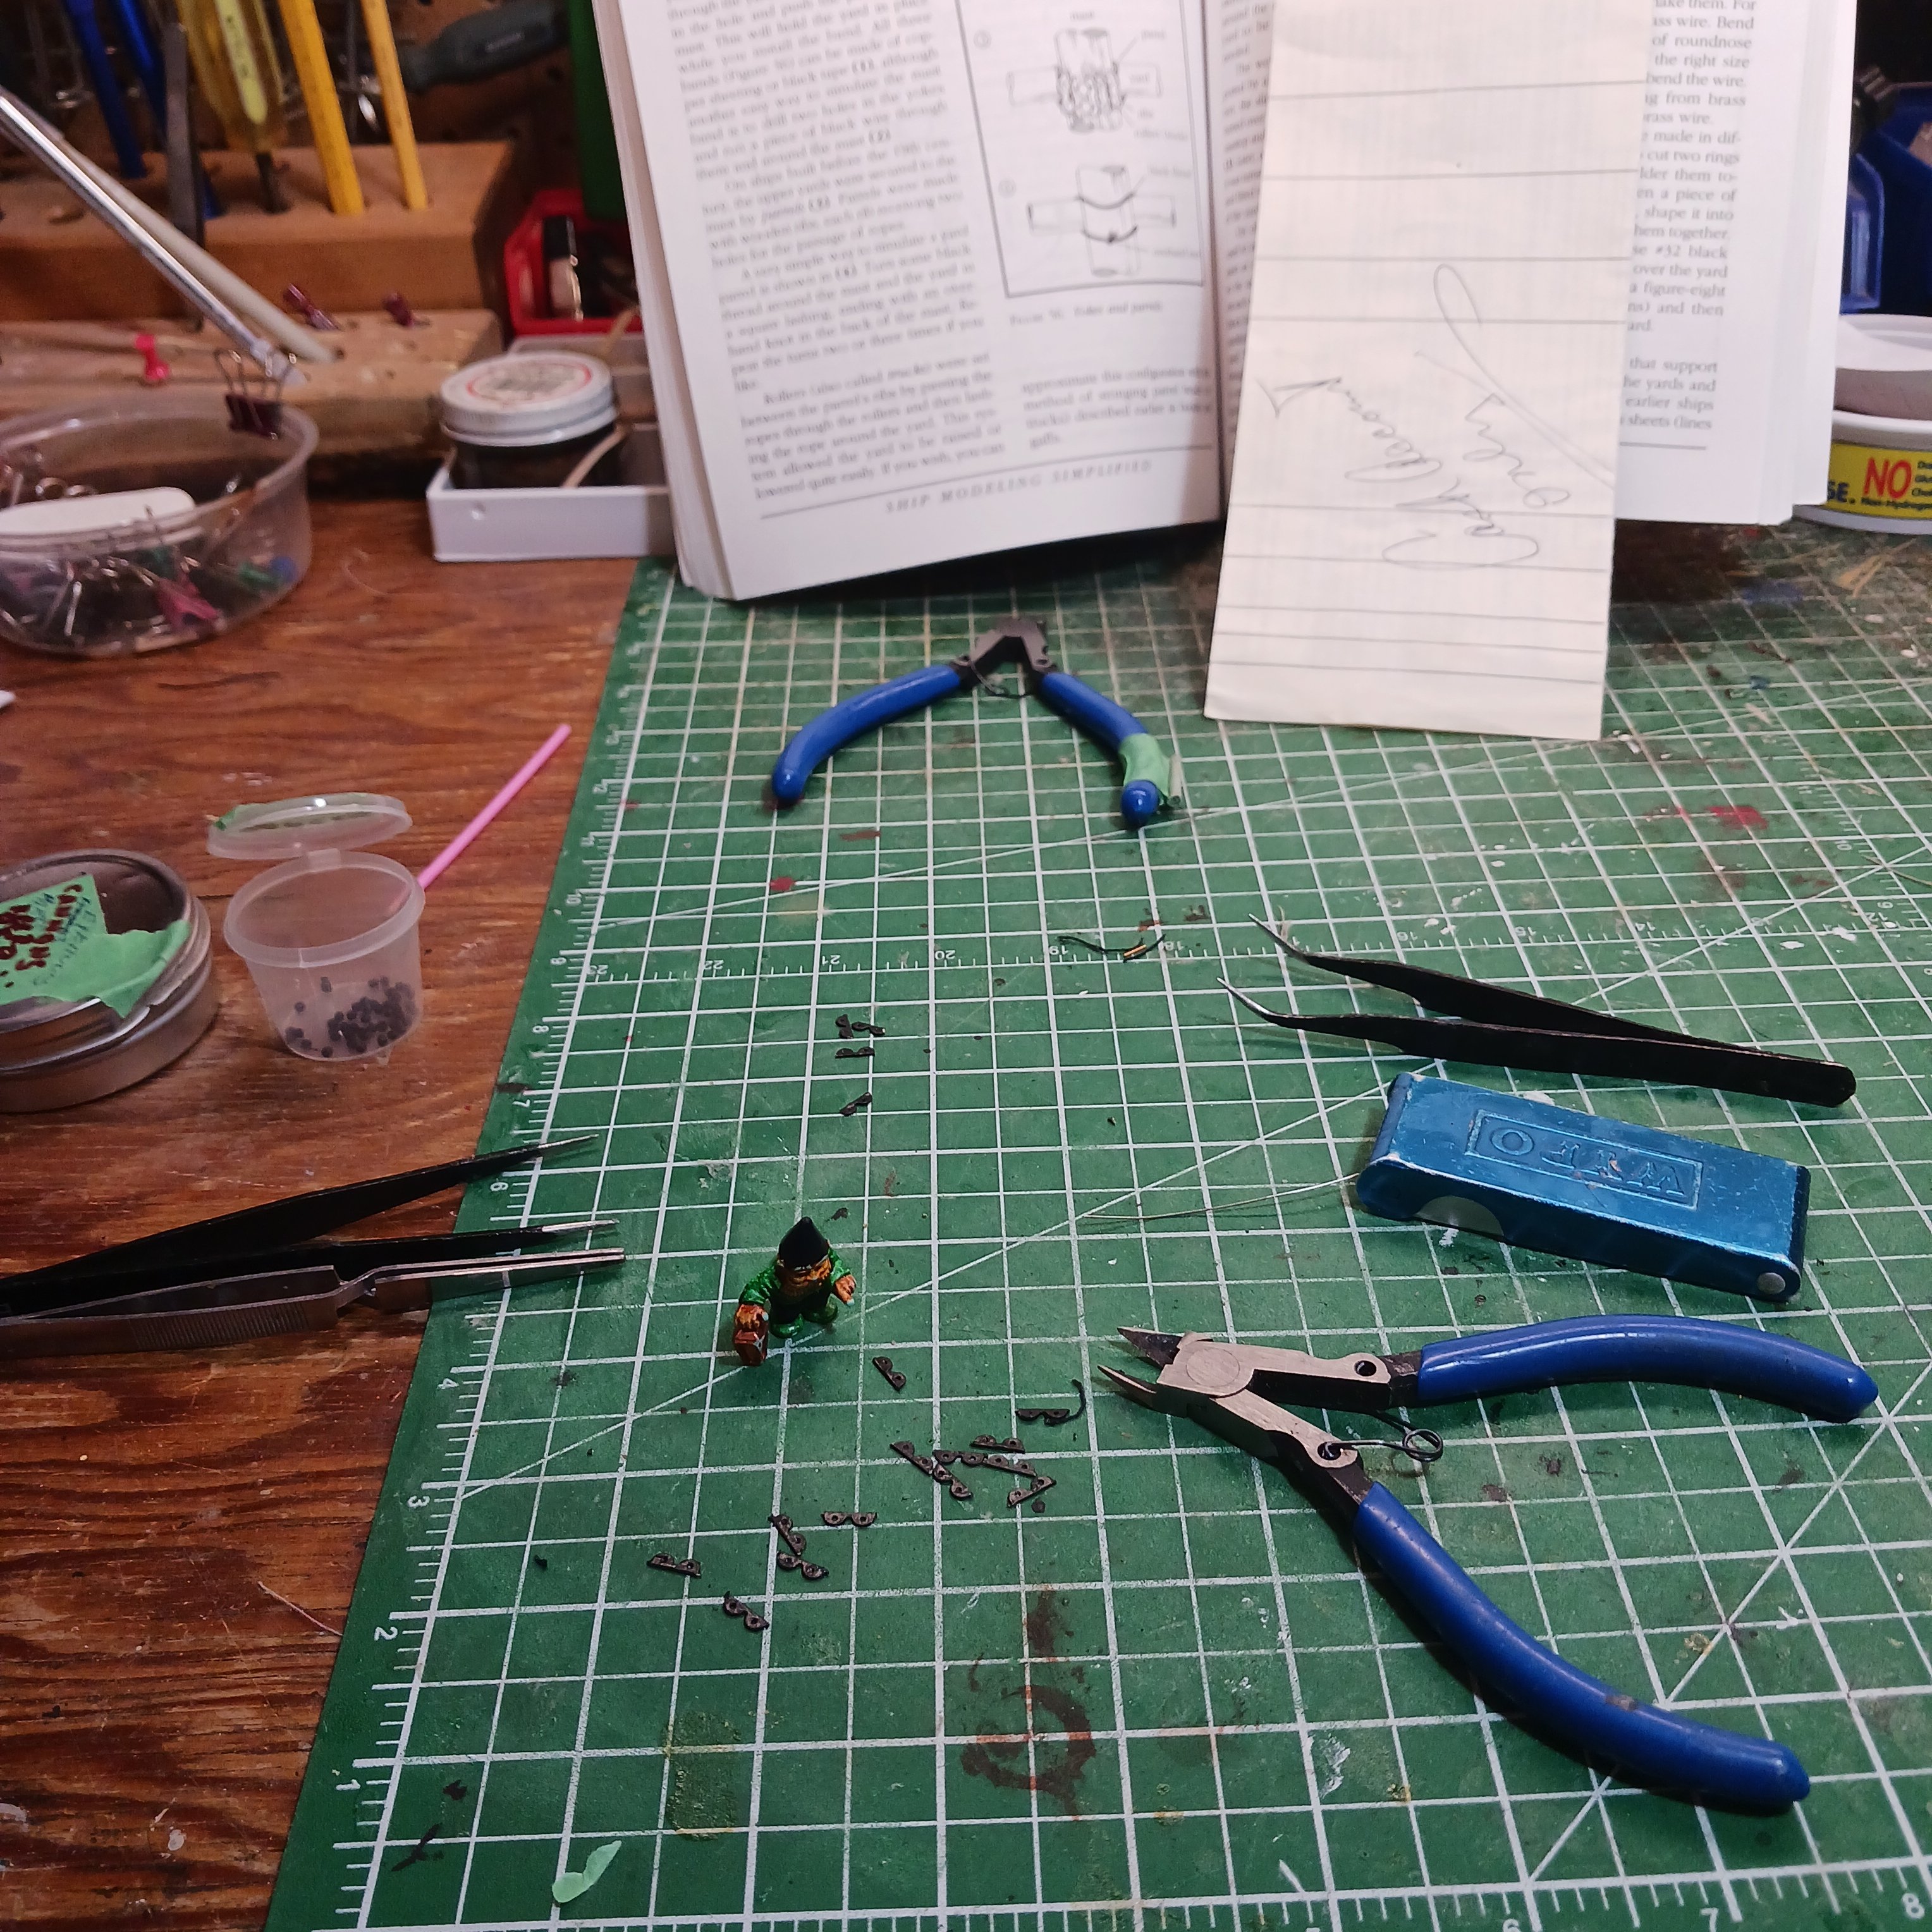
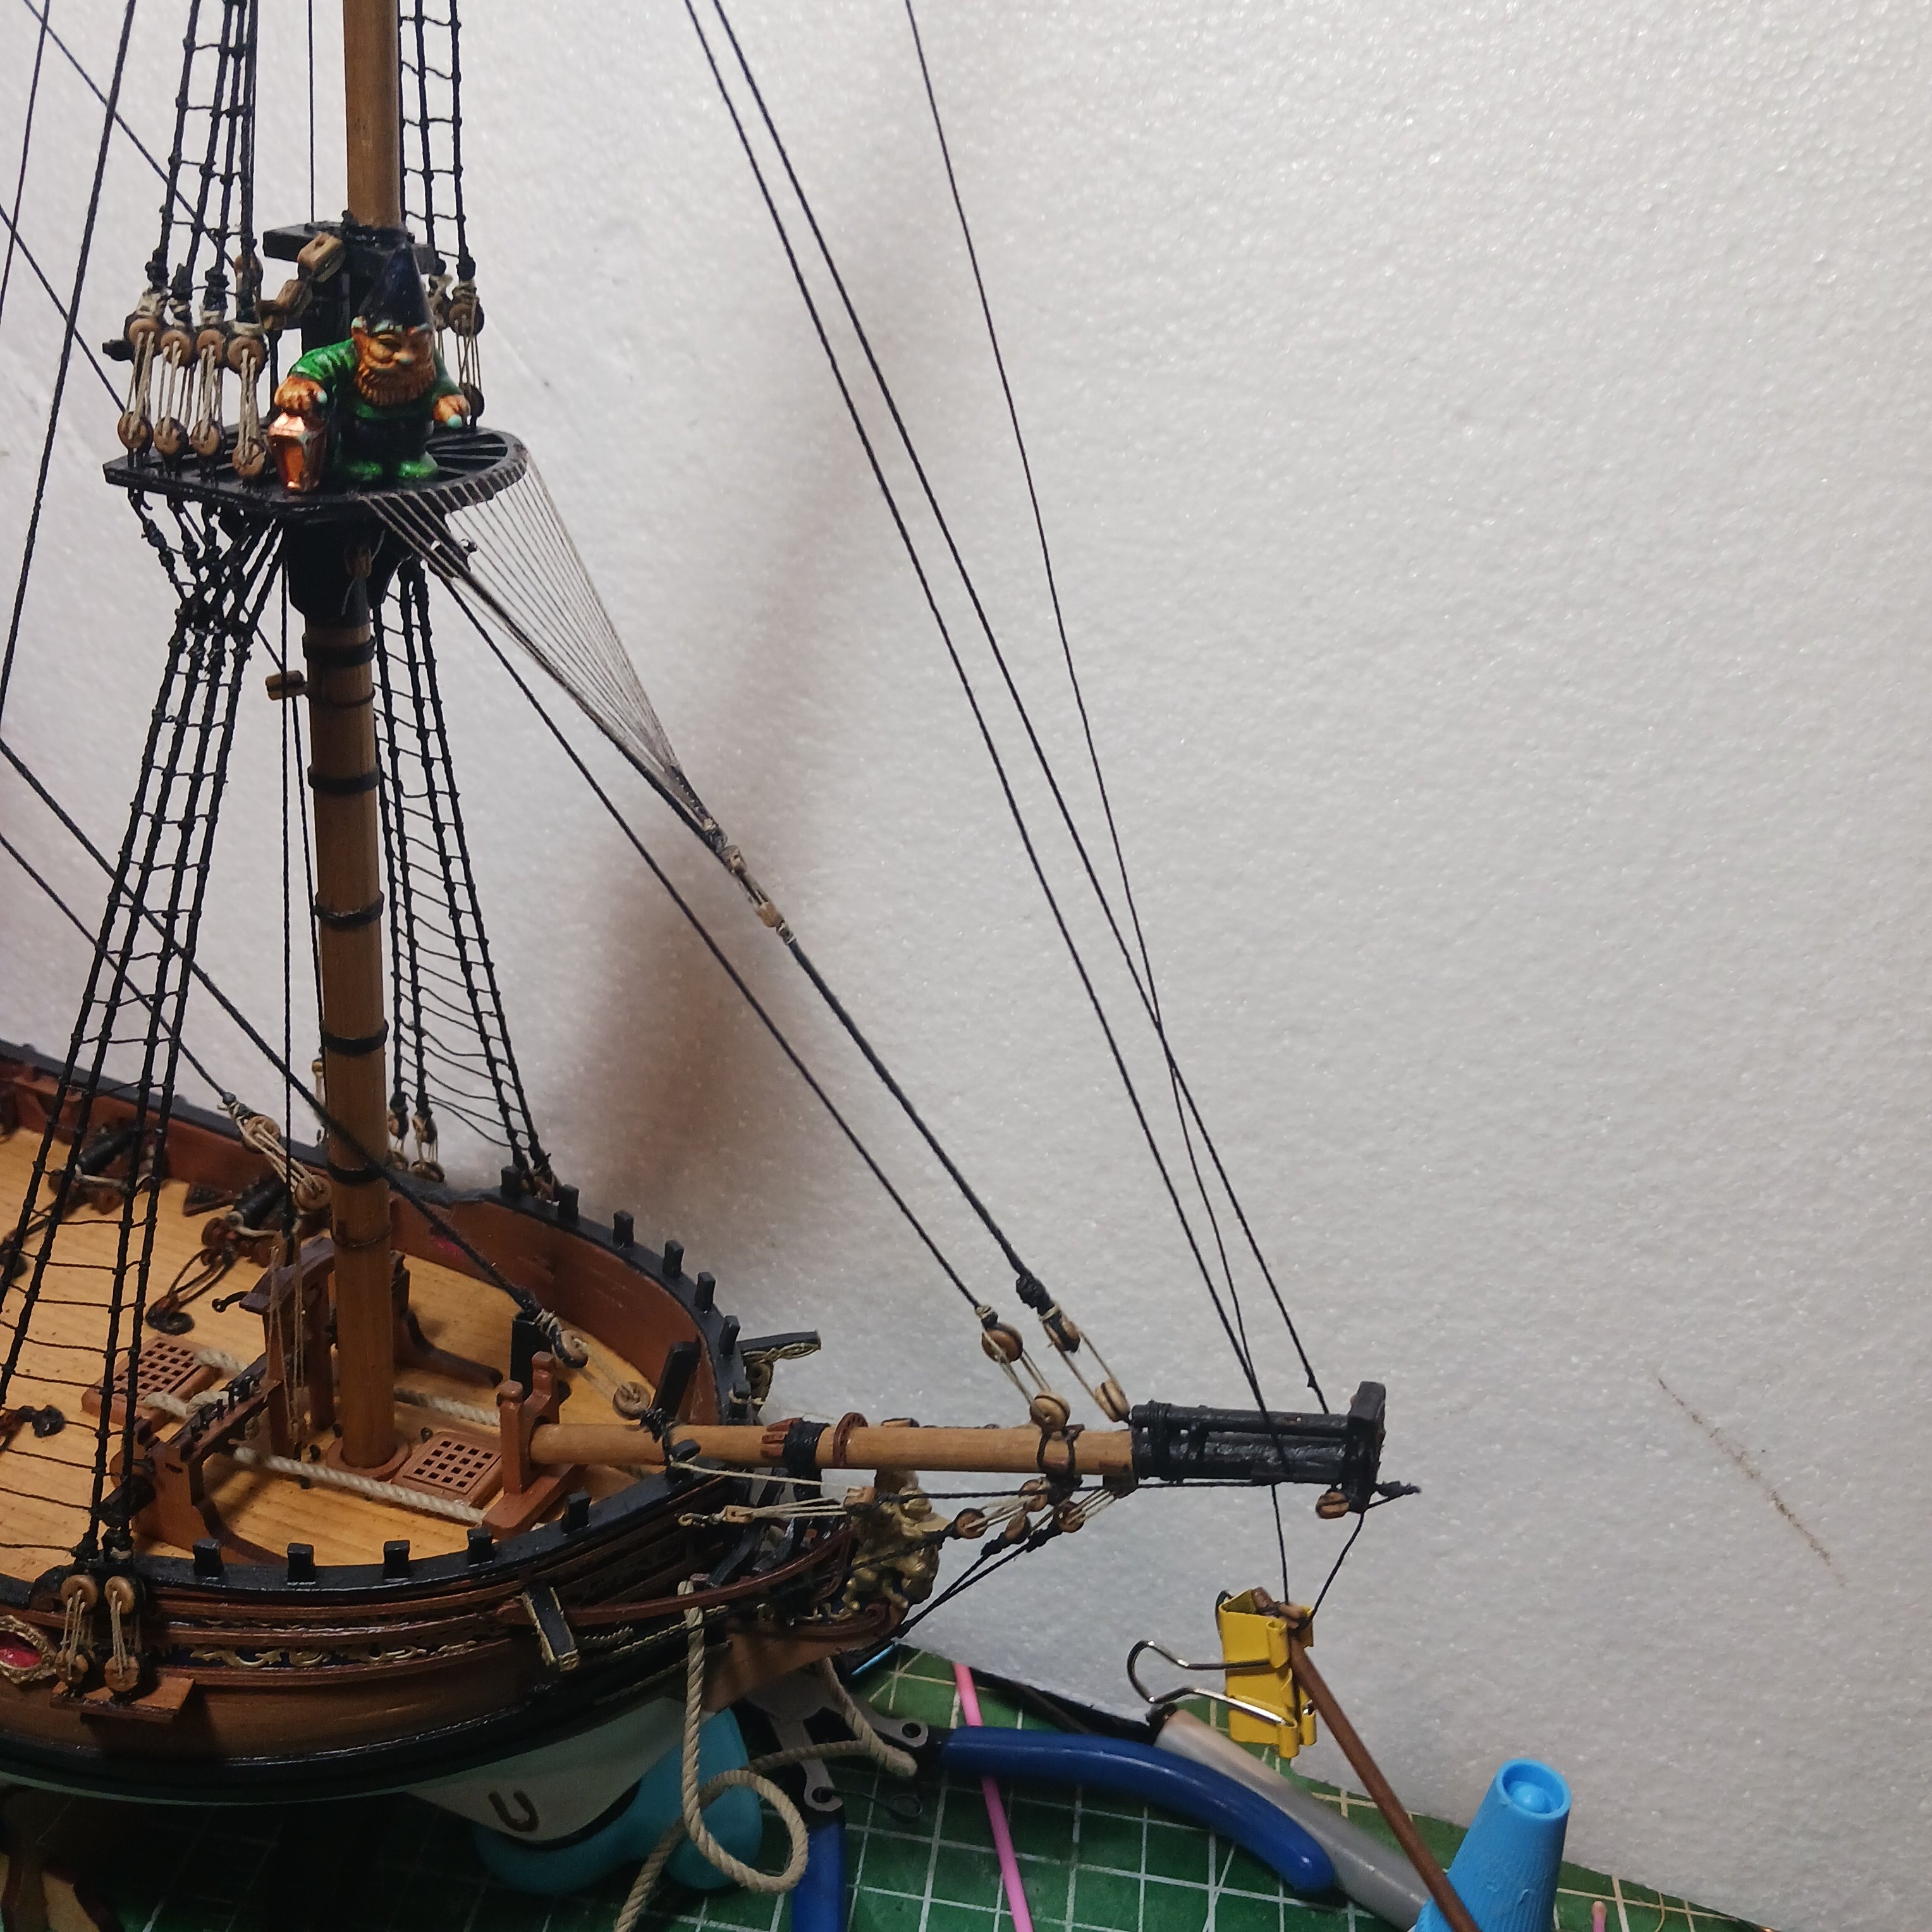
Goober wanted to take a couple of pictures of him on the ship he got a couple of job opportunities he looking at he says. I think the little fellow going for a raise, or even worse a title lol.
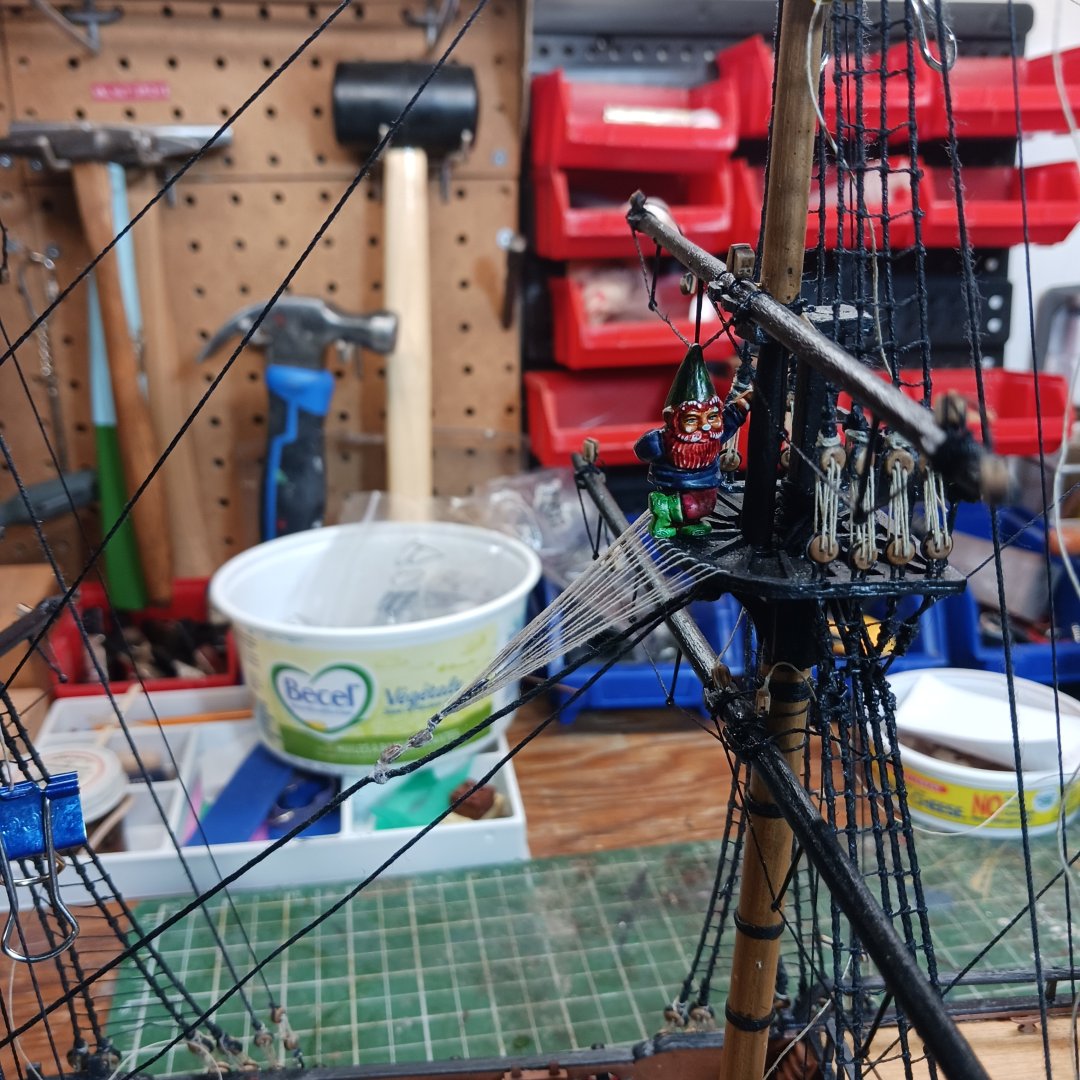
Goober just has a little fixing, then up to the topgallant yard.
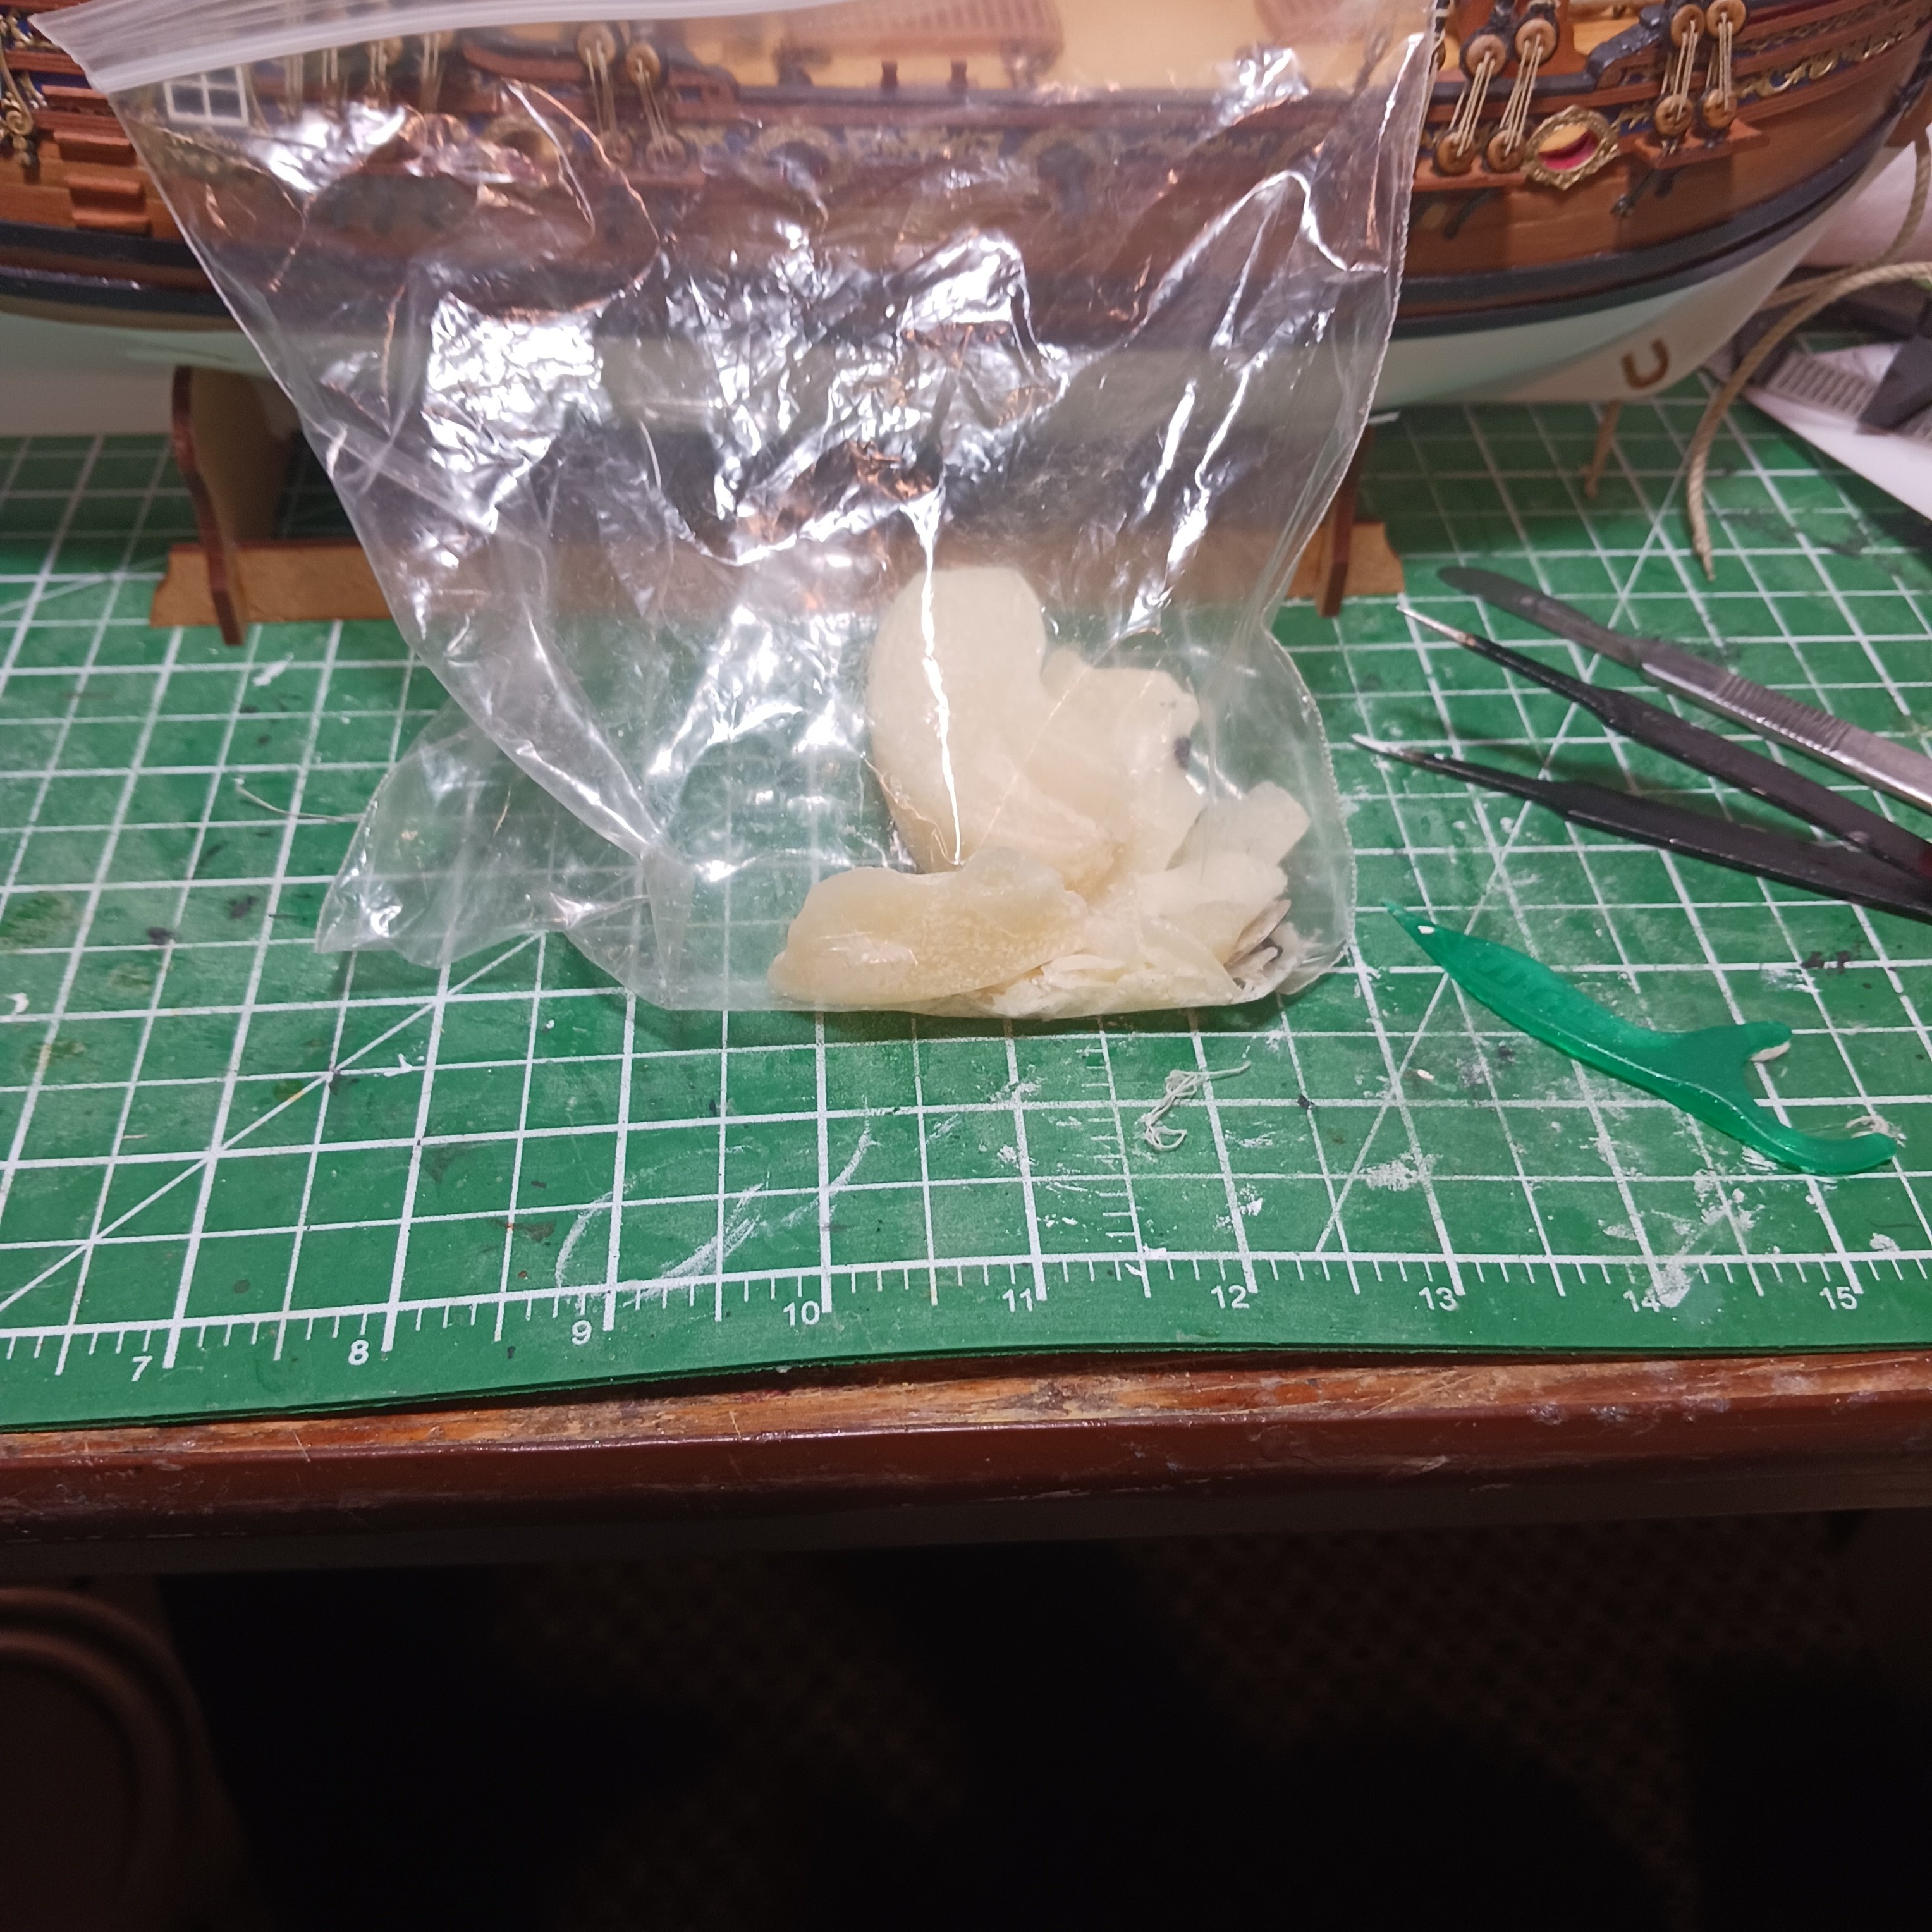
With the mast pined on and the book open we started on the parrels , first dump all the parrles and ribs on the floor for the second time.......


So we cleaned everything up and then cleaned all the ribs up for the thread to pass eazlie through the holes.
") .
.
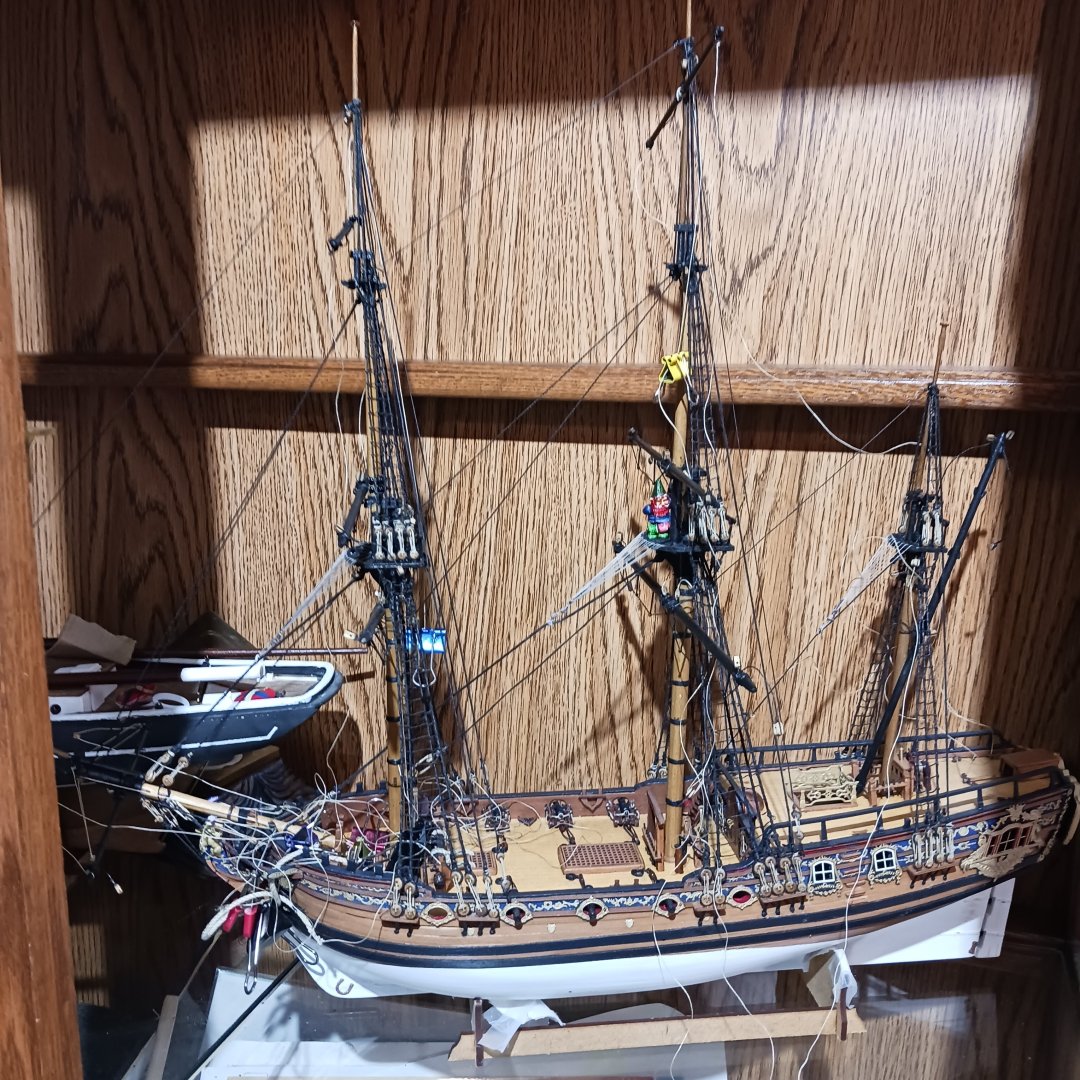
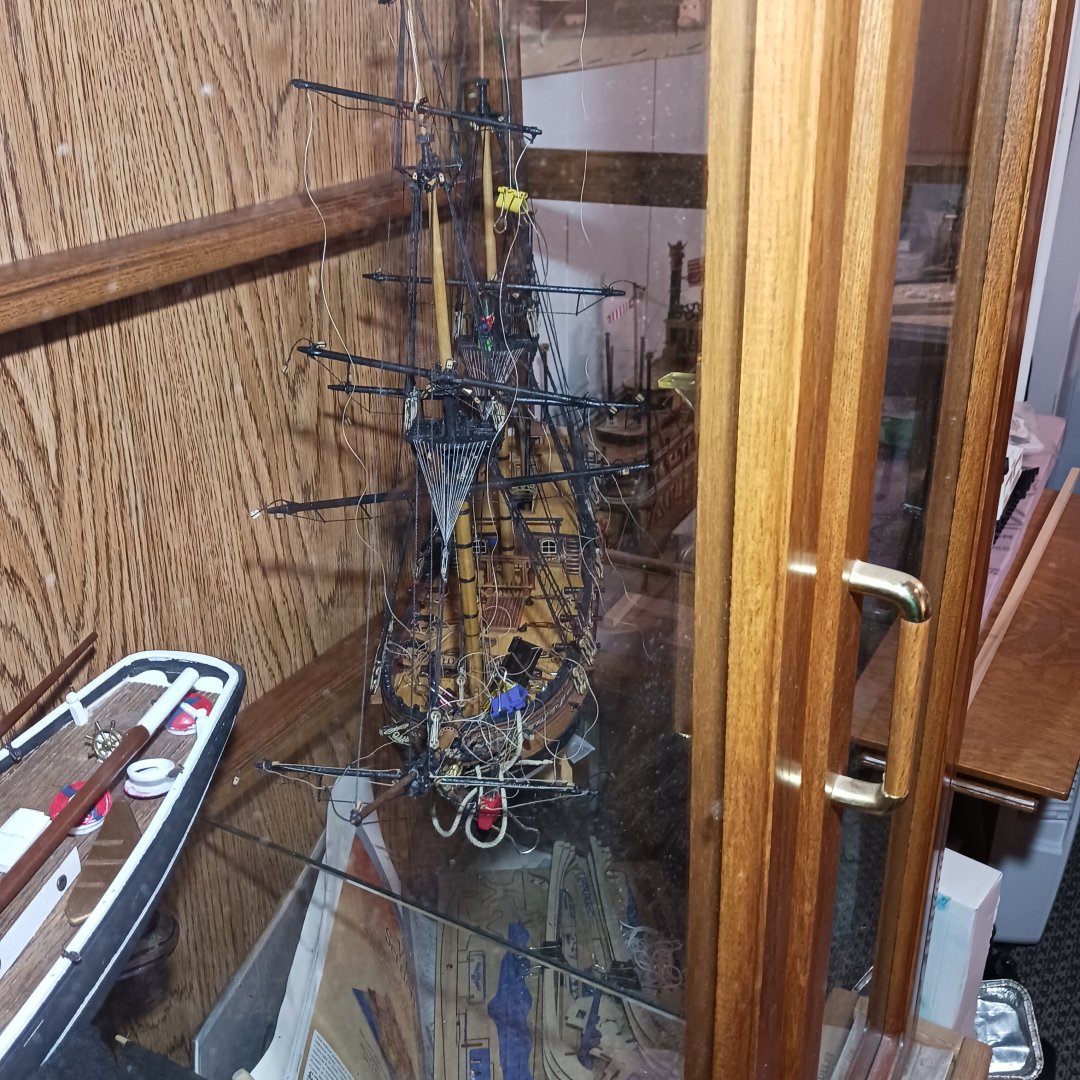
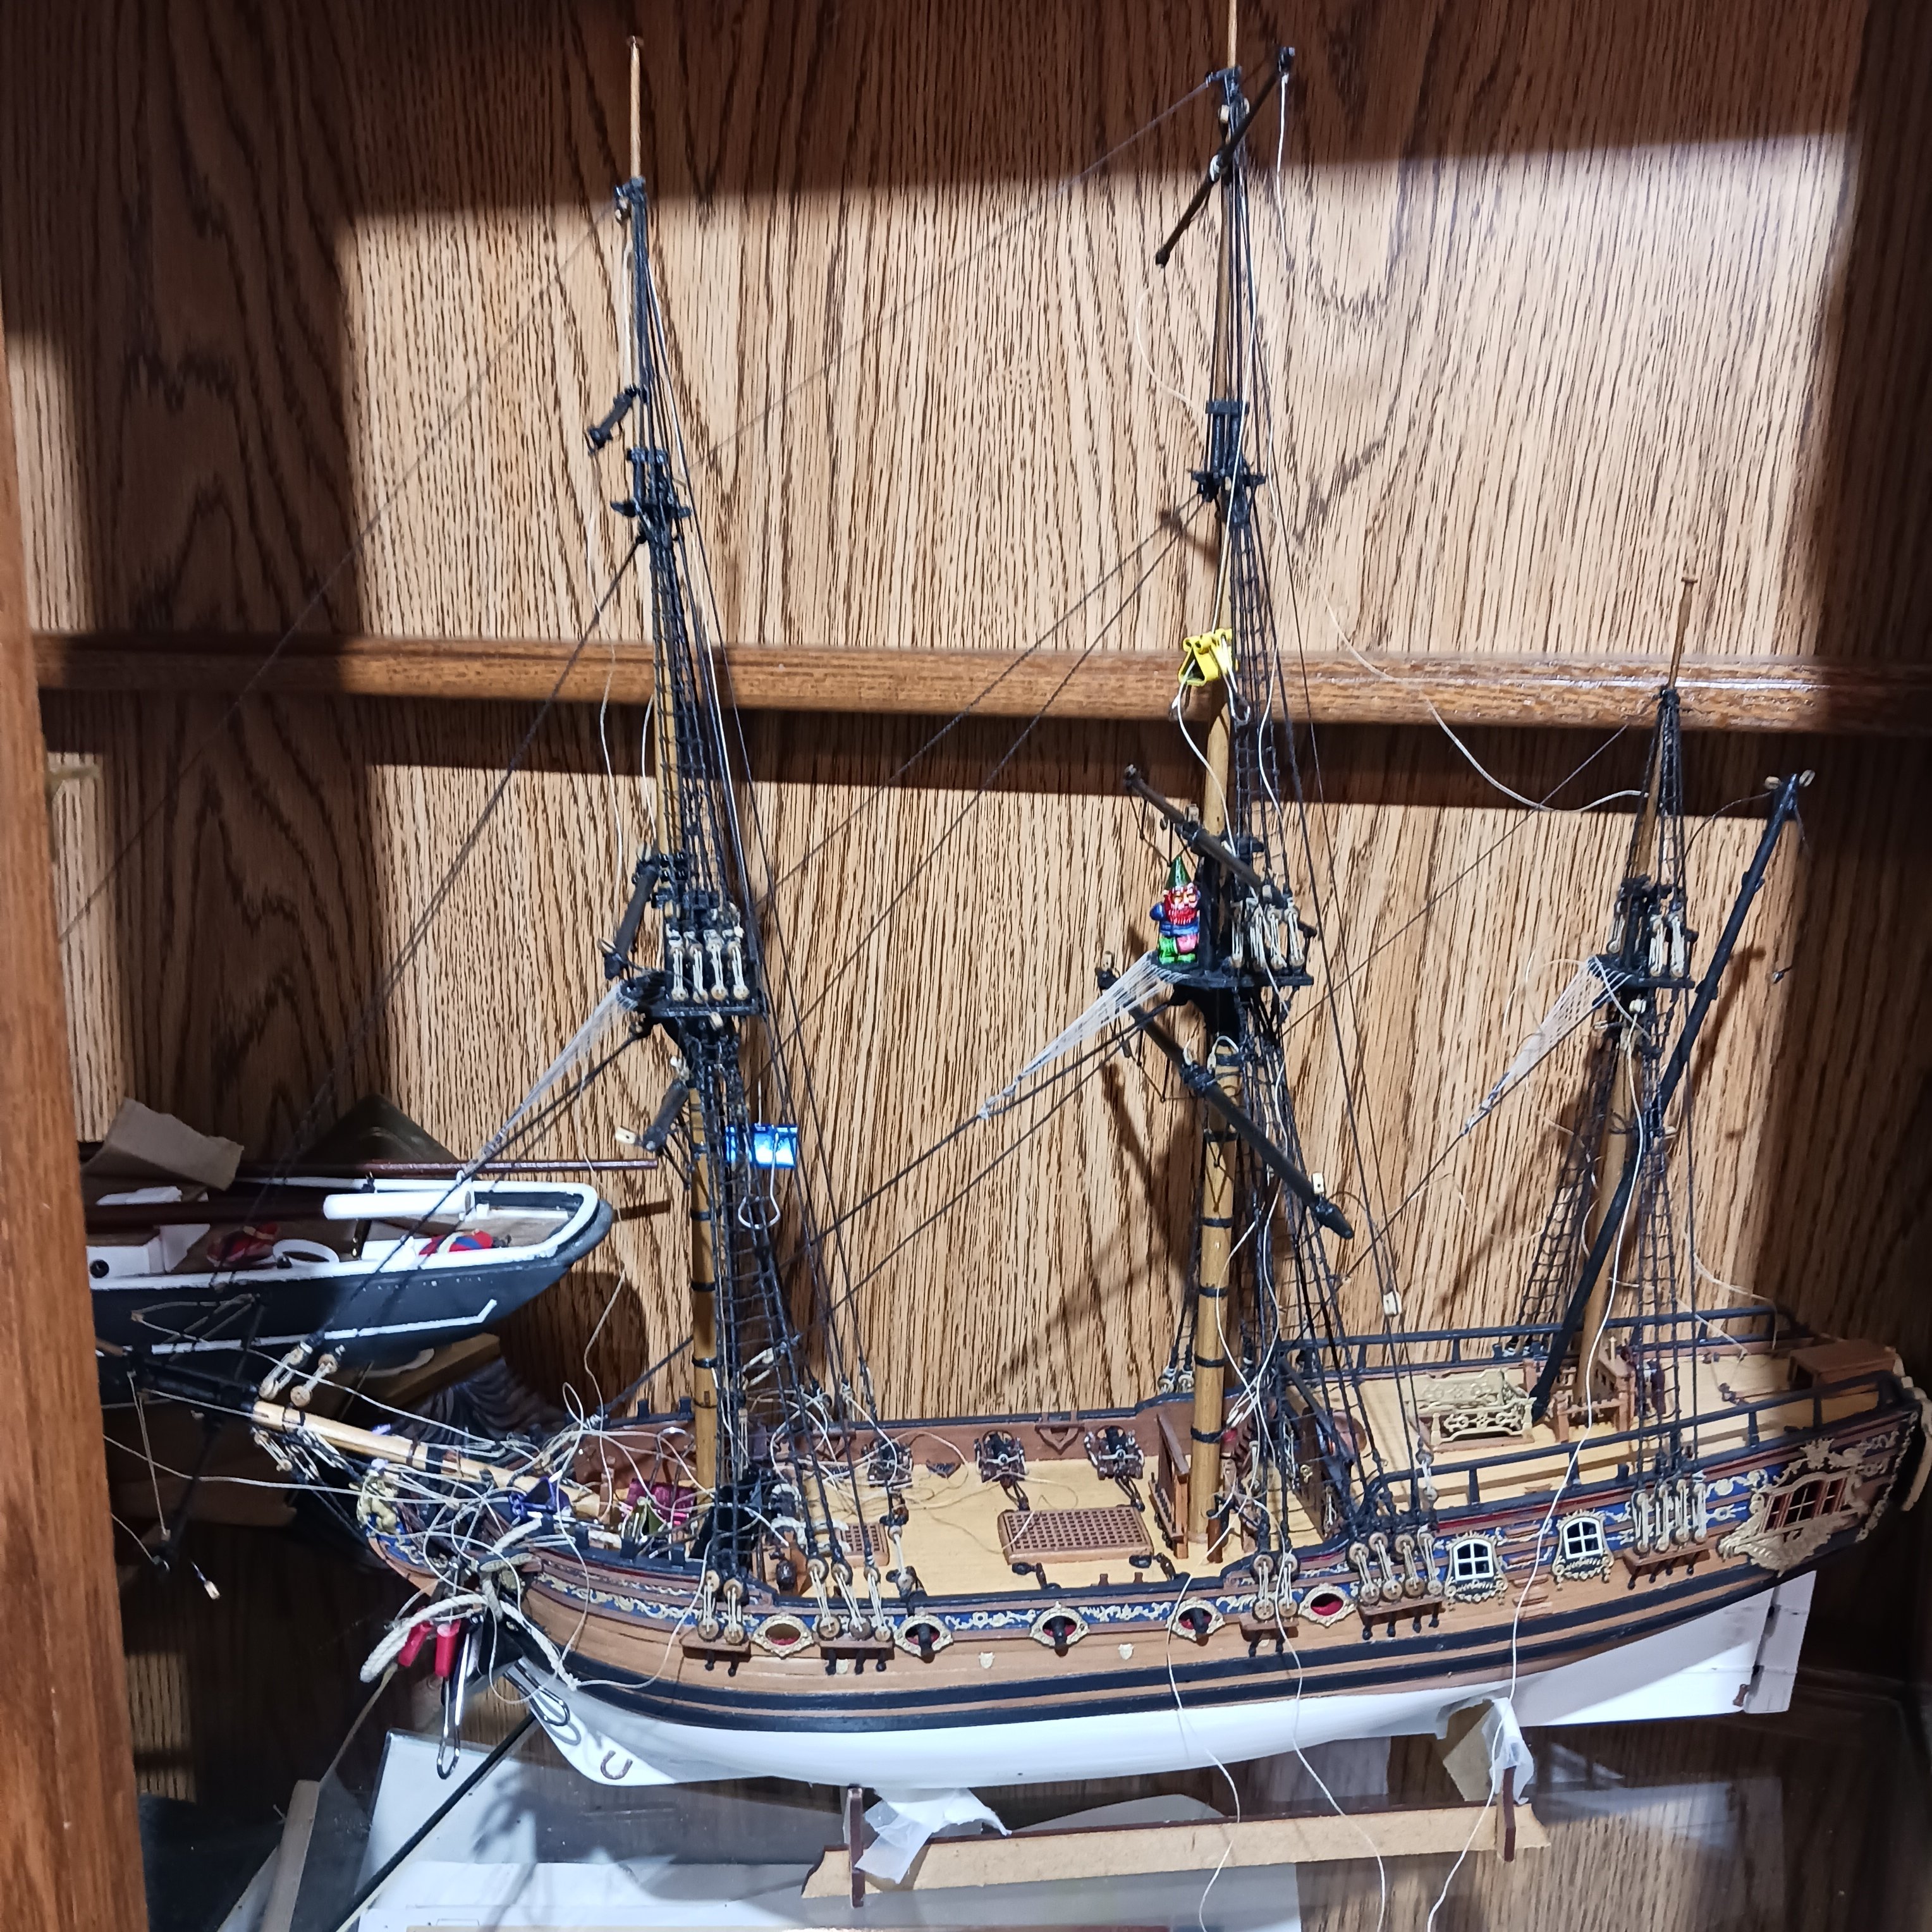
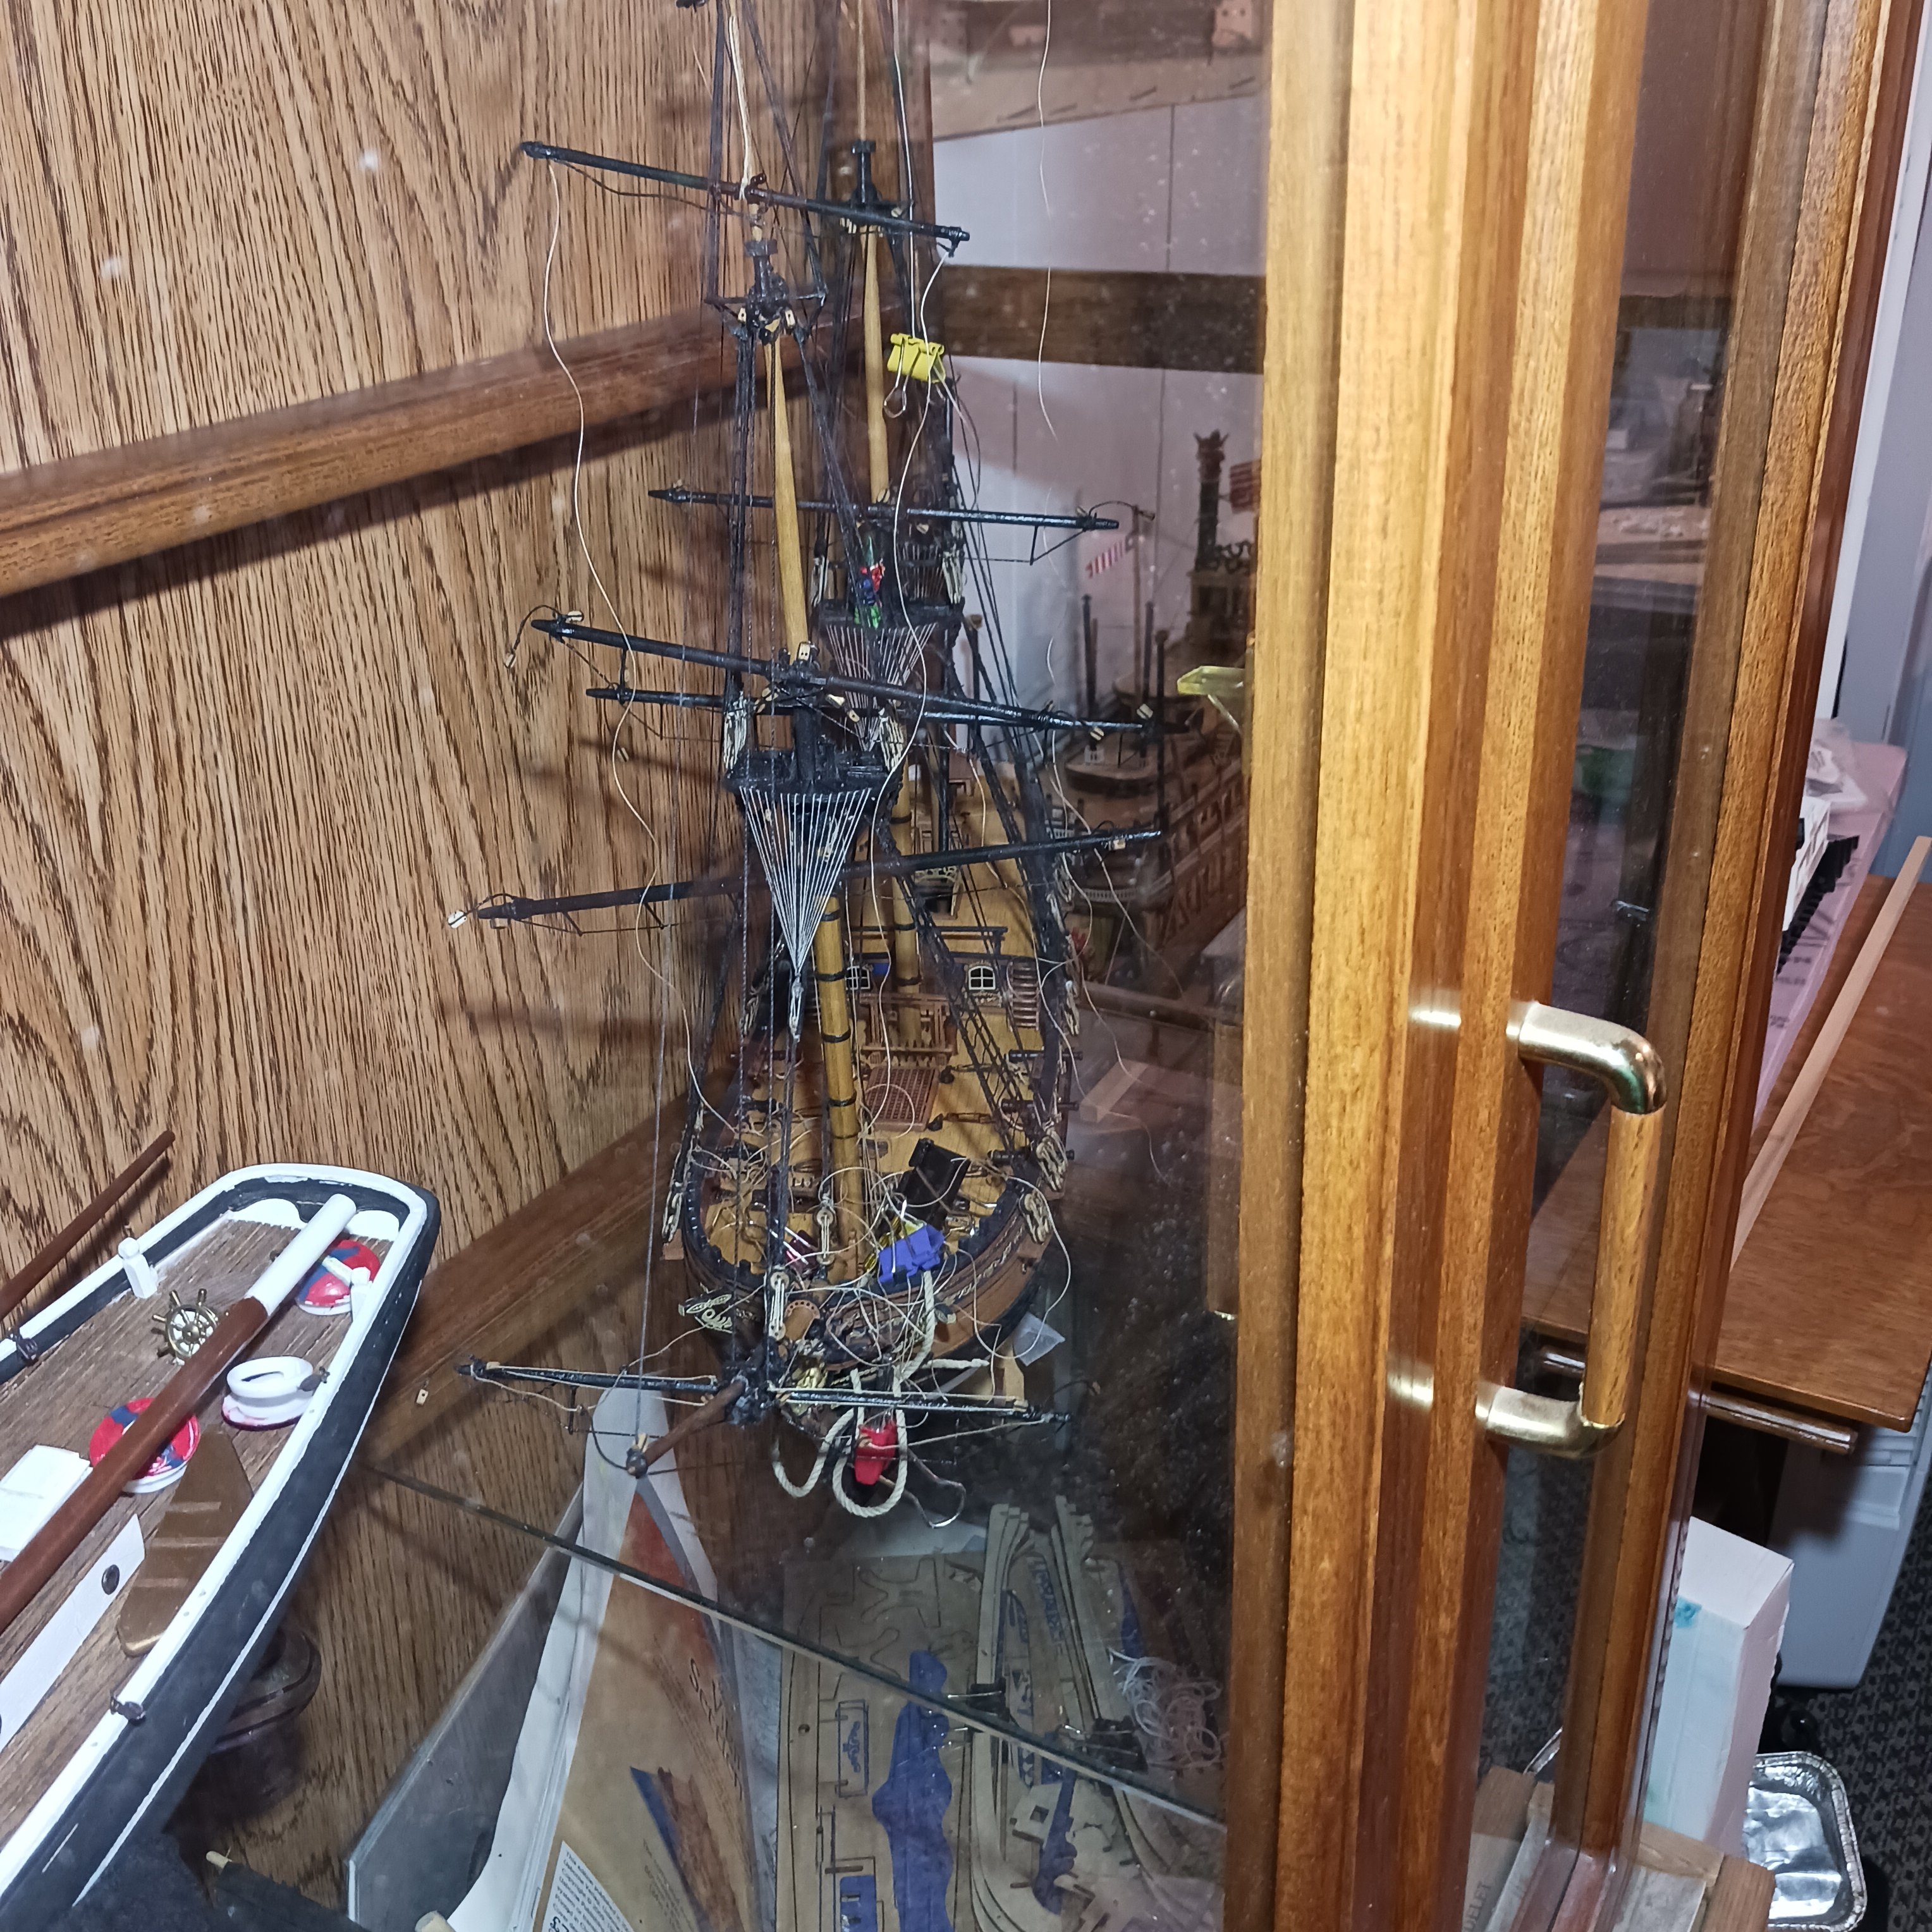
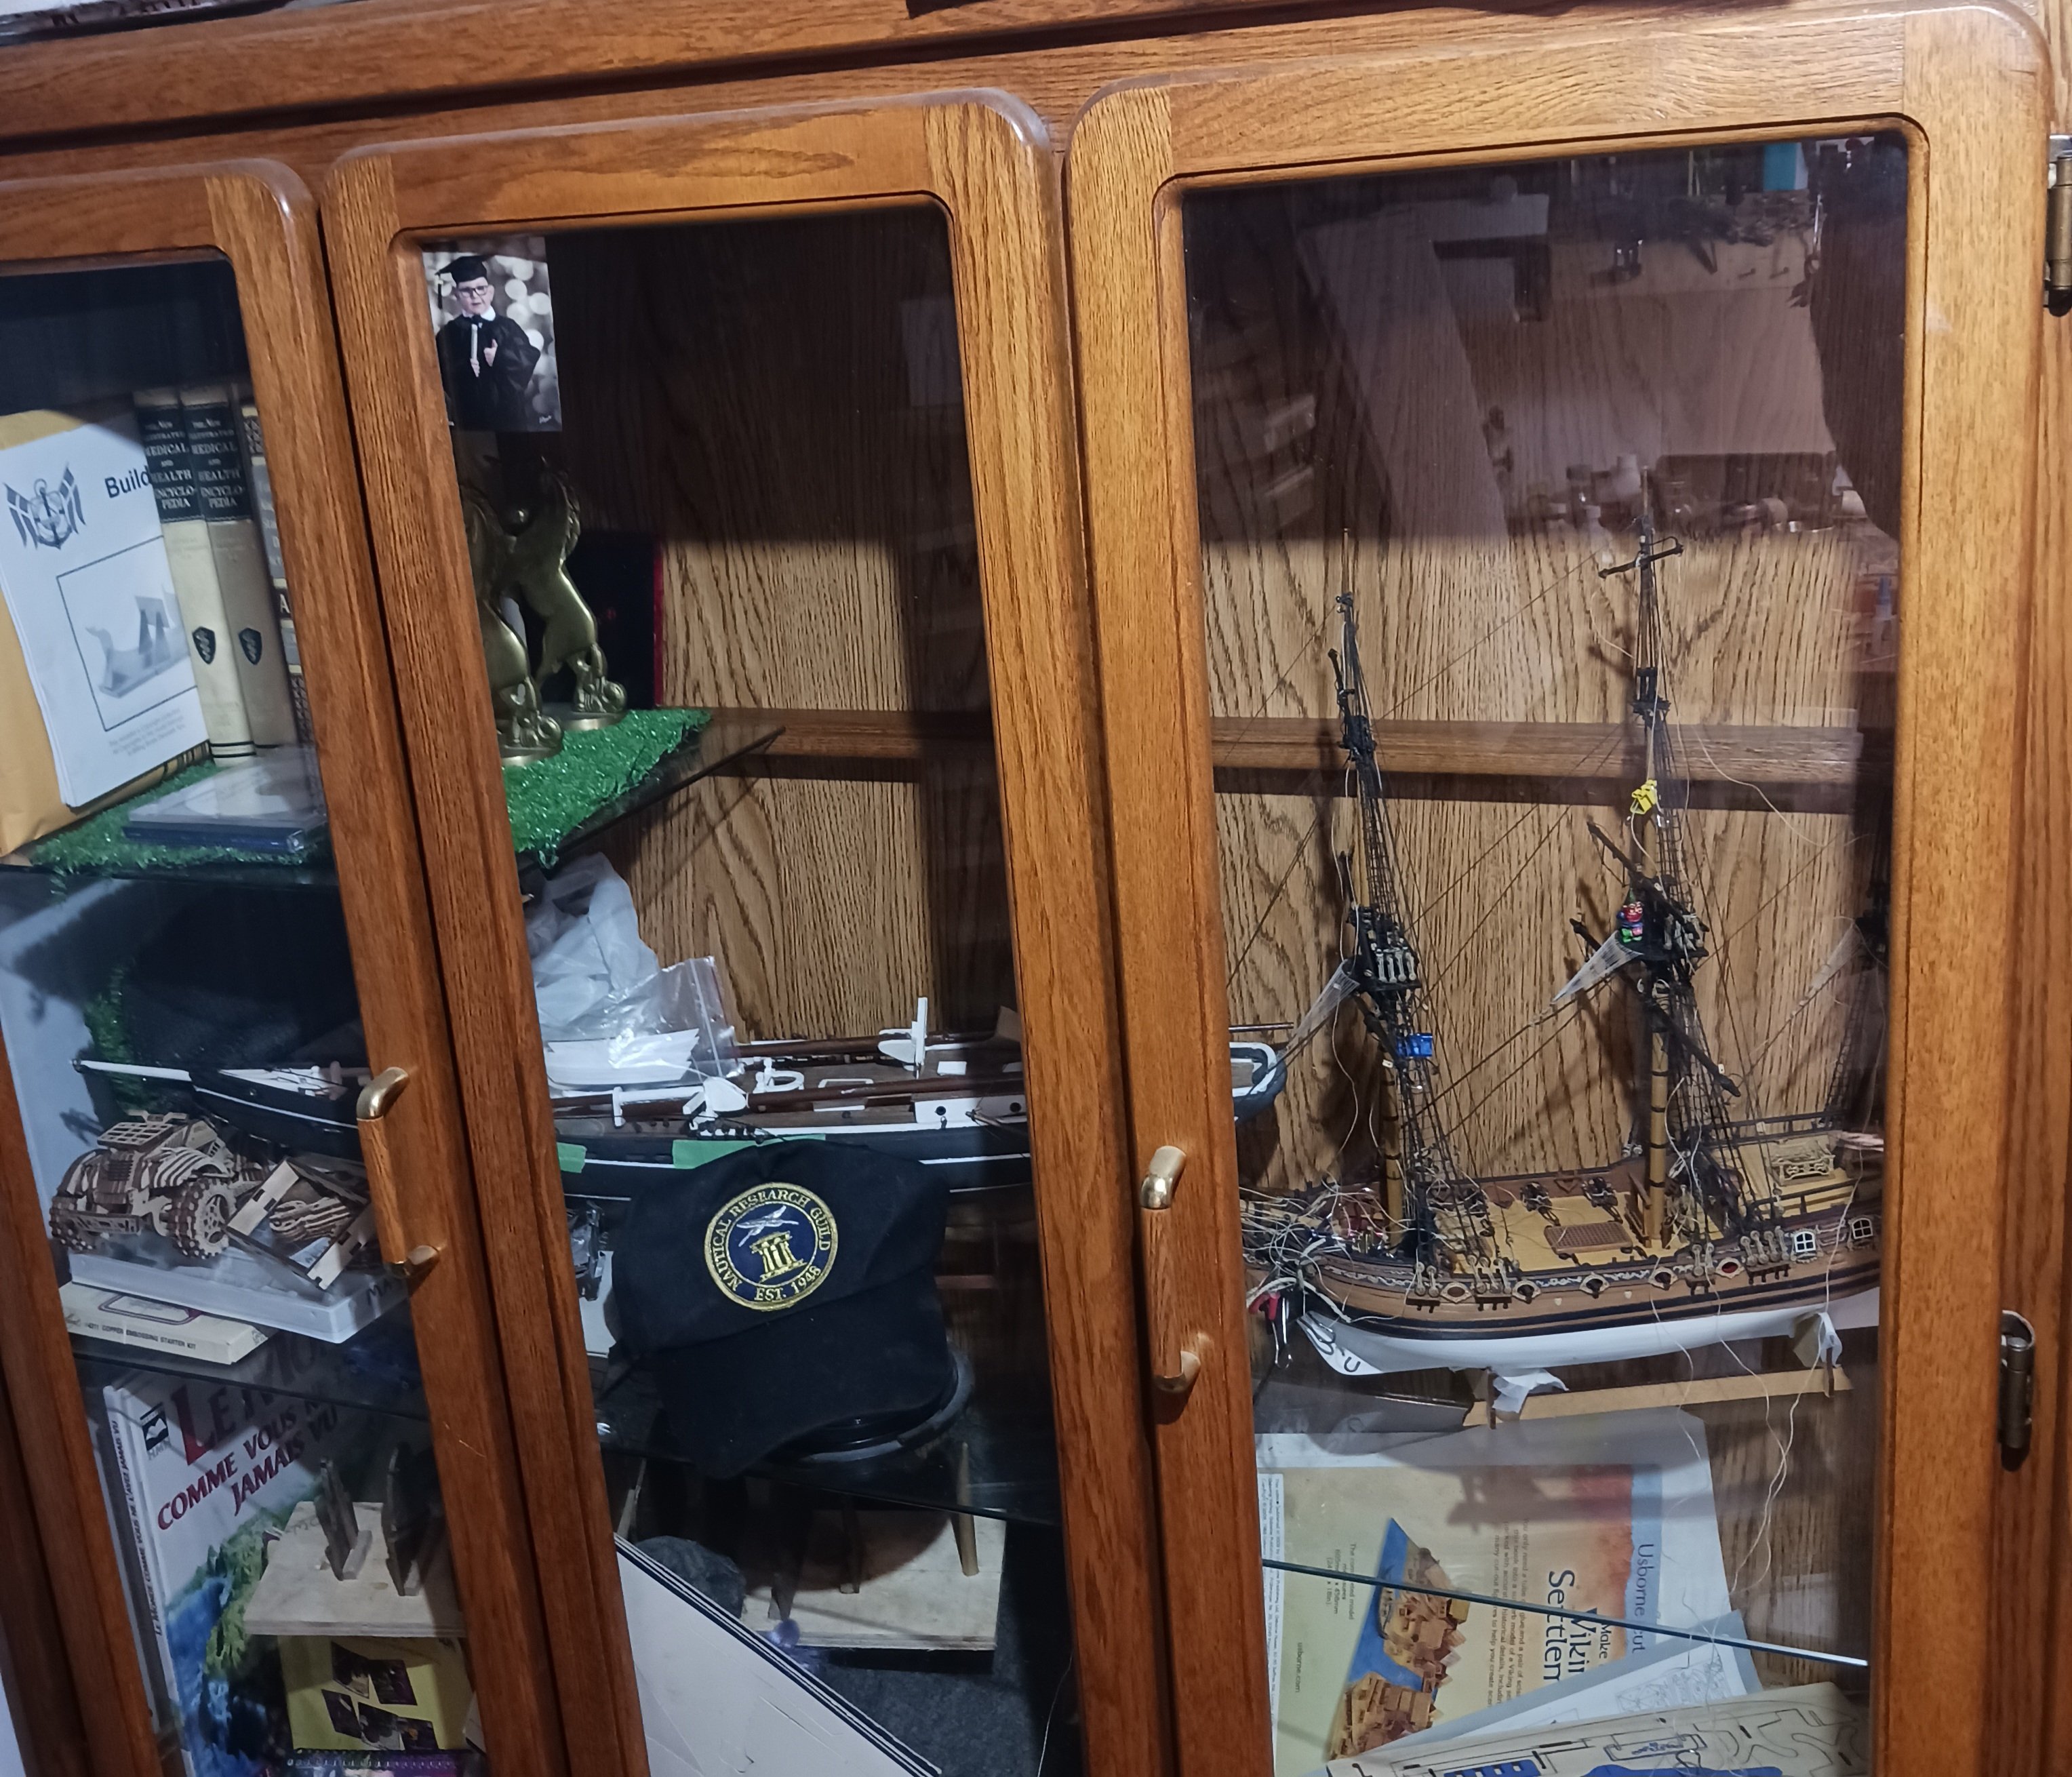
I put the Duchess in the case beside the Bluenose to see if that's the place. I think it is for now.
I have broken masts , drop balls every 😤 were.. Cut lines, on the crowsfeet no less, used the wrong thread a number of times. Mistakes were made with cannons and a few wonky parts on the planking, 6 coats of paint on the hull.
 . Serving five feet of thread that I can't use but I can on my next ship, some how I double what I needed. Must of been having to much fun listening to the tunes.
She will look great in this case. I am pretty sure I know were things go, and all the rigging is pretty much just follow the amazing manual. now it is a matter of neatness on the lines yikes.
I hope My friends @Gabek and @chris watton have the best year ever. Thank you gentlemen for all this.
More thanks go's to @Keith Black both @Glen McGuire and @Glenn-UK plus Glen UK a really tip of the hat to you for your help, it was eazy with your help, many hrs looking at your log and I think mine is almost as pretty lol Almost lol.. But I love it.
More people that I have to thank, @John Ruy, @DocRob, @Ryland Craze, @Bryan Woods @GrandpaPhil @HardeeHarHar. And so many more just to name a few now more later Thanks so much to @Chuckand @kurtvd19 all of MSW/NRG members, and all the administration and moderators. Just one grateful ship apprentice trying to stay afloat.
Thank you all.
Knocklouder and the Crew.
P.S. Many names to add to the Thank you list.
-
Nice work, just test fitting a couple of magnification glass and visors myself so I will be able to look closely at your good work.

Bob M
-
I have done all I can do from here Glen, sent him a get well card but forgot to tell him that I have just about finished the parrels for the main mast, ship suffered slight damage, not saying were
 , but it is an eazy fix. Lol.
Get well soon Keith 😊
Bob M.
- FriedClams, Keith Black, Canute and 3 others
-
5
-
 1
1
-
I will add your arm to the list of my thoughts and prayers for your family. I try to do what you do lol, I will skip this one lol. Step safer my friend.
.
Bob M..
- Canute, Glen McGuire, Ryland Craze and 2 others
-
4
-
1
-
Oh man that is some very nice work my friend,
.
Bob M.
-
Hey I stood on that very same spot in 1978 lol can't say if I remember it looking like this lol. Very glad to hear about everything being good. Great work, will look in from time to time if I can remember lol
Bob M.
- John Ruy, Keith Black and Canute
-
2
-
1
-
Bob M.
- Keith Black, mtaylor and Nirvana
-
3
-
I agree with you @SaltyScot sand dust but I wrote saw dust
 . Lol.
Bob M.
-
I was just reading along and when I got to the grating I said wow that is really nice work. I just had to tell you nice work.
Bob M.
-
Good looking boat, Congratulations, I see you have a cat lol. A good display case is in order to keep it safe
Been reading horror stories about cats and ships lol.
Great work.
Bob M.
-
Another thing you may try is to , if you have planking left over from the build , make sand dust out of it, then apply wood glue that drys clear. Apply the glue pack the cracks with sand dust. Wipe off the axcess and pack it again with dust, sand, after drying repeated if is necessary . Then refinish it with two coats of the oil you used. I am not sure is right but this is what I do for mine, good luck.
Bob M.
-
Those quad hands and third hands are very useful tools for rigging, good work on your Pram .
Bob M.
- robert952, palmerit and Ryland Craze
-
3
-
@modeller_masa building logs with lots of pictures help us members who have difficulty reading. When you see how it's done you can understand. MSW/NRG have set thing up so we can see how it's done not just the final ship
They would be fun to look at but not seeing how they are done I would be lost.
I know the Administrator and moderators have work tired less Lee to set MSW up so we can learn how to build ships. I can't thank them enough .
They are always open to suggestions, but I think the way they do it is bang on.
My opinion only.
Bob M.
-
Fantastic work at that scale, wow that's tiny.
Bob M.
-
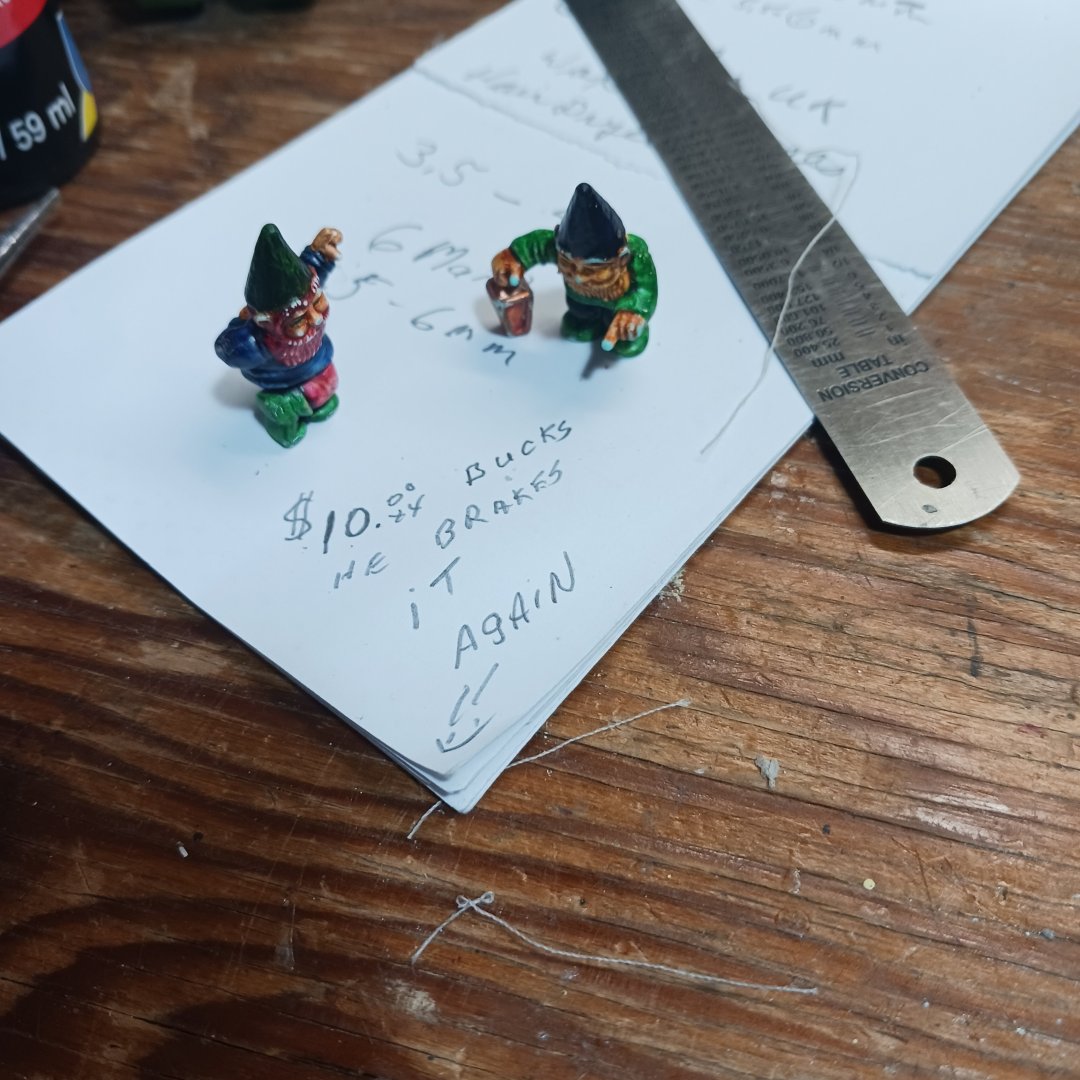
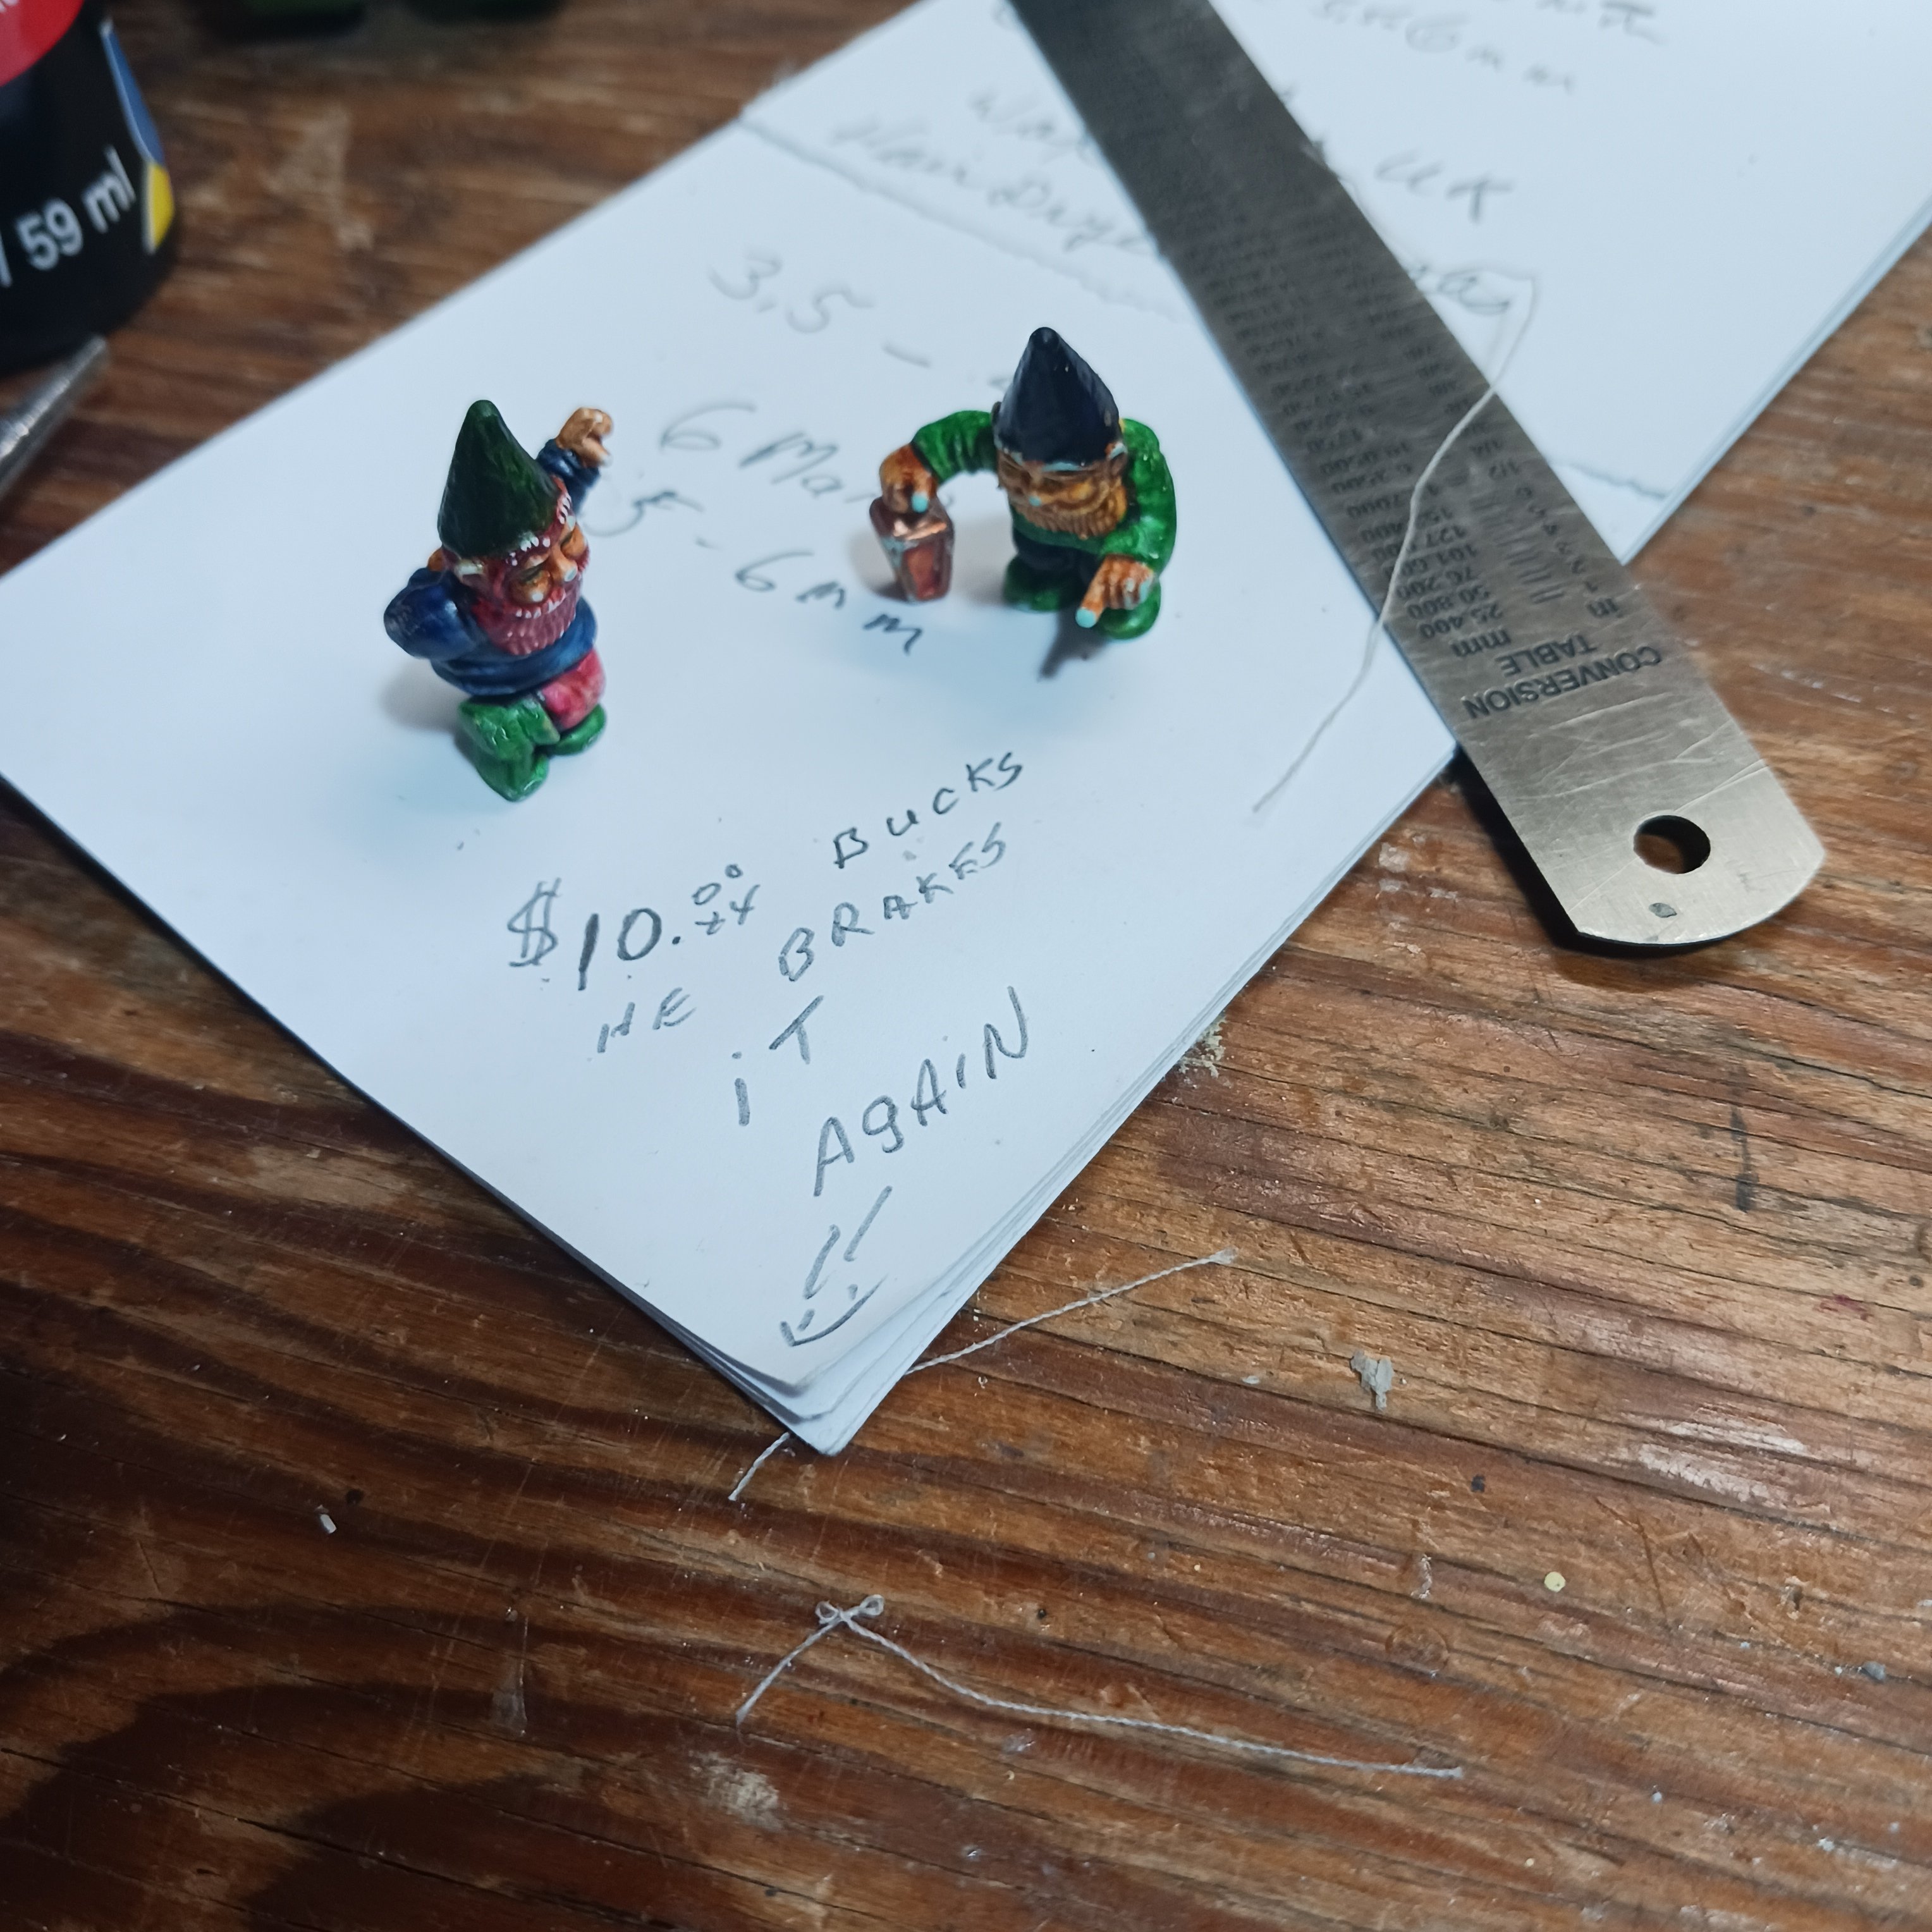
Ok, so Goober won ten bucks . It is cursed I tell you lol.


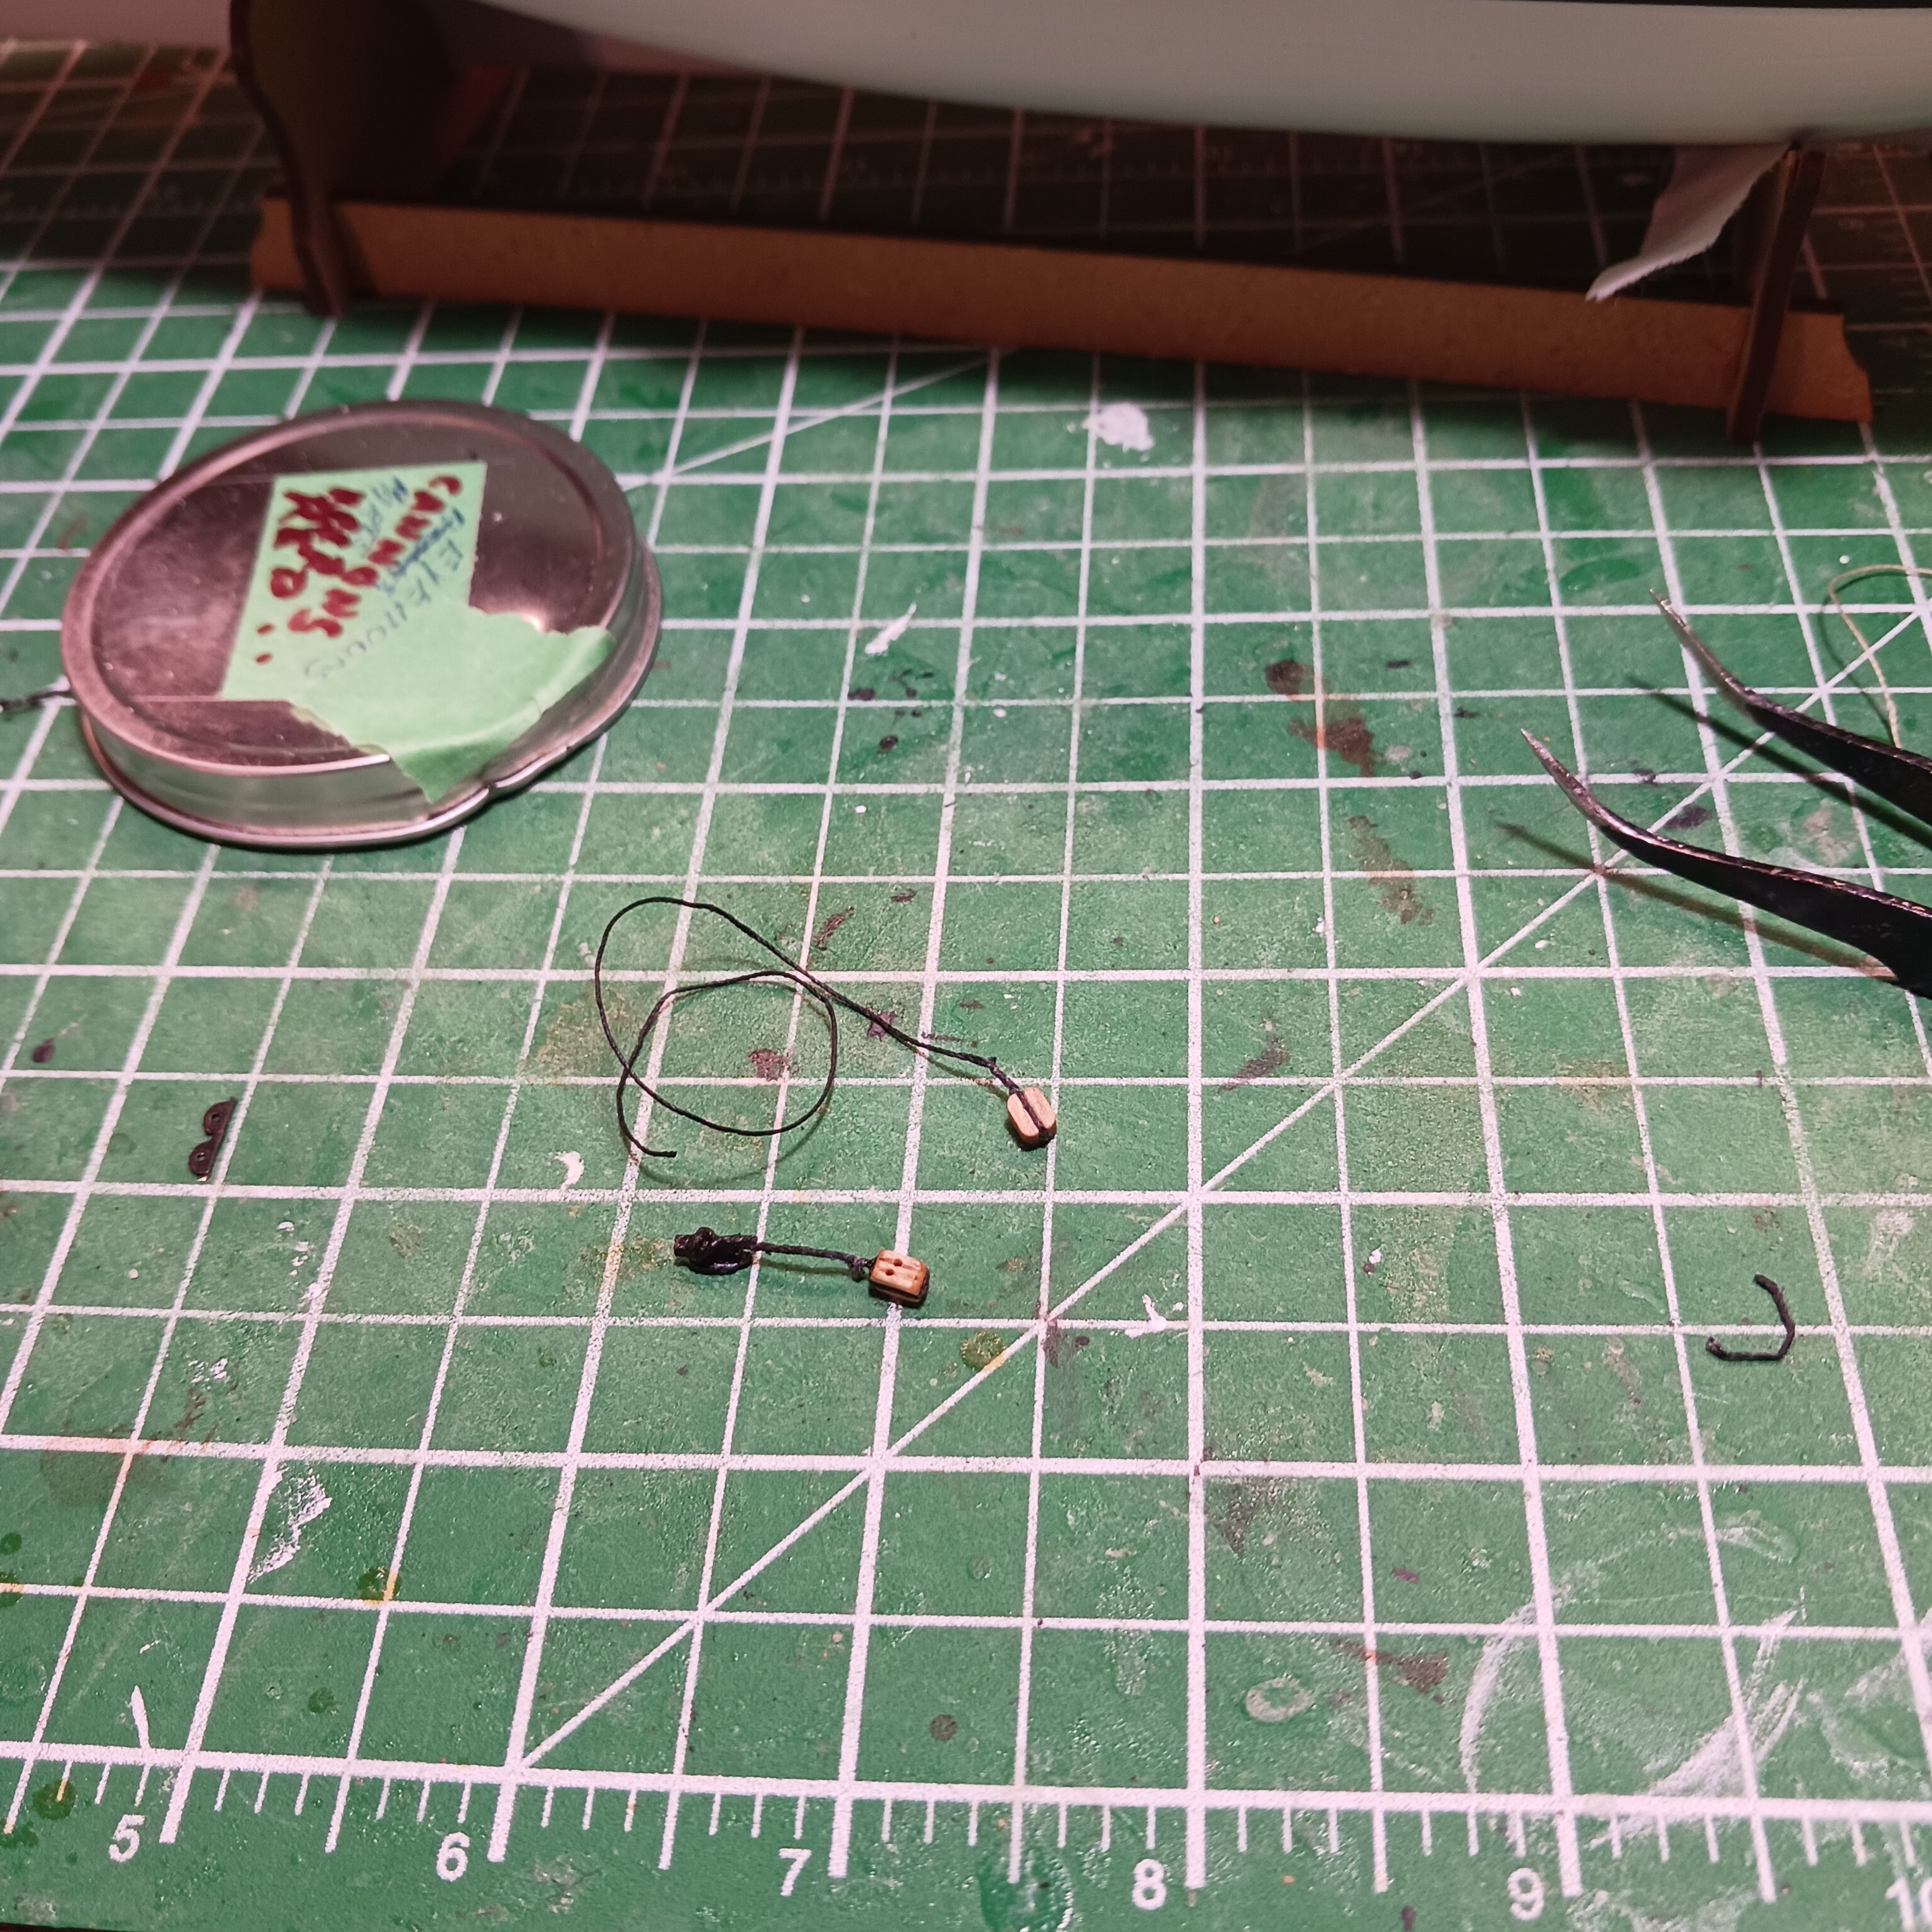
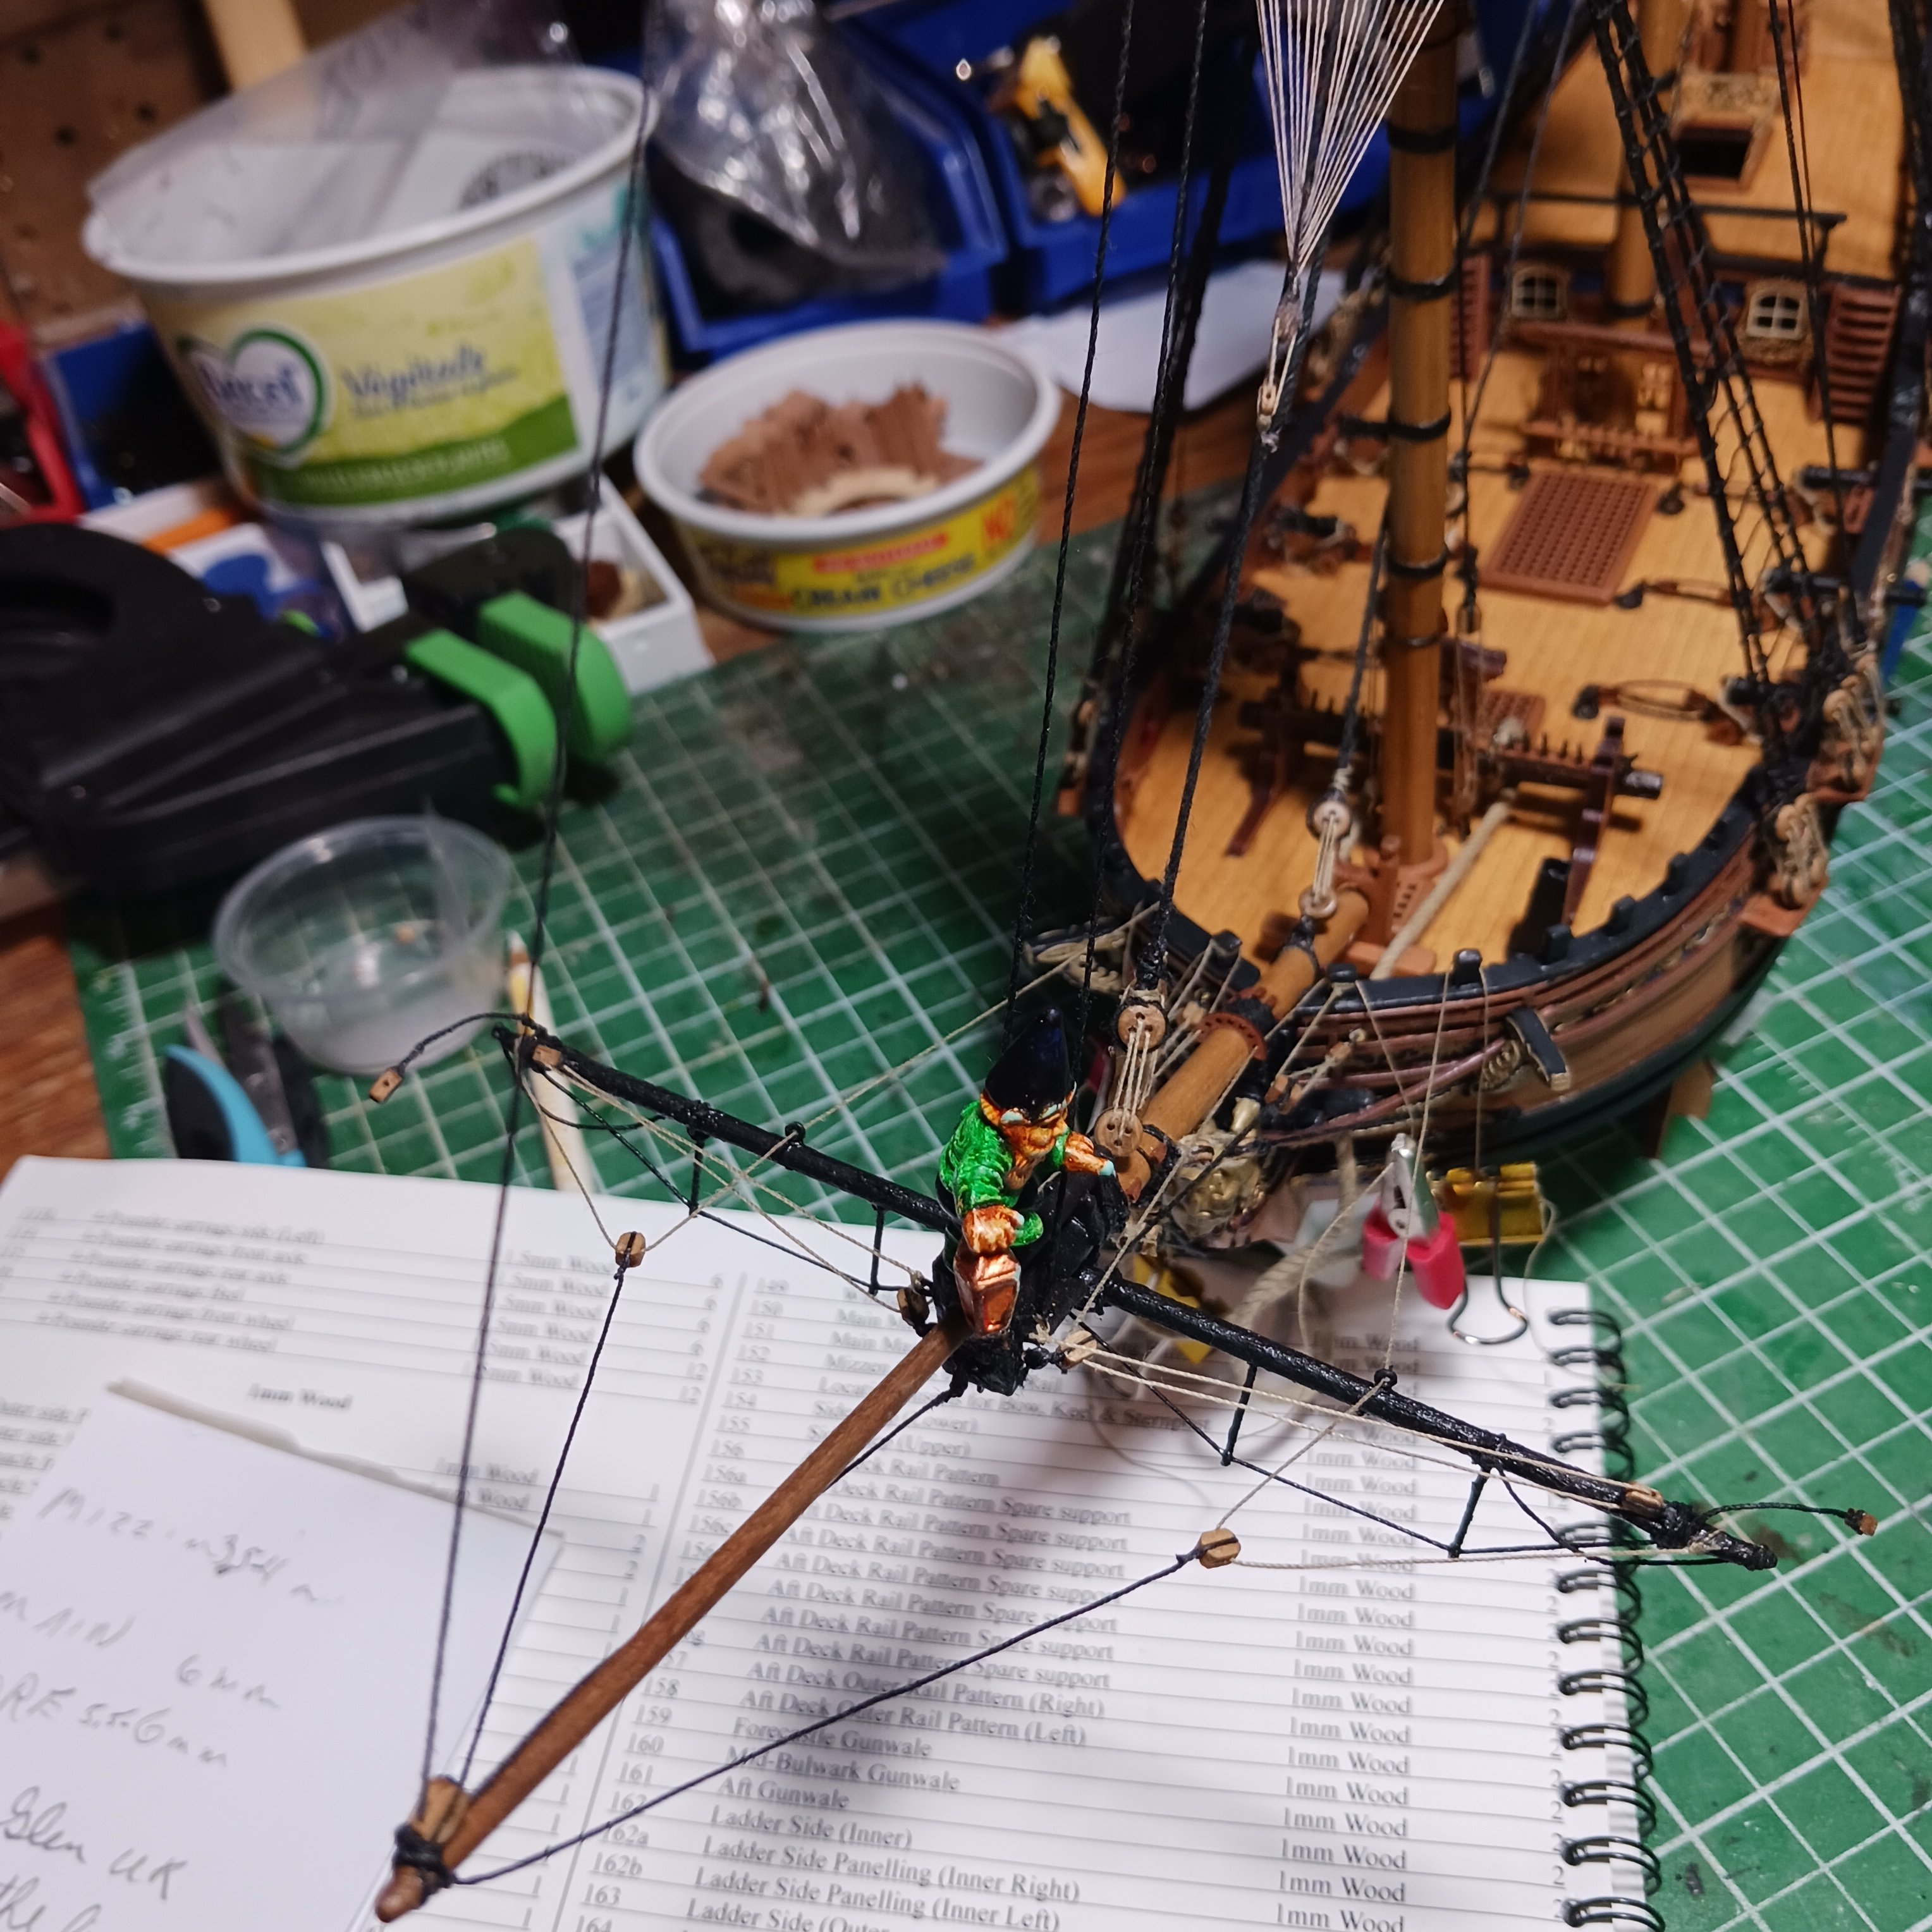
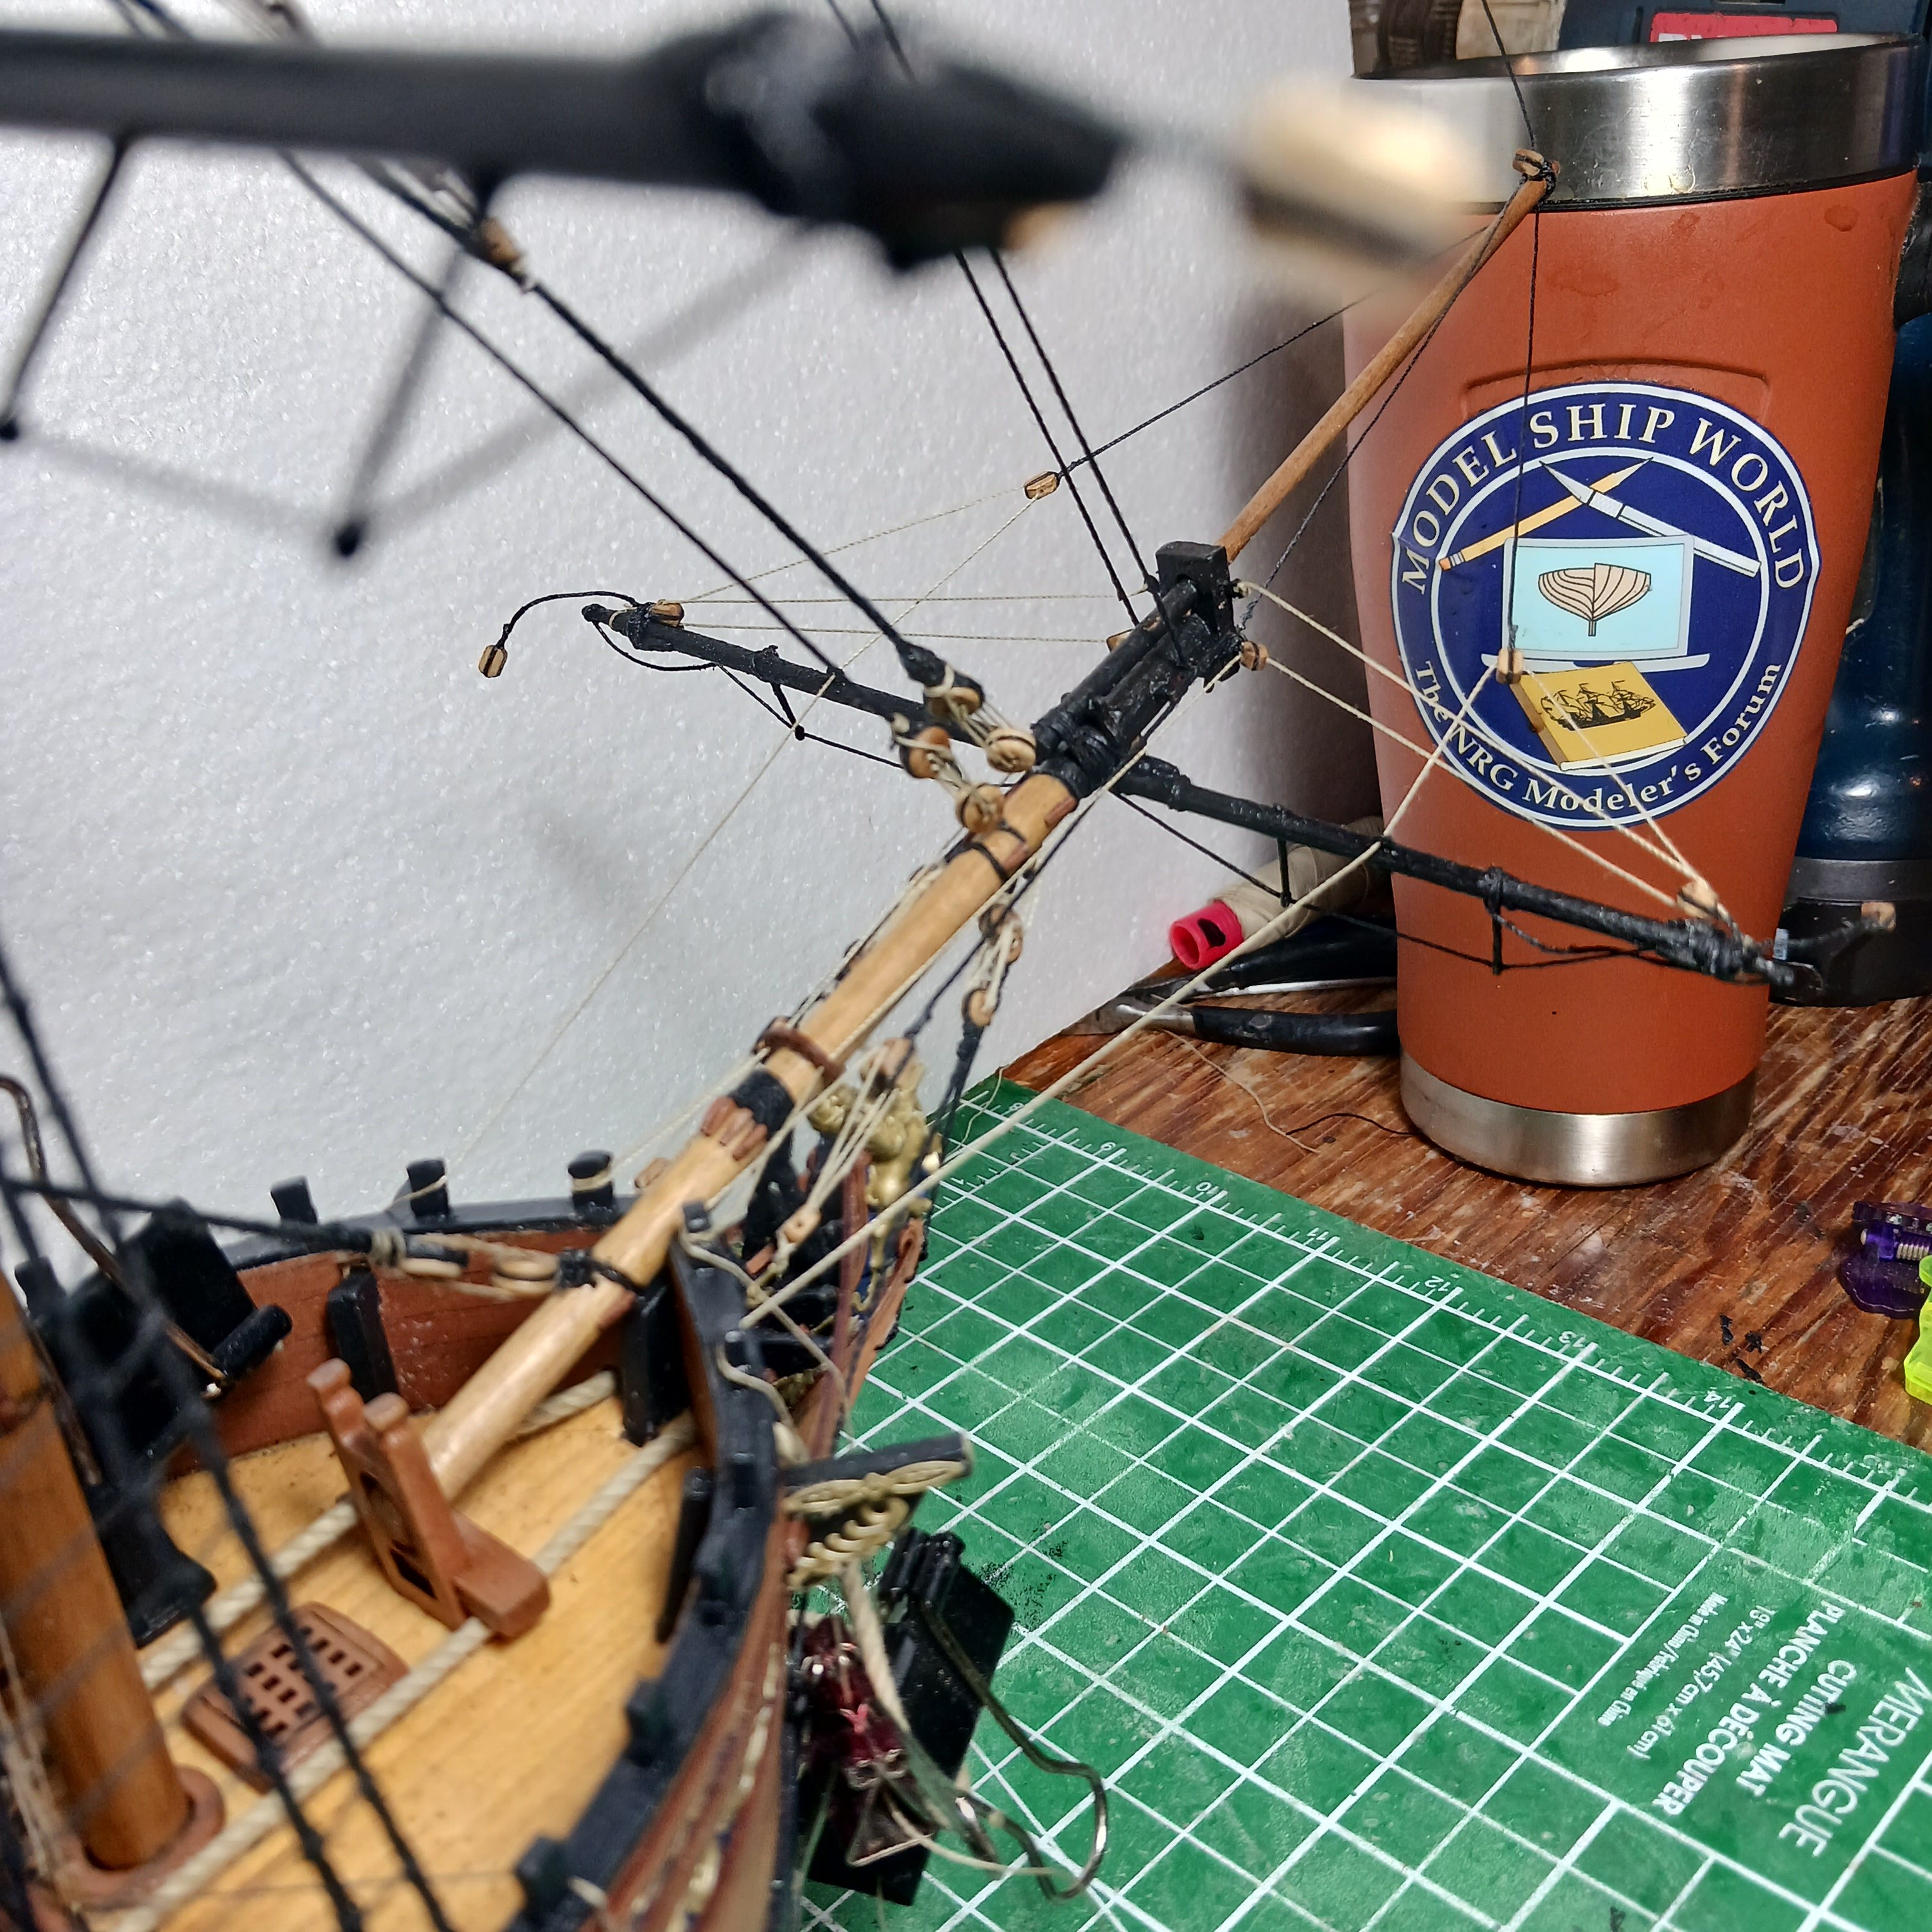
After I fix that again , Pile gave to ok to move on. The lines run through the Bowsprit Fairleads like the pictures, so we attached the yard with pins, this is a fantastic tip that the manual points out to do. I have never pined one before I struggle with the little balls on parrels . This is so much eazyer, the benefits of great instructions, thank you Chris , at @chris watton .
After the yards were put on temporary, we took it all apart and will start the foremast tomorrow, rigging of the Bowsprit mast is finished
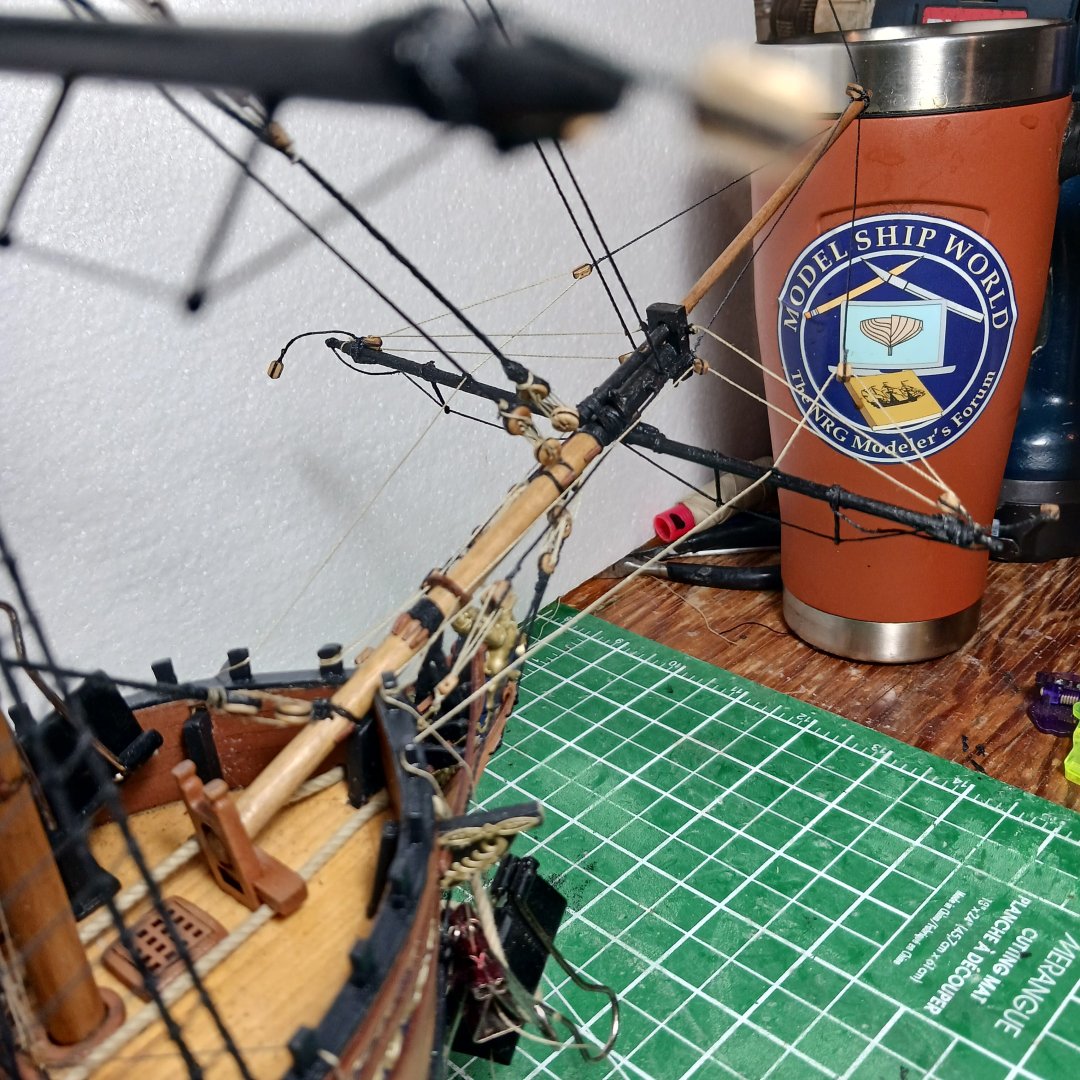

so step 243 , we need to get to step 250 which is the stand. Lots of rigging between those two steps lol. I think I have figured it out, now it is just a matter of getter done.GRIN.

The boys are keeping the pins handy, Goober says double or nothing 🤔. Lol.
On to the little ball thingies and the little things that go between them lol.
I will have to start composing my list of thanks and what I thought of the build, spoiler alert ⚠️ very bais to Vanguard Models there are incredible to build.
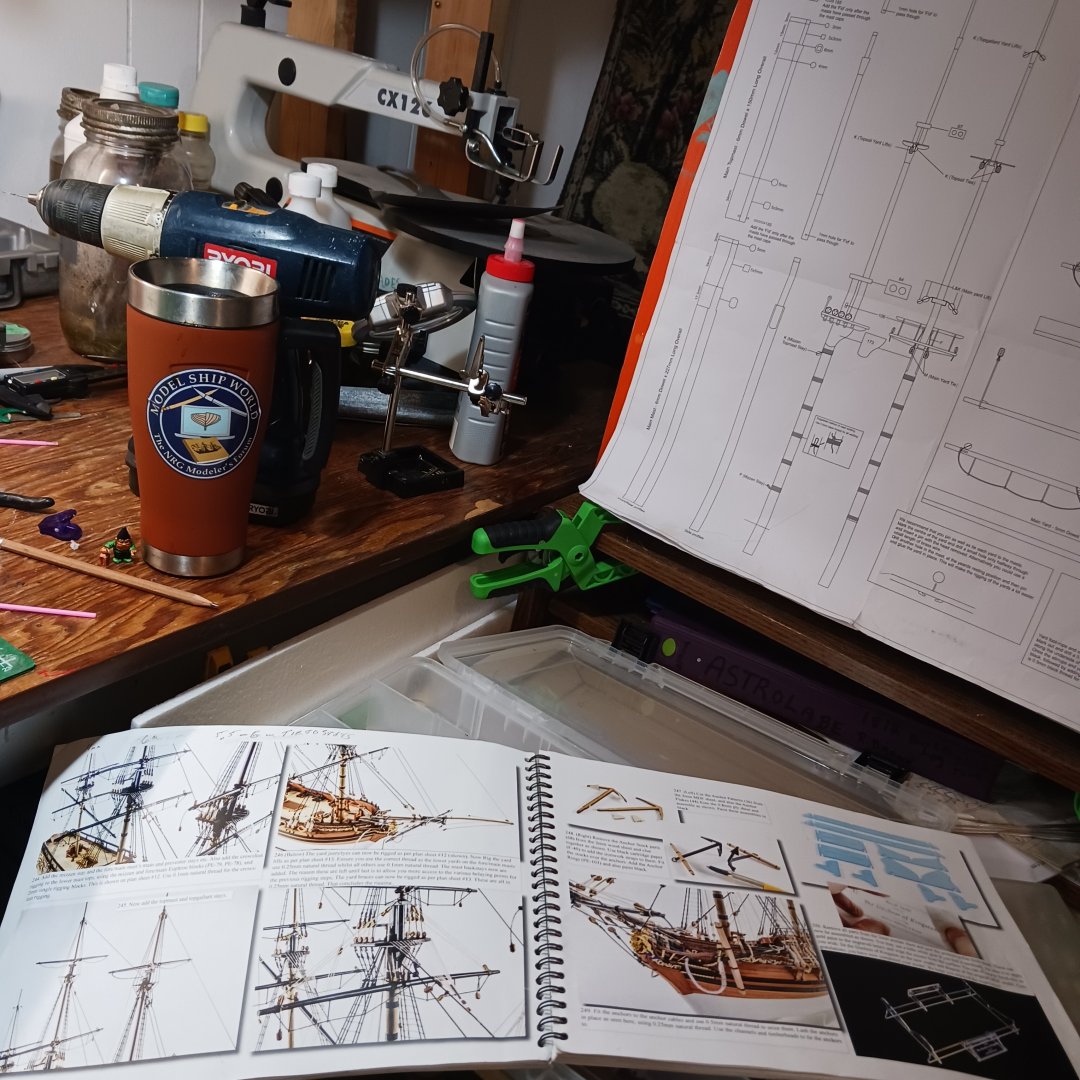
Take care my friends . I will be doing a whole bunch of research, looking for Astrolabe pictures, the plans and manuals look really good, and Rodney has kept a lot of notes. Ok sea yawl latter
Bob M .
PFCGP
Goober
.
- Glen McGuire, chris watton, wvdhee and 6 others
-
9
-
-
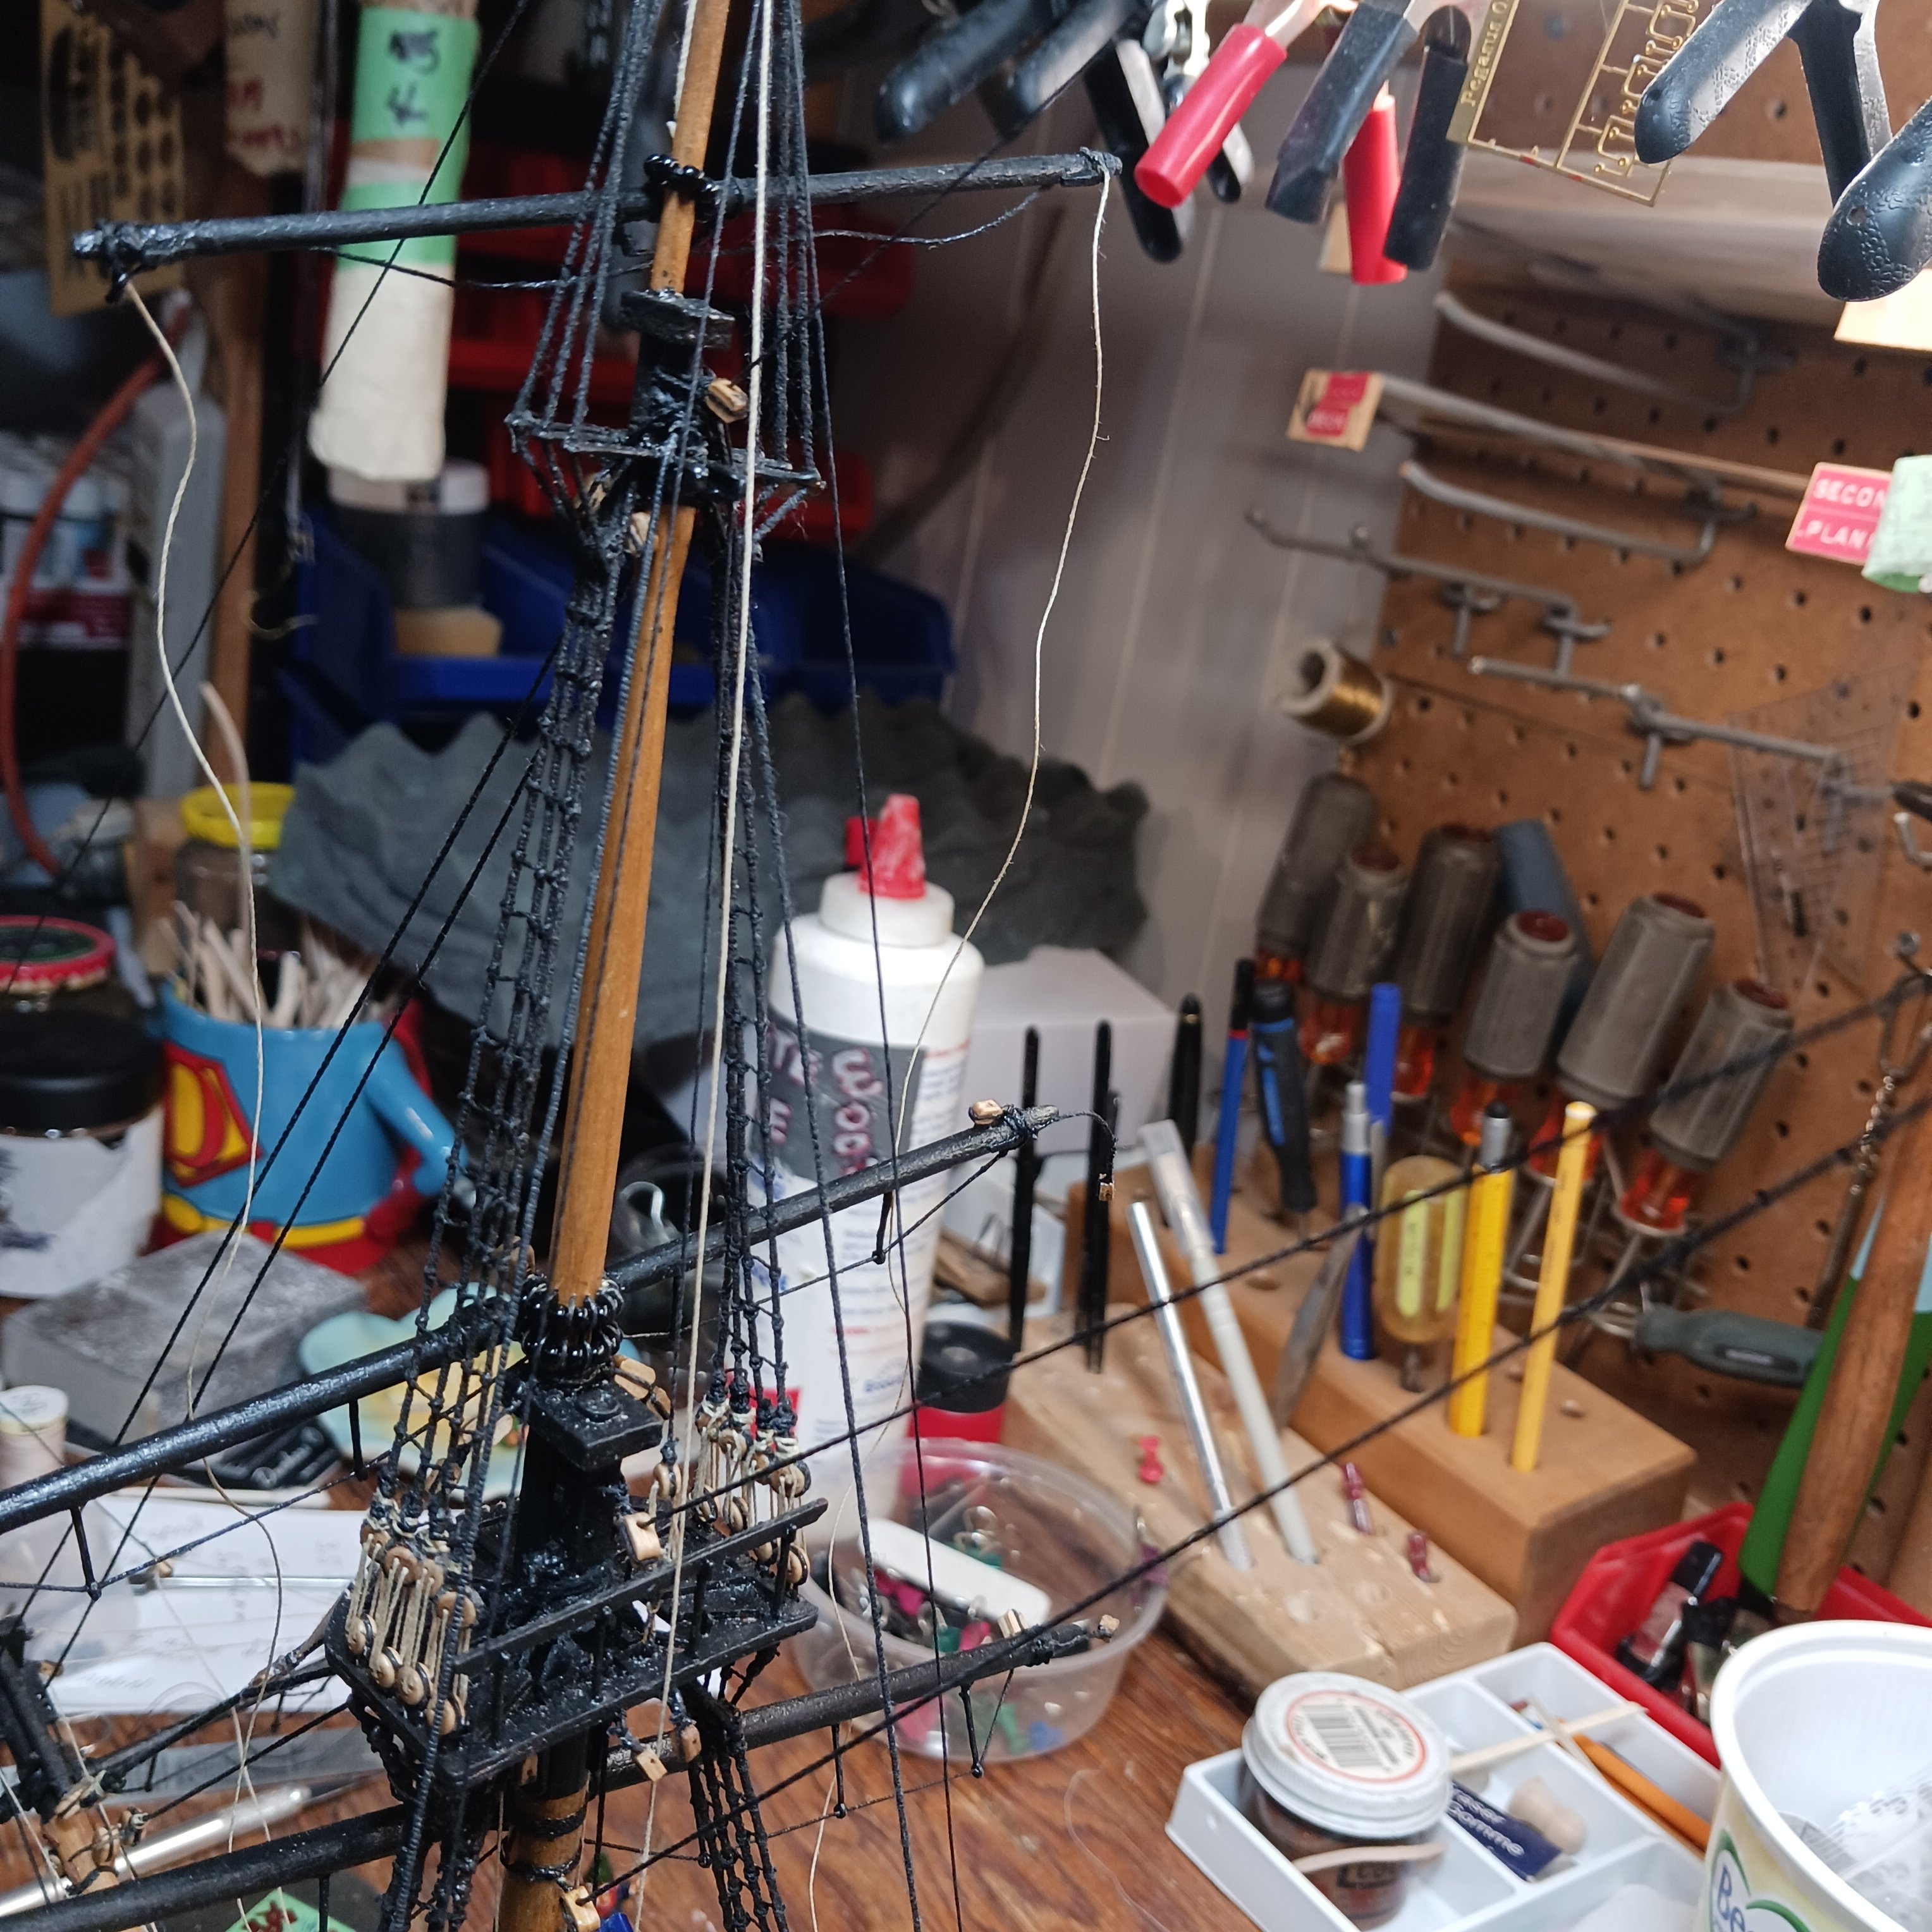
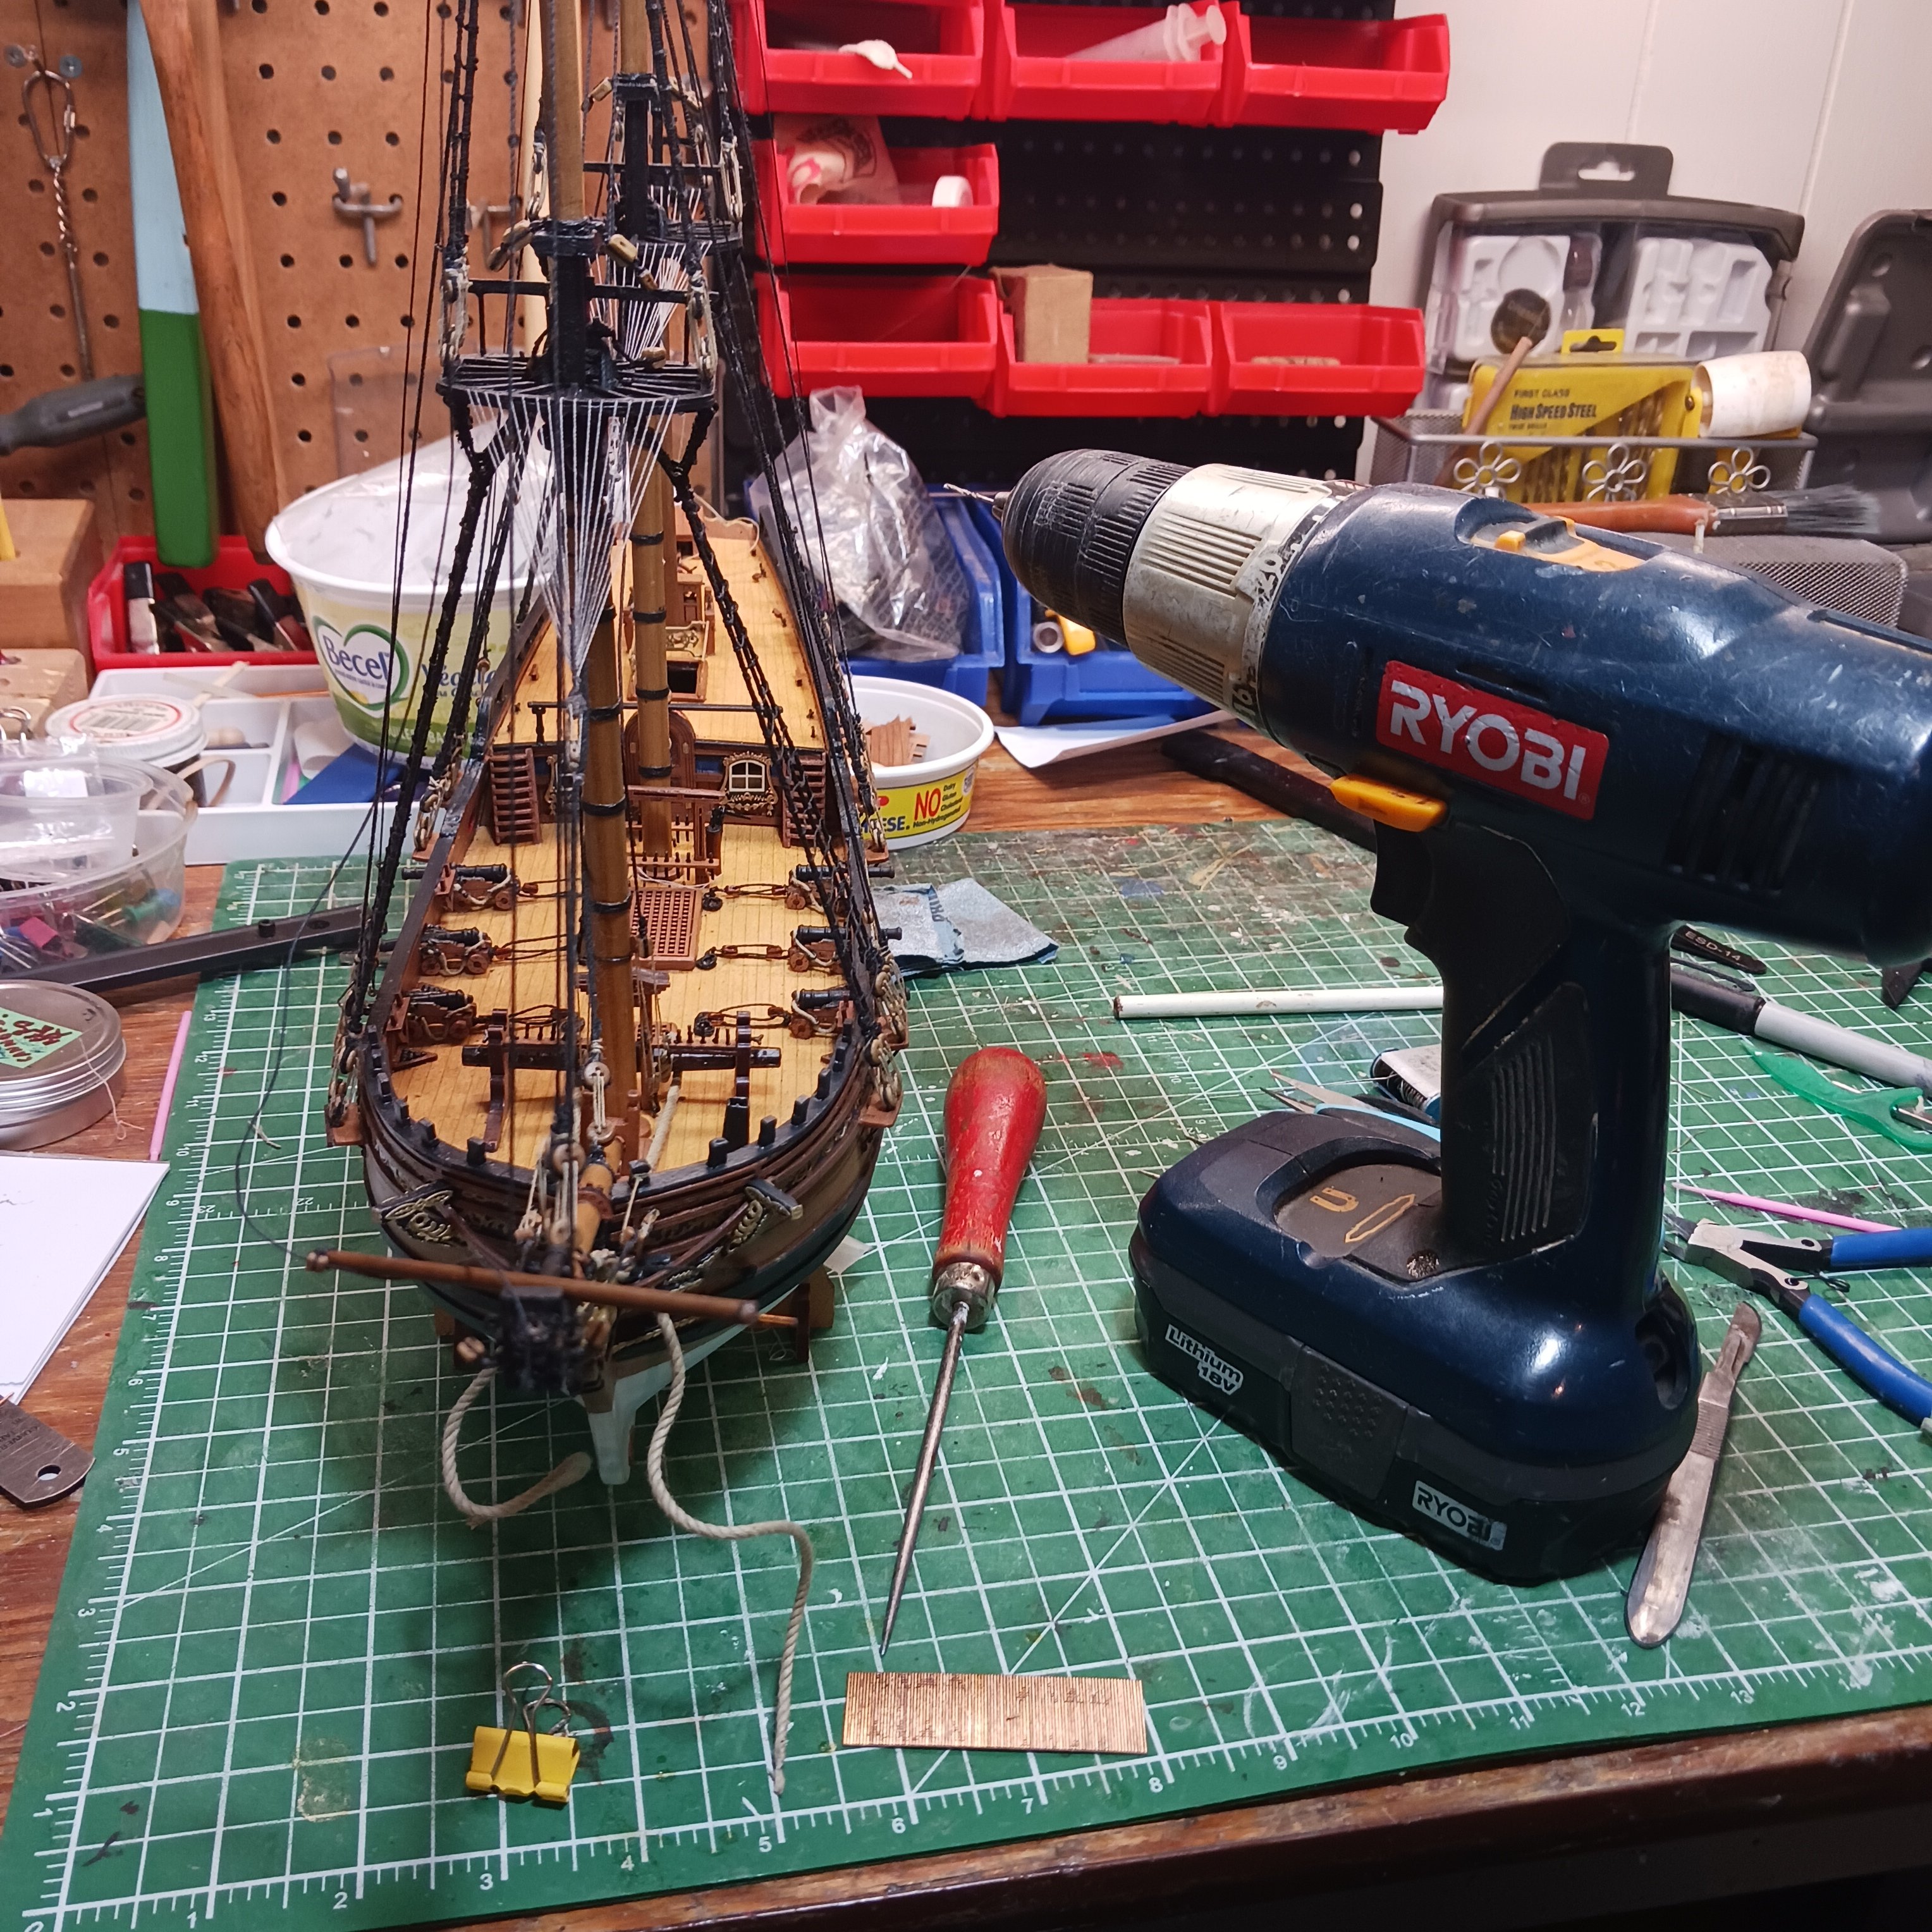
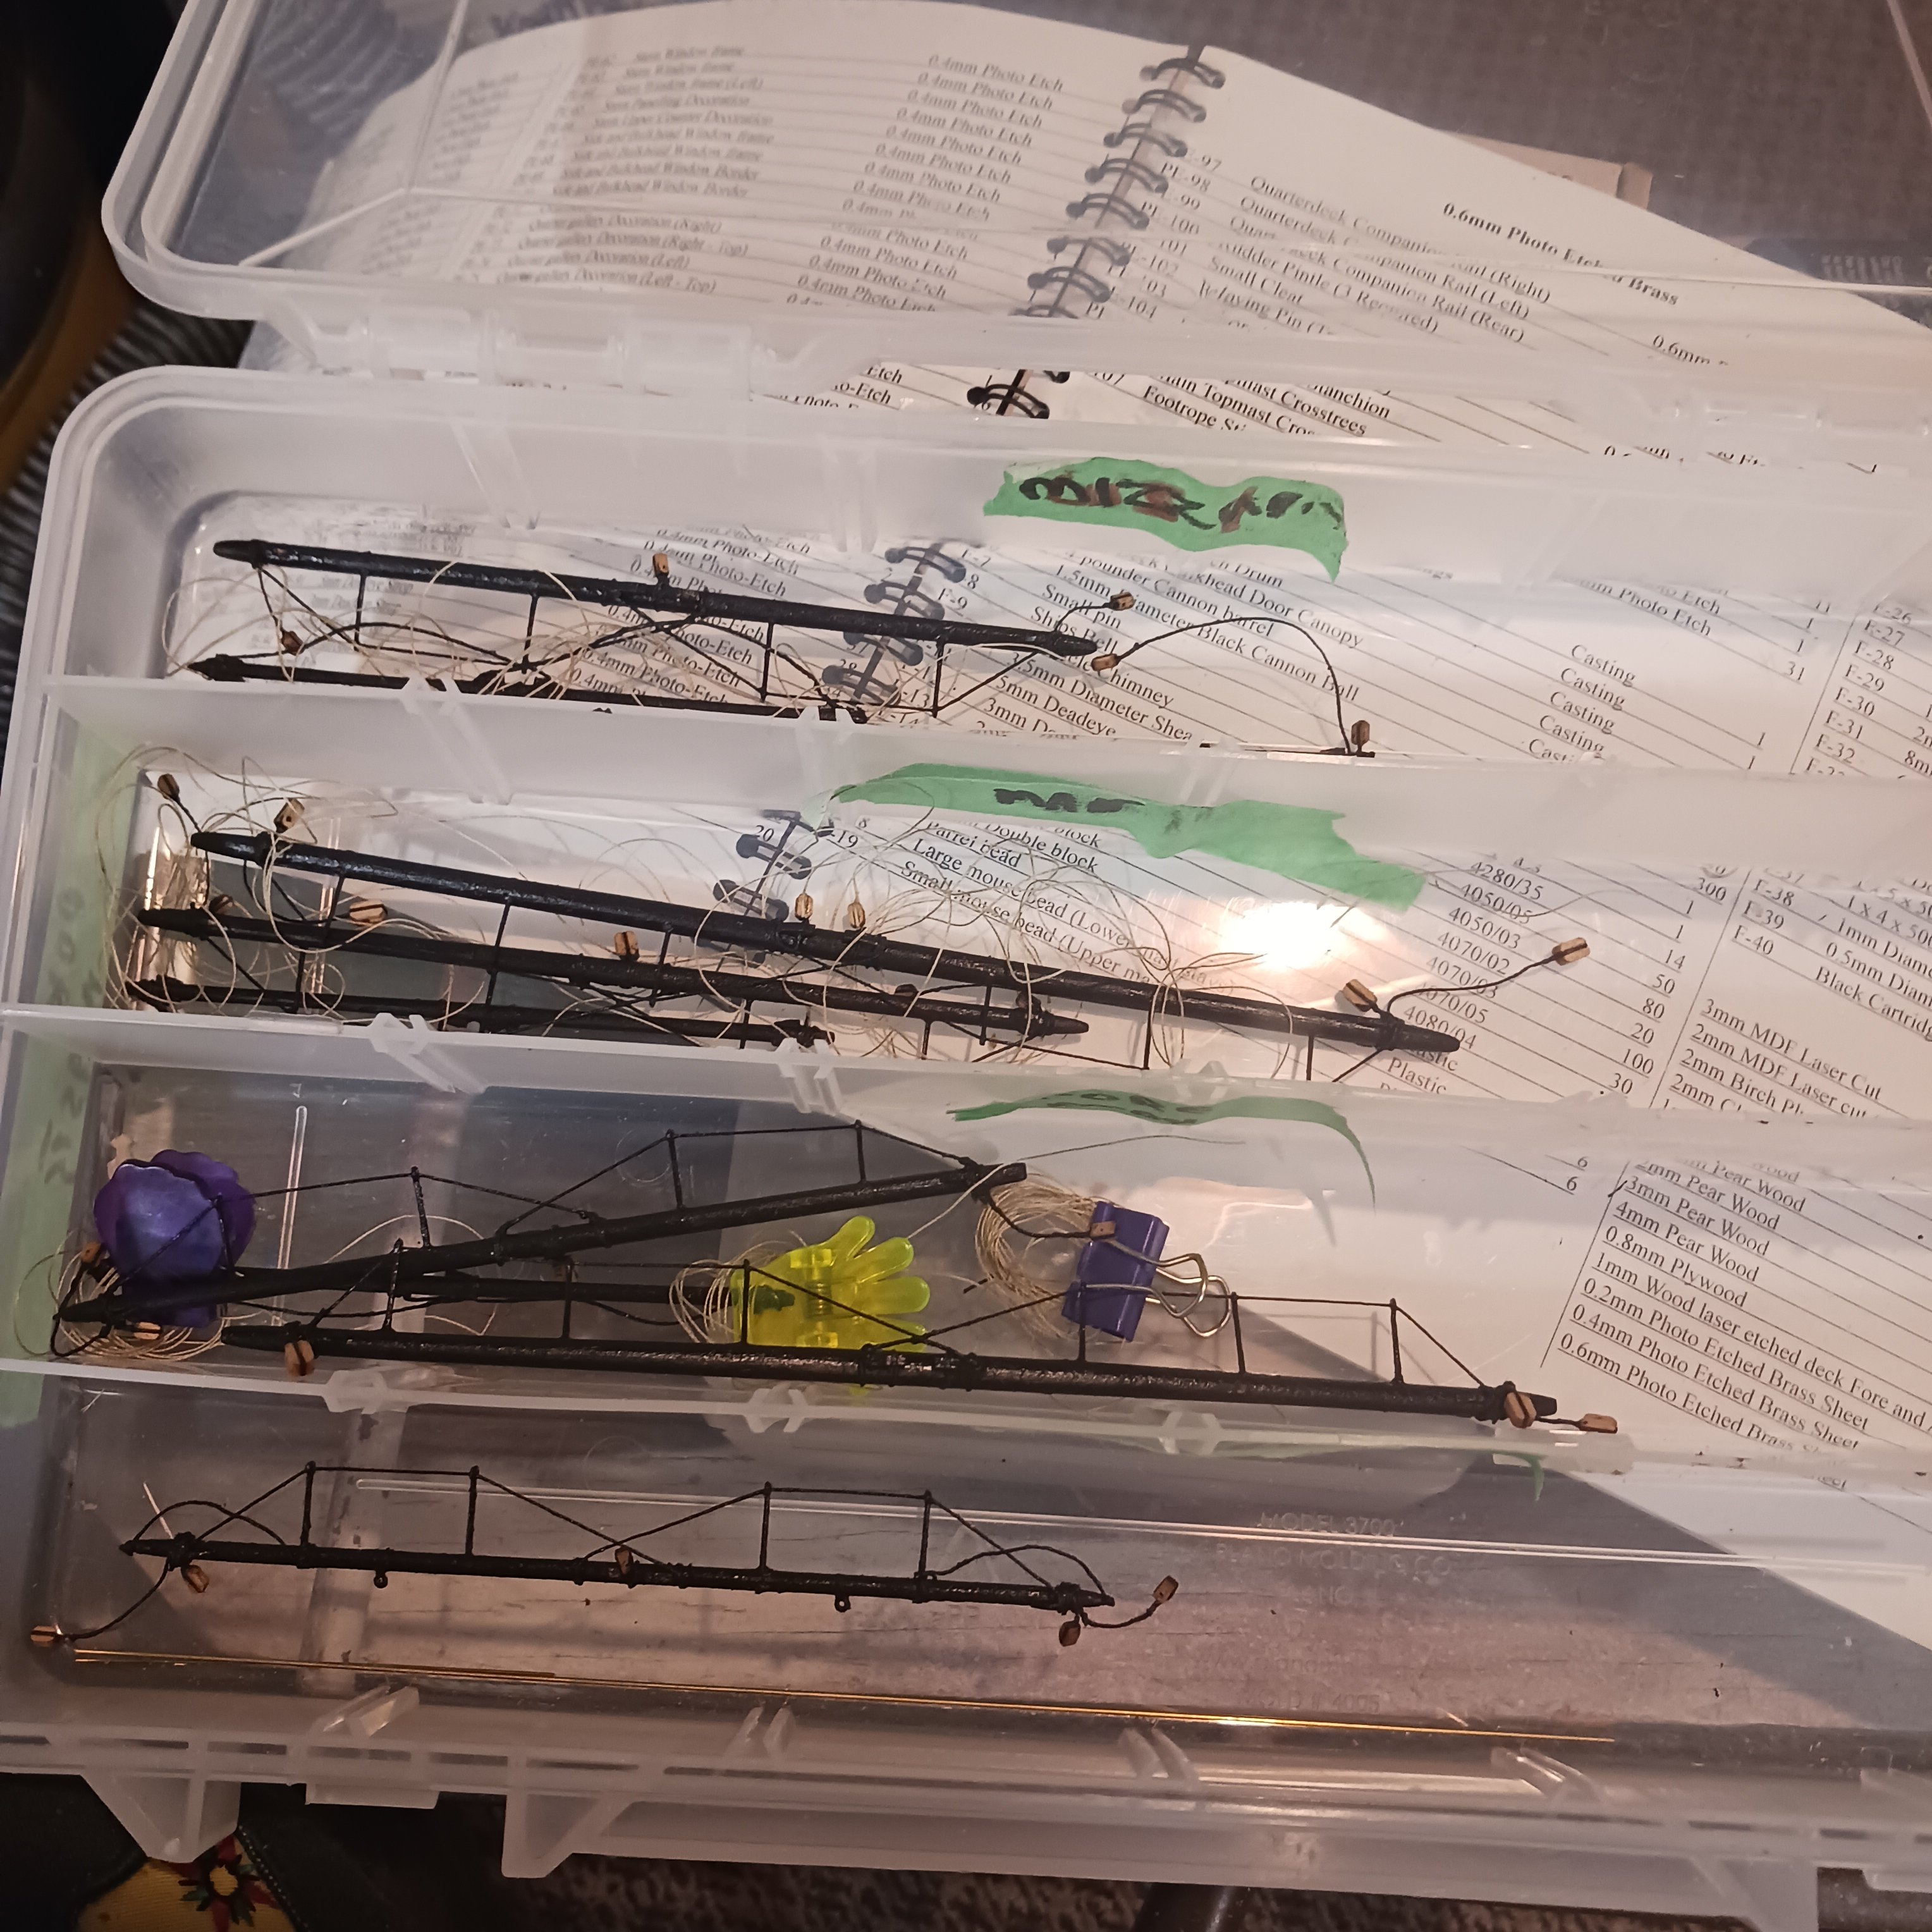
@JohnEvans welcome to the club!!. It happens from time to time. Some you get to fix, some have to be replaced. Lol I just repaired a mast that I have broking four times. My crew are wagering against me.
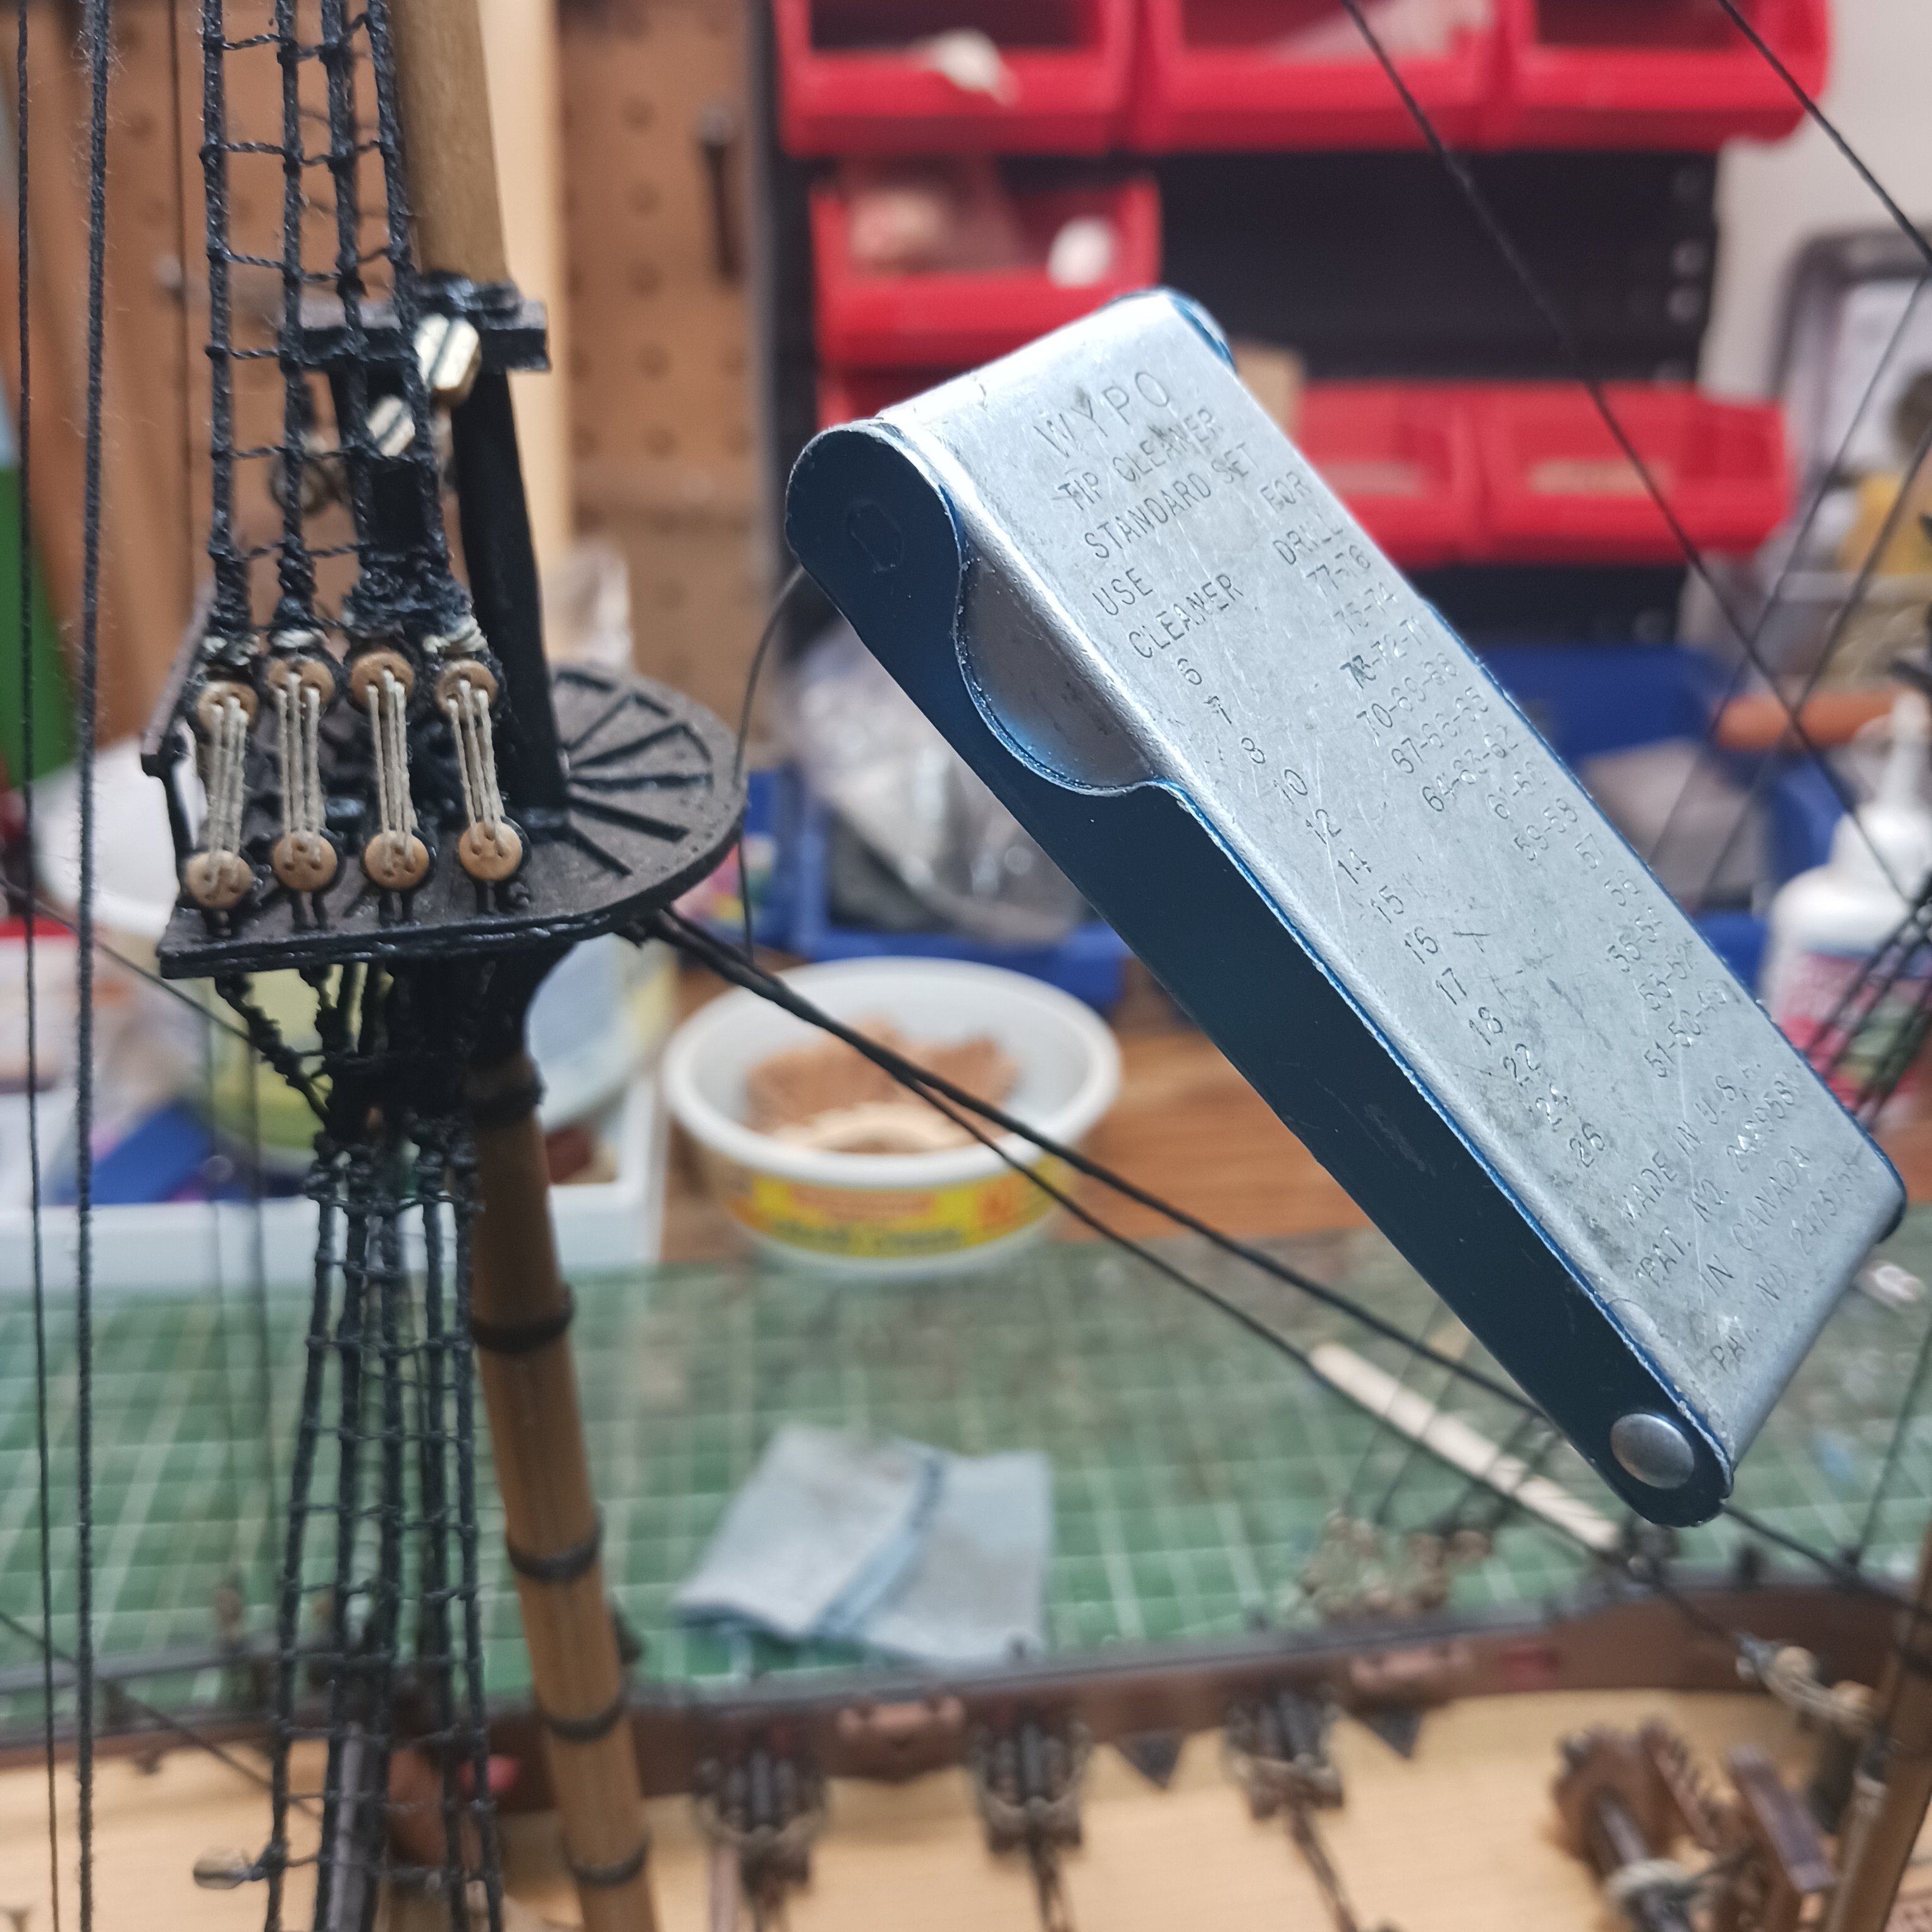
But this is how I fixed it this morning. You will notice the yellow clip that was supposed to prevent this lol. I used an awal to make a start for the drill bit. I use headless pins fron an air nailer. Glue one side in let it dry then put it back on the ship.


So now I will let that dry and go work on the Mizzen mast yards.
As far as the yellow clip is concerned, I think it's a Wright off. Lol. But I am using it for a weight for the Bowsprit mast again
.

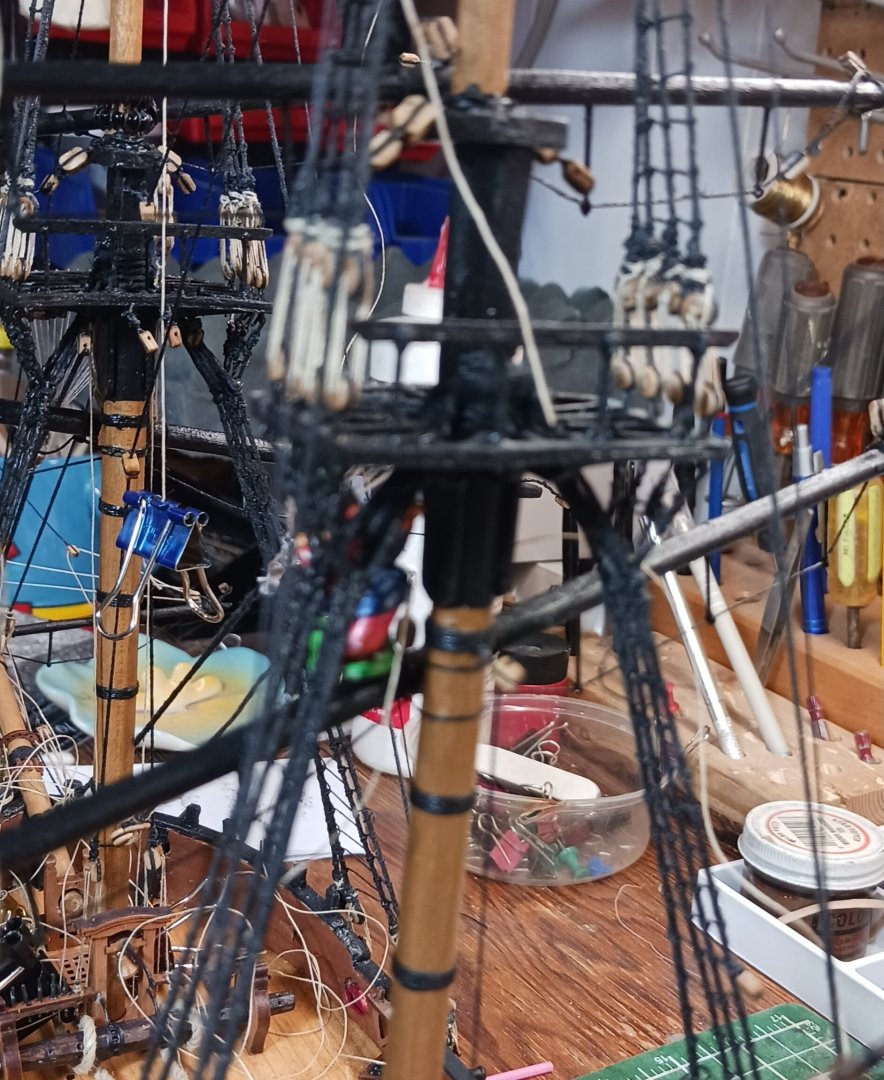
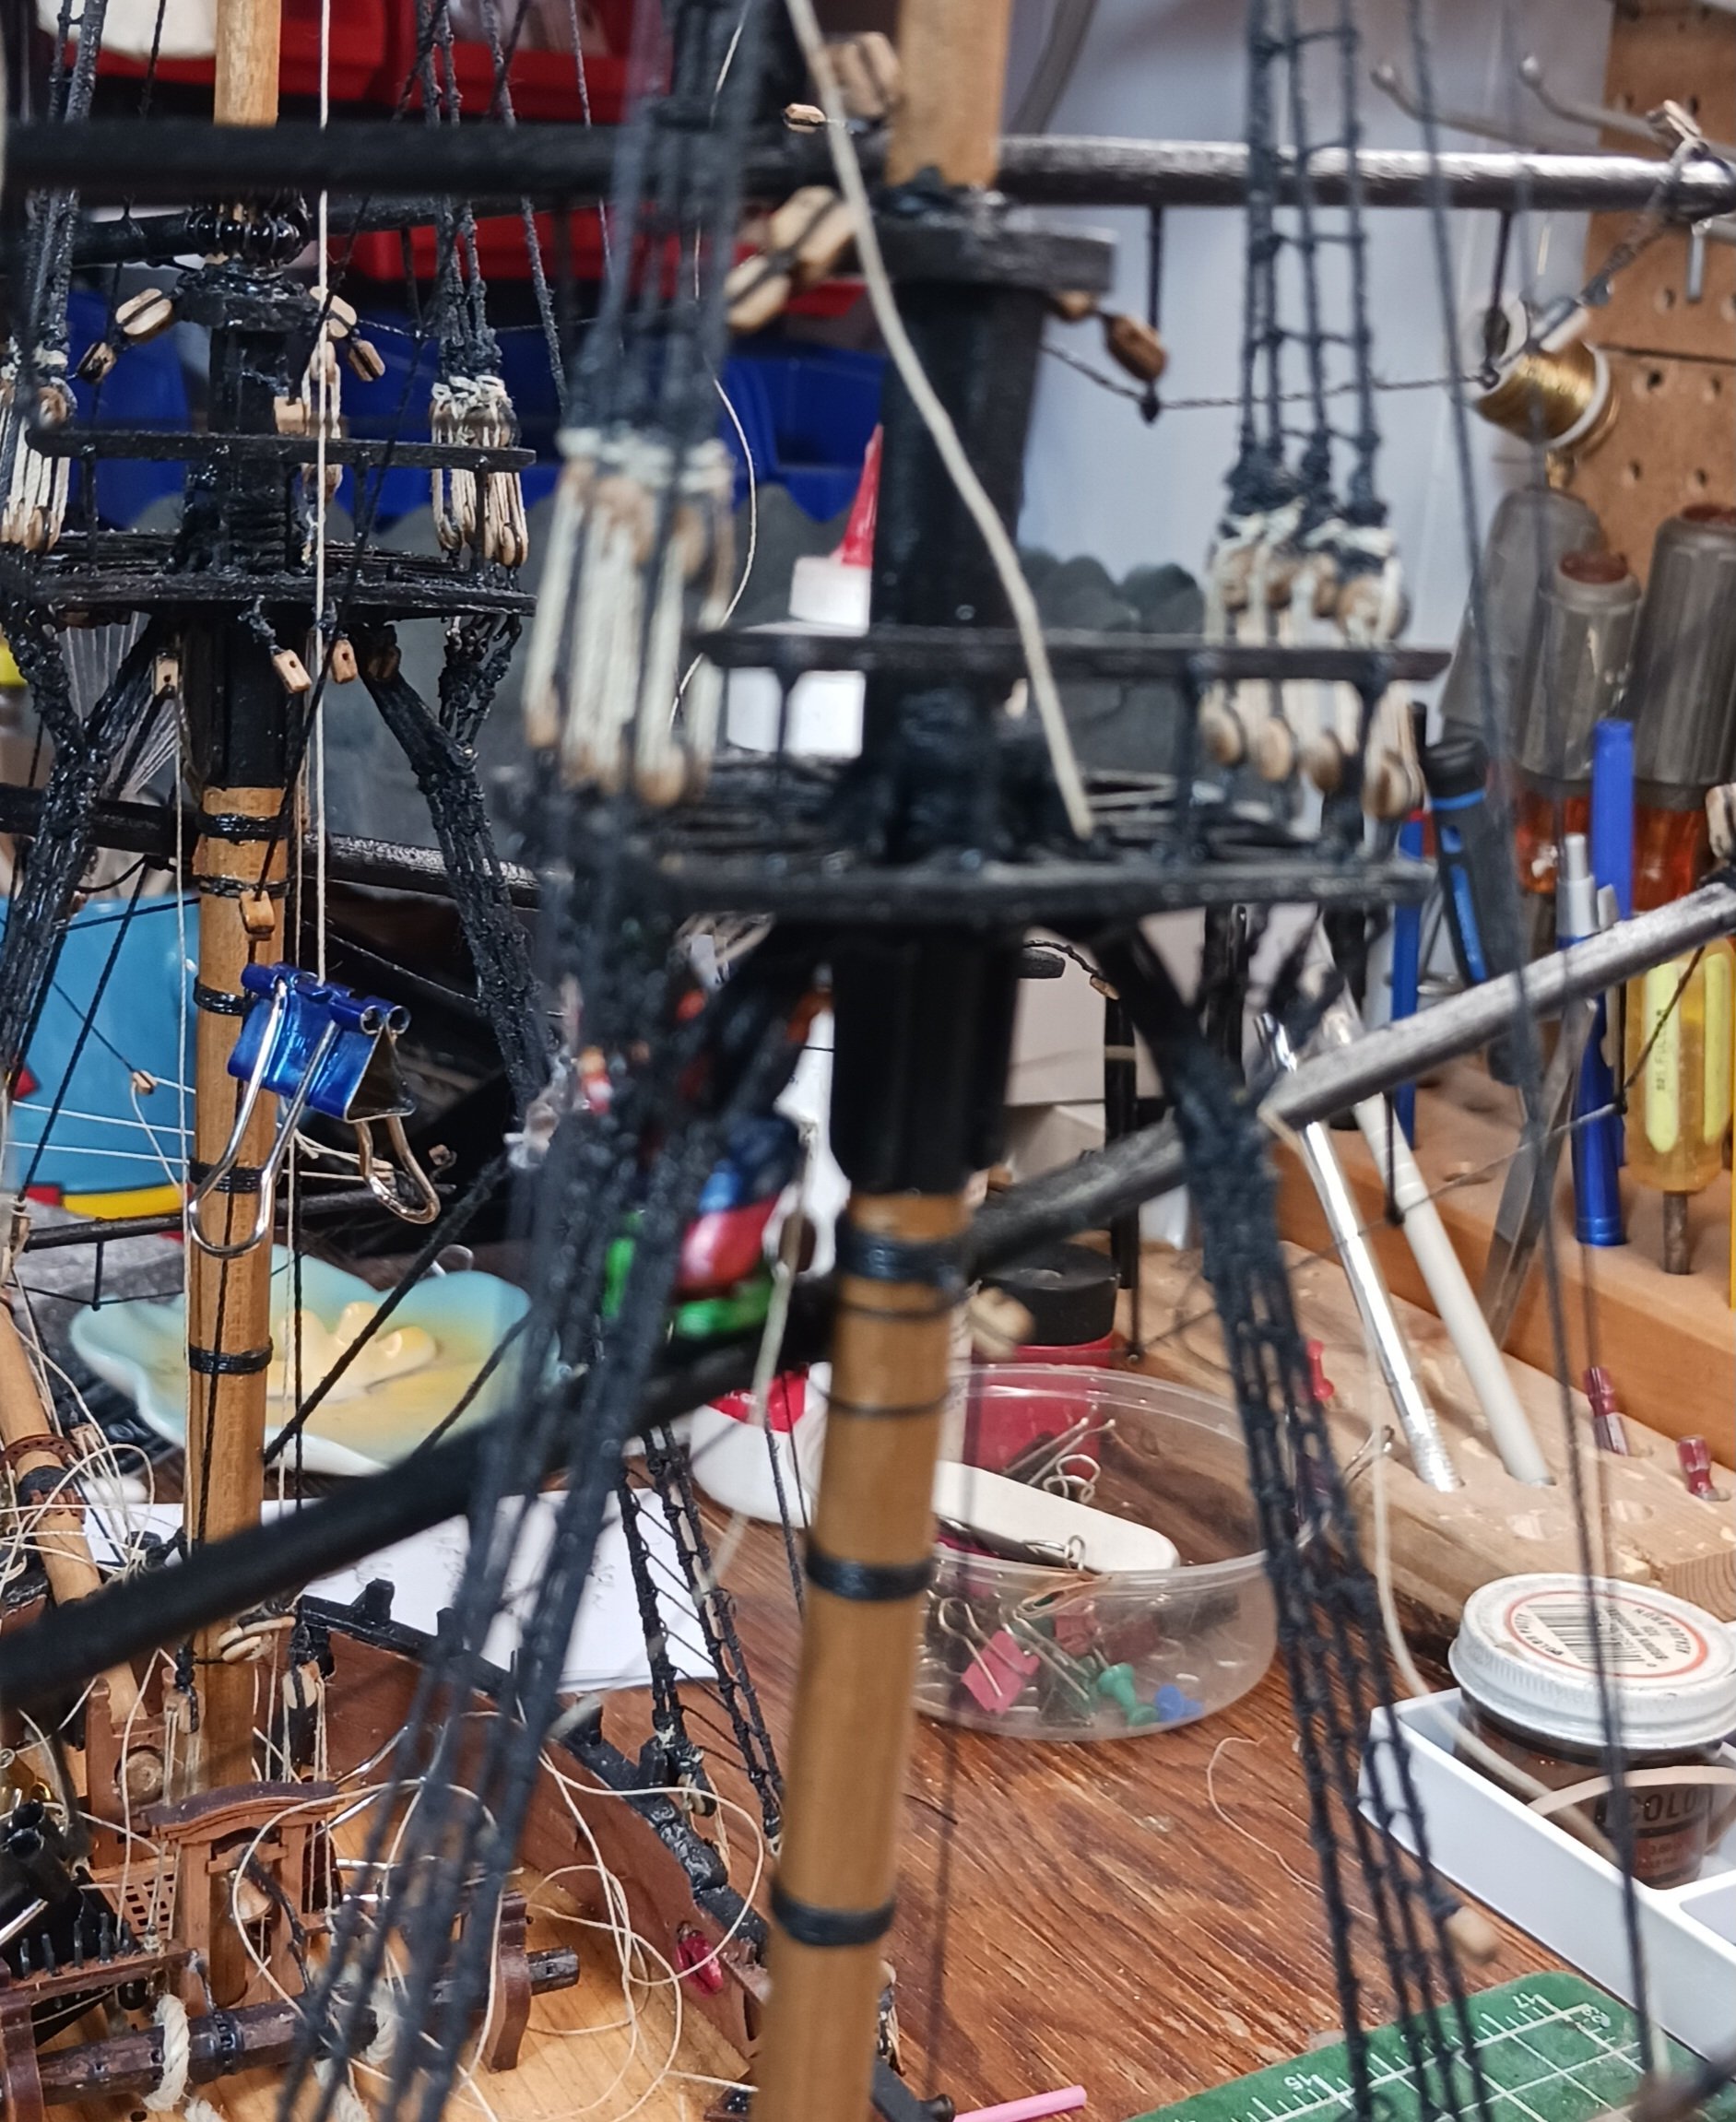
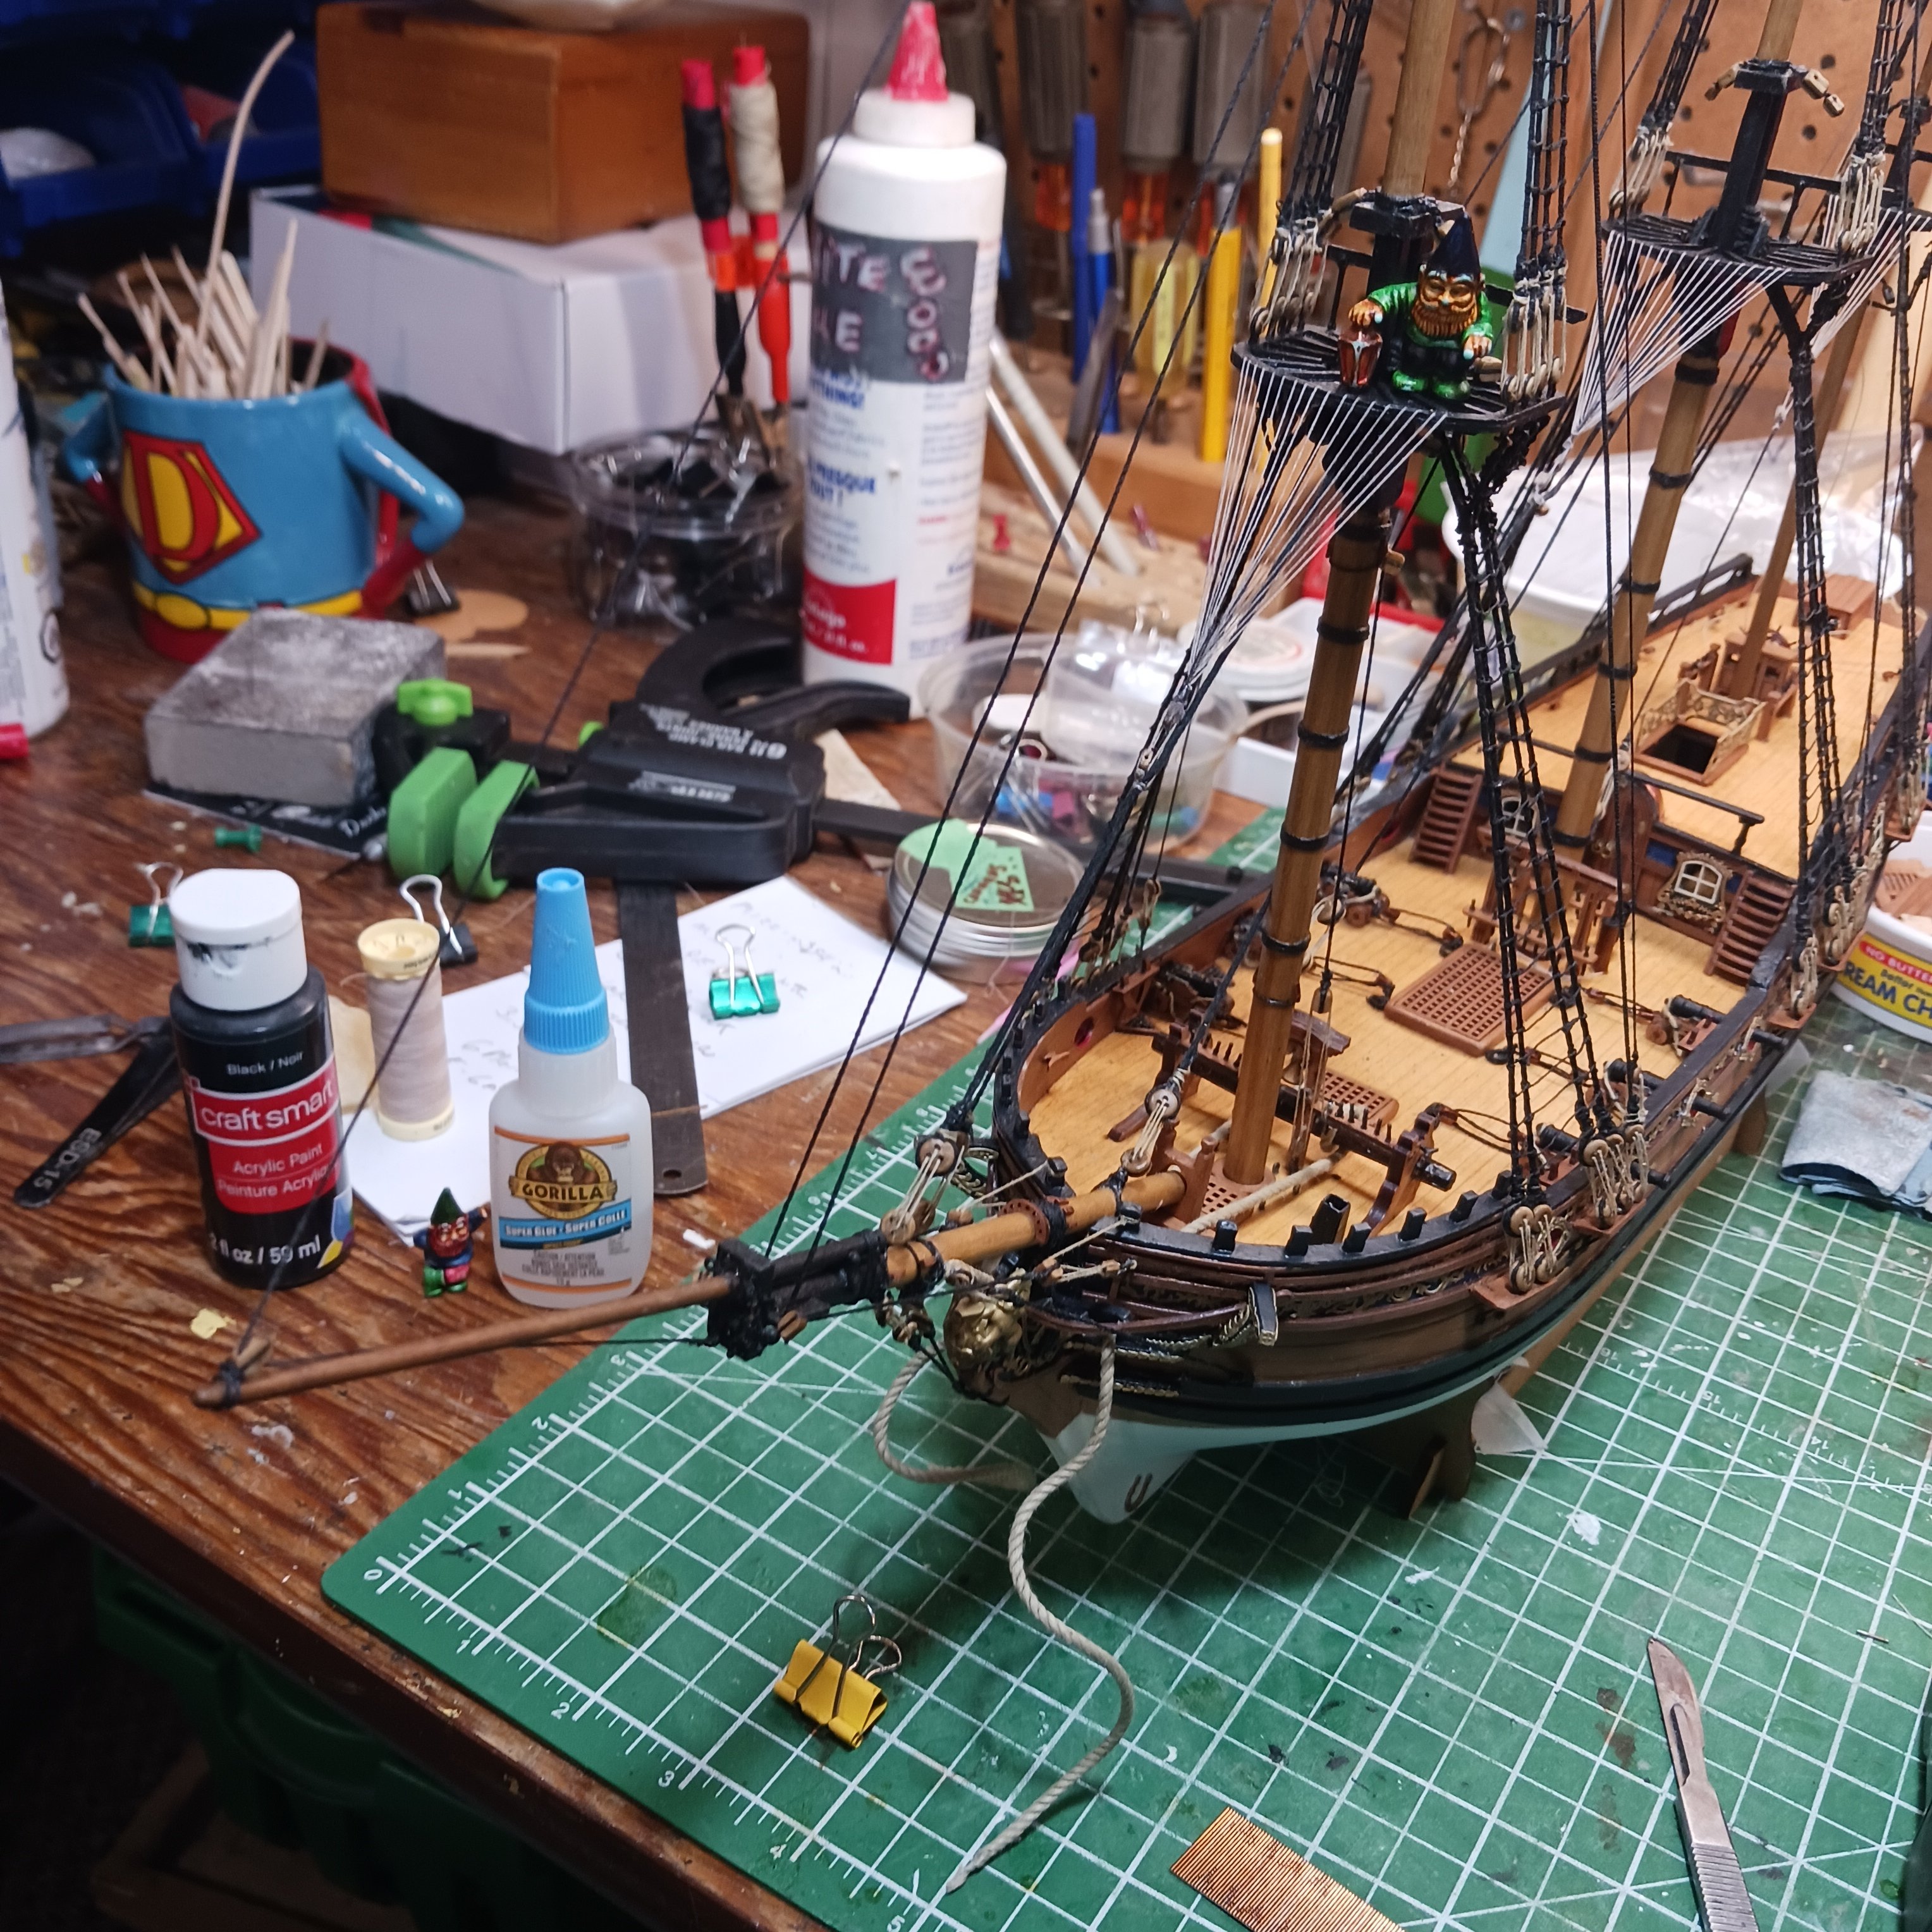
And this is were I start the Mizzen mast. And @Keith Black I am seriously looking into those plans for the Astrolabe Bowsprit mast . LOL 😆 🤣.
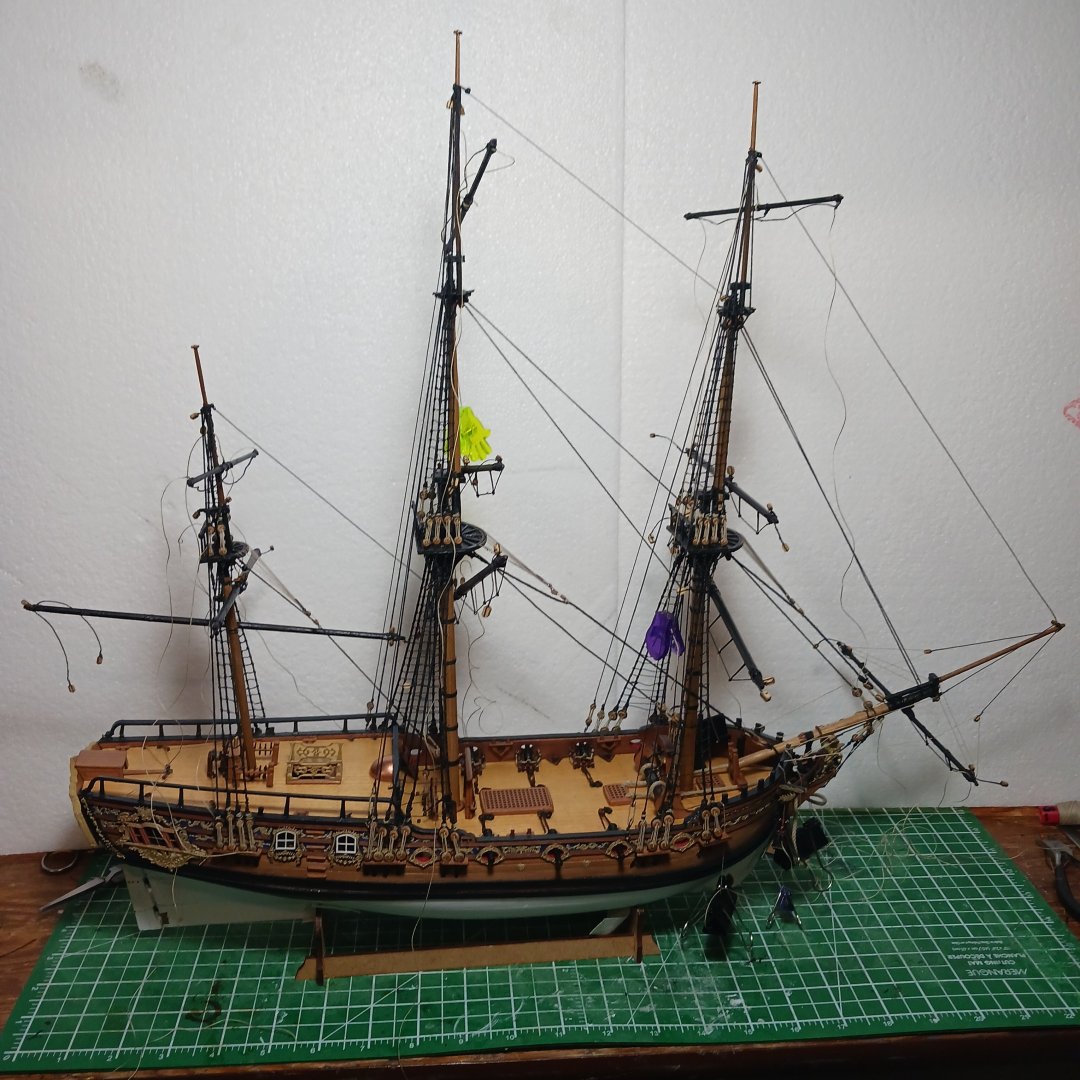
I am really happy with my Duchess .It's true. Vanguard Models are fantastic to build, by far the best kit I have done so far. Don't be Surprise , if I buy another Vanguard Model in the future.
Well back to the hobby, tunes on, lights on the new magnifying glasses ready, a quick nap, then action lol.
Knocklouder
.
-
Congratulations
very nice work!
Bob M.
- cotrecerf, chris watton, robdurant and 1 other
-
4
-
Thank you very much my friend 😊. Man I look back 3 years ago when I started, wow I had to learn lots, beside how to build ship, computer lessons, how to use MSW/NRG, spelling lessons lol 😆. Just like I was in school I never paid attention to the spelling part lol.
I still have so much to learn about rigging, and could do better seizing as well, but that's my style 😎.
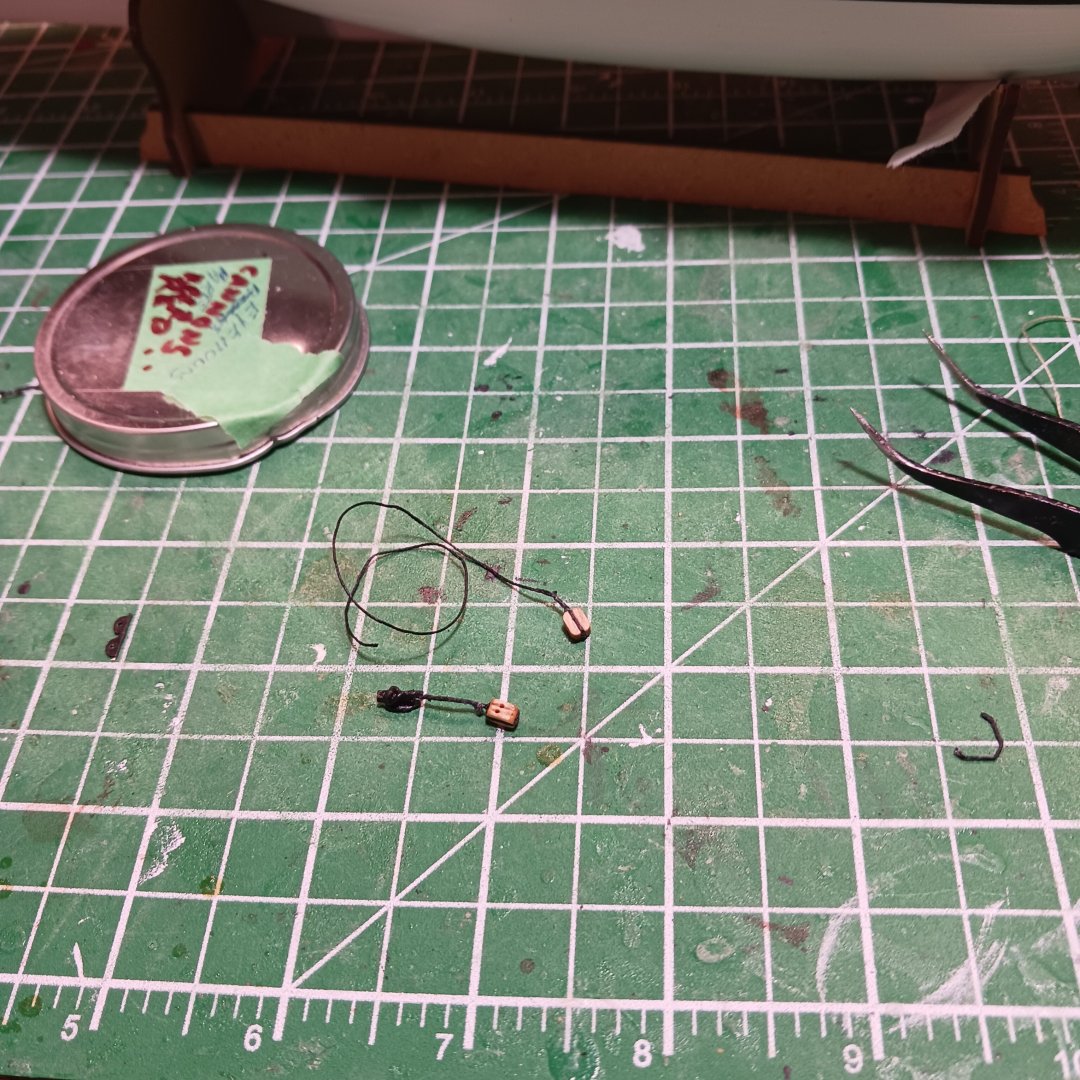
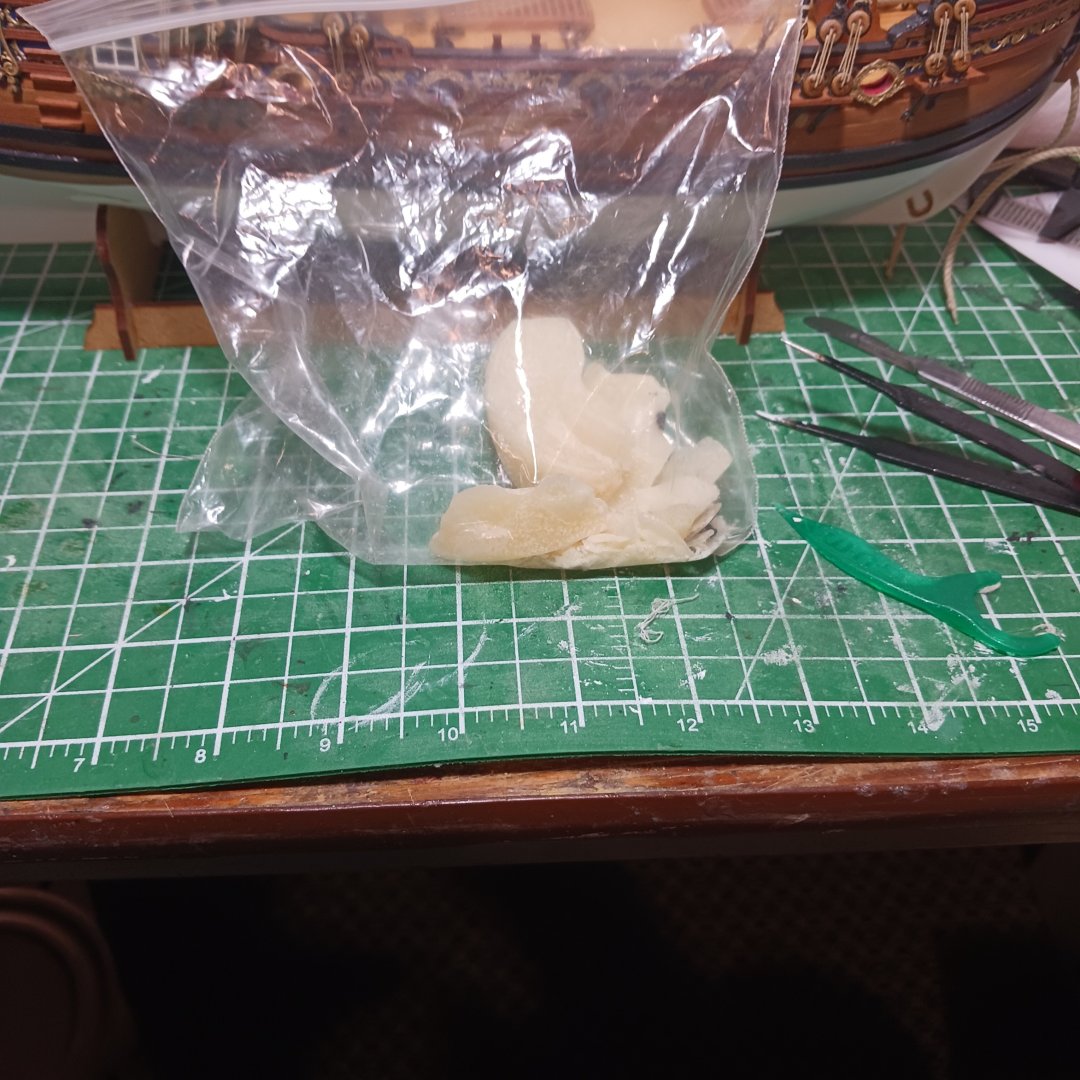
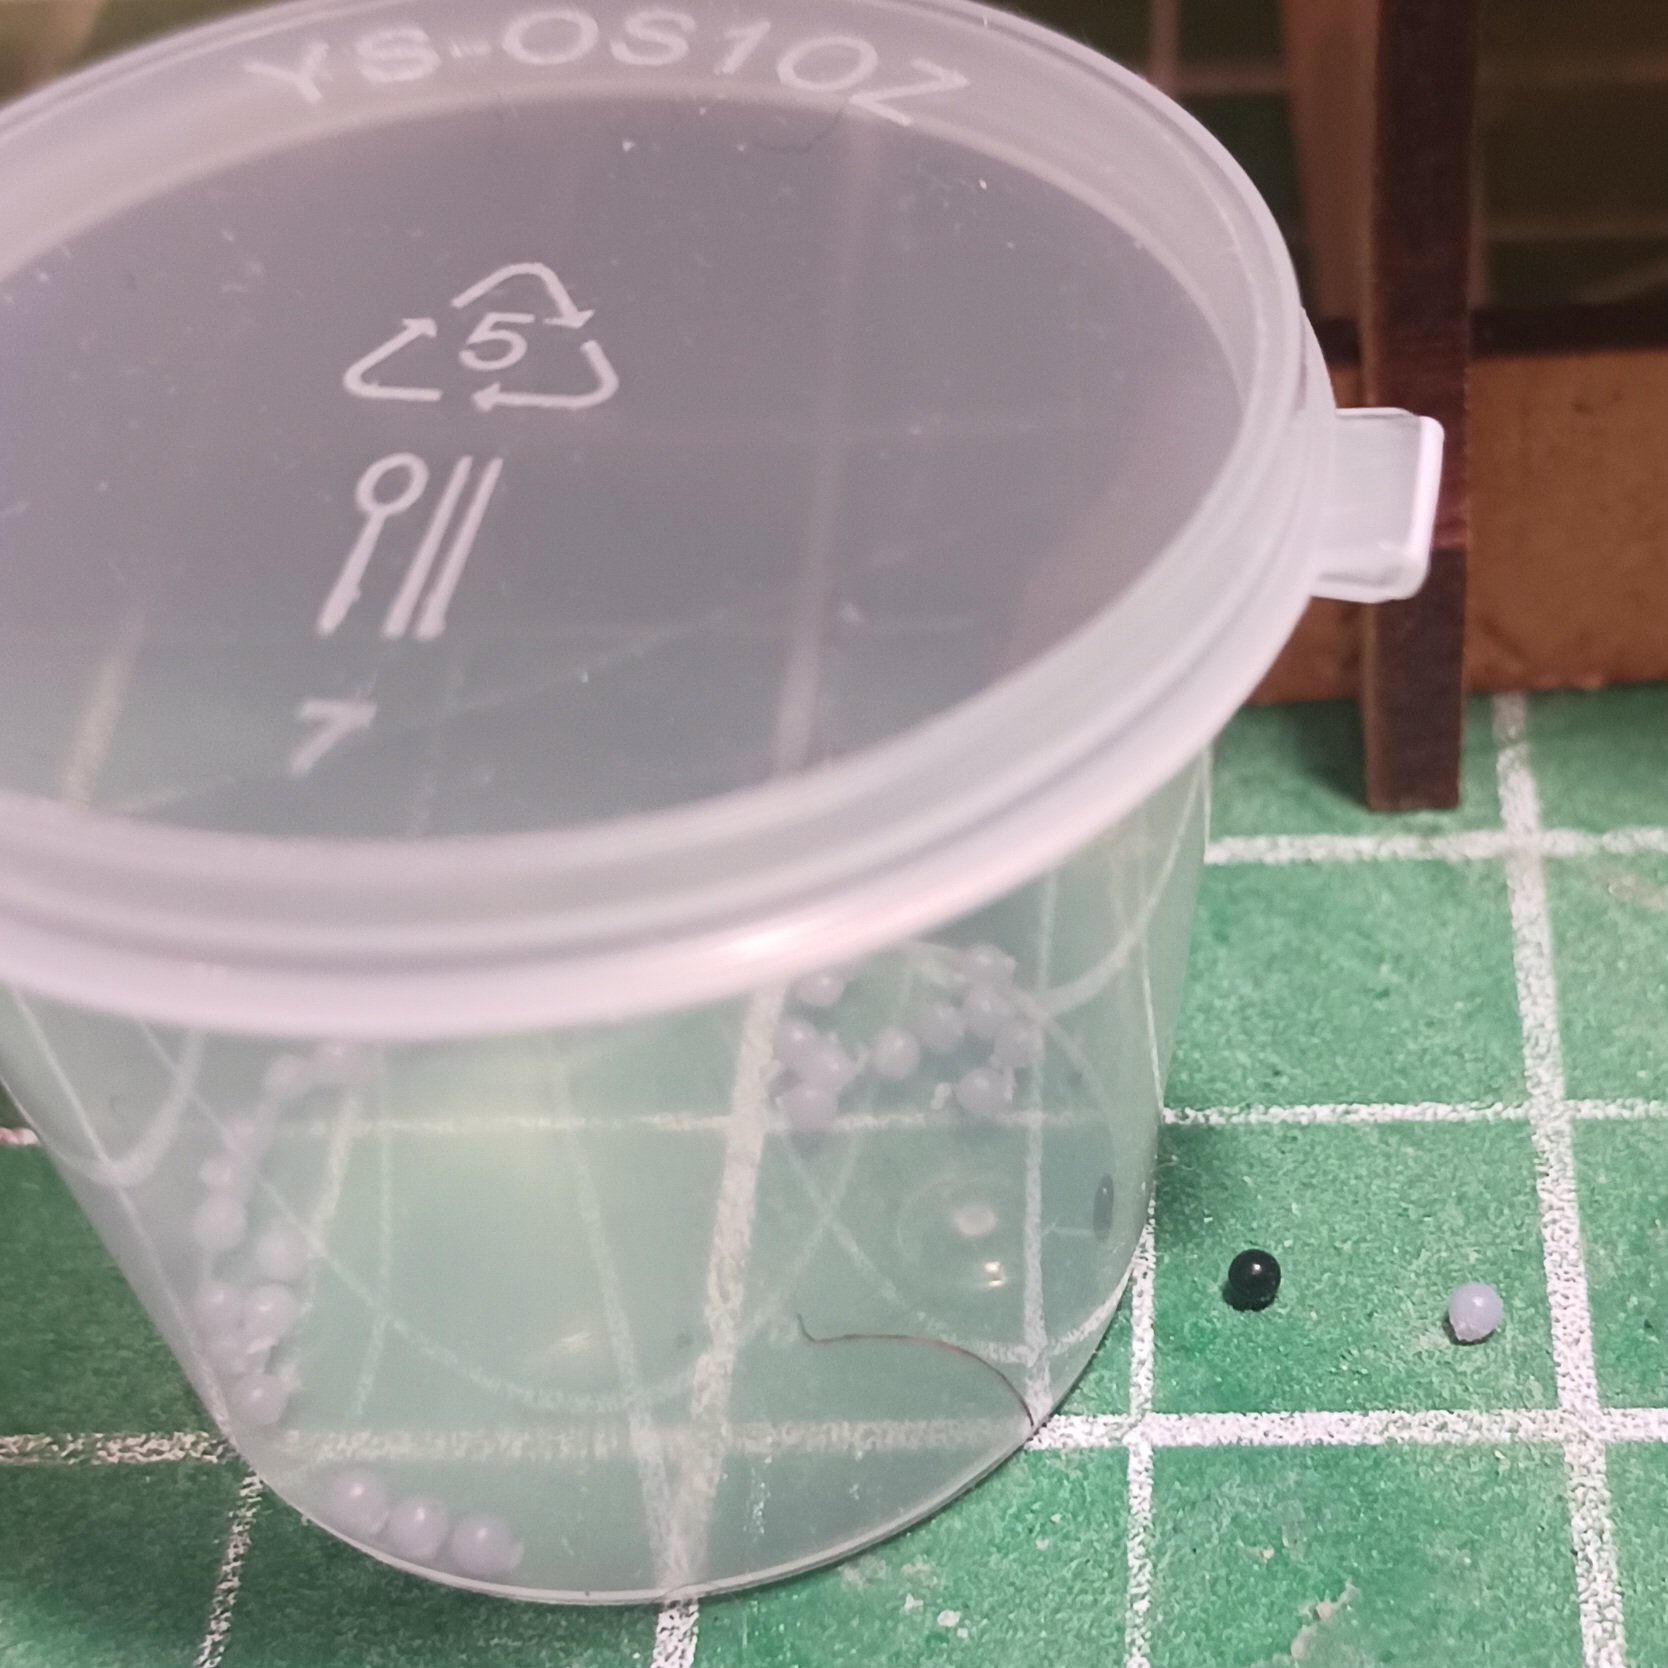
I finally got a chance to go see fellow shipmate @Gabek , I had asked him to make me some cannon balls, I want/ need them for my Duchess. They are great, he told me some need a trim but they are great.

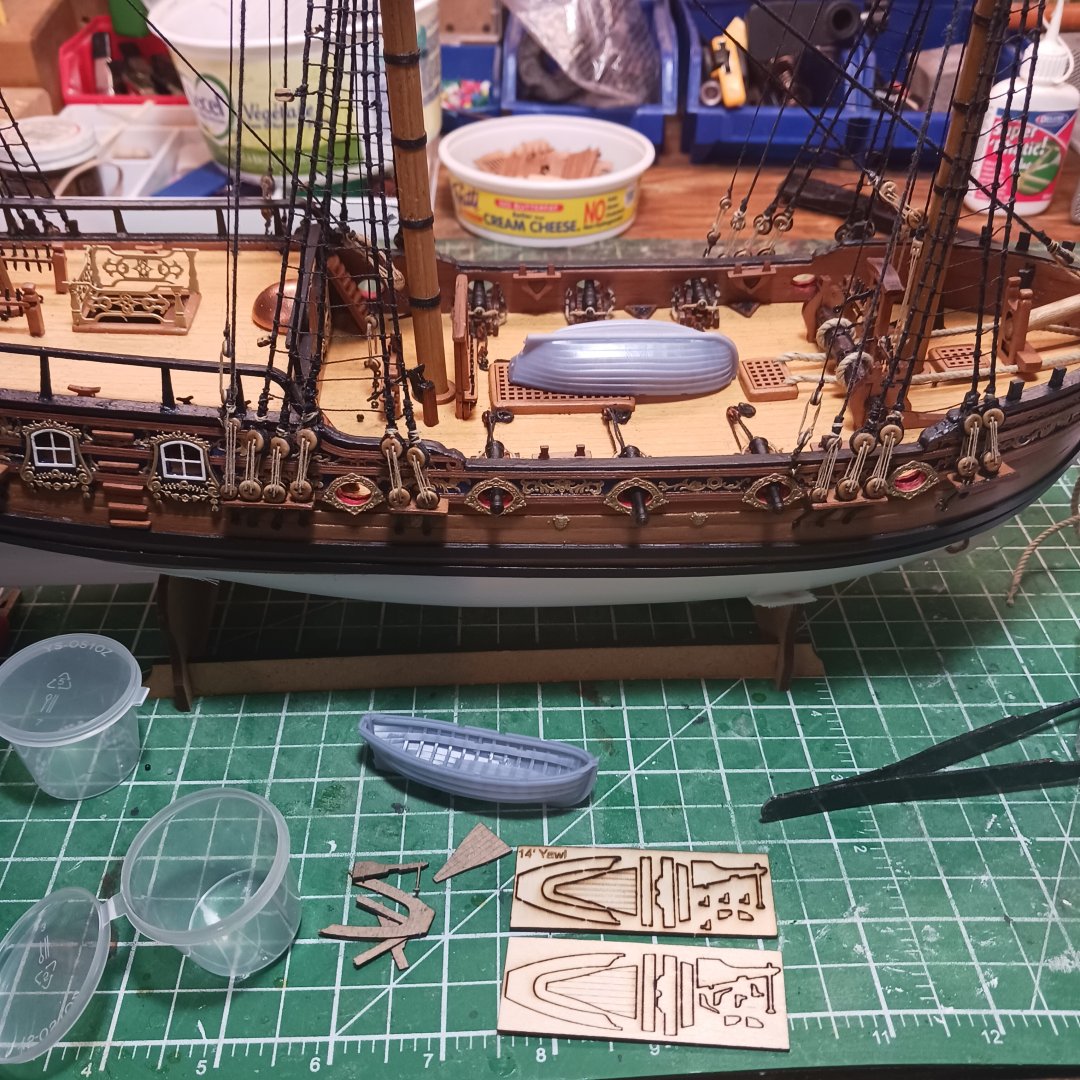
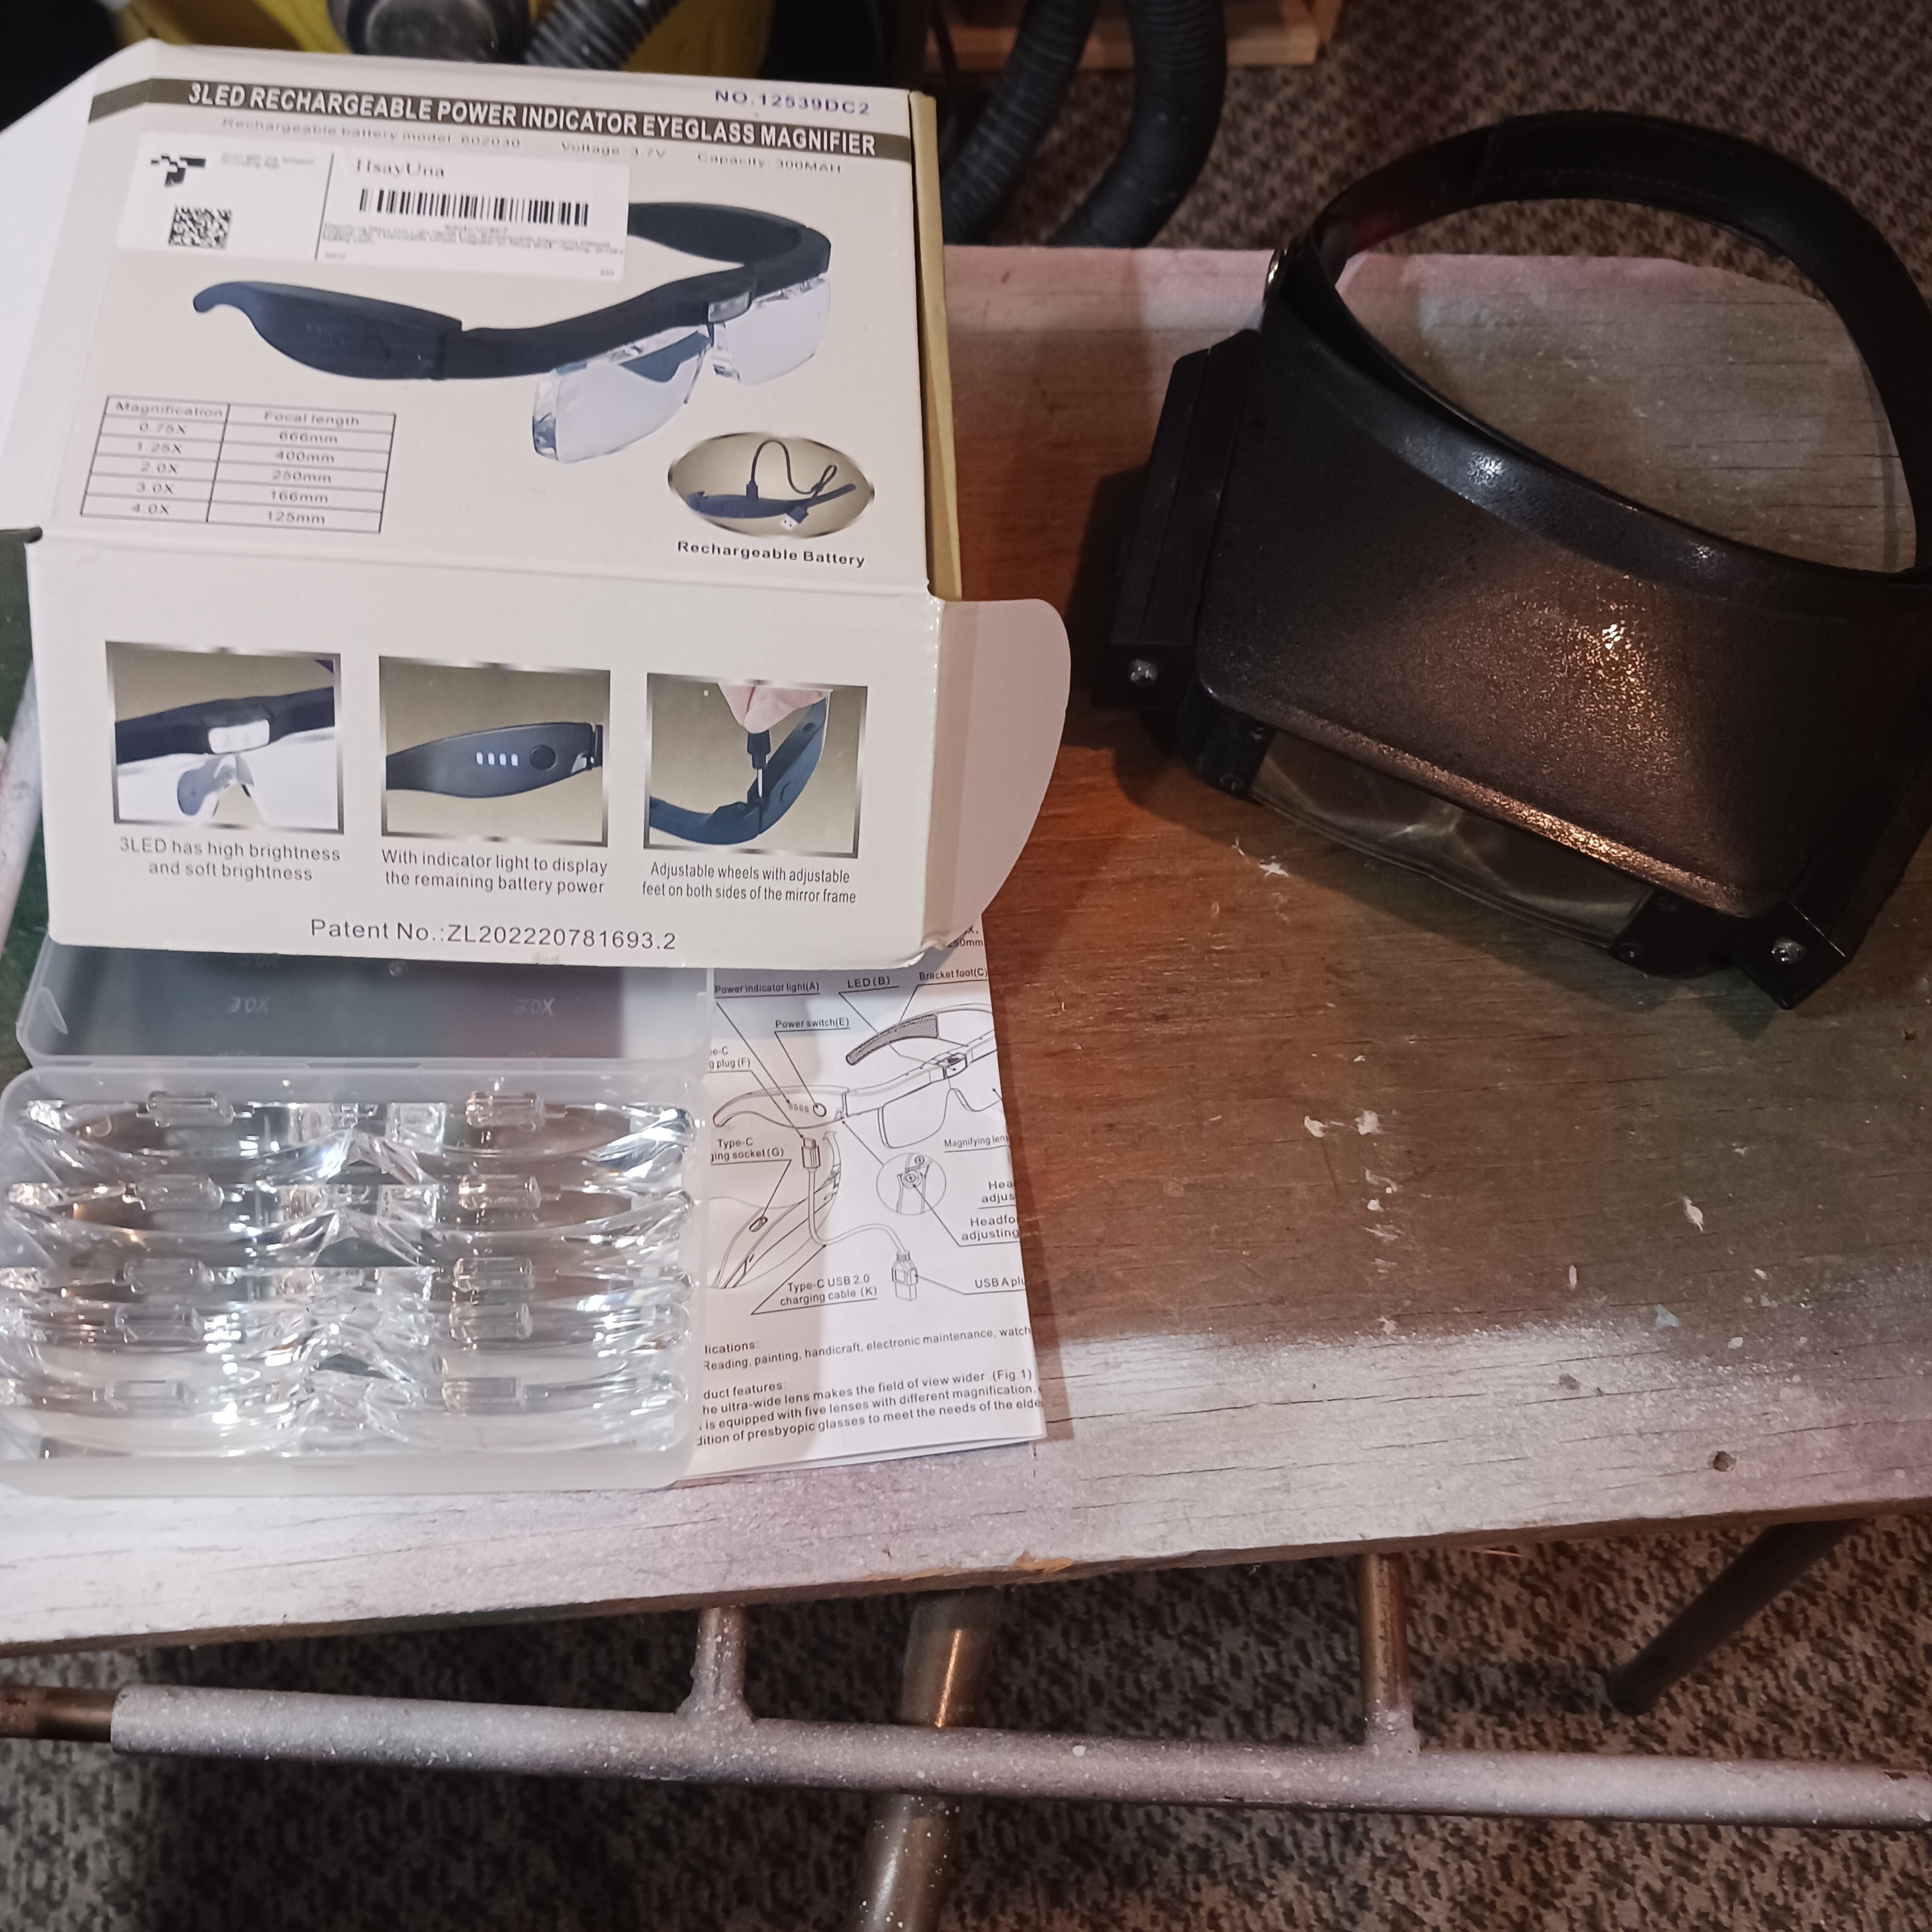
He also threw in a couple more 14 foot yawls and he knew I was looking for magnification glass so he though in one that he didn't really like.

And I ordered these from Amazon to try. So I let you know which one I like best, but not today.
So glad I got to know him, lol when I went over I rang the doorbell never heard it ring waited a minute then I Knocklouder lol. I think he was just about to open the door lol.
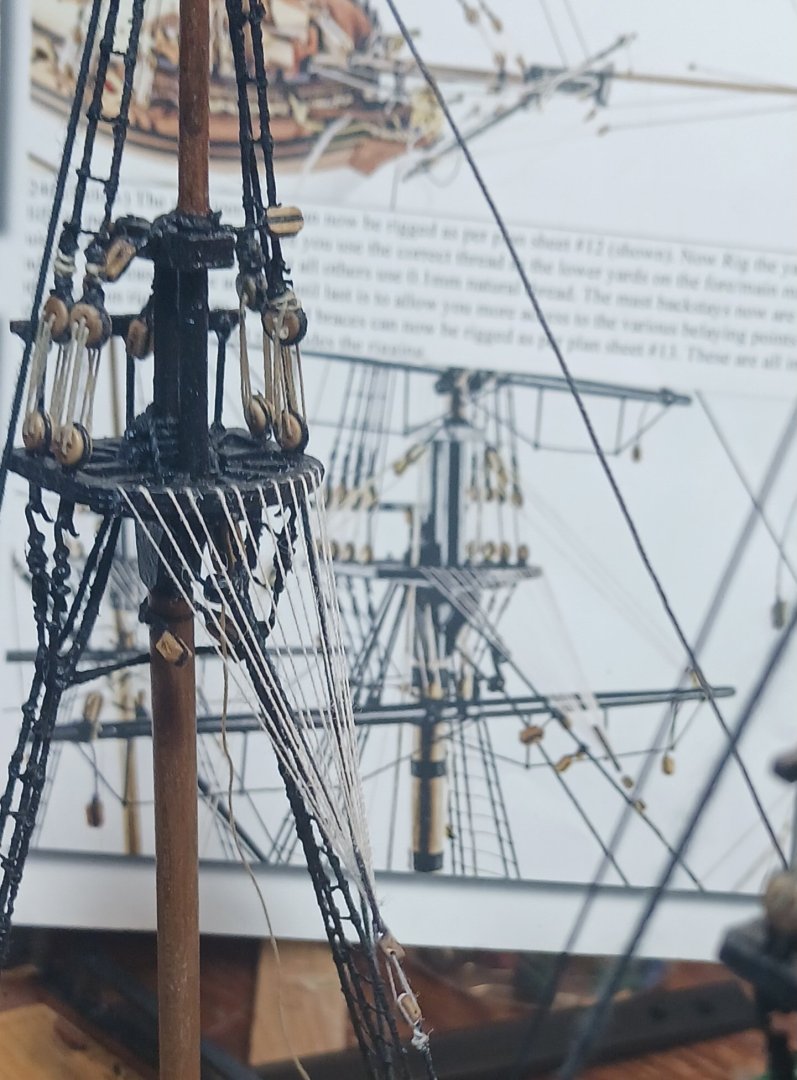
Today was a good day for the most part. I clean up all the holes for the crowsfeet on the main and foremasts.

And after going over all my notes I finished the crowsfeet. A little adjustment on the stays lines is needed but I can do that later. So I took a break from building and went and cleaned the snow from the driveway . Half way done and I noticed that the tractor was heating up to much. So I drove it back in the shed and let it cool off a couple of hours then open the radiator no antifreeze where did it go. Lol Got to get some specific antifreeze for diesel engine tomorrow 😅.
Back to the shipyard I ran. And seeing that the crowsfeet were done I was going to start the Bowsprit yard first 😳. But you guessed it lol.
I spun the Duchess around and broke it off again. It is a clean break and I can fix it lol.
Thank you so much for all the help, we are building a fine ship. We will see what tomorrow brings but yard work is always fun lol.

Bob M
PFCGP
Goober
- KurtH, Keith Black, Glen McGuire and 5 others
-
7
-
 1
1
-
Good luck on your journey!!
Bob M.
- mtaylor and Keith Black
-
2
-
Good luck on your journey!!!
Bob M.
- mtaylor and Keith Black
-
2
-
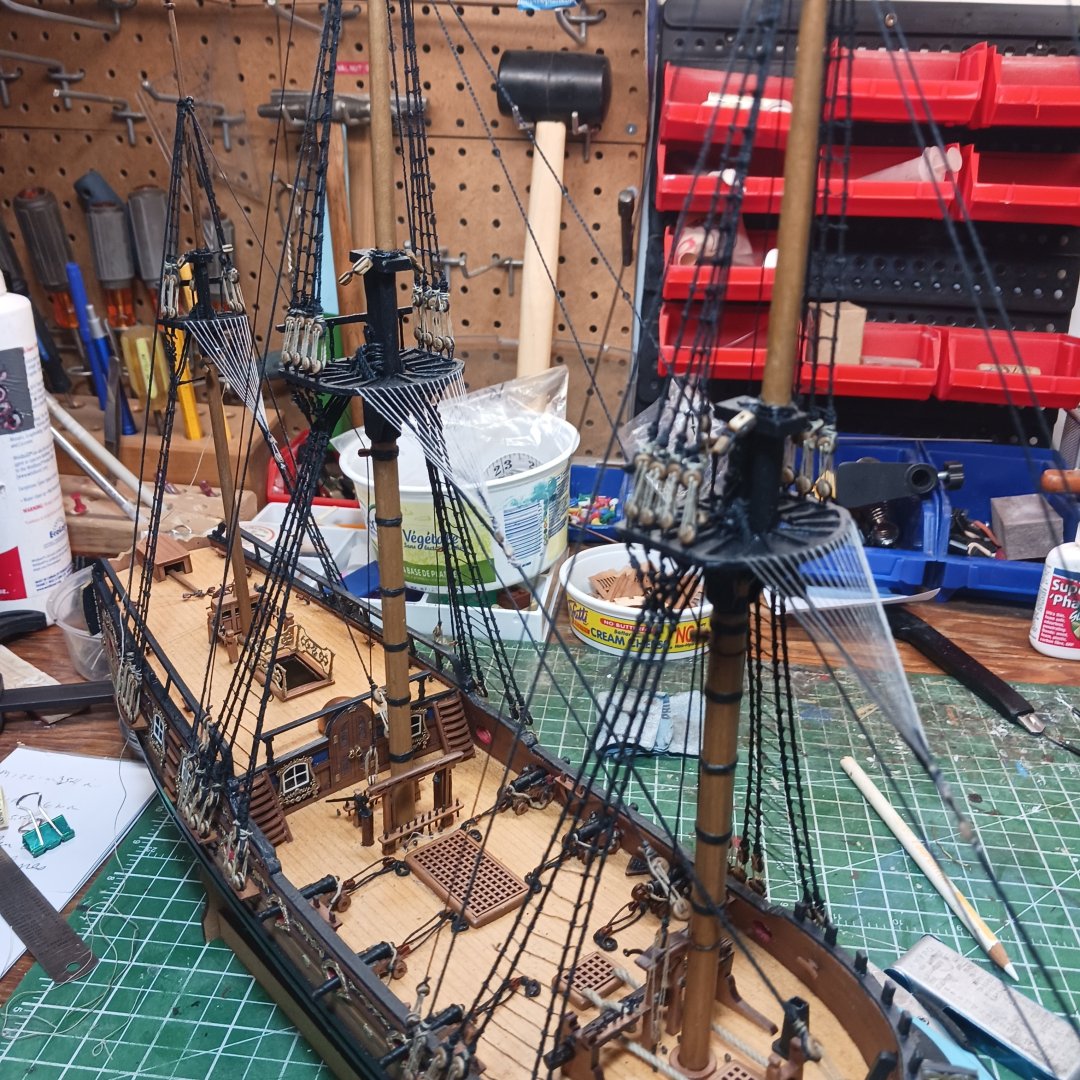
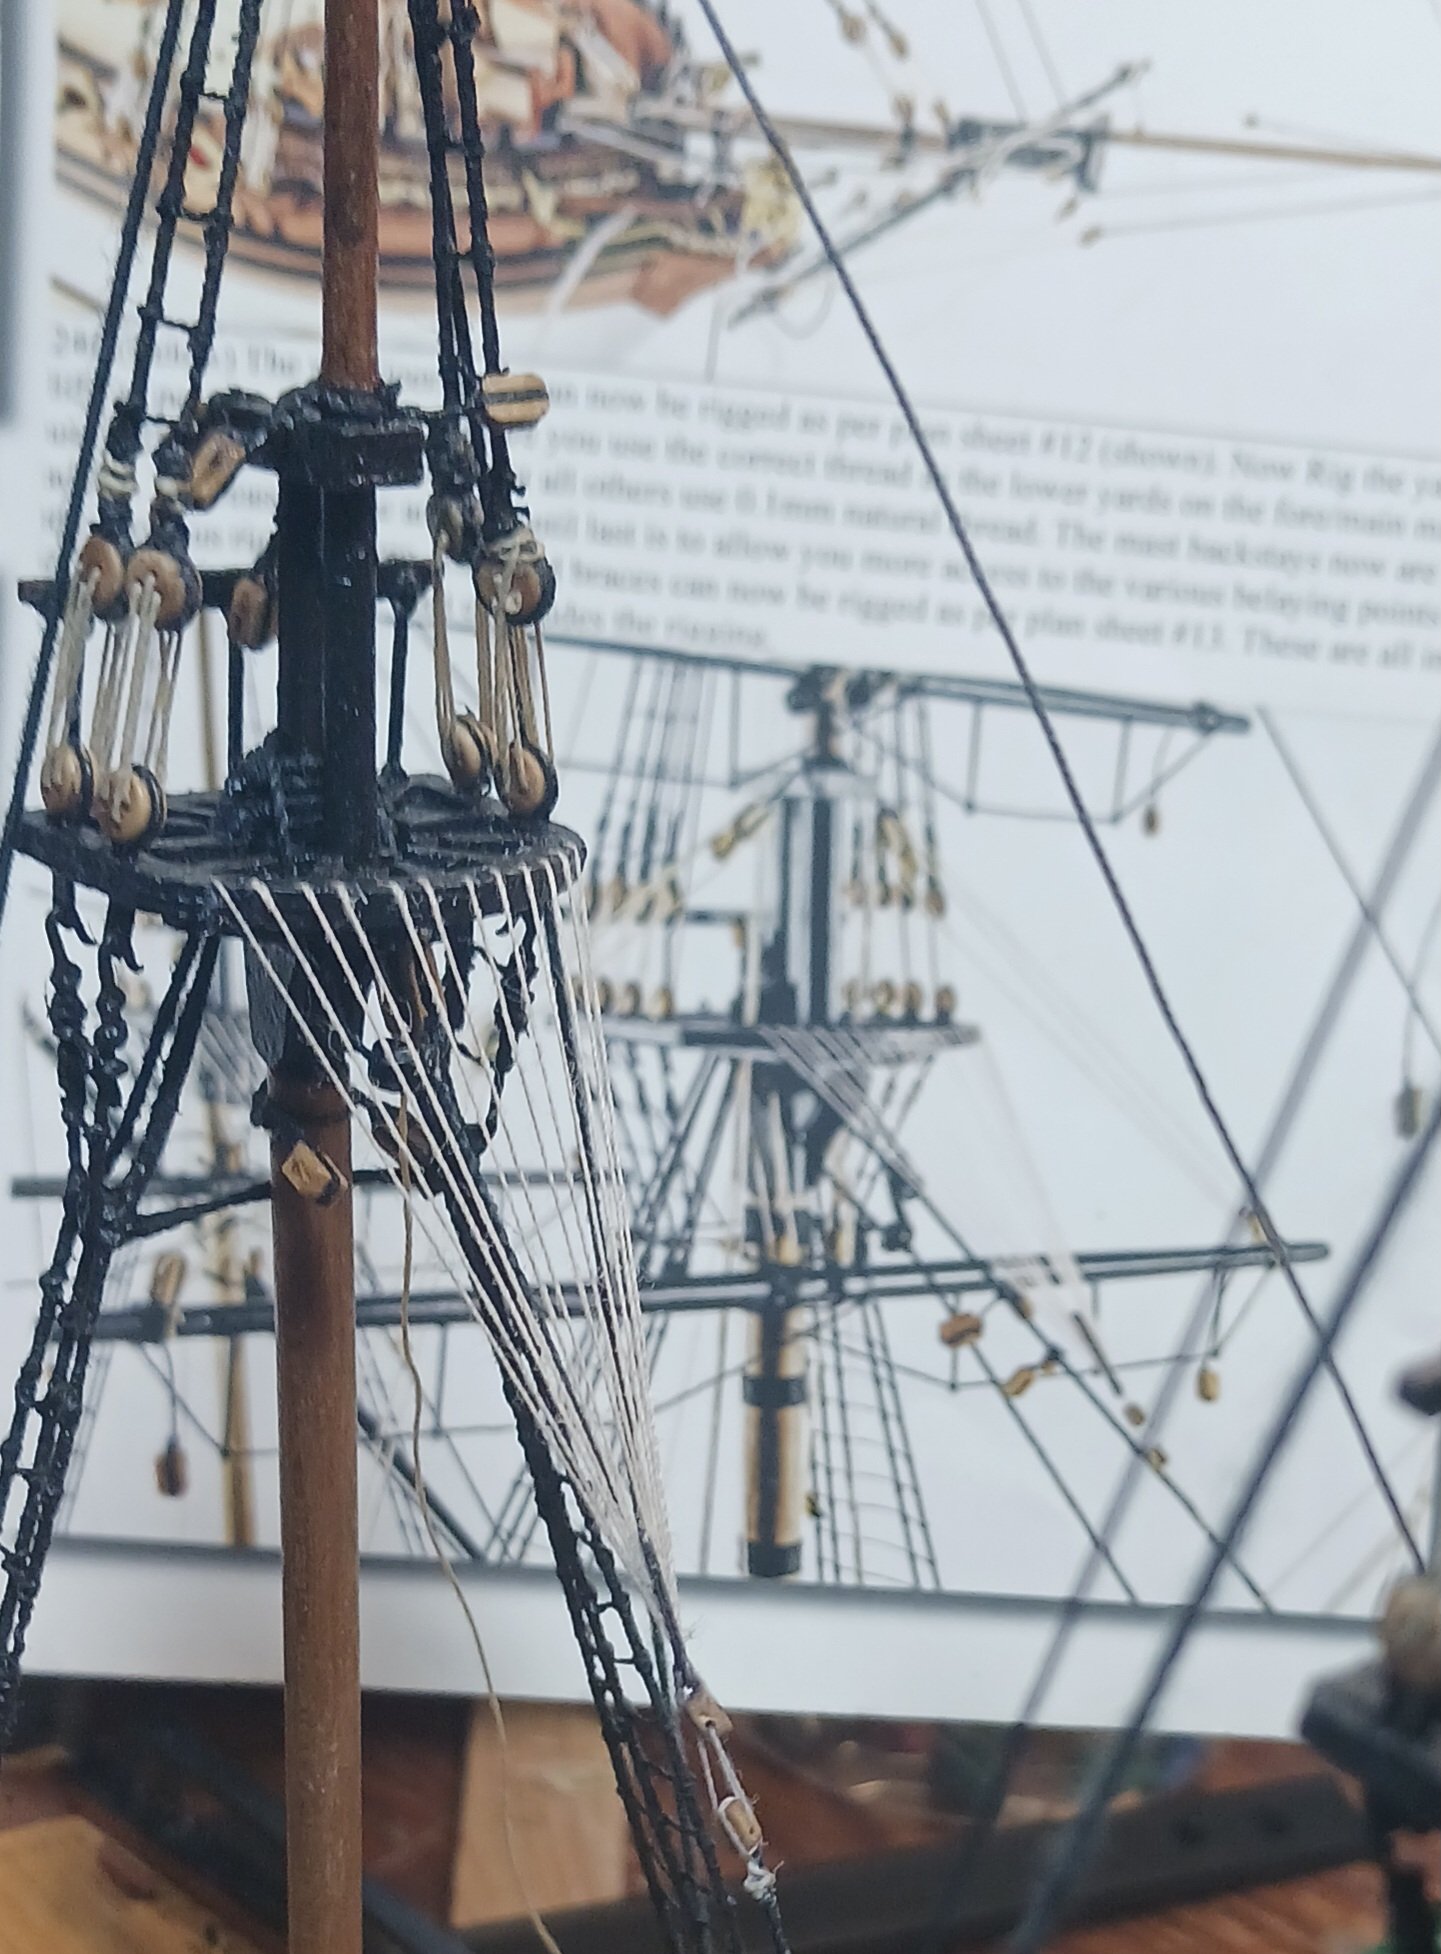
Well my first attempt of the Crowsfeet, Pile says not bad but you tried it on wrong at the start and at the end. Do it over Please.
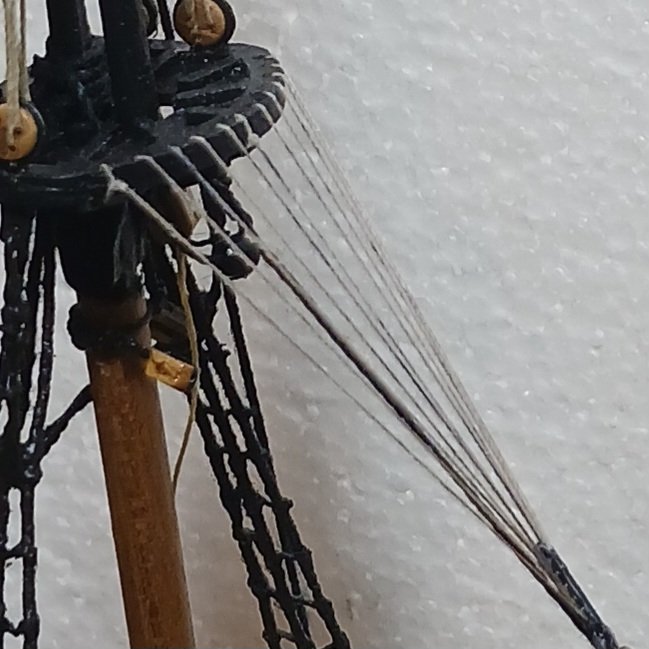
That was yesterday today I cut it all off and started again. Because this is the first time for crows feet I needed help. So a call @Glenn-UK for help , plus I happened to see @chris watton on line and asked his advice as well. With those two helping it became clearer as I went along. I could not figure out were to tie on the Euphroes. After I recived help it stared to come together. Thank you gentlemen!!
Glen recommended that I wax the lines and use a hair dryer to gently melt the wax. So that's what I did .
I like this, my first attempt I had it half done and realized I was threading it wrong 😅. Second time I managed to rig it right but was unhappy with the way it was tied on. Like I said this morning I cut it all off and it took 10 minutes to tie it back on , the right way. Thanks . Appreciate it immensely.. So now I have to repeat this two more times, for the main and foremast then it's on to the yards. They are all ready to get installed when the time comes to install them.
One thing thought, the plans call for 3 meters of 0.10 line. For the crowsfeet, I thread the first one and found out 3 feet of line is enough lol.yes 3meters back and forth lol. But it was fun.
Talk soon, and thanks for the help and the logs for the Duchess. They are coming in real handy. One of them had a diagram for the crowsfeet that I found very useful. But I forgot which one, when I find it again I let you know because it shows you were to start and finish , as well as how to run the line for it.
Move in along nicely now, excitement is growing lol.
See later my friend's
Bob M.
PFCGP
Goober

- AJohnson, KurtH, chris watton and 11 others
-
14


King of the Mississippi by Auger - Artesania Latina - 1/80
in - Kit build logs for subjects built from 1851 - 1900
Posted
Great job on the ramp, putting figures on the boat brings them to life it seems. I have a Mark Twain figure on mine, waiting for company, 18 people and some livestock. Still sitting in the box. Boy your boat is getting crowded, looking great thought.
Bob M.