HOLIDAY DONATION DRIVE - SUPPORT MSW - DO YOUR PART TO KEEP THIS GREAT FORUM GOING! (89 donations so far out of 49,000 members - C'mon guys!)
×


Rustyj
-
Posts
2,532 -
Joined
-
Last visited
Content Type
Profiles
Forums
Gallery
Events
Everything posted by Rustyj
-
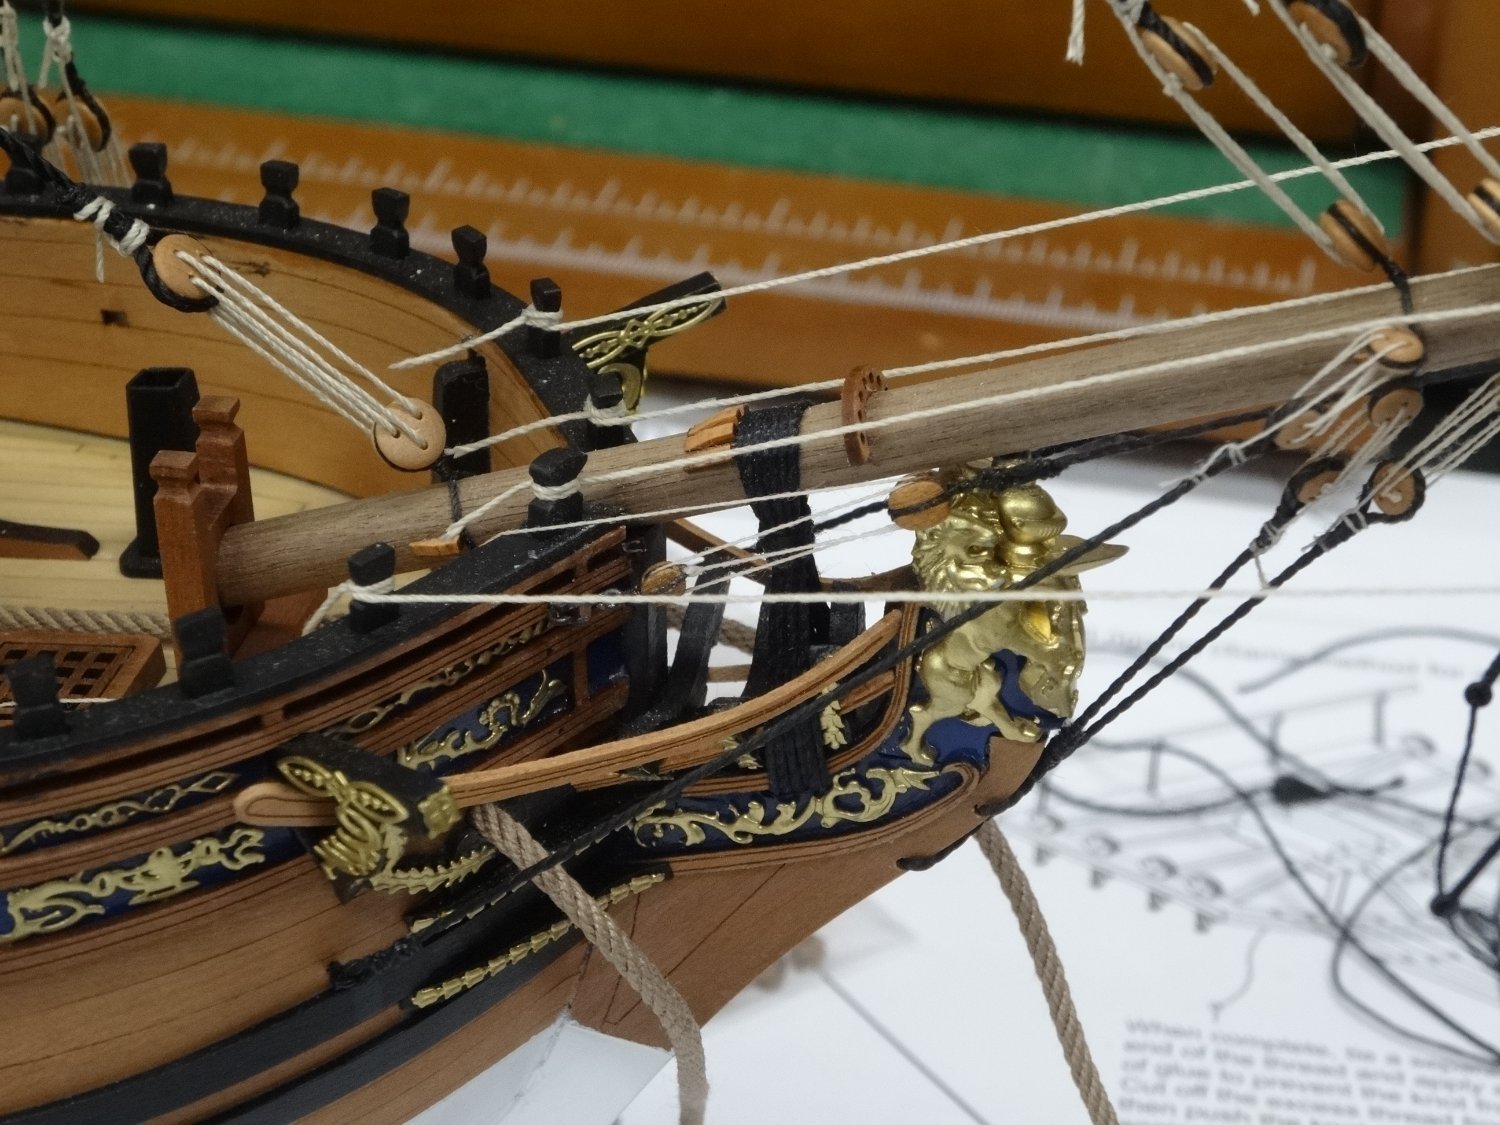
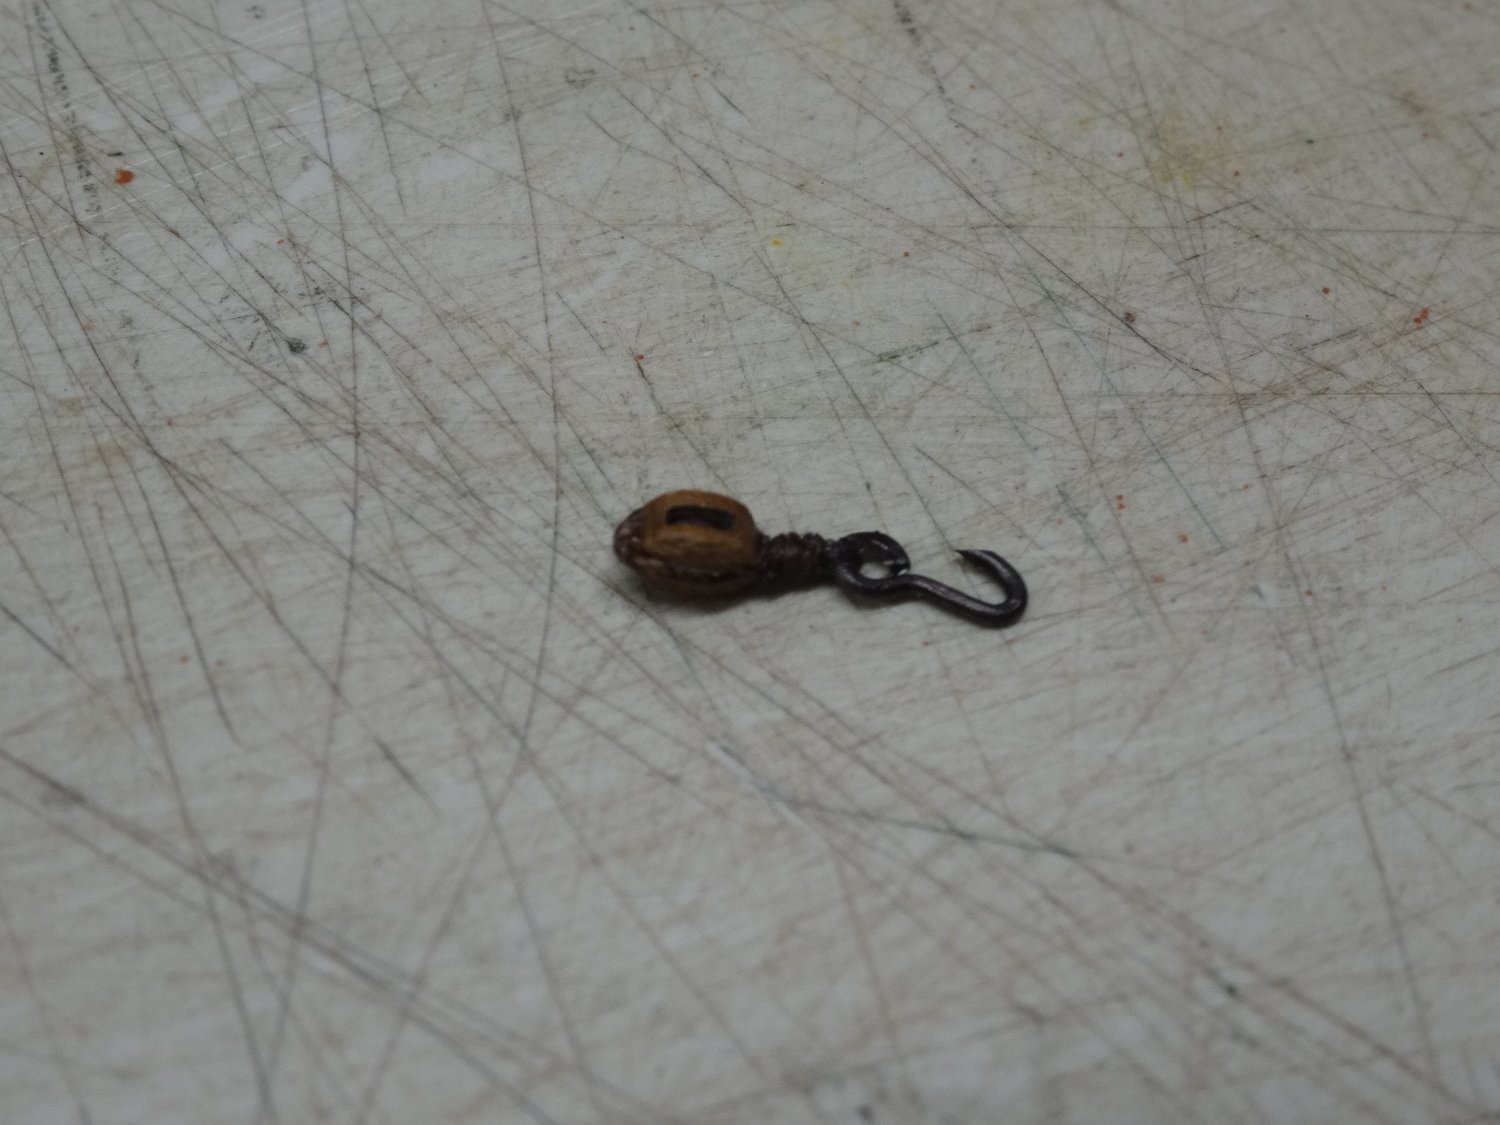
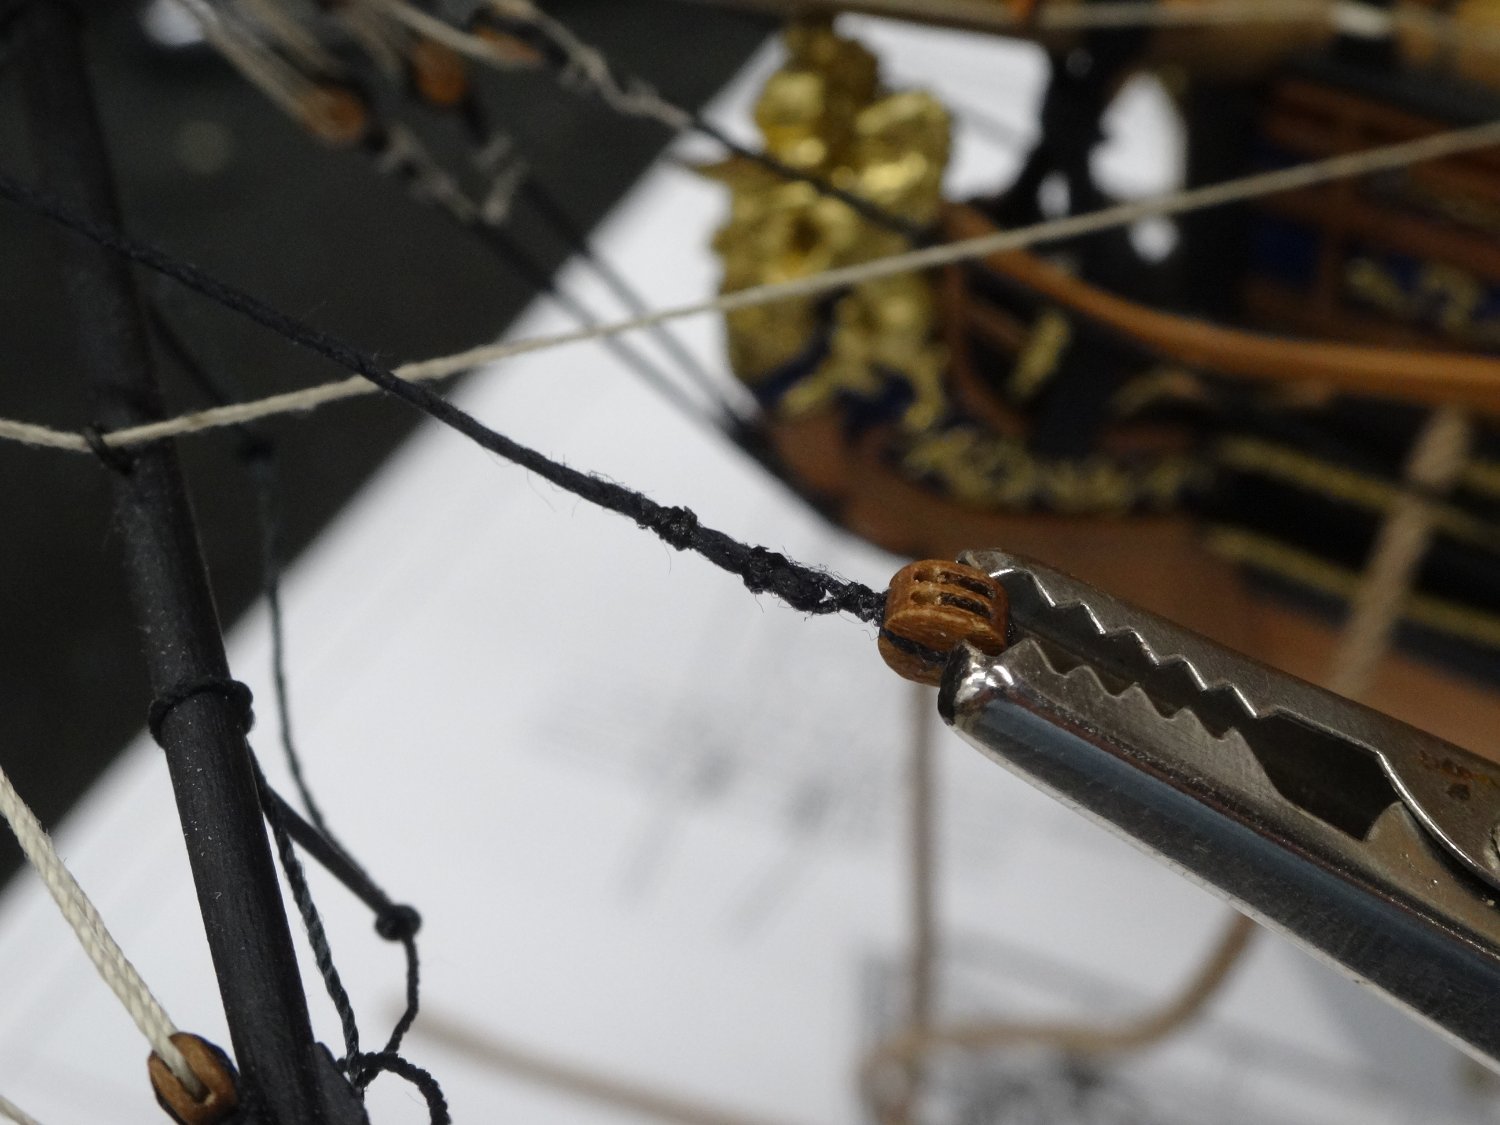
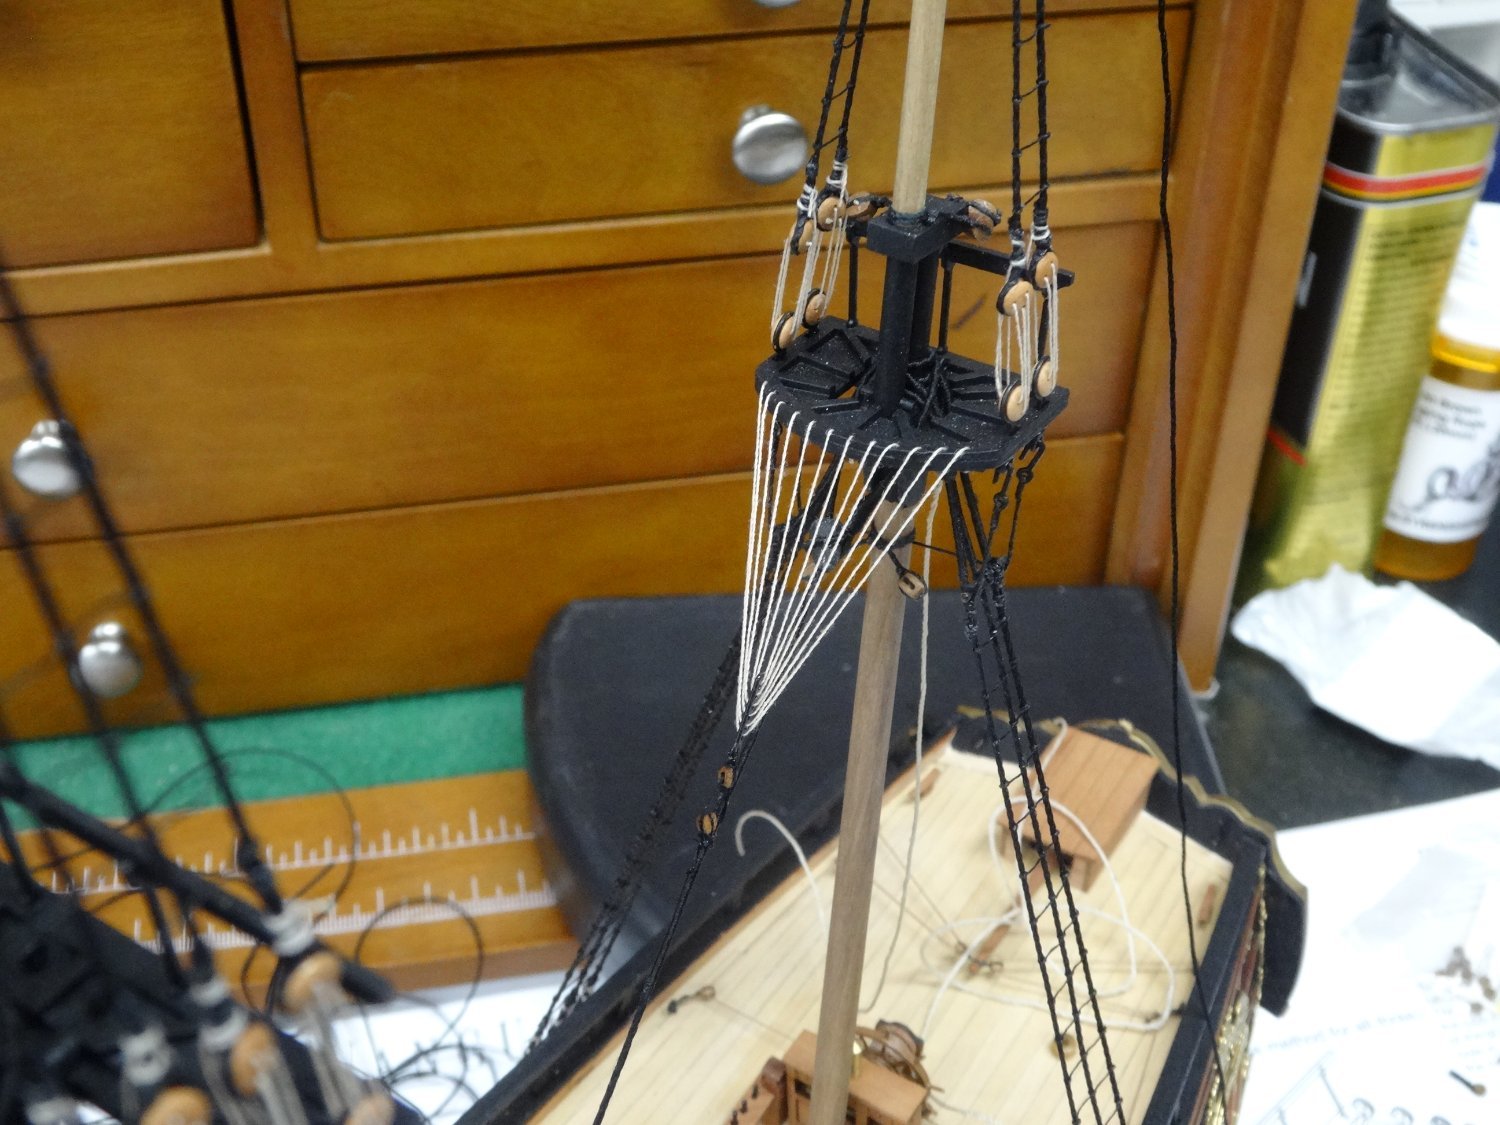
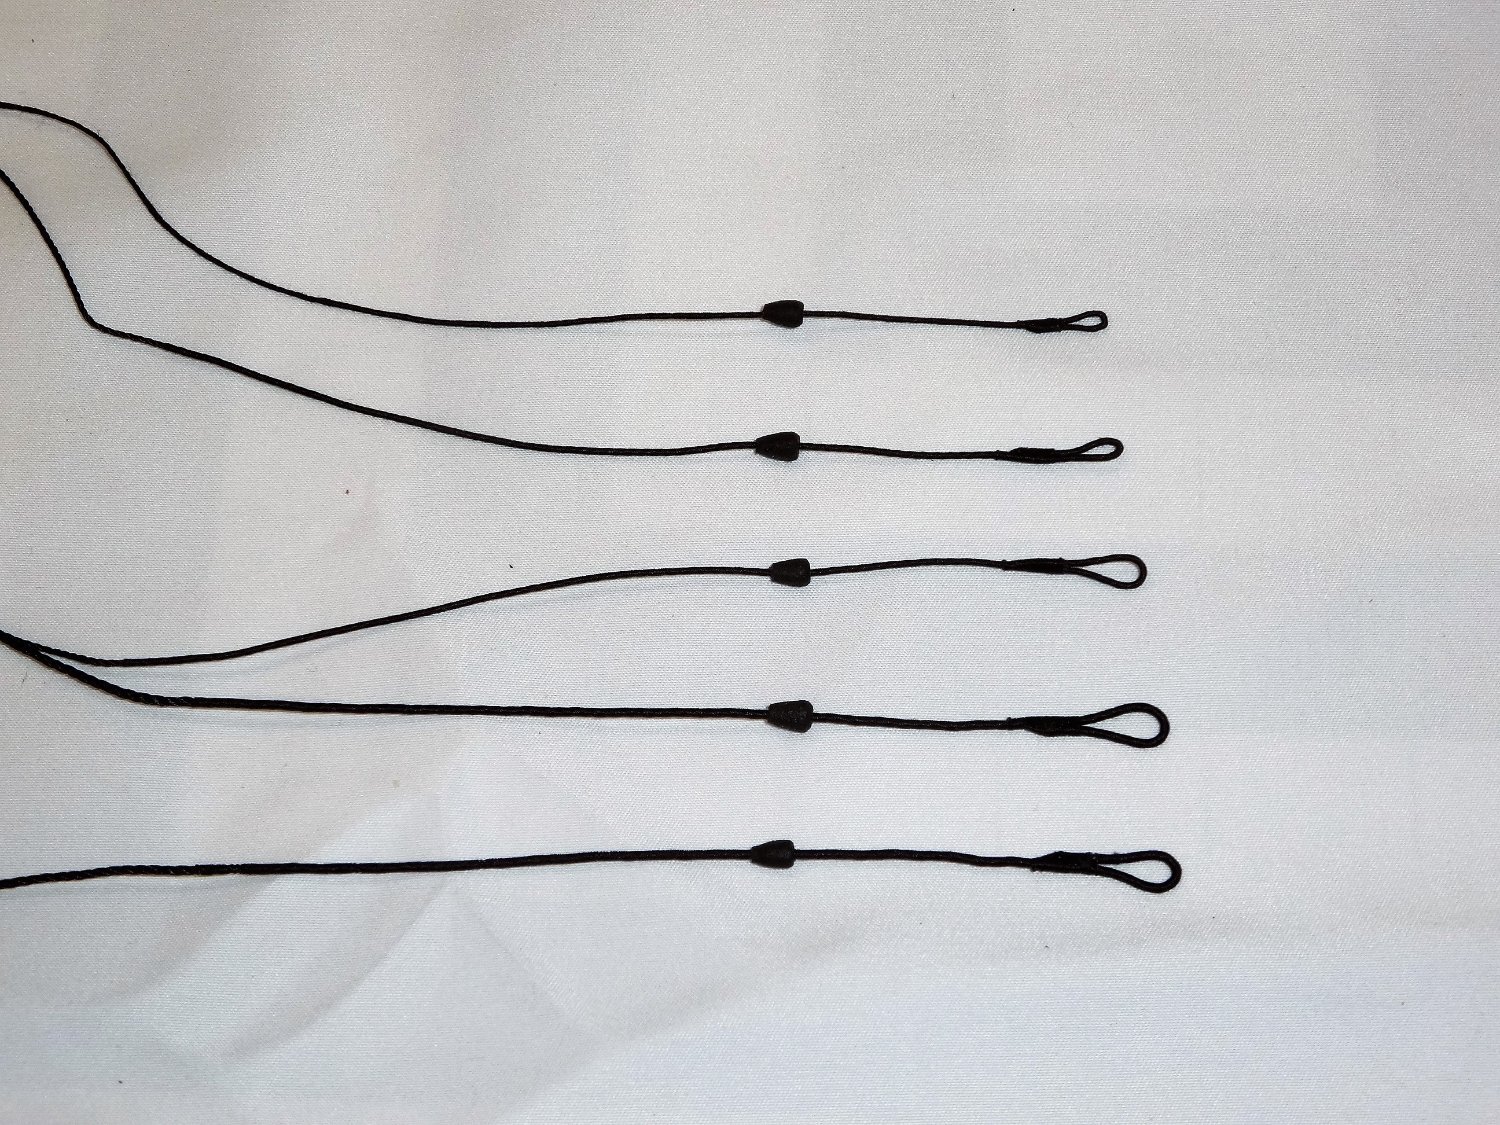
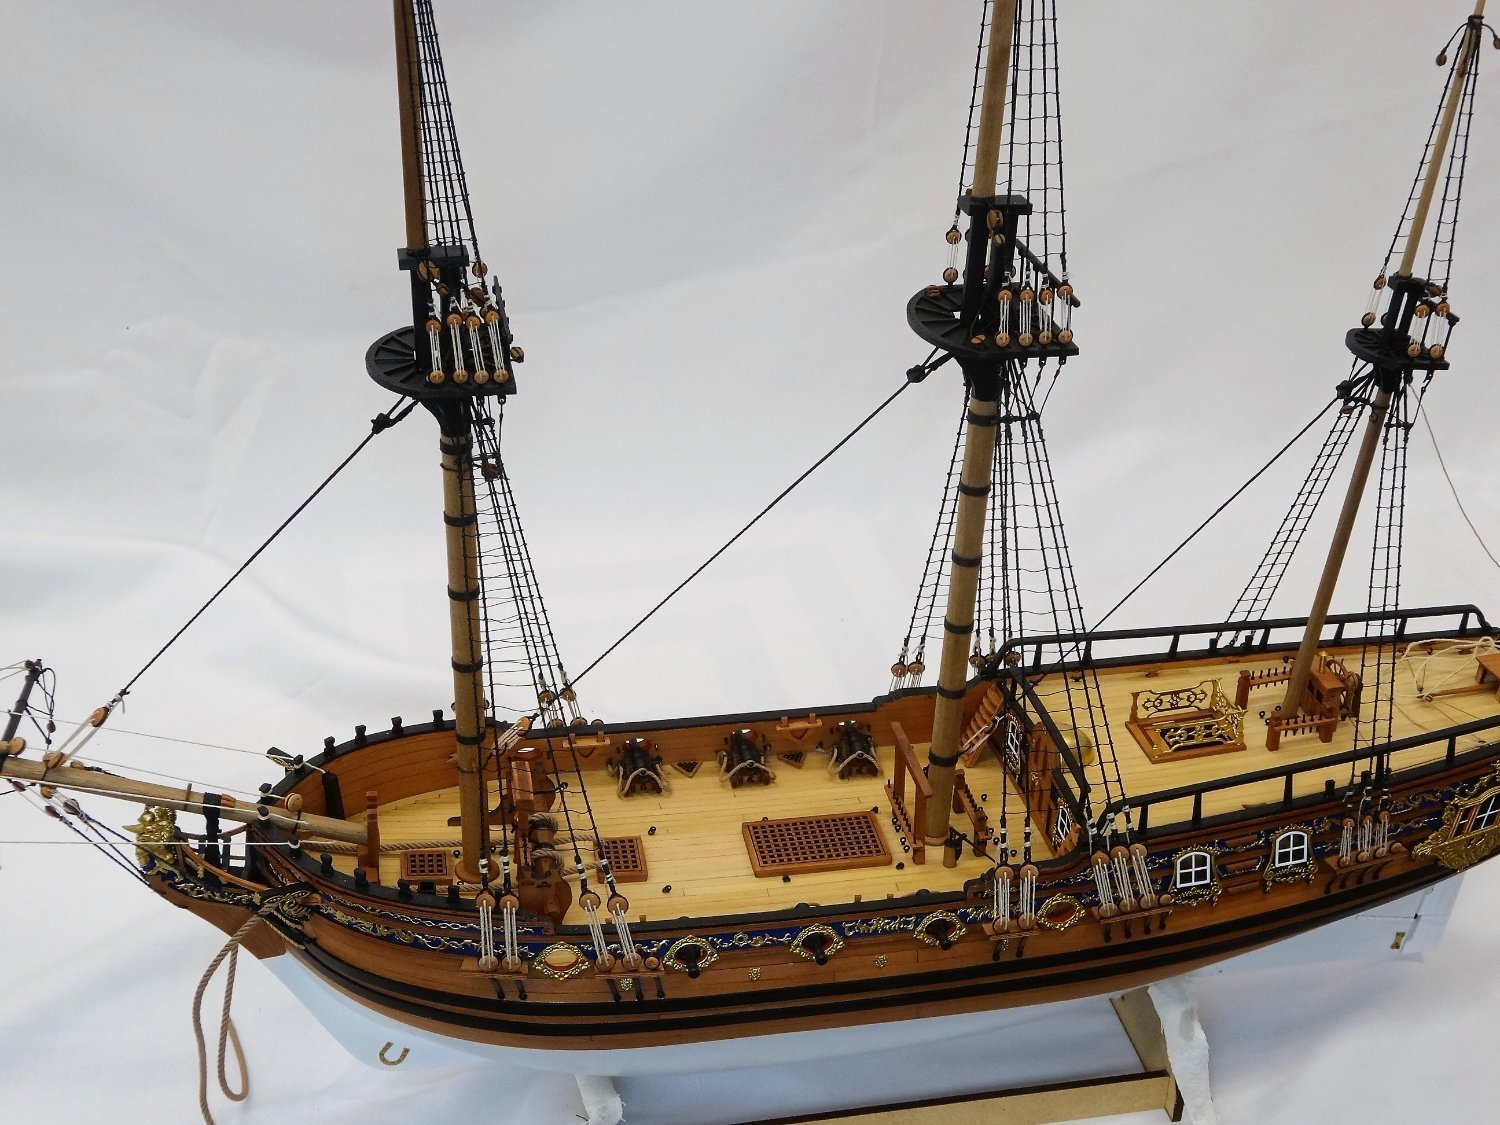
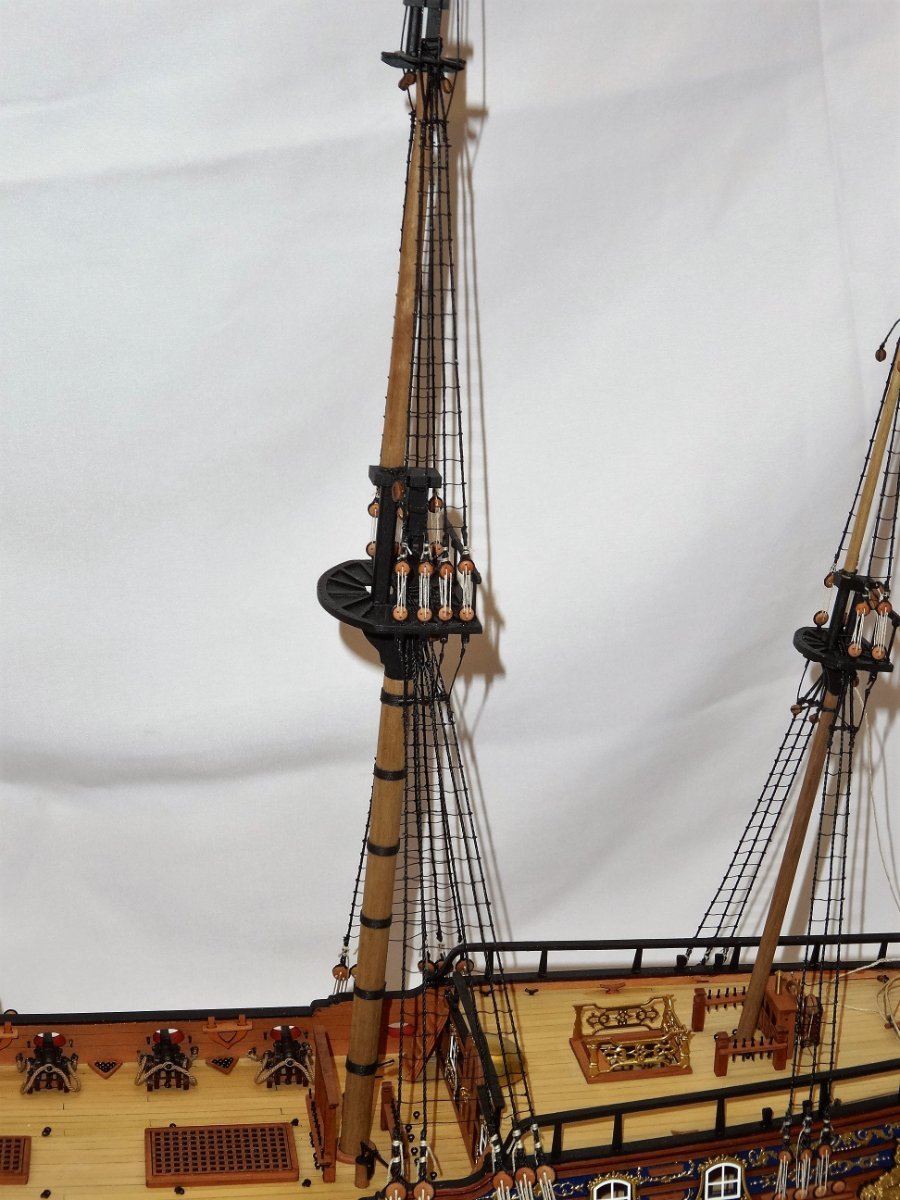
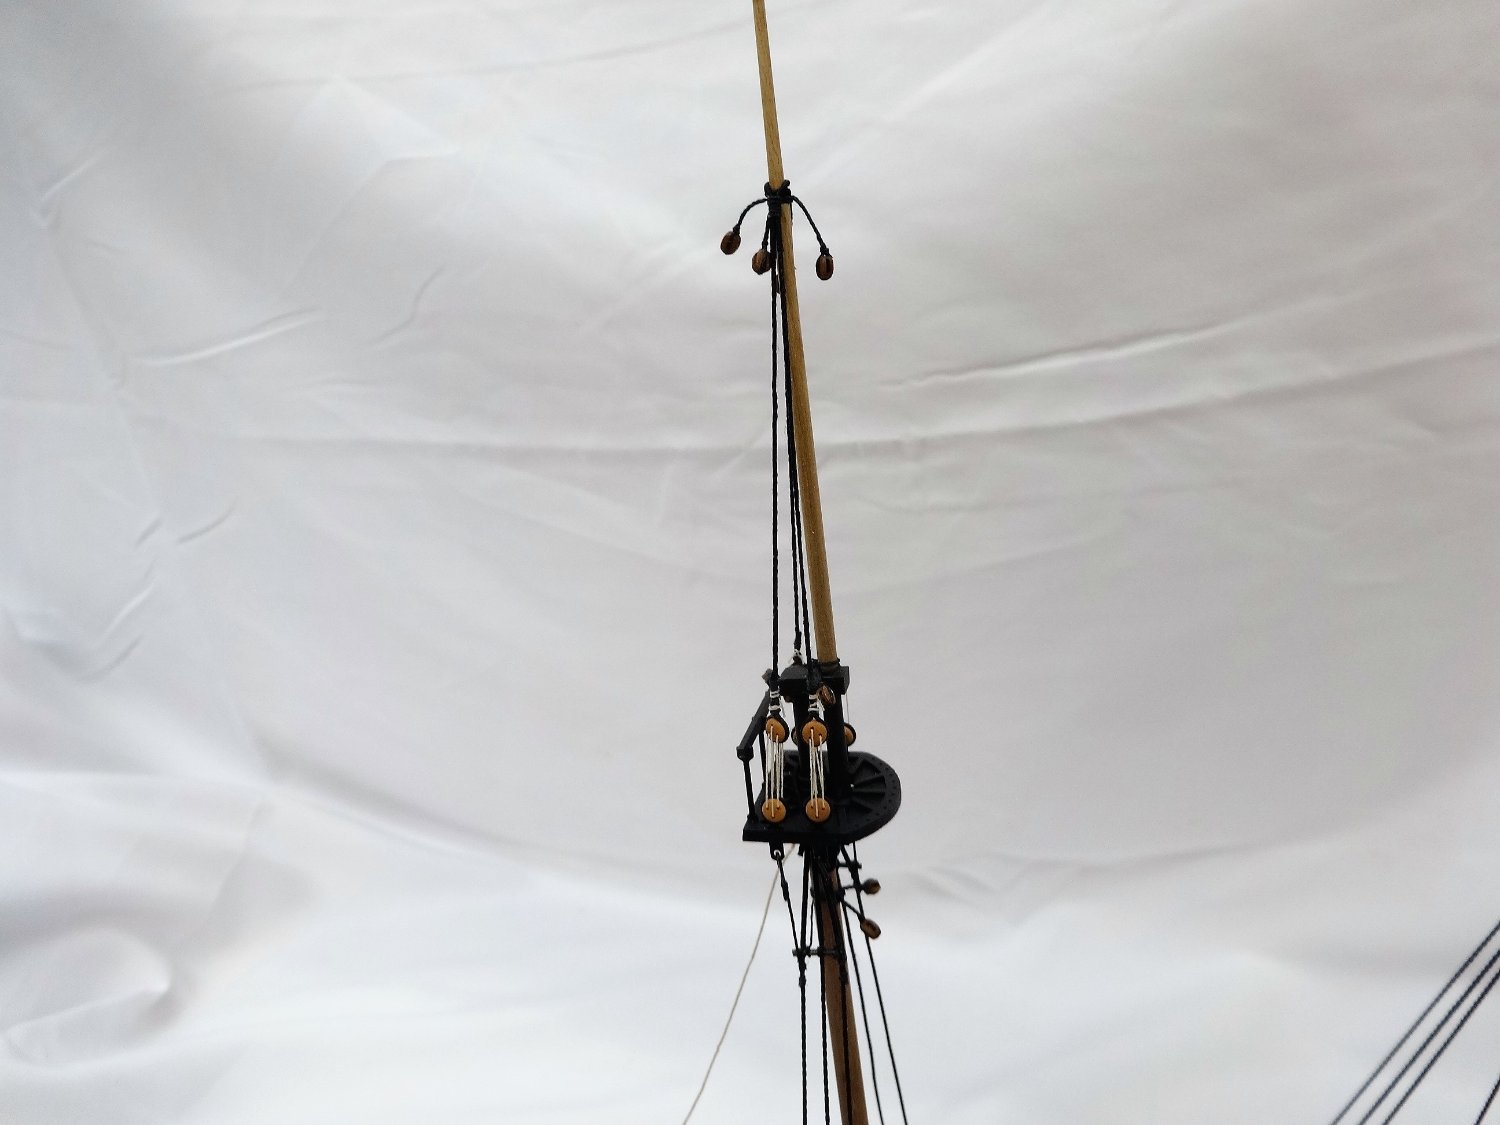
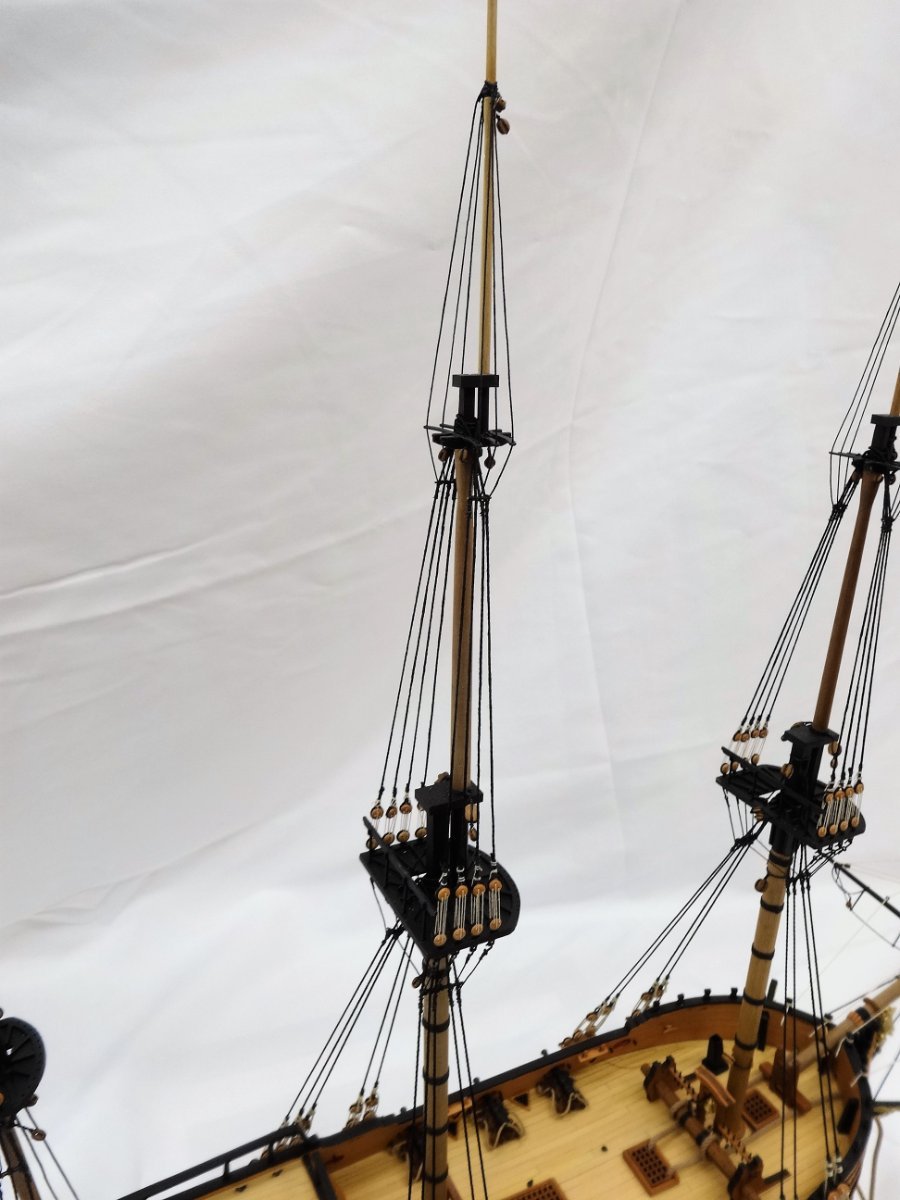
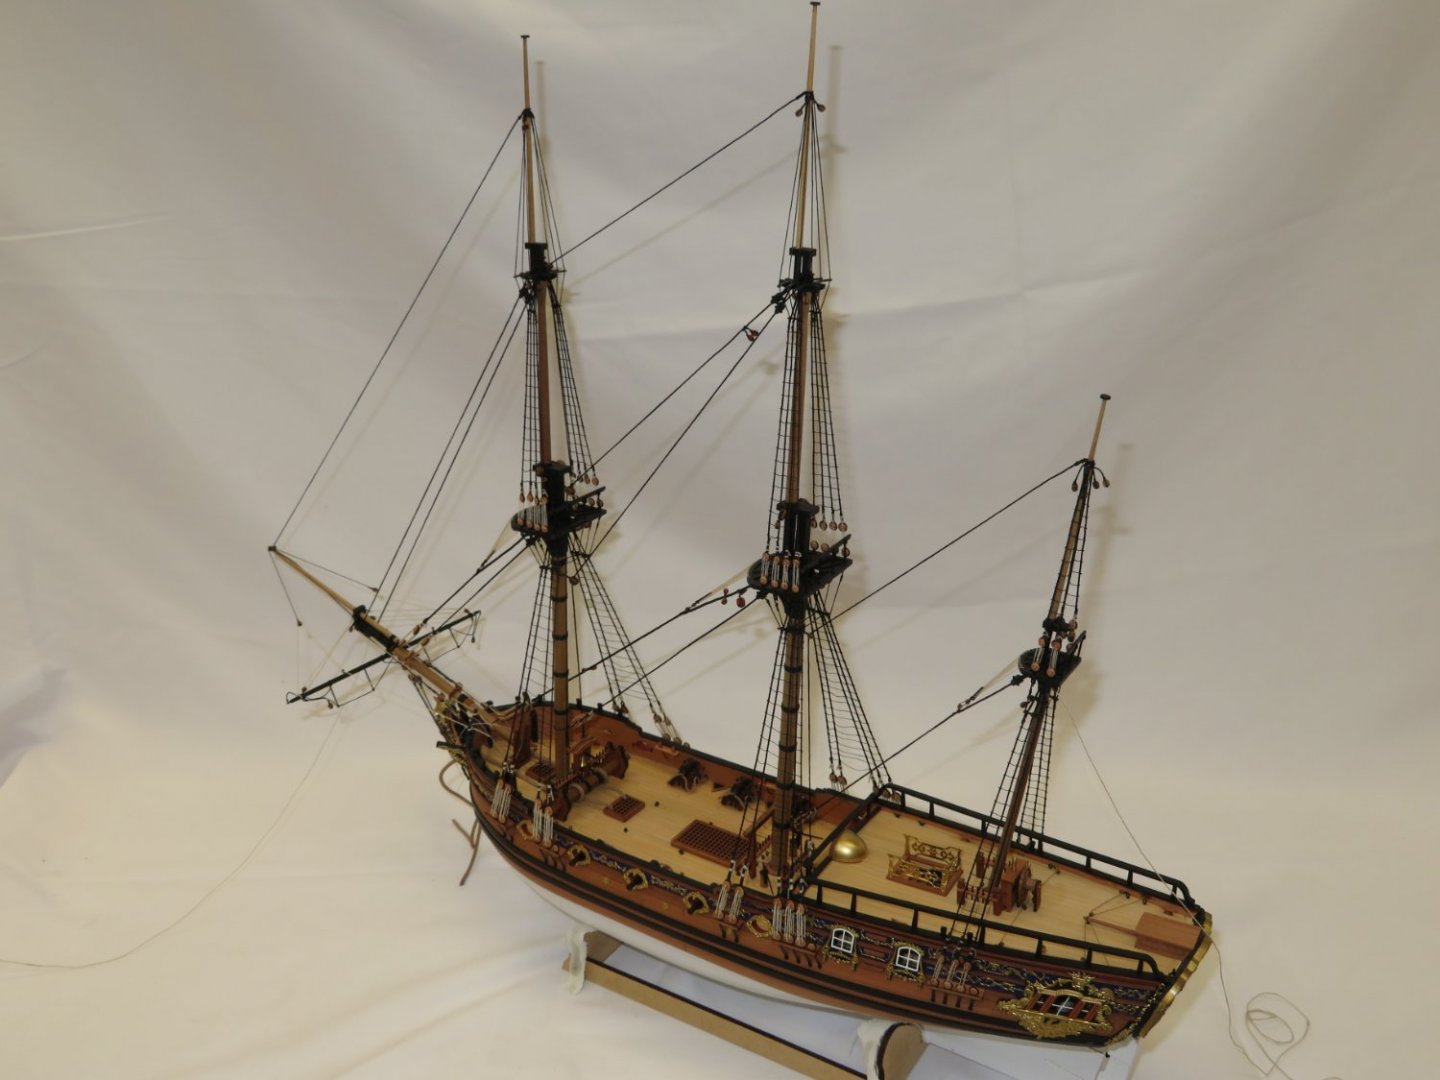
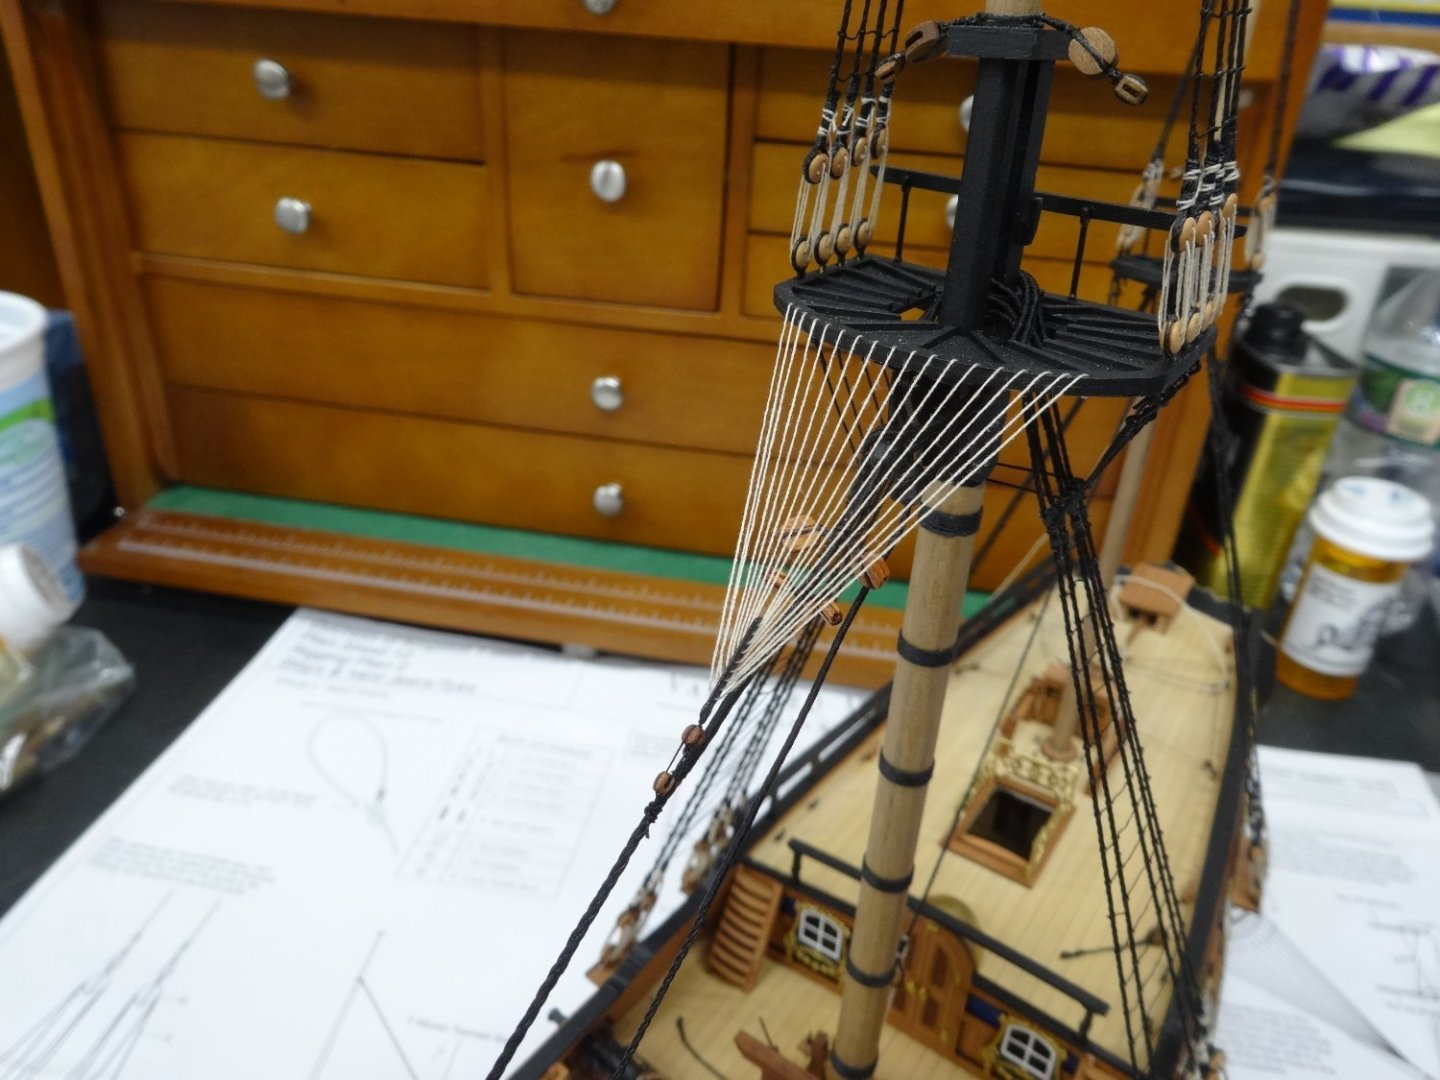
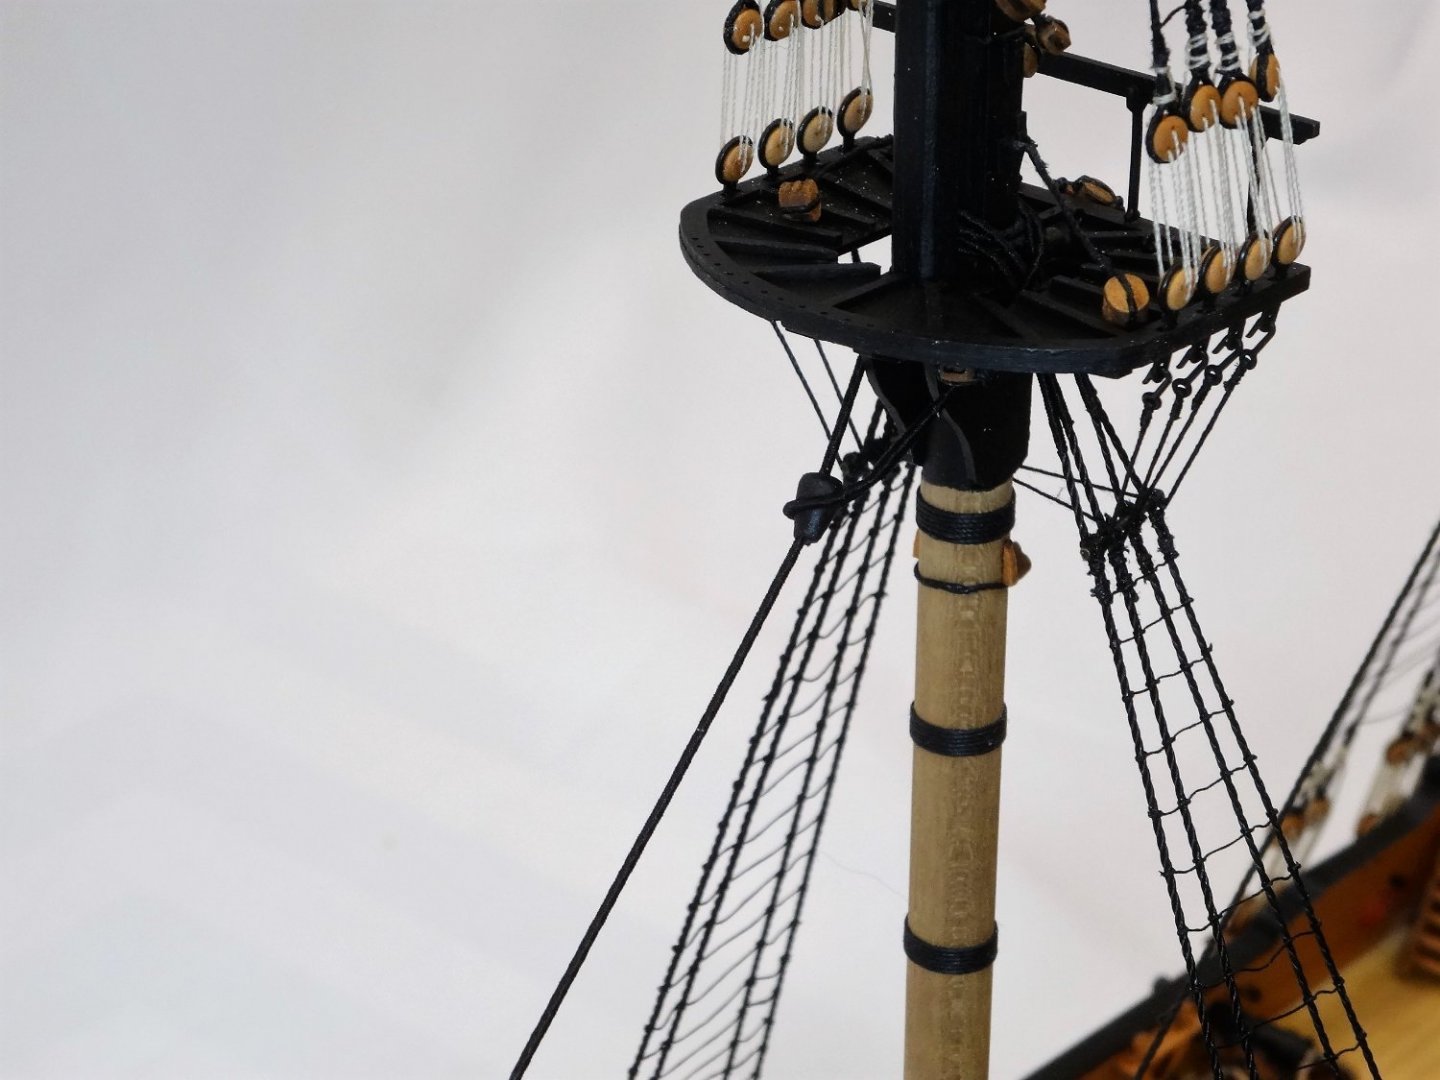
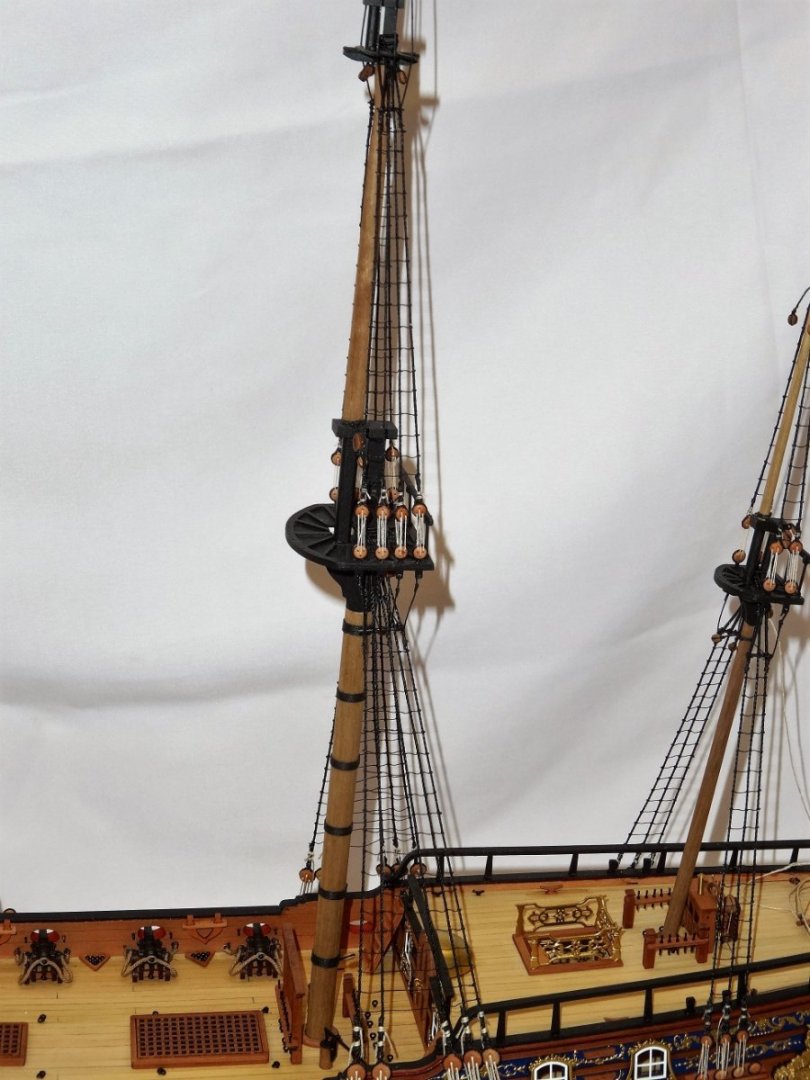
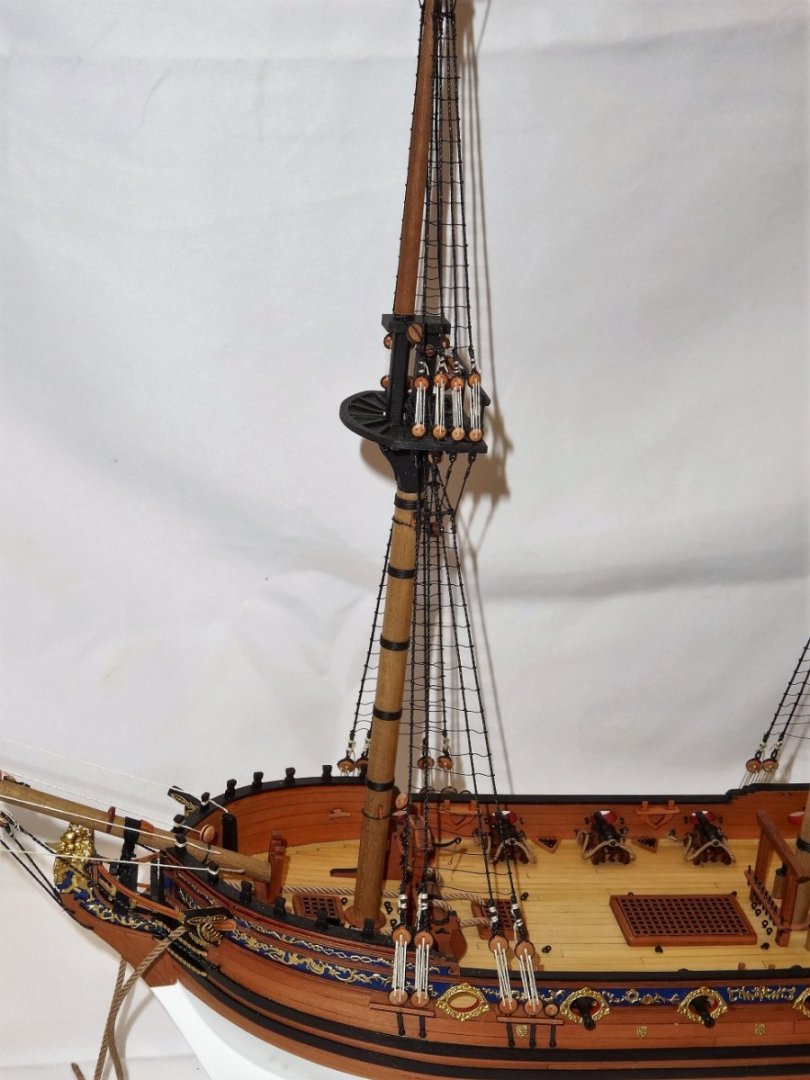
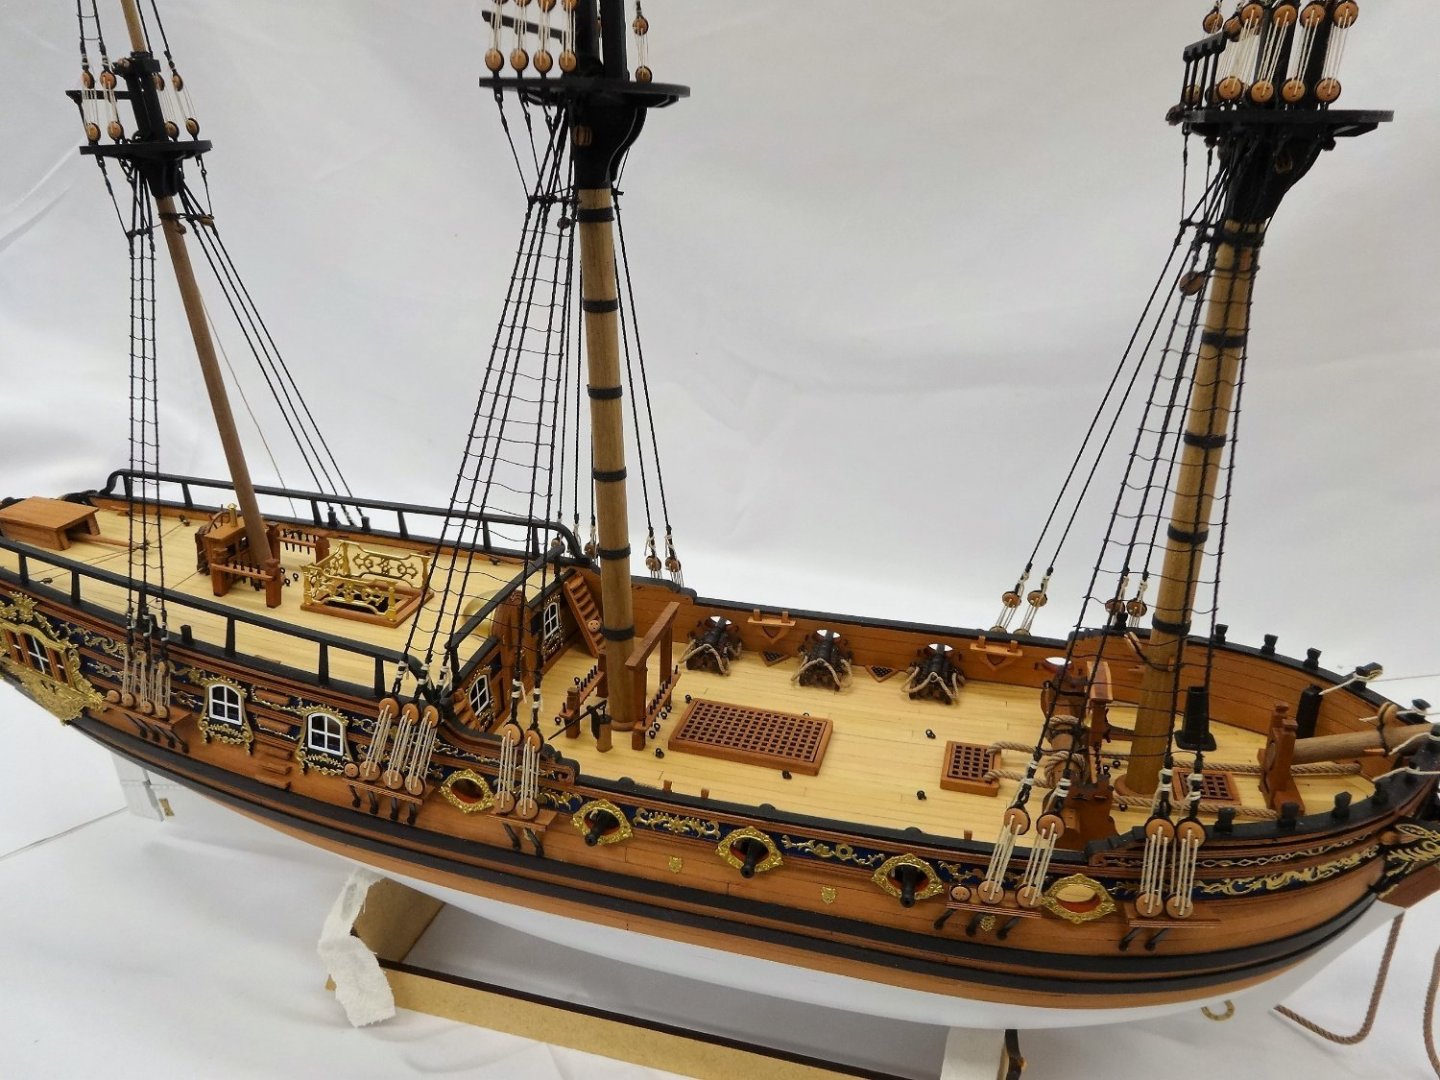
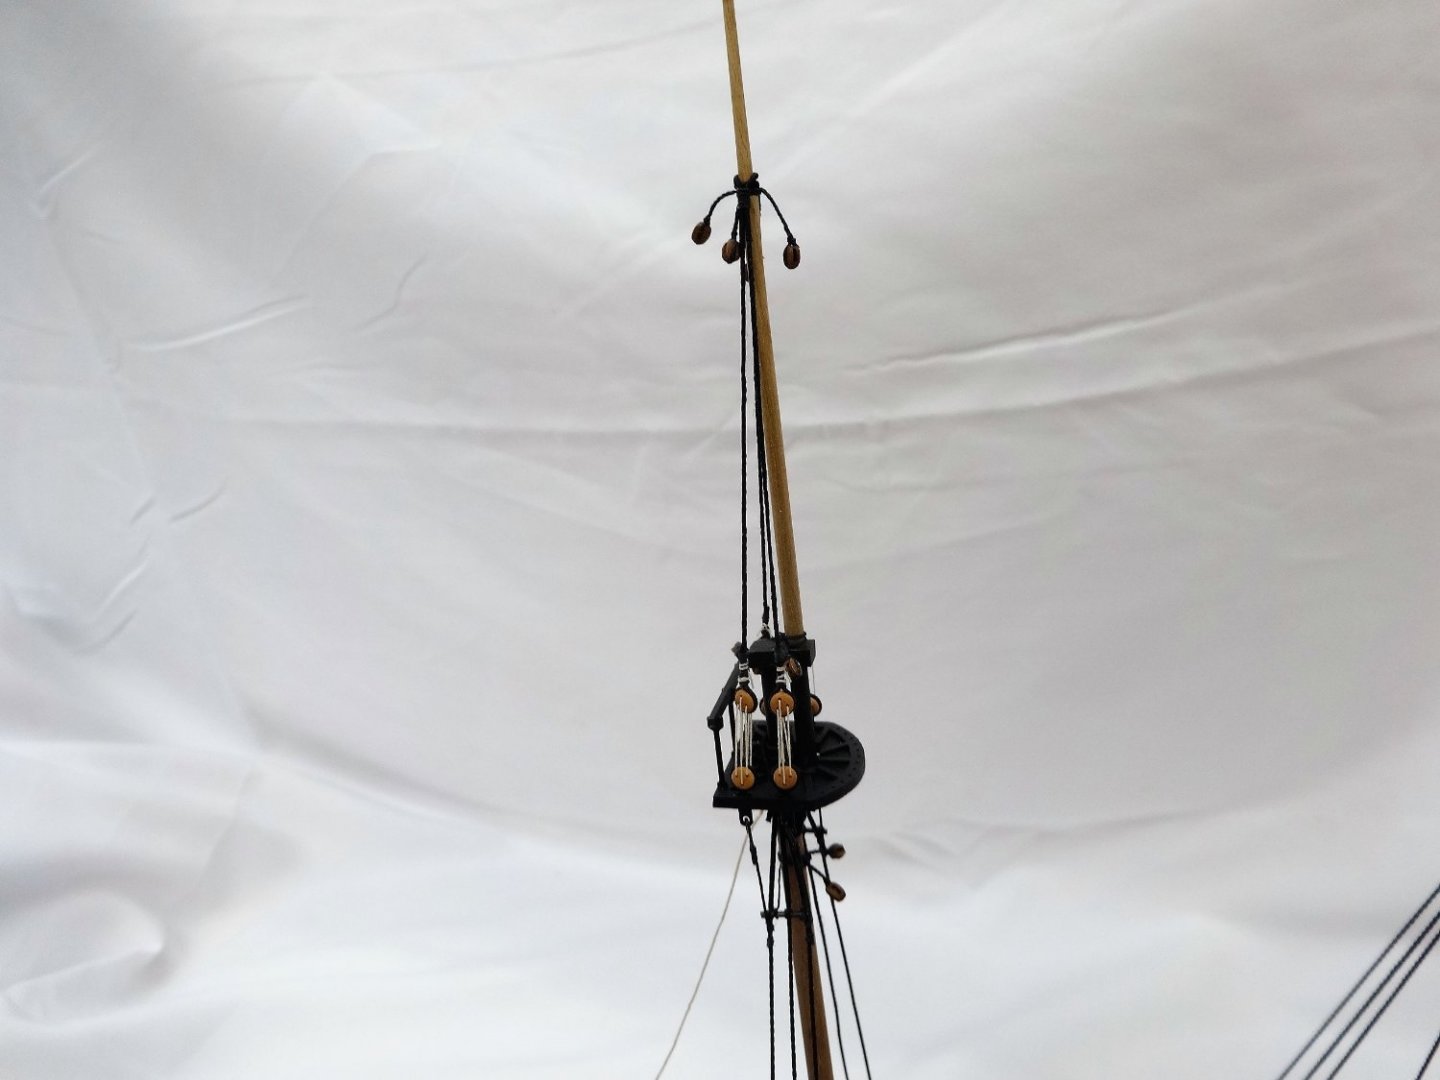
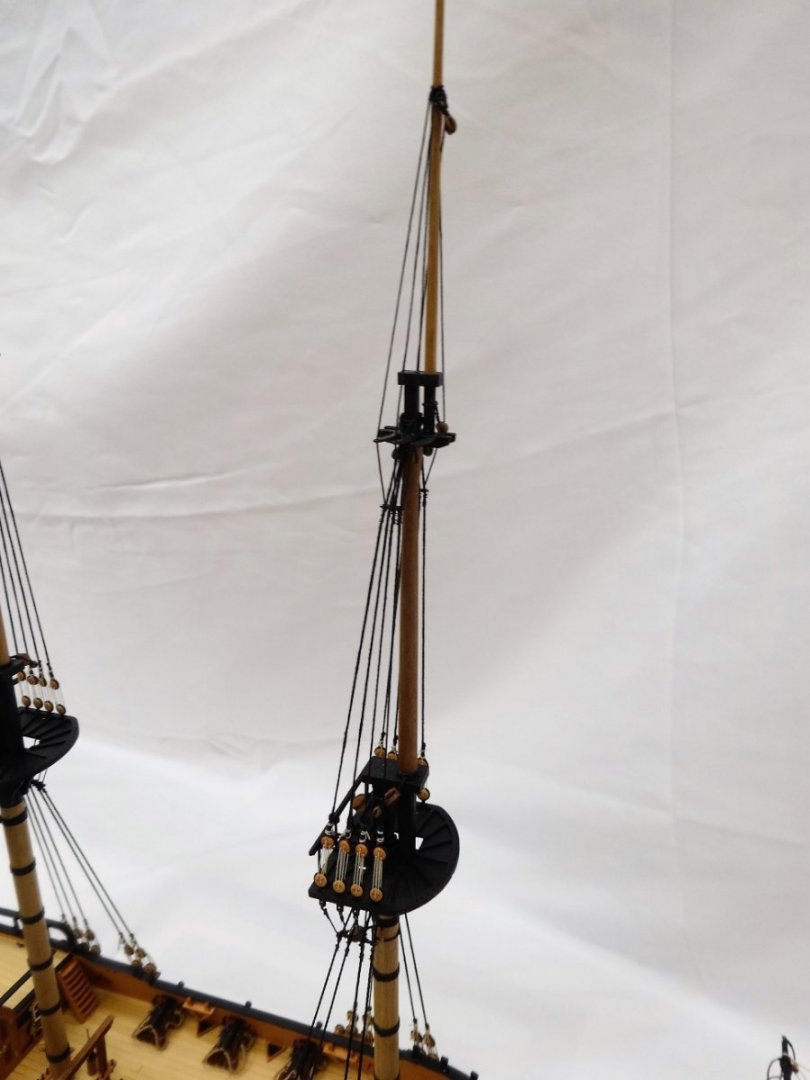
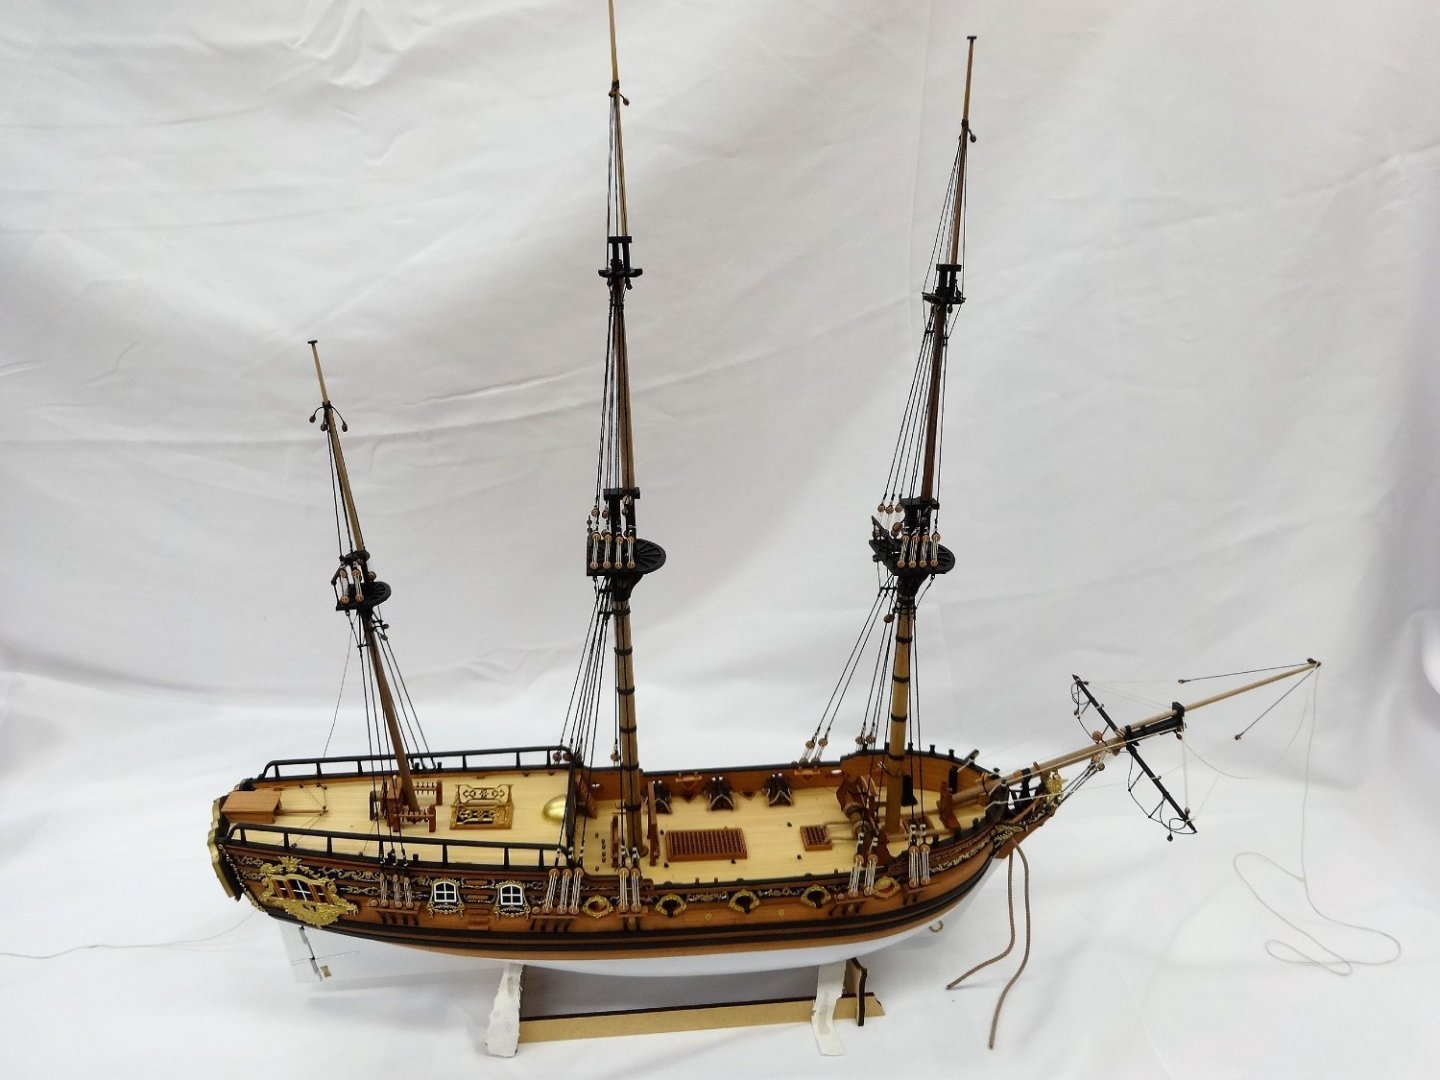
 Thank you Glenn, Derek and DocRob. This is the model I've done that had crowsfeet and I too really like the look. I've now added the all of the stays and preventor stays. Here is an example of the blocks used in some of the rigging. These are for the fore topmast preventor stay. And here is the bocks in place for the fore topmast preventor stay. And some overall picture of the completed stays. Thanks for stopping by!
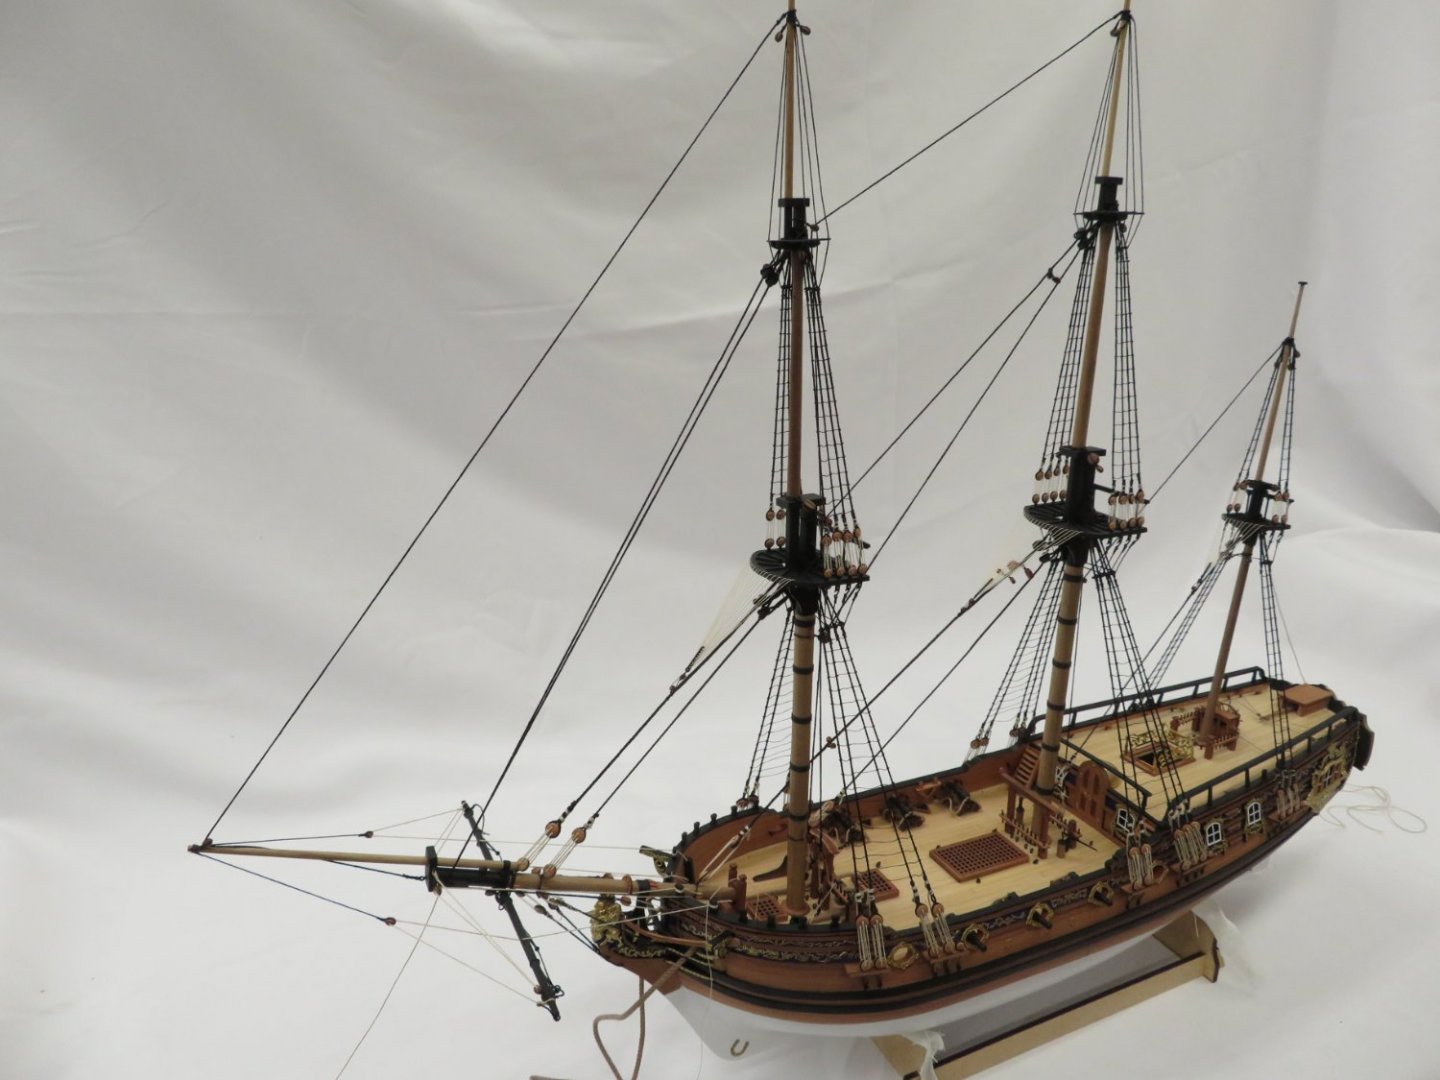


- 201 replies
-
- 18
-

-

-
- Duchess of Kingston
- Vanguard Models
- (and 1 more)
-
Welcome to the group. It's always great to see a new build start!
-
Fantastic planking Glenn. Your workmanship is second to none!
- 840 replies
-
- 3
-
-
- winchelsea
- Syren Ship Model Company
- (and 1 more)
-
I agree with Glenn. Very nice work JJ!
-
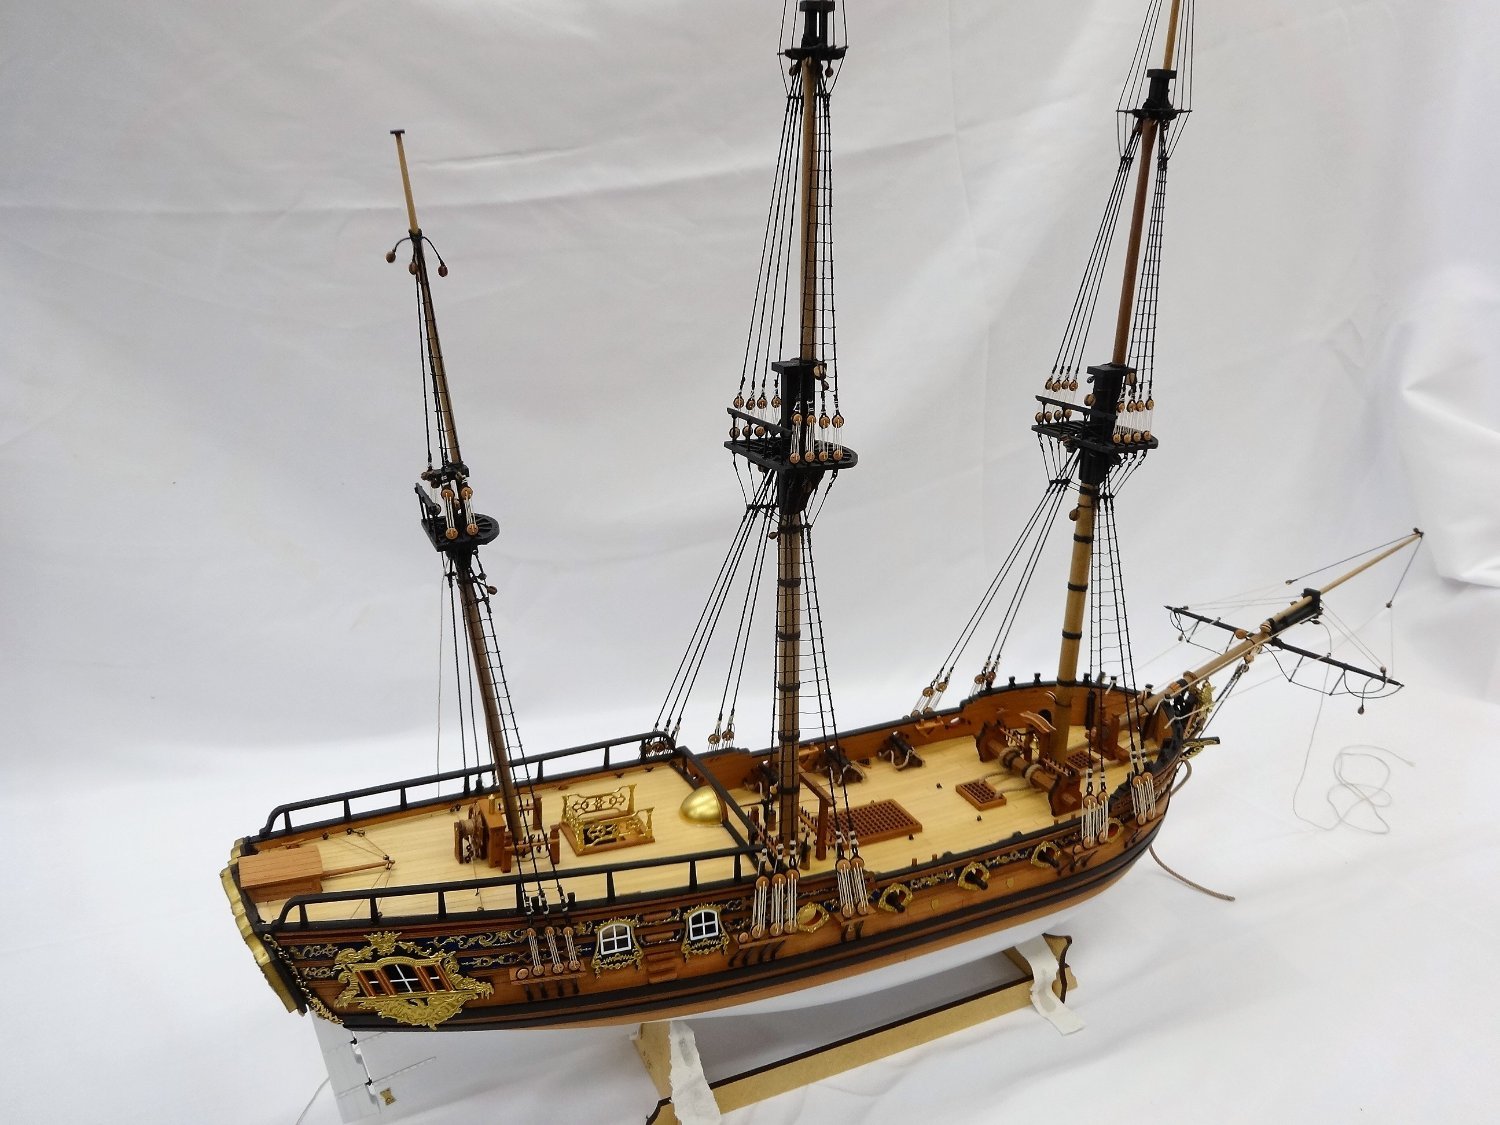
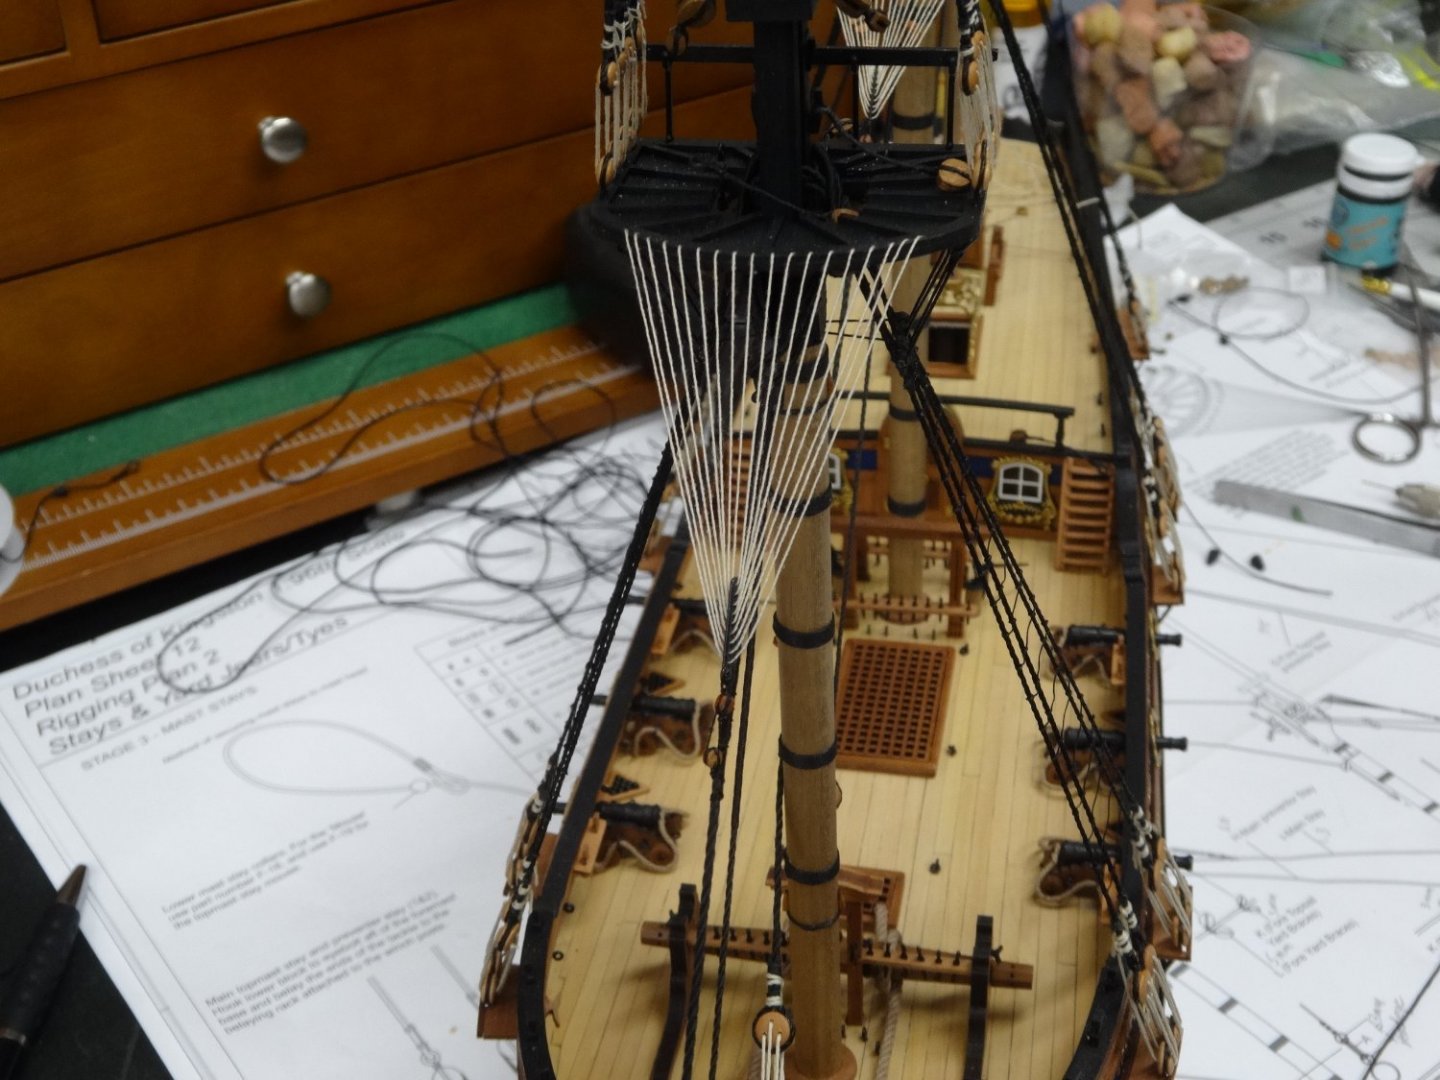
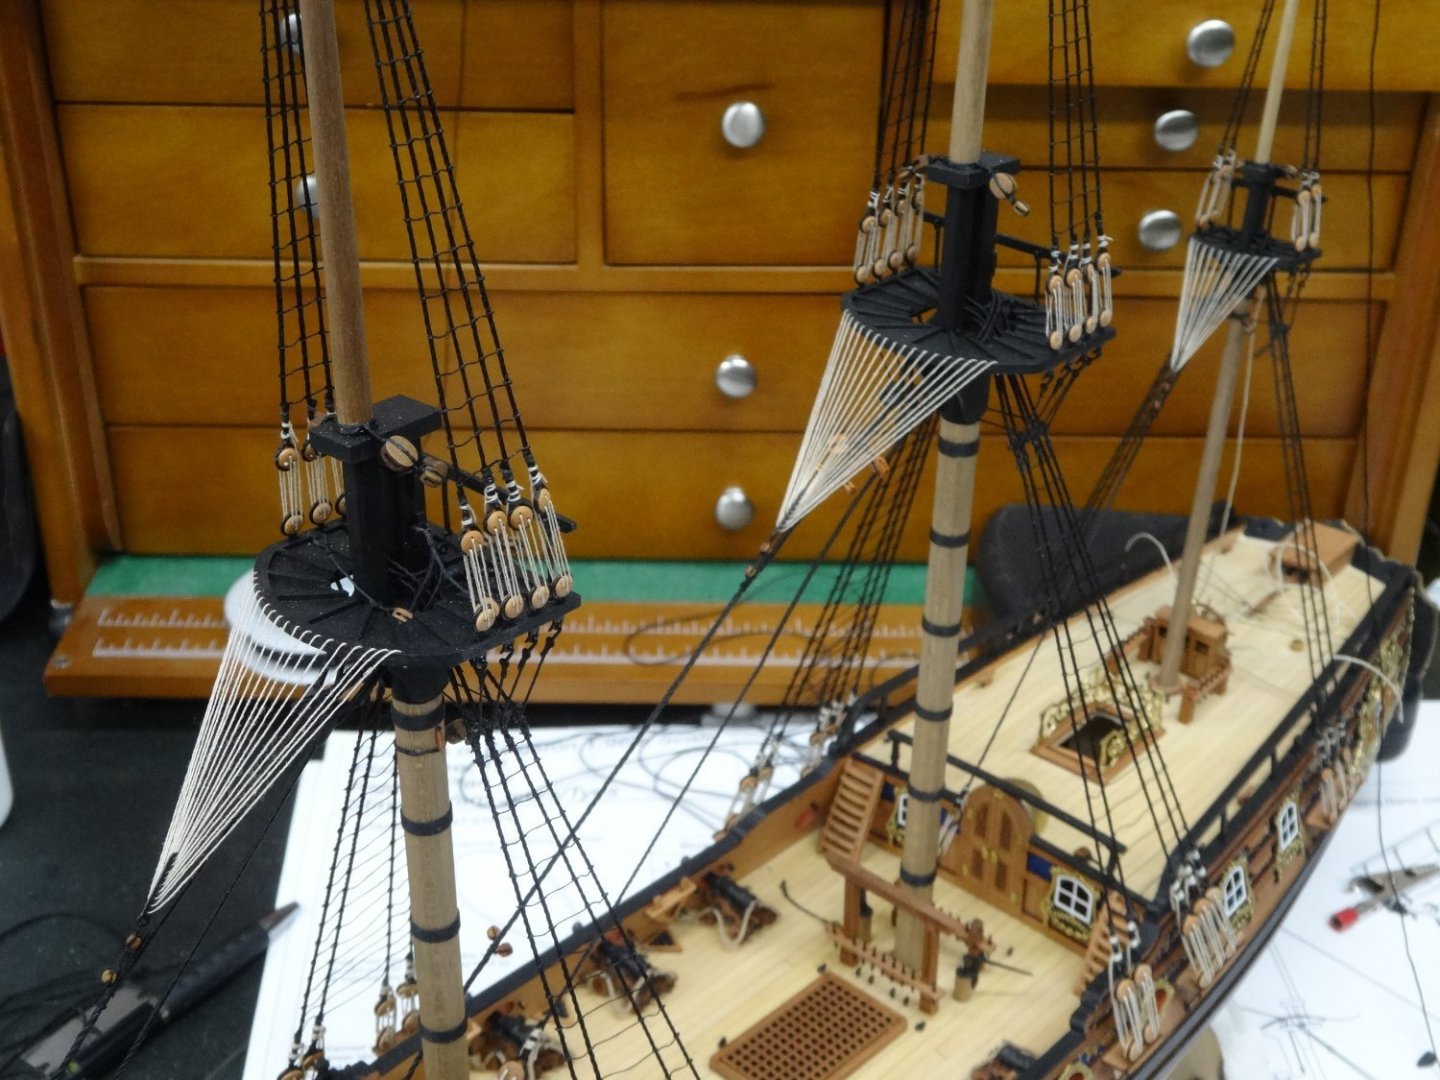
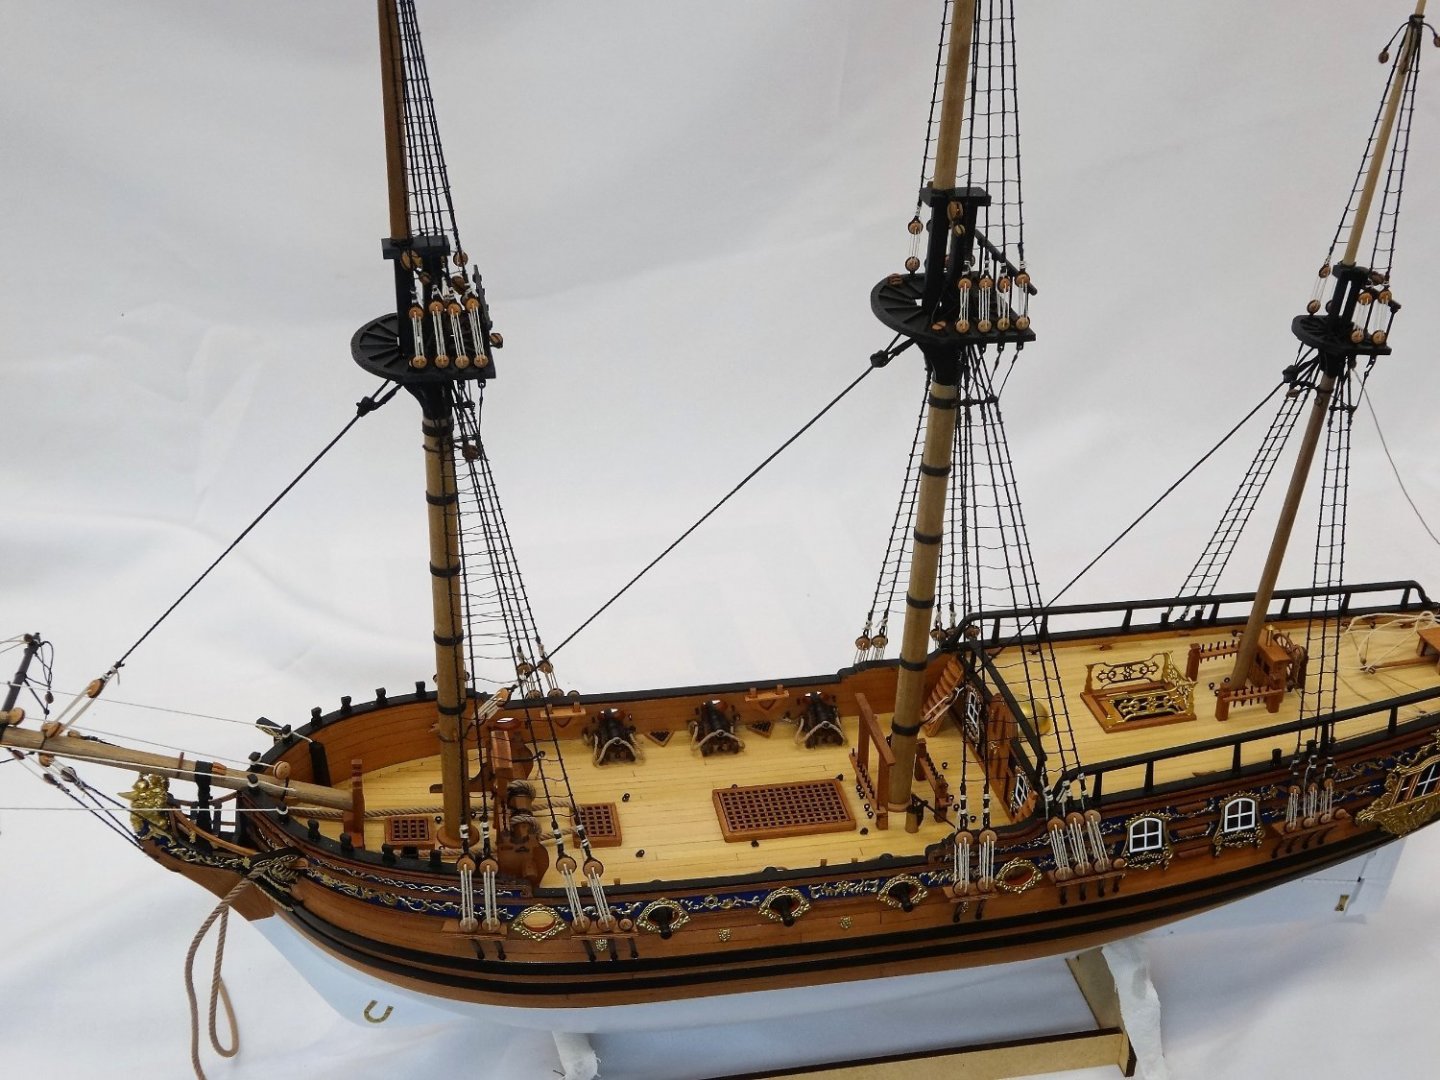
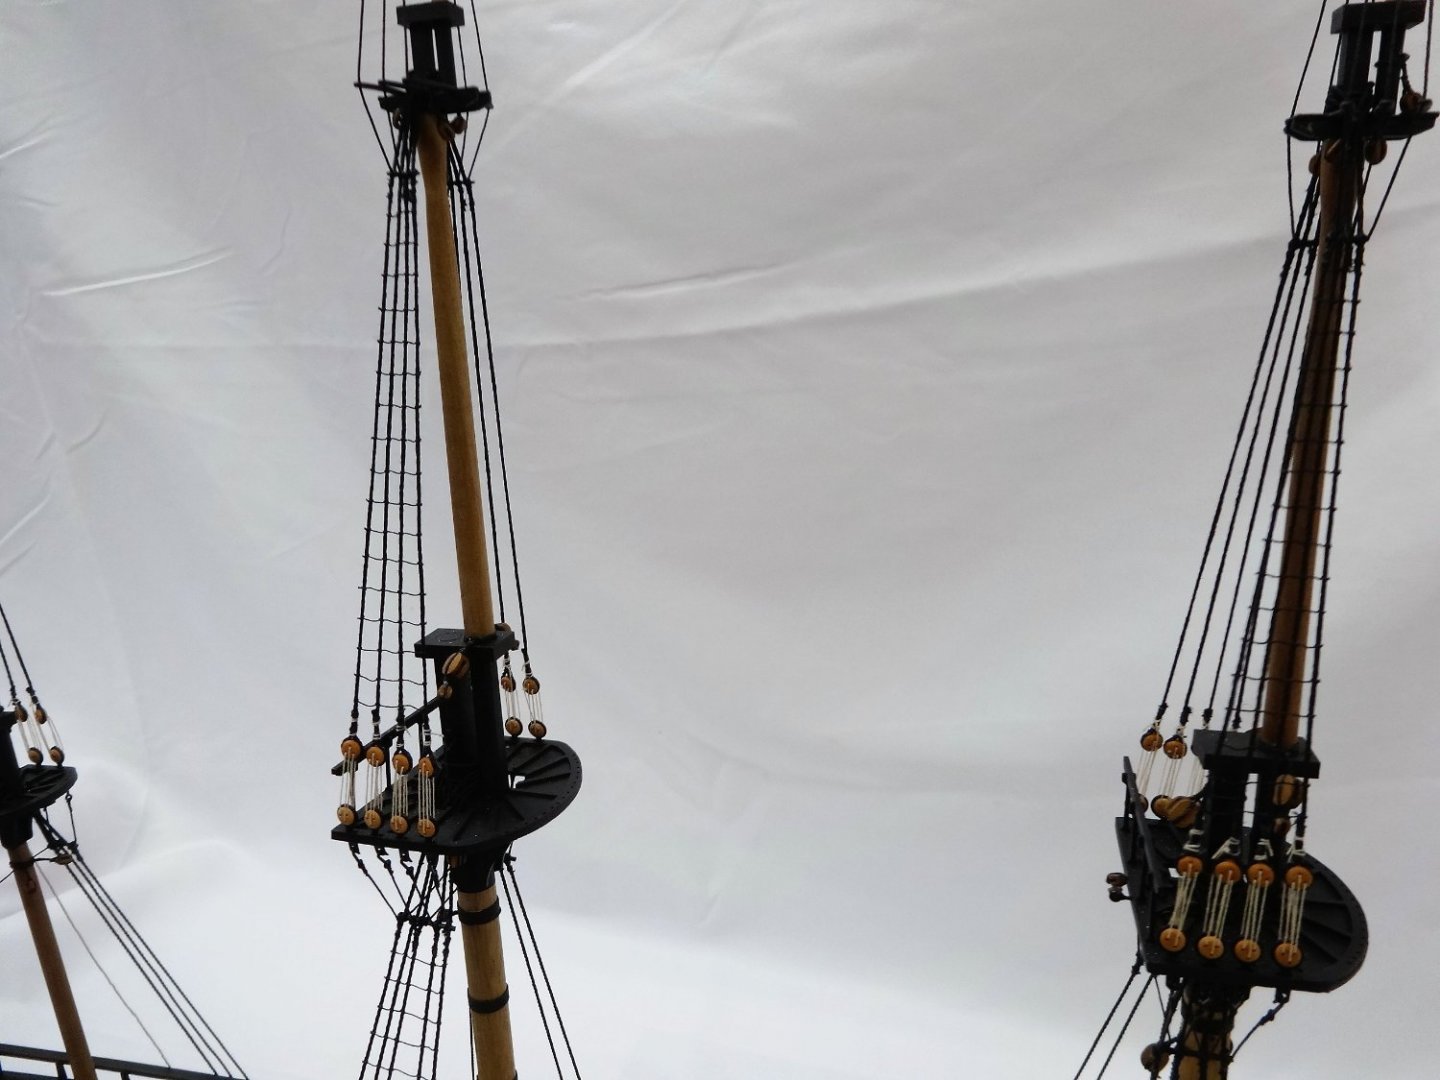
I've completed the fore and aft crowsfeet and I'm happy with how they came out. It was a lesson in patience and deep breaths but fun in a kinda sick way. Next there 7 more stays that need to be served and put in place.
- 201 replies
-
- 22
-
-
-
- Duchess of Kingston
- Vanguard Models
- (and 1 more)
-
Nice catch. For whatever reason I did a similar thing before. Much better to find it now than in the middle of planking.
- 389 replies
-
- 3
-
-
- winchelsea
- Syren Ship Model Company
- (and 1 more)
-
Thank you B.E. and Glenn. Thankfully I could find enough information in others build logs to get me through. Also thanks for all the likes. Much appreciated!
- 201 replies
-
- 2
-
-
- Duchess of Kingston
- Vanguard Models
- (and 1 more)
-
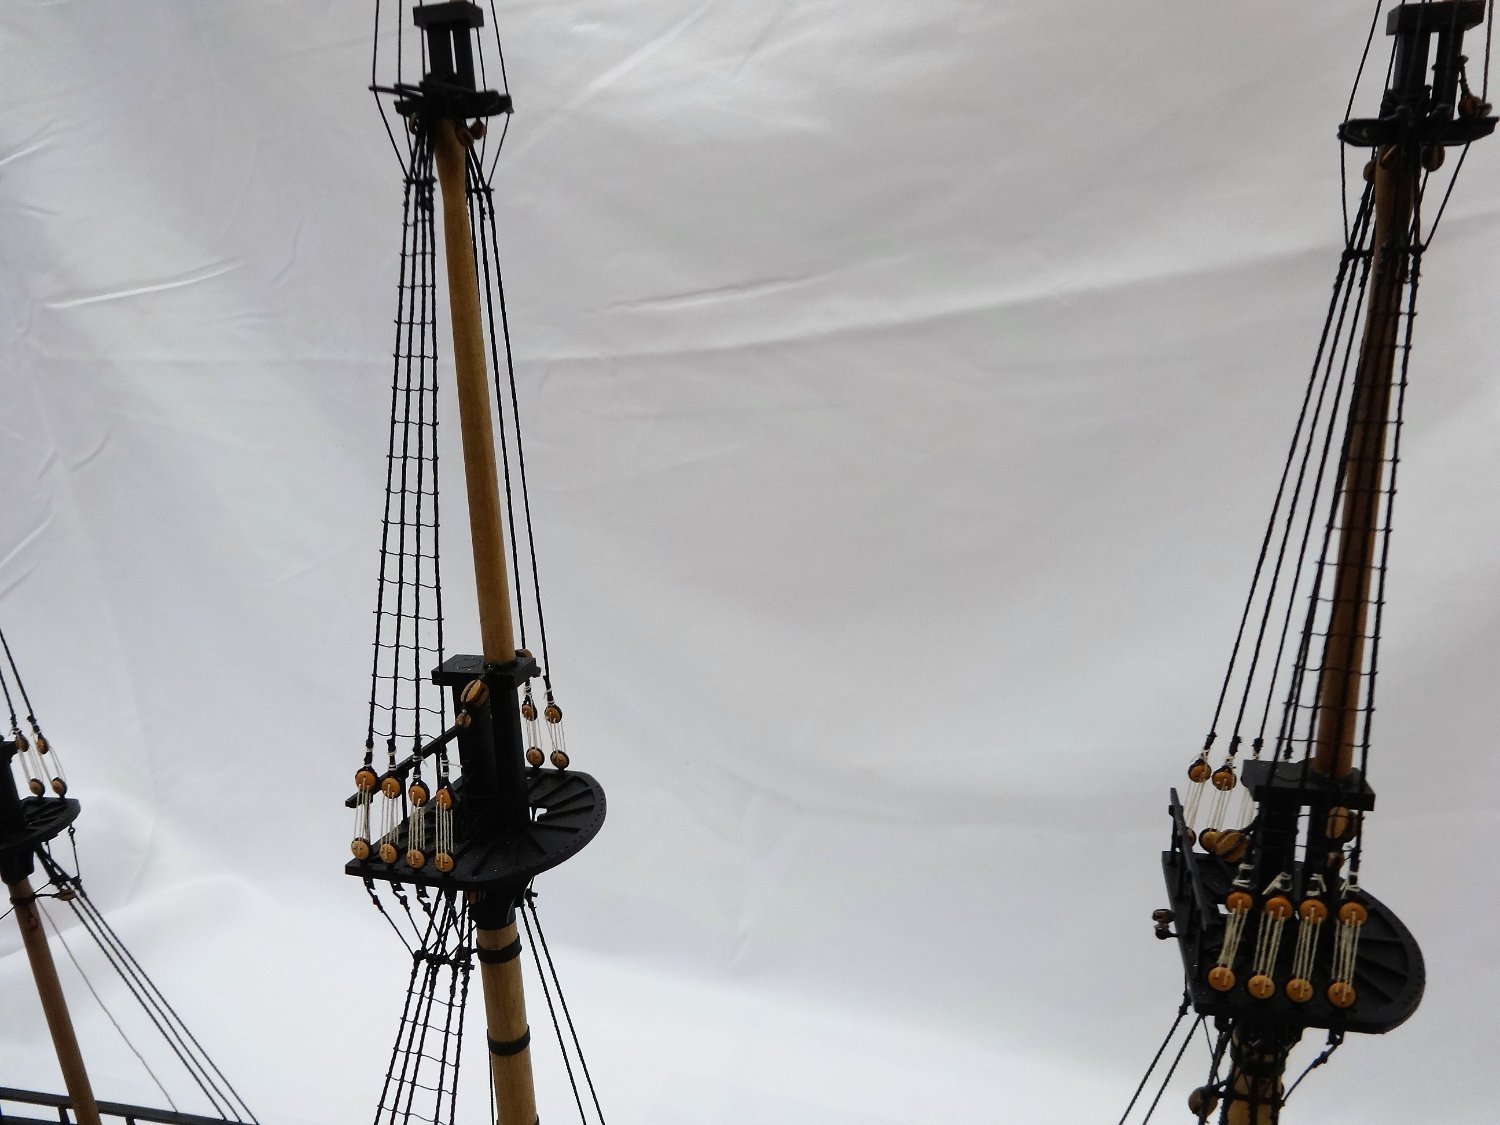
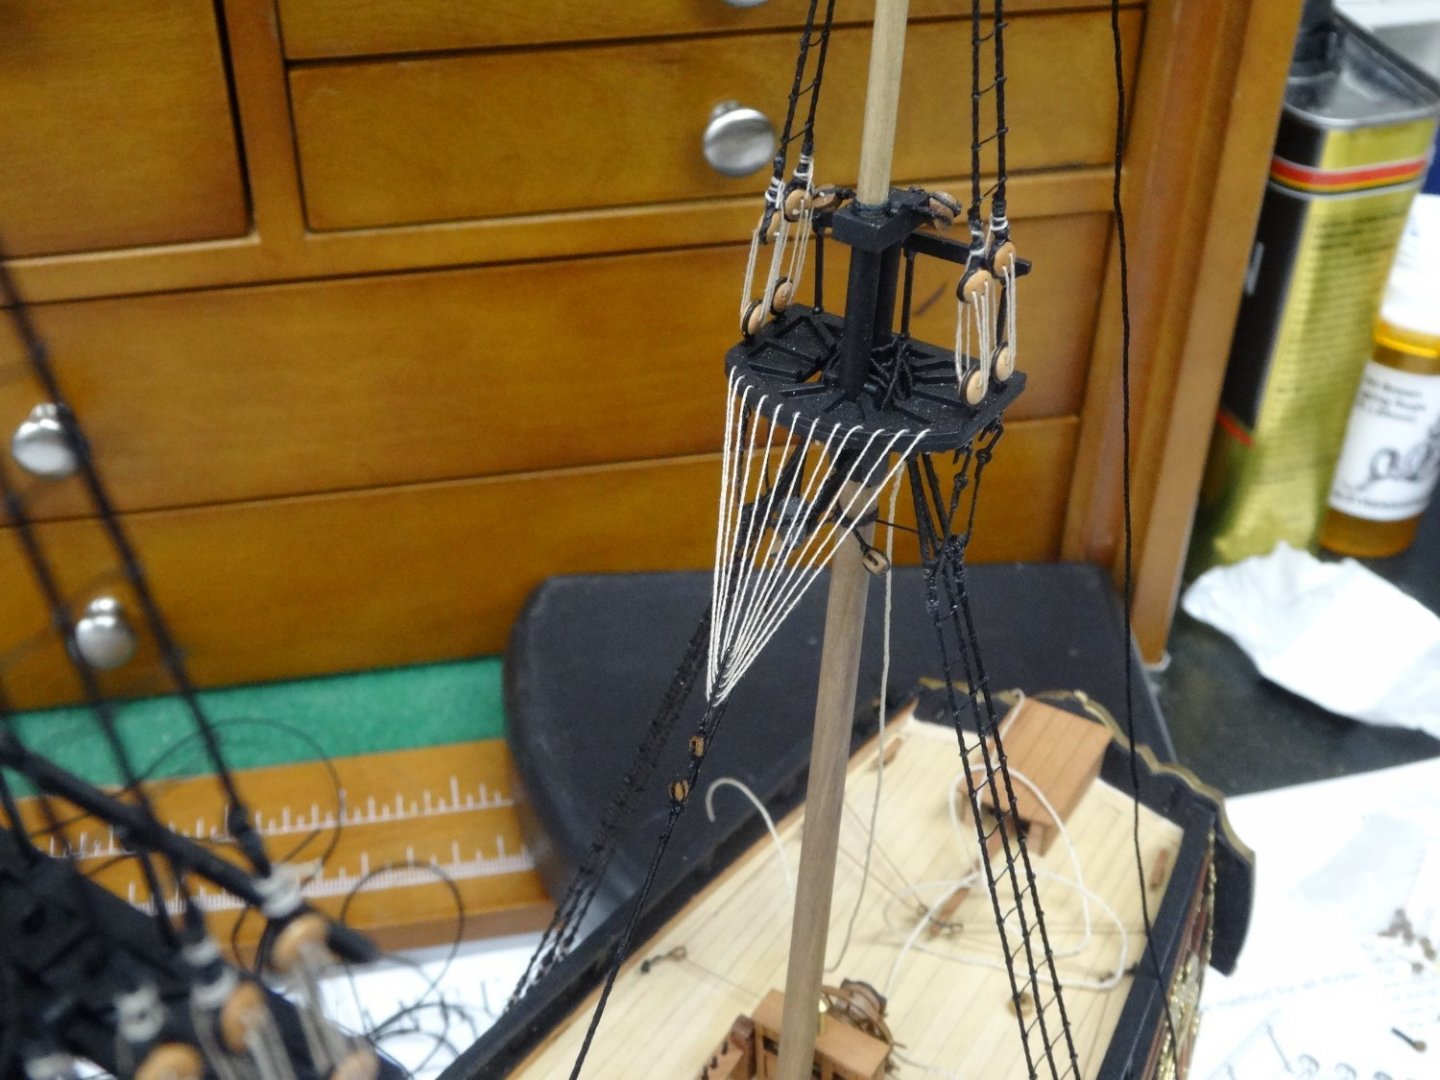
I've served the main and fore stays and mounted them per the plans. After reviewing other logs, (Glenn's DOK and Ron's Sphinx) plans and pictures I made my first attempt at rigging the crowsfeet. There were a few false starts, twisted and knotted line that had to be untangled numerous times, I finally completed the first of three crowsfeet. Thanks for stopping by!
- 201 replies
-
- 27
-
-
-
- Duchess of Kingston
- Vanguard Models
- (and 1 more)
-
That's a fine start and welcome to the club!
- 389 replies
-
- 1
-
-
- winchelsea
- Syren Ship Model Company
- (and 1 more)
-
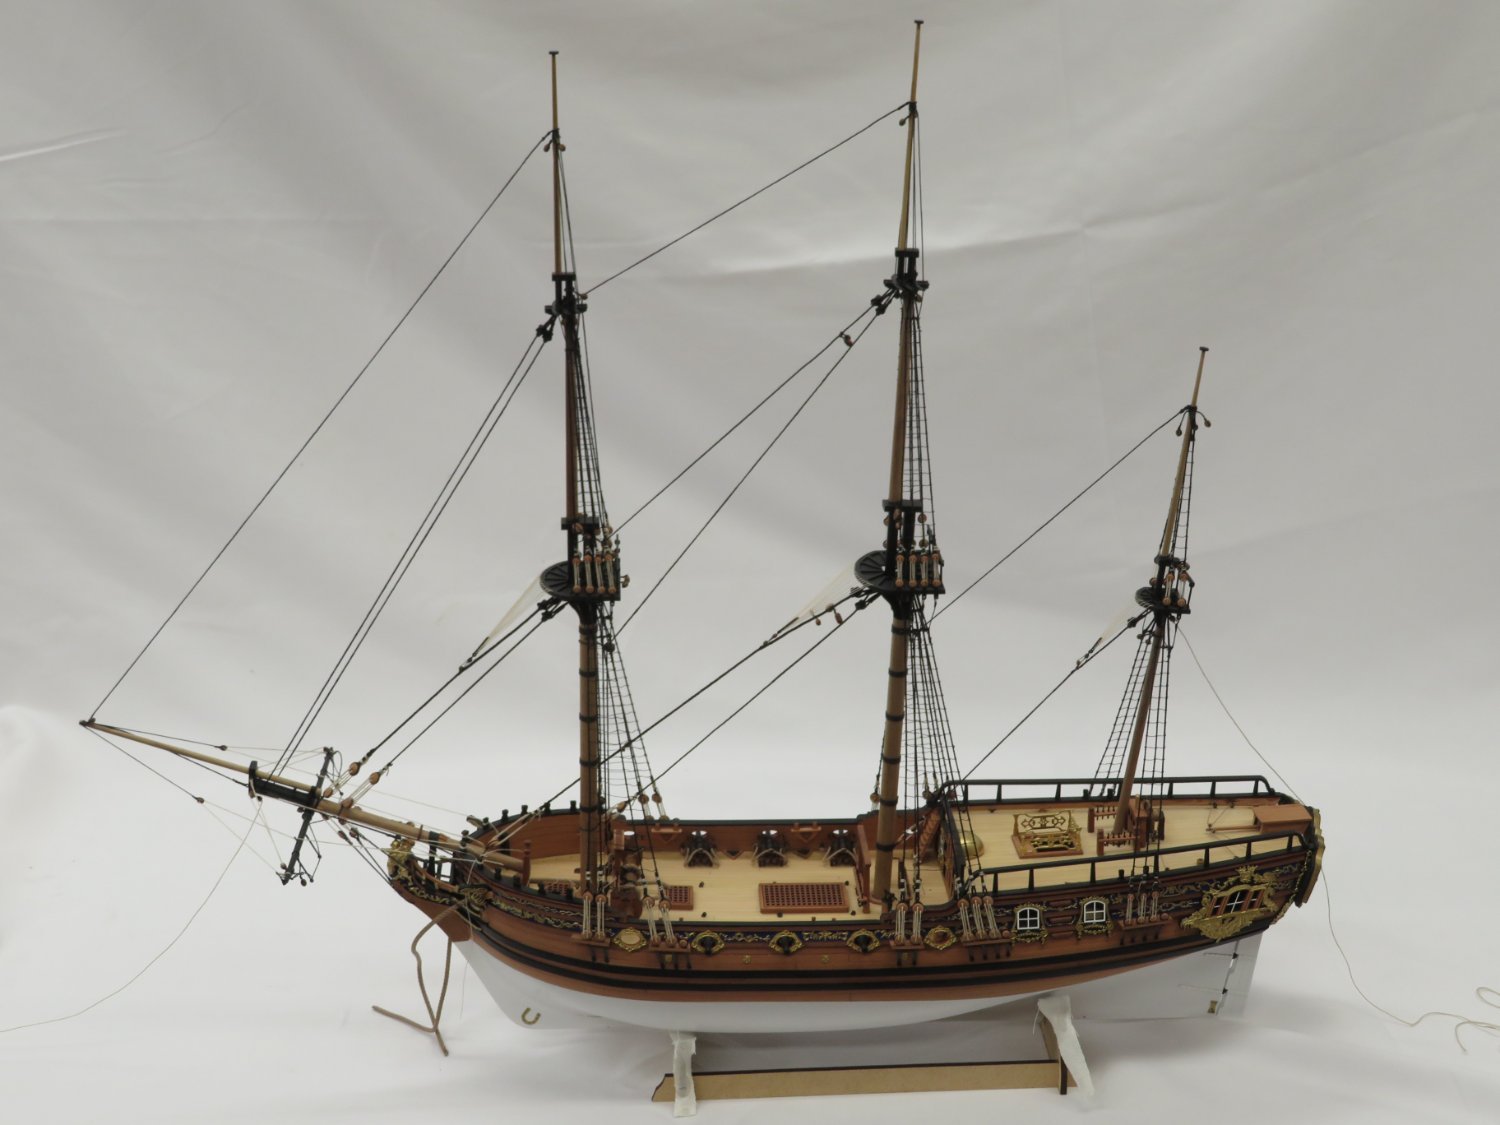
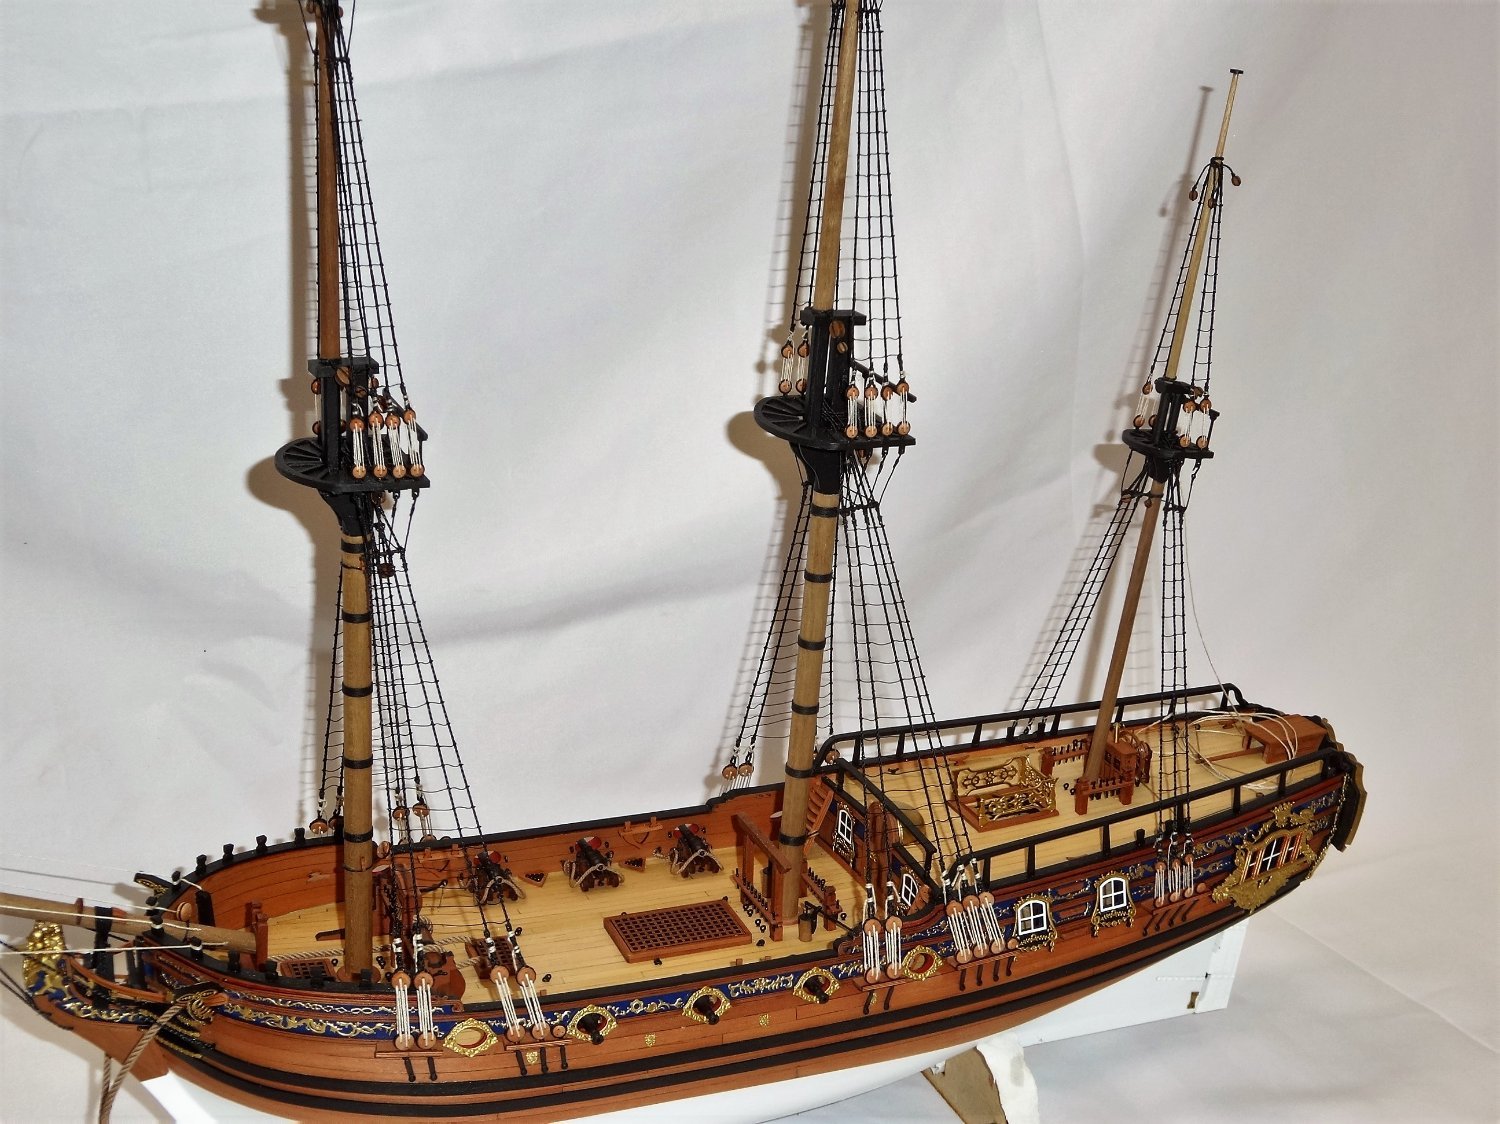
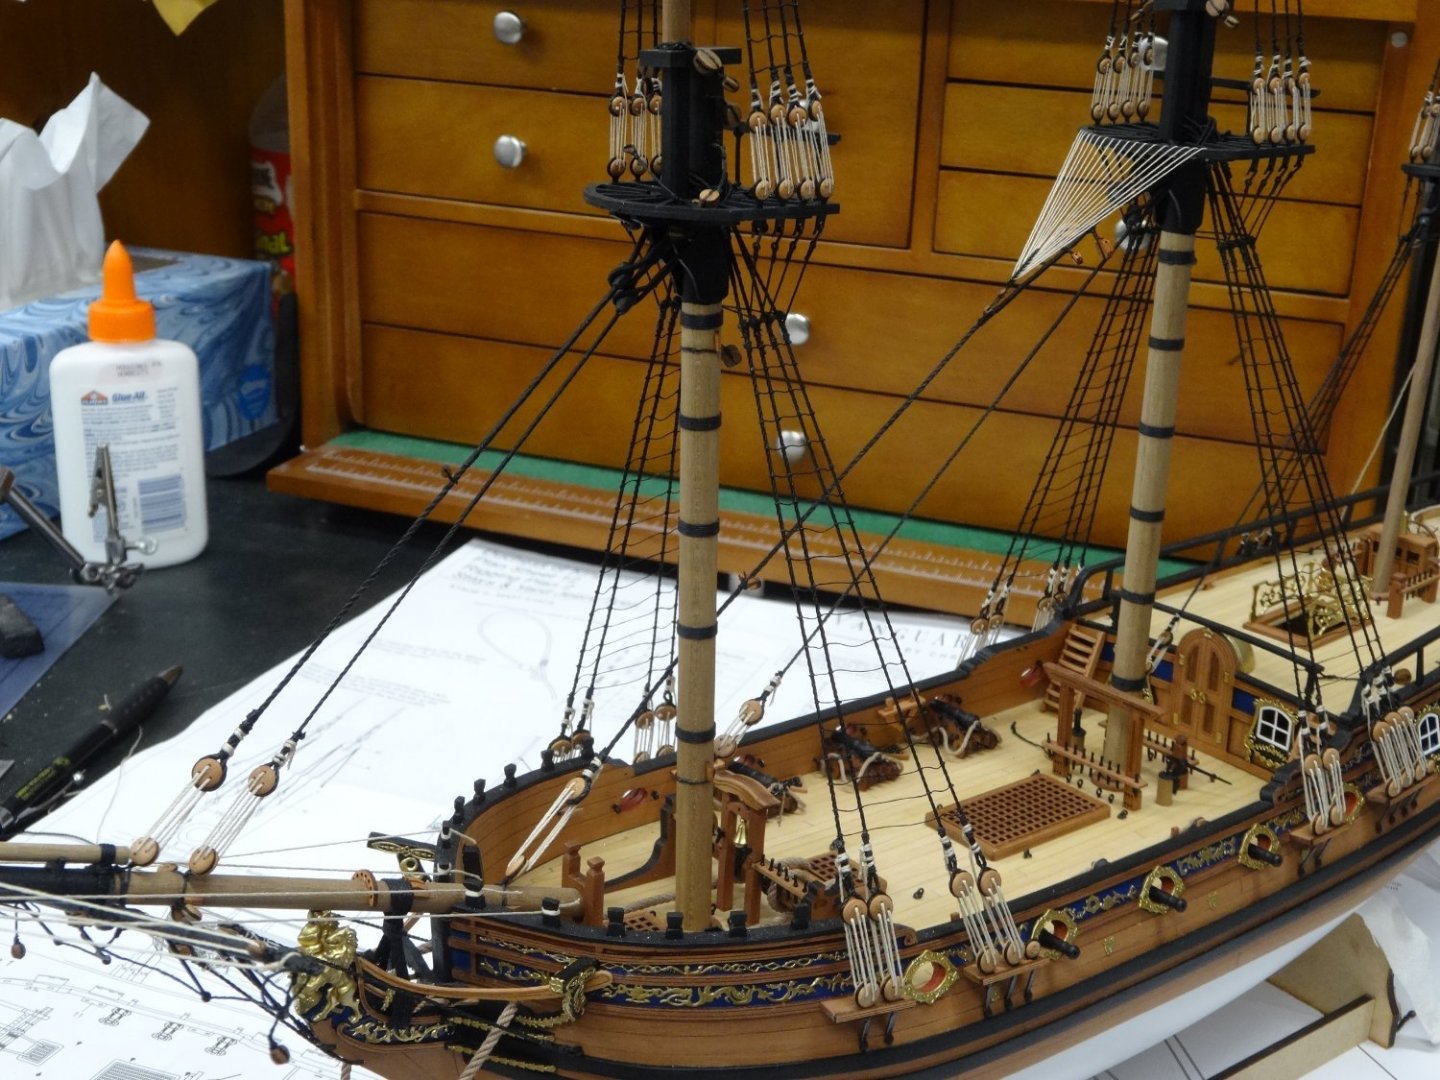
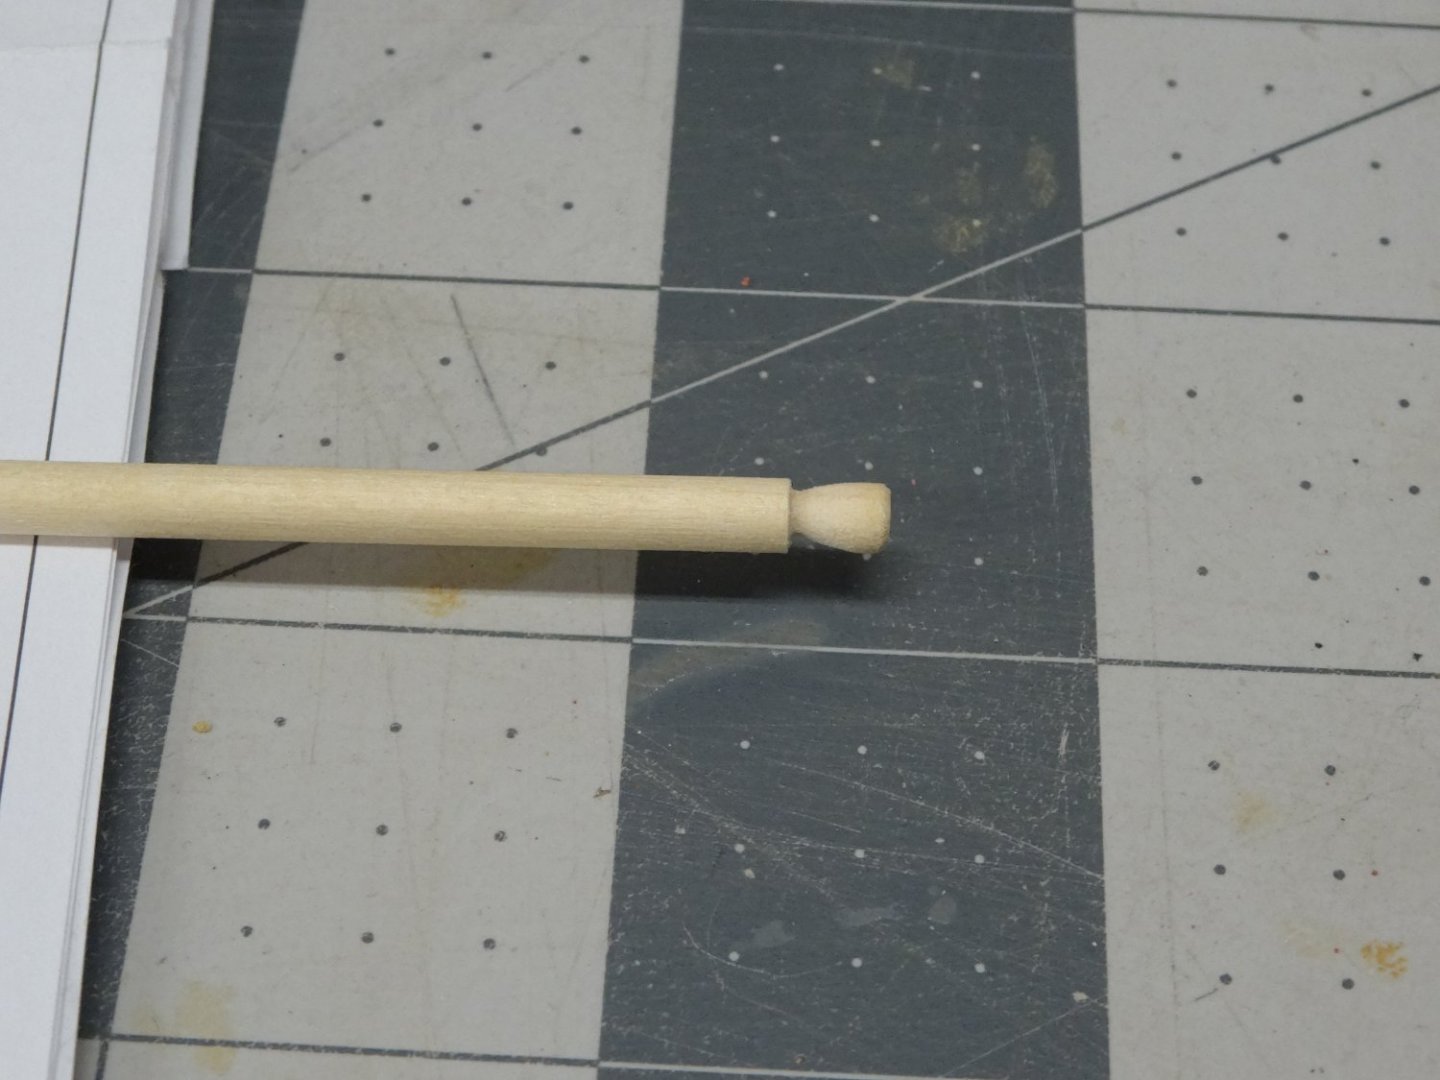
I've started working on the five stays. The all of the stays have a mouse on them. I've seen others make the mouse from a dowel which I copied. I drilled a hole down the center just slightly larger than the line, sanded them to shape, cut them off and painted them. I then served the lines below where the mouse will be. I then made the eye seizing it and sliding the mouse into place. Here you see the fore preventor stay and mouse in place. Here are the fore and main preventor stays and the mizzen stay. Next I'll add the main and fore stays and then three sets of crowsfeet!

- 201 replies
-
- 16
-
-
-
- Duchess of Kingston
- Vanguard Models
- (and 1 more)
-
Hi Bob. I'm sorry to hear that you're having a tough time with your health. Once you start getting healthier and more parts arrive, I'm sure your enthusiasm will return!
-
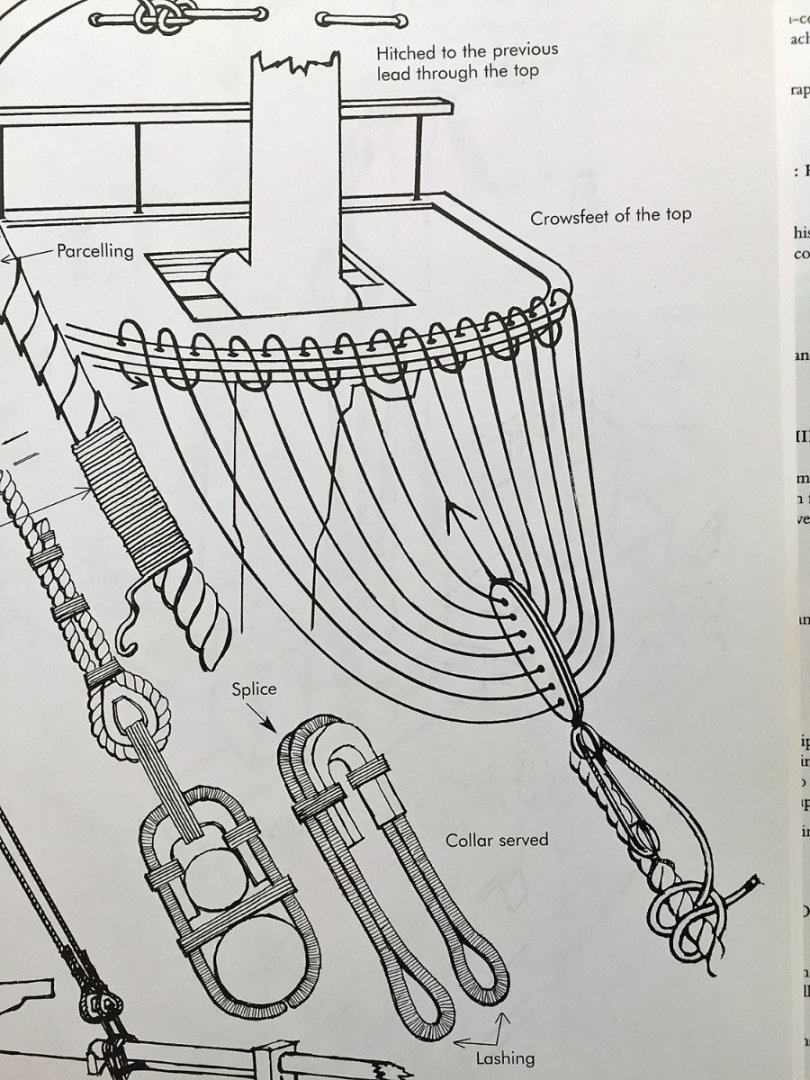
Thanks Glenn. Yes, I've been looking at that and making a mouse for the stays. I found this for the crows feet.
- 201 replies
-
- 7
-
-
-
- Duchess of Kingston
- Vanguard Models
- (and 1 more)
-
The portside ratlines have all been tied and went much quicker than the starboard ones! Before I hang the yards I'll be working on all of the various stays and the crows feet. Having never done "crows feet" on to a stay should be a fun learning experience.


- 201 replies
-
- 16
-
-
- Duchess of Kingston
- Vanguard Models
- (and 1 more)
-
Hi Glenn, B.E. and the other Glenn . I agree, it just takes me getting to it and staying focused. Hmmm wait a minute that's me about most things!
- 201 replies
-
- 1
-
-
- Duchess of Kingston
- Vanguard Models
- (and 1 more)
-
I've just completed the lower and upper ratlines on the starboard side. They aren't the best but I'm happy with them. Jim H. said that ratlines are therapeutic. By the time I finish tying all the knots for the port side I may need therapy!

- 201 replies
-
- 10
-
-
- Duchess of Kingston
- Vanguard Models
- (and 1 more)
-
I second that. Well worth the time spent!
- 840 replies
-
- 3
-
-
- winchelsea
- Syren Ship Model Company
- (and 1 more)
-
Hi Chuck, I've had the pleasure of see your Winnie in person and your design and workmanship is simply stunning. Ok just for grins and giggles I requisitioned (stole) the Admirals kitchen food scale and weighed my Winnie. She currently tips the scales at 5lbs 8ozs. (2.5kg). Might have to put her on a diet.
- 1,784 replies
-
- 4
-
-

-

-
- winchelsea
- Syren Ship Model Company
- (and 1 more)
-
Hi B.E. I just got caught up with your wonderful work on the Sphinx. It was such a pleasure!
- 857 replies
-
- 3
-
-
-
- Sphinx
- Vanguard Models
- (and 1 more)
-
Well, it's been almost two months I've been moving slow and unsteady. It's always tougher to get modeling time in the warmer weather but I'm not going to complain. It goes away too fast as it is. I served the upper shrouds and added them. A couple of miscues and a shroud or two were replaced but finally they are done. Next, I'll be doing the ratlines. Hopefully it will go smoother and a little bit quicker.

- 201 replies
-
- 12
-
-
- Duchess of Kingston
- Vanguard Models
- (and 1 more)
-
Nice work and I'm off to get some magnetic strip too!
- 345 replies
-
- 2
-
-
-
- Duchess Of Kingston
- Vanguard Models
- (and 1 more)