Rustyj
-
Posts
2,540 -
Joined
-
Last visited
Content Type
Profiles
Forums
Gallery
Events
Everything posted by Rustyj
-
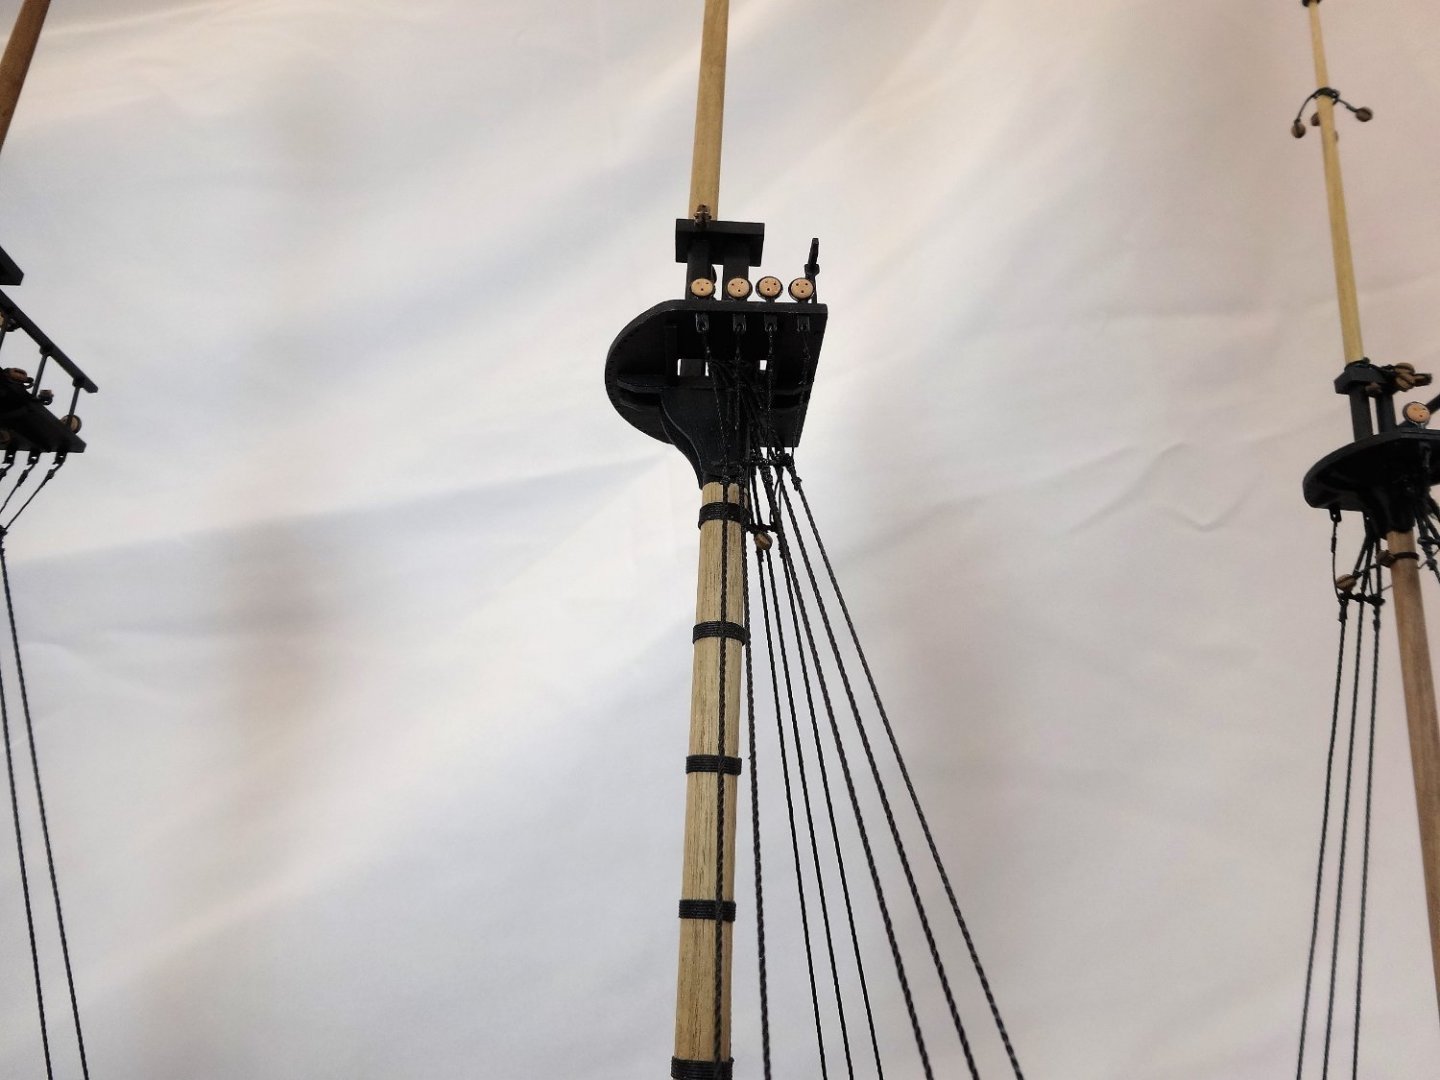
 I've just completed the lower and upper ratlines on the starboard side. They aren't the best but I'm happy with them. Jim H. said that ratlines are therapeutic. By the time I finish tying all the knots for the port side I may need therapy!

- 201 replies
-
- 10
-

-
- Duchess of Kingston
- Vanguard Models
- (and 1 more)
-
I second that. Well worth the time spent!
- 840 replies
-
- 3
-
-
- winchelsea
- Syren Ship Model Company
- (and 1 more)
-
Hi Chuck, I've had the pleasure of see your Winnie in person and your design and workmanship is simply stunning. Ok just for grins and giggles I requisitioned (stole) the Admirals kitchen food scale and weighed my Winnie. She currently tips the scales at 5lbs 8ozs. (2.5kg). Might have to put her on a diet.
- 1,784 replies
-
- 4
-
-

-

-
- winchelsea
- Syren Ship Model Company
- (and 1 more)
-
Hi B.E. I just got caught up with your wonderful work on the Sphinx. It was such a pleasure!
- 857 replies
-
- 3
-
-
-
- Sphinx
- Vanguard Models
- (and 1 more)
-
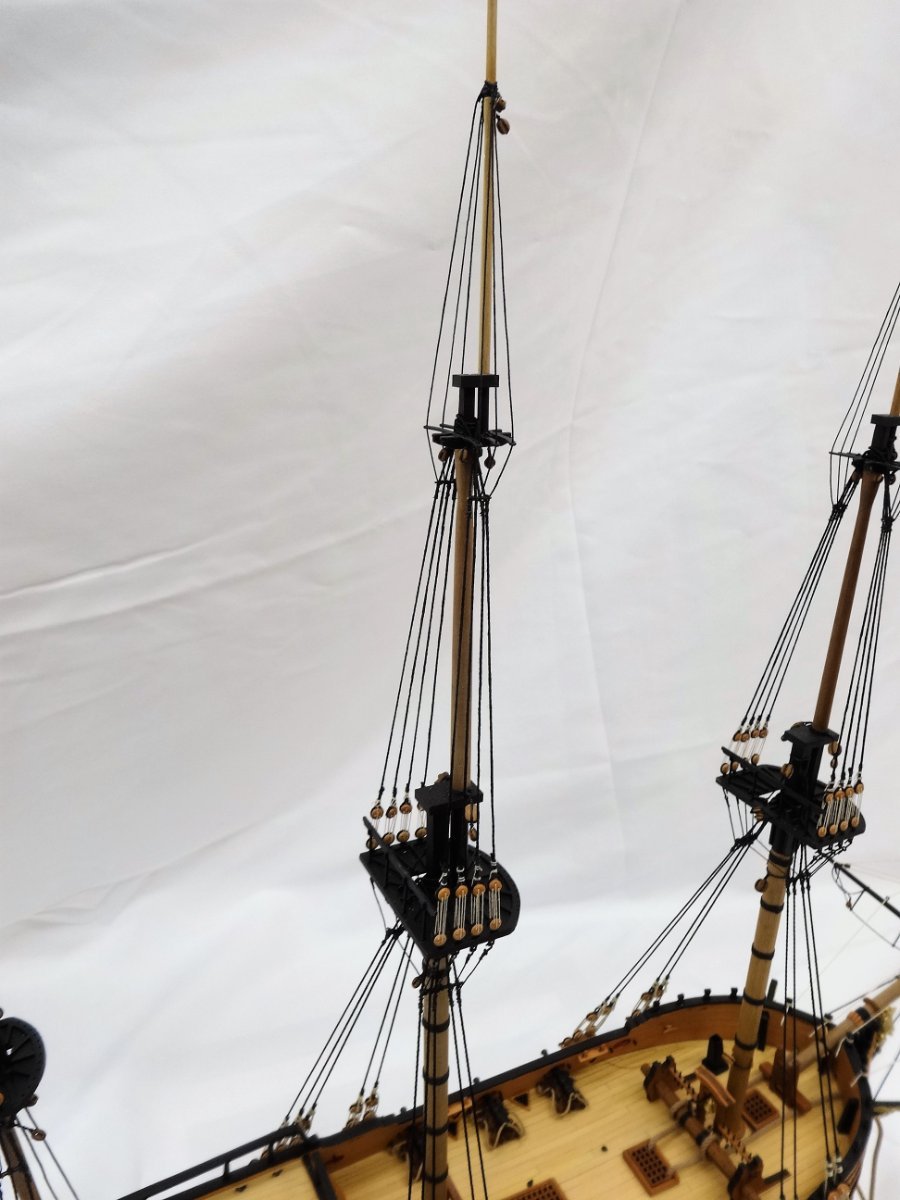
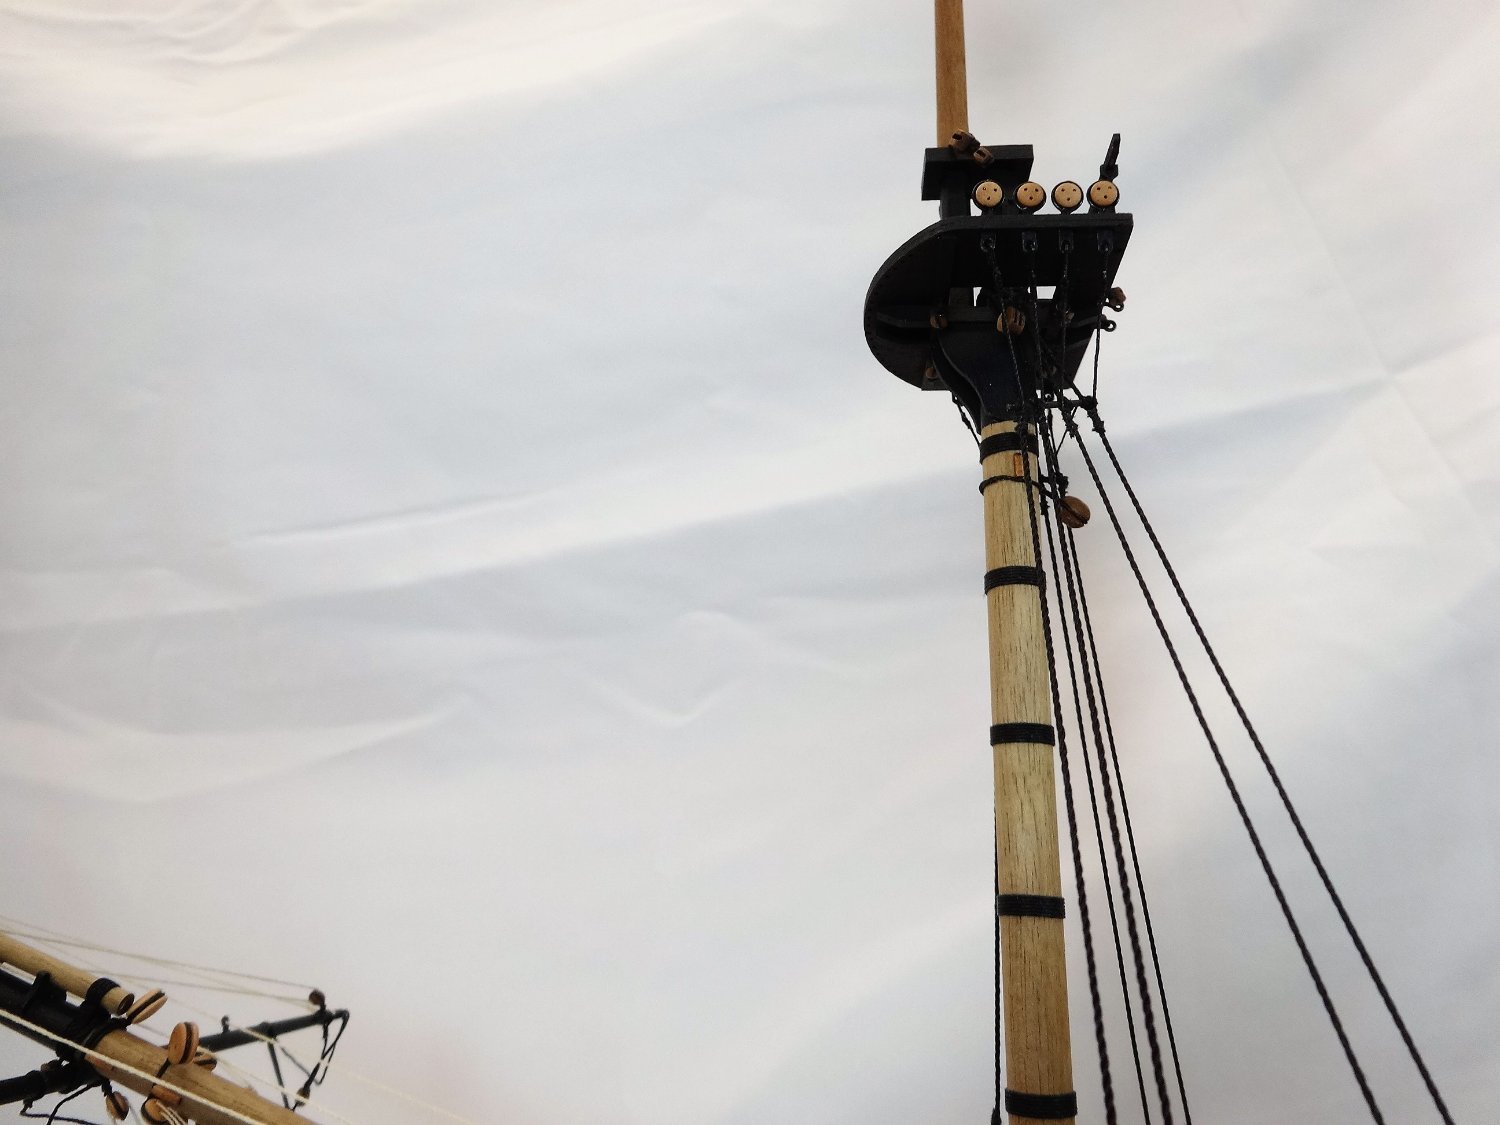
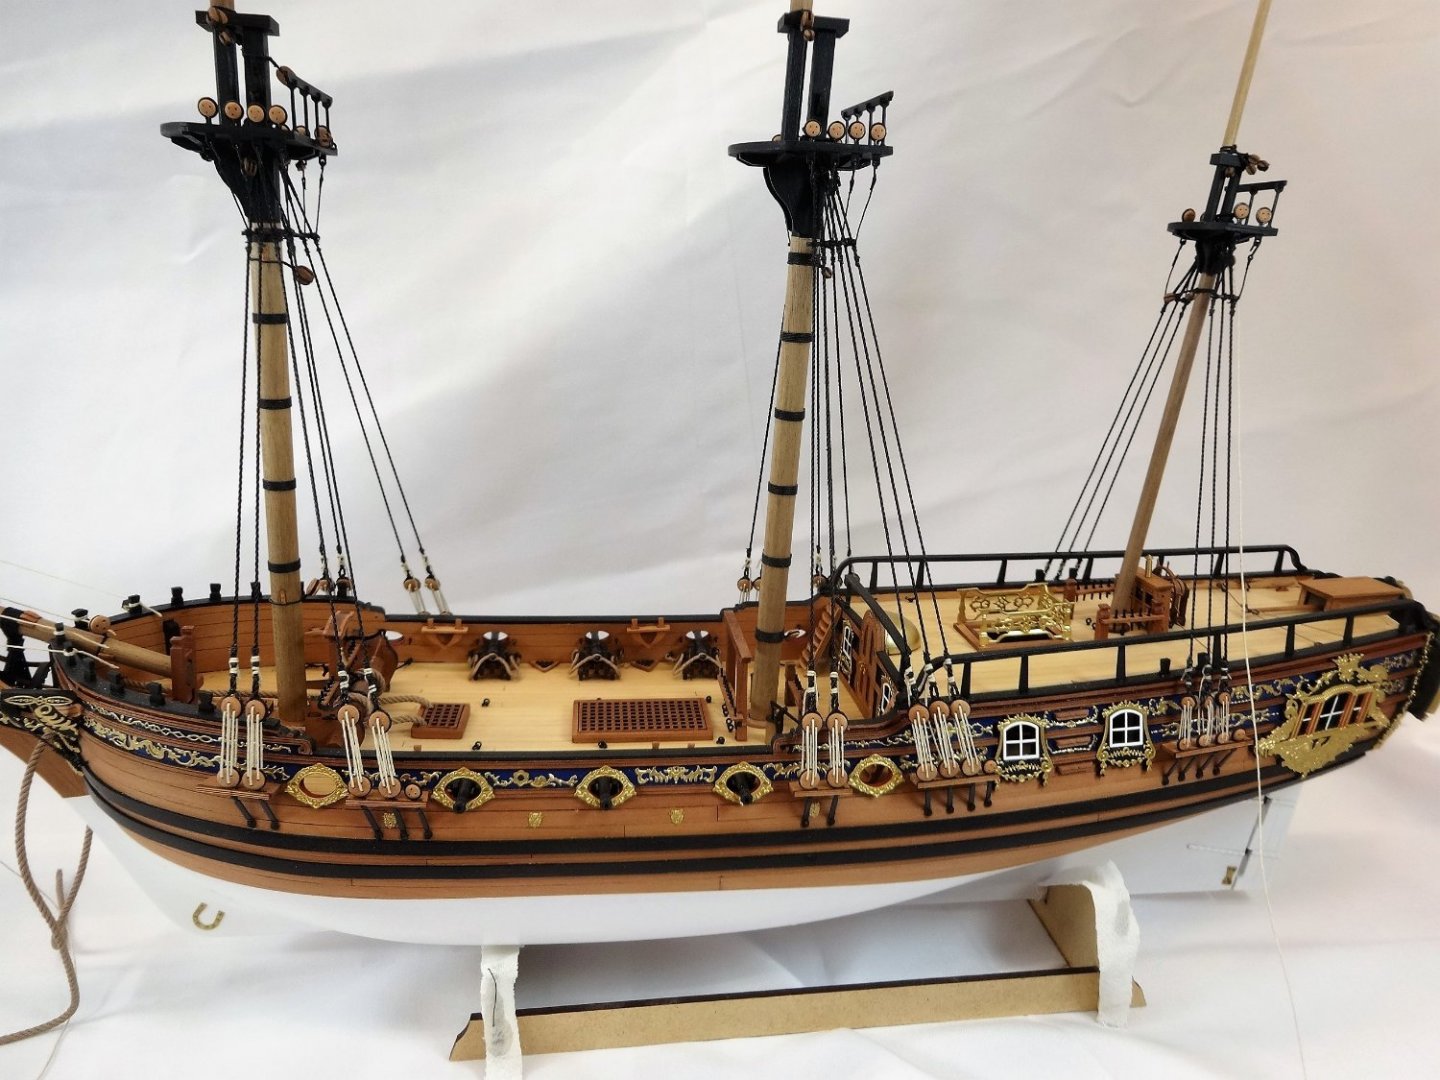
Well, it's been almost two months I've been moving slow and unsteady. It's always tougher to get modeling time in the warmer weather but I'm not going to complain. It goes away too fast as it is. I served the upper shrouds and added them. A couple of miscues and a shroud or two were replaced but finally they are done. Next, I'll be doing the ratlines. Hopefully it will go smoother and a little bit quicker.

- 201 replies
-
- 12
-
-
- Duchess of Kingston
- Vanguard Models
- (and 1 more)
-
Nice work and I'm off to get some magnetic strip too!
- 345 replies
-
- 2
-
-
-
- Duchess Of Kingston
- Vanguard Models
- (and 1 more)
-
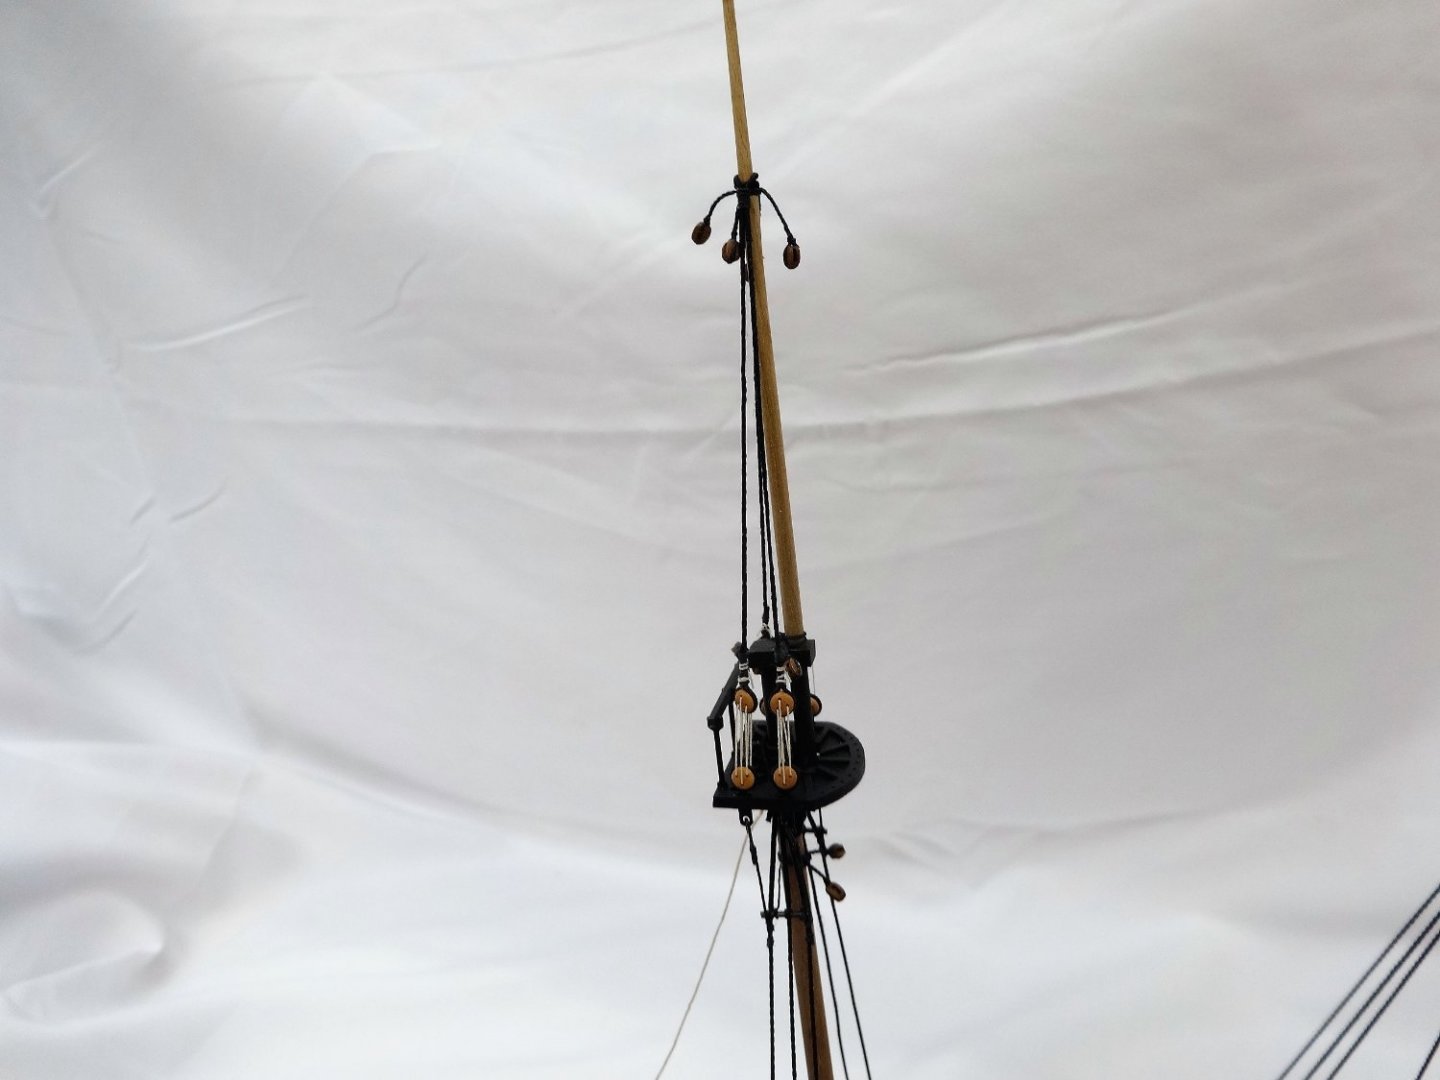
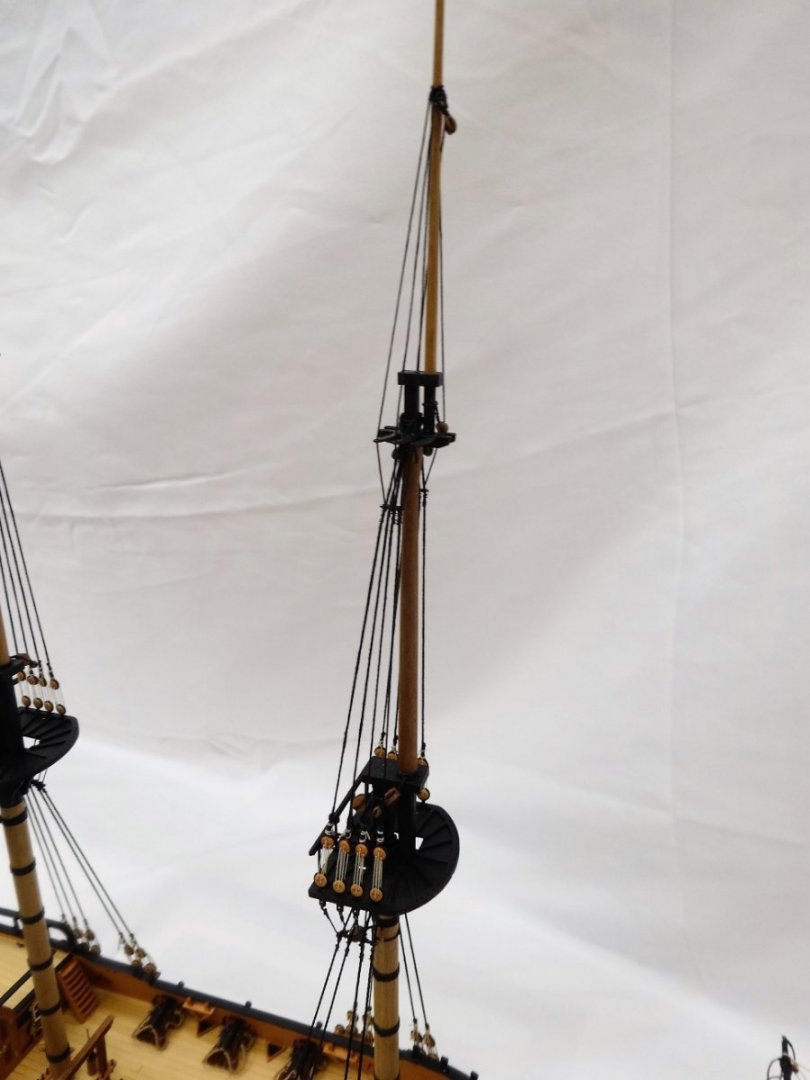
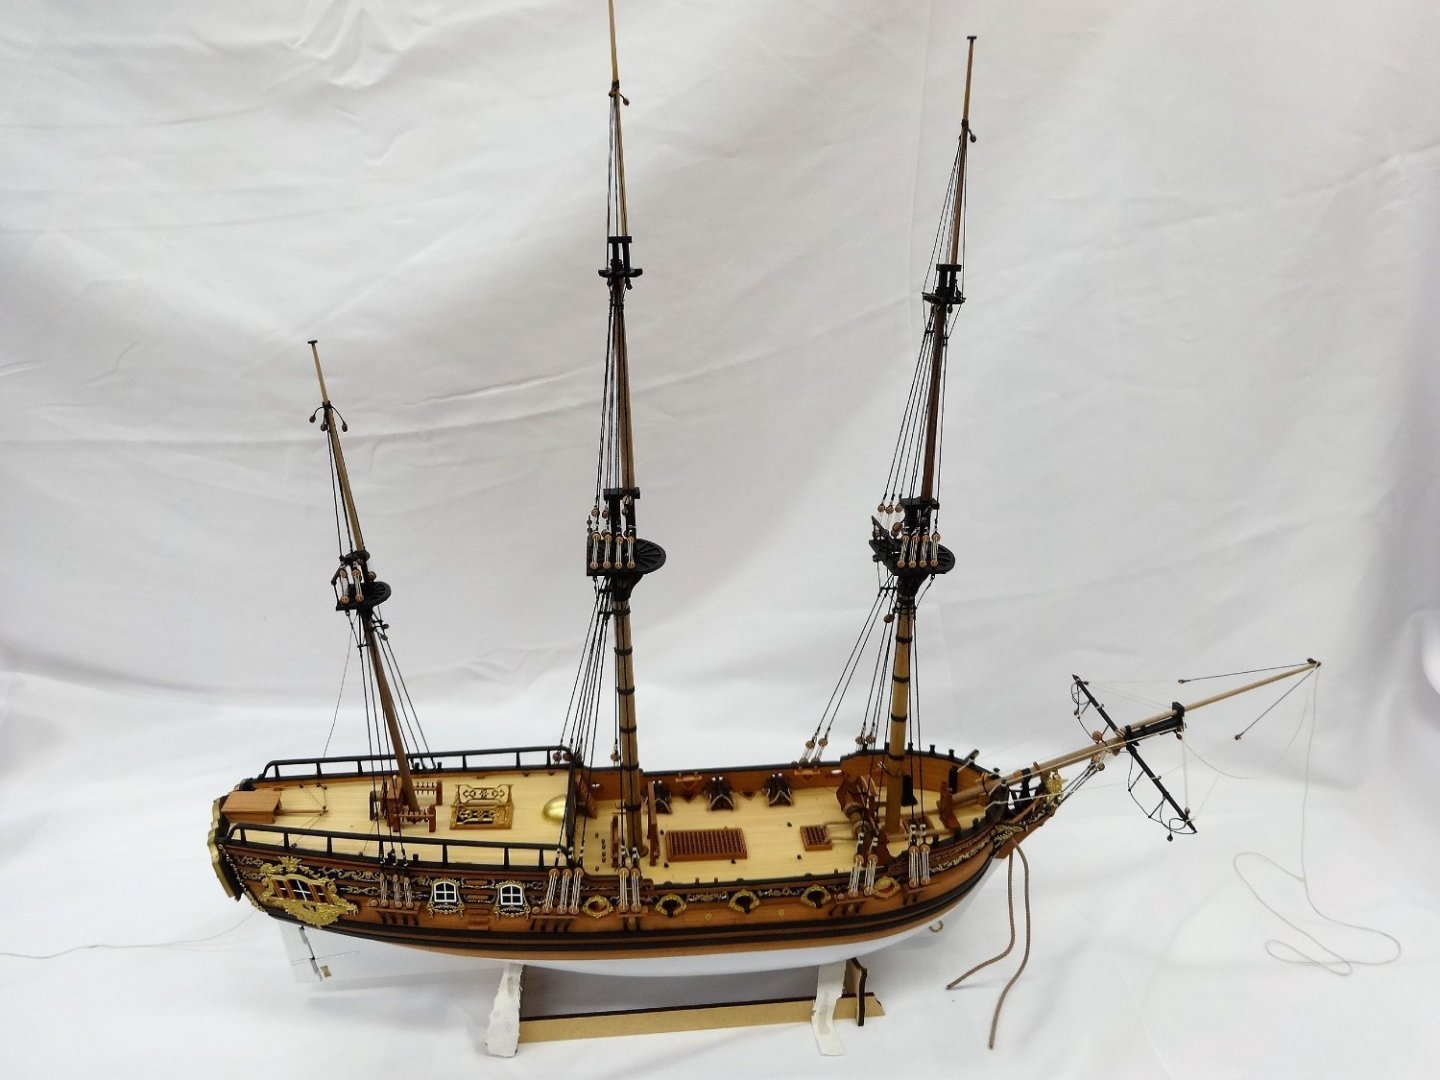
USF Confederacy by Rustyj - FINISHED
Rustyj replied to Rustyj's topic in - Build logs for subjects built 1751 - 1800
Thanks for the kind words, Dave, GrandpaPhil and Mark and also the likes. Very much appreciated!- 149 replies
-
- 3
-
-
- confederacy
- frigate
- (and 1 more)
-
I agree with both statements. Your patience and perseverance is making for a wonderful model.
- 857 replies
-
- 5
-
-
- Sphinx
- Vanguard Models
- (and 1 more)
-
USF Confederacy by Rustyj - FINISHED
Rustyj replied to Rustyj's topic in - Build logs for subjects built 1751 - 1800
Thank you very much Joe and Glenn.- 149 replies
-
- 1
-
-
- confederacy
- frigate
- (and 1 more)
-
USF Confederacy by Rustyj - FINISHED
Rustyj replied to Rustyj's topic in - Build logs for subjects built 1751 - 1800
Hi Ryland. Thank you for the shout out. There were so many wonderful models there and it is very humbling to receive that honor. As always, it's a pleasure to see you and everyone else in person as opposed to zoom visits. I'm already looking forward to next year!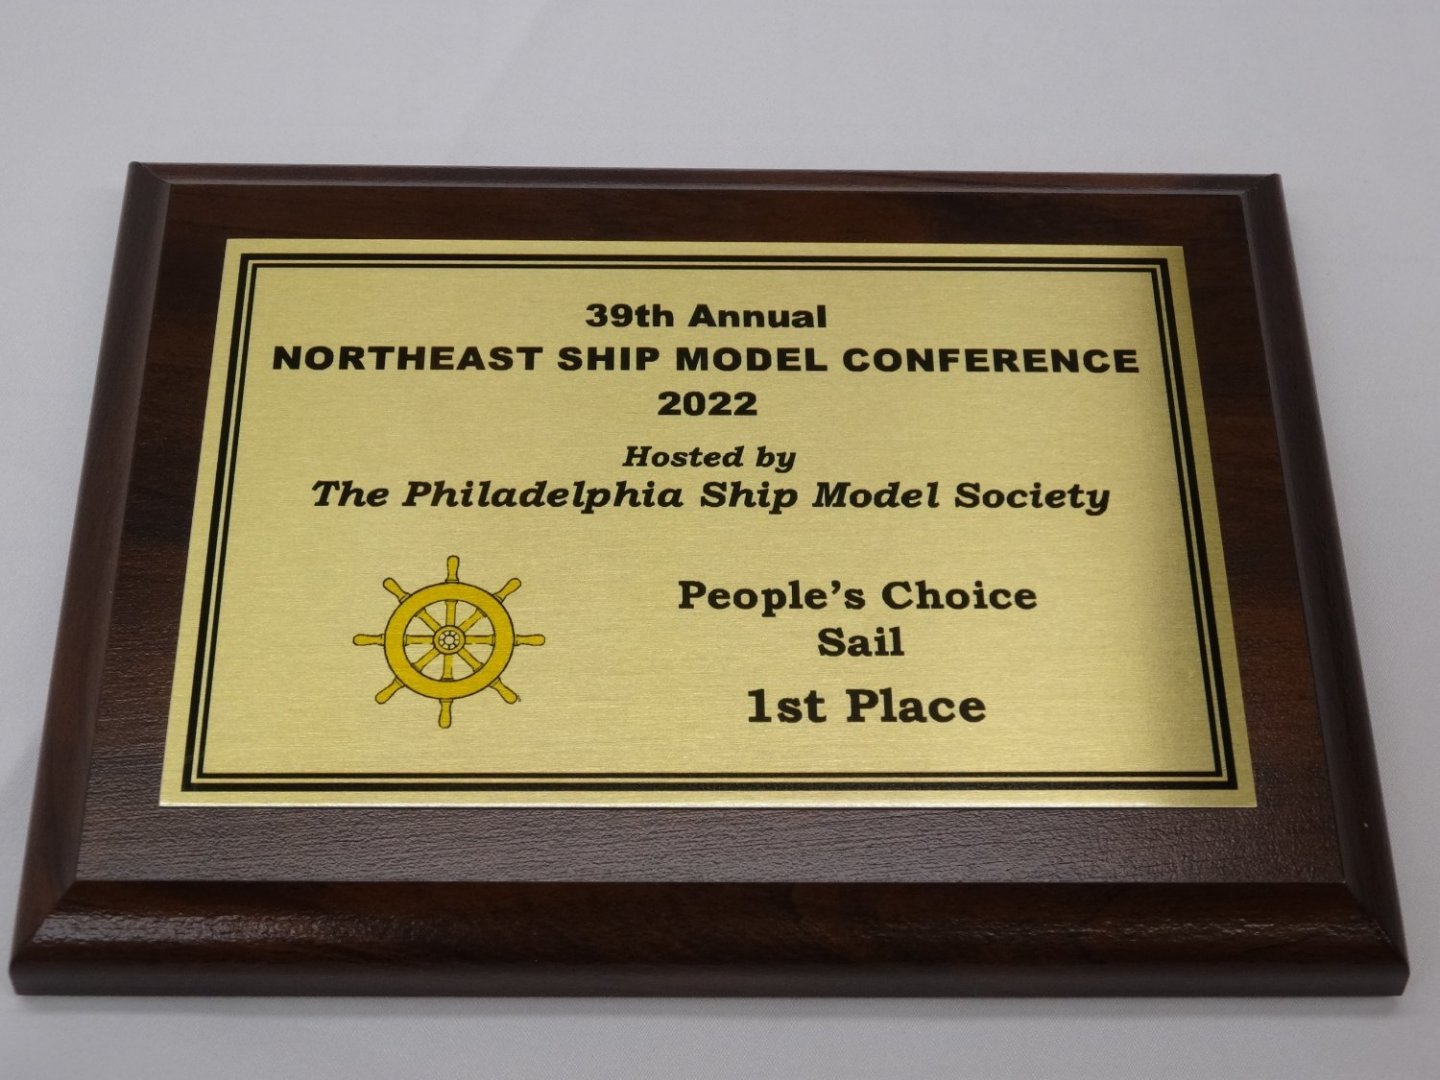
- 149 replies
-
- 7
-
-
- confederacy
- frigate
- (and 1 more)
-
I agree that is some fine planking. Well done Glenn!
- 840 replies
-
- 3
-
-
- winchelsea
- Syren Ship Model Company
- (and 1 more)
-
Ahh the Scottish Maid was my second model and I still use that plastic box too! Excellent start on the rigging. I hope to learn a lot following along!
- 476 replies
-
- 3
-
-
-
- sphinx
- vanguard models
- (and 1 more)
-
All I can saw is wow to both of you as I sit here very envious!
- 345 replies
-
- 3
-
-
-
- Duchess Of Kingston
- Vanguard Models
- (and 1 more)
-
They look amazing, like one solid piece. If you hadn't said they were layered I would have never known.
- 1,784 replies
-
- 2
-
-
- winchelsea
- Syren Ship Model Company
- (and 1 more)
-
Thank you Derek. Rigging is not my strong suit but the plans are very good so I'm optimistic. Also thanks for all the likes.
-
The stove and everything else is looking really great.
- 857 replies
-
- 2
-
-
-
- Sphinx
- Vanguard Models
- (and 1 more)
-
Hi Glenn, you're progressing nicely, and everything is looking great!
- 476 replies
-
- 3
-
-
-
- sphinx
- vanguard models
- (and 1 more)
-
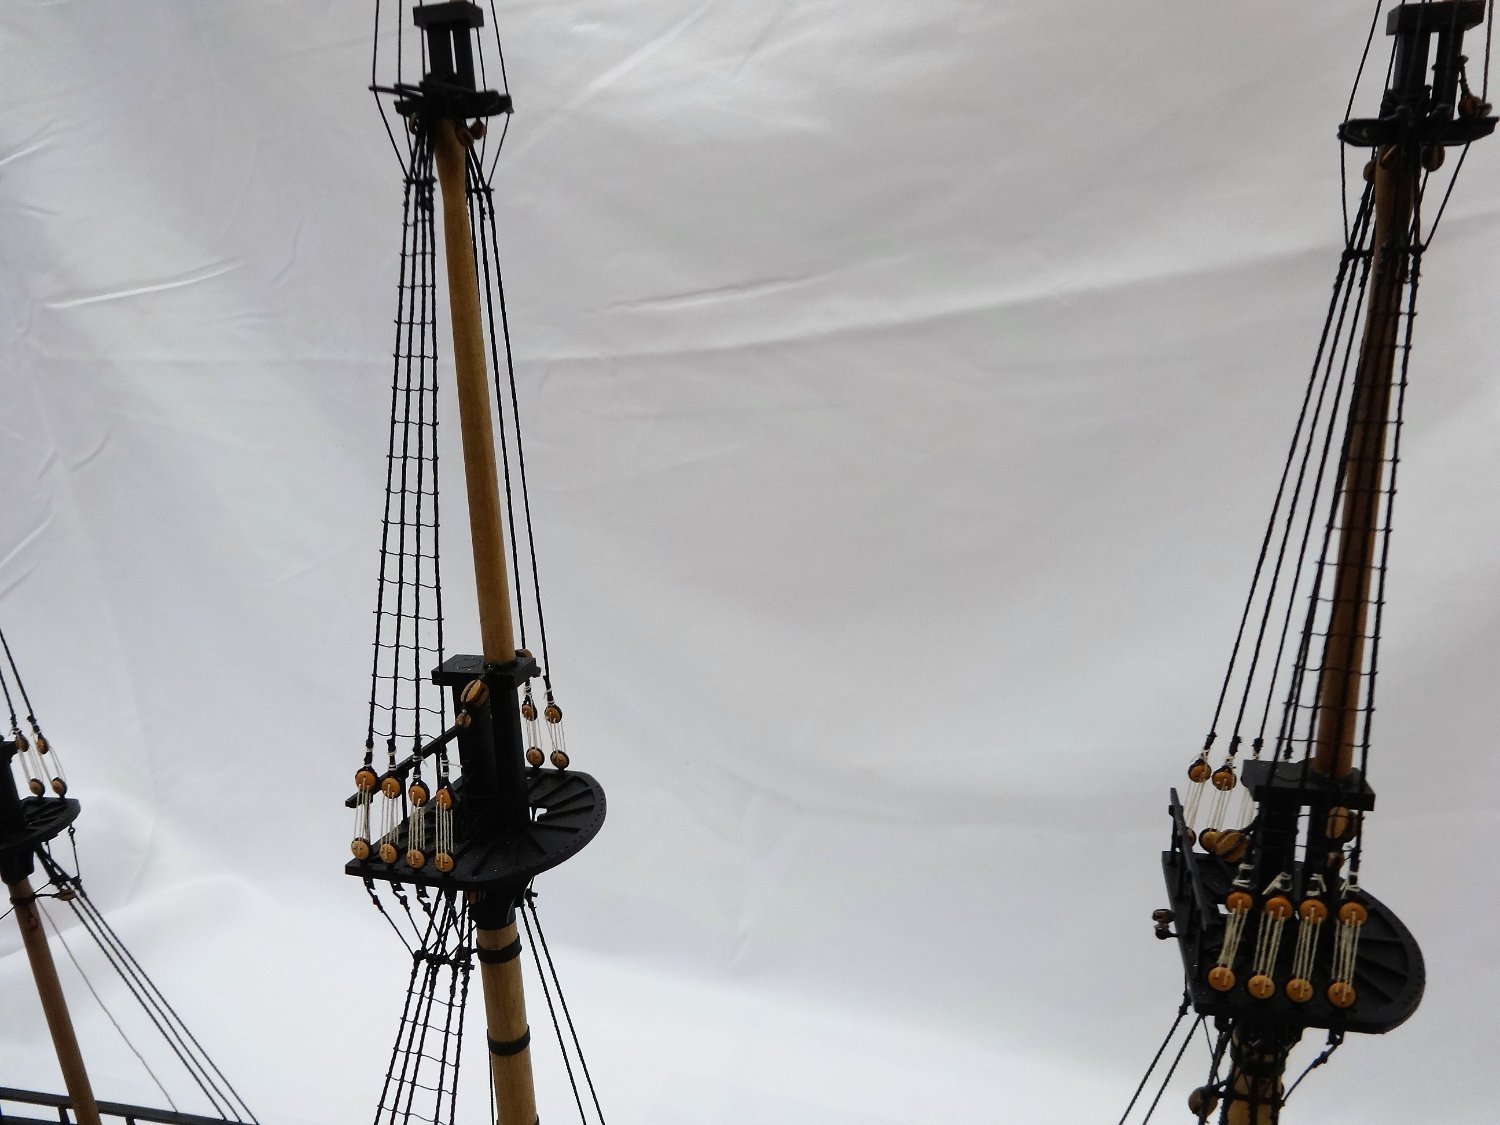
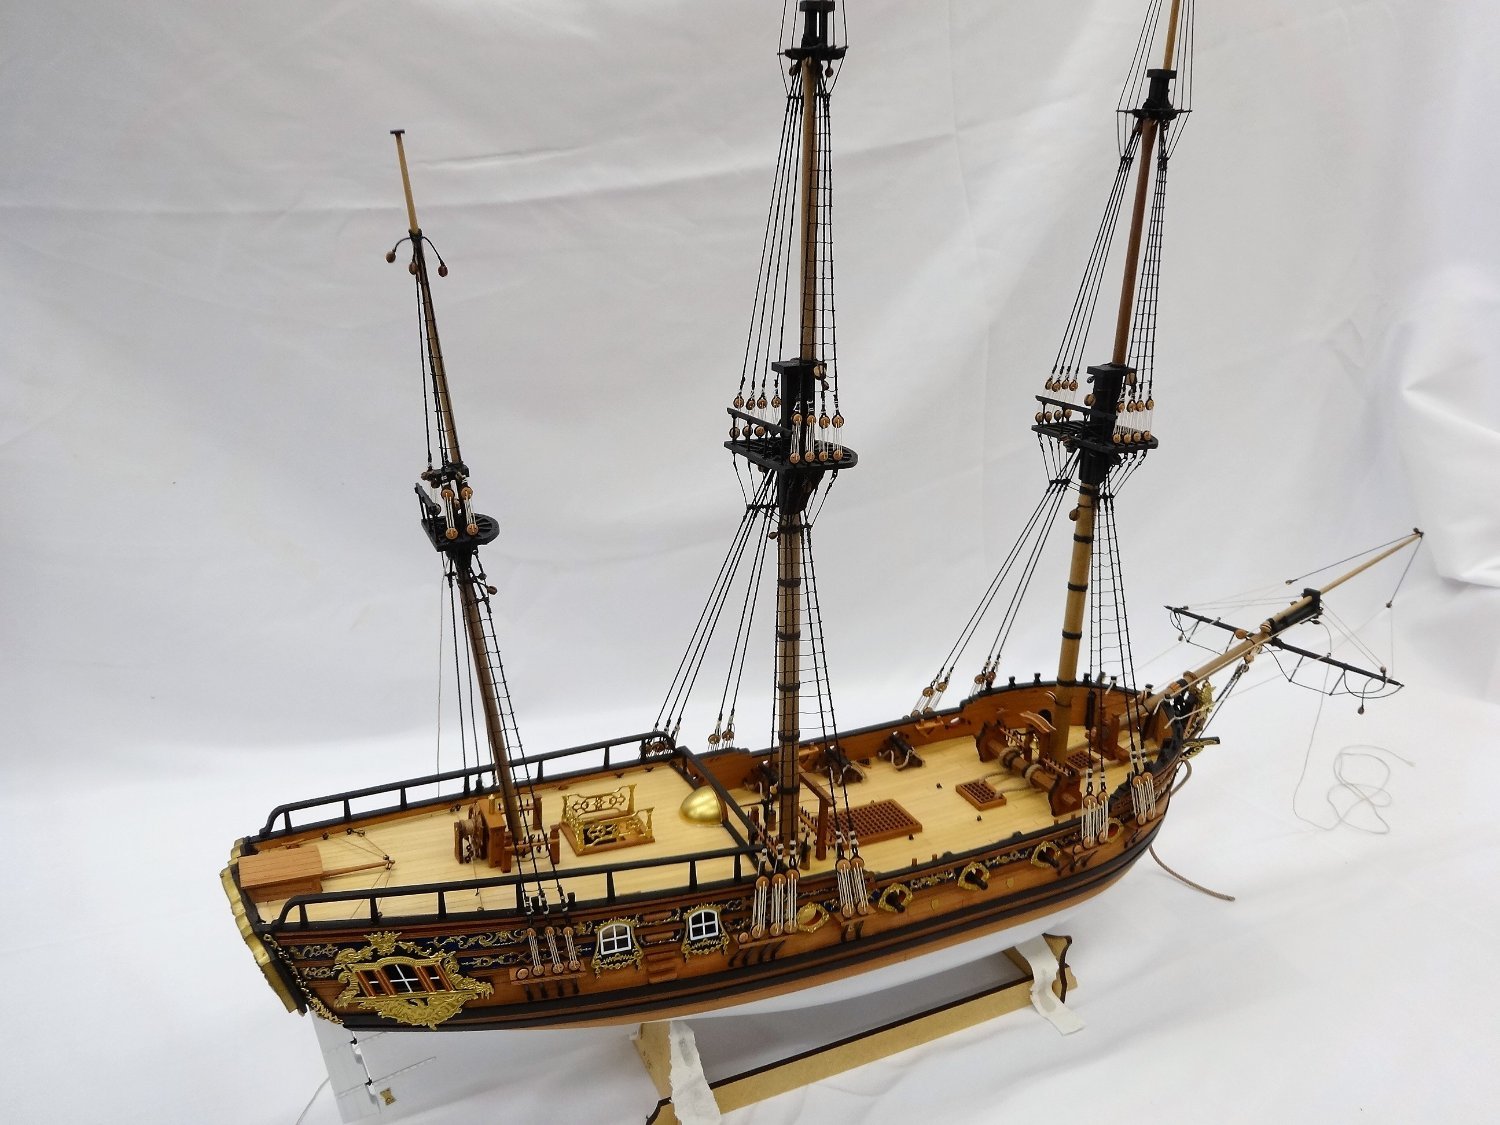
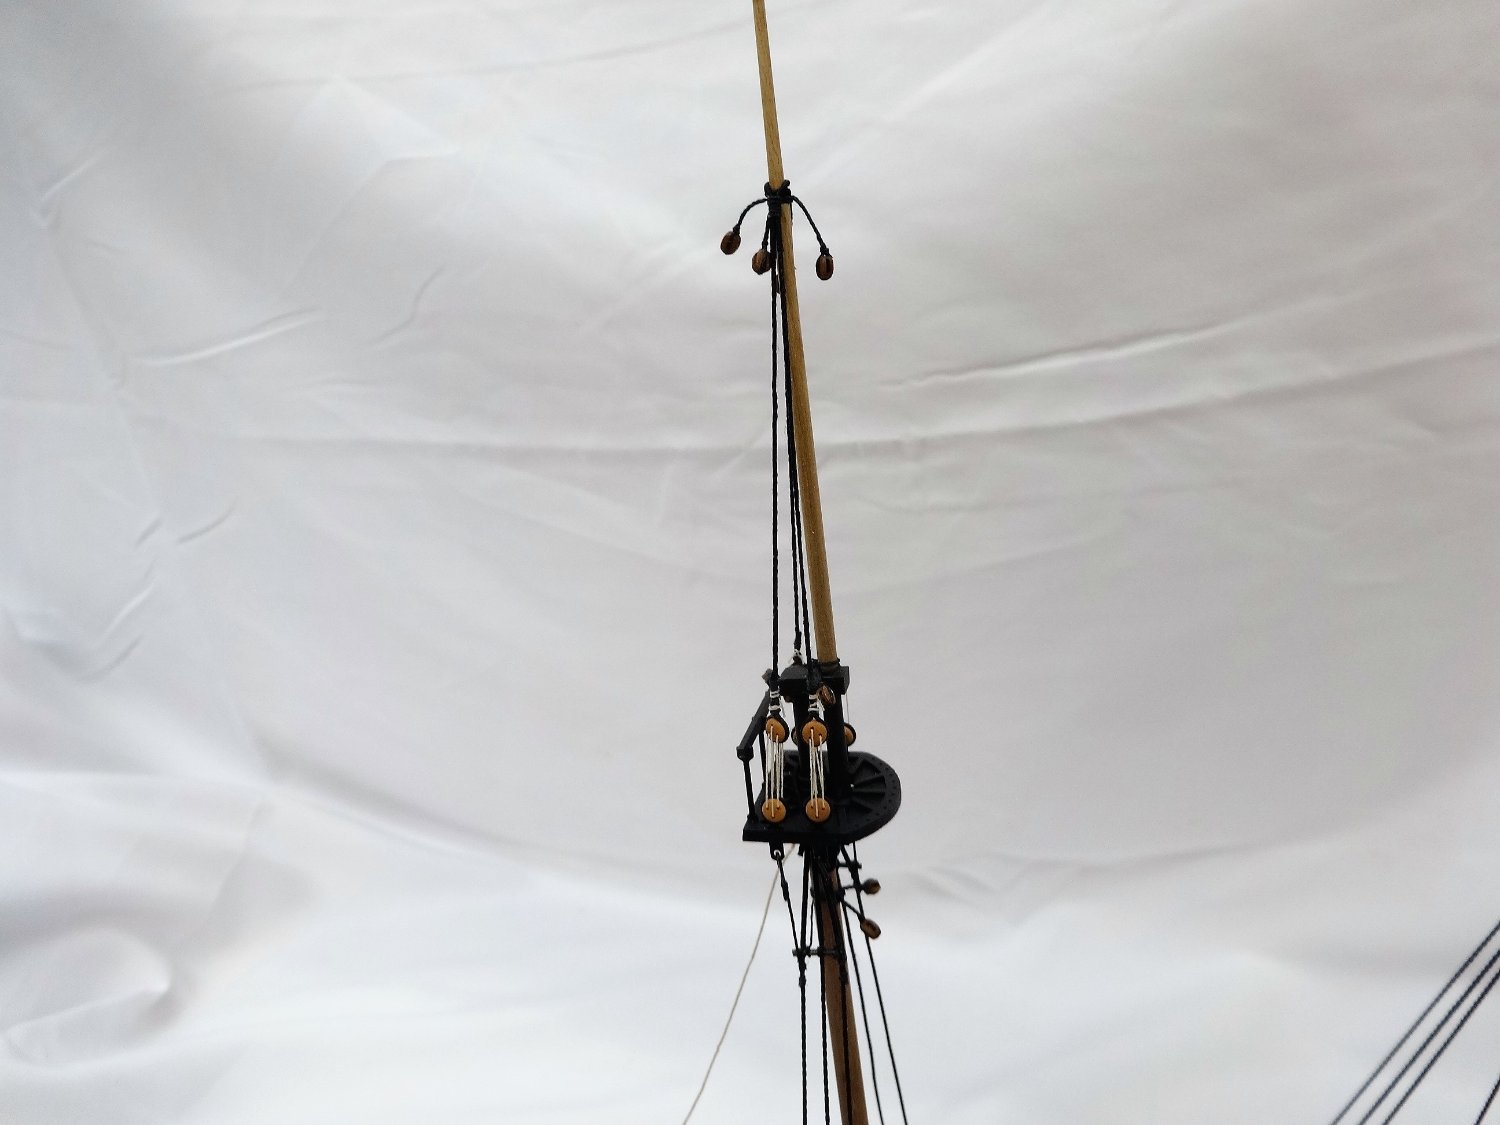
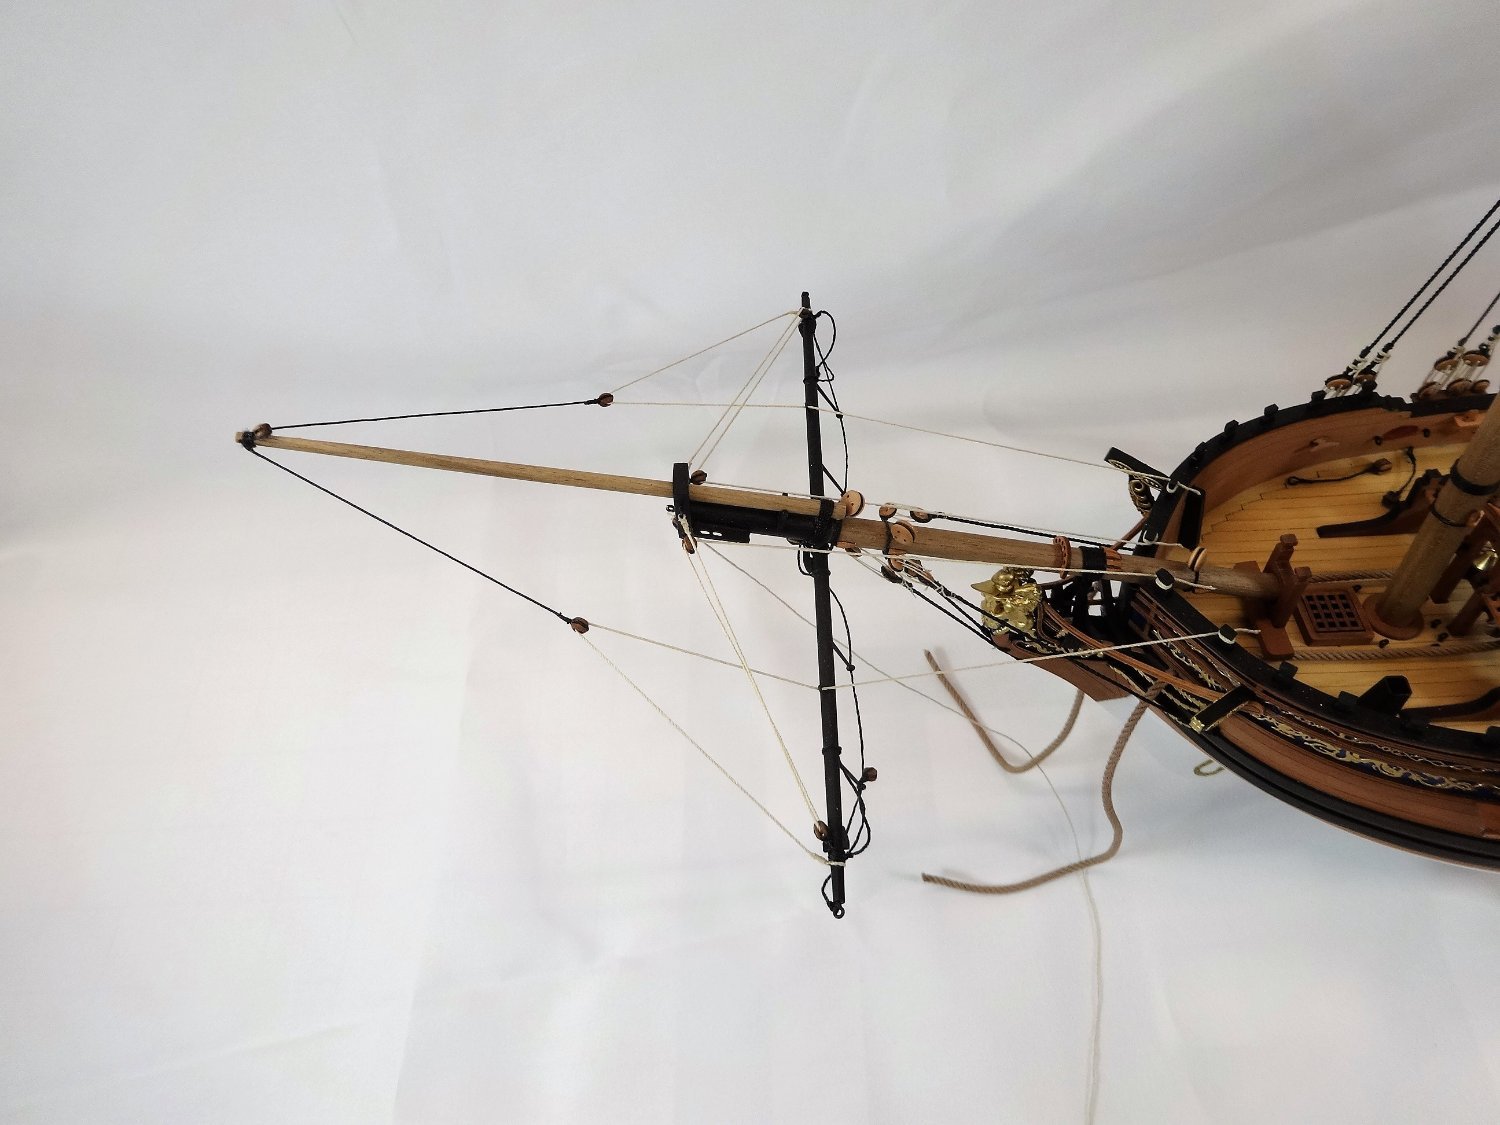
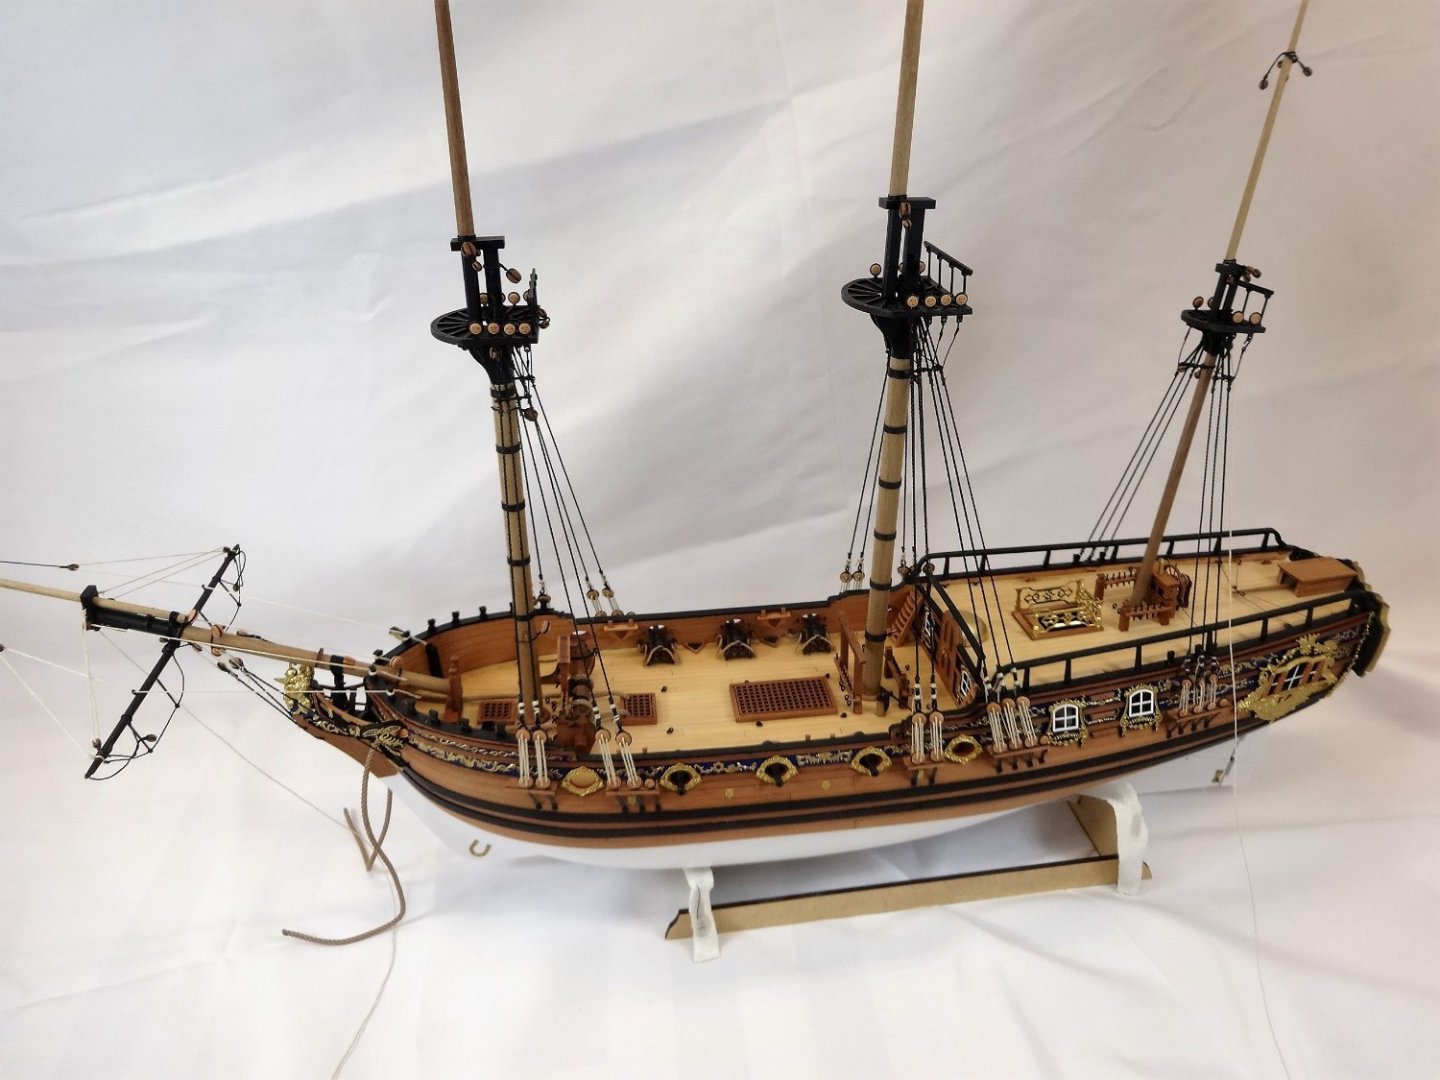
Well it's been quite a while since I've been working on the Duchess. I spent the last several months working on the Winnie and now I've taken a break from her and want to get some more of the rigging done on the DOK. I have finished the lower shrouds, the futtock staves, catharpins and futtock strops. Also the four bowsprit stays have been added. Next I'll start on the upper shrouds and then ratlines! Fun Fun Fun


- 201 replies
-
- 14
-
-
- Duchess of Kingston
- Vanguard Models
- (and 1 more)
-
Very nice workmanship!
-
Your preparation and execution is producing a wonderfully planked Winnie! Outstanding work Glenn!
- 840 replies
-
- 3
-
-
- winchelsea
- Syren Ship Model Company
- (and 1 more)
-
Oh don't I know it Glenn. I had to add the fold down bench on the back wall this winter as I ran out of counter top space! Thanks B.E. It's really nice to see people incorporate Chuck and Chris's wonderful designs into their models. FYI I'm taking a minor break from the Winnie to work on the DOK's rigging. The poor girl has been left in the corner too long. Also thanks for all the likes.
- 642 replies
-
- 4
-
-
- winchelsea
- Syren Ship Model Company
- (and 1 more)
-
Very nice job on those guns JJ!