Rustyj
-
Posts
2,535 -
Joined
-
Last visited
Content Type
Profiles
Forums
Gallery
Events
Everything posted by Rustyj
-
 Wonderful work Bob.
 -
Congratulations Ryland. That's a great award for a wonderfully done model!
- 263 replies
-
- 2
-

-
- Medway Longboat
- Syren Ship Model Company
- (and 1 more)
-
Very nice work Derek. Great to see you back at it!
- 345 replies
-
- 1
-

-
- Duchess Of Kingston
- Vanguard Models
- (and 1 more)
-
Thank you JJ, Glenn and Vladimir for the kind words. It's very much appreciated. Also thanks for all the likes!
- 642 replies
-
- 2
-
-
- winchelsea
- Syren Ship Model Company
- (and 1 more)
-
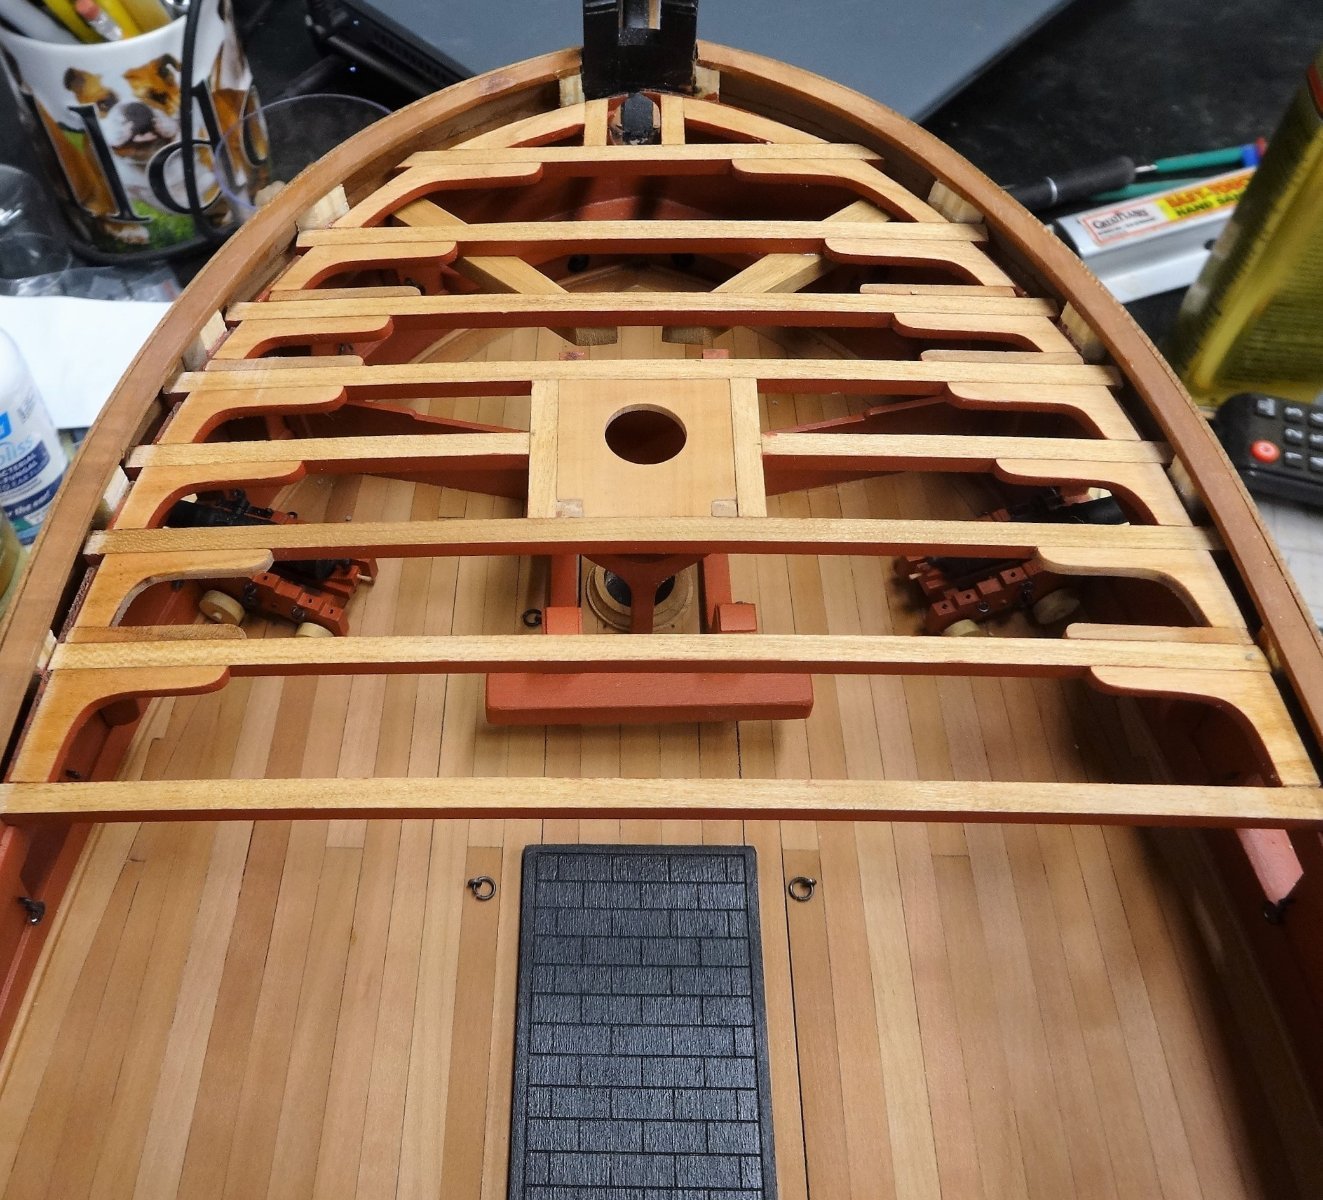
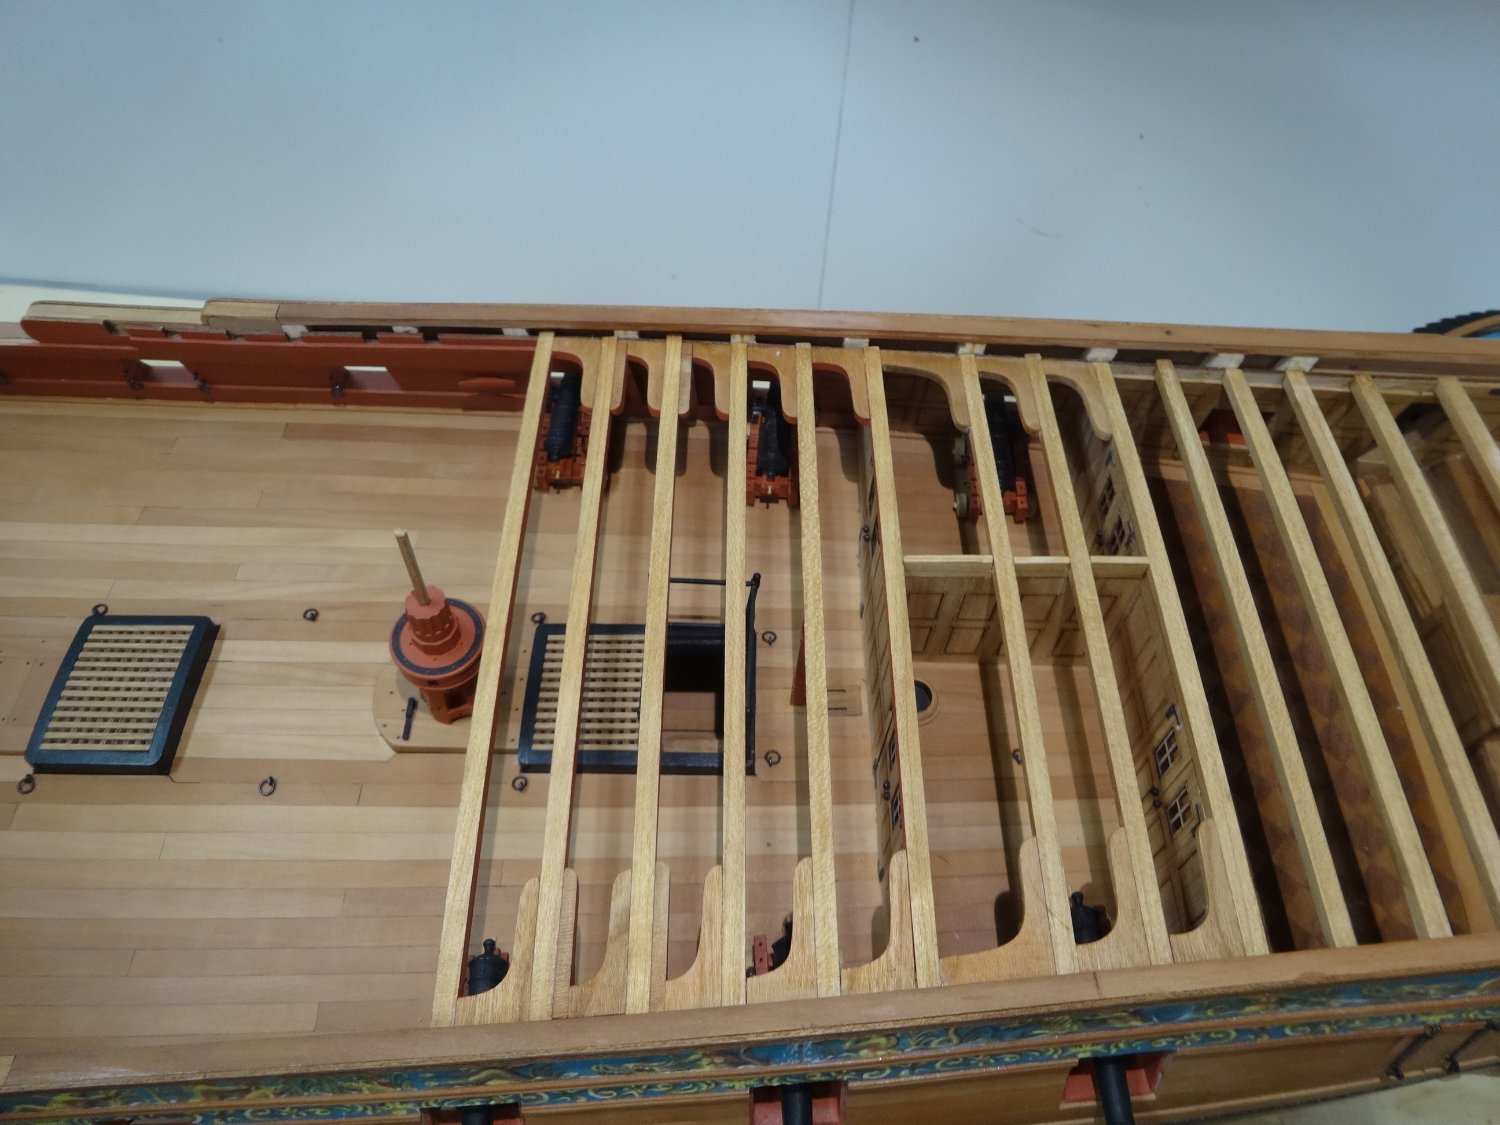
While waiting for the brass rod to arrive I continued working on the forecastle. The bowsprit step and manger boards were placed at the fourth beam. Then the rest of the forward beams, knees and lodging knees were added. Also the cat tails were added. Then the forward bits and mast partner were added and additional beams and knees. Lastly, I added the stove, riding bits, bulkhead panel and the remaining beams and knees. Now that I received the 1mm brass rod I'll go back aft to finish the chain pumps and the rest of chapter 7.


- 642 replies
-
- 17
-
-

-
- winchelsea
- Syren Ship Model Company
- (and 1 more)
-
That is some great work!
-
Glenn, I just got caught up on your work and I echo everyone else's comments. It's more of your usual excellent workmanship.
- 840 replies
-
- 4
-
-
- winchelsea
- Syren Ship Model Company
- (and 1 more)
-
It was so much fun I'm thinking of getting a second one to display with the Winnie. Thank you all for the kind words and likes. It is a marvelous little project and even if you're not building the Winnie you would enjoy it.
- 642 replies
-
- 4
-
-
- winchelsea
- Syren Ship Model Company
- (and 1 more)
-
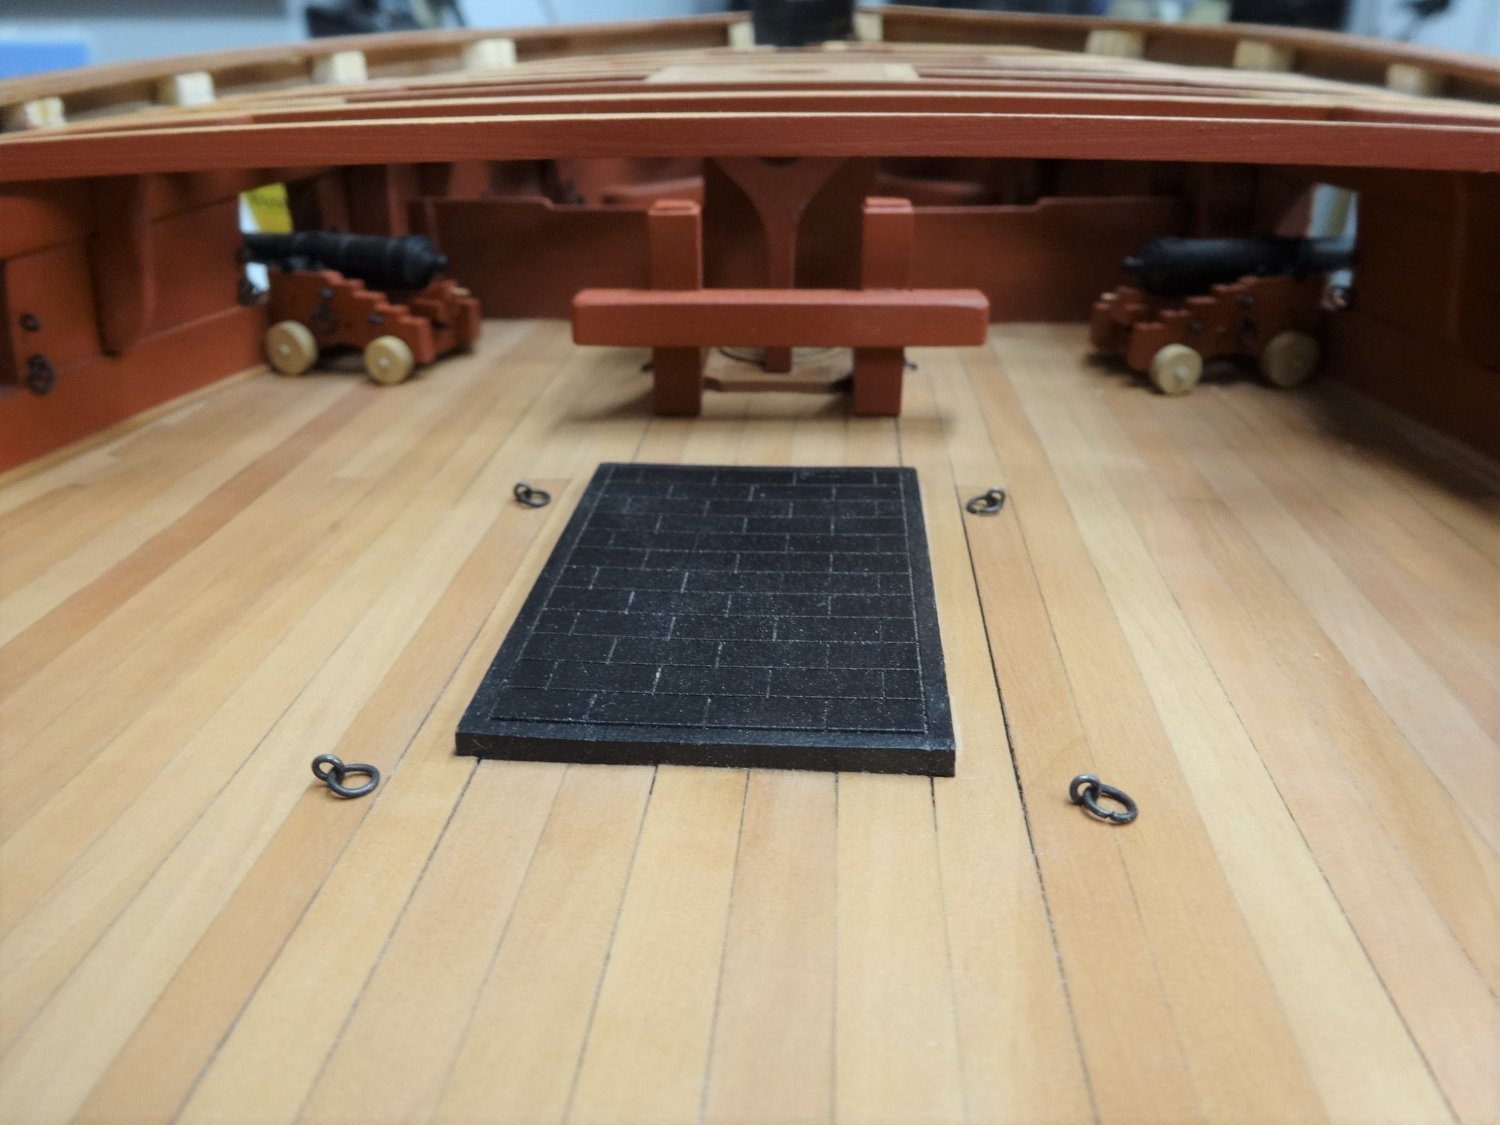
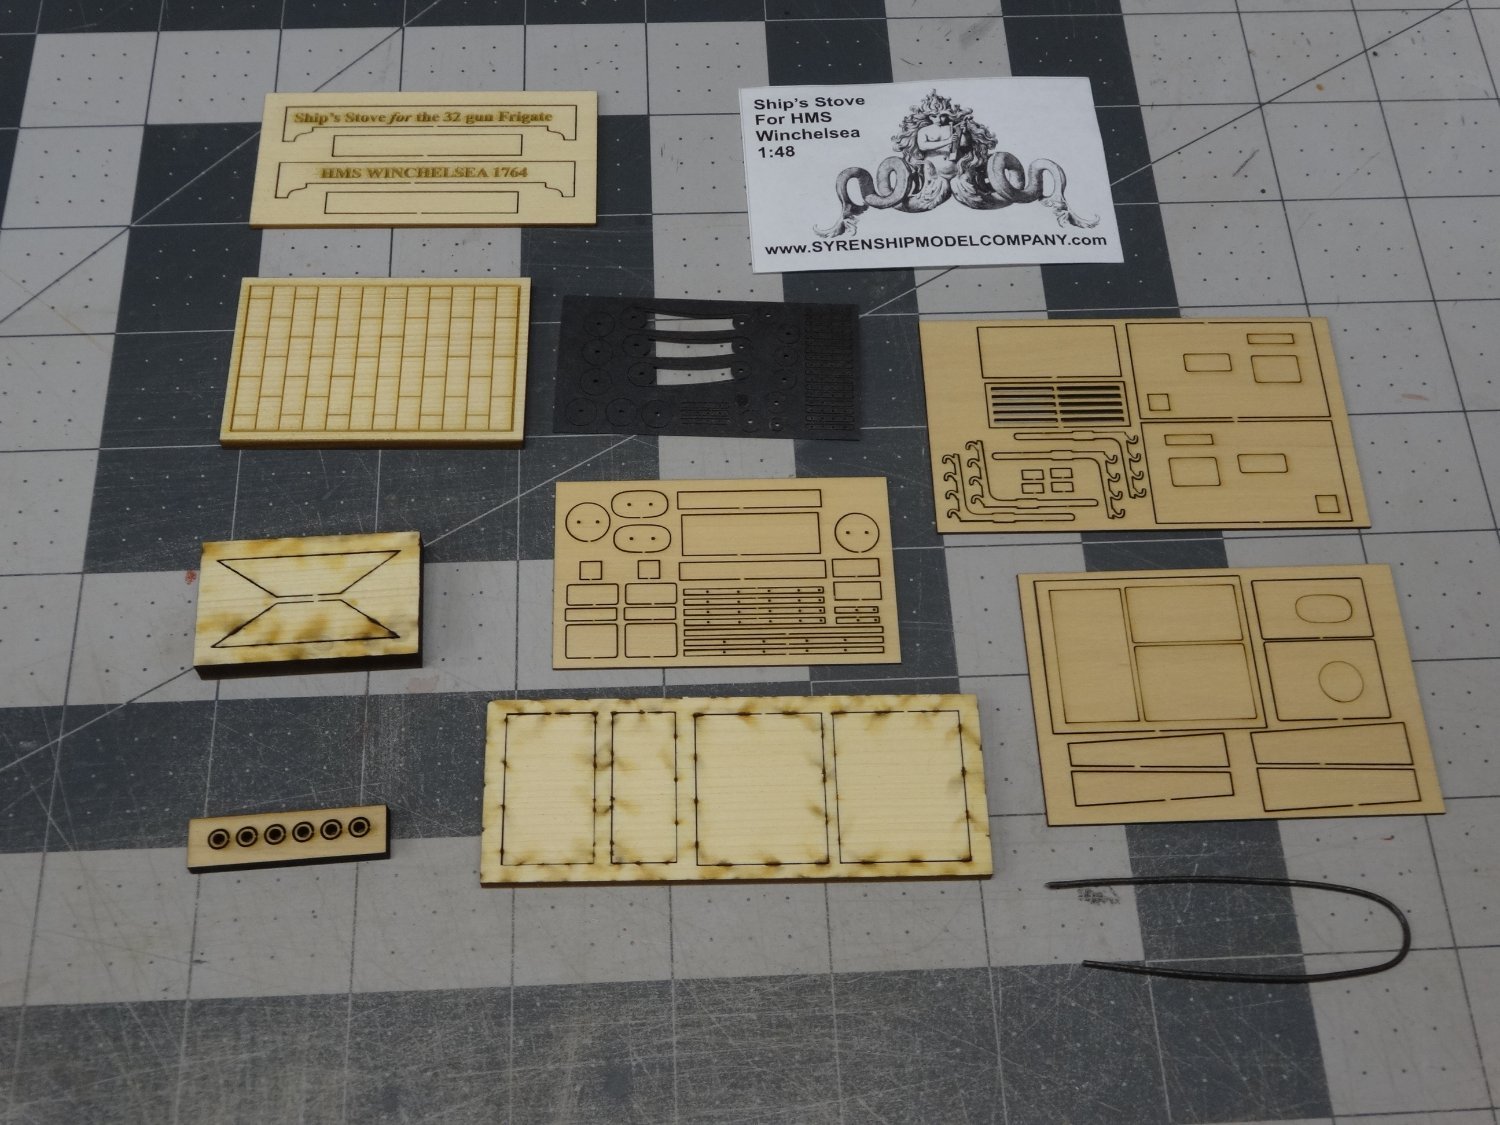
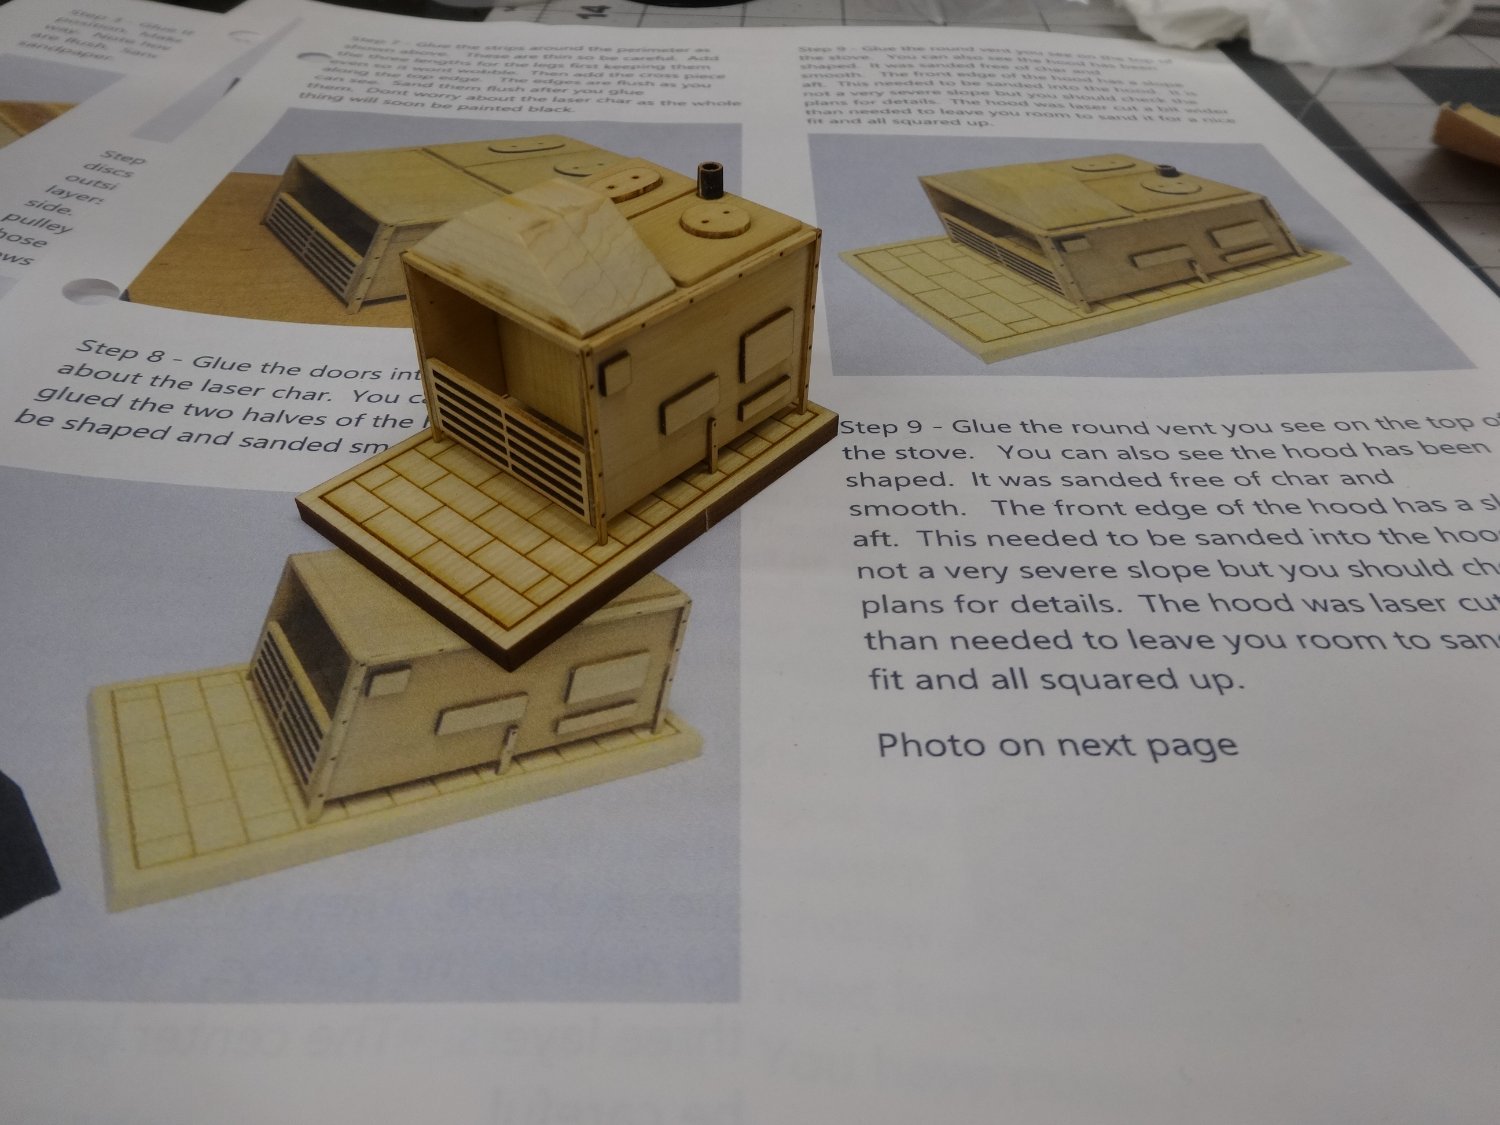
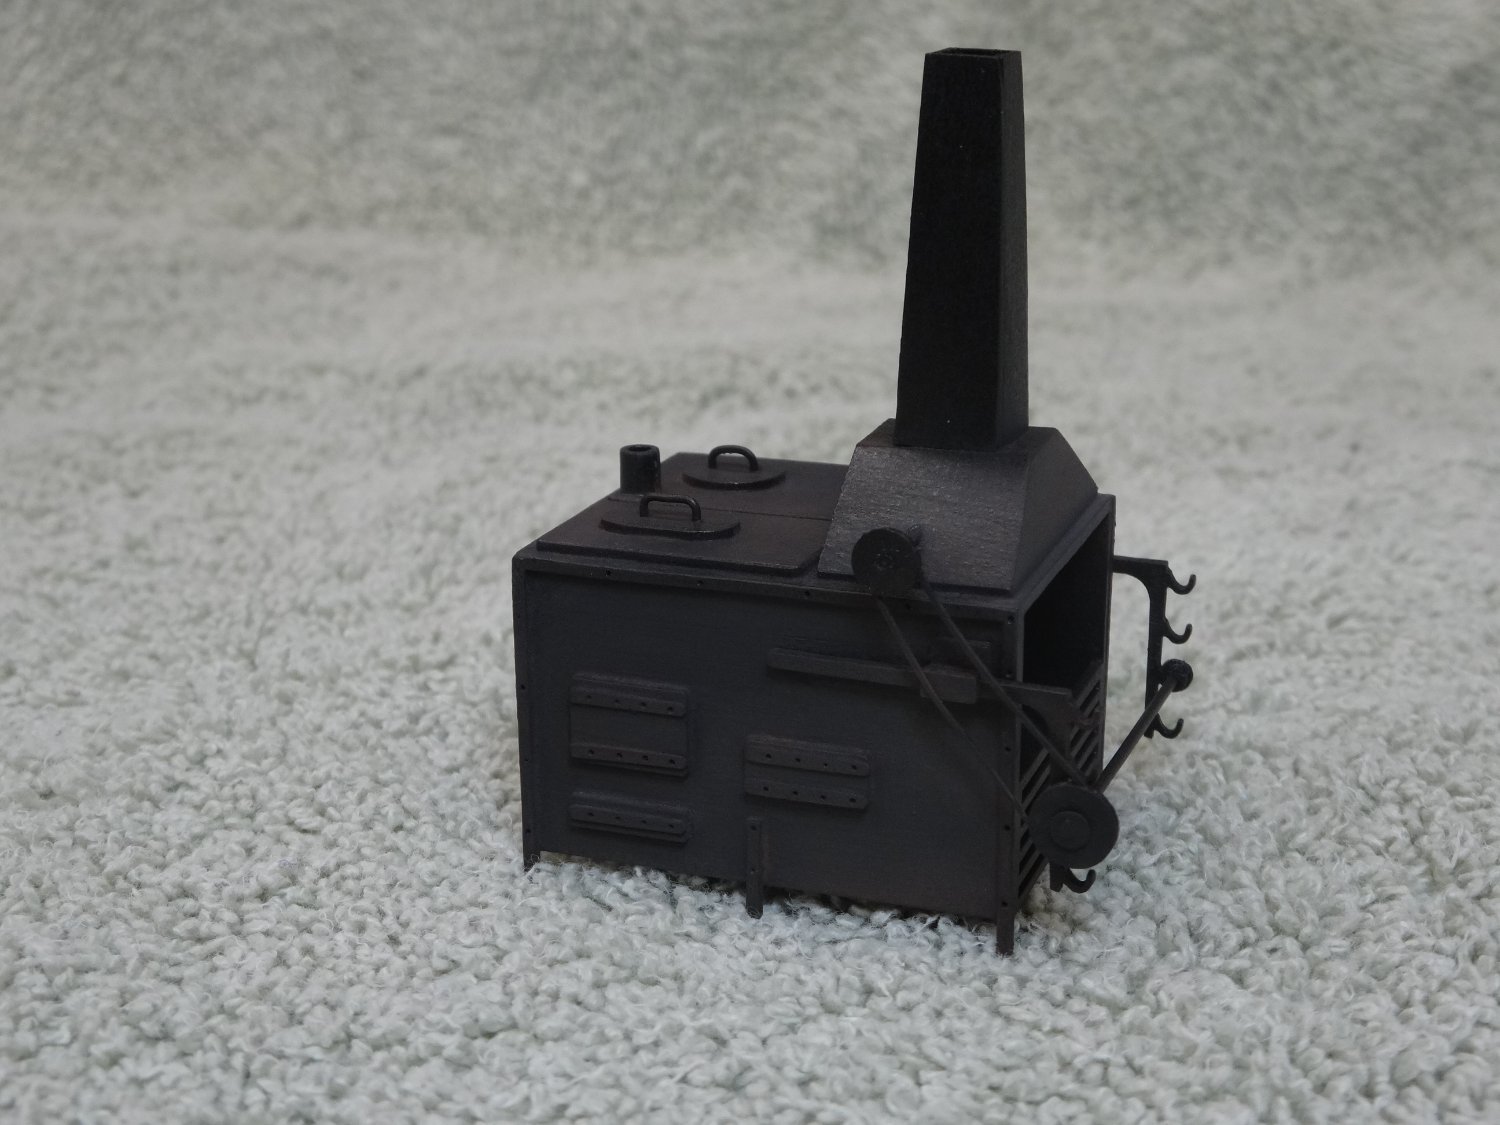
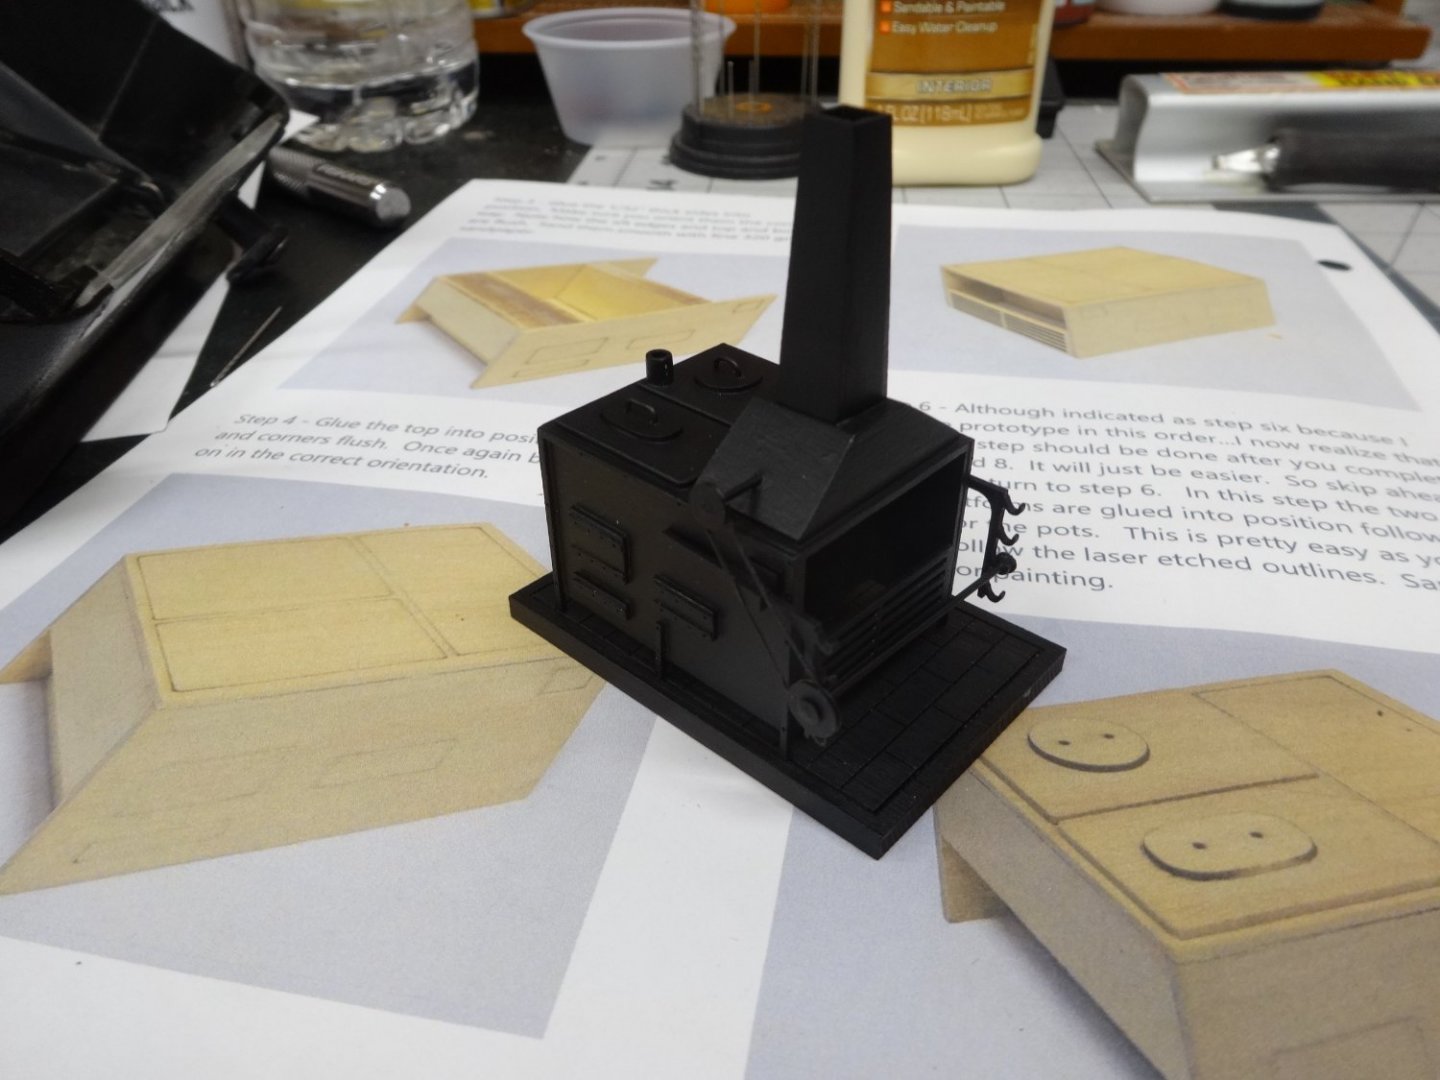
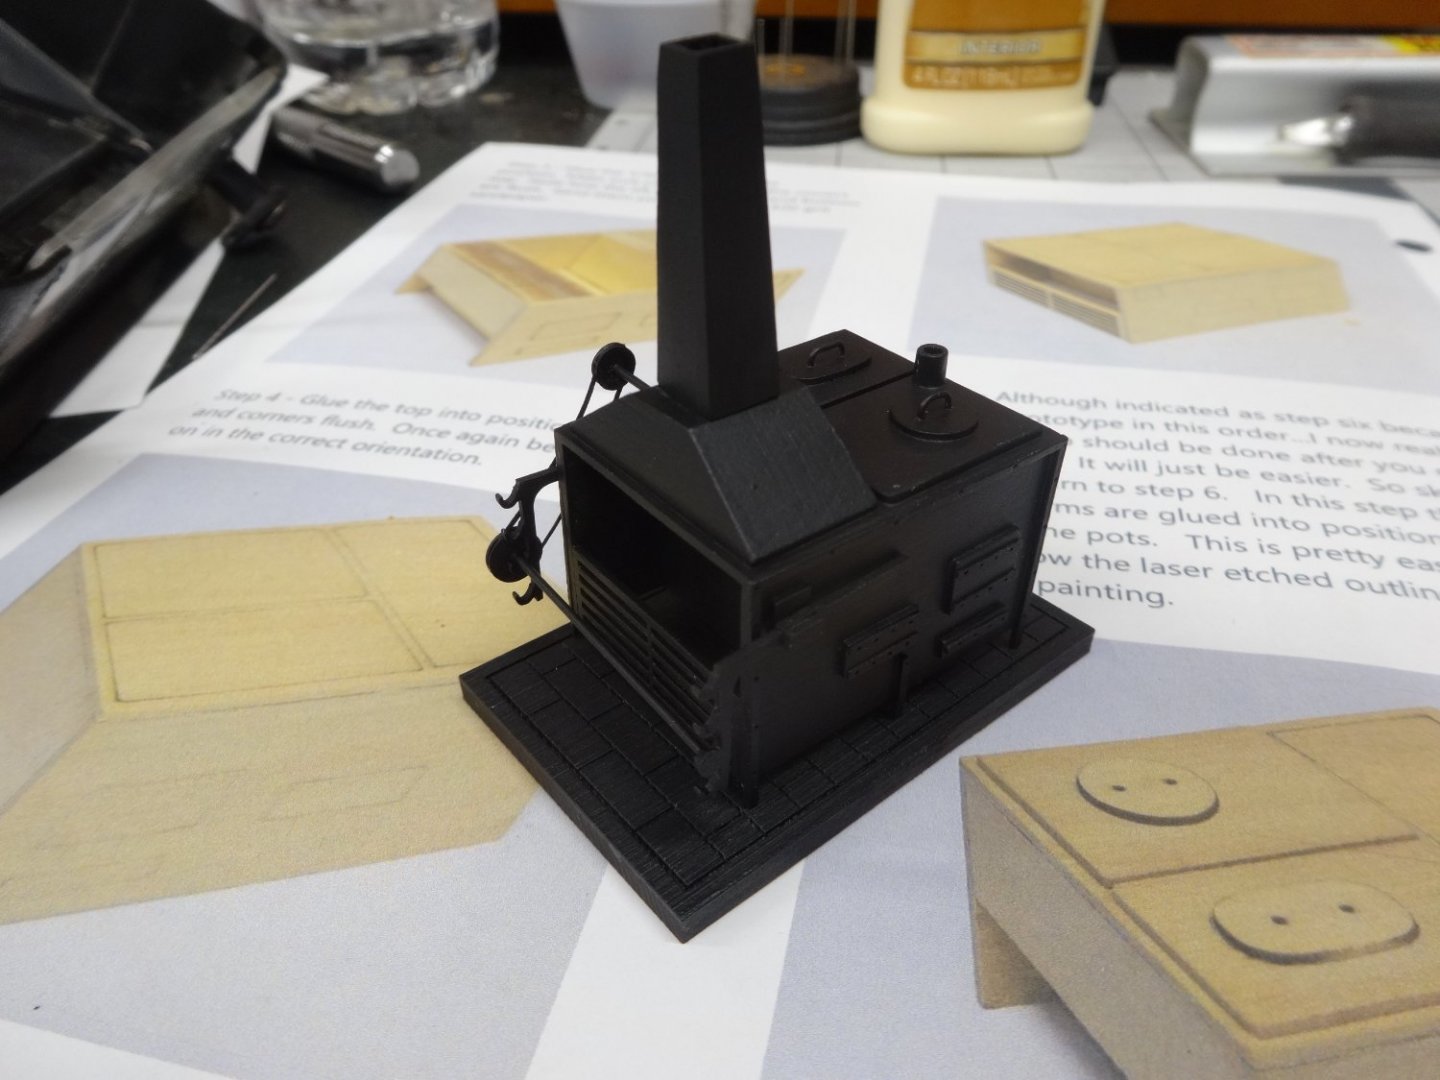
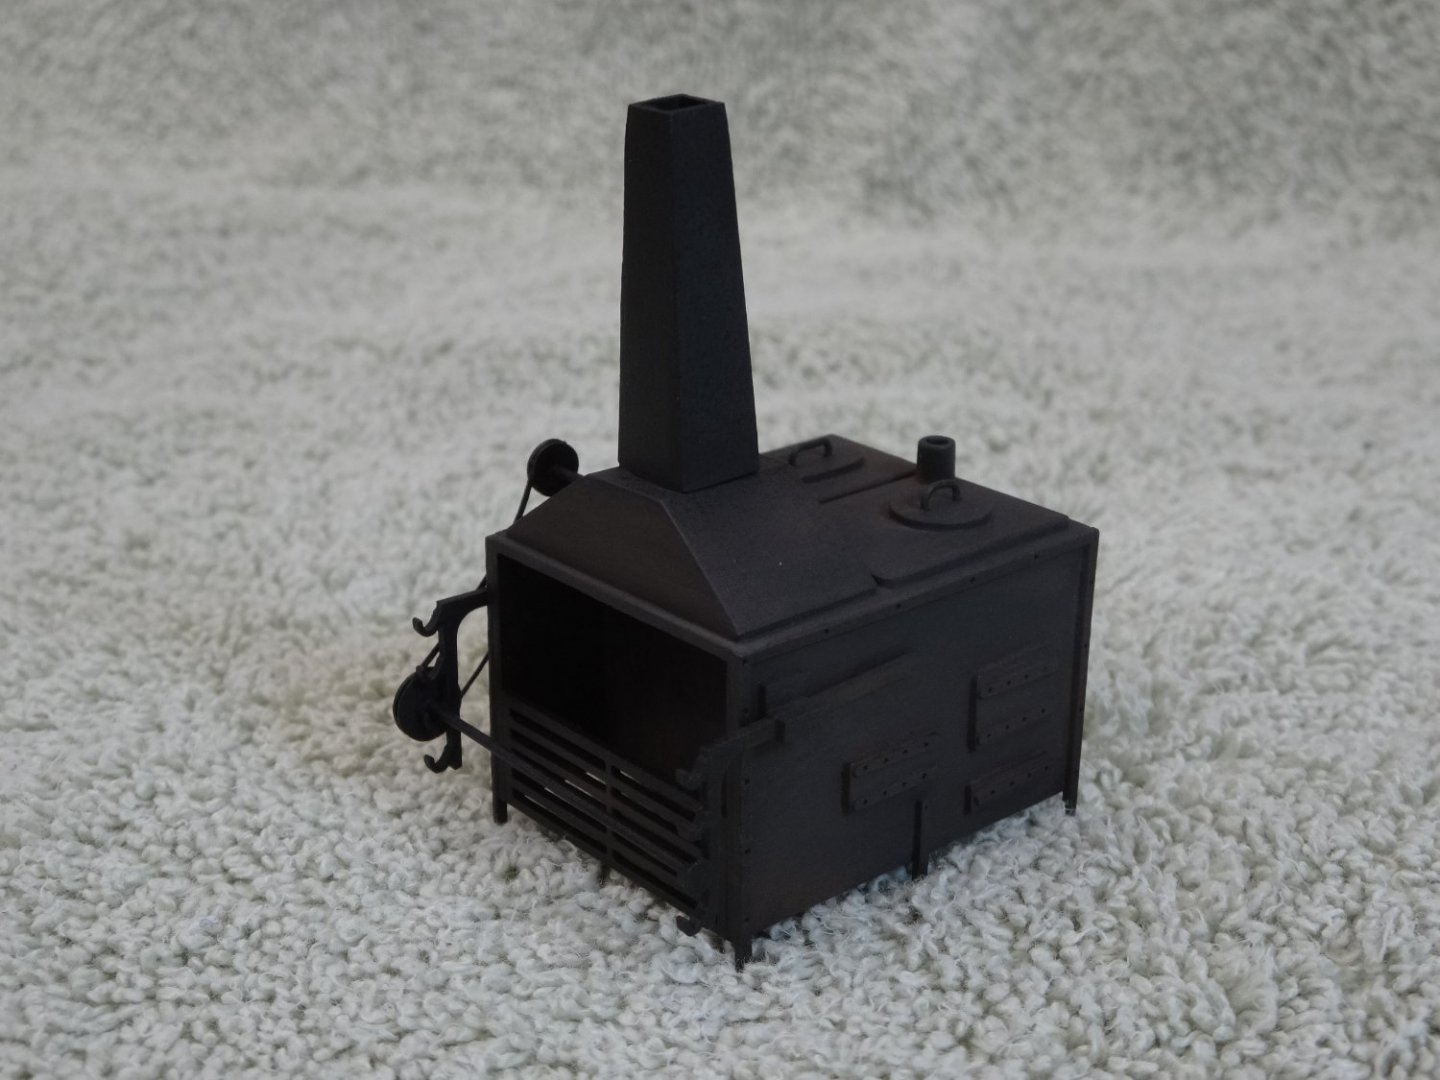
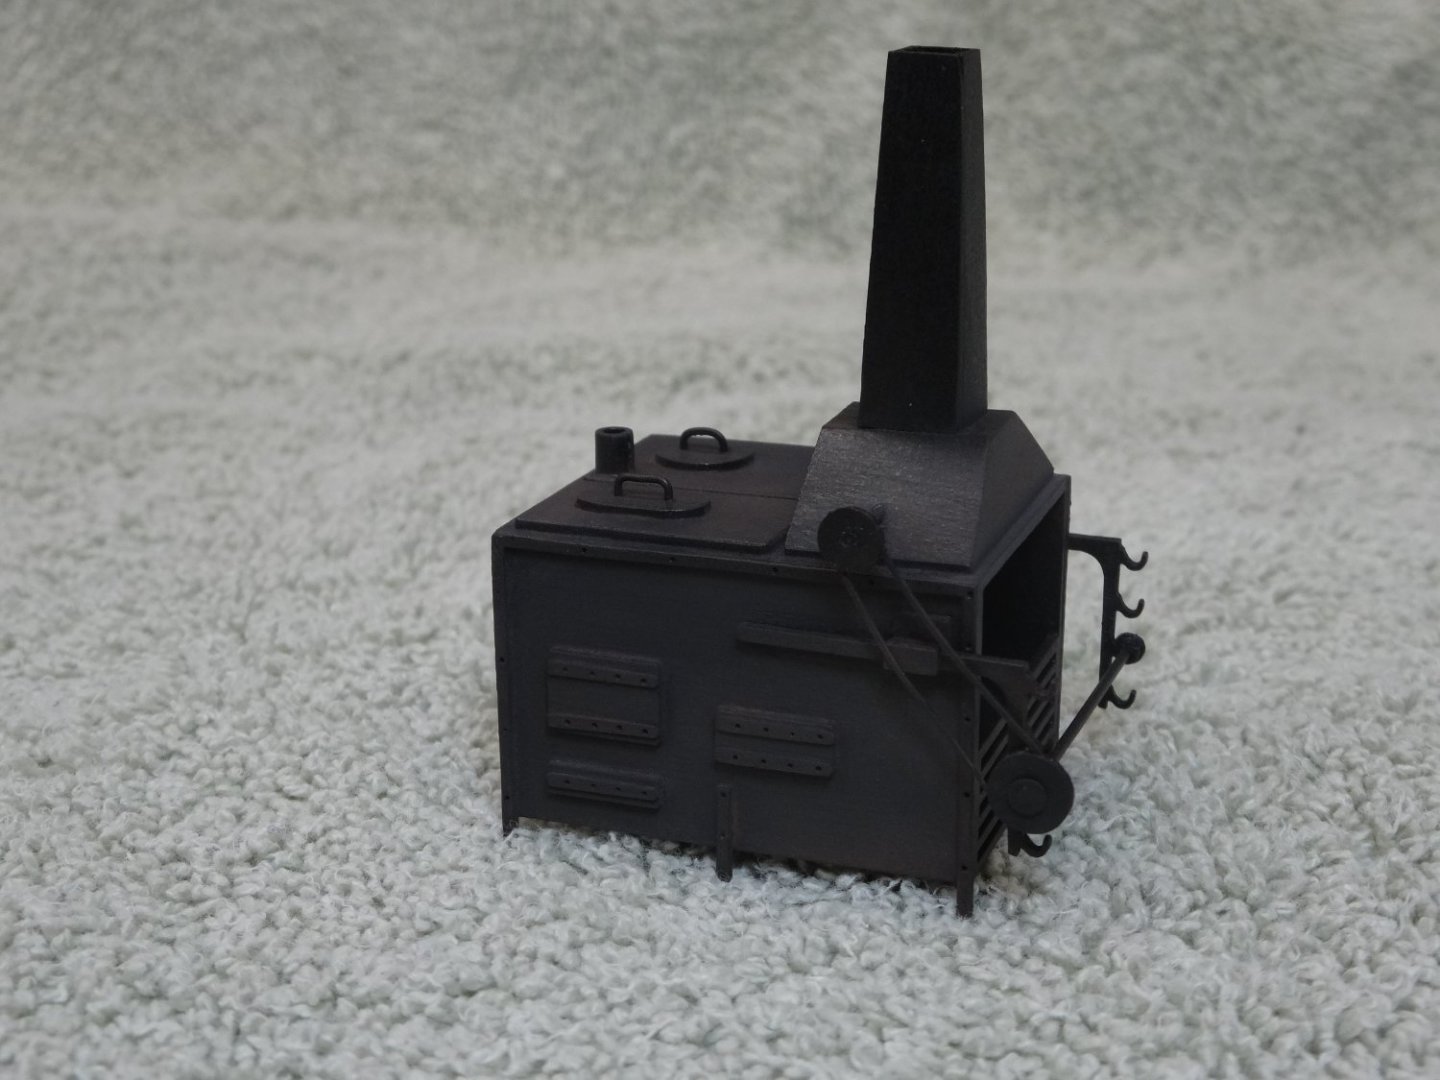
Hi All, Well, I've diverted a bit. I thought I had the 1mm rod needed to do the chain pump crank handles. Come to find out I have .89mm or 1.19mm rod. Either too small or too large. Of course, the local hobby store did not have any in stock either. So, I ordered some online and have to wait for them to arrive. I could have started on chapter 8 but the stove was calling me so I listened. The parts all fit perfectly. Here is the stove all assembled and painted. No weathering powders have applied yet. And here is the finished stove. I first applied a grimy black powder, sprayed it with a matt spray. I then applied some rusty brown powder. It was a little strong for my taste, so I went over it with a light coat of grimy black to tone it down just a bit. It was then sprayed with dull coat. Until the brass rod arrives I'll start on chapter 8.


- 642 replies
-
- 23
-
-
-
- winchelsea
- Syren Ship Model Company
- (and 1 more)
-
I also agree with everyone that is some fine planking!
-
Thanks Matt. This is the fun stuff now. Thanks Chuck. I really hope I can make it again this year! Also, thanks everyone for stopping by and all the likes!
- 642 replies
-
- 1
-
-
- winchelsea
- Syren Ship Model Company
- (and 1 more)
-
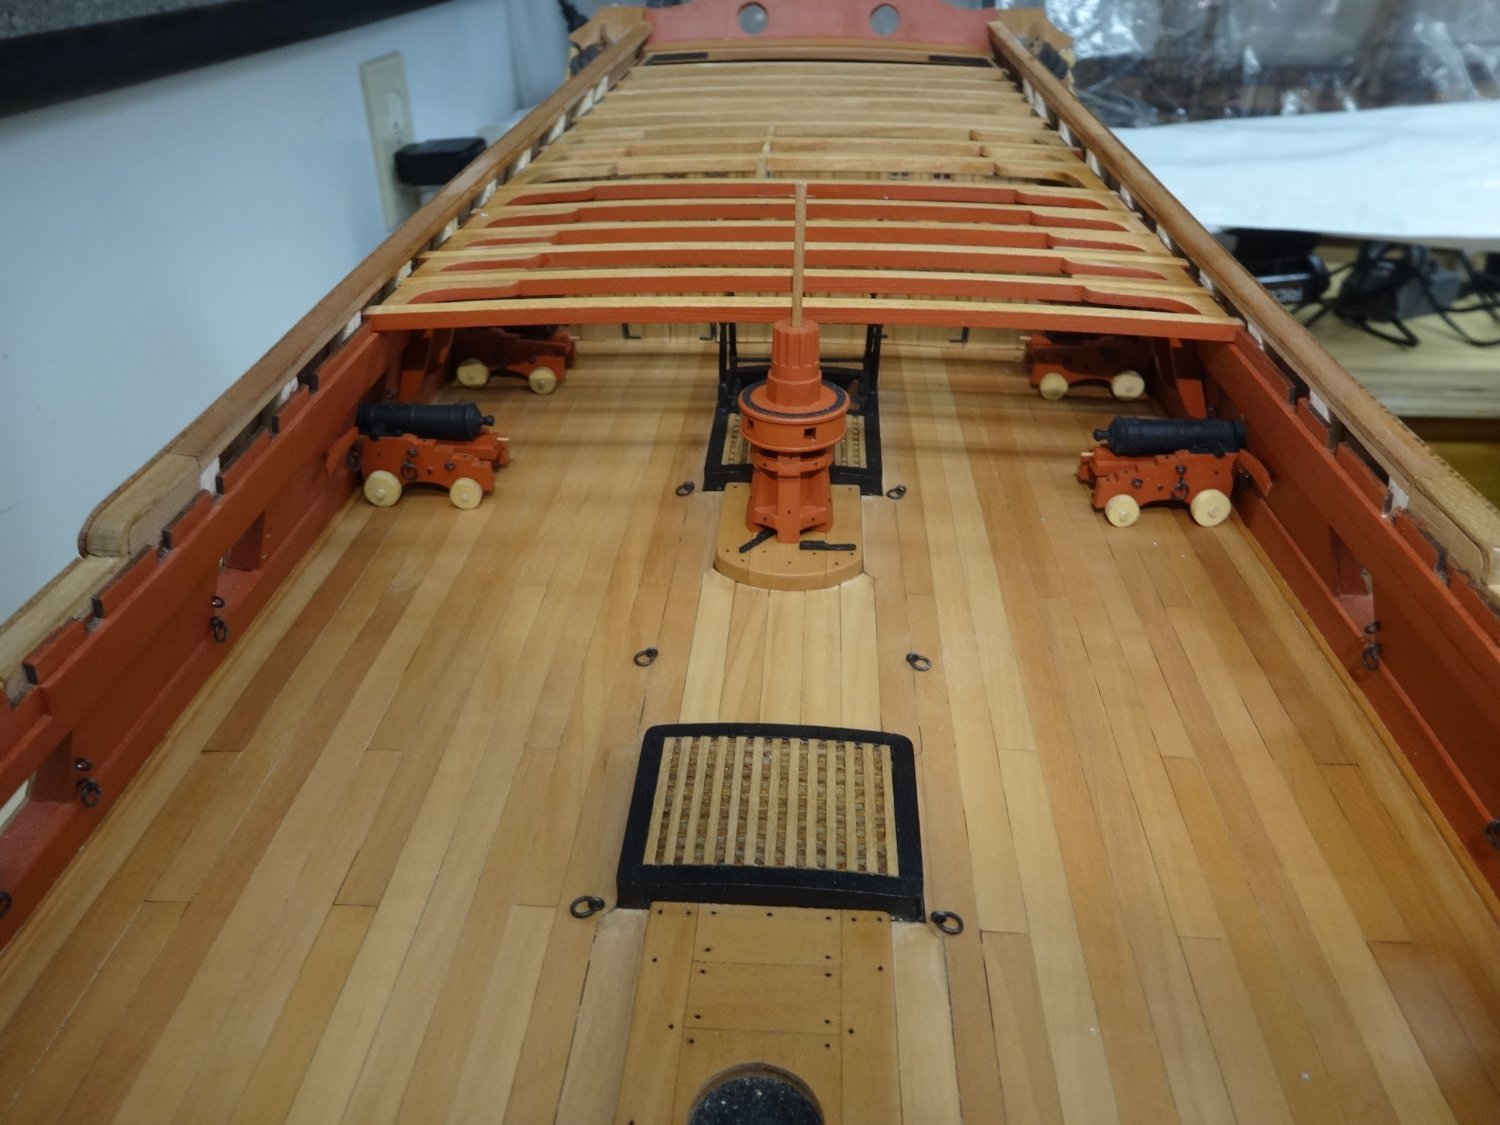
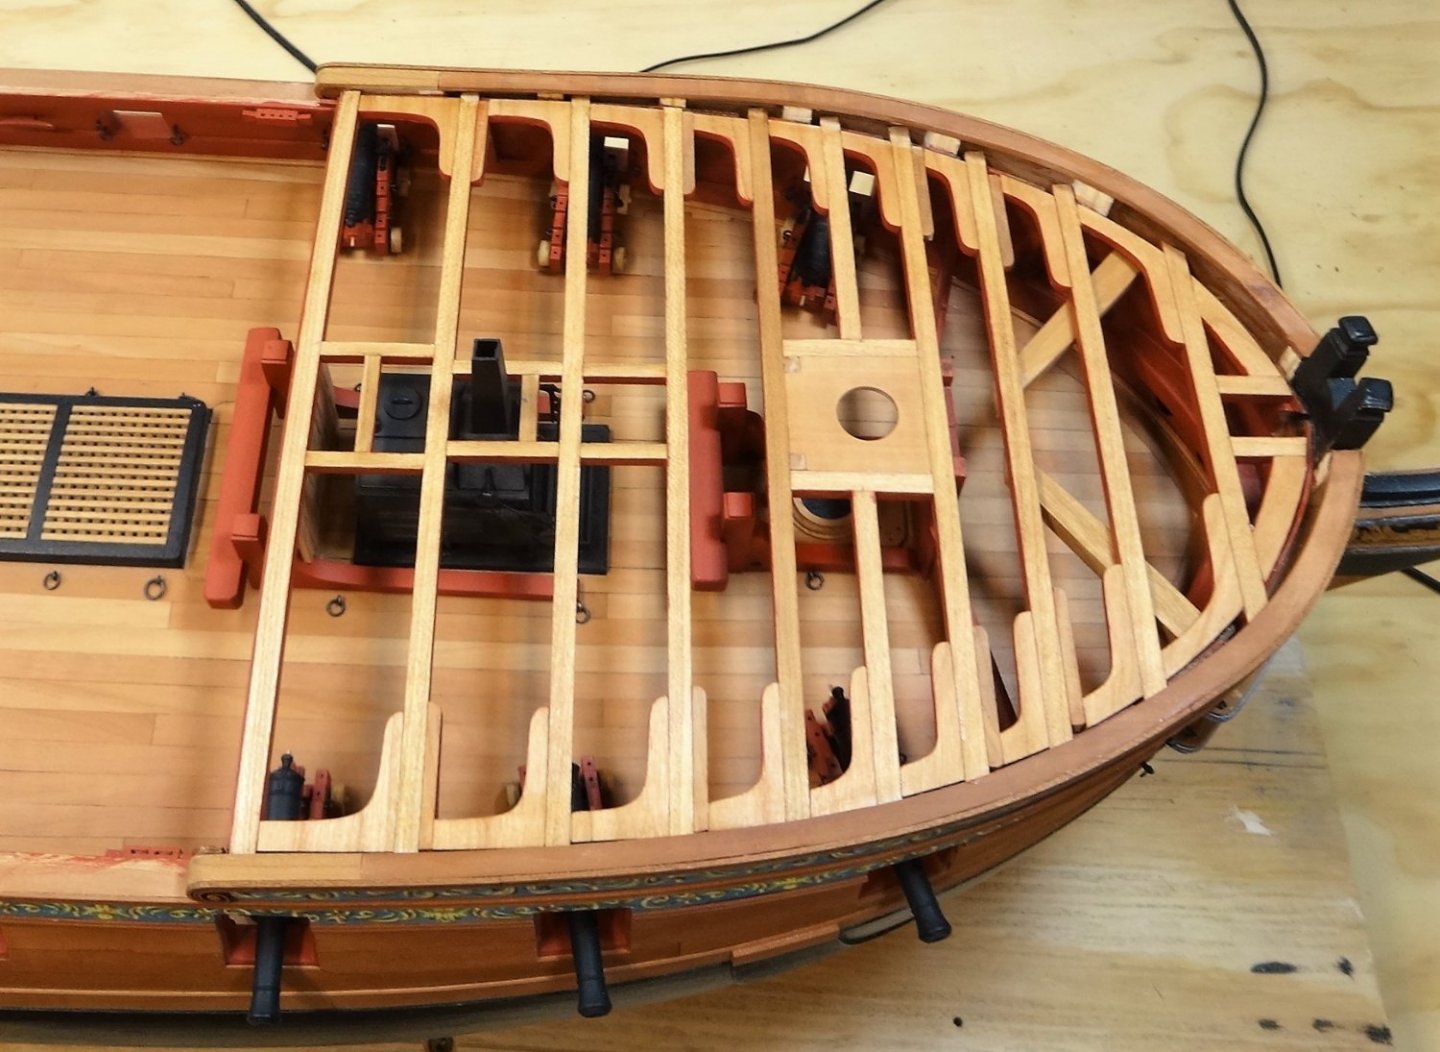
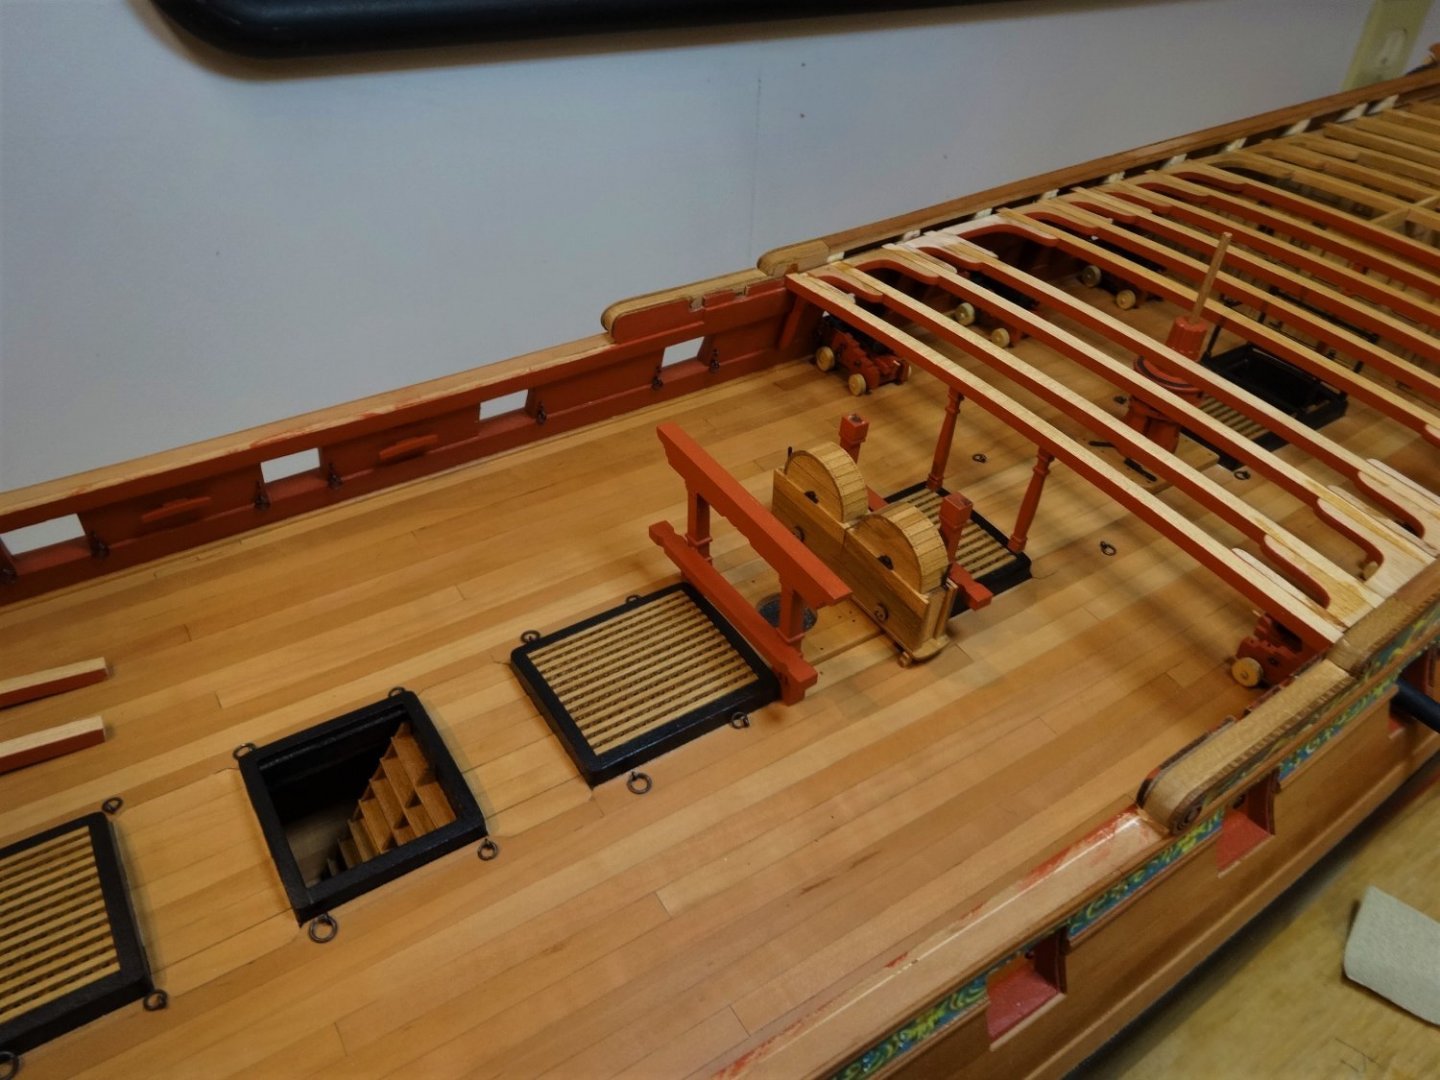
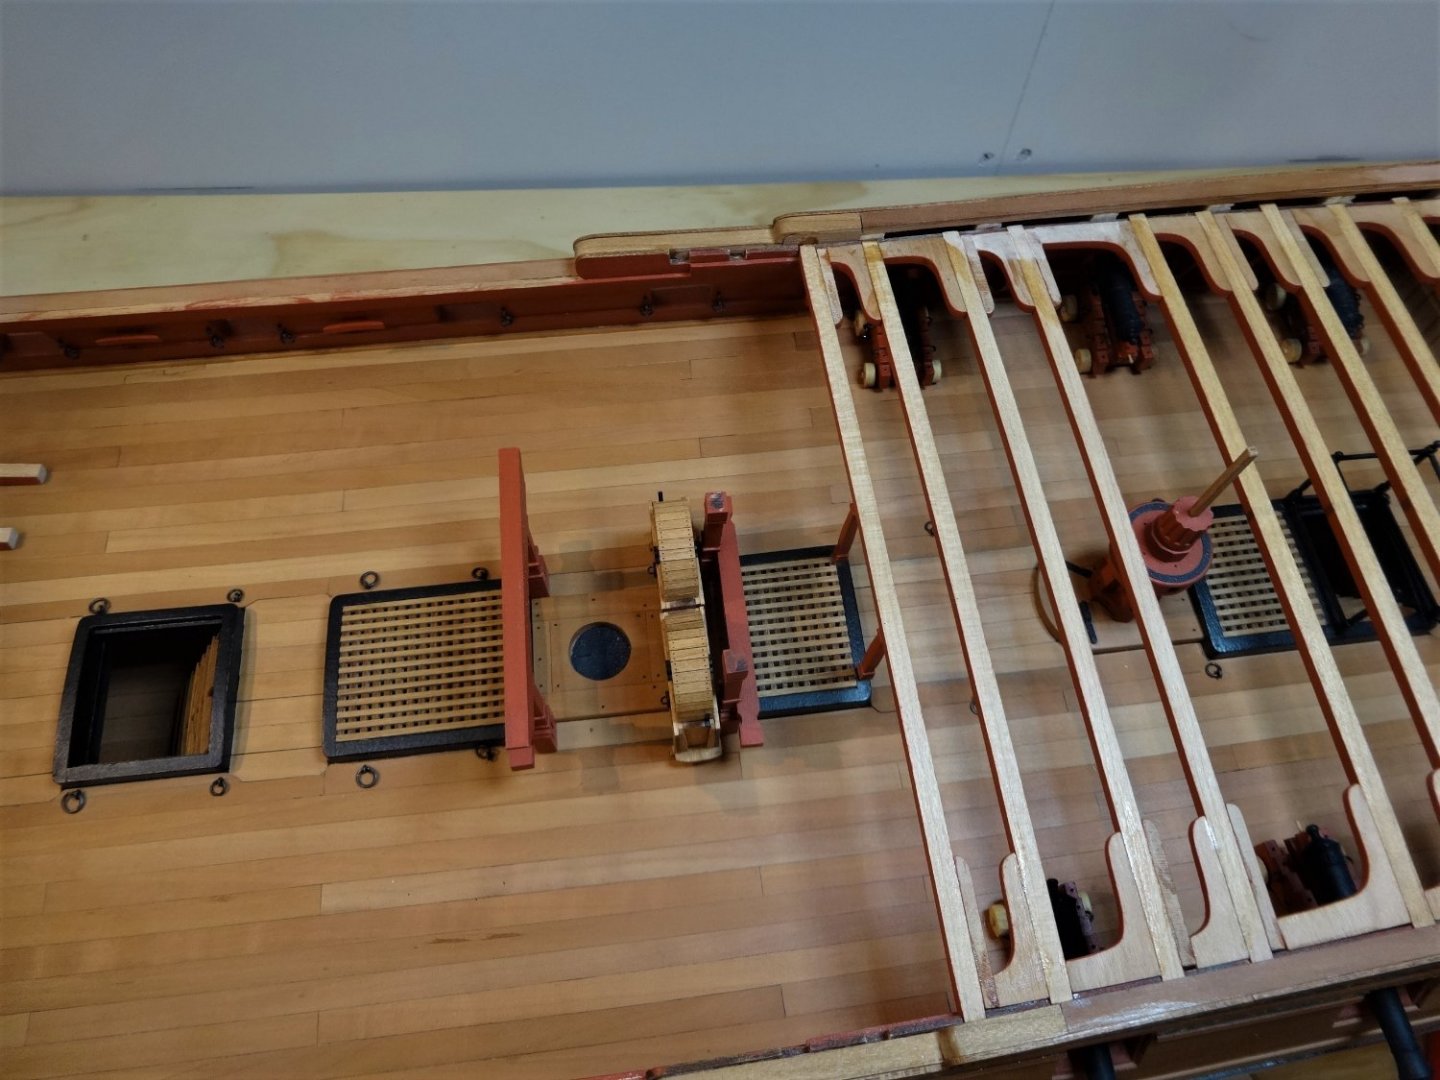
I spent the weekend completing the main jeer bits and the gallows as well as the chain pumps. They are just set in place for the picture. I have also fit all the beams but removed the last two as adjustments and alignments will follow. The shop LED lights washed out the color but it is the same red ochre as used on the bulwarks. Next it will be aligning the pump crank handles and permanently placing the jeer bits, gallows, chain pumps and columns.
- 642 replies
-
- 24
-
-
-
- winchelsea
- Syren Ship Model Company
- (and 1 more)
-
I just caught up on your work and it is outstanding. Your descriptions and photos are a tremendous reference. Thanks!
- 542 replies
-
- 1
-
-
- Sphinx
- Vanguard Models
- (and 3 more)
-
Yep! When they break a railing stanchion they can just go into the hold and retrieve it. Also thank you everyone for stopping by and all the likes. Much appreciated.
- 642 replies
-
- 3
-
-
- winchelsea
- Syren Ship Model Company
- (and 1 more)
-
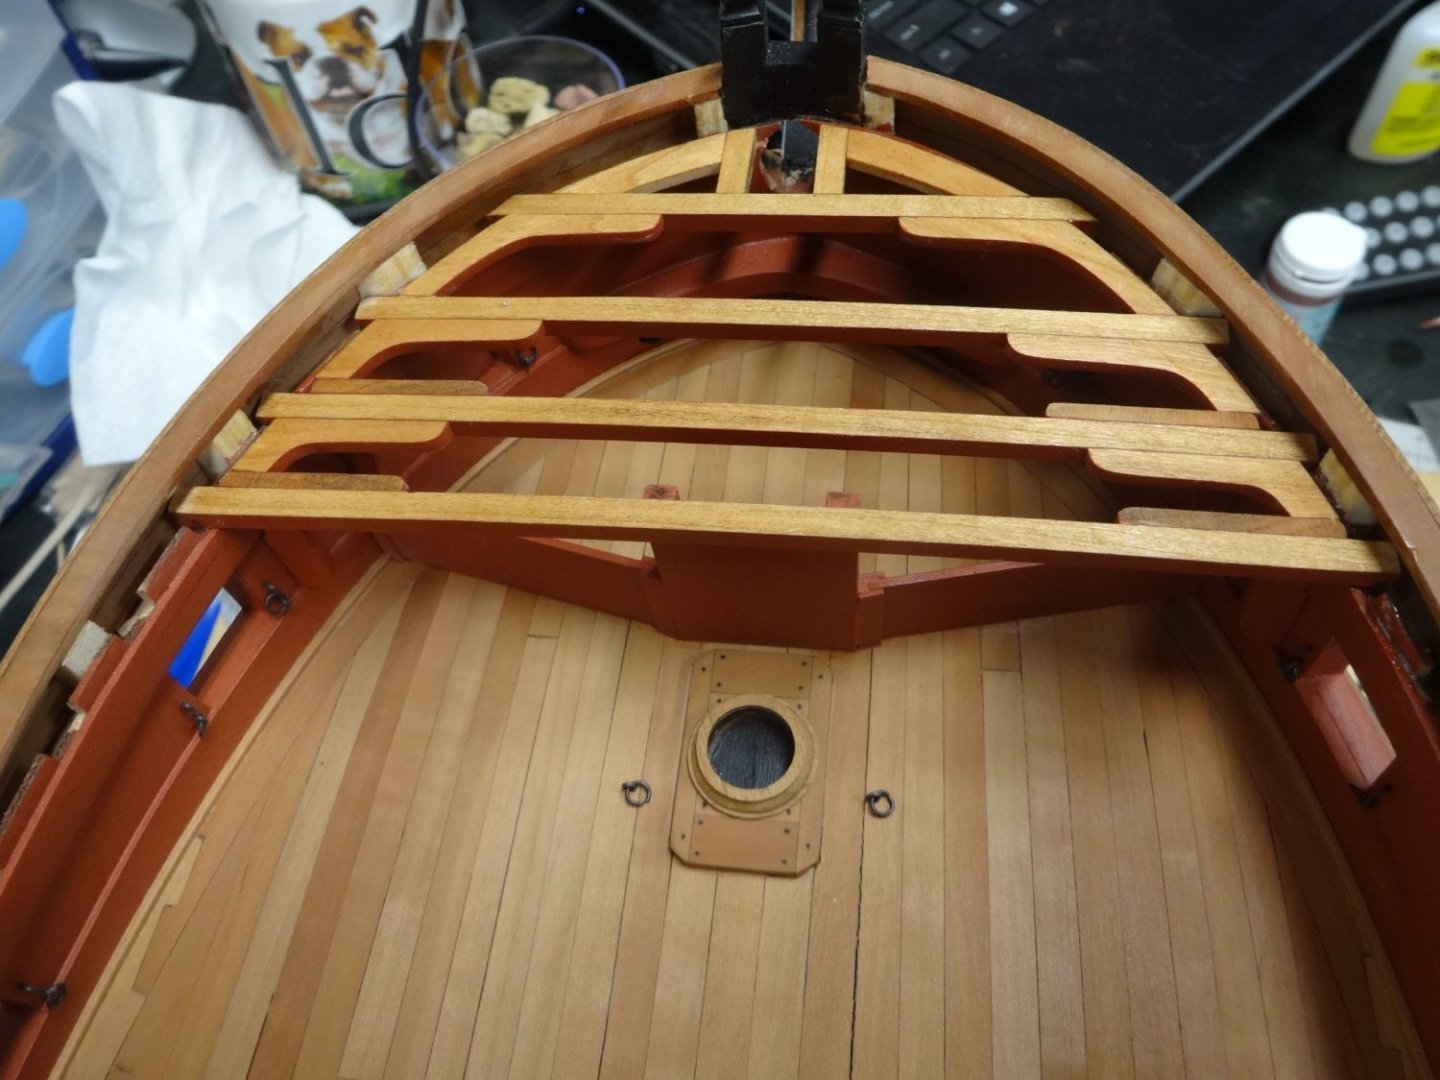
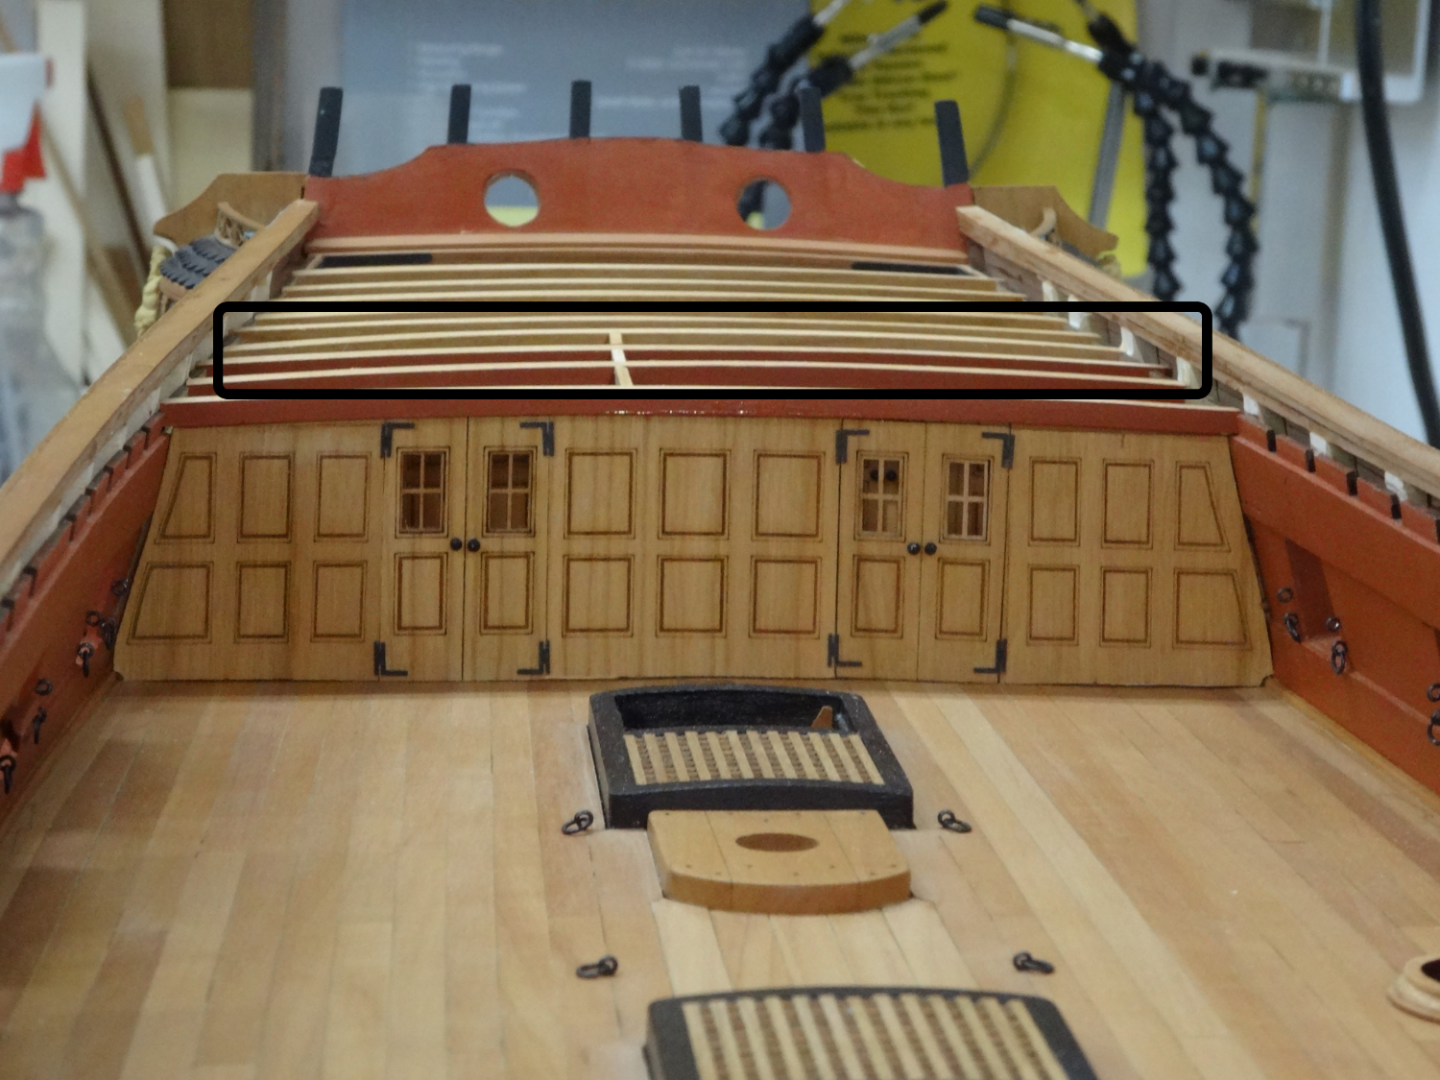
As I was working along I notice an error I had made. I painted some of the beams circled below which were in the outer cabin and I shouldn't have. So I removed the paint so they were unfinished like the captains cabin. I then moved along adding more beams and knees. Also I added the stanchions and railings around the companionway. A word of warning. If you drop one of the stanchions down the companionway you can tip the model over and shake all you want but it isn't going to come out! The lower capstan and pawls have also been added.


- 642 replies
-
- 18
-
-
-
- winchelsea
- Syren Ship Model Company
- (and 1 more)
-
That is some great planking Glenn! Well done.
- 840 replies
-
- 4
-
-
- winchelsea
- Syren Ship Model Company
- (and 1 more)
-
Very nice! Ah the headworks, so much fun but I'm sure you will master it very well.
- 857 replies
-
- 3
-
-
-
- Sphinx
- Vanguard Models
- (and 1 more)
-
I usually spray them with dull coat or matt fixative.
-
Looking really good. I don't have good luck blackening so I appreciate your advice and will give it a go. Thanks Derek!
- 345 replies
-
- 1
-
-
- Duchess Of Kingston
- Vanguard Models
- (and 1 more)
-
With my powders I use a small paint brush and apply like paint. The difference is that the powers don't cover uniformly like paint. There will be sections where it covers more than others. Also I will apply a heavier coat to different parts of the piece to give it the look I want. I hope this make sense.
-
Thank you Chuck and B.E. It's all due to the quality of the design, instructions and parts that make it possible. Also thanks for all the likes!
- 642 replies
-
- 2
-
-
- winchelsea
- Syren Ship Model Company
- (and 1 more)