HOLIDAY DONATION DRIVE - SUPPORT MSW - DO YOUR PART TO KEEP THIS GREAT FORUM GOING! (Only 27 donations so far out of 49,000 members - C'mon guys!)
×


Rustyj
-
Posts
2,530 -
Joined
-
Last visited
Content Type
Profiles
Forums
Gallery
Events
Everything posted by Rustyj
-
 Looking real nice Bob. Thanks for the advice to paint first!
 -
Very nice! Enjoy your vacation.
-
I would leave them as is until you take some measurements from the plans to confirm what is the correct height.
-
That looks outstanding. So much nicer than anything I've seen in the past!
- 1,784 replies
-
- 2
-

-
- winchelsea
- Syren Ship Model Company
- (and 1 more)
-
Looking good. You'll be surprised how quickly it cleans up.
-
That may be a bit of an understatement!
-
She's looking really nice Glen. I have faith you'll conquer the moldings before you run out of wood!
- 778 replies
-
- 3
-
-
- cheerful
- Syren Ship Model Company
- (and 1 more)
-
Very much so. I'm really looking forward to the inboard work! Thanks Glenn and yes I will be using pear to plank the decks.
- 642 replies
-
- 4
-
-
- winchelsea
- Syren Ship Model Company
- (and 1 more)
-
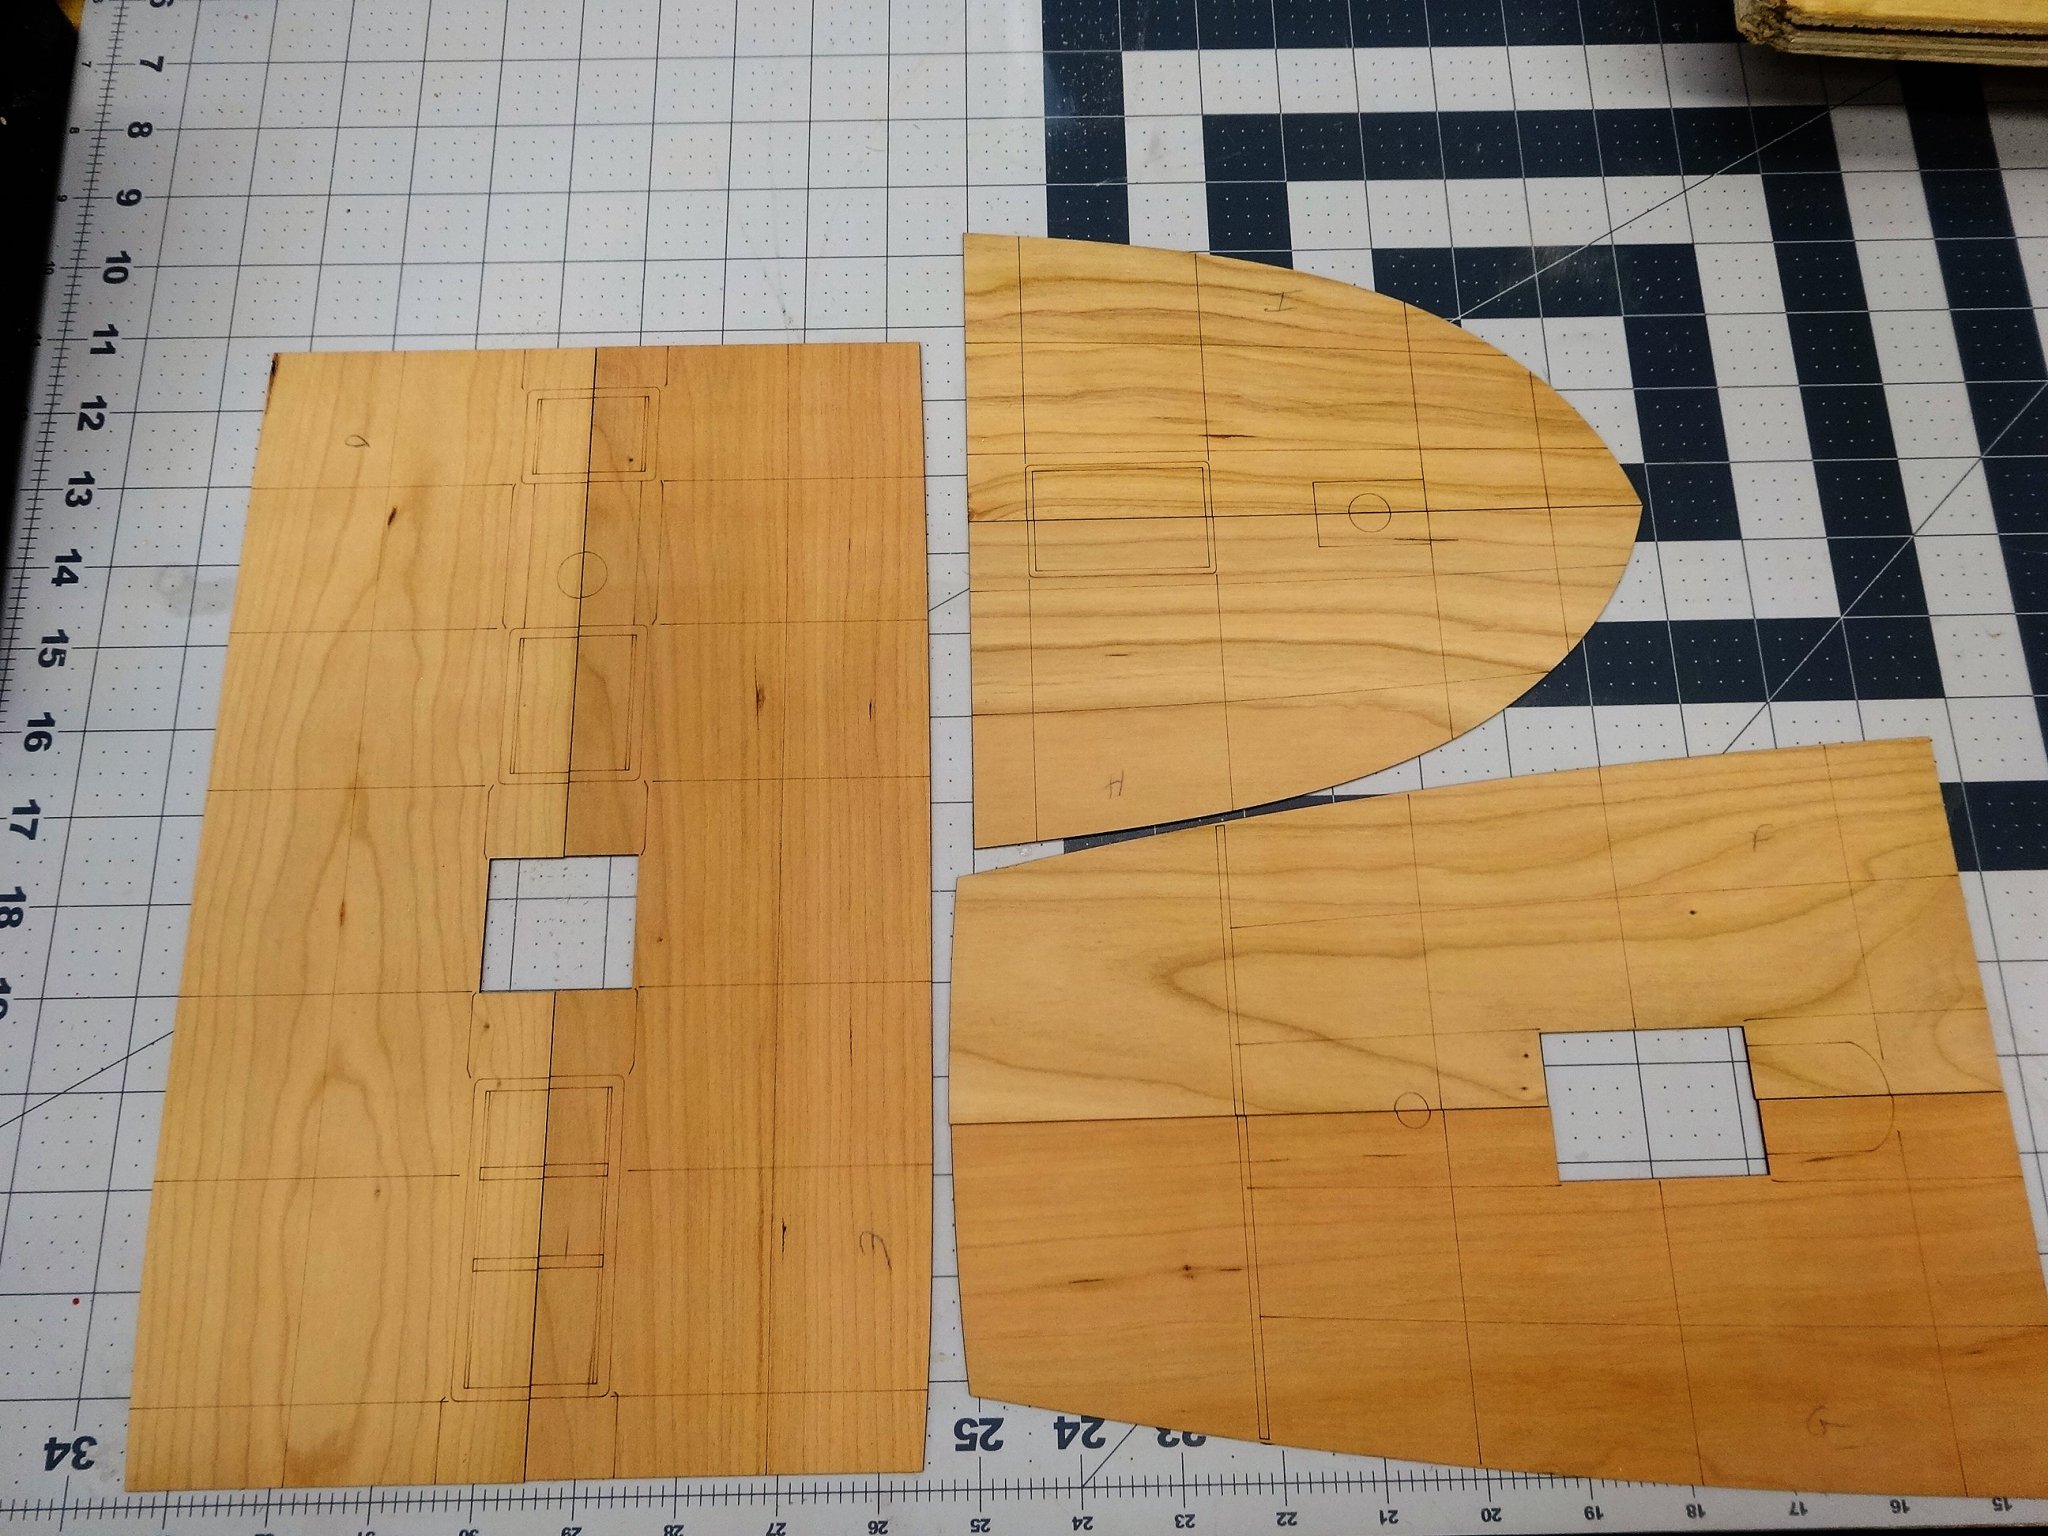
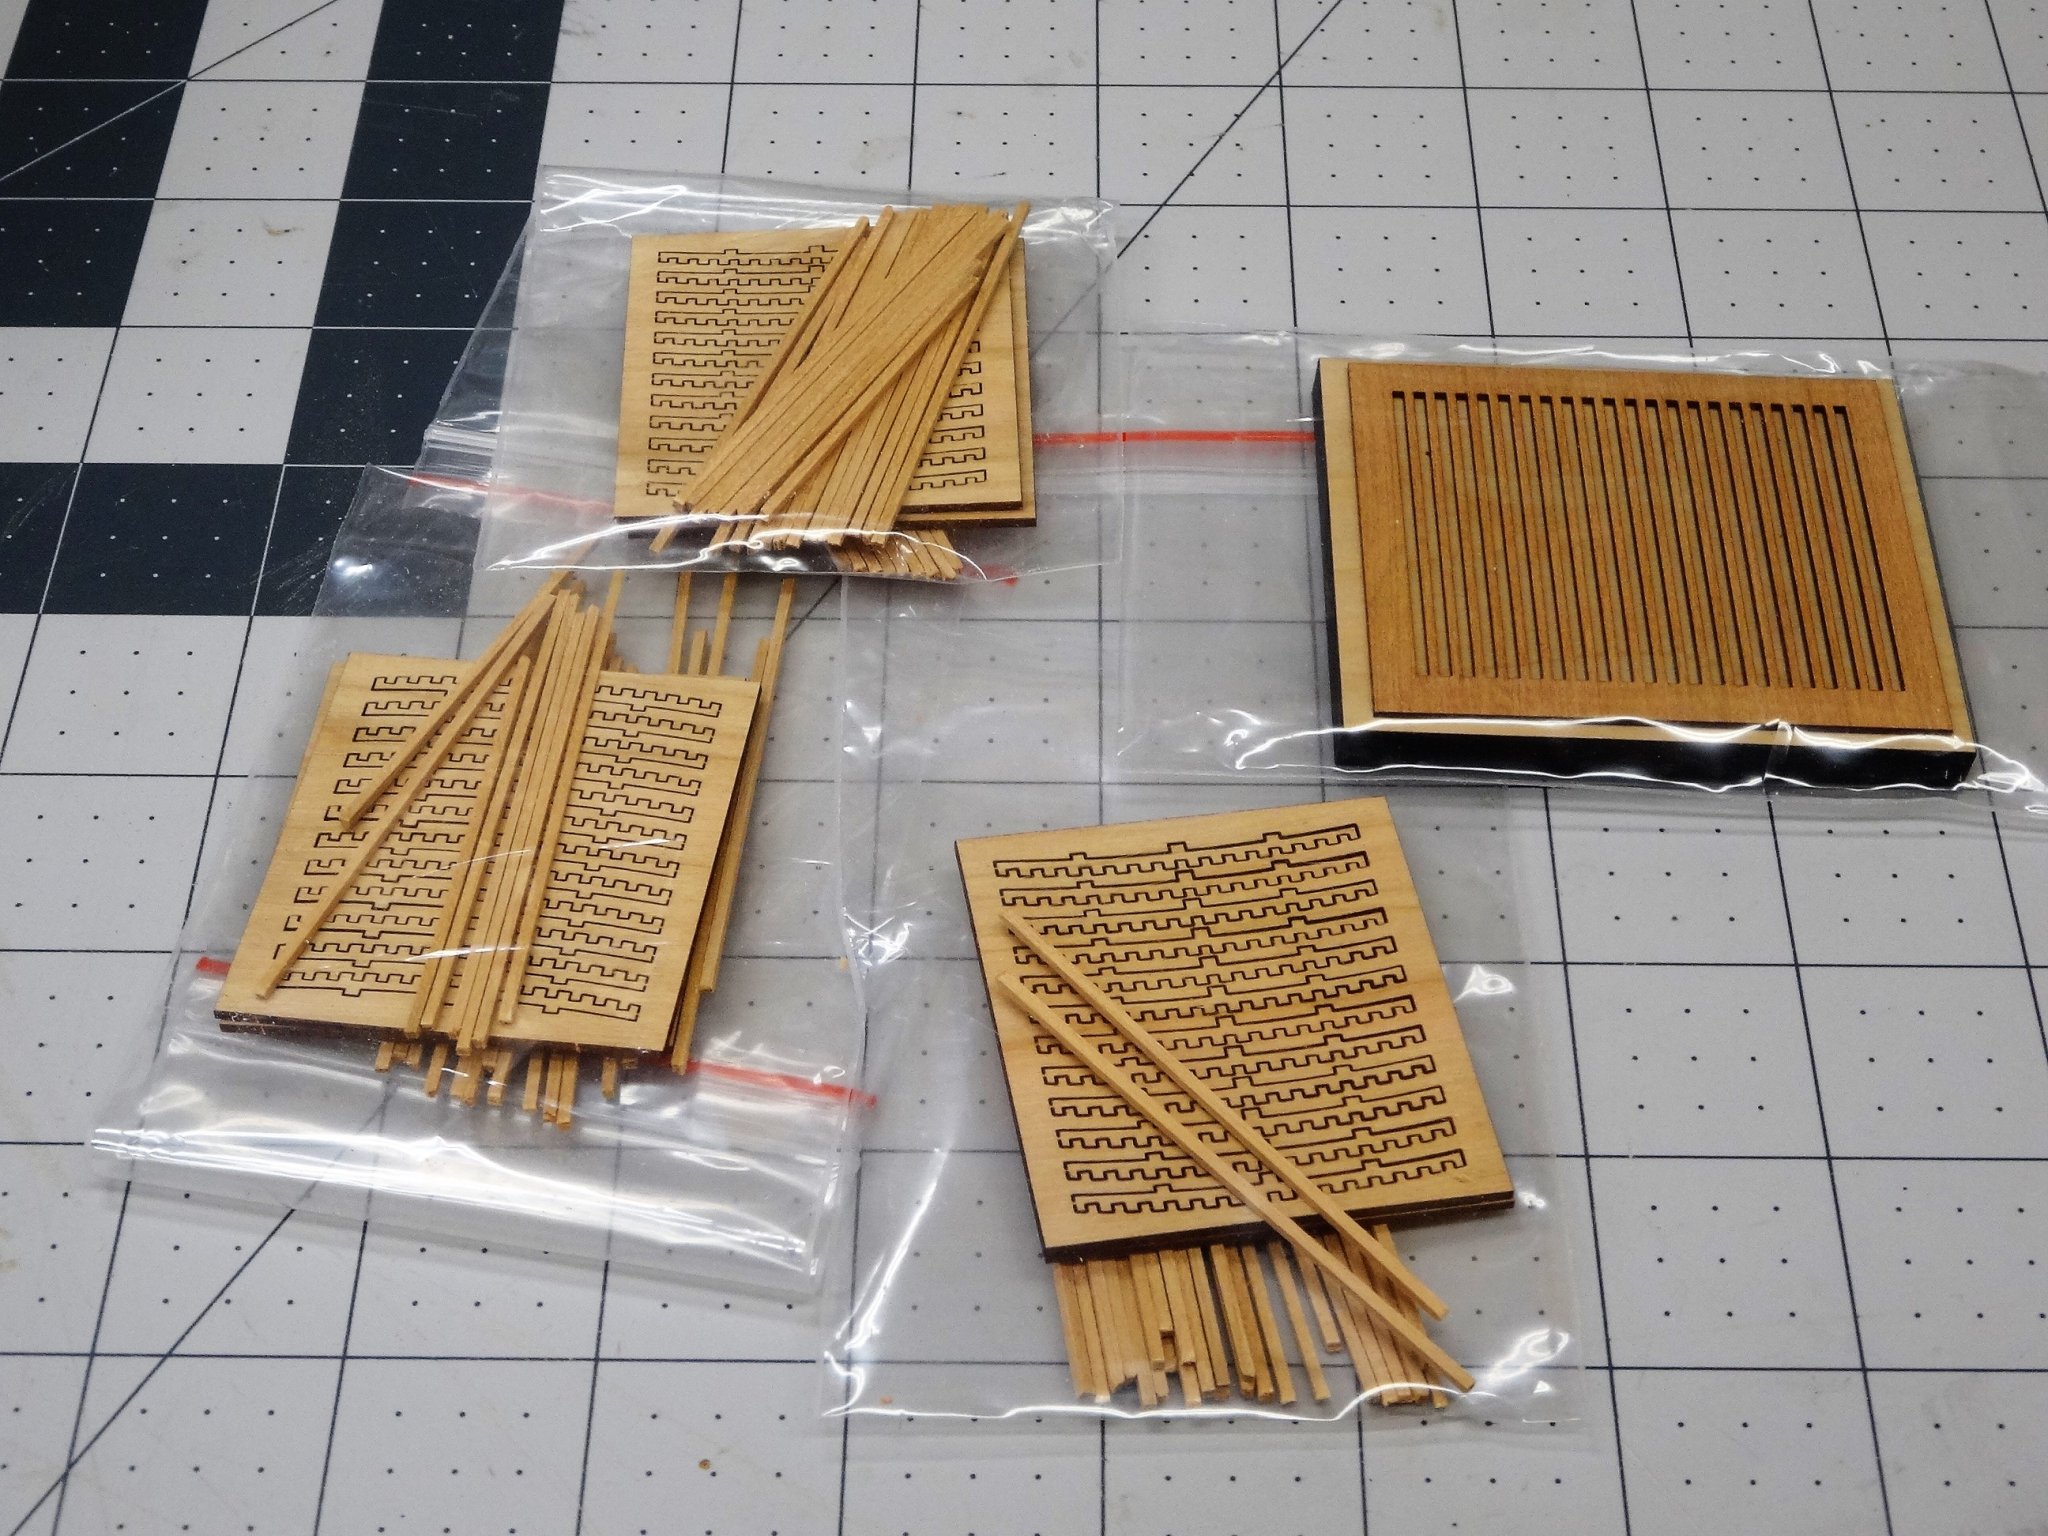
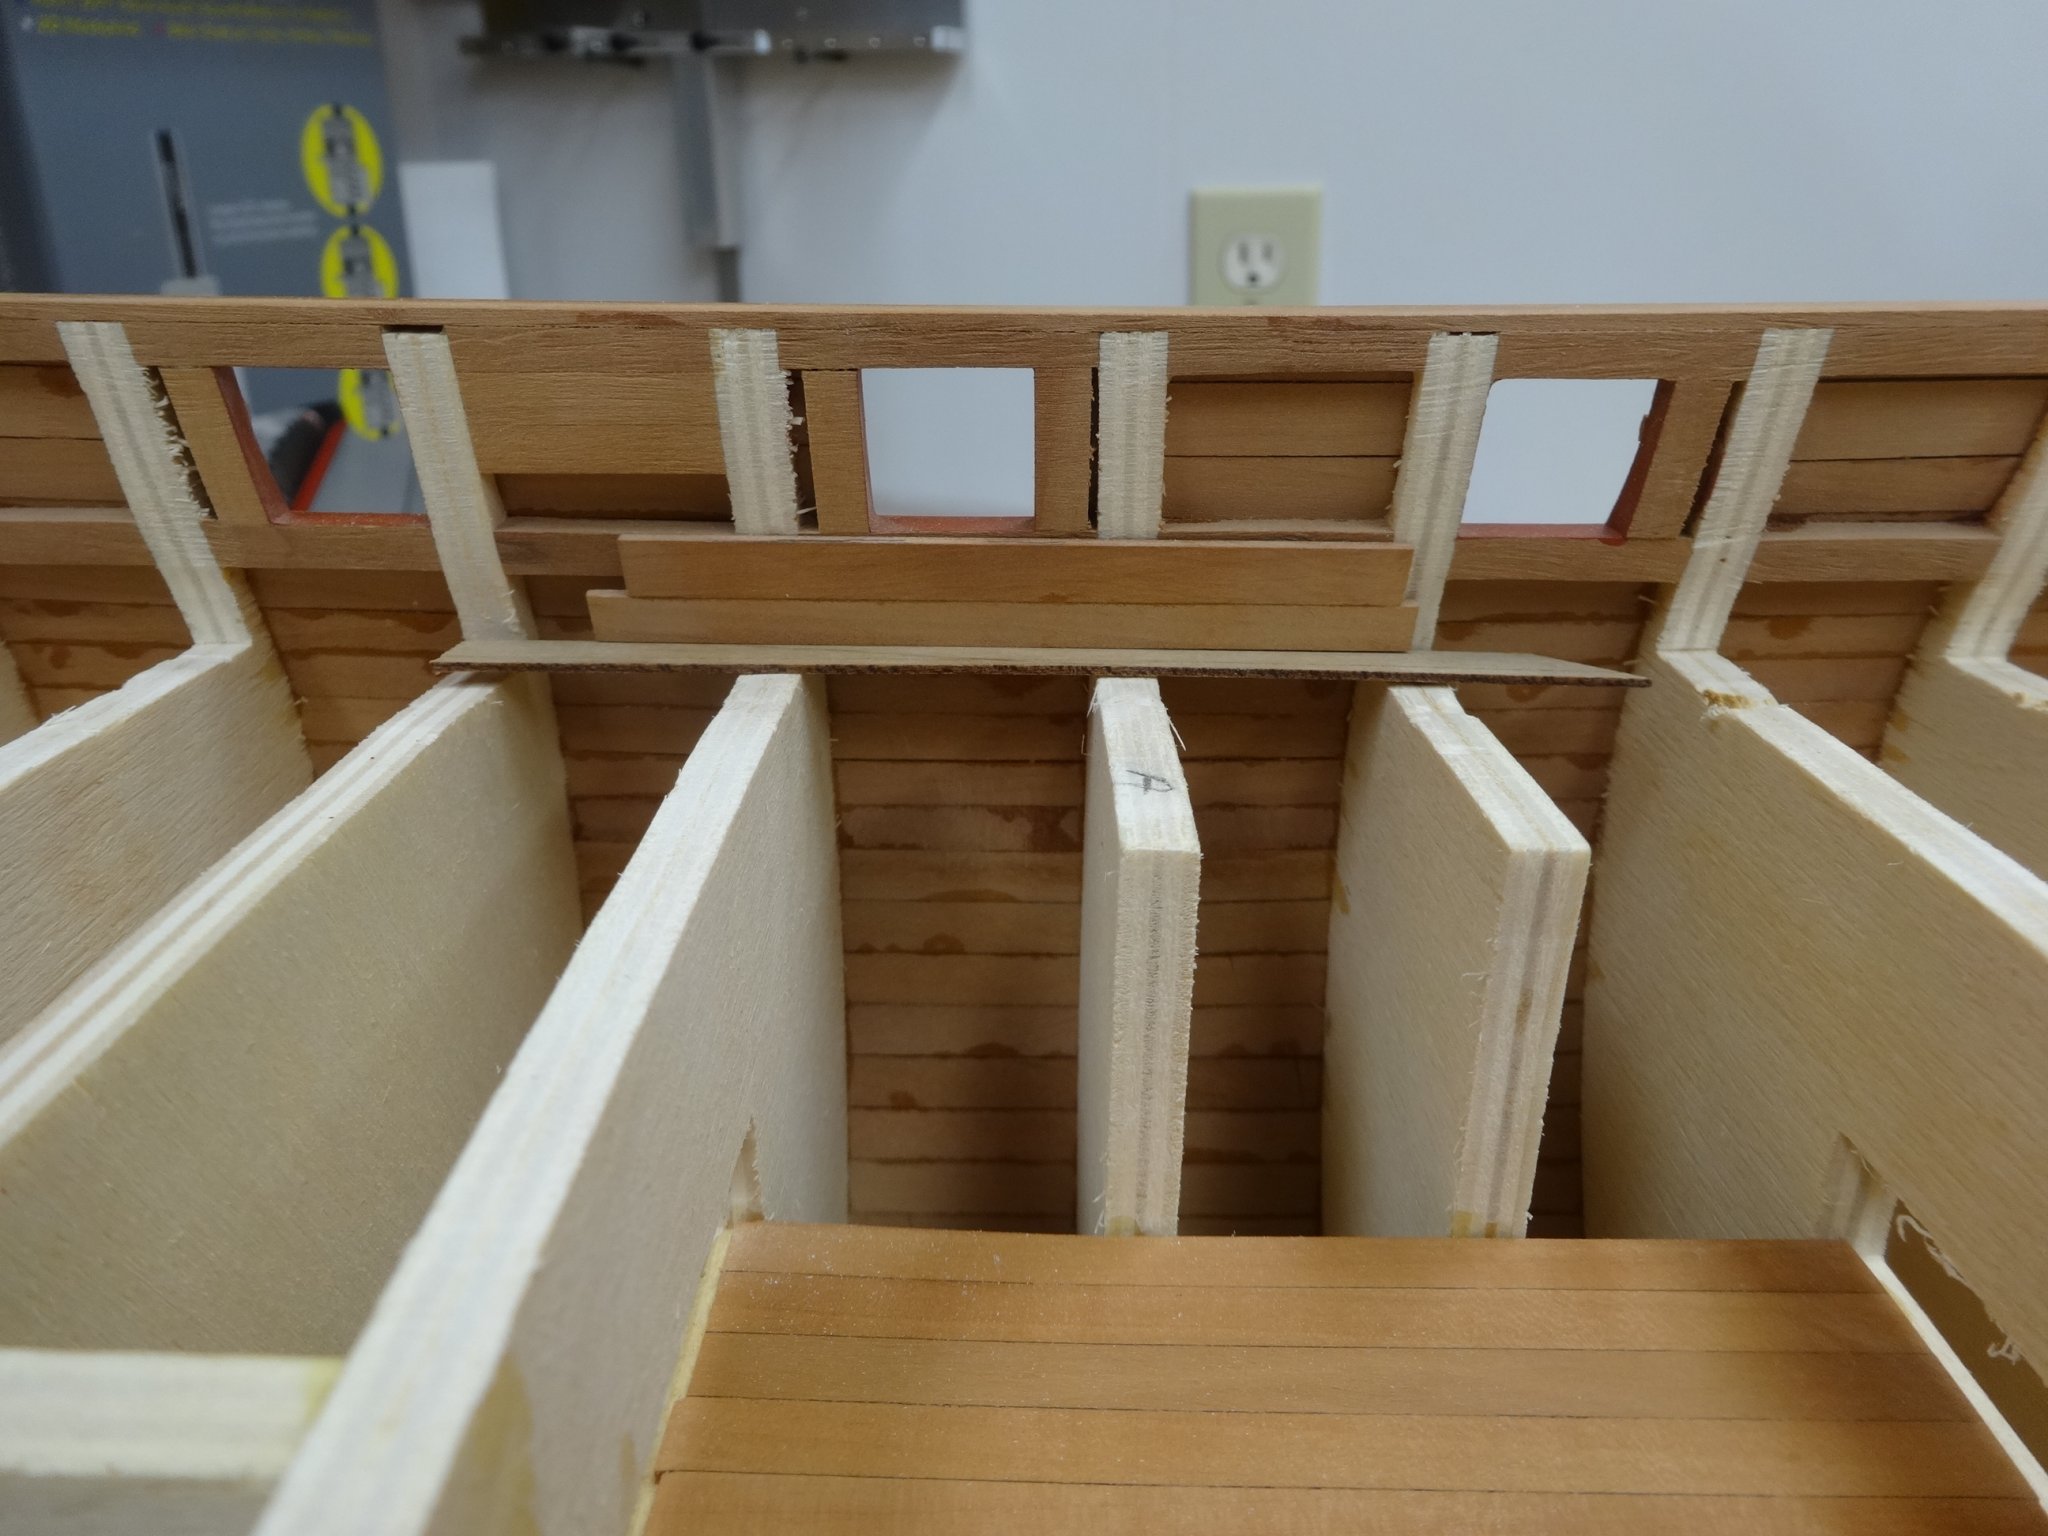
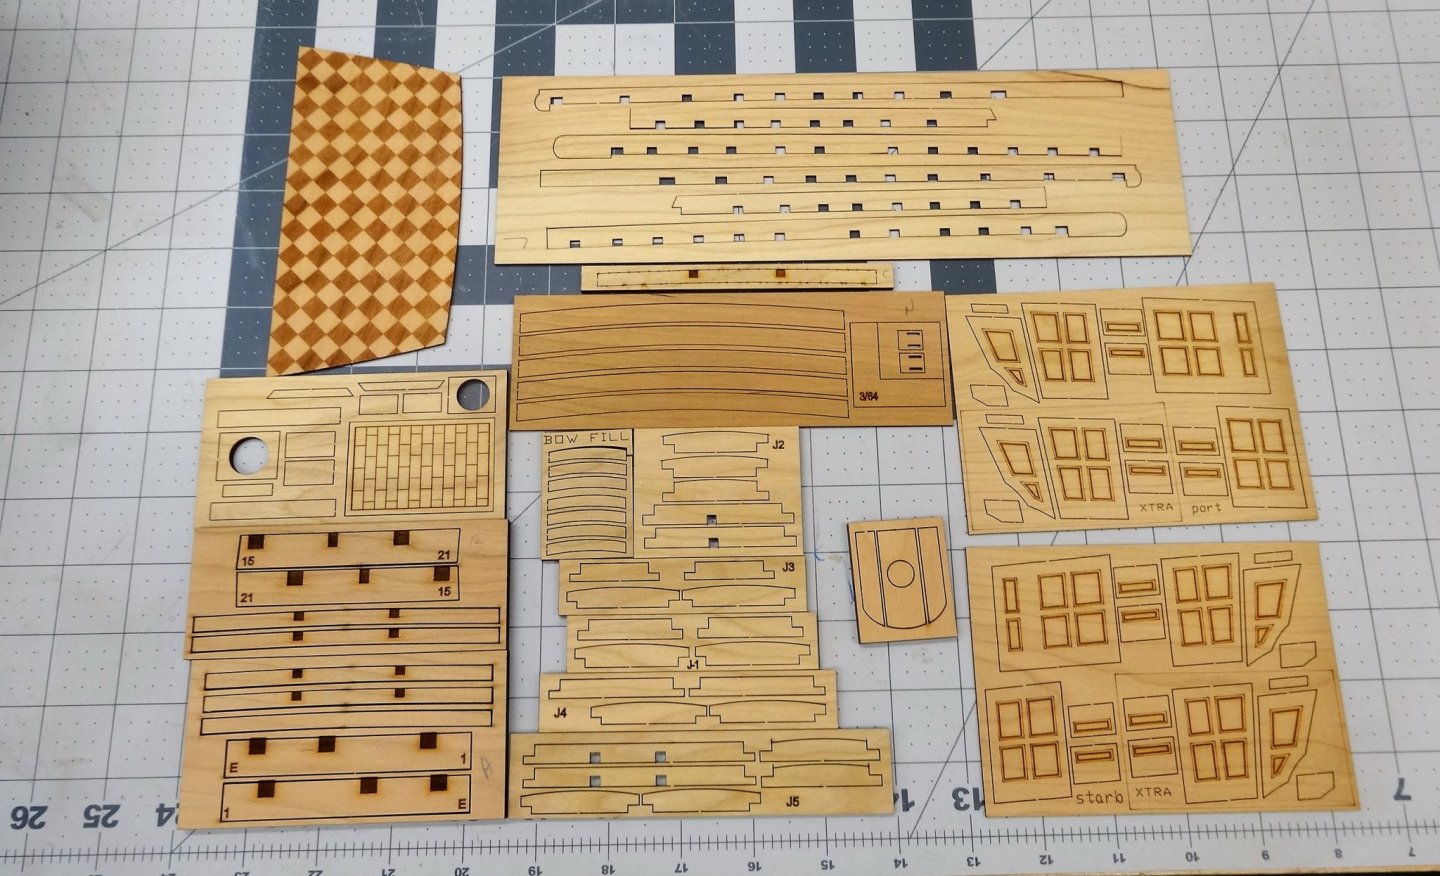
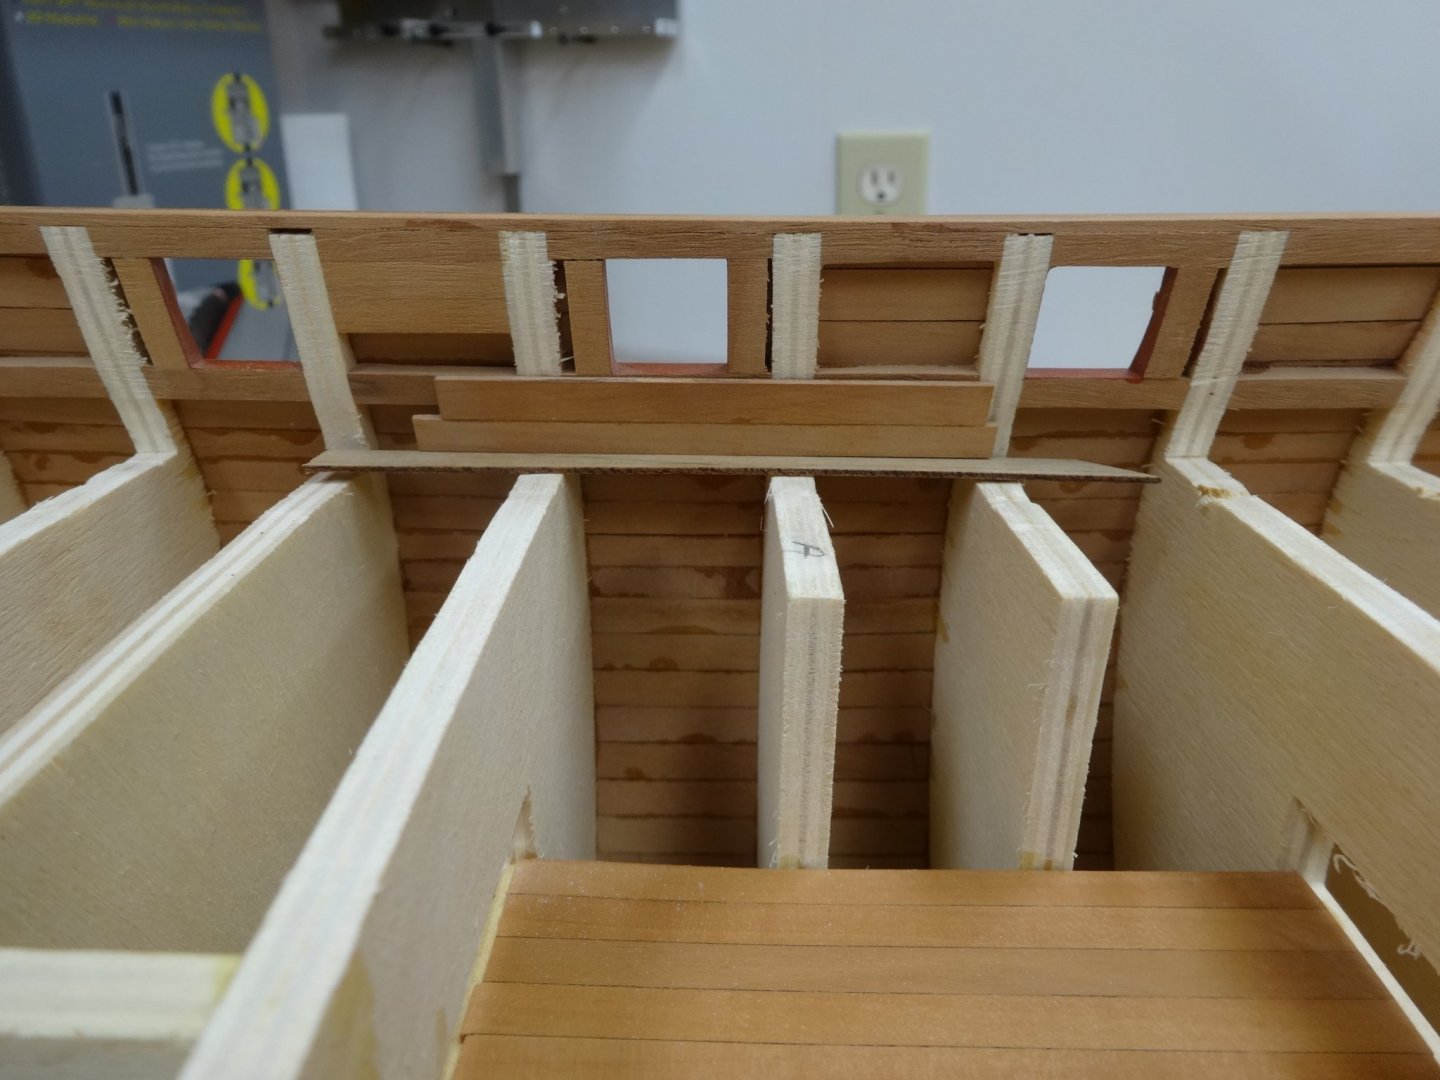
Chapter 4 Cherry parts have arrived as well as the hatch grating kits!!!!! They are even better that they look. I installed the beams that create the opening for the hatches. Next I had to "fair" the tops of the bulkheads. As I decided to cut my own bulkheads there is some minor variations in the height of the tops of the bulkheads. It's probably a combination of sanding to the line or taking the line. That seems minor but it can cause some minor stepping. To get the run as smooth as possible I sanded the whole thing. Next I'll start dry fitting the false deck and then start throwing some wood on the inboard bulwarks! Having a lot of fun with this.


- 642 replies
-
- 22
-
-
- winchelsea
- Syren Ship Model Company
- (and 1 more)
-
Looking great Bob. You sure didn't let any moss grow!
-
Wonderful job on the deck. Have you given thought on how you're going to mount her yet?
- 1,784 replies
-
- 6
-
-
- winchelsea
- Syren Ship Model Company
- (and 1 more)
-
Great workmanship. She's a beauty!
-
Looking real nice B.E. That hull was fun to plank!
- 261 replies
-
- 1
-
-
- muirneag
- vanguard models
- (and 2 more)
-
Very nice work Glenn. You planning and execution will be rewarded in the long run!
- 778 replies
-
- 4
-
-
- cheerful
- Syren Ship Model Company
- (and 1 more)
-
You're on your way now!
-
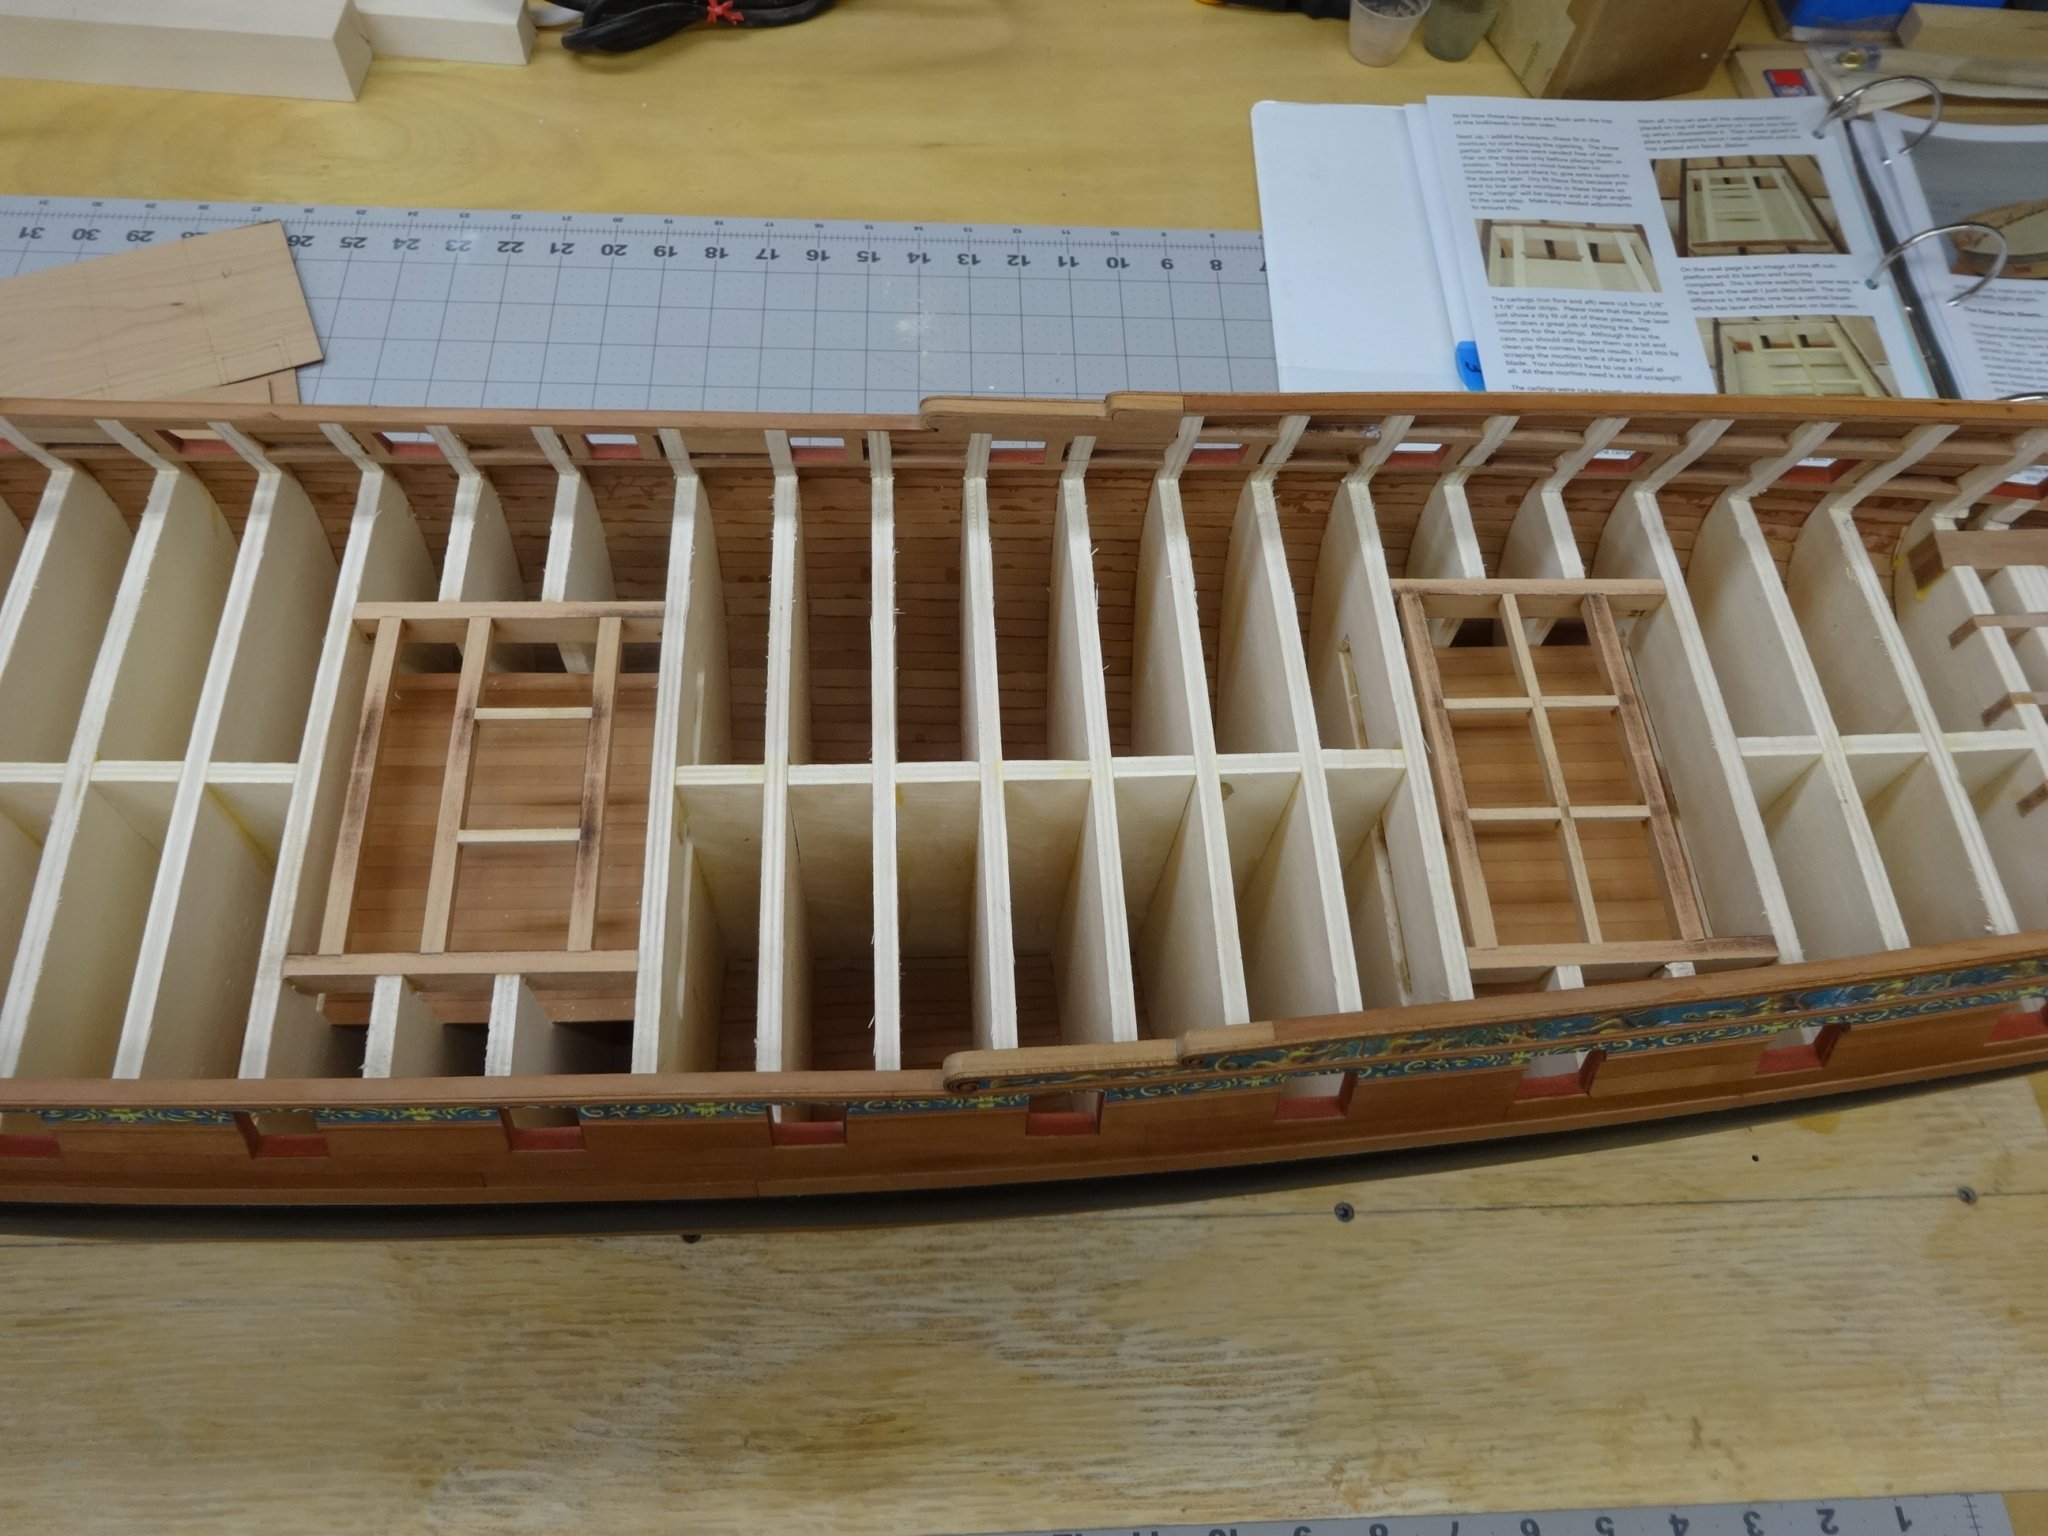
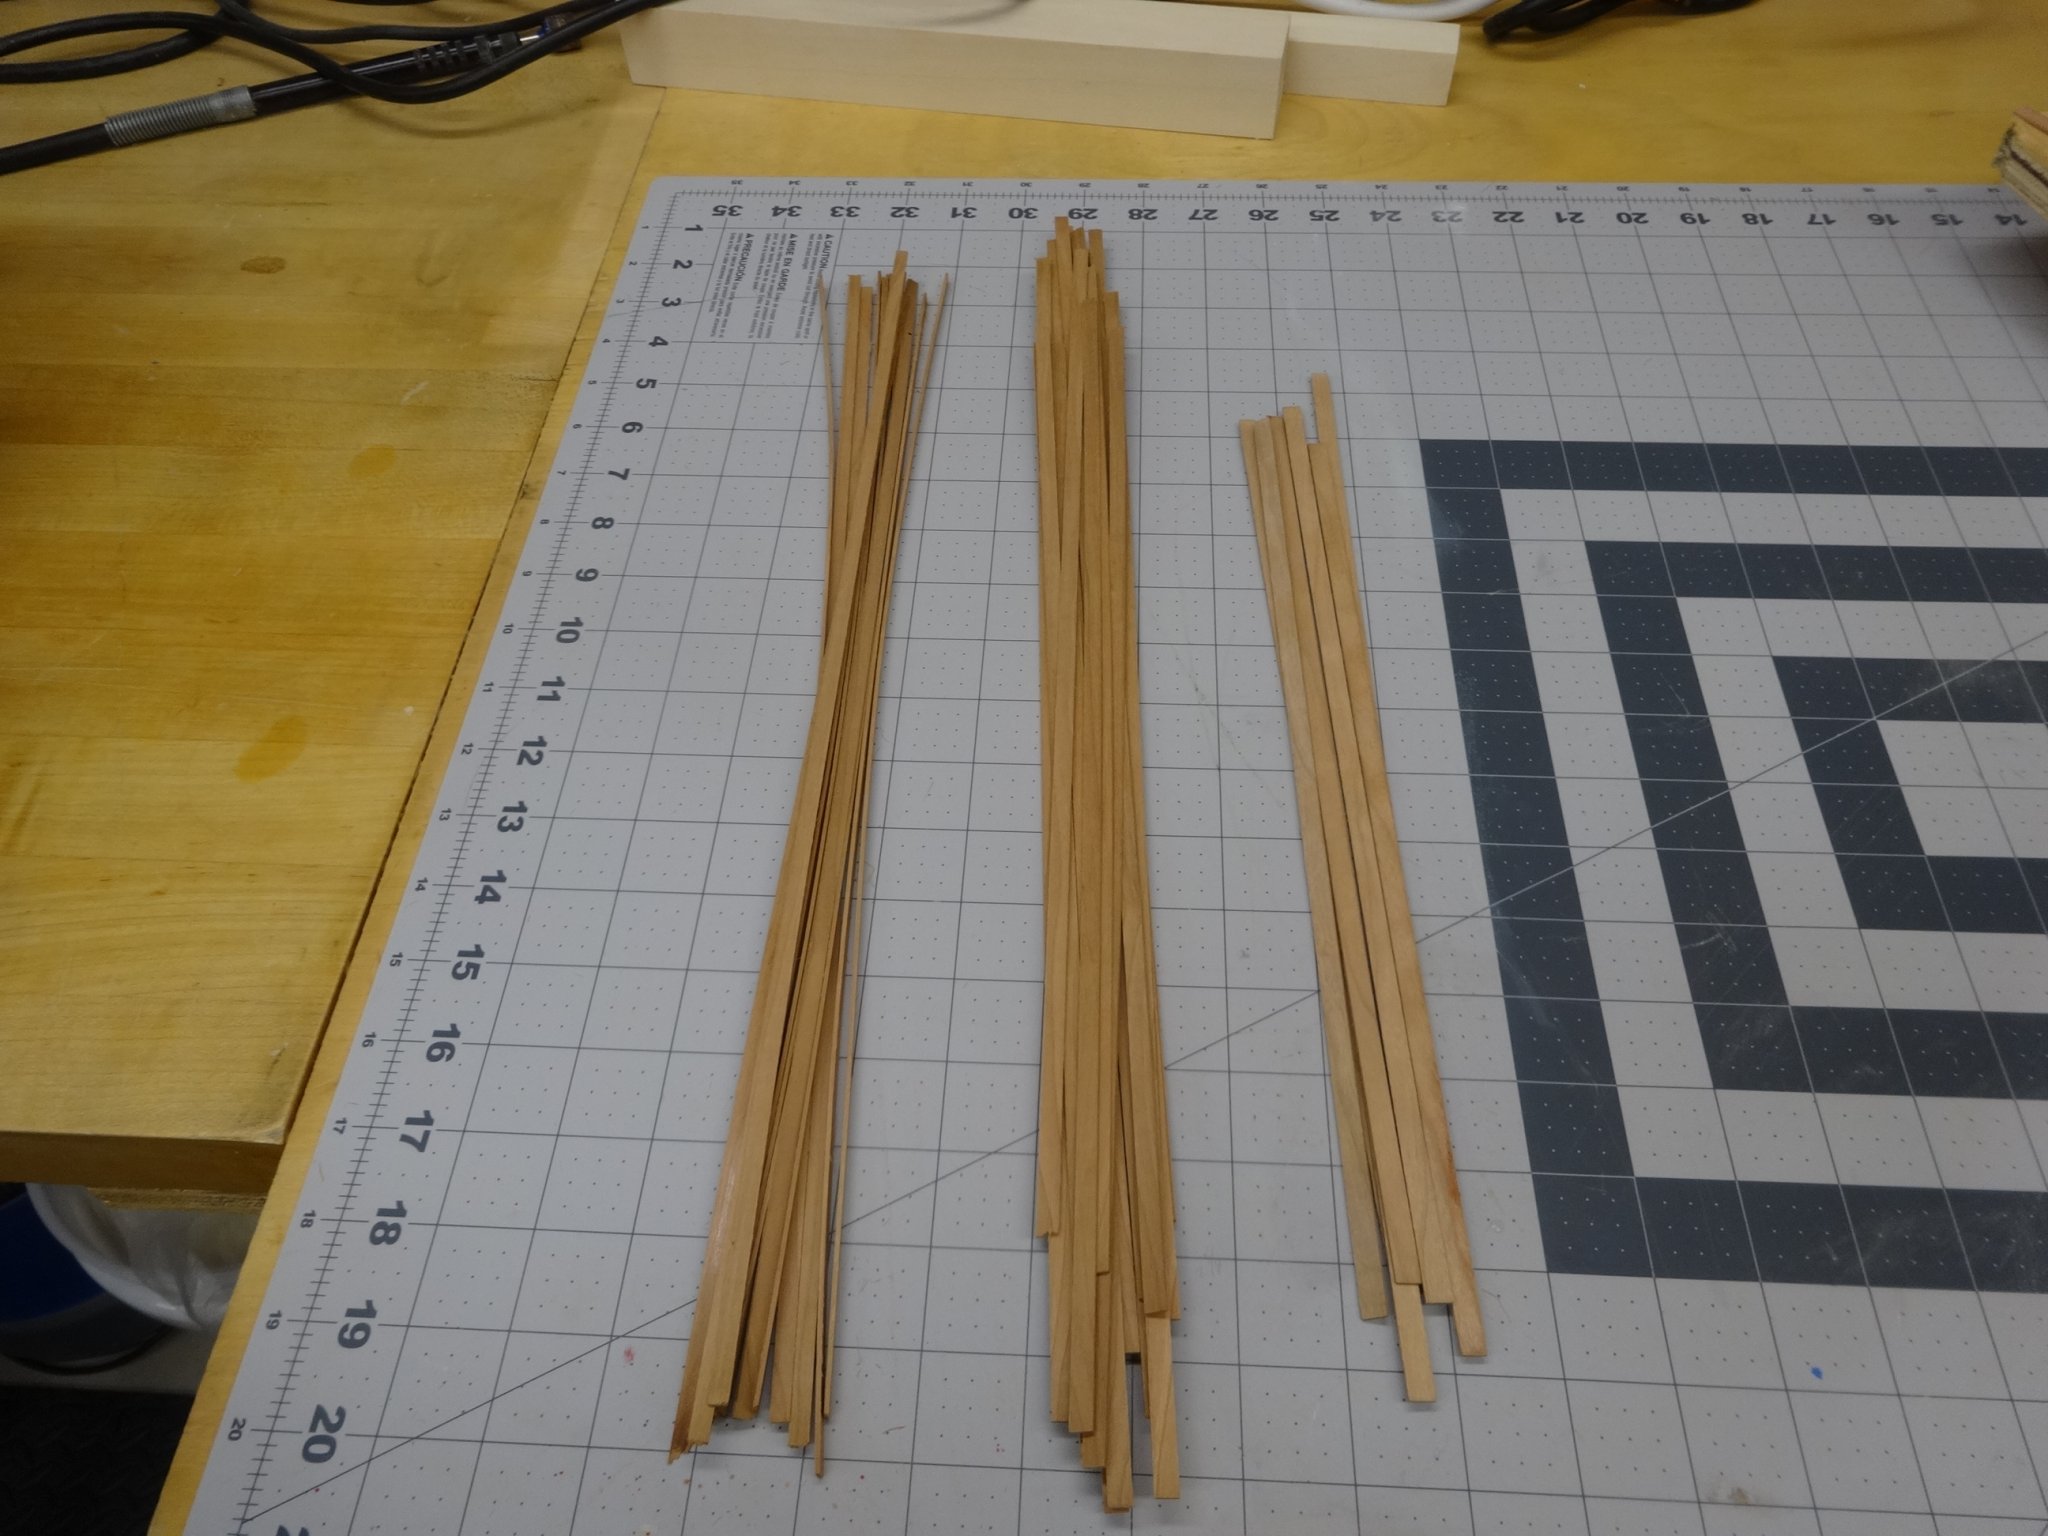
While waiting to start chapter 4 I've been doing some prep work. I've planked the fore and aft sub decks with pear. Then I sorted through the pear I'm using to plank the deck. I've tried to get pieces with the most consistent color. Even so you will notice that the color can change over the length of a strip so I'll have to pay attention! Spare planks are in the sleeve on the right. The inboard bulwark planking will consist of 3/16", 7/32, and 1/4" planks. They have been cut and seen below. After that I glued together 1/4" and a 7/32" pieces which represent the two rows under the gun ports. I placed them on a piece of 1/32" to simulate the thickness of the false deck. I then checked the gun ports and found that most were right on. Whew!


- 642 replies
-
- 13
-
-
- winchelsea
- Syren Ship Model Company
- (and 1 more)
-
Looking really good Fred!
-
Thanks Chris. Your opinion is always appreciated. Also thank you all for the likes.
- 642 replies
-
- 1
-
-
- winchelsea
- Syren Ship Model Company
- (and 1 more)
-
Great job JJ!
-
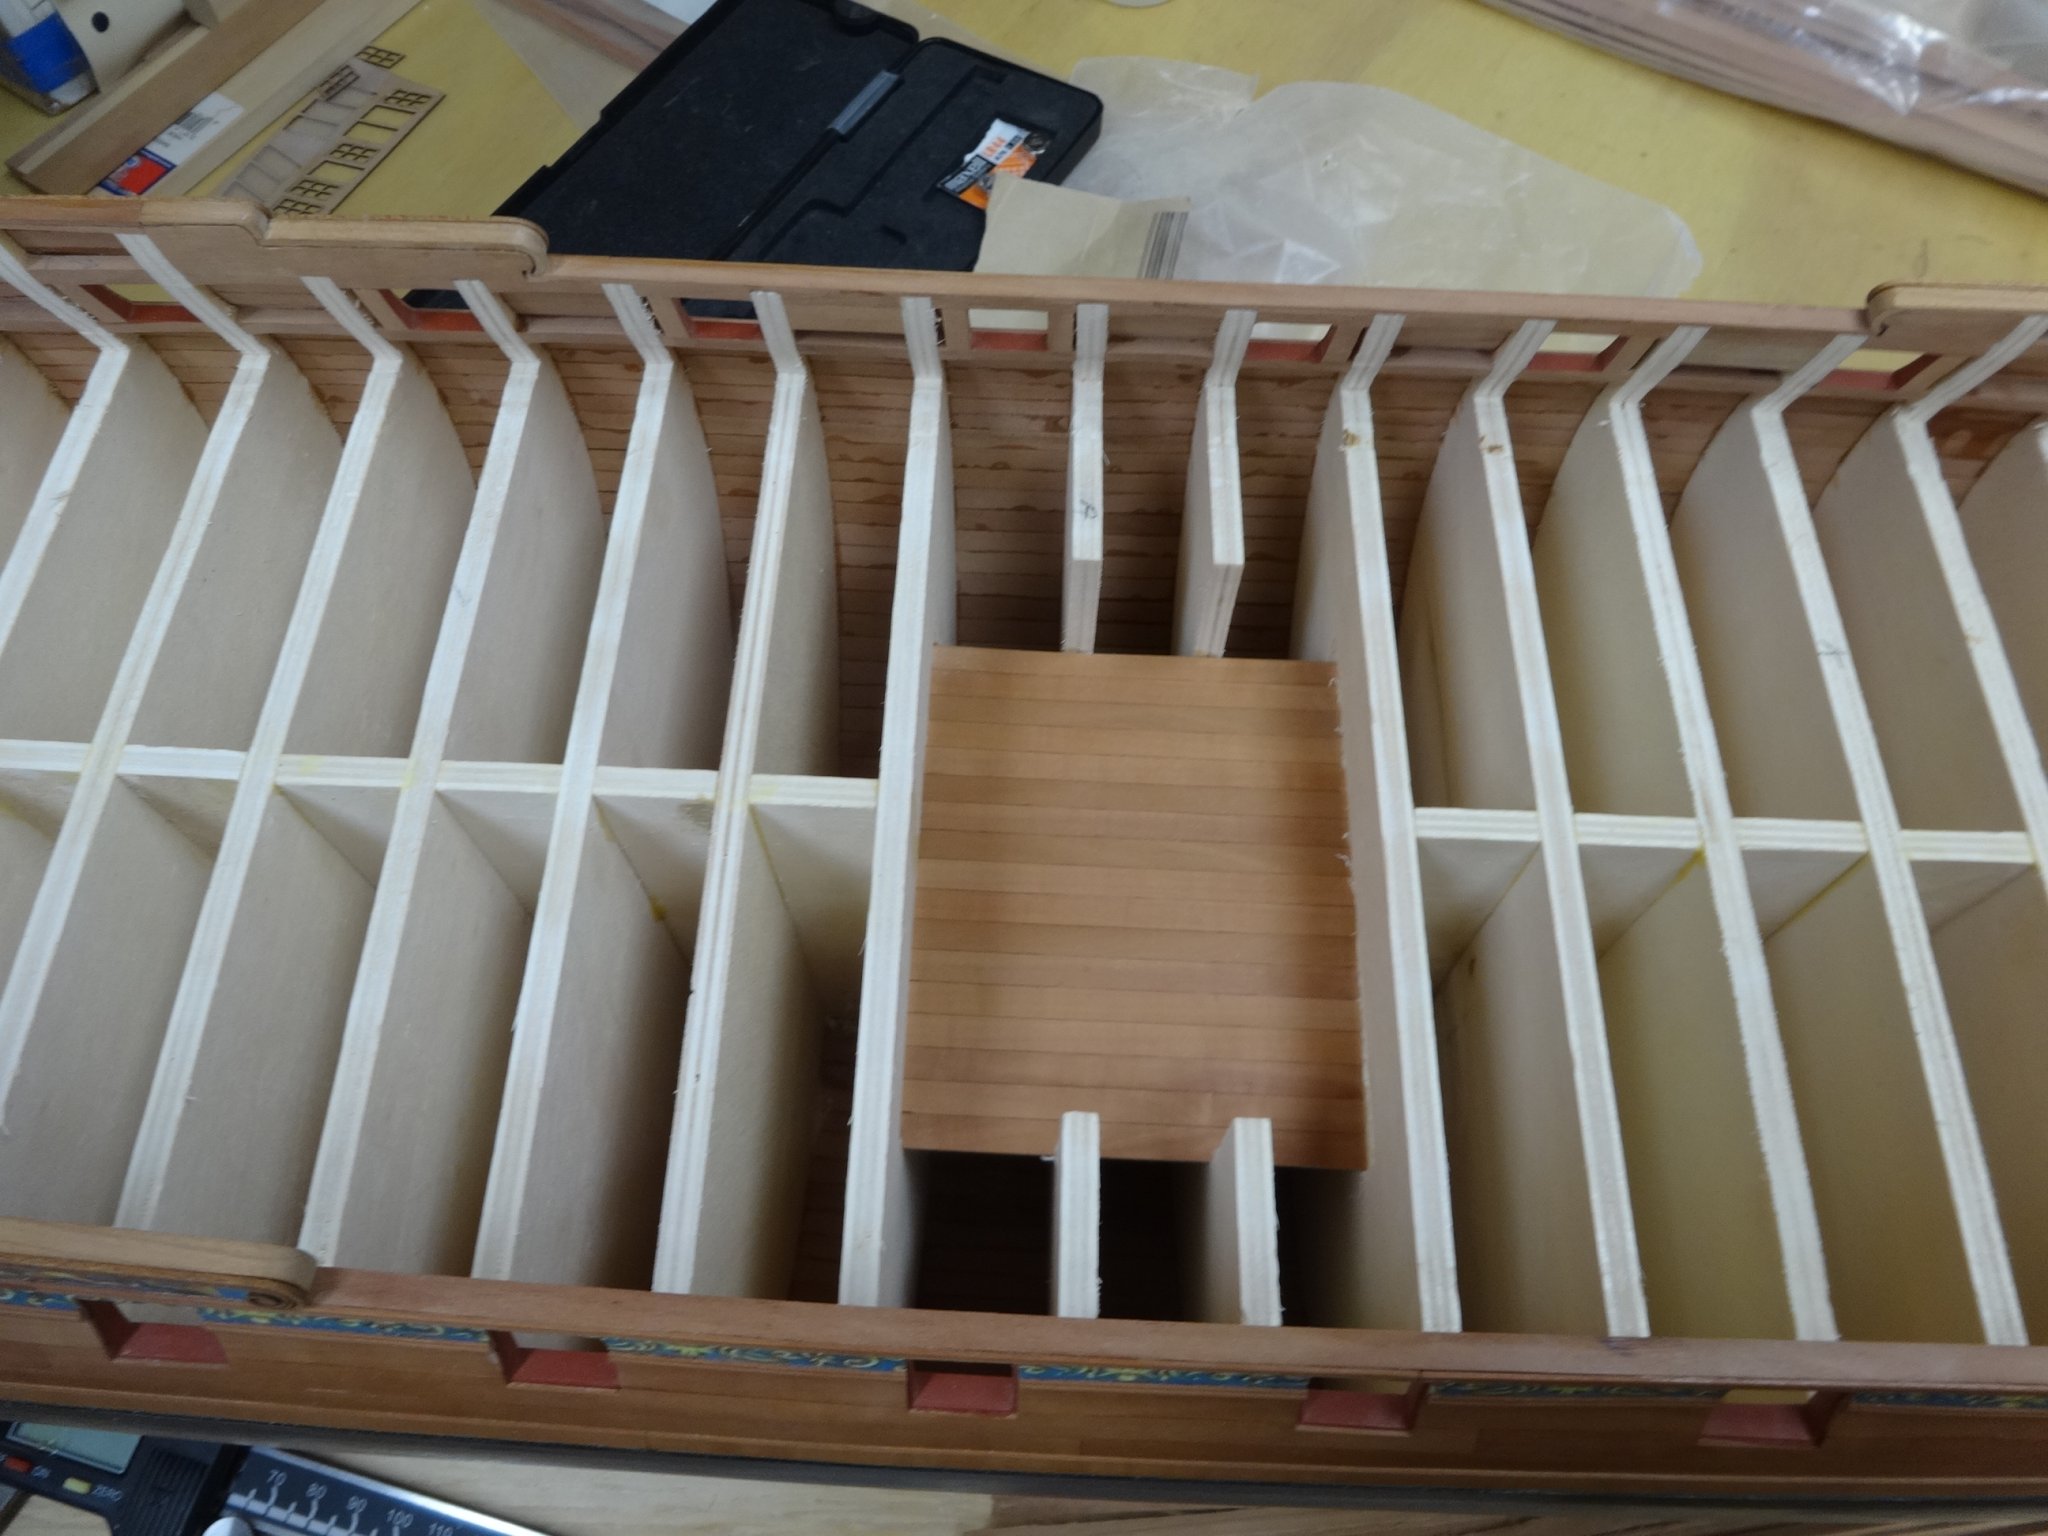
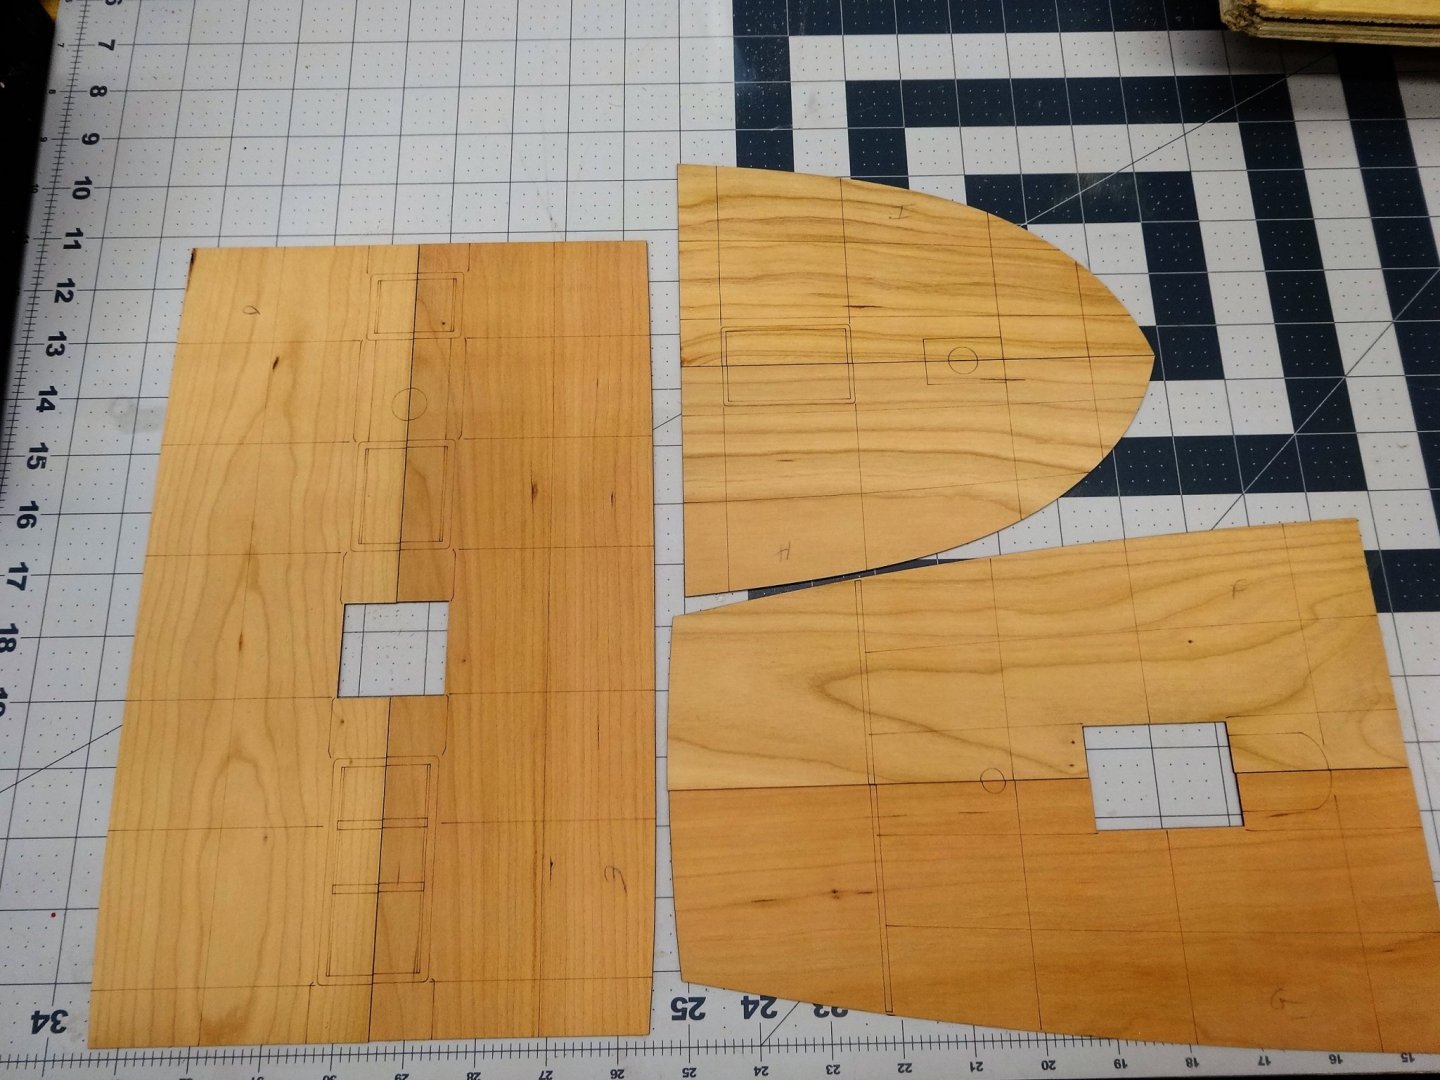
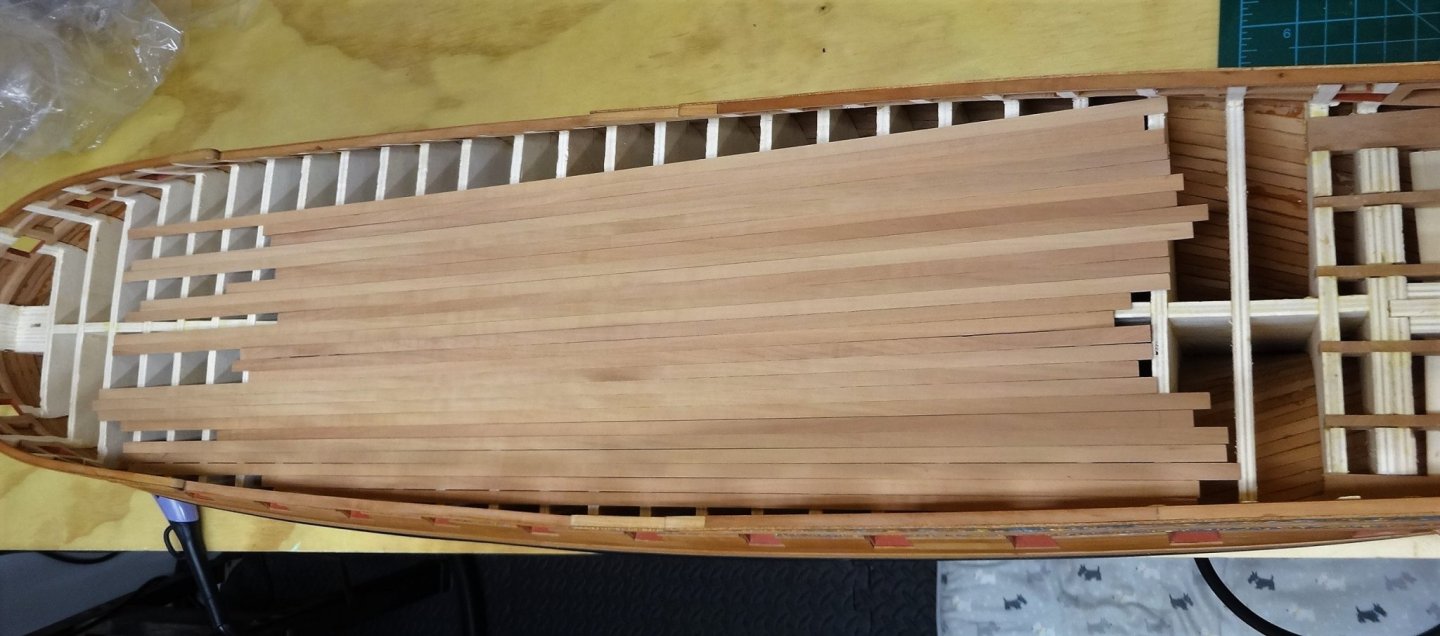
Yes it's nice to have a second shop assistant although the two almost never agree! 😉 Thank you all for your opinions. It's deeply appreciated. I have been cleaning and reorganizing the shop in anticipation of starting chapter 4. In doing this I remembered that I had overcut the 1/4" pear needed for the hull. So I pulled it out and there is more than enough pear already cut to plank all the decks and still have some left over. Can't let it go to waste so I'll be planking the decks in pear! It's like I subconsciously knew I was going to do it this way when I cut them. I'll go with that as opposed the the shop assistants who think I just screwed up. Oh and they both agree on this point! Here is some of the unfinished pear planks just laid on the deck.
- 642 replies
-
- 18
-
-
- winchelsea
- Syren Ship Model Company
- (and 1 more)
-
Oh I really get what you mean after looking at the picture of the contemporary model! Thanks Chuck.
- 642 replies
-
- 2
-
-
- winchelsea
- Syren Ship Model Company
- (and 1 more)