
Loracs
-
Posts
222 -
Joined
-
Last visited
Content Type
Profiles
Forums
Gallery
Events
Posts posted by Loracs
-
-
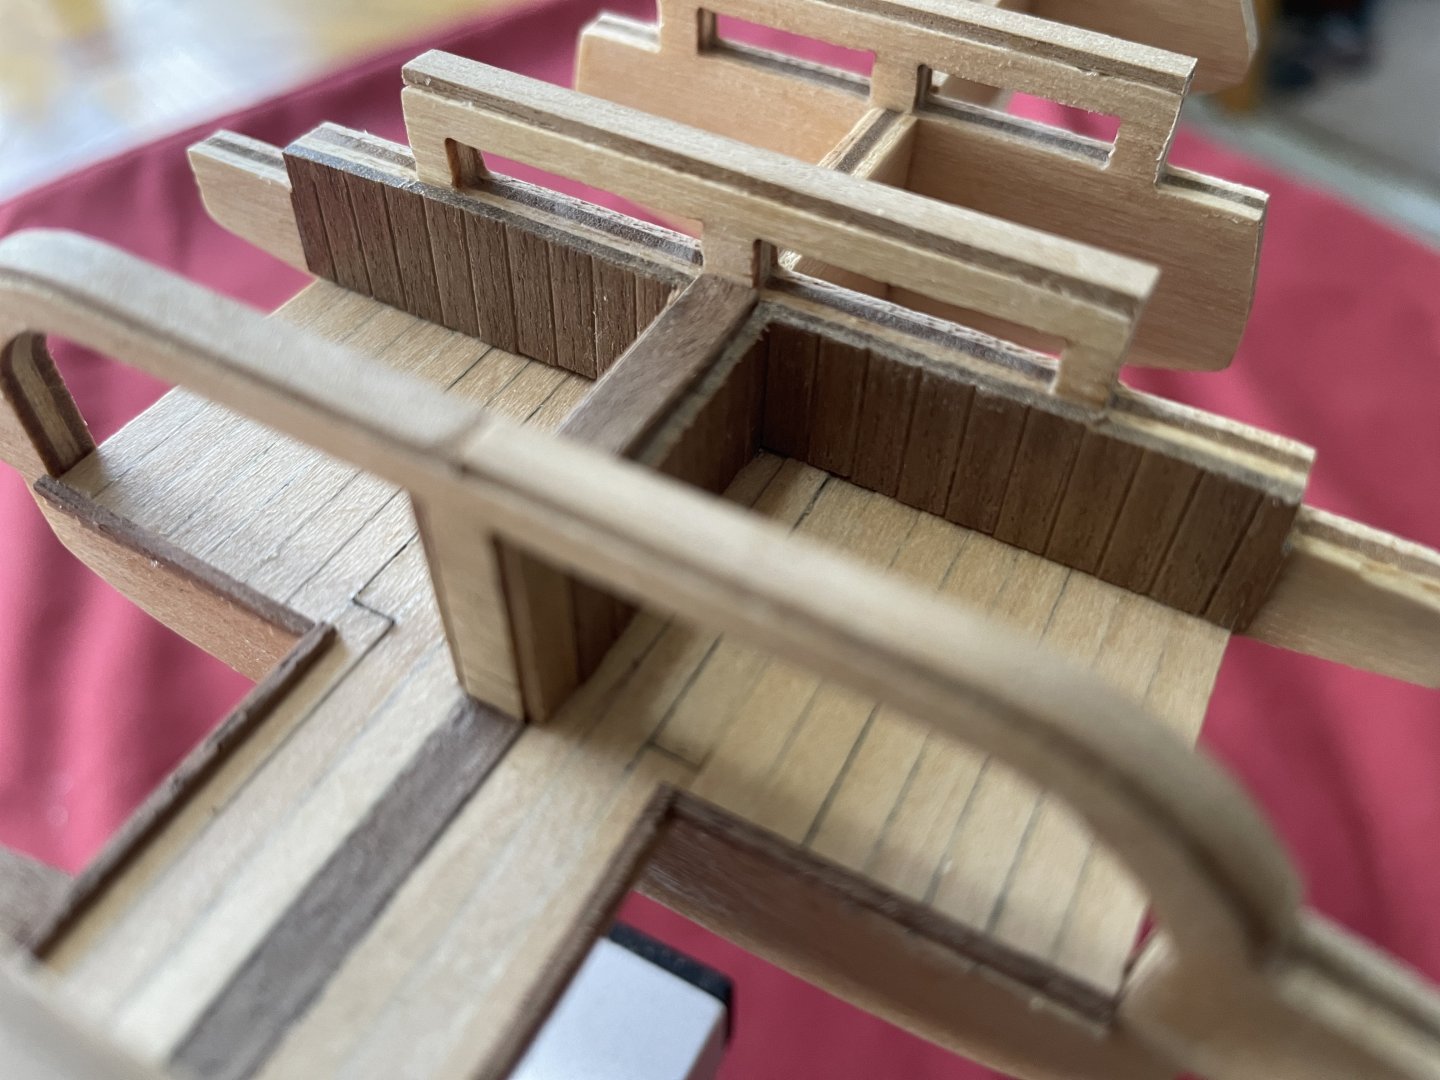
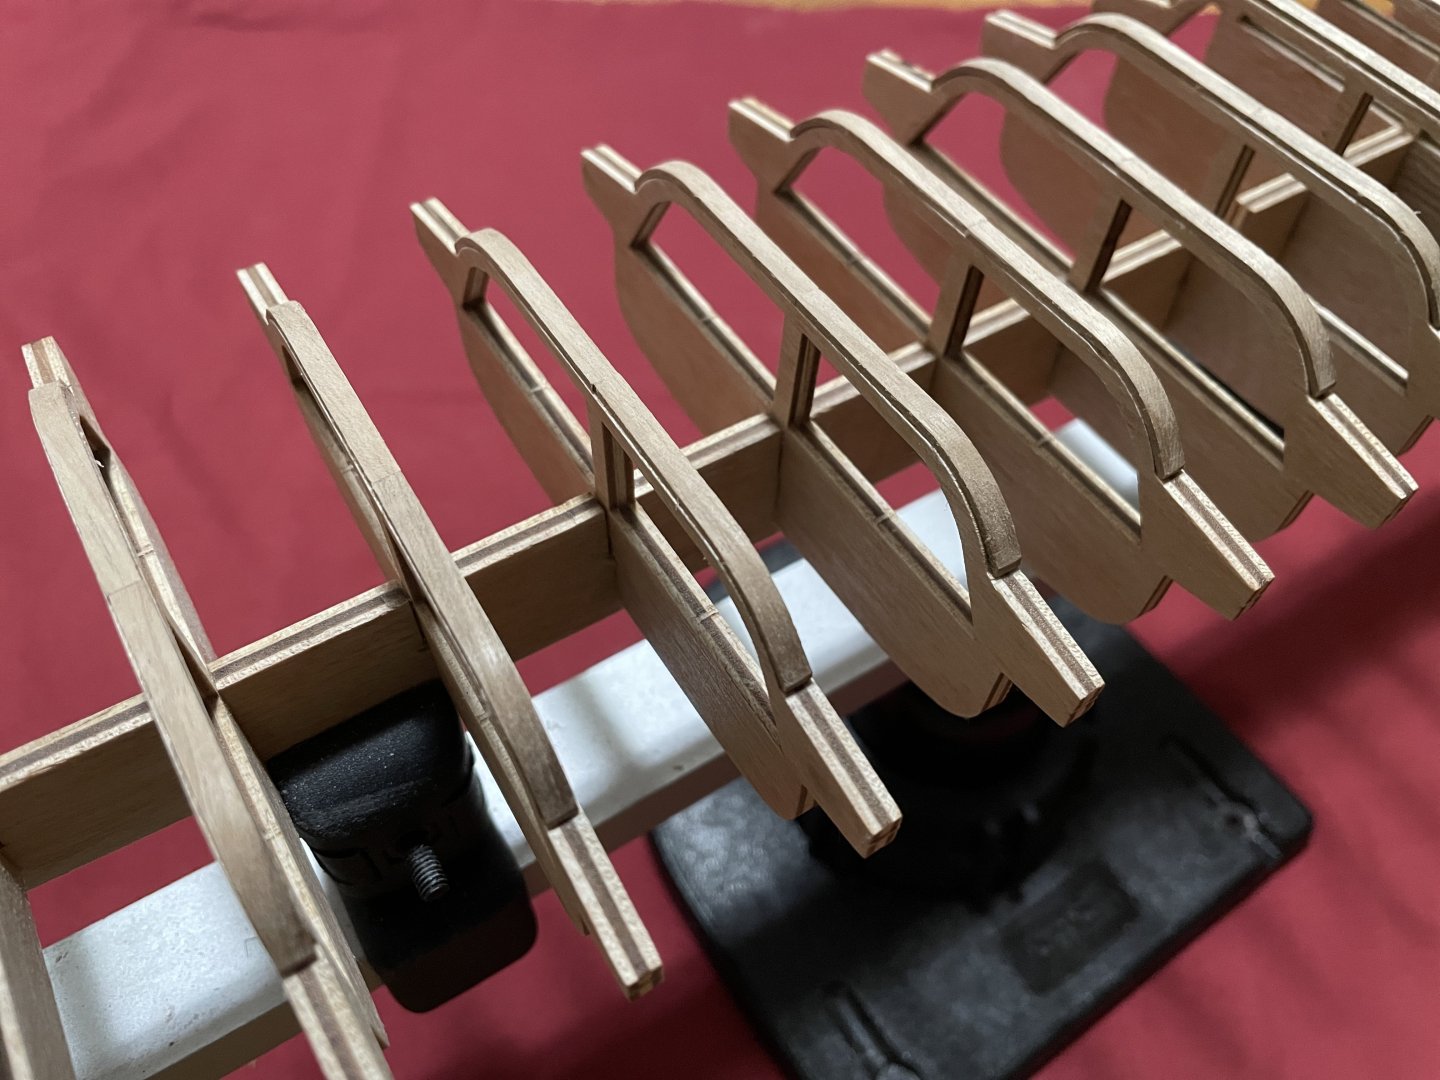
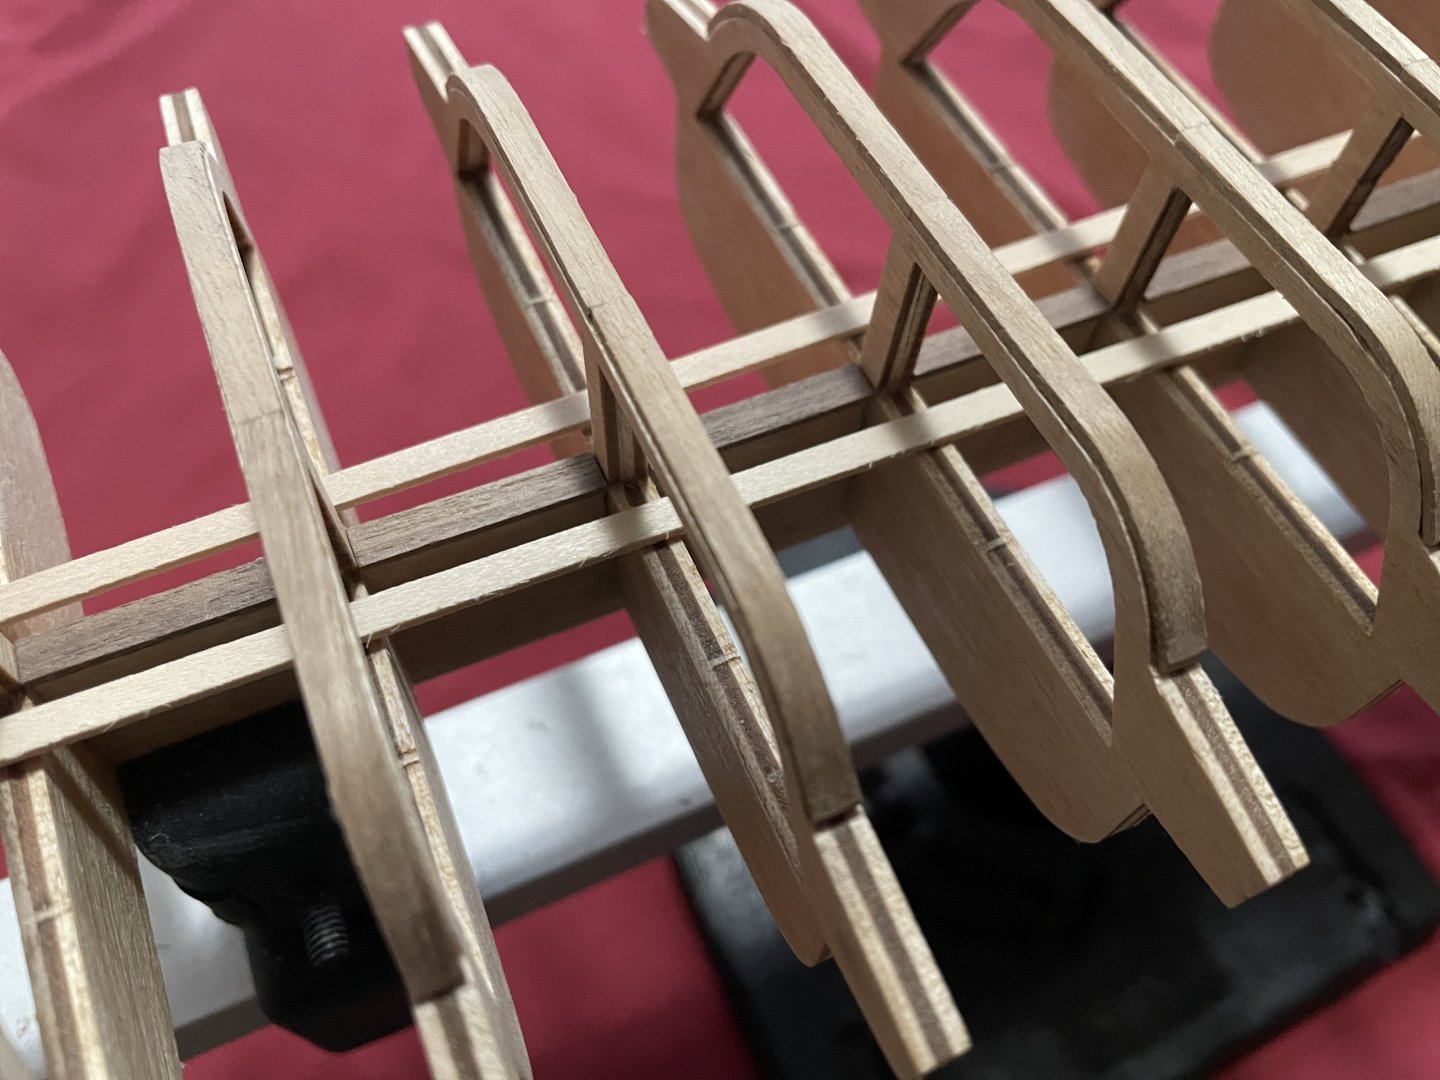
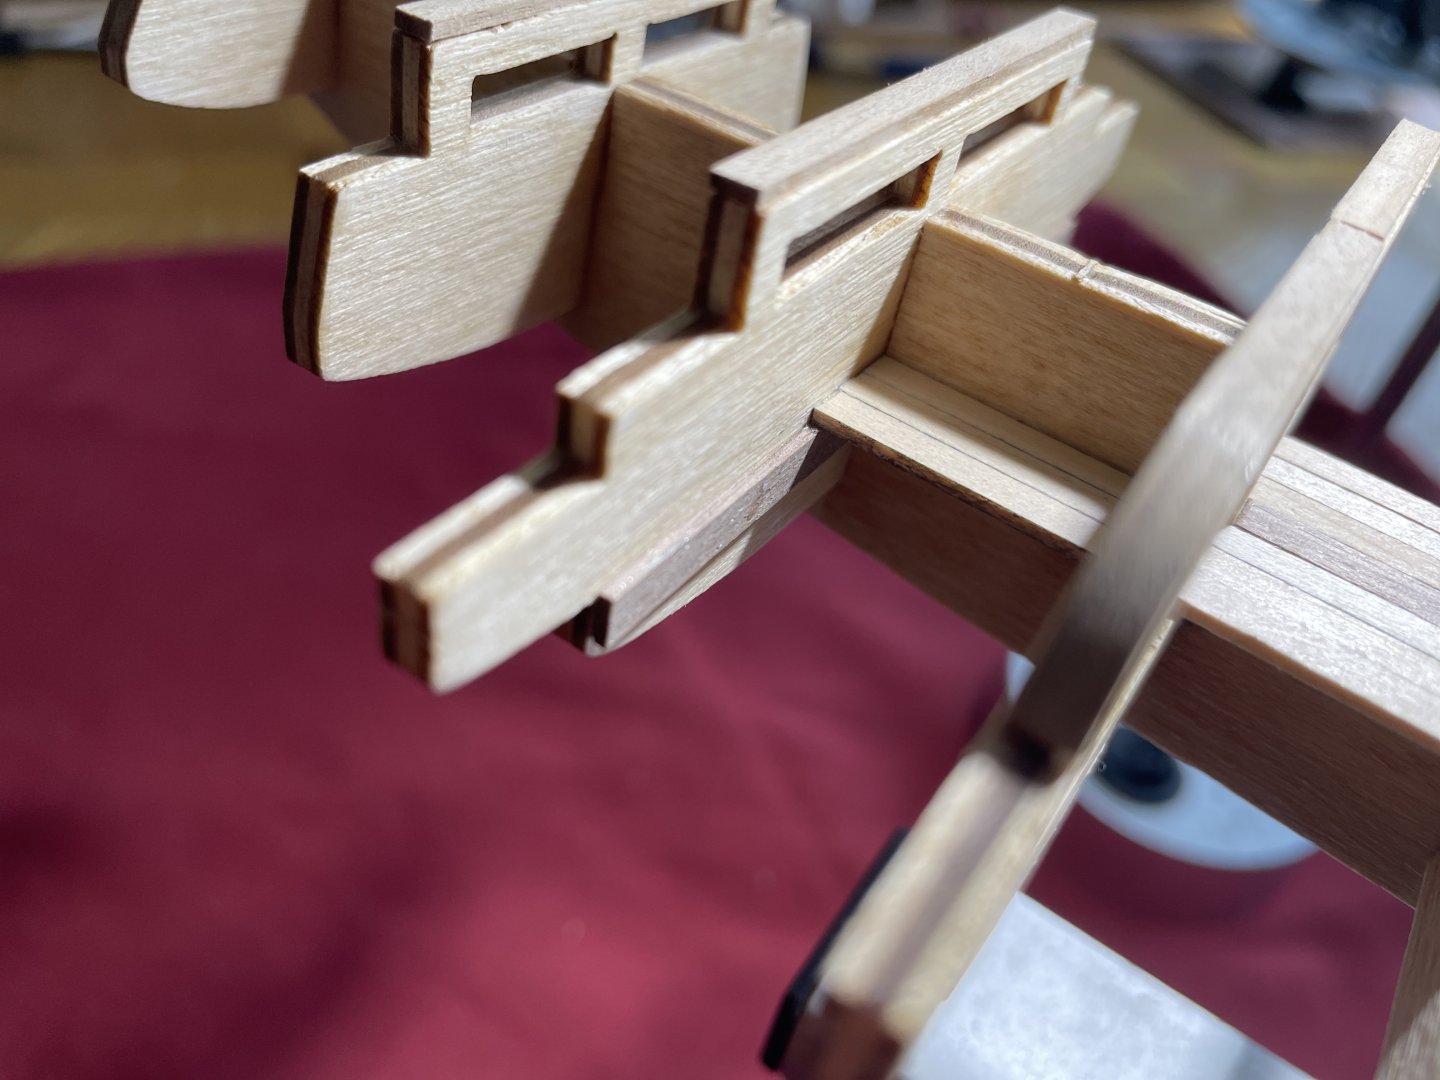
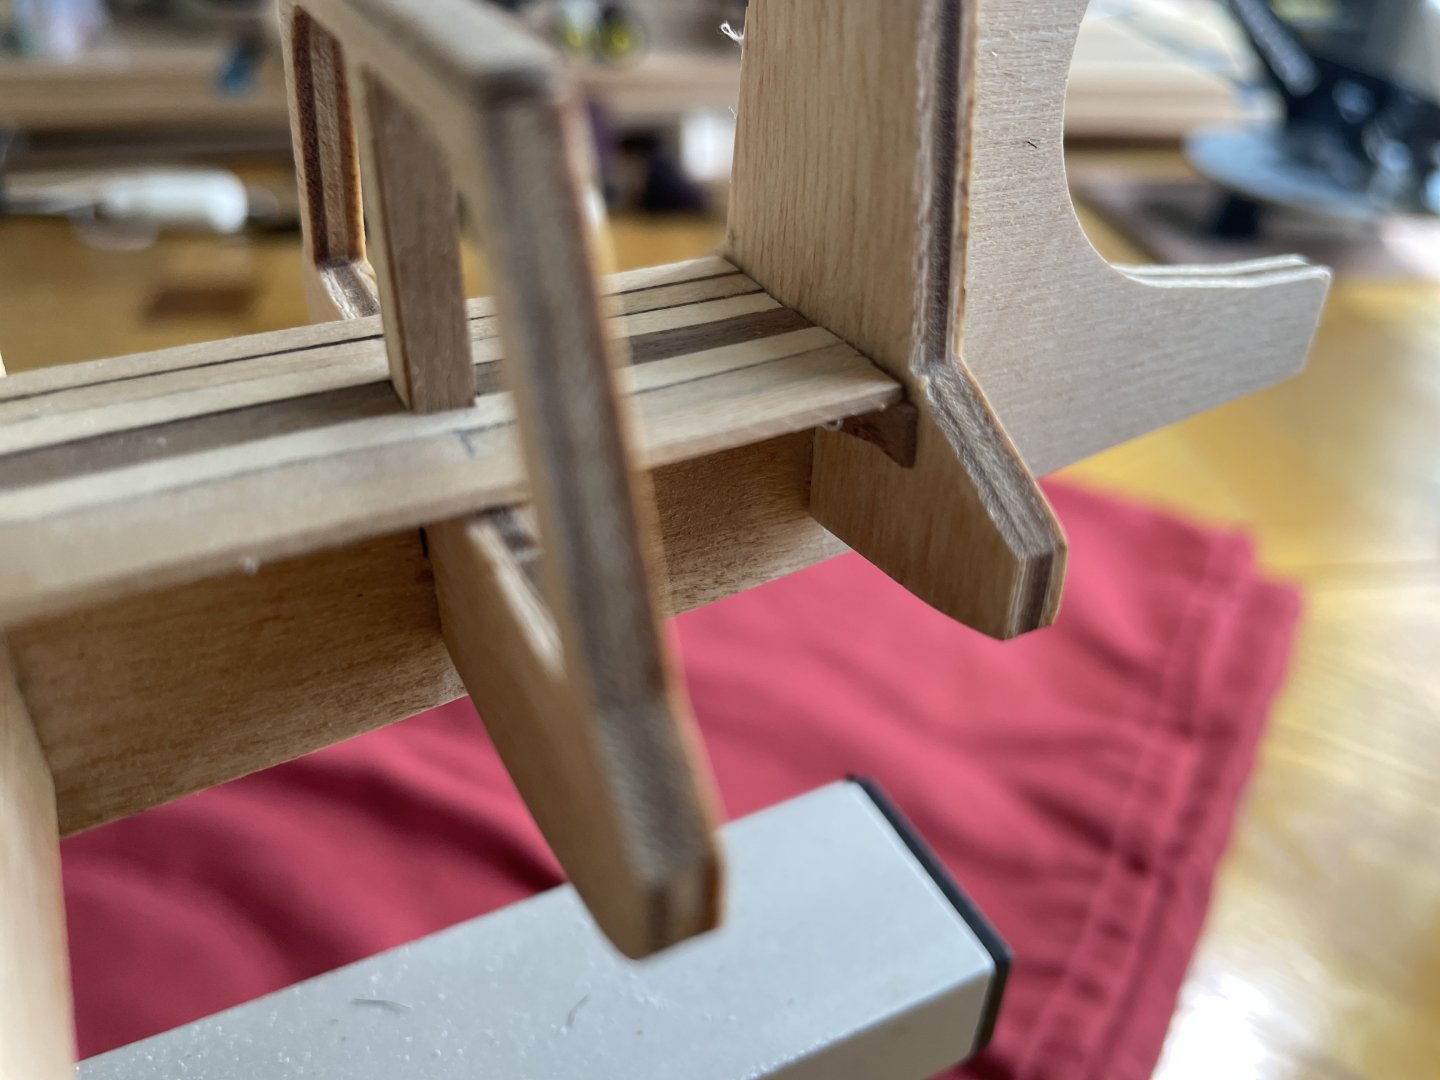
Benches: the interior benches are cut to size with an angle of 10 degrees, cut-true on one side for the bulkhead. Once glued into place, a small 1x1mm border is added primarily to add some relief and finish.
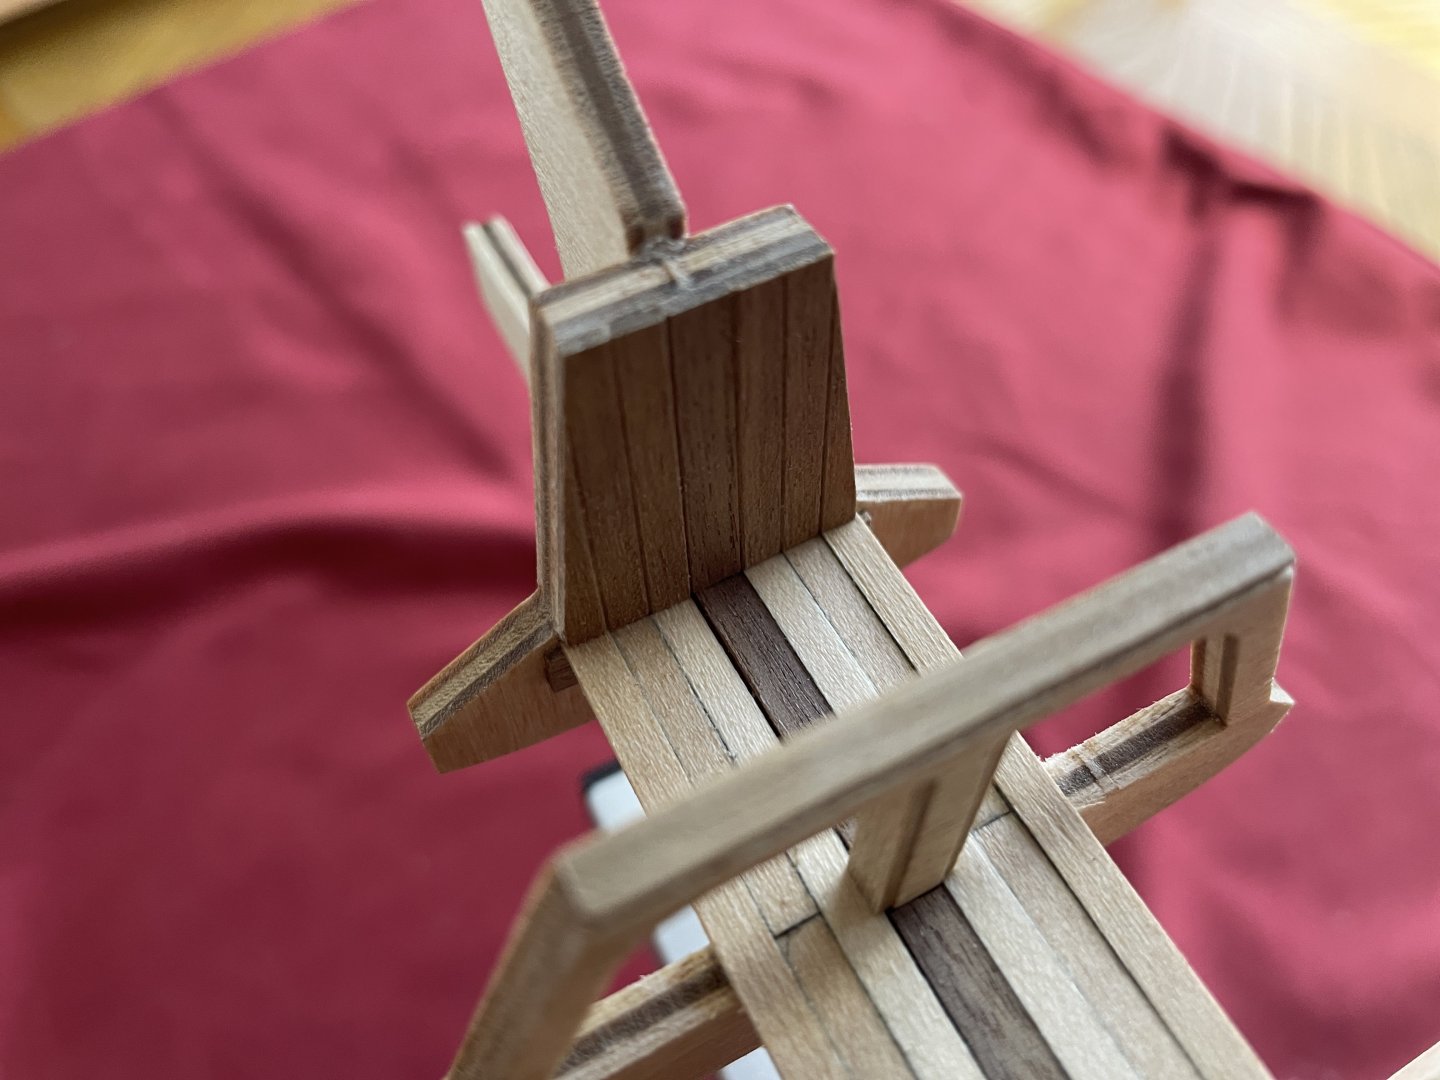
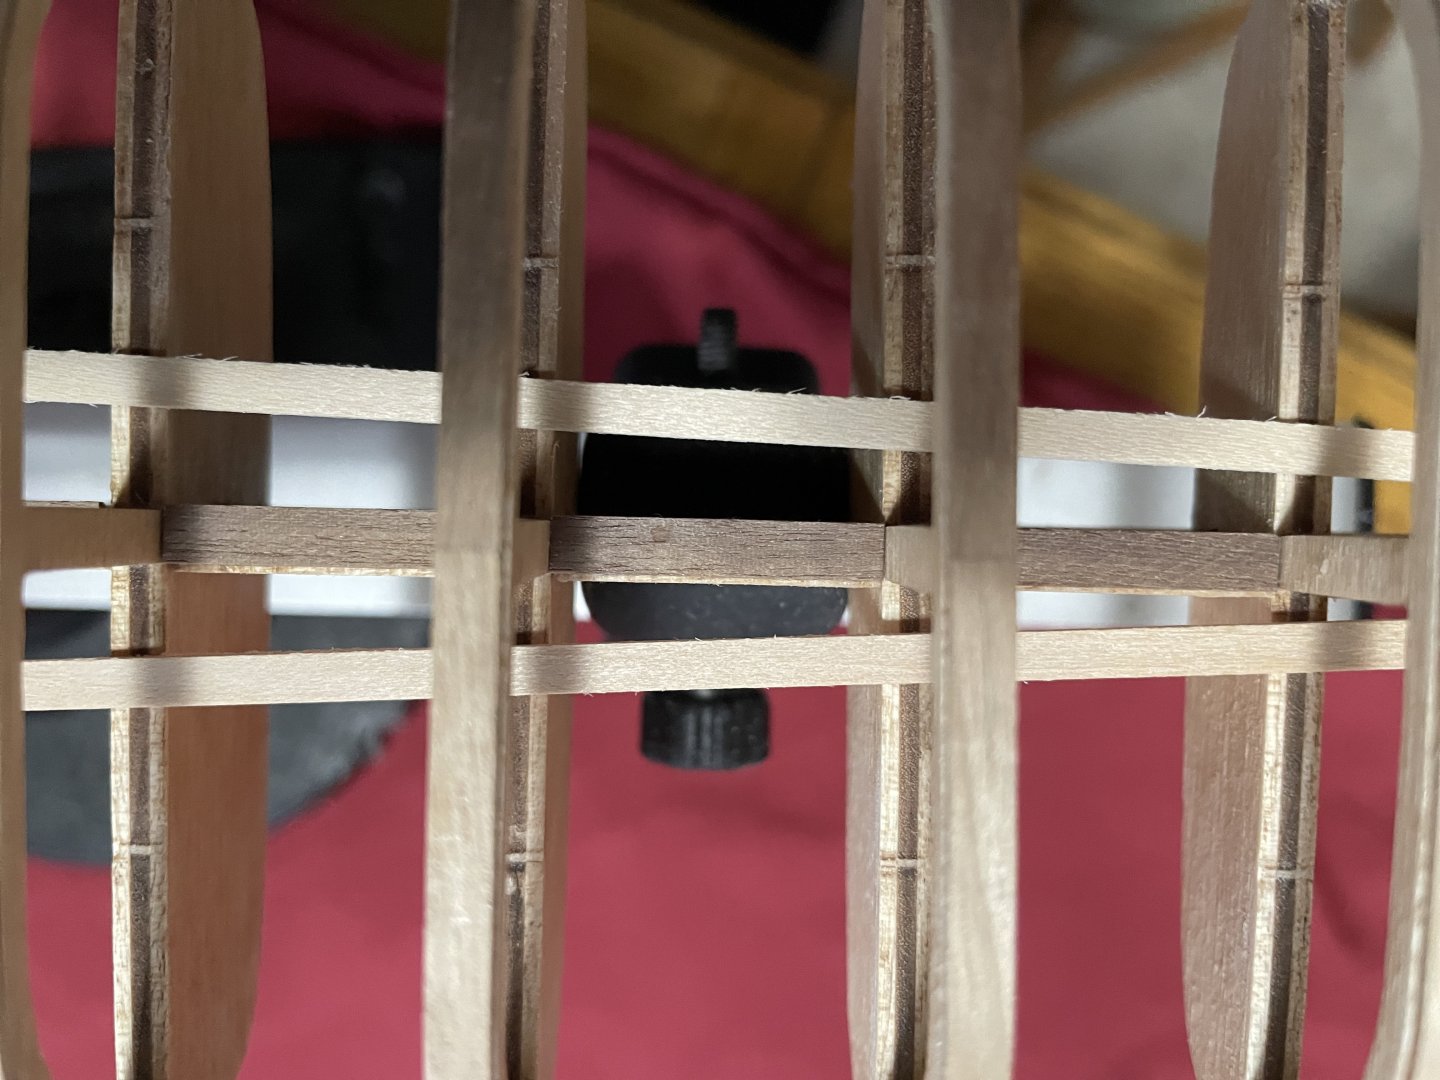
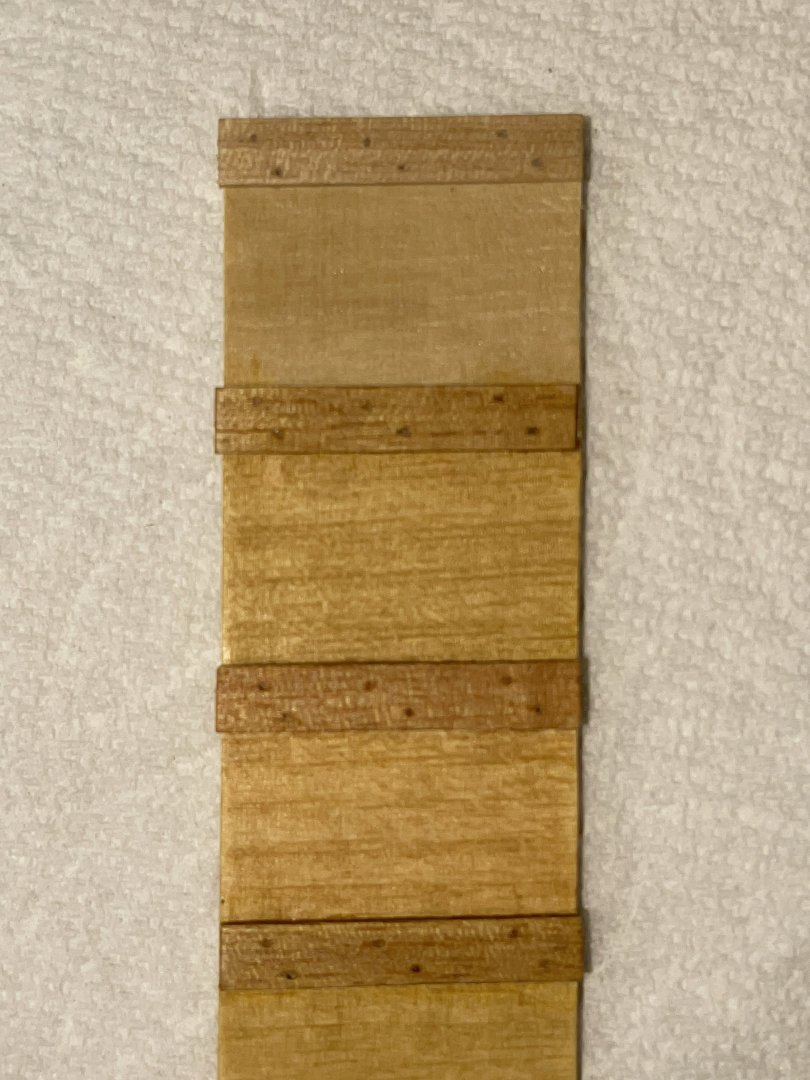
Interior Walls: Few sections of the interior (visible from the outside) were planked with walnut strips. Prior to cutting, the upper side of the strip was rounded by sanding, which provides slightly more relief to the walls.
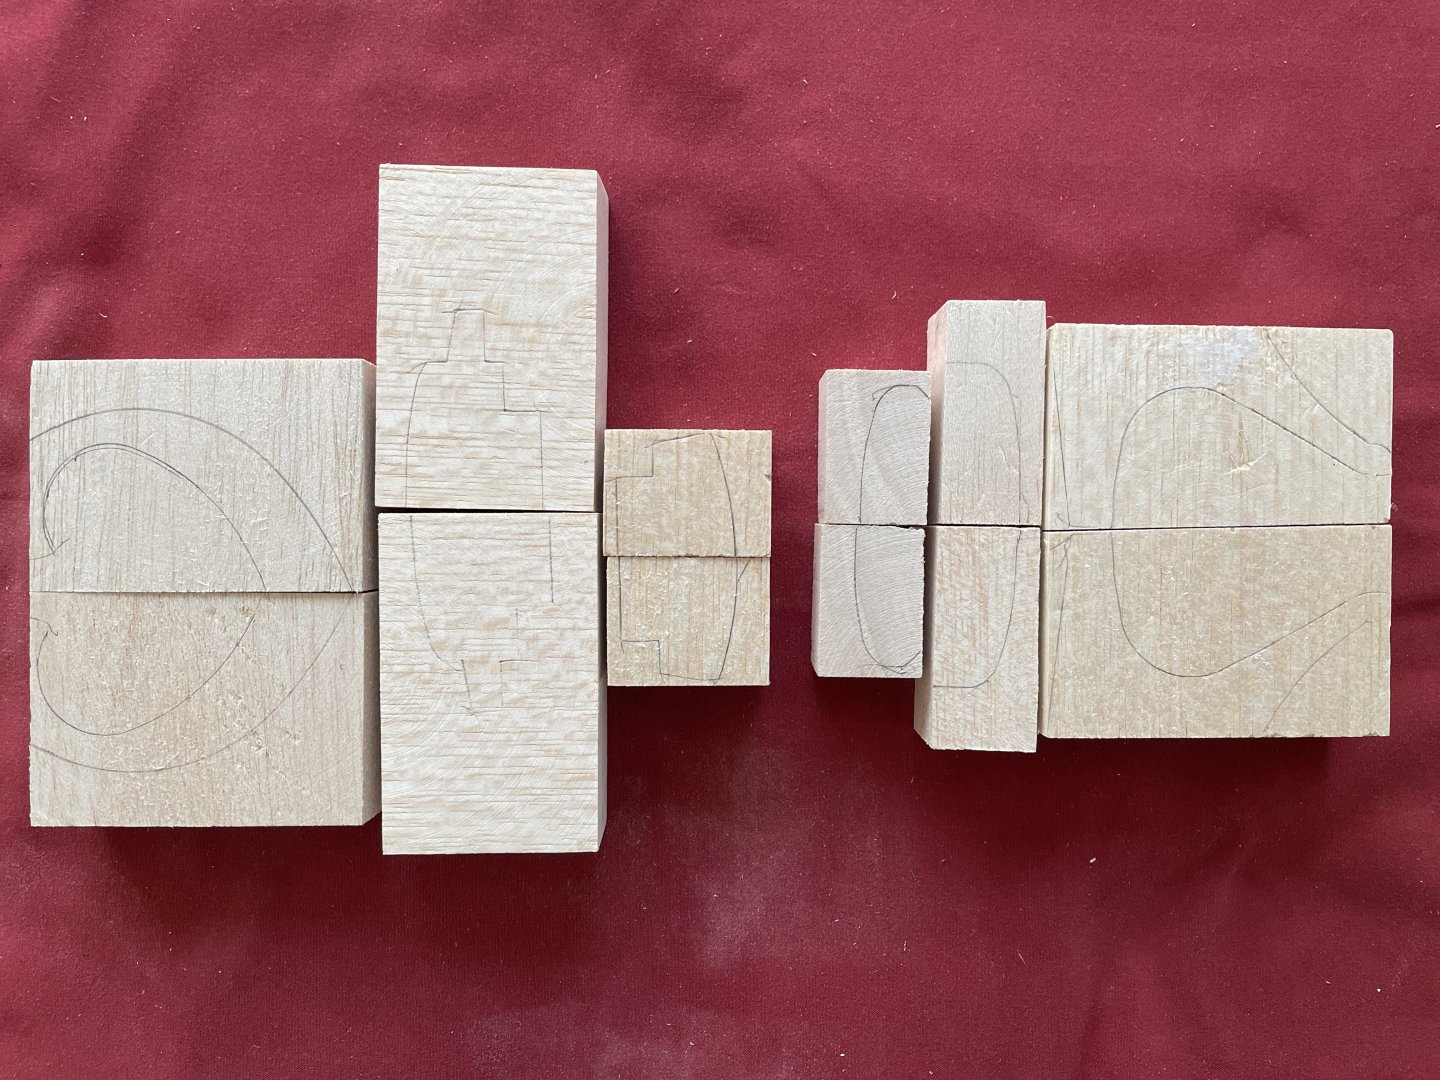
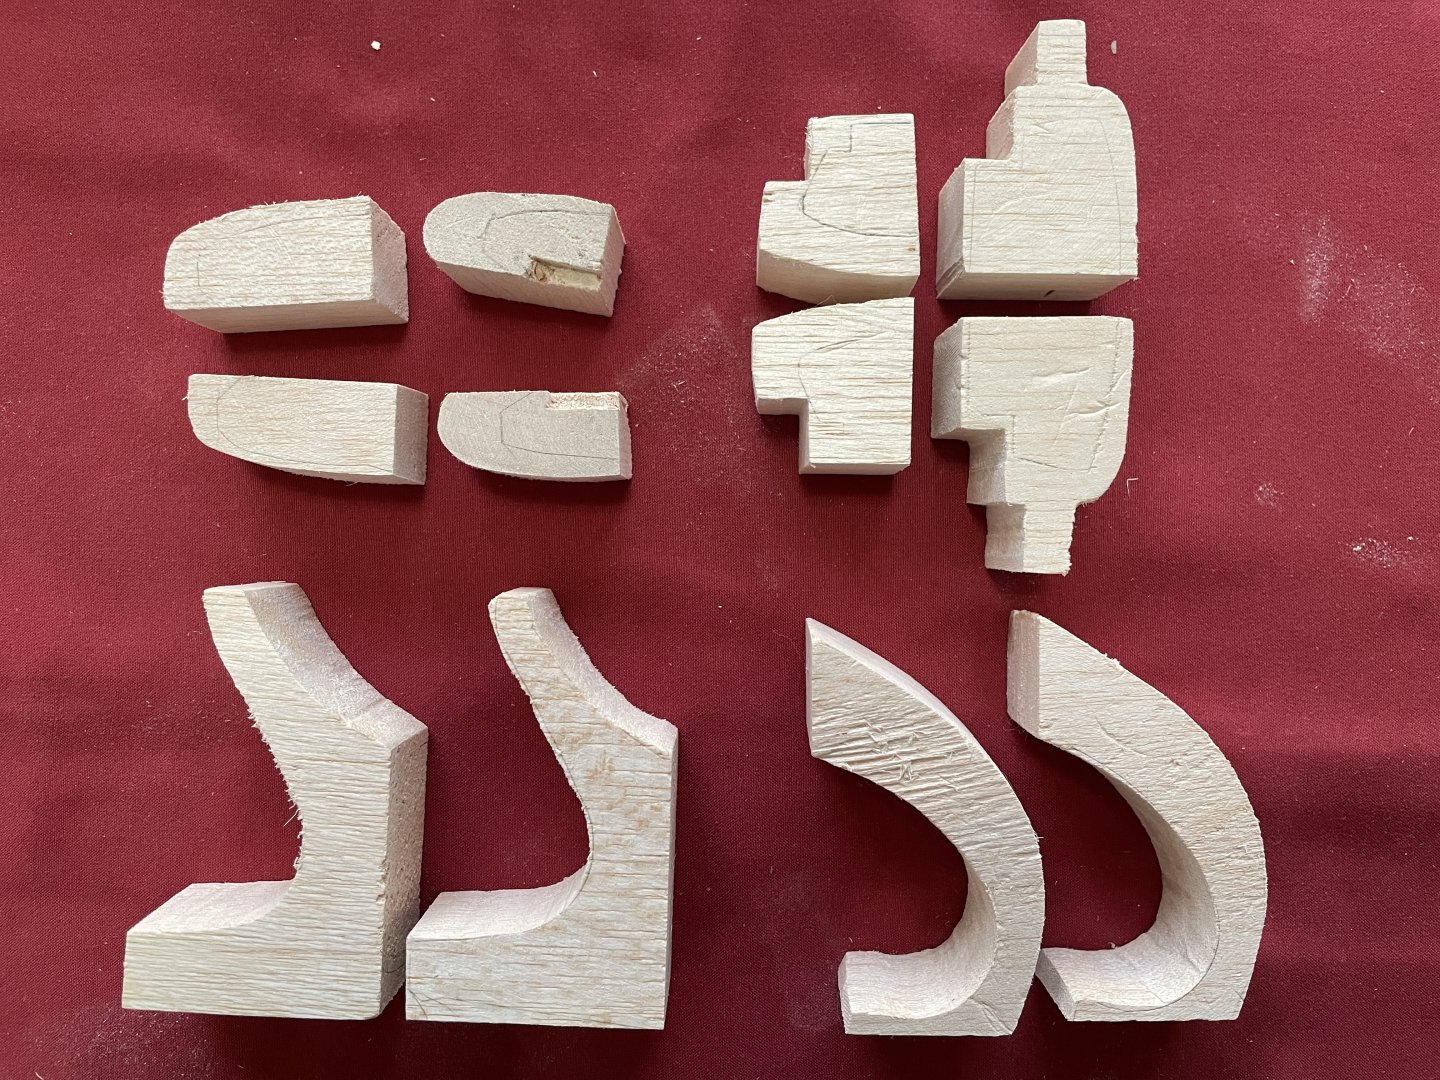
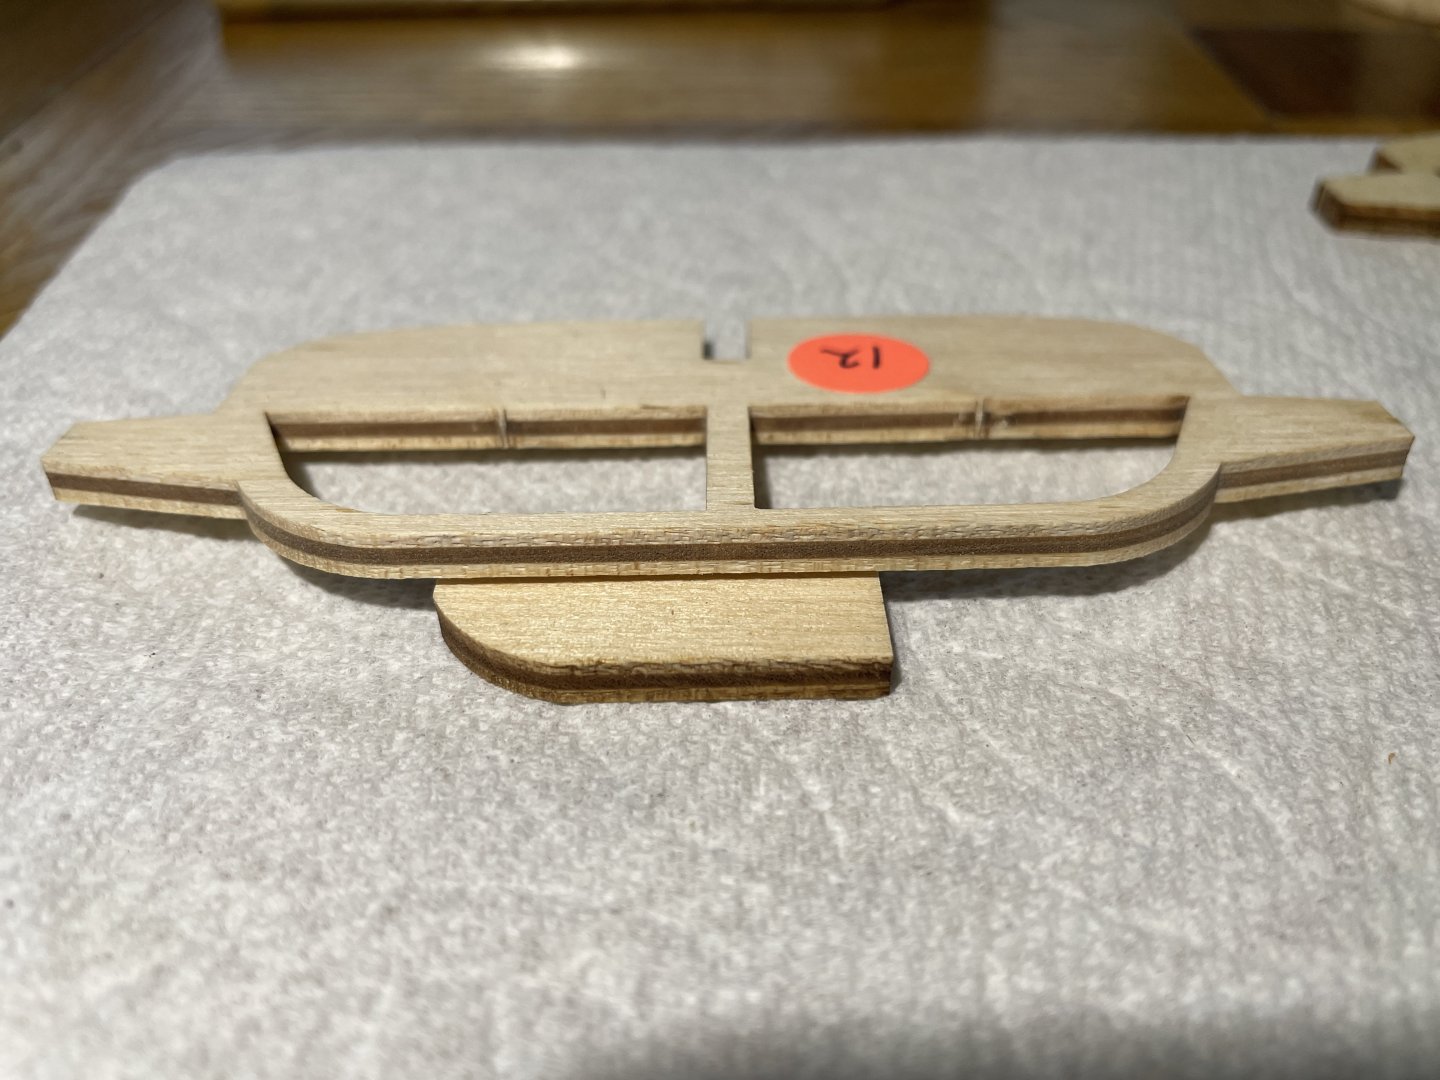
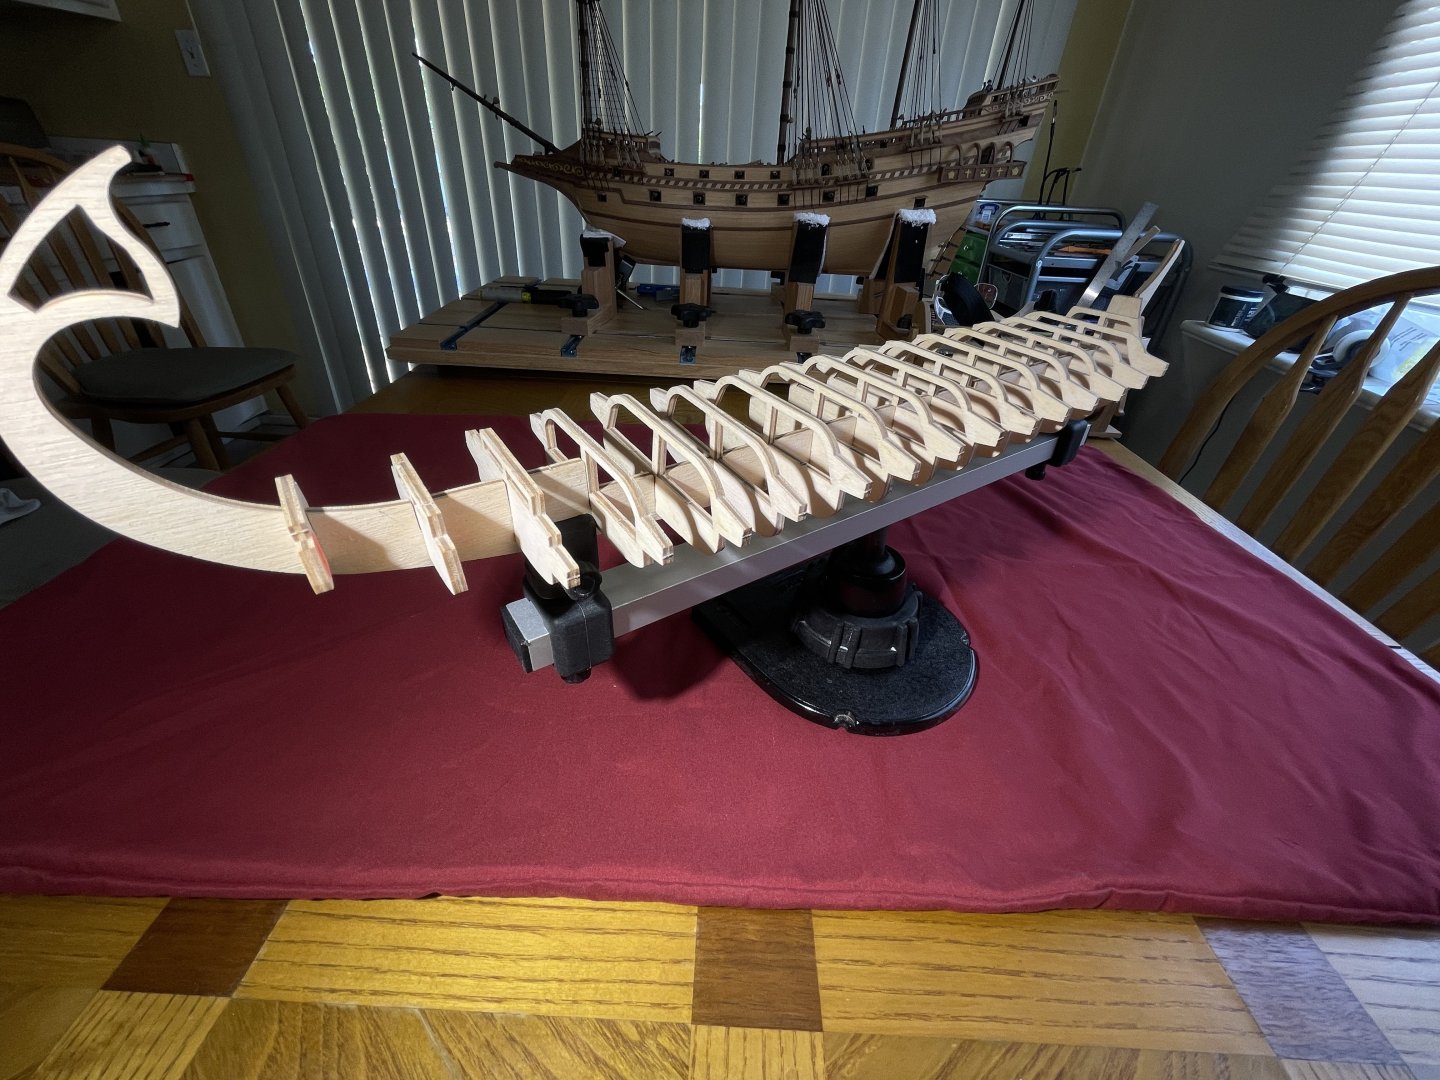
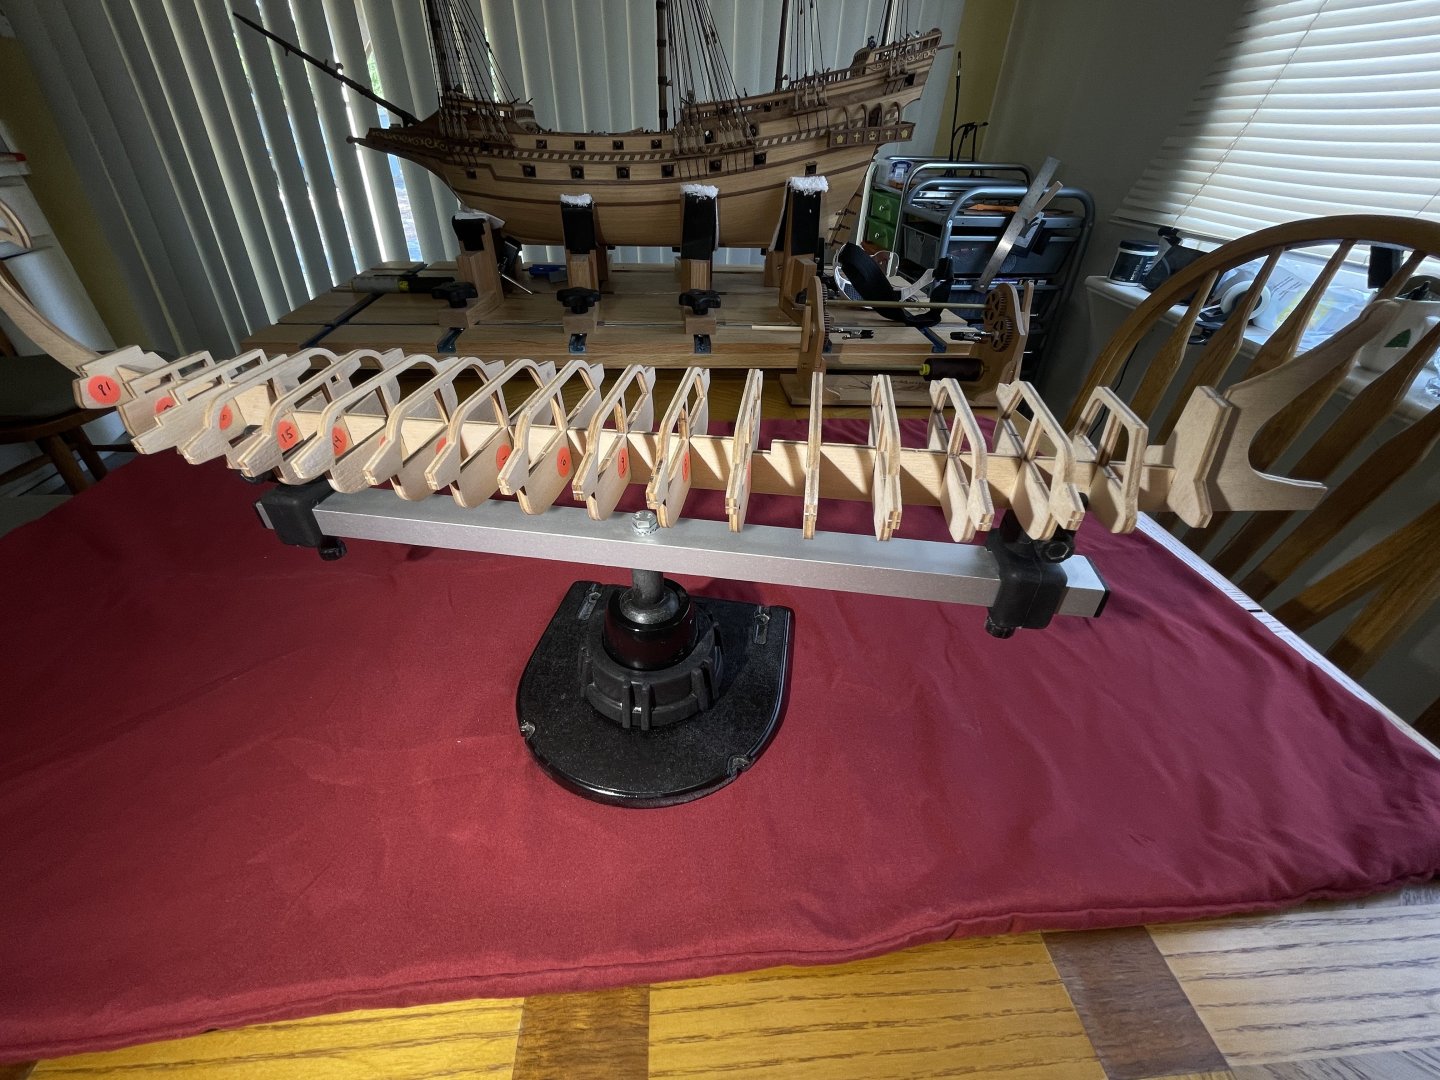
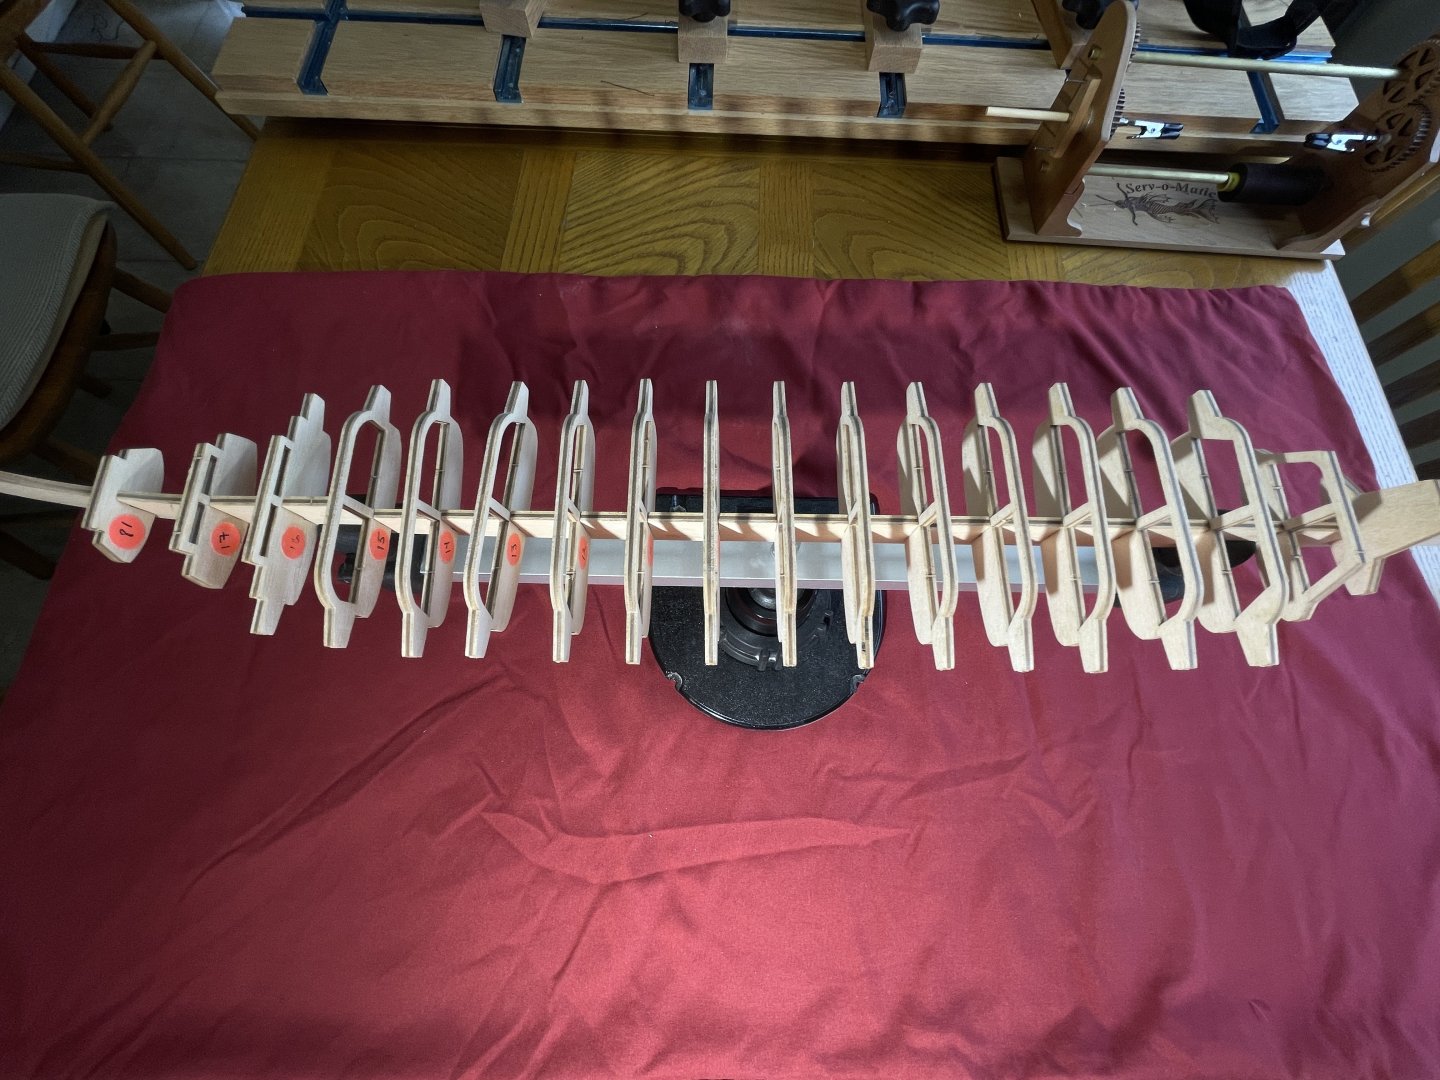
Balsa fillers: Started on balsa fillers to the bow and stern. This is pretty much required for this model and is NOT included in the kit. You are left own. Here are a couple pictures of the work in-progress. It will still need dry fitting and tweaking.
- CiscoH, GrandpaPhil, Ian_Grant and 2 others
-
 5
5
-
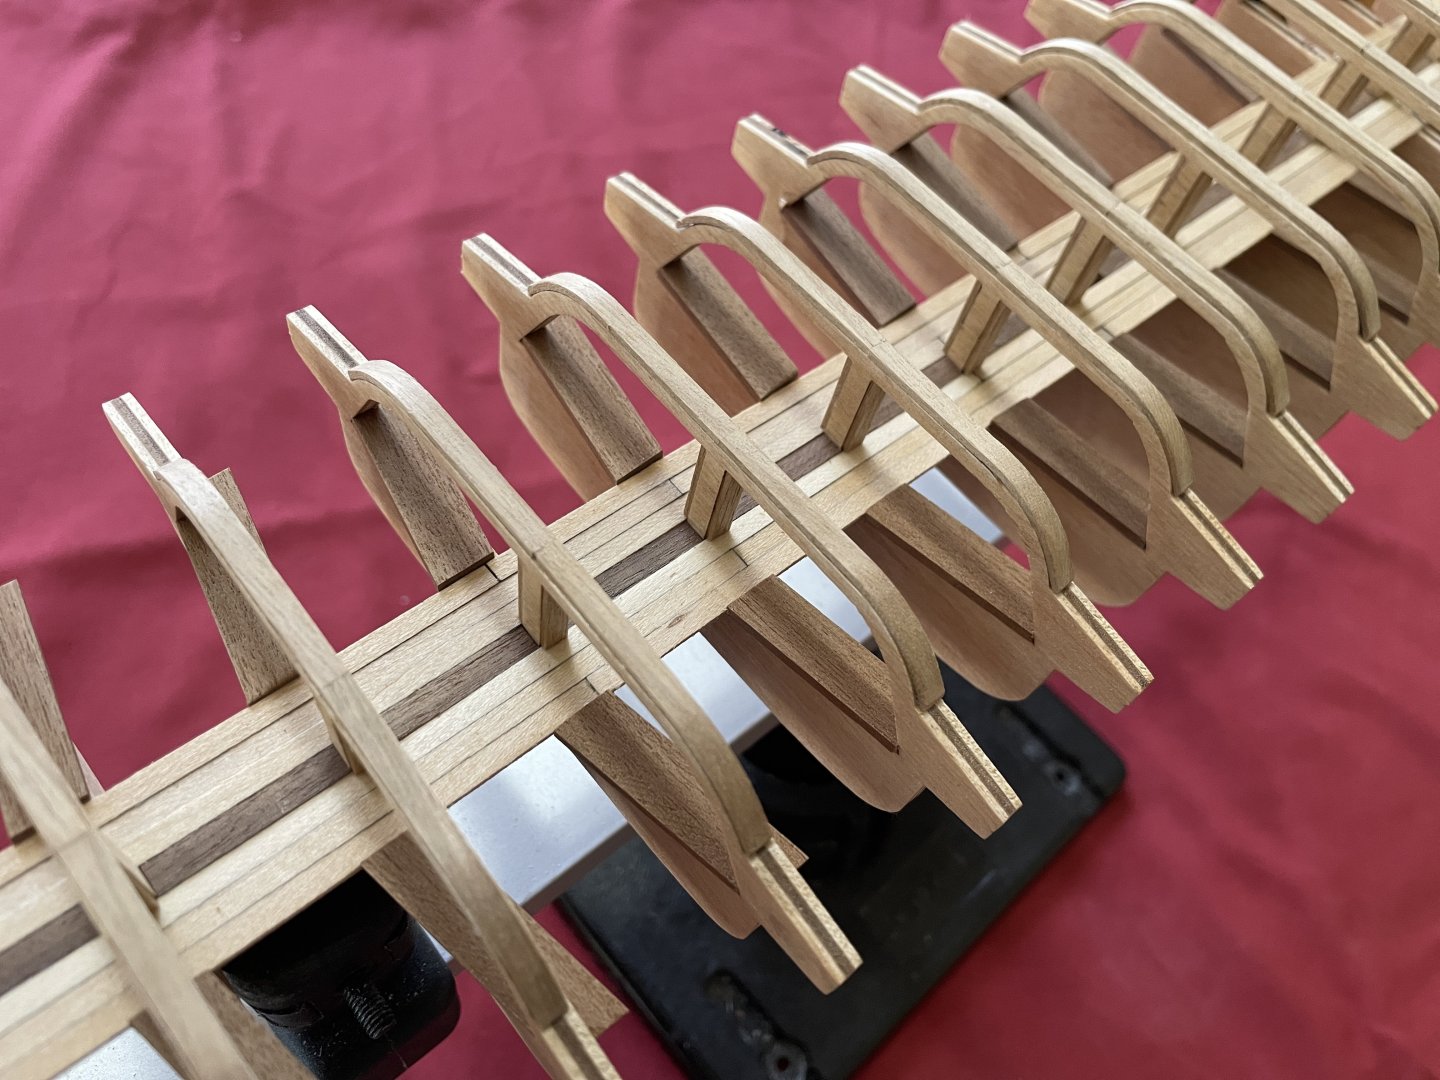
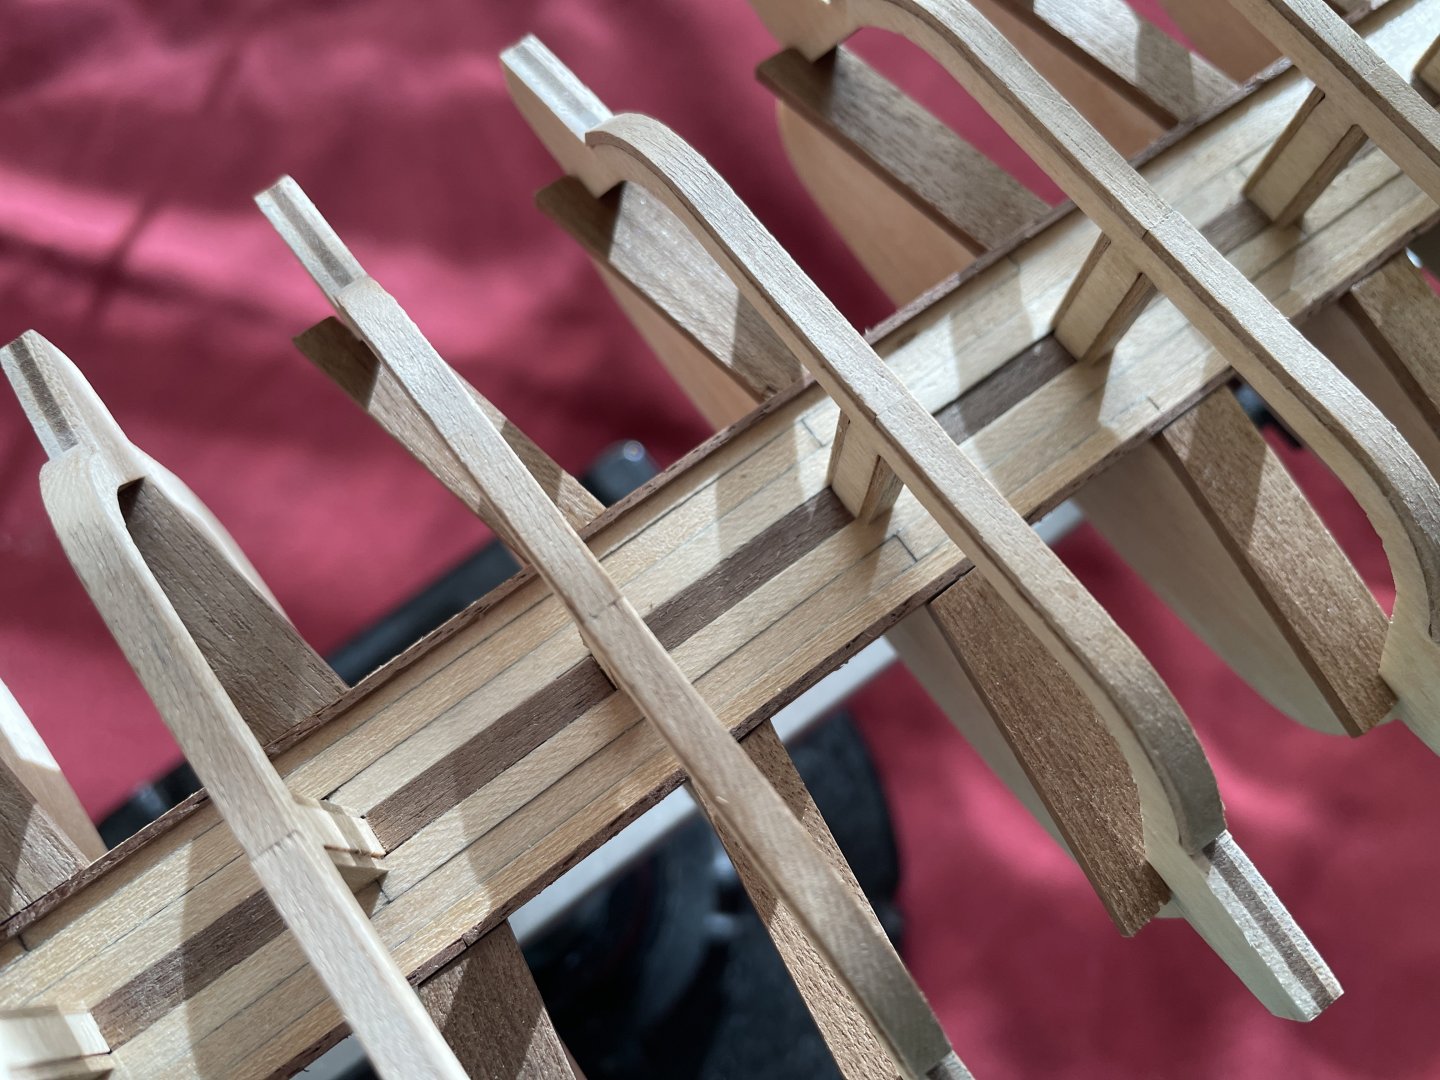
Bulkhead and internal deck: The bireme kit from Amati is good so far with one exception: poor documentation. The two plans provided are ok but at times, more details would have been nice. BUT HEY! This is an opportunity for me to have a more detailed build log.
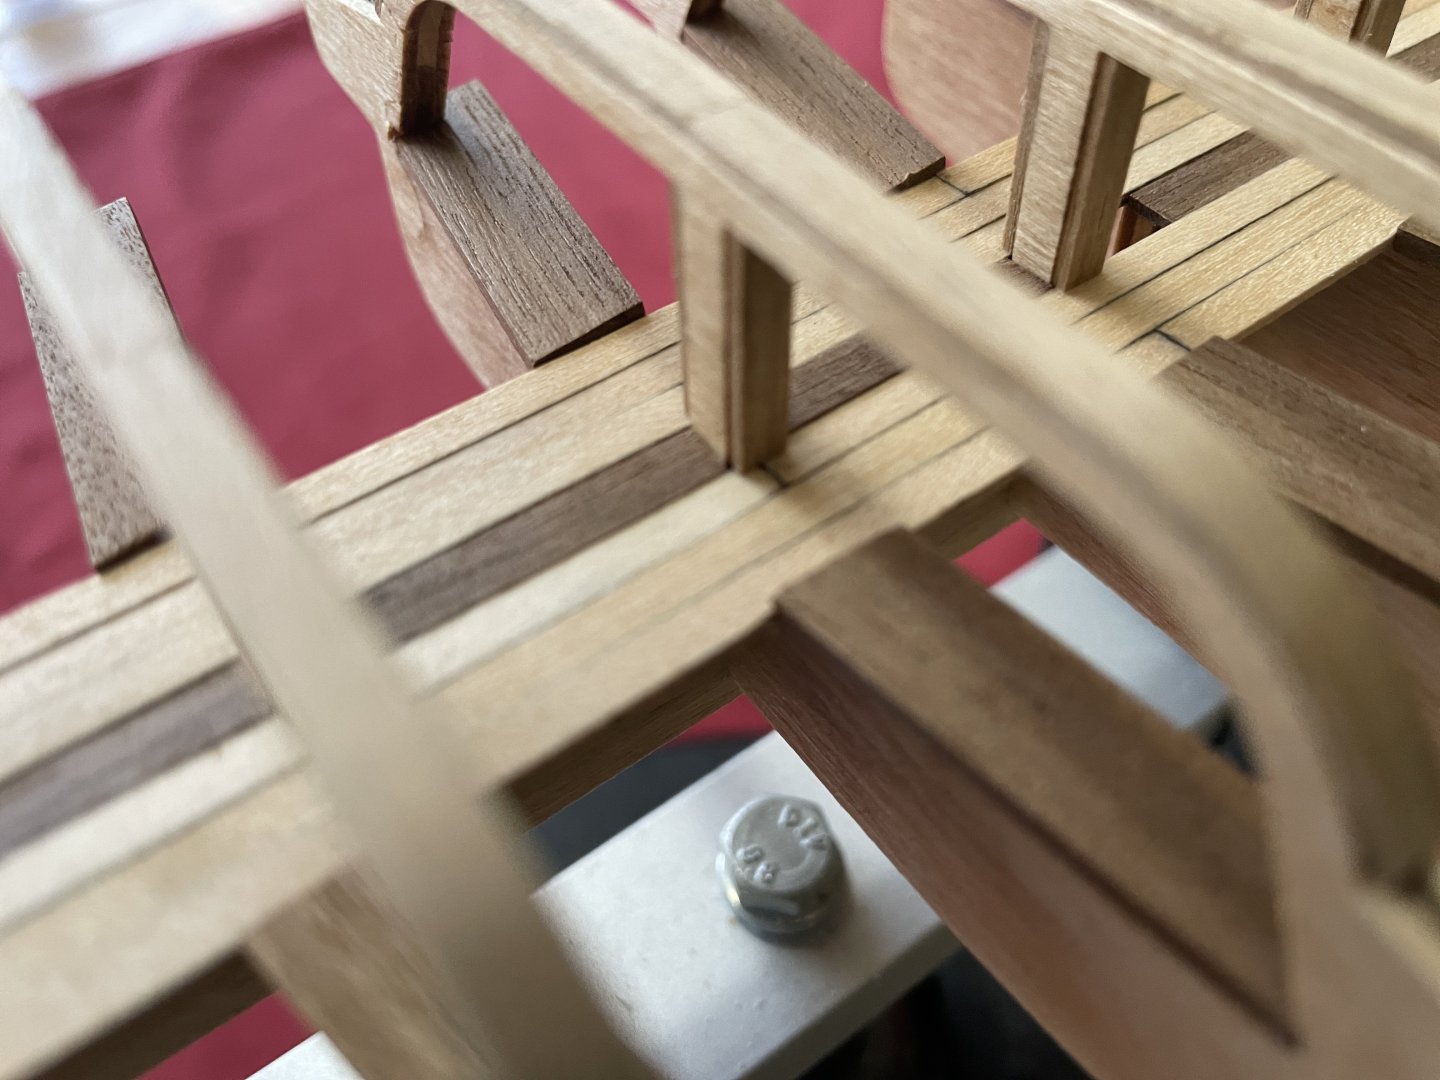
A) Frames: There is little play between the bulkheads and the keel, maybe 1mm or less. I was careful when I glued the bullheads to push them in one direction for good contact at least on one side. Be consistent, all on the same side.
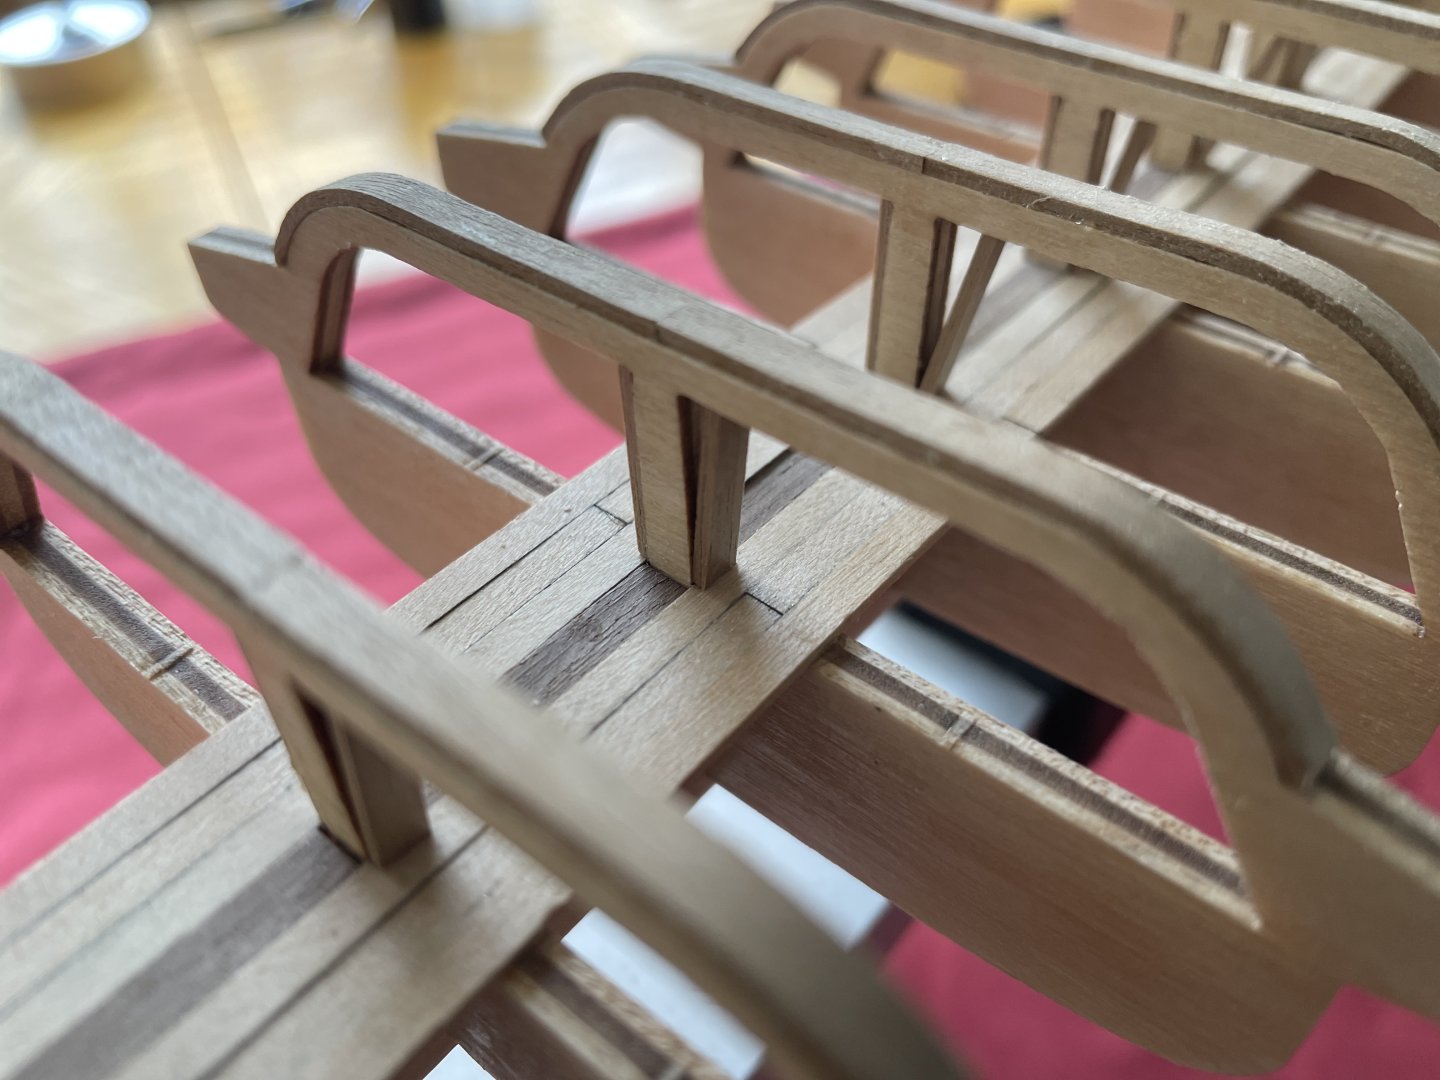
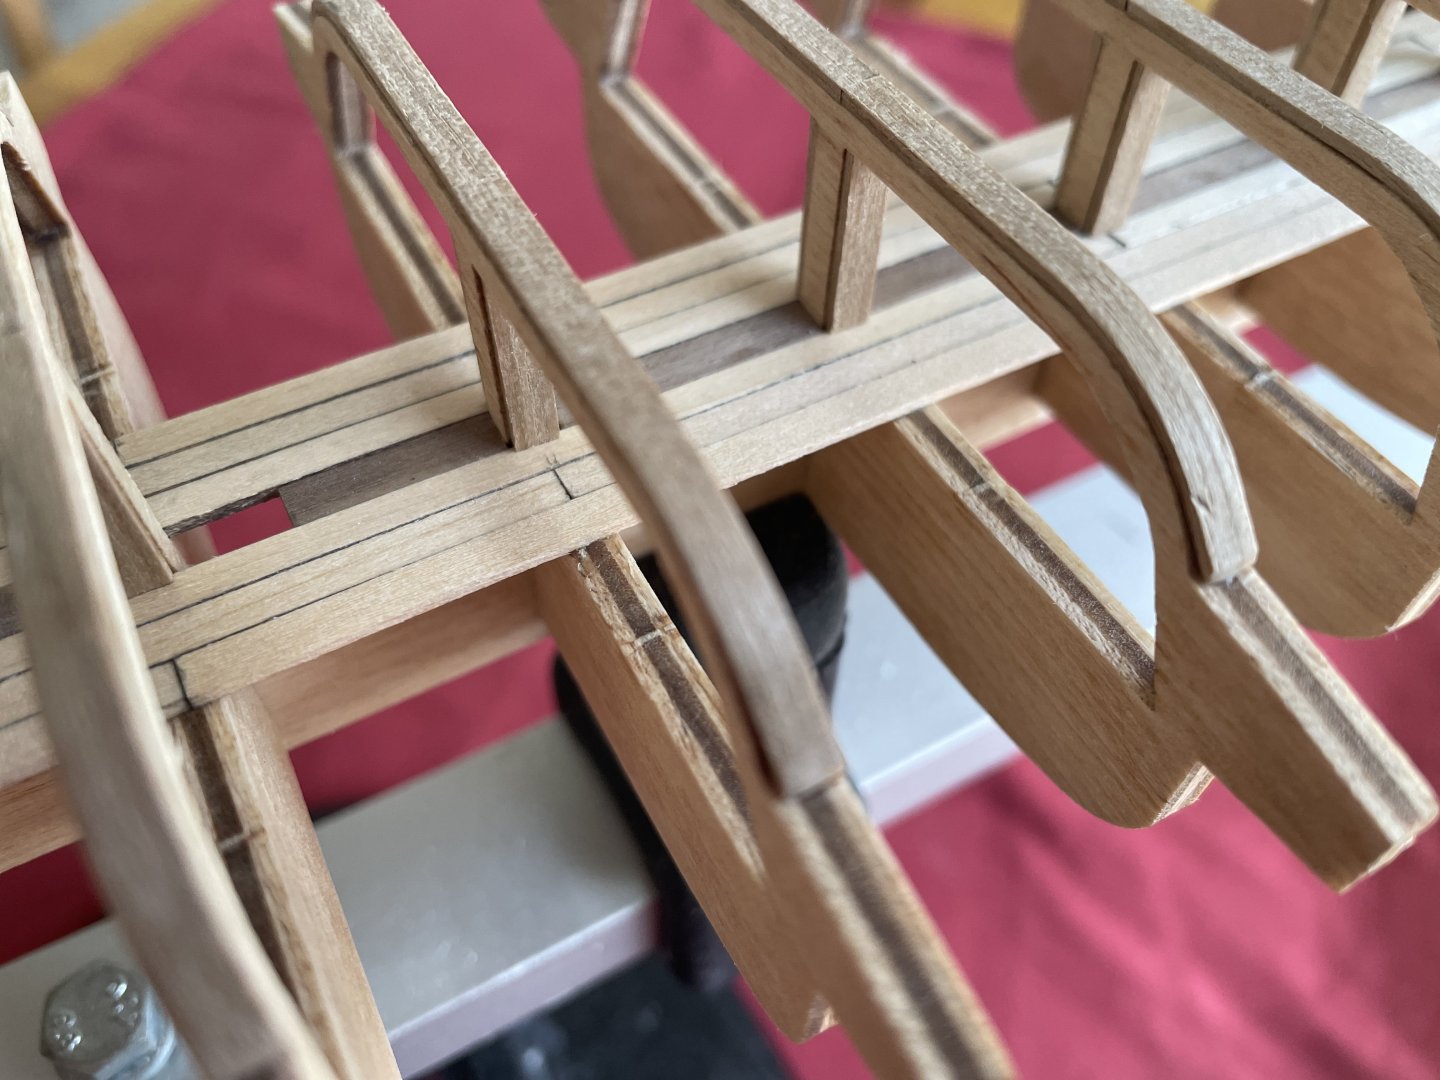
 Bulkhead: the visible side of the bulkheads has to be fixed, not pretty. The upper edge was planked with some spare strips I had in hand. I am not sure how much excess is included in the kit. Planks are curved with a hot iron (plank binder), and installed in pairs. Cut the first half to length to the middle on the bulkhead and glue. After drying, cut the second half precisely to length and installed... perfect joints.
C) Internal deck: The bias introduced at the junction of the bulkheads and keel (see above) had a slight impact on the initial deck planking. The vertical section is a little off center to the keel. Two planks were used for alignment before I glued the middle section. The supplier strips at 3mm were a little short in width. I then used spare strips of 4mm walnut. Furthermore, it adds contrast to the deck. The deck was then built with strips cut every 5-bulkheads (10cm or 4 inch), for a length of approximately 15-18 ft real size. You just have to be careful that the junctions are on the bulkheads. Note: Don't forget the support strips at the bow and stern.
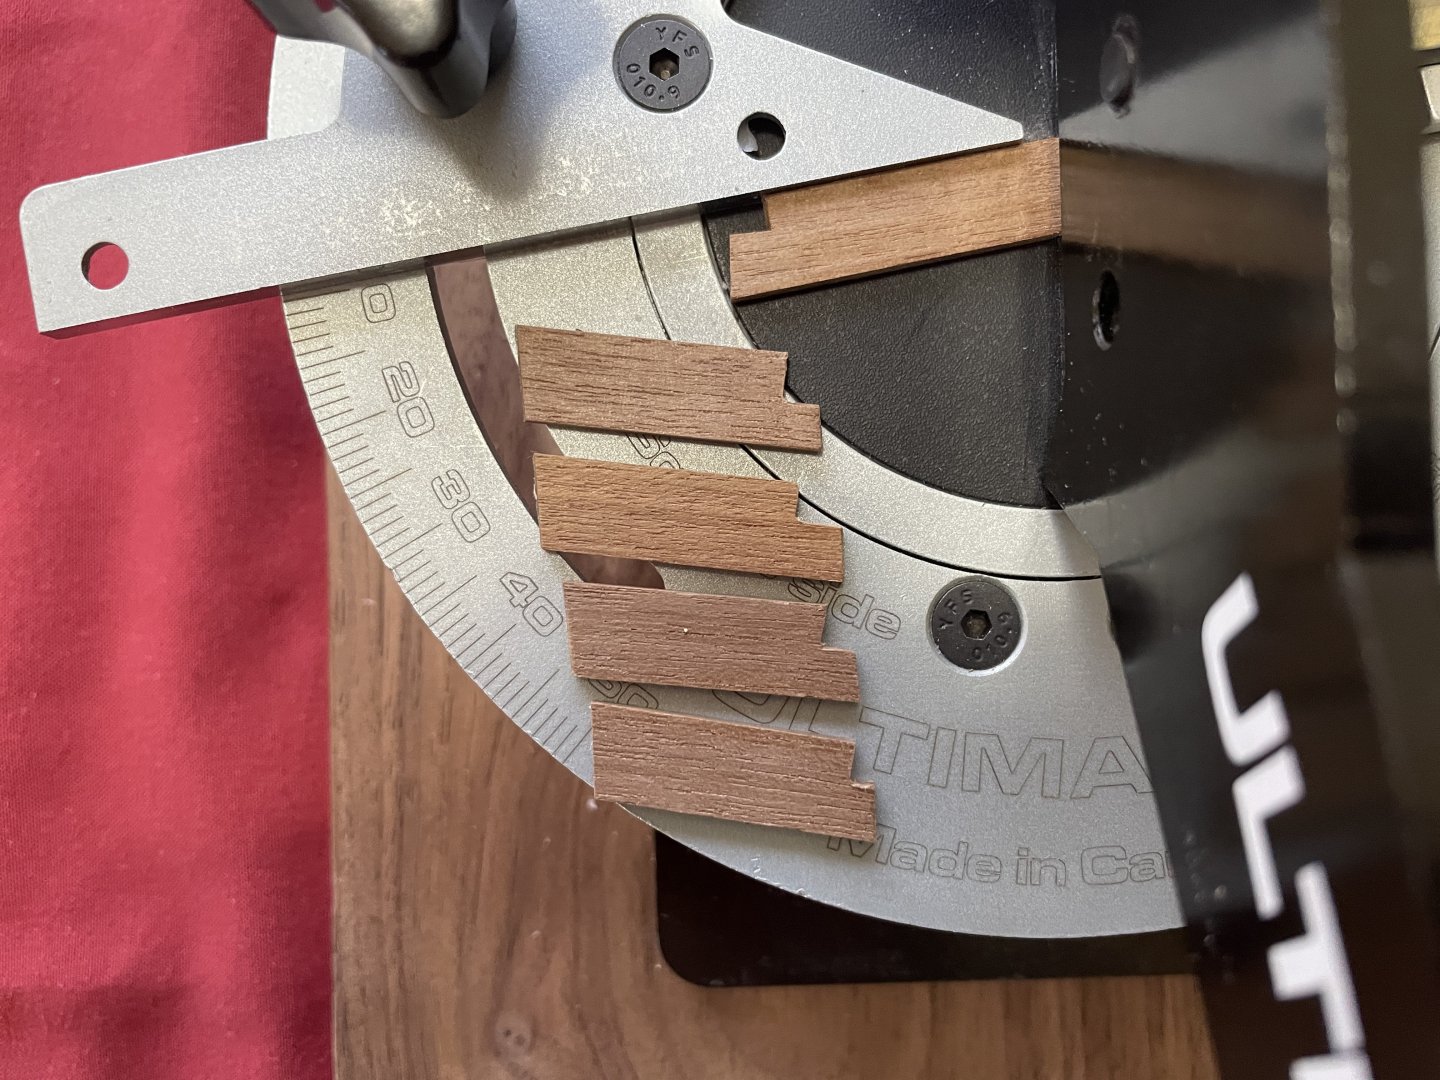
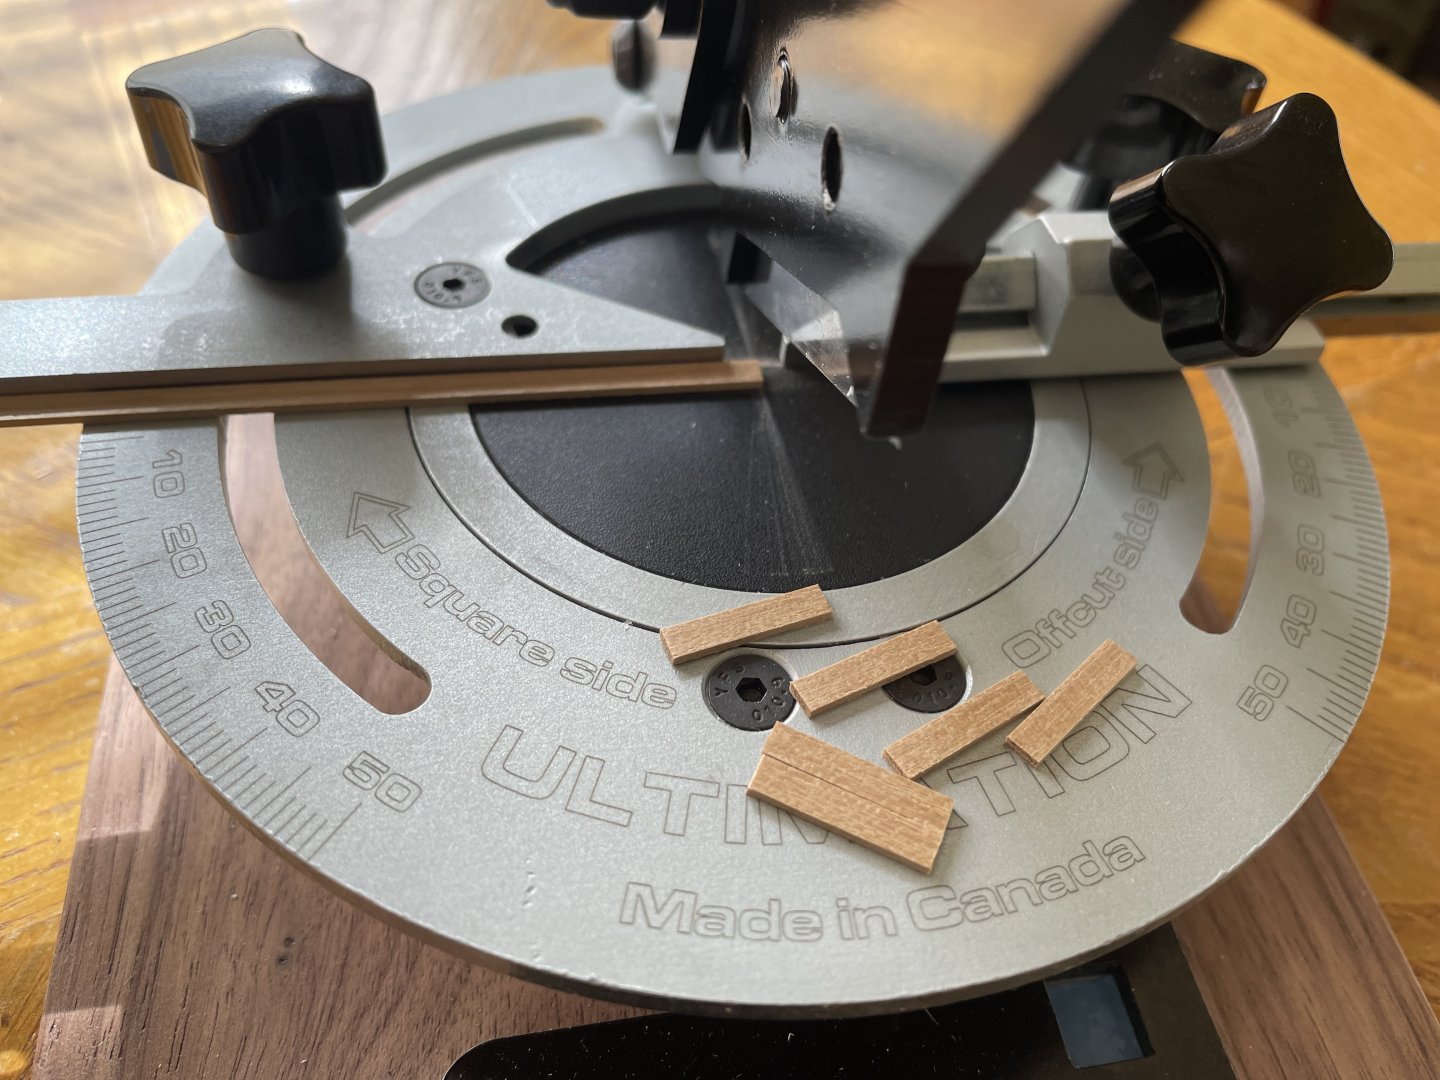
D) Vertical beams: The vertical beams will be visible once built. This means the plywood ends too... can't have that. This is where my new Ultimation slicer shined. Repeated cuts can be made easily and mostly reproducibly... Small strips were cut 0.2-0.3mm longer and pushed into position with slight force... it makes good joints.
Note: use glue very sparingly... you don't want excess, no "blob" or staining.
That's it, folks!
- Altduck, JacquesCousteau, CiscoH and 3 others
-
 6
6
-
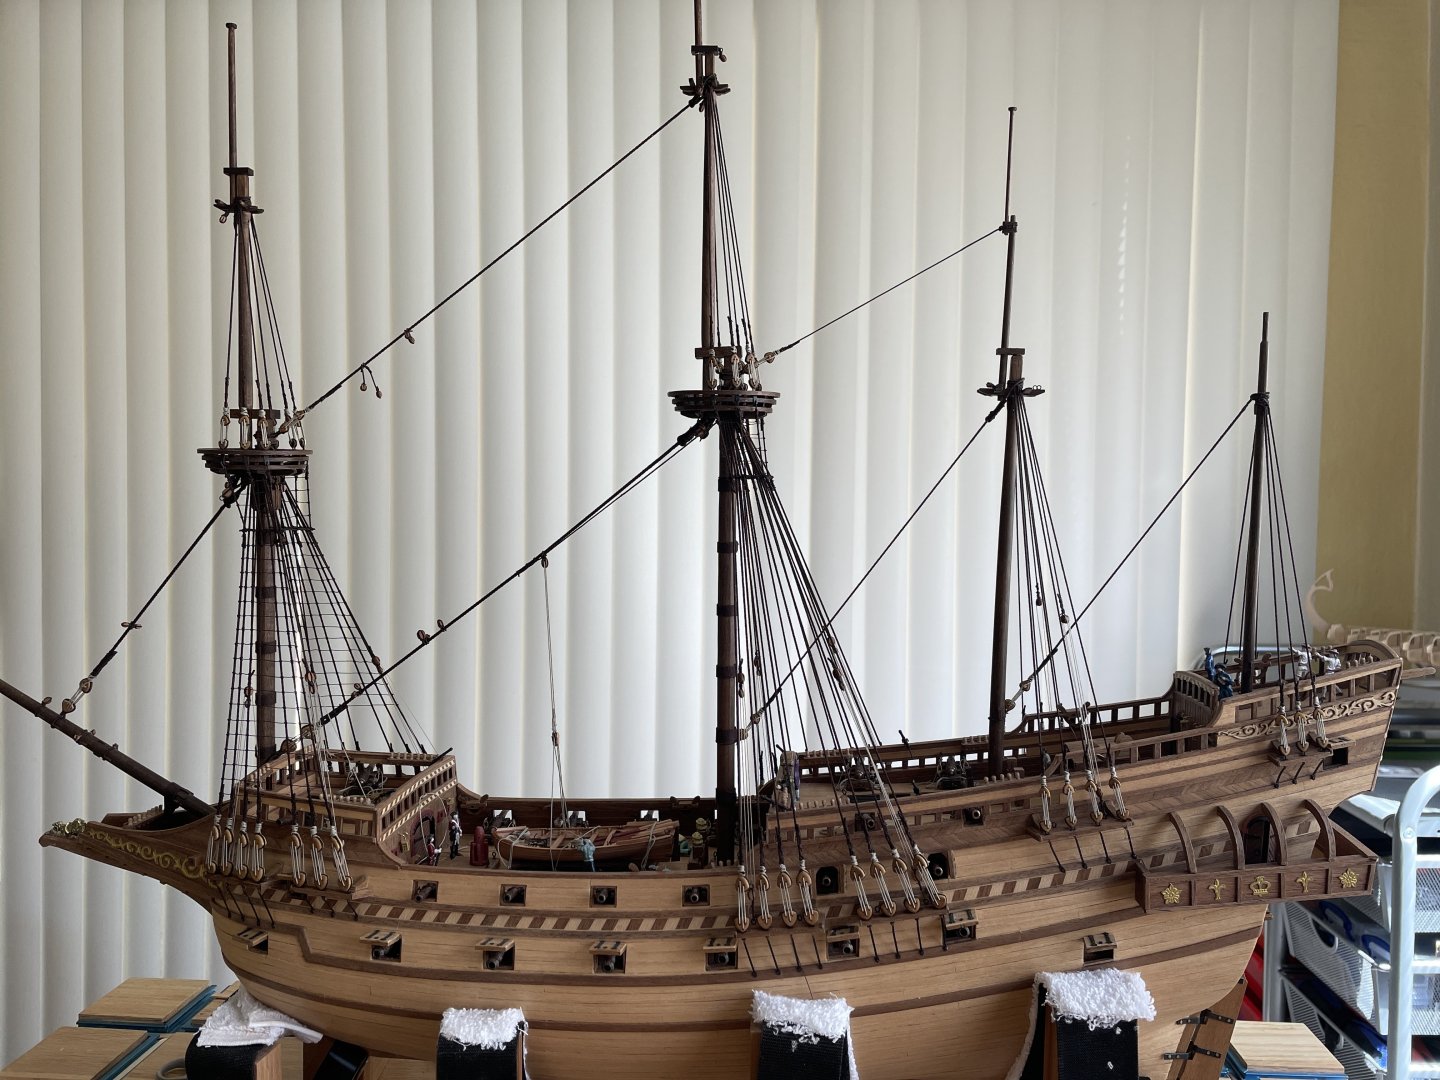
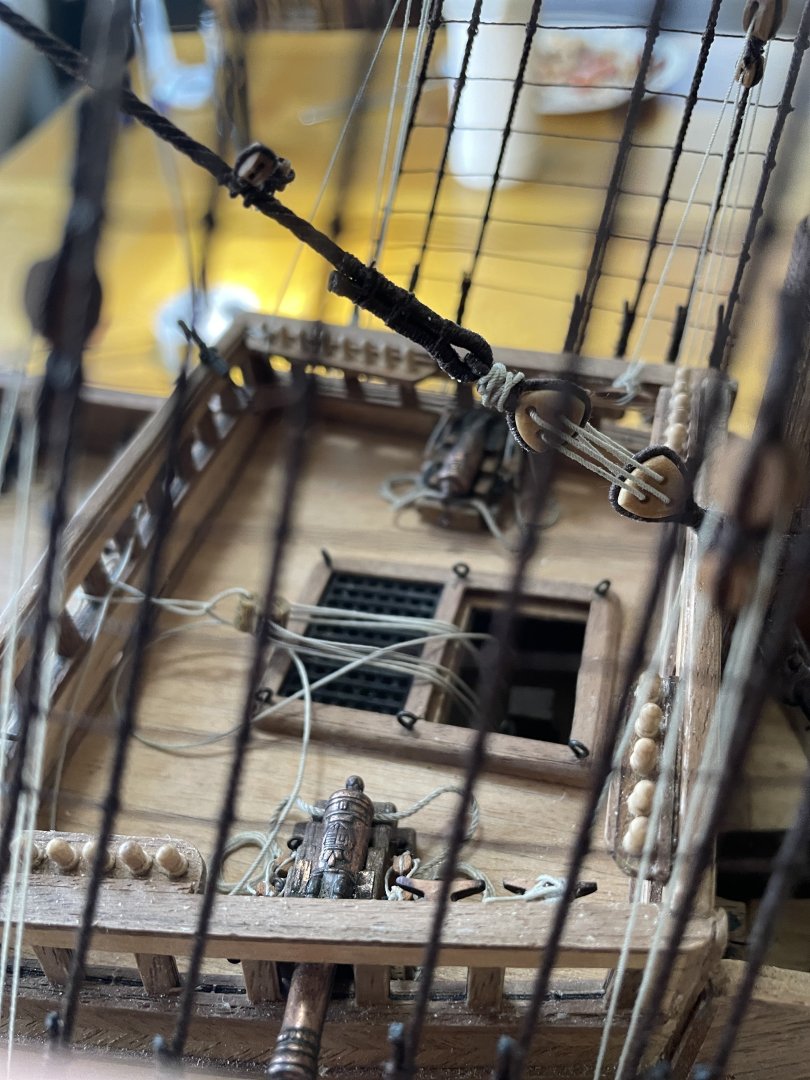
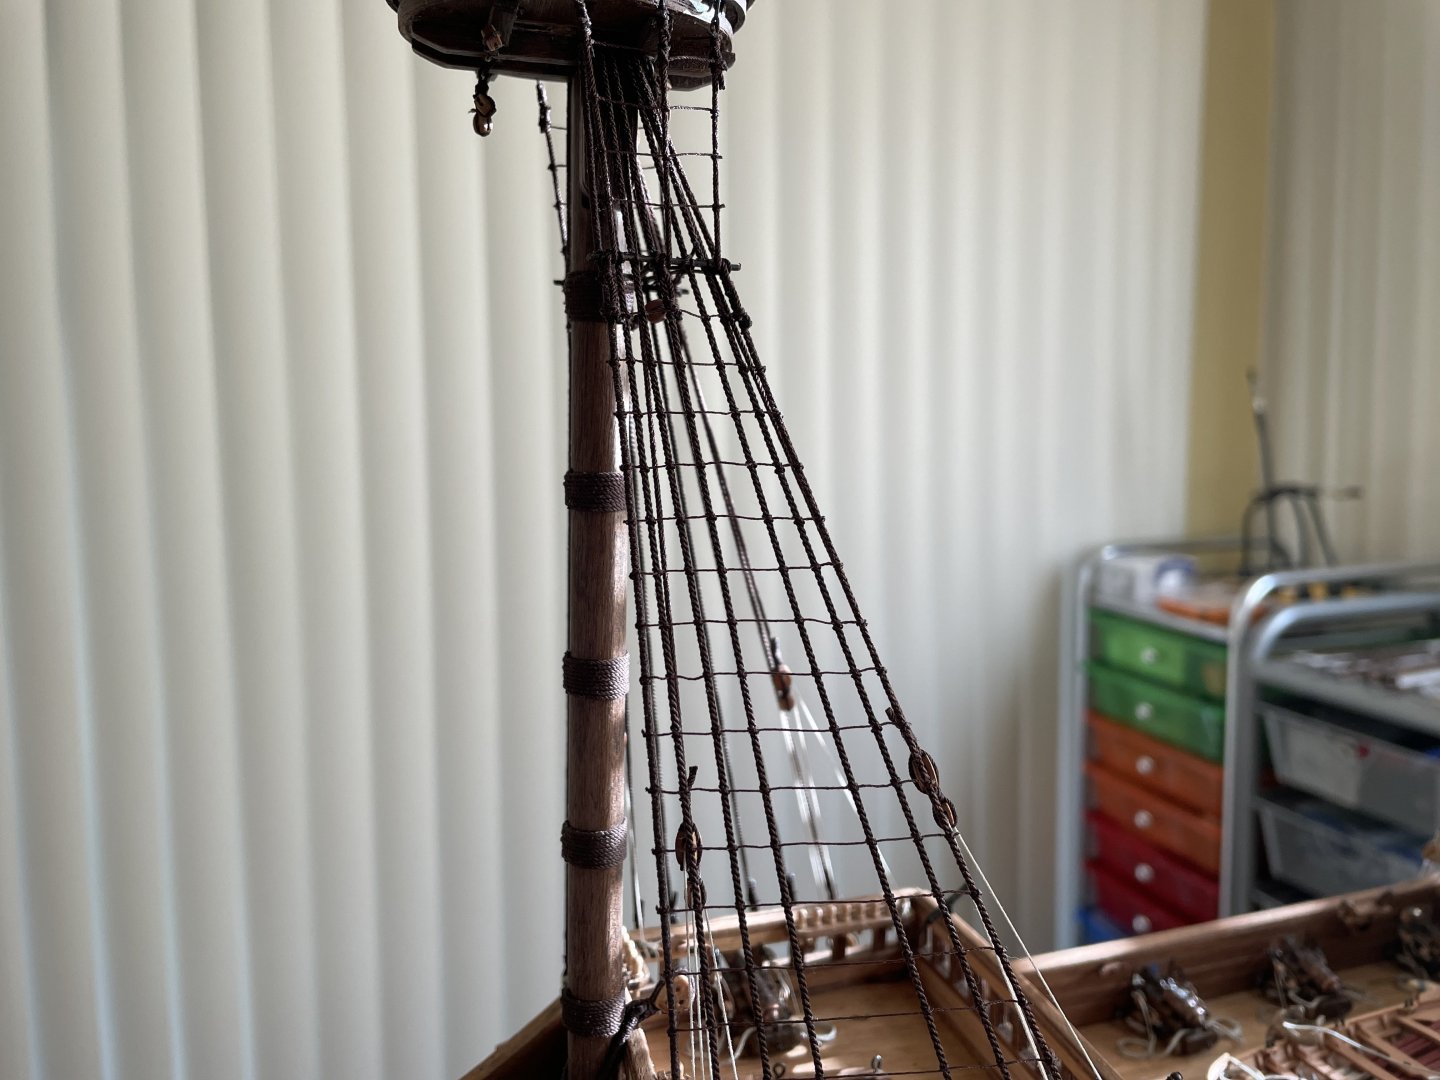
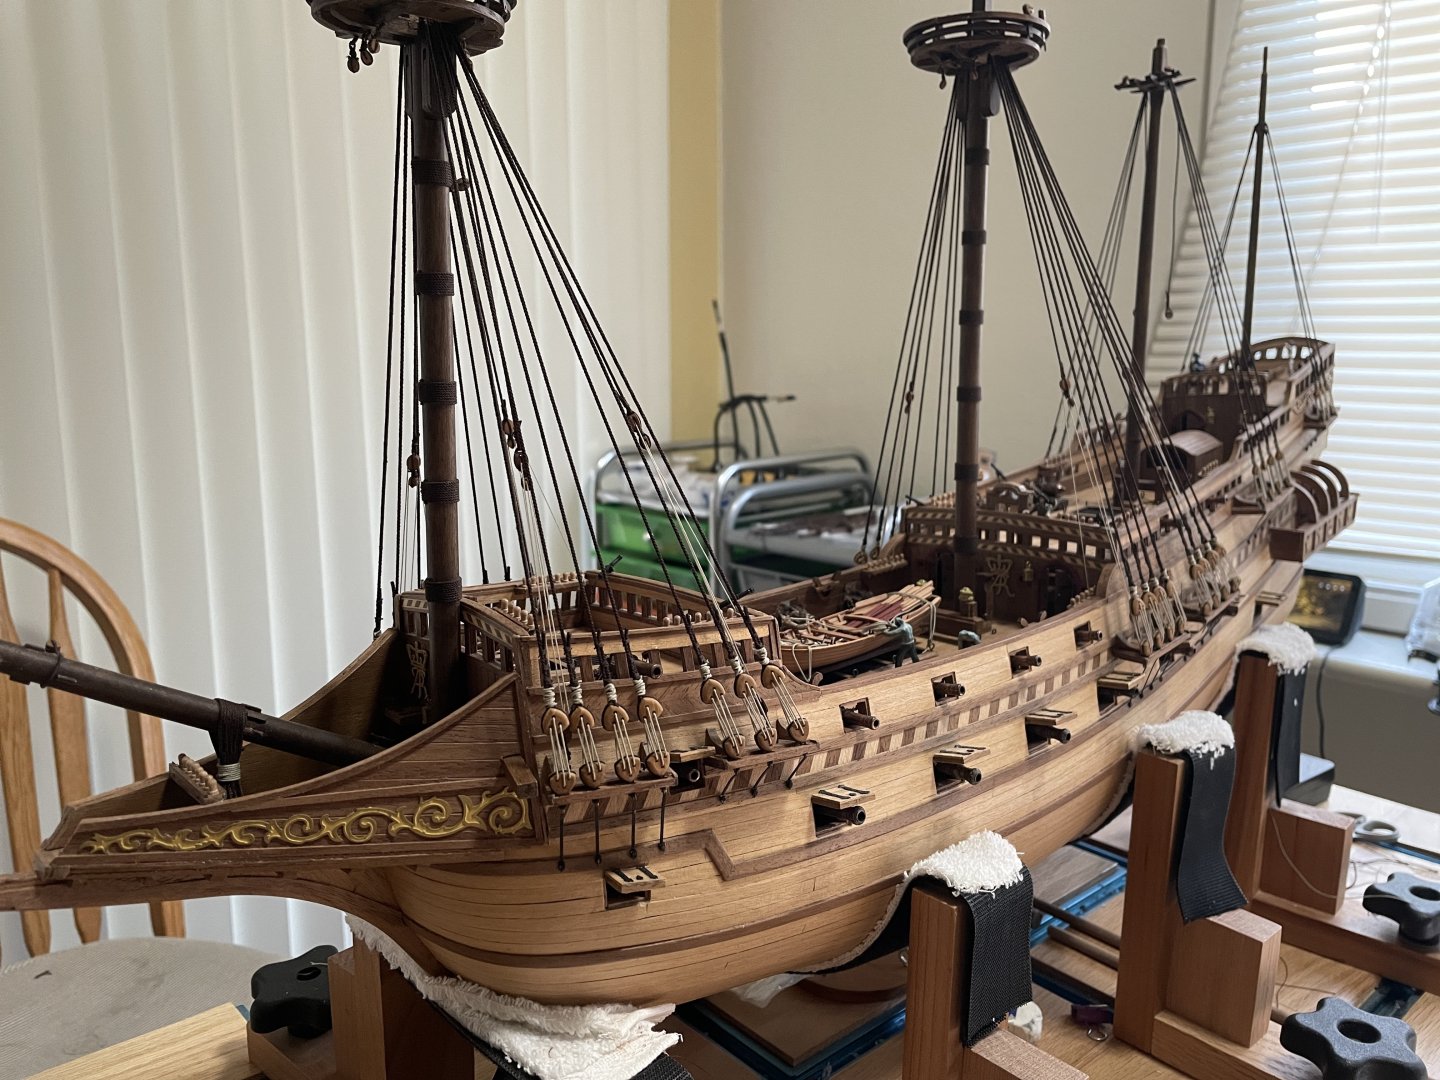
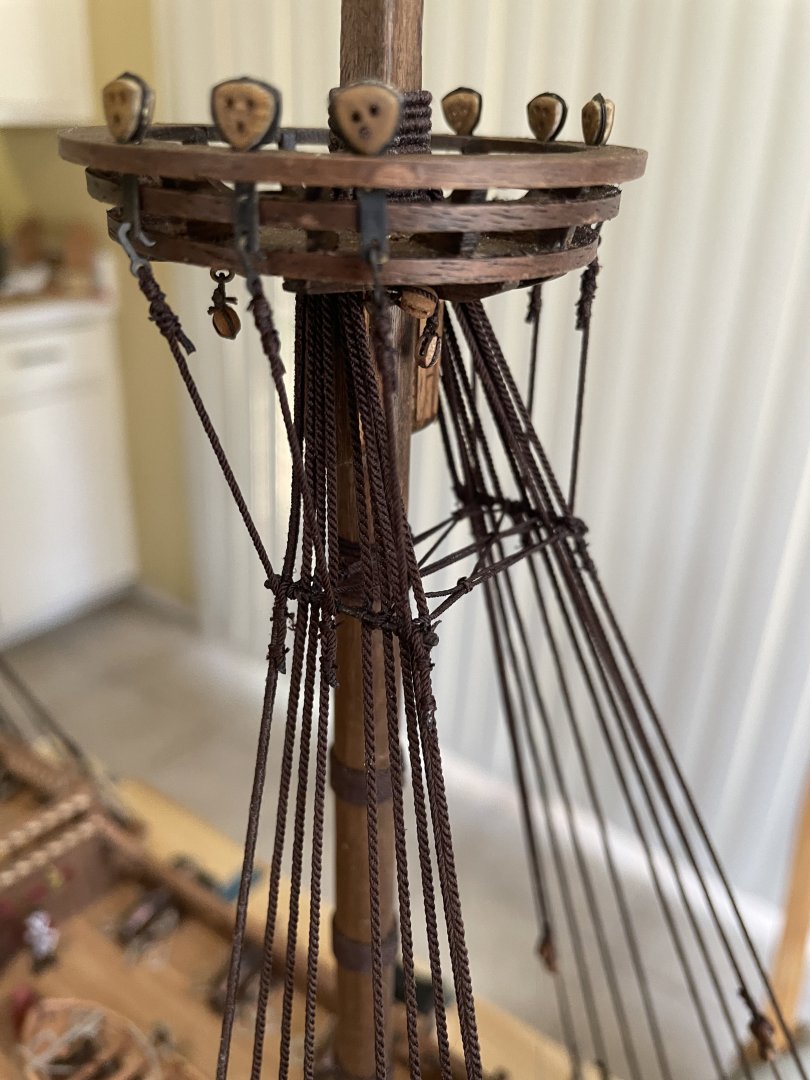
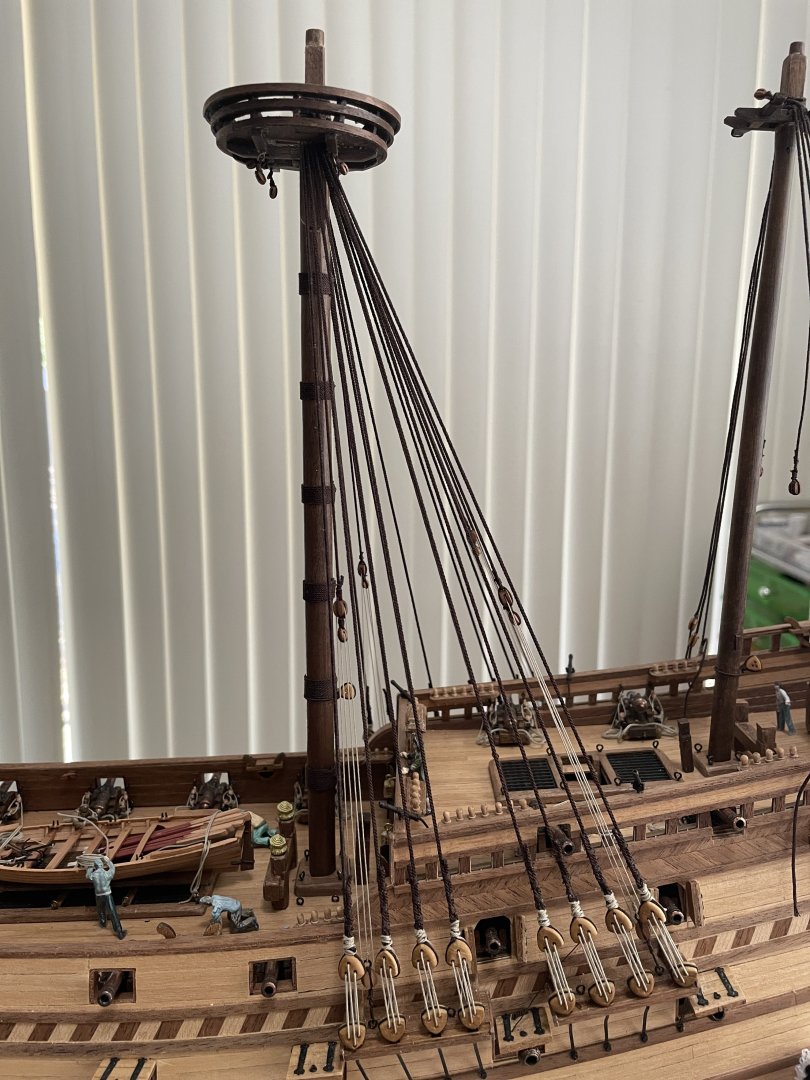
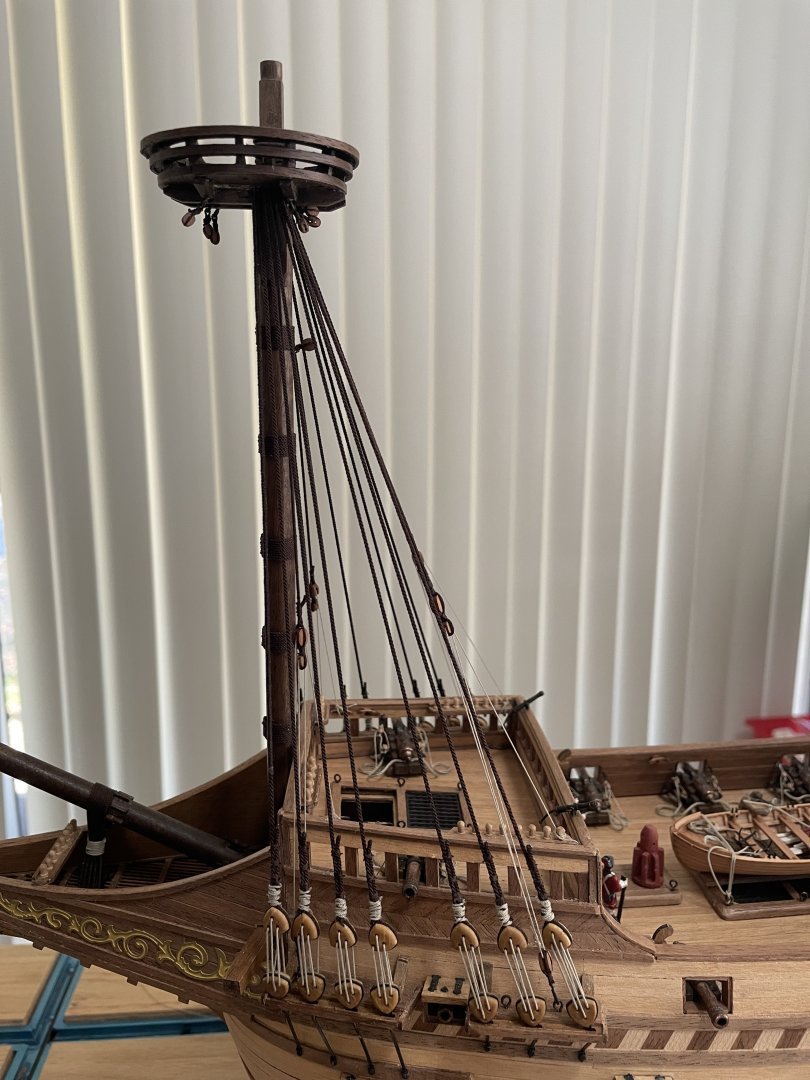
Shrouds and Stays: Except for the front one (rigging blues), all shrouds and stays are installed. This is a very slow process for me. It looks straightforward but it is not always... and somewhat lengthy. Here's what it looks like:
Ropes: all ropes are made using a ropewalk, 15 feet at a time. A range at 0.25, 0.5, 0.65, 0.75, 1, 1.2 and 2mm (light or dark), it adds up fast. However, I keep running out of ropes of any given size, which means that I'm doing them often.
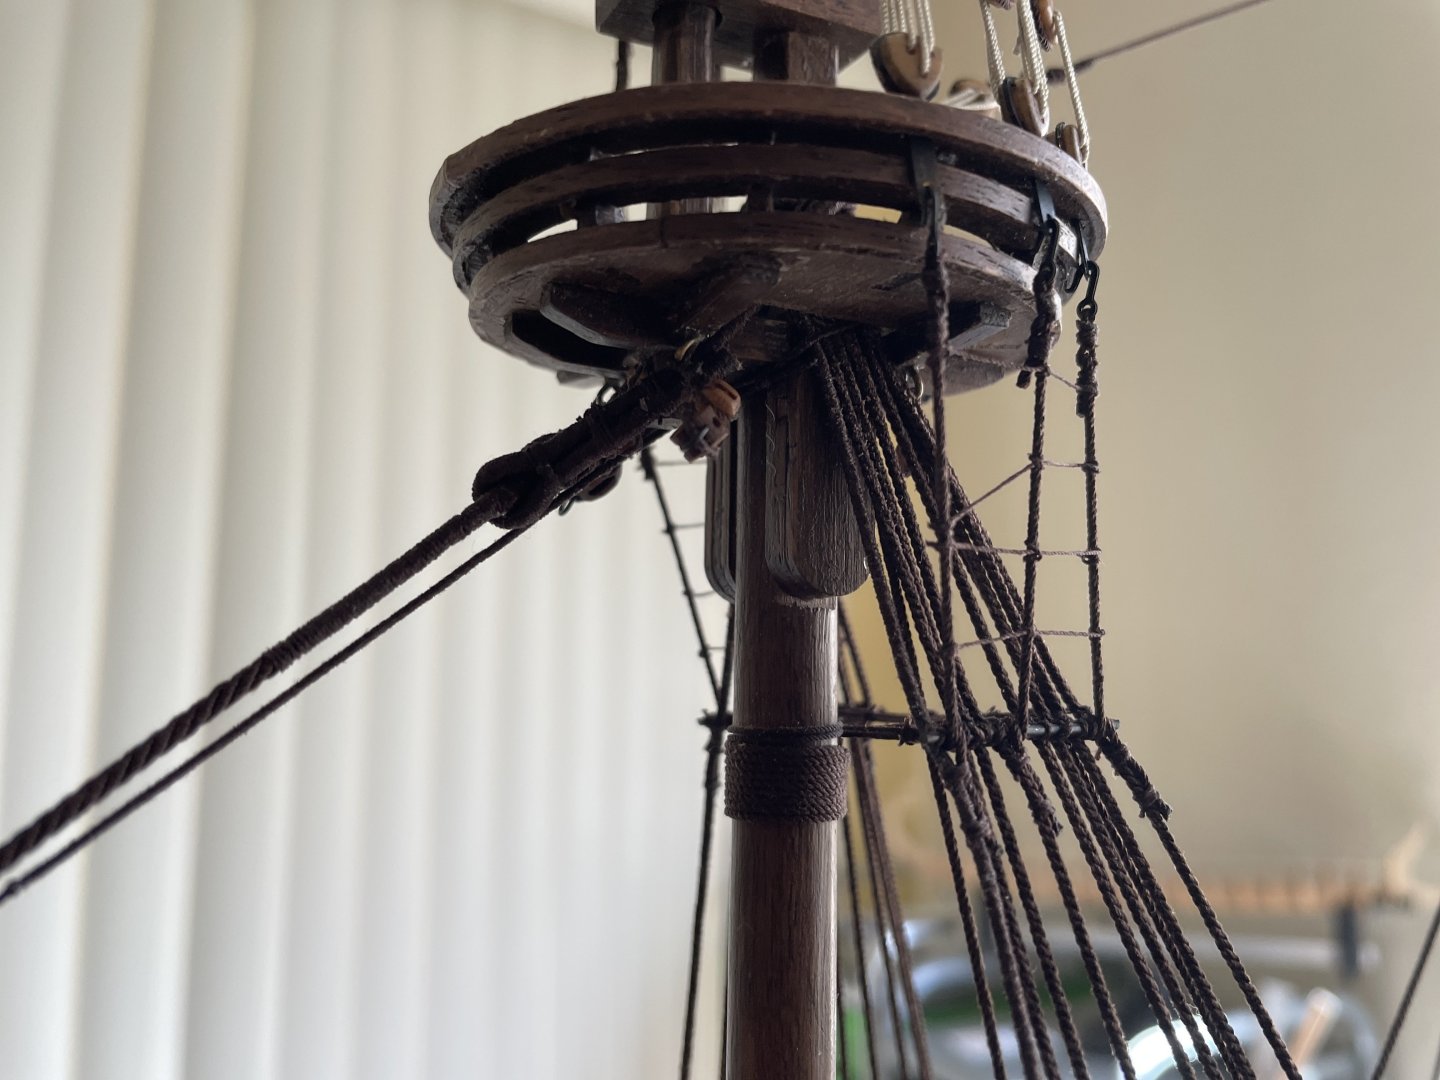
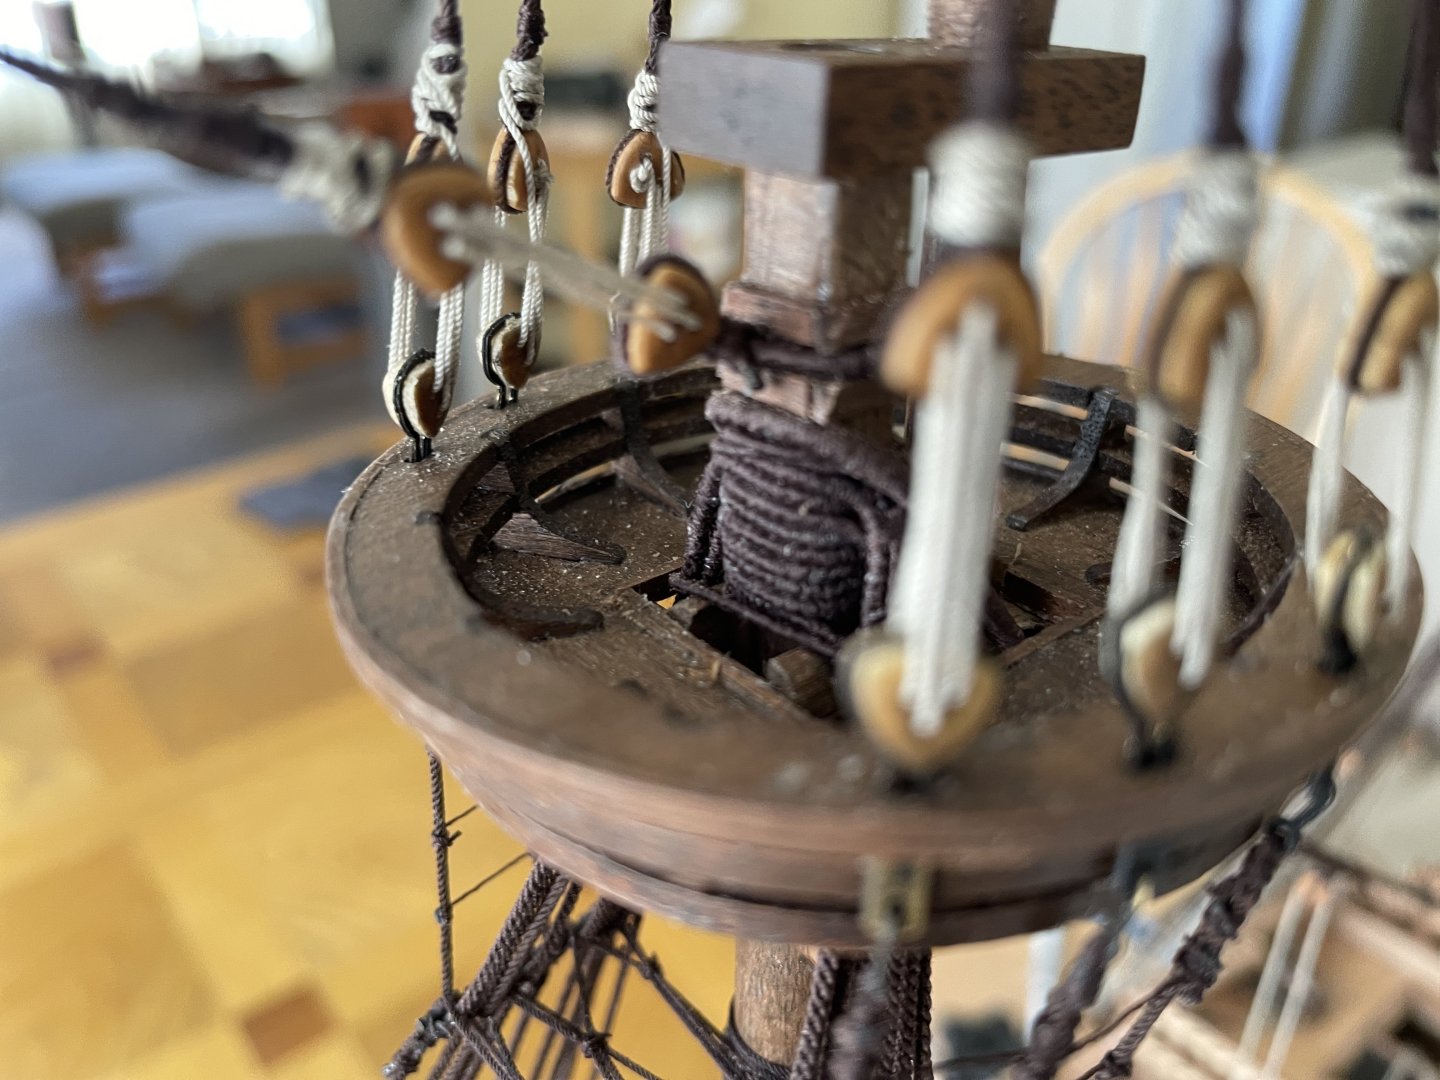
Serving: All first shrouds are served to full length. It's especially important to serve the end of the shrouds around the topmasts (crow's nest). Serving makes the rope very rigid, so it does NOT compress as you add one on top of each other. Similarly, all blocks attached to masts/cables are served too (not quite sure if they were actually done that way).
Rope to length: Installing the rope is ok but it has to be sized to length on the ship before finishing. I usually set them a good 1cm shorter, since they stretch while installing. I like to have good tension when possible.
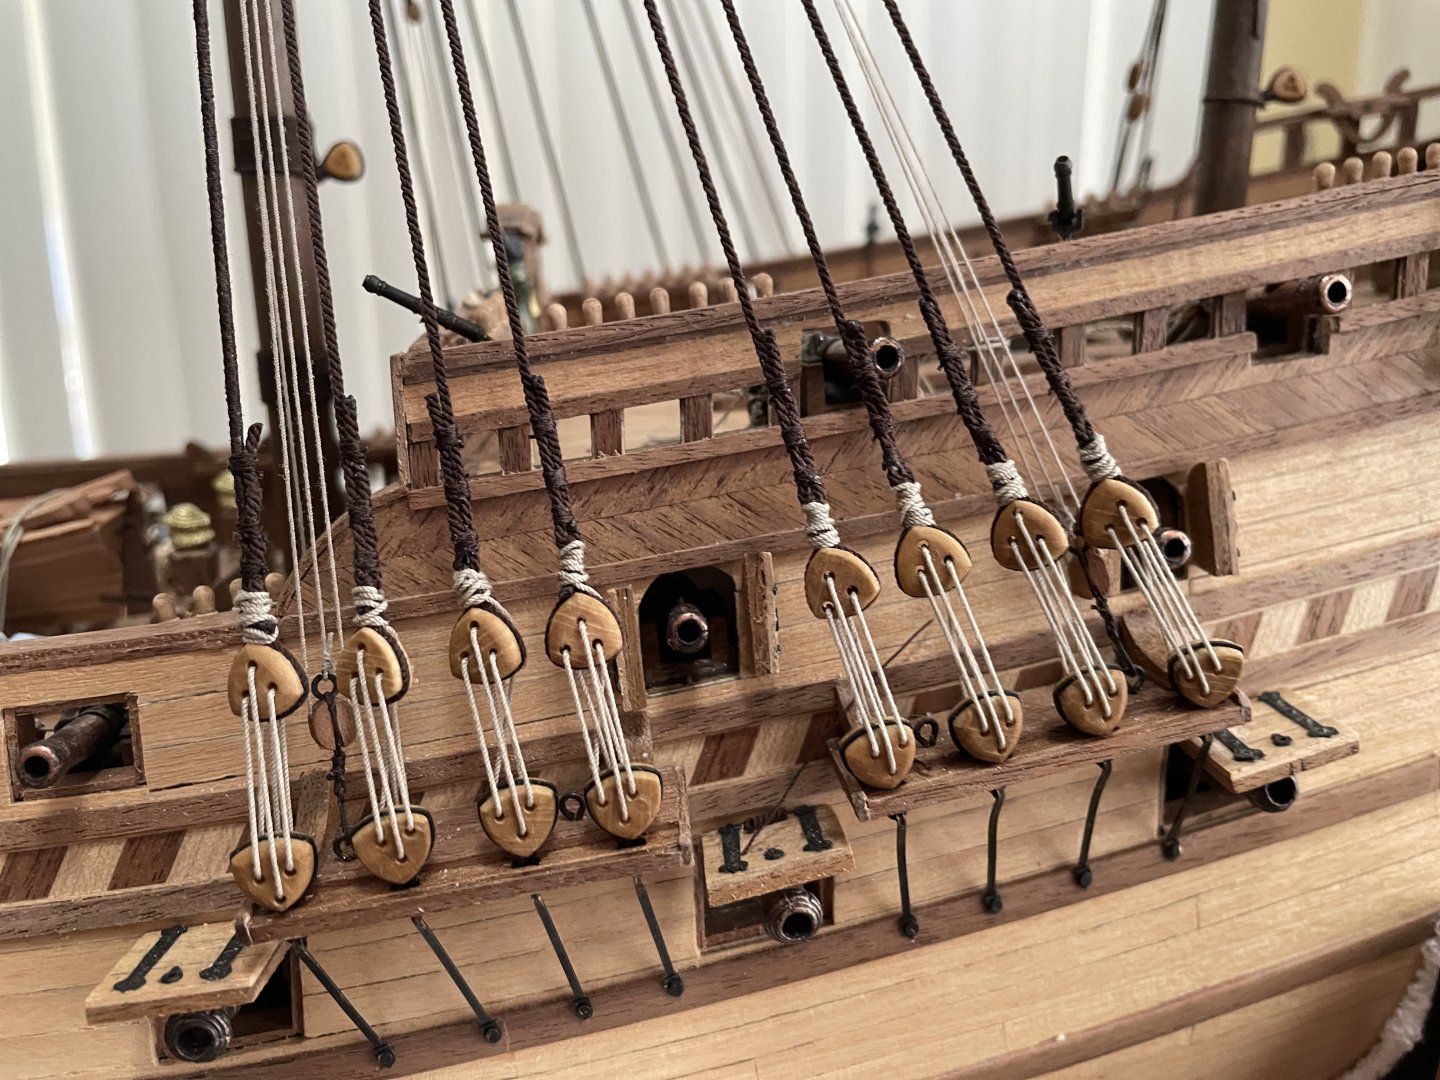
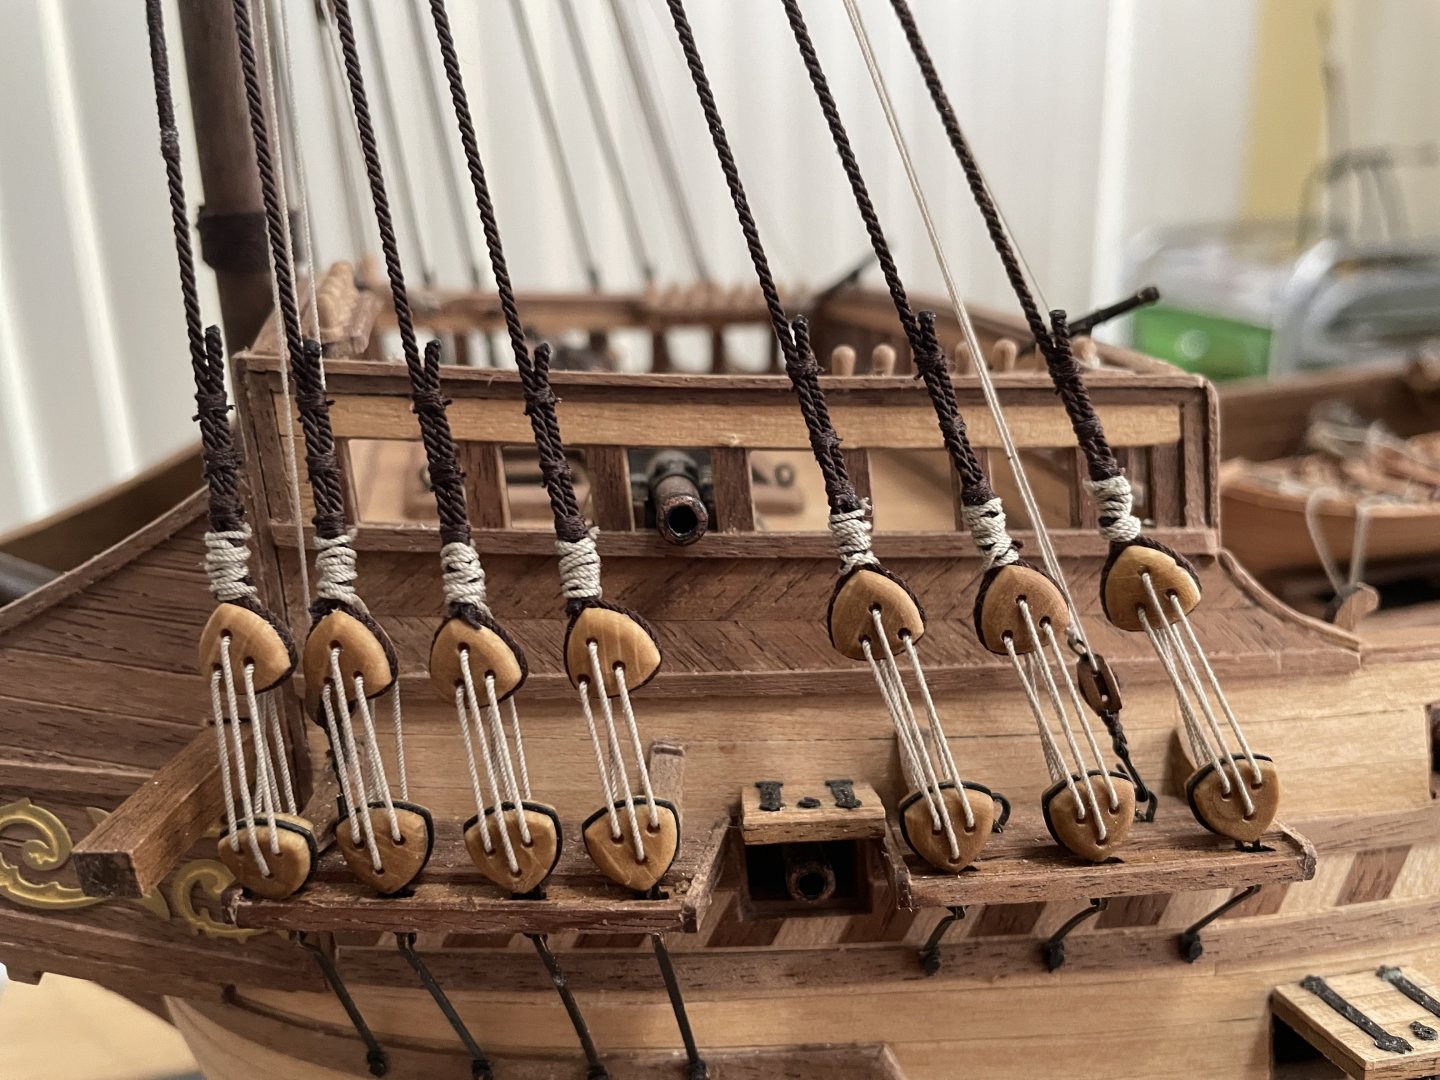
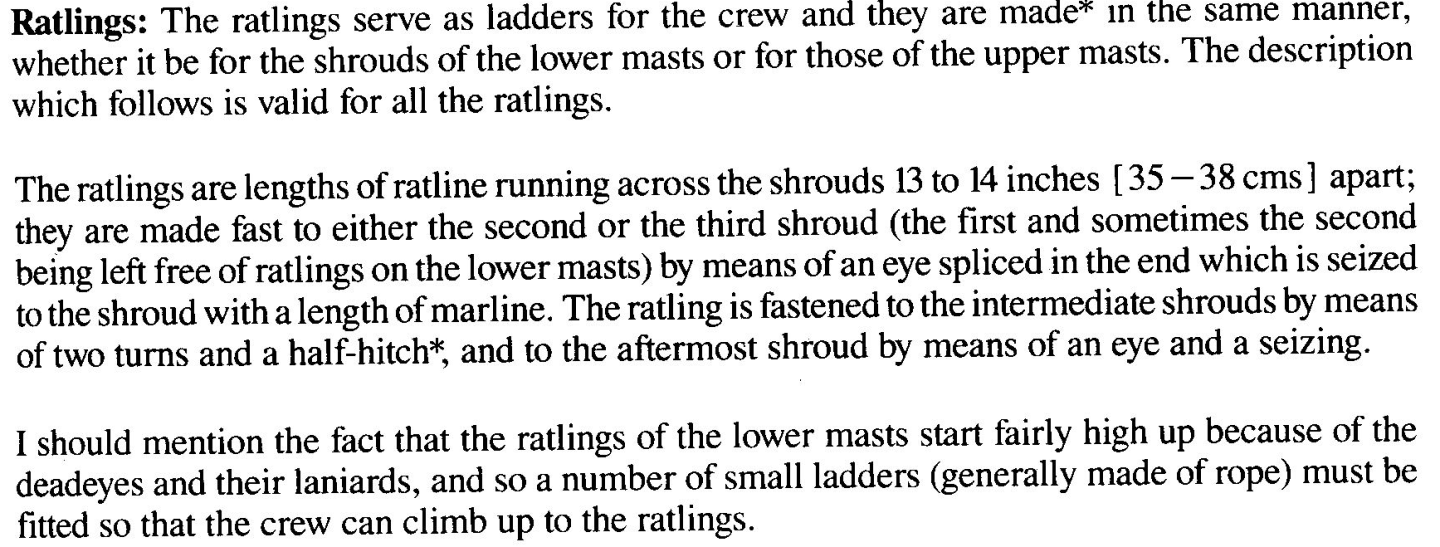
Ratlines: so many to do.
Finally, I'm getting "Rigging Burn-out": Can't do too much at a time without making mistakes. Planning on taking a short break before starting on the spars... those look quite tricky to install.
- Ondras71, petervisser, Baker and 6 others
-
 9
9
-
-
@No Idea, thanks for the illustration. It help so much at explaining your point. This is what I try to do, and it is indeed quite time consuming. However, the end result speak for themselves. I need more practice, since I'm still at my first build.
Another thing you're doing is very useful. Doing the treenail as you go (or marking them). They can be carefully aligned to follow the curvature of the frame. I give up on hull treenail because I could not easily align then precisely after the fact (once planked completely). BTW the one you show are SOOOO nice.
This is the same for the plank-to-plank joins across the hull, they can be positioned far better to the middle of a frame (even if you don't see them at the end). Seen easy... yes if you do single frame planking, not if you're using a double planking approach to your built. The frames are underneath the first planking, and out of view. I struggled with that. I'm planning on marking the center of each bulkhead on each first level plank in the future.
-
Was about to post progress on the Revenge but found a small mistake. When I set-up the Stays, I pass-through the stays through the space that the secondary masts will sit ... obviously the masts do not fit anymore. The STAYS had to be taken down. No room for mistake there, it simply won't fit otherwise. Luckily, it is just a matter of cutting the sizing and doing it again, passing the rope through the outer edge. Dry fit ok now.
Beside this... more of the same - ratlines. Knots 400 of ~1600.
Two steps forward, one step backward... there are days like that!
-
Thank you both. Looking at various logs. Already thinking of a number of modifications. HEY! I can't resist.
- GrandpaPhil, Knocklouder and Ian_Grant
-
 3
3
-
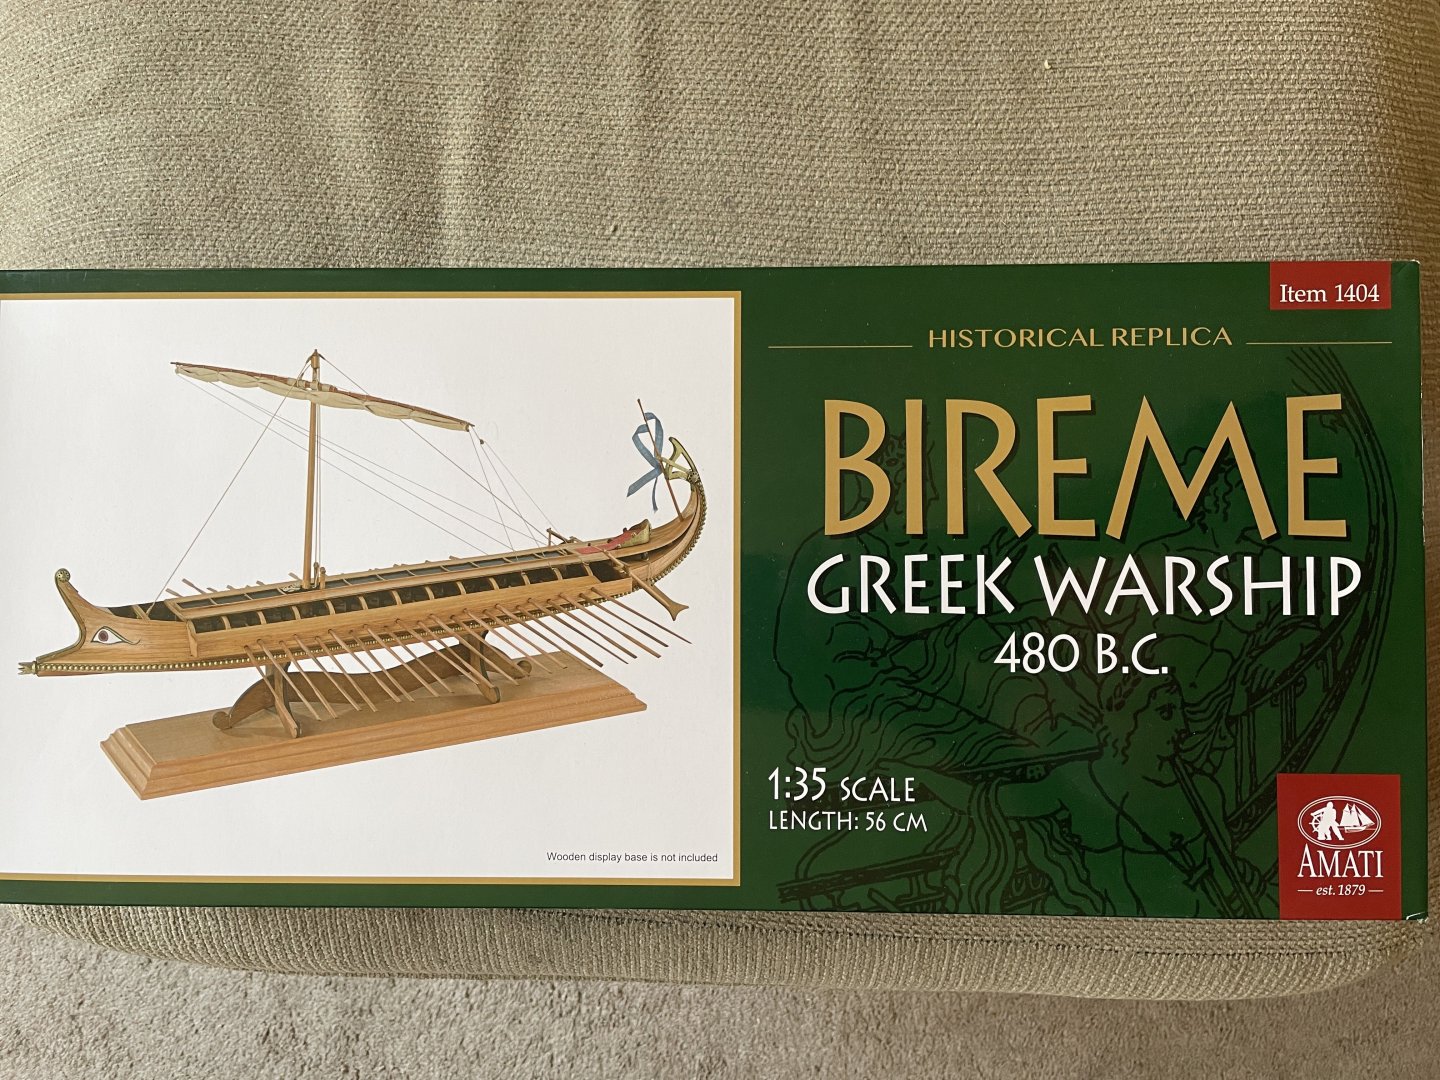
New build: Initiating a new build as a side project while finishing rigging the HMS Revenge. I was looking for something interesting, not too big and not with too small protruding parts (like cannon doors, shrouds, etc..). The reason: it will be a small Christmas gift to my father of 93 and will need to be shipped across the country.
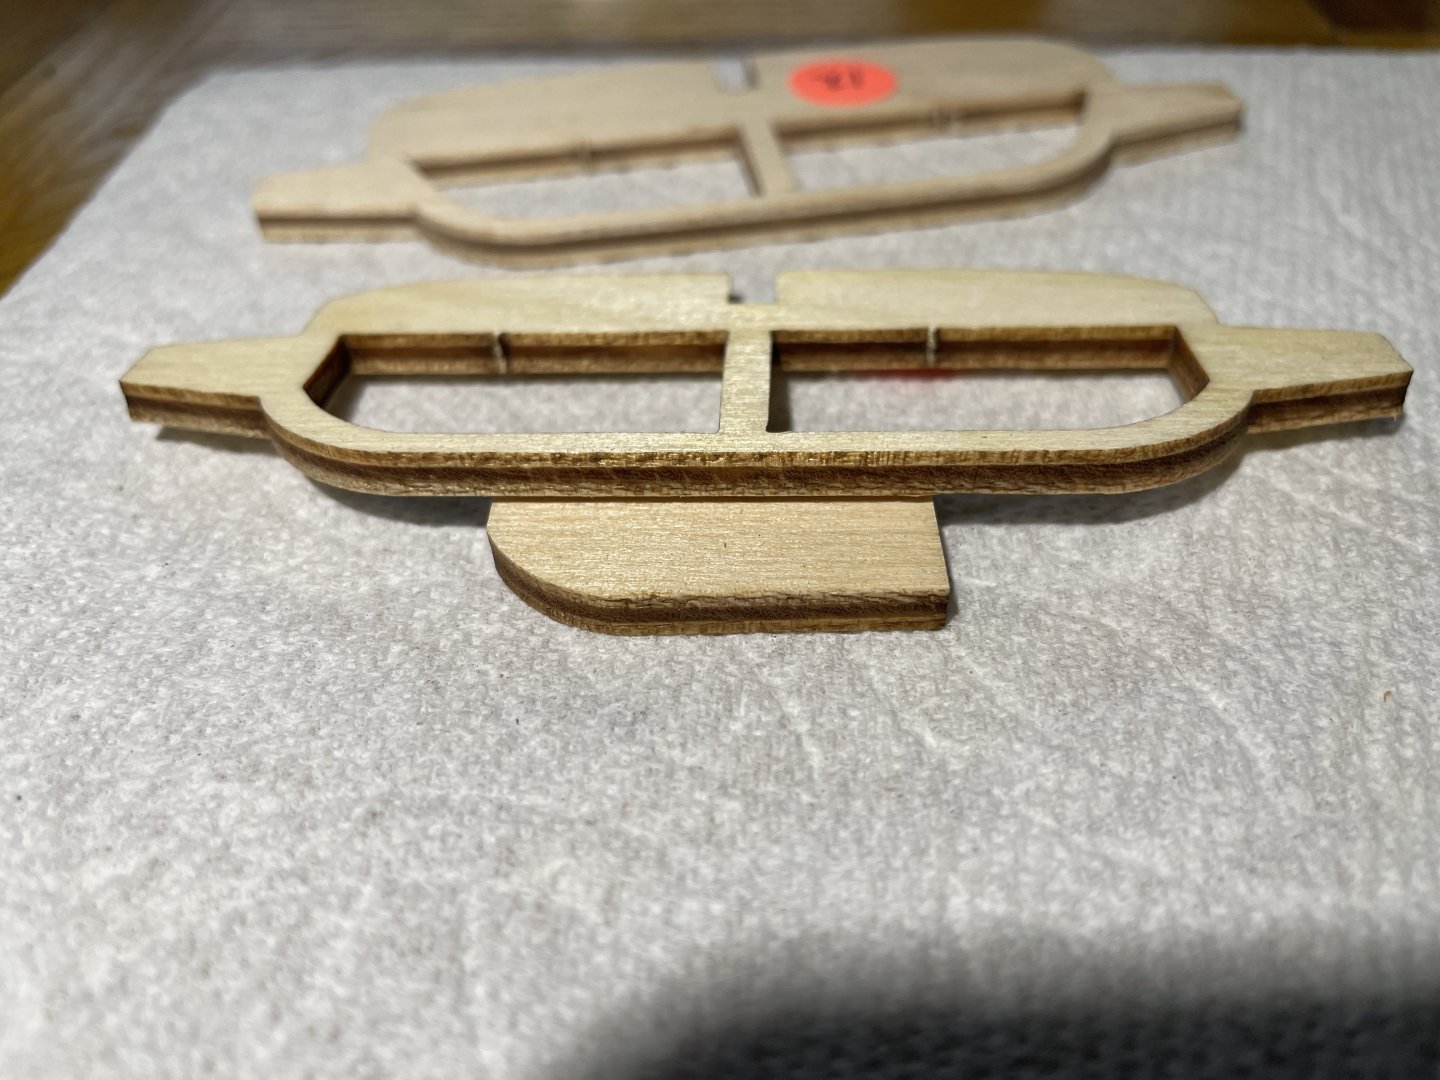
The materials are pretty much standard Amati. Good, but not overboard. This is what I was expecting. I started by removing all the charring using the Paasche ER-1S air eraser - Baking Soda. It's very gentle on wood and it does a pretty good job. The first two pictures provide an example of the results. Two different bulkheads as before-after pictures.
The remaining shots give an idea of the proportion and design (dry fitting). I find this model elegant.
Overall Review of the kit (adding to this section as I build)
Although an elegant model, the design HAS NOT the user in mind. There is a lot of adjustments as you build. You may say, well this is normal!! I think not so much, it could be better. Difficulties is likely because of the lack of documentation. Everything seen ok, until you start planking. Then there always a gap to be fill a plank to taper or an extreme curvature. None of the sections are really multiple of the plank-width. So, you have to adjust constantly. NOT a quick and fast build. IF YOU WANT a planking challenge and/or perfect your skills... this maybe it! With this in mind, it is a good kit, but not excellent. If you take your time, you can achieve good results.
Conclusion: The planking is a challenge here... don't under-estimate the difficulty: high moderate to expert in places.
The Plusses of the kit
Bulkhead tri-ply plywood: Surprisingly good quality. Nice and clean laser cuts. A little play at the junction with the heel... so careful when gluing.
Wood strips: Very high-quality wood, well cut. Walnuts and something else (white) for the decks.
The minuses of the kit
Documentation: NONE, we have a picture after all, that ok!?! no Amati, unacceptable.
Bow and Stern: The most obvious and predominant part of the build.... and the most difficult. I spend hours shaping balsa (note: NOT INCLUDED) with no guides at all. When done, expect to be shaping again... this time with wood filler. An indication on how this is supposed to fit would have been nice in the form of a plan, drawing or better include a pre-shaped part to the kit. As much as I like some of their kits... This is a major negative.
Extreme side planking: Definitively NOT beginner, not even intermediary. Extreme strips side binding needed will take a lot of patience and a fair number of trial and miss. Not a pleasant experience. Just includes few pre-shaped strips or 2-3x wide planks so we can shape it yourself.
Decal for the "eyes" in front: NONE. you are expected to paint yourself. Is it a scratch-build I'm doing?
Metal "RAM": nope, just a cheap little piece of wood.
Side ornaments: sorry it looks cheesy and likely not even realistic. This is a warship not a "display piece". Wait it is a display piece afterward.
More to come...
- Ronald-V, Ian_Grant, Knocklouder and 3 others
-
 6
6
-
-
OMG!!! this is fantastic. I just discover your post. Not many ship in a bottle out there... with a castle and multiple ship... wow, this is unique. Talk about hand to eye coordination. I don't think I can even do that... and I'm not so bad at detail work. Outstanding. It looks like you BUILD the bottle around the model!!
Thanks a lot for sharing.
- mtaylor and thibaultron
-
 2
2
-
Ratlines and Stays: Starting to work on the ratlines. Not as difficult as anticipated but... it will take a while. A few everyday while doing other things. It is still quite hot middays, which limits my time. Note: dark ratlines, rather than tan, were a choice based on preference. I just did not like the tan... too much contrast.
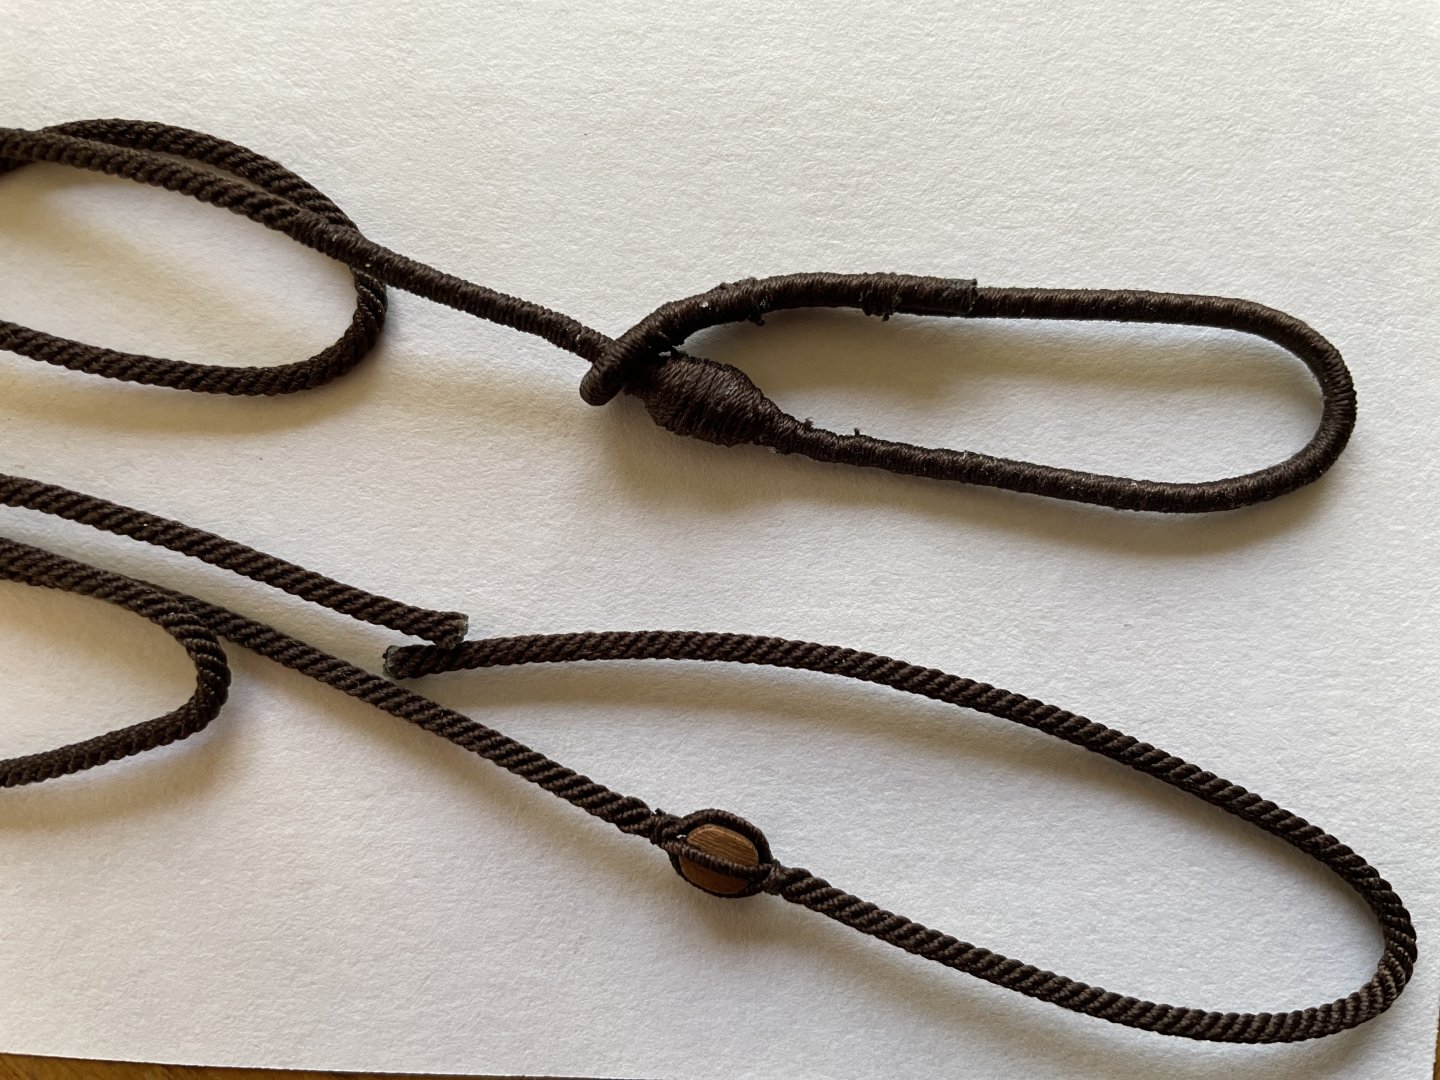
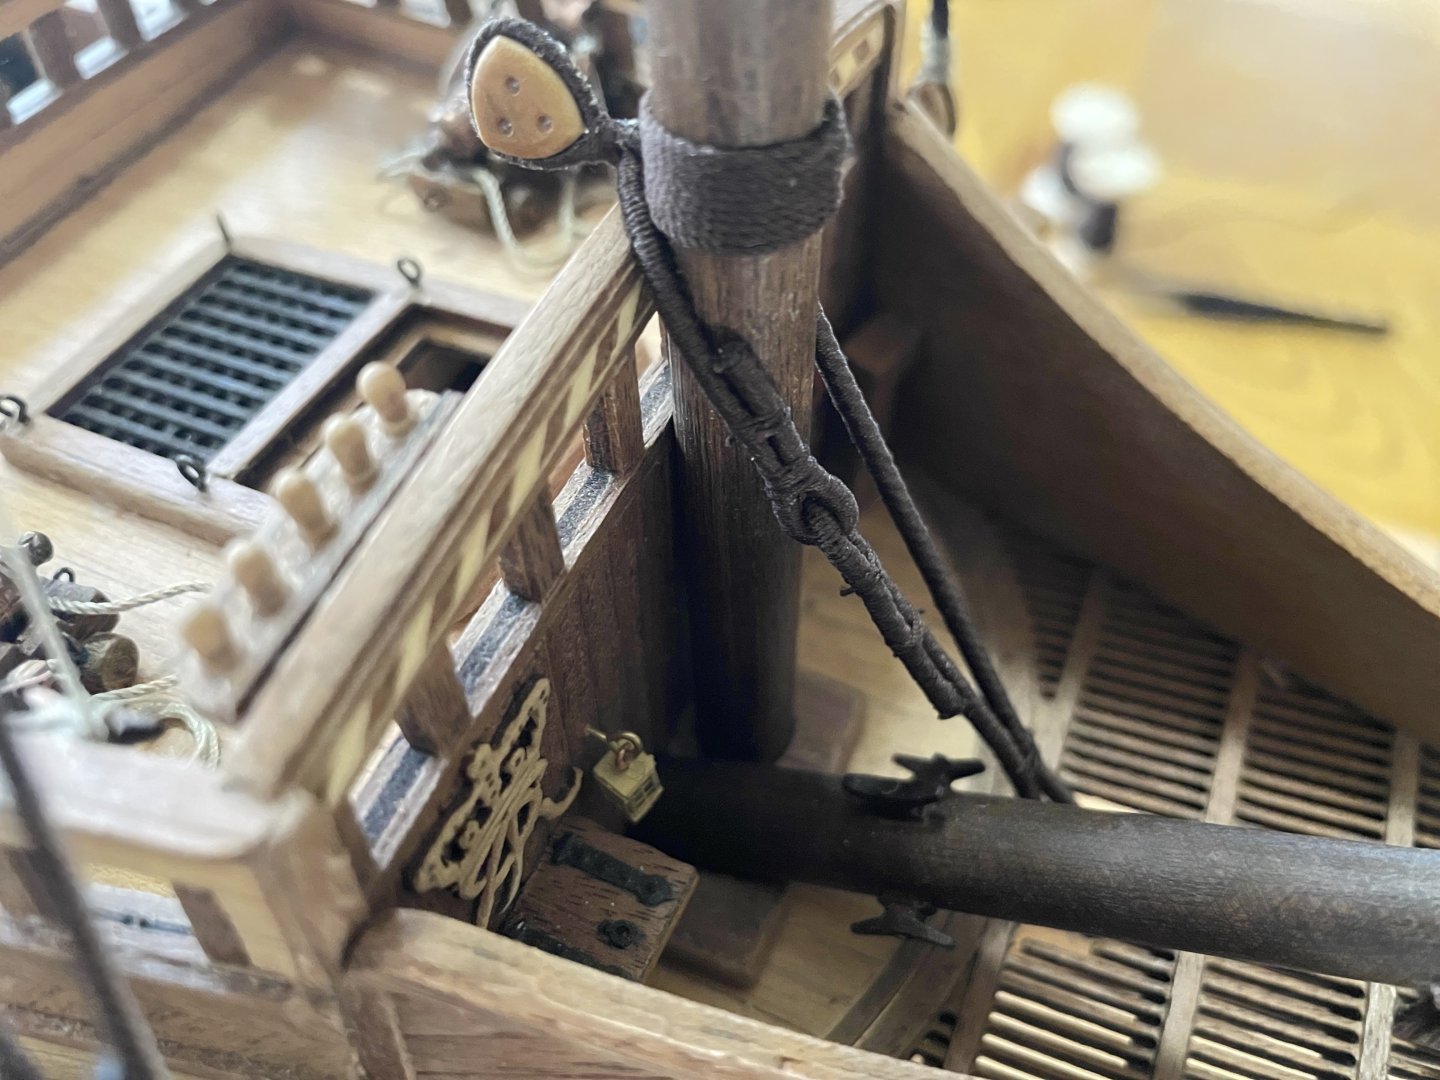
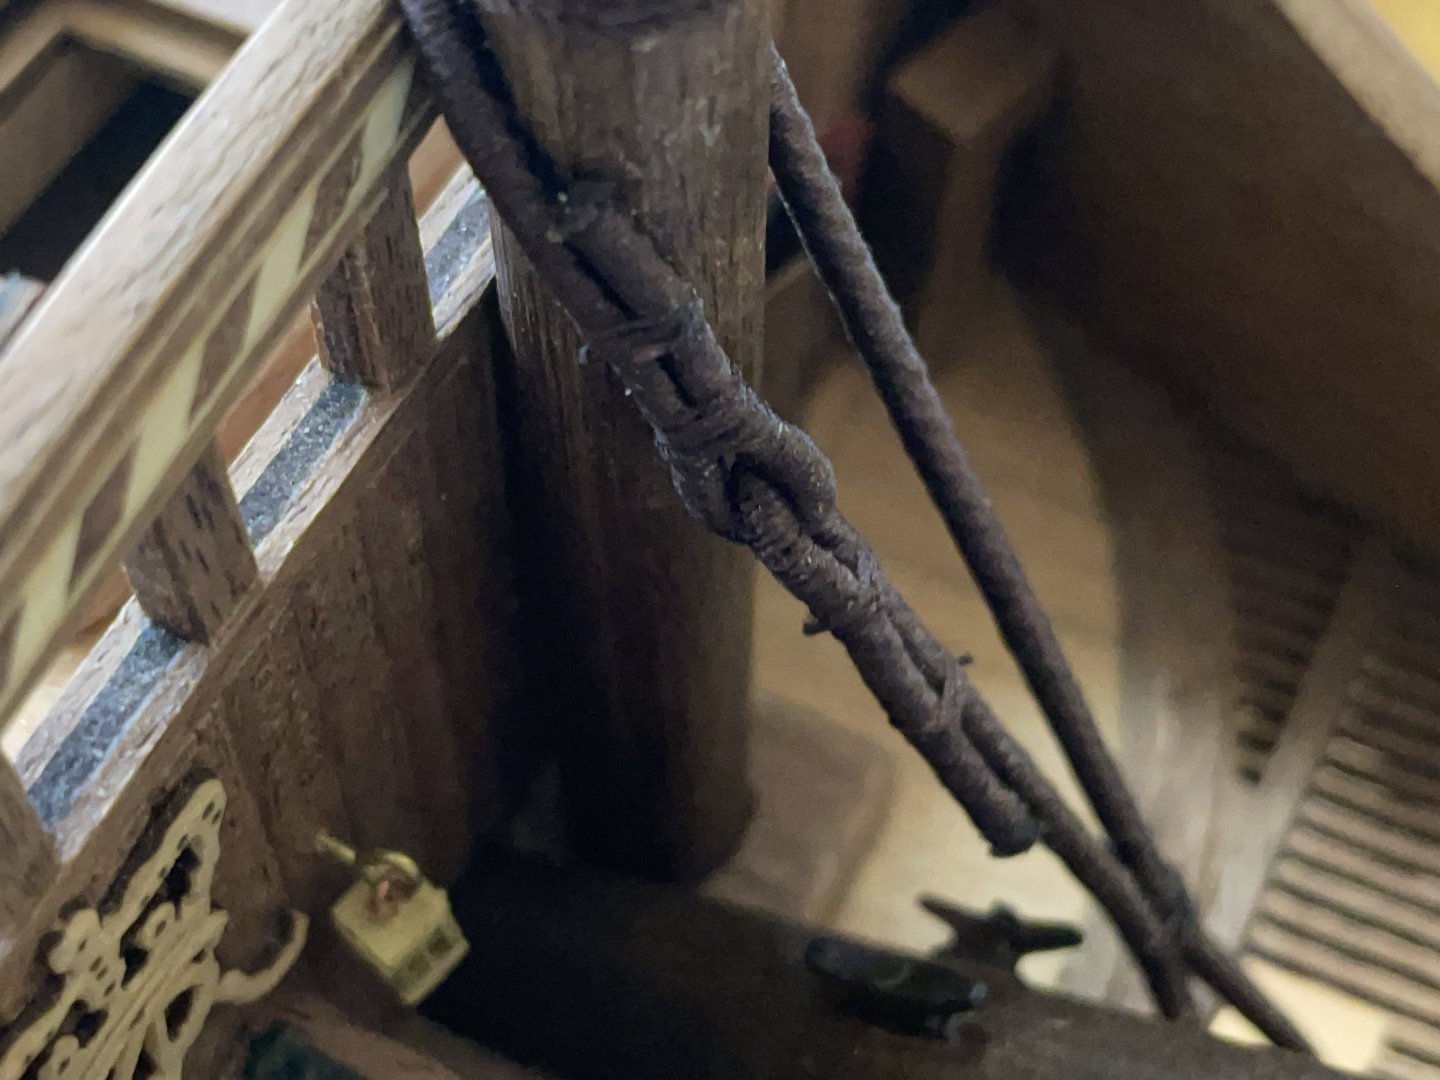
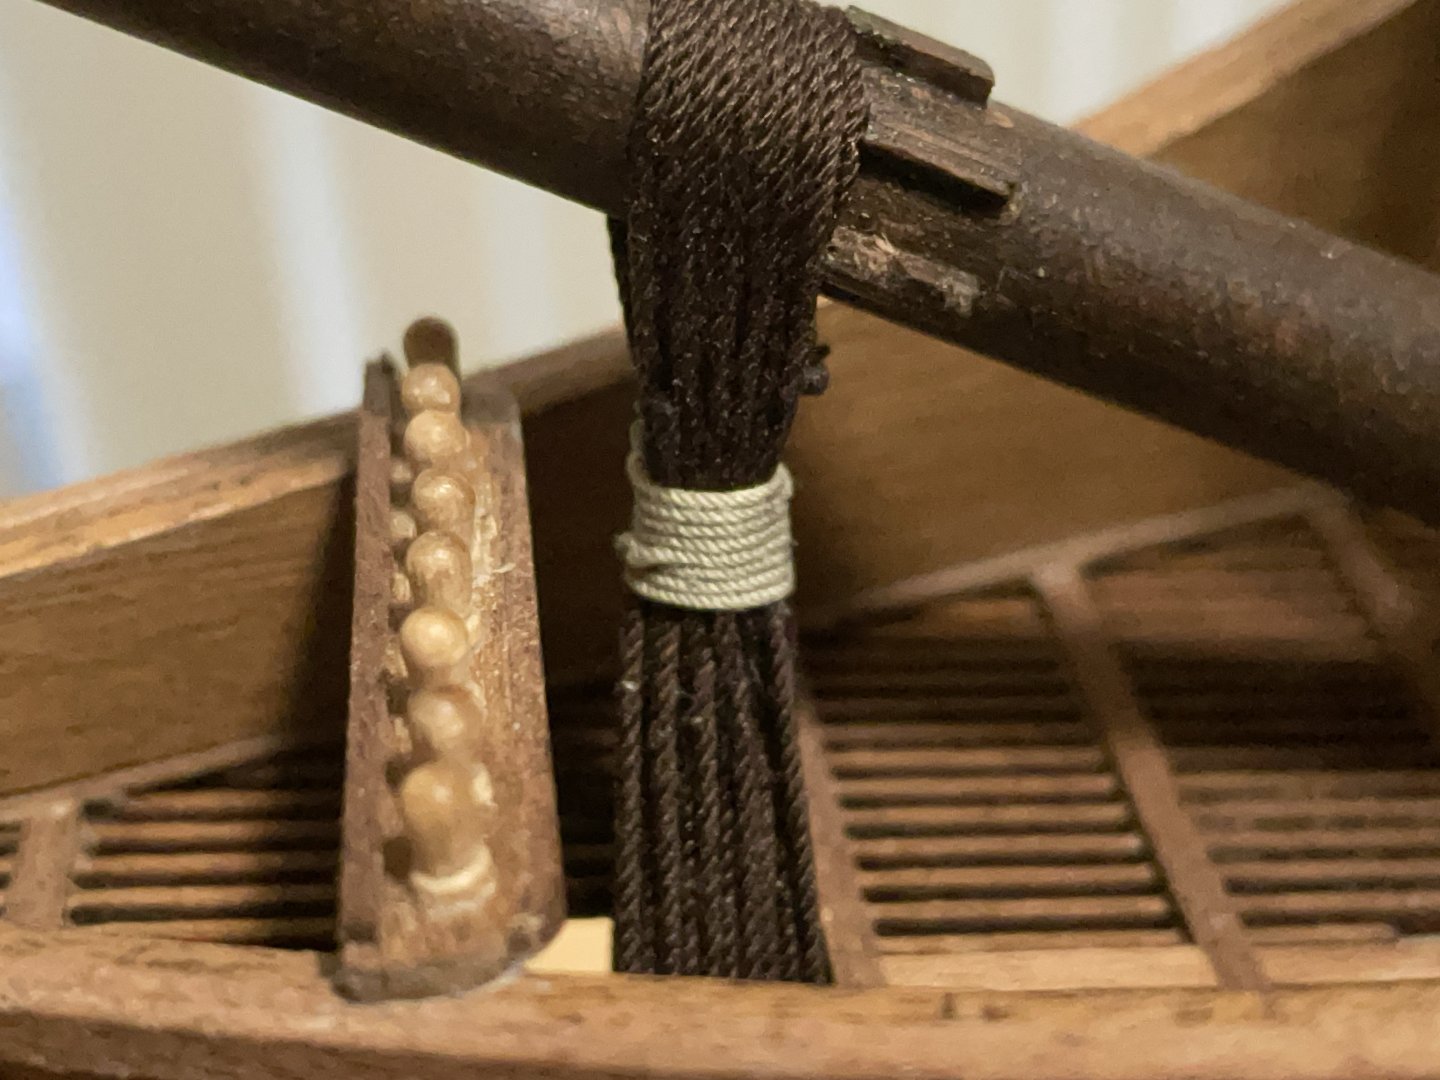
The 2mm main and fore stays are quite big when compared to the ratlines. The pendant/loop is made by incorporating a block into the cable before serving. Here a before and after.
-
-
-
-
-
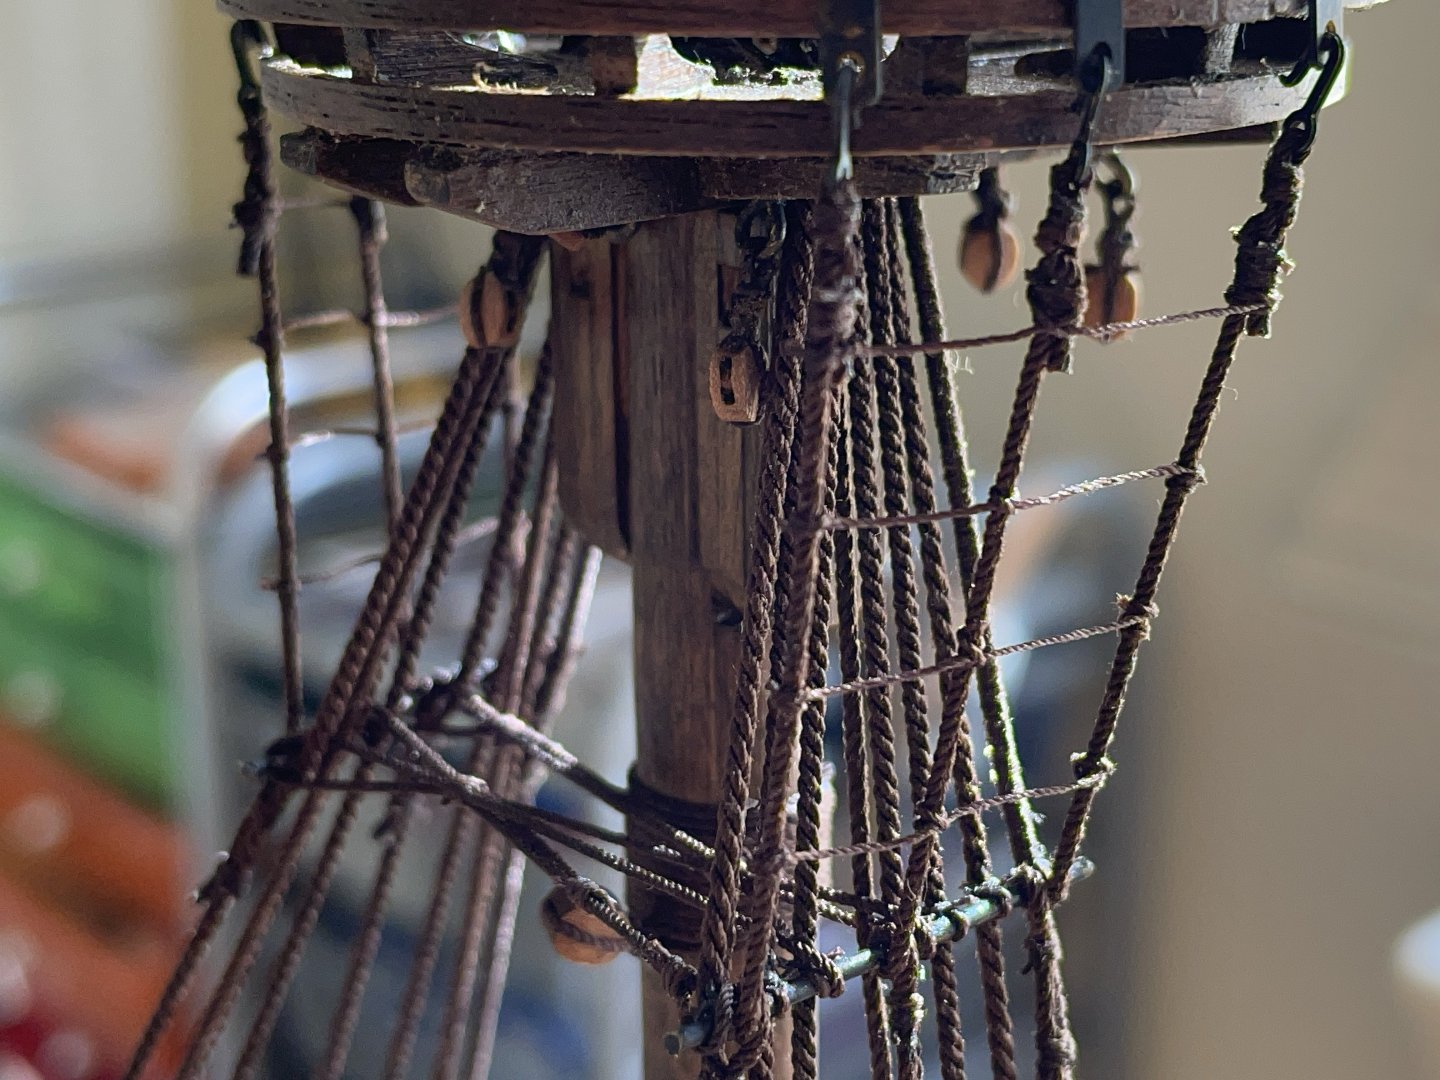
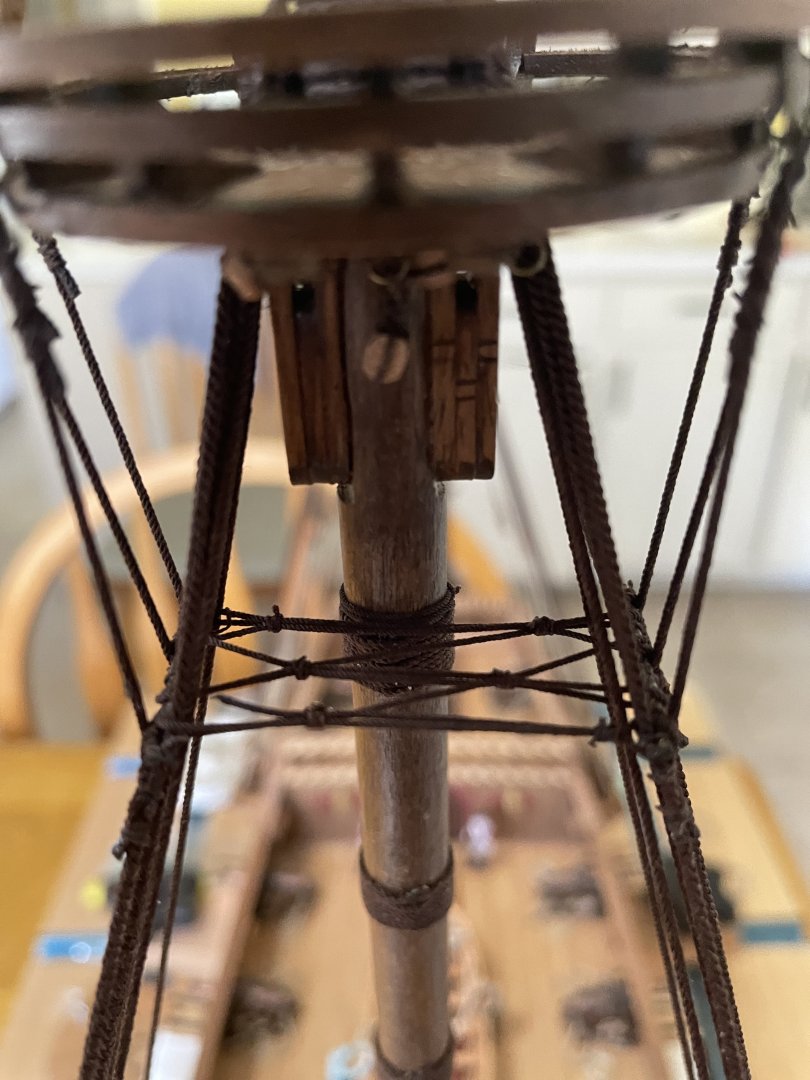
Futtock-staves and catharpins: With all the lower shrouds completed, it was time to tackle the futtock-staves and catharpins. What a pain... at least for me. I tried doing it with blocks but with so many knots, it is quite difficult to adjust. The second approach (which may not be quite right for the Revenge) was to do the catharpins as described by Boubriot. It involved treading a single rope between the futtock staves. It looks easier on paper than done.
After several trials and failings, I settled on a variant. Rather than having two passes every second shroud, I alternate 1-2, in a single pass. It just holds in place better for me without constant adjustment. The end result is a trapezoid pattern rather than a parallel layout. After working several days on that... I decided to just keep it. Not perfect but it worked, move to the second one and be done with this. Please pardon the deviation.
- GrandpaPhil, kirill4, TJM and 2 others
-
 5
5
-
@Knocklouder, thank. Believe me, if I can do it, you most certainly can. Only a matter of time and pacing yourself. Of course, all the tips and know-how found here are quite helpful too. There is nothing more useful than seeing people's logs.
- Baker and Knocklouder
-
 2
2
-
Hello all, I fixed some of the issues mentioned before. I could not tie the rope to the lower block because the shrouds are in the way now... but, like @Baker to the deck rail, which pretty much solved the issue.
Second, I then complete the shrouds to the bow. I'm working my way to the Mizzen and Bonaventure shrouds, which are incomplete for now. Slowly but steadily.
-
hello all, with the heat wave here... I'm making very slow progress. I hope to come back with few update pictures soon.
- Baker, Ronald-V and Knocklouder
-
 3
3
-
-
a thousand thanks... I did not quite realize the huge amount of variation on a theme from ship to ship, era and nationality. Will keep looking.
- mtaylor, Knocklouder and BANYAN
-
 3
3
-
-
A quick question: The first shroud (toward the bow) of the main masts is generally a served rope for all the length. What about the first shroud of the mizzen and Bonaventure masts (the smaller back two masts)? Should I serve the first rope to length too?
Sorry for the beginner questions.... this is my first rigging.
-





HMS Sphinx 1775 by Ronald-V - Vanguard Models - 1:64
in - Kit build logs for subjects built from 1751 - 1800
Posted · Edited by Loracs
@Ronald-V, I really like the fact that you got the courage to break down the existing deck to implement something new and potentially better. It already looks better to me. NICE!
Thanks for the link to Chuck pdf. I was not aware of the method.