


westwood
-
Posts
173 -
Joined
-
Last visited
Content Type
Profiles
Forums
Gallery
Events
Posts posted by westwood
-
-
Hi guys,
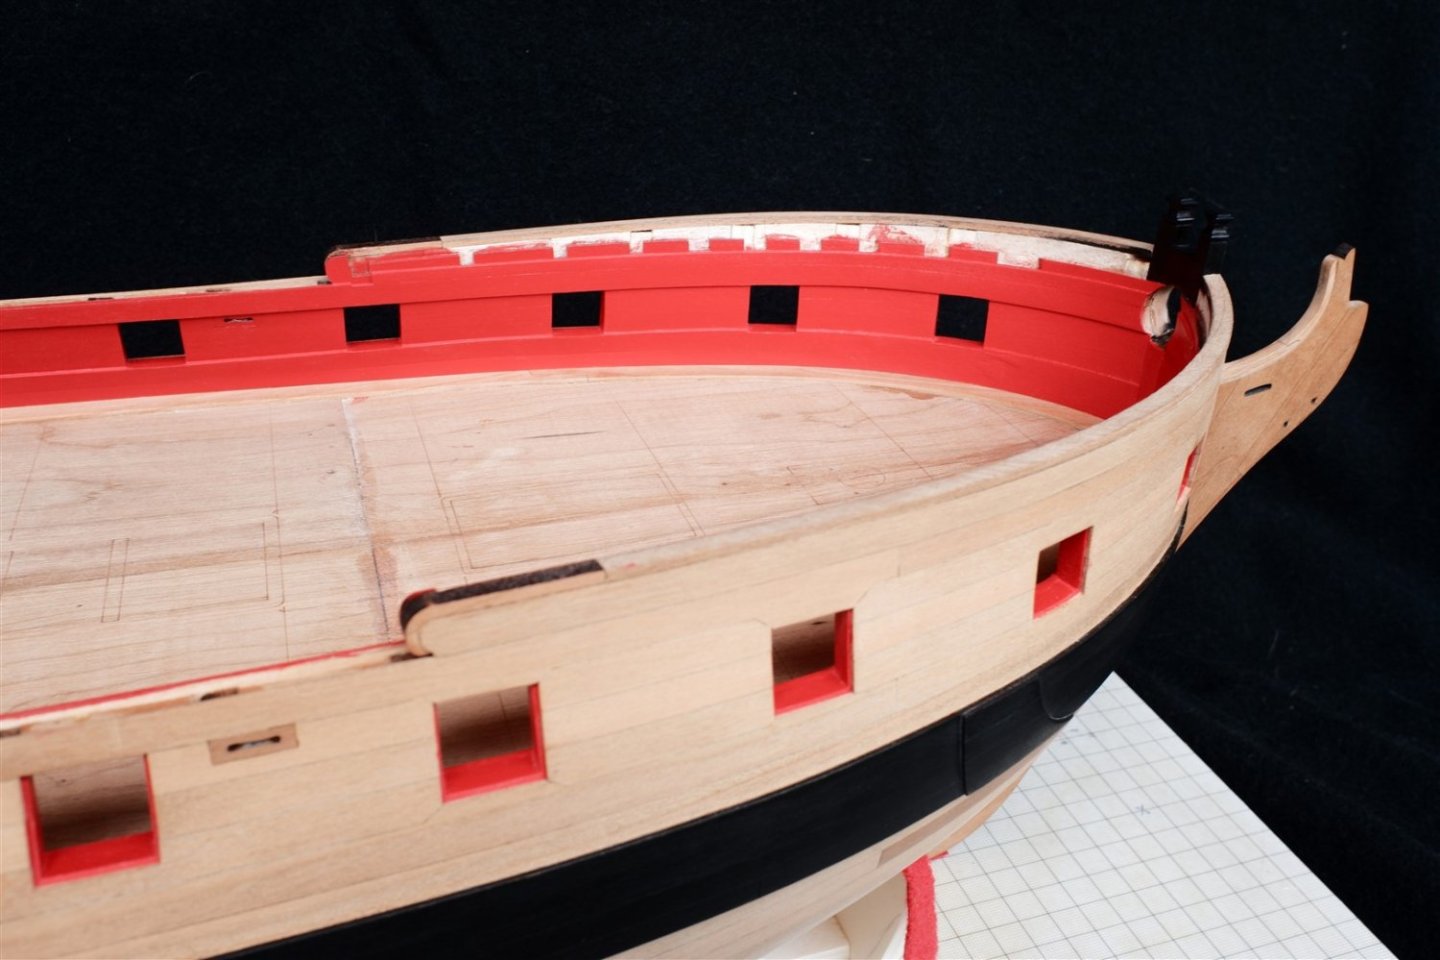
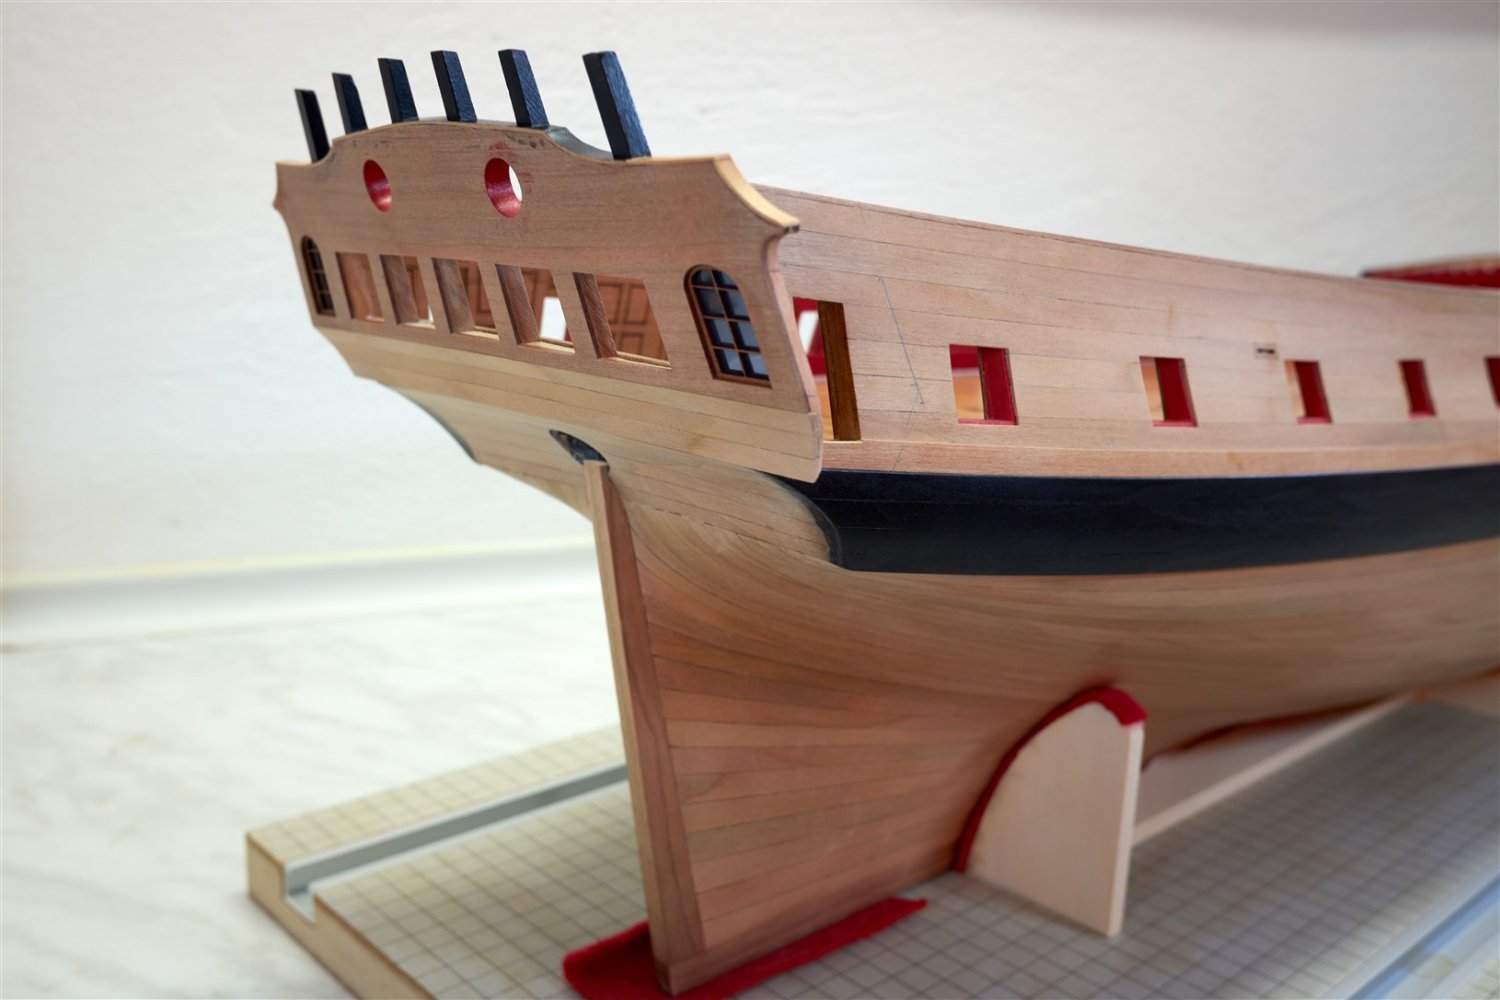
I added black strake and then
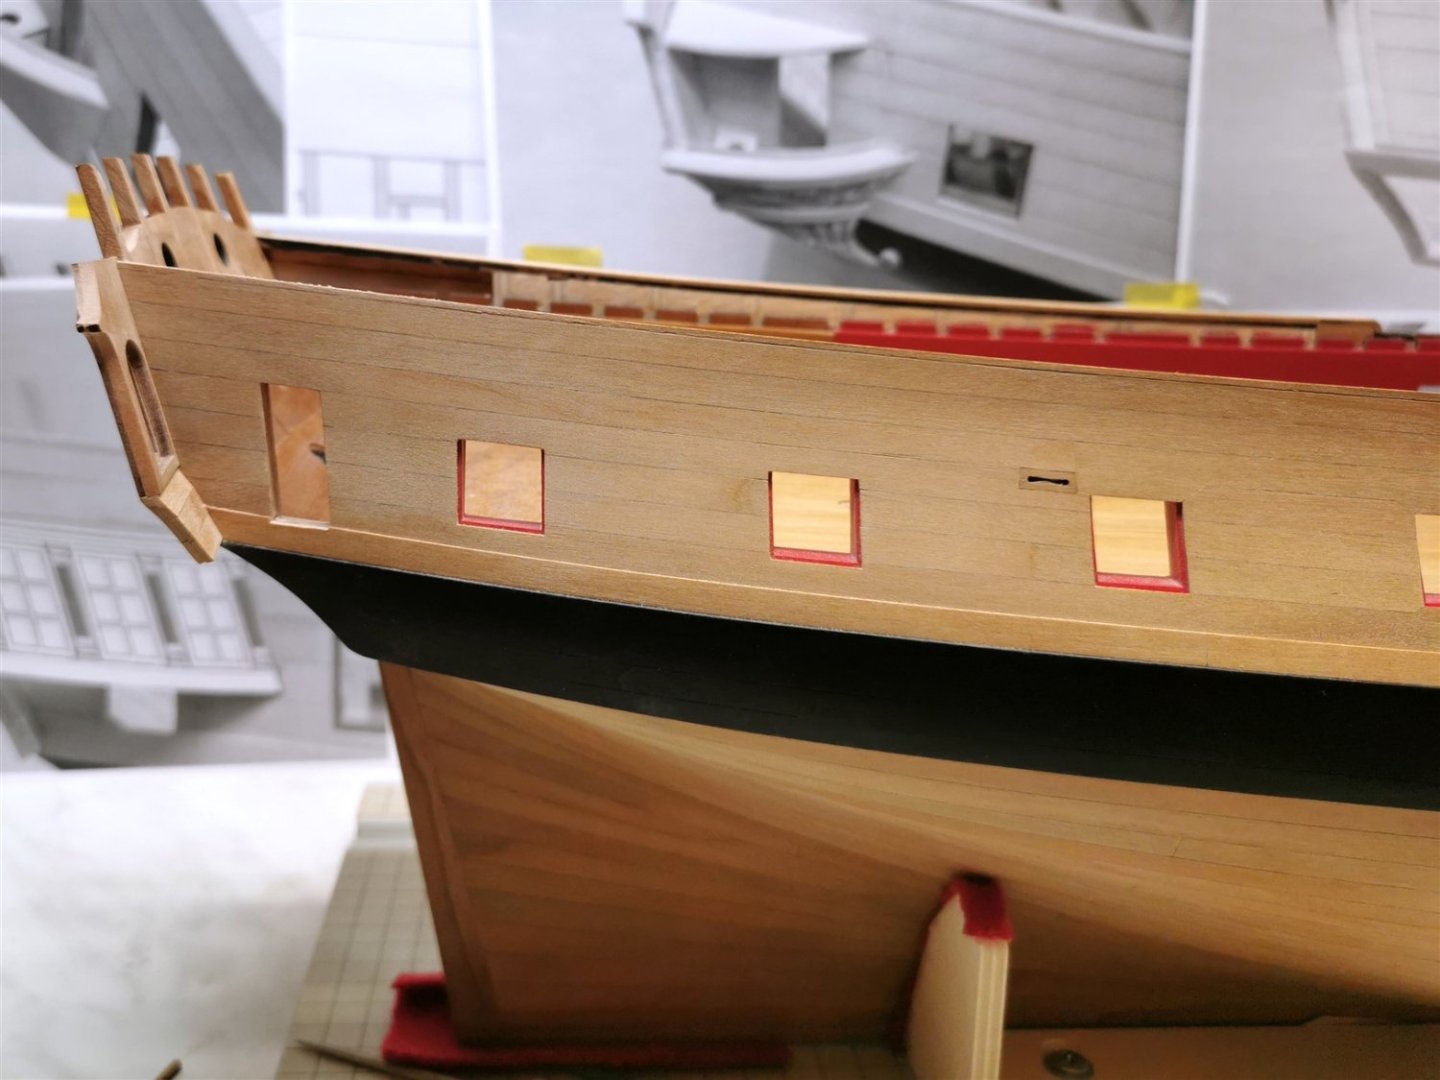
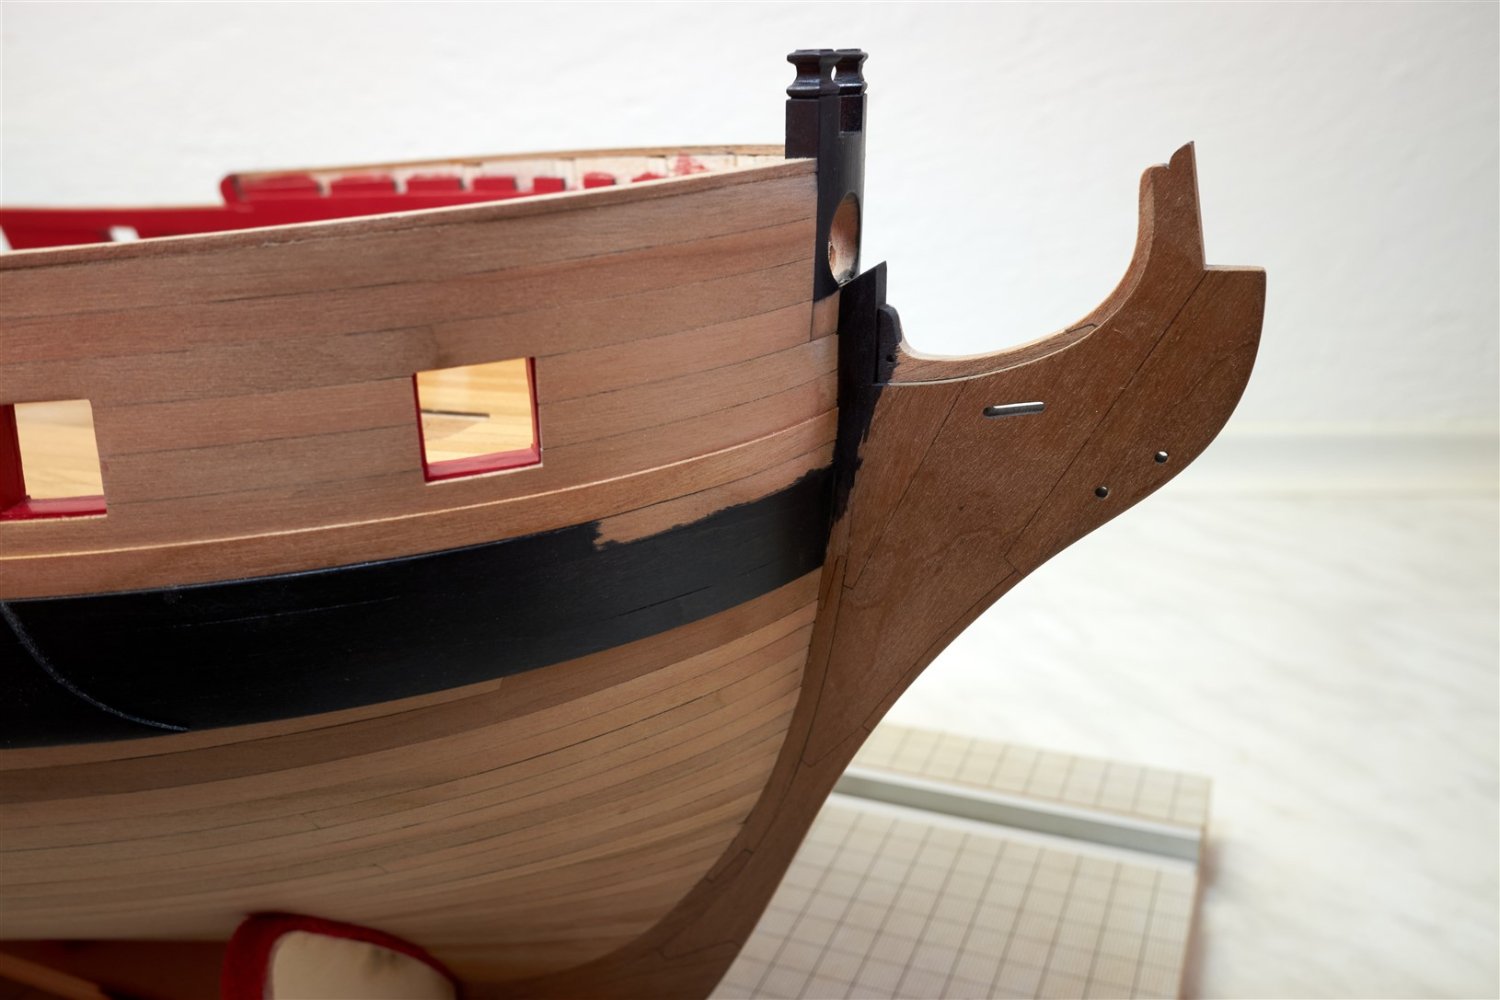
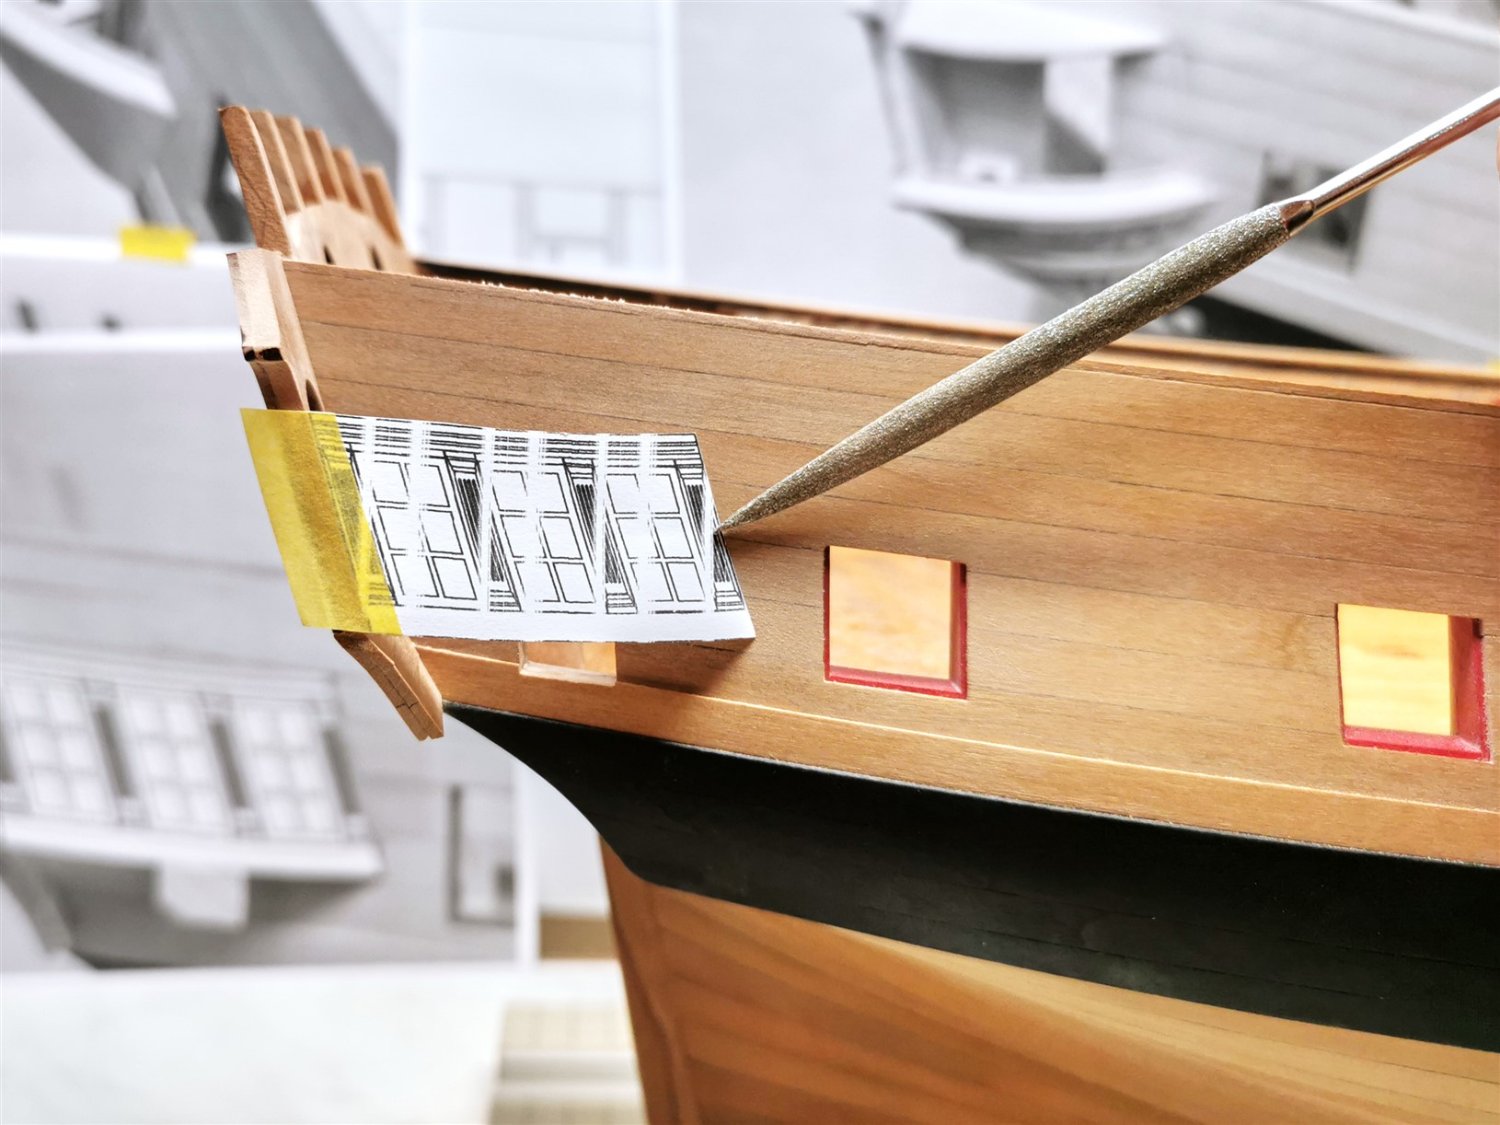
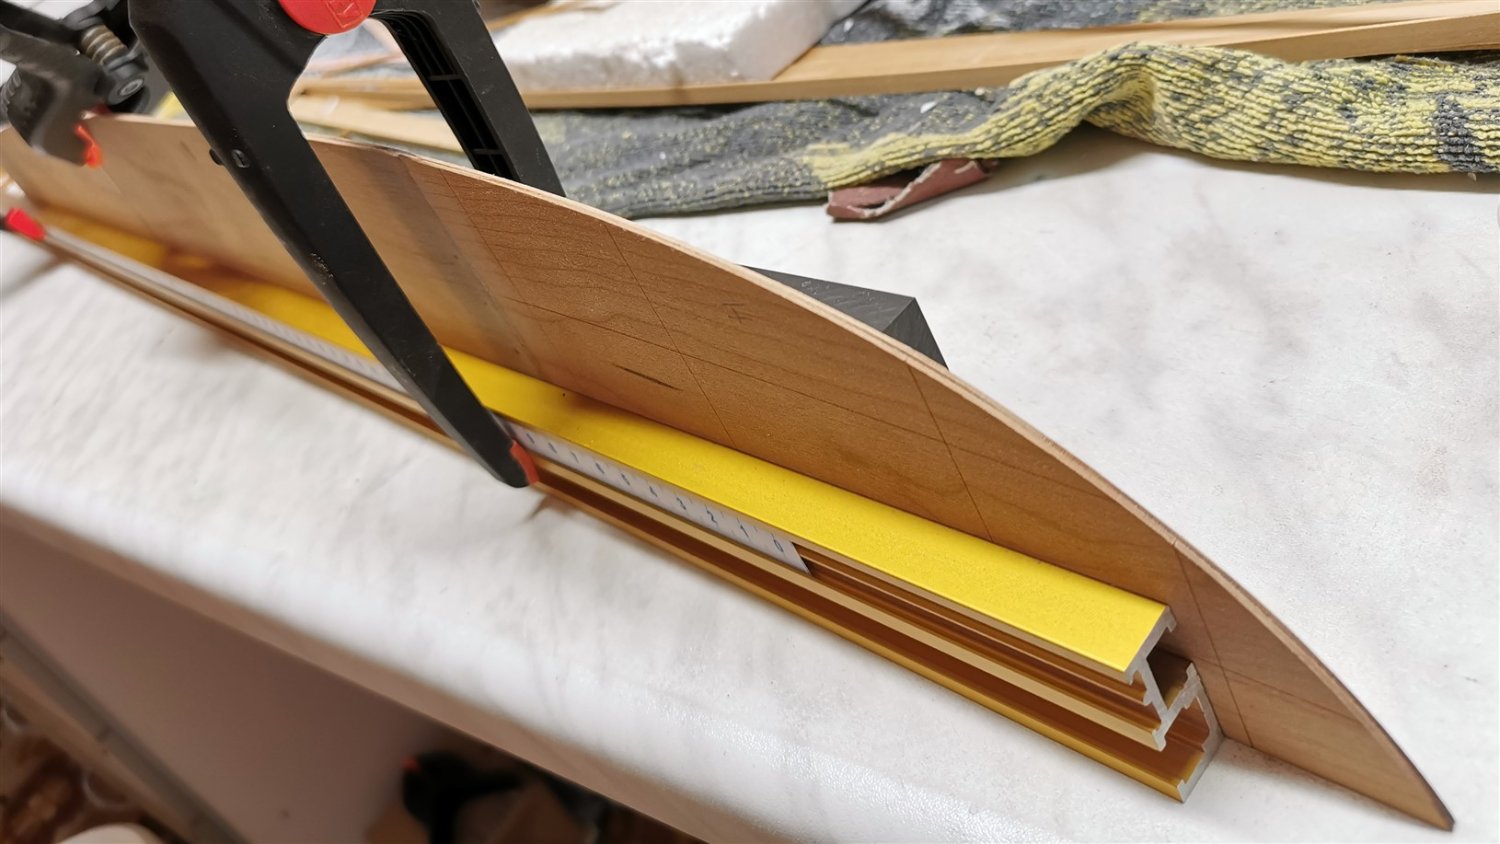
I've started the third chapter and I think I've found my biggest problem.
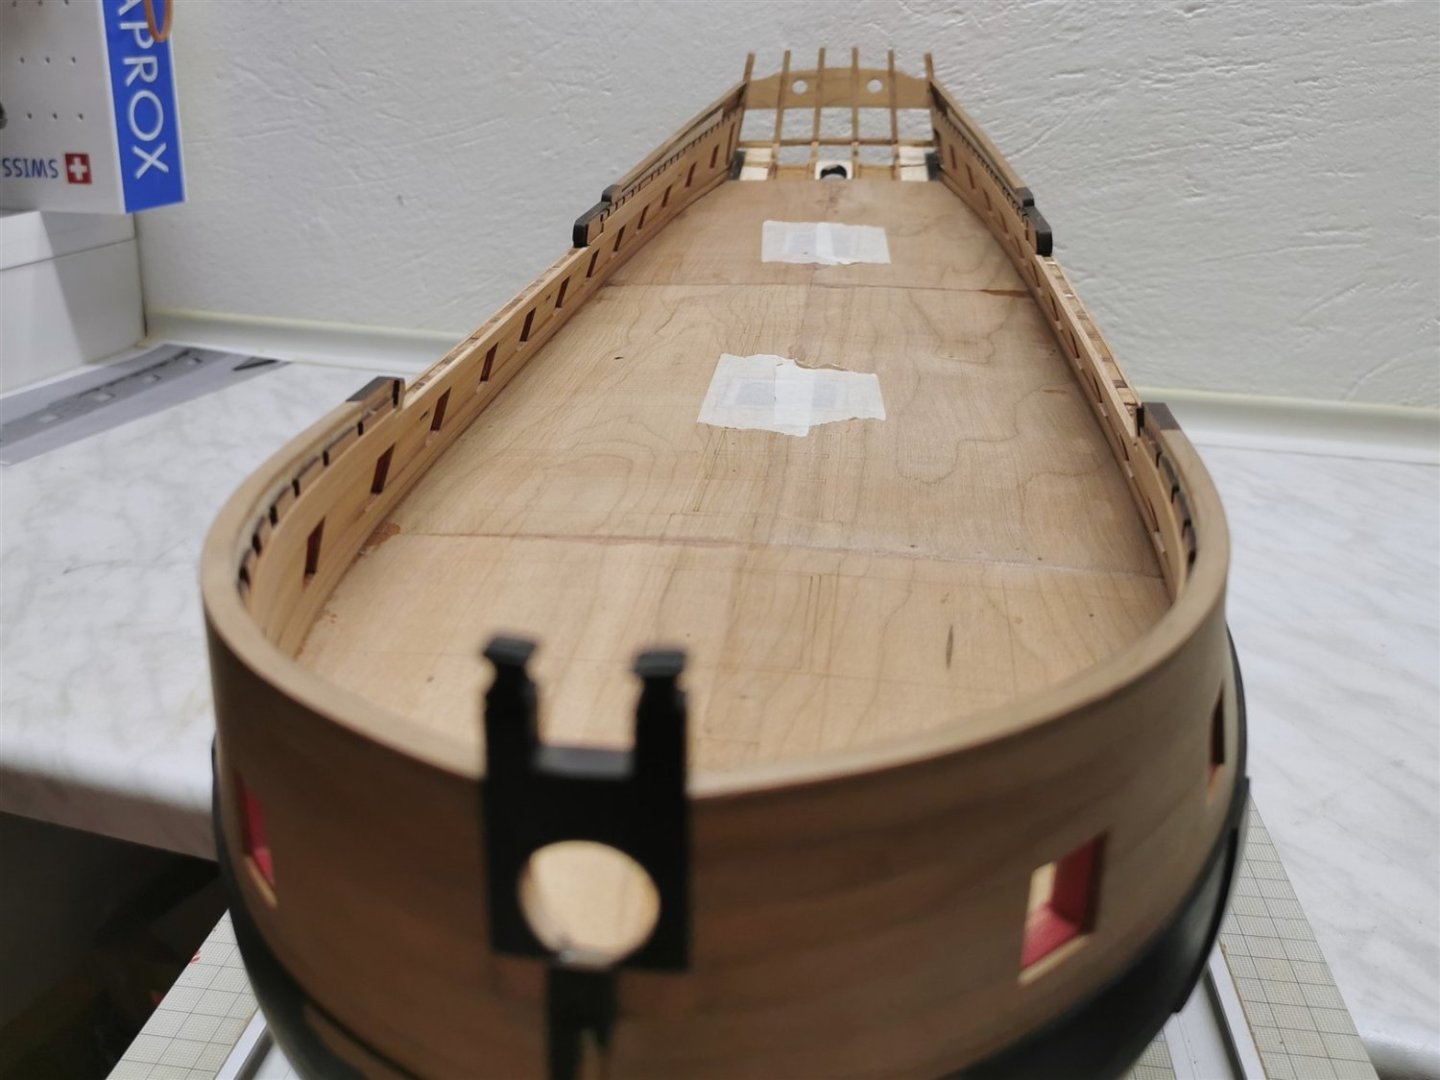
Angle of the qgalleries doesn't fit me about as well as it should.I don't know if it's the view angle or the angle of my planking,
or I've misplaced the stern frames...
I'm frustrated about it but If I want laser cut windows to fit I guess I'll have to live with it.


-
Wow Chuck you're showing great engineering again.
My Winnie still has a long voyage ahead.
And I already know what I want to come next.- Thukydides, mtaylor and FrankWouts
-
 3
3
-
-
Thank you Chuck,
I hope it looks good even if I sand it down.
But I'm sure there will be mistakes.
Still, I'm looking forward when the deck will be finished with the WOP.- FrankWouts and Saburo
-
2
-
Hi guys,
I was hoping I'd have the deck done about this time,
but unfortunately I'm having a busy time and I don't have the energy to build.
But anyway I have finished the hardest part, the center belt.
I hope it will go better from here.
Progress in pictures: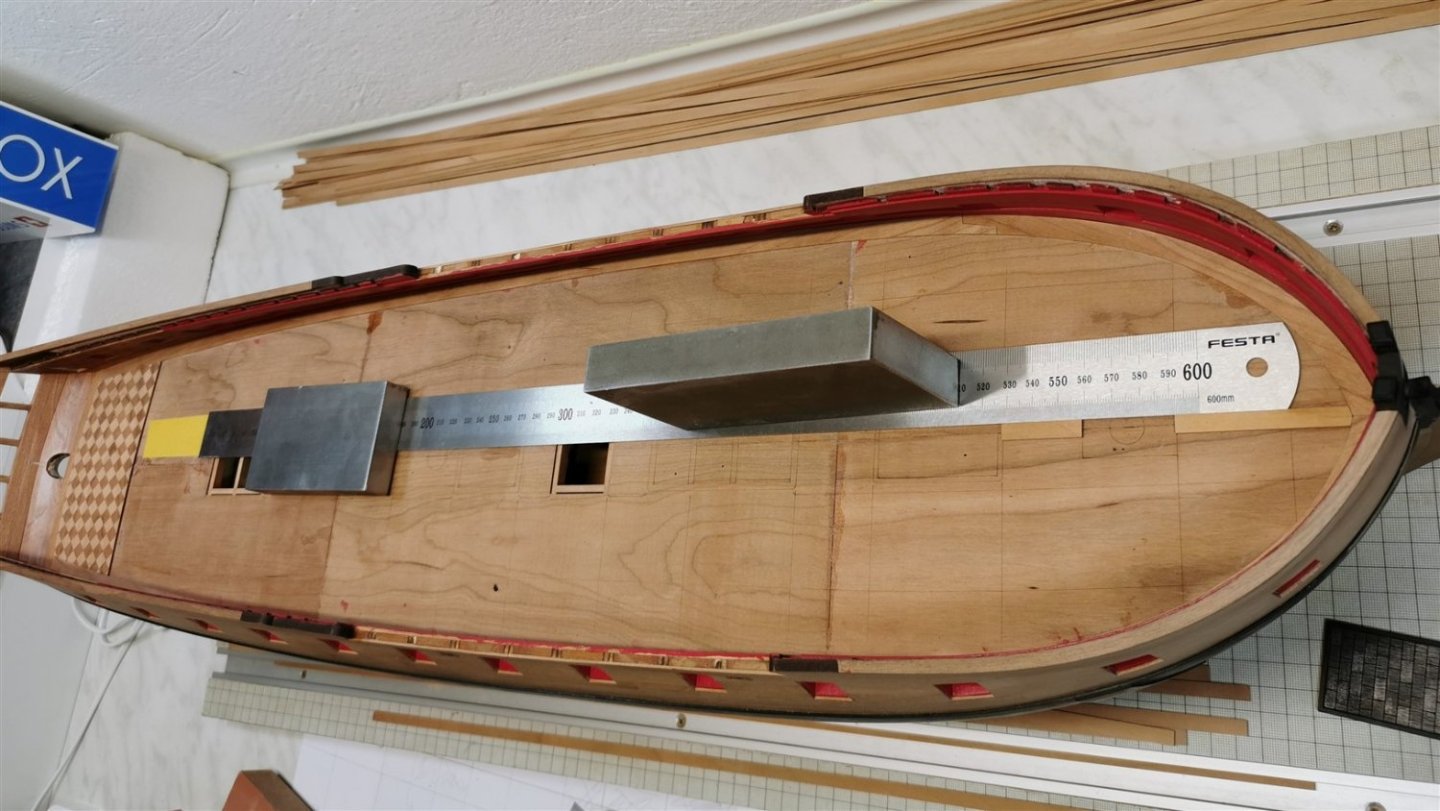


-
What a surprise Glenn, I was expecting you to show the fourth chapter.
But anyway, I'm pleased because I'm also thinking how best to simulate the metallic appearance of the barrels.
I have a question, did you use any primer before the paint?
Did you paint the barrels with a brush or airbrush?
Do you apply the weathering powder after the paint is completely dry?
At the end you probably need to fix it with matte varnish right?Anyway you did a great job, I don't know if I can imitate it.
- Dave_E and FrankWouts
-
2
-
I think everything has already been said.
I still look at the pictures over and over again with my mouth open.
Really beautiful work!
And even though your Winie is finished I will be reading this thread for many years to come.
So congratulations Chuck, have a wonderful vacation and I'm looking forward to your next project.- Ryland Craze, Chuck, Edwardkenway and 2 others
-
5
-
-
Well done Frank 👍
I'm glad you're back.
Enjoy the planking and I look forward to seeing more photos from the build. -
I envy you Glenn, I would also like to have finished friezes
but at the same time, I'm scared of this part.
But you did it great and it looks very good. 👍
You're on chapter four soon.- hollowneck, glbarlow, Dave_E and 1 other
-
4
-
-
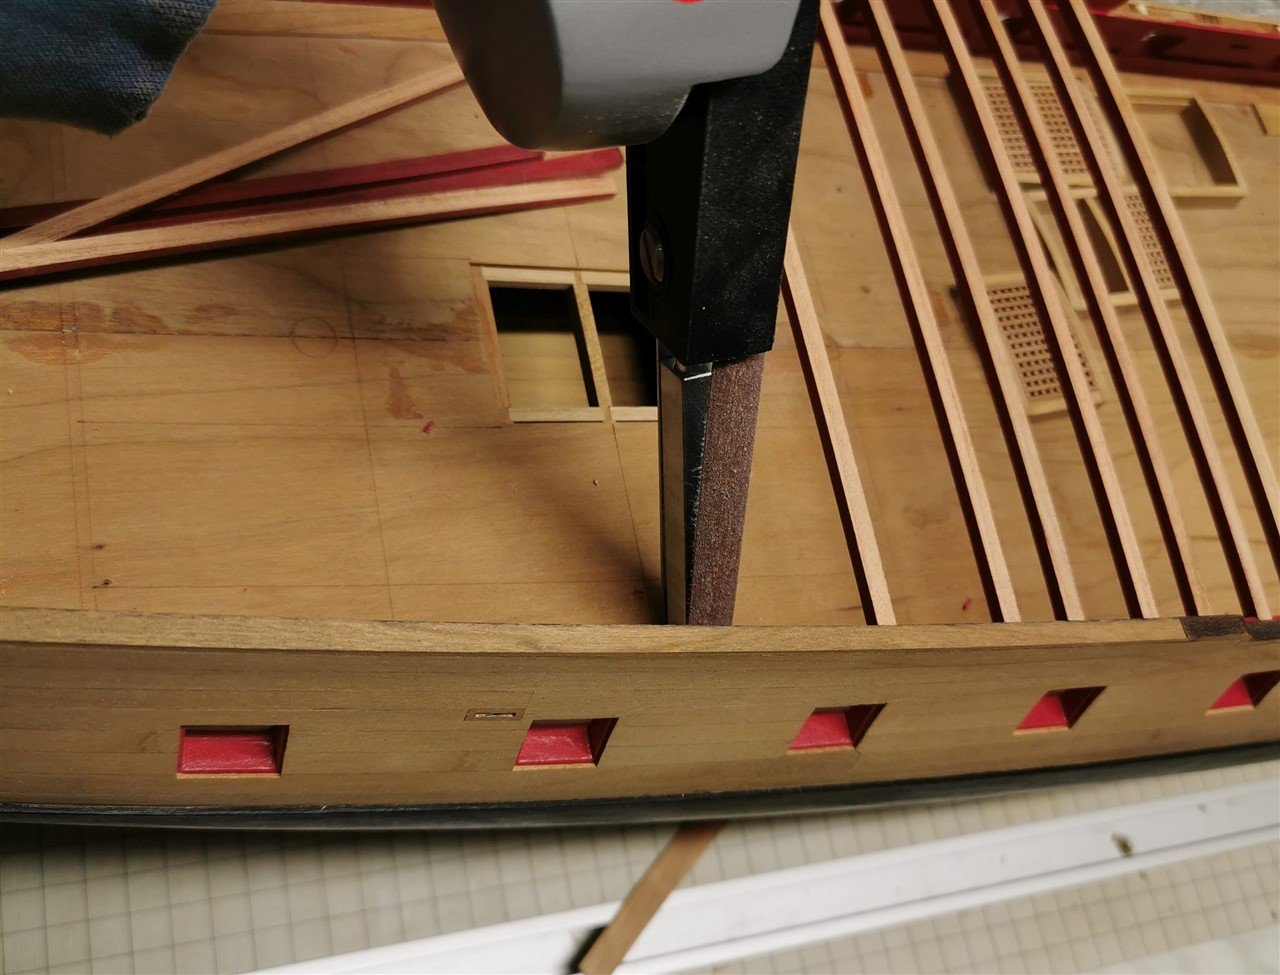
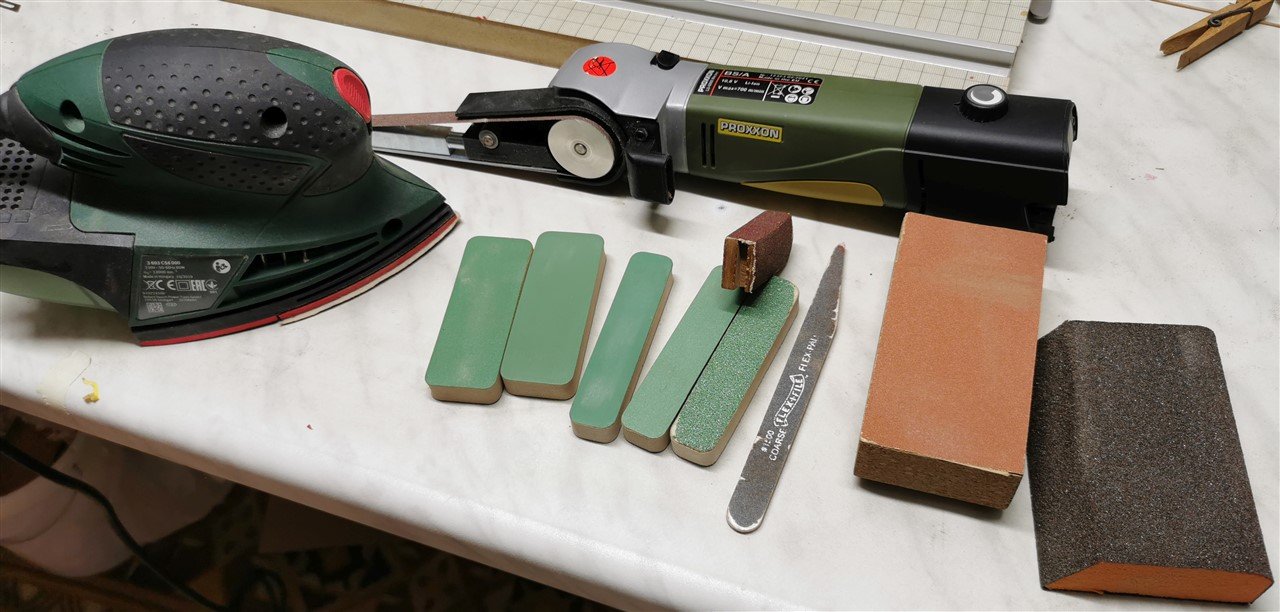
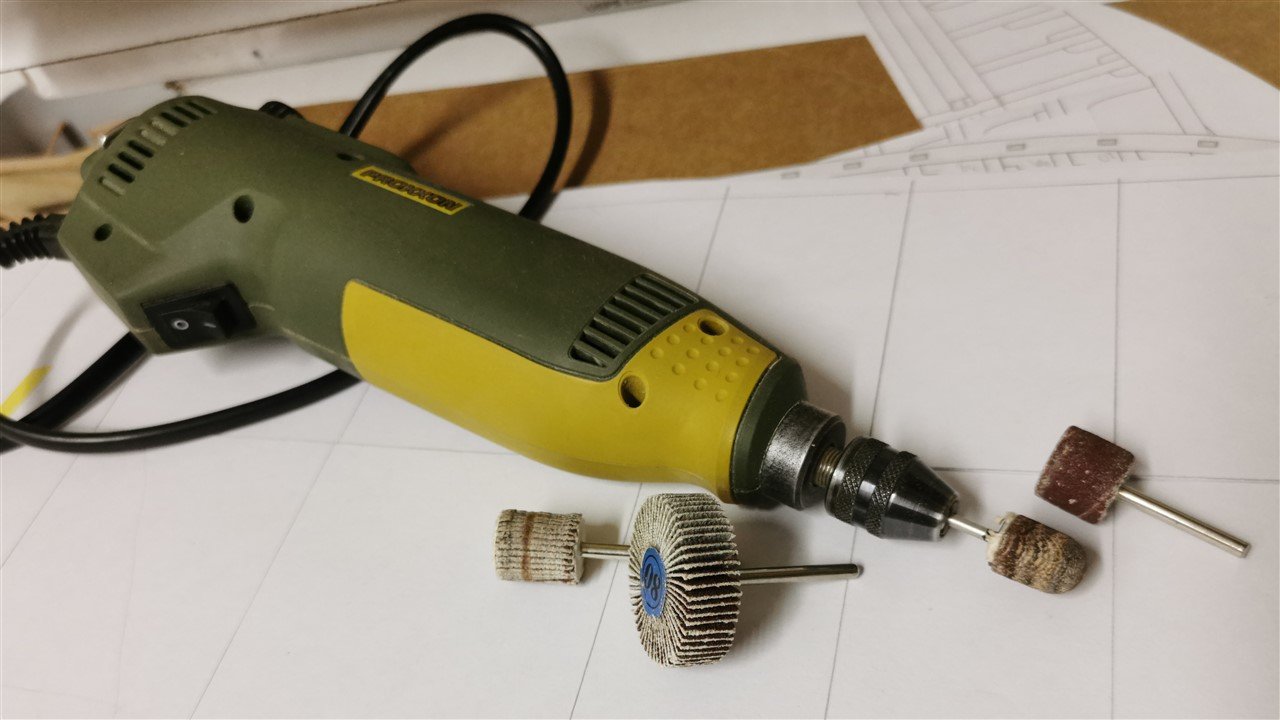
Gary, the vibrating sander was not bad, and the belt sander also helped. But it's not a necessity to use them.
However, I forgot about the direct grinder which I use most often.
That was my first choice.- Saburo and FrankWouts
-
2
-
Thanks Gary,
in the beginning I also used electric grinders.
Sanding around the ports was a little more difficult, because the port framing is made of harder wood than the balsa filler
and even the bulkheads are made of soft poplar plywood.
So the roughest parts with an electric grinder and then by hand with sanding blocks.
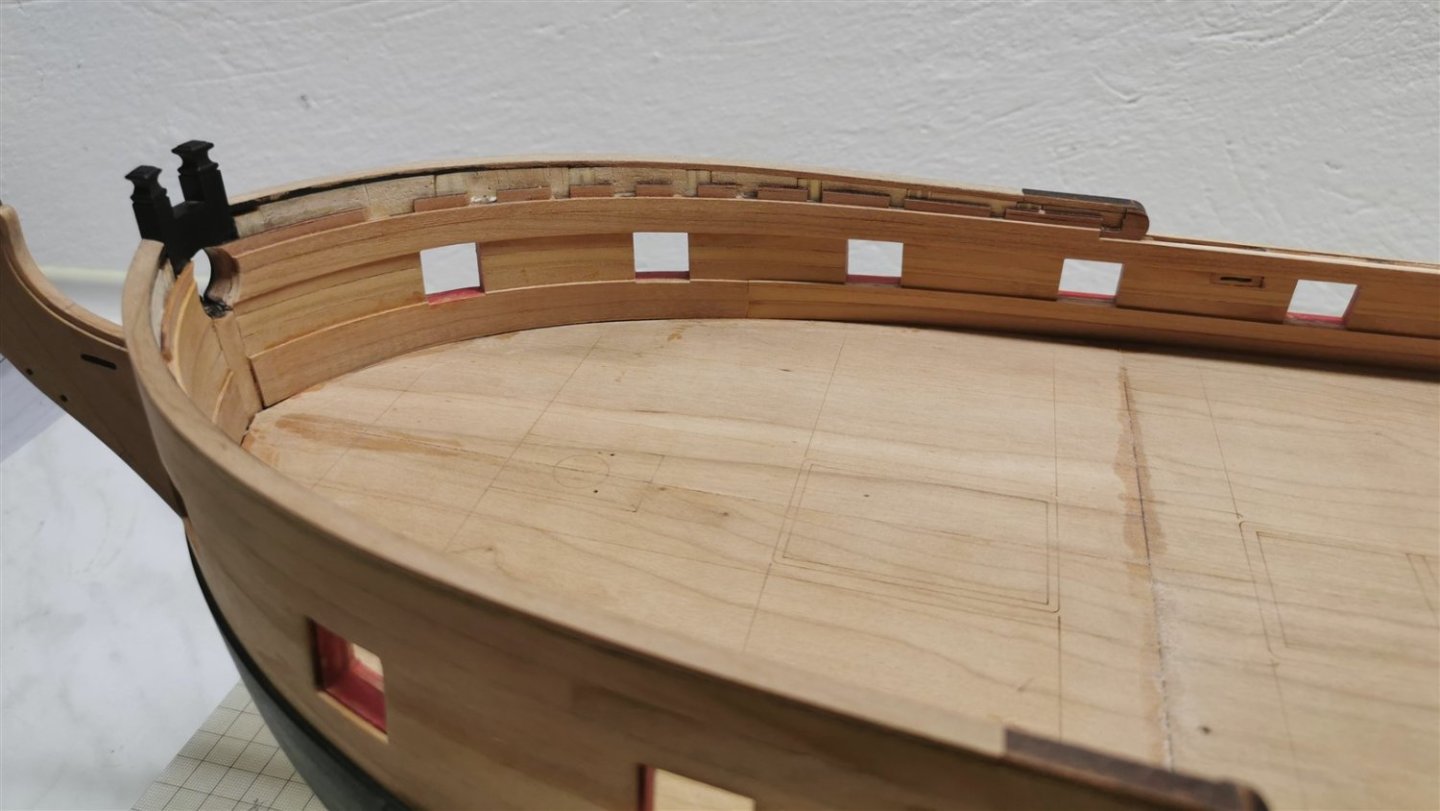
Follow Chuck's instructions, don't forget the fairing cap and a temporary strip between the hances.
Also helps to test the false deck to see if it fits nicely and also the strip as the bulwark will run.So no special method, just looking at the model from all angles,
and proceed carefully without haste.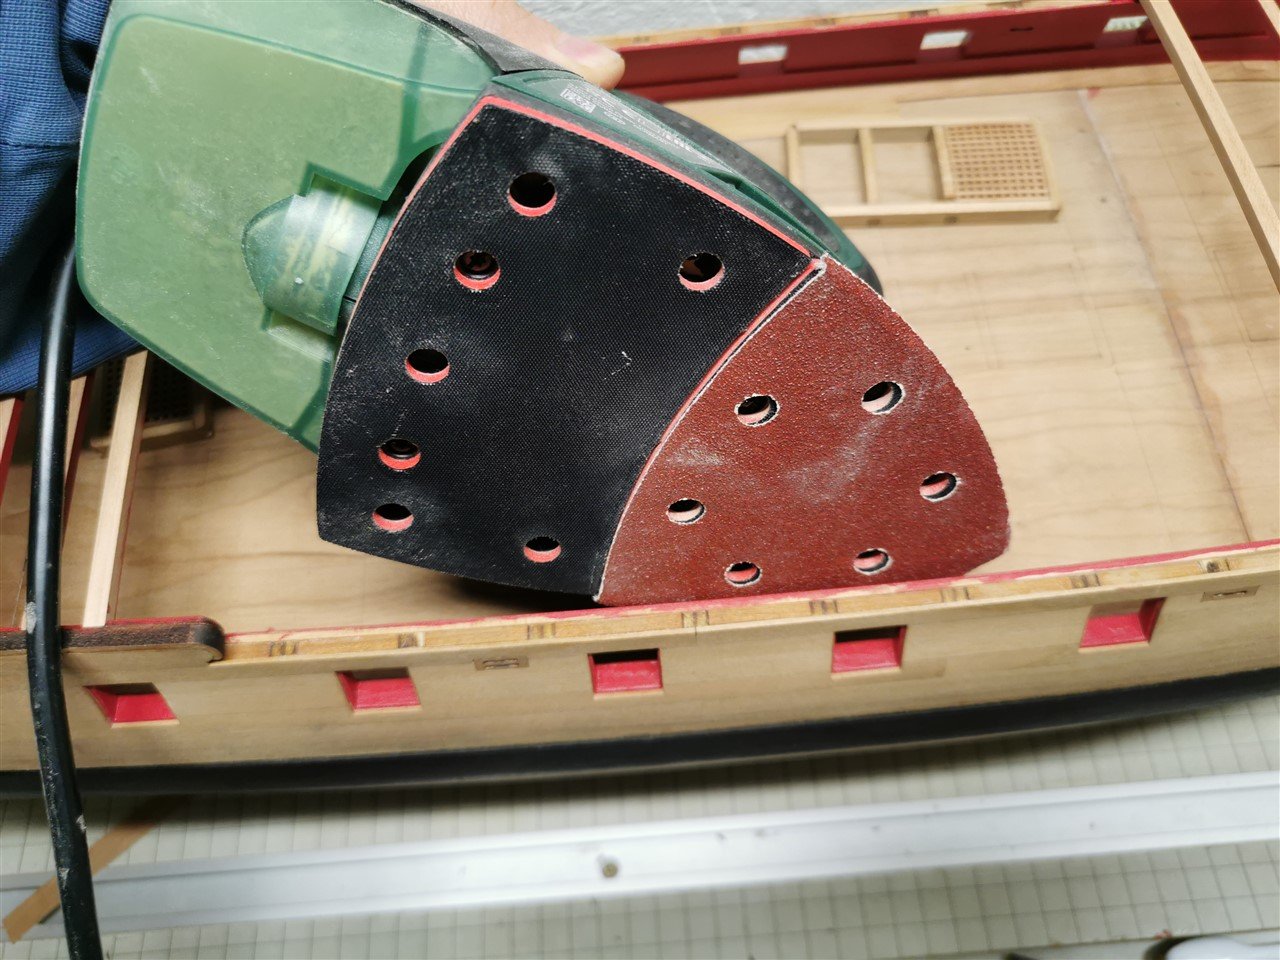
- Edwardkenway, Saburo, FrankWouts and 2 others
-
5
-
Thank you Chuck,
I'm just trying to follow your building instructions and I'm glad
for your perfect templates and laser parts
and mostly for the helpful words.- Saburo, Stuntflyer and FrankWouts
-
3
-
Thank you Frank and also for all the likes.
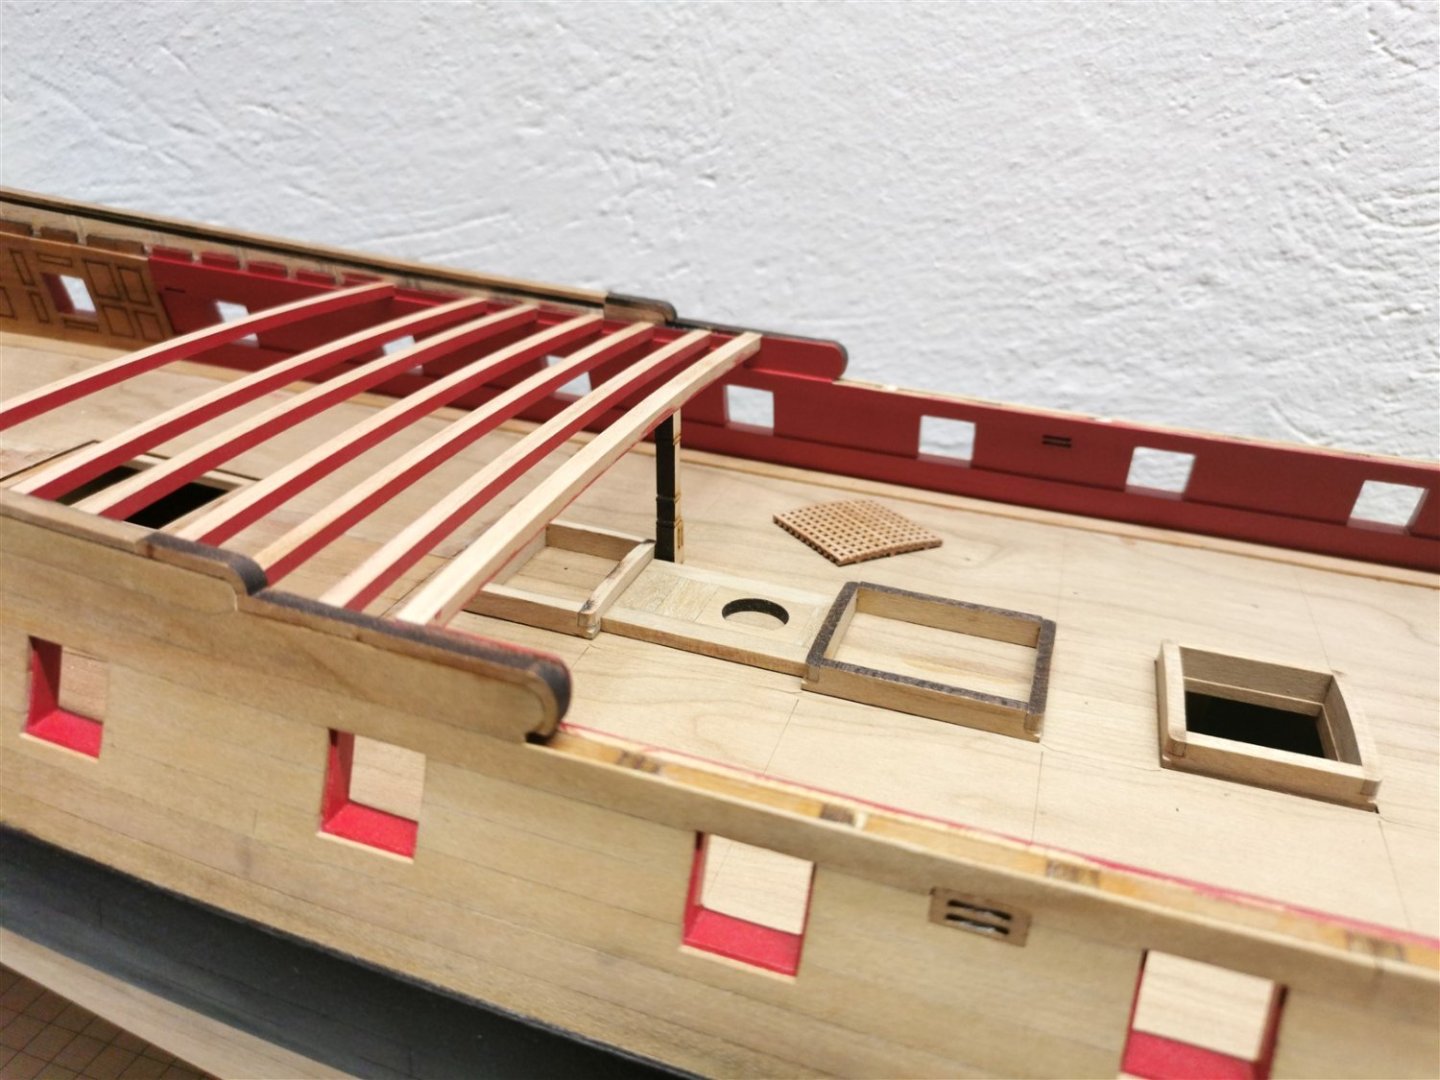
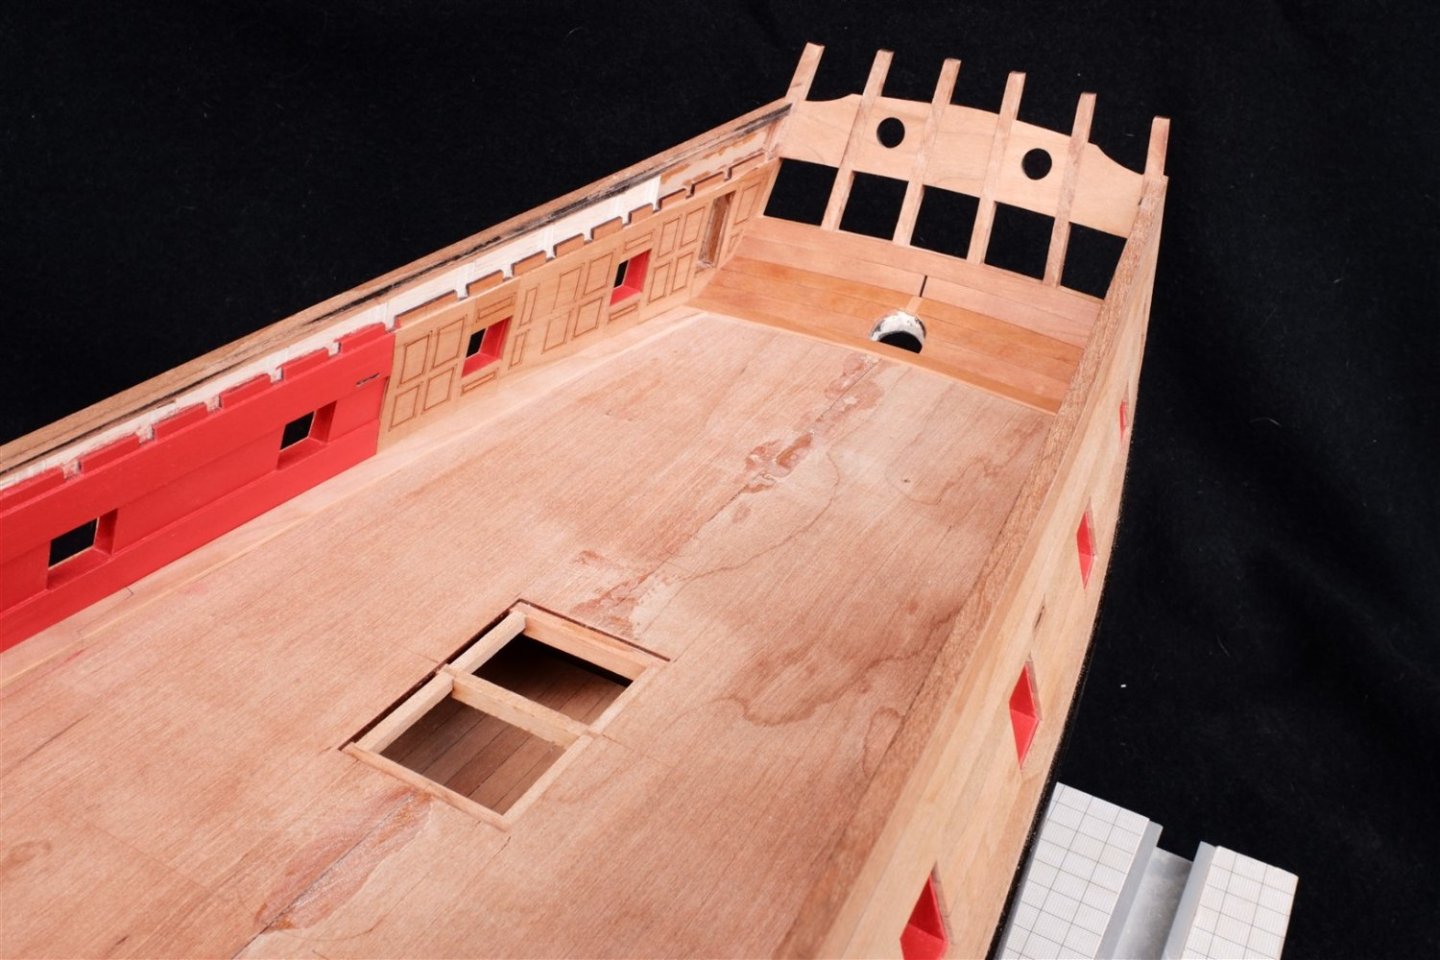
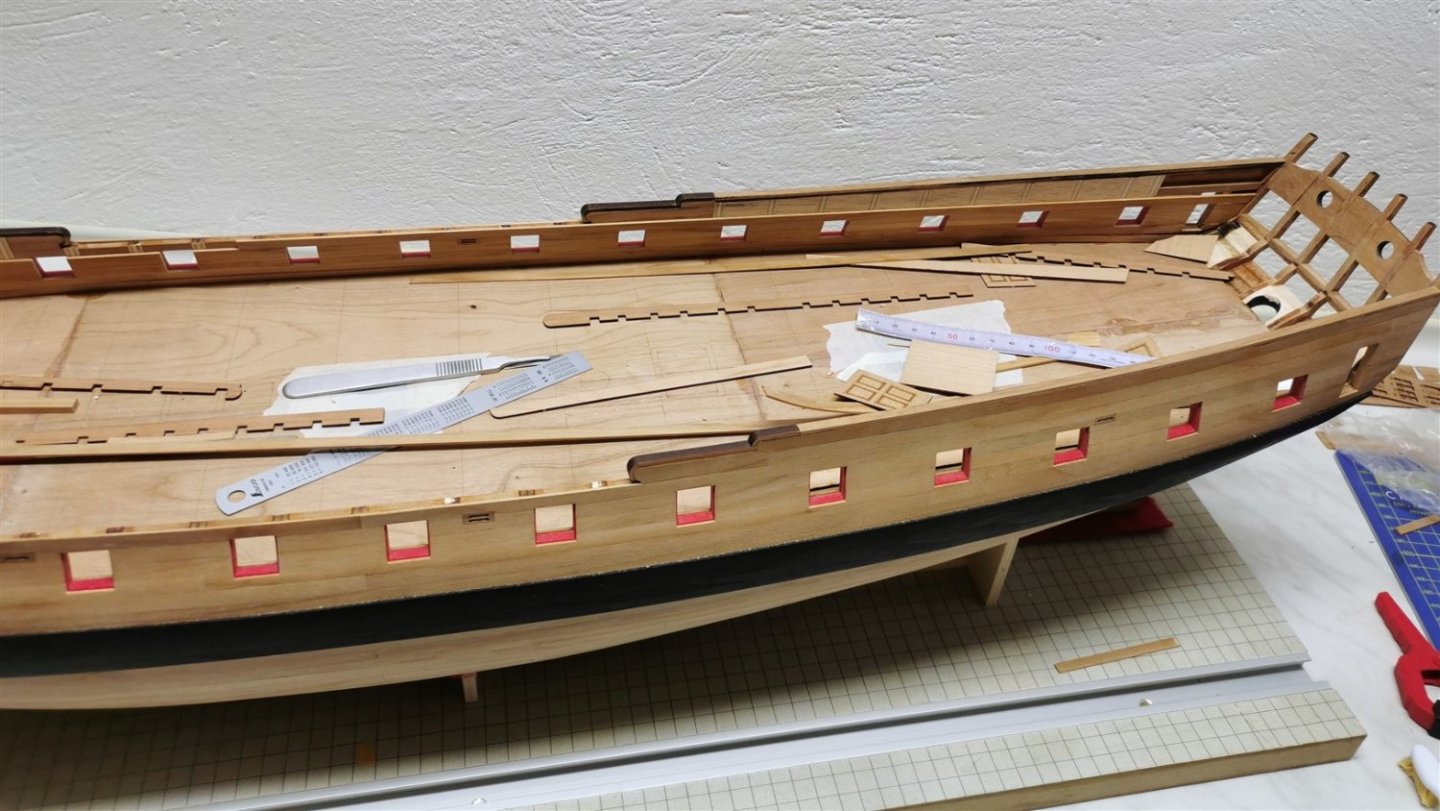
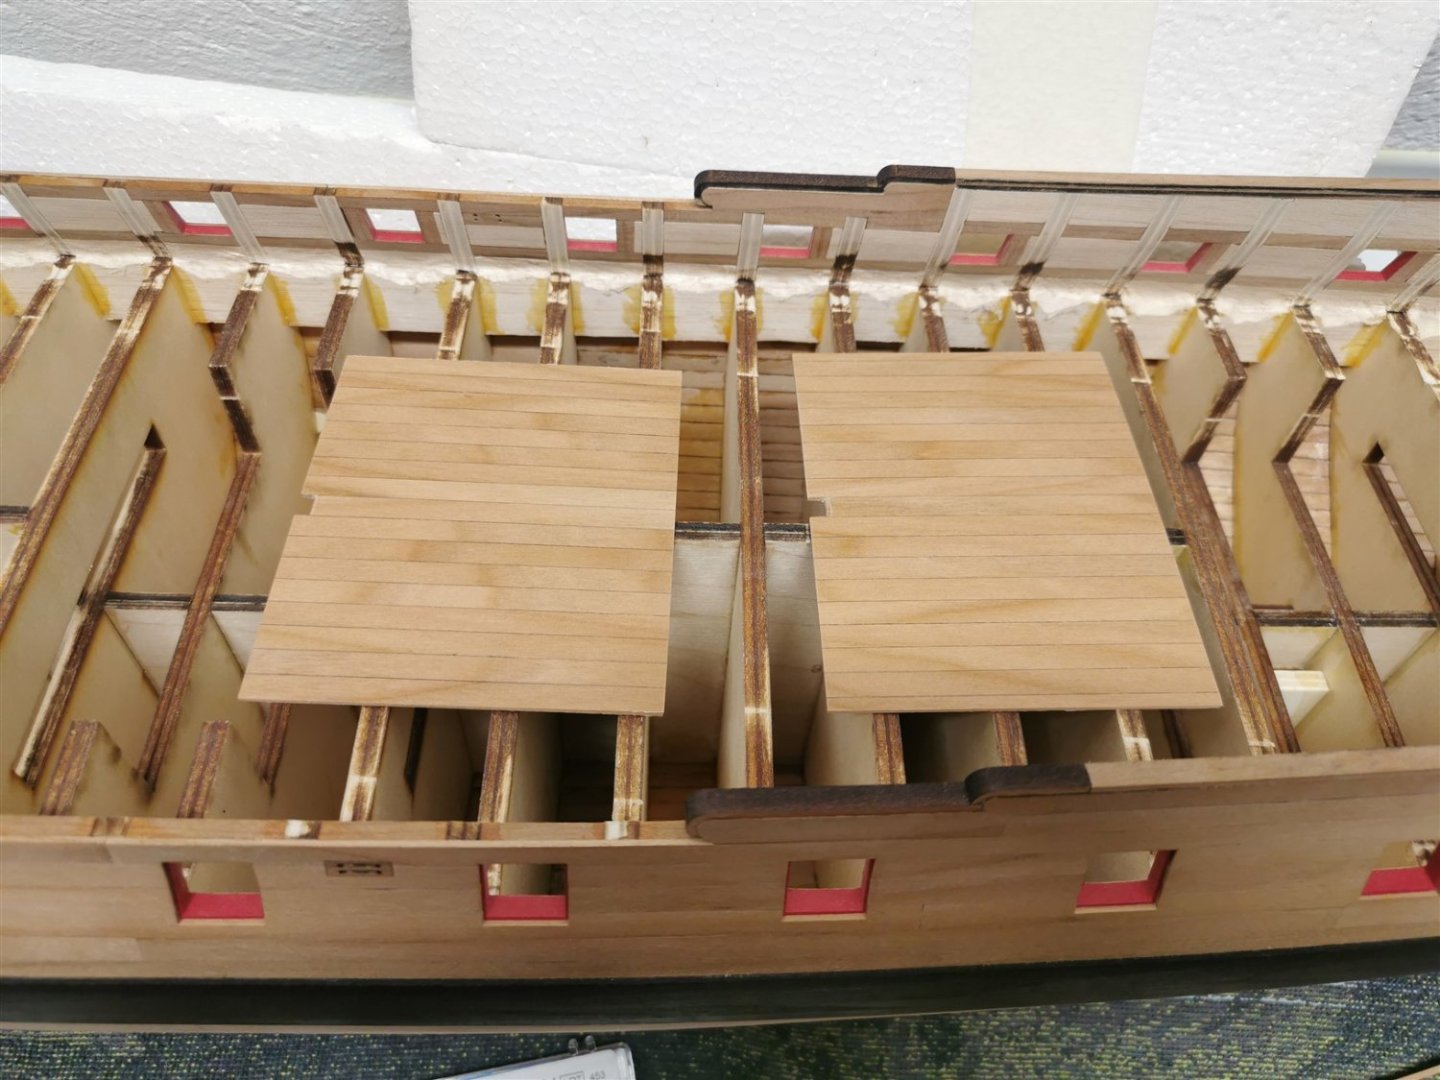
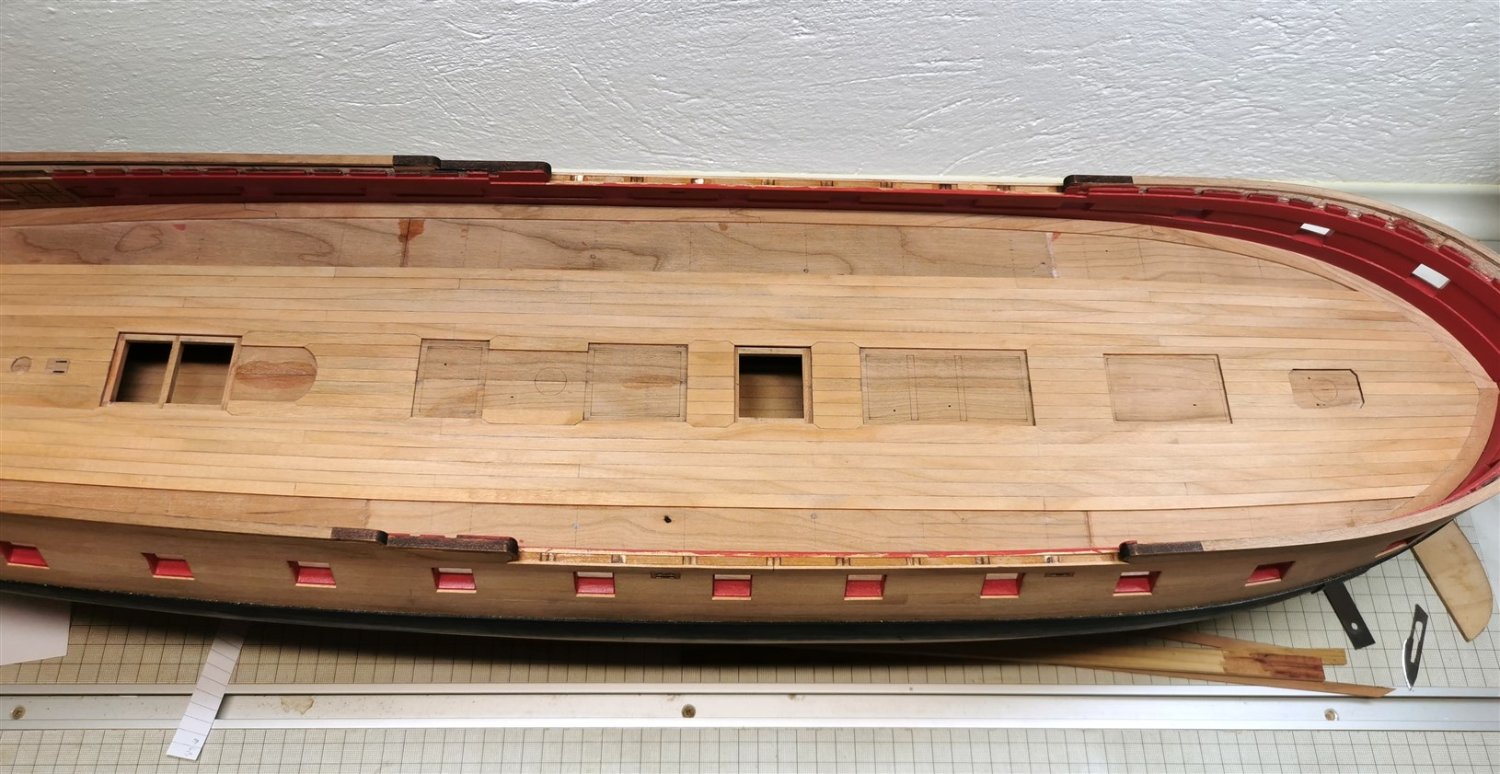
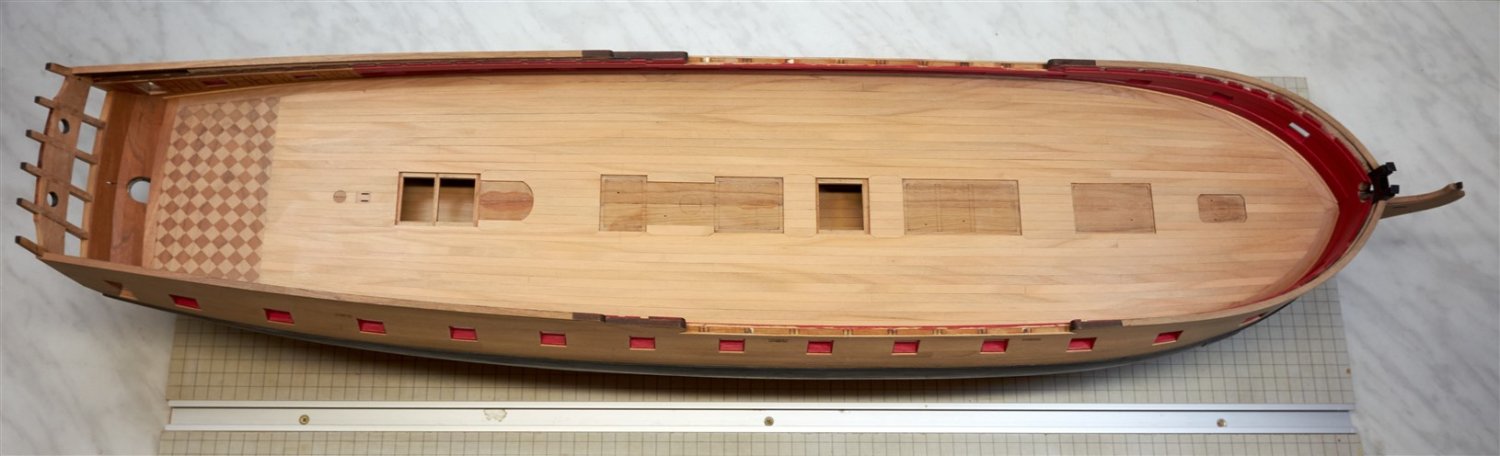
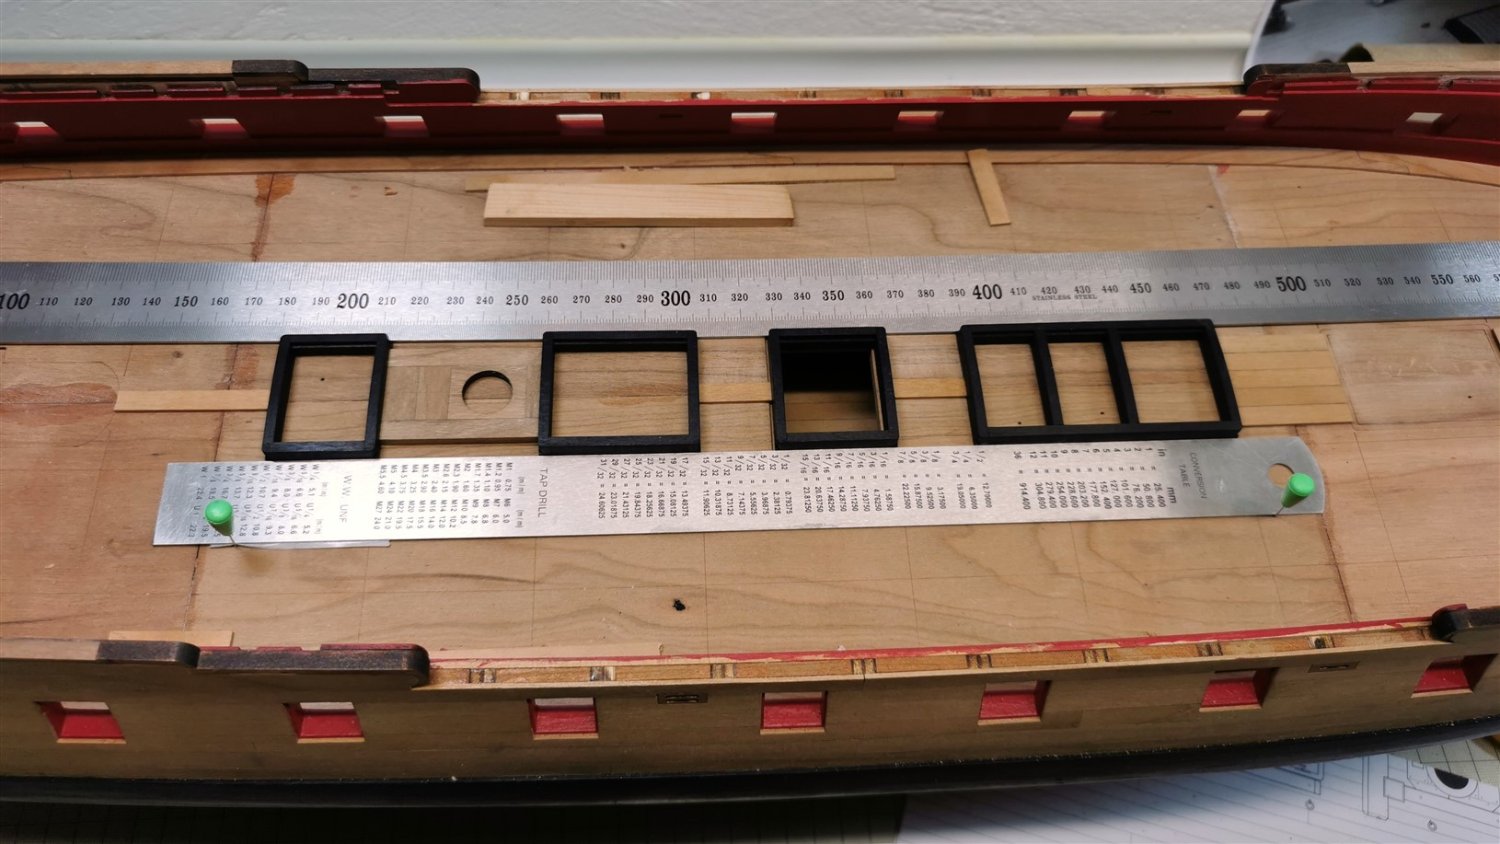
Before I start laying the decks planks I want to make sure
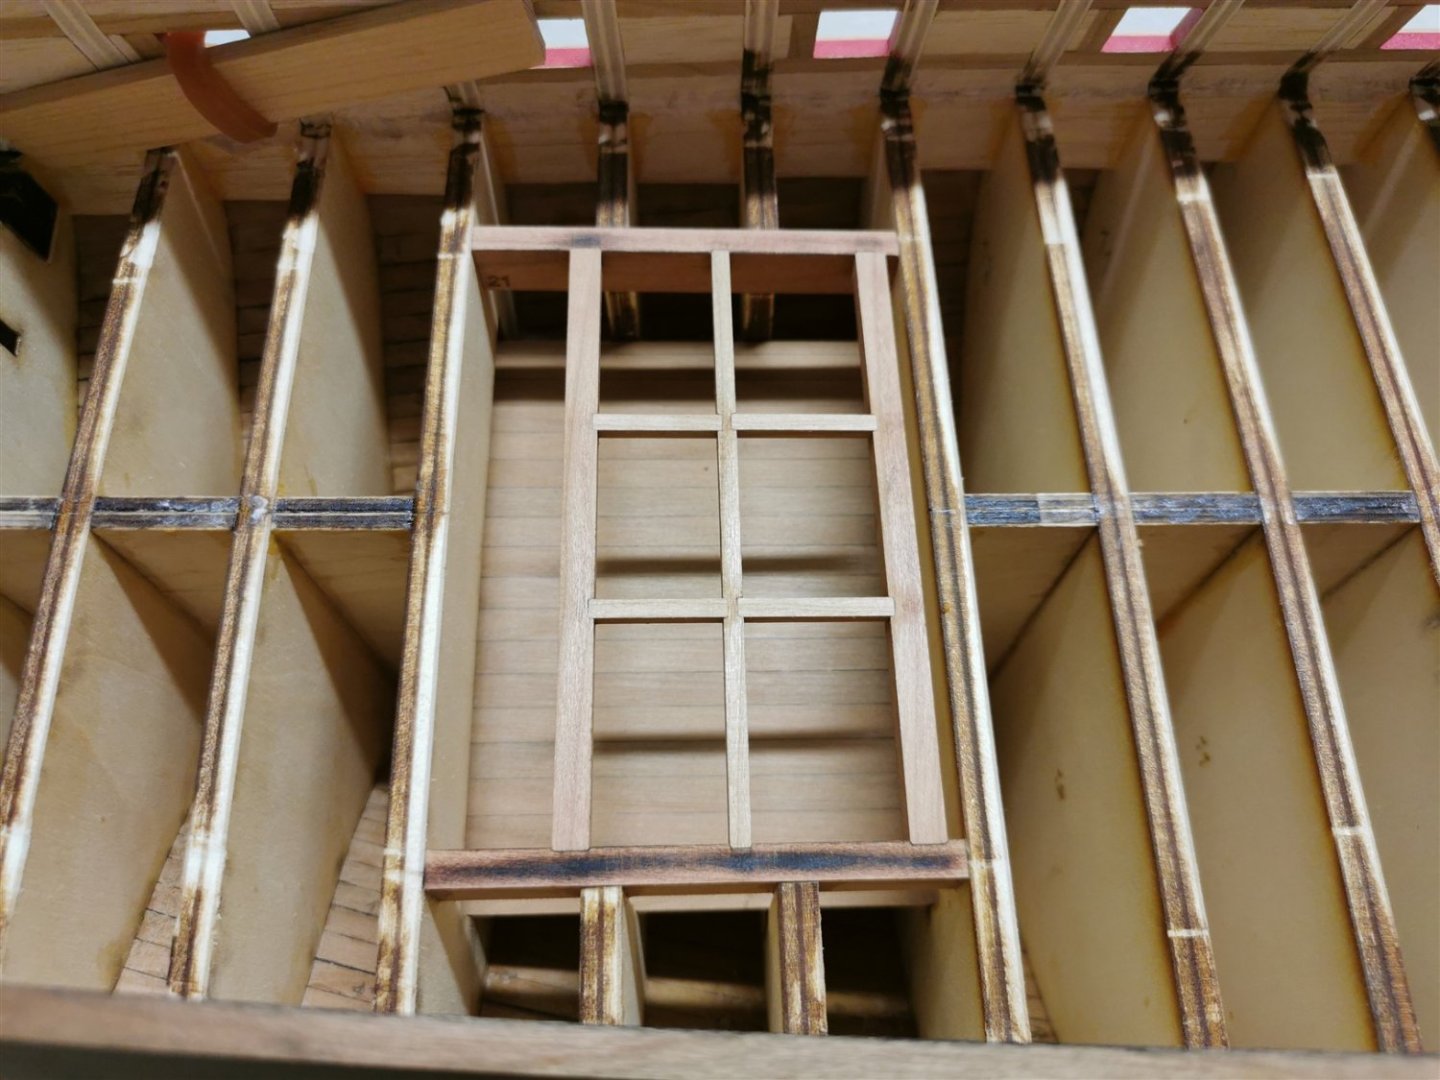
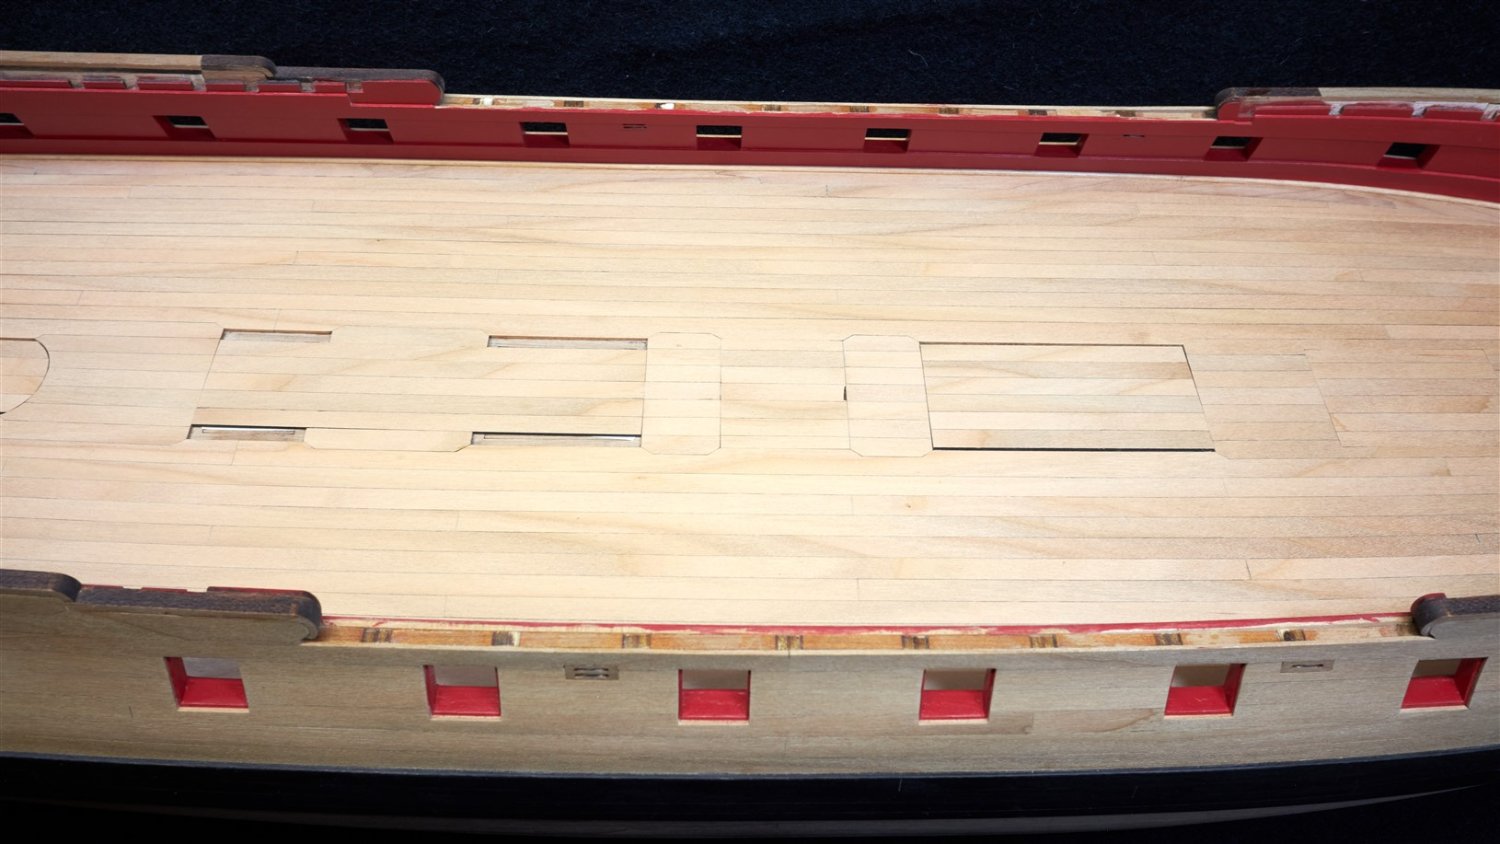
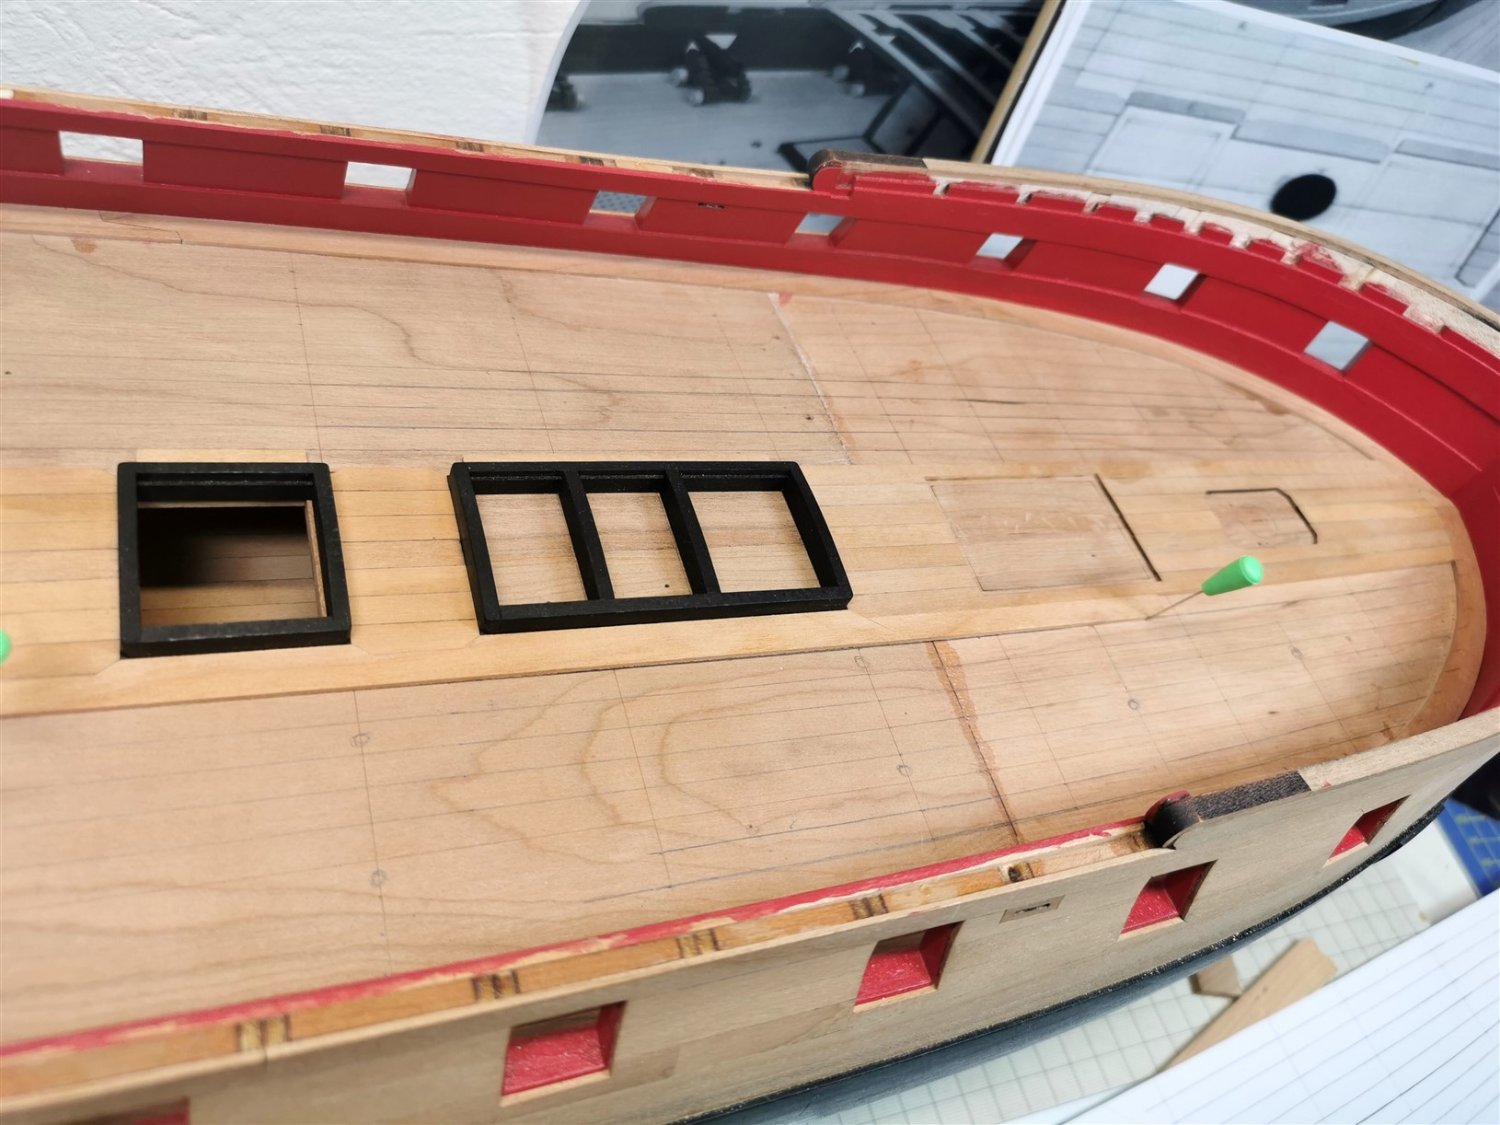
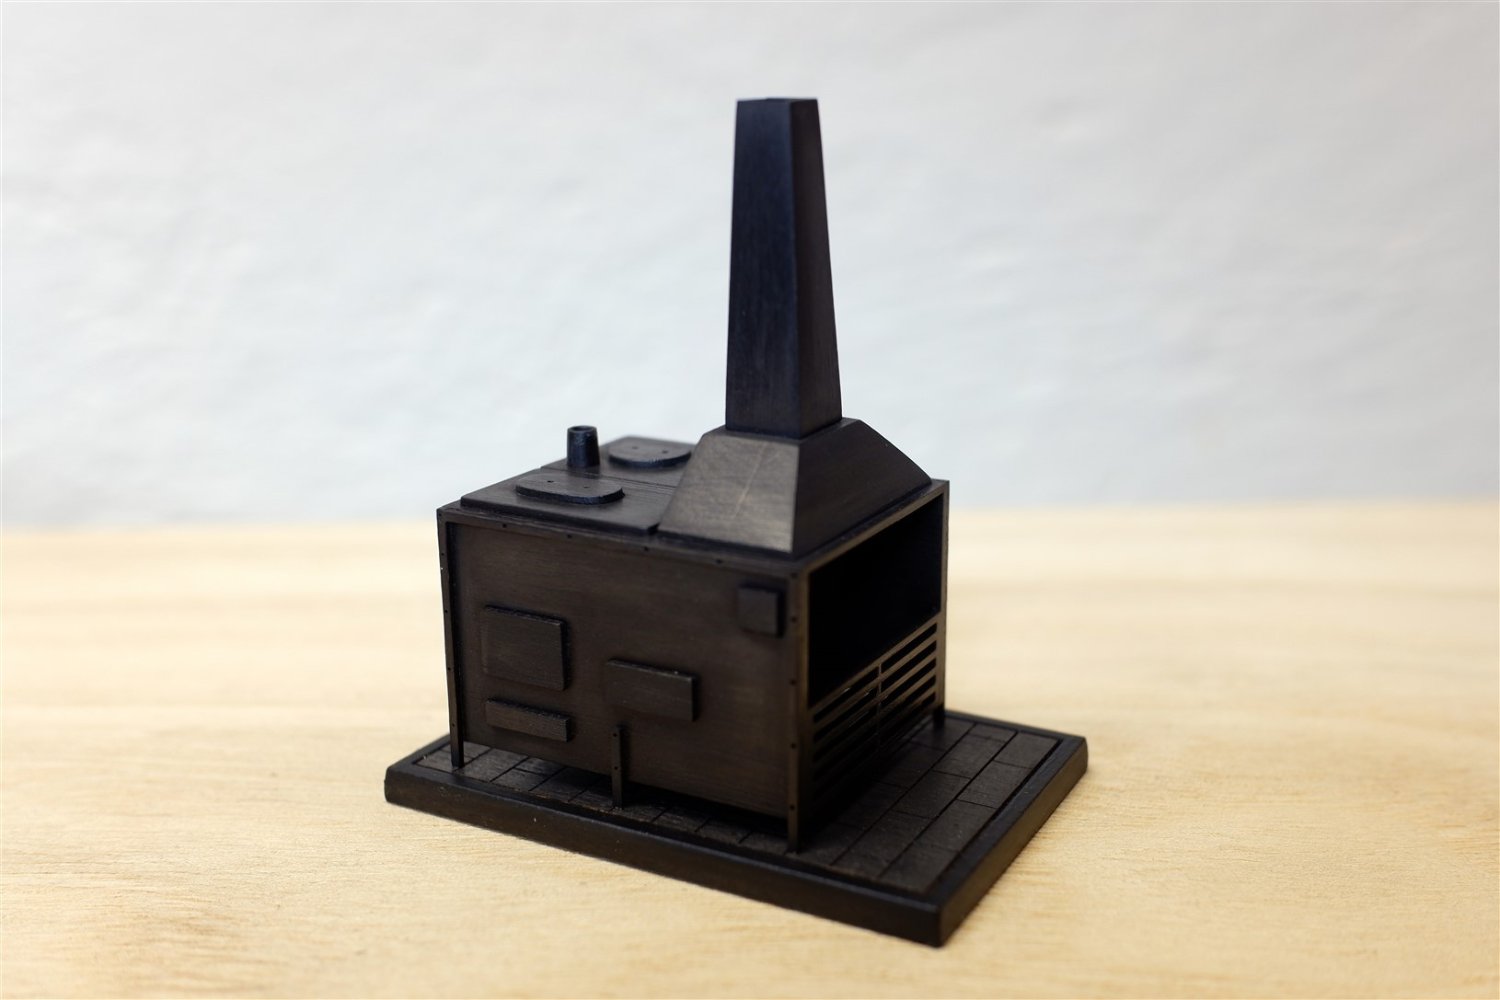
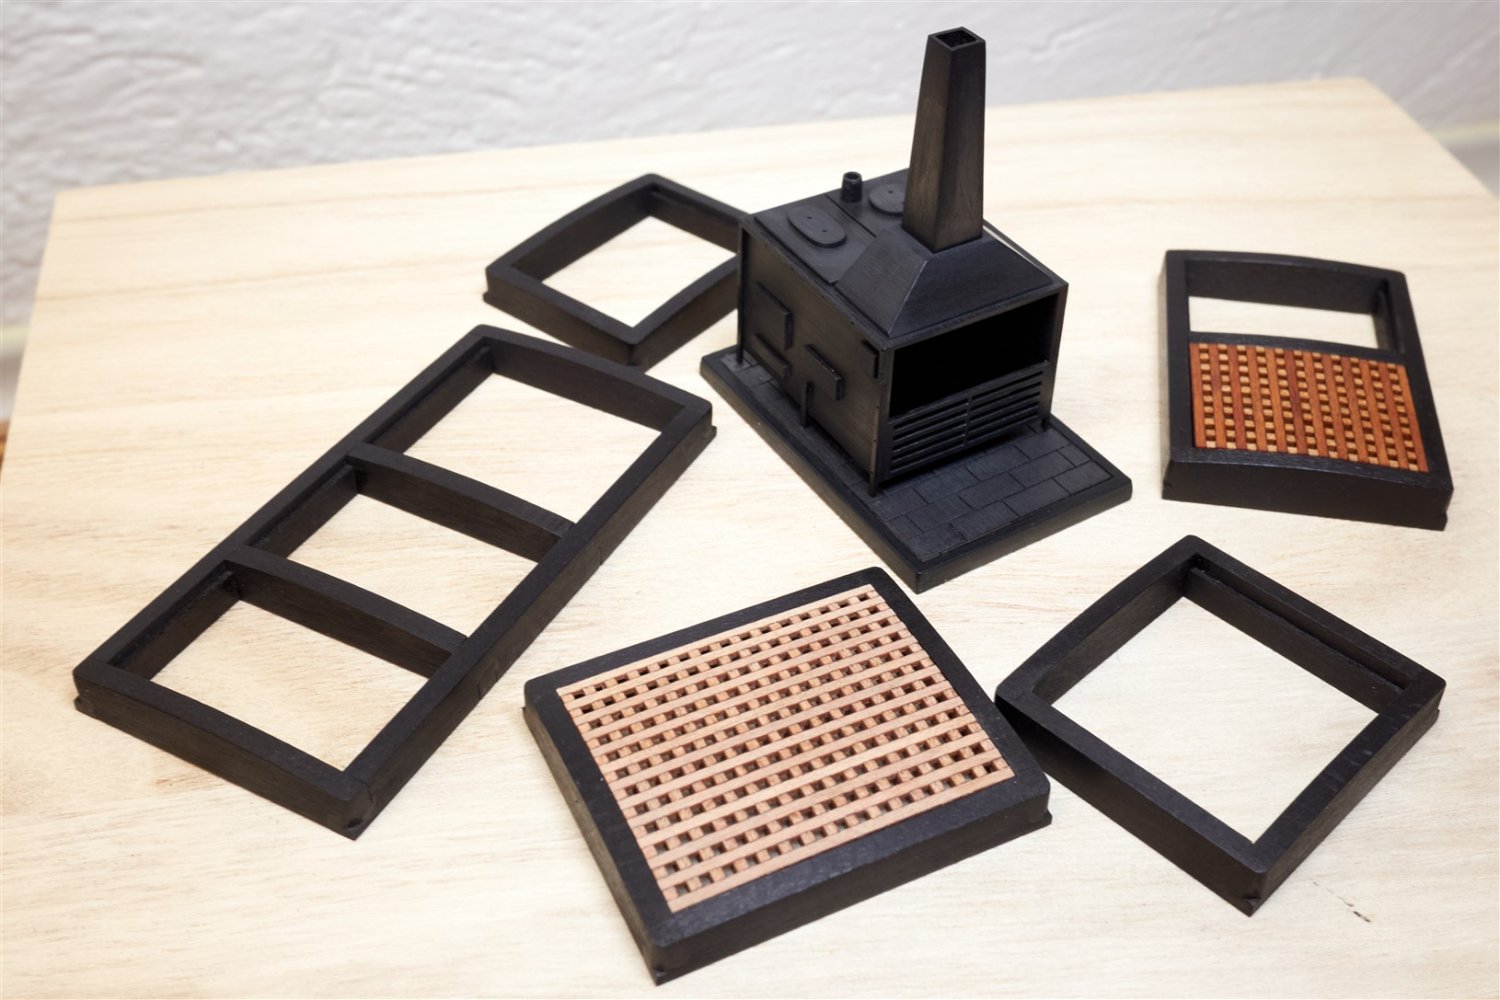
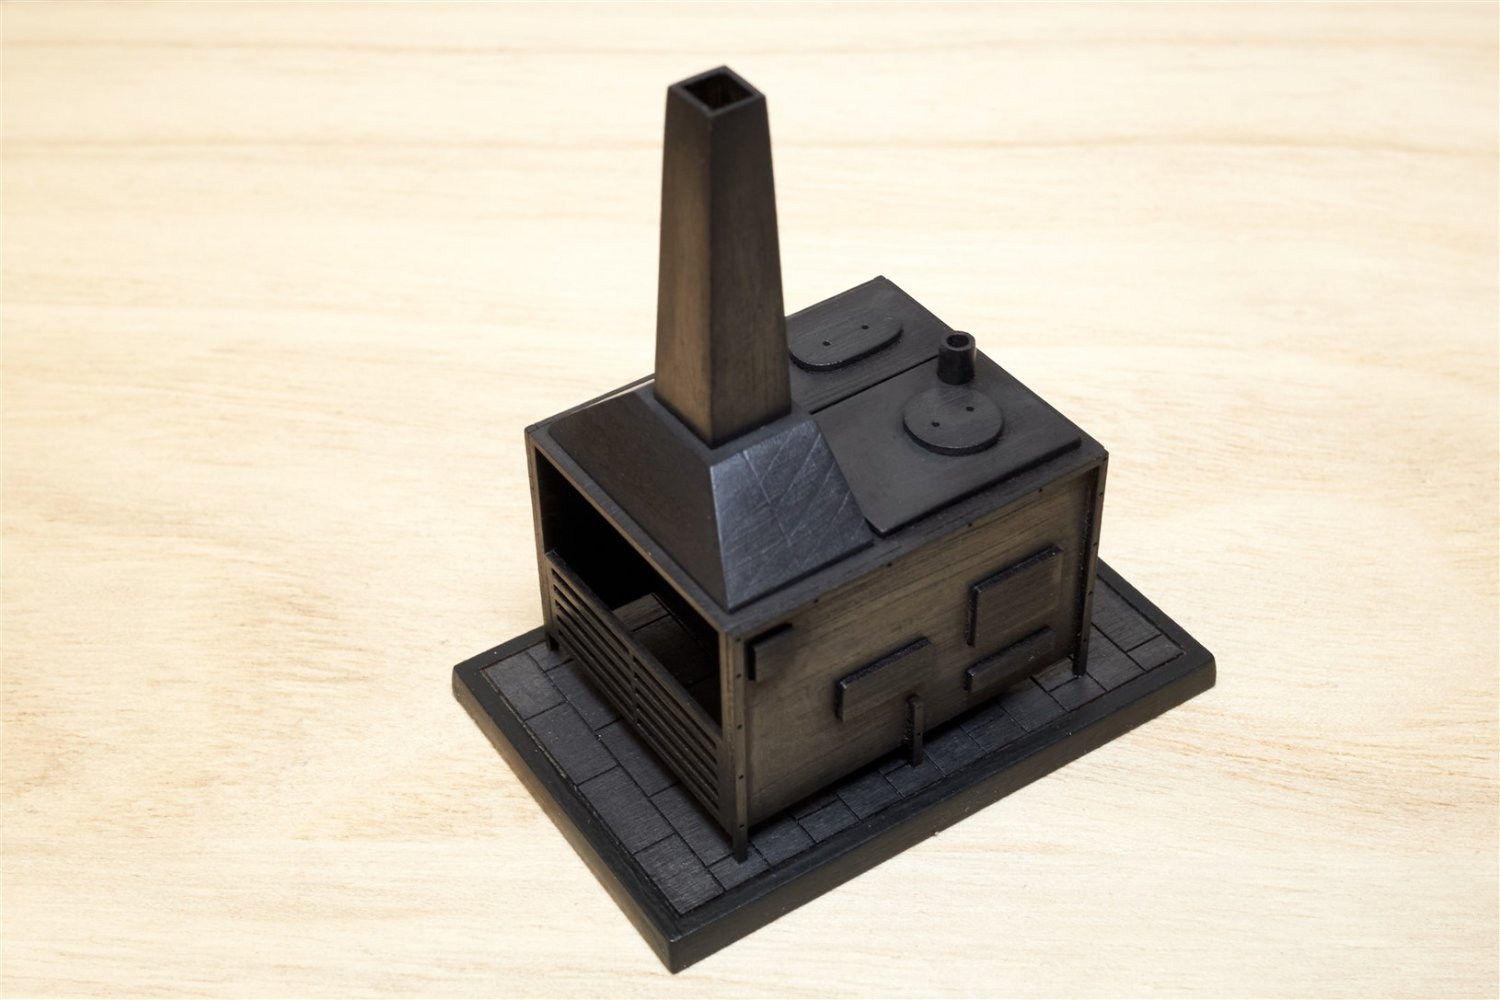
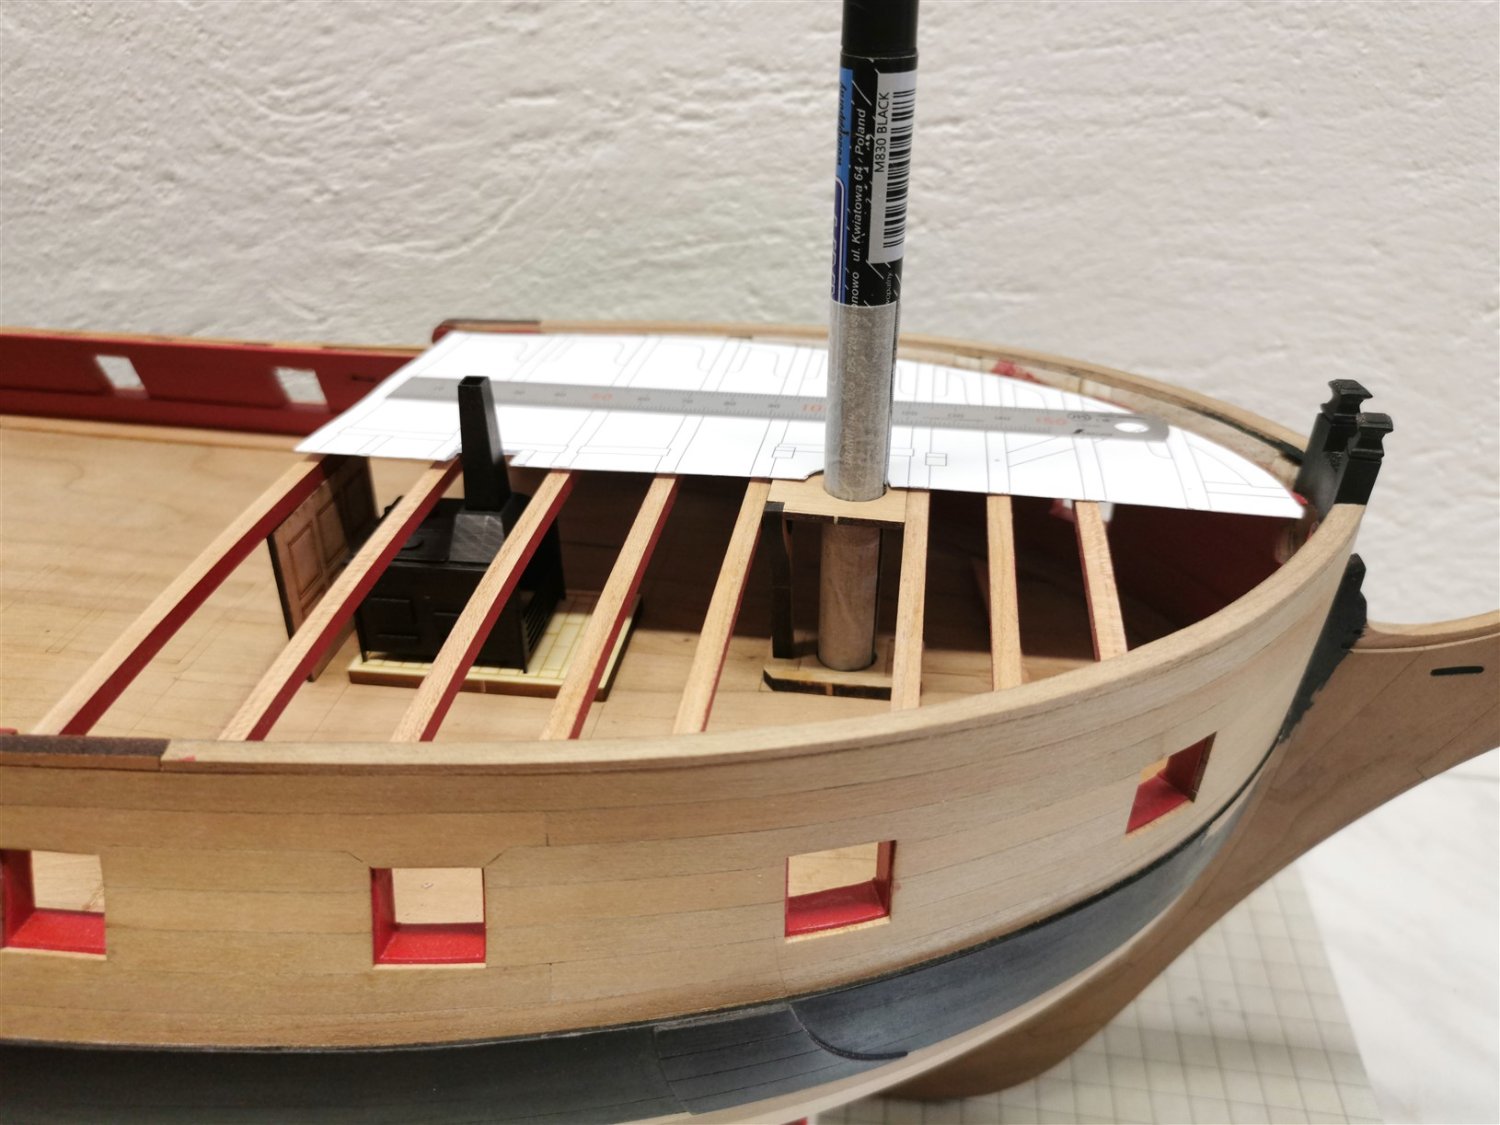
that the Foremast Partner and Stove platform is in the right position.That's why I already have the deck beams ready.
I wasn't sure about the placement of the false deck and thought I would have to move the partners back slightly.
But in the end, I'm happy as it is.
What do you think?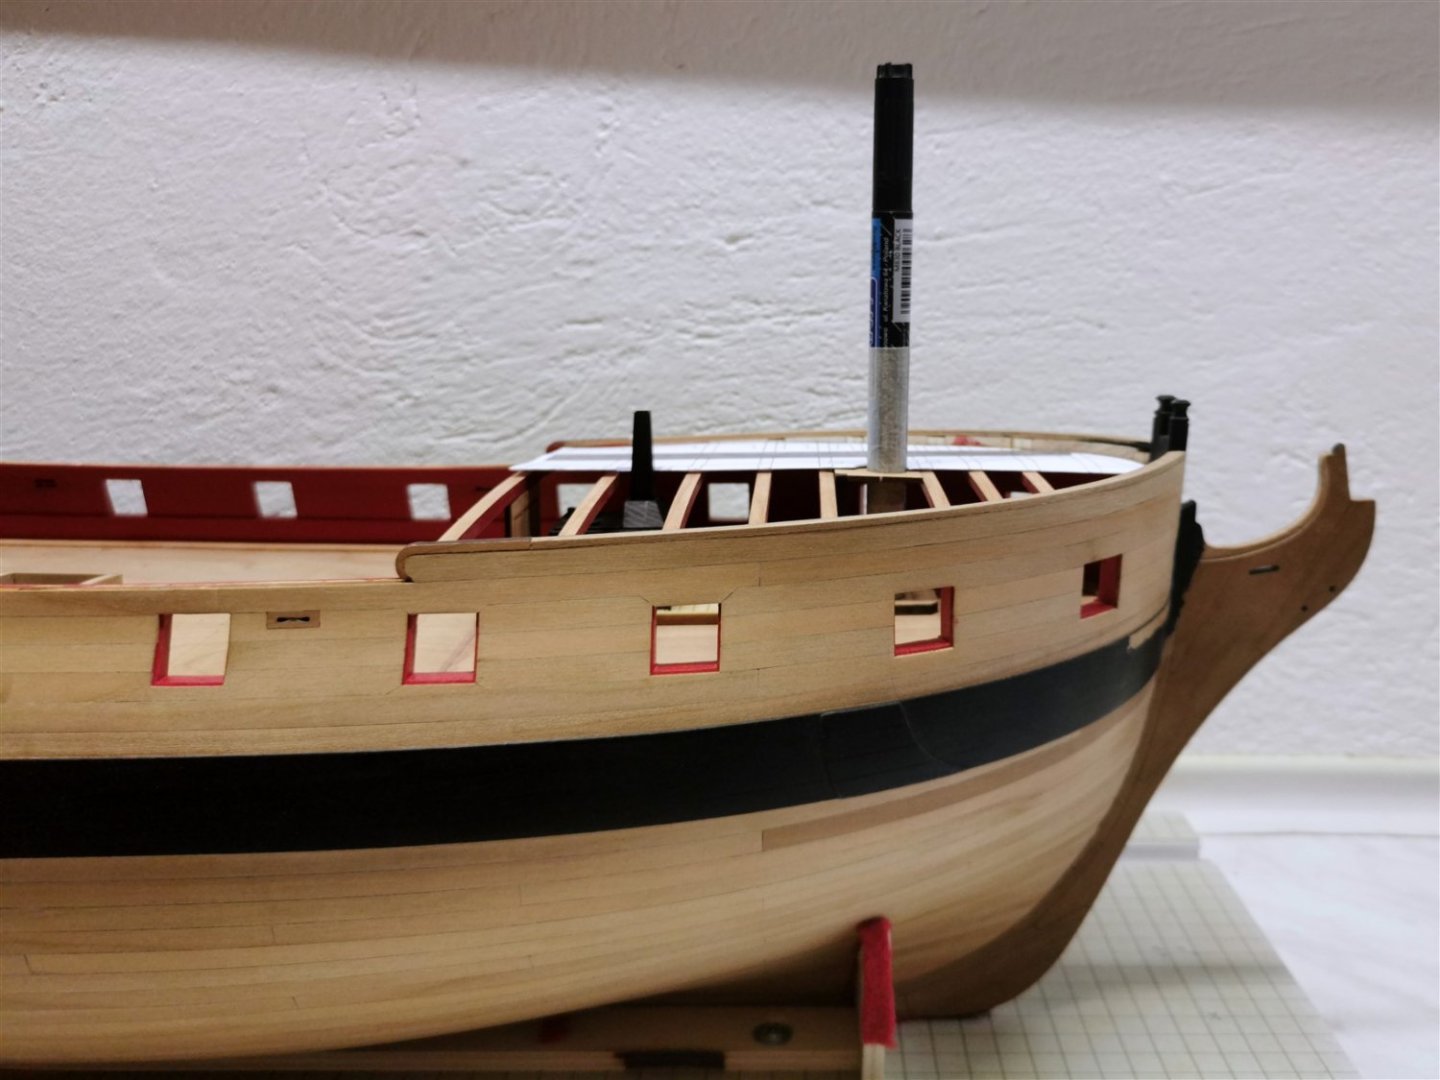


- Trussben, FrankWouts, scrubbyj427 and 9 others
-
12
-
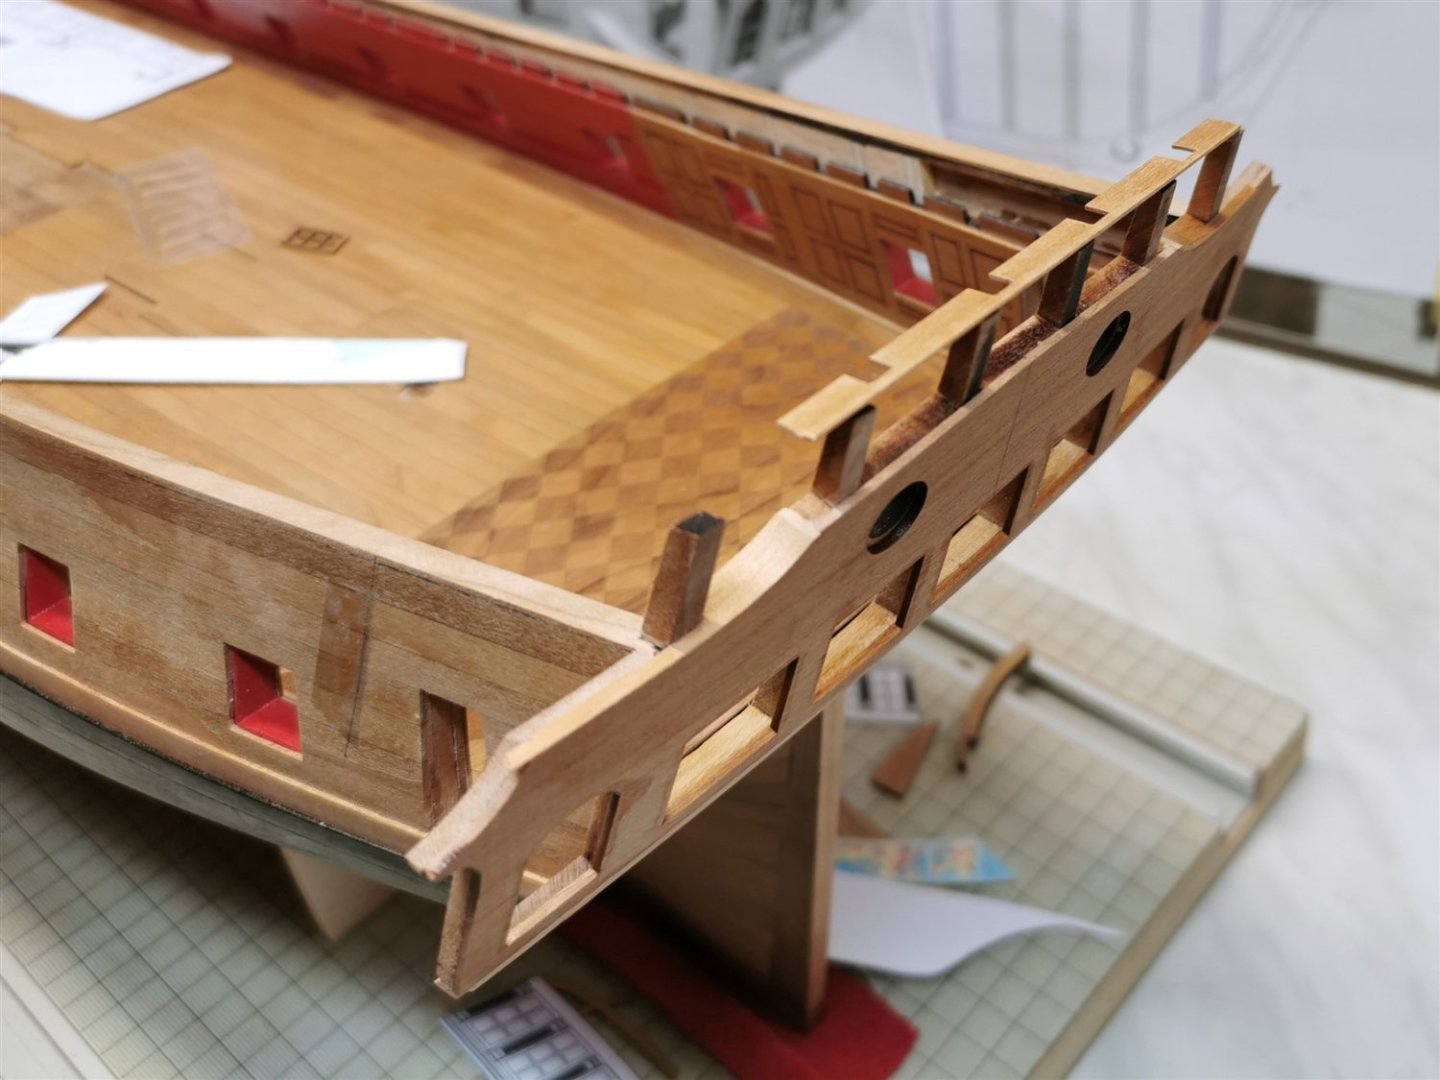
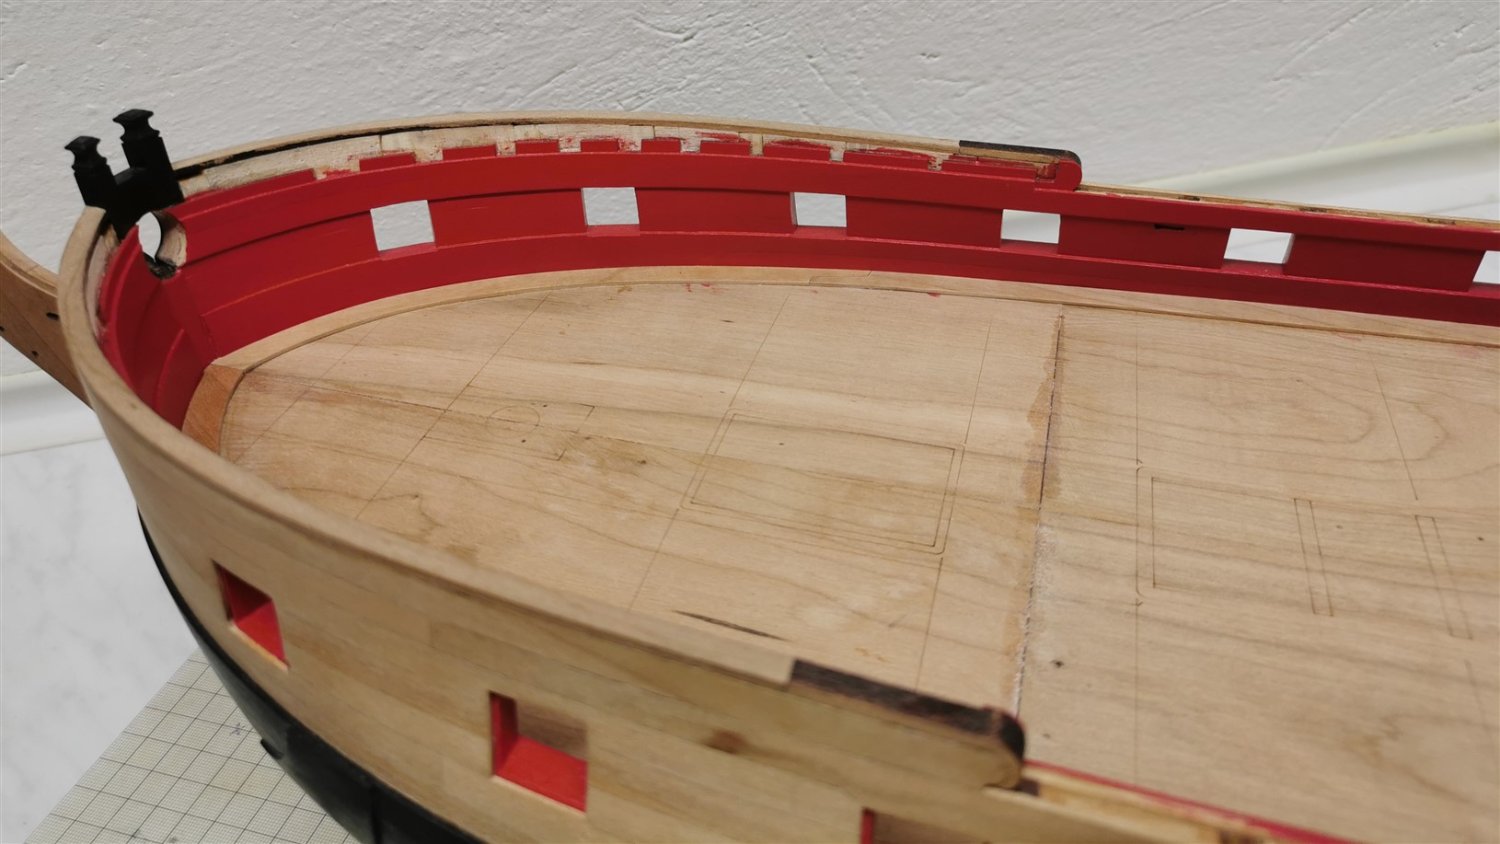
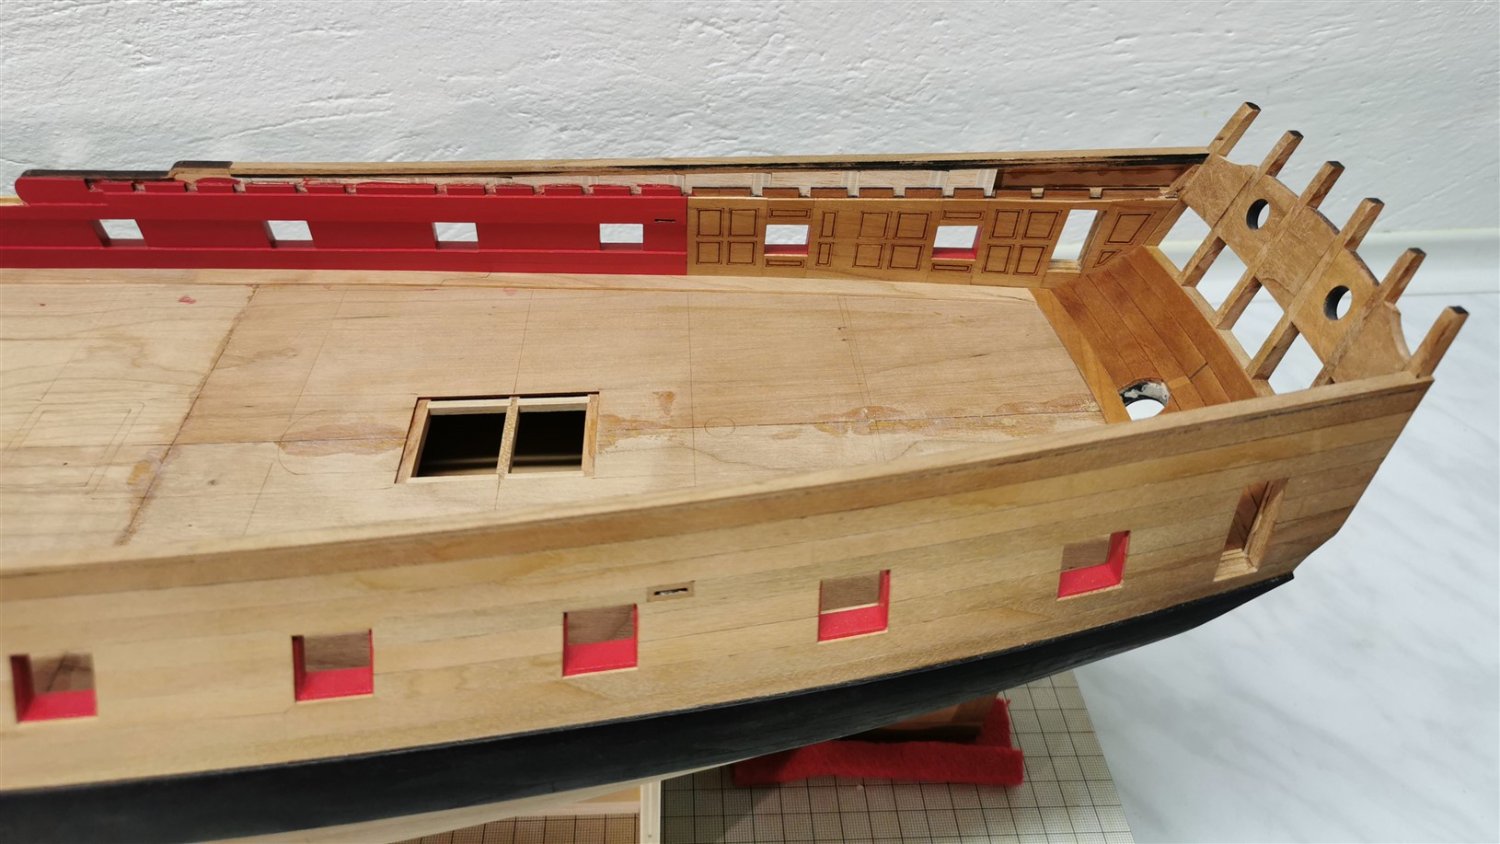
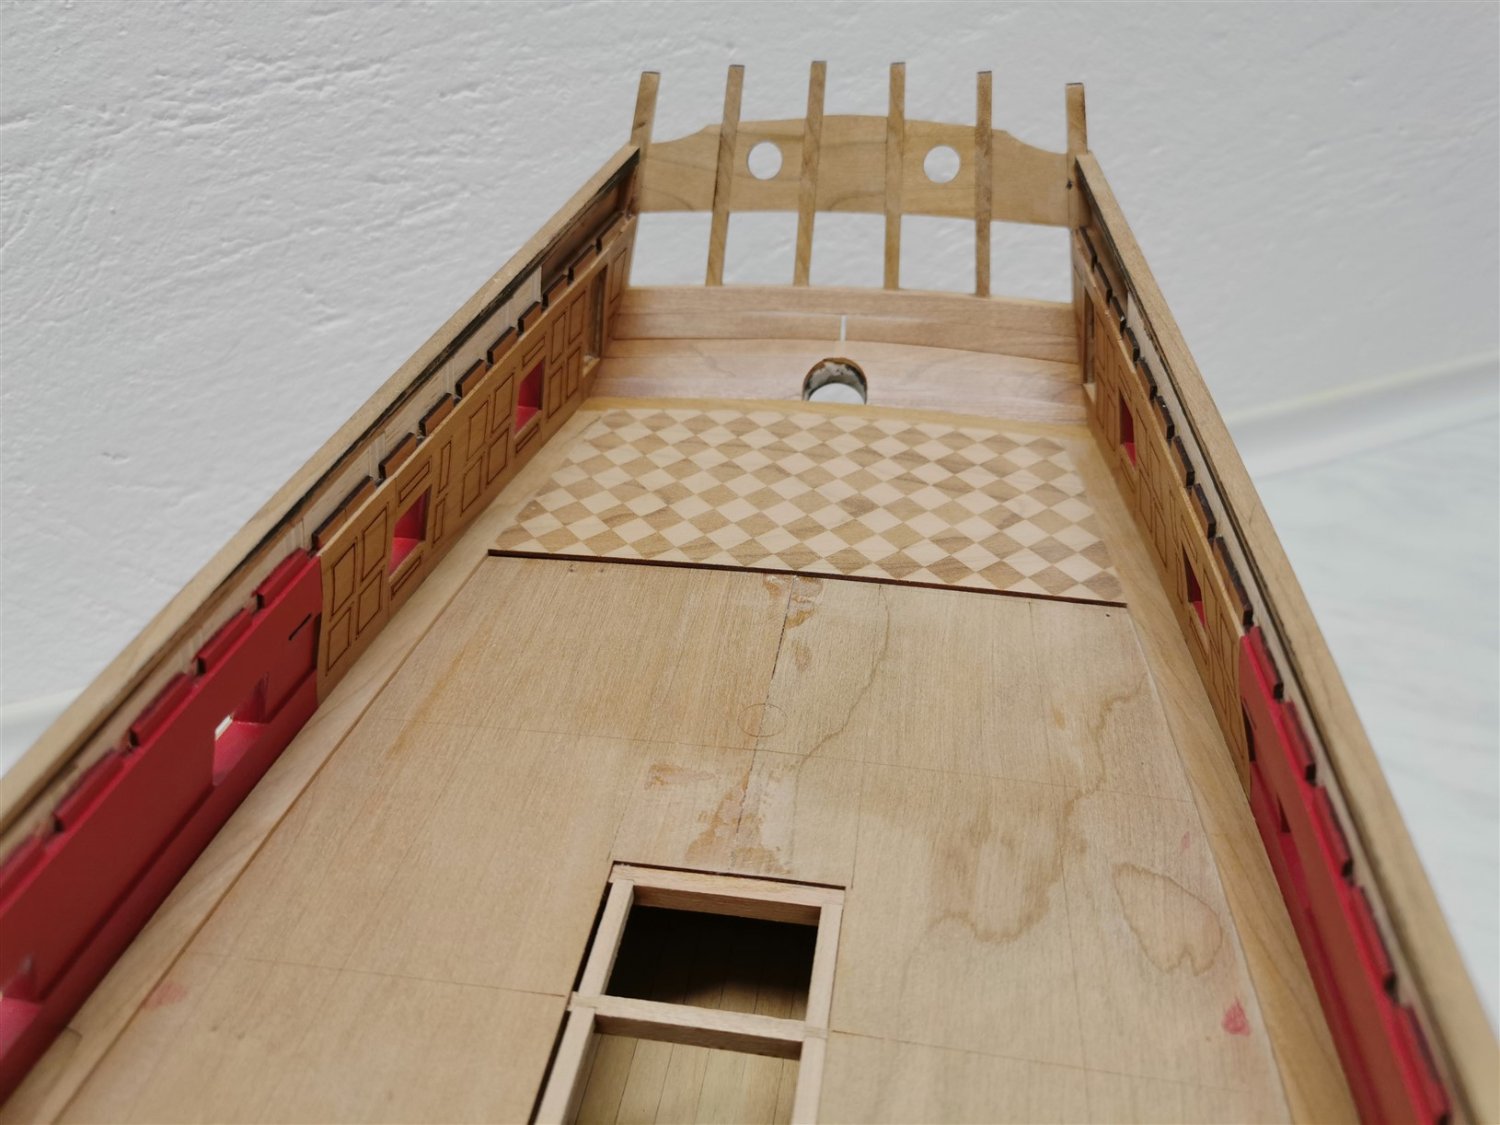
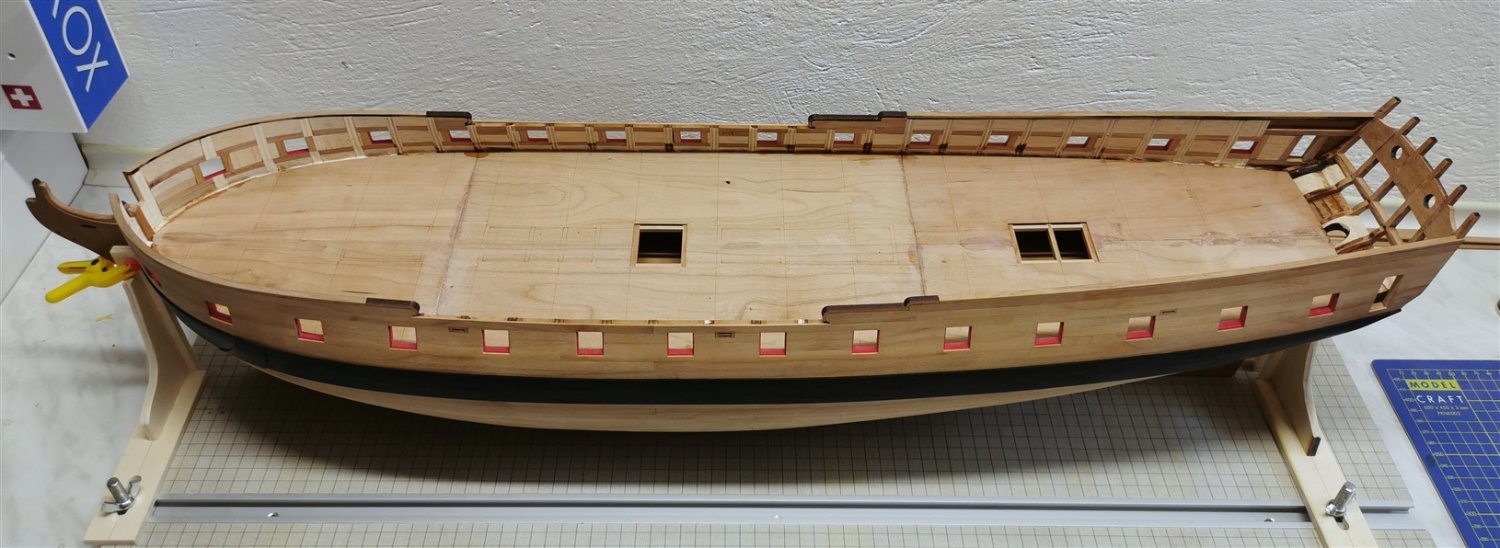
Thank you for the kind words and likes guys.
A few more words I accidentally deleted yesterday.
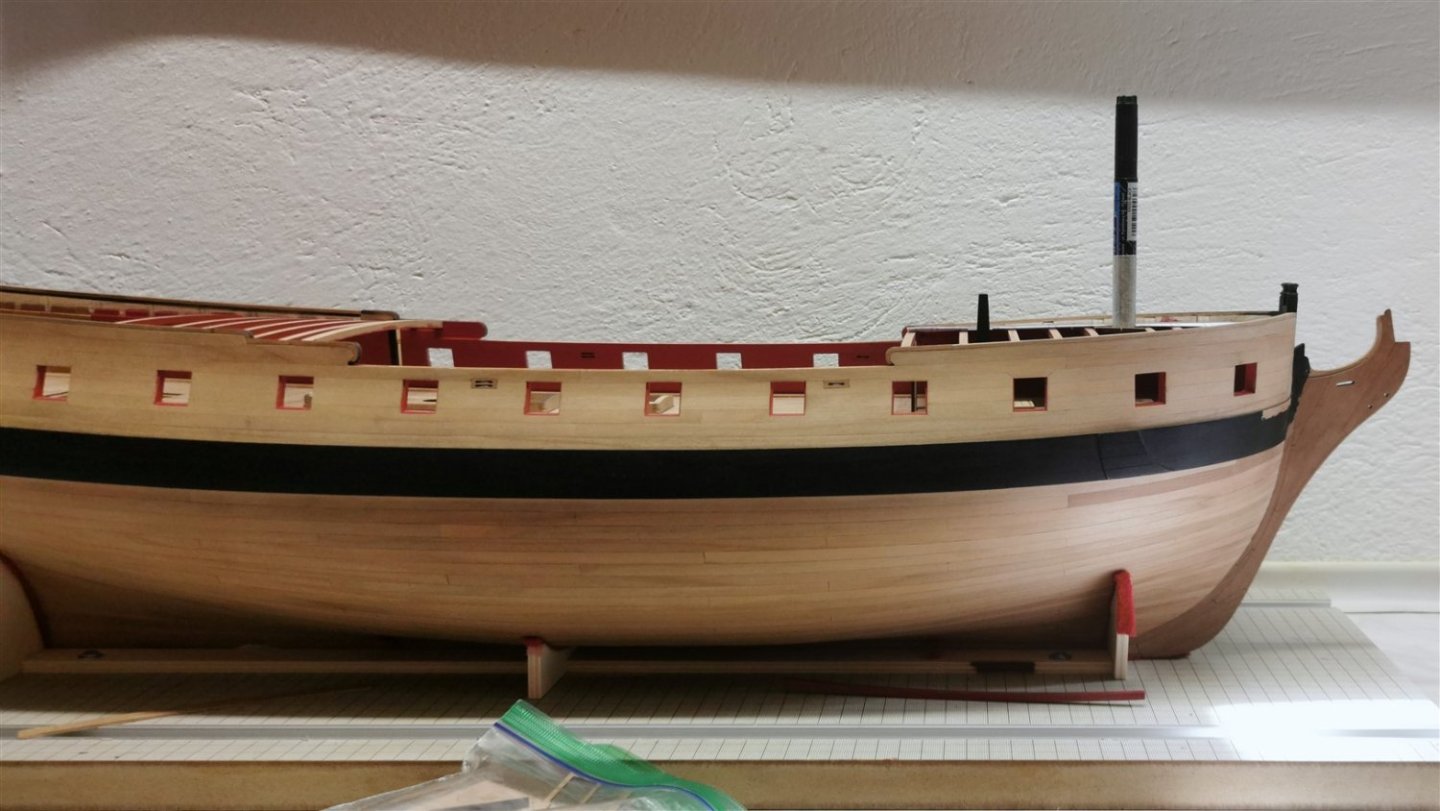
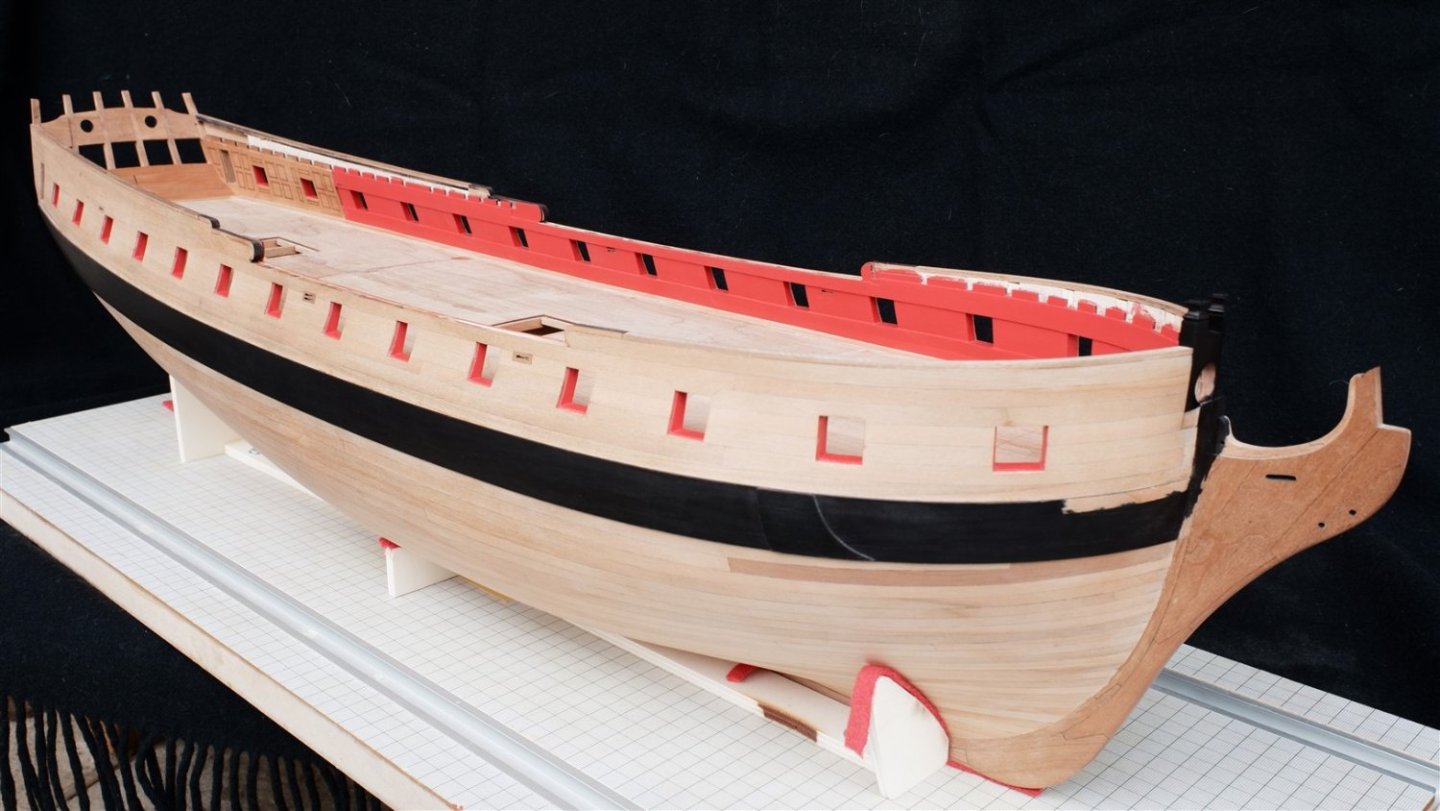
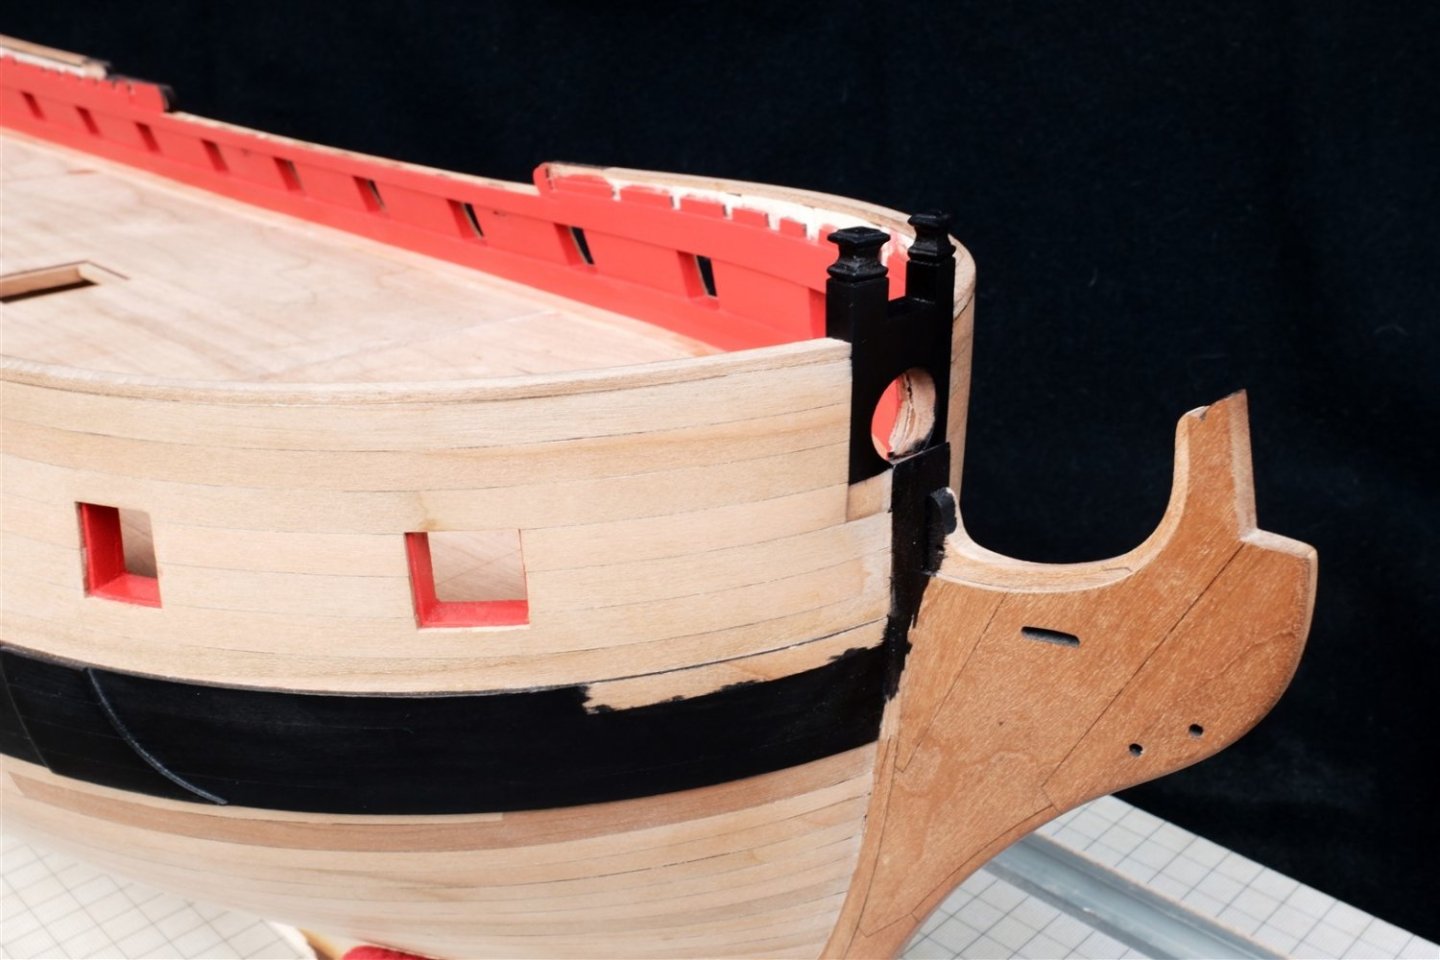
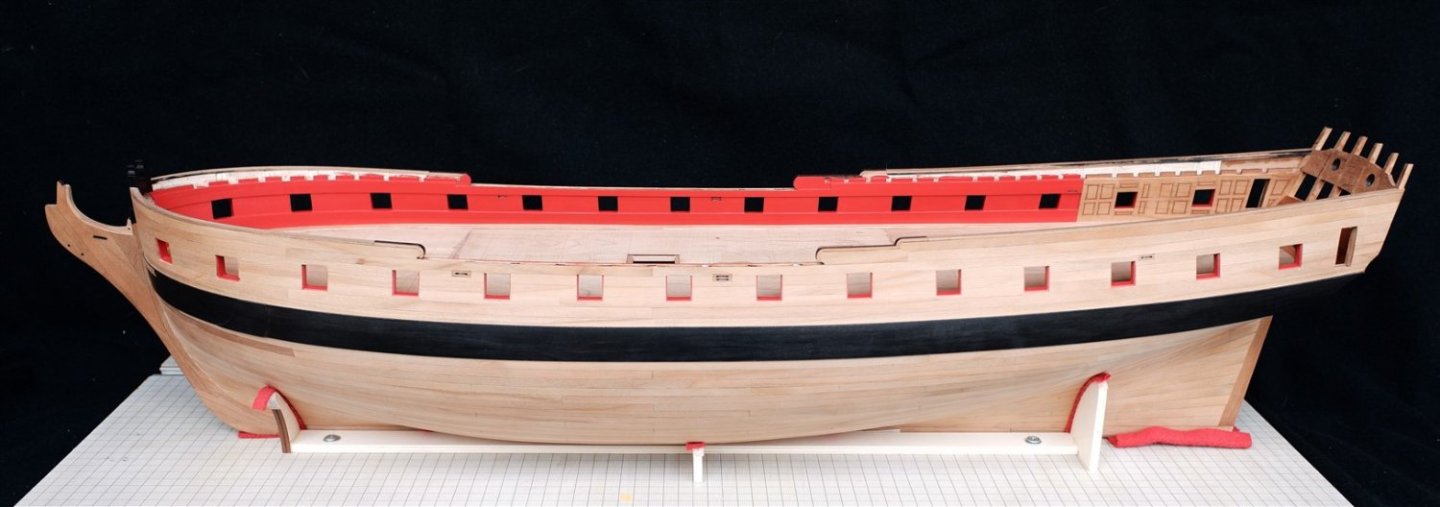
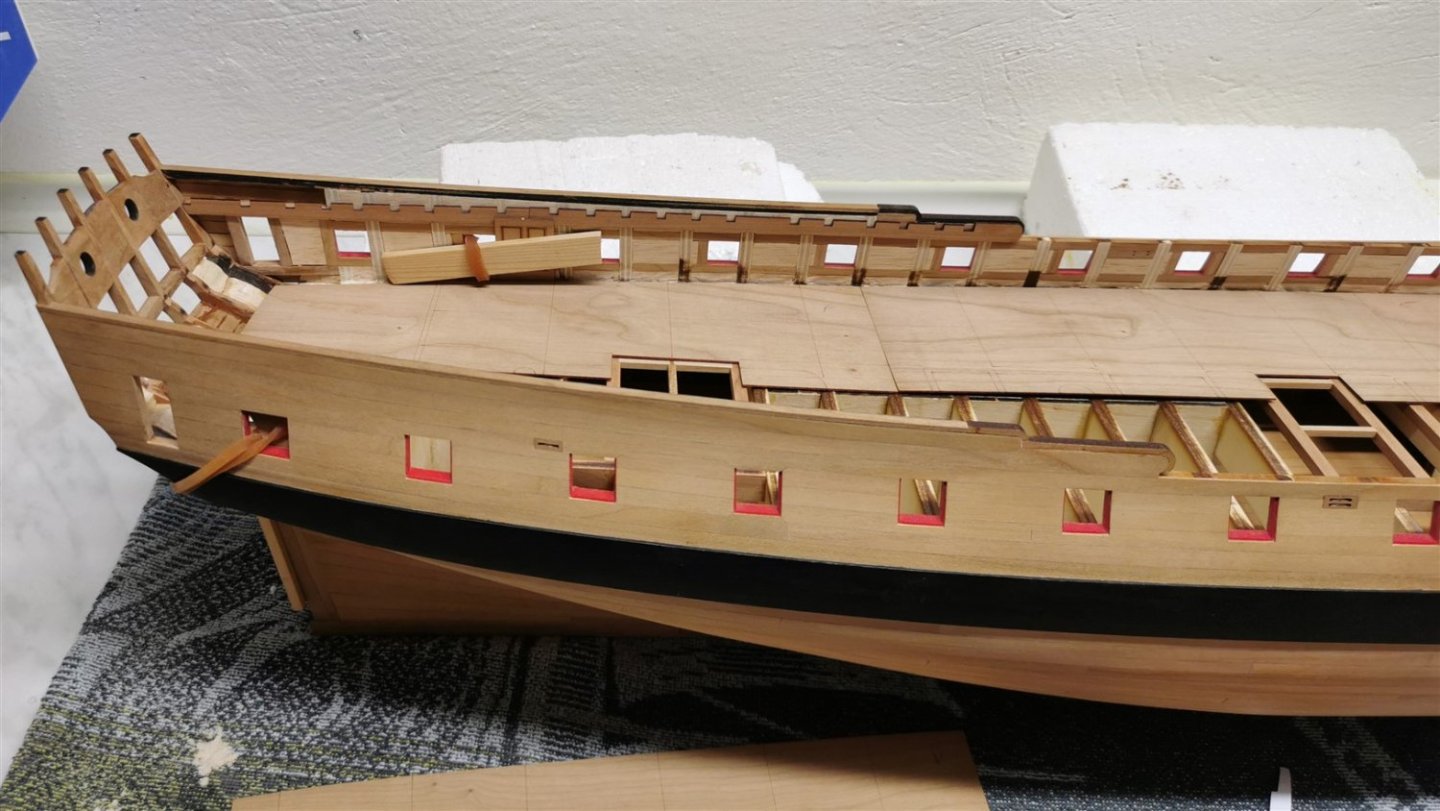
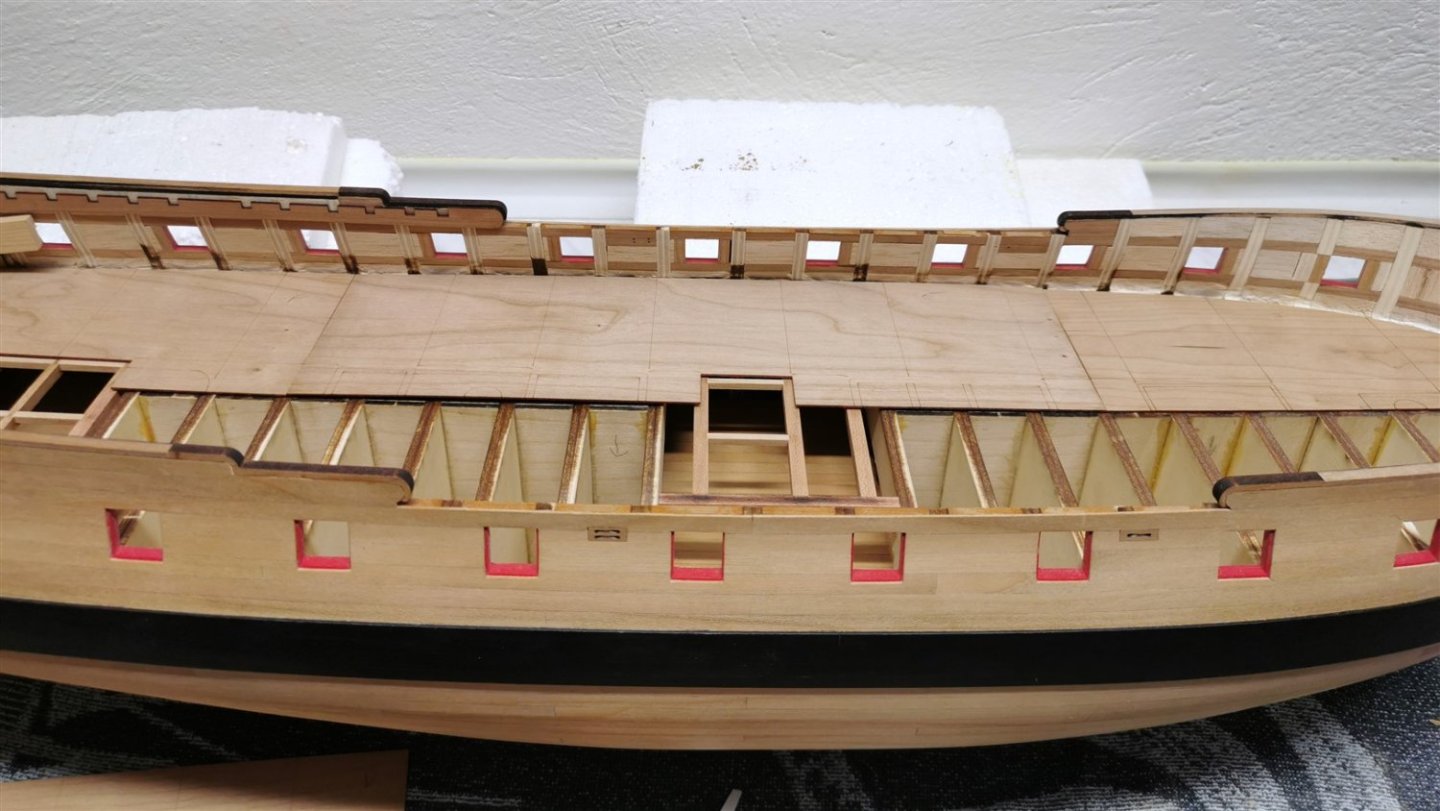
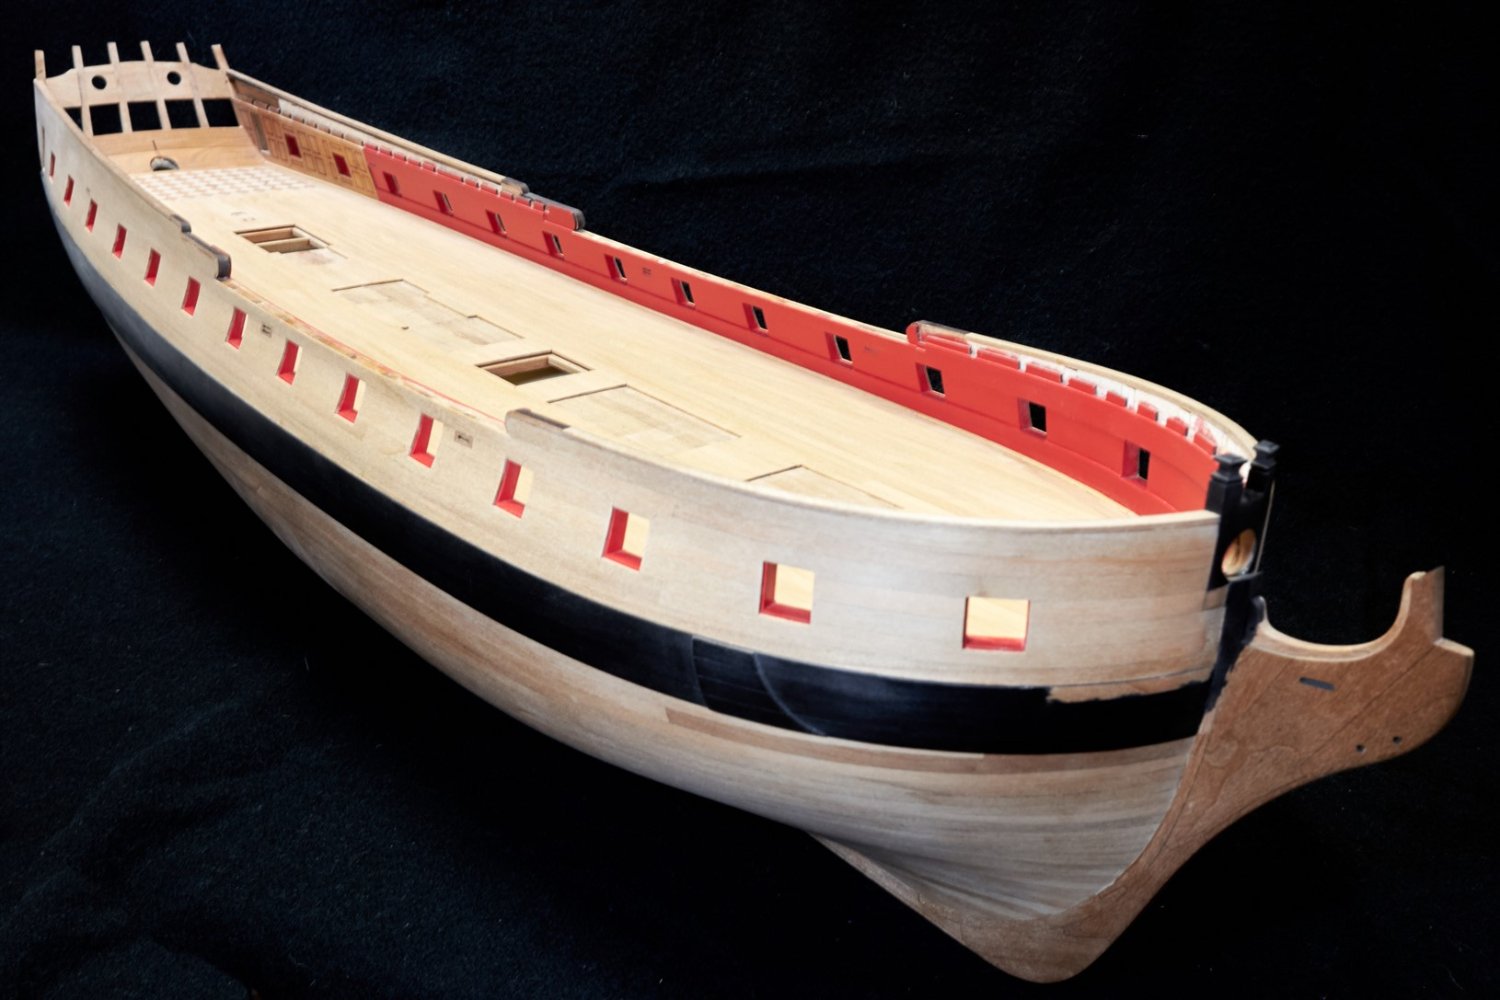
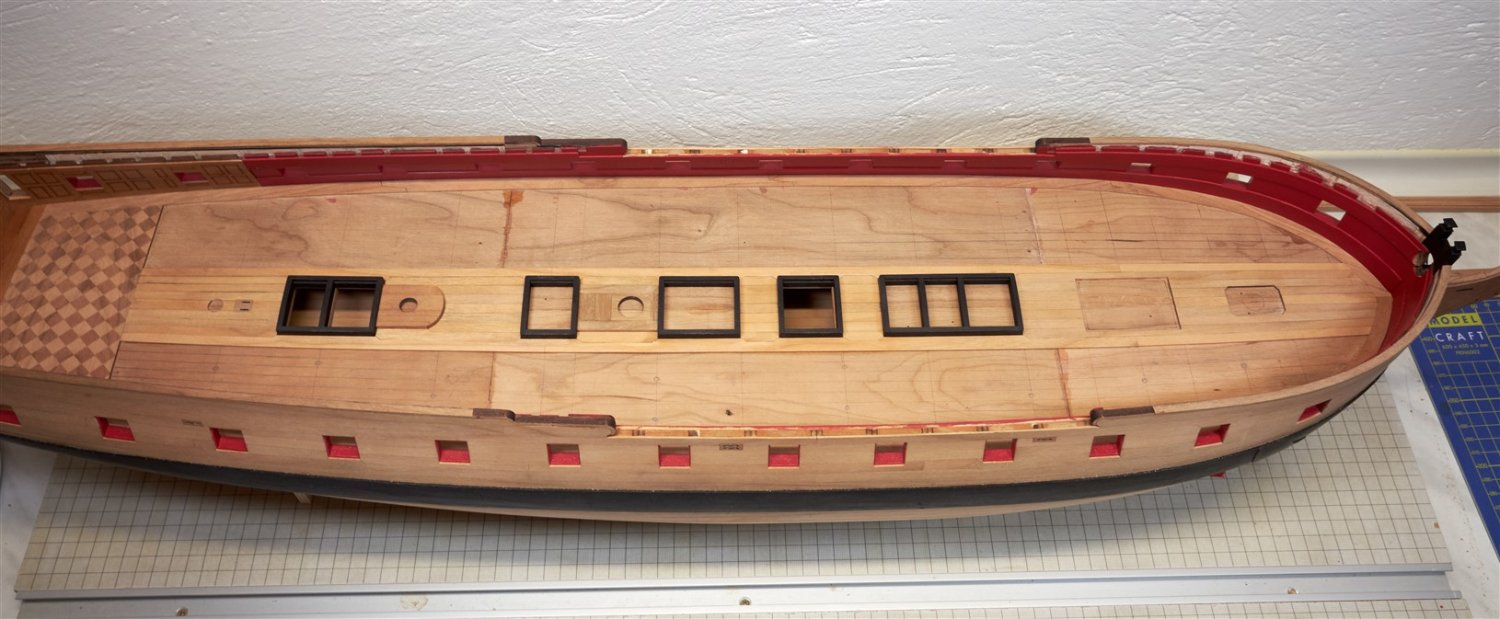
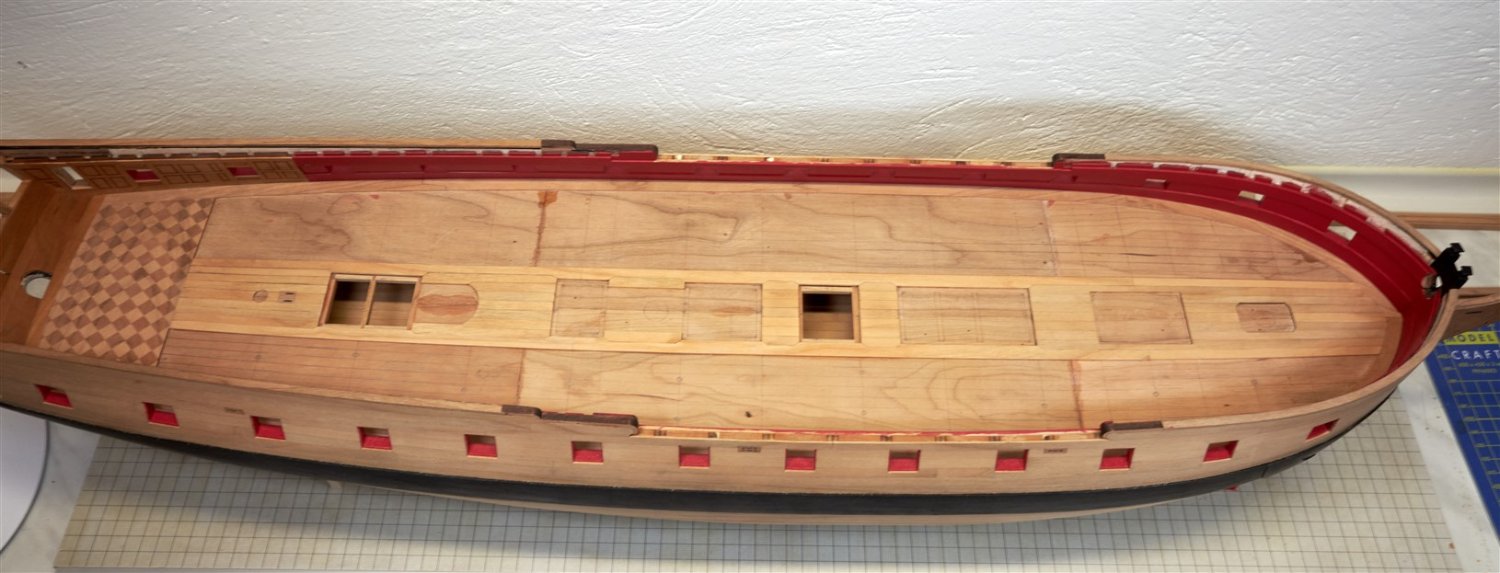
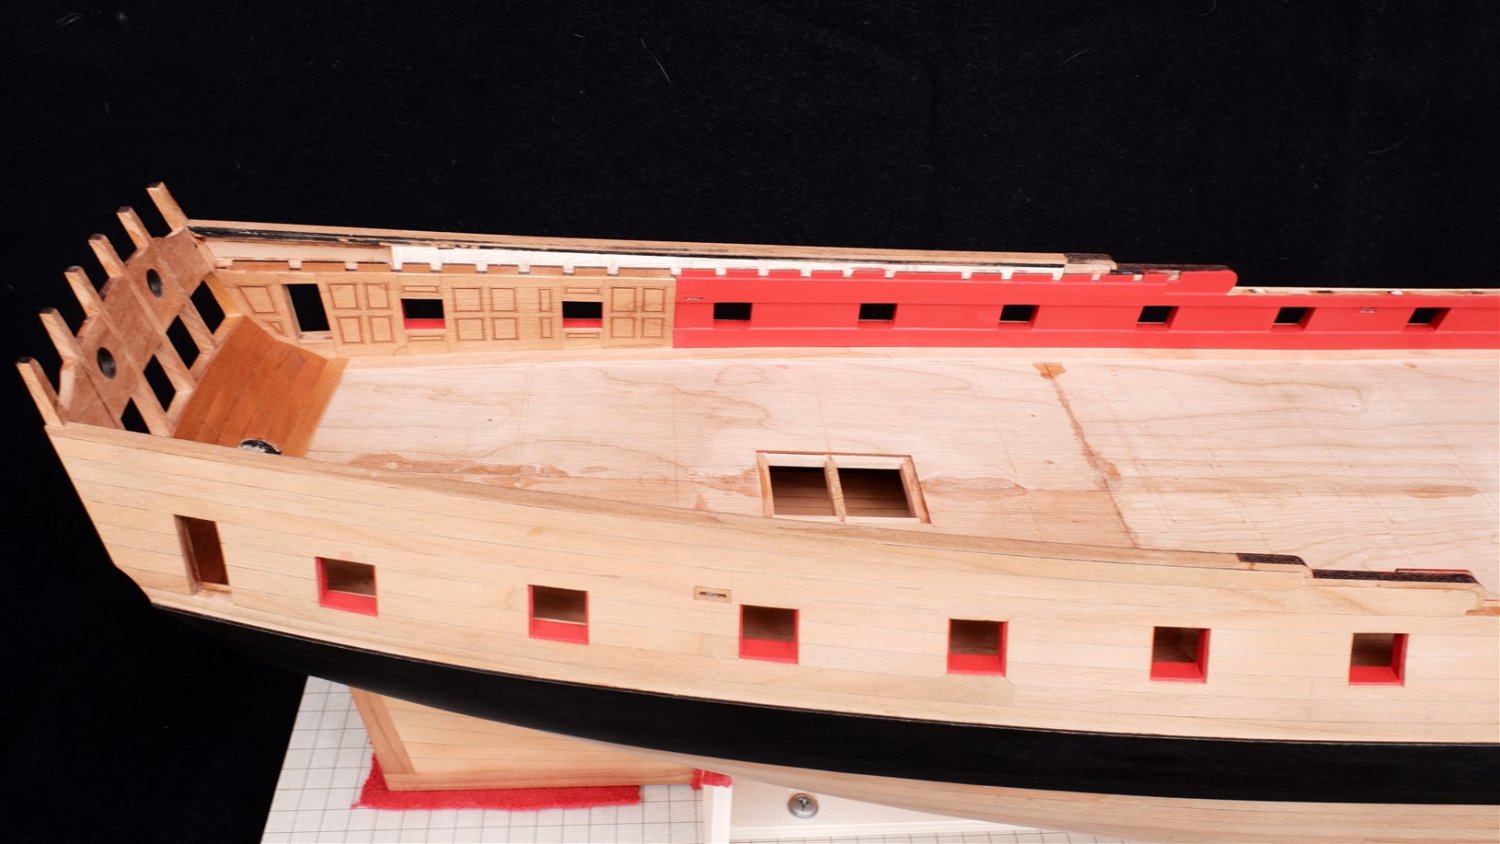
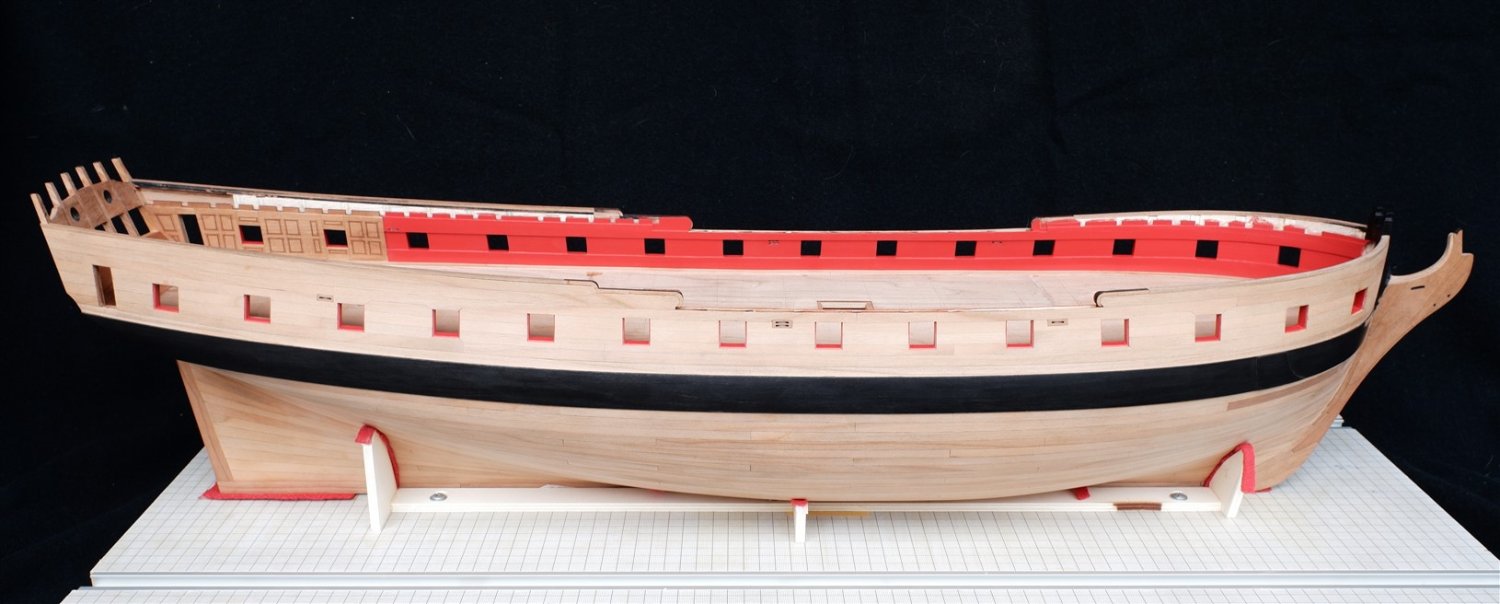
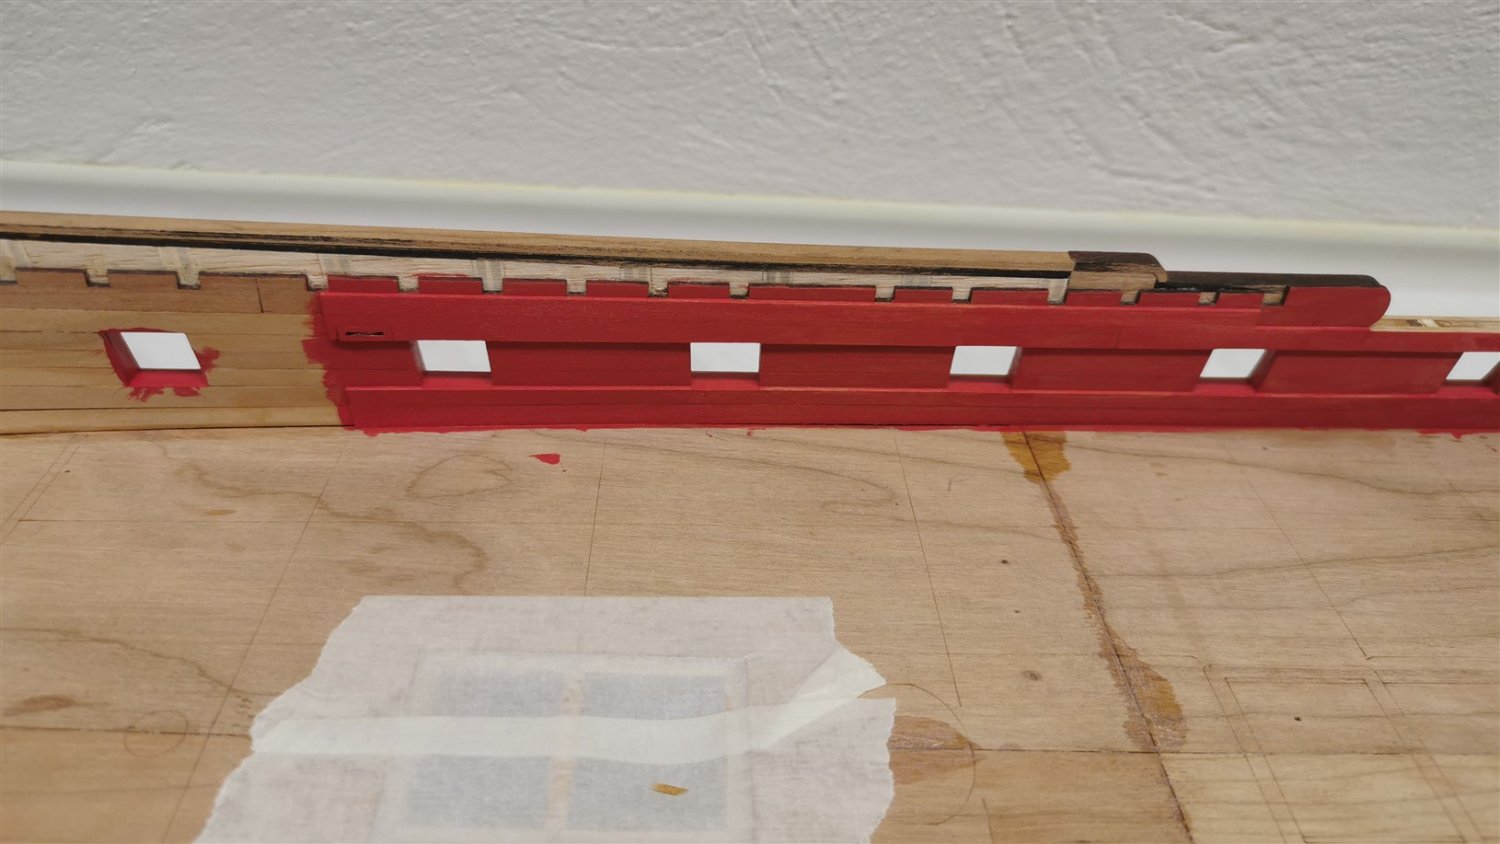
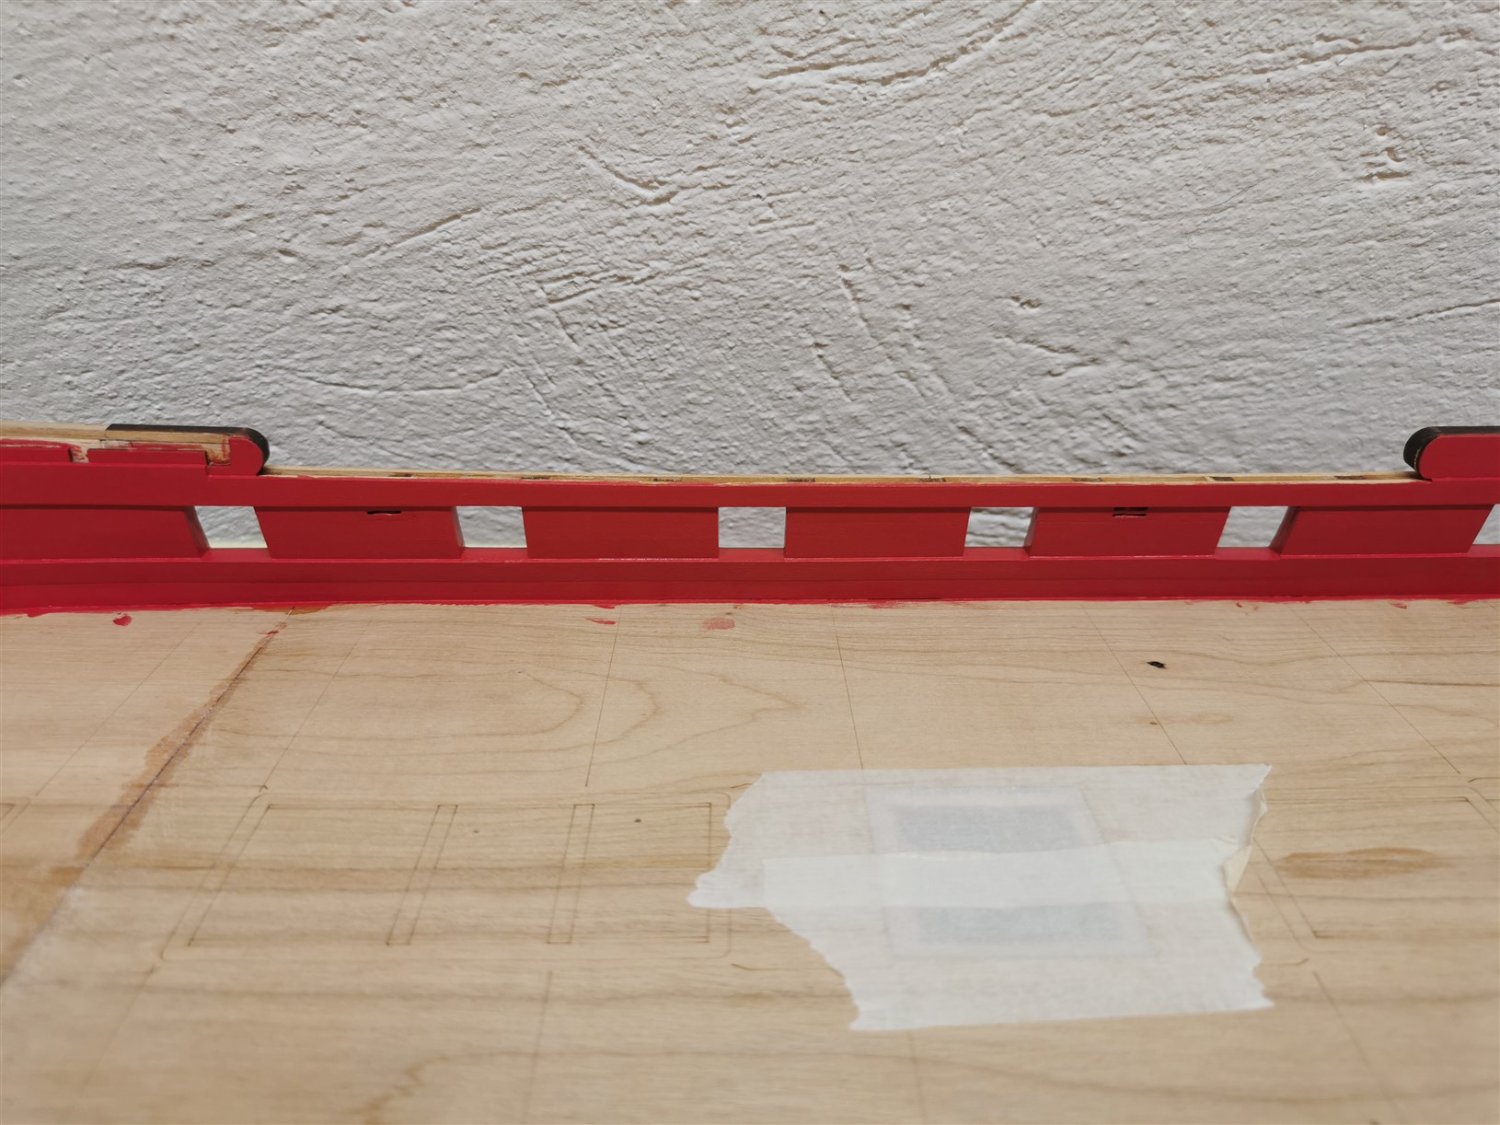
I finished completely bulwark planking
and after sanding, I started painting.
I think it was 8 layers. First 3 layers mixture of 1part Cadmium medium and 2 parts deep.
Color I mentioned on the previous page in posts 31 and 38.
But it seemed too sweet to me,
so I stopped inventing and the rest of the layers is just Cadmium Deep.
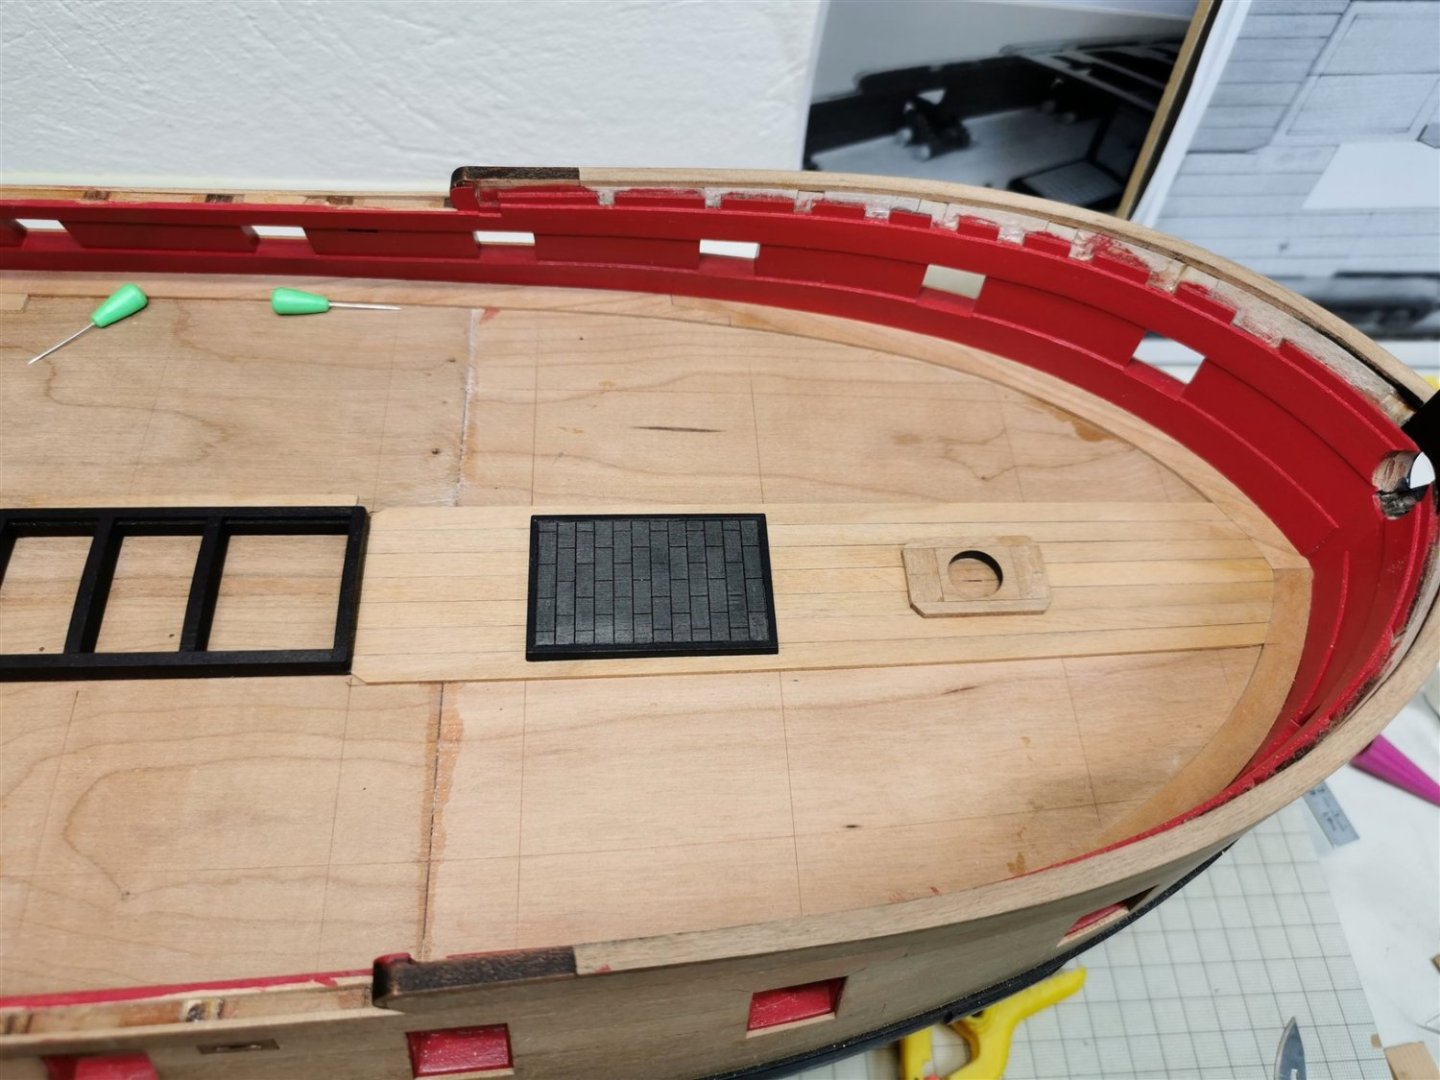
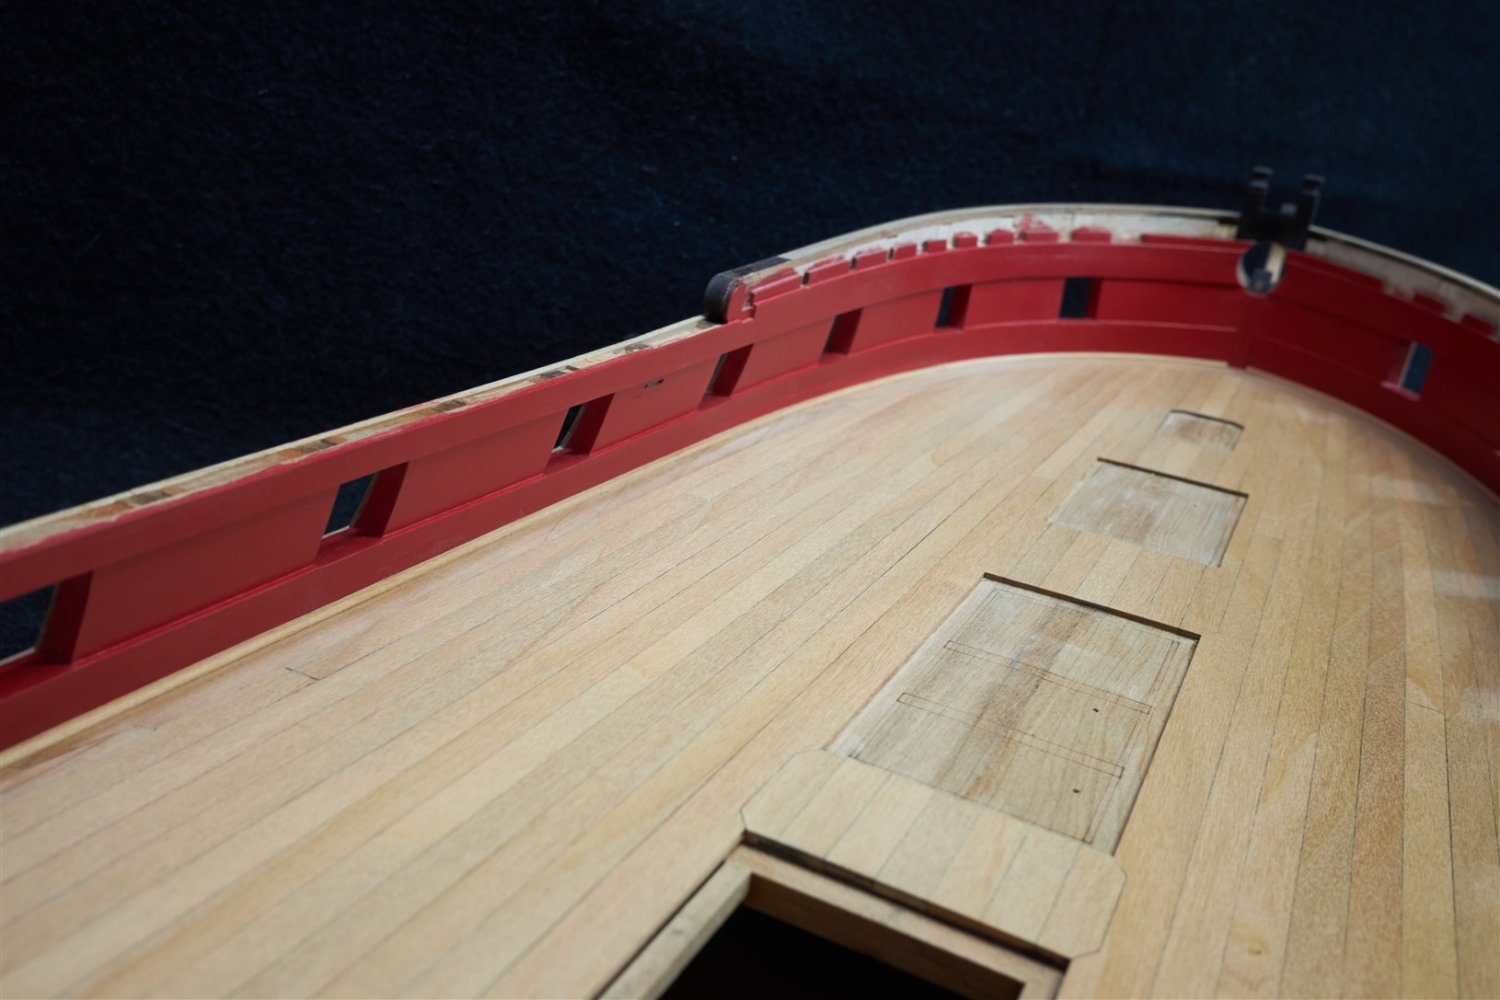
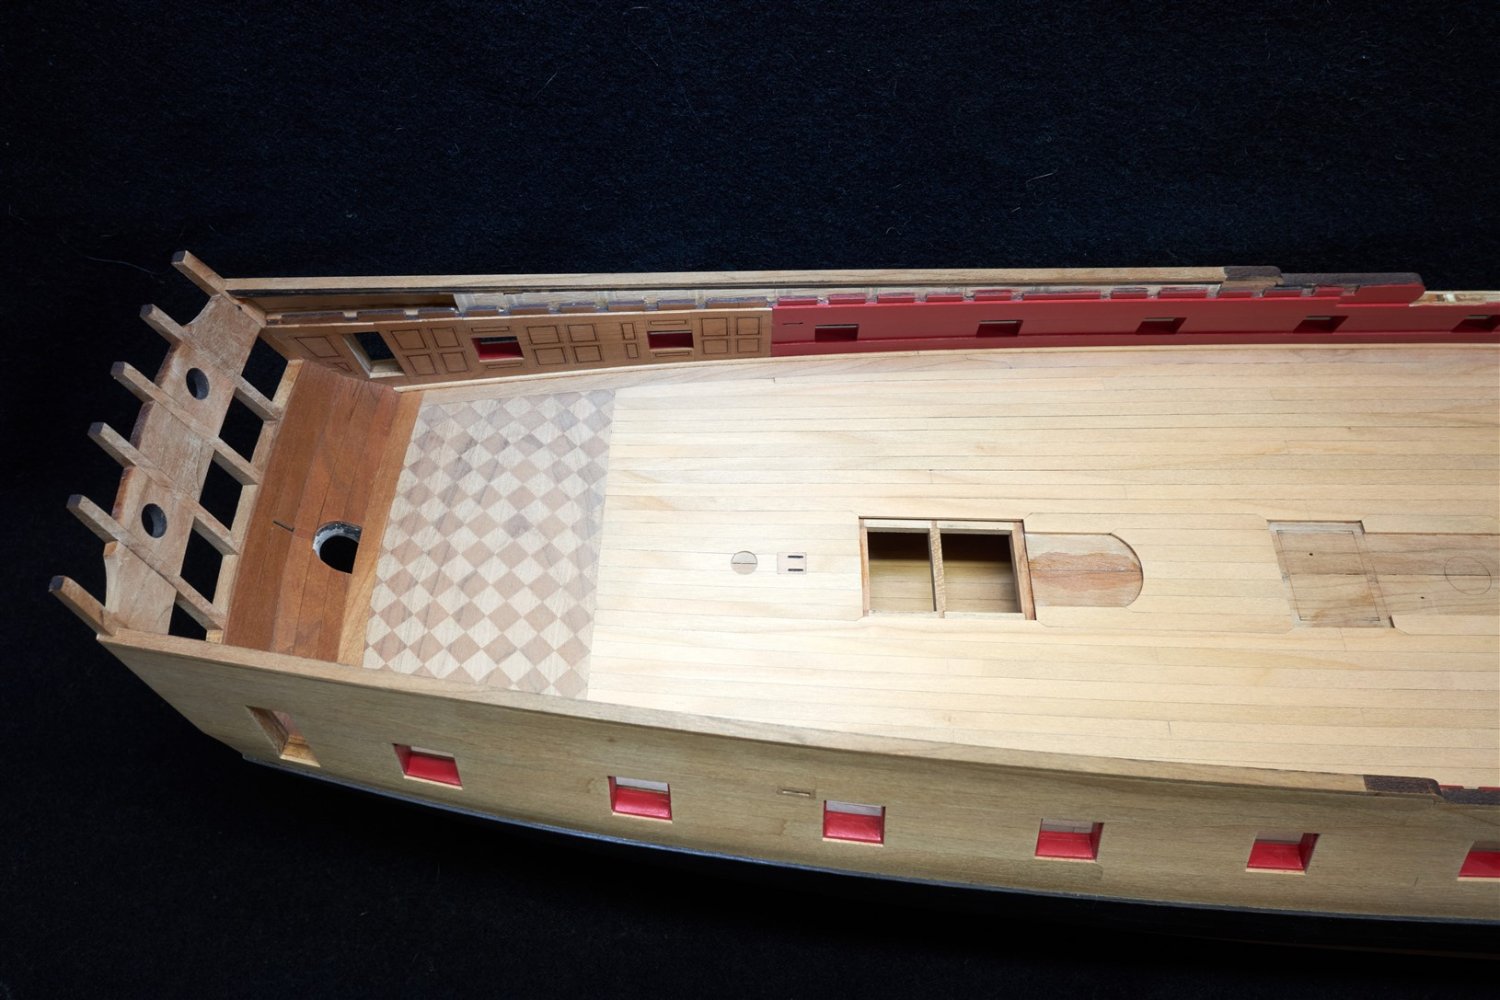
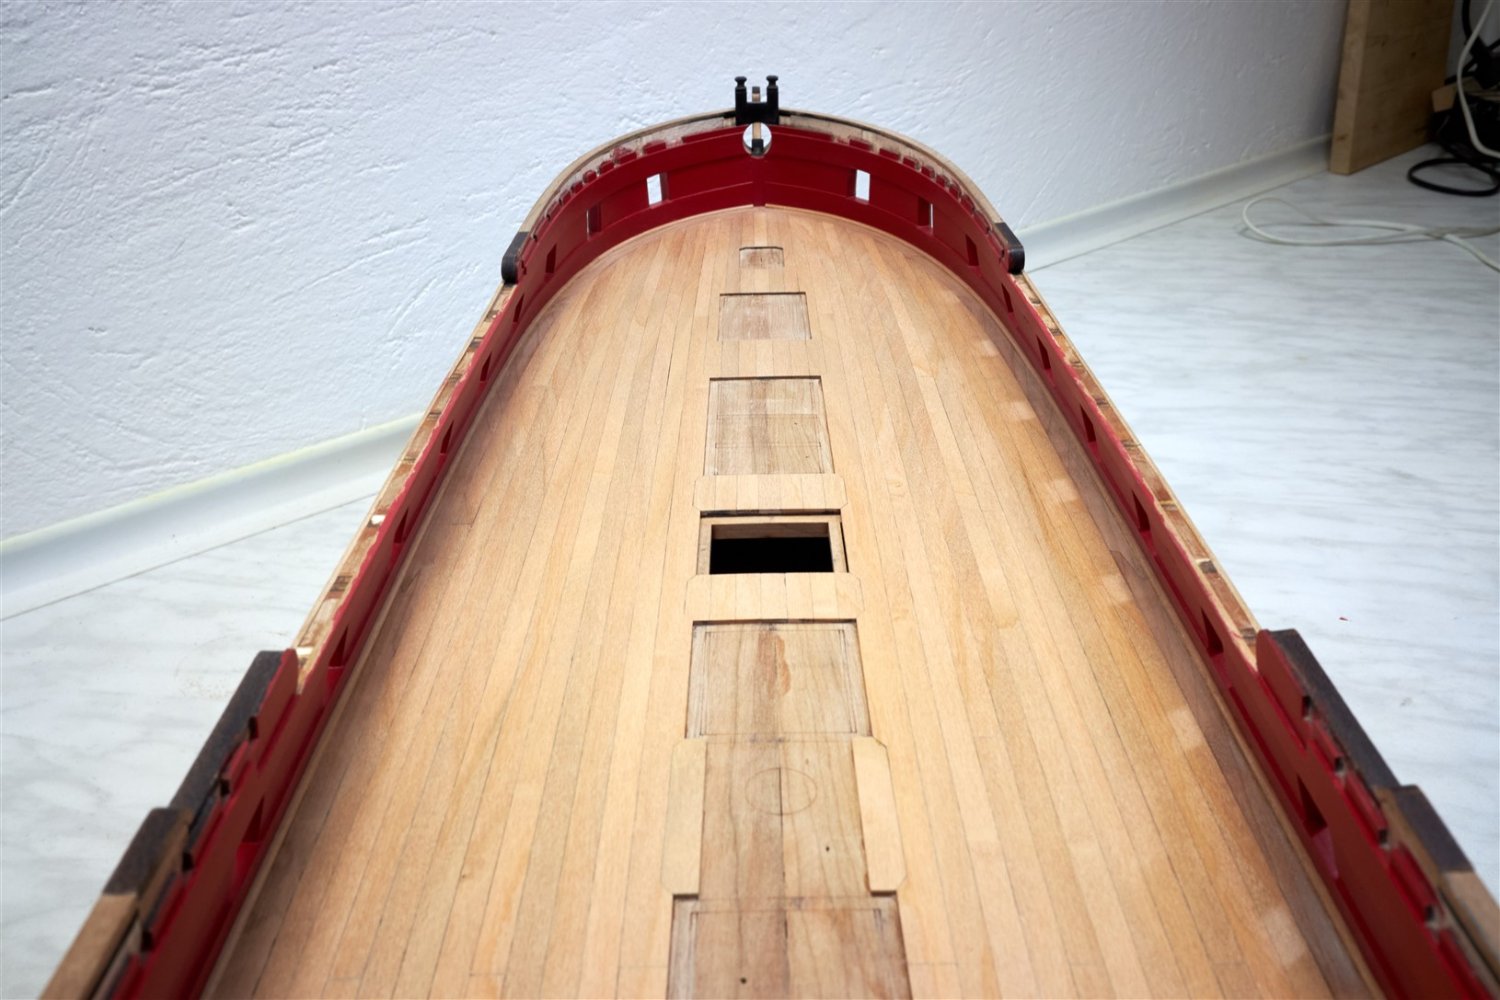
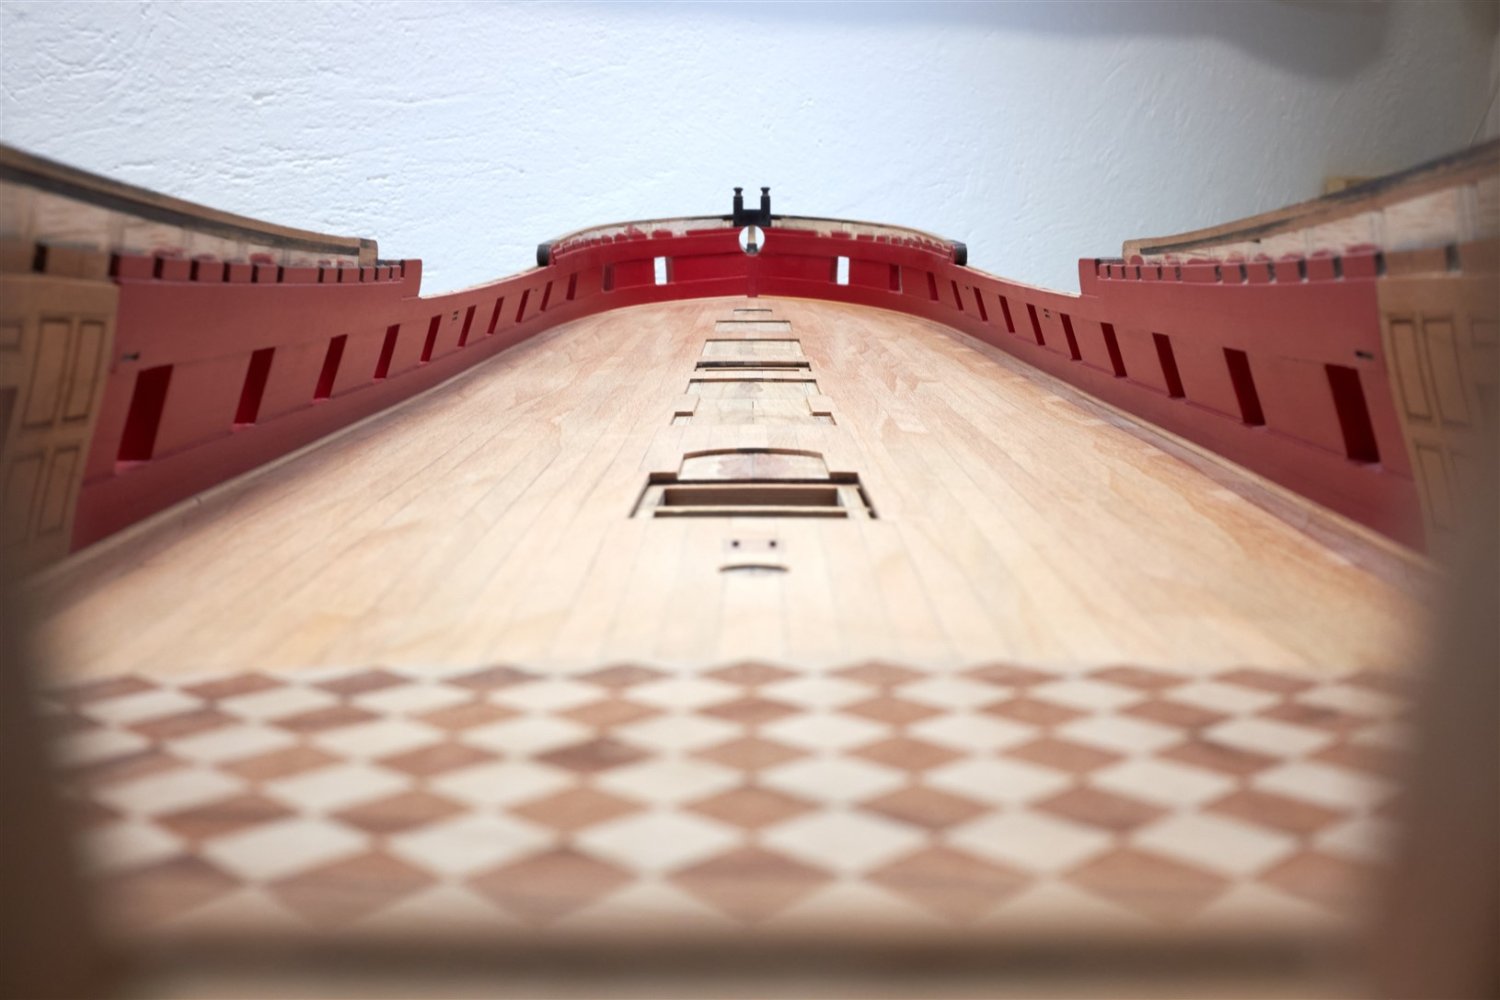
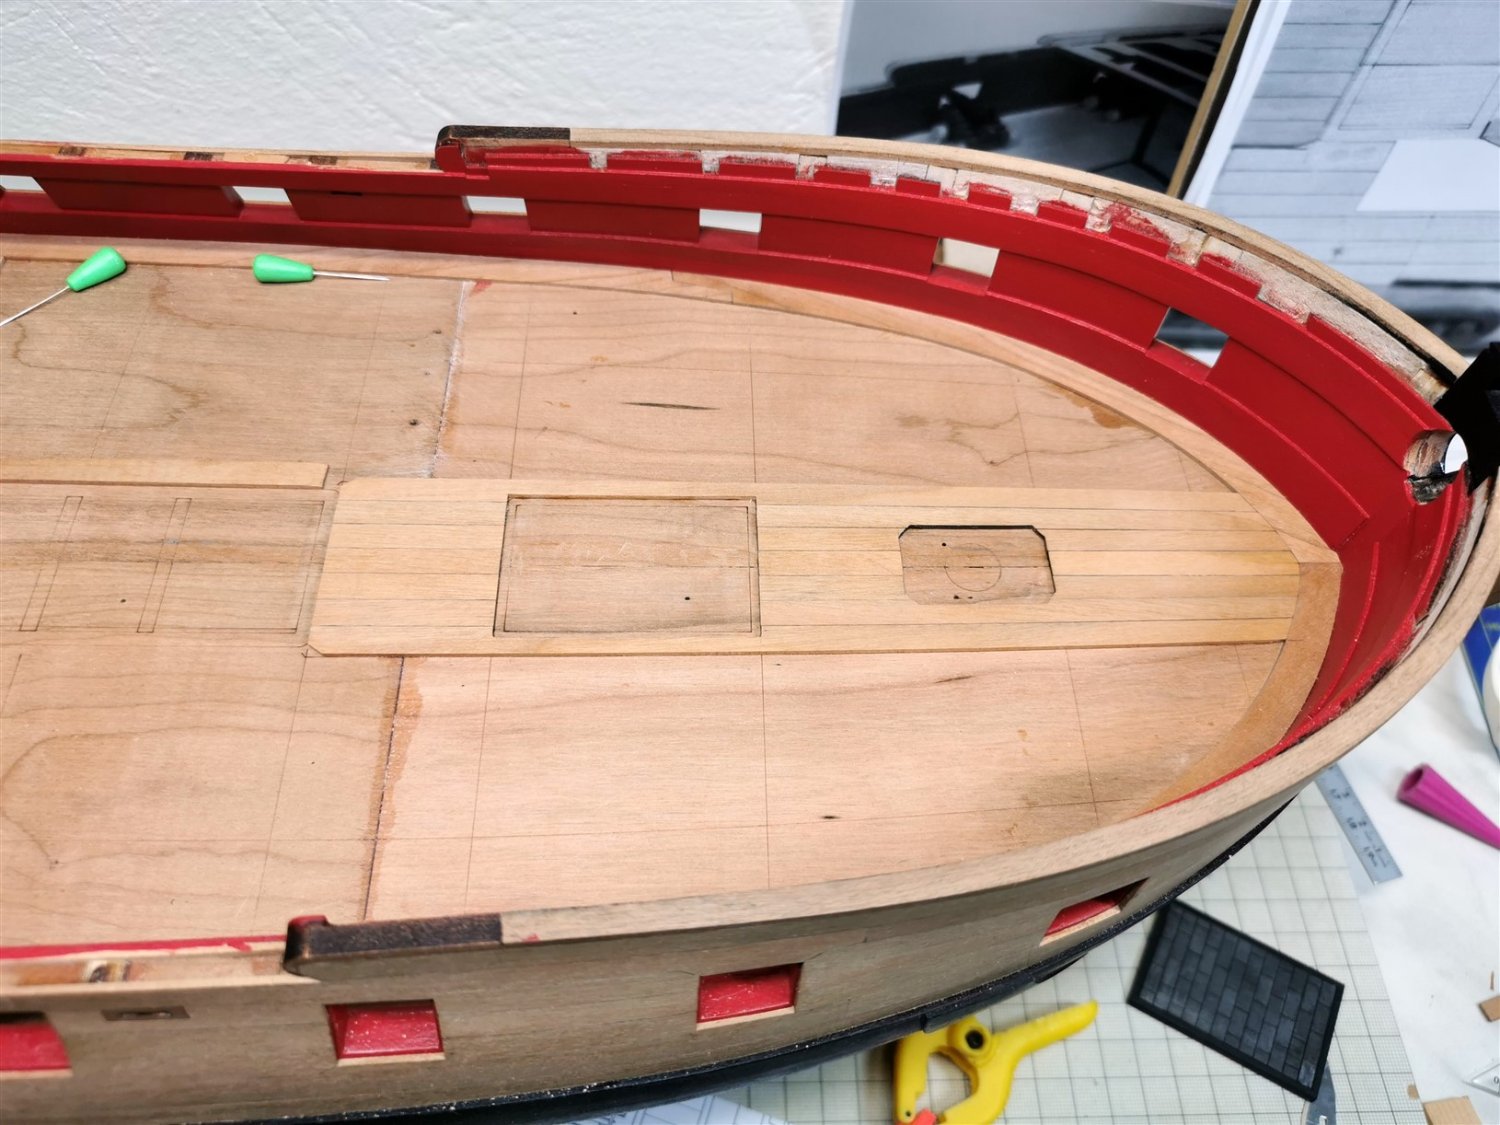
The photos don't capture it well, I think I need to do something about my lights.After painting I finished The Paneled Captain's Cabin, Inboard counter at the stern and finally margin planks.
Checkered cabin floor is ready but not yet glued.
- Saburo and FrankWouts
-
2
-
Very nice and clean work Rusty.
And I also really like the colour,nice matched wood and red.
I like to follow your build.
- FrankWouts and Rustyj
-
2
-
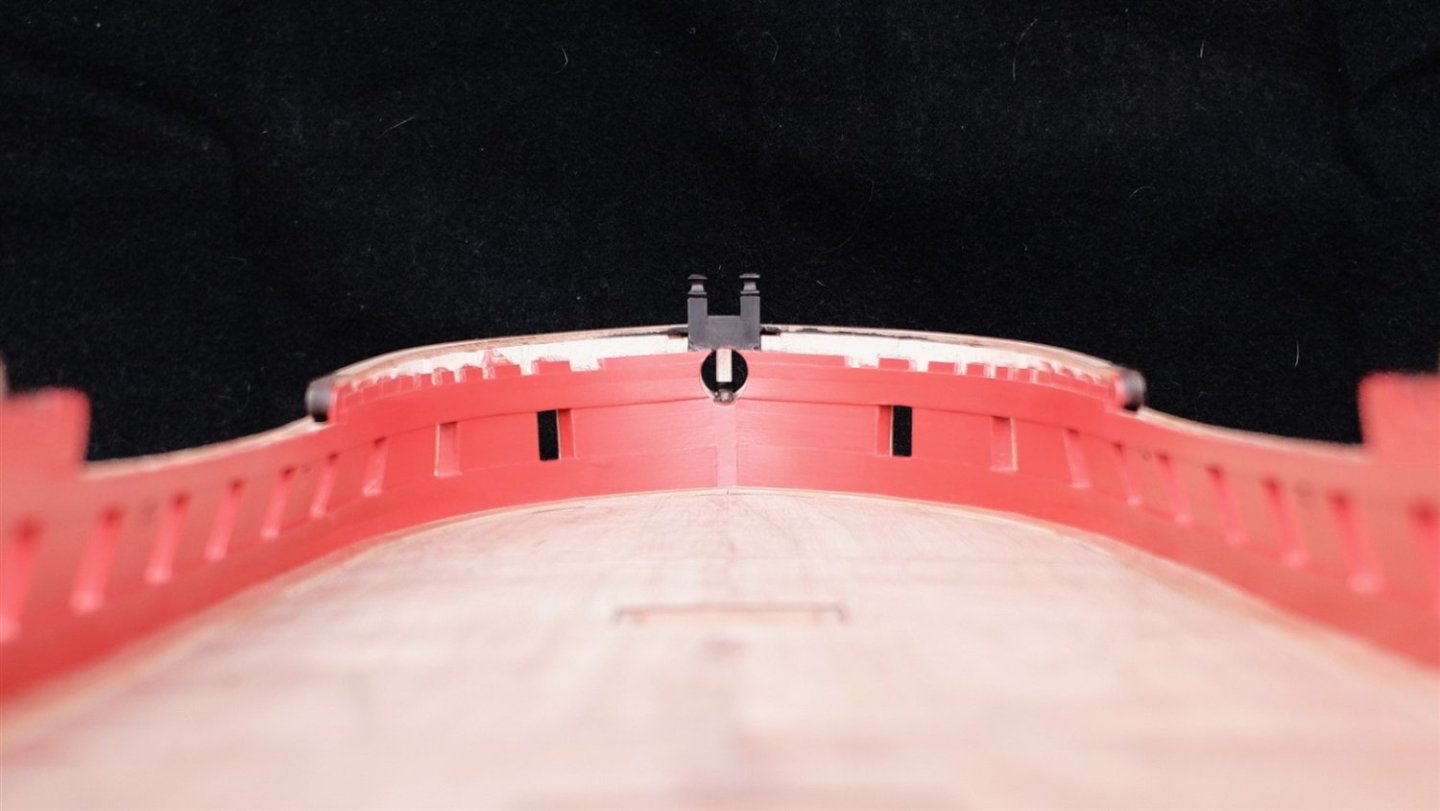
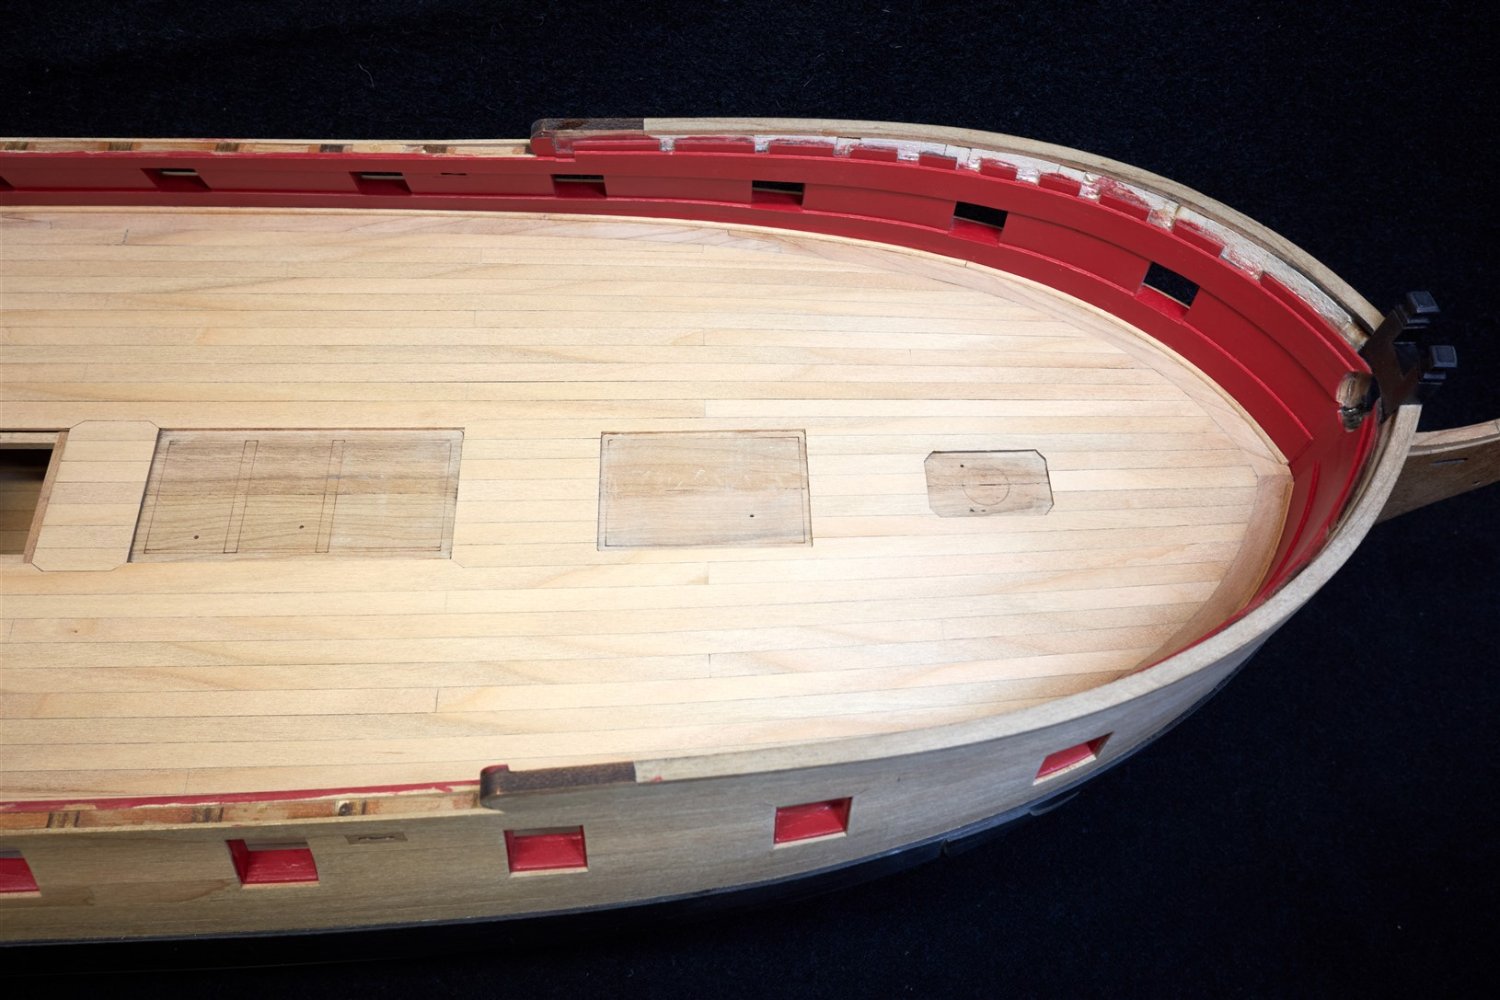
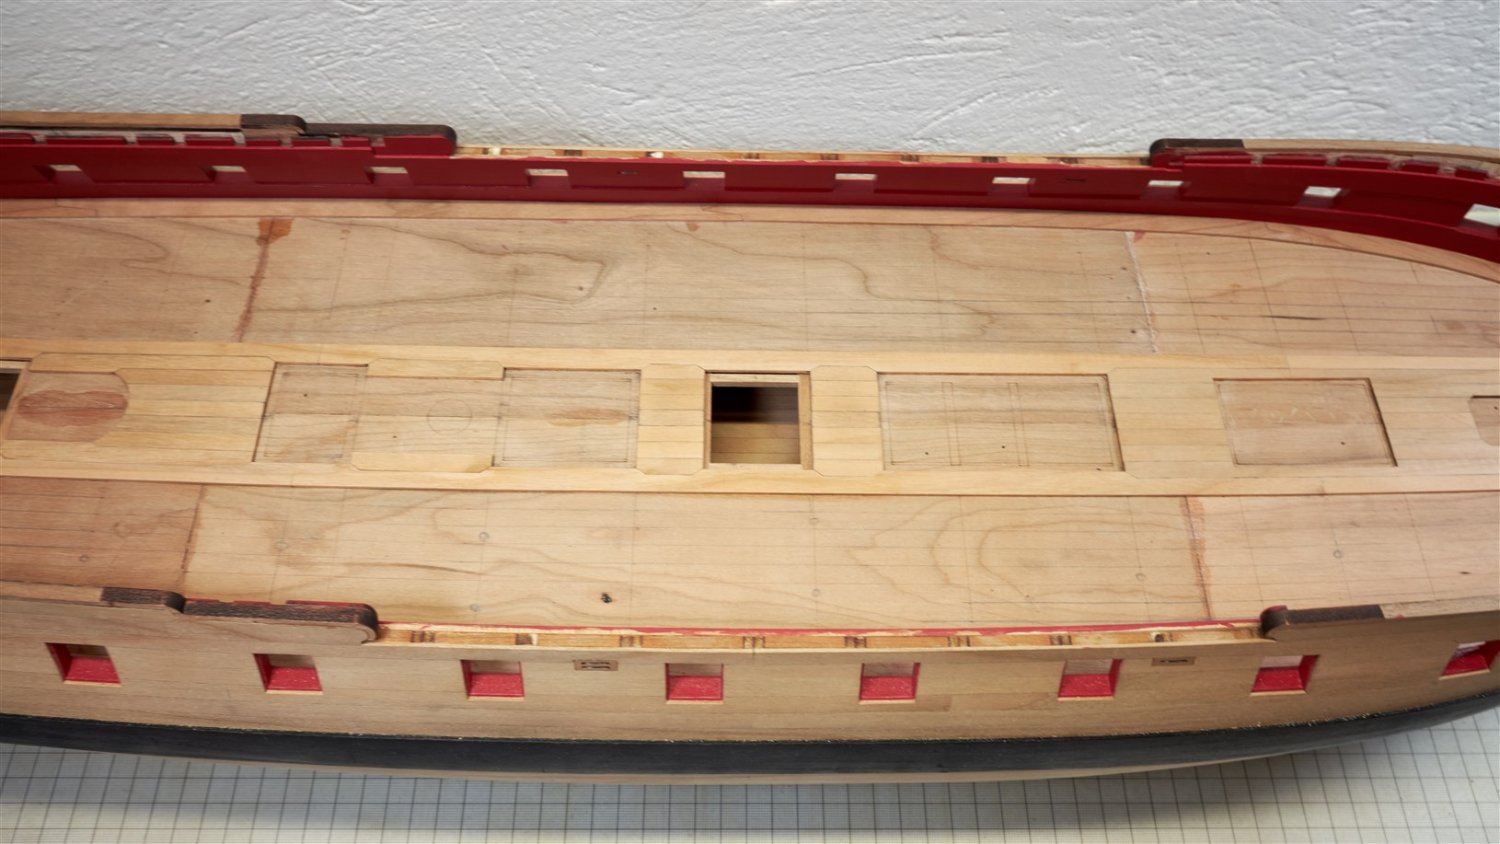
One more series of images...


- FrankWouts, Nunnehi (Don), scrubbyj427 and 8 others
-
9
-
 2
2
-
-
Perfect preparation for planking Gary.
I look forward to the continuation. -
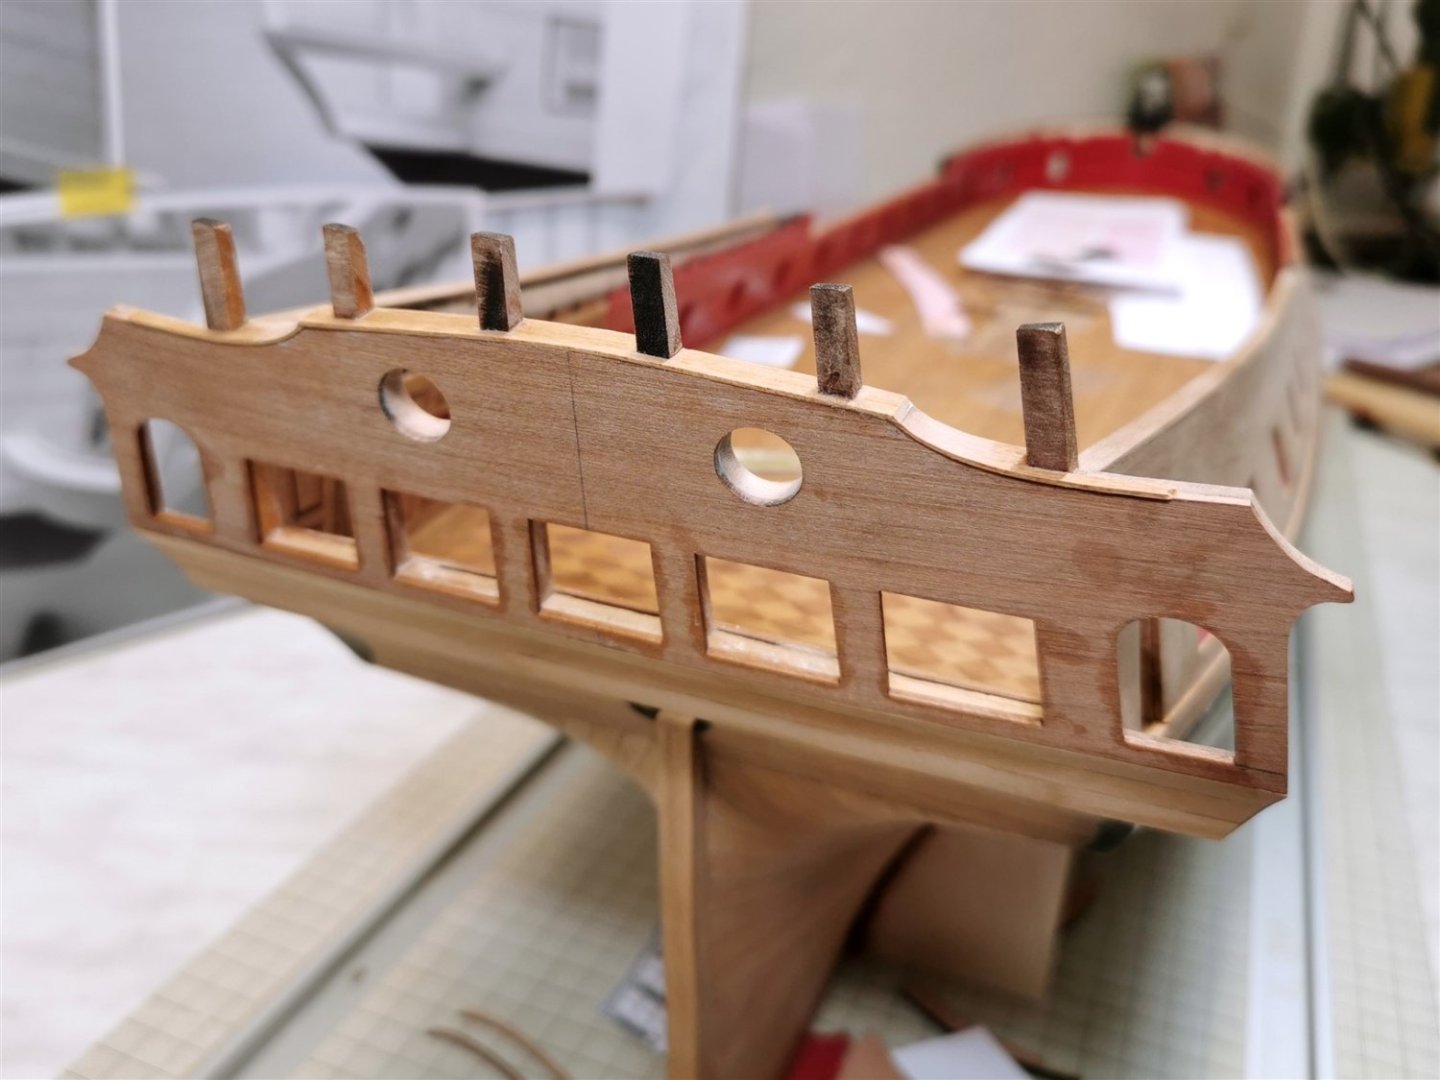
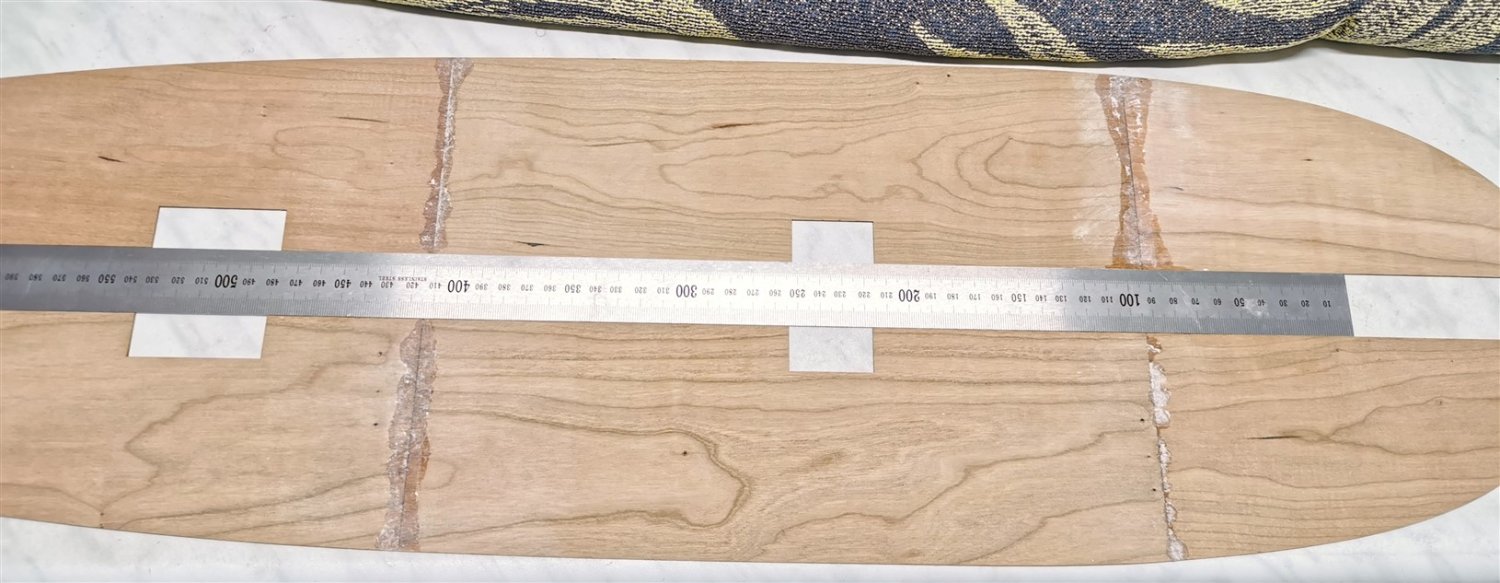
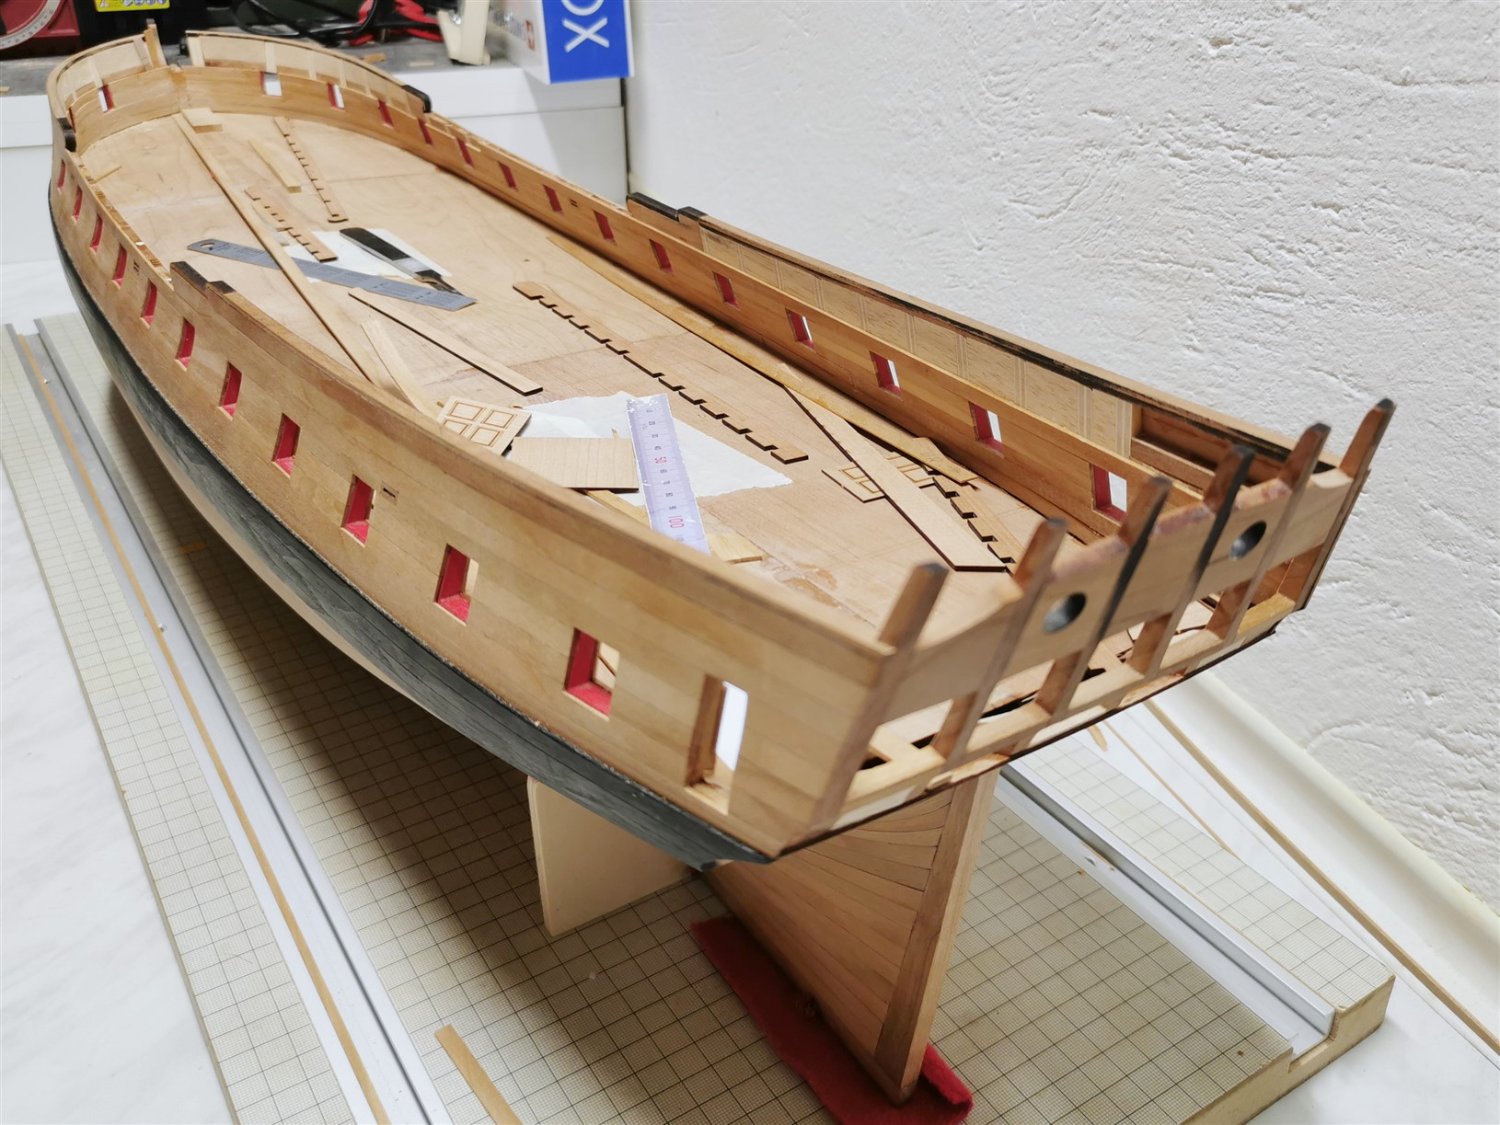
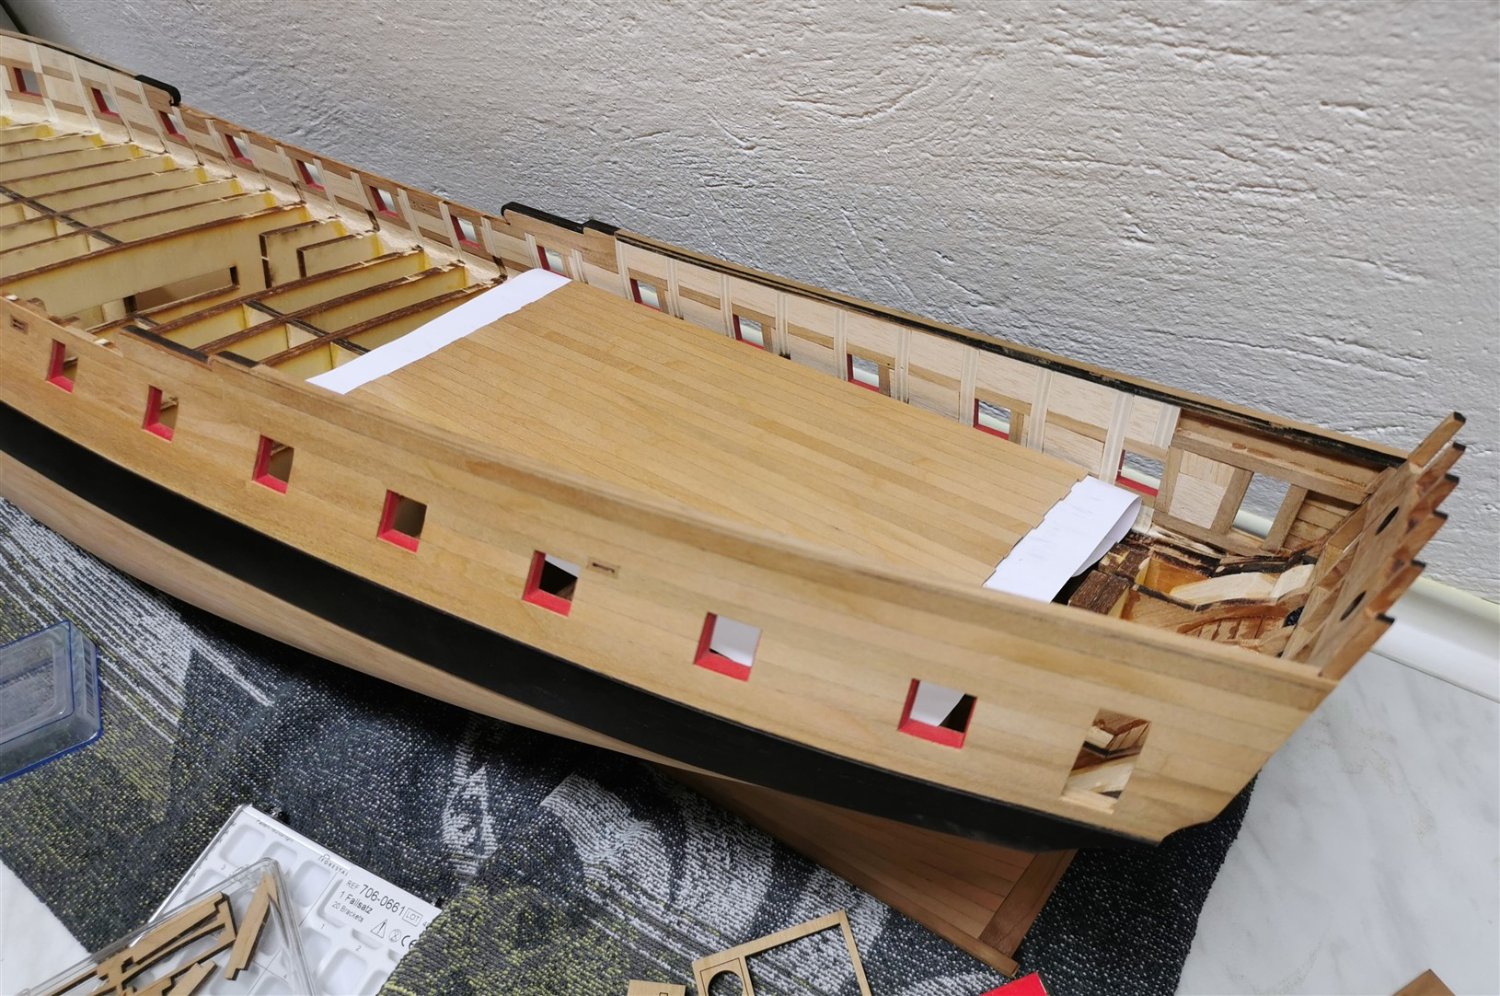
Hi guys, I finally found the time to update my log.
Thank you Chuck, I agree with you and I won't mix wood types.
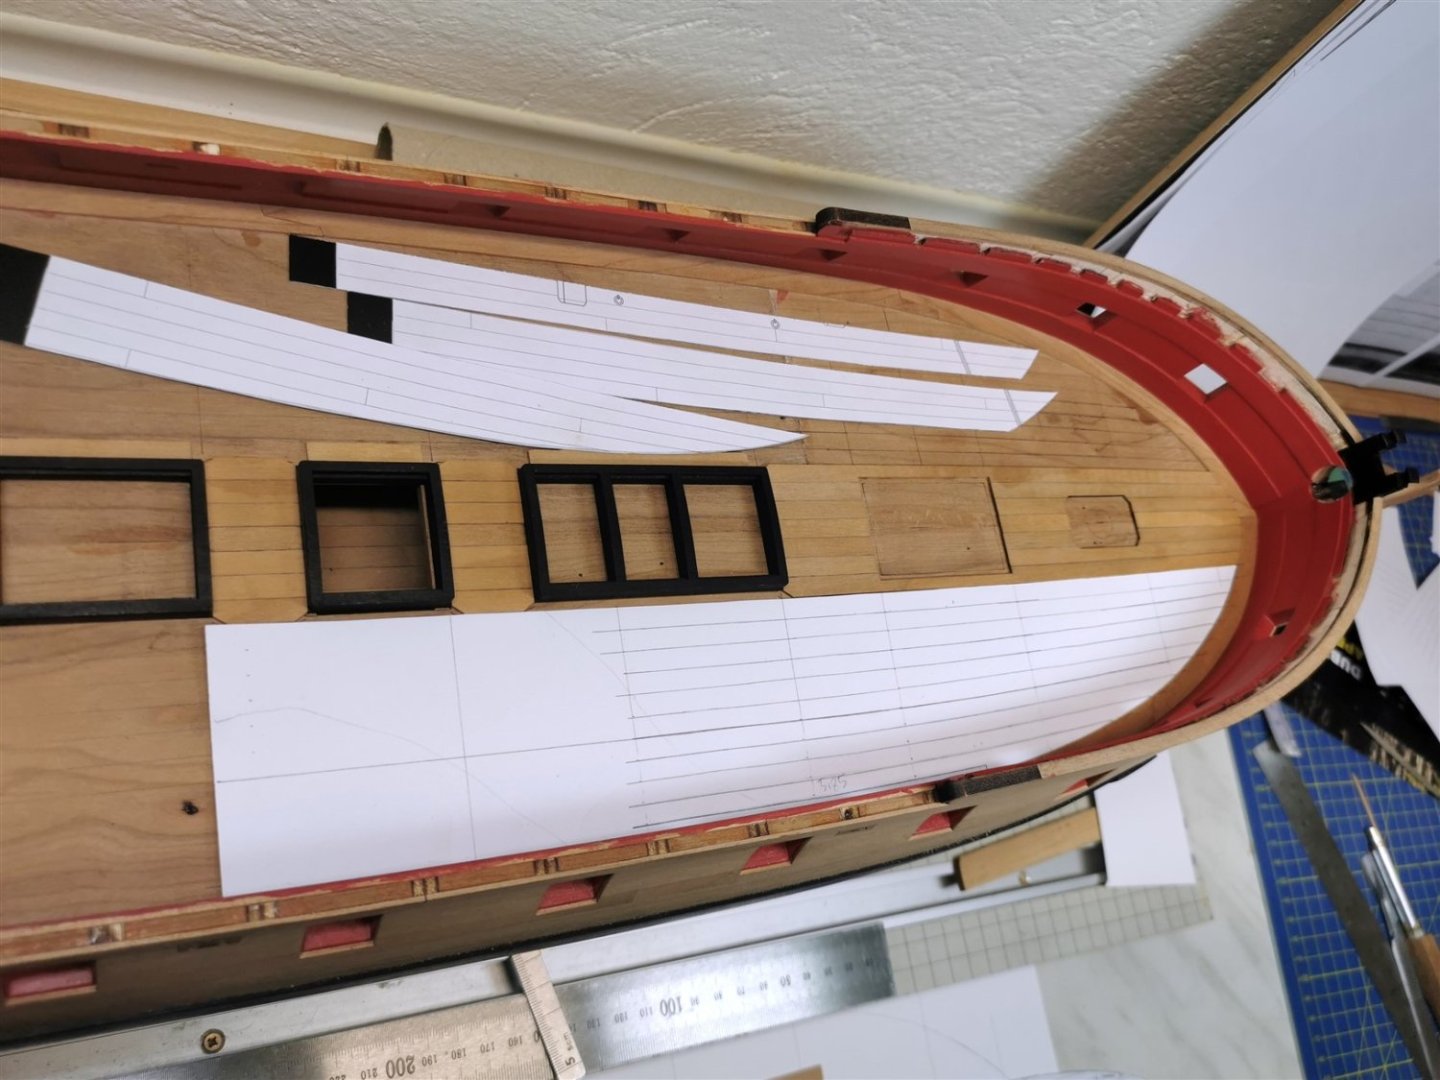
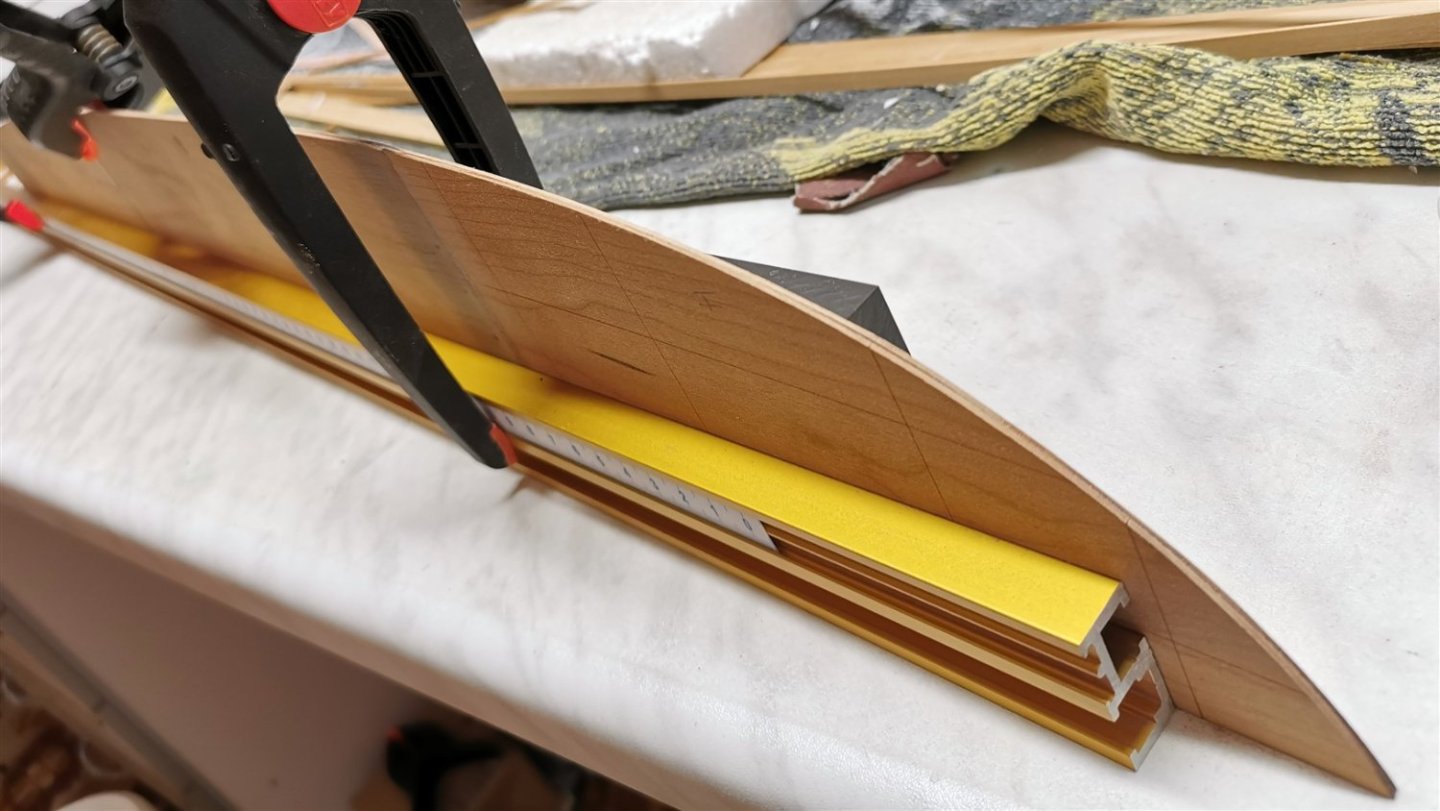
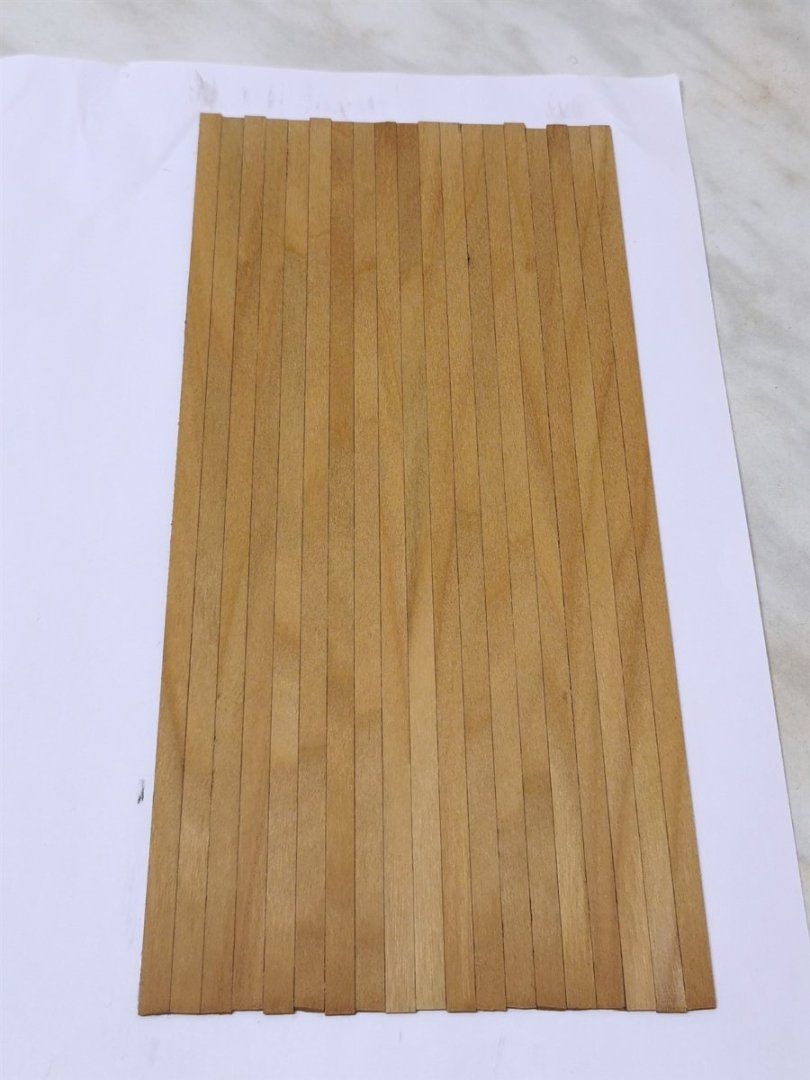
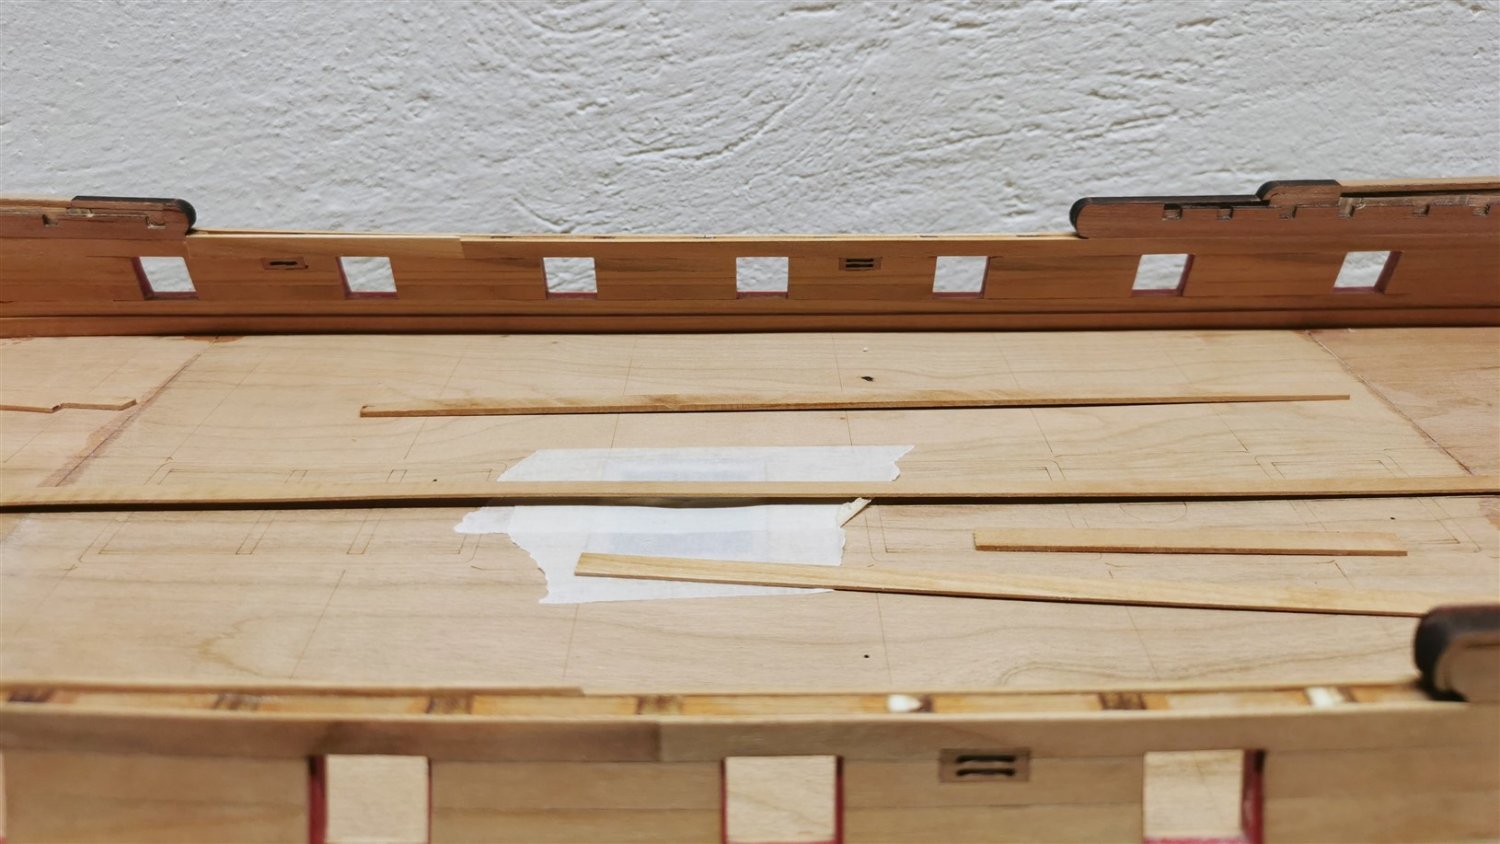
So I just cut the cherry strips for the deck...
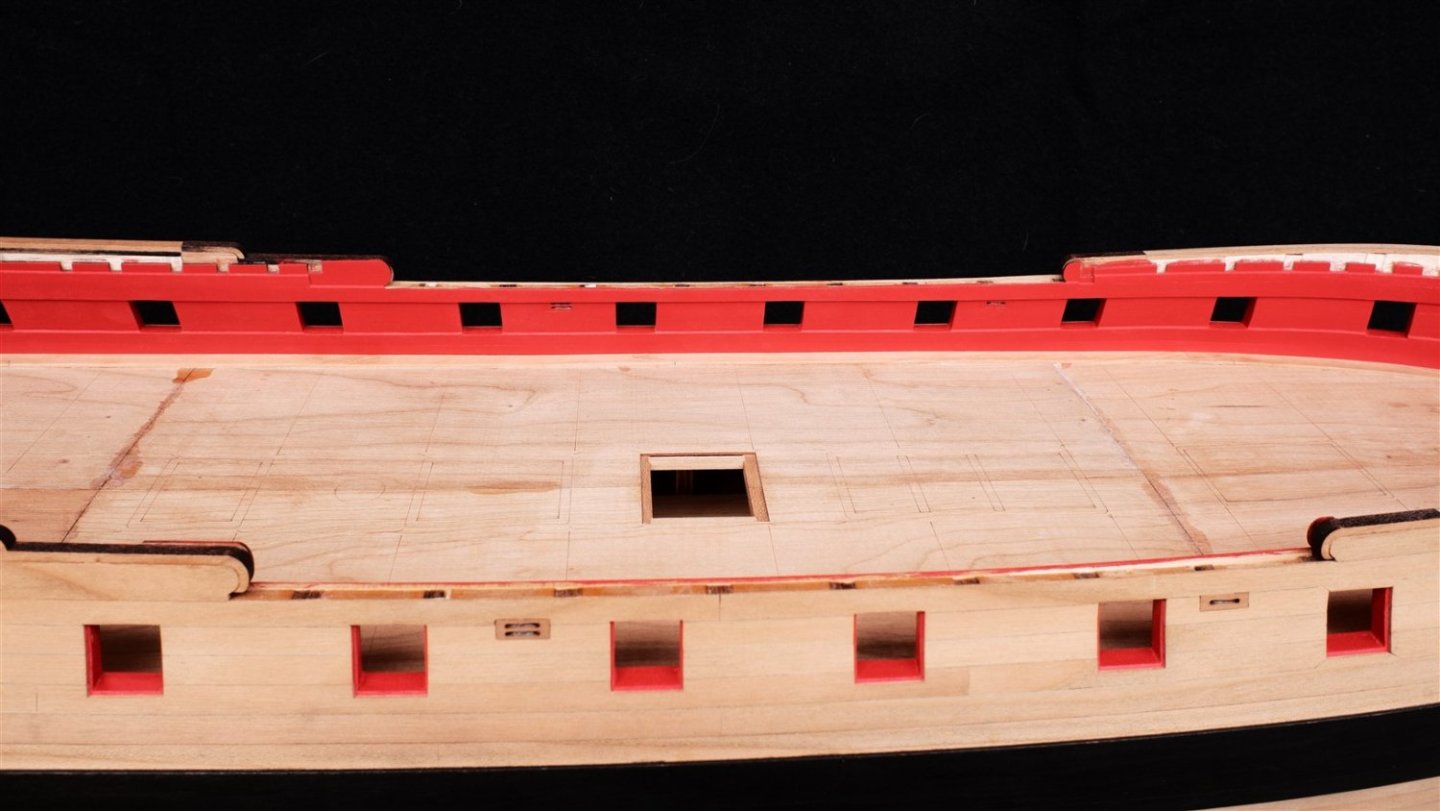
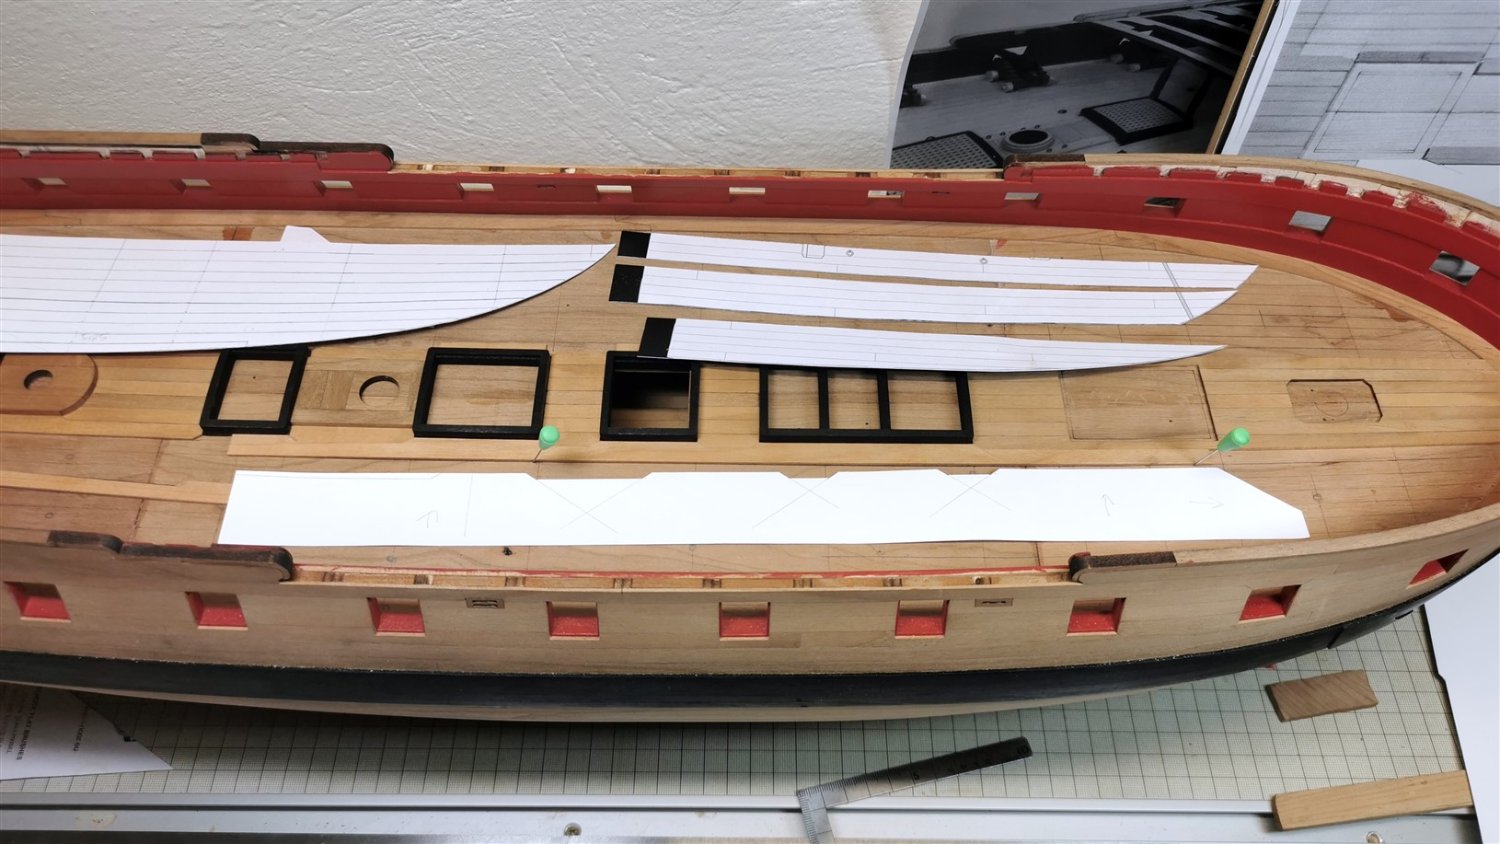
Continuation of chapter four:
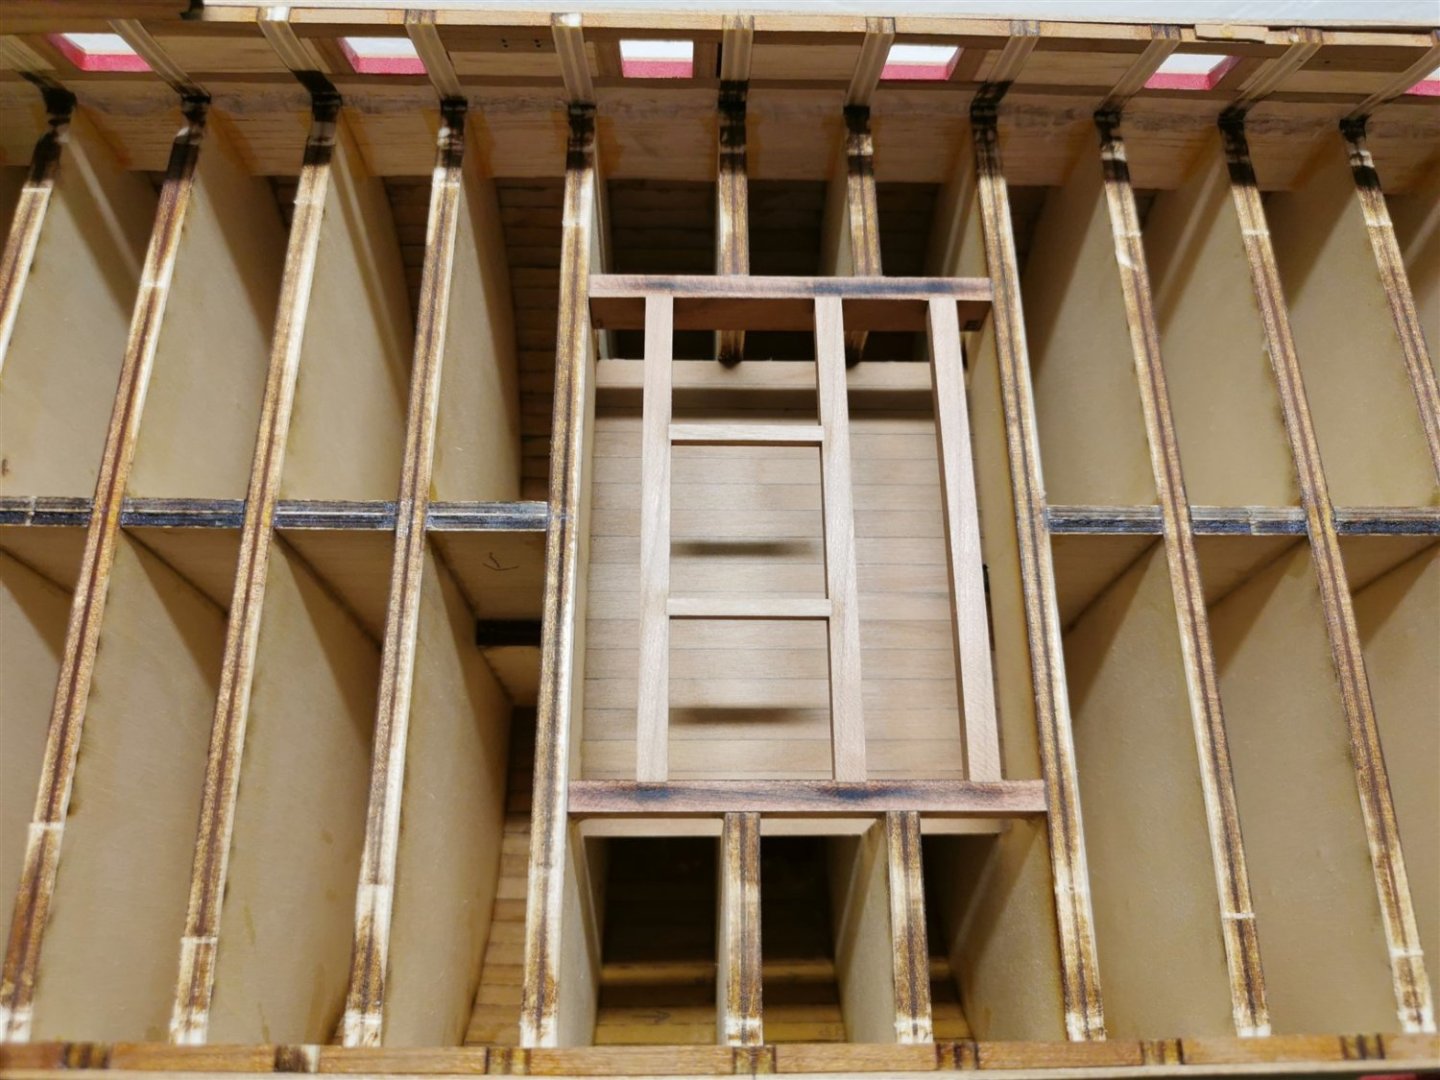
I glued the two halves of the false deck together and fitted them to the model like this.
Before I did that, I checked to make sure they were the same width.And finally the bulwark planking can begin.
I have a feeling it was more challenging than the hull planking.
I'm really happy that I did it before I would have painted the friezes.
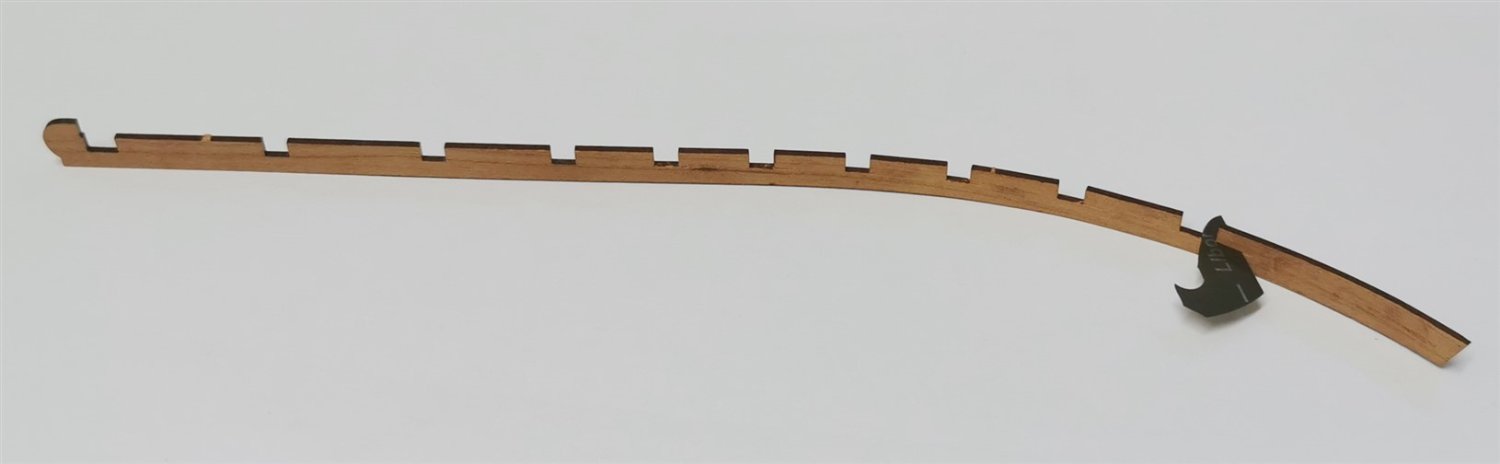
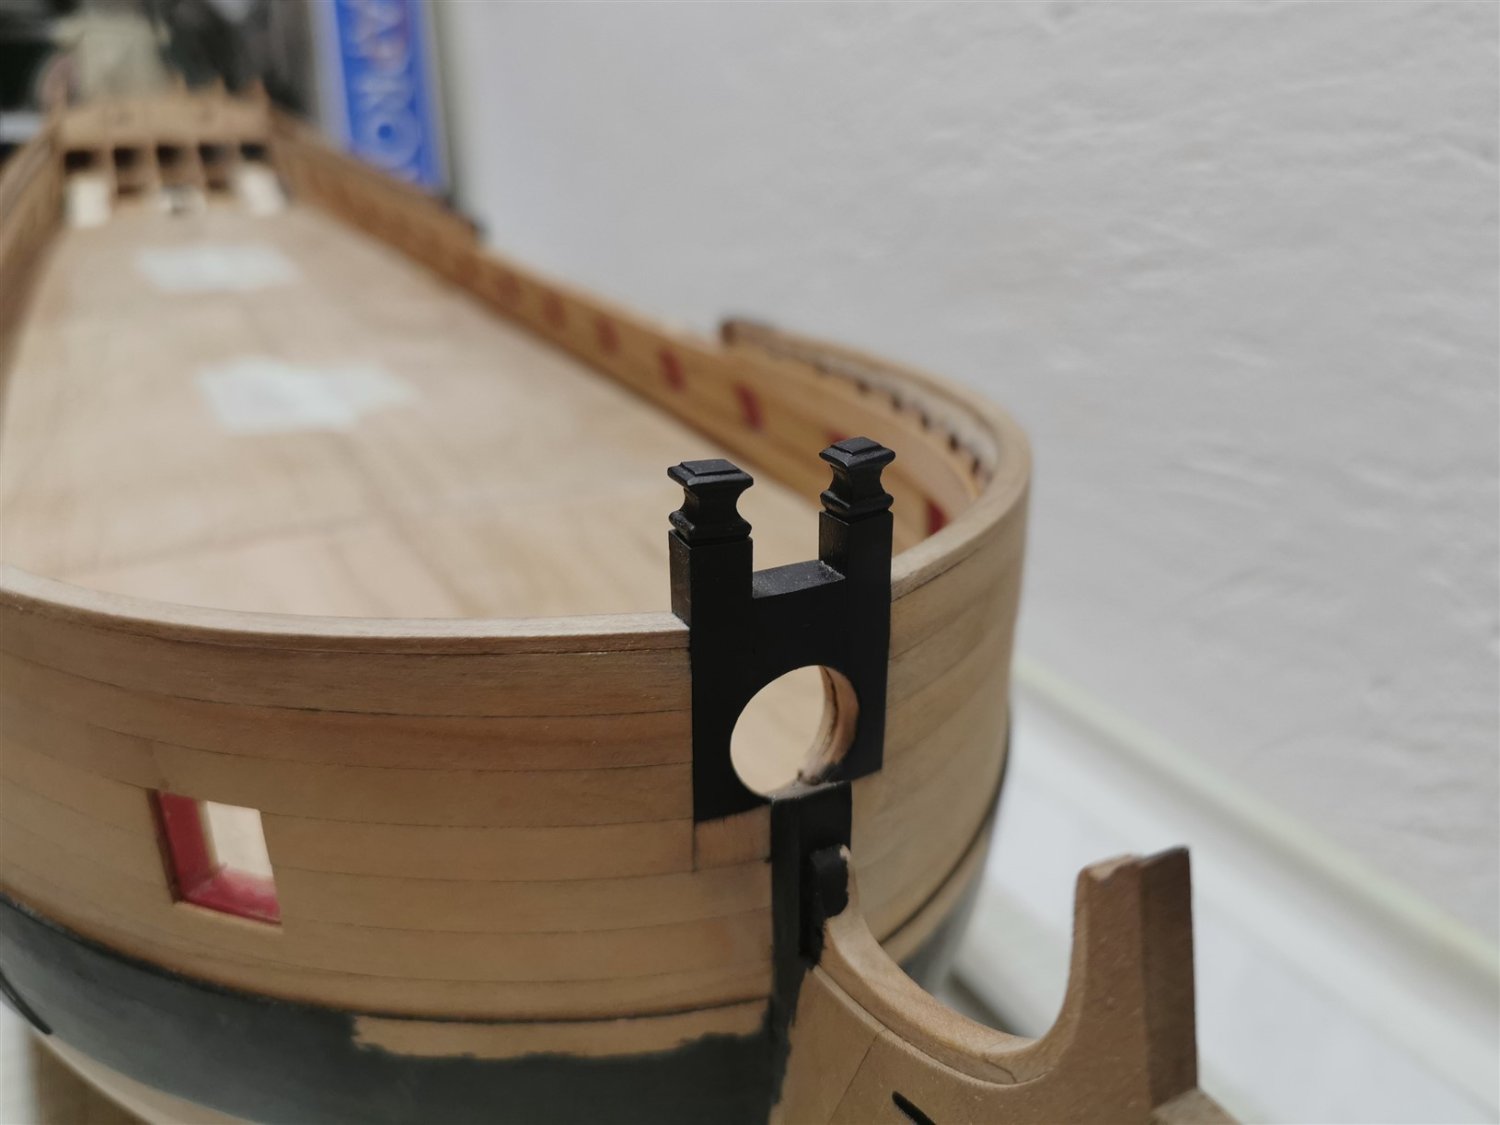
I have also now modified the deck clamps for forecastle
beams based on chapter eight.And I also finished the first chapter and glued the bollard timbers to place...


-
Lovely and inspiring work Steve.
- CaptMorgan and FrankWouts
-
2
-
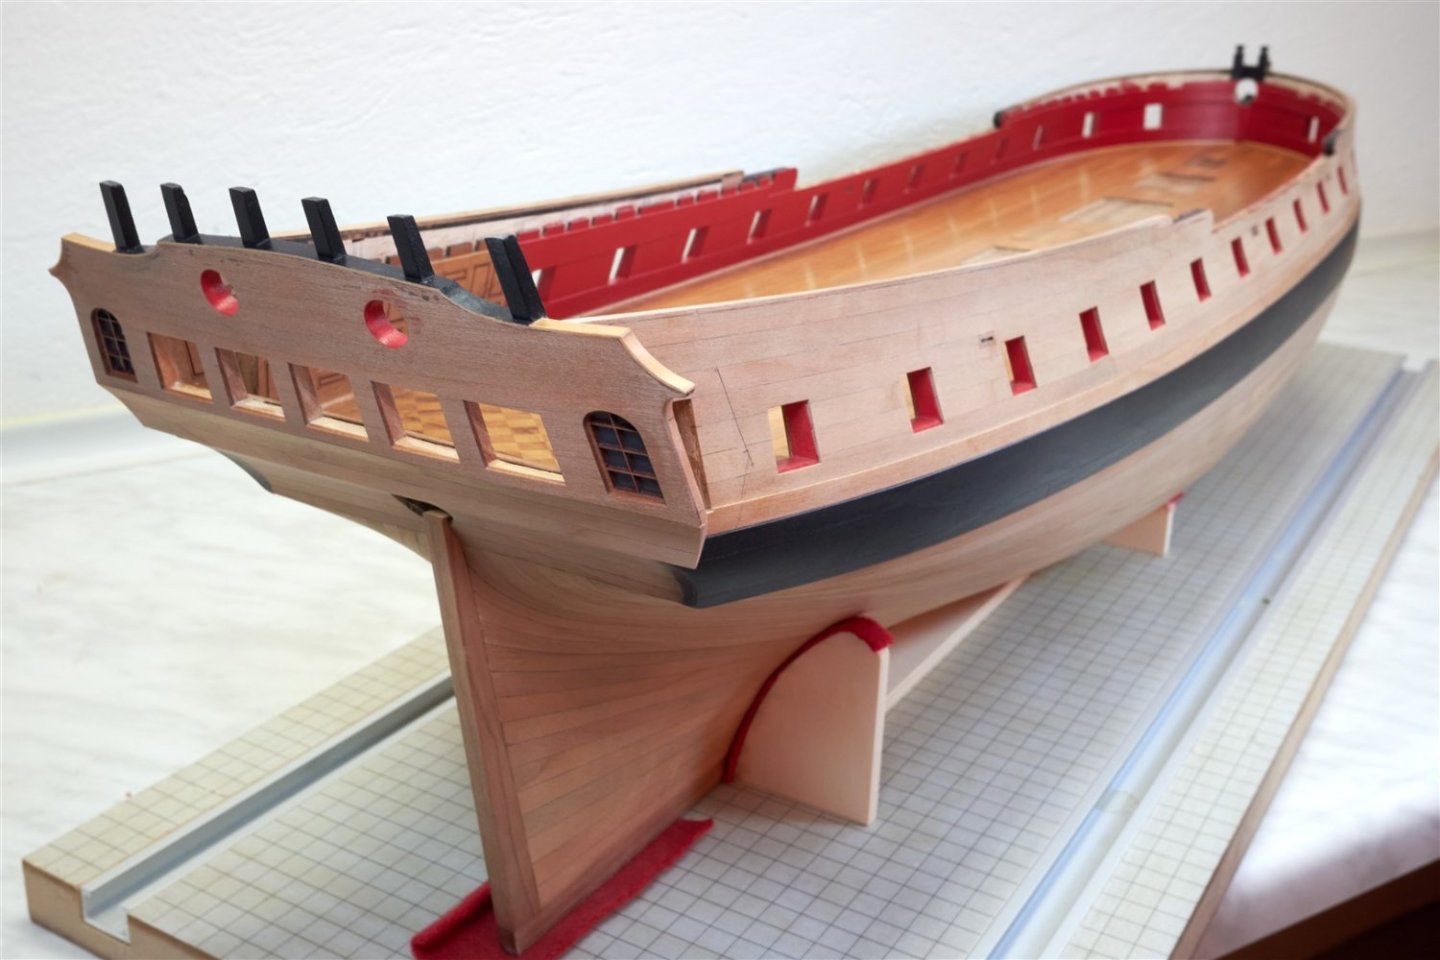
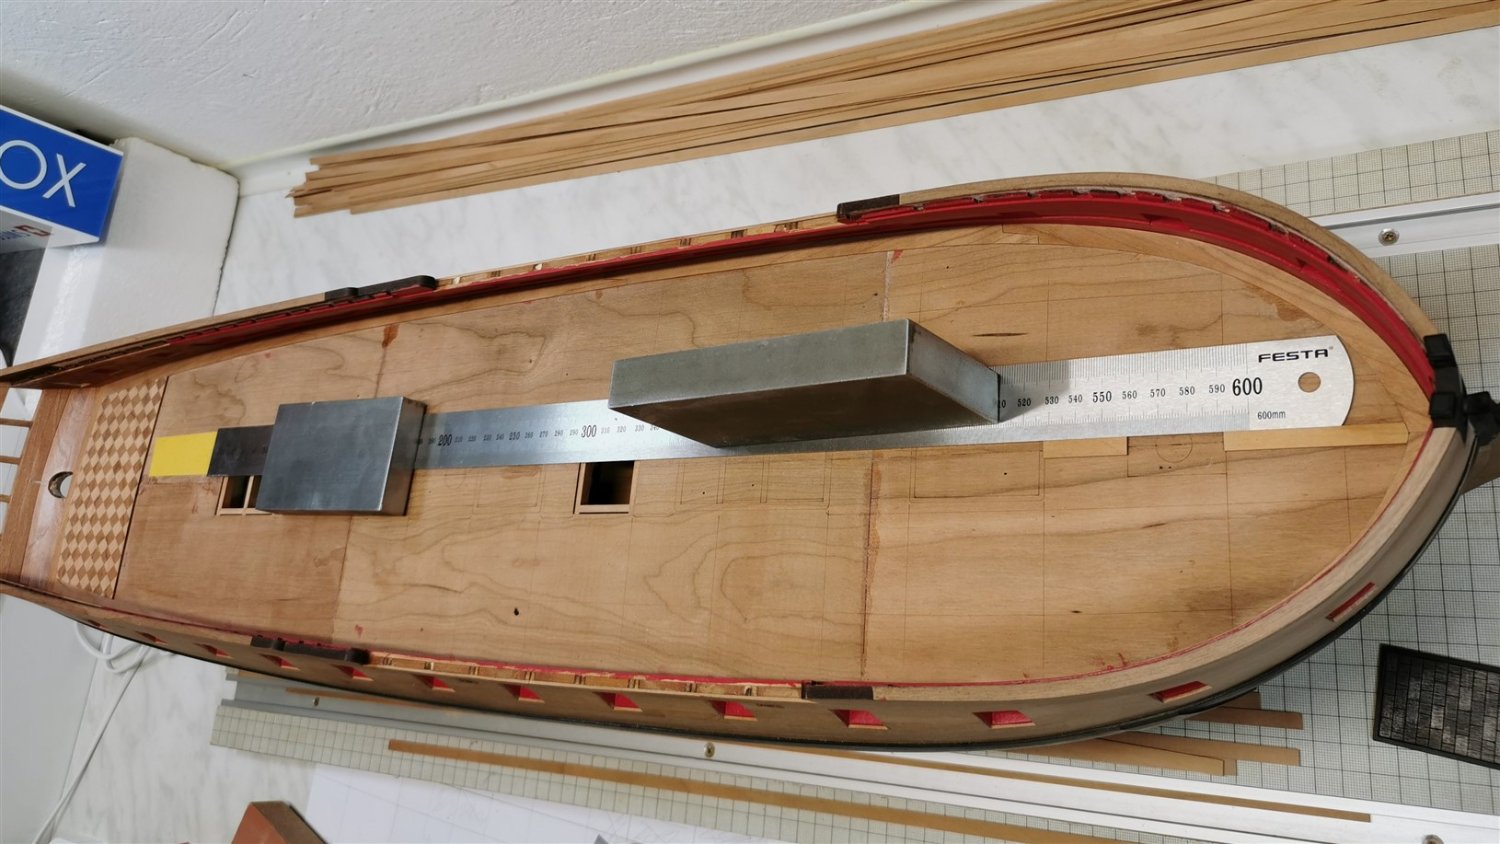
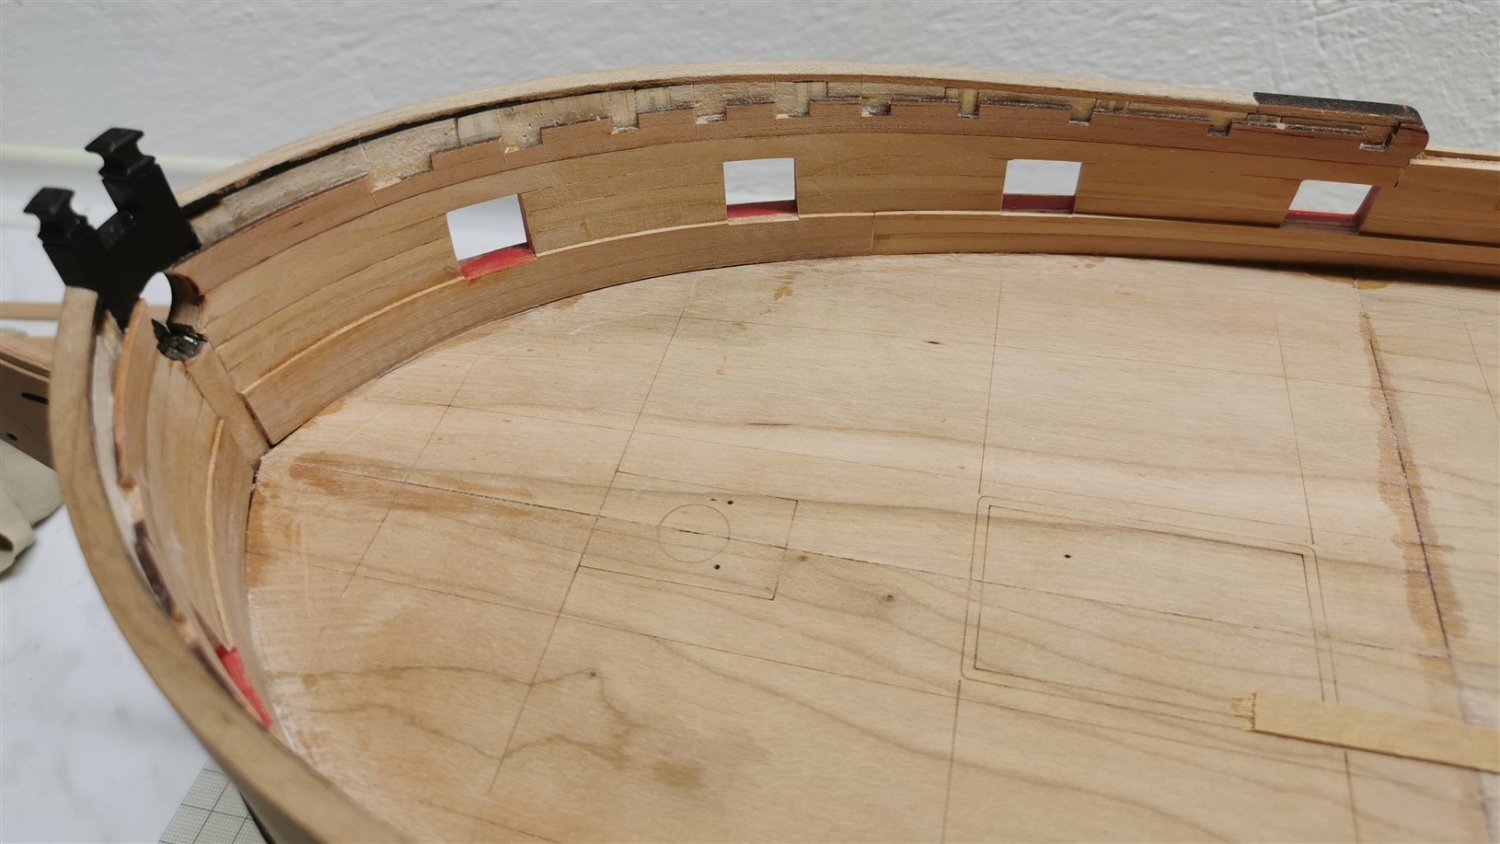
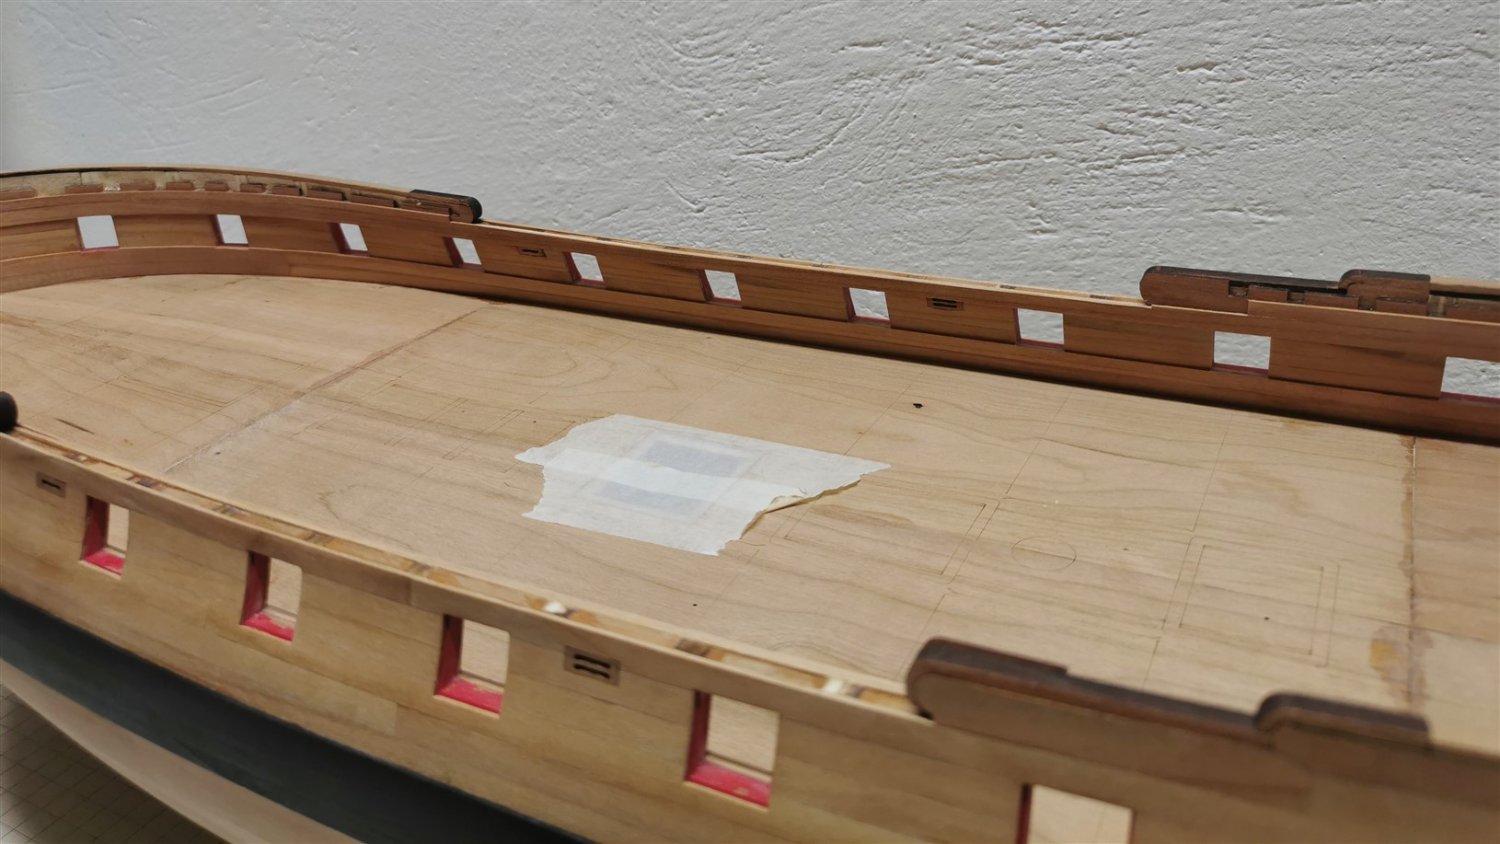
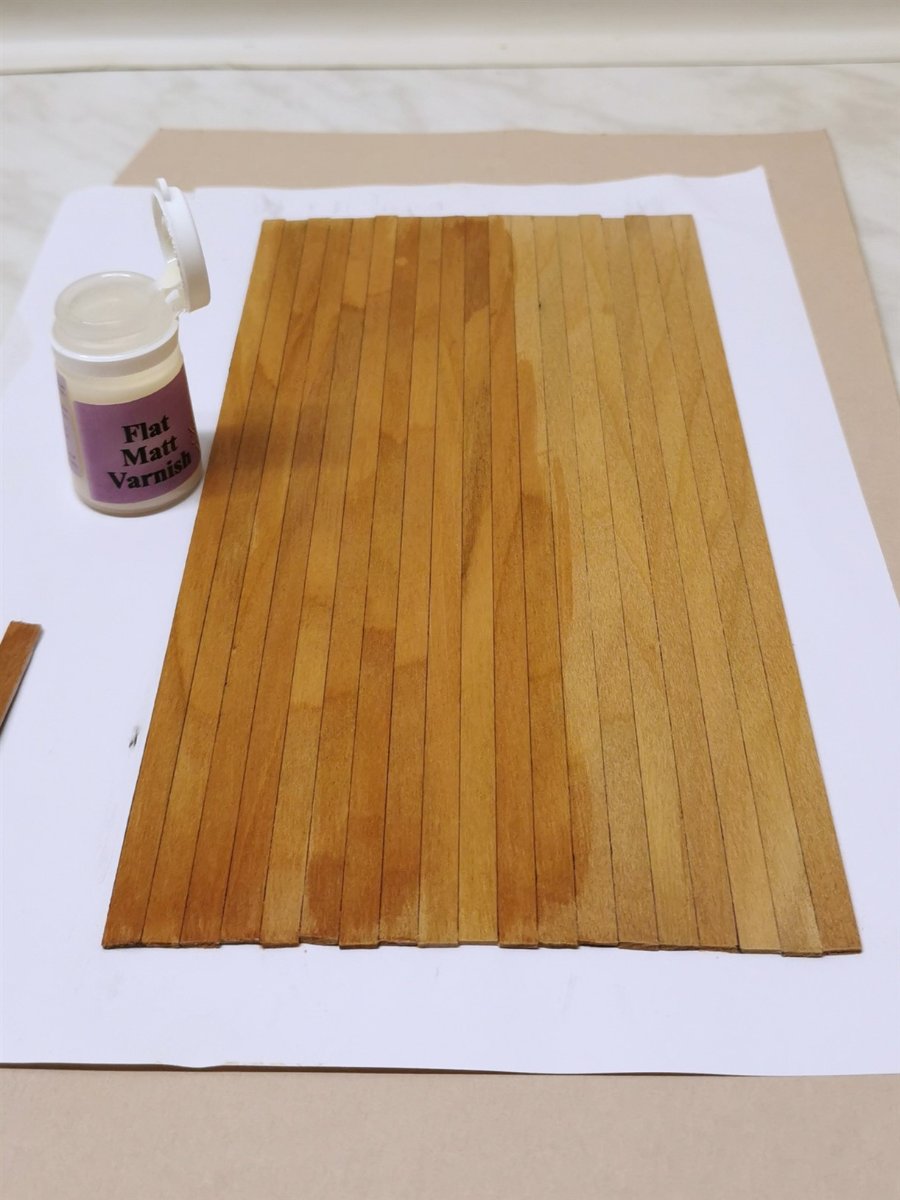
I was originally planning on a maple deck but now I think I'll just stick with cherry wood.
What do you think?
Test on the sub deck...and next beams and carlings


false deck test in the fore aft placing
- Ryland Craze, glbarlow, Zarkon and 9 others
-
12
-
Thanks for the compliments,
I am lucky to learn and be inspired by you guys.
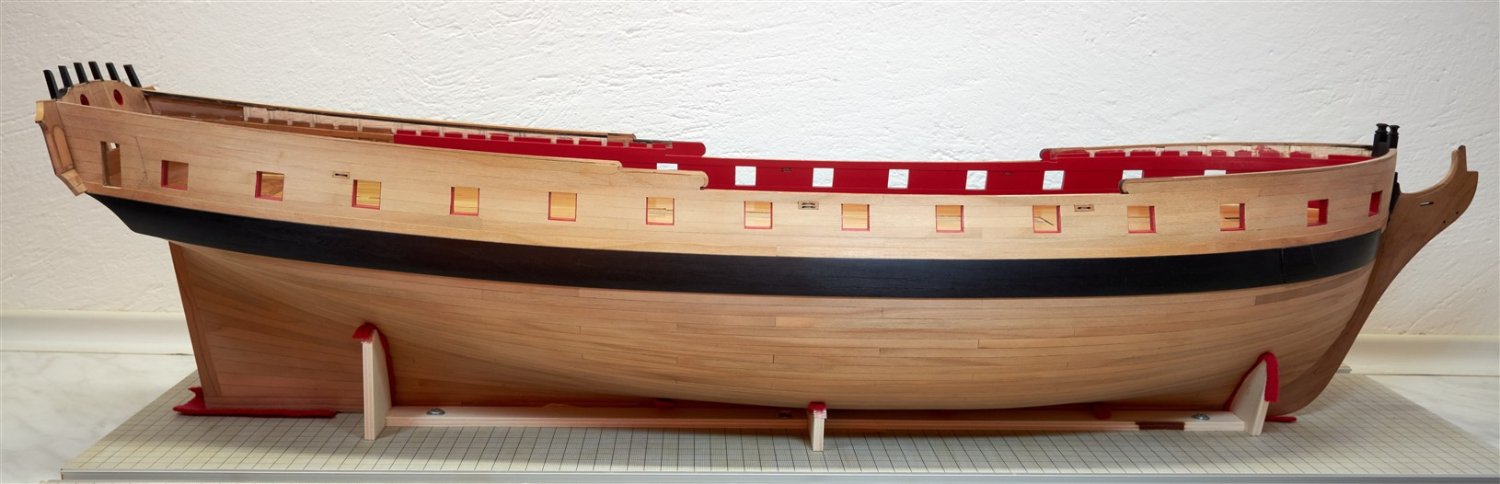
Planking was a difficult process and it doesn't even seem to have taken several months.
I'm glad it's done.
But unfortunately I can't wax the hull yet.
I'm thinking of buying a WOP and trying this method of finishing.
I decided to skip the third chapter for now
and start chapter four first.
I think it will be better that way and at least I won't damage the mouldings and friezes while doing rough work on the deck.


Speedwell 1752 by dvm27 (Greg Herbert) - FINISHED - Ketch Rigged Sloop
in - Build logs for subjects built 1751 - 1800
Posted
Congratulations Greg, this is truly a work of art.
I'm flipping through your and David's book right now but please I want to see more photos in the gallery.