yvesvidal
-
Posts
3,634 -
Joined
-
Last visited
Content Type
Profiles
Forums
Gallery
Events
Everything posted by yvesvidal
-
 Superb model. You did a great job and the allure of this little smack boat is very well rendered. Yves
 -
Alan, This is superb. That hull is looking very good and you should not worry too much about the imperfections. Mine has plenty and once it is sanded, primed and painted, it will only be a bad memory. I think your cat wants to go sailing.....but he needs the stern. RCing that model will add another level of complexity but the kit is truly designed for that purpose. I have a little pond near by, but it is full of frogs, turtles and a blue heron. I do not think I am welcome there and thus my model will be static. To give you an idea, I spent a lot of time sanding that hull. Yes, seam lines are missing but who cares....? I also sprayed two cans of primer on the hull itself, before getting to a decent results. That plastic as you mentioned is really unpleasant to work with and I suppose the goal of this PLA material is to produce finished products. It is not styrene or polystyrene. Yves
- 460 replies
-
- 7
-

-
- Finished
- Flower-class
- (and 1 more)
-
Few weeks or few months ....? You are gifting your children with wonderful masterpieces. I hope they will treasure them and care for them as you did during their construction. WE (the People of this Forum) need a TITANIC build Log. Please..... Yves
-
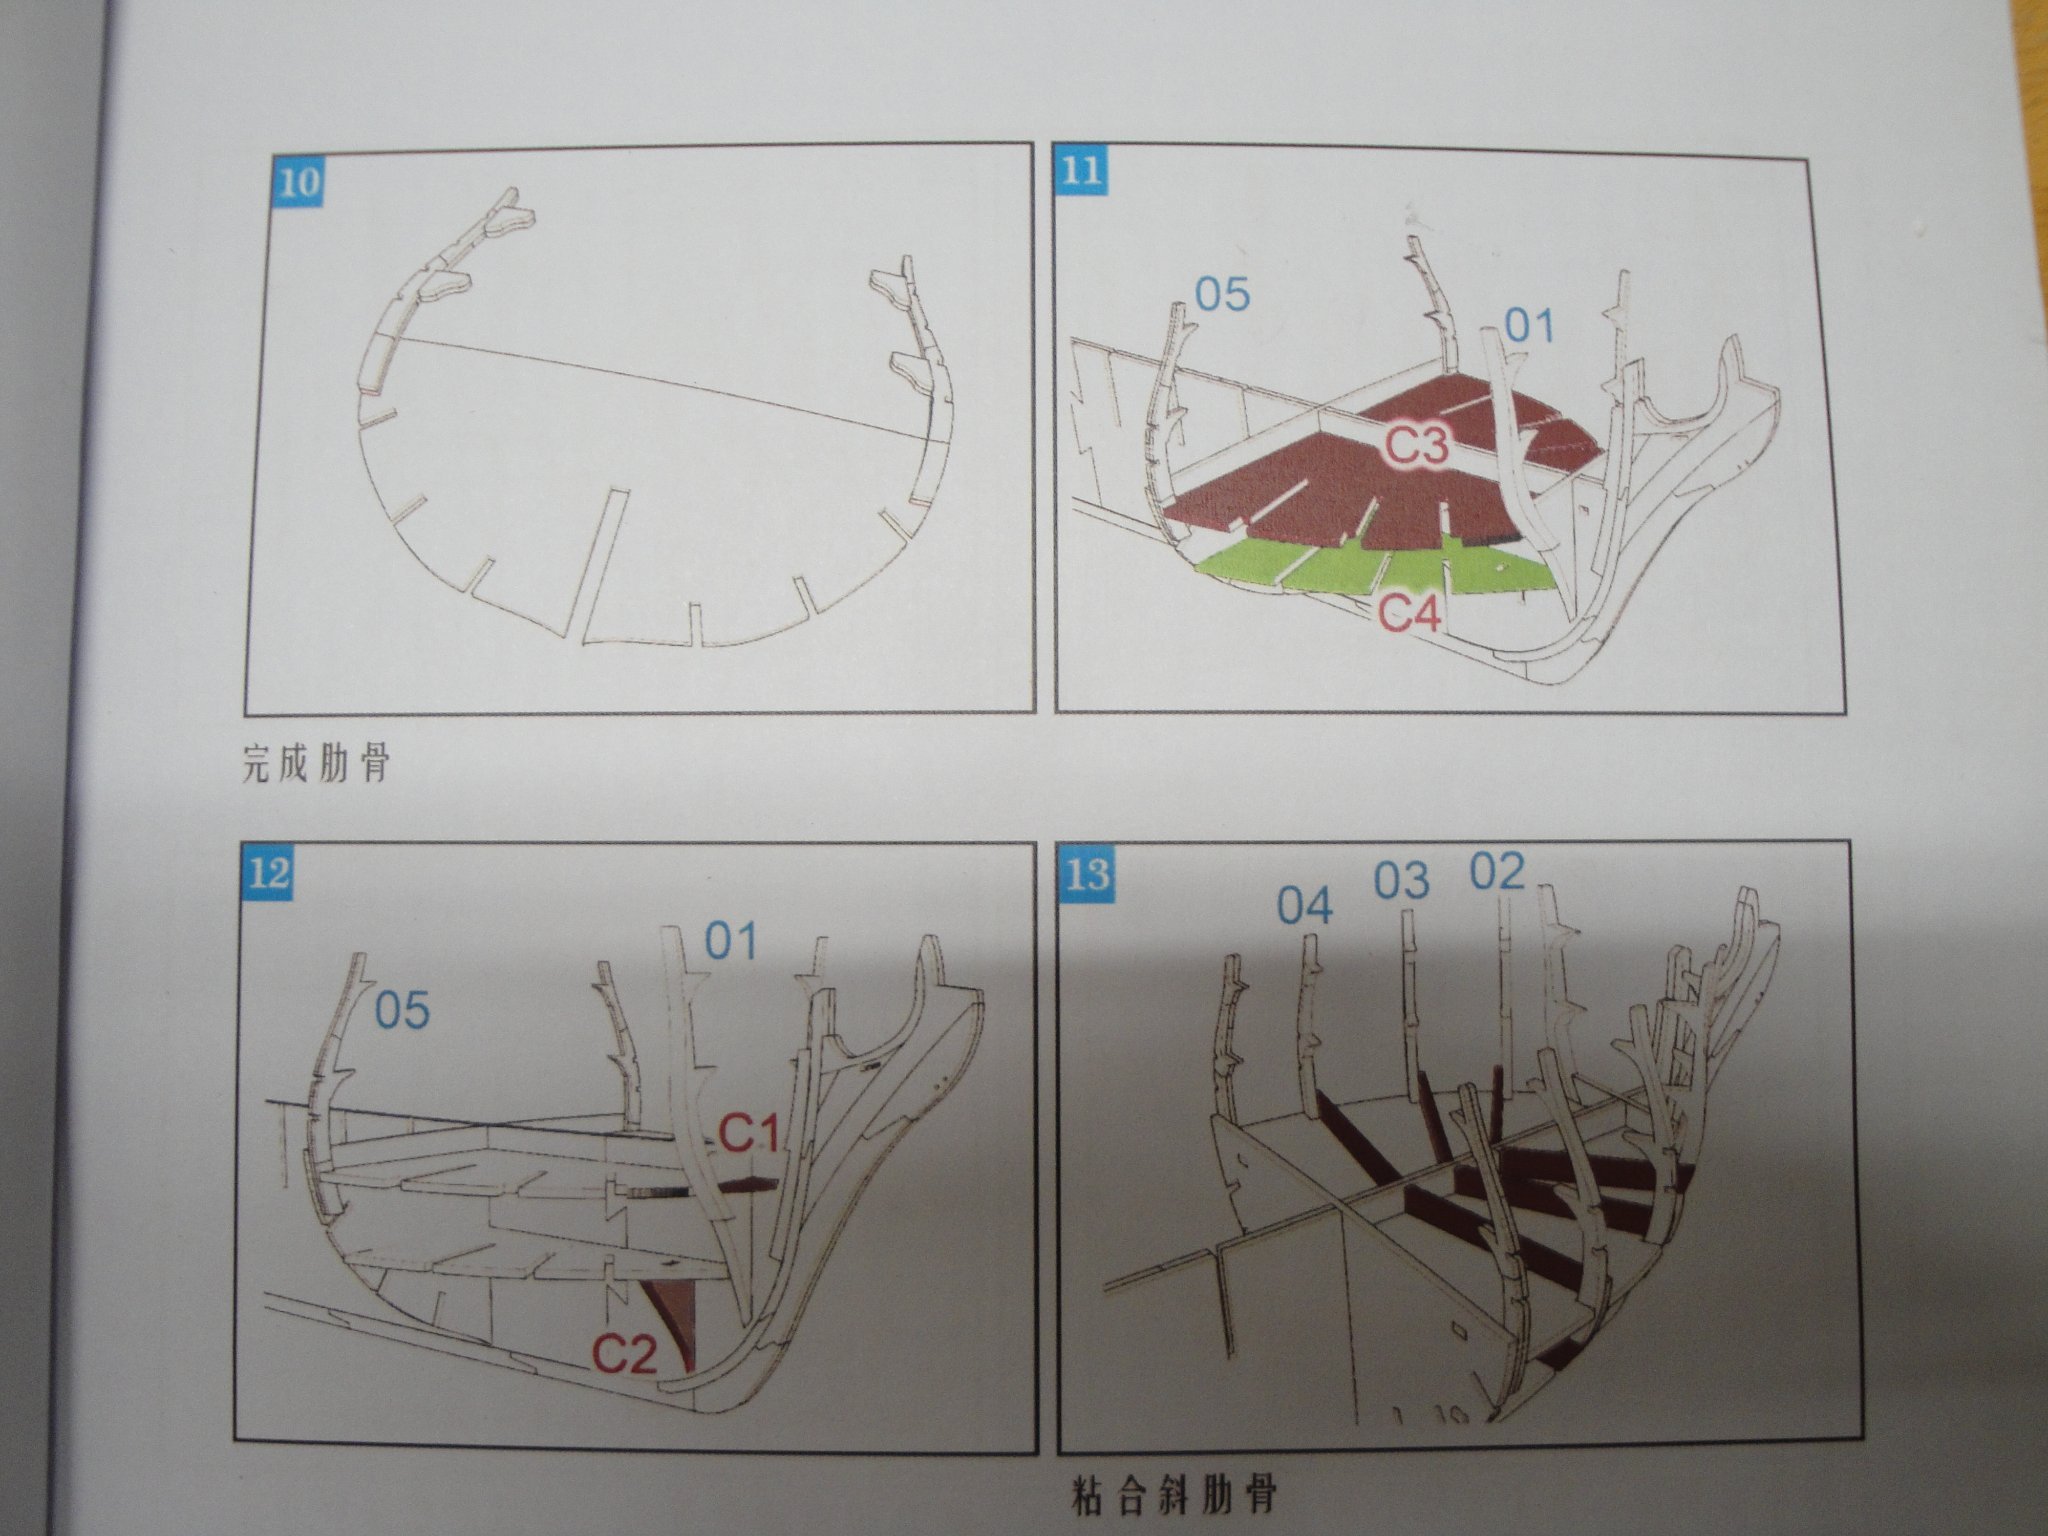
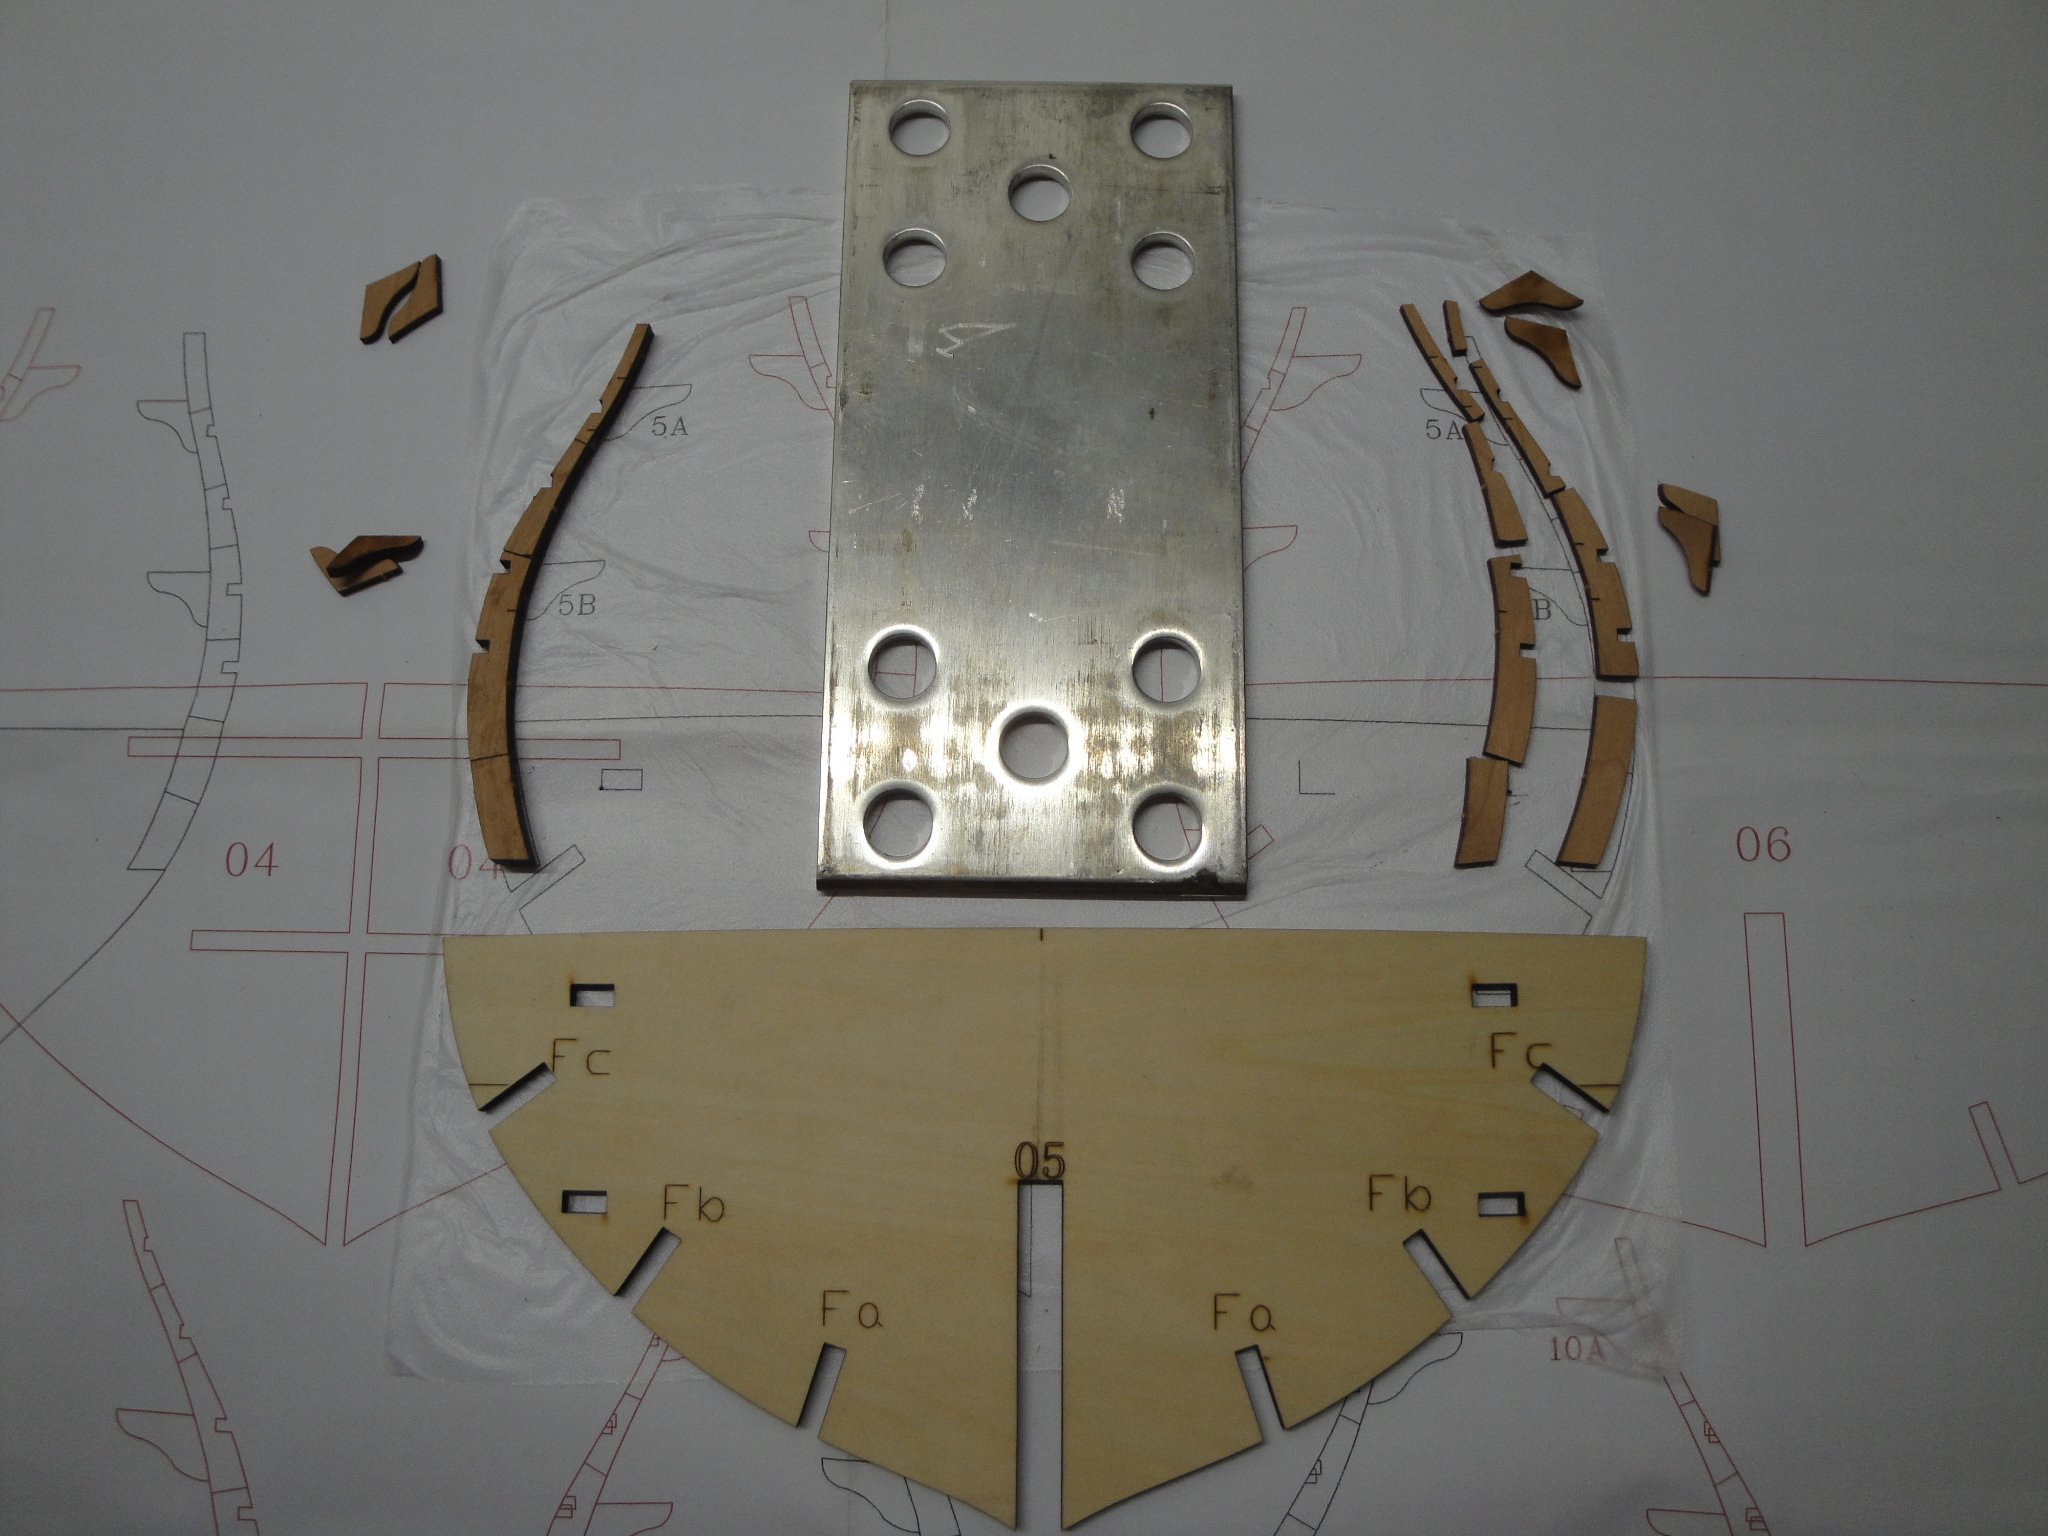
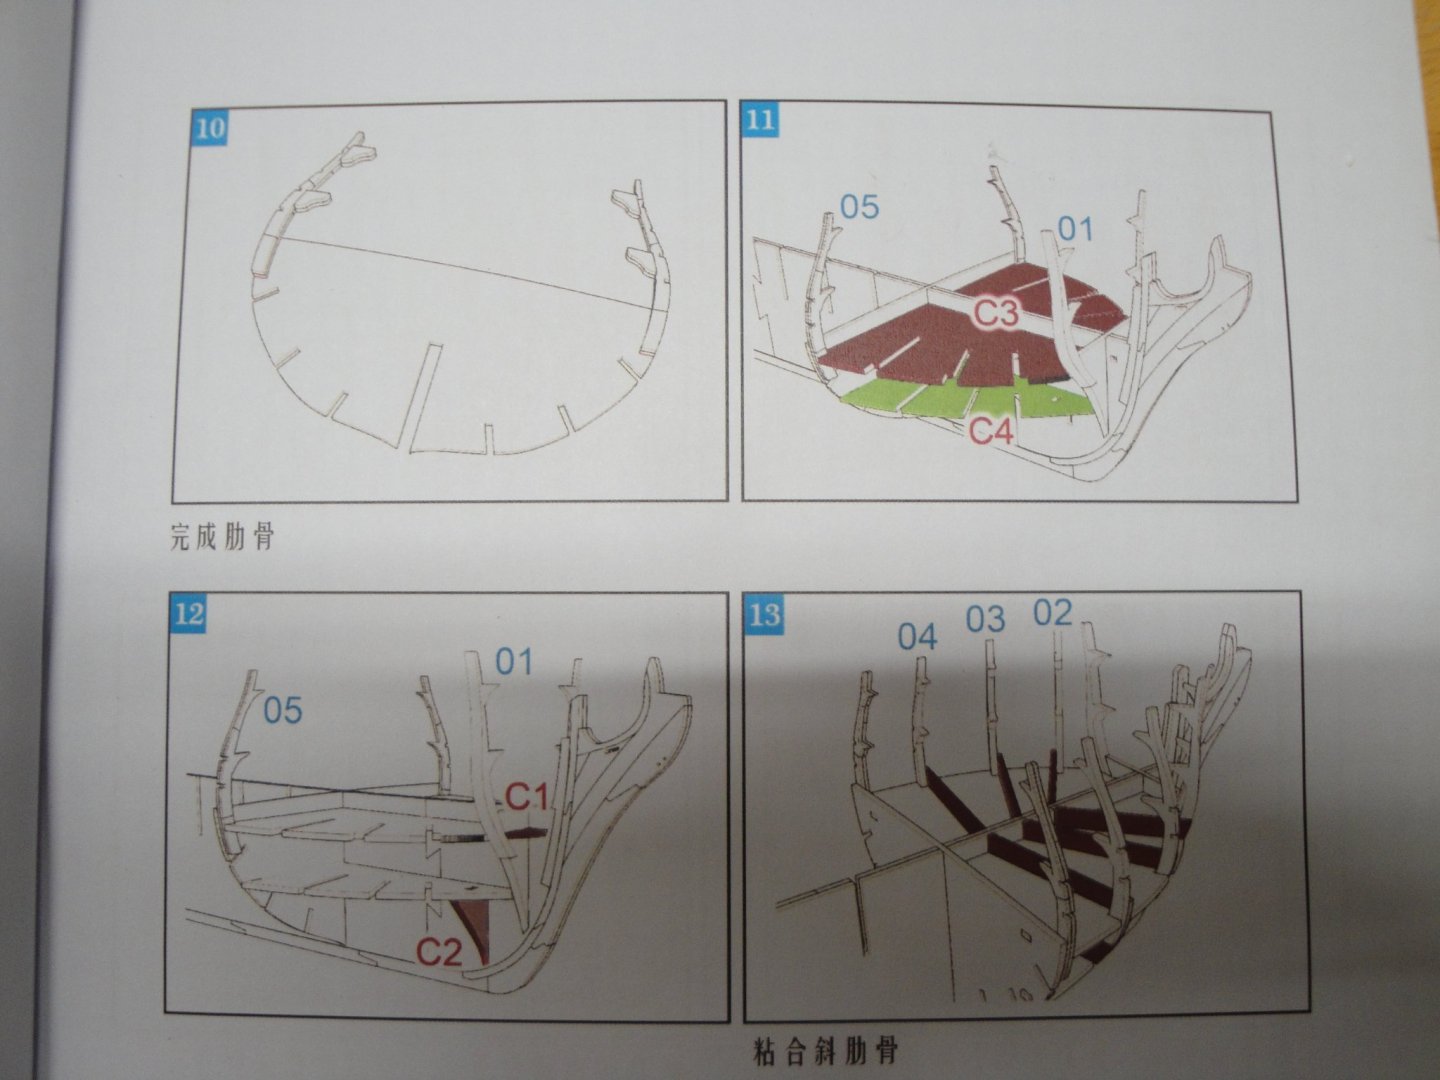
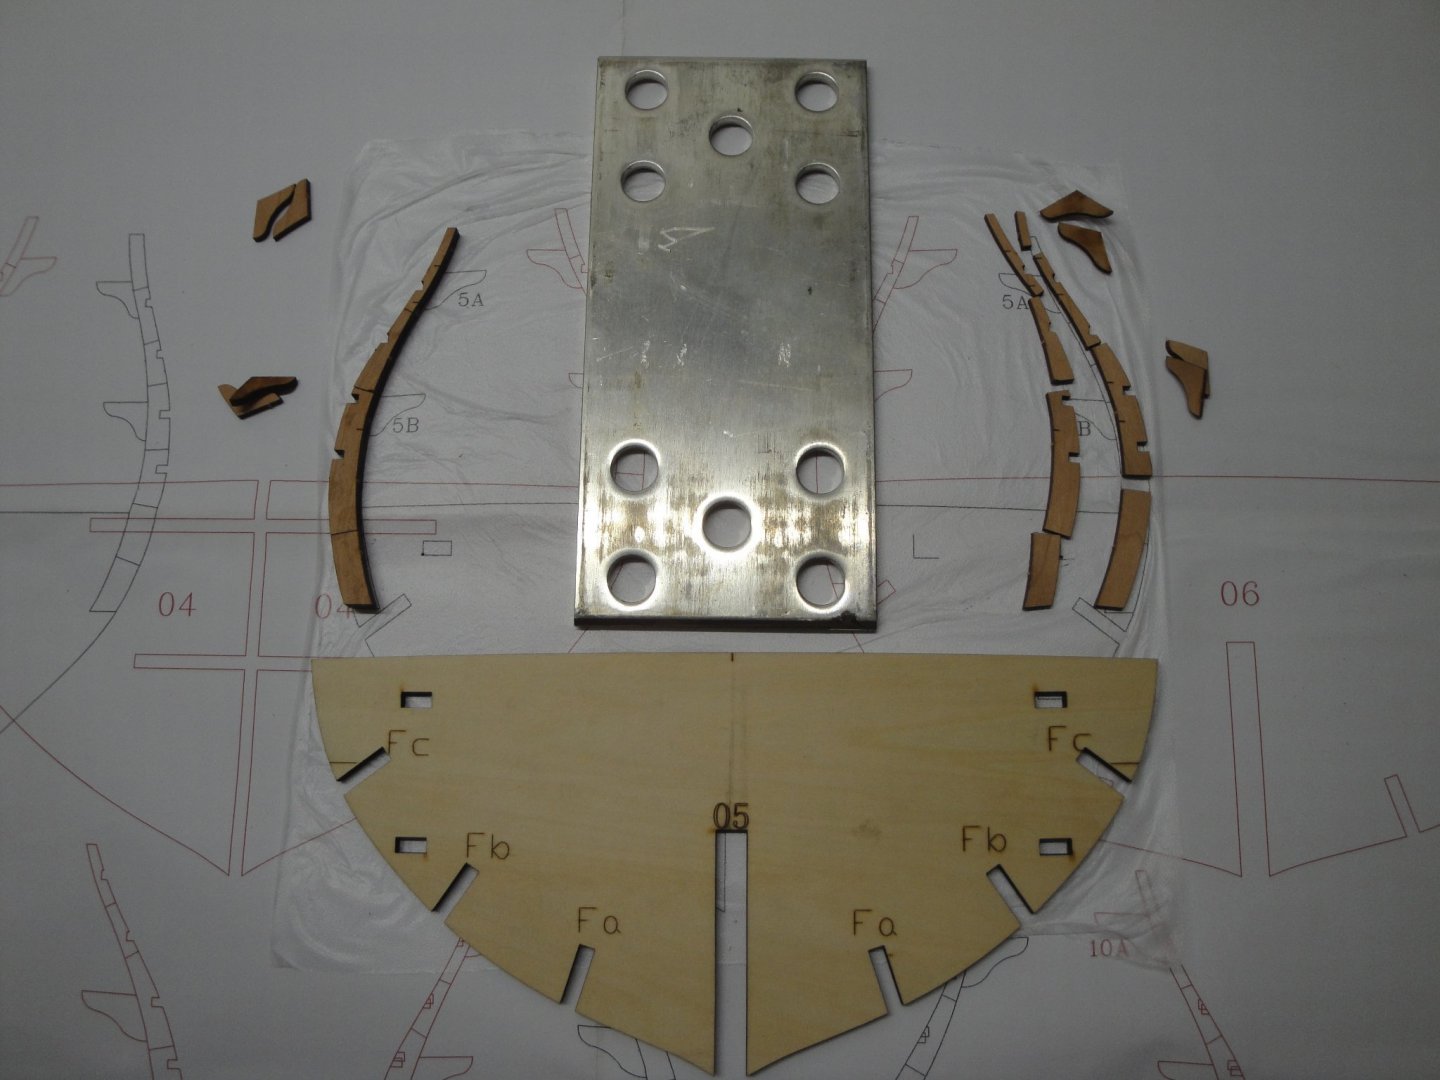
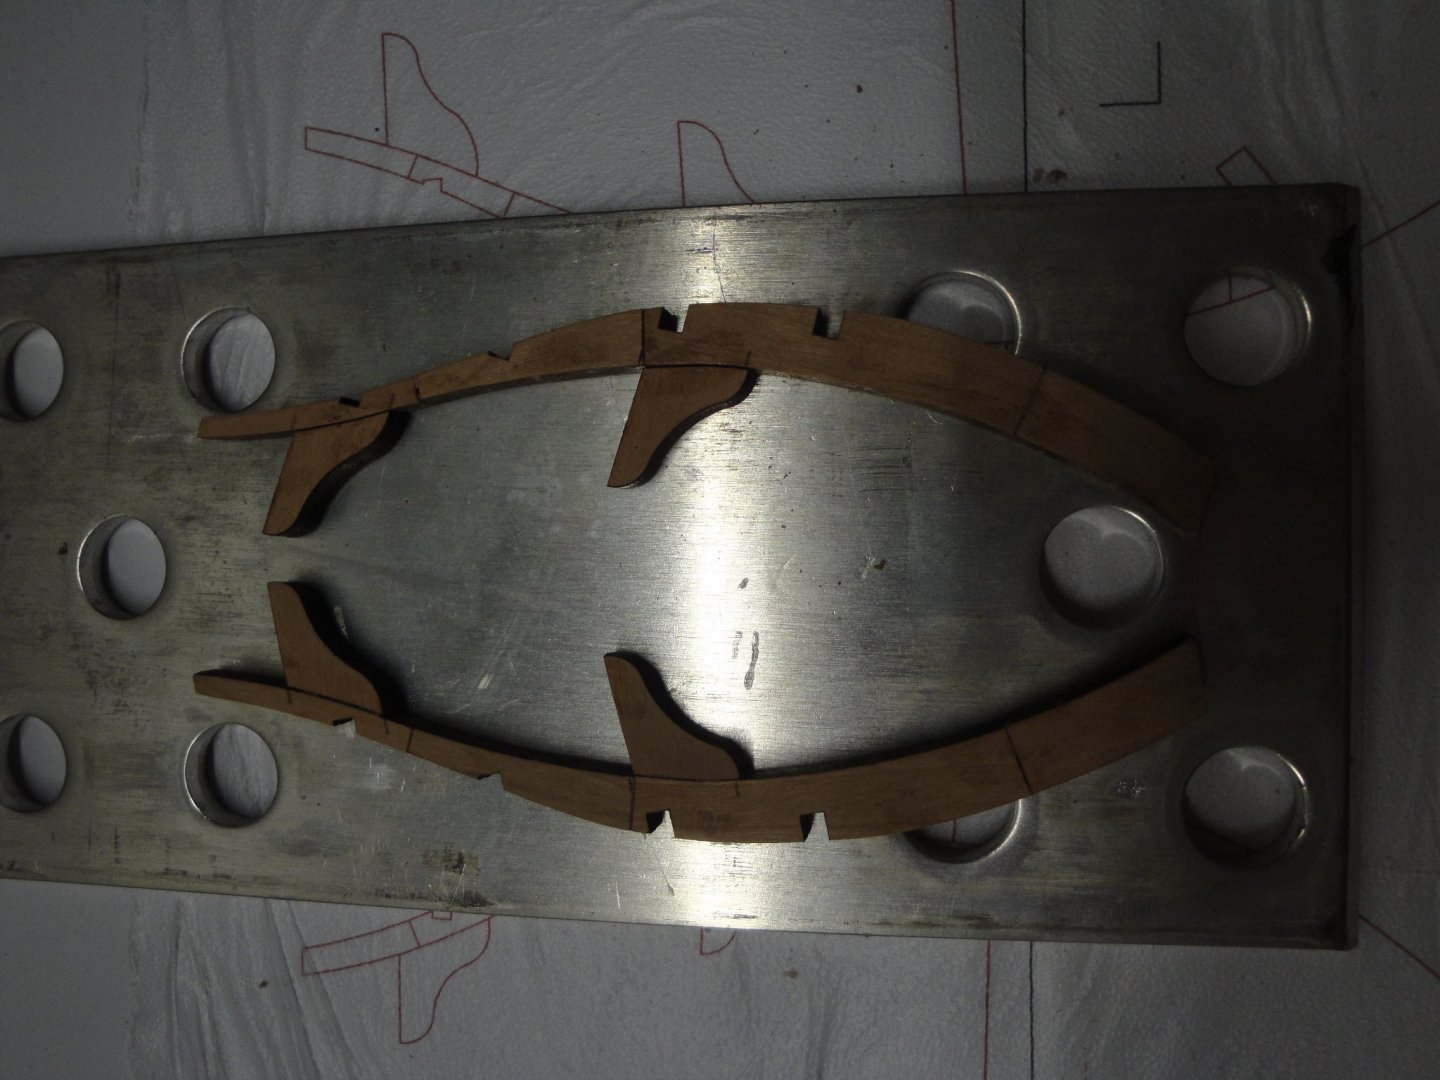
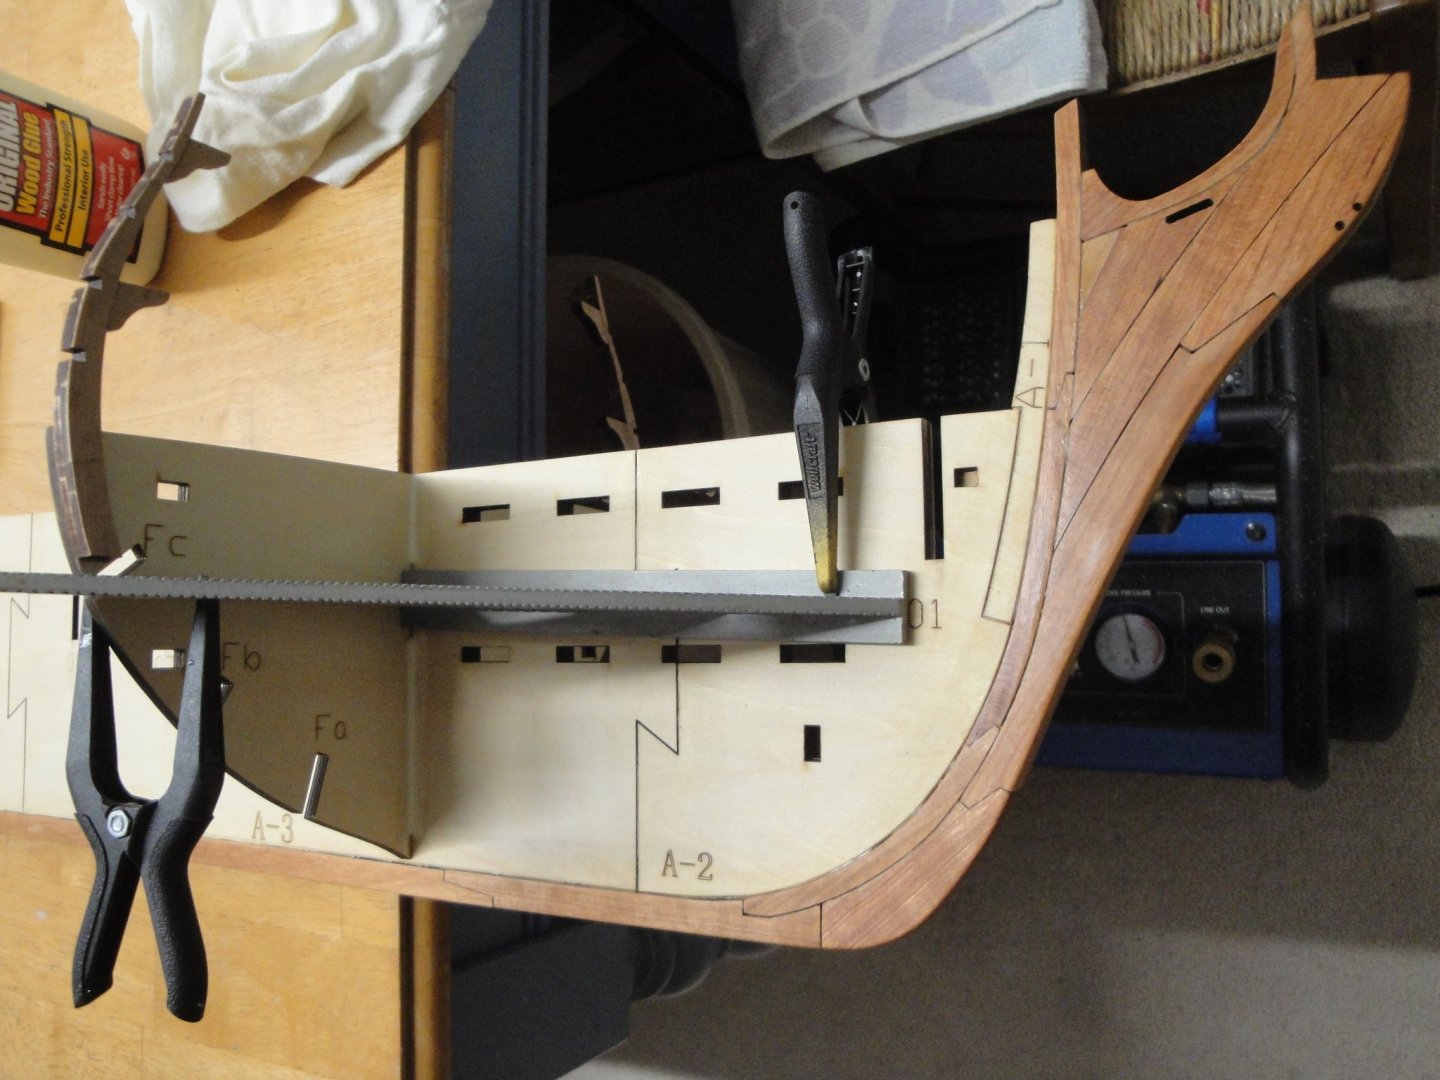
Moving along with Steps 10 and 11: I built the Bulkhead #5. You really have to be careful about the small parts, where to find them and how to piece them together. It is a real puzzle. If you decide to detach parts too early from their wood sprues, you are toasted. The manual and the drawing of the parts location is your only chance of success. Once you have gathered all the right parts, the assembly is a breeze. It is like gluing a puzzle or building a Lego. The fit is perfect and everything is well thought out by the kit designer(s). These two "bones" can be glued to Bulkhead #5. The manual only displays pictures. It is like building an IKEA furniture, in a way. I wished they could have put some text and recommendations in plain English to help with the novice builders like me. All the little parts are made with cherry wood. Bulkhead #5 is now glued to the spine: I have oiled the stem and keel and really like the color and the silkiness of the cherry wood. It brings a nice distraction from the plywood and make the model so much more precious. Moving along with more parts.... That model is going to be HUGE !!!!! Yves


- 507 replies
-
- 13
-
-
Same stuff with Speedpak with E-Bay. You pass the USA customs in China, before loading on the plane or the ship. No need to carry it, if it does not pass the customs. Yves
-
Wow, you have been quite active !!! Maybe you should start another Build Log for your Arizona. Very impressive kit and all these metal parts make it very precious and beautiful. Yves
-
Beautiful hull. Great shape, a la Herreshoff !!! Yves
- 127 replies
-
- 2
-
-
- Bowdoin
- Arctic Exploration
- (and 3 more)
-
Thank you Mtaylor. Yes, I have sanded it in pretty much the same way the original model is depicted. Thank you for the pointer. Yves
-
These offset turrets are interesting. These engineers had plenty of ideas.... Yves
-
I would say the ship is slightly too heavy on the bow, especially at the speed where you took it. Yves
-
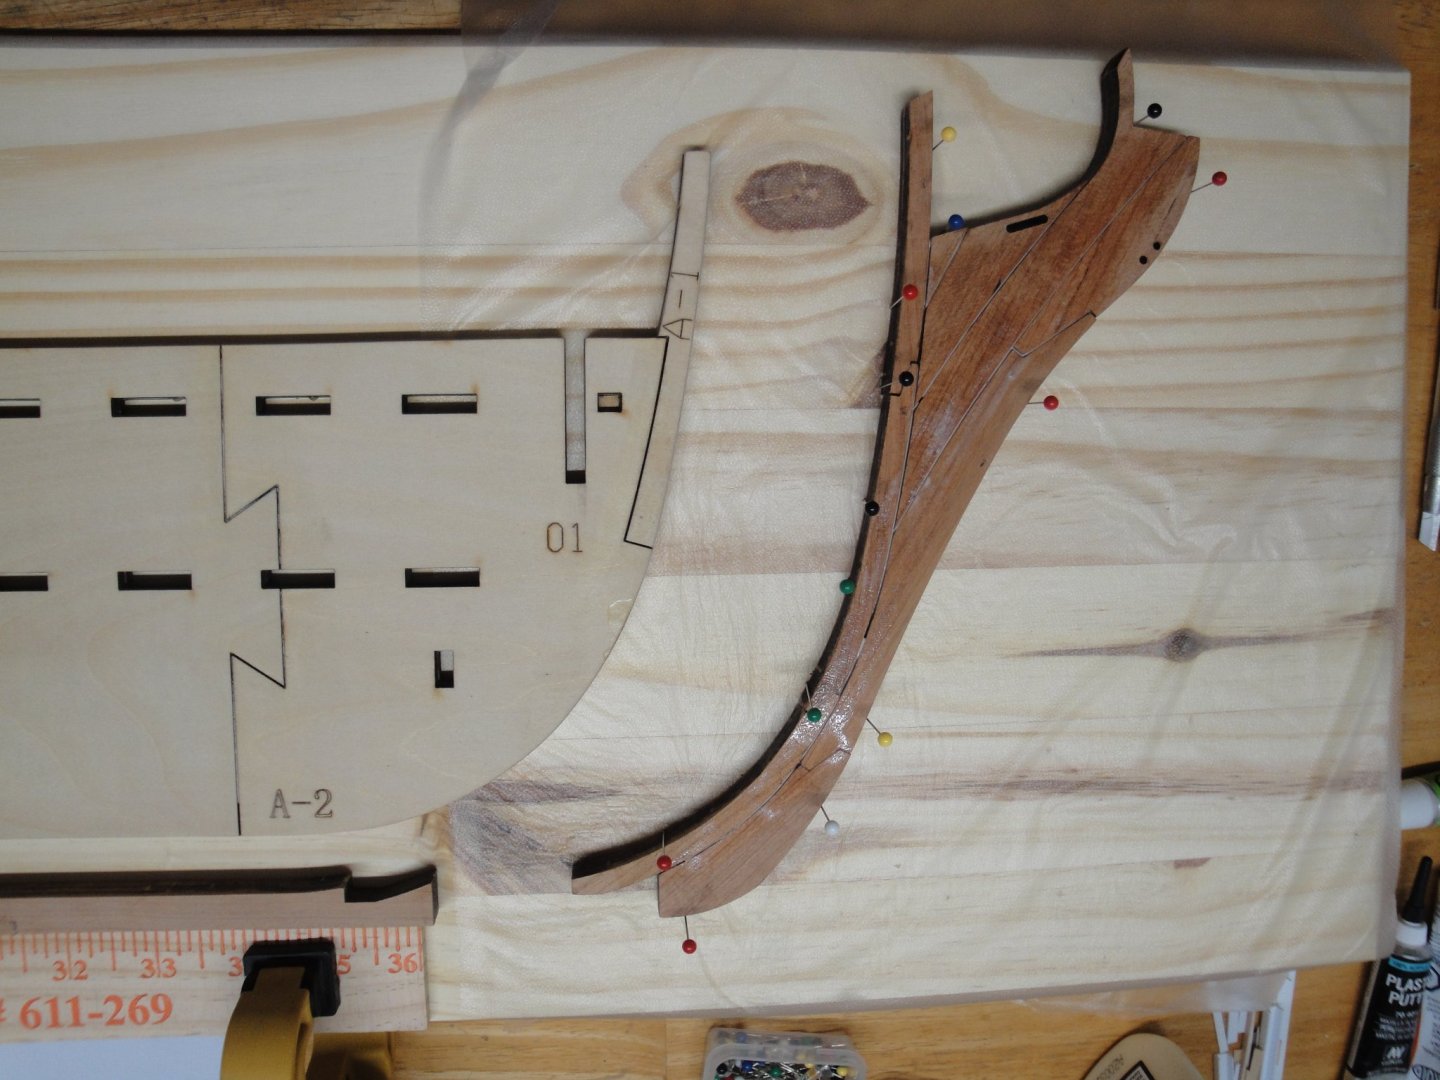
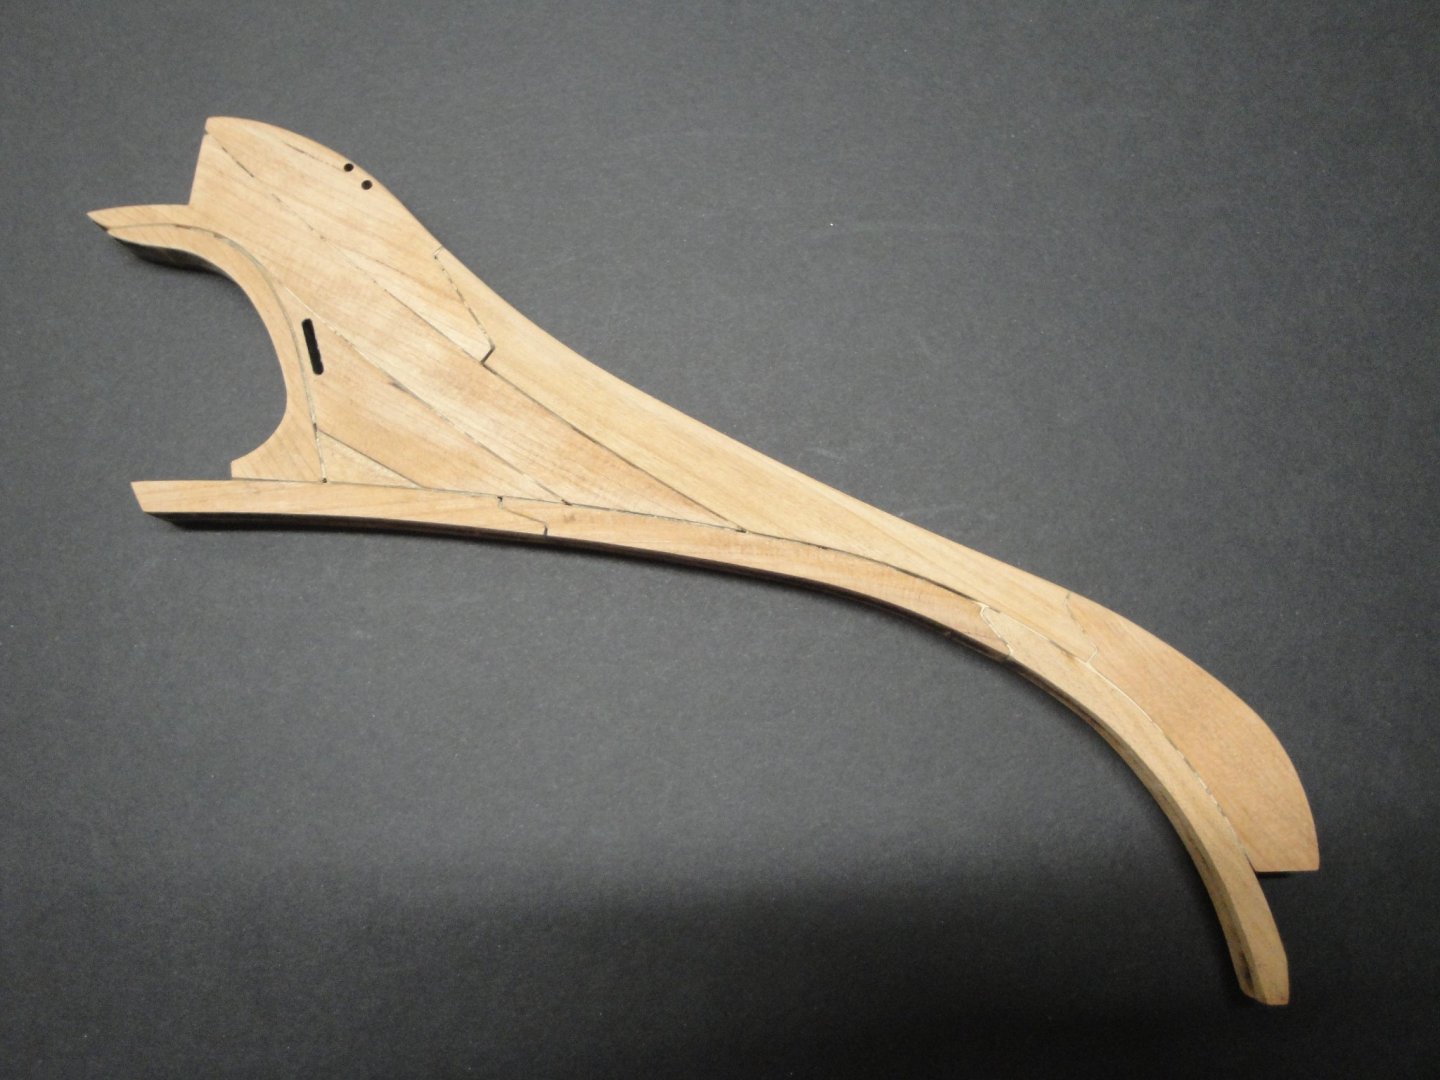
I have a few questions for the experts of period ships: 1) How do you finish the angles of the stem? Do you leave them square or do you sand them slightly to smooth the sharp edges? I am assuming that these ships did not have a polished and round stem to break the waves at 3 to 5 knots of speed....not really useful. 2) What is the best way to protect that cherry stem, for now? Would you use an oil? The final model is supposed to have the copper tiles and a stem painted black. However, it may be months or years before I get to that stage, if I ever do. Yves

-
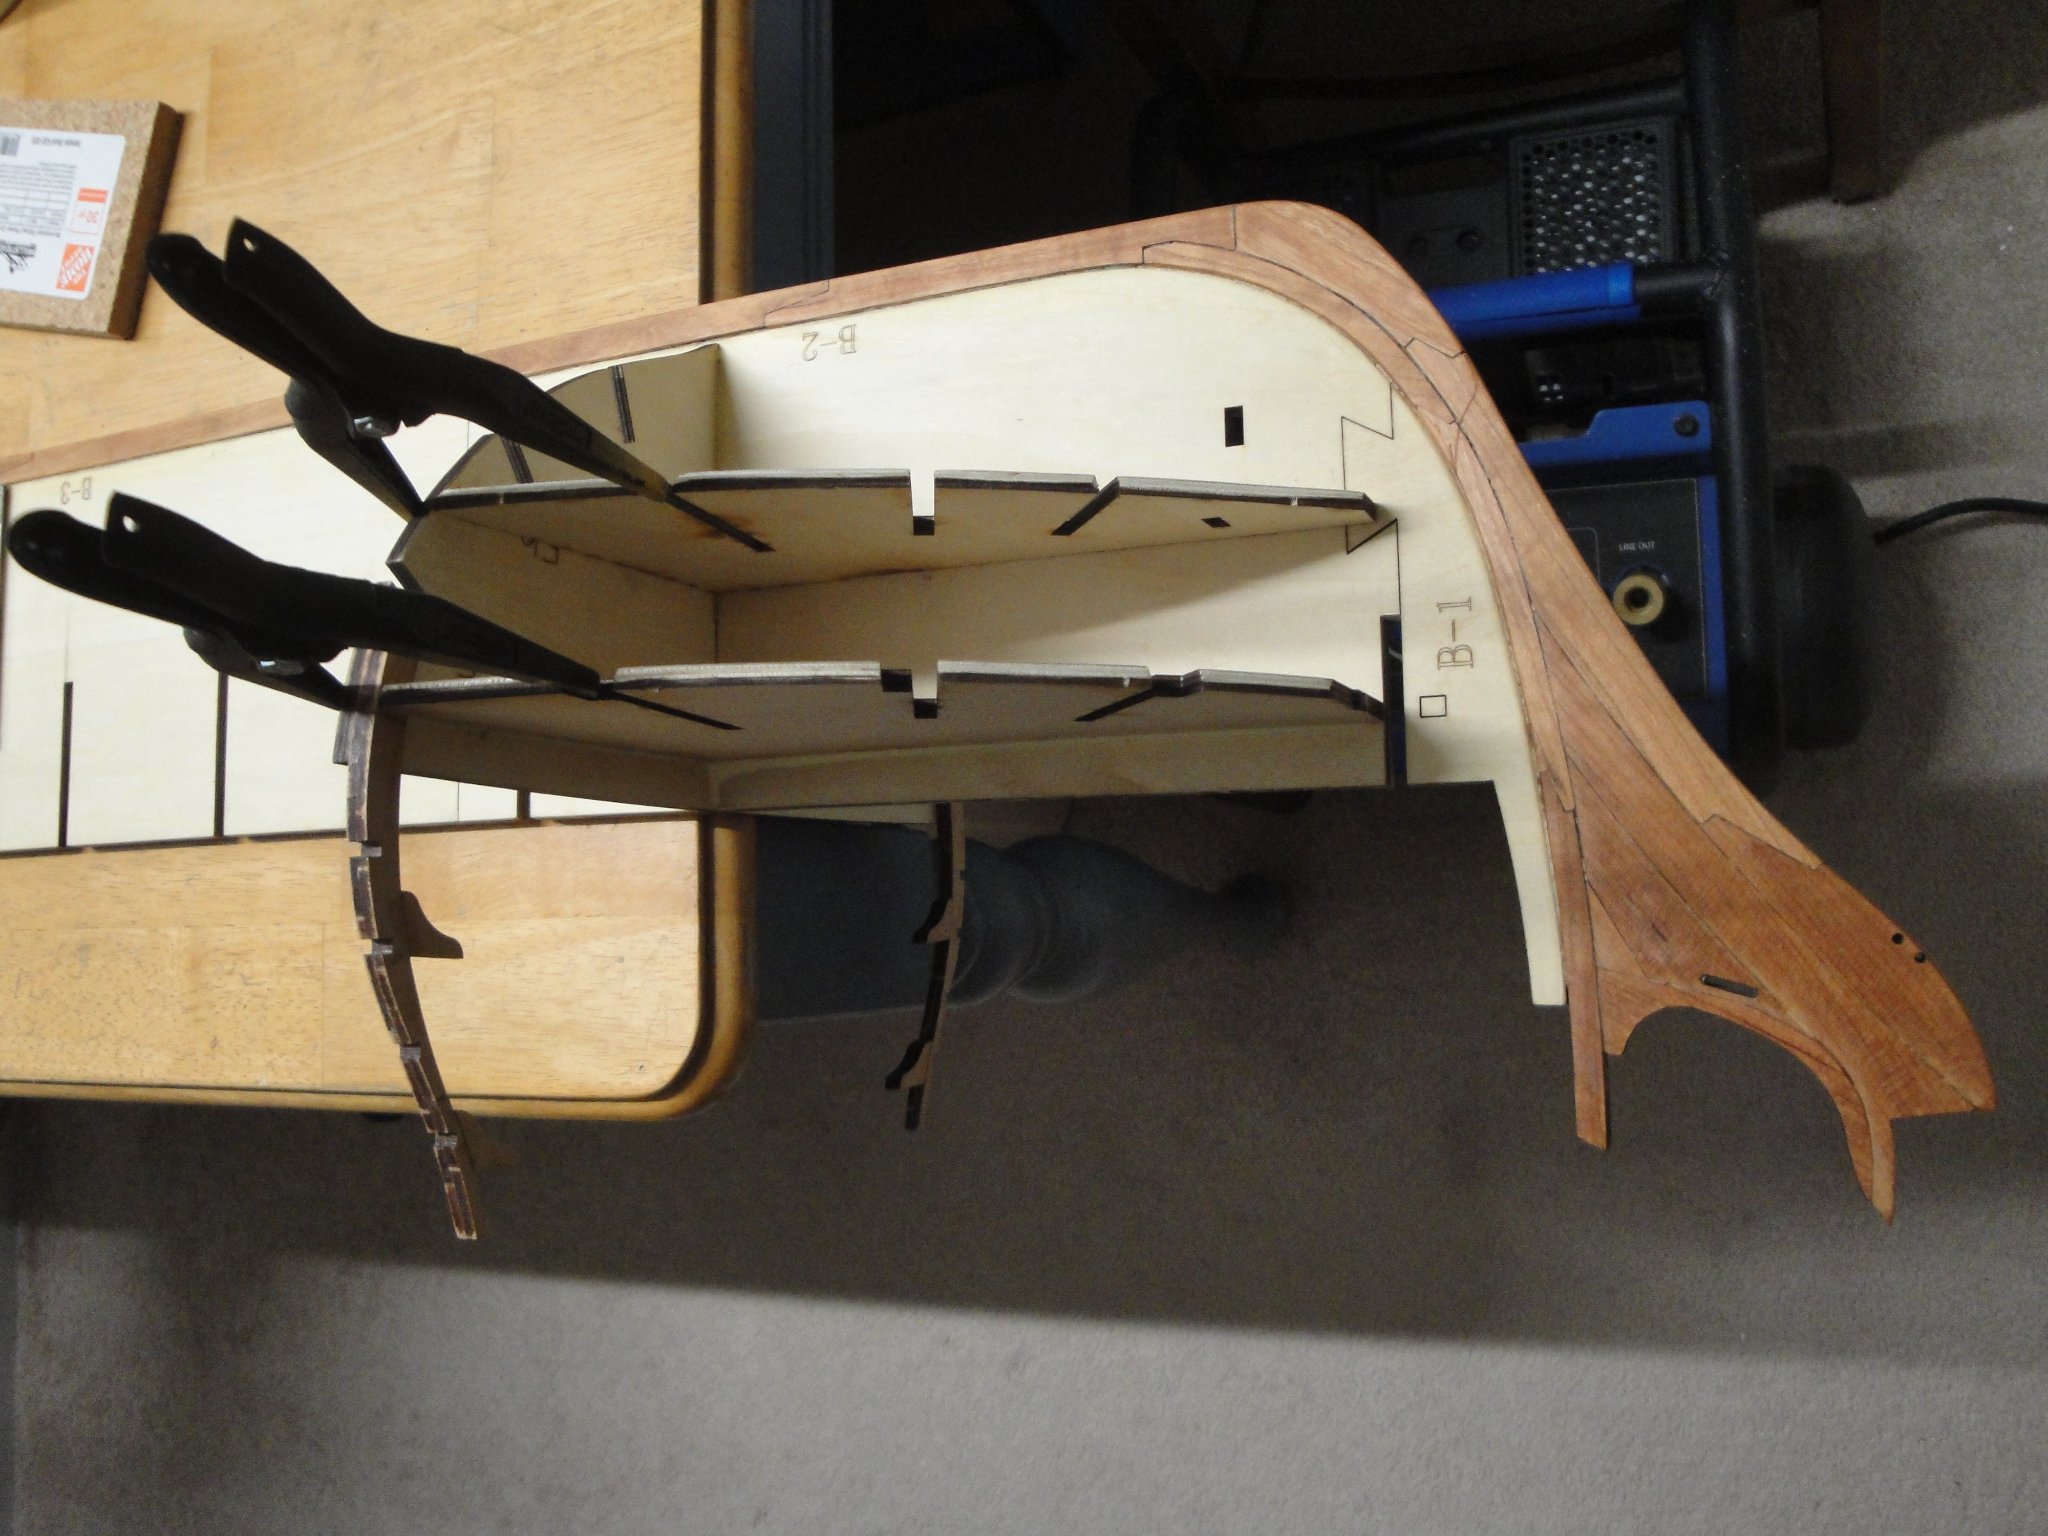
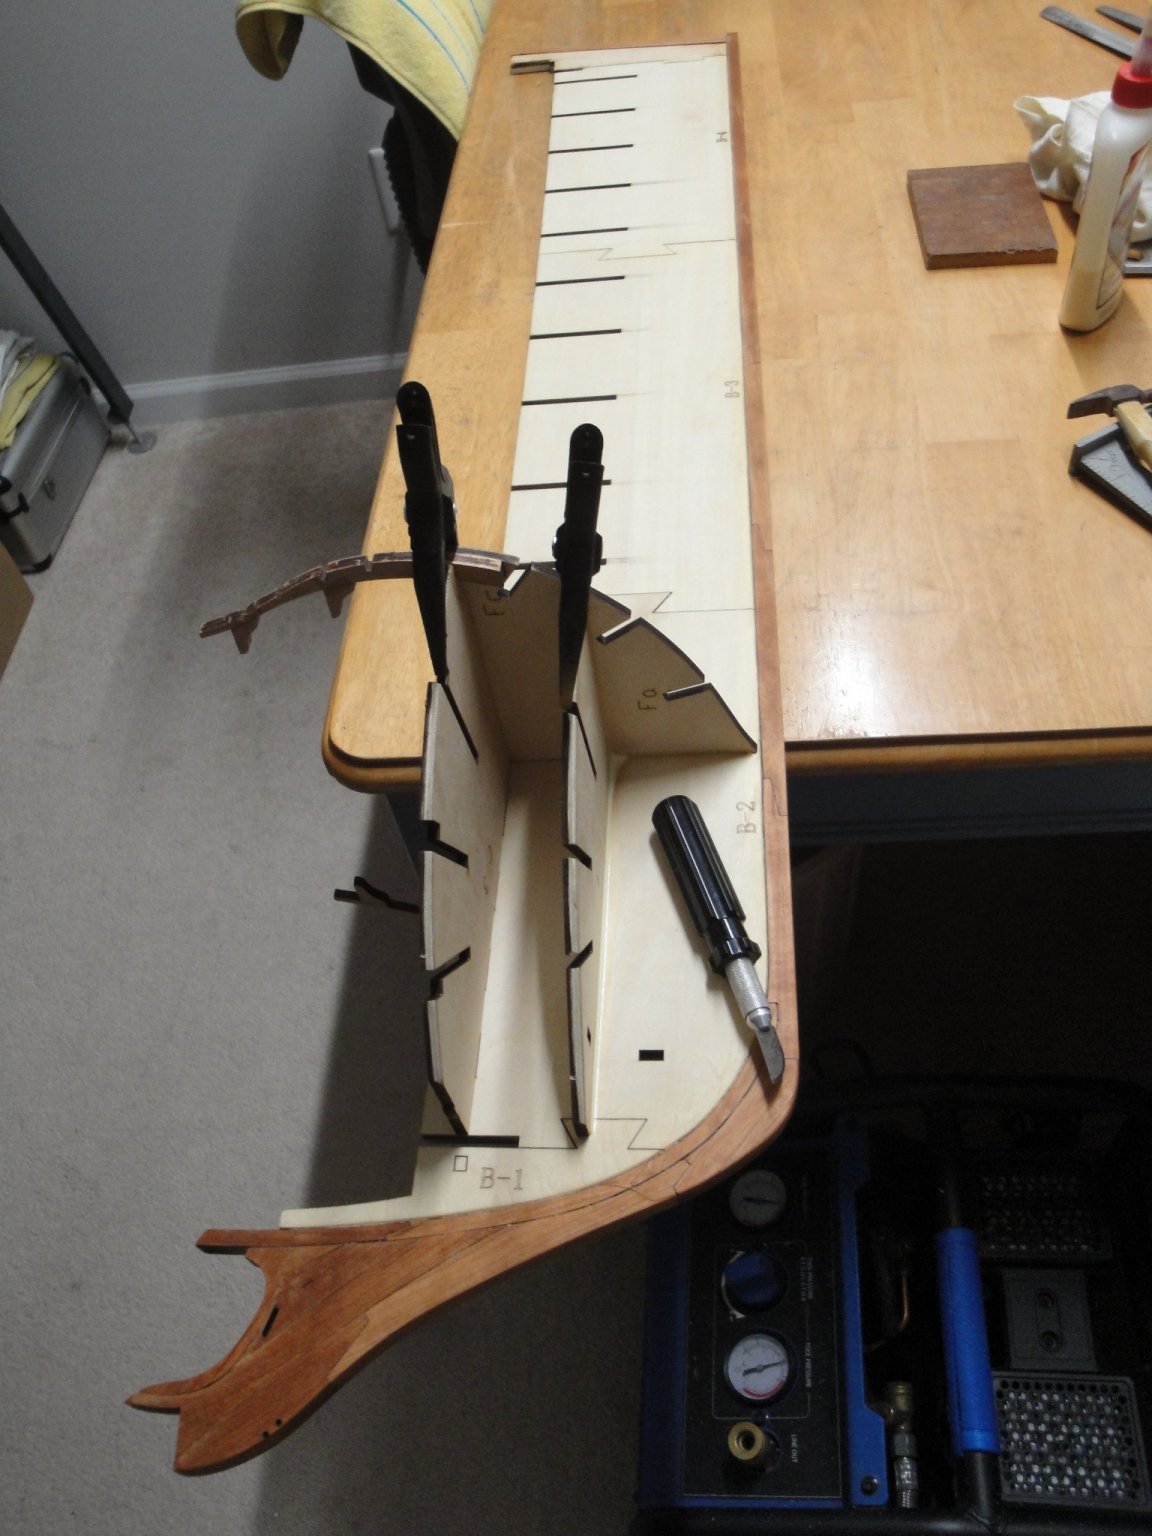
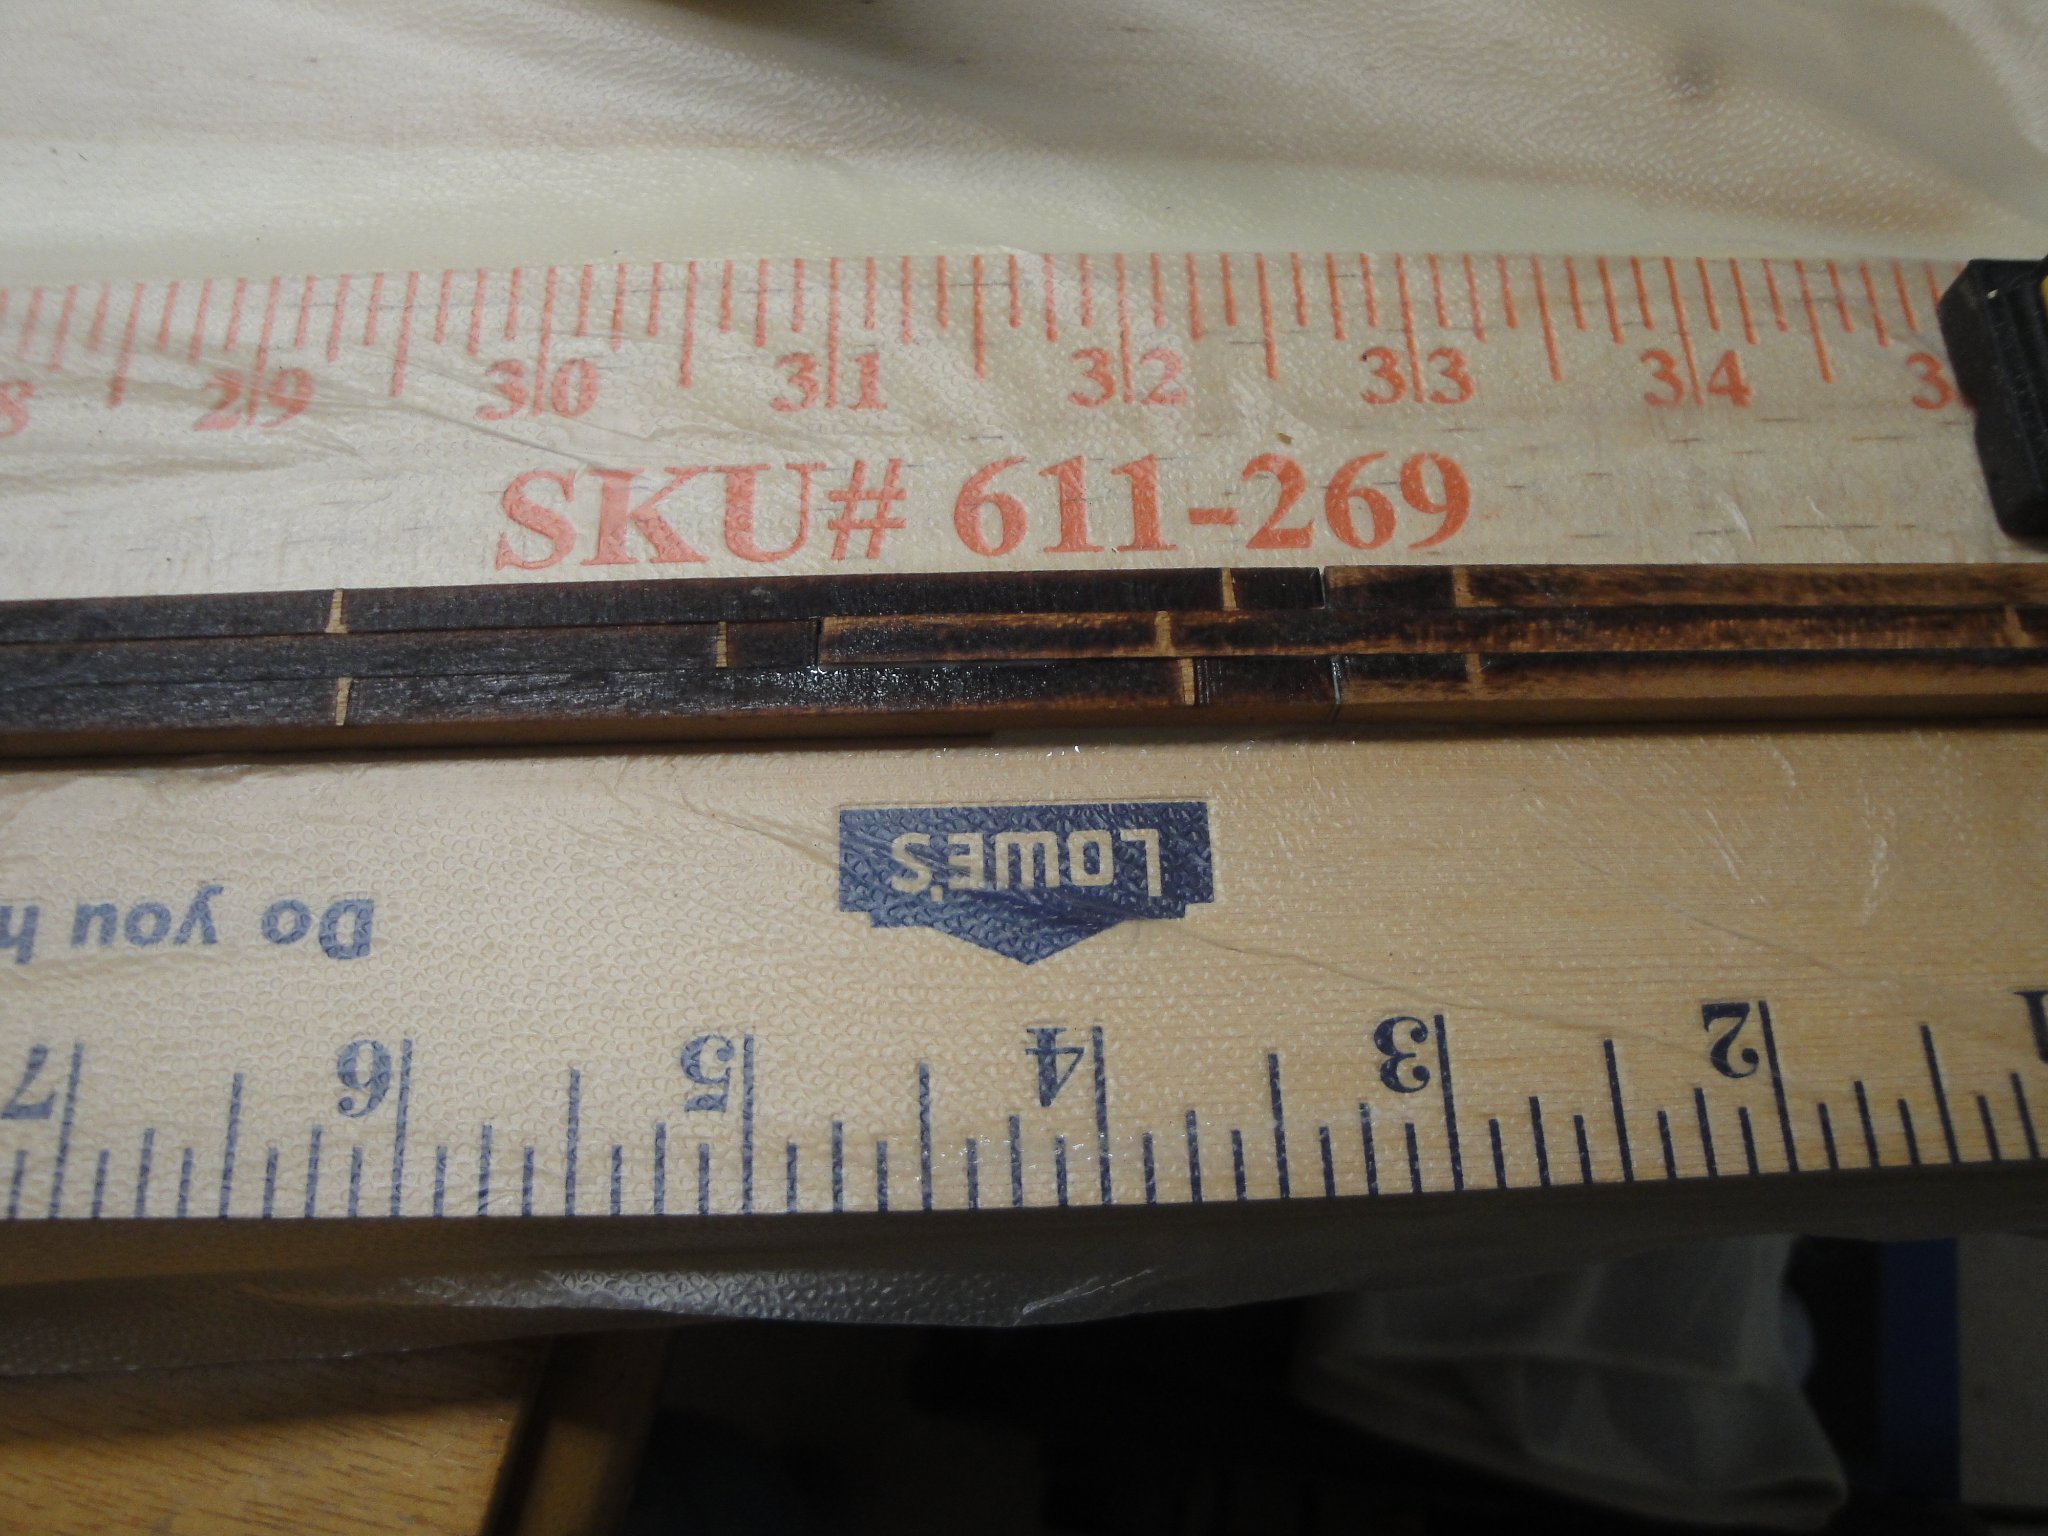
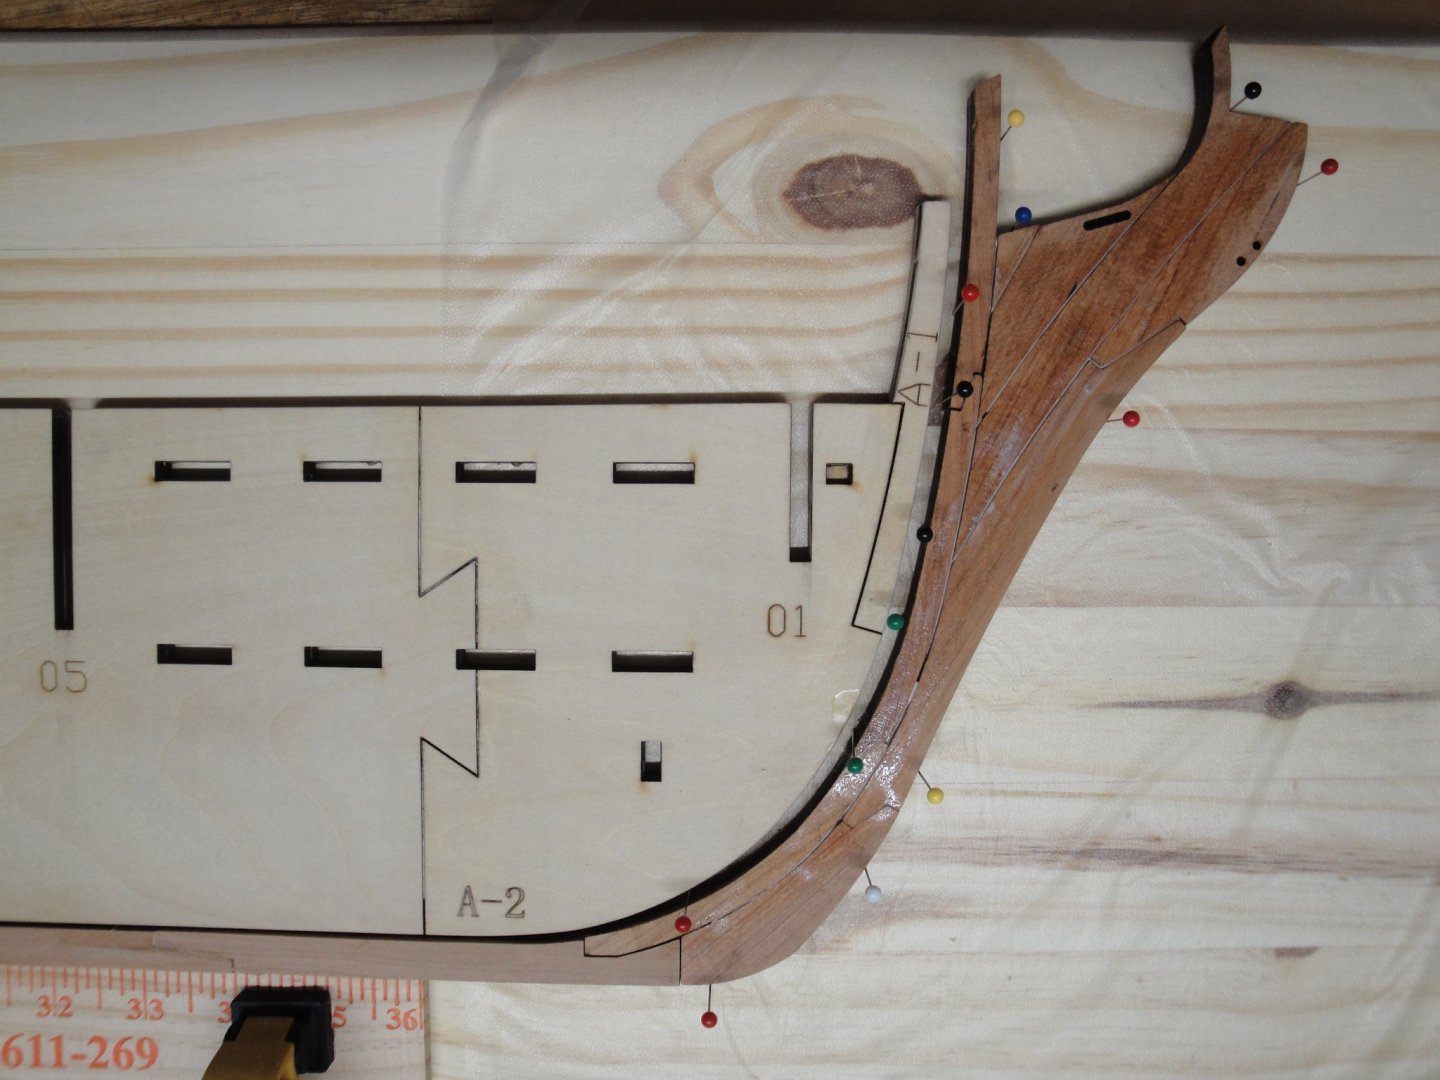
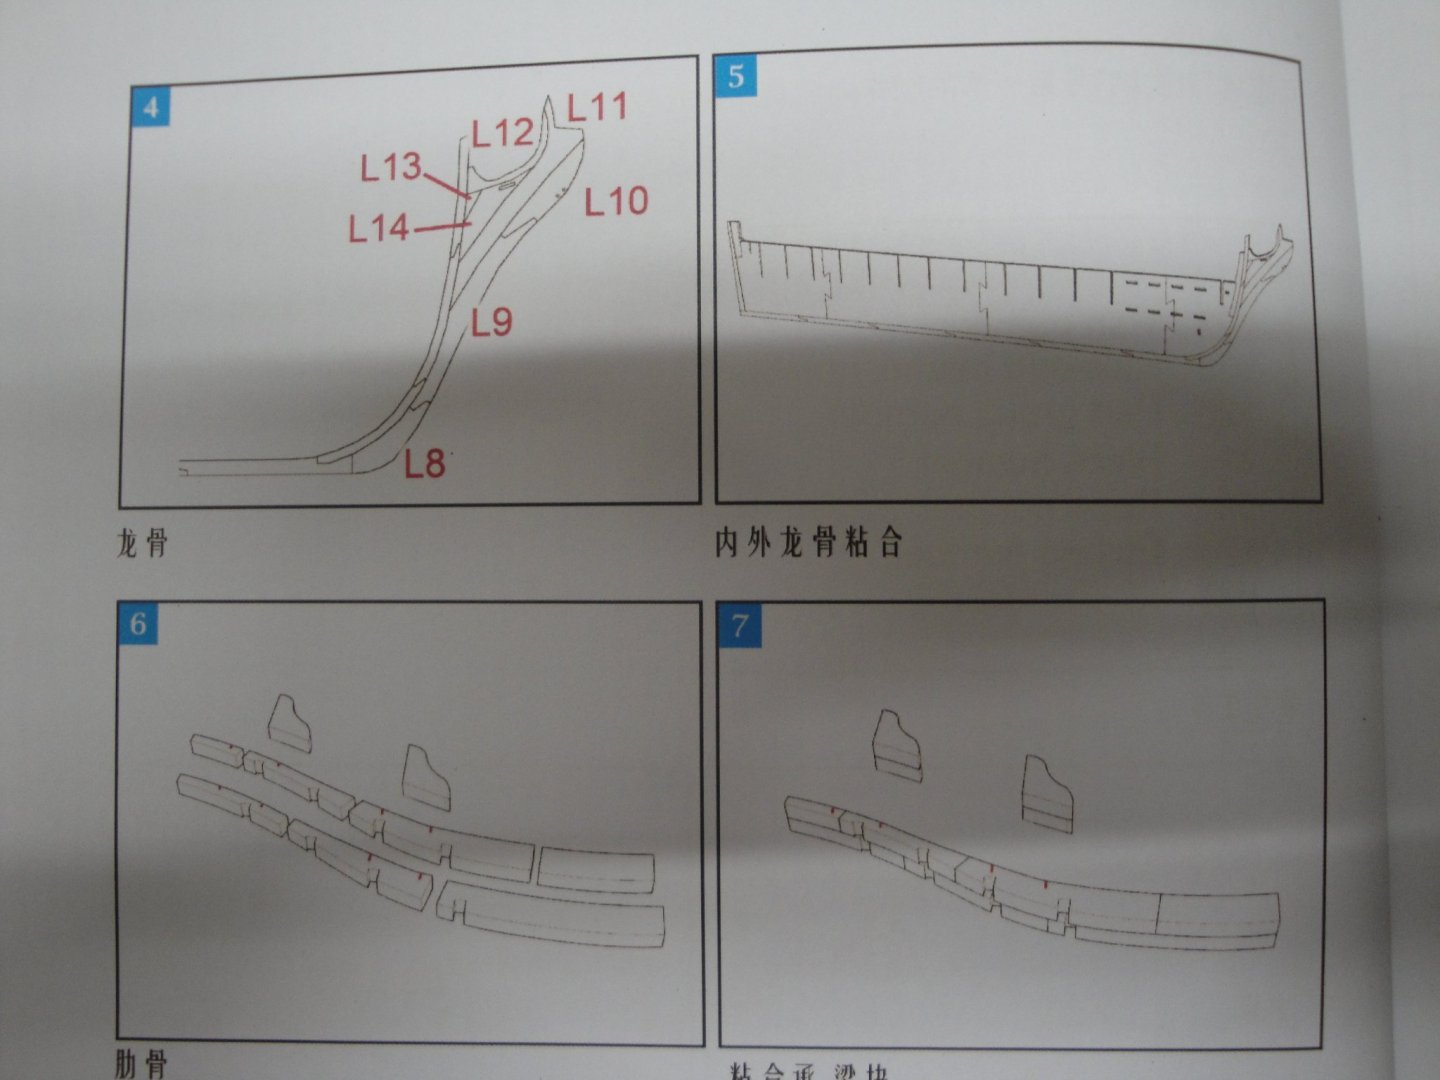
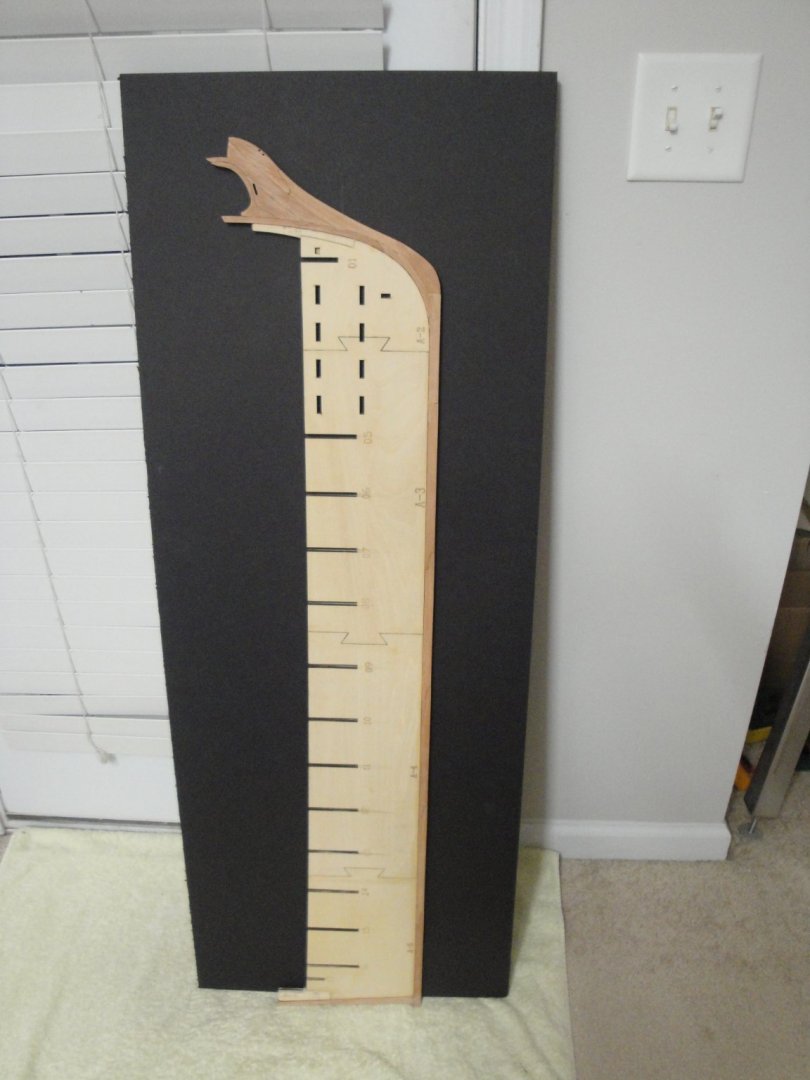
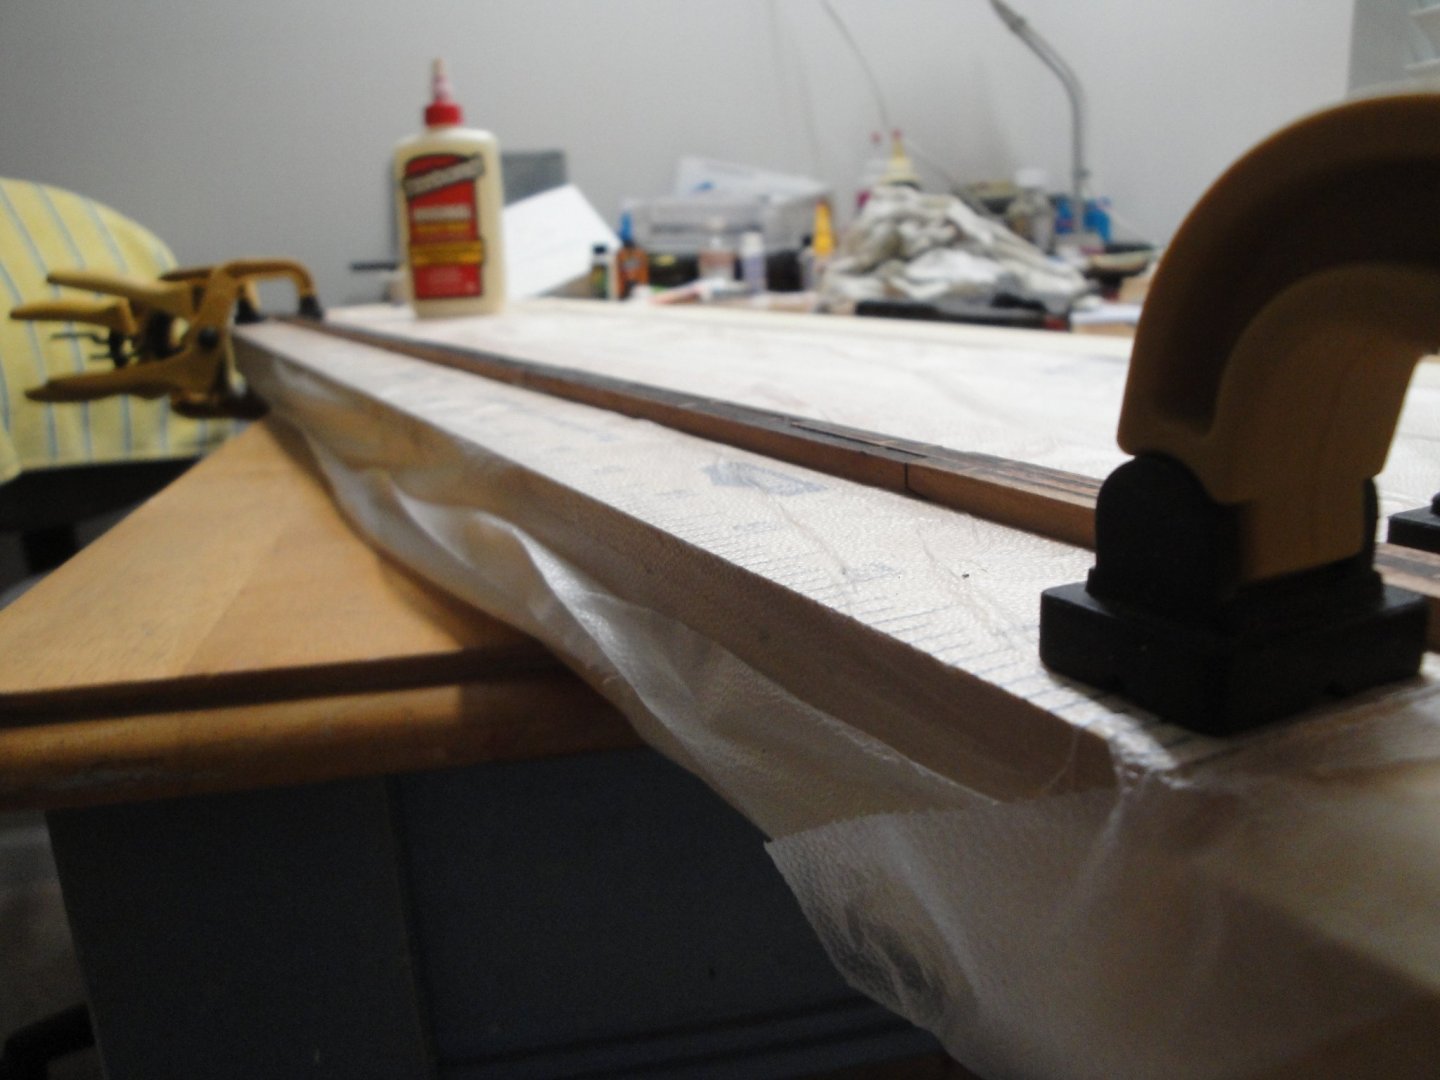
I am now building the stem. Steps 4 and 5: The fit is pretty good, out of the box: The keel is now glued to the main spine: This is done with the Lowe's ruler, clamped to a flat table to provide a good base. The keel is placed against the ruler and the spine rests on styrene cards of 1 mm thick. Spine is 10 mm, keel is 12 mm thick, leaving 1 mm on each side. Plenty of heavy weights are placed upon the assembly to make sure the whole keel/spine is perfectly flat. In the meantime, the stem has been glued, cleaned and polished. The cherry wood is very pleasant for the eyes and even better to the touch: Finally, the stem is glued to the previous keel/spine assembly: This ship is going to be massive: And yes, it holds vertically, by itself: Next, we will be assembling bulkheads and placing them on the spine. So far, I am very pleased with the kit and even though the cherry wood is hard to work at (at least with my tools - I do everything by hand, no electric sander), all the parts are fitting very well. Yves

- 507 replies
-
- 15
-

-
-
Another beautiful kit. James, you are unstoppable !!!! Yves
- 28 replies
-
- 5
-
-
- vanguard models
- Brixham trawler
- (and 2 more)
-
Amazing work!!! I miss access to a resin printer for my Corvette.... 😞 Yves
-
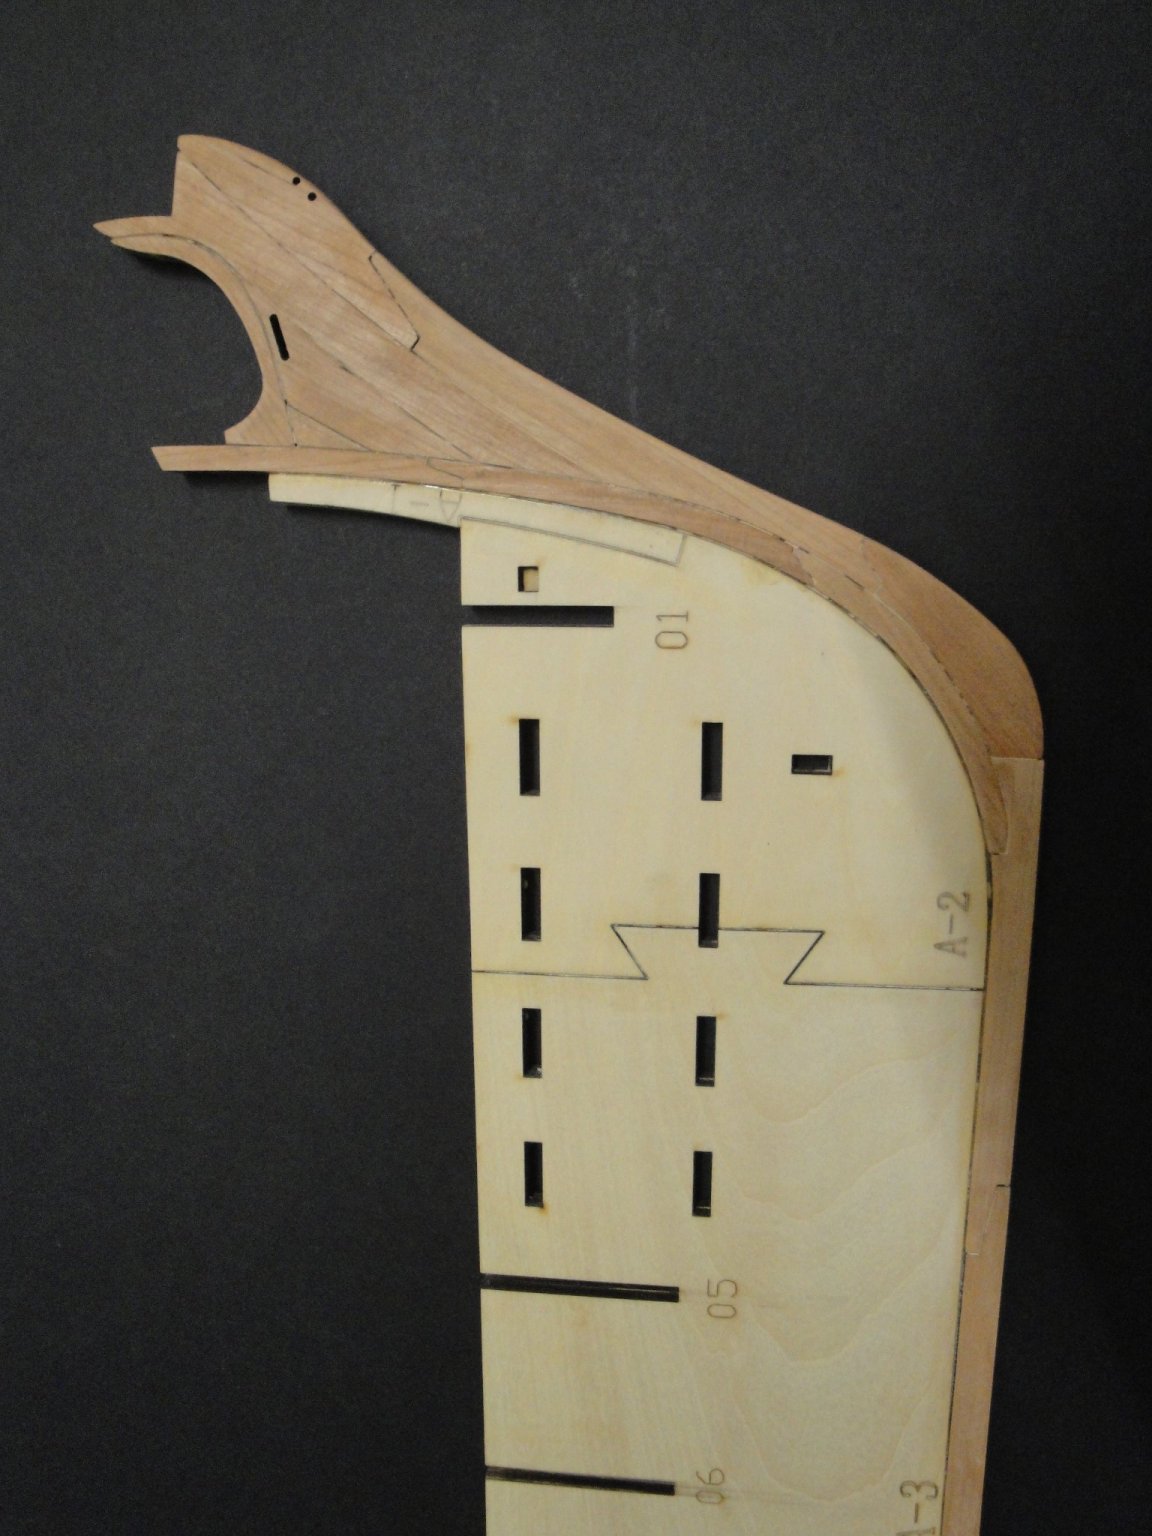
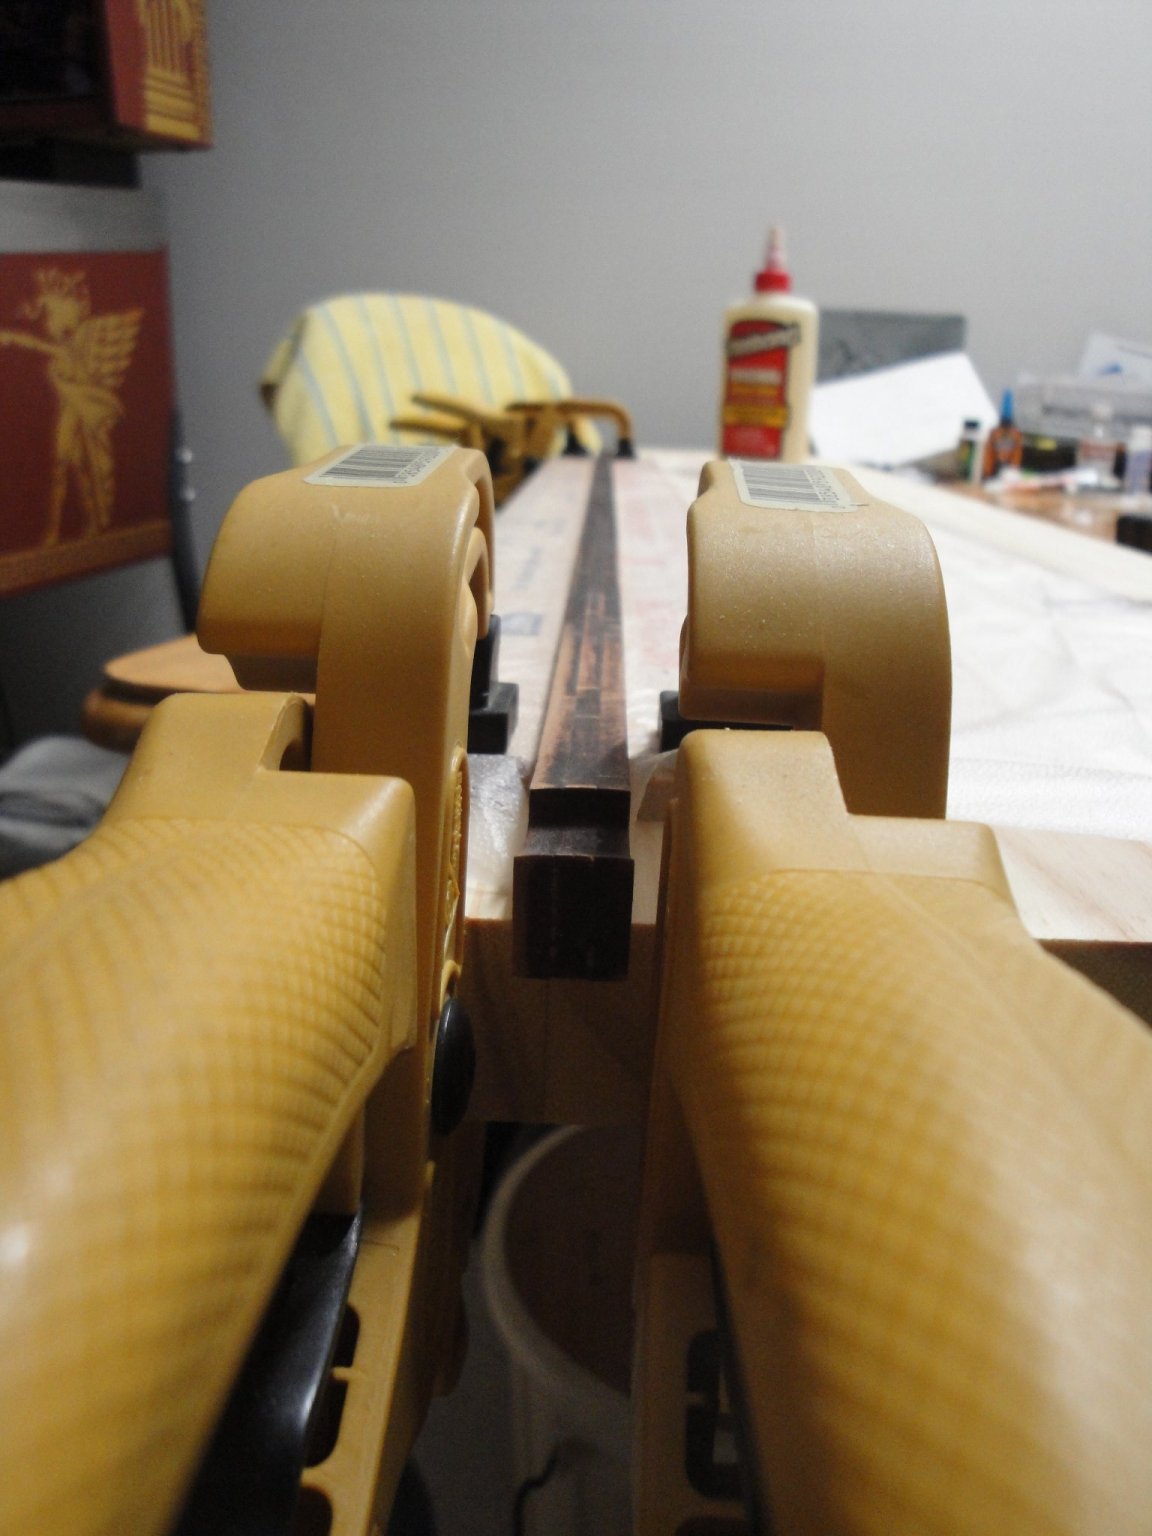
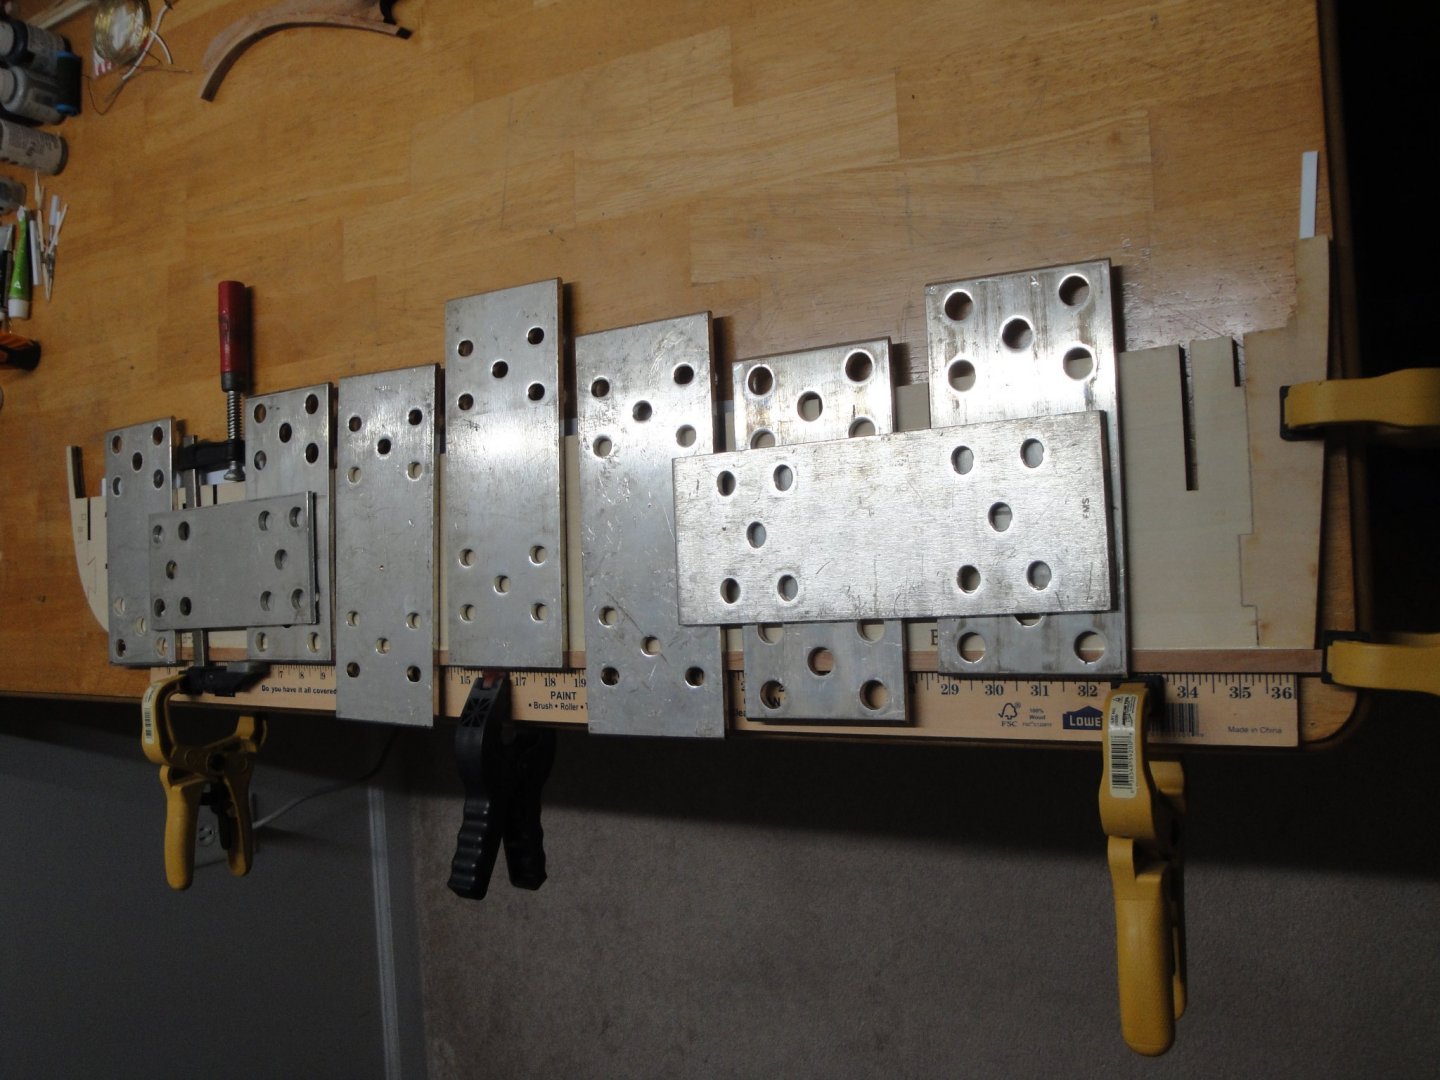
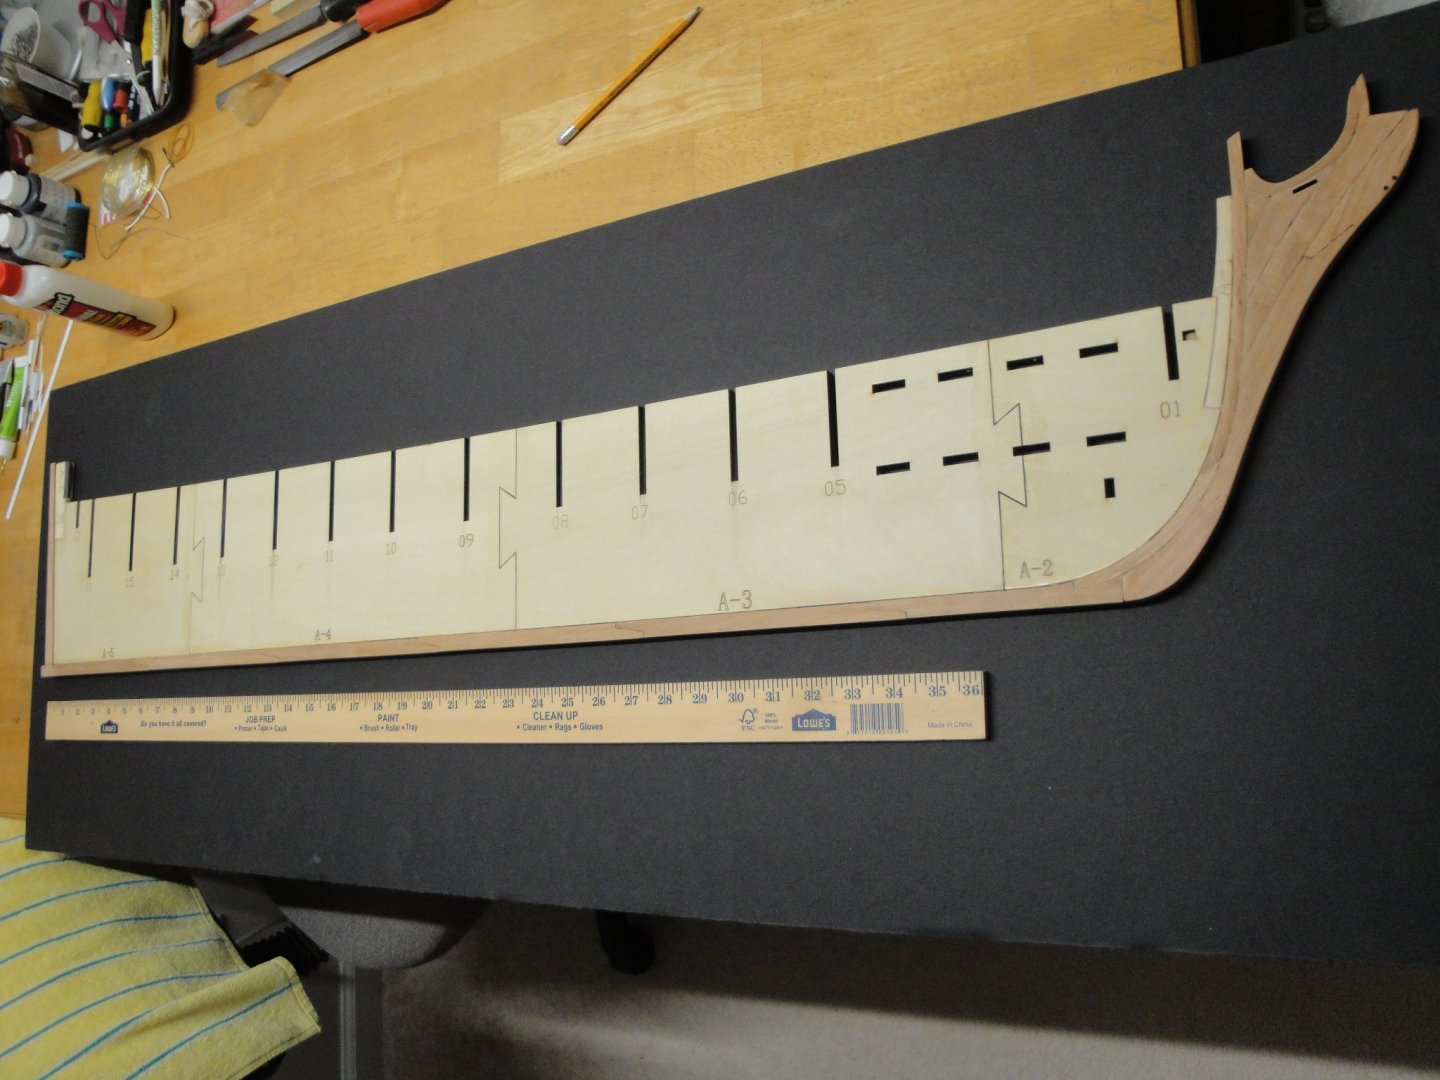
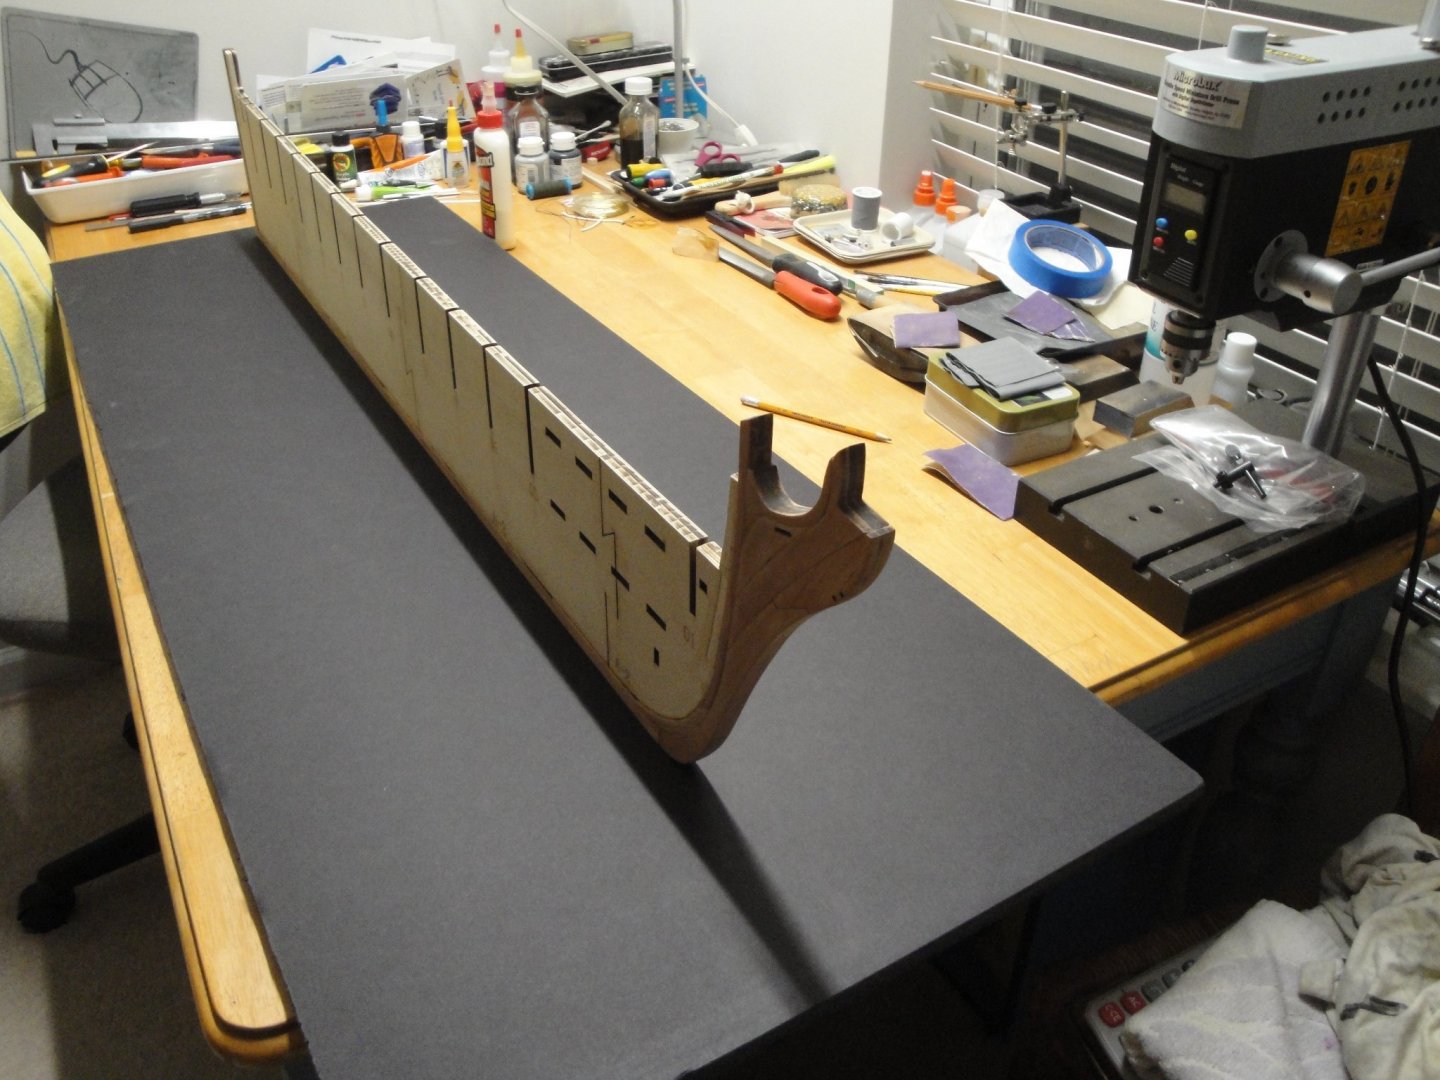
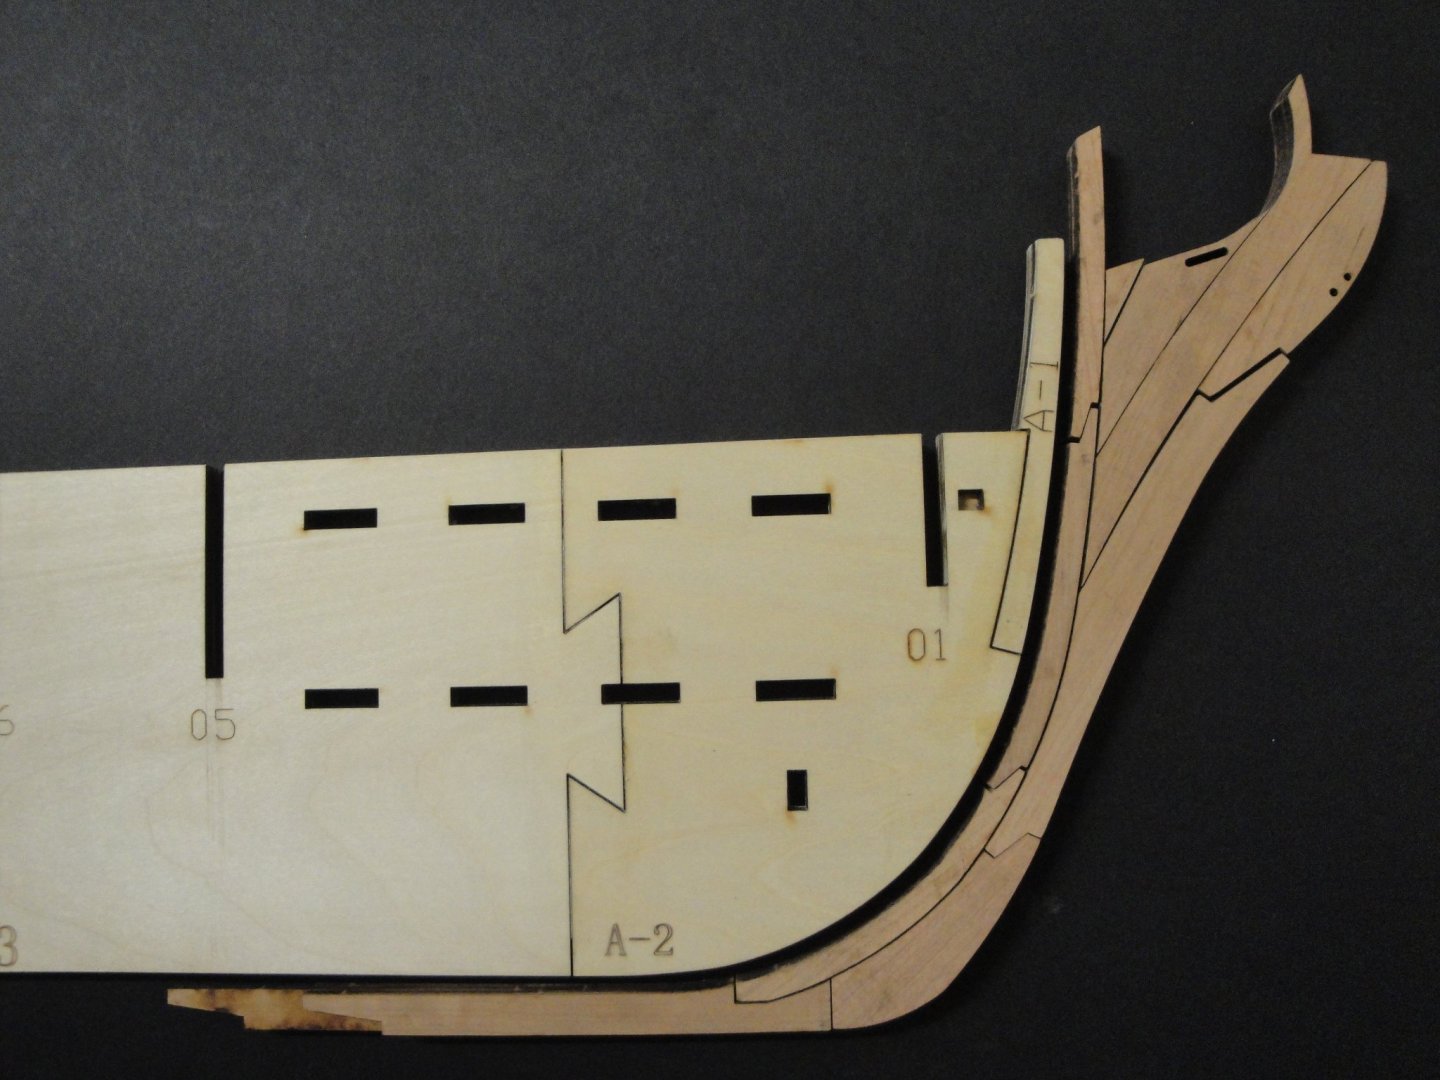
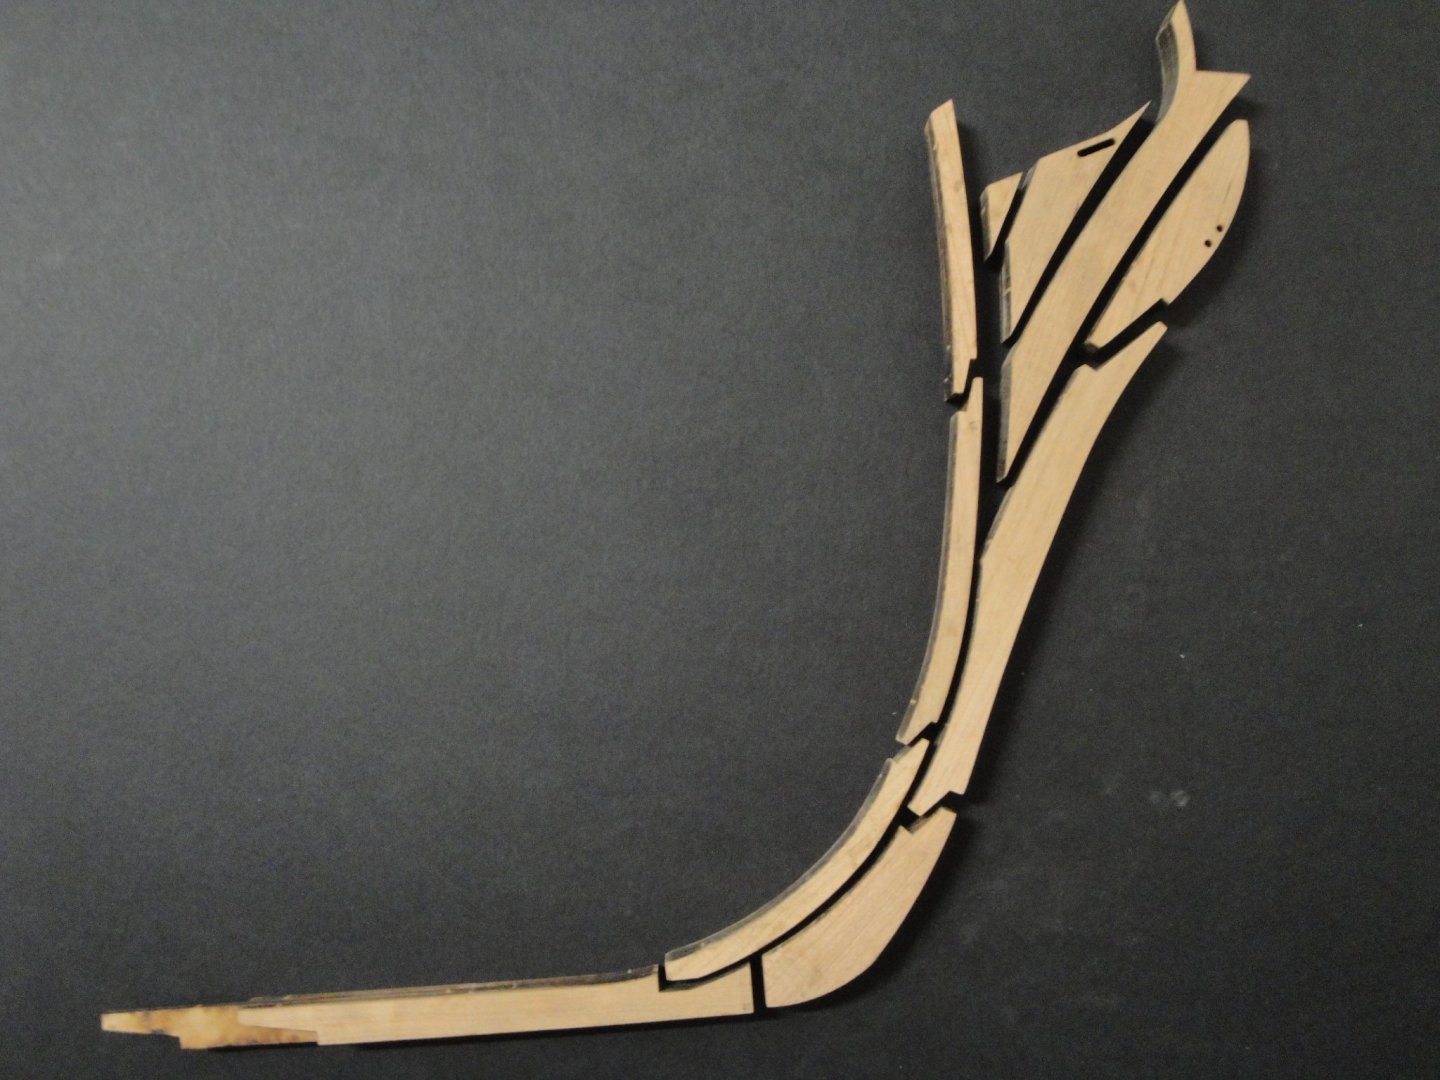
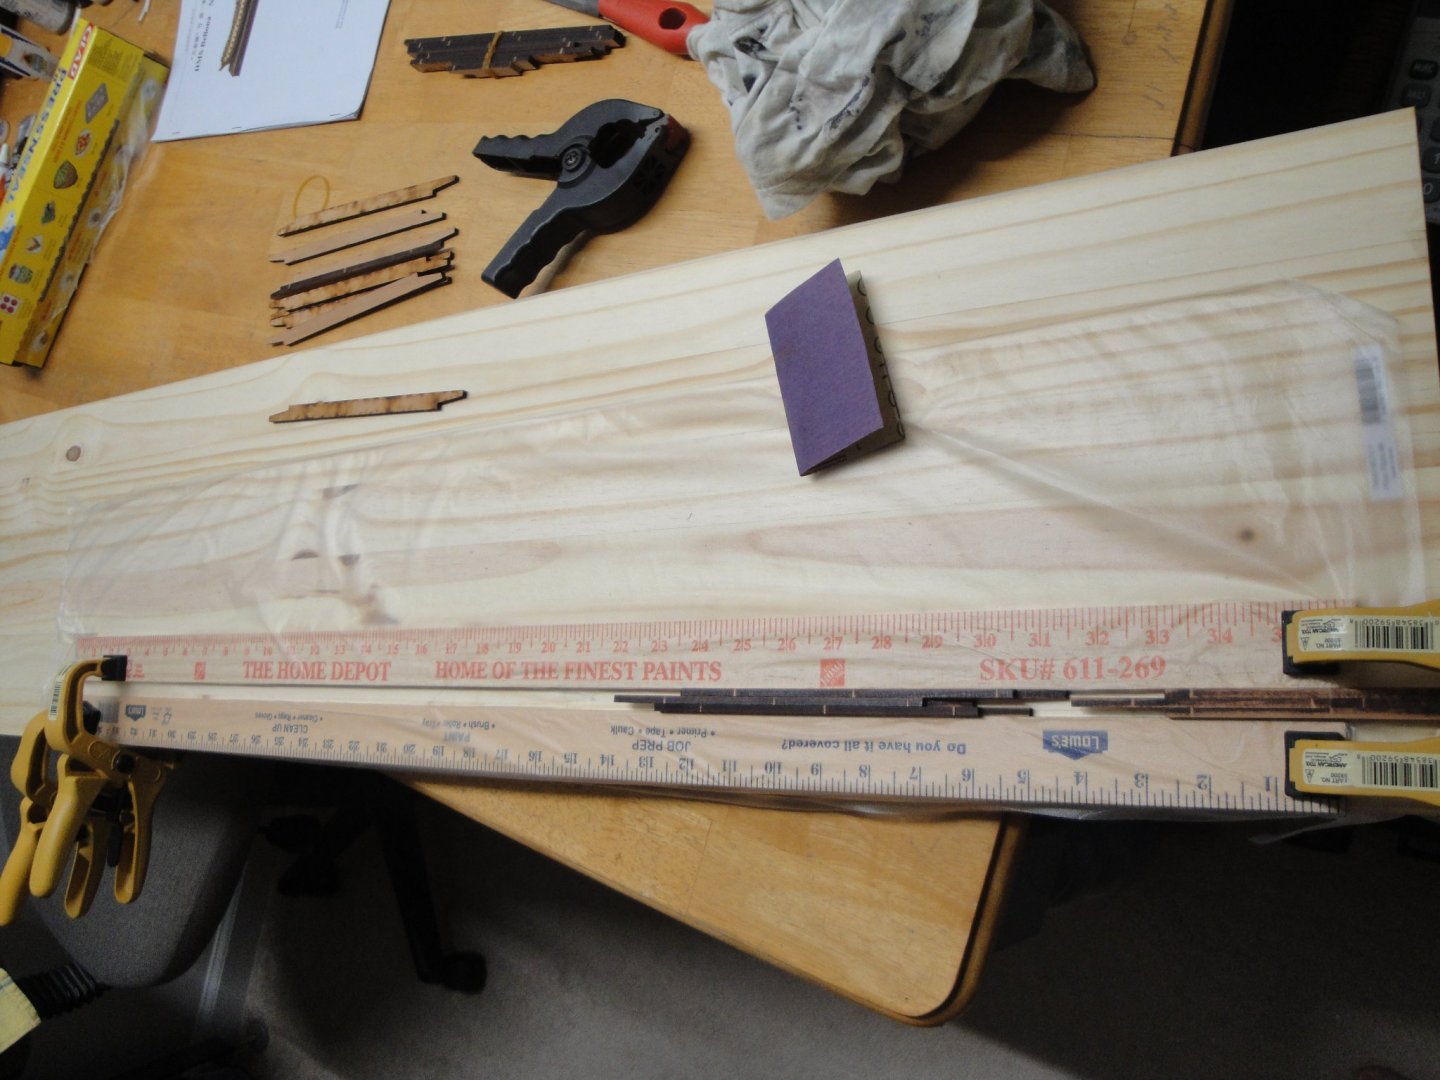
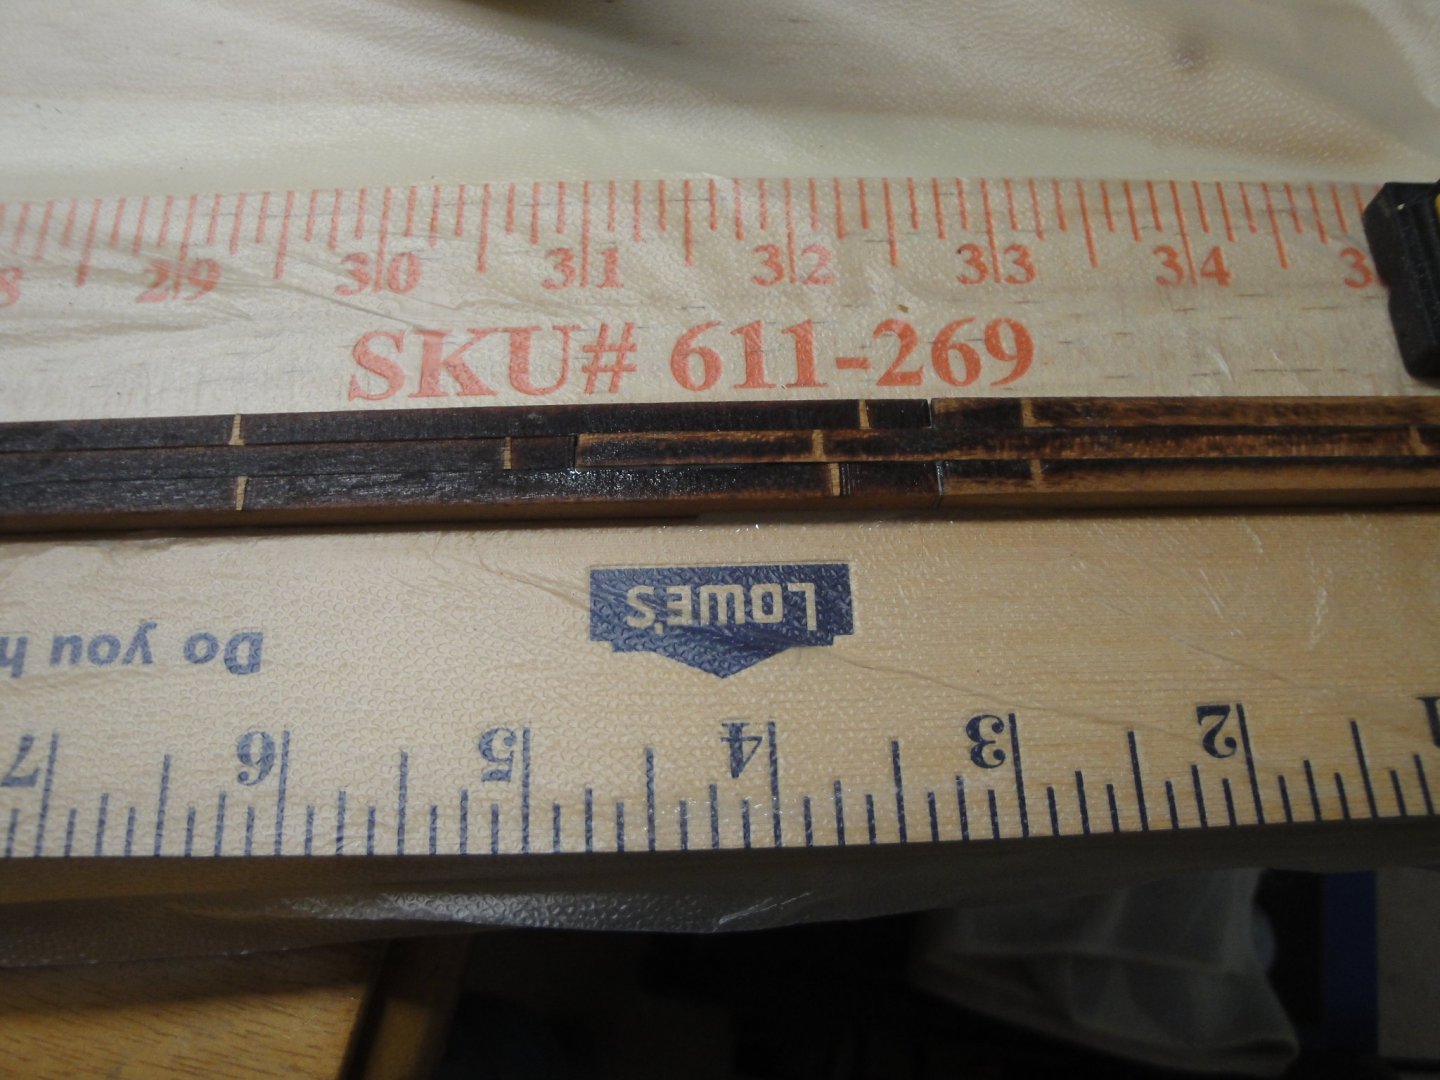
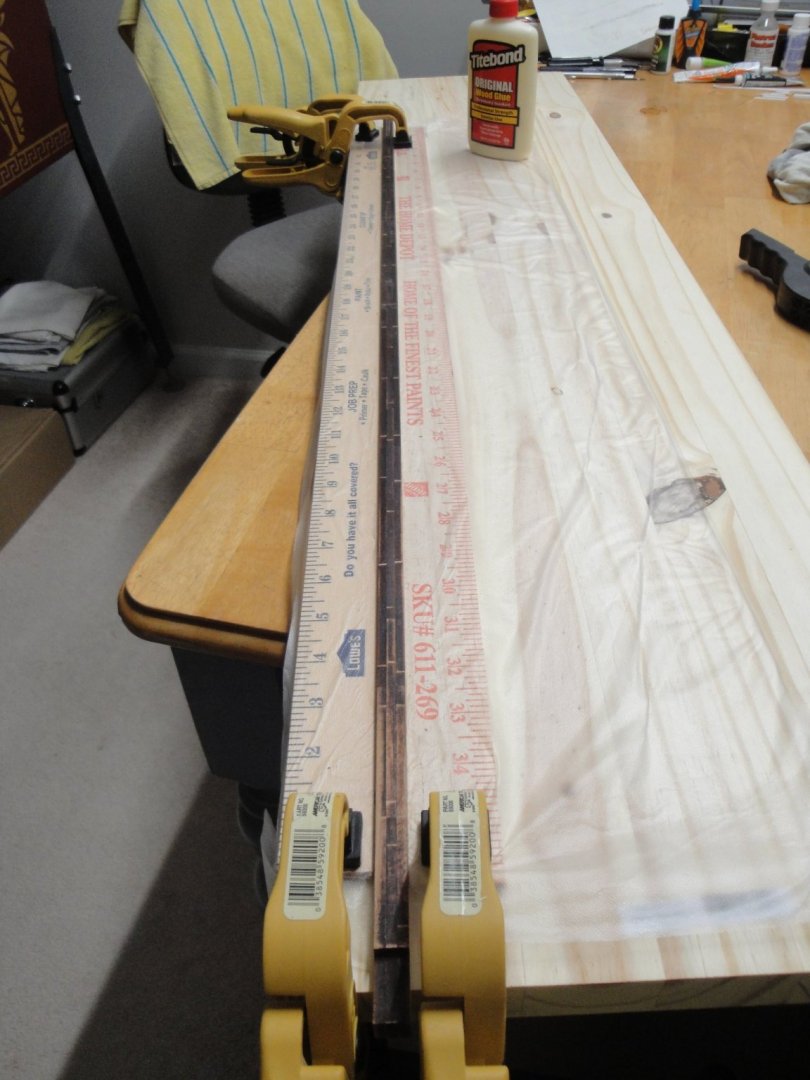
Working on the keel of the ship. I glued all parts of the bow, three at a time. This is still a puzzle.... All the parts are made of three layers of cherry wood. The parts are designed in such a way, that both external sides are not burn by the cutting laser, which is a nice attention and a time saver. The next part is building the horizontal keel, using the staggered arrangement: A bench is designed with the help of Lowe's and Home Depot. Some shrink wrap plastic sheet is used to prevent the glue from running on the rulers and the bench. The parts are stuck in the trough and inserted very tightly. Making sure it is straight.... the keel is about 40 inches long and comprised of 18 parts. After removal, the keel is very strong and absolutely straight. Yves

- 507 replies
-
- 16
-
-
-
James, congratulations on finishing this kit so quickly. It is amazing and I have come to the conclusion that you do like building rat lines..... Yves
- 355 replies
-
- 4
-
-

-
- vanguard models
- Sphinx
- (and 1 more)
-
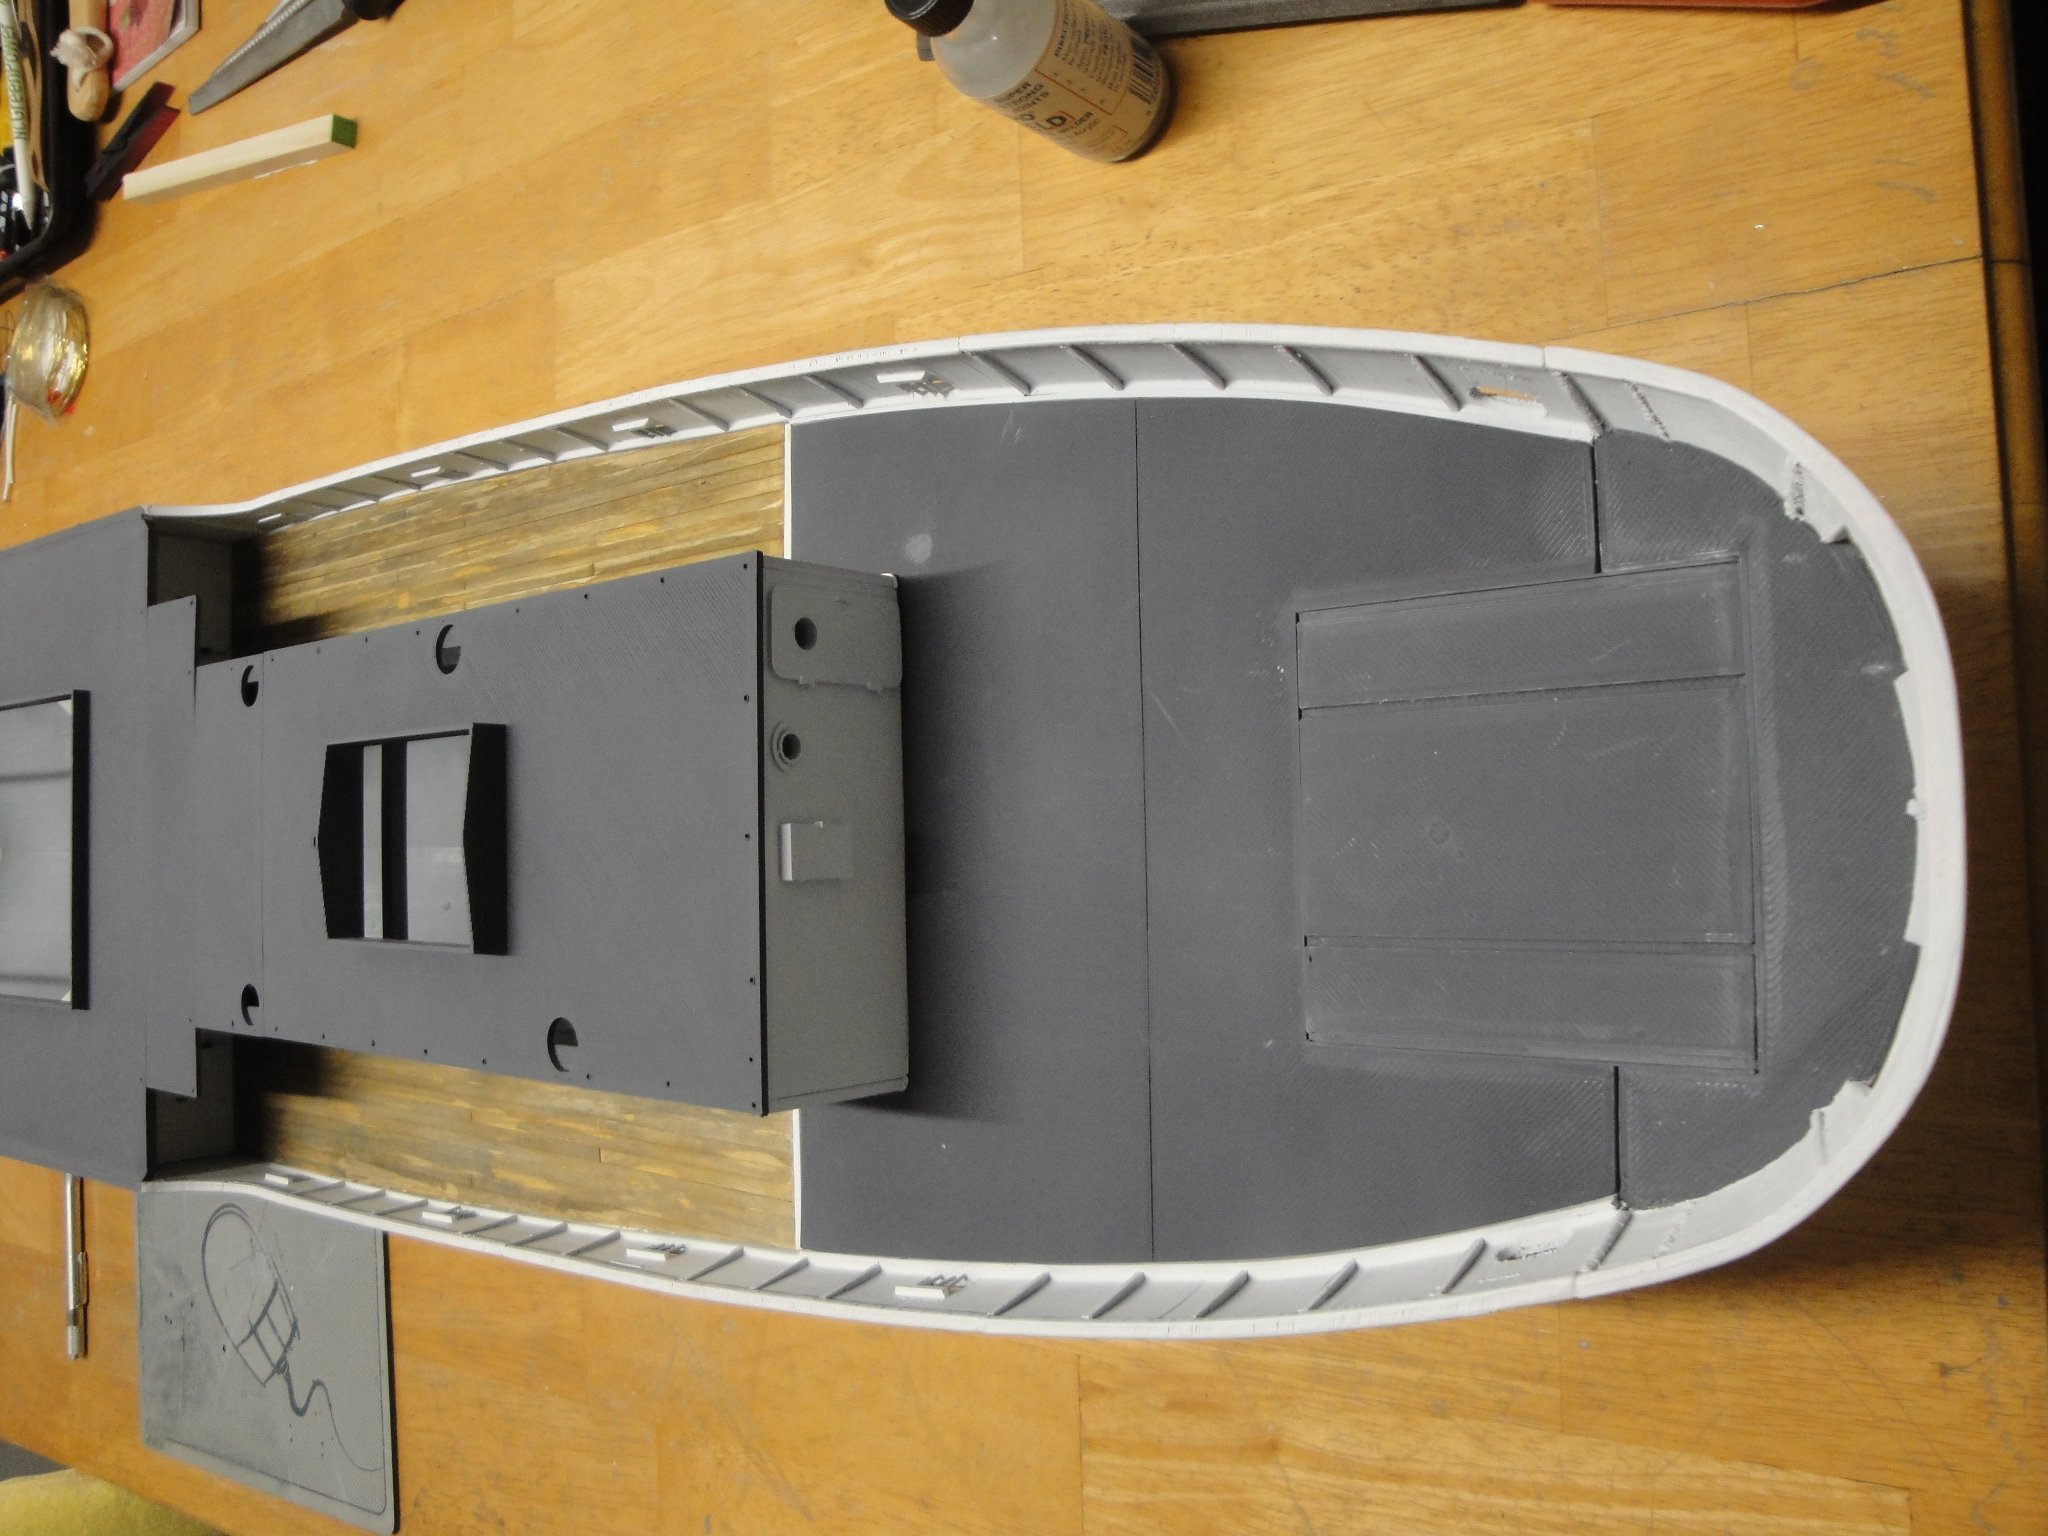
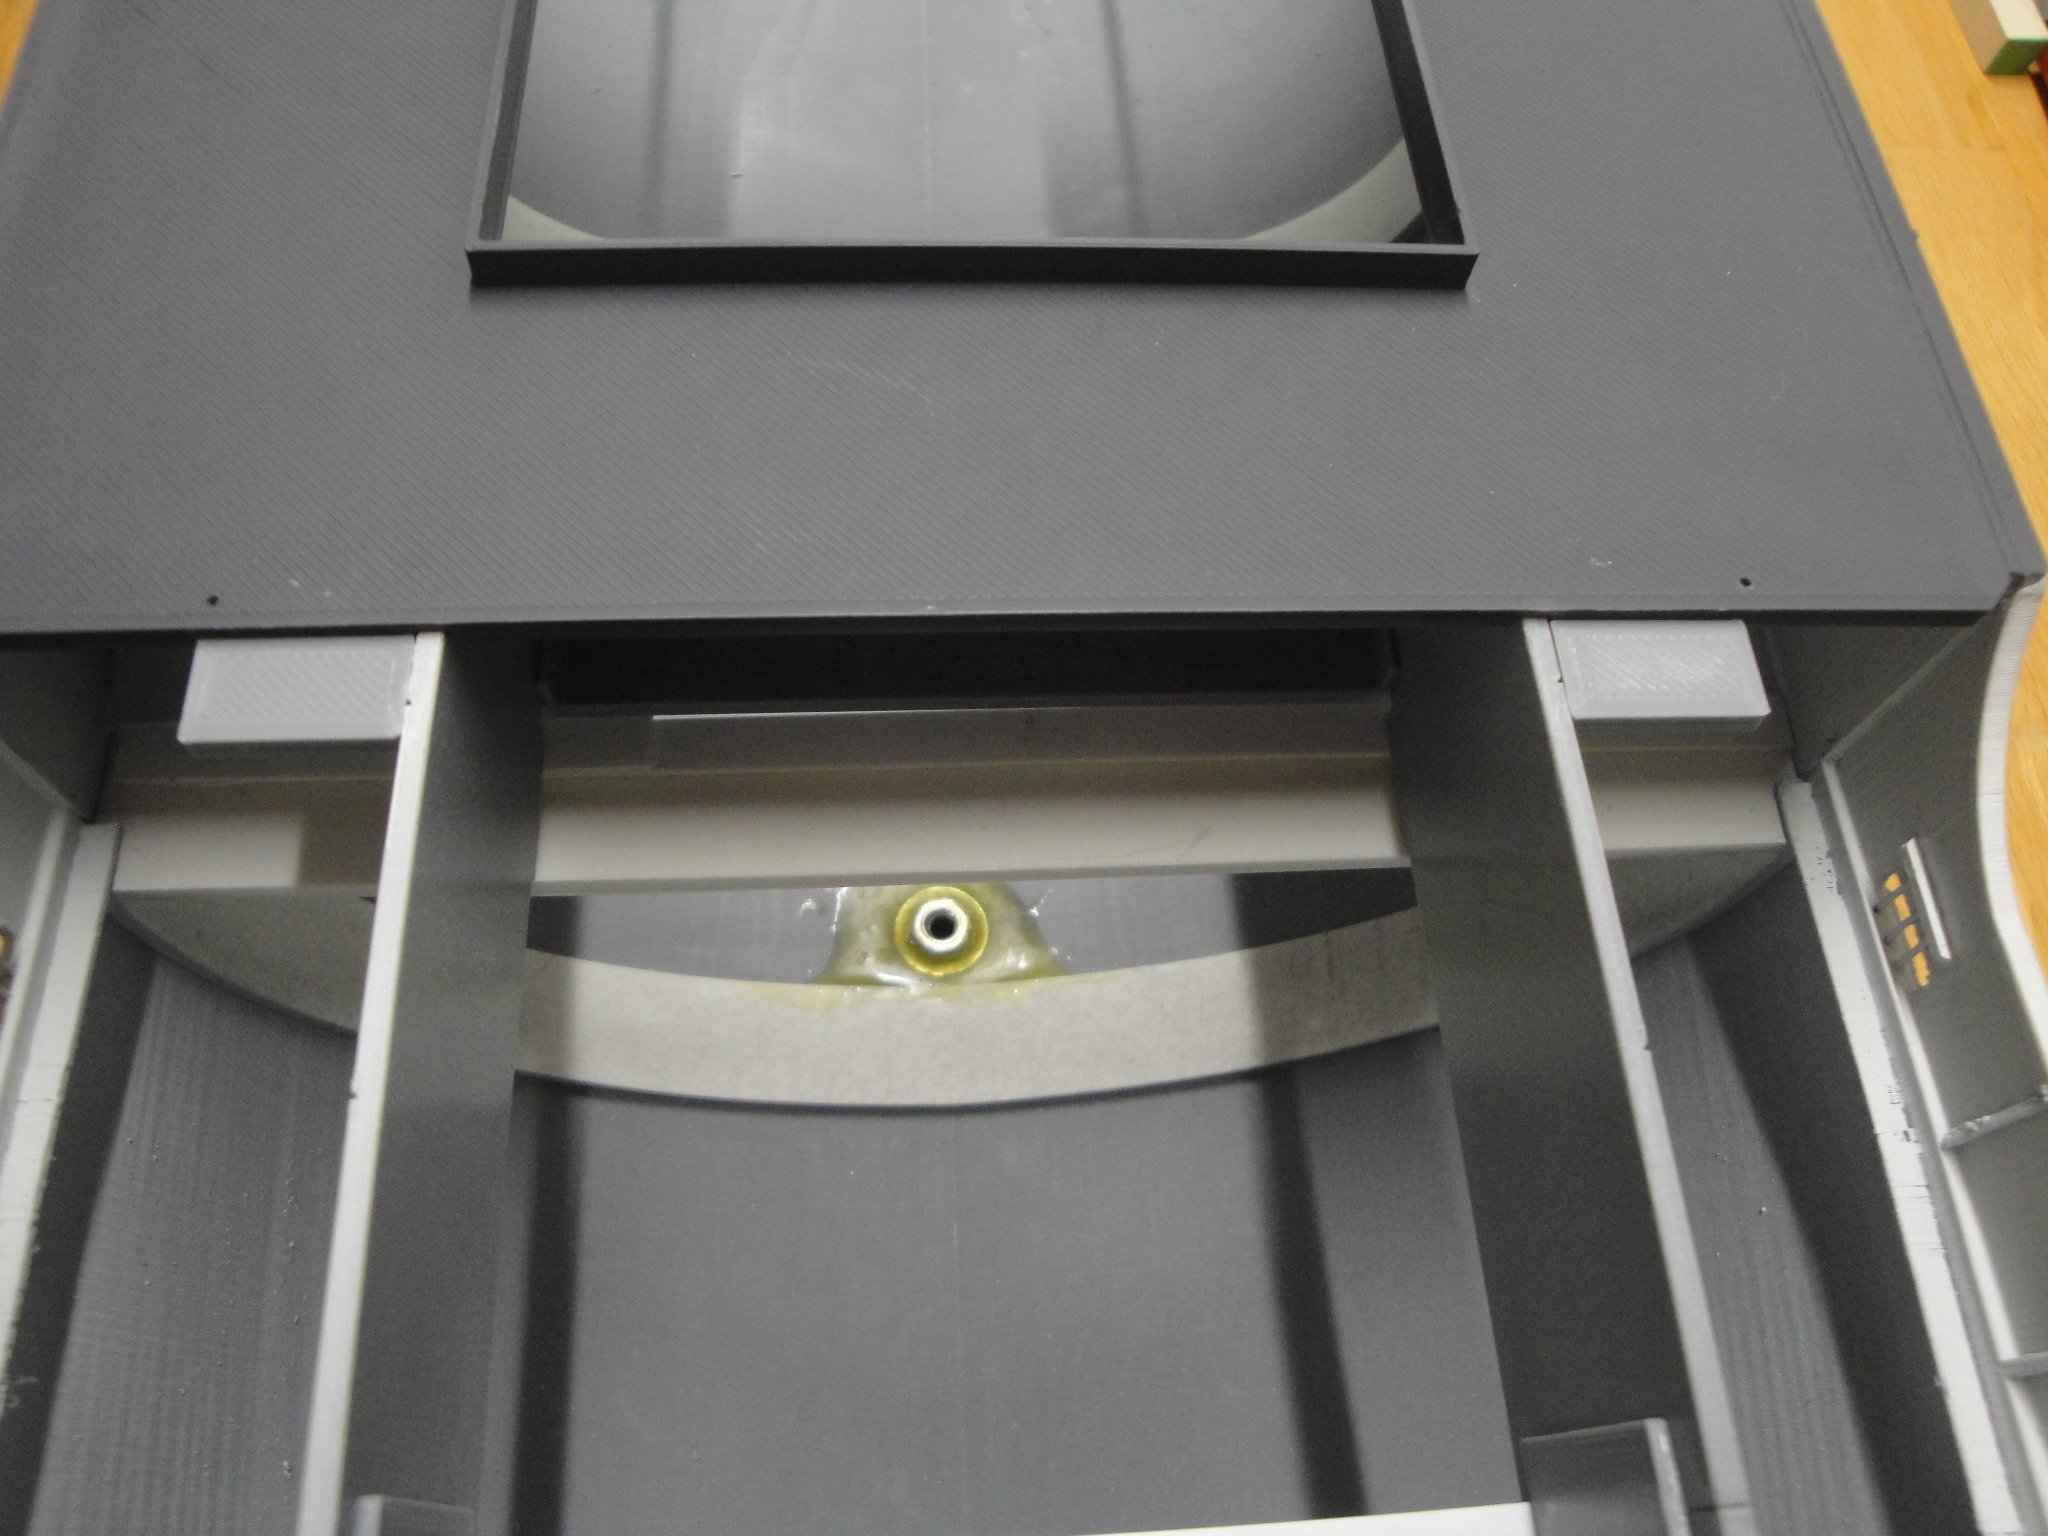
With the roof of the engine room glued, all was left was a nice overspray to "harmonize" the decks: You can see that the junction between Module #4 and the engine room (Module #5) is smooth and flush: Now, I just have to work all the details on each of the module. The hull and decks are for the most part completed. Yves


- 321 replies
-
- 14
-
-
- Finished
- Flower-class
- (and 1 more)
-
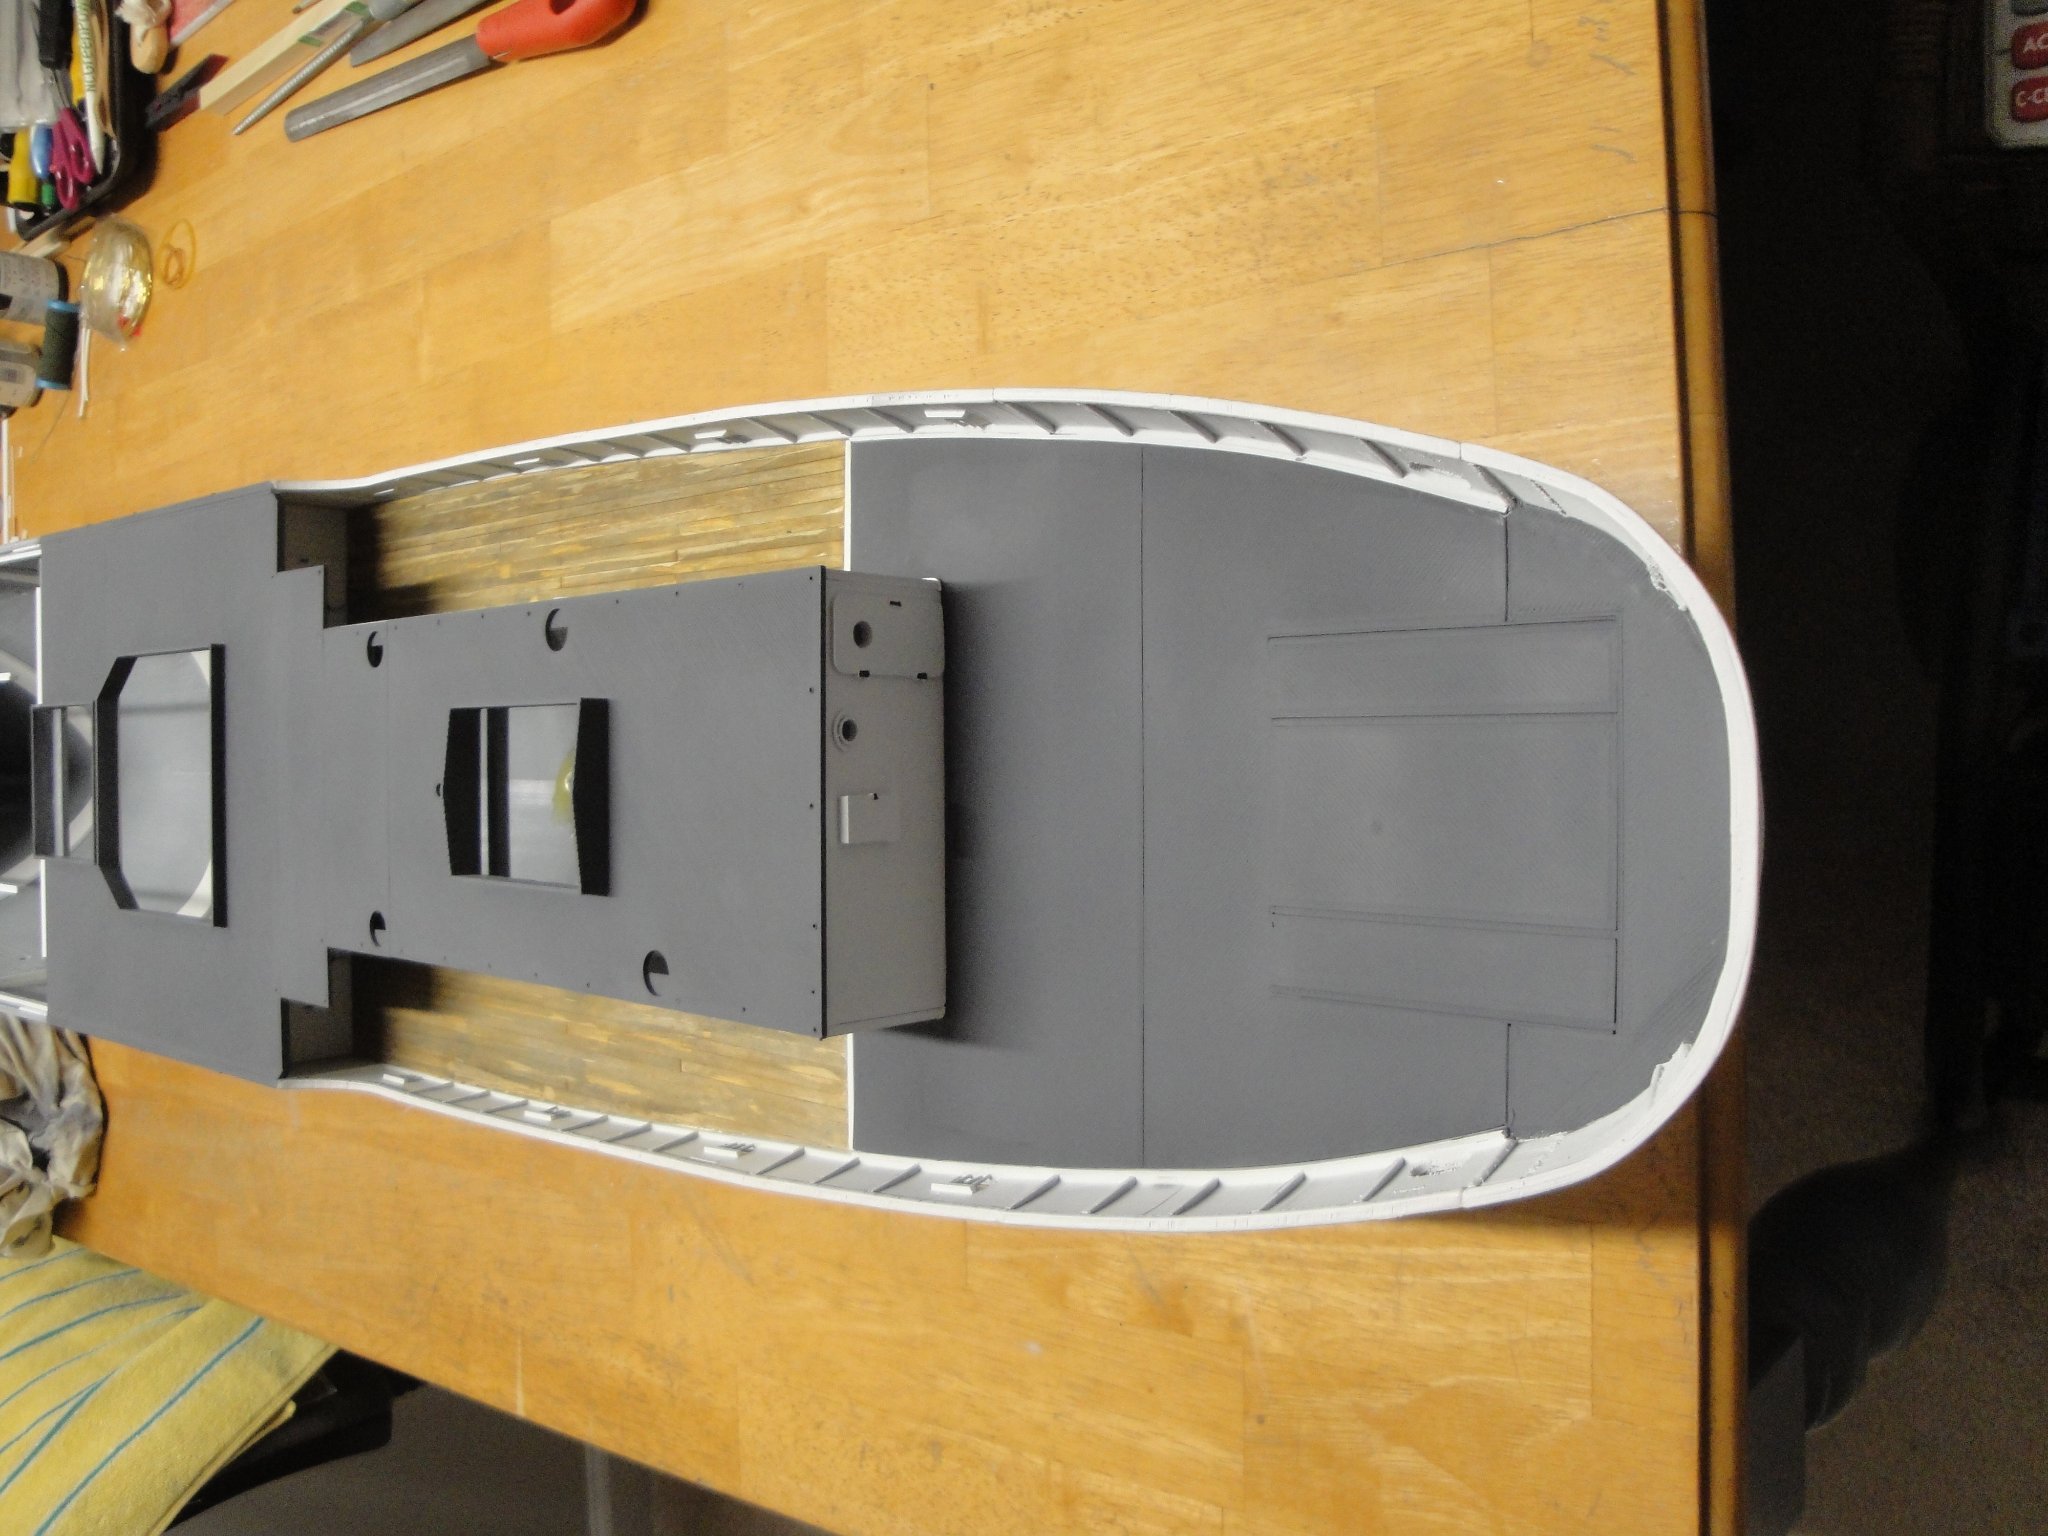
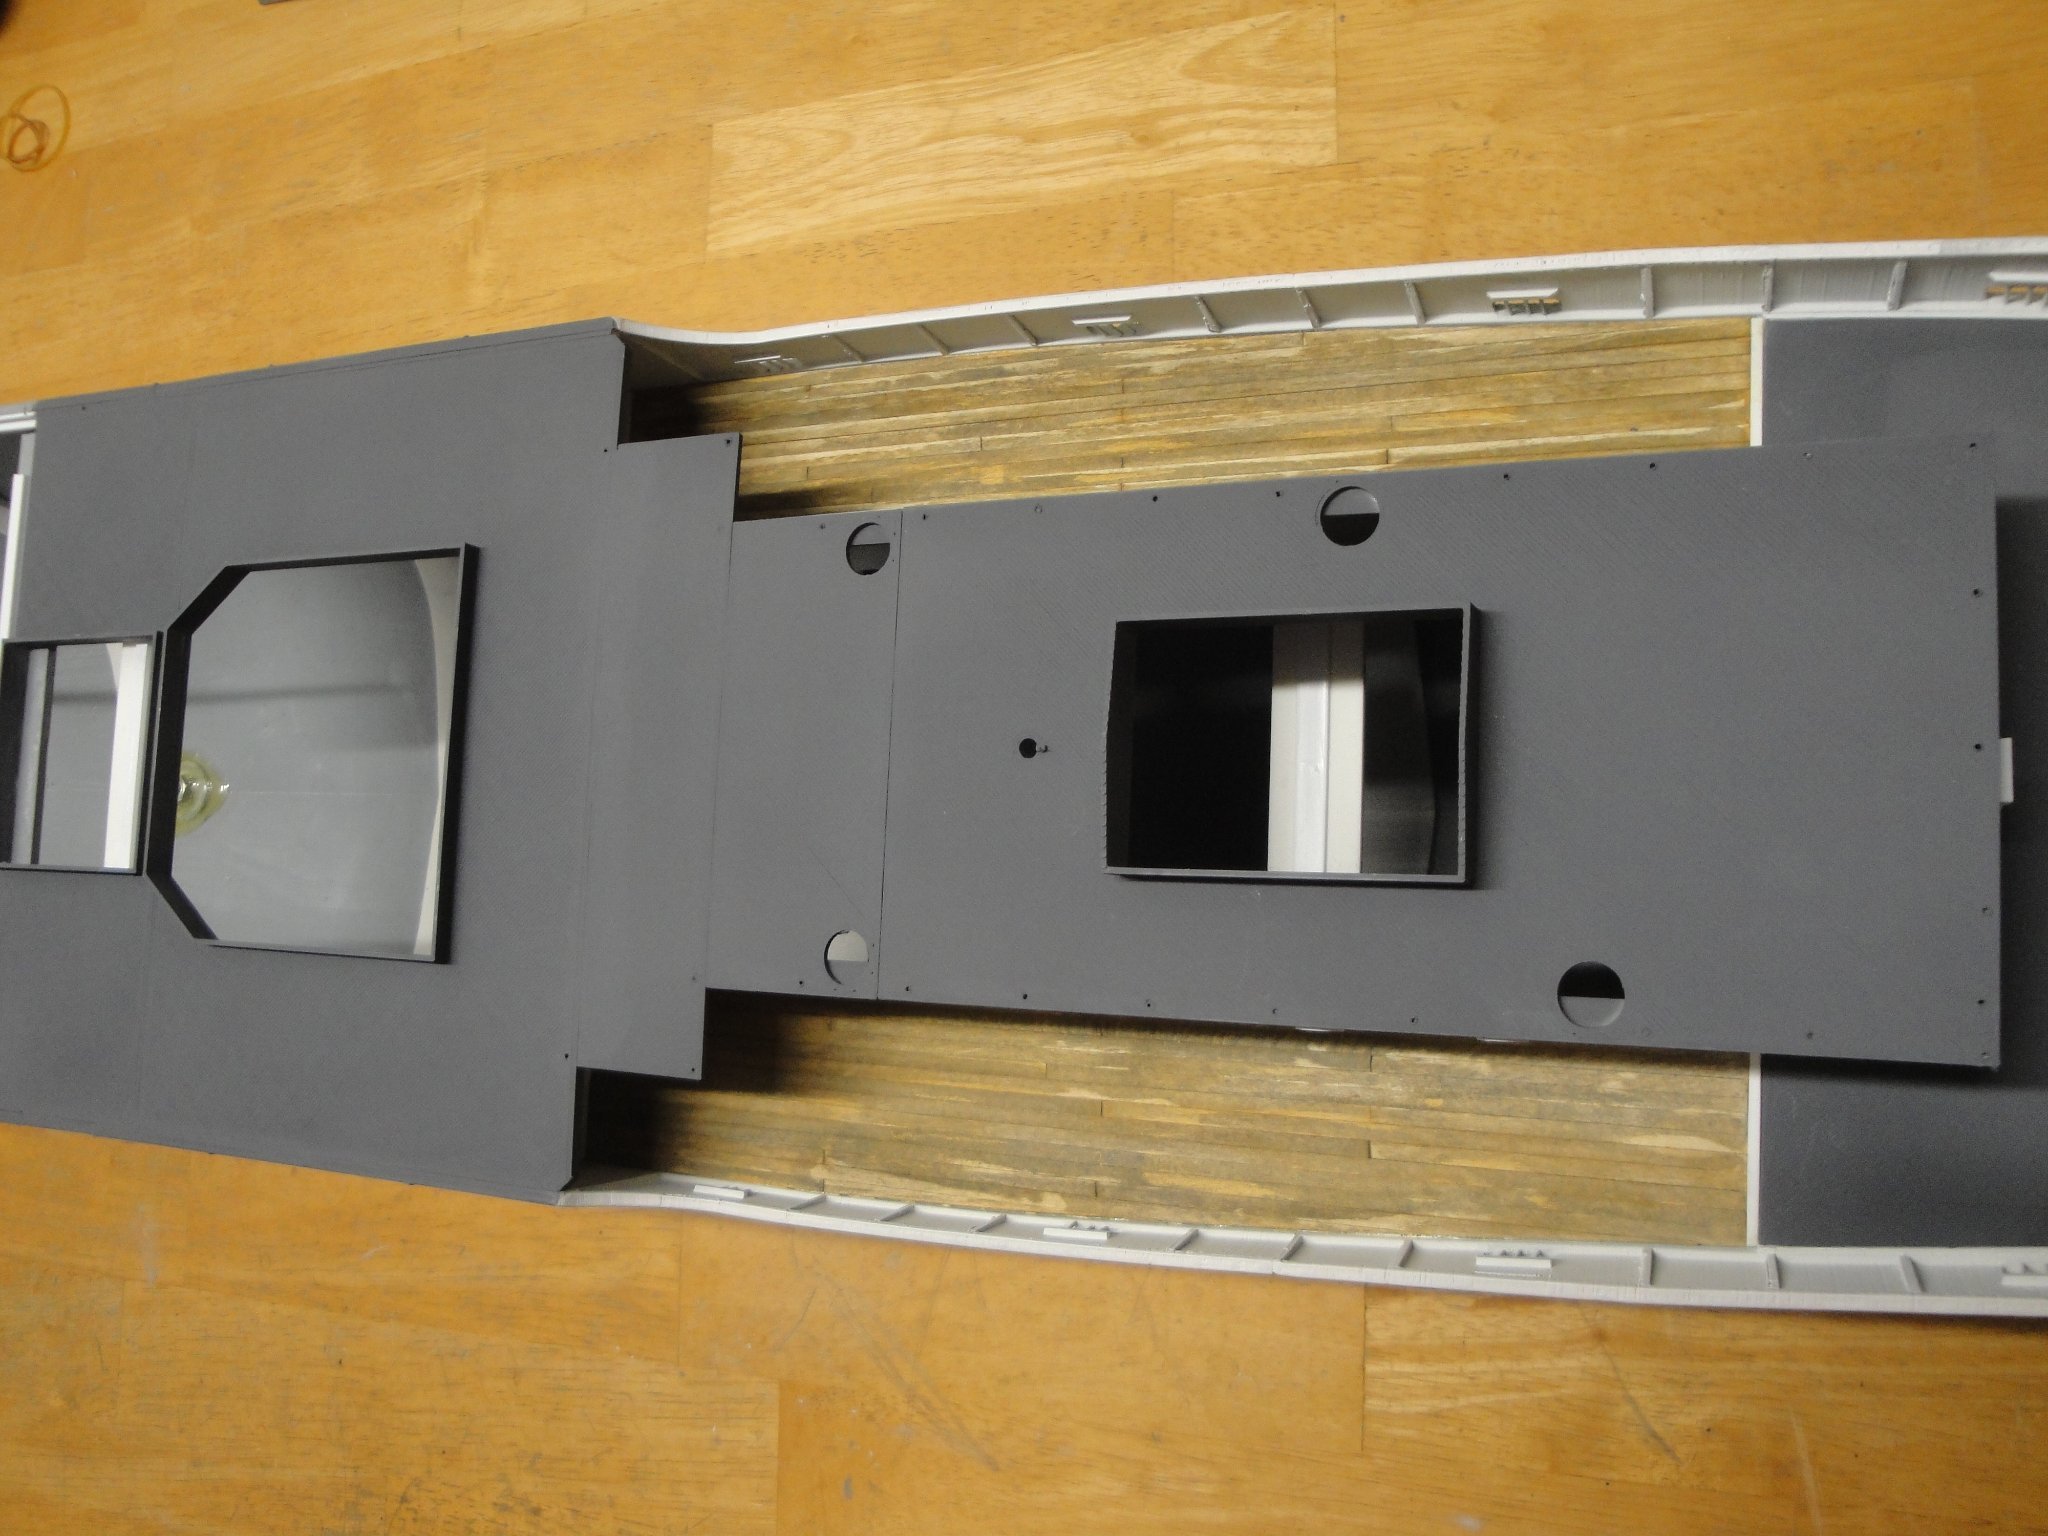
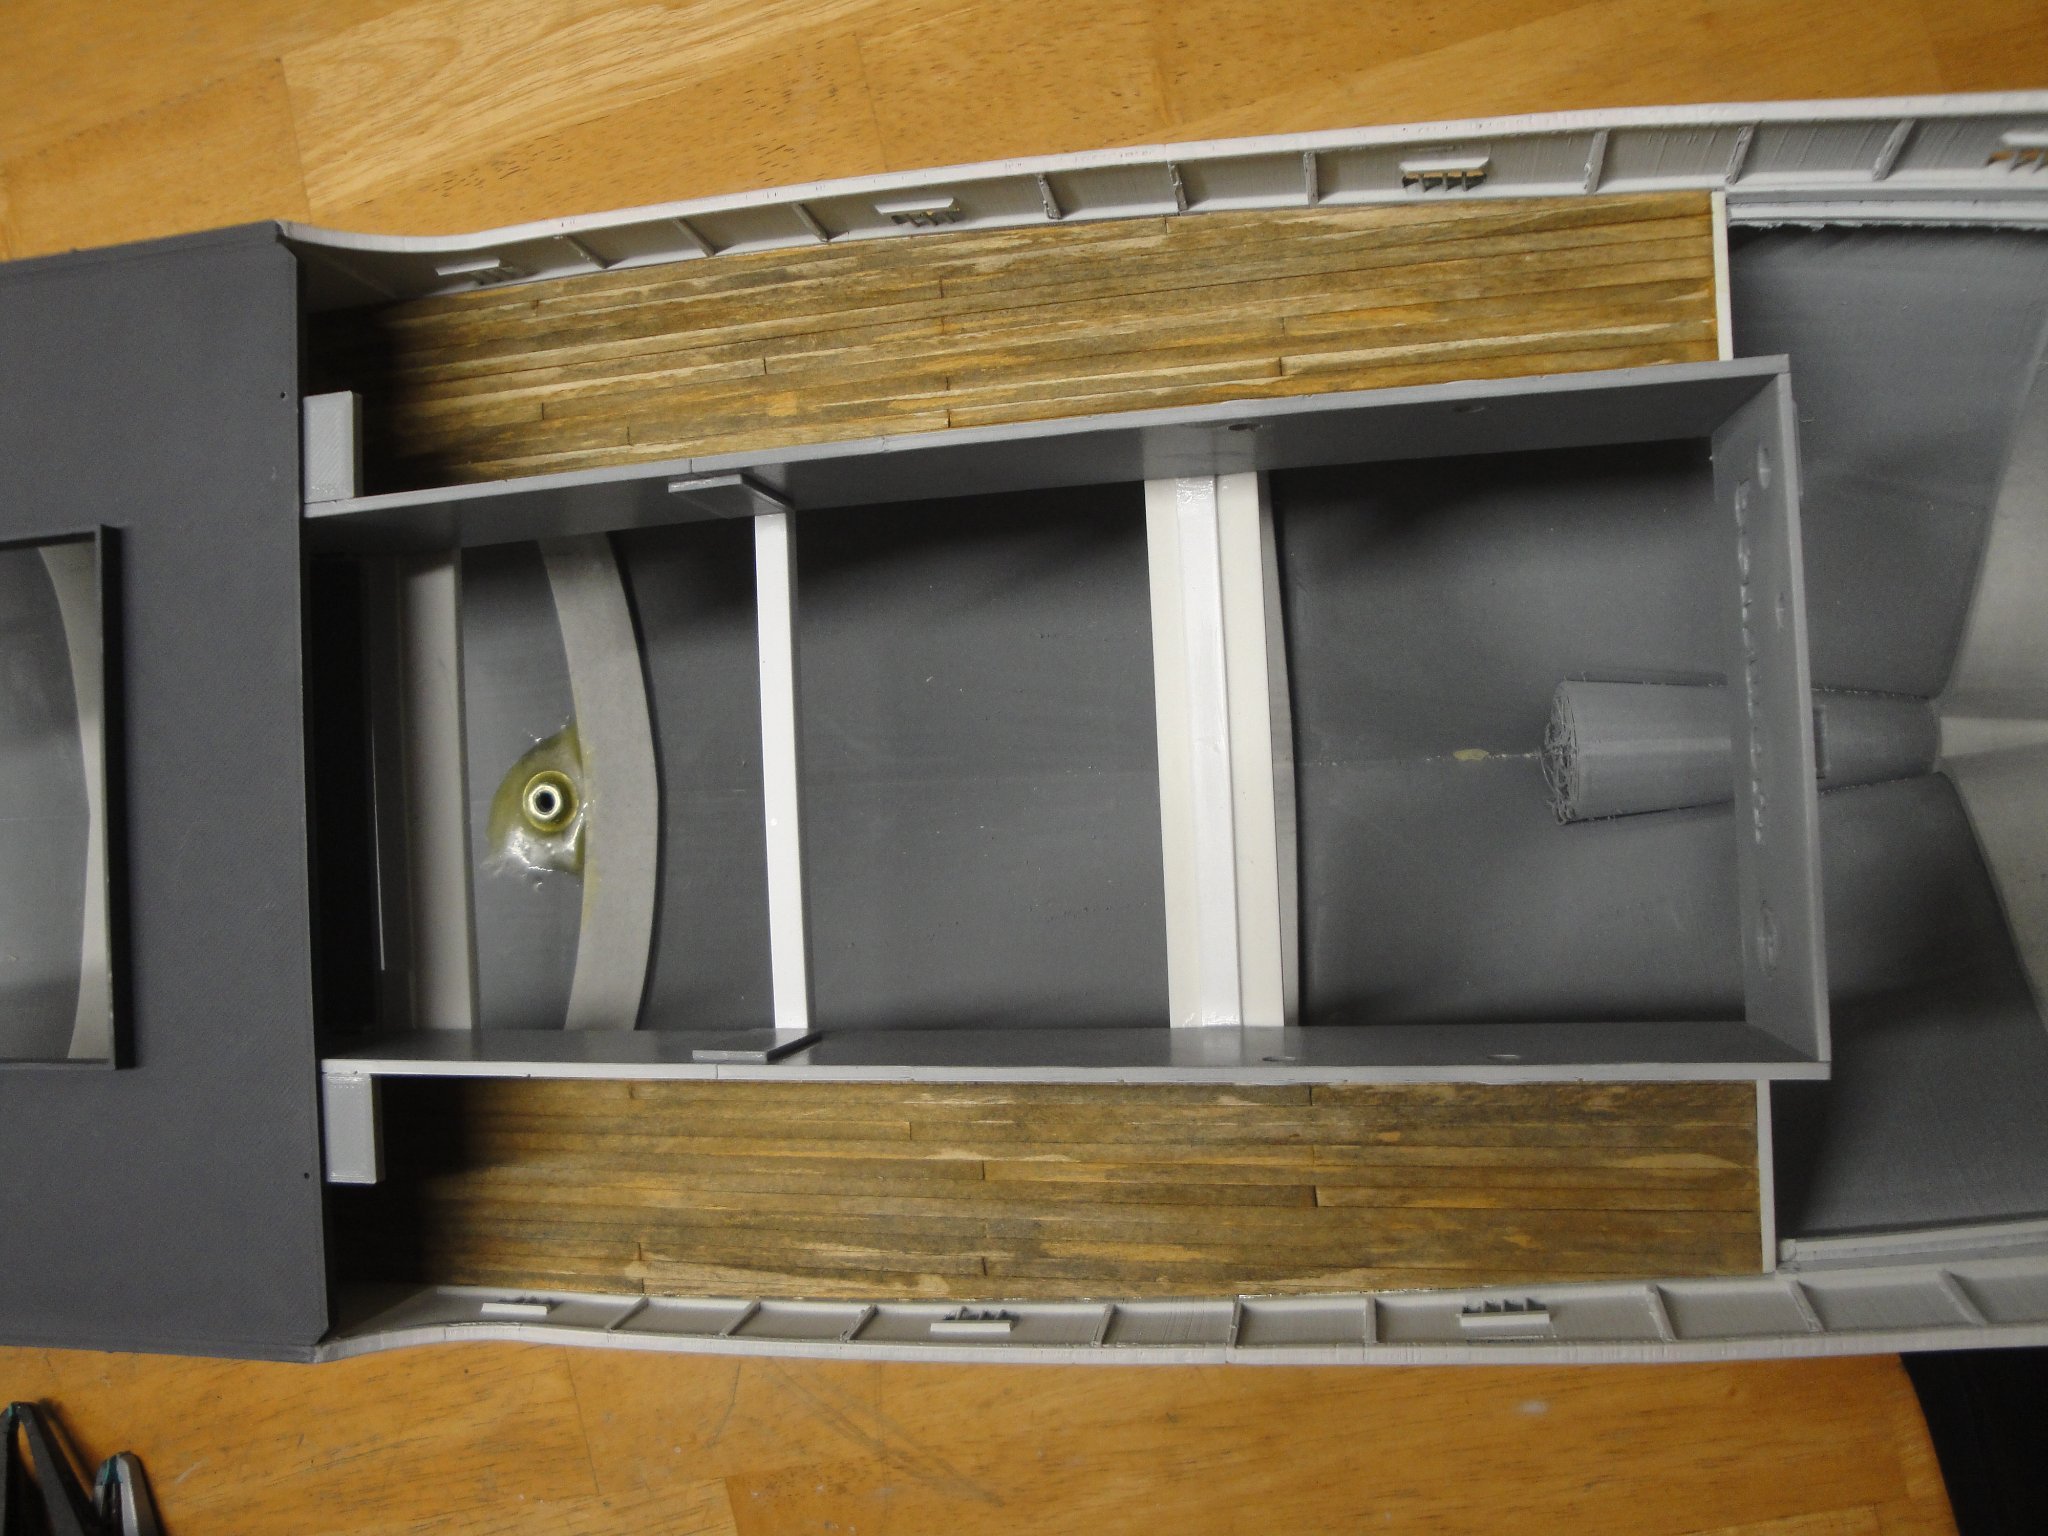
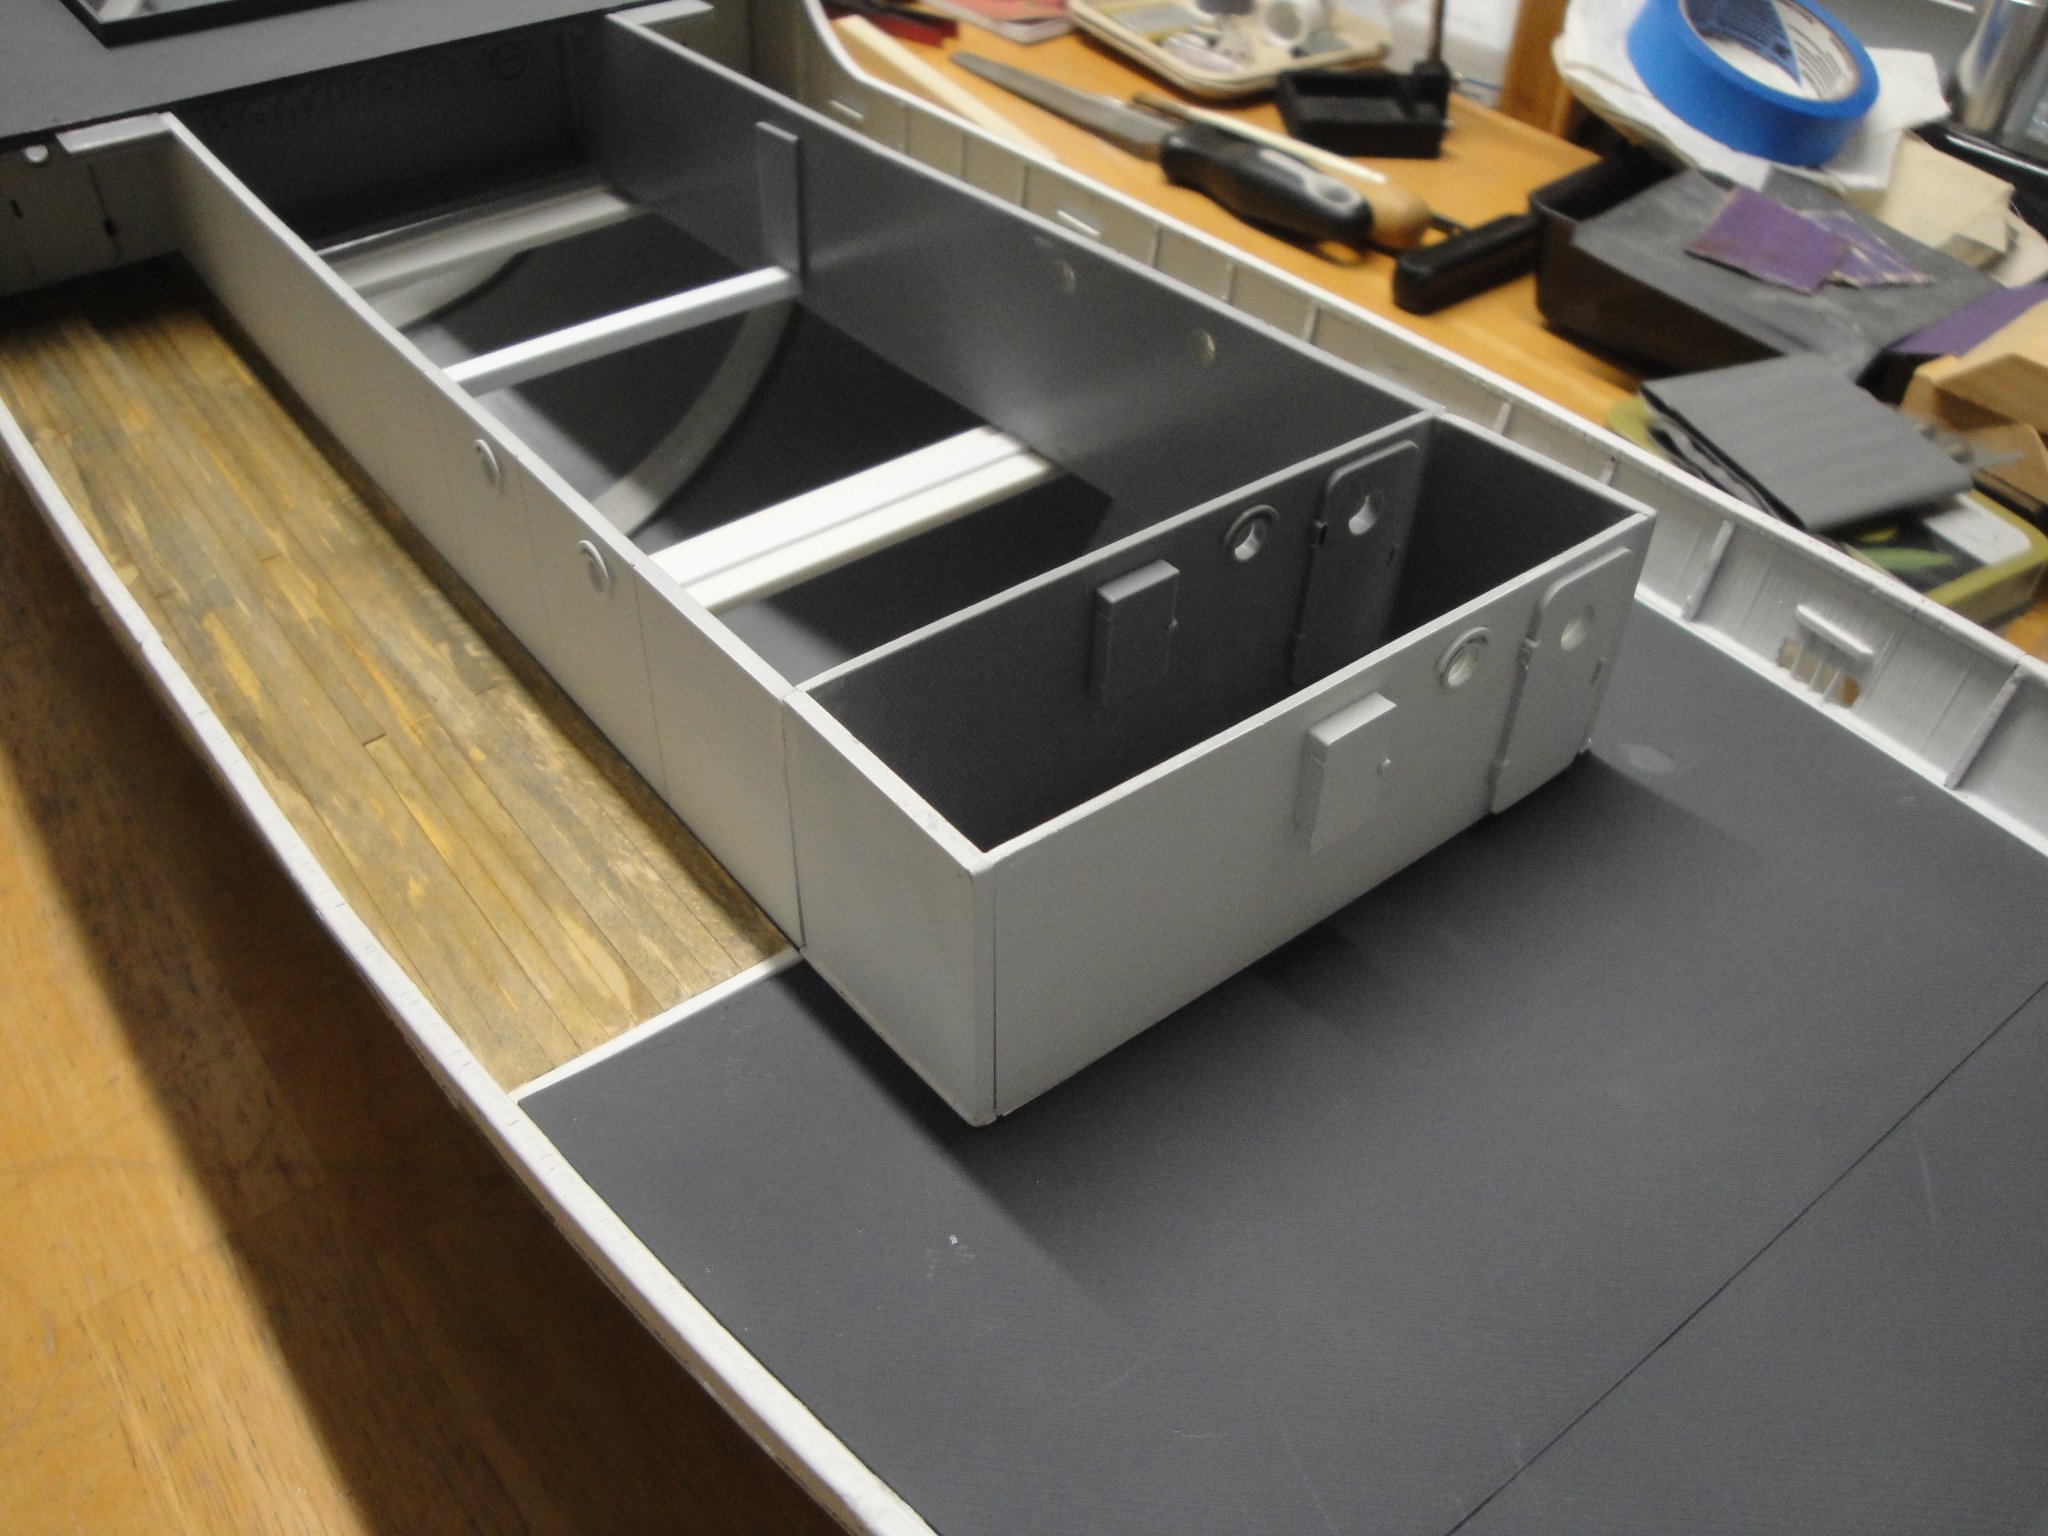
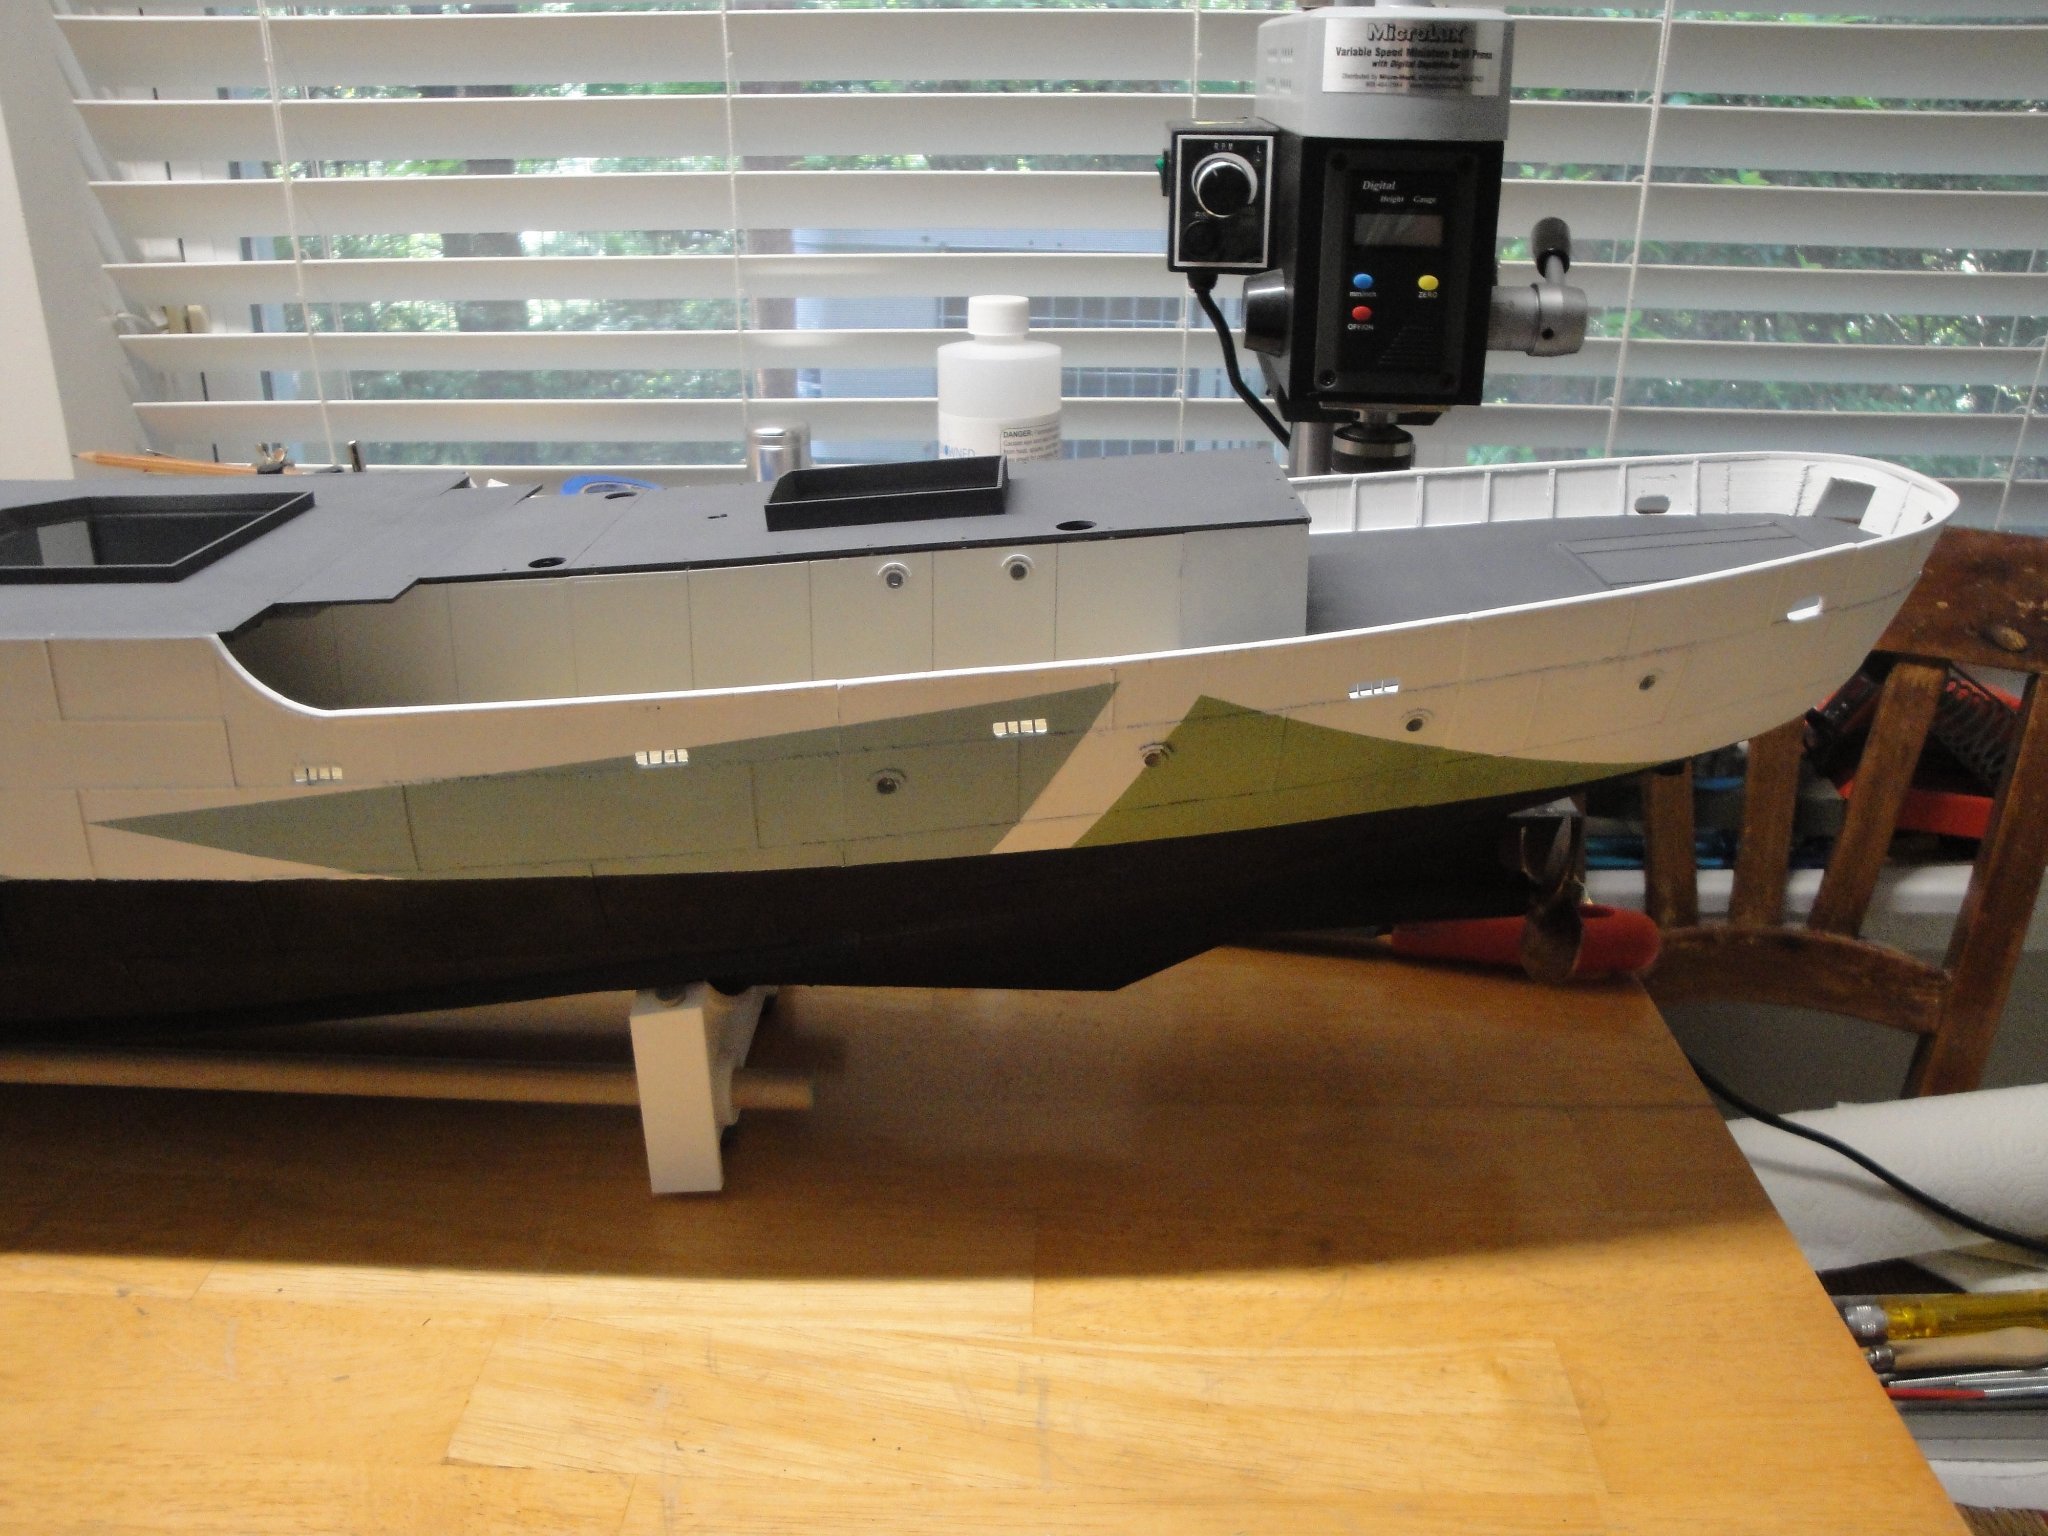
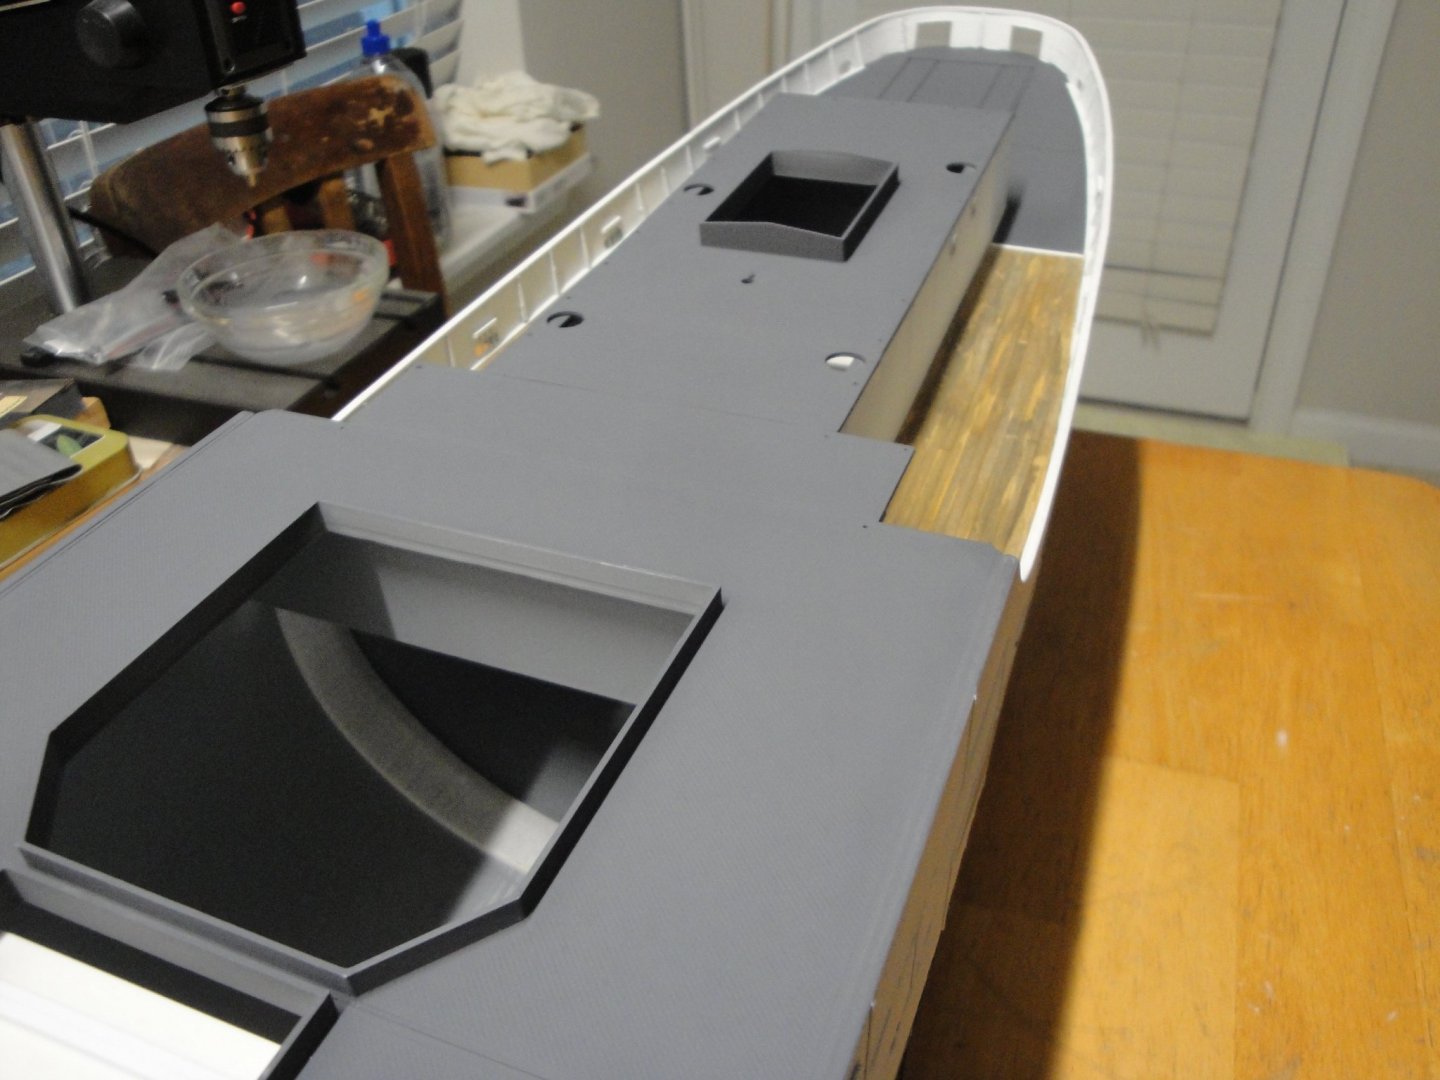
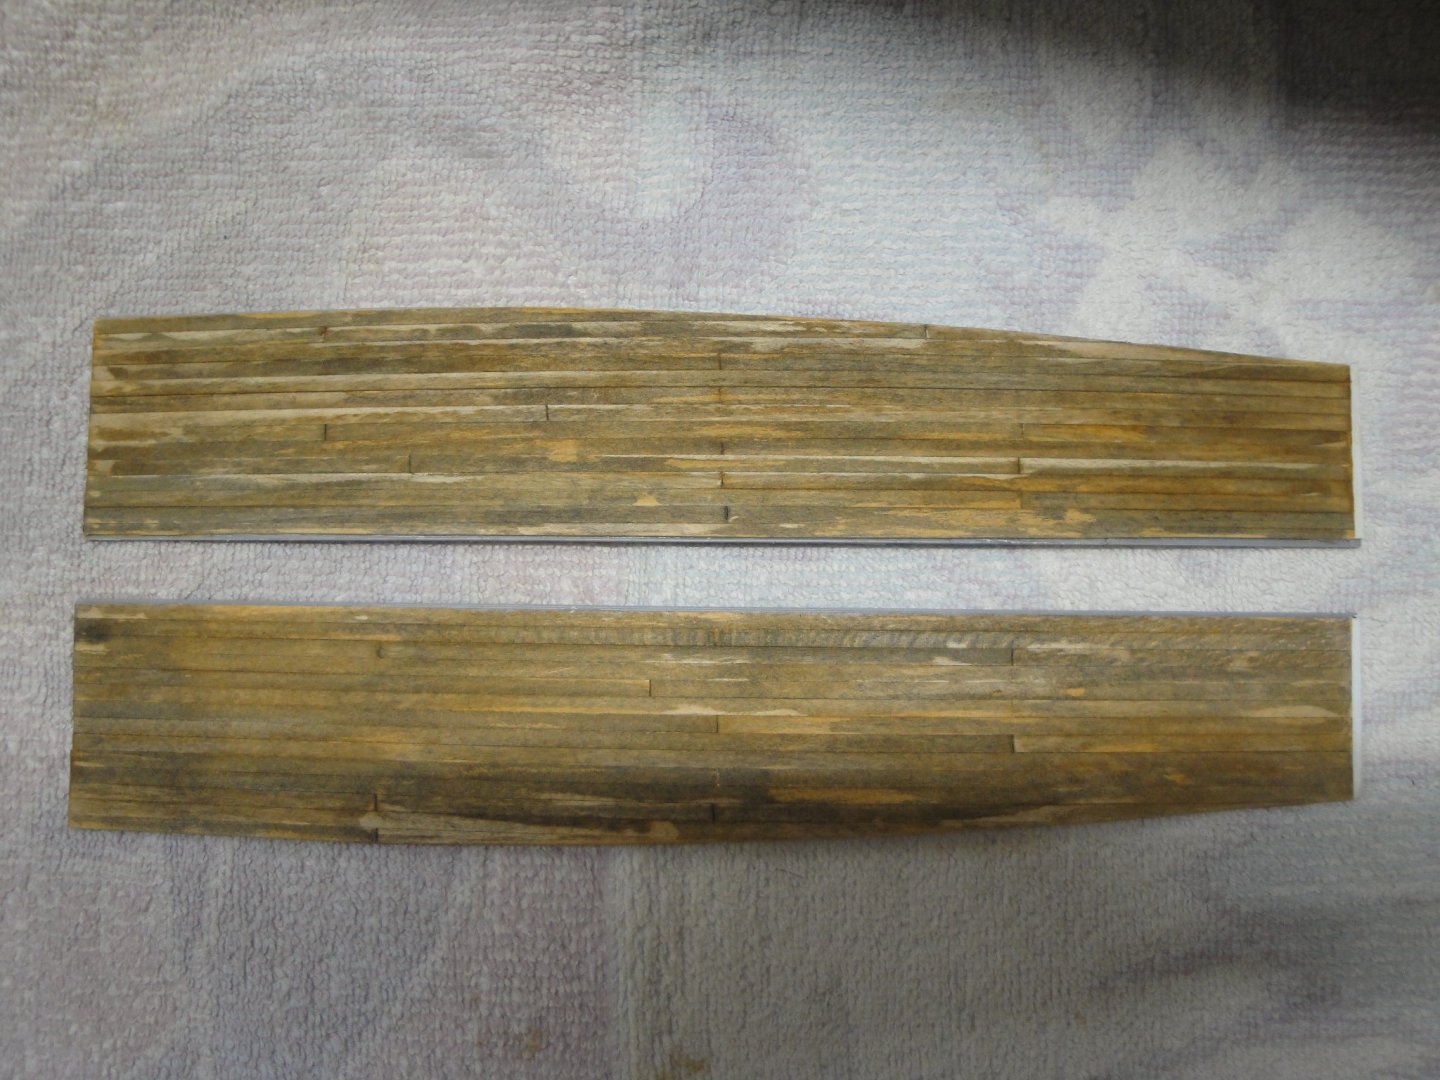
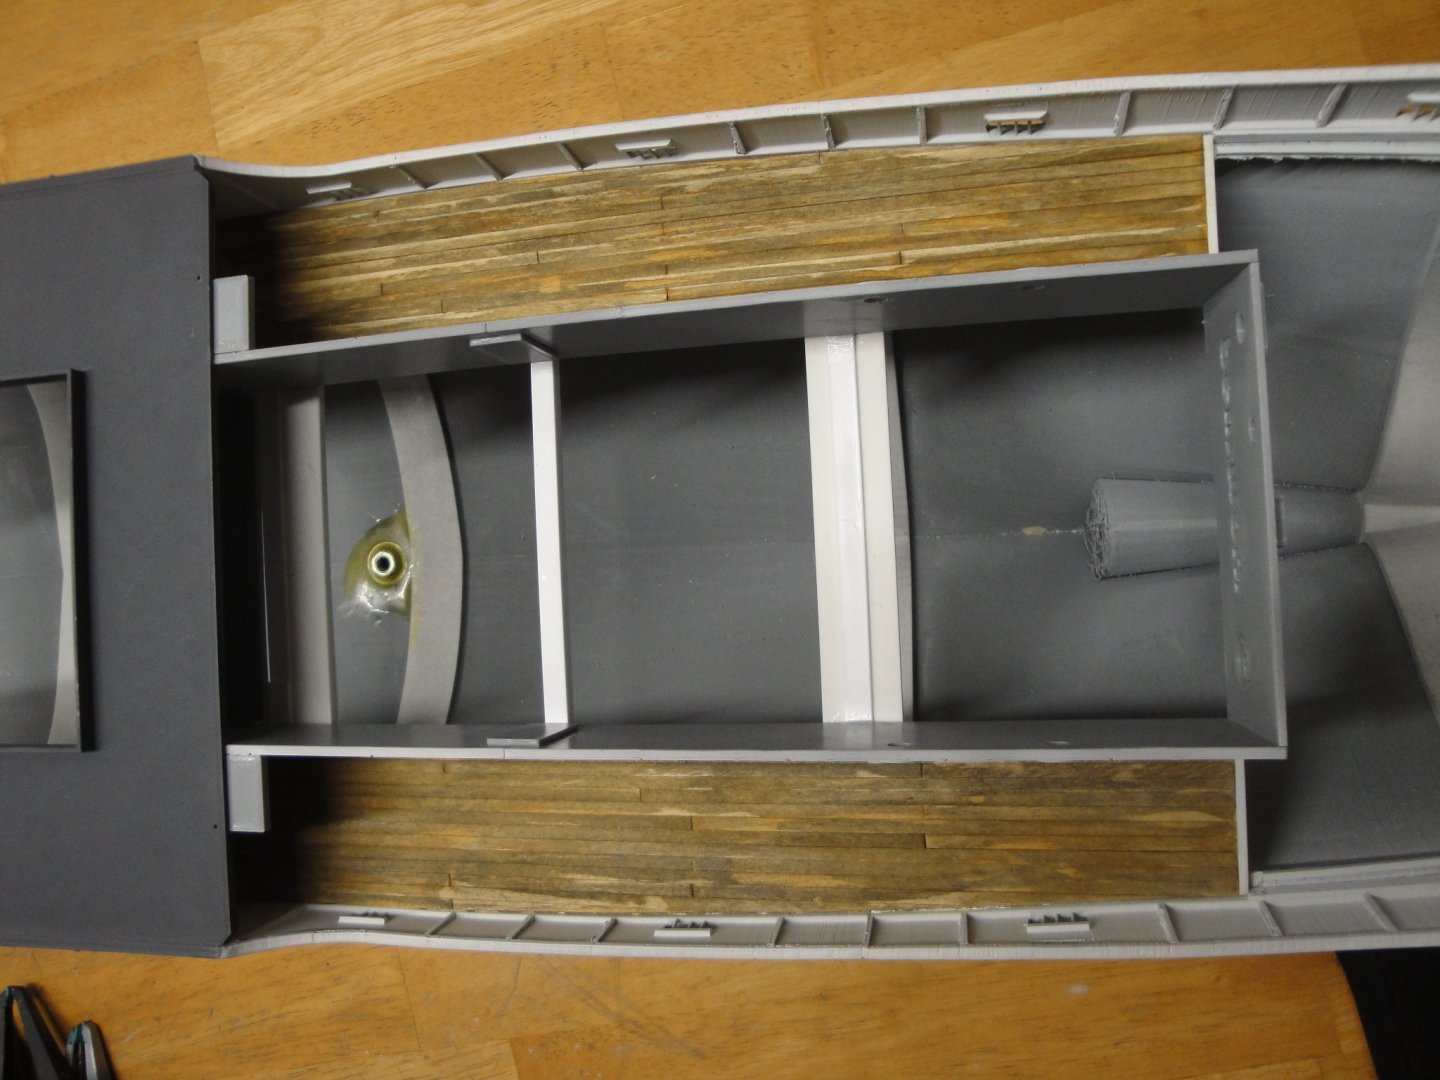
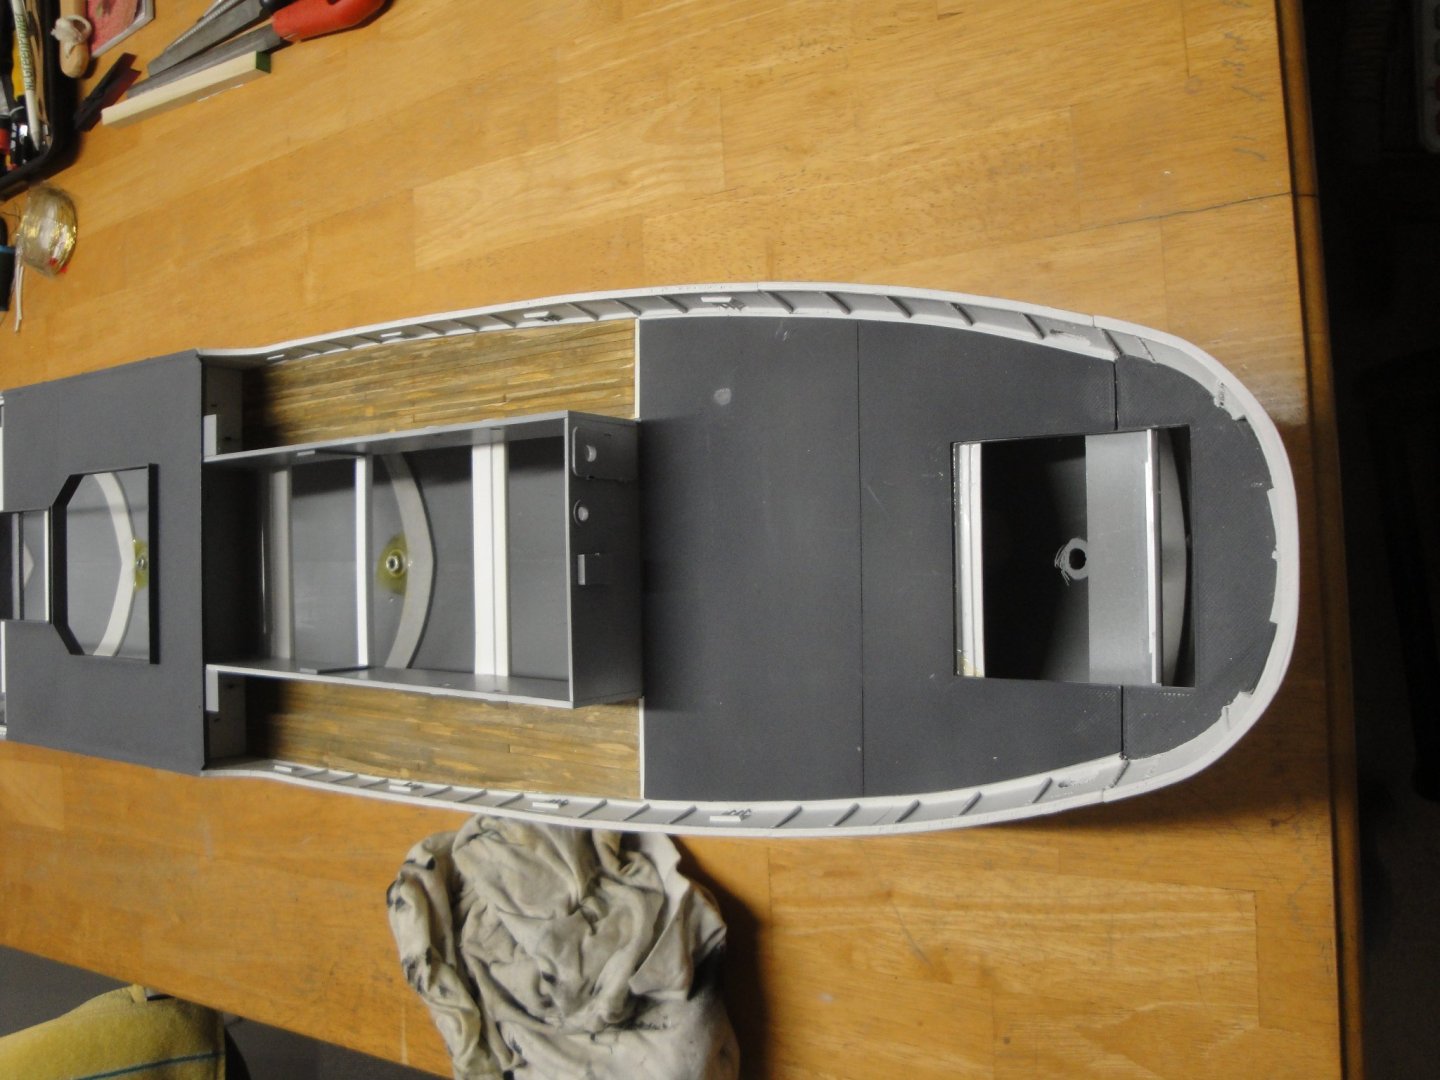
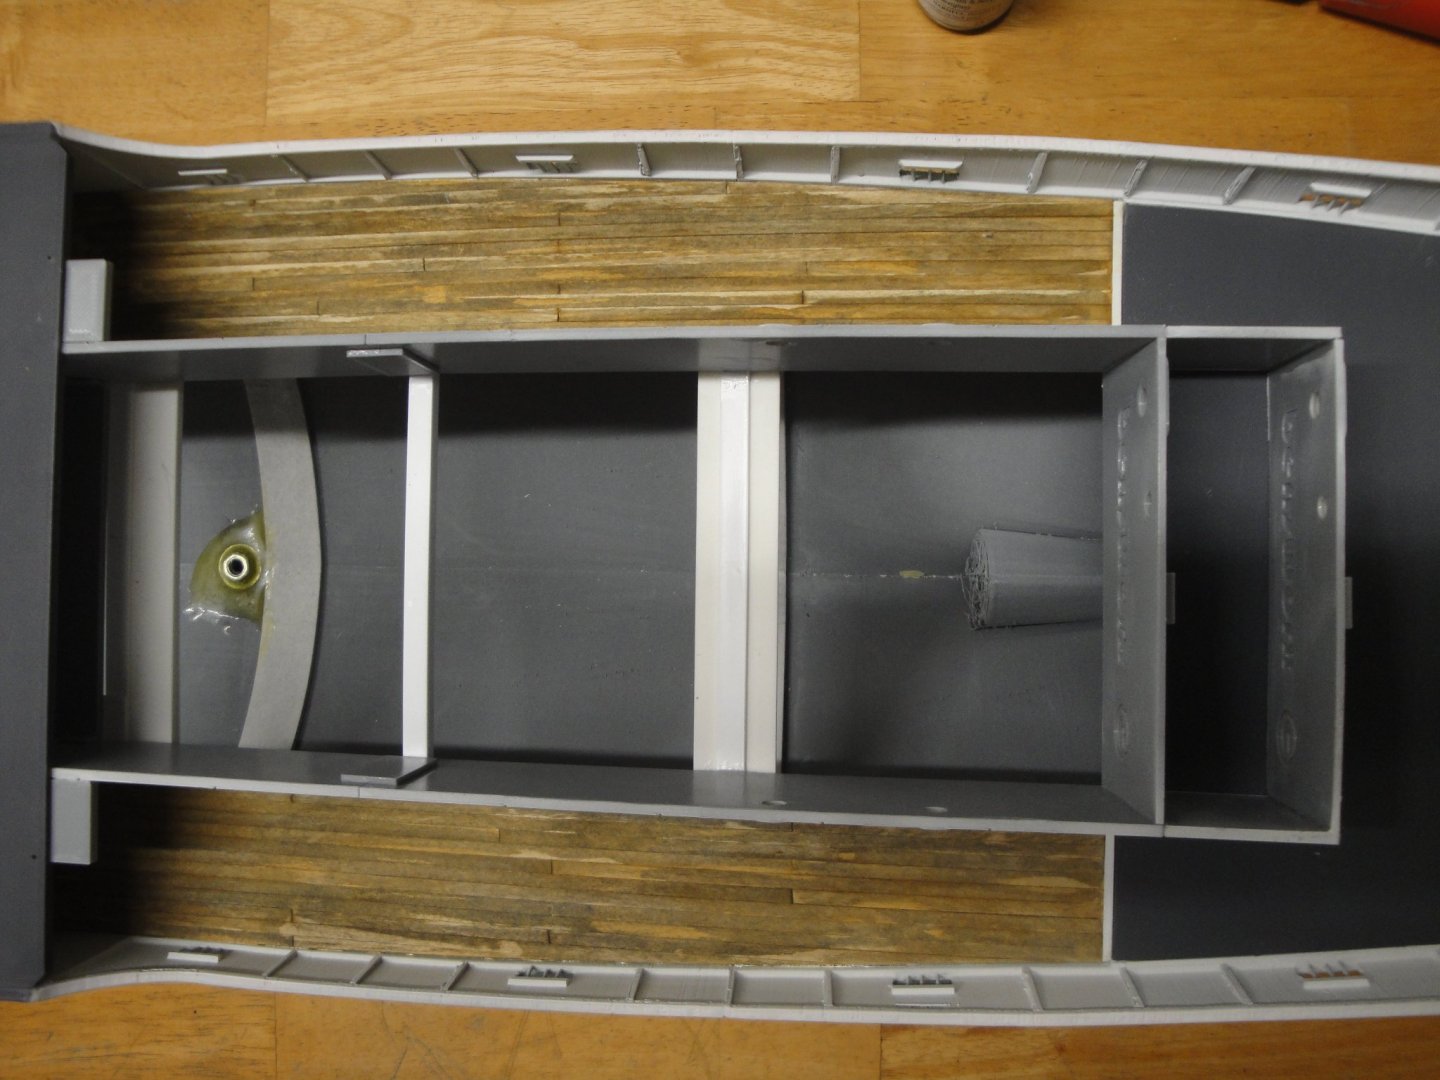
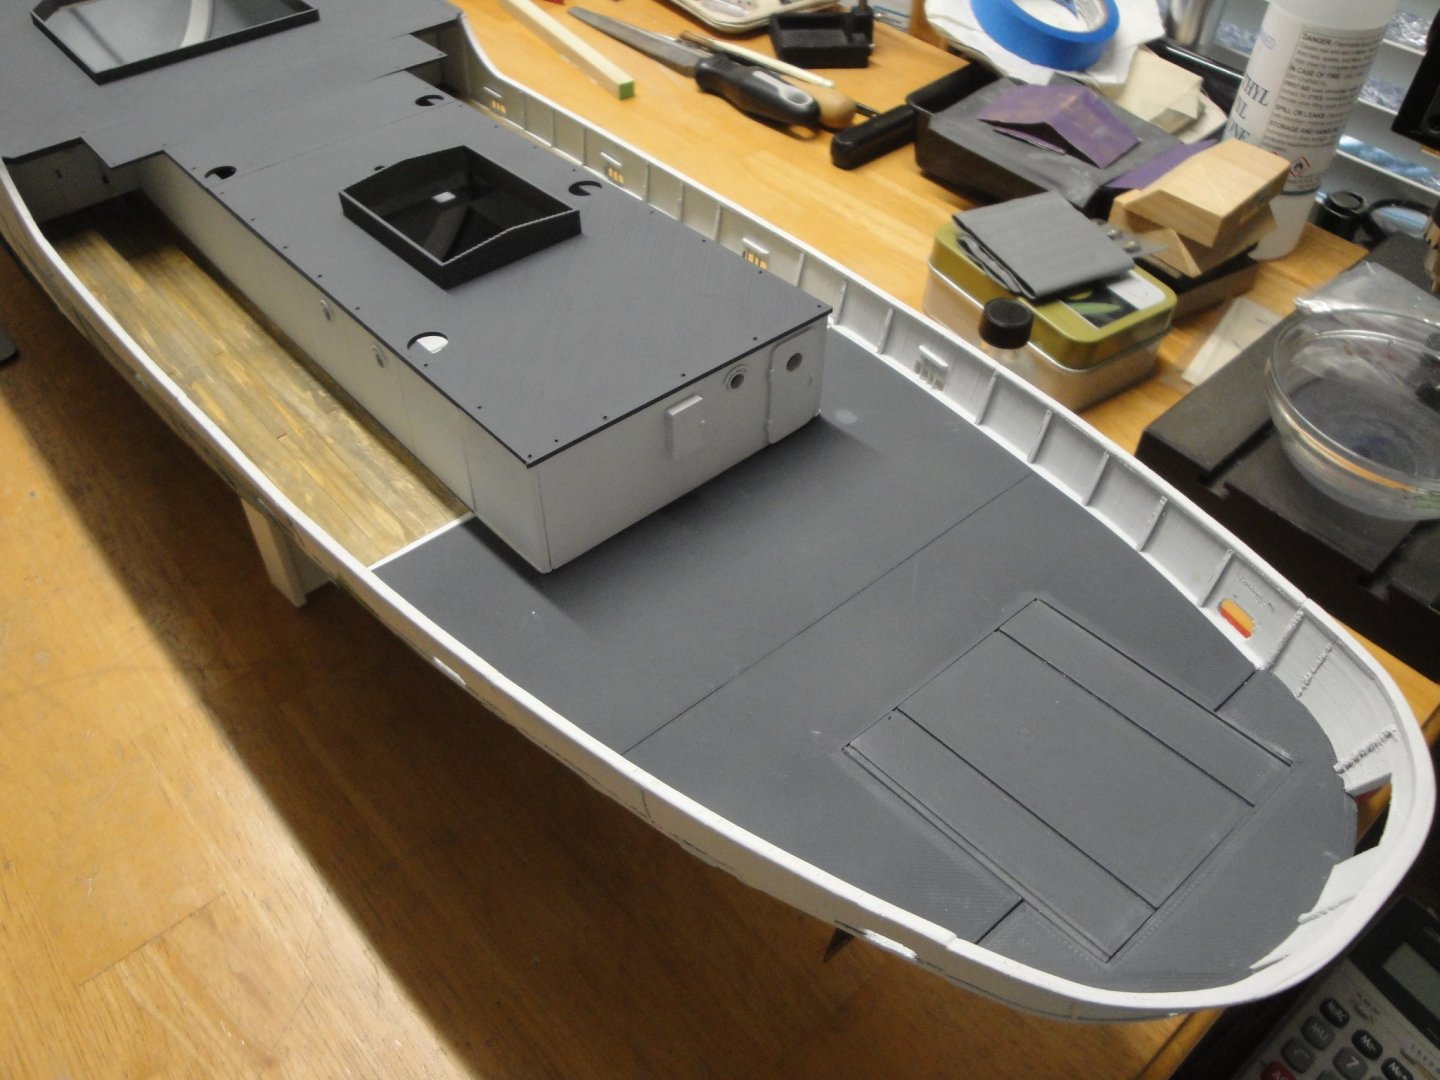
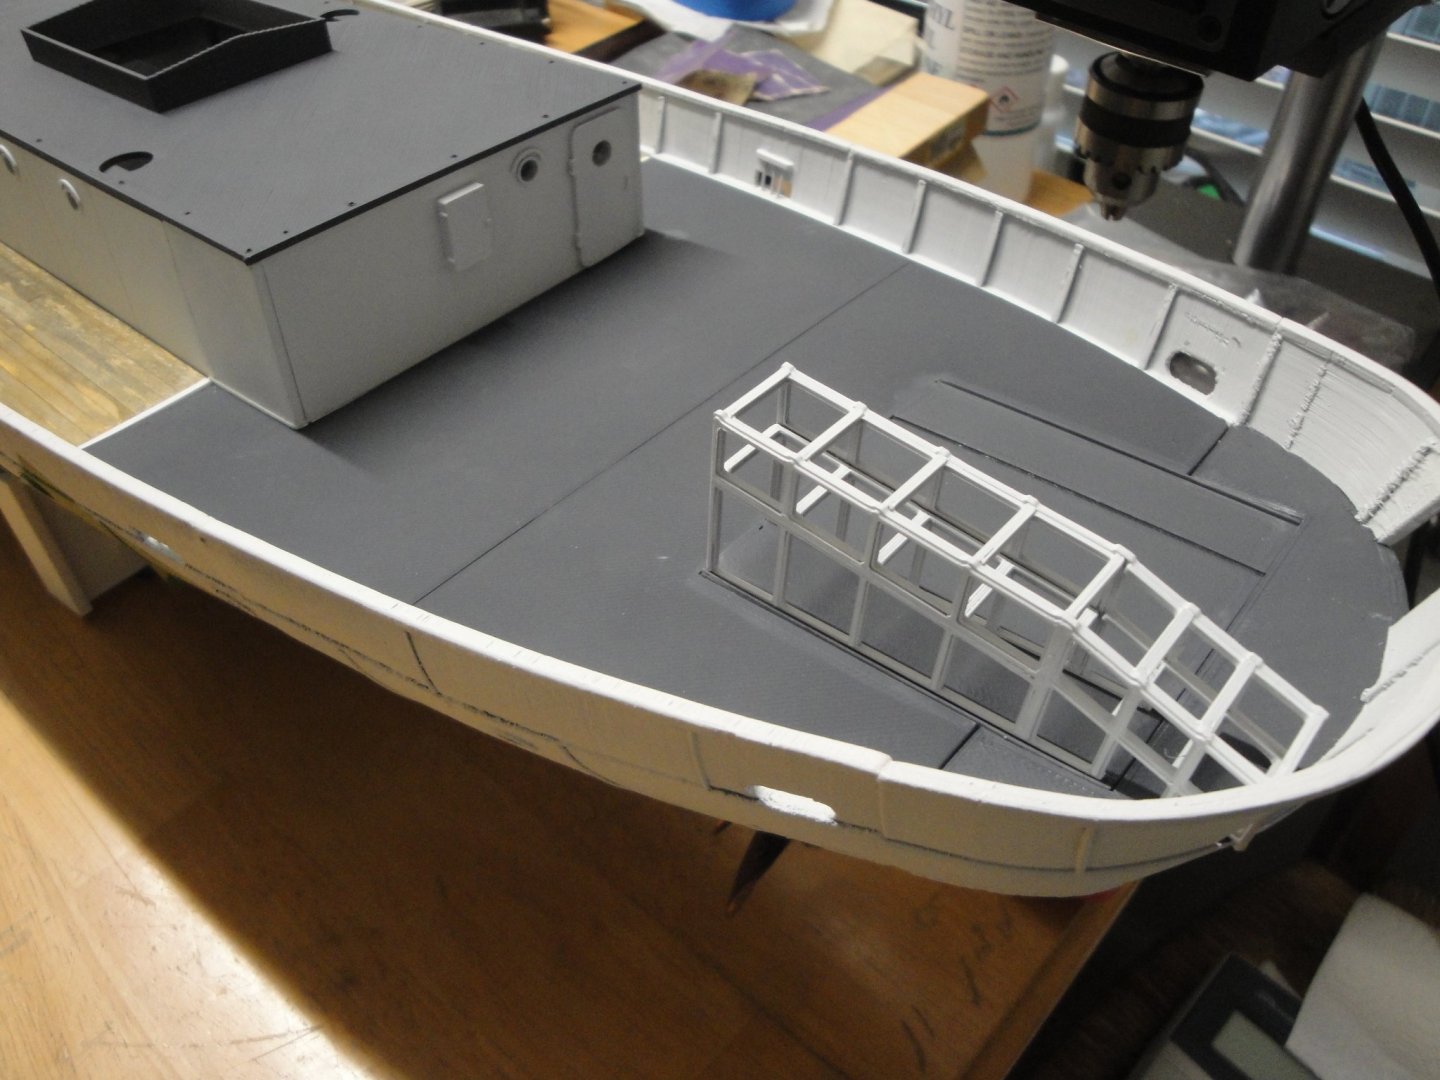
Major milestone again, with the permanent gluing of the side decks and rear deck. At this point, no coming back without rebuilding a significant part of the model. First, the wooden covered side decks. These are stained with natural stain (Micro-mark) followed by a dilution (lavis) of Payne Grey acrylic. They are submitted to the elements of high sea, not as much as the bow of course: These two panels are then glued. Again, I am very grateful I spent all the time preparing the fitting of these parts and of all the deck sections. It really pays off: Strong of that success, we are moving further: the rear deck !! Each of these parts are left to dry multiple hours, for a perfect and strong bond. Then the platform for the depth charges rails: I will have to pull the airbrush and harmonize all these parts, with a fine mist of Dark Grey XF-24. Now that we have a rear deck, the engine room extension can be glued: And so we do it..... The extension could have benefited from two panels of extension, but the curvature of the cabin prevented me from doing it, without redesigning the parts. Besides, with two panels more, it was getting very close to the rails. Overall, I am rather happy and it looks better than the original kit: The roof of the engine room is not yet glued. It will be the next step. Yves


- 321 replies
-
- 16
-
-
-
- Finished
- Flower-class
- (and 1 more)
-
There are special glue for plexiglass that will not whiten them, as the CA does. I think Micro-Mark sells these. Yves
-
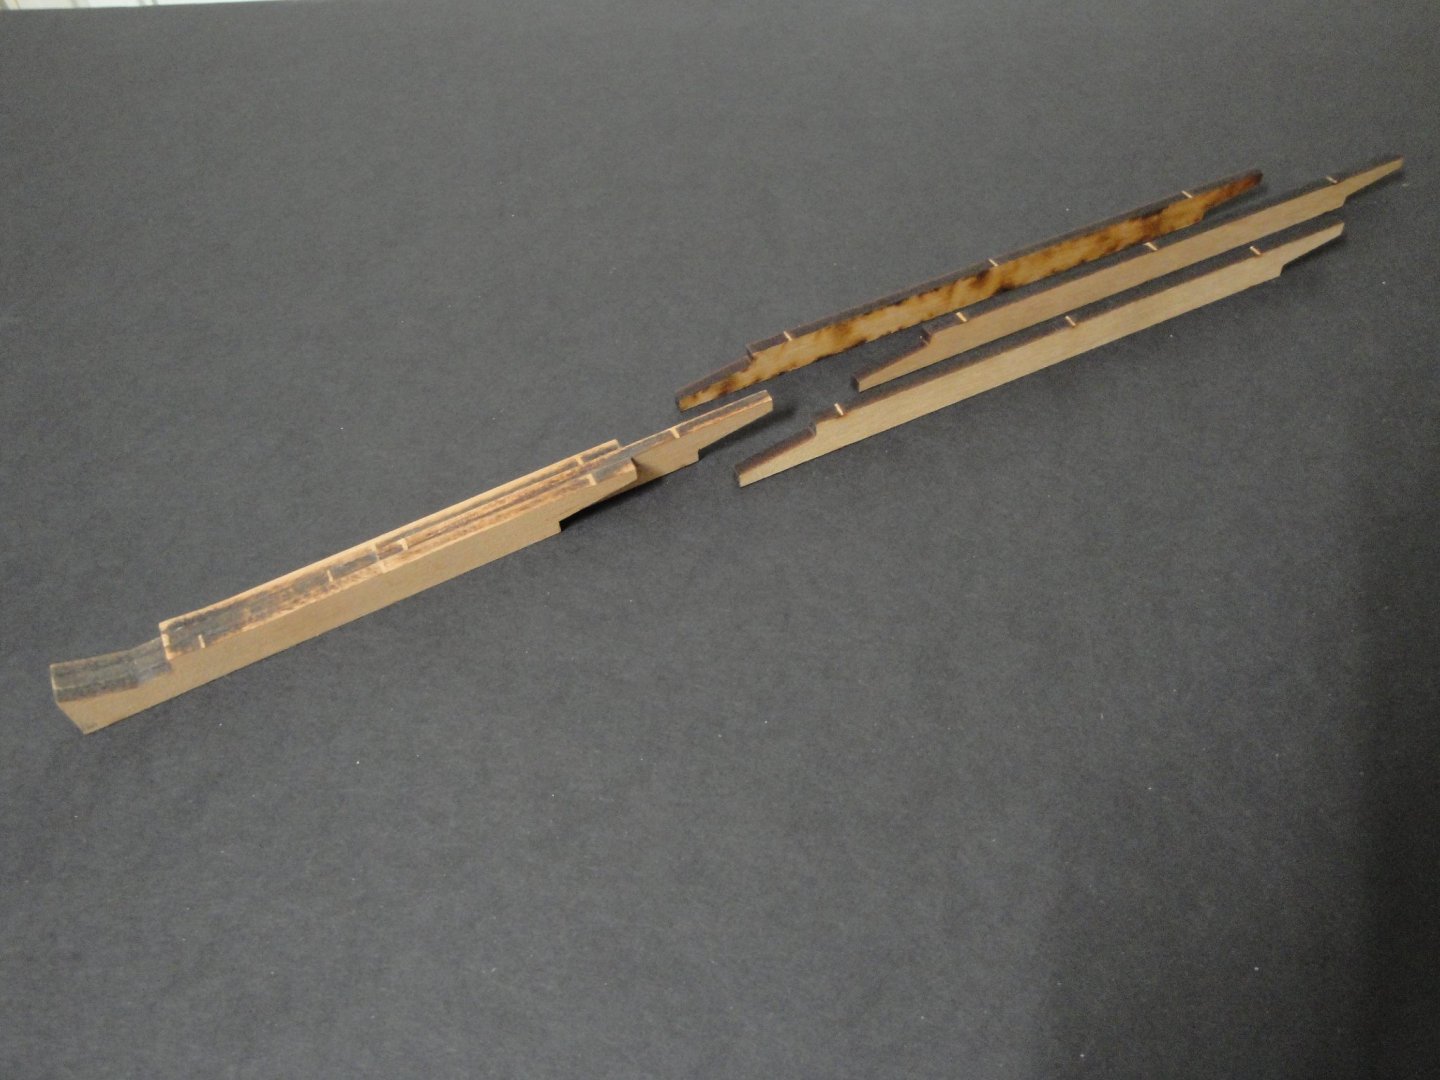
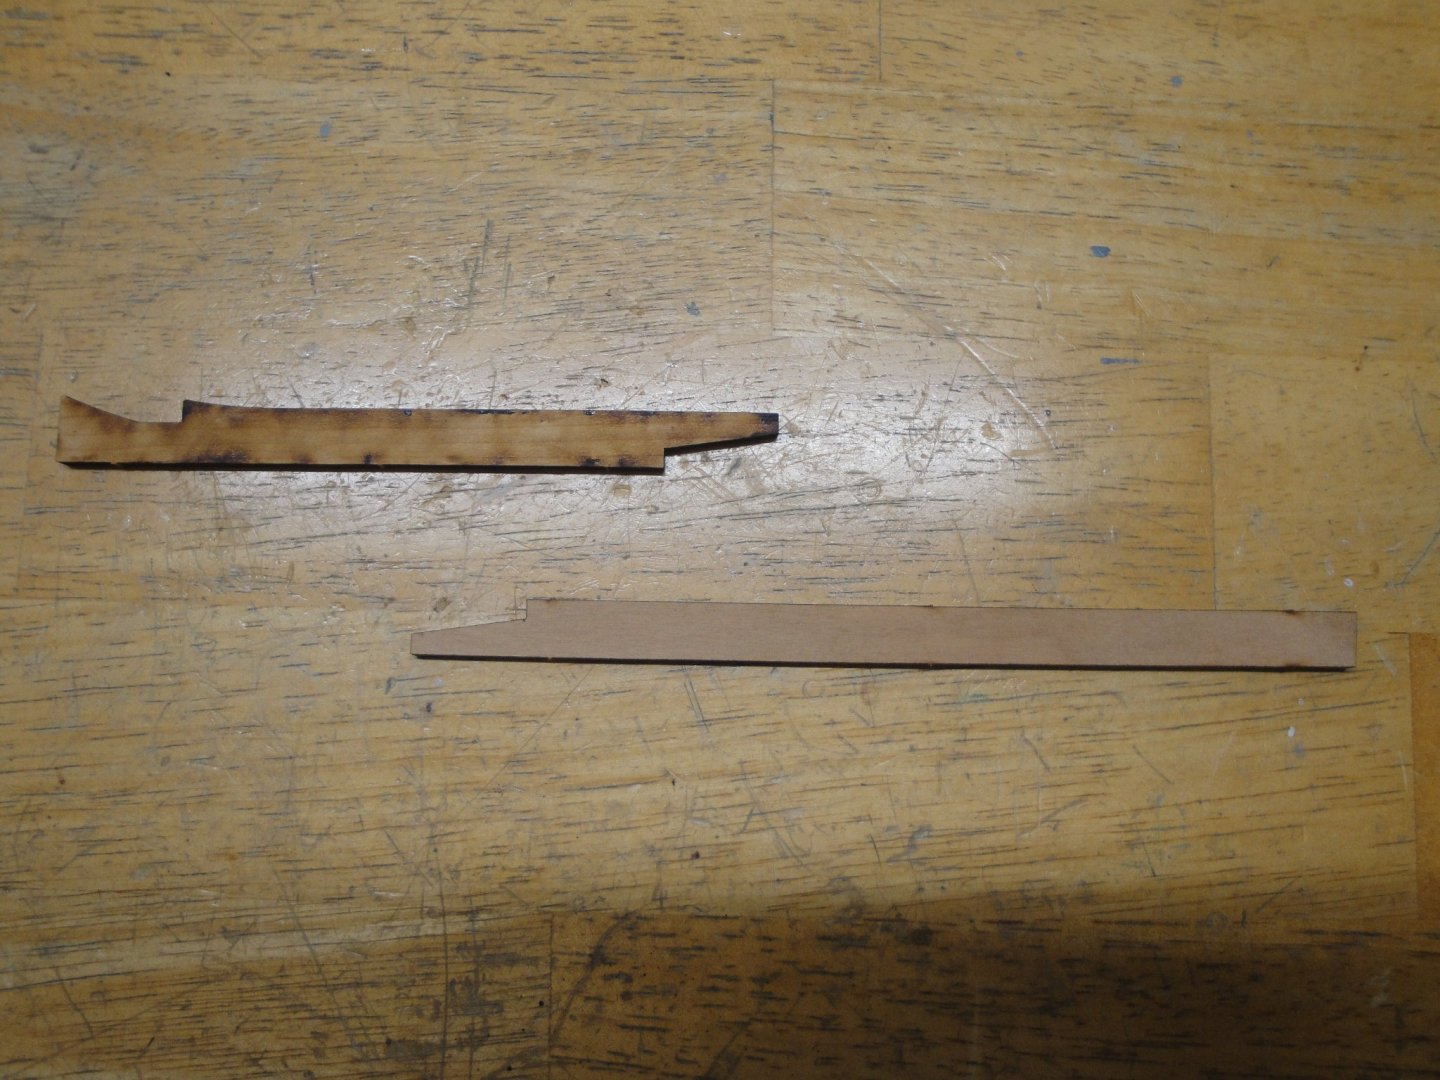
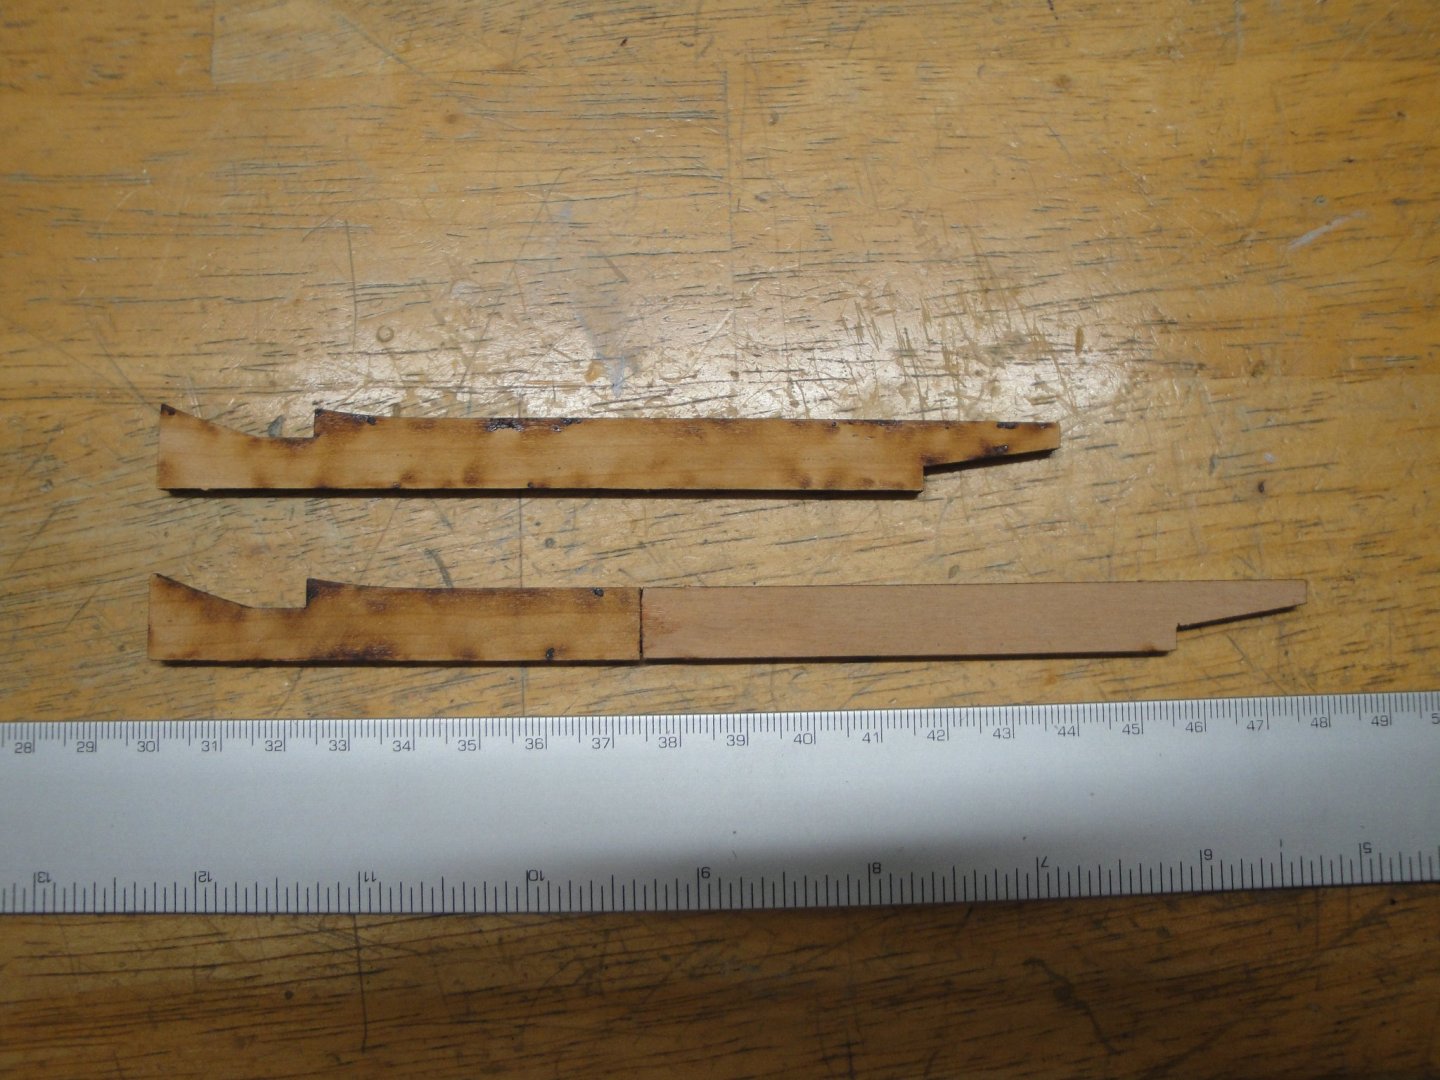
I decided to cut the front part L4 and the stern part L2 and came up with the following. Before cutting L2 below, L4 above: In the picture below, you can see the L4 modified part and the L4 part from the kit. The modified part will go in the middle and will be sandwiched, creating the deFacto staggering that I was looking for. Now, I just have to assemble the horizontal section of the keel.... Yves
- 507 replies
-
- 10
-
-
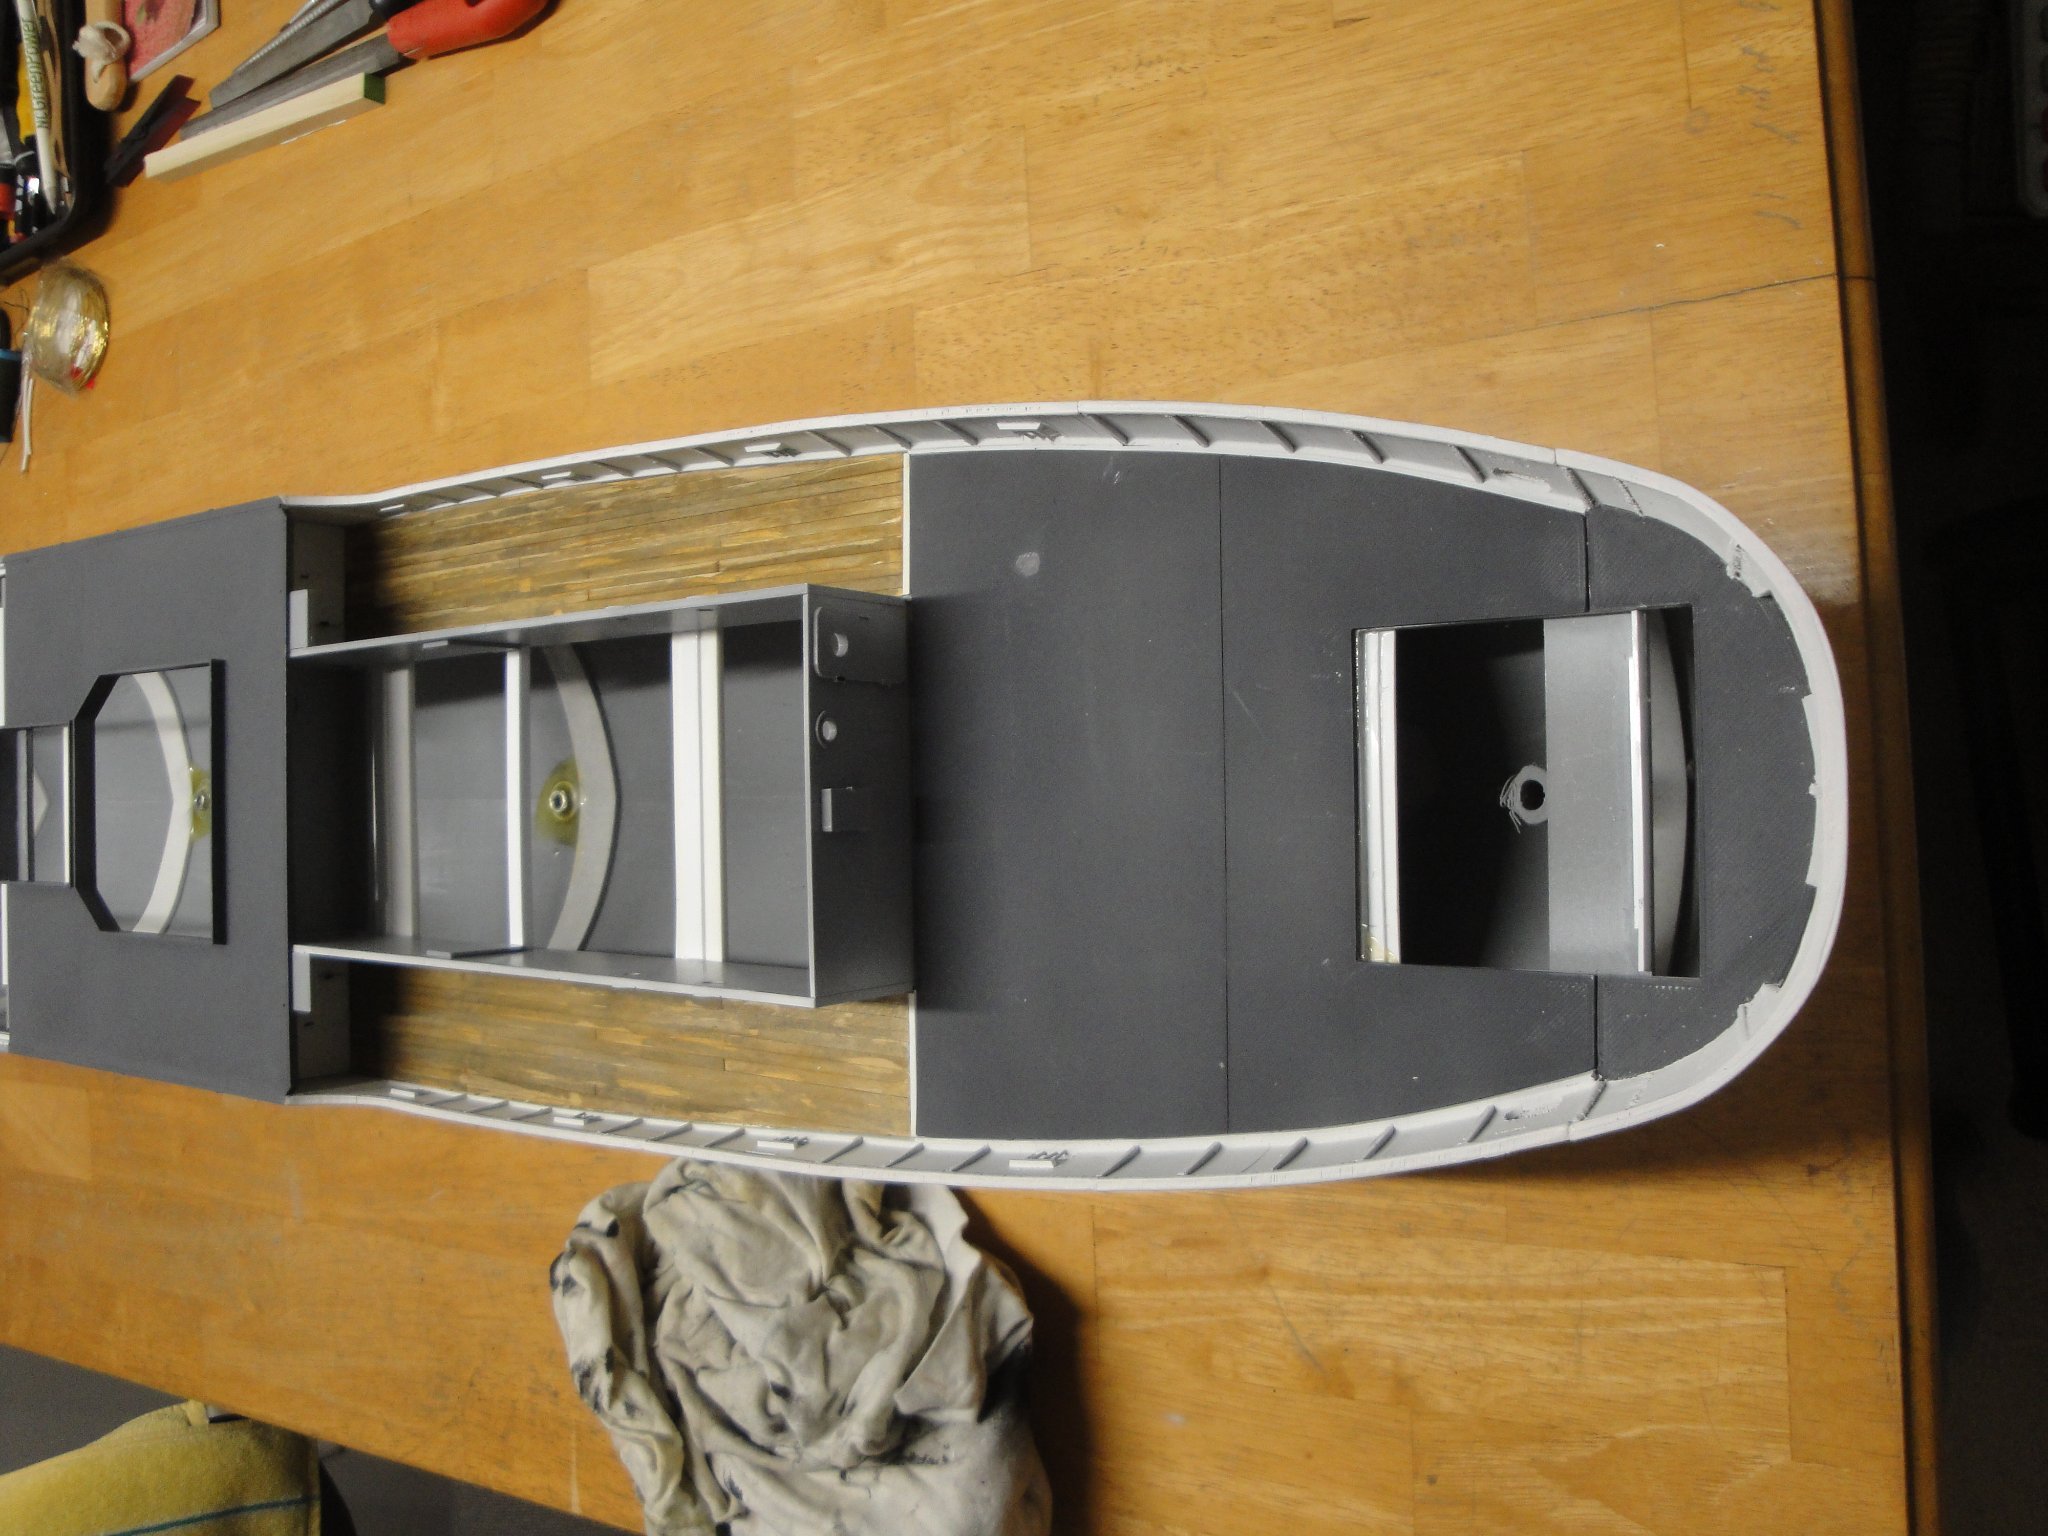
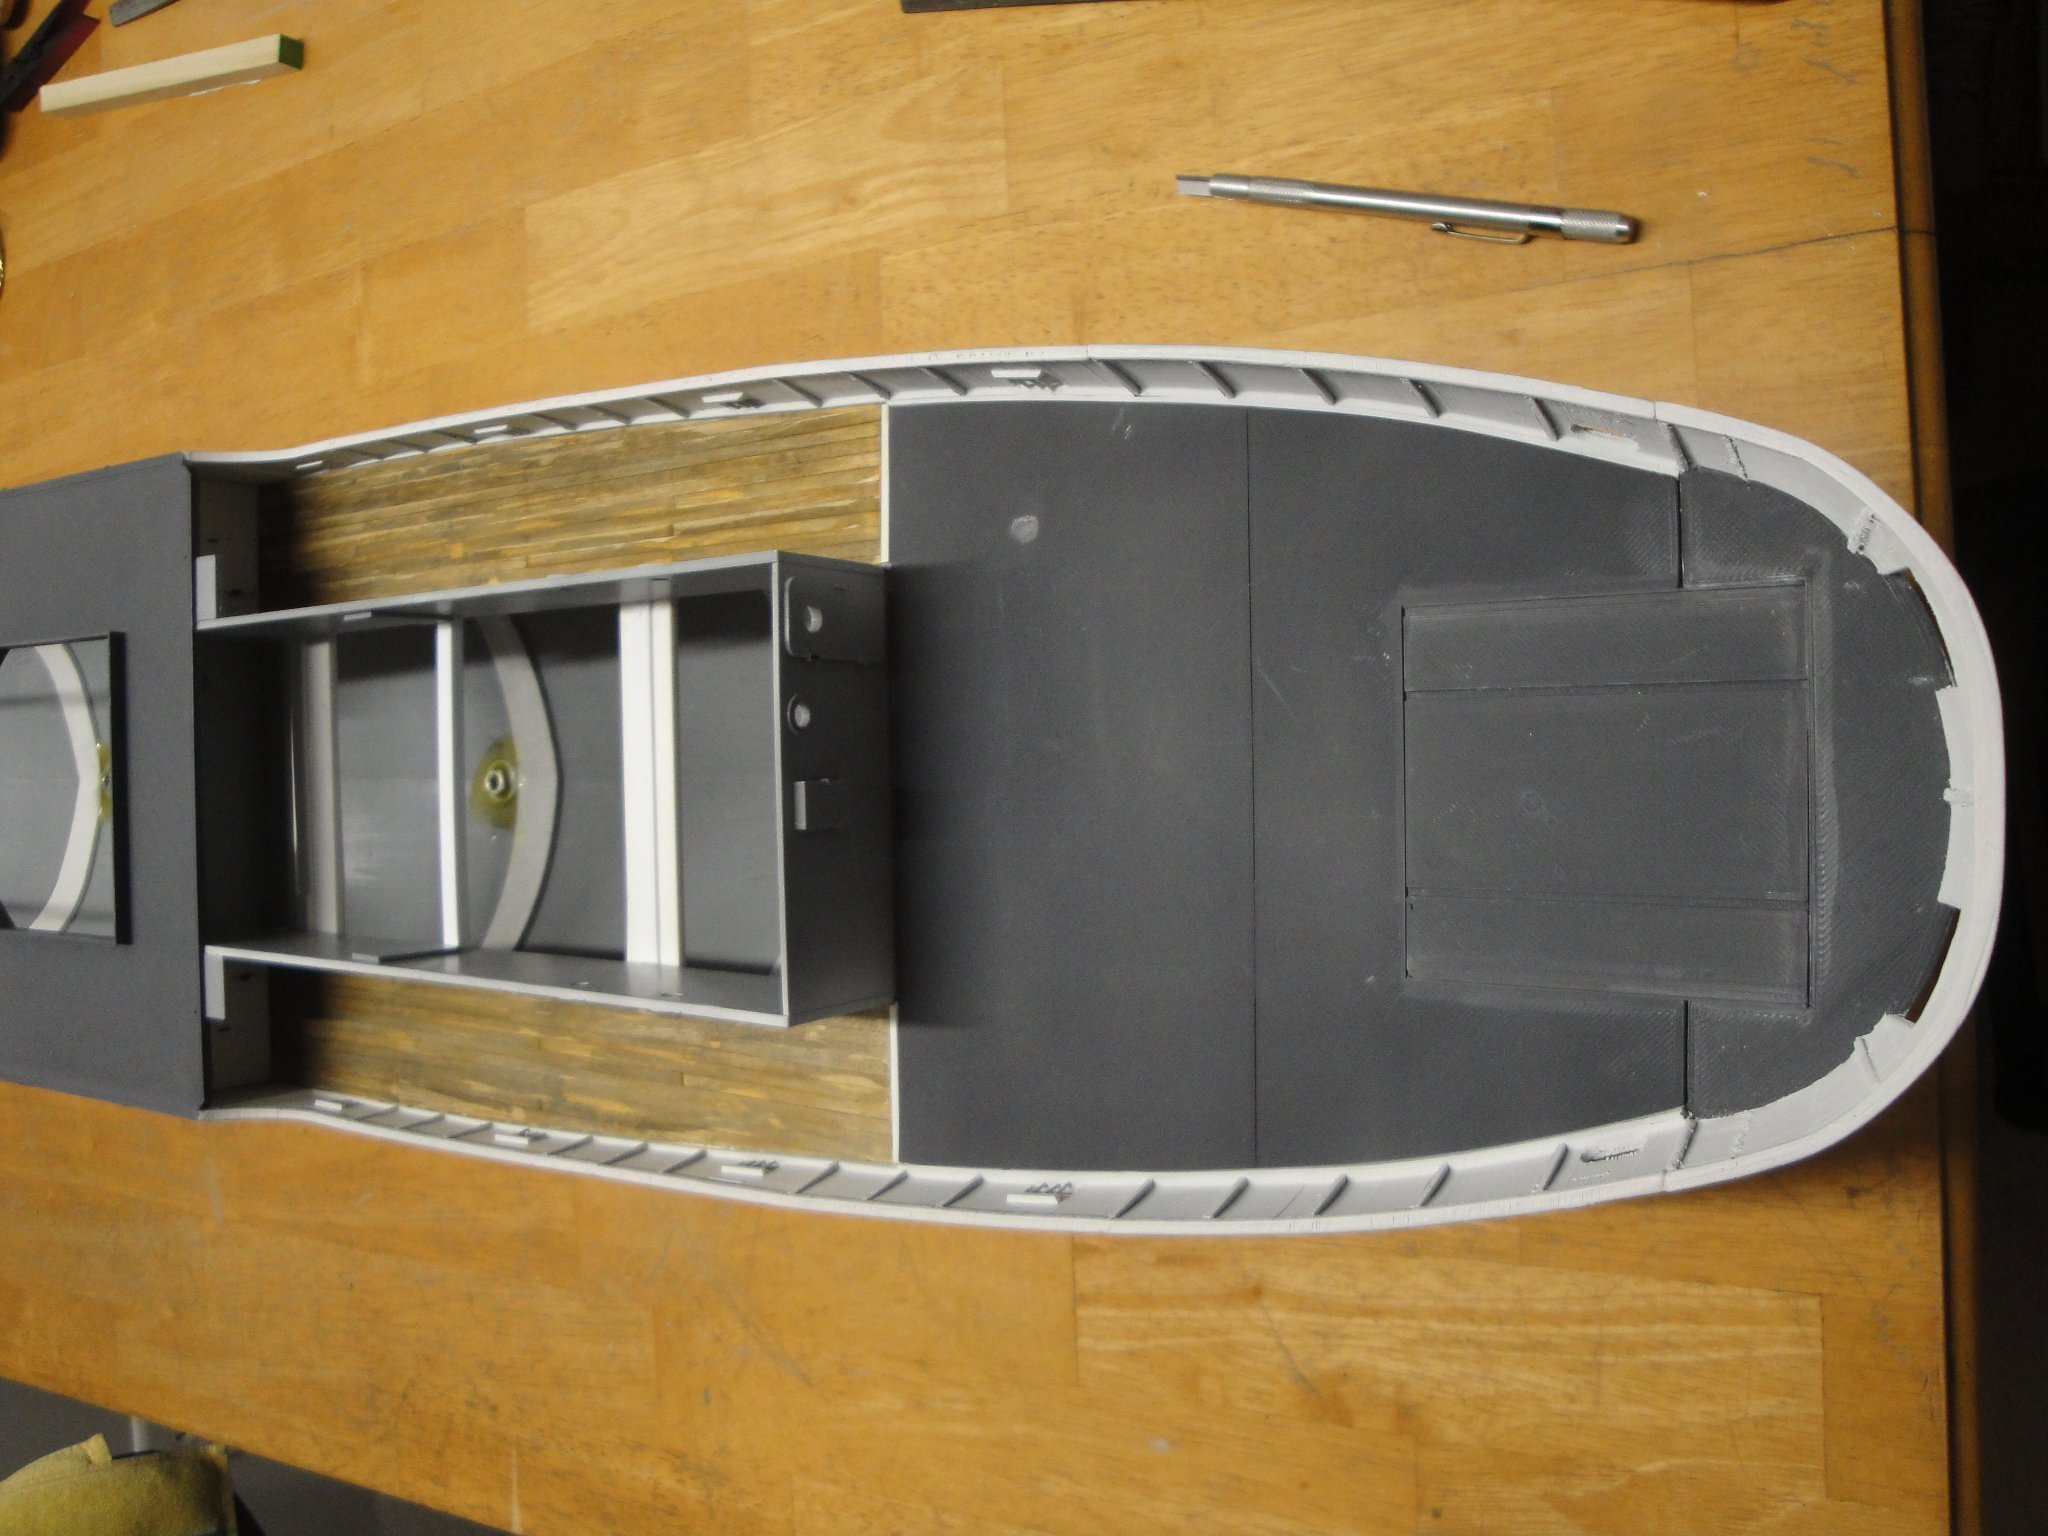
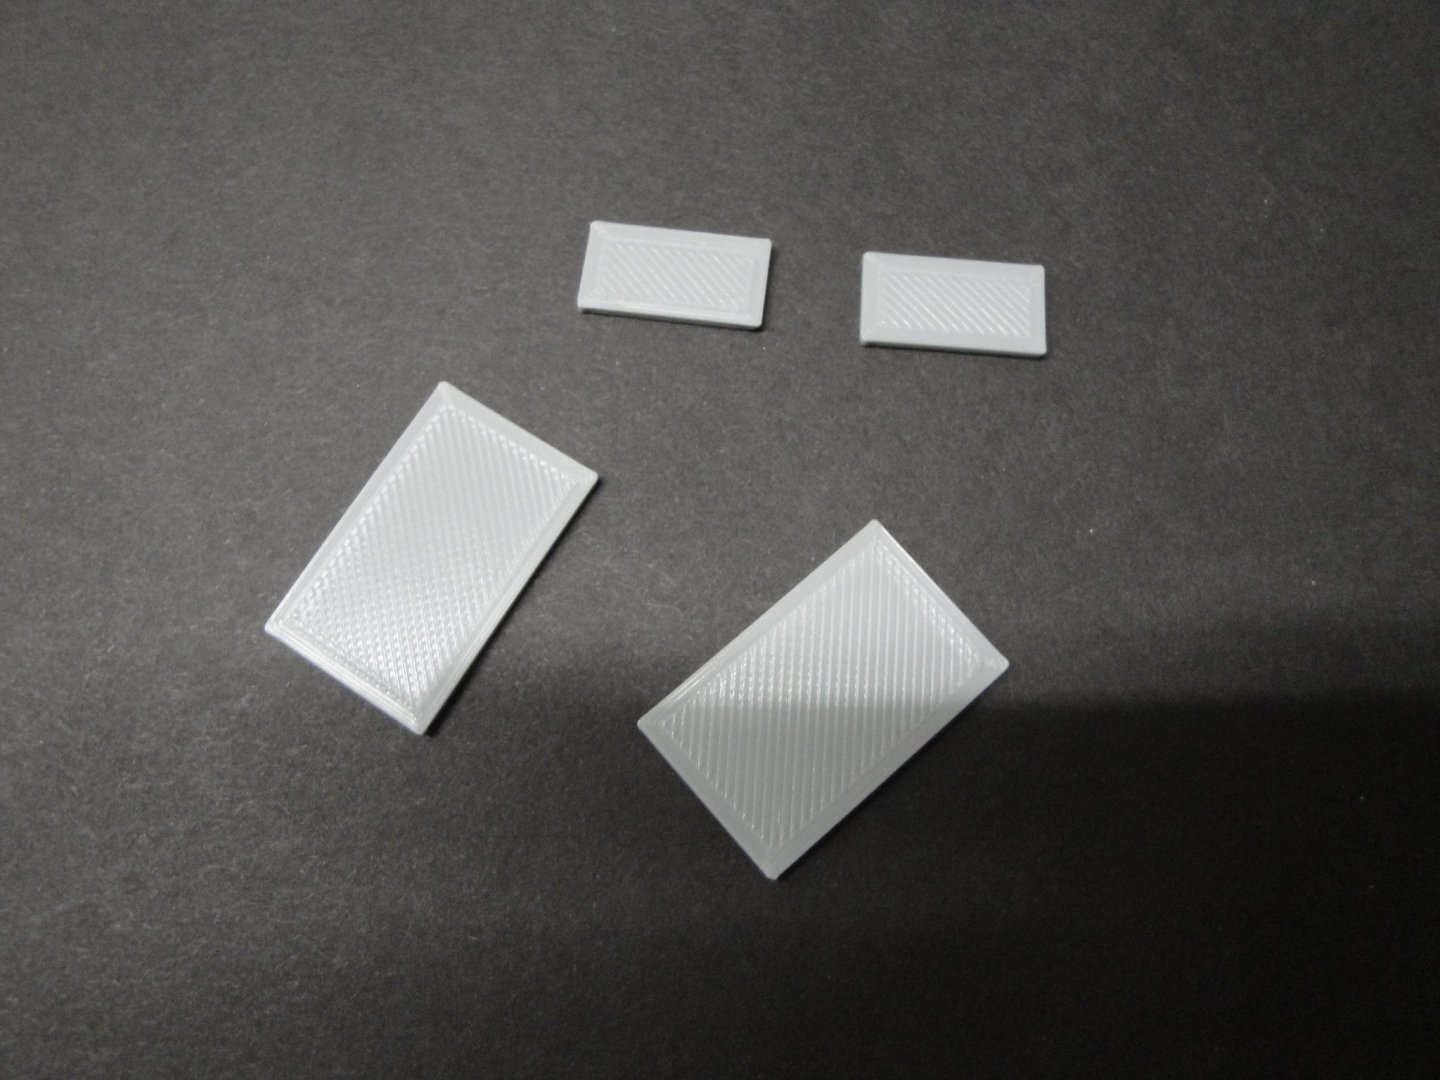
A small improvement at the juncture of Module #4 and Module #5. I noticed that the newly added deck is sagging and not joining perfectly. I decided to build four small pieces to provide extra support for the deck: These are based on the ENGINE>ENGINE_ROOF_JOINER part provided in the kit and resized to 30 mm x 19 mm x 1.6 mm (thickness is unchanged.). The smaller parts are 19 mm x 10 mm x 1.6 mm. The small parts are glued to the end of the large parts, and the large parts are glued underneath the Module #4 deck. It now offers a very solid base for the extension deck, discussed previously. Yves

- 321 replies
-
- 16
-
-
- Finished
- Flower-class
- (and 1 more)