Mike Y
-
Posts
1,557 -
Joined
-
Last visited
Content Type
Profiles
Forums
Gallery
Events
Everything posted by Mike Y
-
 Great log, and a very impressive model! Love the wood selection and colours, finish, well, everything! Looks fantastic when finished and in the case, you definitely have a really good taste! It was a pleasure to read, and I definitely picked up few useful methods. Thank you!
 -
How serious do you get about dust protection
Mike Y replied to bigcreekdad's topic in Modeling tools and Workshop Equipment
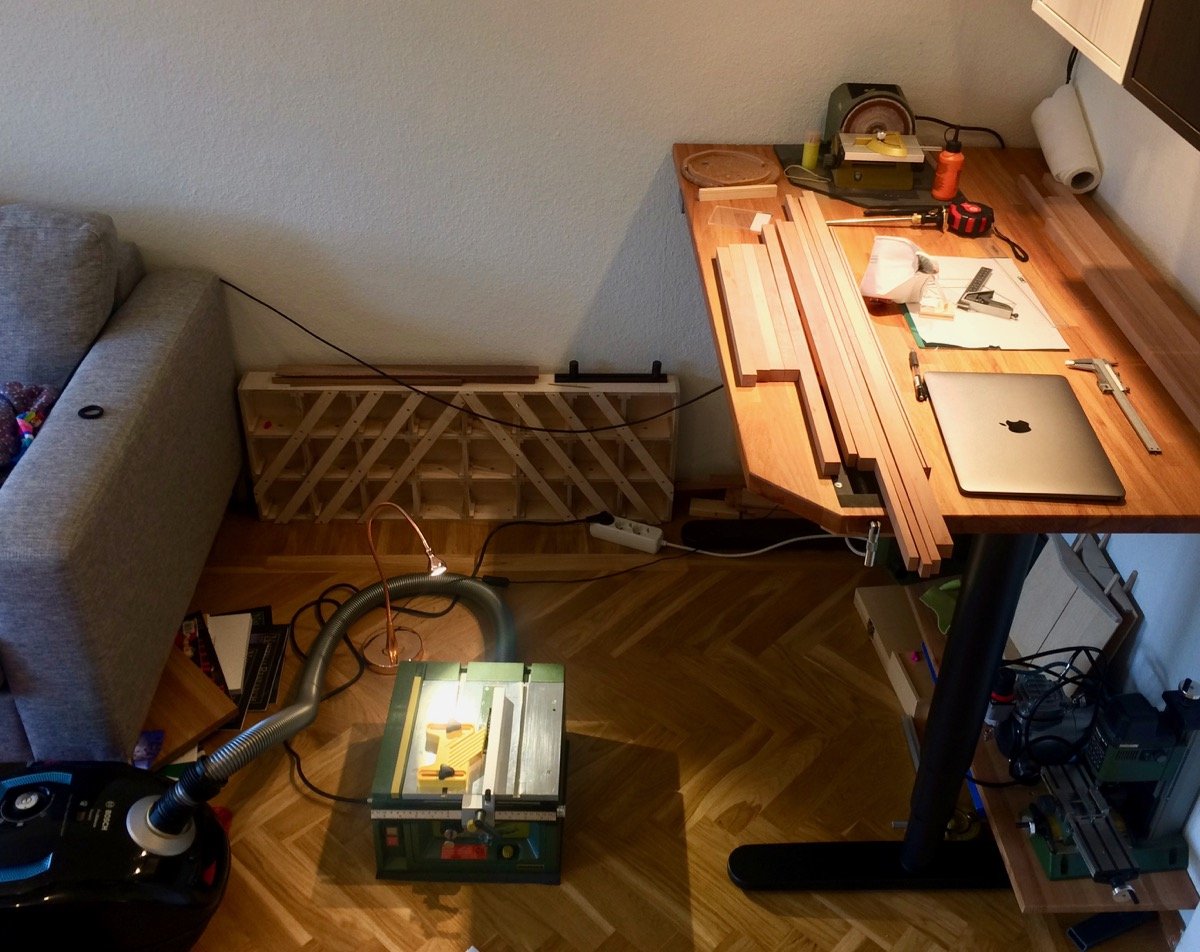
Taking it very seriously - sometimes I was getting a sour throat and some coughing after sanding pear. Plus a layer of fine dust around the "workshop" (which is in the corner of the living room). Being in the corner also means that the airflow and natural ventilation is quite bad. During a summer I am trying to sand on a balcony, but that is not always possible. So I started using medium level respirator masks, they do make a difference: http://www.axminster.co.uk/jsp-typhoon-fold-flat-valved-respirators-ax956169 But then I also bought a vac. Not a shop vac (these beasts are ungodly loud, my neighbours will be really upset), but a decent household grade vac with a "silence" in its name: https://www.clasohlson.com/se/Dammsugare-Bosch-GL-40-ProSilence-BGL4SIL69D/44-1868 To make sure that neighbours are not disturbed - I typically put it on an anti-vibration rubber mat. It works great! The power is more than enough for all my tools, and I rarely crank it up to maximum (because of the noise when the airflow goes through a small dust port in some proxxon tools). It typically runs on some medium speed. After a year of active use, there is no sign of dust getting inside the vac mechanisms - it is clean as new, everything is trapped in a bag and HEPA filter. The bag lasts for quite a long time - most of the volume is taken by shavings from planer or hand planing, and these I usually swipe away and vaccuum what's left. The main job if the vac is to capture a fine dust that would otherwise end up everywhere in the room and inside your lungs. So far I only used three bags, which is nothing. Since it is quiet - I always use it while sanding, just placing the vac hose next to the piece. The airflow is very good, and all that nasty tiny particles are sucked right in. This year I was also doing a lot of small-scale woodworking, cutting a lot of wood on a maximum capacity of my tools. That produced way more dust then cutting tiny bits for the model. And the vac shows no sign of issues. Also I forgot the last time I wiped the dust from the surfaces around the table. There is no fine dust in the air anymore. So do we really need a shop vac, if we are talking about ship modelling? Sounds more like a tradition, or a bad experience with cheap vacs that overheat and die after 30min of running. Modern household vacs are doing the same job, while being smaller and way quieter.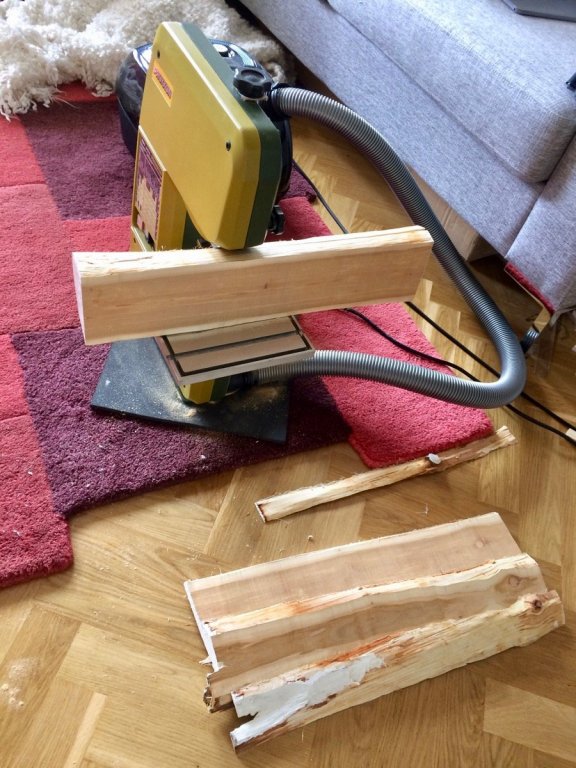


-
What brand of #11 blades do you use
Mike Y replied to bigcreekdad's topic in Modeling tools and Workshop Equipment
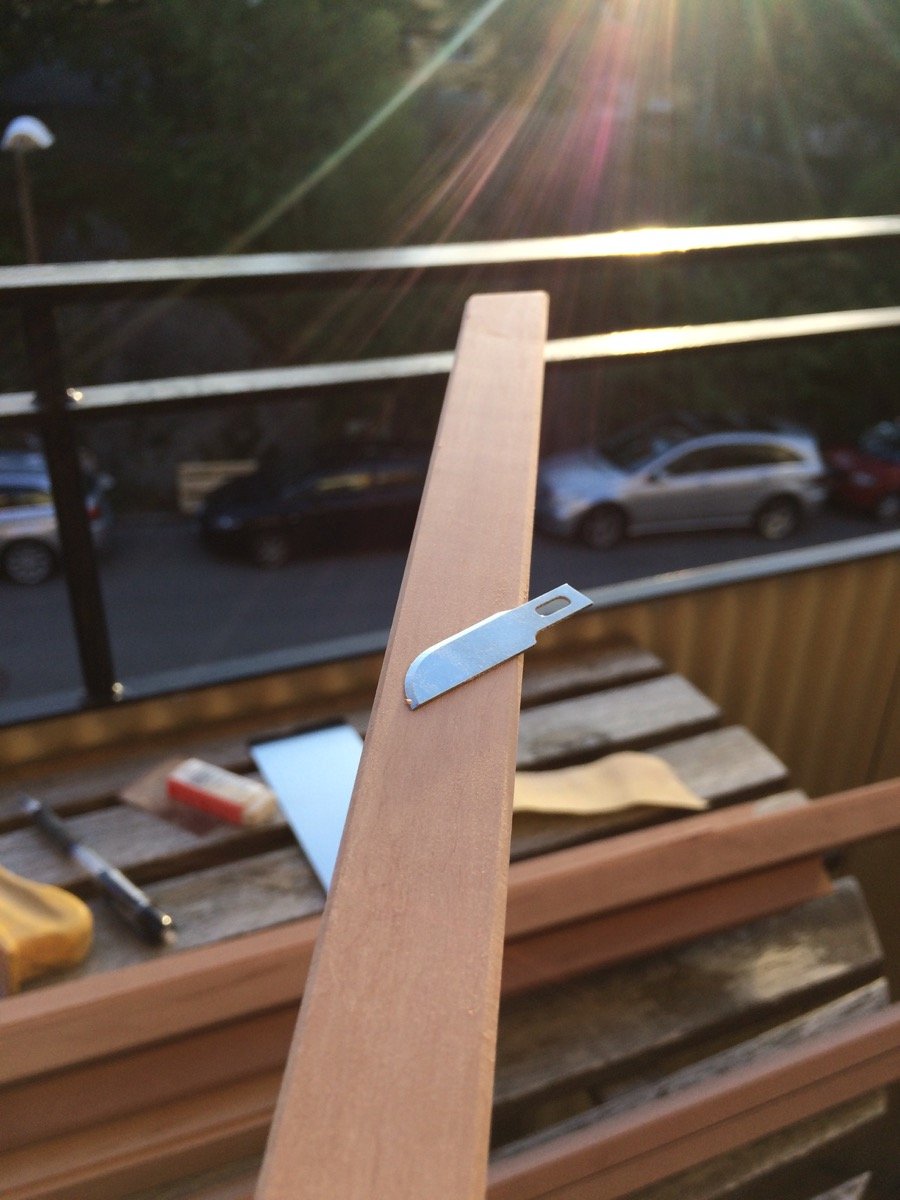
Switched to scalpel blades for cutting based on multiple advices on MSW, and never look back. Though Excel blade #10 is just perfect for scraping! Just the right profile and stiffness. Lasts forever for scraping, no nicks. I have a feeling that after scraping in one direction there is a burr on the edge of the blade - then you just scrape in another direction and it works great Alternating directions also moves the burr from one side to another. -
It is a relief to know that you are not leaving the hobby! Hope that means that Speedwell model and a book is coming sooner? And I am lucky to have some hard currency - PE set for the Swan class Guess it will only grow in value over time!
-
As a living room modeller I would say - Proxxon bandsaw. It is very thin and flat, so does not take a lot of space under the table. And is totally capable of sharp turns, enough for frames and such. Scroll saws are much wider, so take more space. I also tried a small proxxon scroll saw - it is terrible, cuts pear 10x slower than the bandsaw, and with awful vibrations.
-
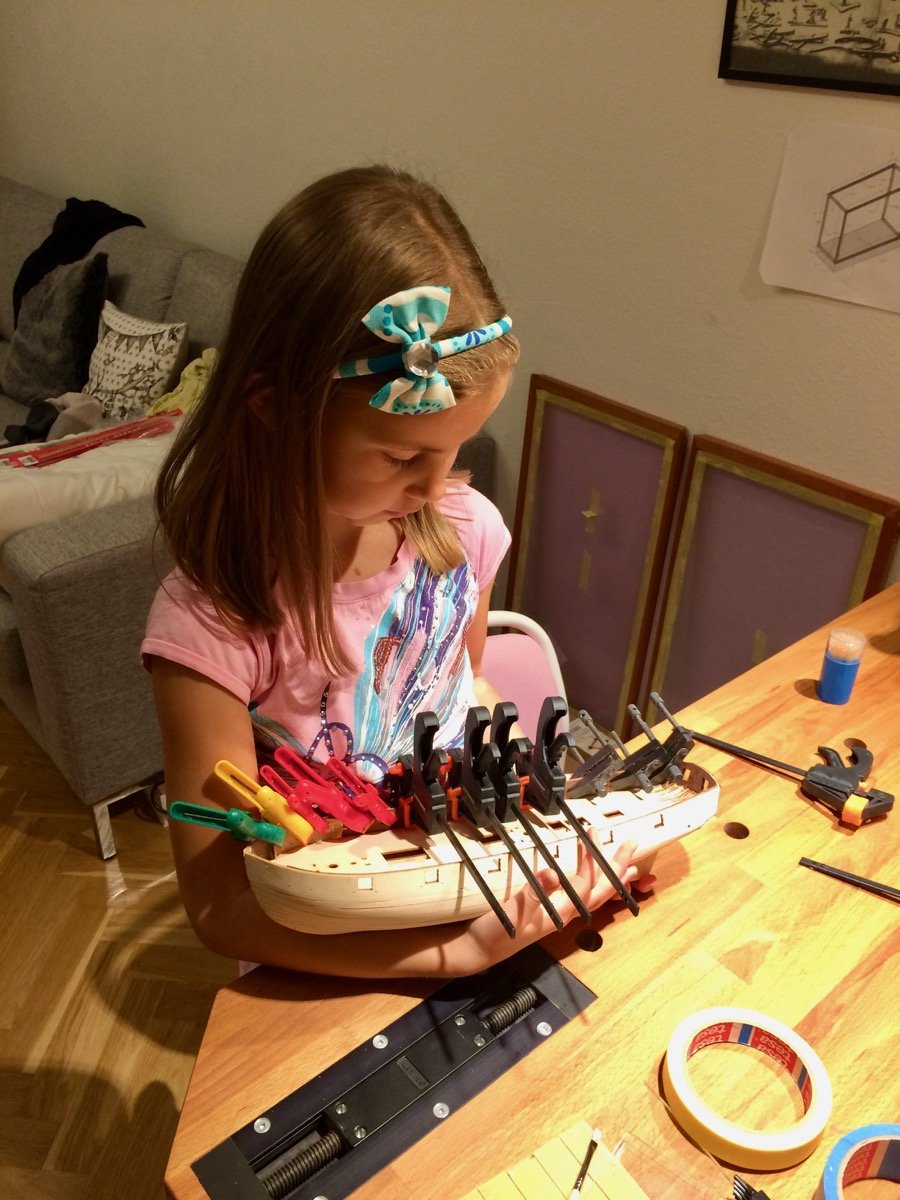
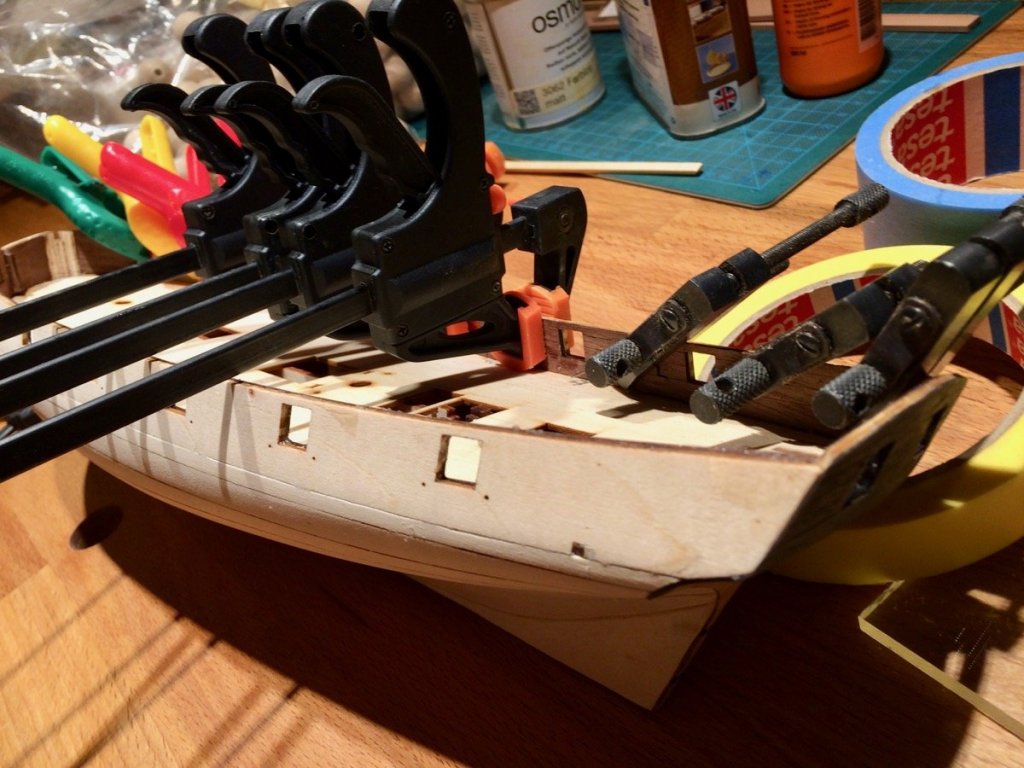
Eric, I understand what you mean! Stockholm has quite a number of old wooden ships, but getting into the right group of enthusiasts is not easy. Daria is now a master of clamps! It is one of her favourite parts of the build process. She struggles with parallel machinist-style clamps, but quickly installs more traditional clamps. Which is really valuable when the glue dries and the strip is long. From now on, she is also the one taking photos, so you can see the model from her angle. The build is in a pretty repetitive phase - gluing thin veneer. It is double layered in many places, so the visual progress is very slow. And we only have enough clamps for one piece at a time.


-
Beautiful!
-
Interesting framing pattern!
-
She is a very beatiful ship! Glad that you decided on the project, it should be an interesting journey! Bracing myself for another years of a log to follow
-
Love that dark shots!
-
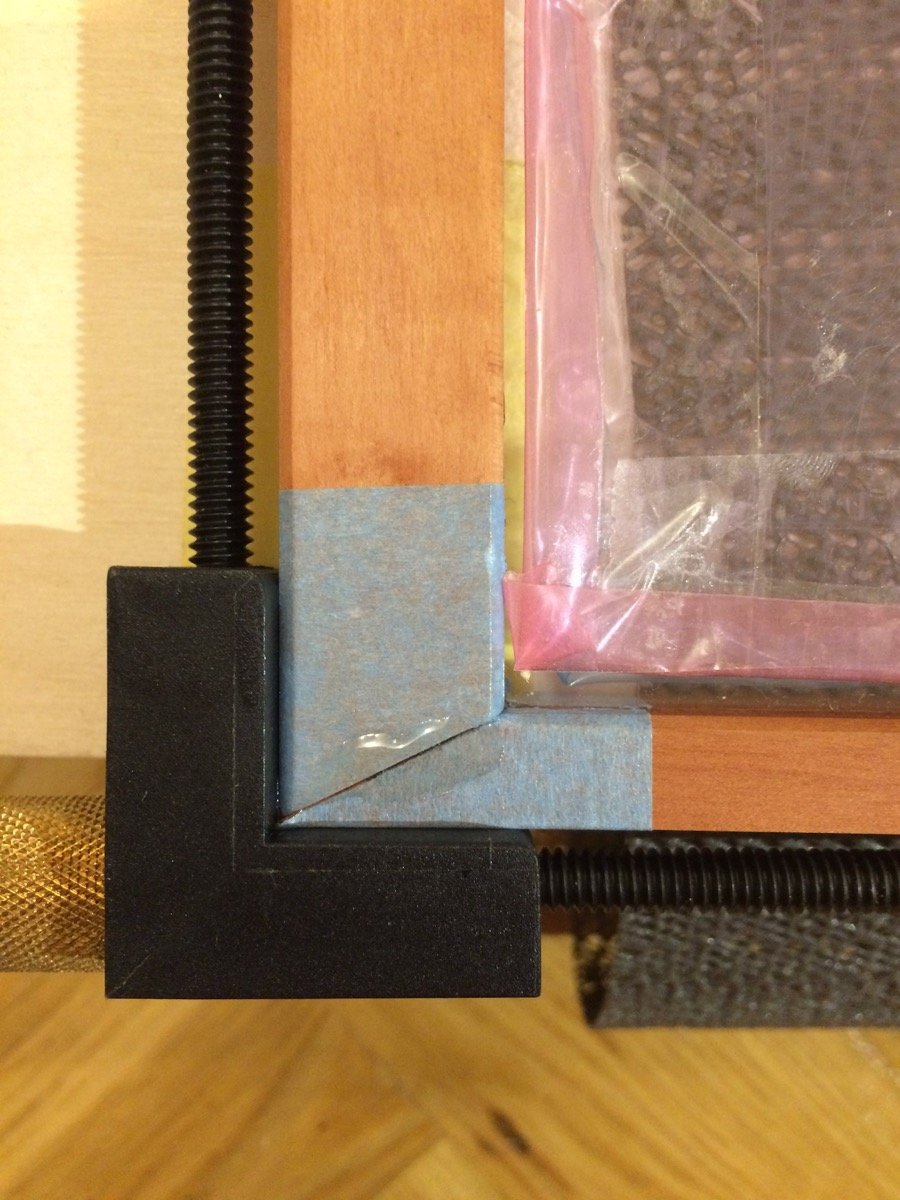
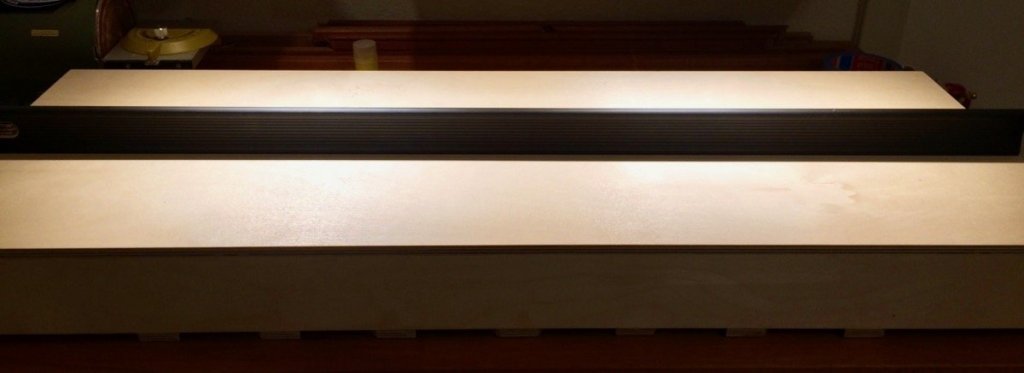
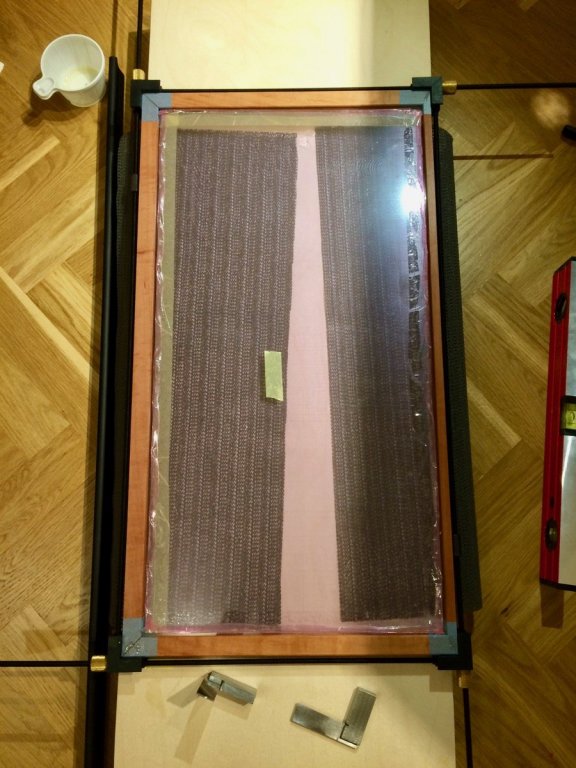
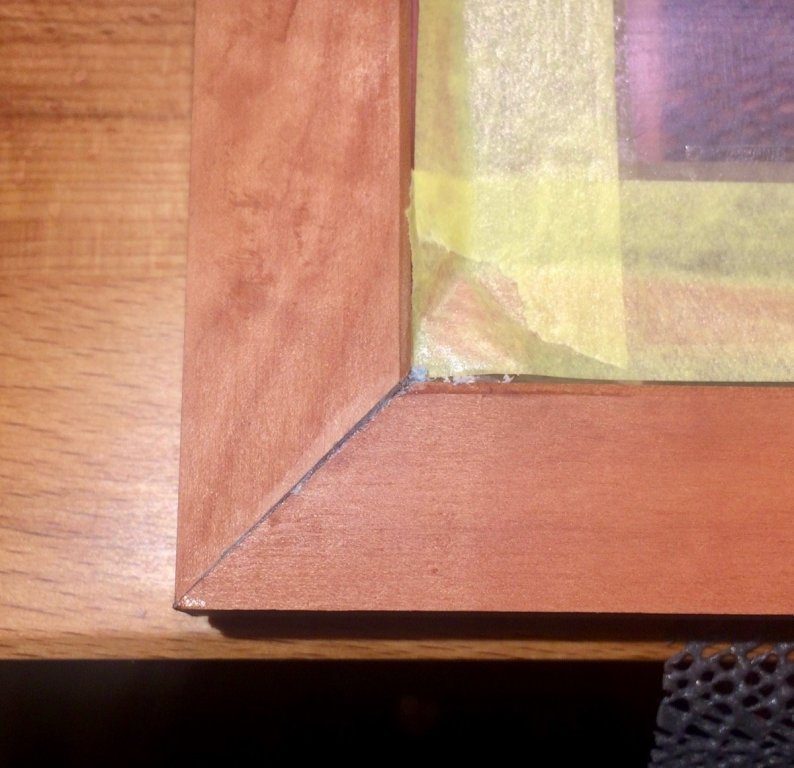
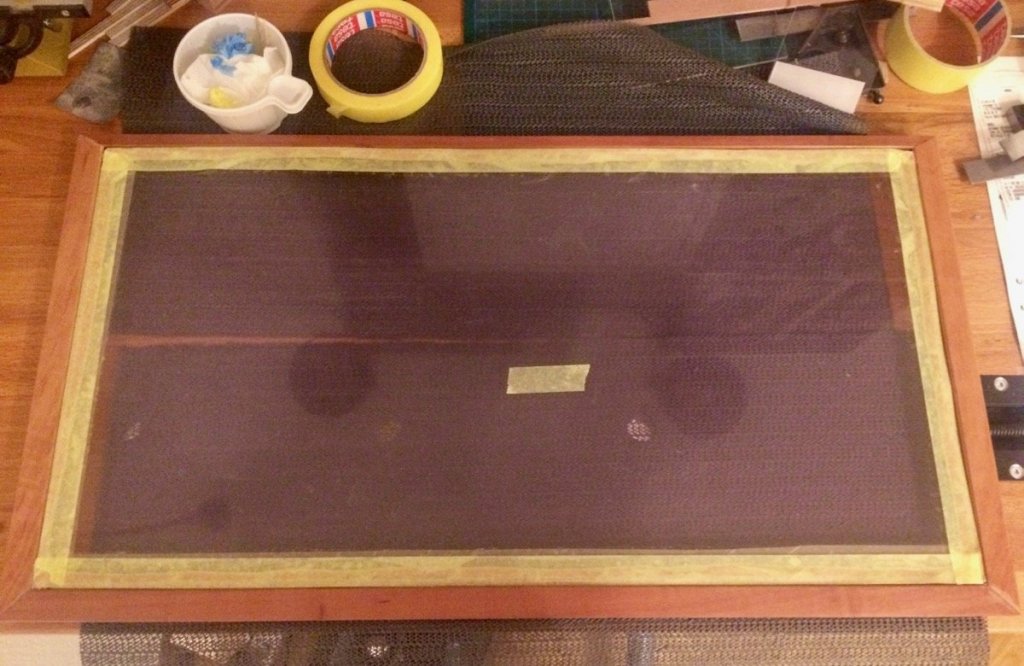
All parts of the case are finished, so starting the glue-up, side panes first. First thing to do is to find a flat surface to glue on, since the sides are too flexible (both wood and plexiglas) to be rigid. My workbench is not flat enough (beech wood it is made of swells a lot with humidity, leading to warpage), but luckily the case base is dead flat and stable, since it is a torsion box. Checked with the straight edge: Then I need to mask every part with blue tape, to reduce the mess after epoxy. For that I did a number of trials with different types of masking tape available locally, to find the one that leaks the less (epoxy can leak under some tapes). Scalpel is used to cut it just enough to let epoxy get out and avoid trapping it in the joint: The rest is a time race: 1) Apply a bit of epoxy to all future joints (8 surfaces). They are all endgrain-to-endgrain (well, diagonal grain), so needs to pre-absorb some epoxy, otherwise the glue joint would be weak when real epoxy would be sucked into the grain. 2) Plexiglas is attached to the wood with a silicone glue, so every groove need to get a continuous line of it. (4 grooves) 3) Carefully insert the glass without moving it too much to avoid messy silicone glue squeeze-out. 4) Connect joints together, applying thick epoxy to it as you go. 5) Align everything, check squareness 6) Clamp and re-check again. It was not so easy to keep track of all that, especially with a 10-15min working time for both glues. Epoxy gets out to the masking tape, but all the mess stays on it: So the first side ended up so-so, with some joints having gaps. But this side would be less visible than the other, so should be ok. Full view: After a full assembly, I will scrape and sand all jonts to make sure they are nice and flush. Second side window was much smoother, all joints look tight with no gaps. I have big hopes for that second side The moment of truth is coming - joining these sides together with a top glass and front frame. Really hope that I will not need to scrap the entire thing and start over...


- 969 replies
-
- 15
-

-
- hahn
- oliver cromwell
- (and 1 more)
-
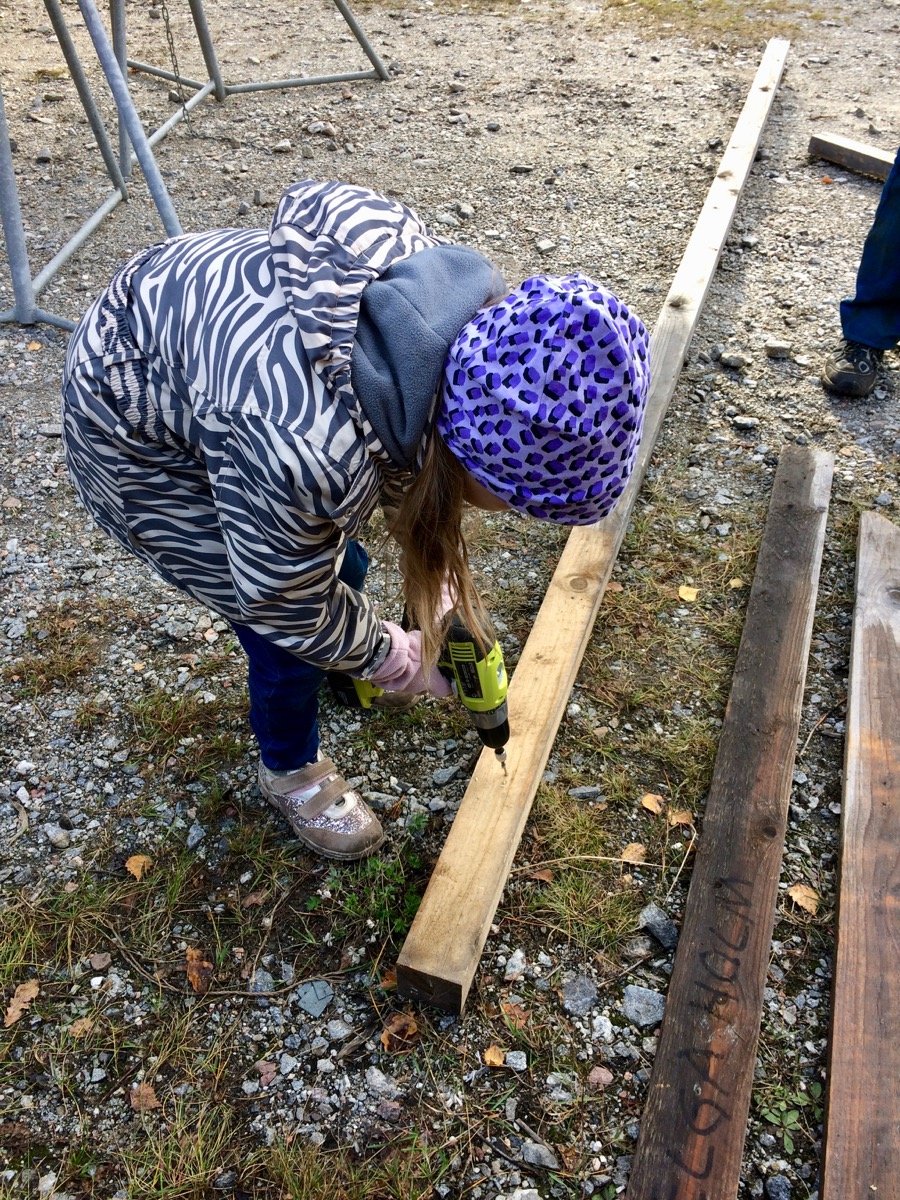
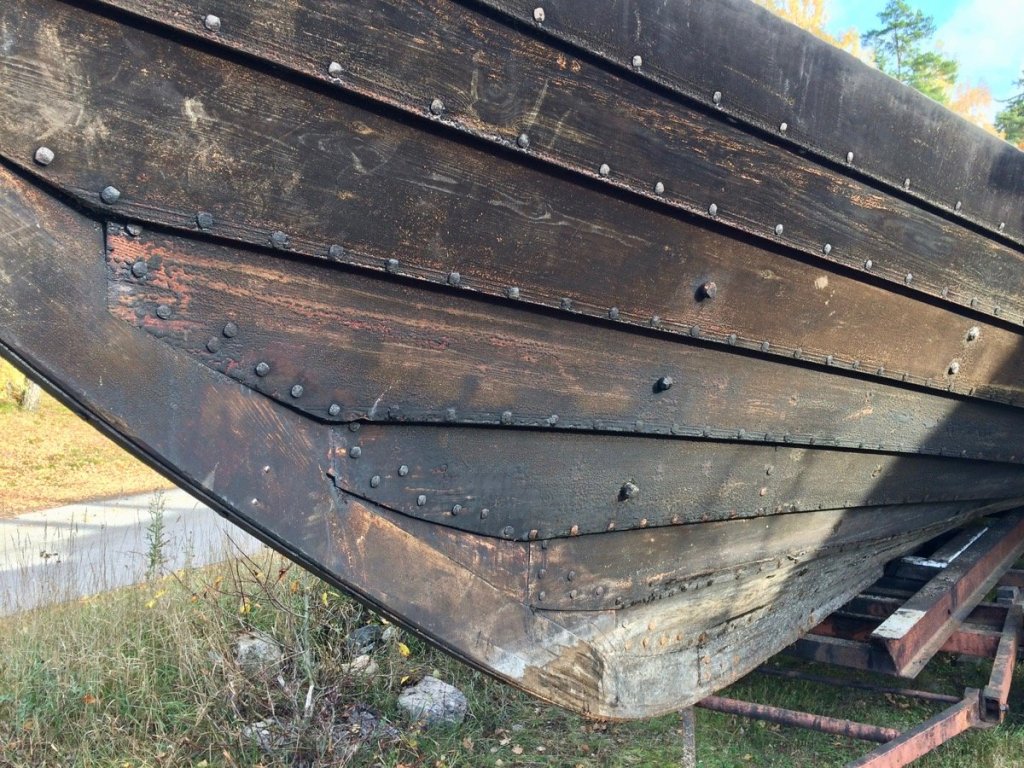
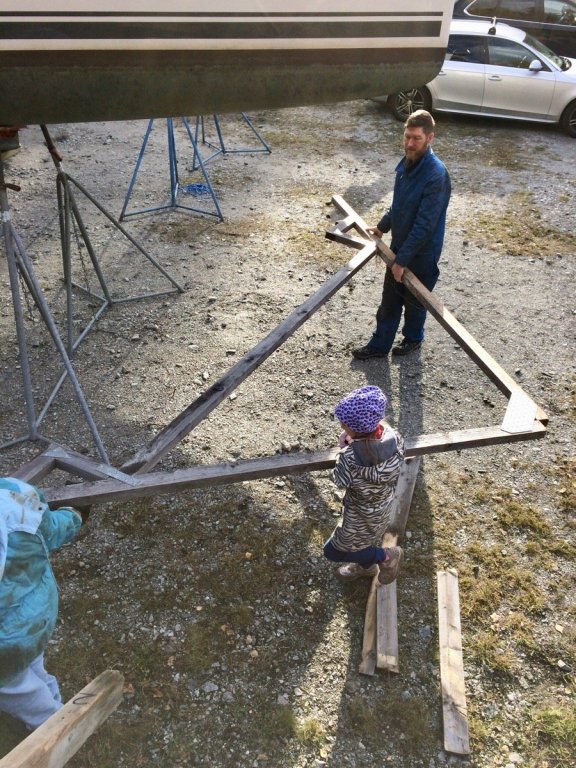
Thanks, she is happy to read it! Today we took part in another build (or a maintenance of an already built "model"). It is Helga Holm, the Viking ship replica, built in 1983, 22m long, weighs 4 tons. It is in a decent shape, but definitely requires some repair. For now the goal was to raise a tarp cover to protect it from elements in the winter. Daria participated a lot, and she looks forward to sail it in the summer! Ready to be covered:


-
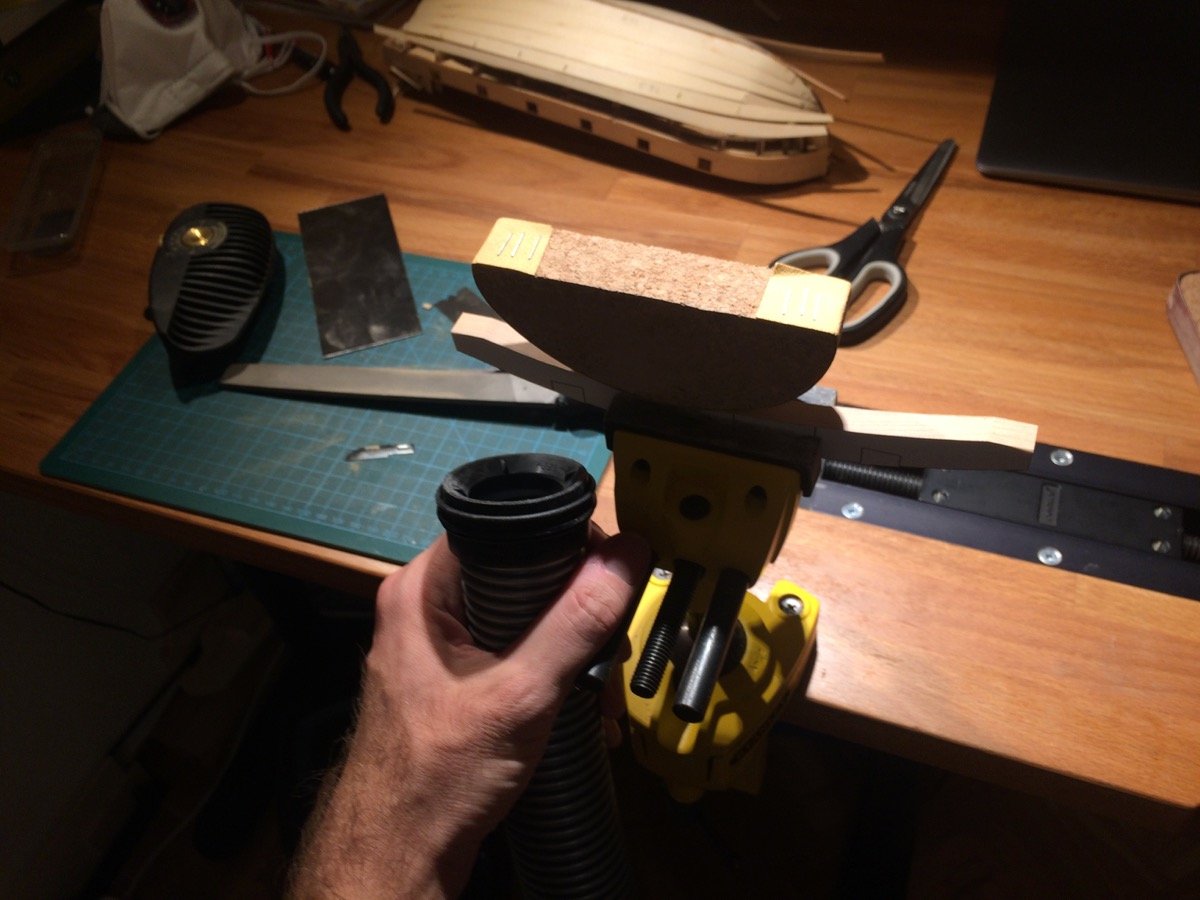
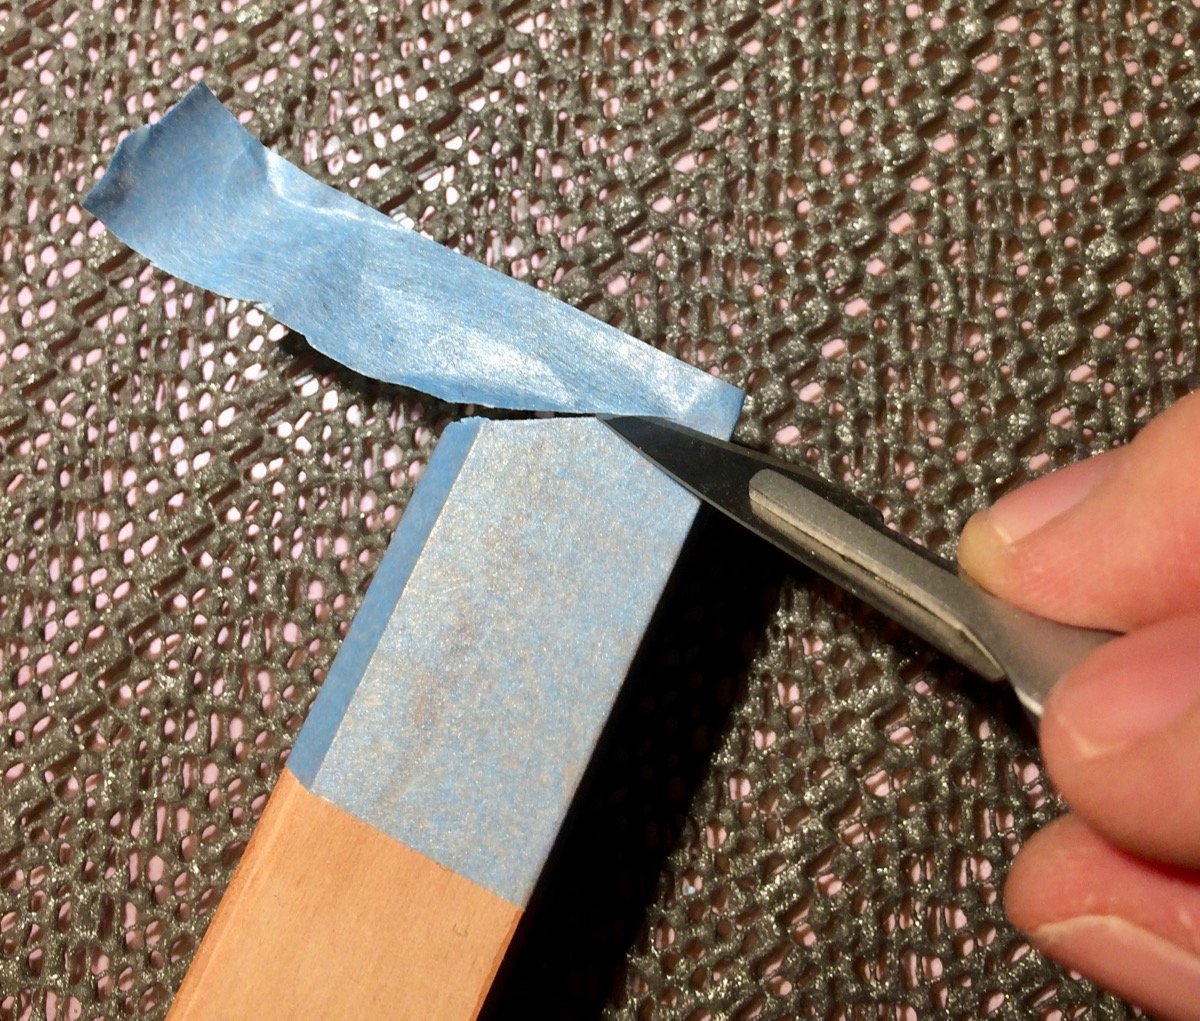
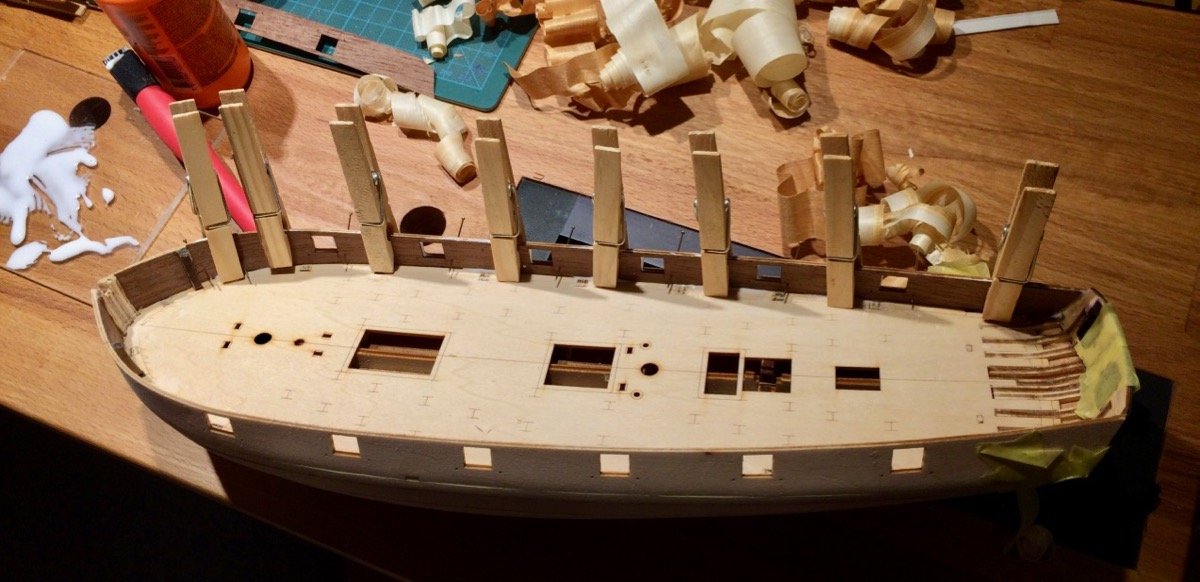
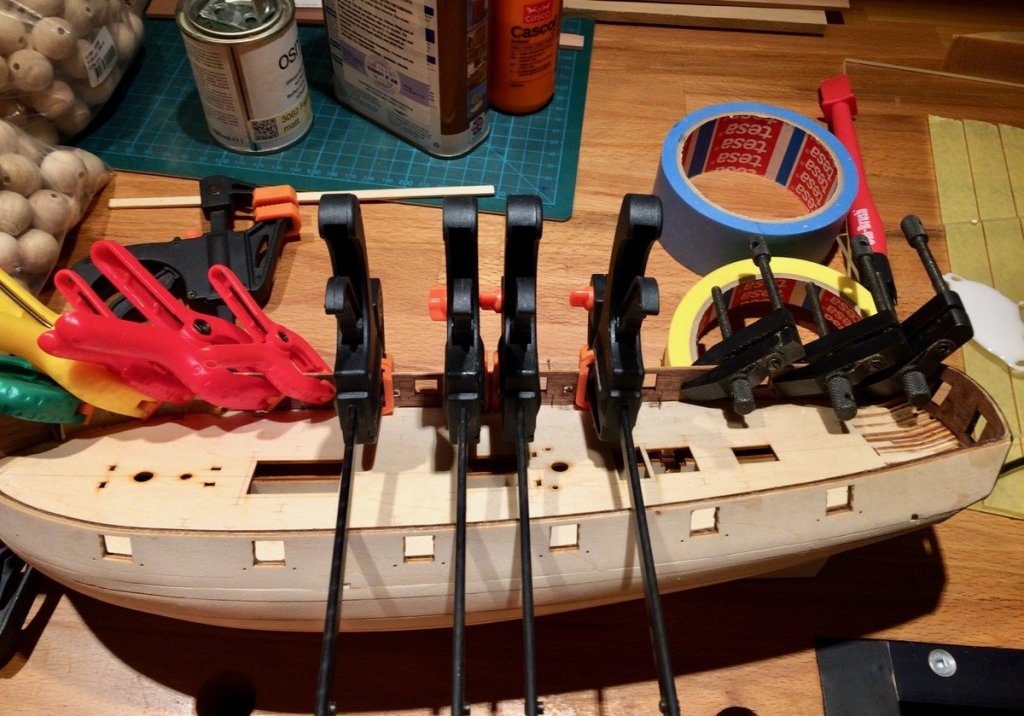
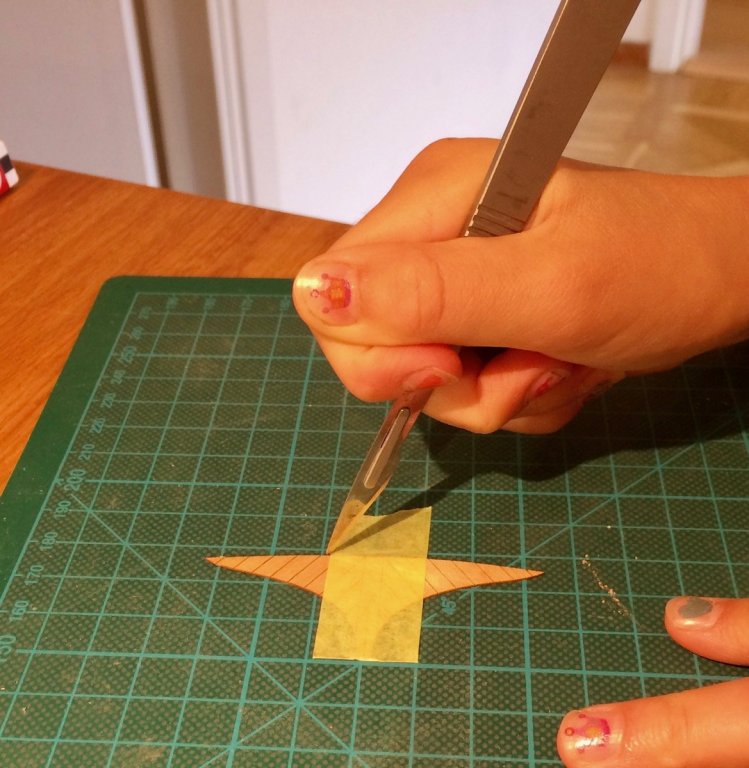
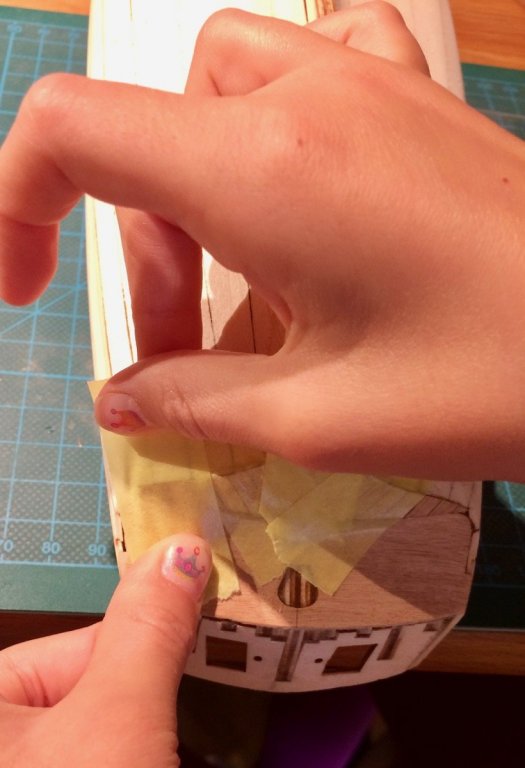
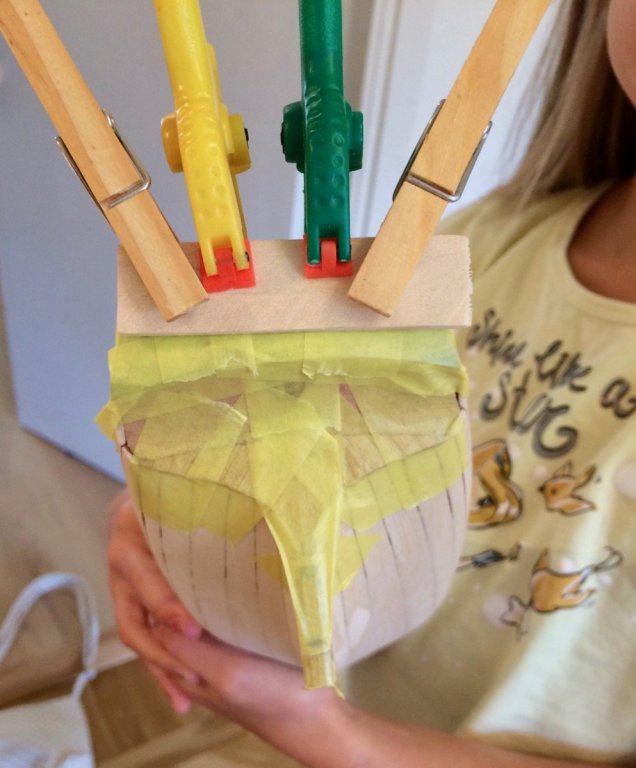
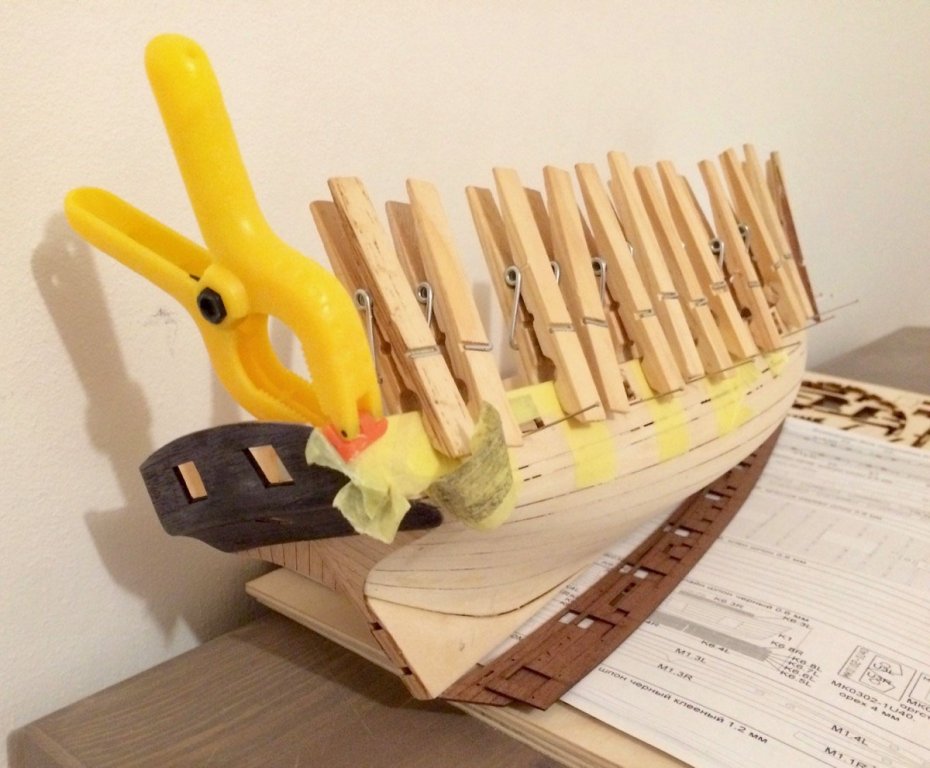
The build was finally resumed, we had a number of modelling sessions during the last few weeks. Horray! This time the job is simple - glue pre-cut veneer pieces to their places, fine fit and making sure they are properly clamped. Daria likes it a lot! And whines that with this tempo it will take too long to finish the model - we need to glue more than one part per day! Learning how to work with a scalpel with various angles. I know the holding is not correct here, but that will be corrected later: Using masking tape to "clamp" the veneer where regular clamps could not be used. Works like a charm on this scale: Transom all clamped: Result is ok, including the ebony parts: Then onto the bulwarks. They are double-layered for whatever reason, but alignment is easy and done by a small pins that fit into tiny holes cut in all layers. Such a simple and elegant idea! Found out the hard way that these clamps are not good enough - they clamp only in the middle, while veneer warps due to moisture. So we experimented with other ways of clamping: And ended up with this monster, but it seems to work: She really enjoys it now - the difficulty level is just perfect, and learning some new techniques every time. I am touching the model less and less, she is doing more fine fitting herself (and said fitting is always required, a millimeter here and there).


-
230v version, of course. The only reason is to save a bit by buying it used, and to avoid various import/customs fees.
-
- 2
-
-
Mumin, thanks for the note! It is really valuable!
-
Very nice gauge and the build board!
-
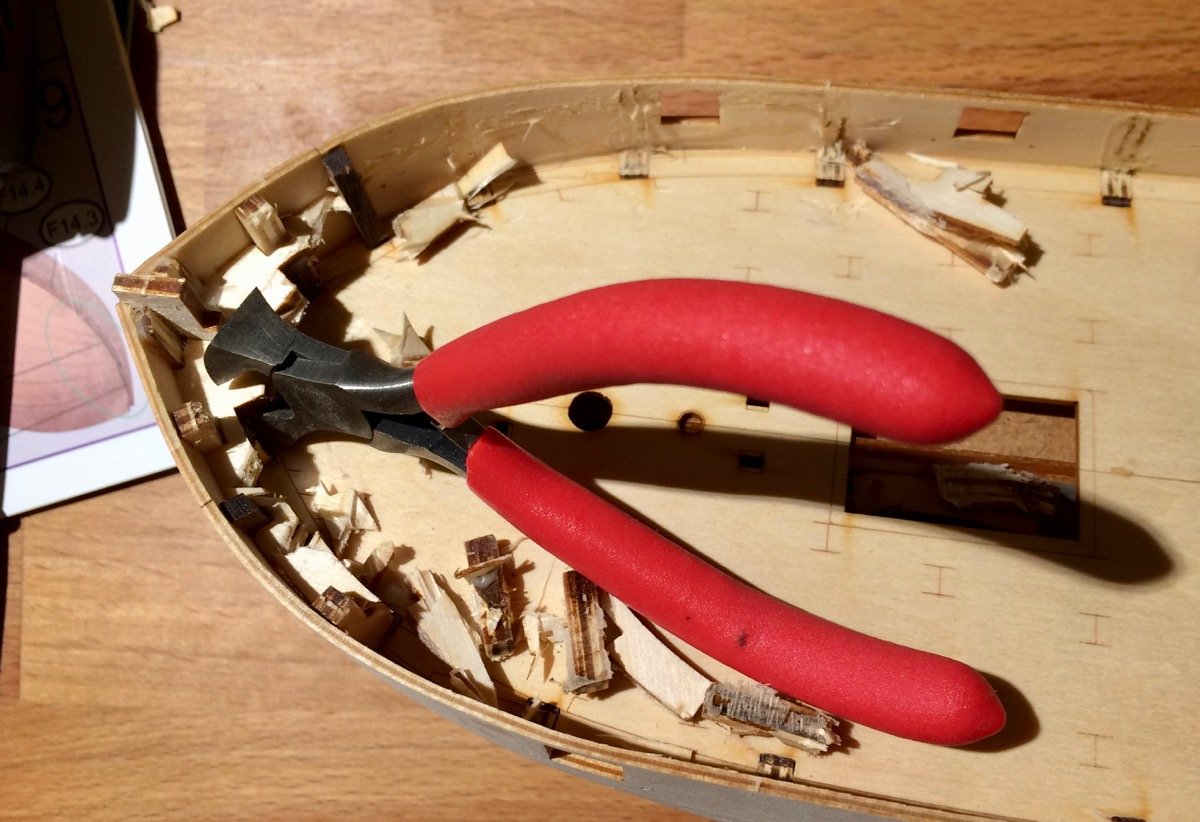
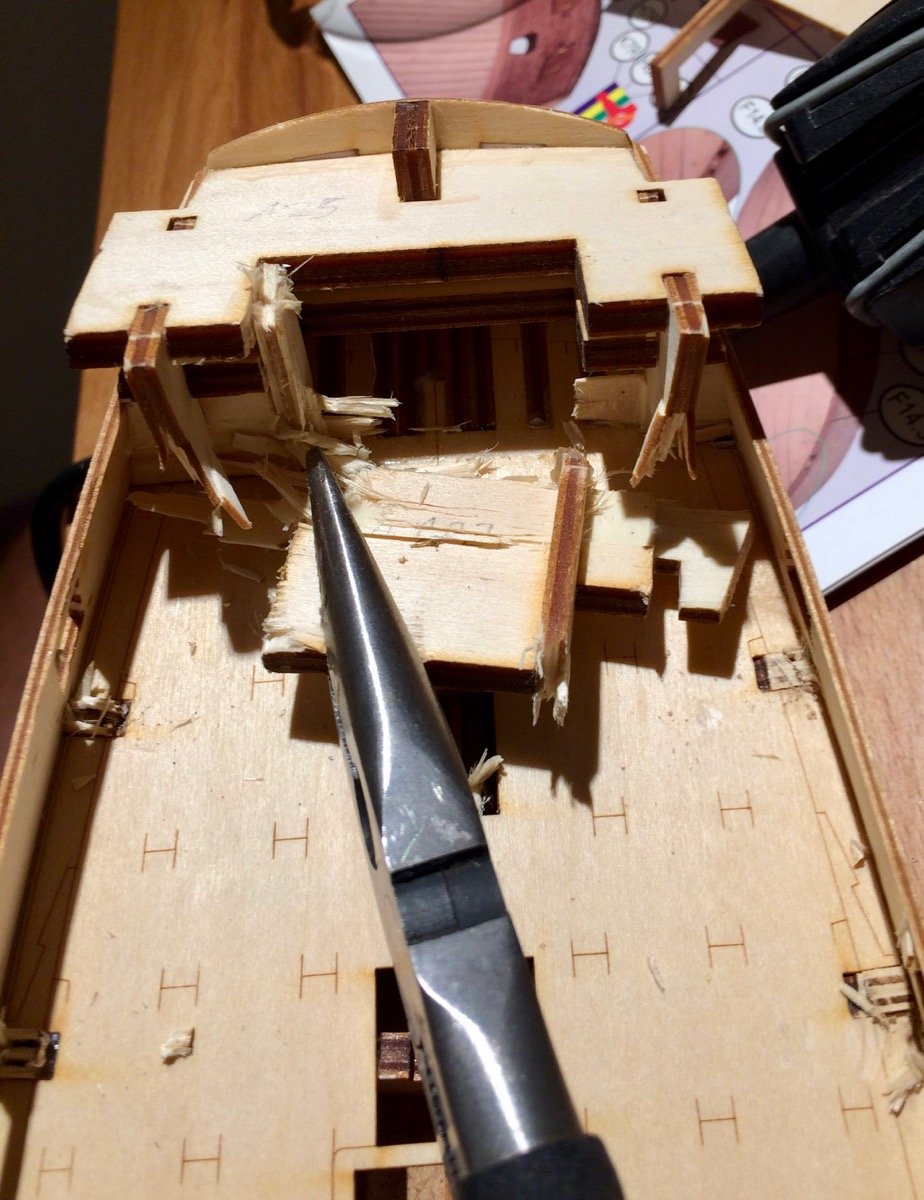
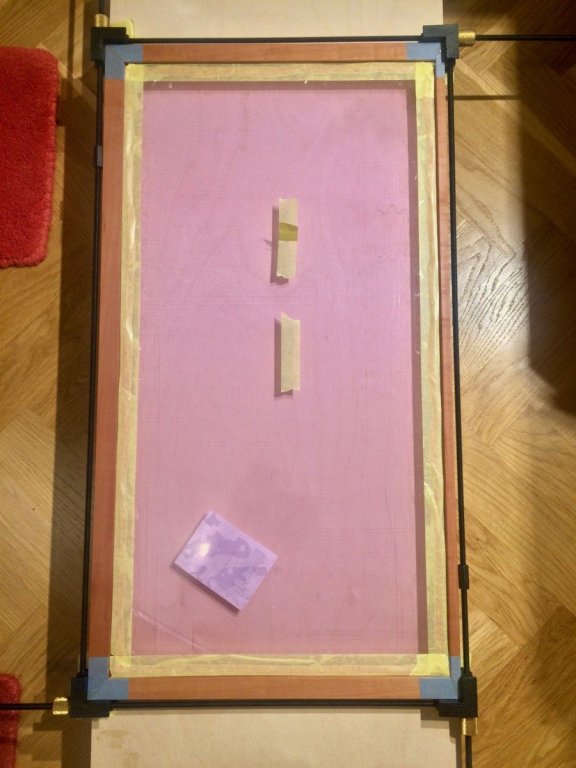
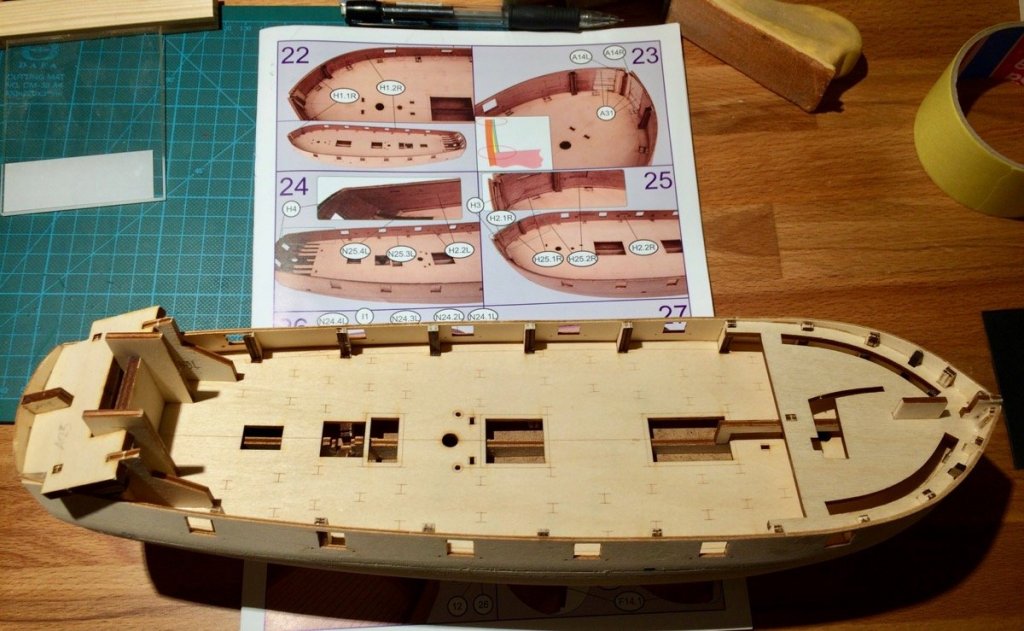
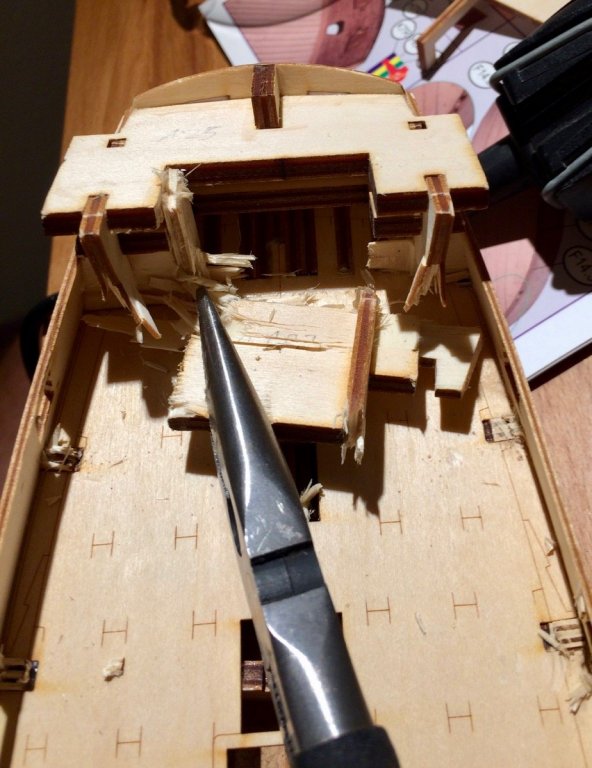
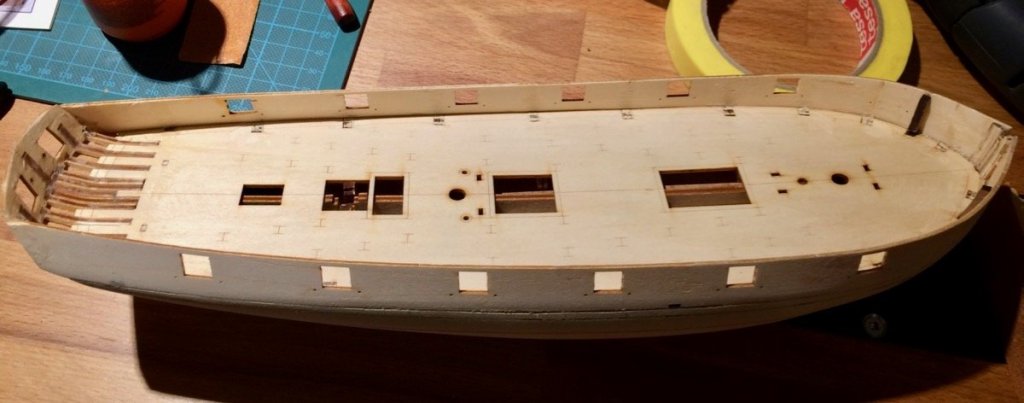
When preparing parts for the next modelling session, I noticed a slight difference between our model and how it looks in the manual... Apparently some parts are not permanent, but a temporary alignment jigs. They are not supposed to be permanently glued. D-oh! I was such an idiot Followed the manual blindly, like a Lego. Without thinking "what the heck is this part" and "wonder how it is used down the line". So I did some brute demolition with pliers, cutters and dremel disk cutter. Daria was not involved, since it is a very delicate process - one incorrect move with pliers - and bulwarks will crack. Bulwarks end up with no support when you are supposed to glue finish planking to them. Cleaned up hull, ready to move forward: Phew! Will read manual more careful next time. Daria also confirmed that I am an idiot, and now reads the manual after me, to make sure I haven't missed anything. Guess it is a good thing in a long run

-
Fantastic model! It has a pretty unique wood / coloring scheme, which makes it look very soft and cozy. Looking on it gives some warm feeling... You can use it instead of a fireplace to add an atmosphere to your living room! Wonder how your display case will look like to compliment the colour style of the model.
- 290 replies
-
- 1
-
-
- confederacy
- frigate
- (and 1 more)
-
You definitely have a pretty clear style! It is a pleasure to look on that photos
-
Whoops, fair enough! We haven't yet resumed the build, (full schedule every weekend, affecting my build as well), but will definitely come back to it!
-
Fantastic! Very clever usage of the minimal tools. Thanks for sharing your methods!
-
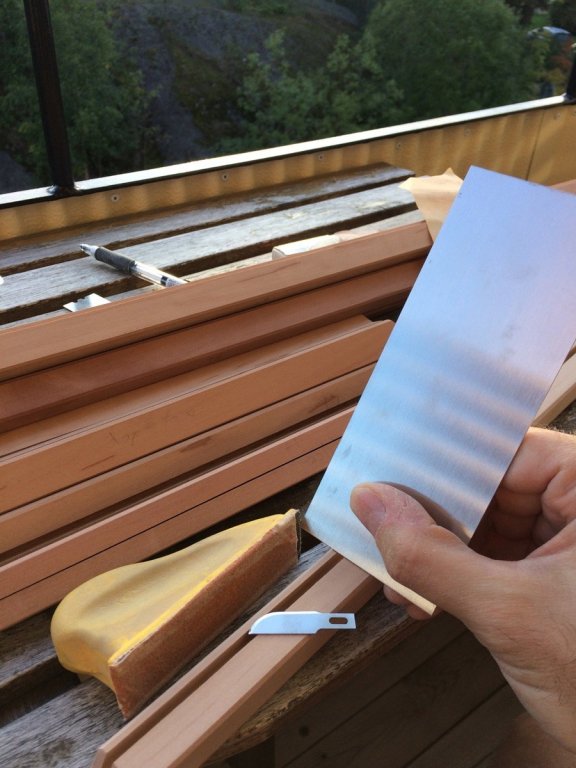
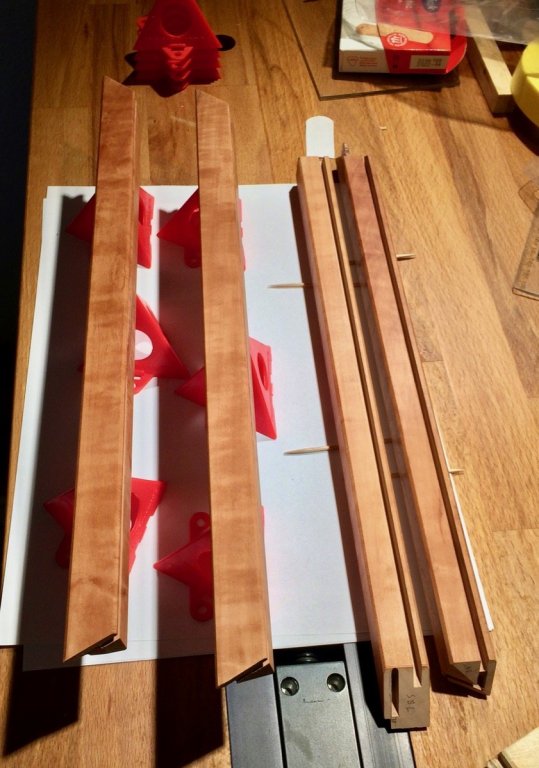
After few more dry fits and verifications, I made recesses and rabbets to hide the ends of "floor planking" and potential backing sheet on the back side of the case. So far I am planning to just have a bare wallpaper there, but if not - the recesses will allow to properly feet a sheet of some material (white acrylic or similar). So now the best part - finish sanding / scraping. Mostly scraping - with rectangular objects it is a walk in the park, and yields a better surface without rounding: Finish scraping with xacto blade, it is perfect for that: Applying danish oil. Irregular grain pattern leads to slight "curls" when oiled, looks sweet. Picked danish oil instead of tung this time, tung oil sips too deep into the wood, is too dark for that case and takes forever to dry.

- 969 replies
-
- 14
-
-
- hahn
- oliver cromwell
- (and 1 more)
-
Too early to say that it is good, not done yet! The design is basic, but will see how the door design will work out. Chris, hope to see the pictures of your base and a display case soon
- 969 replies
-
- 4
-
-
- hahn
- oliver cromwell
- (and 1 more)