HOLIDAY DONATION DRIVE - SUPPORT MSW - DO YOUR PART TO KEEP THIS GREAT FORUM GOING! (Only 13 donations so far - C'mon guys!)
×


Mike Y
-
Posts
1,552 -
Joined
-
Last visited
Content Type
Profiles
Forums
Gallery
Events
Everything posted by Mike Y
-
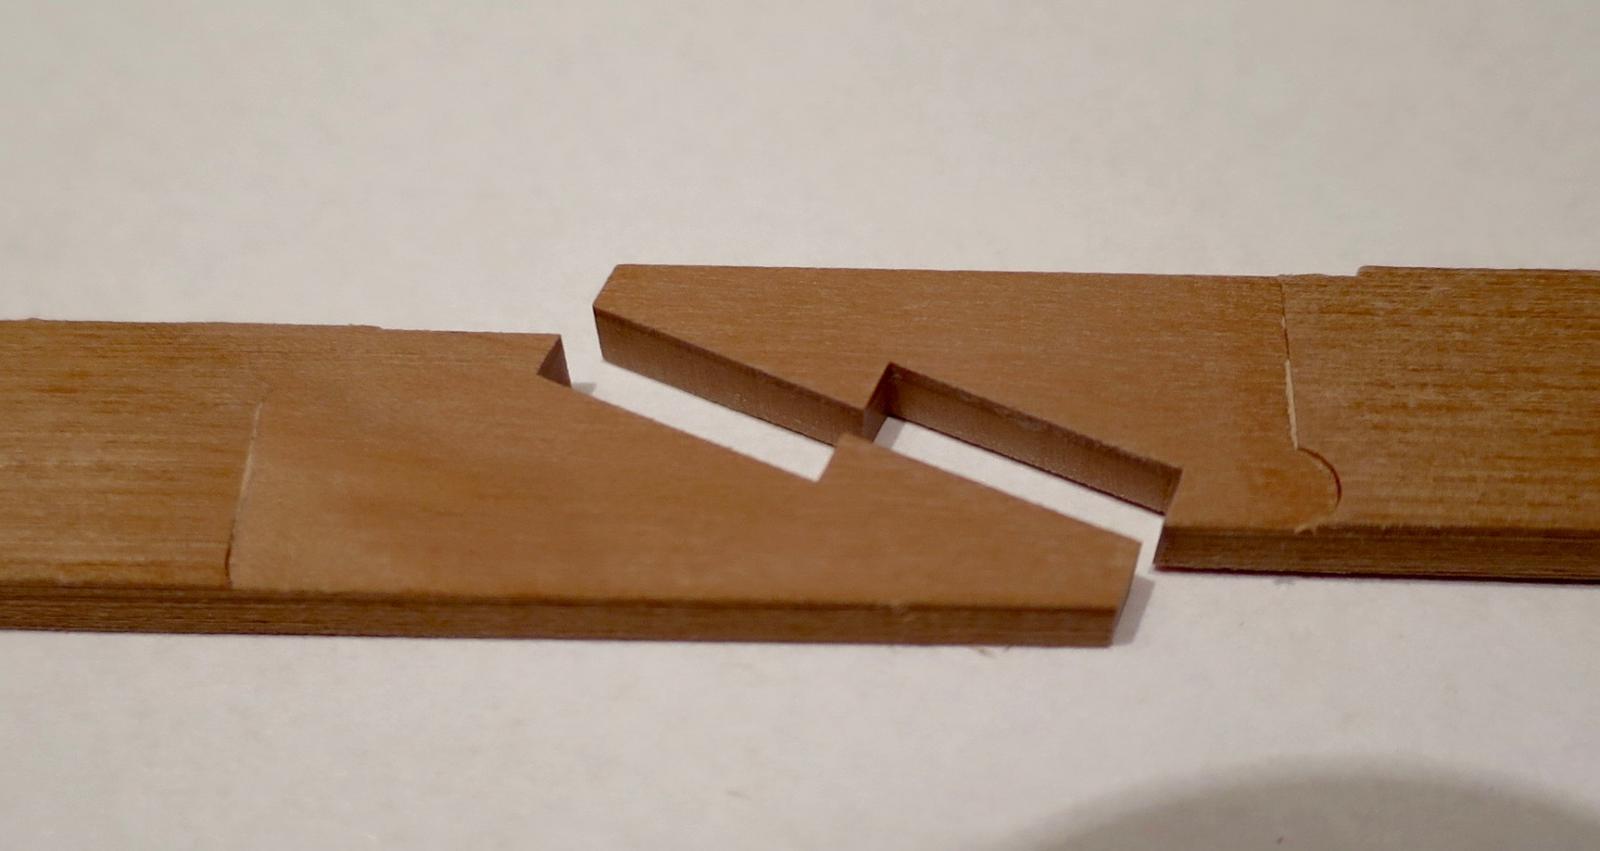
 Mike, you need to connect/disconnect the joint 25 times to make a room for the glue In practice, I was surprised how easy it is to get the right dimensions of the joint using mill's measuring functionality. This joint was cut from first attempt, no extra fitting. Super easy! Toni, not really, I have a coffee stain on the cutting mat and an ugly scrap wood pile and sandpaper pile. Eeew!
- 968 replies
-
- 4
-

-
- hahn
- oliver cromwell
- (and 1 more)
-
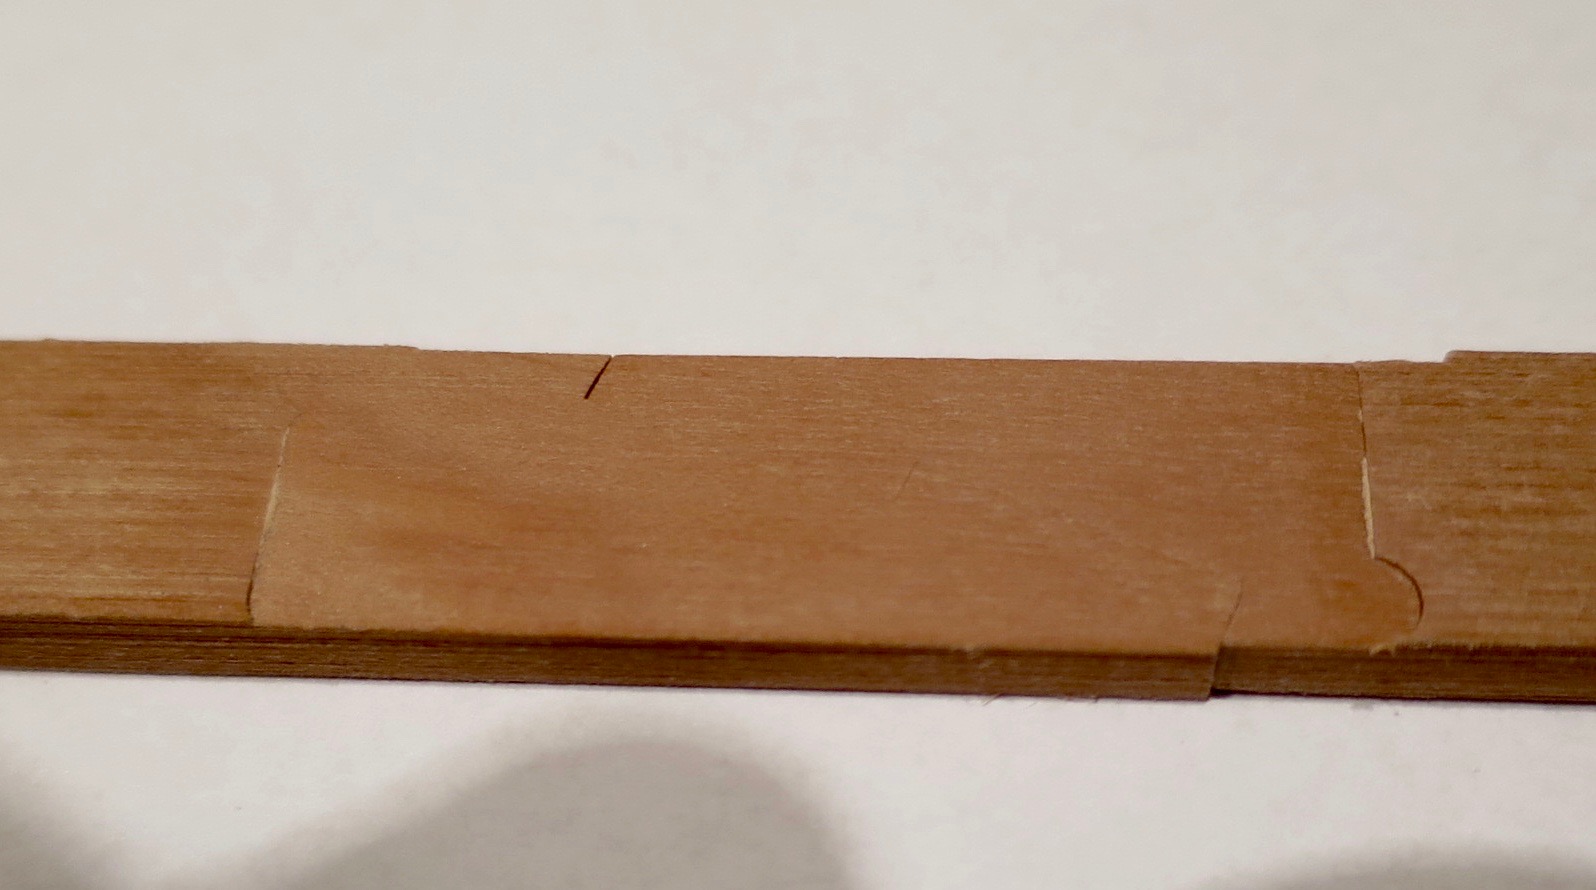
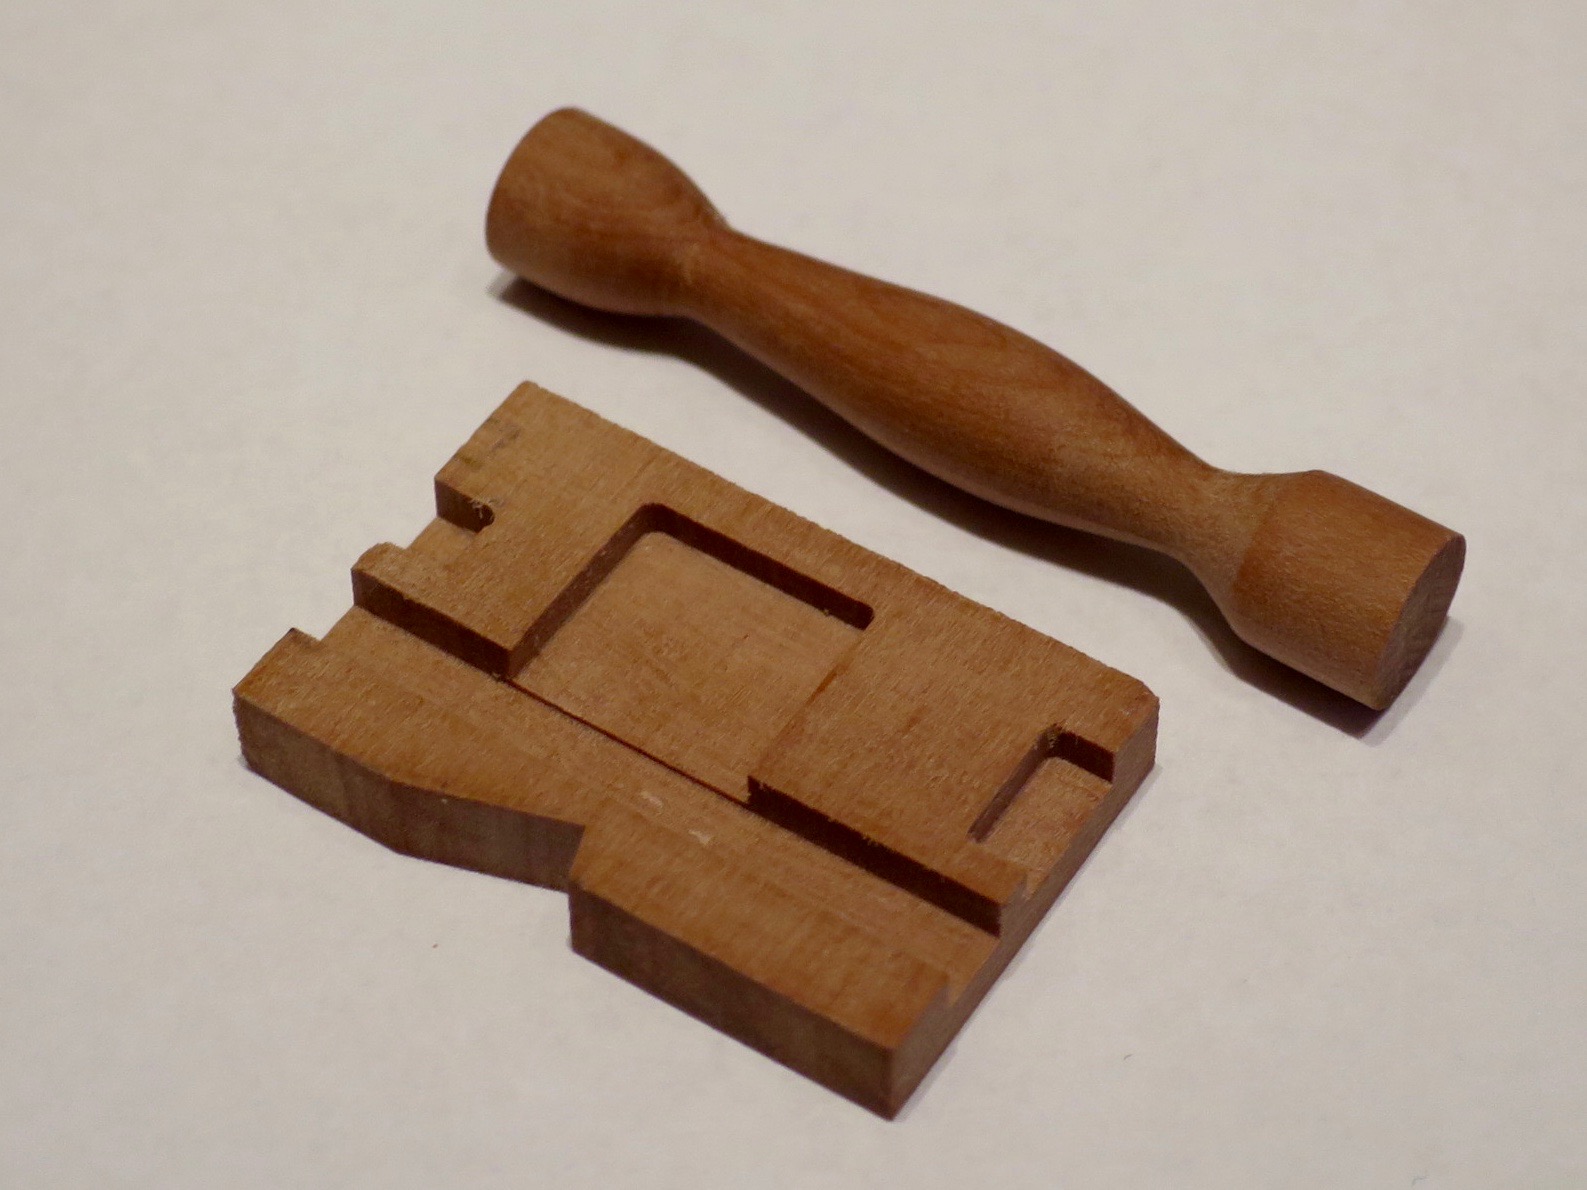
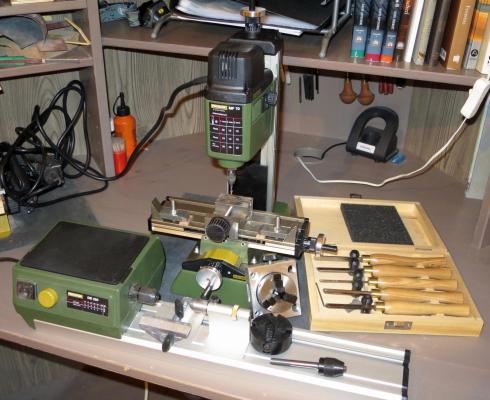
The mill (Proxxon MF70) is truly great. Very precise, and with a proxxon cutters it cuts pear as butter. On the lowest possible speed (5k rpm), even with 1mm cutter! Here are some first cuts and a first thingy produced on the lathe: Now I can cut joints like this in no time! Hooray! Previously such joint will take me 30min minimum, and it would not be that precise anyway:


- 968 replies
-
- 23
-
-
- hahn
- oliver cromwell
- (and 1 more)
-
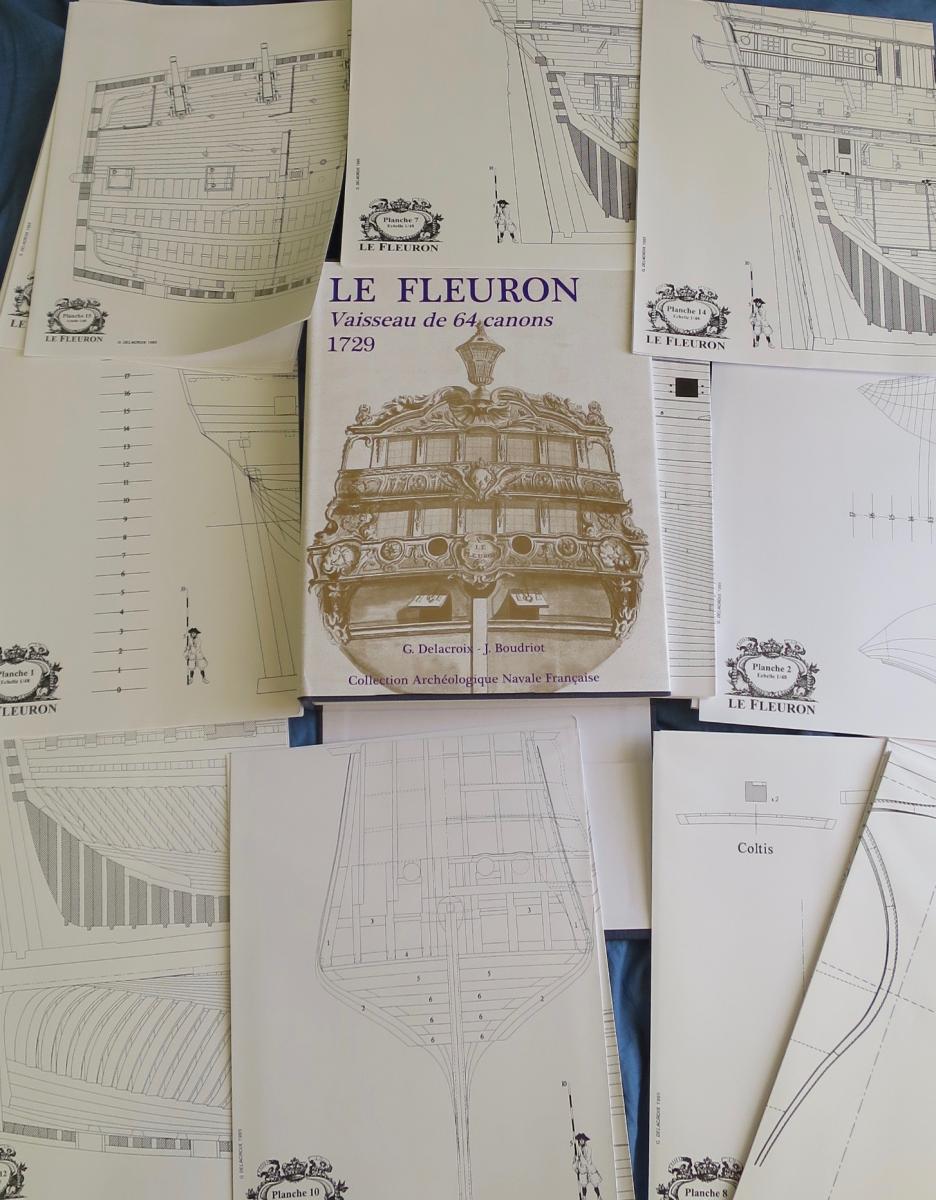
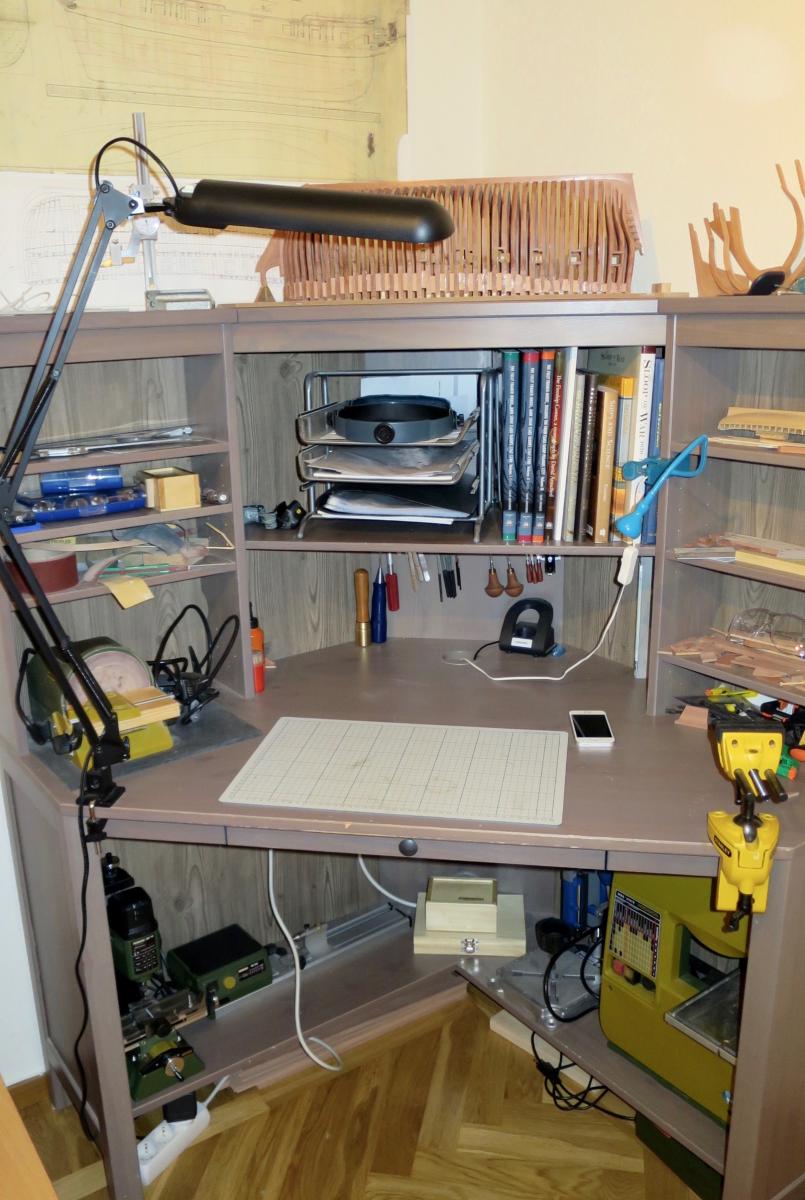
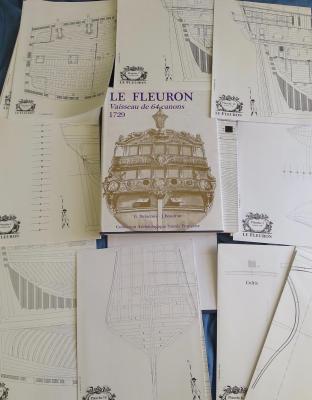
Not a lot of progress, still cutting the gunports. A lot of work, not enough time for modelling... Added this monograph into the collection. Who knows, maybe that would be the next project in 5 years? Santa read that build log and decided I really need some new toys! Now I have 5 power tools hidden in the different parts of the modelling table, and still some room left. How do you guys manage to occupy the entire workshops?

- 968 replies
-
- 16
-
-
- hahn
- oliver cromwell
- (and 1 more)
-
Your build process looks and feels very real! Like building a house, or even a real ship!
-
Mike, I do not think it is more advanced than your Cheerful. Thanks for a dozen great build logs on MSW, you know every step in advance. TFFM is the greatest instruction book ever! I secretly hope that you will start a fully framed build after Cheerful Your experience is _not_ limited, and your quality level is definitely higher than mine. P.S.: I should really get the white towel. Stuntflyer and Dubz use it, they both has awesome models => I need to get the towel too => my model would be awesome! Cargo cult, yay!
- 452 replies
-
- 4
-
-
- cheerful
- Syren Ship Model Company
- (and 1 more)
-
Perfectly white towel is a good match for the perfectly built model! Your accuracy is unbeatable!
- 452 replies
-
- 3
-
-
- cheerful
- Syren Ship Model Company
- (and 1 more)
-
Depends on what is needed - fine grits do not remove any material, but they polish and change the look. There is a pretty visible difference after you sand castello or pear with 1200. But maybe other people use steel wool or similar things for that.
-
Maybe there are different grits in US and EU? I use Mirka sandpaper. From 240 to 2000. Typically 240 -> 400 -> 600 -> 1200. Grit 2000 makes an interesting effect, and not suitable for some woods. I never ever used 60 or 80 grit on a model - it is so rough that leave deep scratches. Sometimes I use a sanding stick with grit 180 as a rasp. 240 is the lowest grit I can use. It is aggressive enough to thickness sand frames, etc. And in a lot if comments I see "start with 60". Reeeeally?
-
After you finished the longboat with such a quality and style - you are officially not allowed to cal yourself a beginner! Really like the colora of your boat, darker red looks good with that shade of stain. What is your next project?
- 37 replies
-
- 3
-
-
- model shipways
- 18th century longboat
- (and 1 more)
-
One of the cleanest looking ship wheels I ever saw! But I am an idiot, could you please explain the construction of that duplicating device? Its lines do not match the spokes shape... Edif: I got it. The brass tube is oversized, and it is not cutting the wood. Instead, you use some cutting device or a file to shape the wood, and brass rod is a limit, pattern that stops the cutting device. Right?
- 1,215 replies
-
- 5
-
-
- sloop
- kingfisher
- (and 1 more)
-
Harbor Freight Mini Wood Planes
Mike Y replied to grsjax's topic in Modeling tools and Workshop Equipment
Jack, thank you! Never saw this one. Ordered, hope it will fit! -
Harbor Freight Mini Wood Planes
Mike Y replied to grsjax's topic in Modeling tools and Workshop Equipment
The problem is not the width, it is the length. That blades are too short for regular honing guides, making it impossible to fix the blade on the proper angle. Same with miniature chisels -
Harbor Freight Mini Wood Planes
Mike Y replied to grsjax's topic in Modeling tools and Workshop Equipment
To the LeeValley miniature plane owners: have you found a small enough honing guide to sharpen that plane's blades? -
John, Patrick - thank you! Mark, indeed, 1:48 is a handy scale. I can't imagine cutting that sills on a smaller scale - I am using the smallest diamond files, for a smaller scale you will need to make your own. Cutting this part of the mortise is tricky even in 1:48 - too small for files that I have, looking for a tiny tine square file. Too small to use chisel or a knife there. Maybe scraping is an option, will try it on a next port.
- 968 replies
-
- 3
-
-
- hahn
- oliver cromwell
- (and 1 more)
-
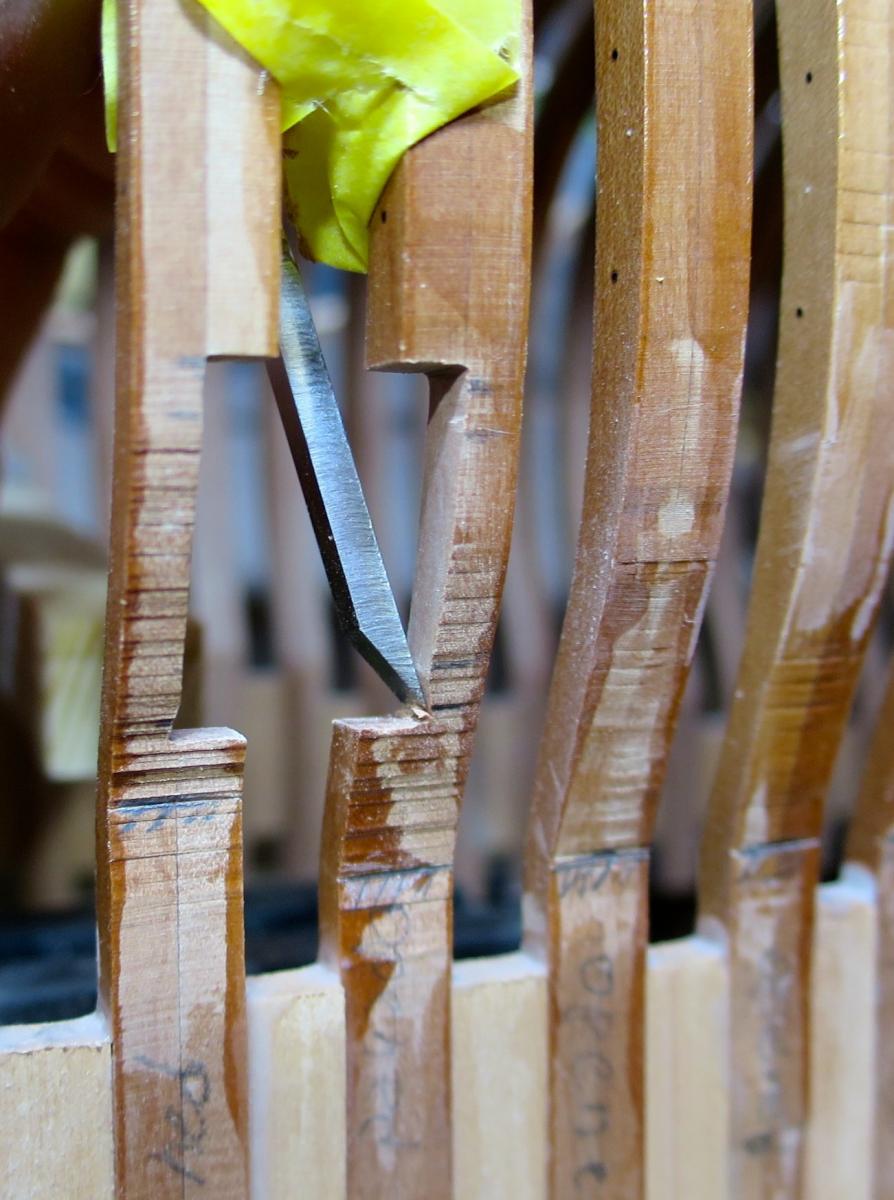
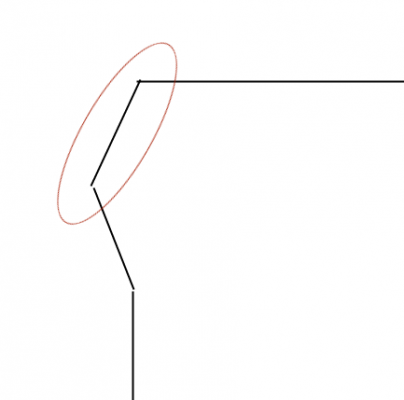
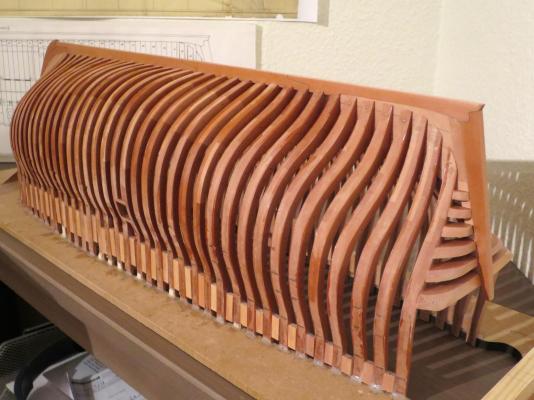
The Admiral found an unusual application for the Cromwell v0.1 In a meanwhile, Cromwell 1.0 is still getting its gunport sills installed. Angled mortises are tricky, but the result worth it: Overall status: 40% of the gunports are ready, 60% remaining..
- 968 replies
-
- 19
-
-
- hahn
- oliver cromwell
- (and 1 more)
-
Very accurate! Interesting "weathered" look of the hull, you clearly have a good idea about the wood you want to use
-
ancre Le Commerce de Marseille by Zbigniew
Mike Y replied to Zbigniew's topic in - Build logs for subjects built 1751 - 1800
Very beautiful and nice lines! You rarely see the cross section of that part of the hull, but it is the most delicate part actually Following with interest, please share more! Especially pictures of the process -
ancre Le Fleuron 1729 by rekon54 - 1:24
Mike Y replied to rekon54's topic in - Build logs for subjects built 1501 - 1750
RoB, great hint, didn't know about Rekon's youtube. It is here: https://youtube.com/channel/UCgl5adH6_gJ1Pq4DjxnUvUw Looks like I know what I will watch tonight -
Remco, that is a relief! Or, just keep calm and cut the gunports
- 968 replies
-
- 5
-
-
- hahn
- oliver cromwell
- (and 1 more)
-
John, that makes sense, thanks for the photo! Mark, I also have such xacto saw, but afraid of cutting too close - it might snap and scratch the frame, or I might end up with a wrong angle. So I am cutting a bit far away and then file to a proper size. Will try to change that process.
- 968 replies
-
- 3
-
-
- hahn
- oliver cromwell
- (and 1 more)
-
Mark, thanks for the idea. I remember it from your log. But it's faster to just quickly cut away the wood you want to remove, takes just 10min or so. Requires some sharp knife though What takes significantly more time is sanding / filing / scraping / polishing the cutoffs to install the sills on a proper angle and without gaps. But maybe it will come with practice.
- 968 replies
-
- 3
-
-
- hahn
- oliver cromwell
- (and 1 more)
-
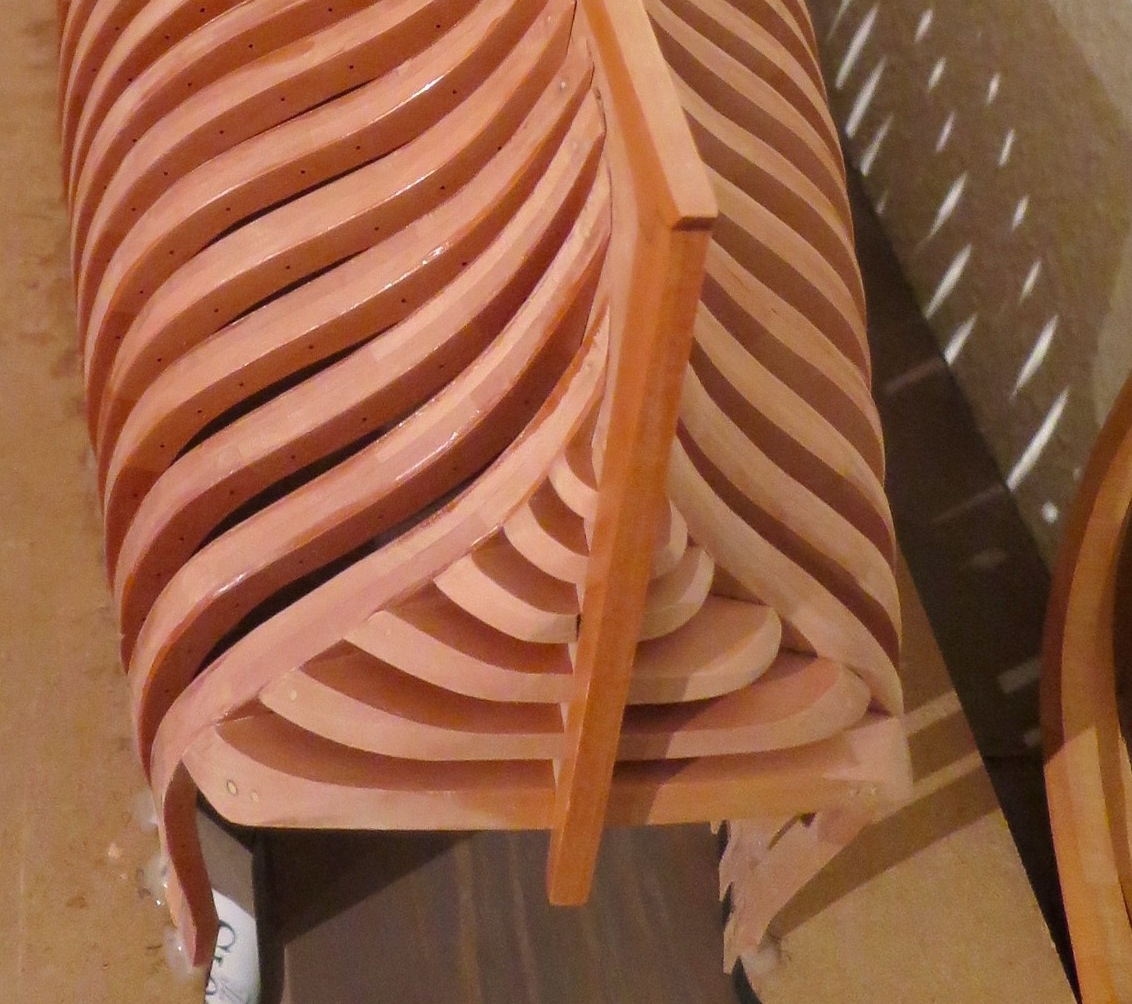
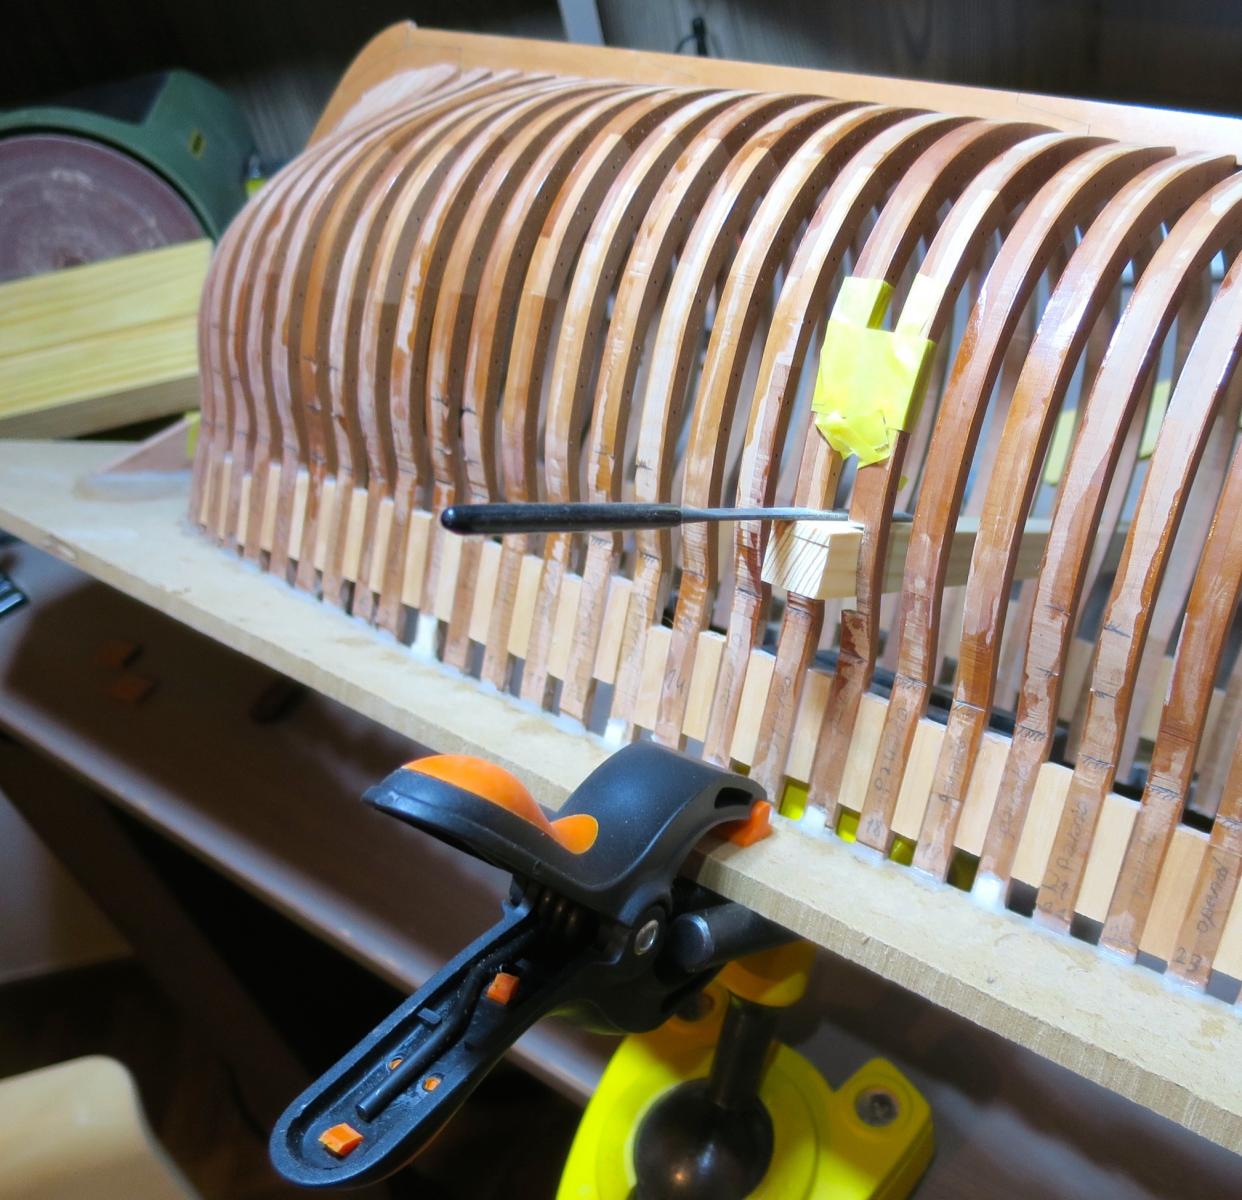
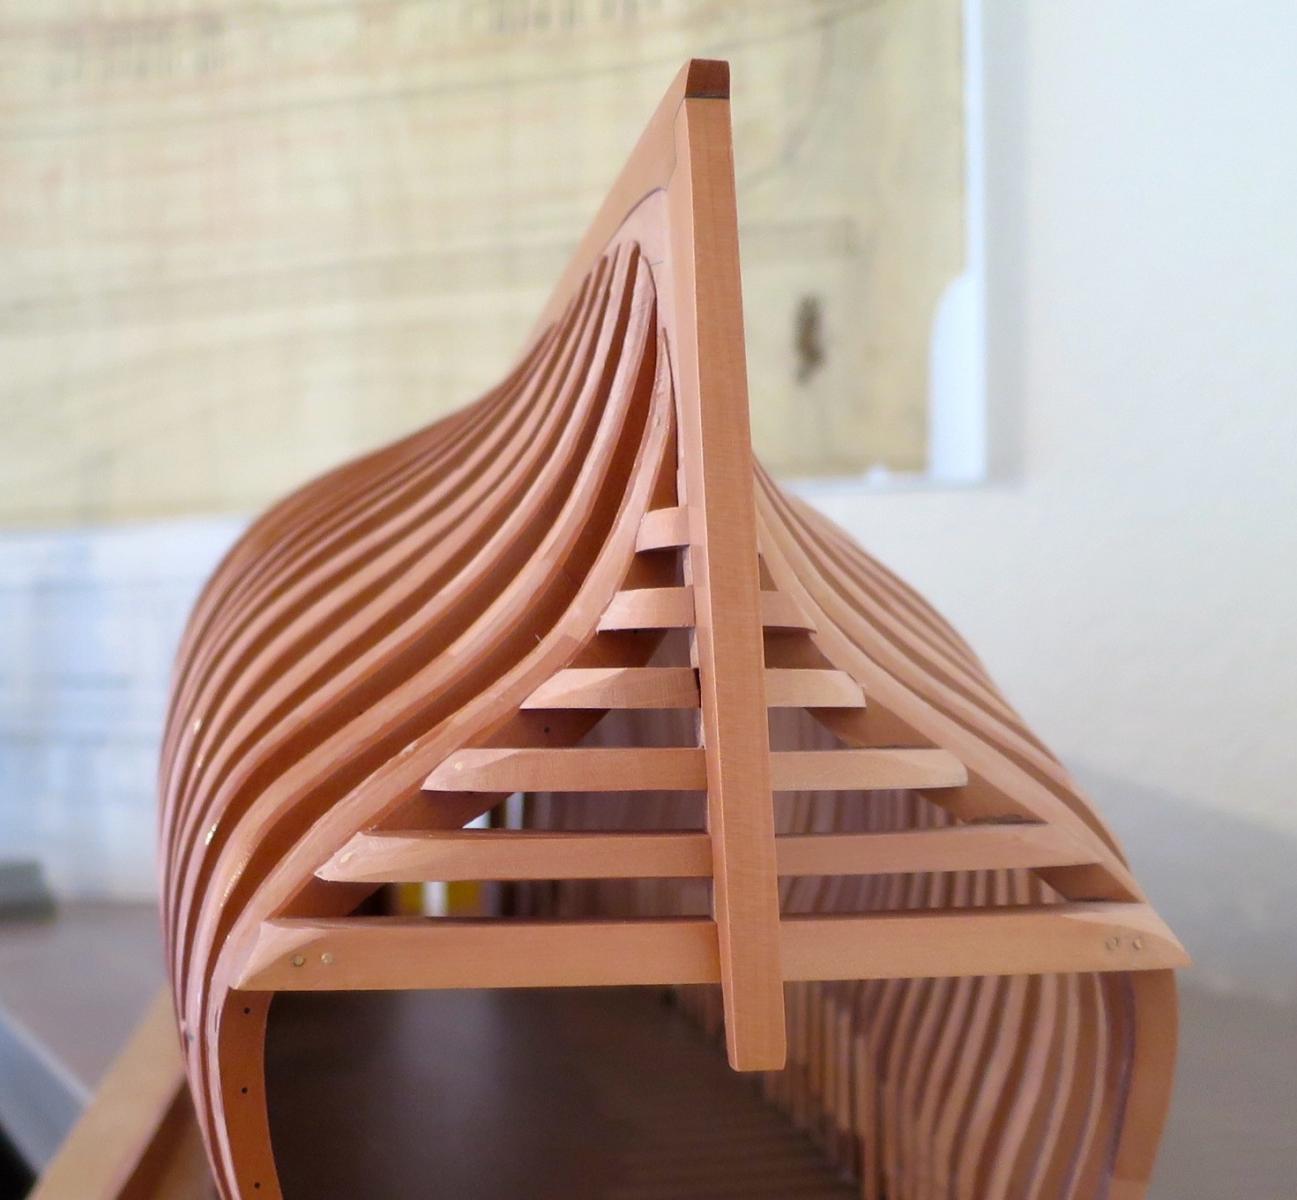
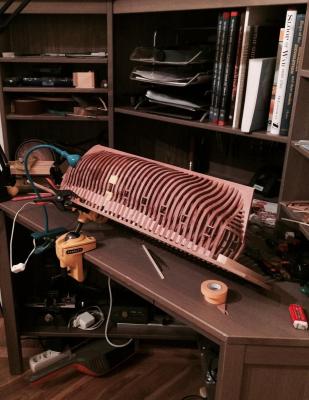
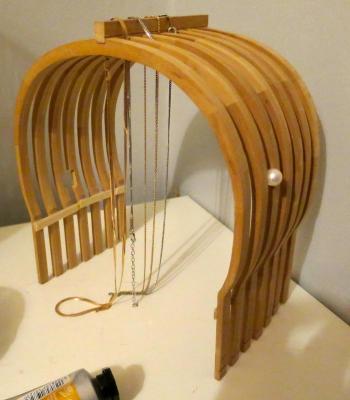
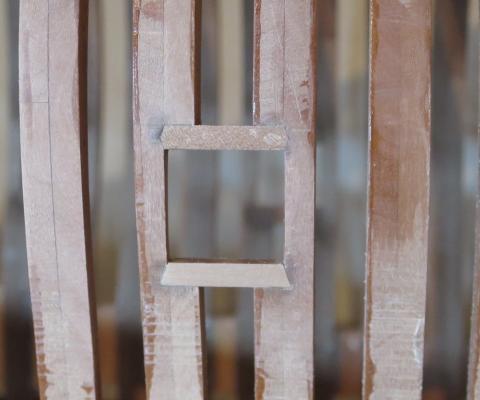
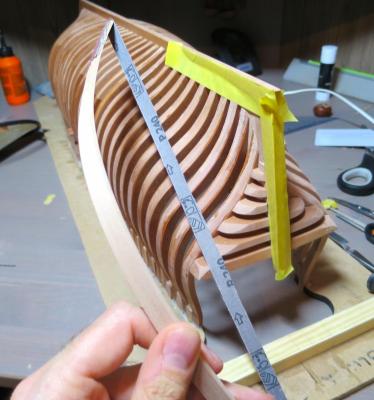
Thanks for likes and comments, they help to move forward! First made a bow sander and started to smoothen the lines of the transom wings: Looks much better now. But the final shaping would be done later anyway, when I will fair the hull: Now to the gunports. I seriously underestimated efforts required. It took around 4-5 hours to make the first pair Square block of wood was used as a guide to ensure squareness and parallelism of the port sills. It also helped to file the edges of the ports on a proper angle. I struggled to find a proper working position - too low if you sit, too high if you stand. Ended up with this setup: Careful sanding / filing took an enormous time, no way to use chisel for it (too tight, cross grain, might split). Also, on exposed side sills were done in a semi-correct way - with angled joints, correct thickness of the lower sill, but the upper sill had the same thickness as the lower one (comparing to a fully correct way, when the upper sill is thicker). Making that angled joints was fun! End result. Too early to say, the joint accuracy would be visible only after the fairing, which I can't do now - will sand away a lot of pencil marks on the nearby frames Sorry for the mess, I hate to show all that glue stains, poly stains, rough edges - but too early to fair. It would be nicer, I promise! Overall build status: Hope that next gunports will be quicker - will measure better to reduce the sanding/filing time. Would appreciate any hints or tricks. But I doubt there is any silver bullet - I was just totally wrong in a time estimate. With a speed of one gunport per week, I might not finish it before Christmas..


- 968 replies
-
- 19
-
-
- hahn
- oliver cromwell
- (and 1 more)
-
No, because it will not make a straight line. I clamped an xacto blade to the piece of wood which was pushed to the keel and slided to make a cut. Worked! Can try to dig up some photo... Should be somewhere in my Oliver Cromwell build log. Sorry, hard to find a link, replying from the phone now
-
Incredible! The build process looks so simple on your photos What types of wood were used?
-
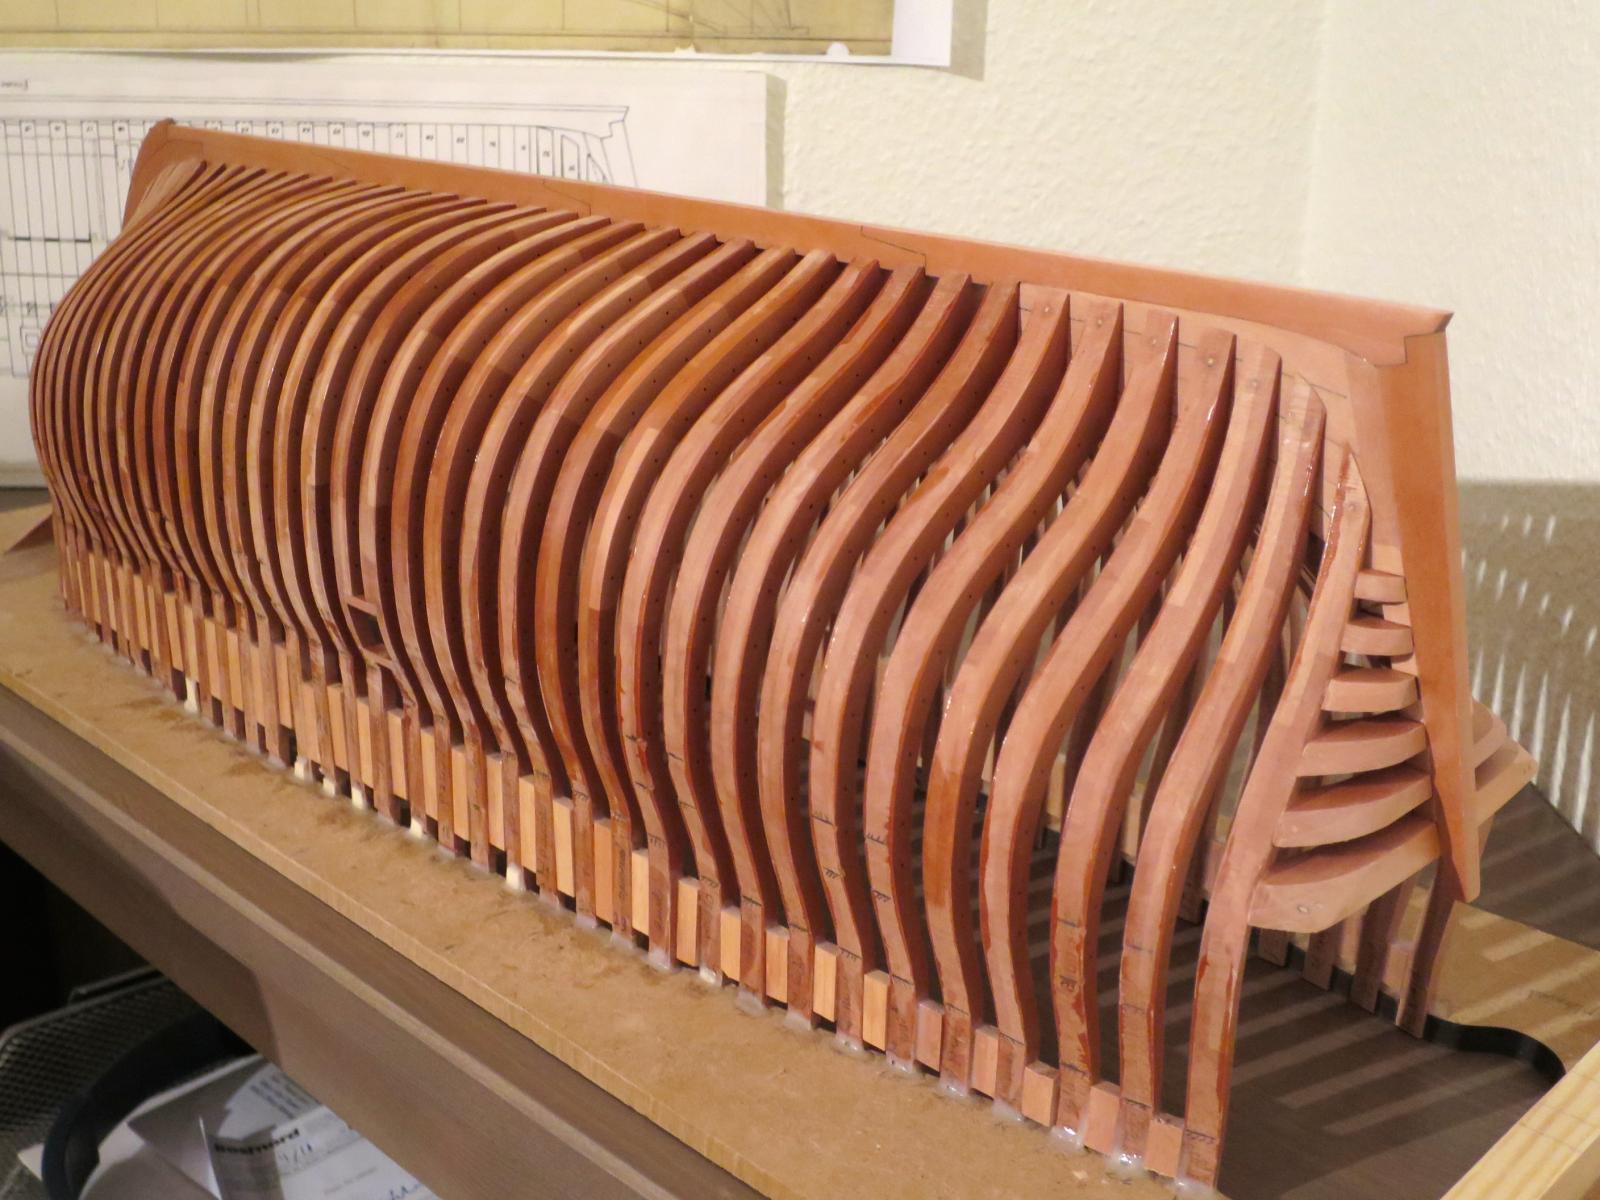
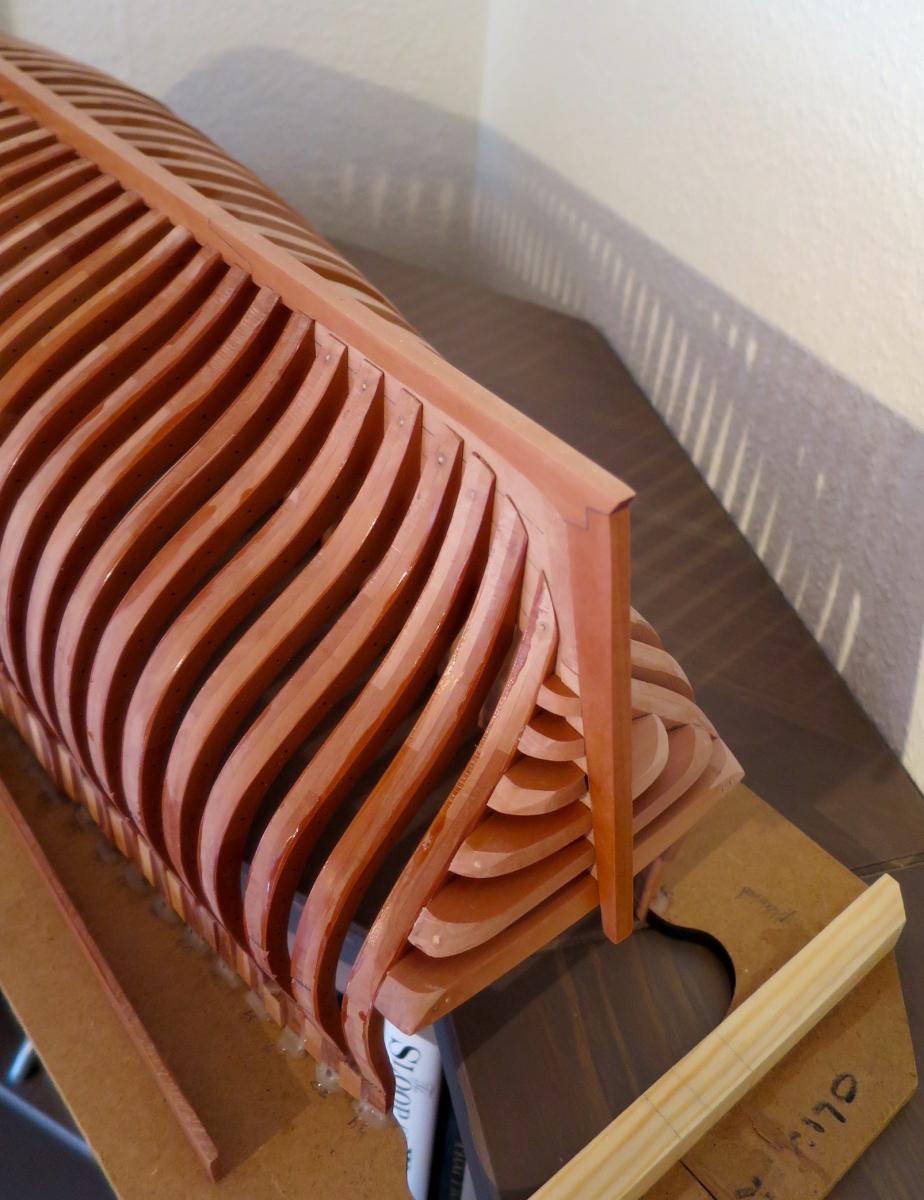
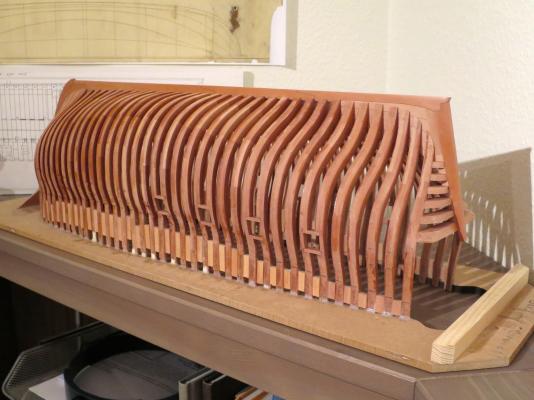
Finished the transom wings. It is an interesting area of the hull, a lot of fine tuning and shaping Left the wings slightly oversized and with rough corners (too square), will properly shape them while fairing the hull. As usual, ignore the right side of the photo - it will be fully planked, so it is less accurate Now starting the gunports.


- 968 replies
-
- 20
-
-
- hahn
- oliver cromwell
- (and 1 more)