

paul carruthers
-
Posts
129 -
Joined
-
Last visited
Content Type
Profiles
Forums
Gallery
Events
Posts posted by paul carruthers
-
-
-
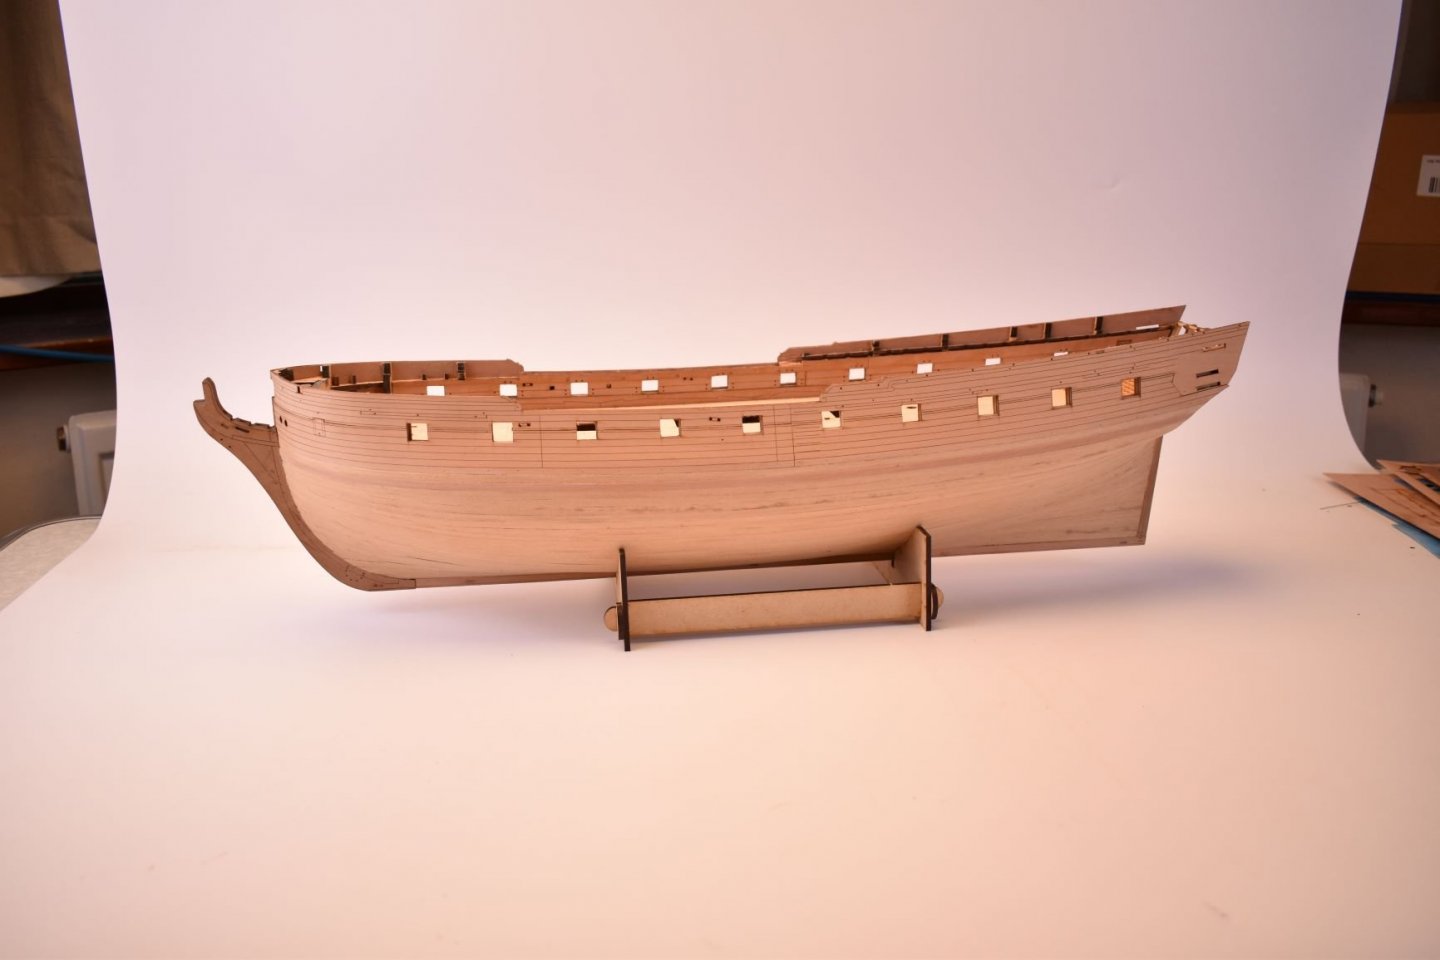
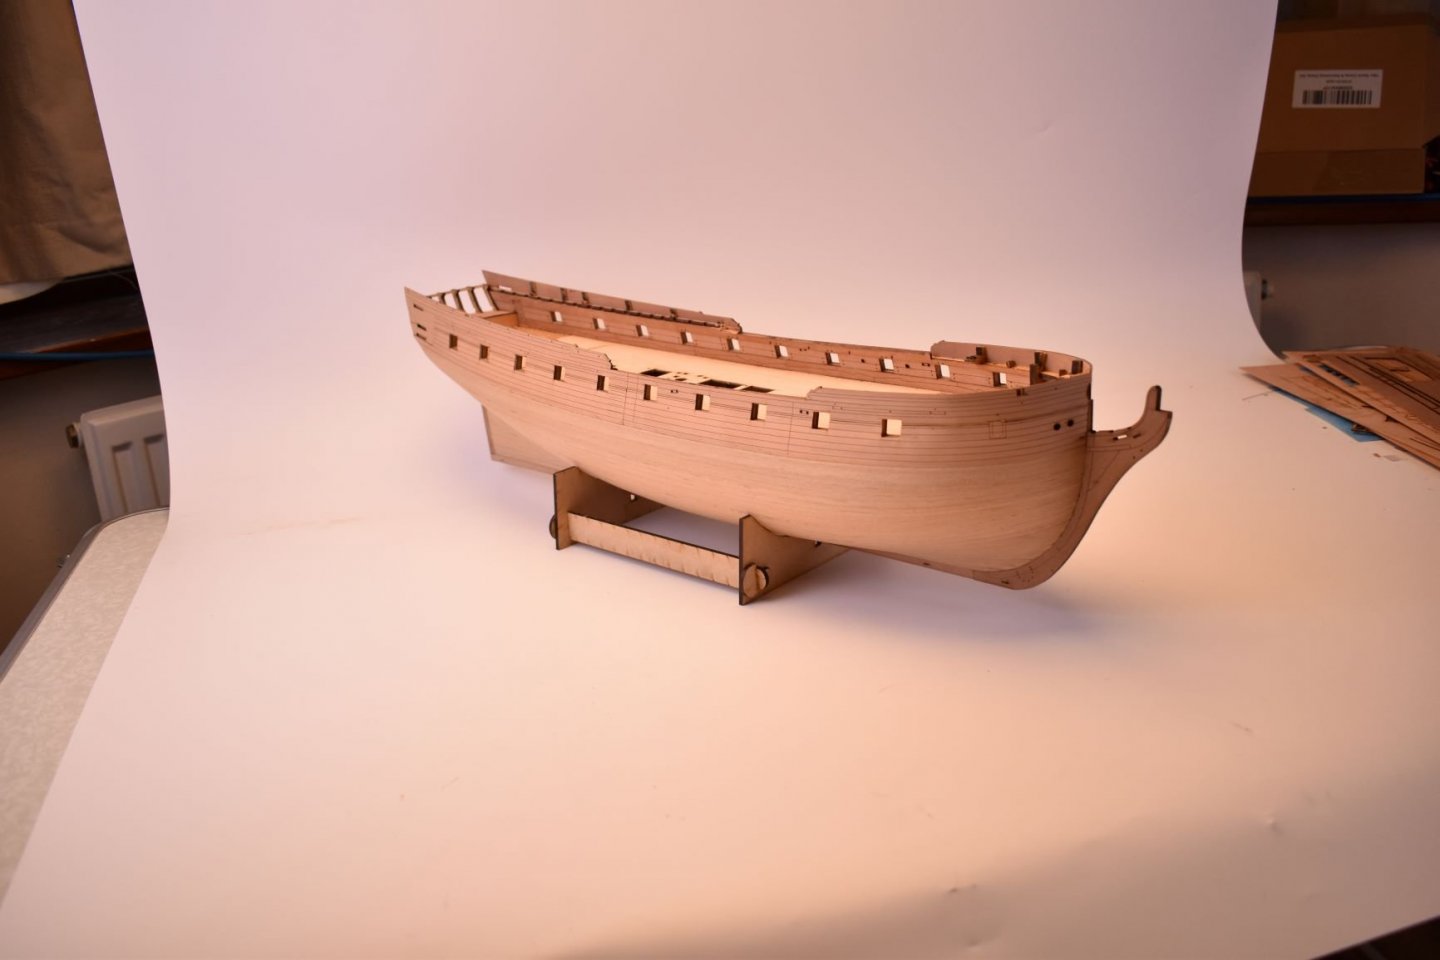
On 2/4/2021 at 1:01 PM, chris watton said:
Overall length will be around 785mm (with bowsprit), hull length will be around 610mm
When can I send you the money? I want one!
- chris watton, mtaylor, austristan and 1 other
-
 4
4
-
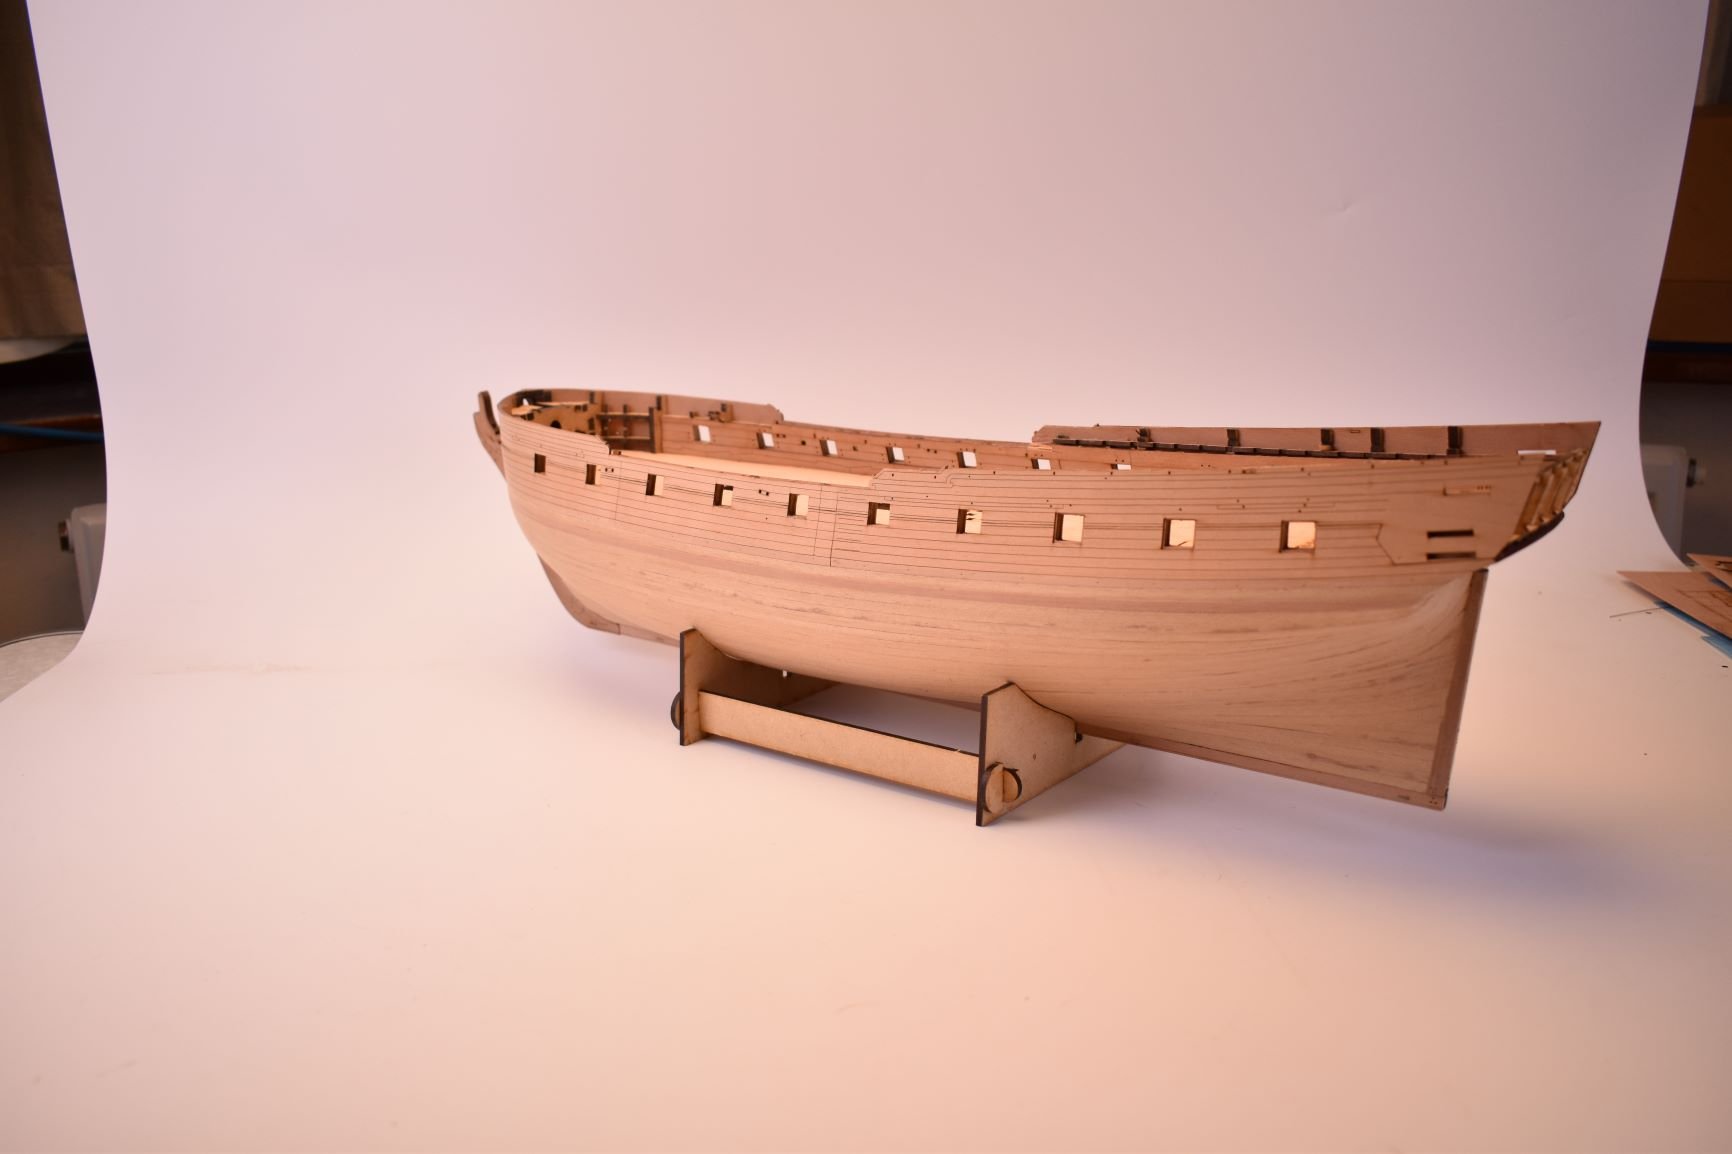
On 1/30/2021 at 4:17 PM, chris watton said:
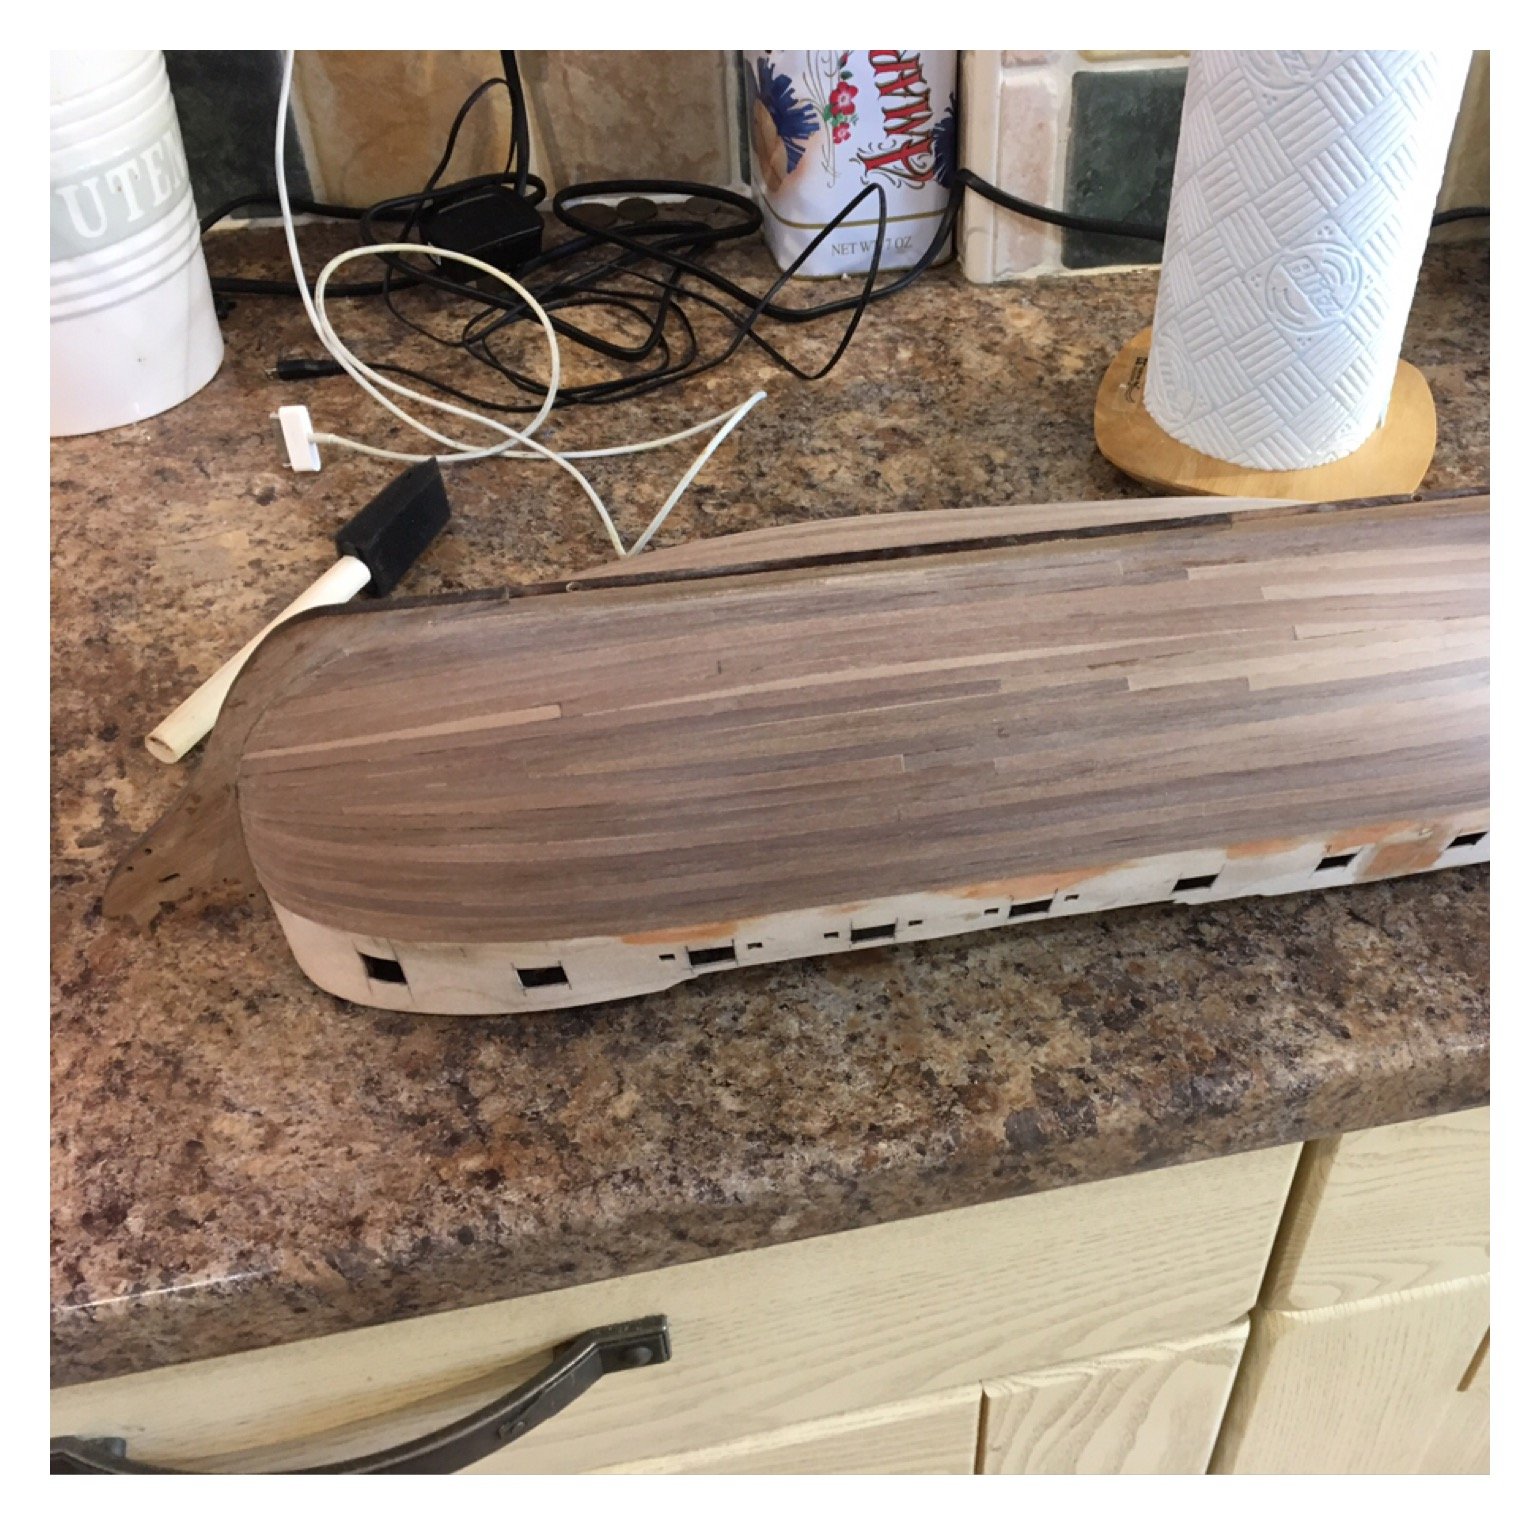
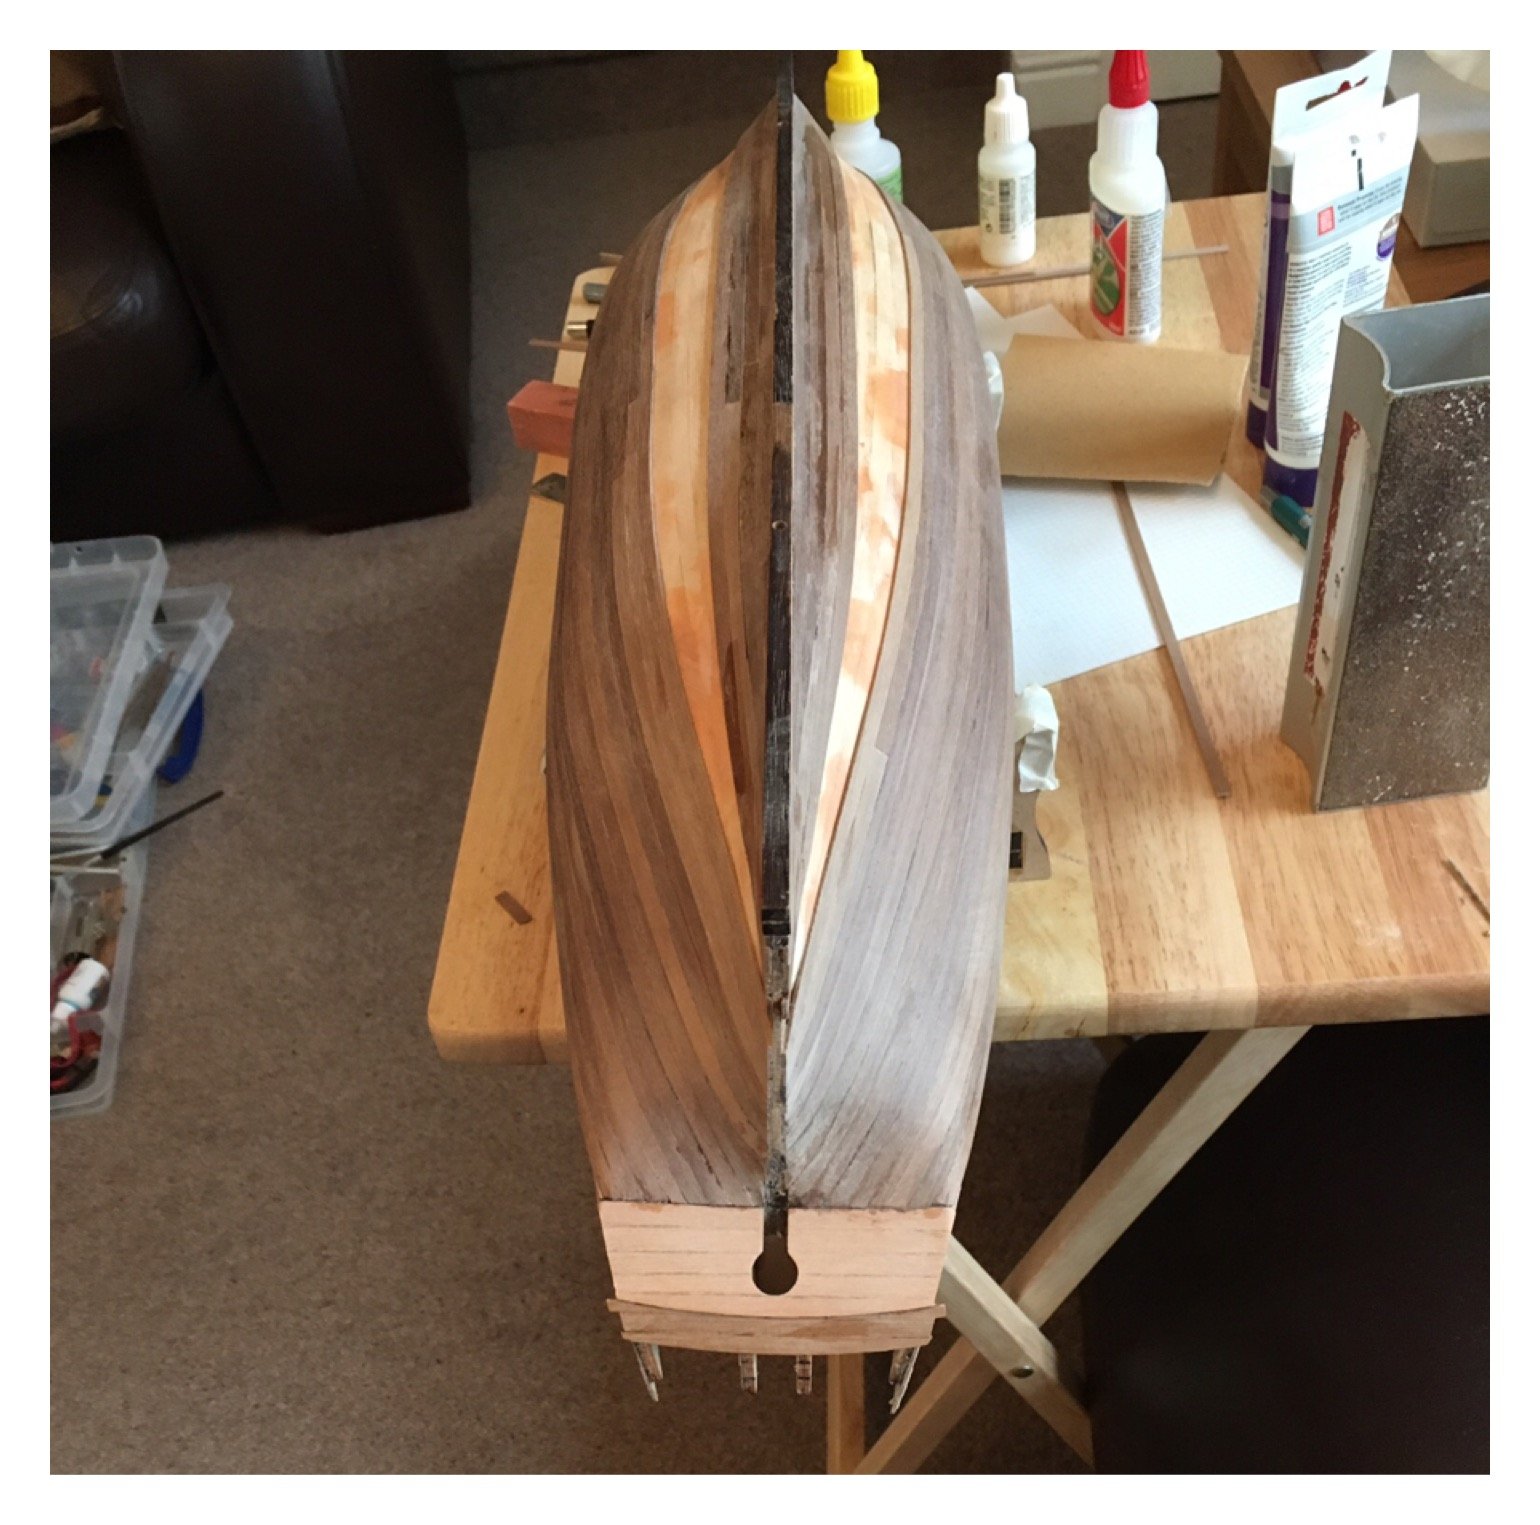
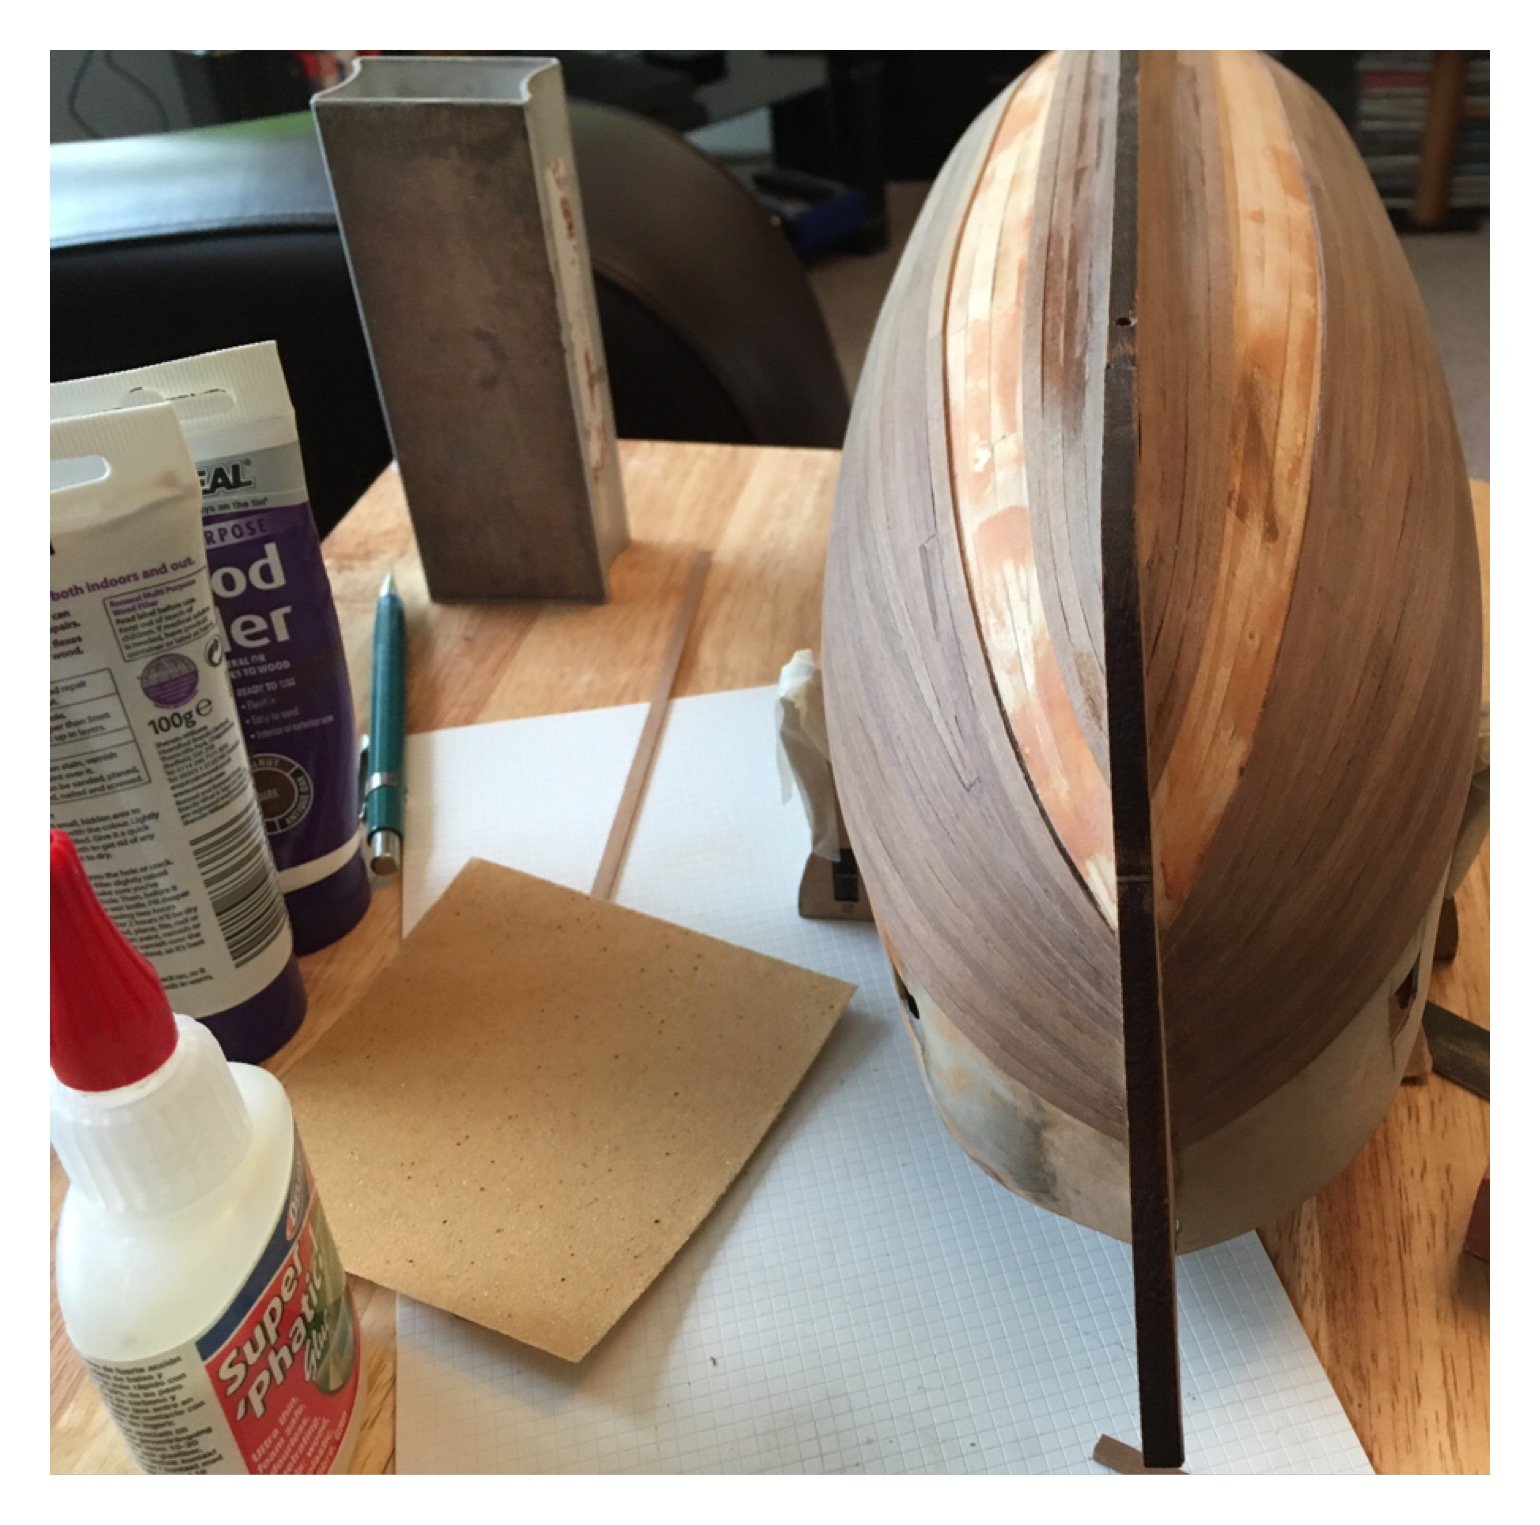
OK, I never meant to plank the whole Sphinx hull, as this model will be thrown away once all the info I need has been taken from it. But couldn't help myself. this is a very quick planking job (a day), using scrap 1x4 Tanganyika instead of wasting the pear on a disposable hull - no filling, just a quick sand so I have a smooth (ish) surface for checking all parts that are to be fixed to it. I am happy with the hull lines, nice shape to plank, too.
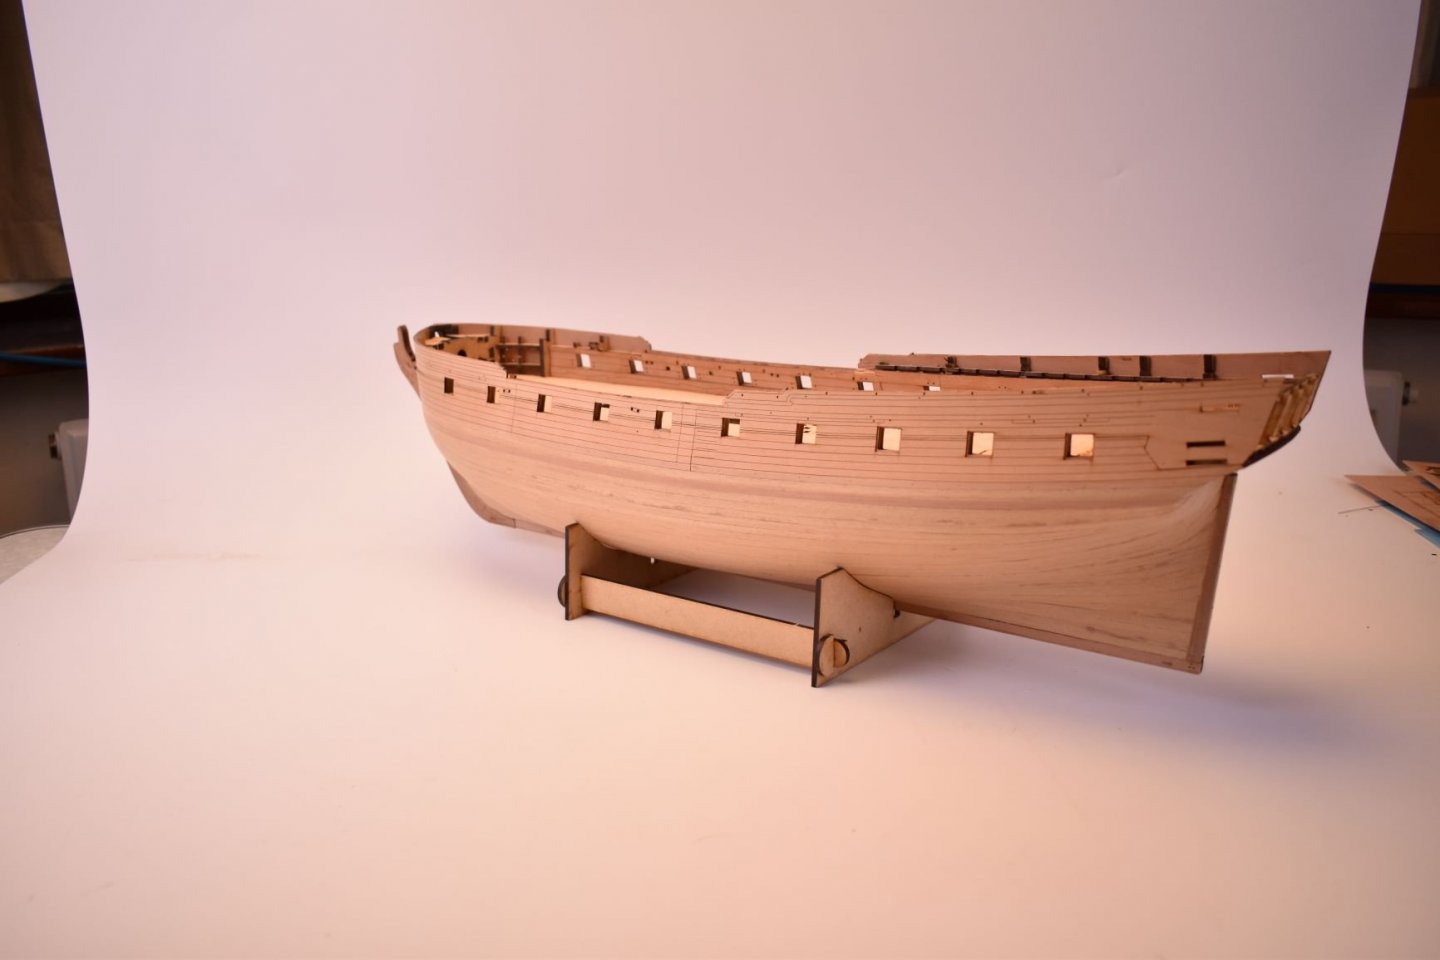
What are the dimensions? Thankyou.
- mtaylor, hollowneck, KentM and 3 others
-
6
-
-
On 17/01/2018 at 1:50 PM, michael101 said:
Getting rady to the next stage
I saw some plank clampers at the internet also i saw them in some build logs ...
but after talking with Moxis i decide not to buy the due the expensive price and also i heard that the metal clamp its very week ...
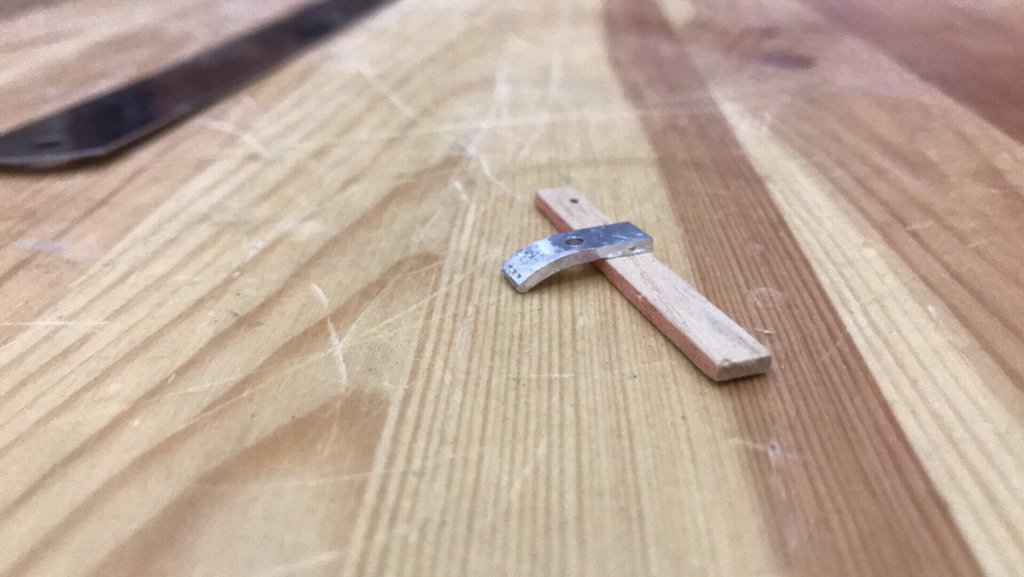
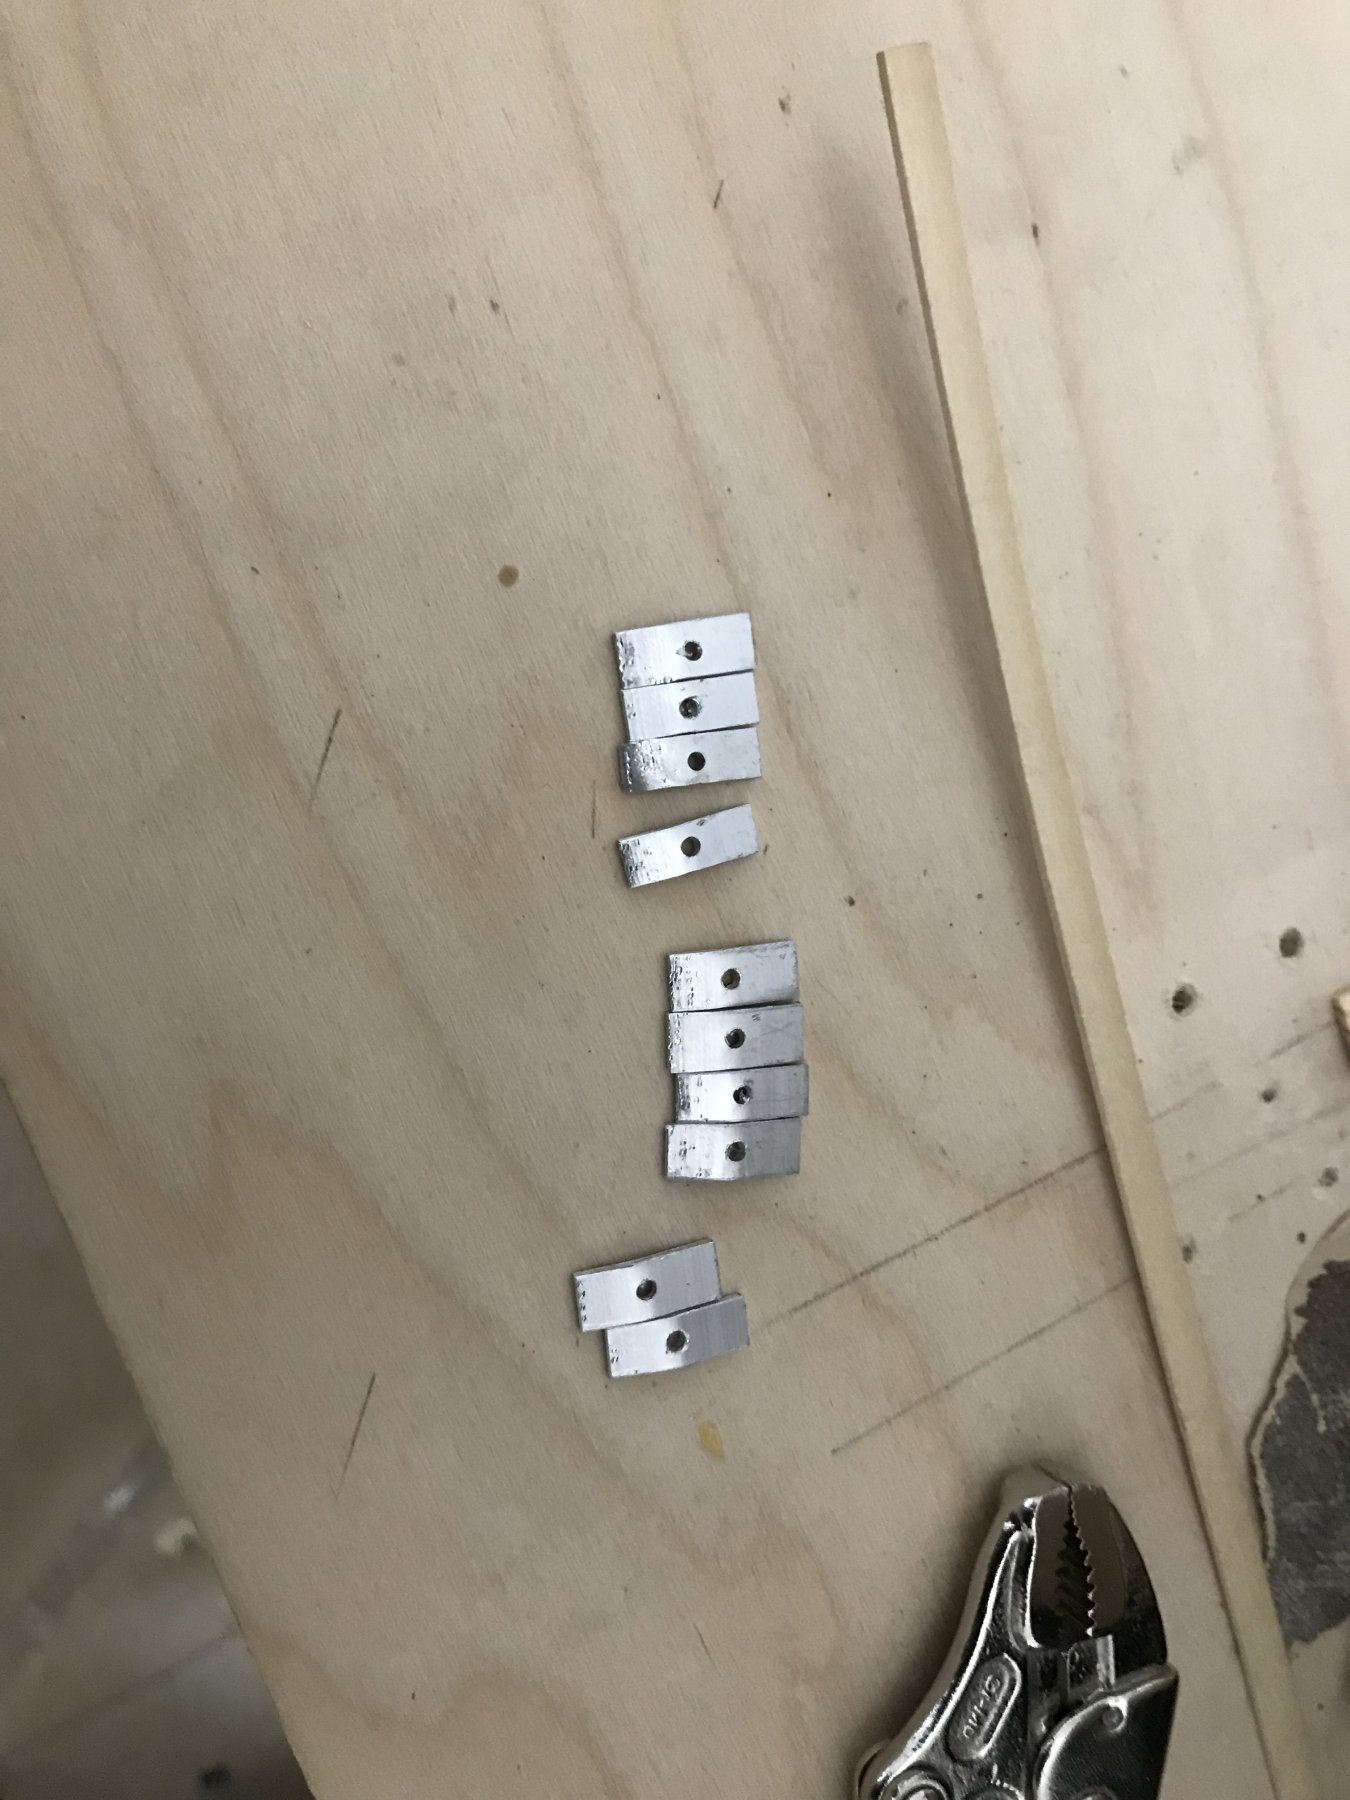
so i decide to make my clampers by my self ...
i got the idea for the screws from Moxis ,
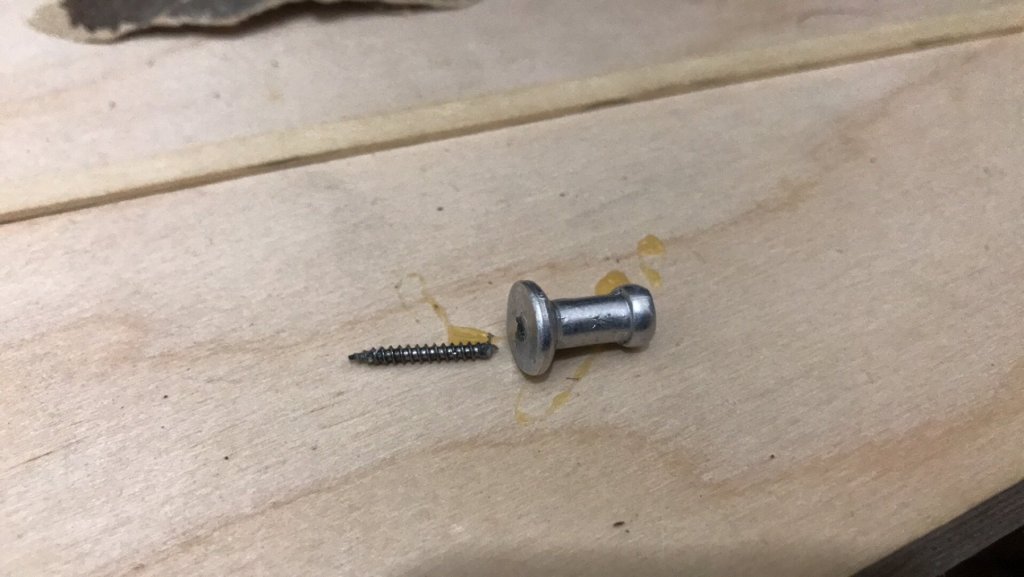
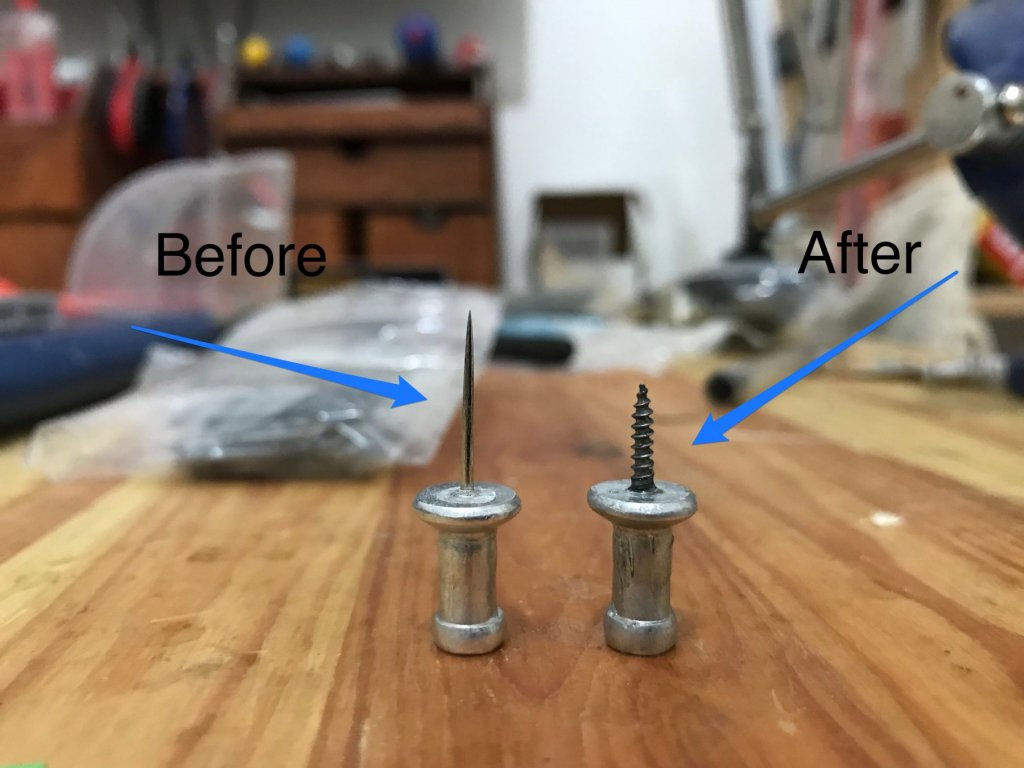
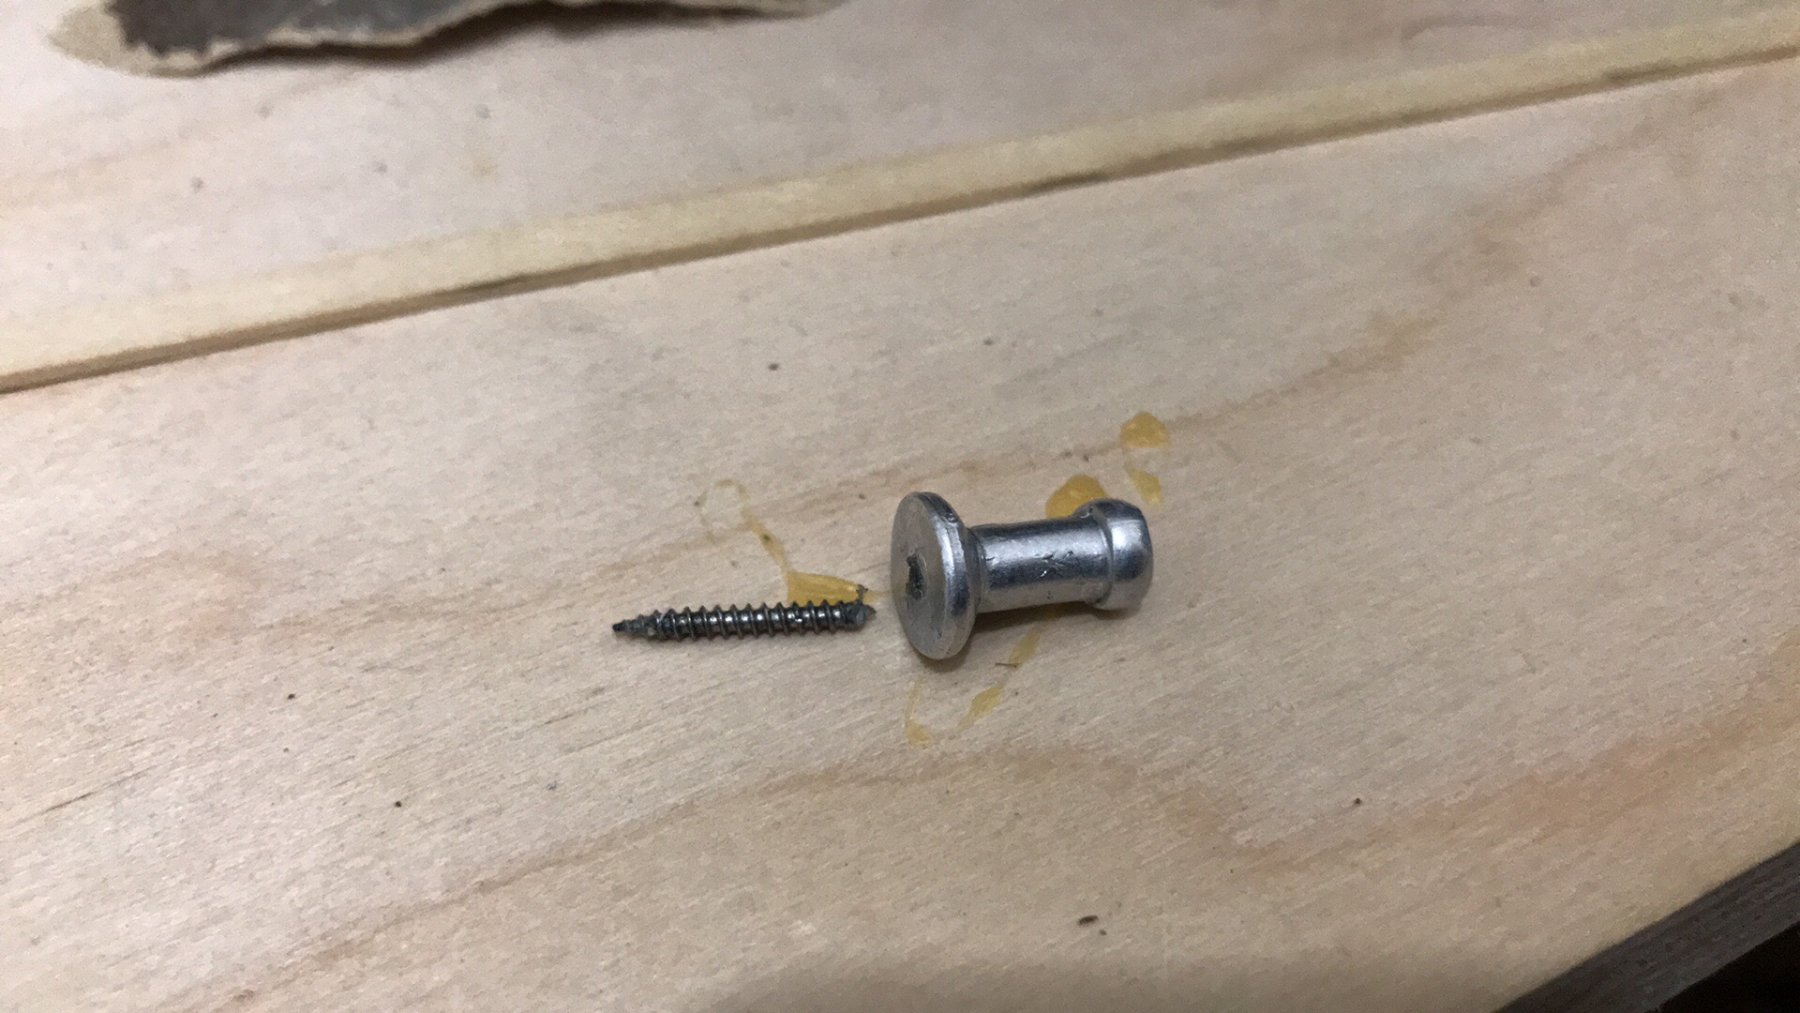
for the handles i have use the head of the push pins , i took the pins out and drilled the holl with 2 mm dia
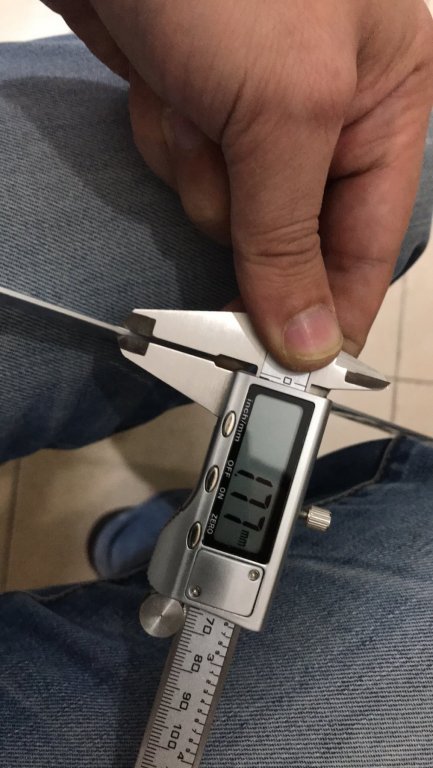
the screws that i bought was 1.8 mm by the Moxis advice
and after cutting the head of the screws i have glue them to the handle by epoxy glue ,
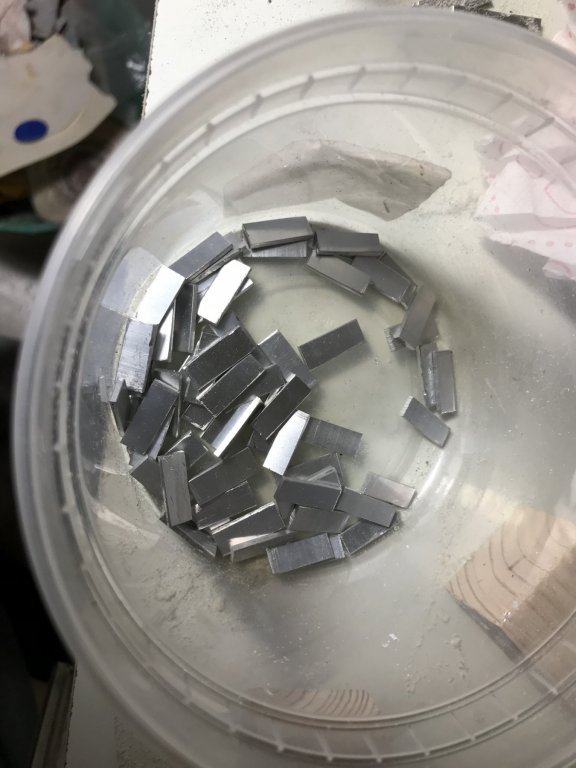
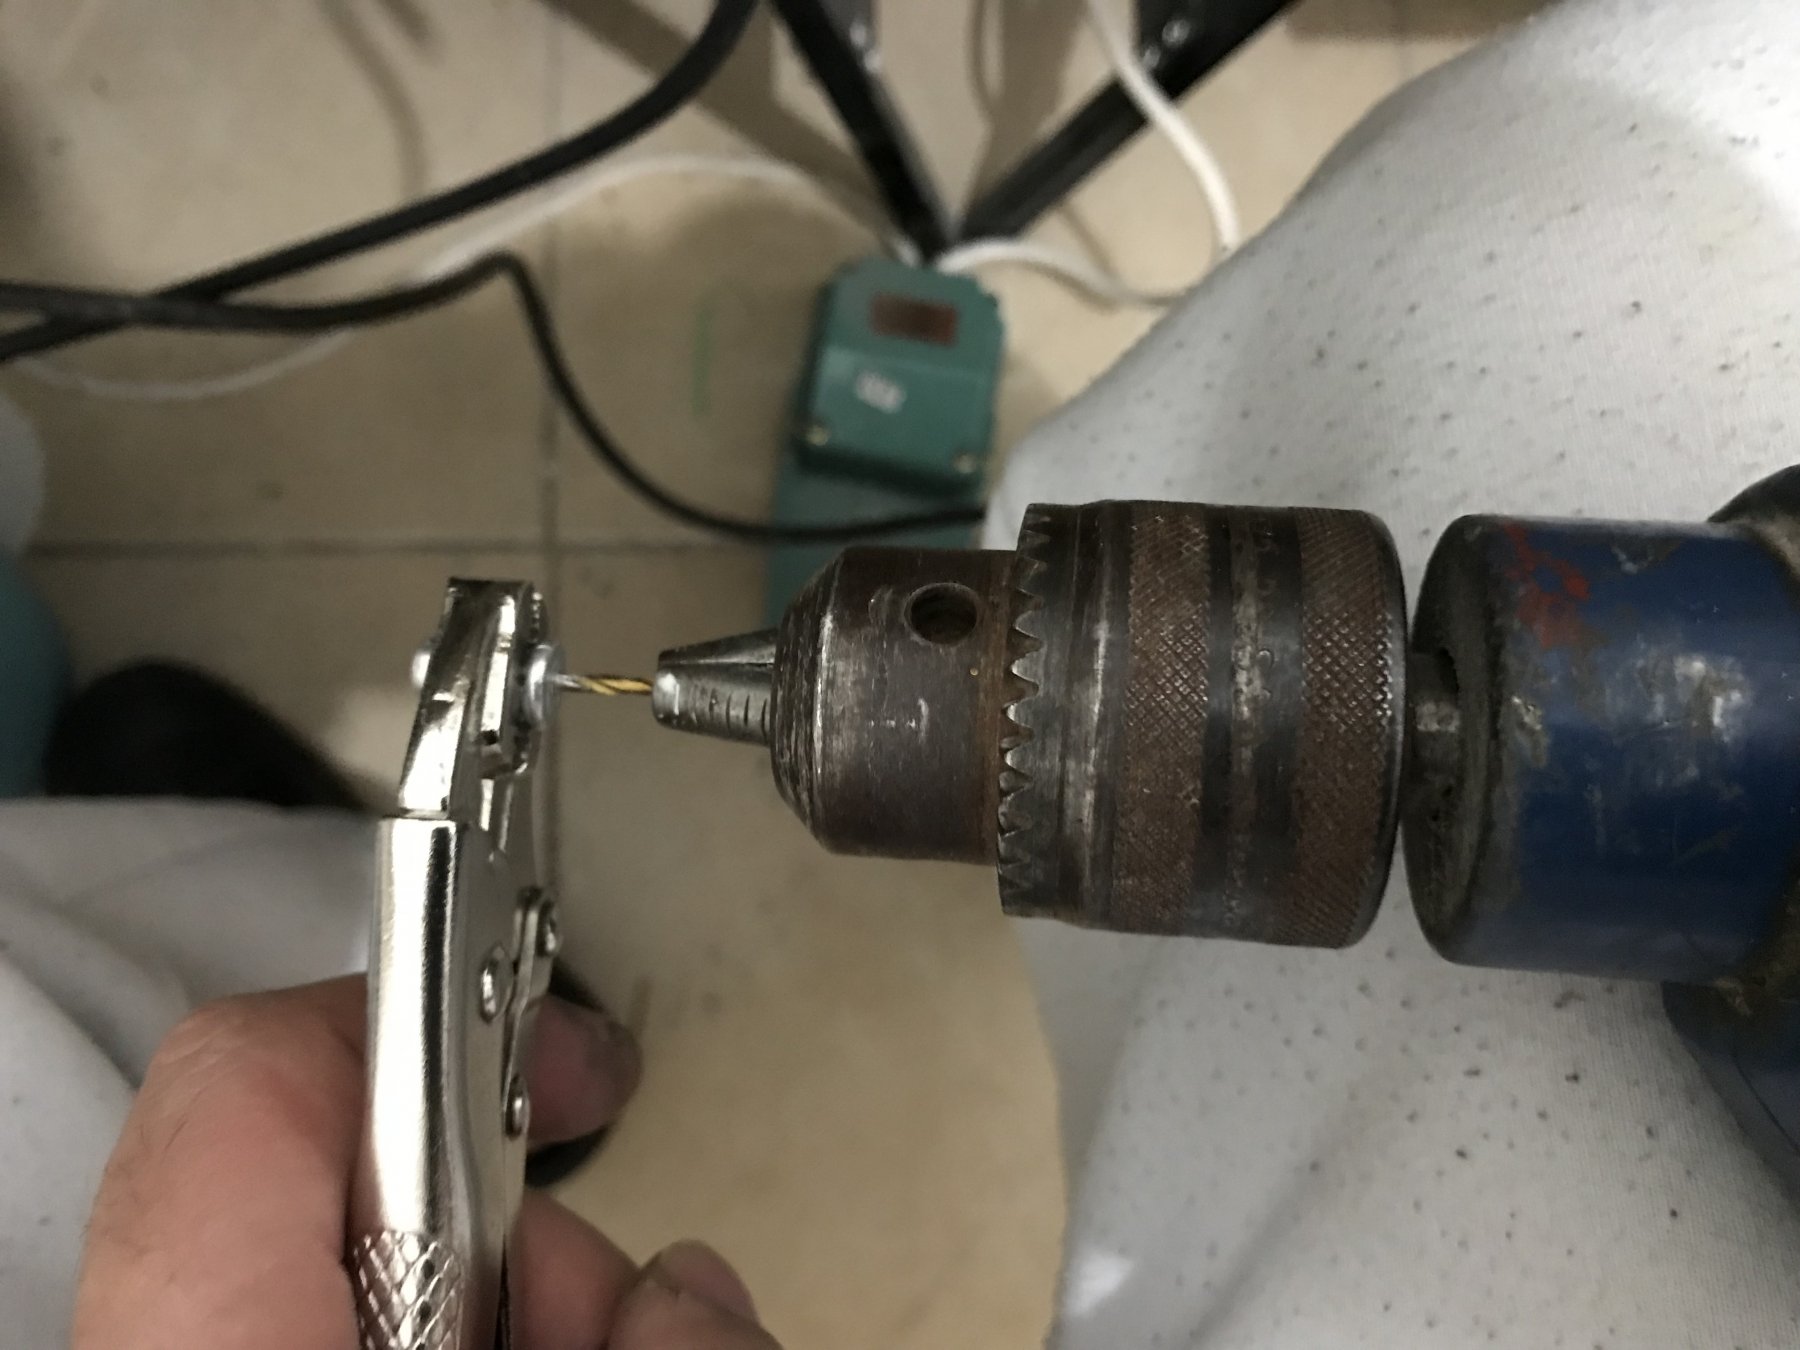
for the clamp i have cut drill and bend aluminum
here is some pictures:


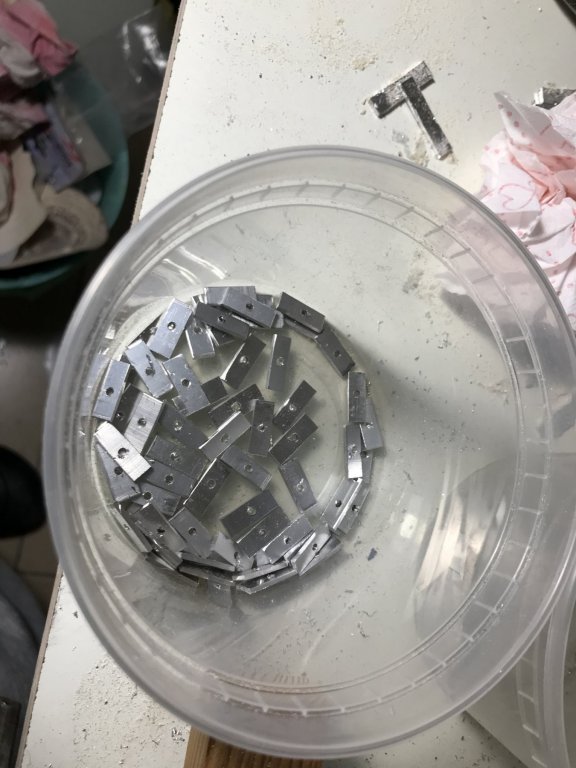
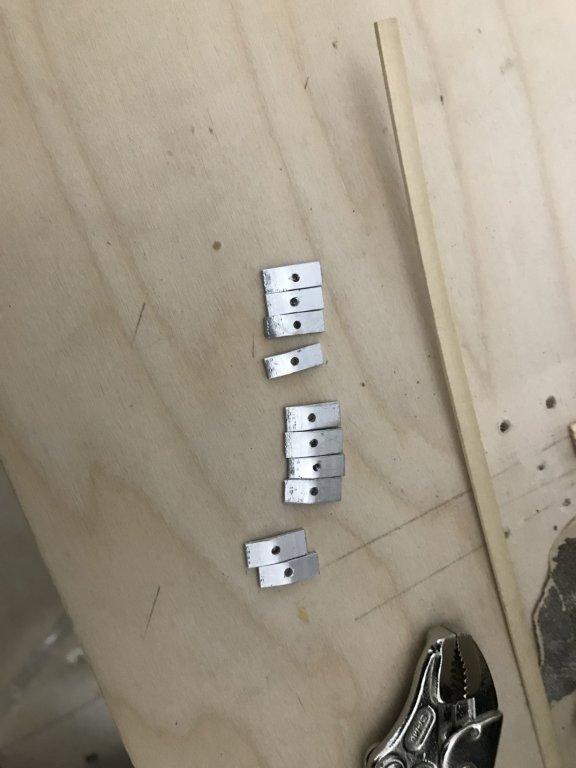

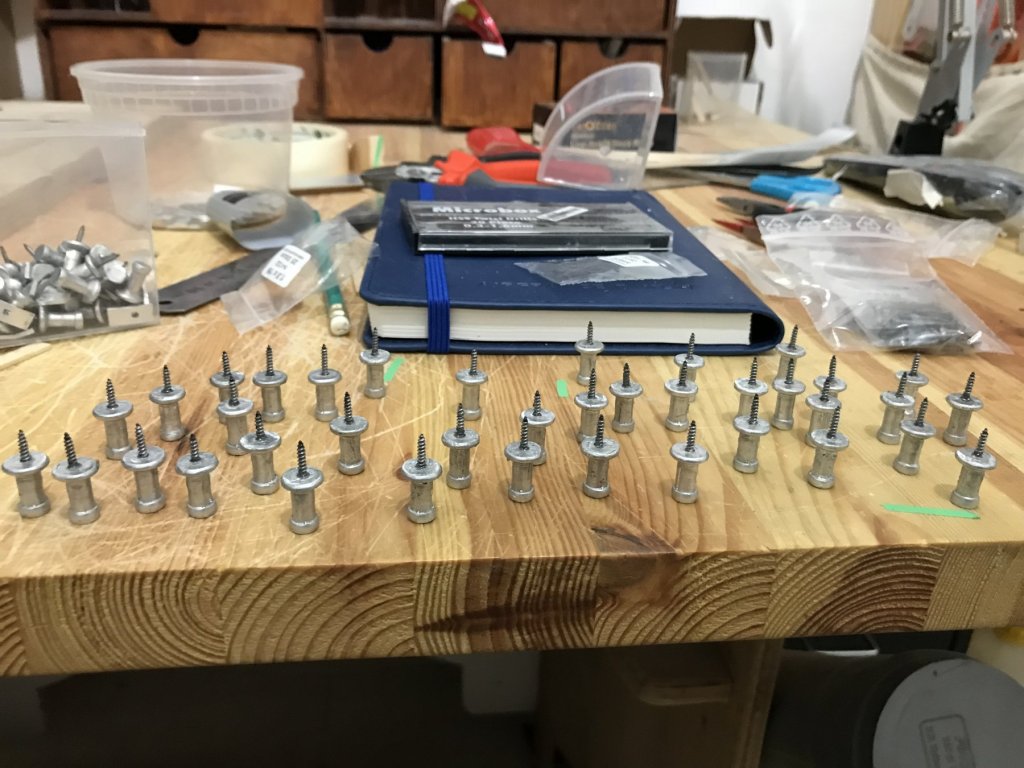 The final product :
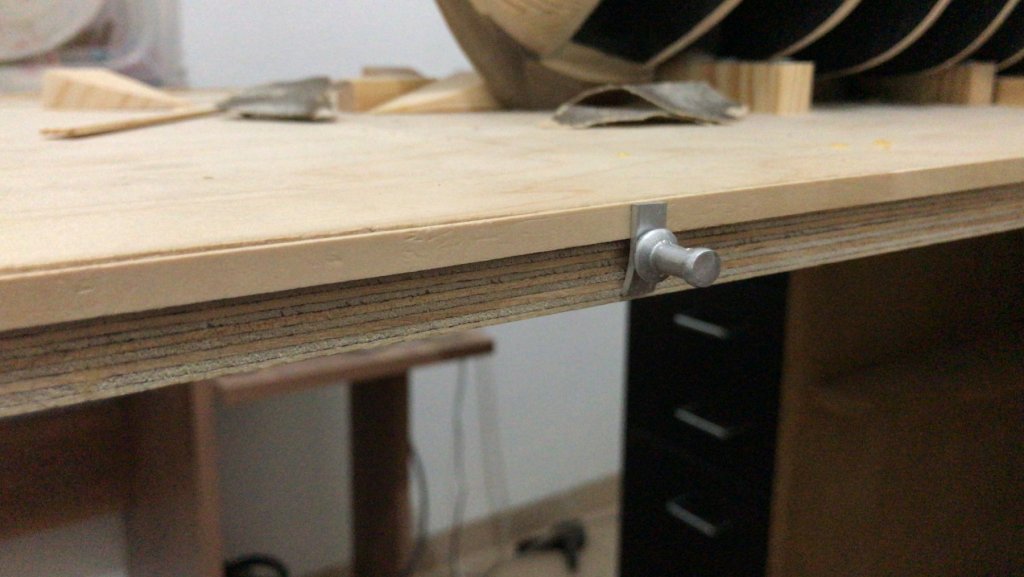
- mort stoll and EJ_L
-
2
-
On 15/01/2018 at 3:25 PM, jwvolz said:
Run the rope over some beeswax. That will help relax it, and reduce some of the fuzziness as well.
Then hit it with a hair drier, use this technique on all my rigging.
-
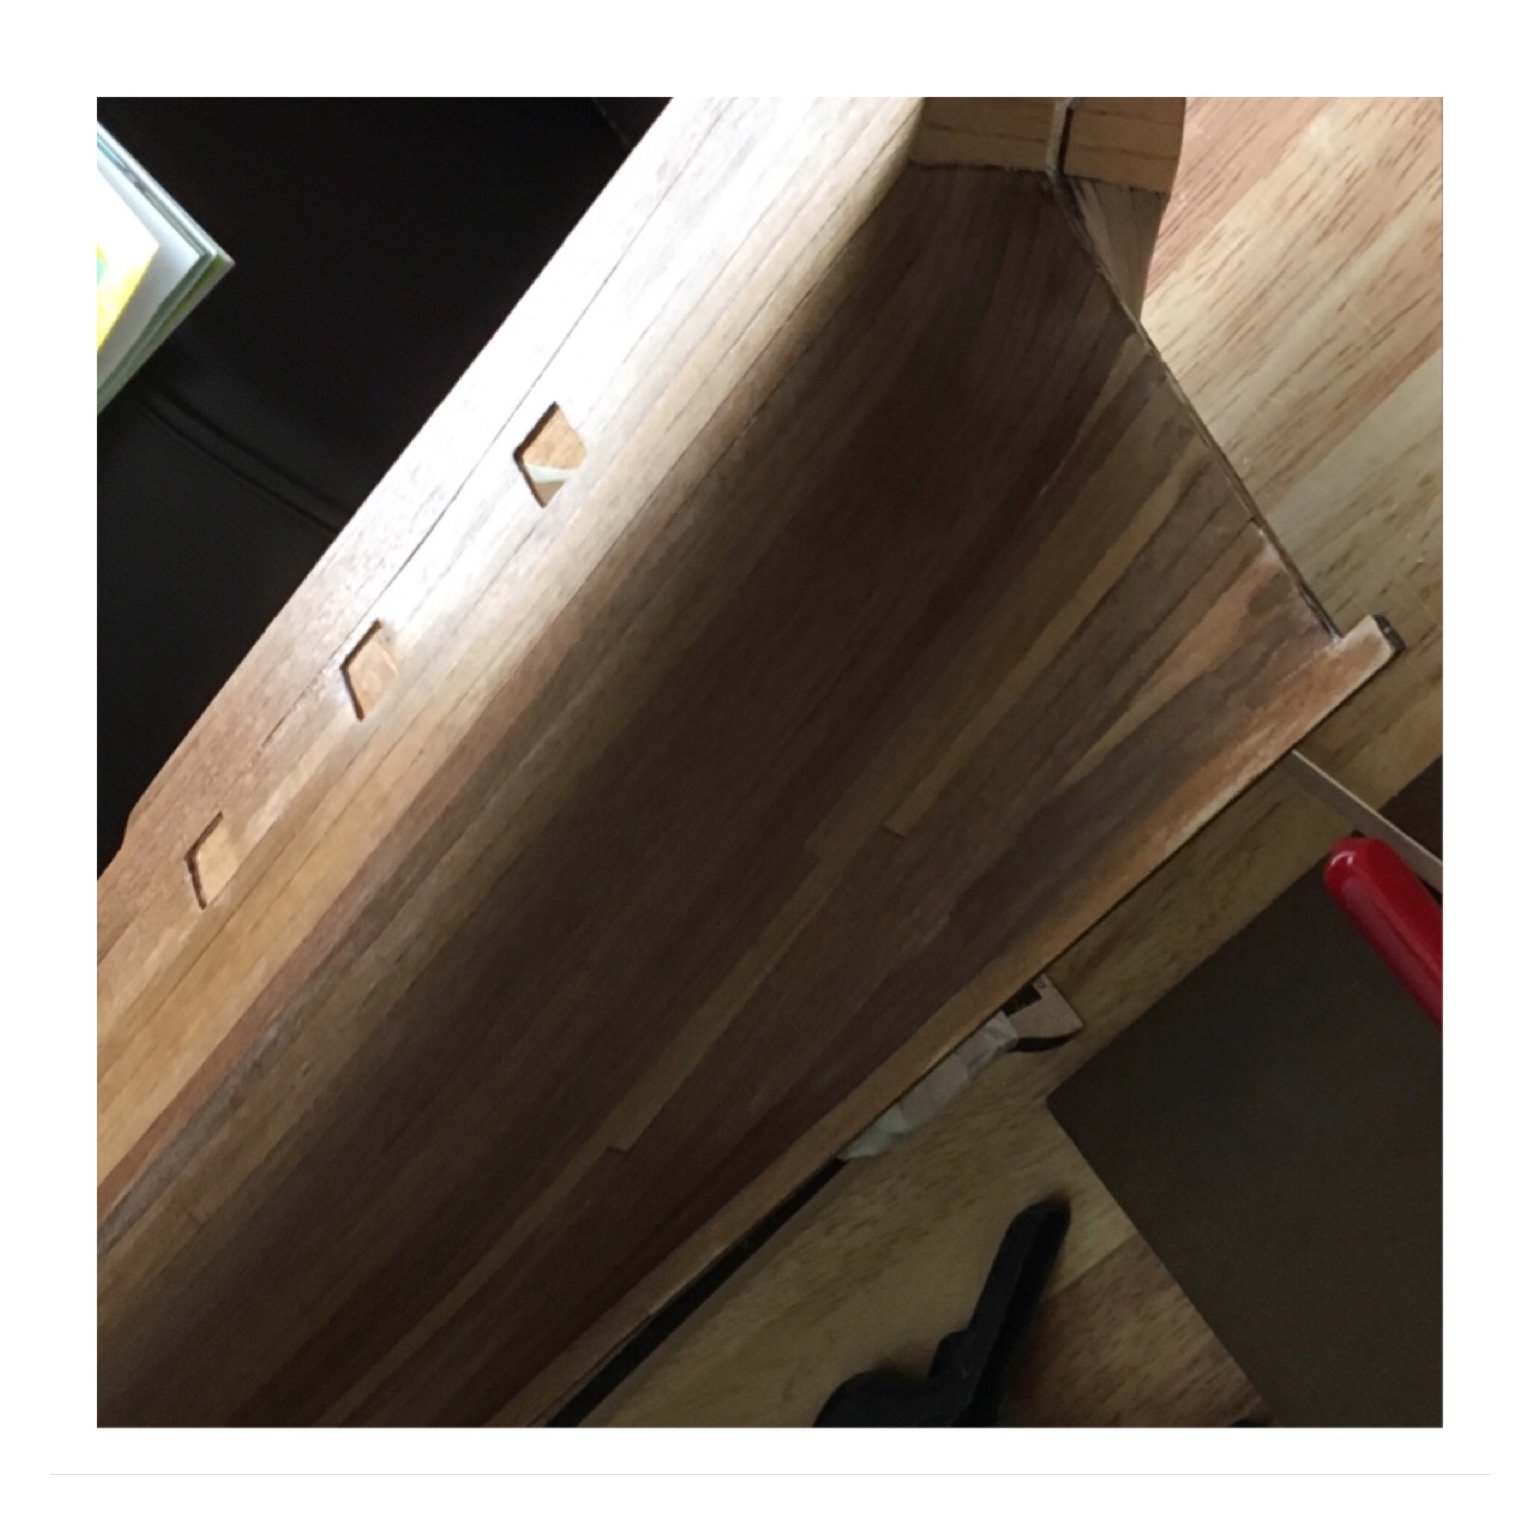
Nice work, I’m doing a lot of smaller items for my Pegasus, my question is were the side mounts one piece or several sandwiched bits of timber?
if one piece why the step design.
i too had lots of trouble blackening my small barrels, yours looks good.
- Canute and thibaultron
-
2
-
Query, did you clear coat the copper plates?
thanks
-
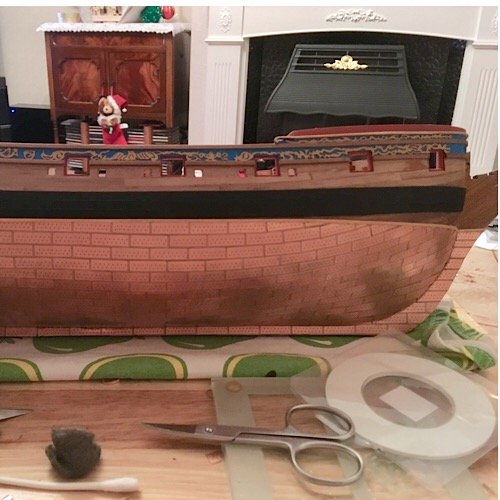
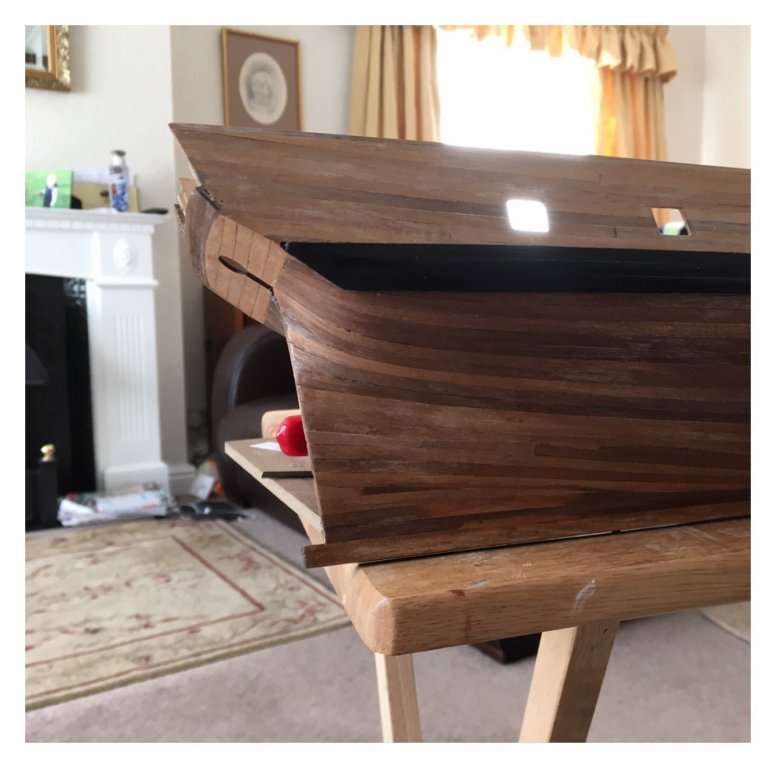
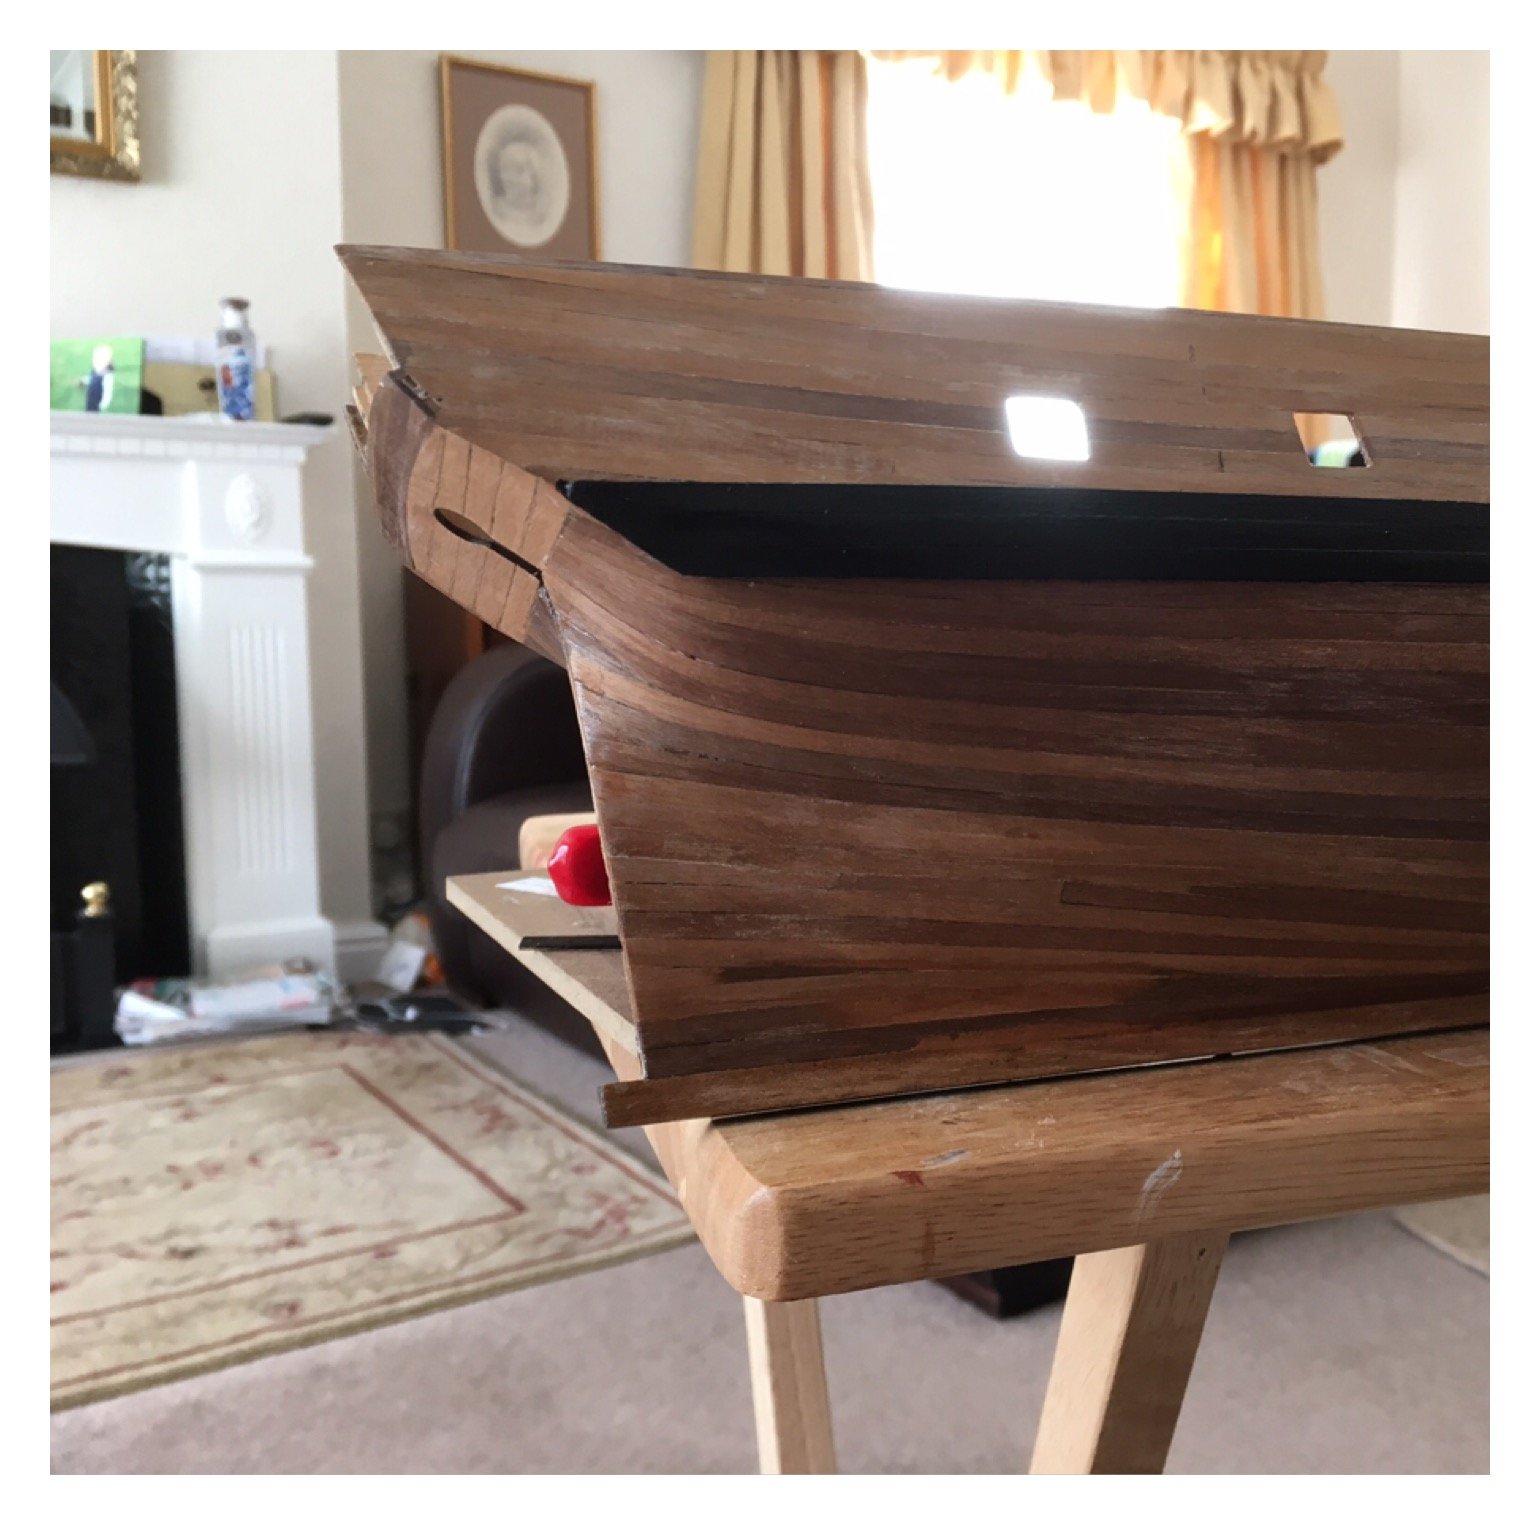
Been off this for a good while.
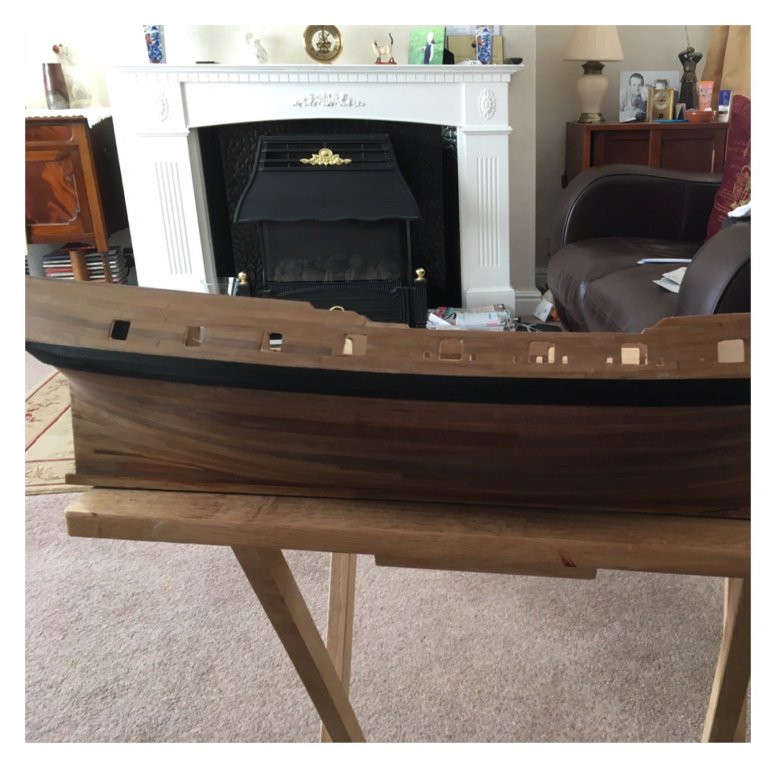
Coppering completed ones side, installed a moulding to top off the top edges.
not happy overall, wish I’d gone for a white paint finish, ah well. Hope the other half comes out better and can display that side.
-
For those who can't fabricate jigs you can purchase photoetch benders
-
Definitely not wide as the strips sit right on the photoetch high points
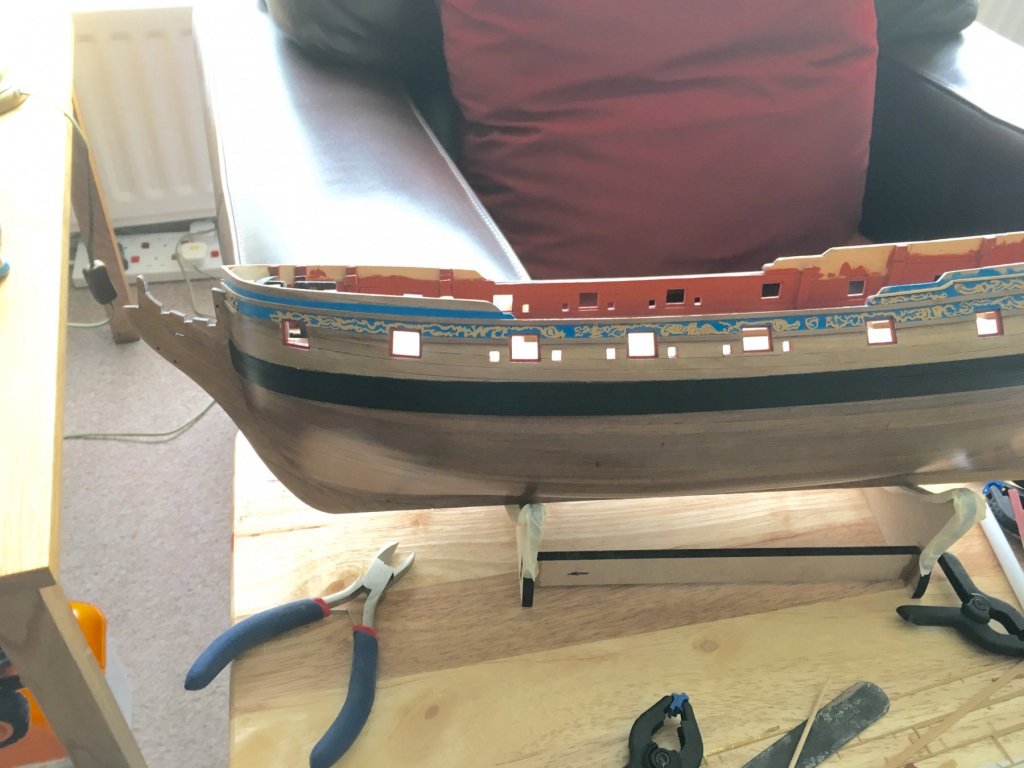
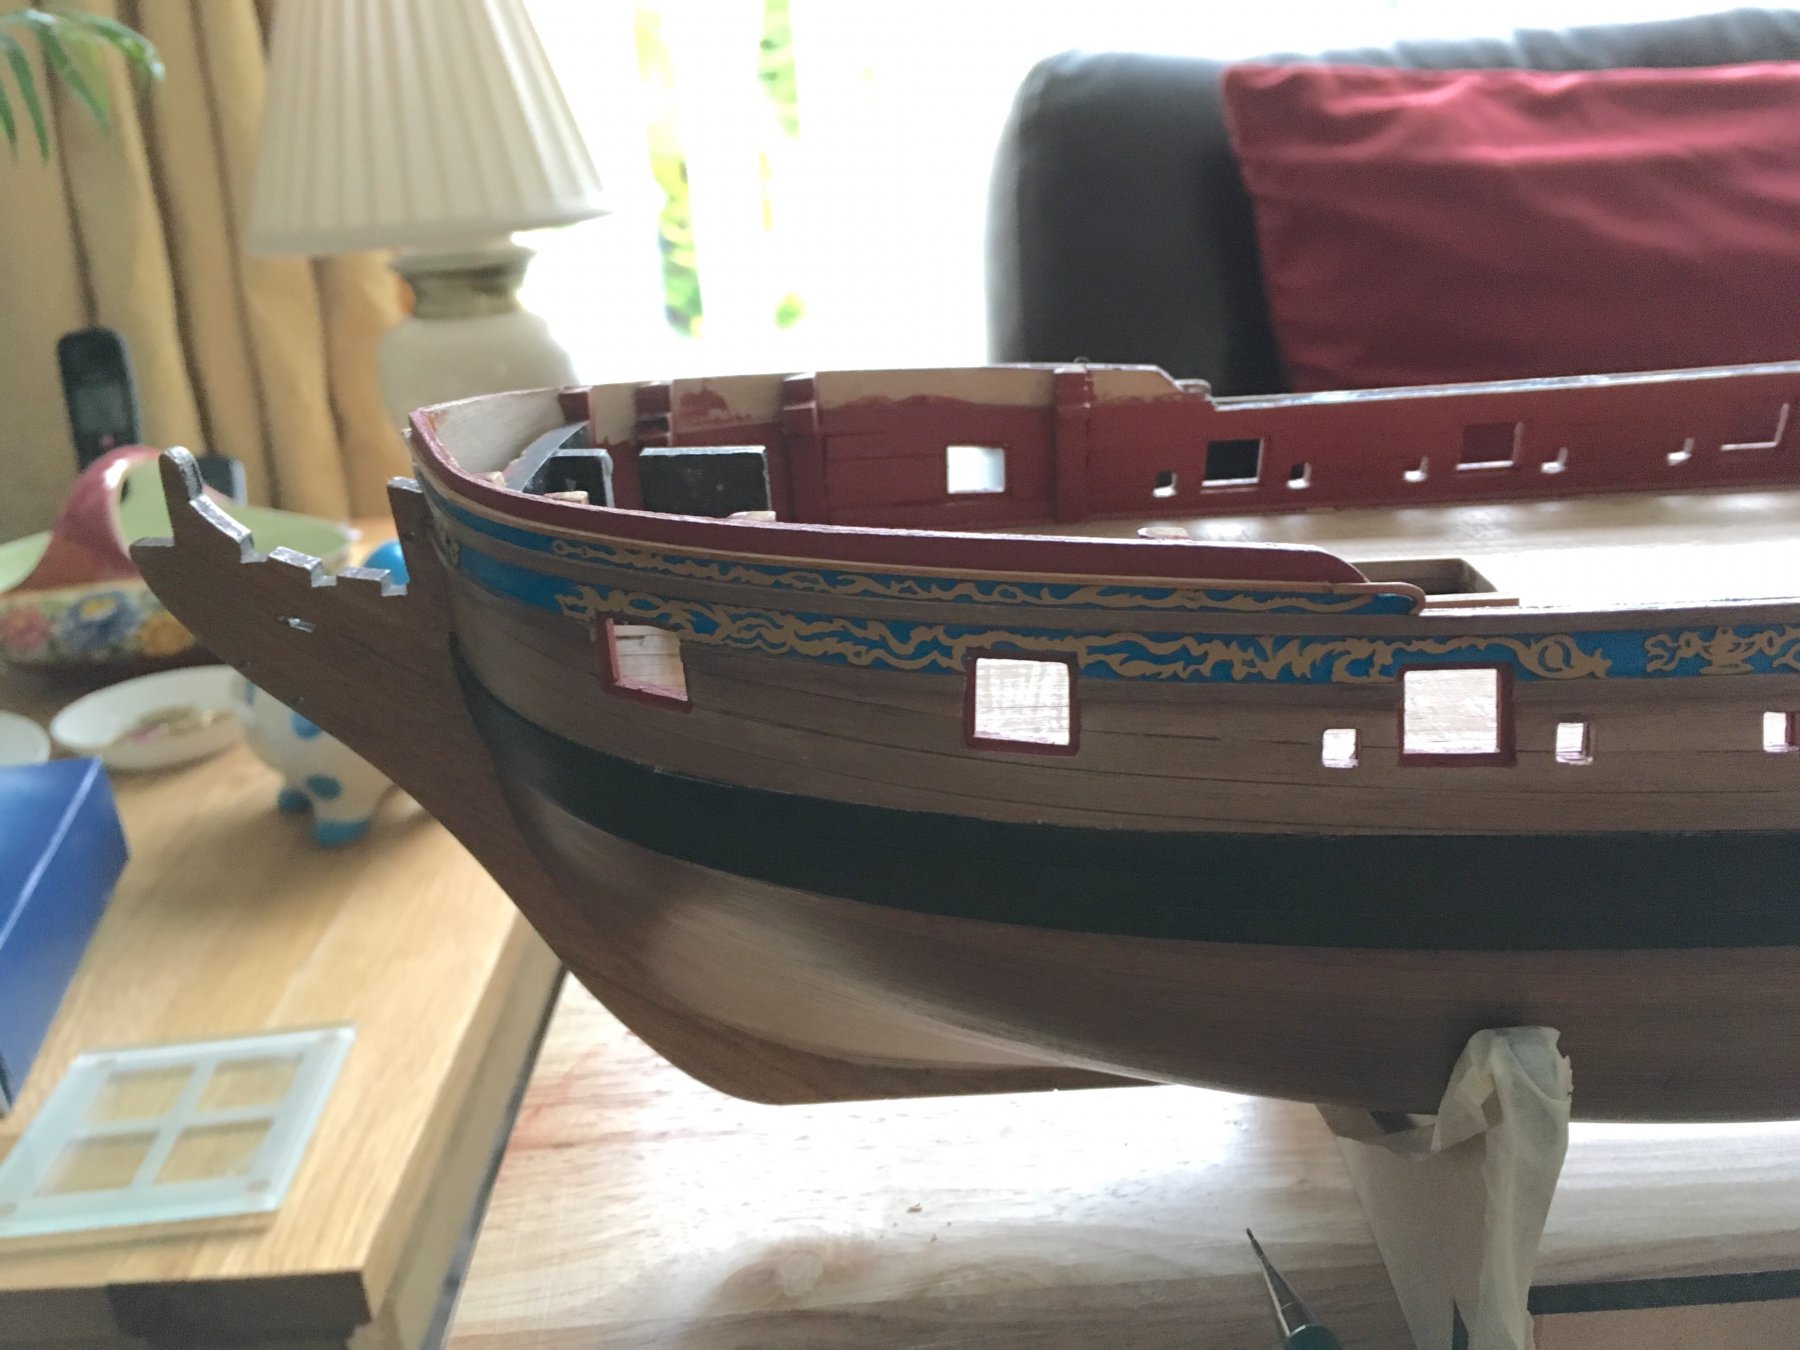
I looked a Blue Ensigns build, if you look at page 2 mine looked like his with the top red border not parallel, so I measured from the plans and added a splice to make it 4mm as per the drwg and as his page 3. I have checked that all the windows side and rear fit as per his build.
-
-
Some colour added, coat of sand sealer to deepen the colour, will finish with a Matt varnish at the end.

- Waitoa, Mirabell61, Tigersteve and 2 others
-
5
-
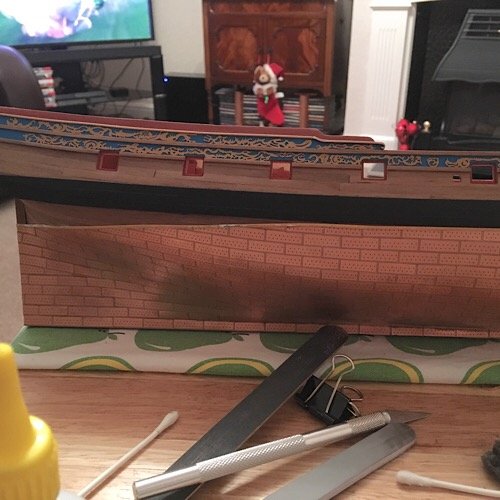
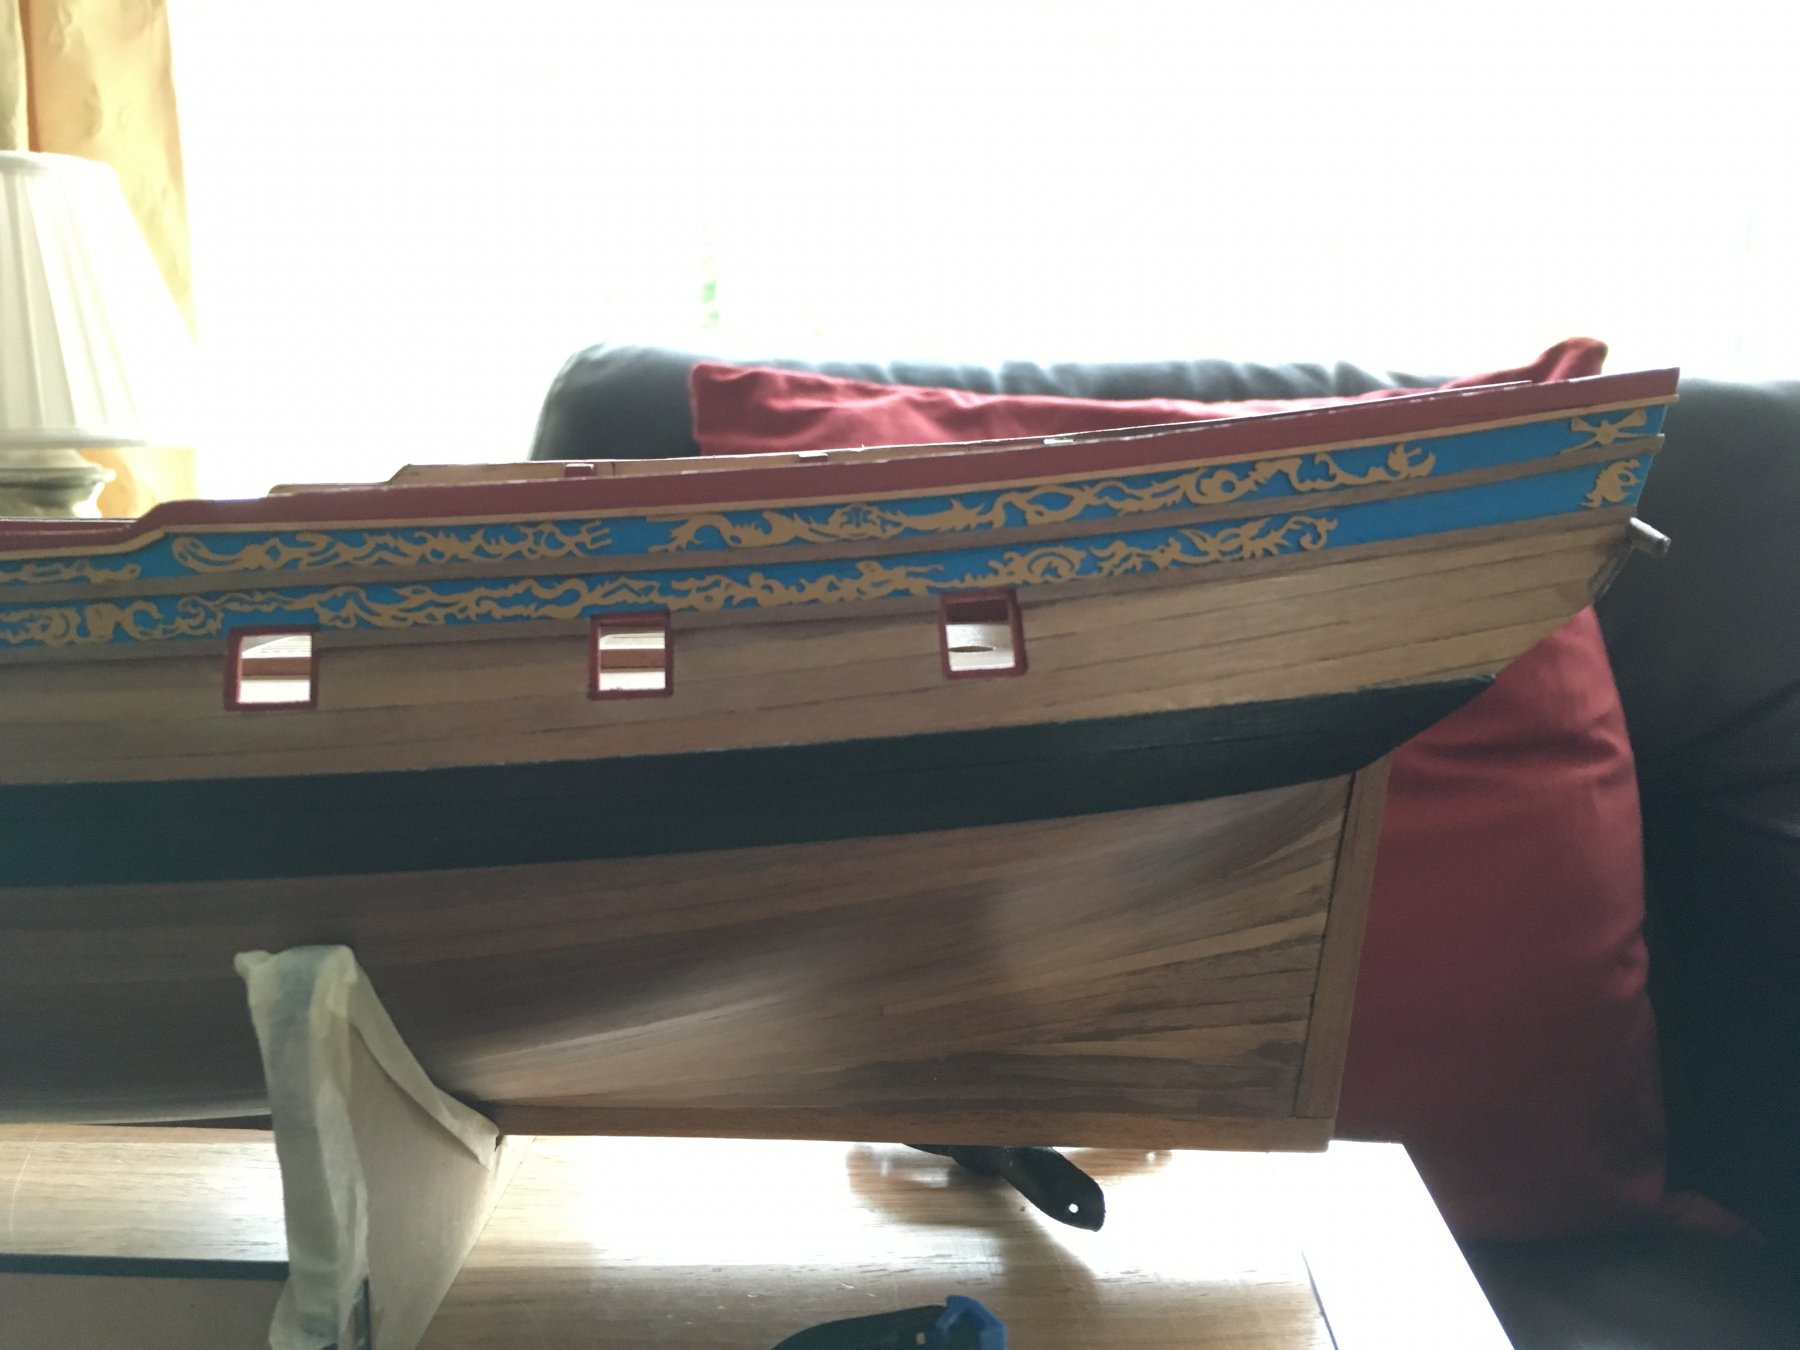
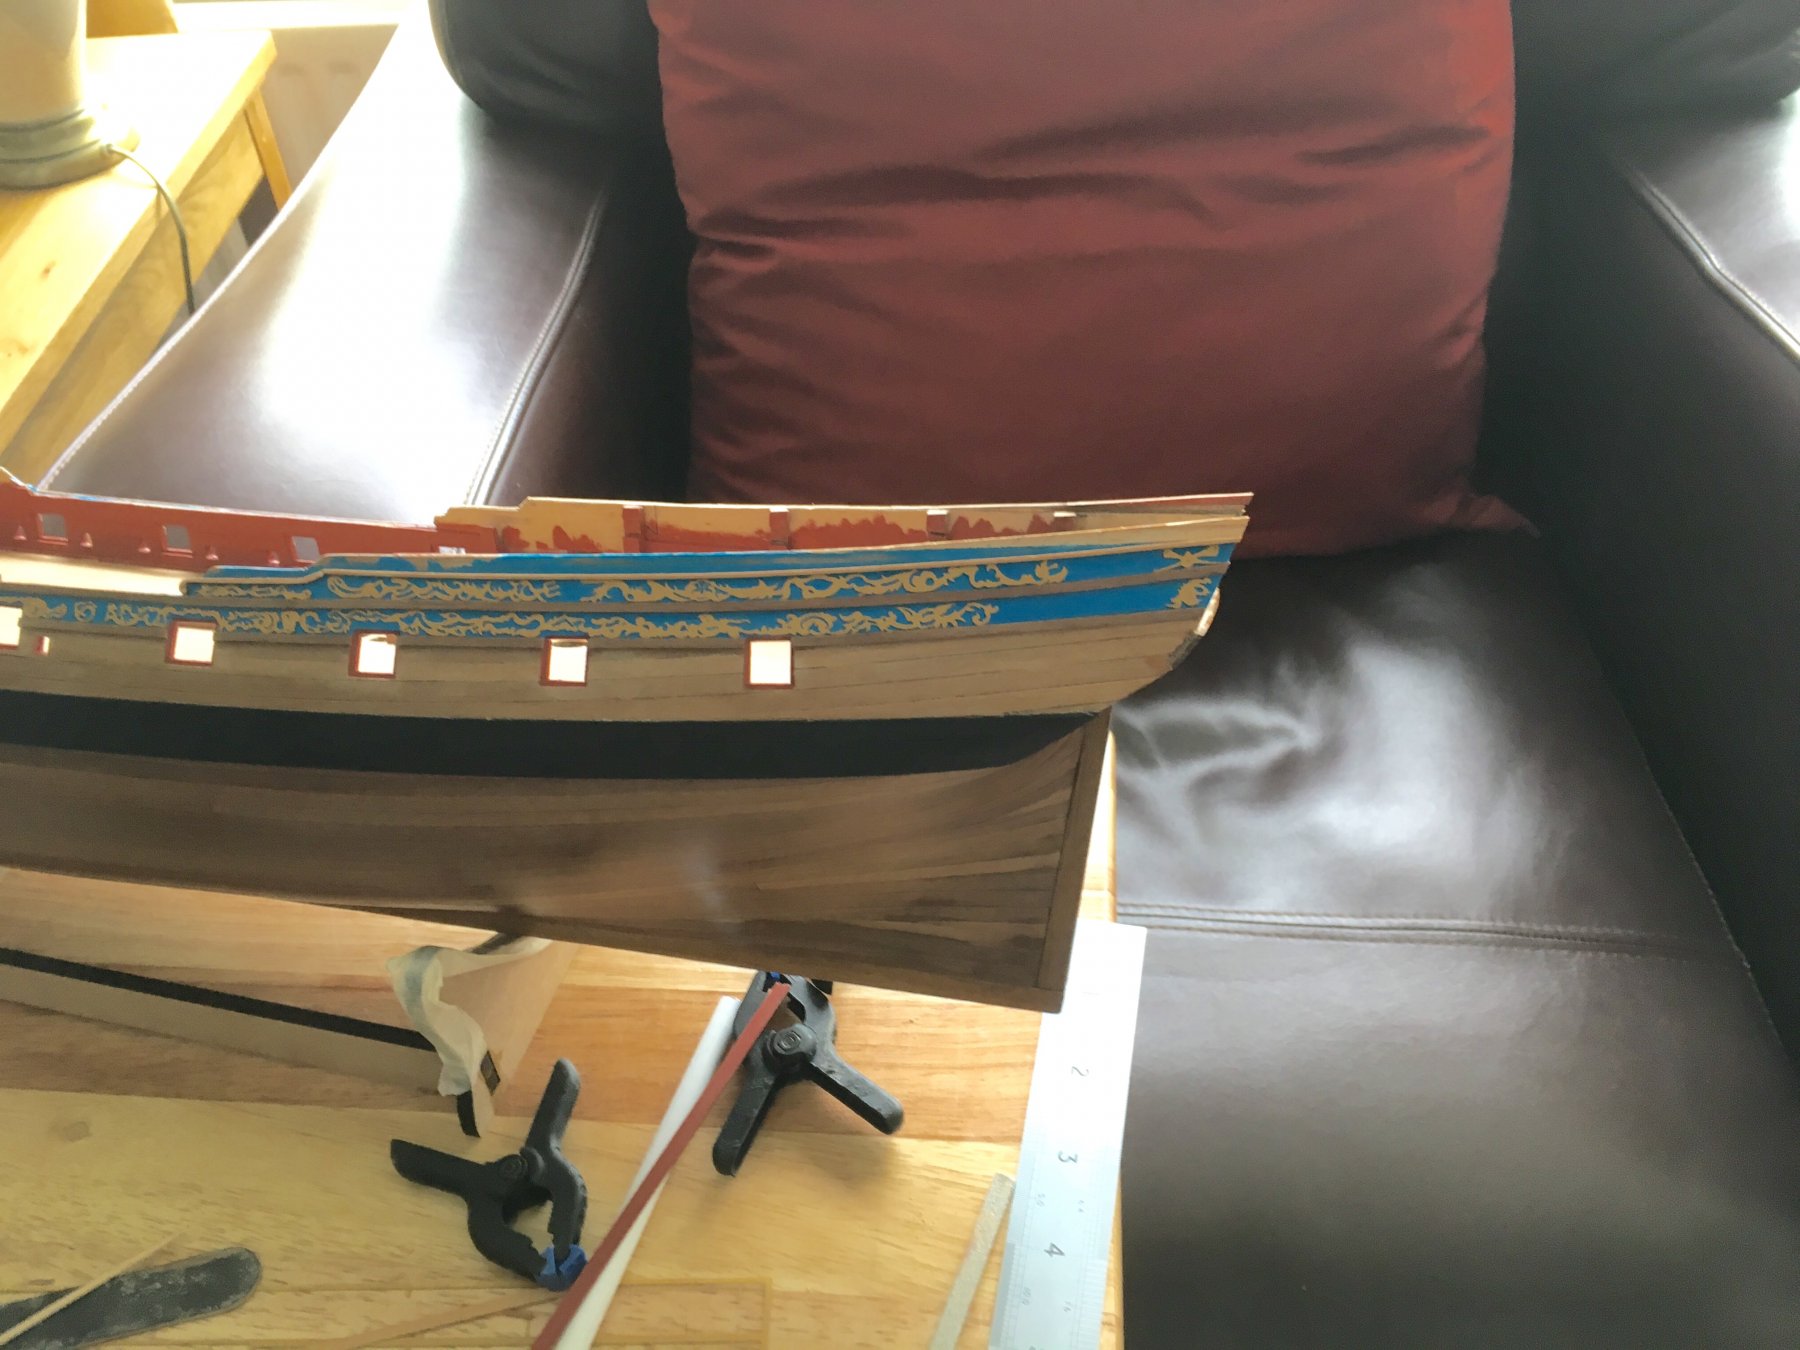
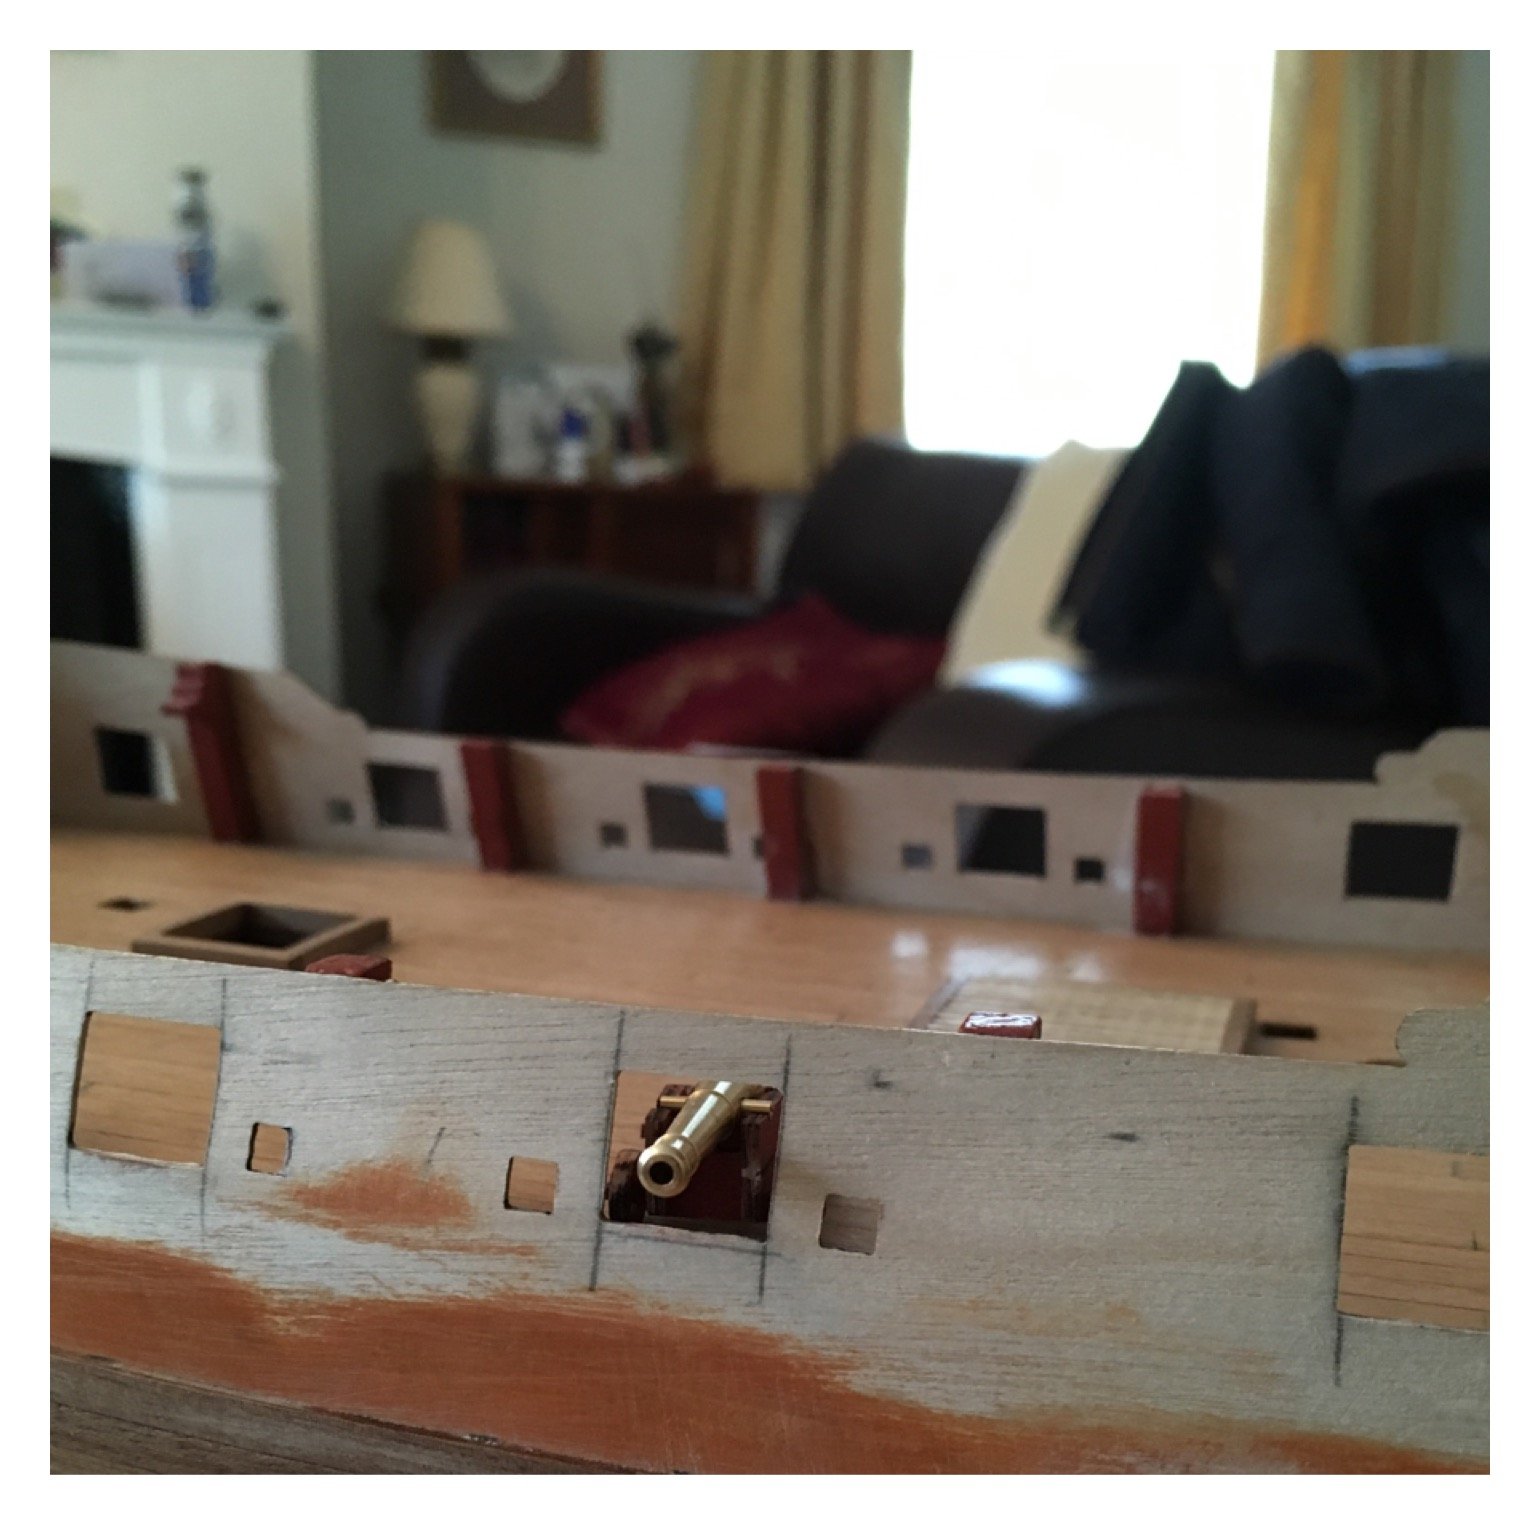
Slow progress, not happy with the small ports but I simply couldn't get a sharp outline.
- Martin W, Tigersteve and Ryland Craze
-
3
-
Measured and estimated, drawings could detail this feature much better, time will tell.

- robdurant, Landlubber Mike, Martin W and 1 other
-
4
-
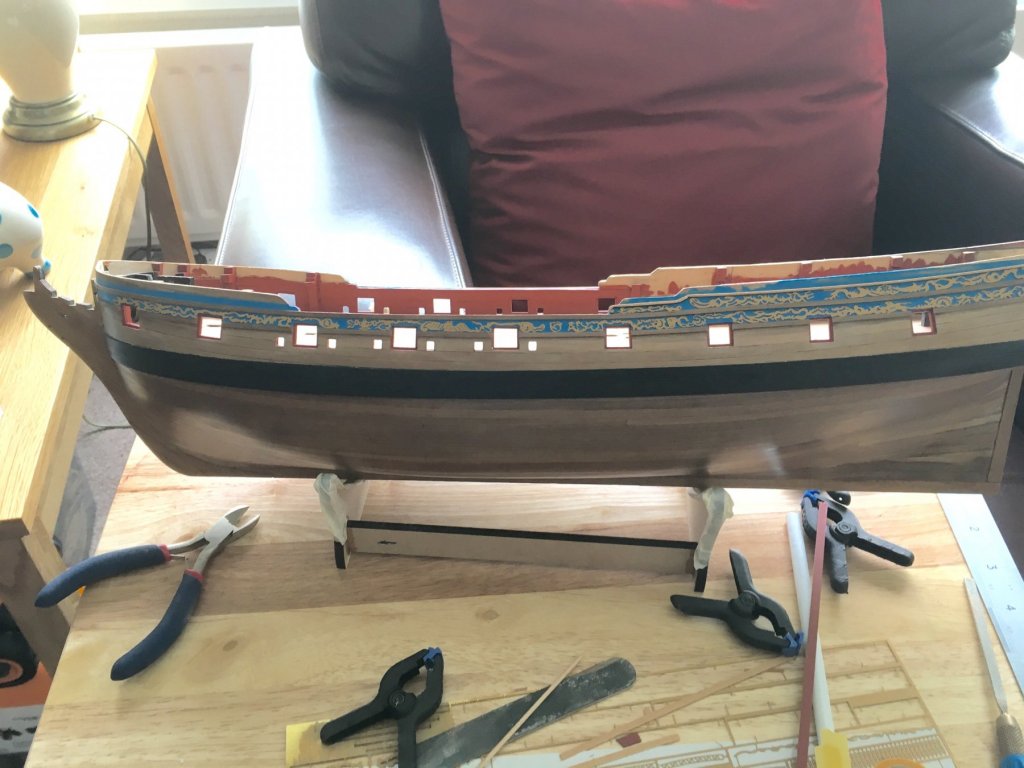
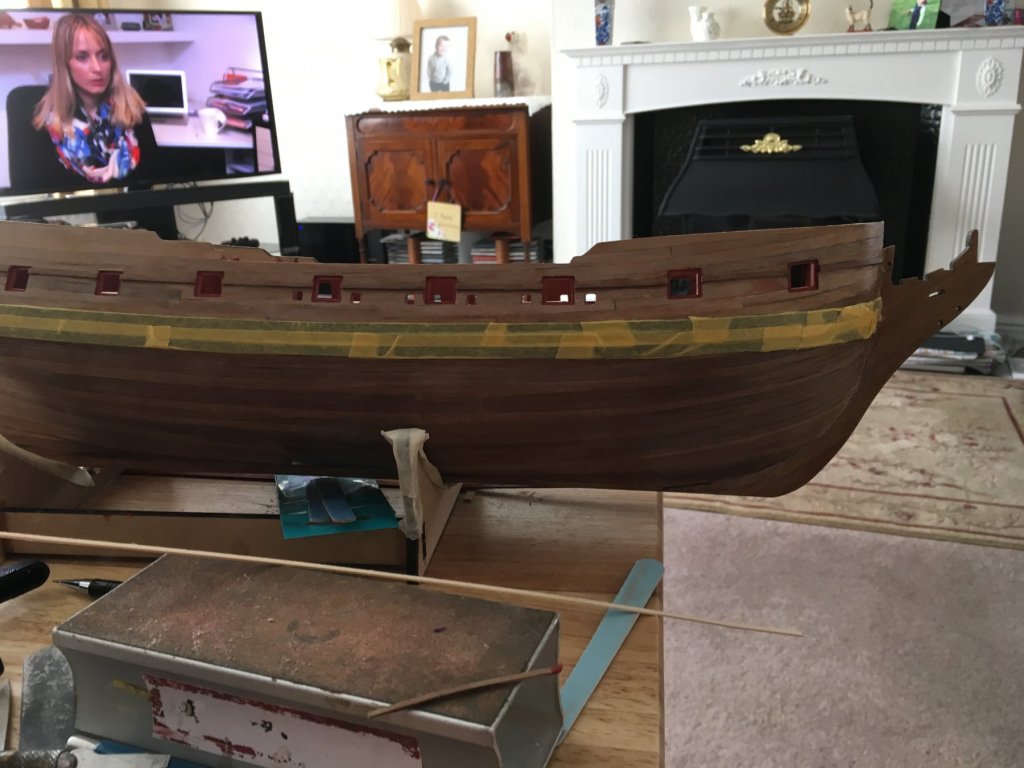
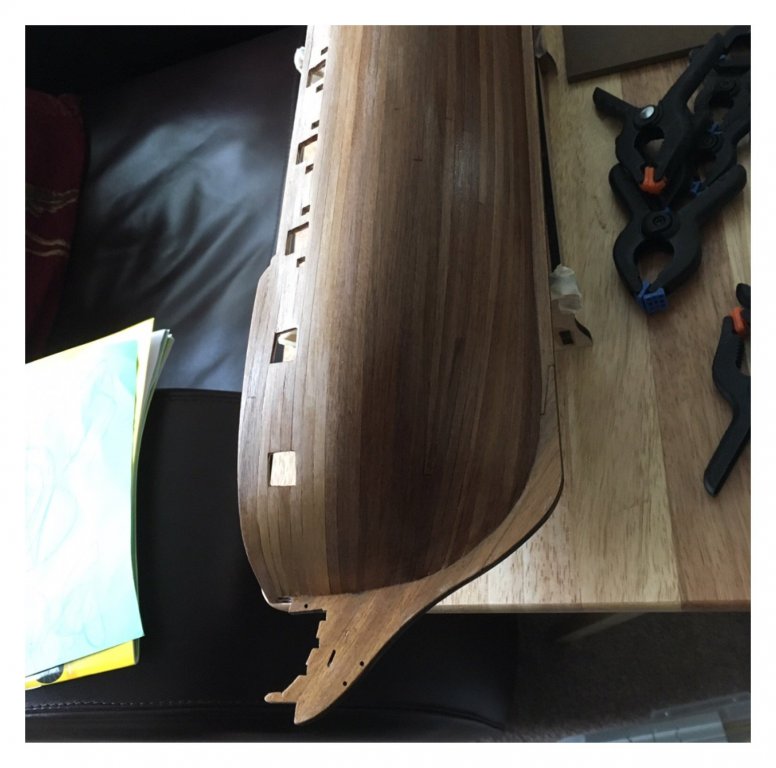
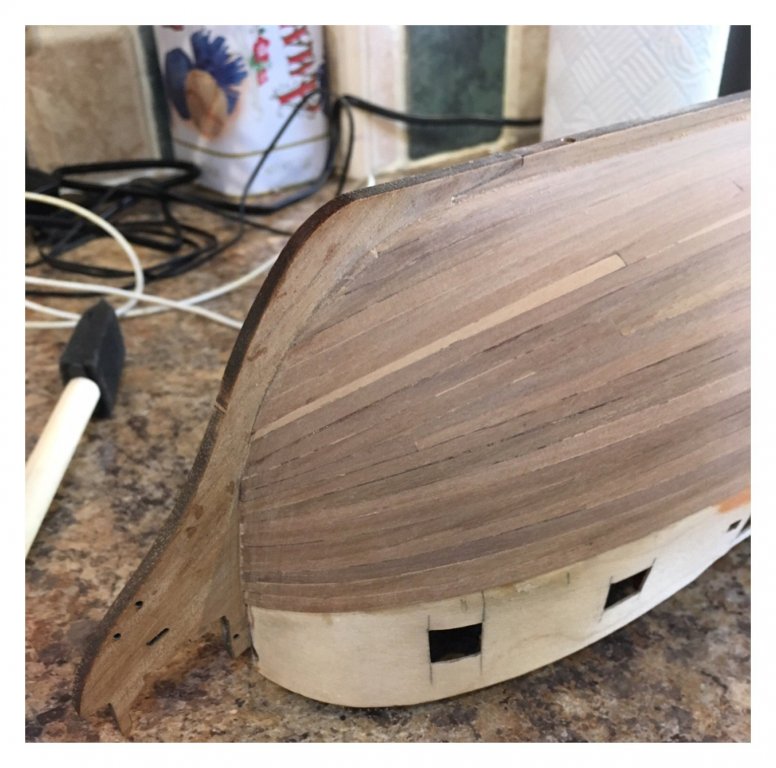
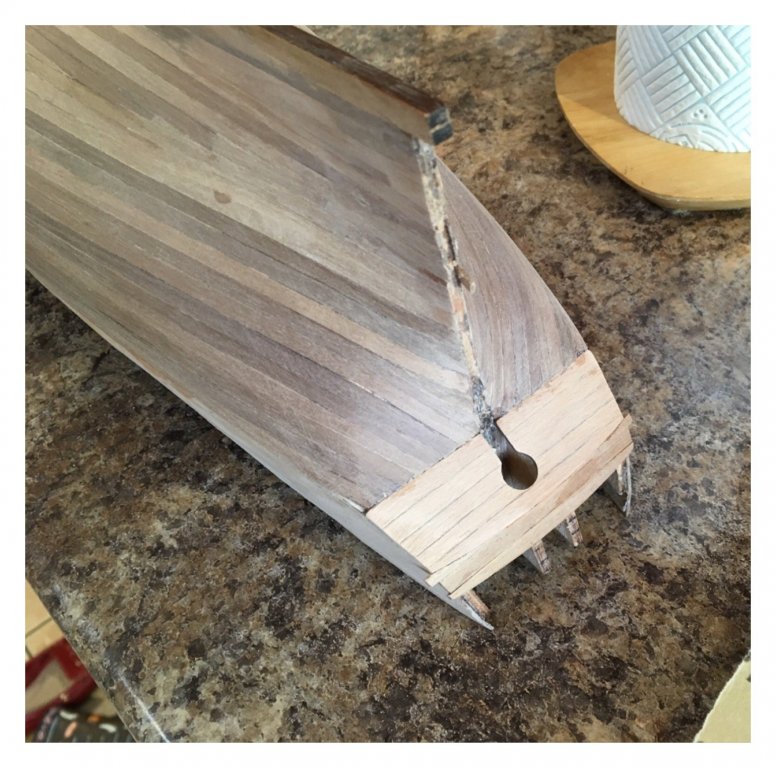
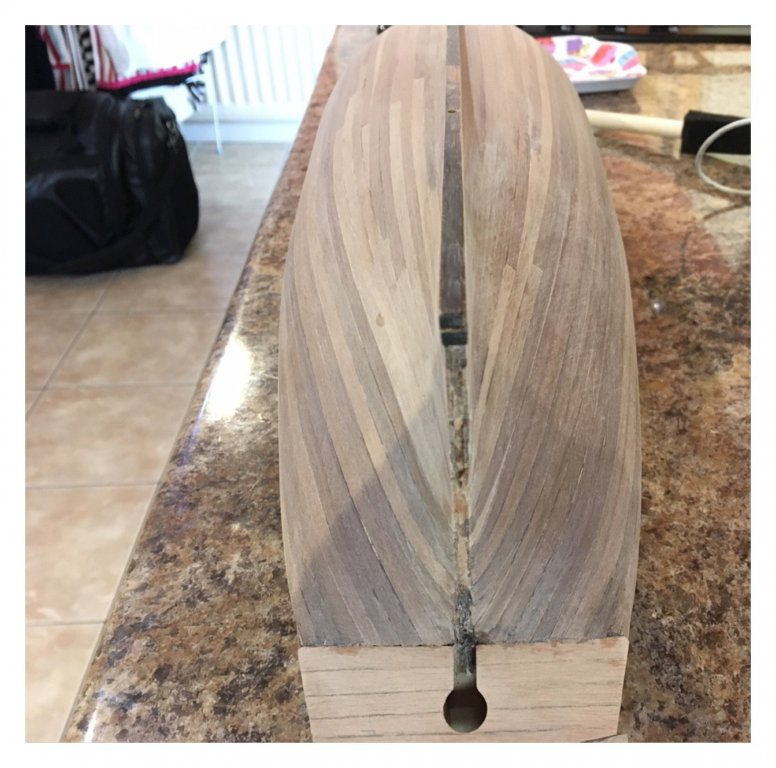
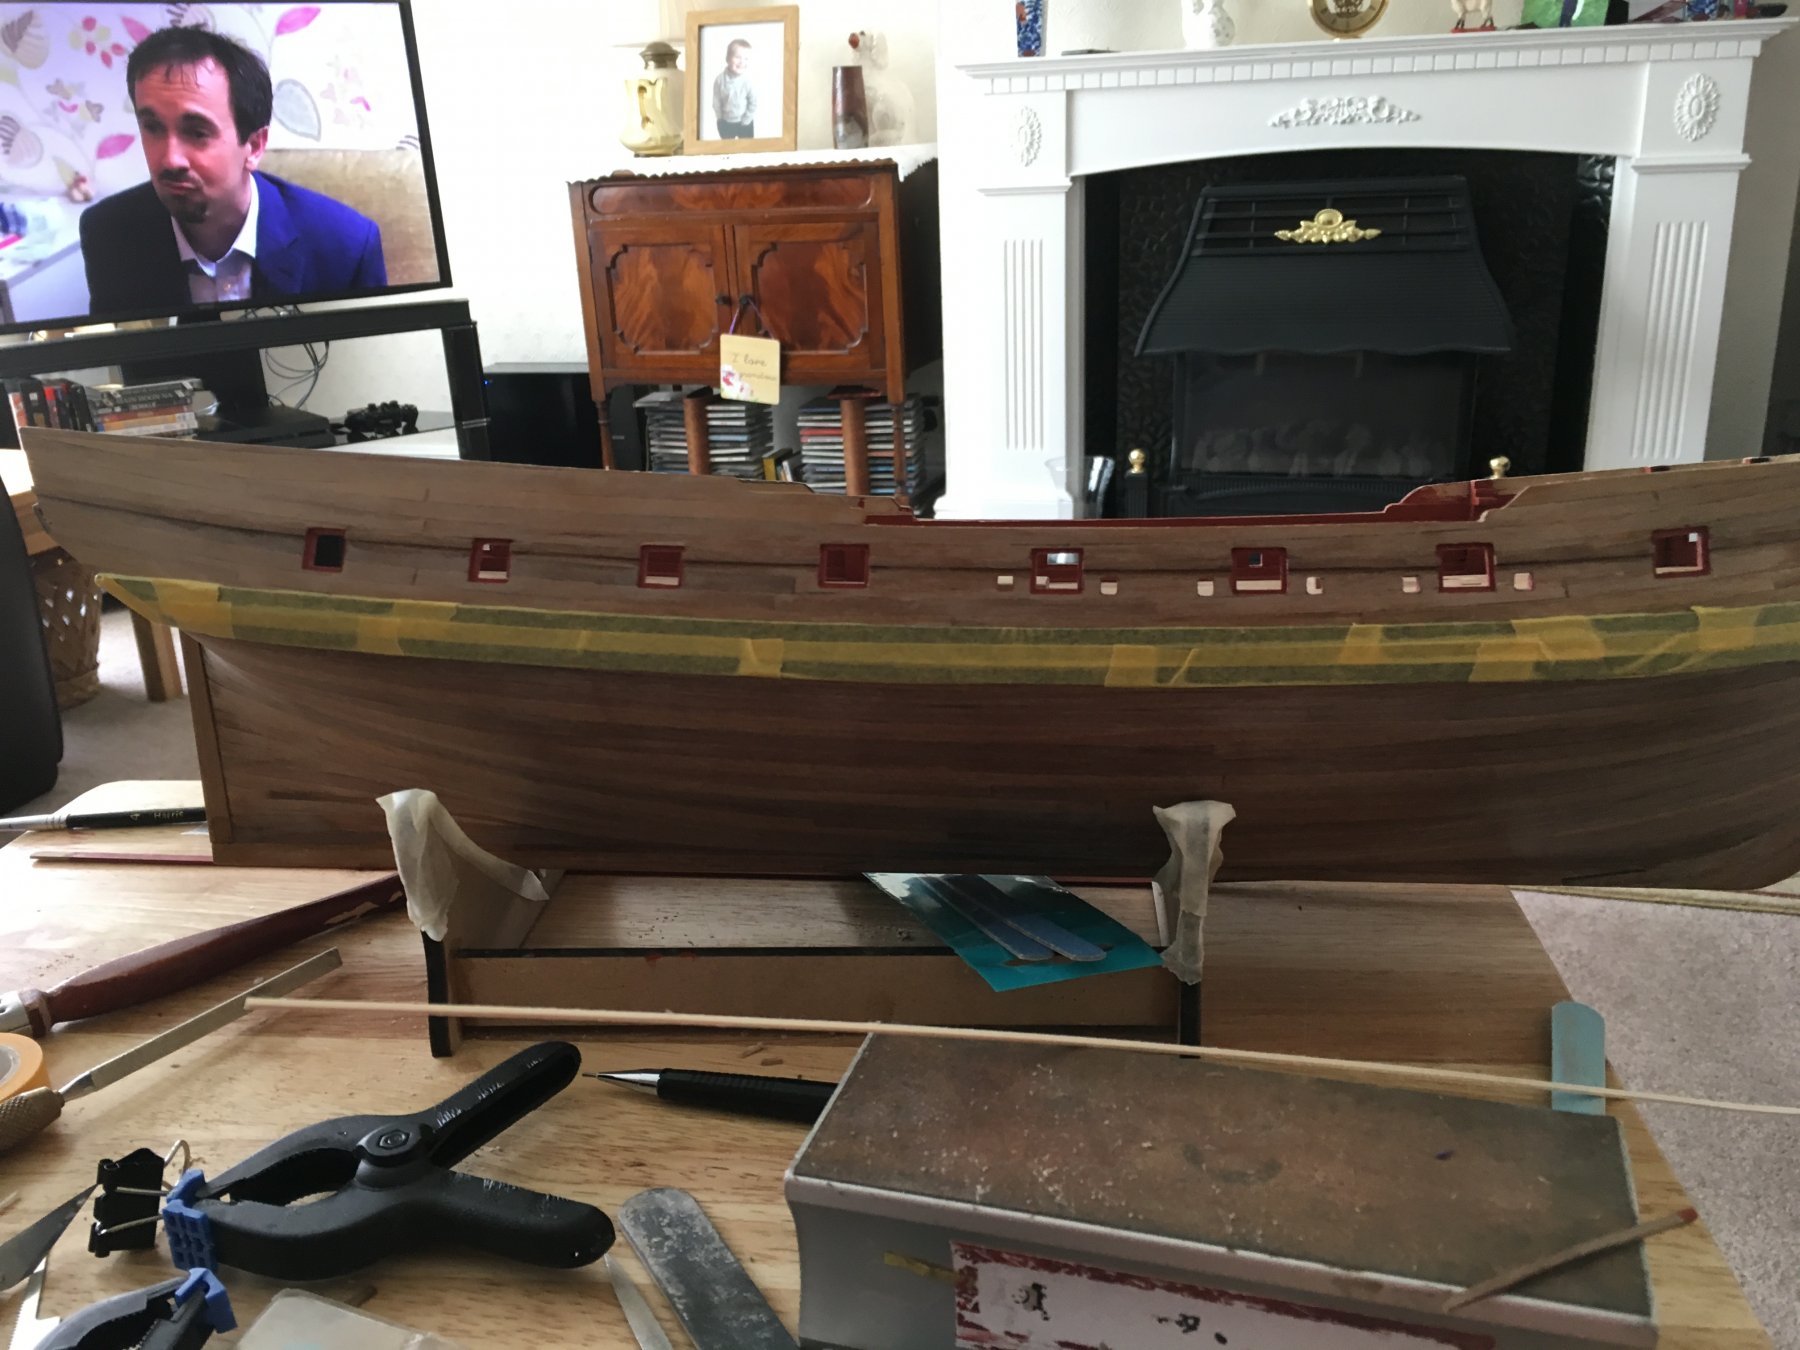
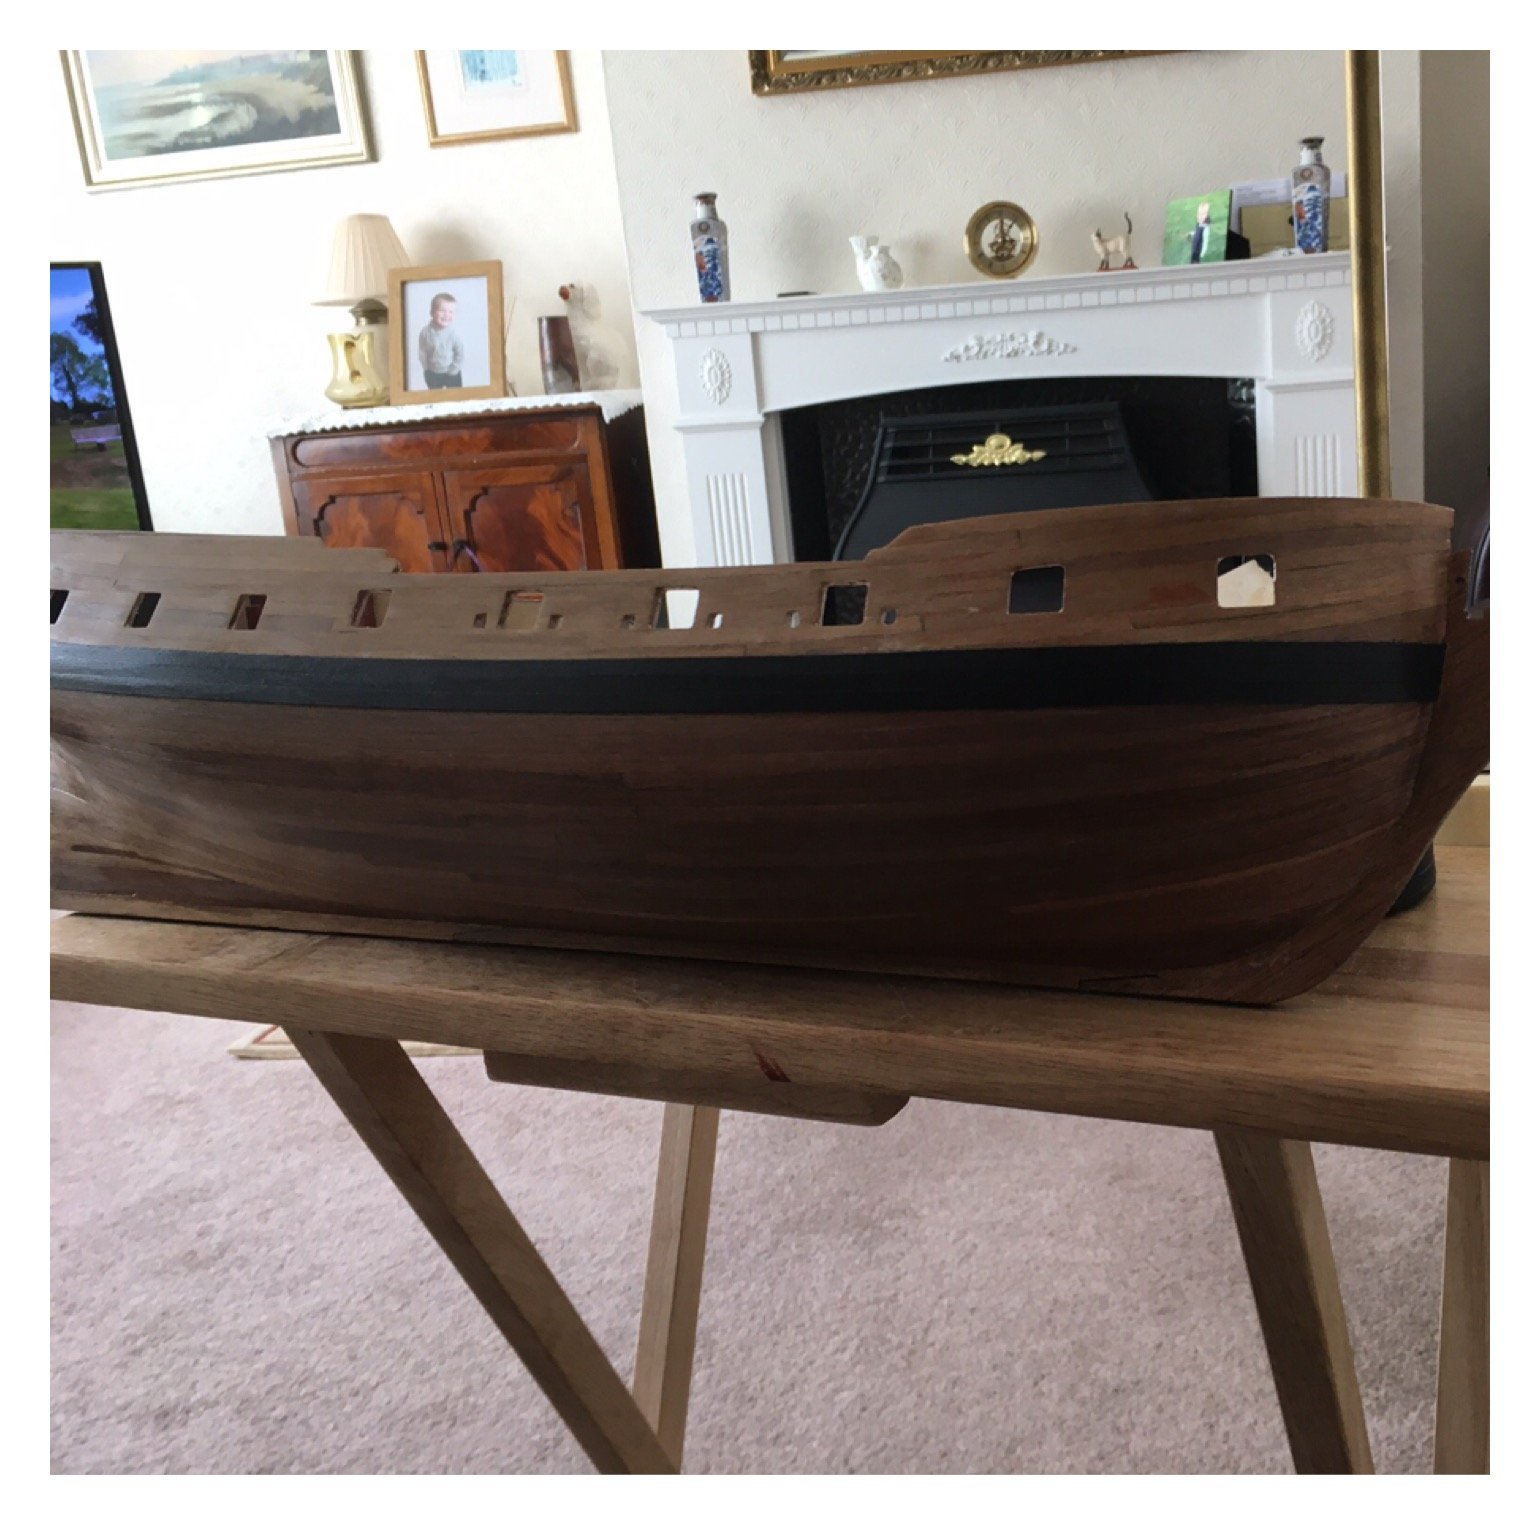
Second planking done with a bit of sanding and sealer, final finis if any planking not painted will be matt

- Martin W, DBorgens, Mirabell61 and 3 others
-
6
-
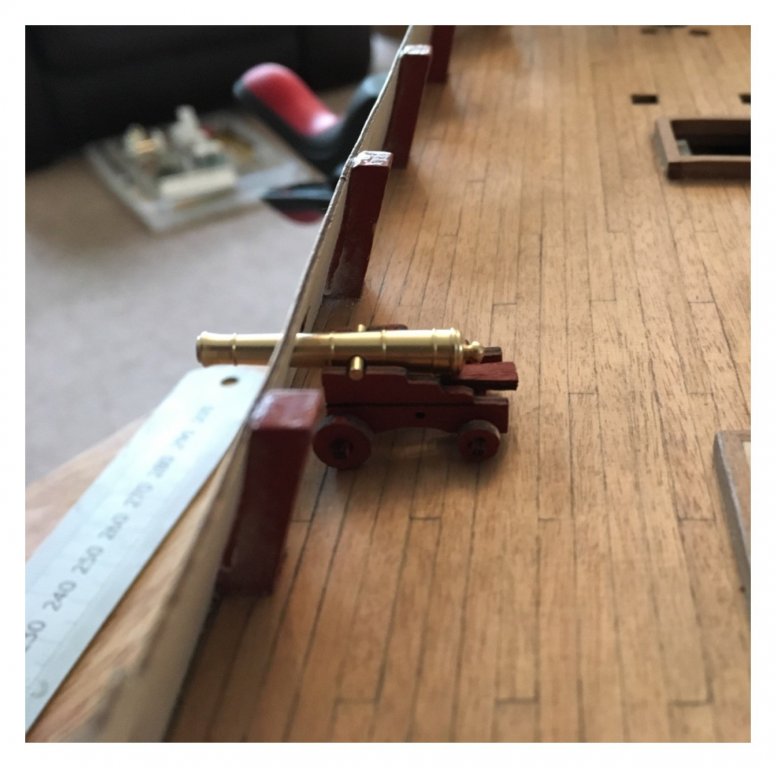
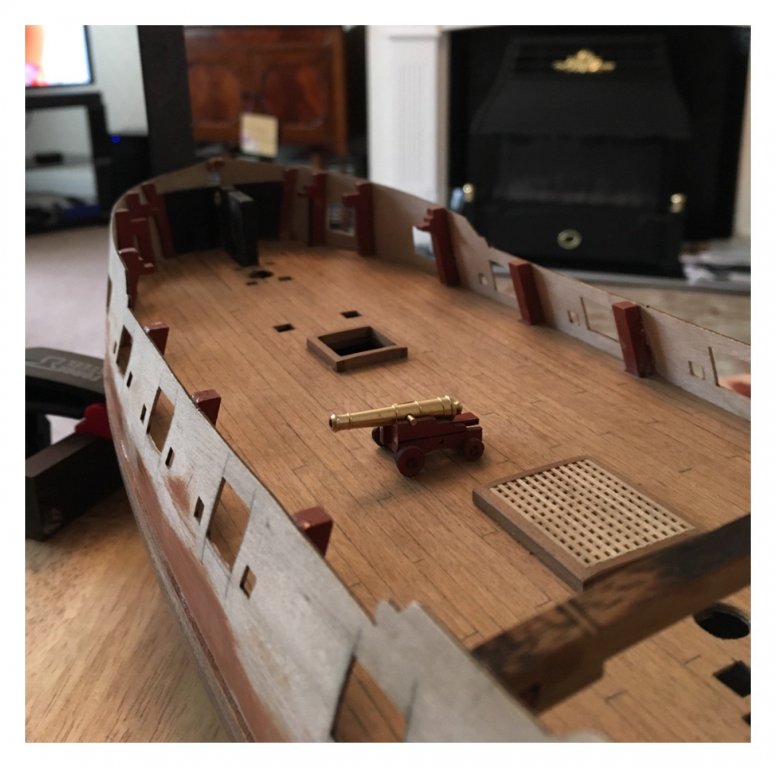
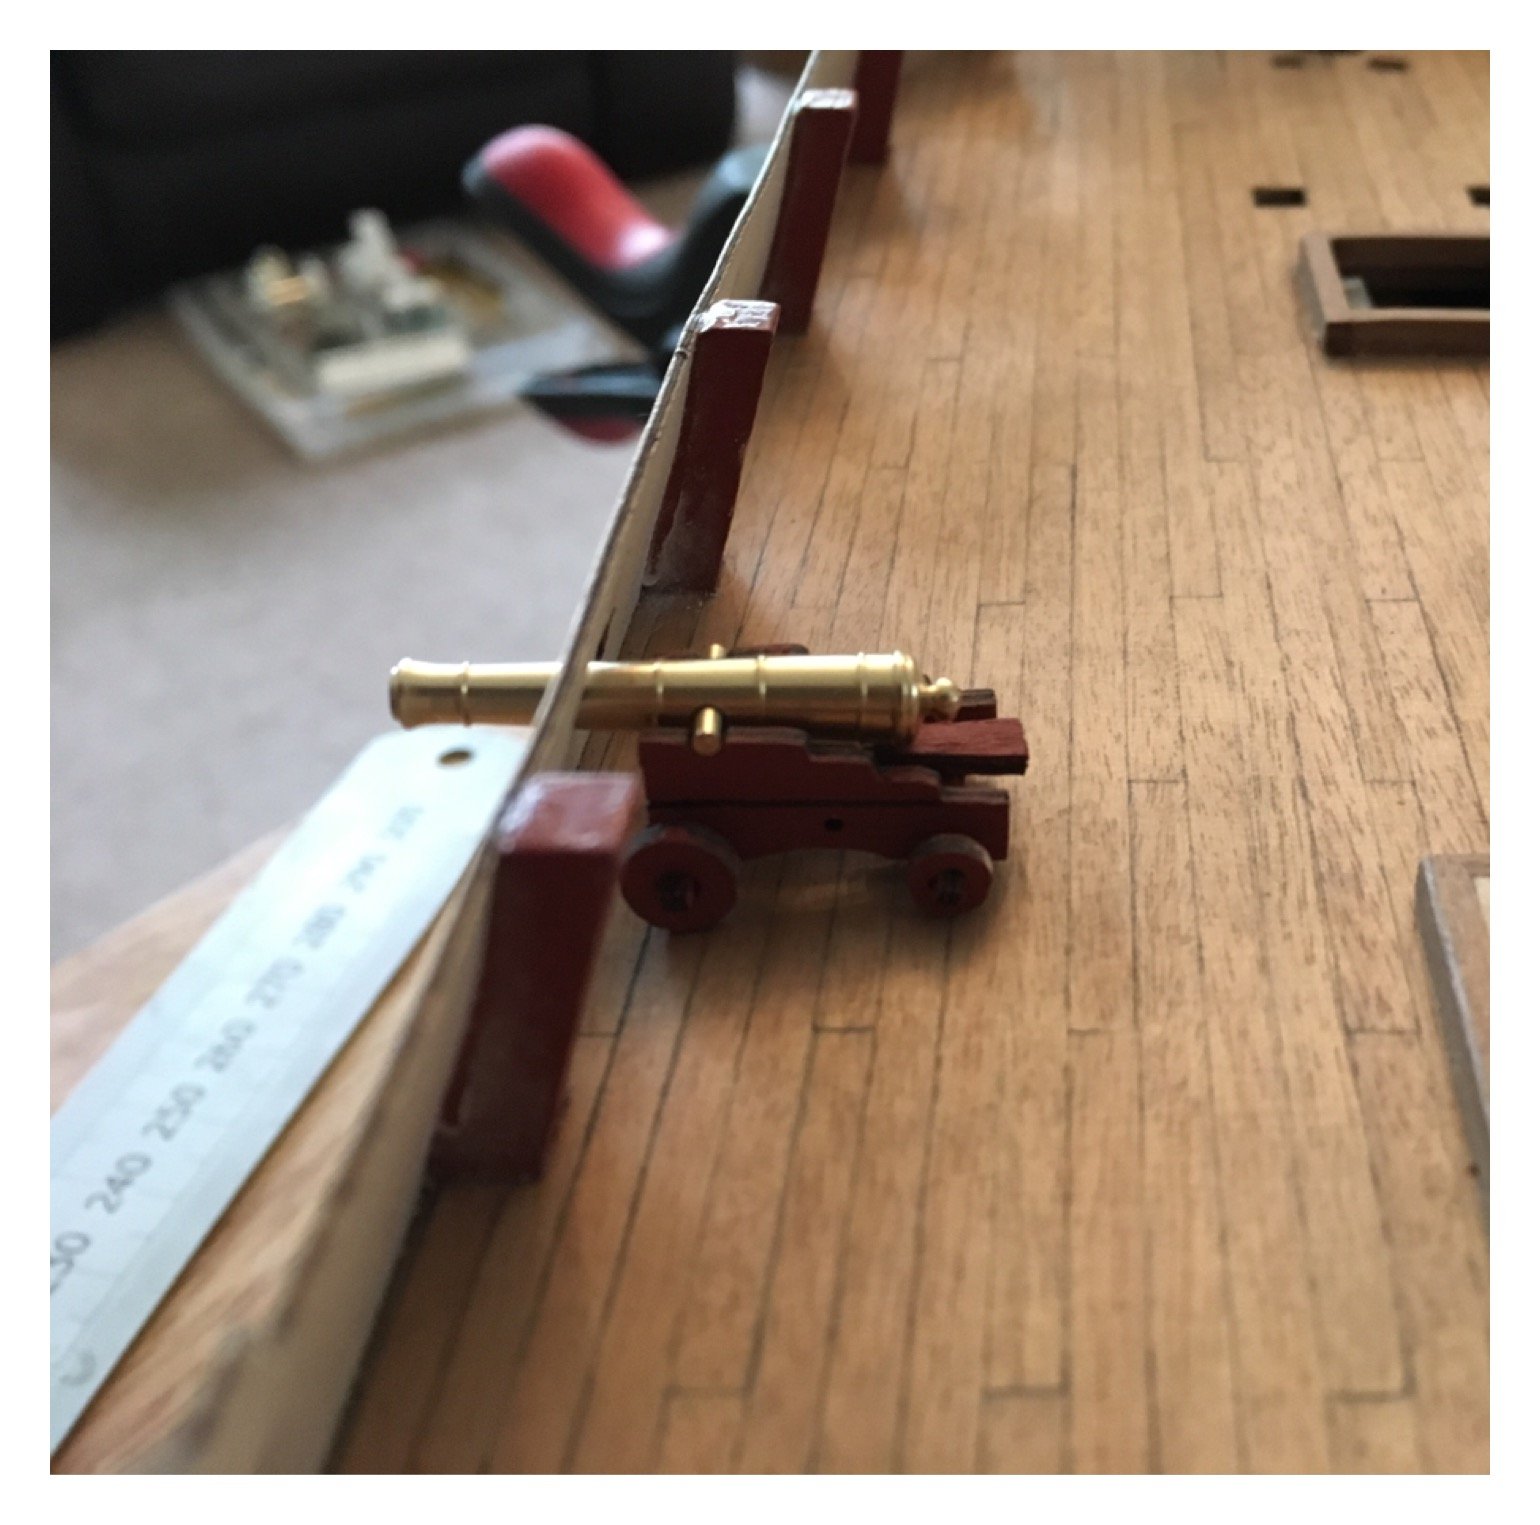
RB emailed cannon enroute😎
-
-
-
-
This is the RB 29mm cannon on the kit carriage, I think it looks OK, would appreciate any thoughts/advice.

-
-
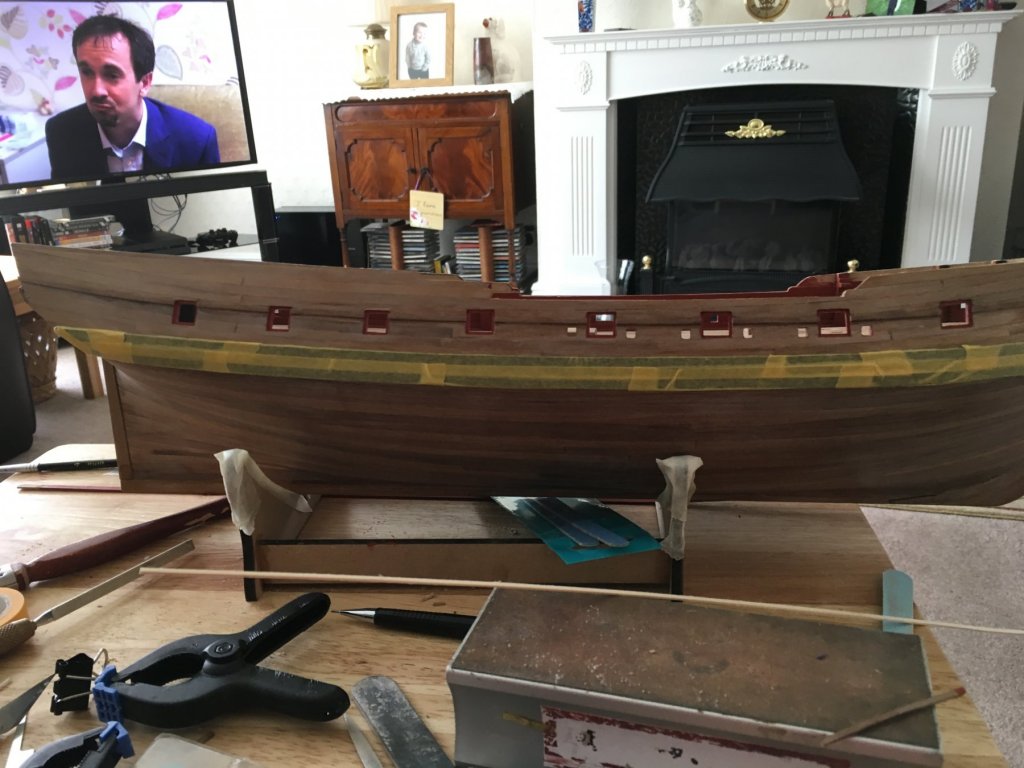
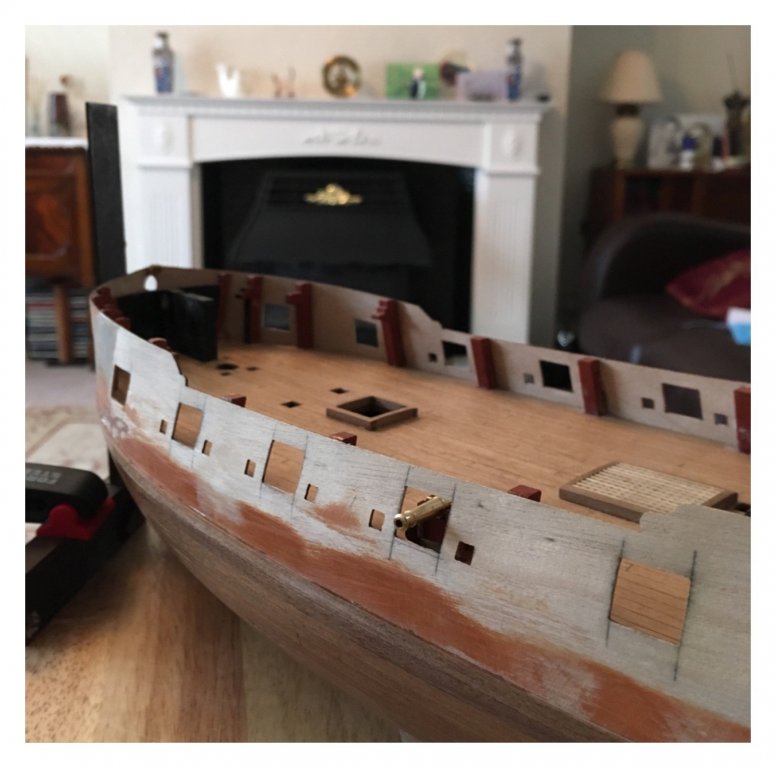
Second planking so far with a bit of sanding. Tried to keep same tones above the waterline.

- zoly99sask, Martin W, Dfell and 1 other
-
4
-


HMS Sphinx 1775 by James H - FINISHED - Vanguard Models - 1:64
in - Kit build logs for subjects built from 1751 - 1800
Posted
Waiting for the release!