


Wintergreen
-
Posts
1,002 -
Joined
-
Last visited
Content Type
Profiles
Forums
Gallery
Events
Everything posted by Wintergreen
-
Nice progress bolin! Funny that, that it isn't until you post your photos you realize how much more there is to sand/scrape 😄
- 118 replies
-
- 2
-

-
- billing boats
- meta 484
- (and 1 more)
-
I enjoy following along I must say. The close up photos are a pain in almost every case. But for your build one must remember that the scale is 1:100, which by any standard is small. Therefore, as you say, you will get away with the imperfections. The clamps in the second photo really shows how small you Wasa is. About sourcing stuff. I think you still can get anything you need, albeit not from the local crafts store (that closed some years ago due to failing customer visits...) but from the internet. The problem with sourcing from www is that you don't really know what quality it is until you receive the parcel and open it. Well, unless you buy tools from known vendors off course. They usually can't sell inferior things since it would harm their brand. Edit: About currently available kits of the Royal Ship Vasa. (they changed from W to V some years ago). Billings offer a 1:75 kit. This was my choice back in the day. Billings is on the less expensive end of the scale. My kit had plastic blocks and deadeyes, but I think they now offer wooden ones instead. All ornamentation is still plastic, which really is the only reasonable option. It appears that Mantua/Sergal offers a 1:60 more costly one with metal ornamentation. I found quite a lot of images of the kit online. Corel also offers a kit, at the same scale as Bilings, 1:75. In cost it is between the other two. But still brass/metal ornamentation and wood fittings. My perception is that Billings is closest to the original ship. But the other two looks like good choices also. Hopefully, there will be others that can say yay or nay about what to go for. Anyway, onwards and upwards!
-
If I'm not mistaken Bolin replaced the kit supplied planks with beech instead. Billings kits usually contains full length planks of inferior wood. Looks good Bolin. I also see you have used a four-shift for butt ends. Nice!
- 118 replies
-
- 2
-
-
- billing boats
- meta 484
- (and 1 more)
-
Keith, yes I have a jewellers saw actually. Just need to see what blades I've got. Good point, thank you.
-
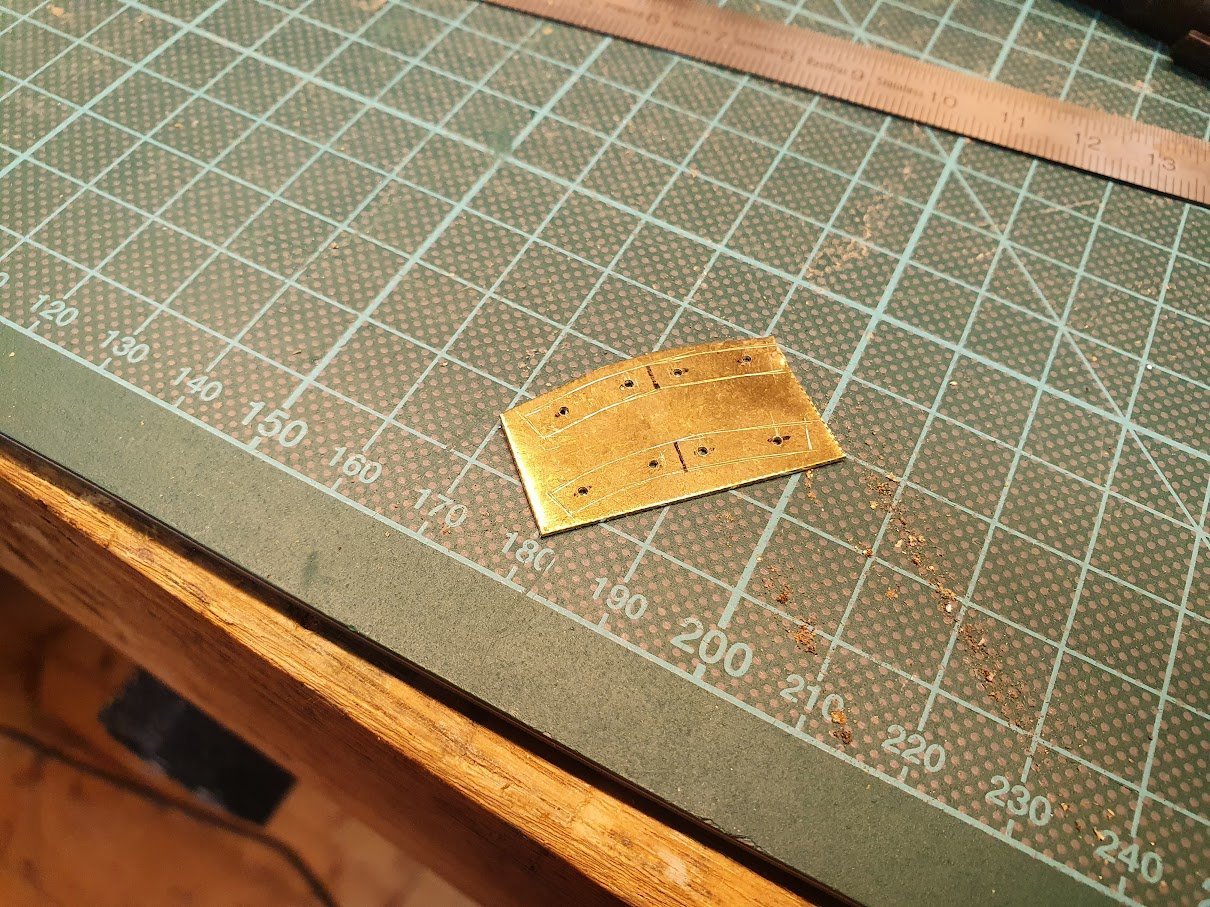
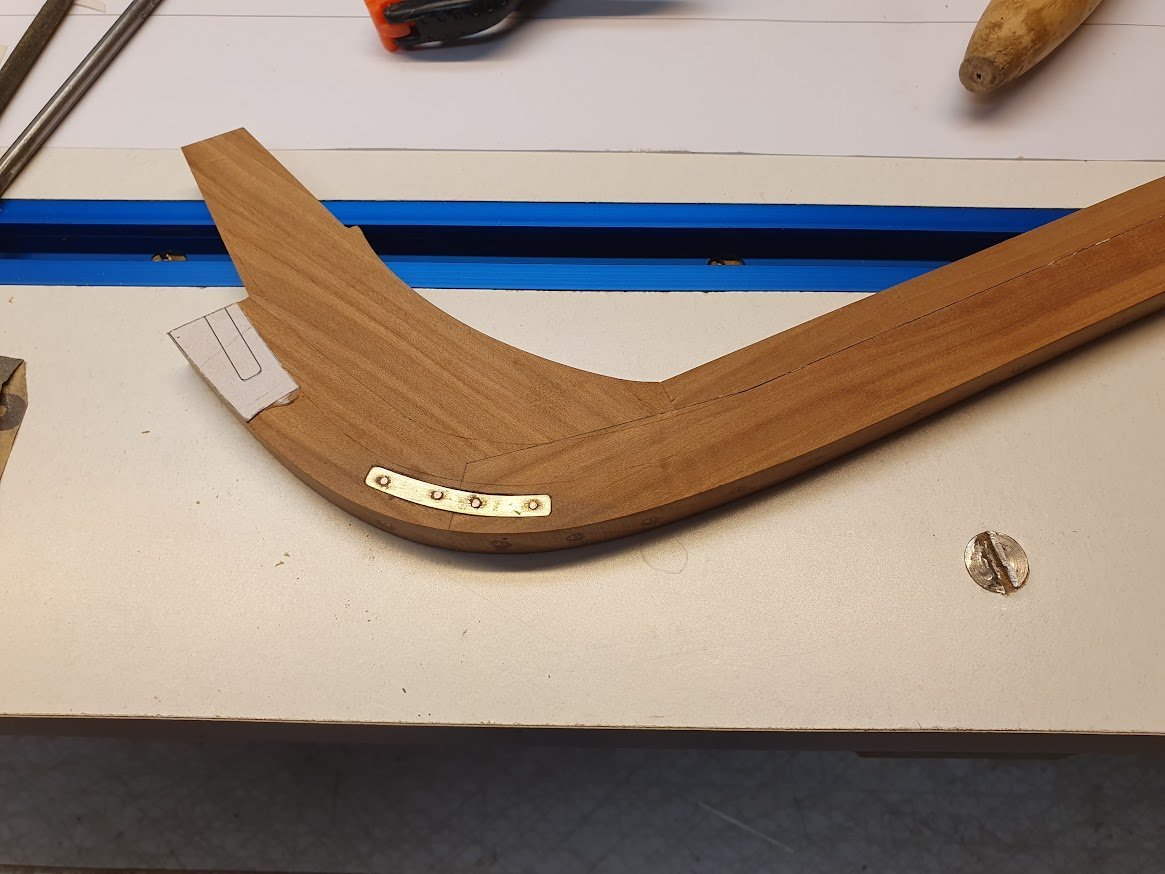
Plodding along slowly. But better slowly than not at all. Working on the stem build and details. Horse shoe on old ships, here a simpler form. Still, it takes some tries to get them right. First, using the template as... template, cutting along the lines. Then, no matter how big your bench is, it gets crowded in no time at all. Here are the blanks for the plates. I cut the wide and filed down. Seems the most common approach, which also makes sense since the cutting with pliers distorts the pieces. After some careful and tedious scraping the brass plate fits. Nailed in place with CA glue and copper rivets. I plan on painting the hull according to the real vessel. Therefore I'm not too bothered about small imperfections or glue spots from CA. Thanks for likes and shown interest in my build 🙂
-
Hi Rob, I built this kit a long time ago. About painting all the plastic parts. Back then I used Humbrol enamel but if I were to do it today I'd go for the type of paint used by those Warhammer dudes or their alike. Water soluble and sticks equally good I think. And the hull and deck color? It was built of oak, that is as far as I know. White lead seems plausible for the bottom. But the topsides and deck I have no idea. Go for some weathering I'd say. Maybe no 3 in your picture above.
-
Thanks for the update Johnny! You are brave man cutting in to you model like that. But I'm sure it will look splendid when done. I have also pondered over the display option of models, No masts, lower masts like you plan or fully rigged. There are pleasing pros for every choice. I'm glad those decisions a fair time off in my case. Keep it up!
-
Just found this log of yours. Nice build and I look forward to you alterations. Yes, Billings used (use?) to supply abachi and mahogany strips for planking and details. Same with my Wasa from mid 1980 and Regina that I bought 1989. Vaddoc also planks his launch with Beech, but you probably have seen that? Keep it up!
- 118 replies
-
- 1
-
-
- billing boats
- meta 484
- (and 1 more)
-
As we have waited! Just kidding, great to see an update on your lovely build. 🙂 About the stowage rigging, at least you have physical evidence. It would have been much harder to figure out if you only had some scribbled down notes from a decade ago... Keep it up!
-
Nice joinery silverman. Looks good even the picture blown up. Keep it up!
-
Hi, your renovation triggered my curiosity. I have the next issue of Wasa standing in our living room. Started it when I was 15 or 16 and it took 4 years to complete during junior high (gymnasium in Sweden). I managed to not do a pigs ear out of it, but close. Recently a thought has been growing in my mind and that is to strip it down to bare hull and start over. The rigging is slack and back then it was plastic blocks and dead eyes. It is out of scale and then there is the issue with colouring. It was thought to be blue and gold. Later it turned out that in fact it was much more colourful. I hope you take up on your restoration Johnny.
-
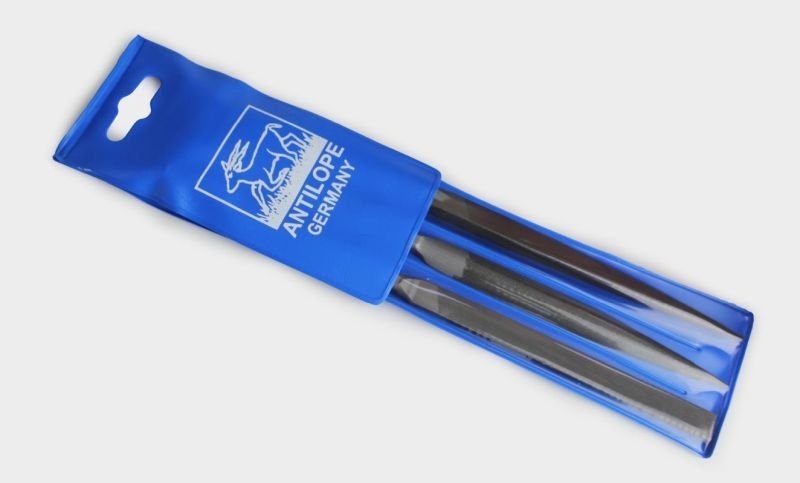
@wefalck thanks anyway for your insight. And yes, I bought them from a web shop aimed at jewelry. Did buy some pliers from them as well. I thought -that since the targets are semi-professional or professional jewelers stuff they sell can't be that bad. And this far I'm not disappointed. This set of three set me back some 50€, so not cheap, nor crazy expensive. Will come back with an evaluation later.
-
Hehe, thank you. It is sharp and true and don't move... cast iron everything makes it heavy. When we bought the house the old lady left the workshop after her late husband intact. I had to pay a small "fee" apart from the estate to get it. We can say I got lucky 😁 Speaking of tools... maybe you can tell me how these files compares to Vallorbe. I take it that Vallorbe is on the high side of the spectrum of files, right? I got them yesterday and haven't had time to test them out yet. They look great though.
-
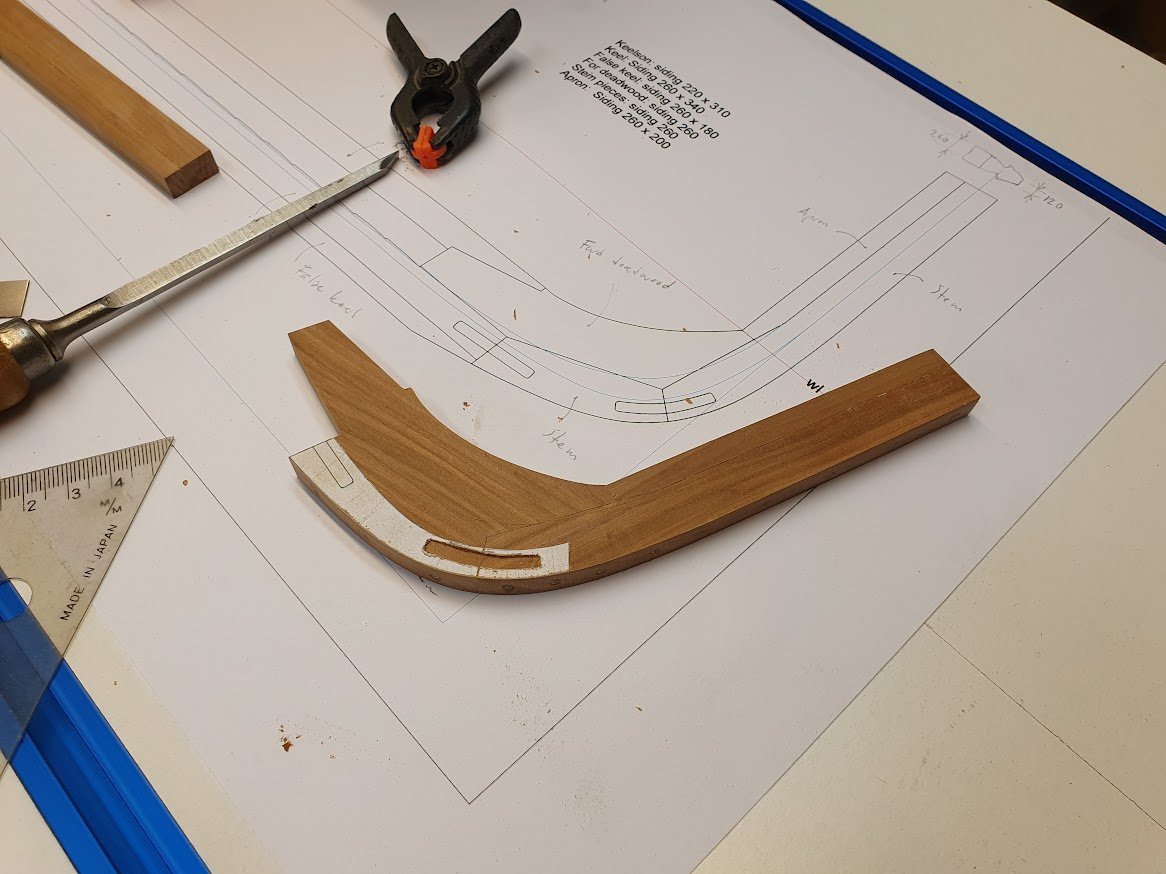
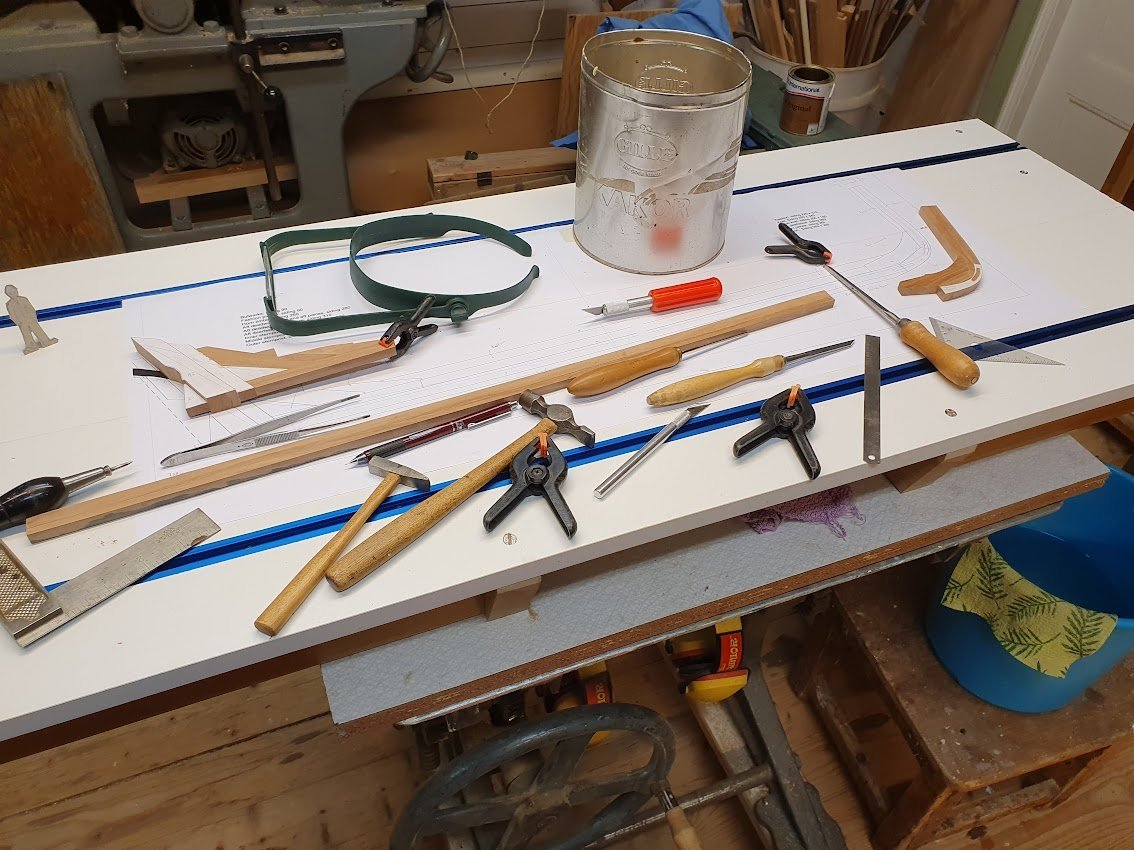
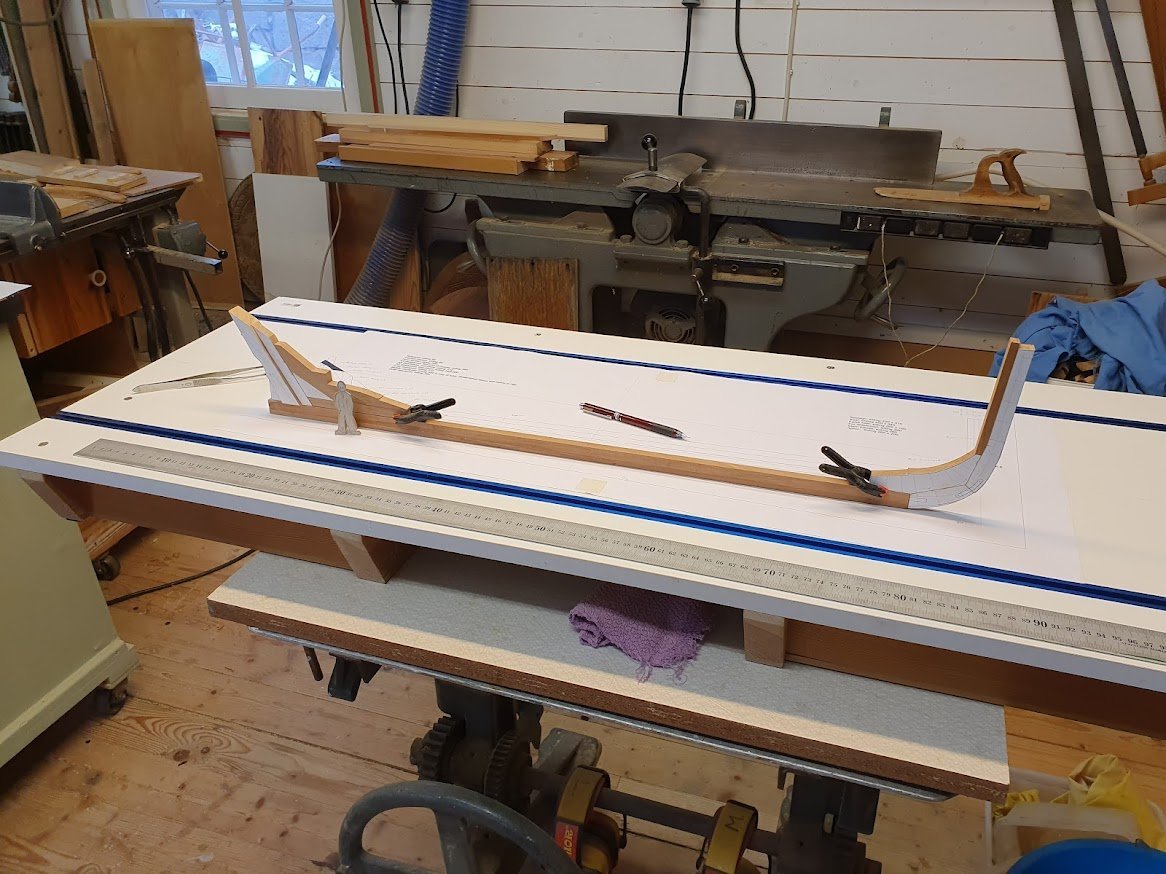
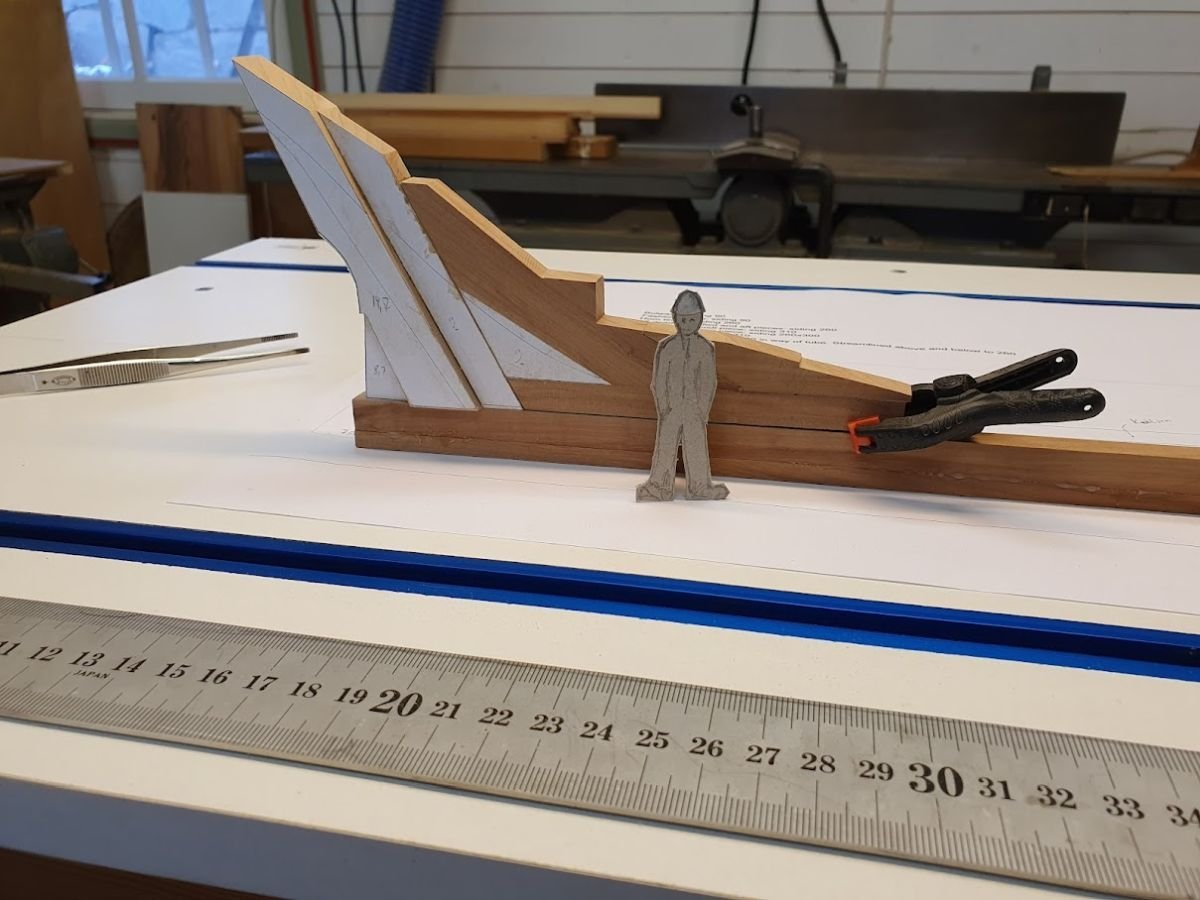
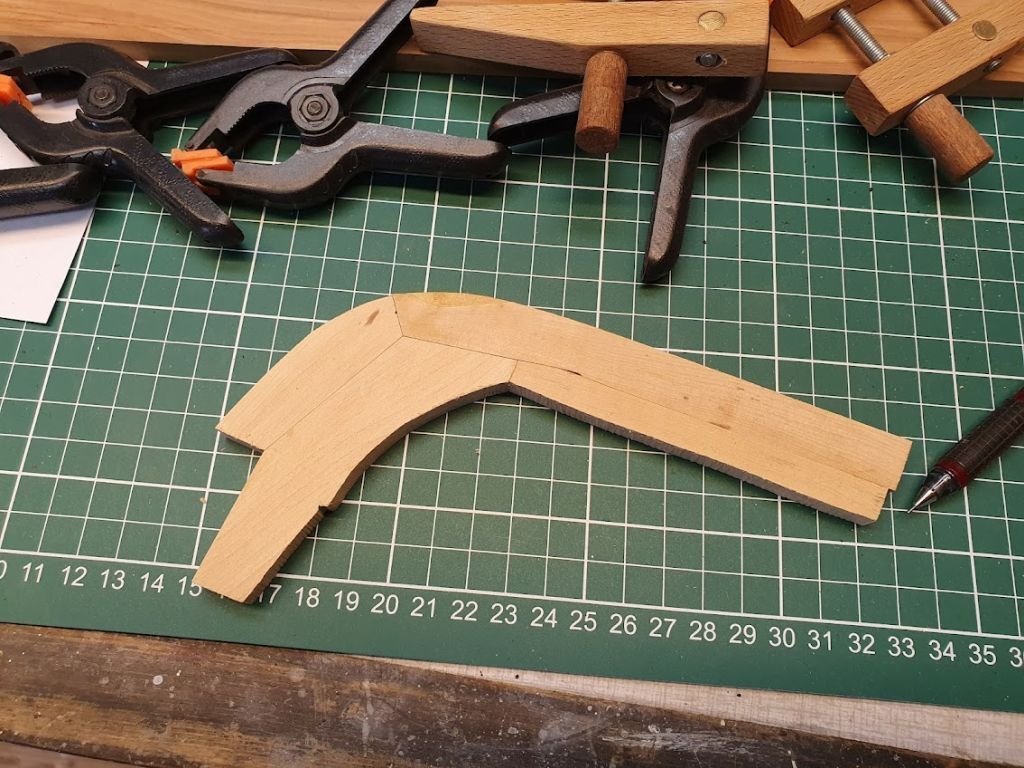
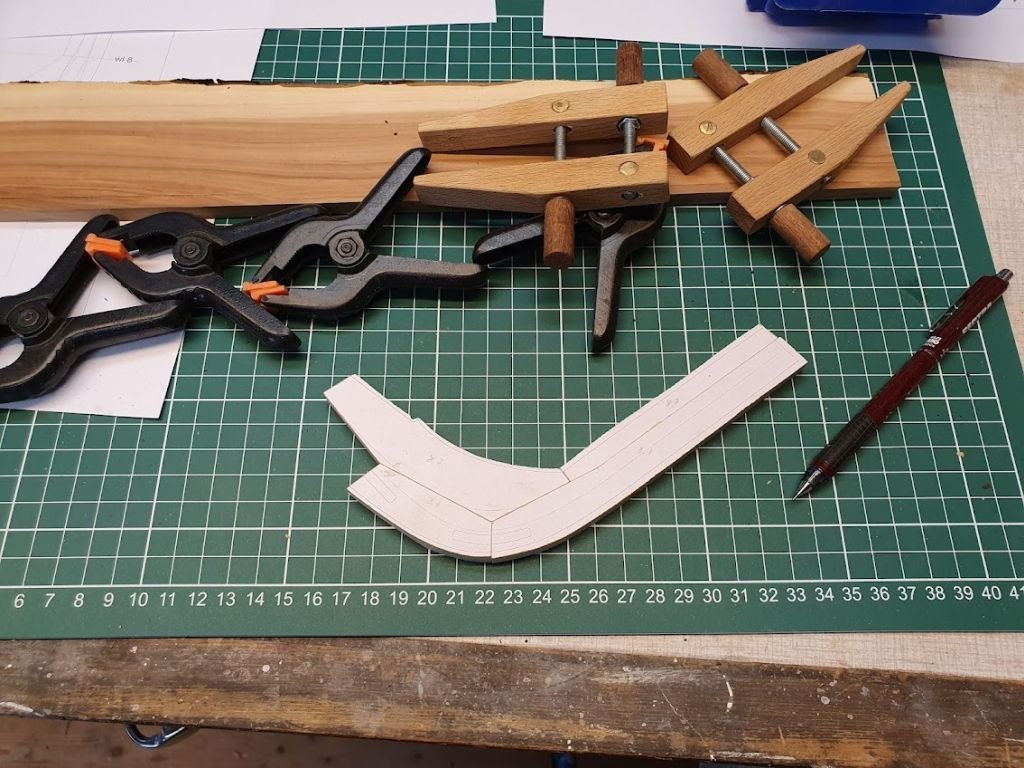
Thought I better post this update since the fatigue-thing is unpredictable... A bigger bench was called for. Here you have it. Also added a scale yard worker (hm... hands deep in pockets, not much work going on there I can tell) and a one meter rule for reference. John, just a tad bigger than your usual scale of 1:96 😄 Next I will focus on the stem. Define the bearding and rabbet lines in the wood and taper the forward piece. After that I can attach the keel to the stem and focus on the stern structure for a while before it also gets attached to the keel.
-
@Gahm, the wood source is extremely local. I have four or five (edit: actually 9...) planks of birch that came with the house when we bought it. And the apple is from two trees that I took down in the garden 10 years ago. 😉 I would love to get my hands on some pear also. Will see if I know someone that knows someone.
-
Indeed John. But then I've already prepared for that. Go back to the end of my other build log and you'll see 😉 LOA 870 mm, and length between perpendiculars 750 mm. Yes @KeithAug, a lot of manageable detailing to come.
-
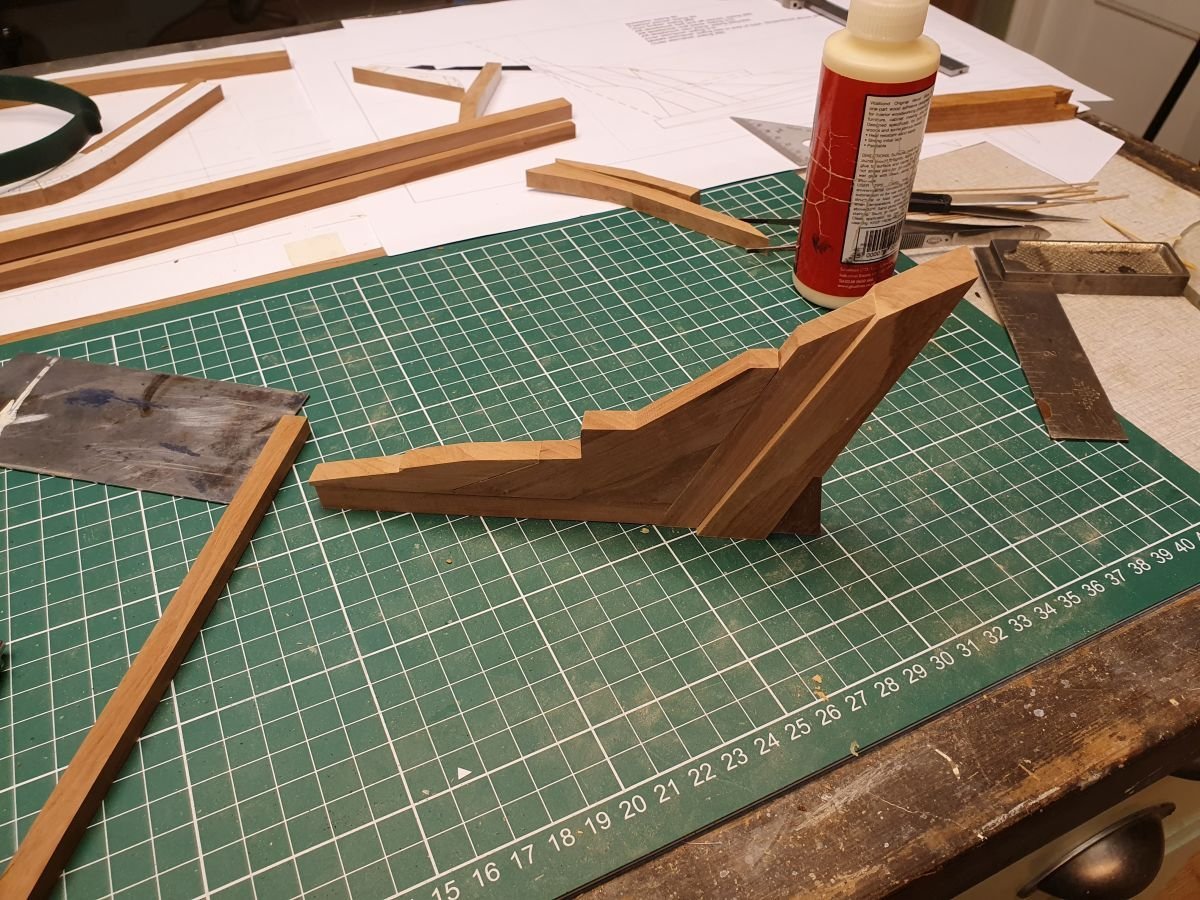
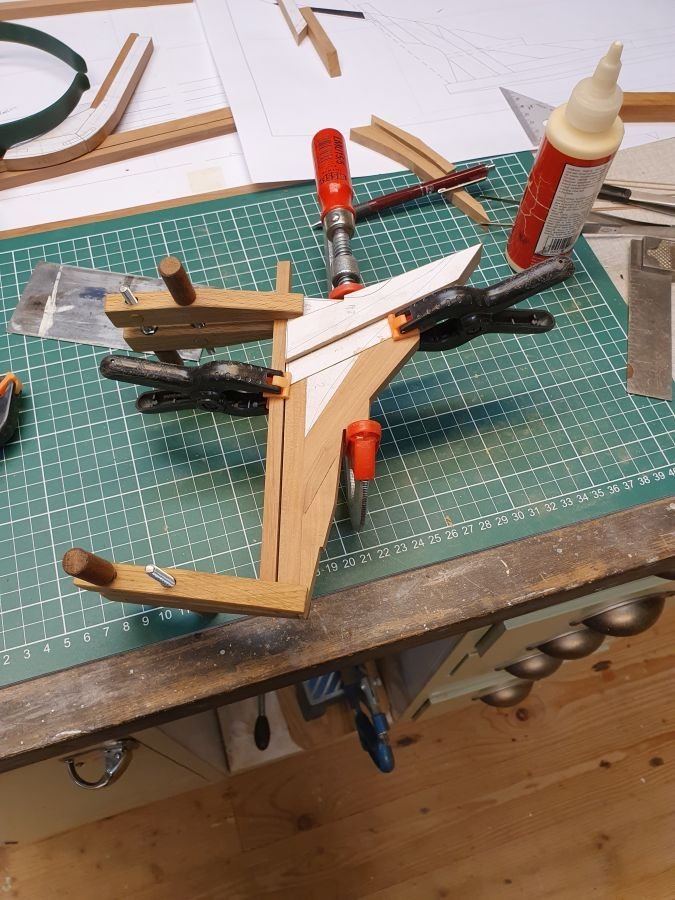
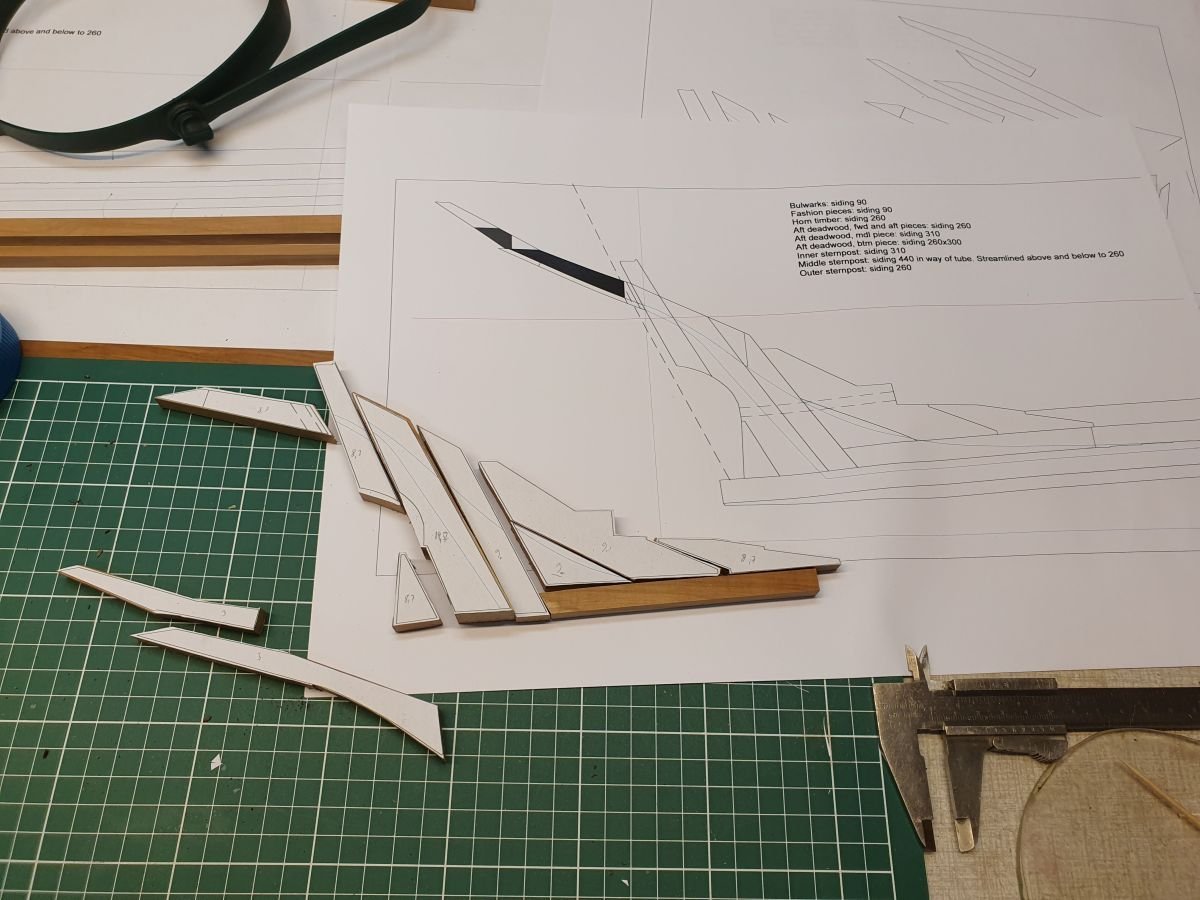
Hi all and thanks for likes and comments. As I said, the stem is maid anew and then onto the stern part, aka deadwood. Being the first time it is somewhat of a challenge to get the pieces to mate square and true. I give myself some fraction of a mm of leeway since it is a learning by doing experience. The deadwood might look funny but the plan states clearly that the sternpost shall have a siding of 440 mm in way of prop tube to be faired down to 260 at keel and rabbet. This particular joint I glued three times before I got it right... Not too shabby, if I say so myself 🙂 Yes, this is about all my small clamps. Since the apple does not have straight grain the keel was a bit wavy. Gluing together with the false keel I hope to straighten it out a bit. All the rest will of course also help in keeping the keel straight and true. I have a ruler between the keel and the level to have a straight edge and the level gives firm ground for clamping. Next up will be more pieces aft and the finally putting the three items together. Cheers!

-
Exactly. Thanks for the excellent close up photo. Something to strive for in future builds that I'll do.
-
that explains a lot having seen your work on Speedwell Greg 😉 @archjofo about the ratlines. I guess that the eye splice is seized to the stay shroud even up there, right? Looks terrific!
-
Hi Silverman, just found your log. It was "cog" that caught my attention since I just finished my build of a "cog" or rather kåg. Actually from your neck of the woods 😉 You're doing a great job give that you appear to only use hand tools. Making the frames is not an easy task and yours look pretty much spot on. Keep it up!
-
That is a seriously long bowsprit! 😮 Looking good GL. 🙂
- 153 replies
-
- 3
-
-
- Ancre
- Bruno Orsel
- (and 2 more)
-
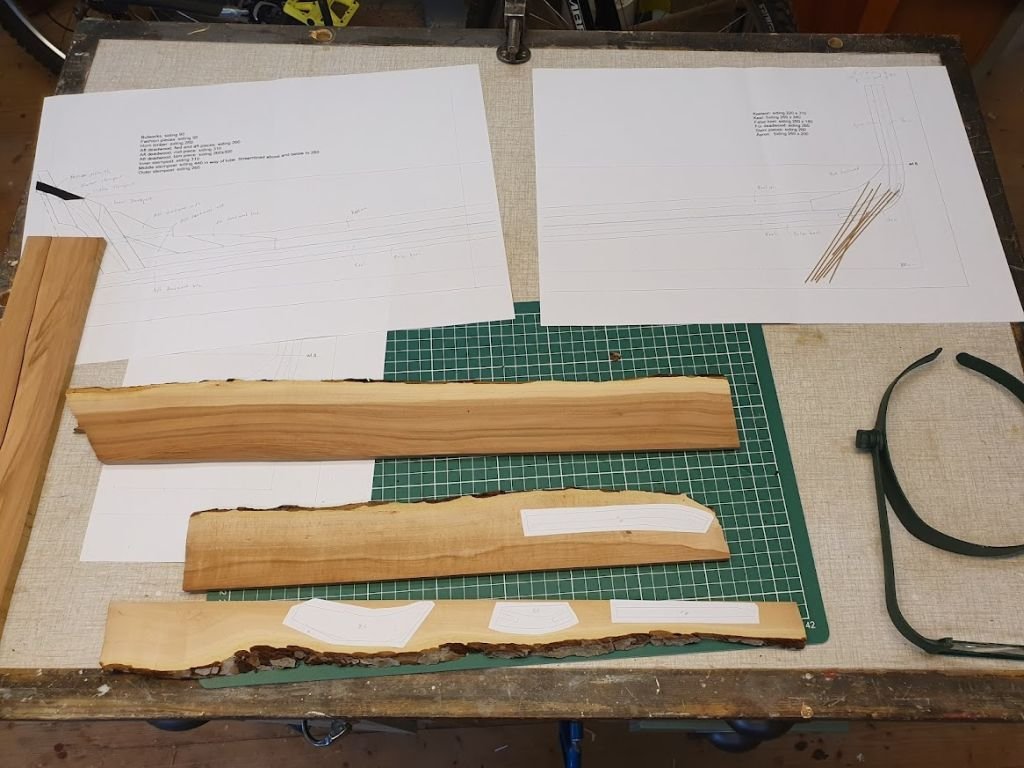
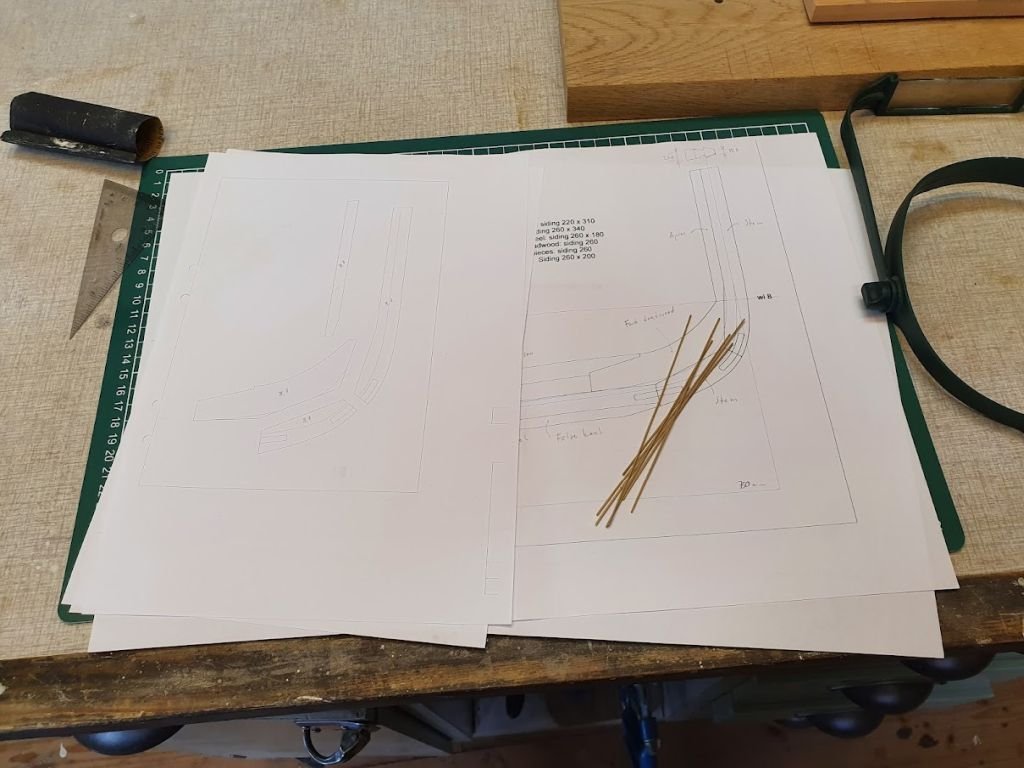
Alas, sawdust! Same scale, a lot bigger... as per usual I have started with the stem pieces. By no means perfect and also managed to incorporate some sapwood in the lower part of stem. I will redo the stem buildup another day. Today I was more interested in what kind of challenges I have with tooling. Square faces and all that. Anyway, it didn't come out half-bad. Also, being constantly tired, long days in the shop is not feasible sadly enough. But why start building, the drawings aren't finished, are they? No, they're not. But I had some challenges in "seeing" the stern part since the center-line has different widths (sidings) around the rudder and propshaft. Therefore I though it better to start putting the center-line together and move on with drafting after that. The wood is apple, if anyone wonder. Harvested some 10 years ago...
-
Well, yes, in most cases. However in your case I can't really see any flaws or even dust speckles. Nice evidence room. 🙂 Very stylish in all glass. Think I will take that idea and implement in the future. Keep it up!
-
Very nice work Matiz! These fully framed models are such an accomplishment to build. Hats off! I have a question out of curiosity - the scale. The monographs from SeaWatch are given in 1:48 but you appear to build in 1:56? Which is slightly smaller of course. I am just curious. Keep it up!