
HOLIDAY DONATION DRIVE - SUPPORT MSW - DO YOUR PART TO KEEP THIS GREAT FORUM GOING! (Only 13 donations so far - C'mon guys!)
×


popeye the sailor
-
Posts
16,007 -
Joined
-
Last visited
Content Type
Profiles
Forums
Gallery
Events
Everything posted by popeye the sailor
-
 not so much that the bulwarks will go out of alignment Phil, but it weakens then considerably. the planks have been bent to shape and will keep the shape now that they've been cemented together. I don't know how many times I had to repair the Sergal Thermopylae I'm building........I swore I'd never do it again. if all the posts were not similar and equal.........it would be the only reason it's your model Jo.......paint as you would like. I also noted that they went with a painted deck, rather than a wood grain deck. that's your decision as well.....I think it looks good the way you have it any aspect about the model is your domain........keep in mind though not to stray from the subject concept and not to modify the fittings too much. the two things to keep in mind is functionality and probability when adding realism. think of the period in which this vessel was common. you model shows your effort........I applaud that👍
 -
no need to apologize Steve.........originally, my name was spelt that way......long story why I changed it { kinda cute and humorous considering the age I was when I did it }. you could also spell it in the French Manner and get a laugh.......Denise ....pronounced >Denie'< again....you did a great job on the awning........even the joints of the framework have the appearance have you considered trying seal-able plastic bags? using the jars, you'd be limited to large open areas to put them in. with bags, you can put them anywhere and they would conform to the shape of the cavity......you can go further towards the bow...and back towards the stern. I don't think listing would be too much of a concern either, since the bags would lay in place and not shift. even if you still decide on using the jars, consider using bags to fill in where the jars do not
- 446 replies
-
- 2
-

-
- zebulon b vance
- deans marine
- (and 3 more)
-
thanks gents.......and thanks to those who hit the like button while I am glad that the model is beginning to look like something, paint tasks like the deck is kind of a weak point for me. I do most of my painting off the model, and put it in place later....but molded detail like this........well ..... I'll get it cleaned up eventually. today I experimented with other PE parts to see if I could use them........some yes........some no. I'll see what else I can use. I'm actually chomping at the bit to add the railings 'round the hull. I fear though that I may not have enough.........if that happens, I guess I'll need to get more. thanks again for the kind word.......I'm glad you folks like what your seeing
-
questions for Artesania Marie-Jeanne Fishing Boat
popeye the sailor replied to legend's topic in Wood ship model kits
I have the kit as well.....I've looked at the instructions, but that was a while ago. double planking is up the the modeler really.......I've only build static models, but if I can get the hull planked good with one layer, then I'm good with it. there's no question that the hull would be stronger, since it means a thicker skin........and water tight, since you'd be overlapping the underlying plank seams. but by sealing the inner hull, you'd be accomplishing the same goal, and using less wood in the process. you could even go with thicker planking...ie, 2 mm. I think that any model can be built remote control if you want........it depends on how much modifying you want to do. the hardware can serve as some of the ballast......set up mid ship.......the rest can be lead weight or small rocks.. I may be just skipp'in rocks, but it would be good to start a build log if you intend on doing something tripped out like this. it could even be fun -
your welcome.......before you paint the inner bulwarks, be sure that they are smooth. you did a great job planking the deck....another suggestion would be that in the future, measure the planking around the holds, so to limit the amount of trimming you'll need to do. for now, do be careful with the bulwarks....you don't want to crack them. I'm not sure about the instructions, but after you finish the deck, you can either cut a bunch of posts to put back in place, or run a strip along the top edge of the bulwarks. from what I've seen of the model, you should do both. this may also be your box art as well from what I see here, they ran a strip of 3/16 along the inner edge of the bulwarks, and then added post under it for added strength. the cap rails will have a good amount of surface to be cemented to. I'm only guessing about the 3/16........measure the width of your cap rails and go 1/32 under that.....that will produce a nice lip around the inside rails. don't doubt yourself........your doing a fine job! look ahead in your instructions, so you can anticipate the next step and prep for it. it will go much easier.......and when you run into a problem, you'll be better able to come up with a solution. don't fuss too much with the deck.......remember, it is a work boat....it can look a little grungy
-
I hope you have a plan for when you cement this on the model...........be very careful! looks really good I have the 1:350 Eduard PE set.......amazing how many similarities........seeing your set is larger than mine. I like the way the detail stands out.
-
what method is that? I'm sure there are many. handling seems to be my biggest problem.........get working, adding something else.....and then ....crunch! then there's the dreaded time limit on the number of time it can be fixed.........I've tossed a few bits already
-
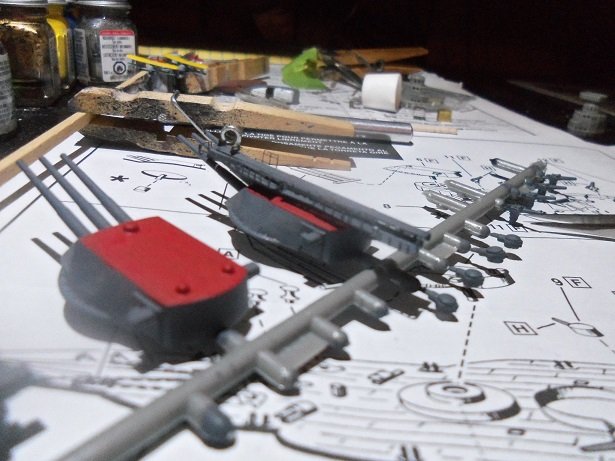
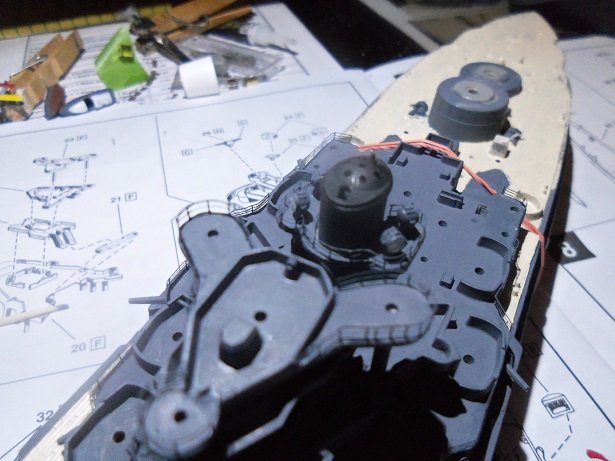
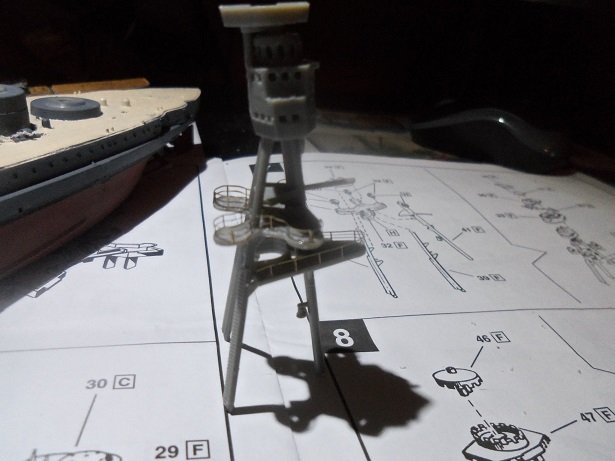
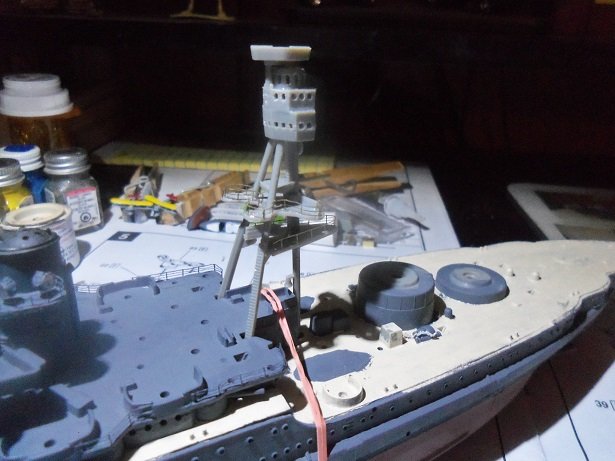
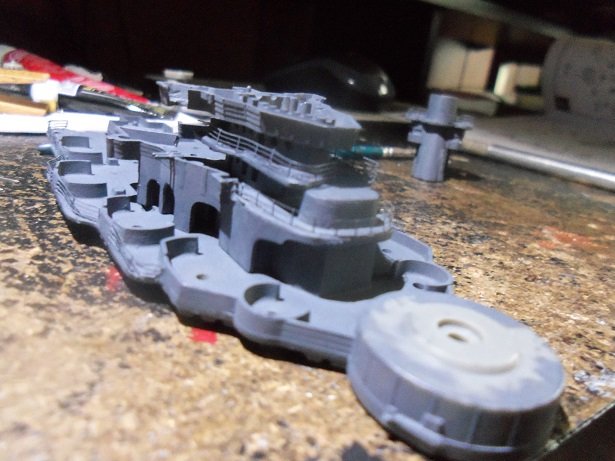
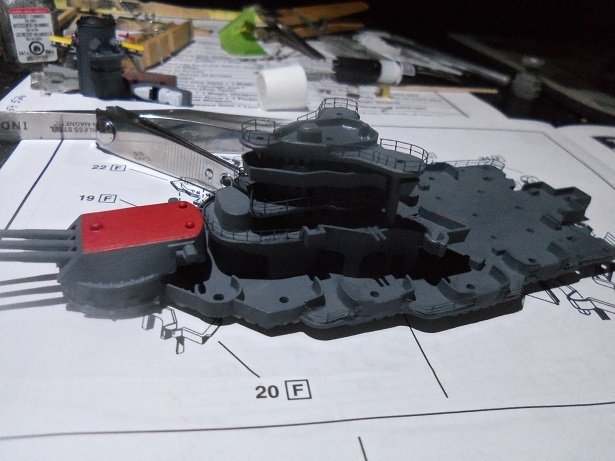
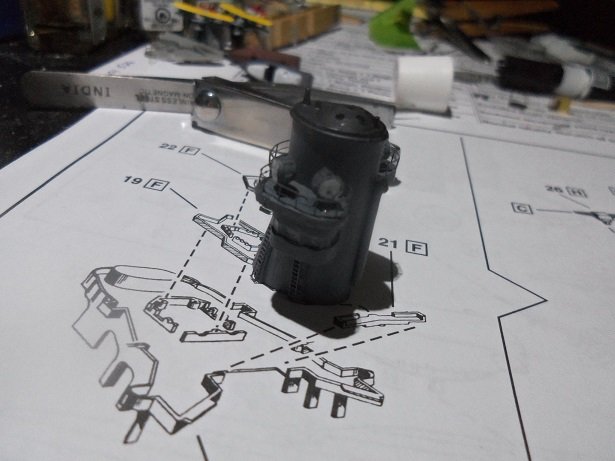
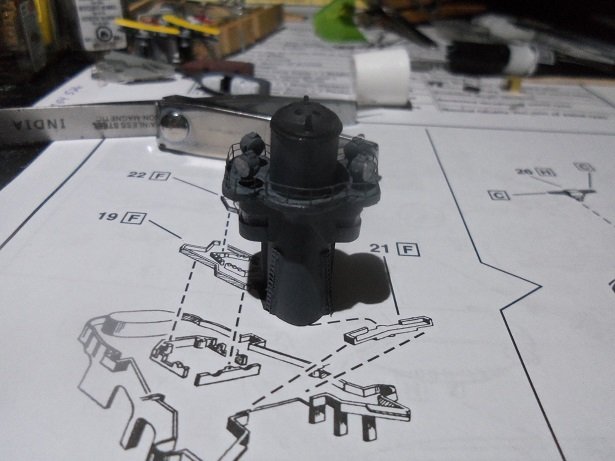
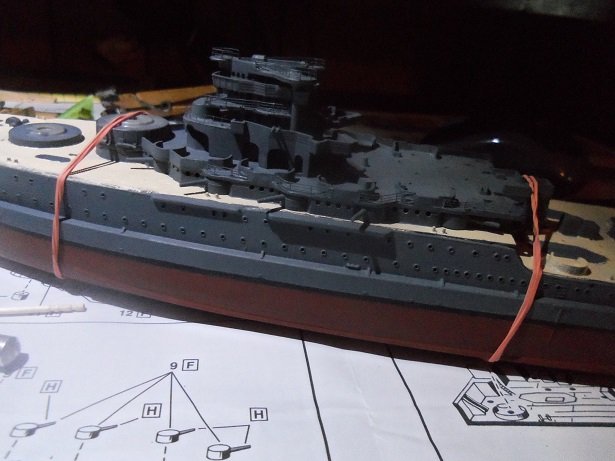
I then though to get the catapult on the #3 turret. handling that part was getting to be a problem too. I painted it and set it aside for when I got the guide part on the catapult first. I was relieved that the guns were elevated leaving enough of a gap, so not to interfere with it. next.......the funnel was cemented in place. at this time, the rubber bands were cut {why save then......I get new ones every time I order a sub } the main parts for the aft tripod mast was assembled. before it really had a chance to dry, it was fitted into place the same was done for the fore tripod mast there's still a bit more to do on them.........parts and paint. I finished the evening by doing some more painting on the deck hopefully, I can get it looking better than it does. I should have more later on........


- 259 replies
-
- 13
-
-
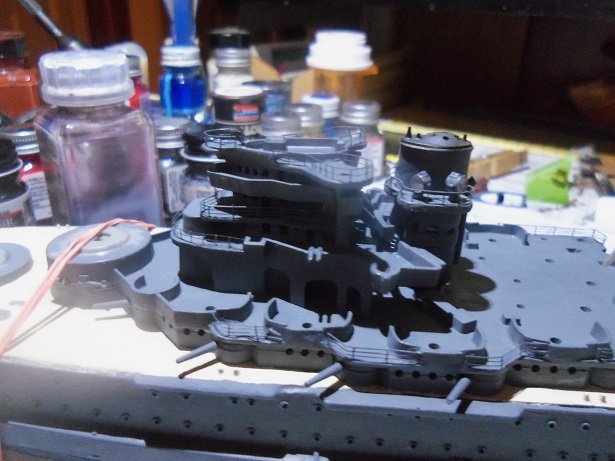
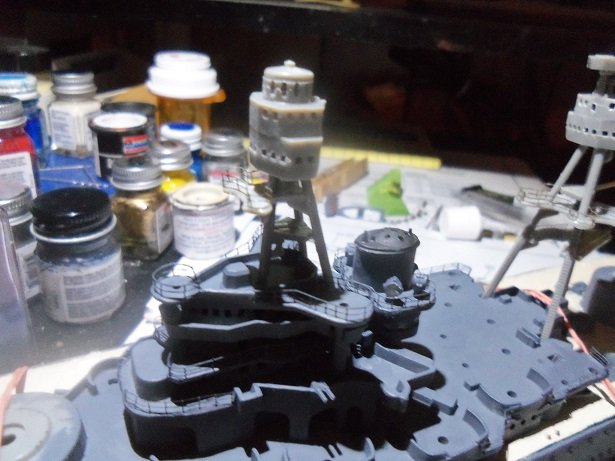
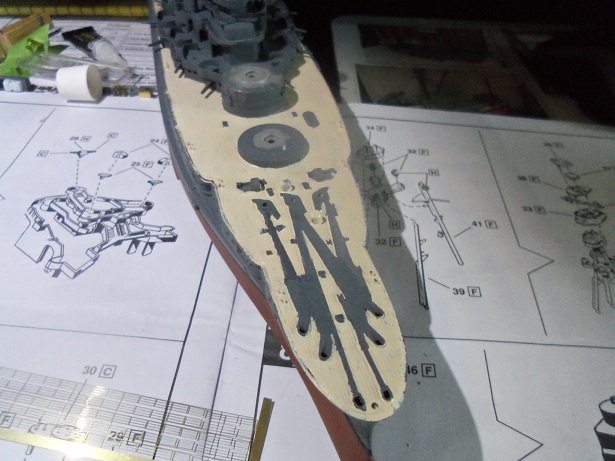
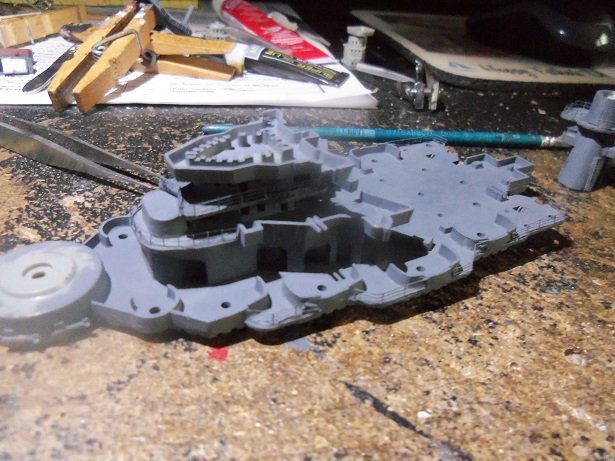
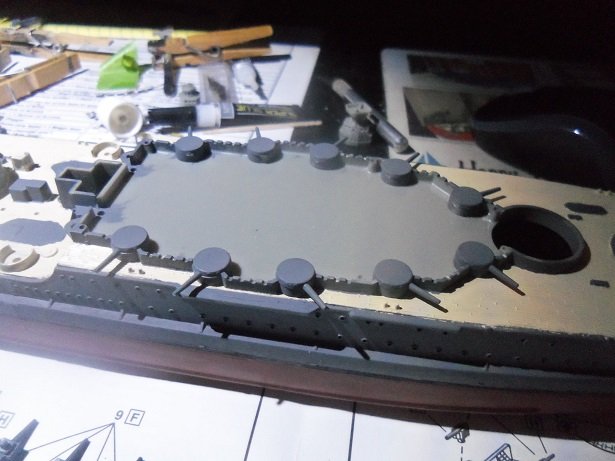
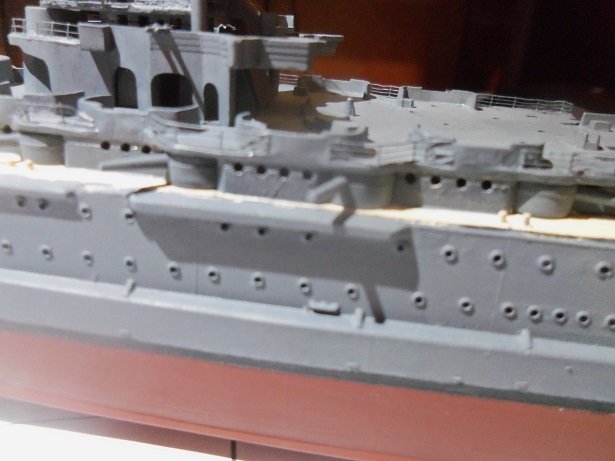
I can't believe it!........I got home from work Tuesday.....the usual hub-bub. have a few beers.......complain to the admiral........shower........eat supper, and then doze at the computer. I did get side tracked by Gibbs, who wanted to spend time in the living room. I guess I went in there and had a power nap.........cuz, when the admiral woke me to say that she was gonna turn off my computer, I sprung into action! I came out and got back on the computer.........but then I began to do some painting on the Arizona! it got more involved as the evening progressed........gee......soon I had enough for an update! first thing was to cement the top most level onto the super structure. I had already added the level below it, since I had done nothing as far as railing went. I'm trying to go by the molded detail. I noticed that the railing on this side was bent........it has been adjusted {I wish my camera would lie to me once in a while}. it's too bad.......the year that this model was produced. even though this is a newer release, it's from the same molds. there are so many molded detail bits that could have been separate, adding to the overall parts count in the kit. this is a good example as to why photo etch came into being. the top most level was added to the structure. more was added to the funnel at this time.......the top part and the search lights. {really starting to get annoyed with the lighting} fixing the railings from handling has been a trial until now. I'm tired of it..........the 5 inch guns were put into place on the deck. I touched up around this area to limit how much I'd have to go back and do later on. some of them didn't fit right......I found that there was some flash inside the cups. after scraping them out, they fit much better. I did not cement them in place, since they would be trapped by the second level deck. it will come in handy, should I need to move them when the railings go on. the deck is still a work in progress....it still urks me that there is no wood deck for this model. ........still trying to get clean lines around all the molded detail. the second level deck assembly was added to the model. the deck is bowed in the middle..........thanks to super glue, I was able to get it laid down without a gaping appearance. I didn't follow the paint suggestion for the guns either.......they want you to paint the gun barrels silver. sure........right after I paint the deck green I did have an idea to fill the portholes with window maker. I did a small section and didn't like it..........though of all the touching up I'd have to do. so, I scrubbed it. before I touched it it............
- 259 replies
-
- 10
-
-
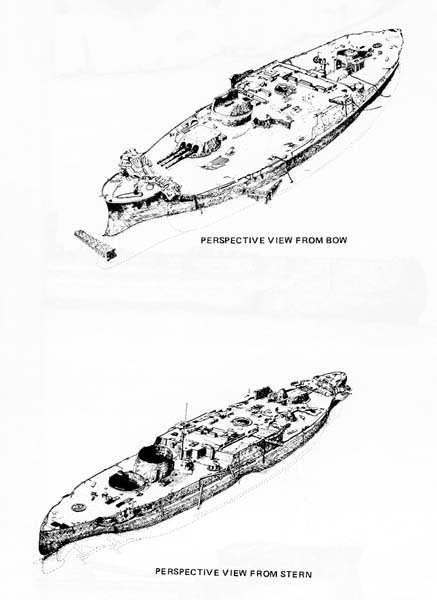
you can also see diagrams in the link I posted as well. if you need deck plans and such....look here: Researcher@Large - USS Arizona BB-39 Booklet of General Plans Drawings
-
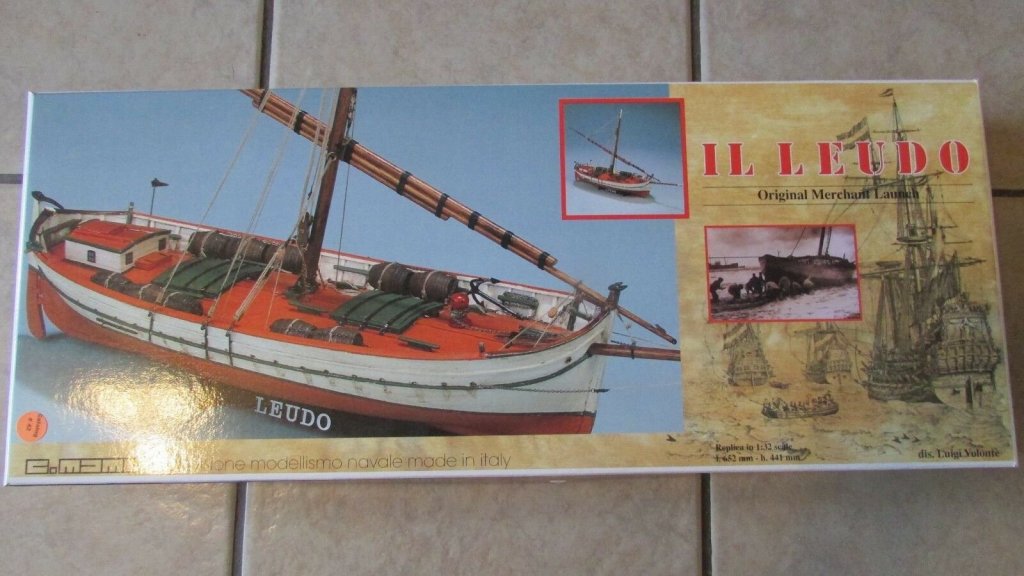
beautiful boat Frank........amazing quality in your hand made parts very well done! looking forward in seeing the Leonard.
-
the dredges look awesome Frank........took you on quite a ride there! you've built a splendid model......lots of really neat detail. look'in forward to your next project 👍
-
superb looking boat Nils! ..............you've come quite a ways since I last looked in
-
strange.......I've seen pictures that appears that turret #2 was removed. two of her turrets {the aft turrets} were removed and rebuilt on Mokapu pennsula and Kahe point, as pillbox batteries. the guns from turret #2 were removed, relined, and later installed on the U.S.S Nevada, to be used in the war against Japan. Battleship Photo Index BB-39 USS ARIZONA there'a quite a bit of info here. the blast to her bow affected both turrets and the superstructure.
-
thanks to everyone for the kind replies. we're going through the second day of the oppressive heat that the mid section of the country has endured..... .....working in it is not fun I refuse to complain though.......I'm not a winter person, and summers can be short. there is so much controversy about the paint scheme ........I still contend that fading, water reflection, and hue refraction from the paint may have played a factor. I guess the best thing to do is to stick with the naval colors of the period. a couple more days of work, and then I can get back to more painting. I can start to assemble the tripod masts........and once I'm finished with the deck stuff, I can begin to build upward thanks again for look'in in and the likes
-
there are kits out there that specify if they can be built as waterline models. some don't, but divide the bottom and upper hull at the waterline. I'll be look'in in as well Mike
-
looks great!........very well done!
-
it looks like you already have....a very fine artillery piece
-
tell her it looks really neat! jumping jacks?
- 446 replies
-
- 3
-
-
- zebulon b vance
- deans marine
- (and 3 more)
