


popeye the sailor
-
Posts
16,007 -
Joined
-
Last visited
Content Type
Profiles
Forums
Gallery
Events
Everything posted by popeye the sailor
-
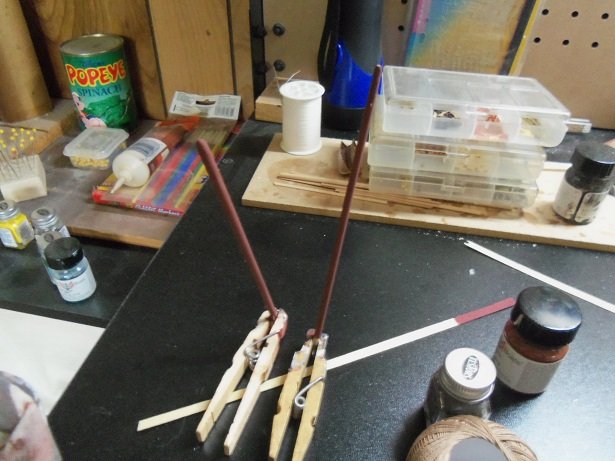
 still working on her..........I played with the PE doors. I tried to scrape off the molded doors without losing the other detail, but I nicked a couple of portholes in the process. had some trouble trimming off the sprue mark on the aft funnel's pipe in the rear. coated it with cement and let it dry over night......I'll trim it off today. I did the aft structure too......painted the bow and stern areas with gunship gray. I also noticed that I'll need to drill a hole aft of the fore structure, so I can fit the mast through to the main deck.
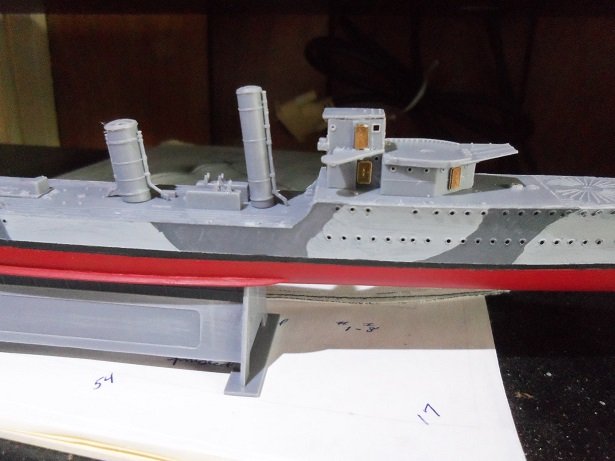
- 1,090 replies
-
- 10
-

-
- showcase models
- vendetta
- (and 2 more)
-
Stage Coach by Sjors - Artesania Latina - WOOD
popeye the sailor replied to Sjors's topic in Completed non-ship models
super job on the stage coach..........you'd never know that it fell on the floor -
I looked up the Hachette website........it's probably possible that anyone can order and start their own partwork project. from what I knew, they didn't ship to the US. odd that some of the back issues are out of stock.......do they refill as they deplete? I also noticed that the only model they show for ships is the pirates of the Caribbean, and a U-boat. I went here: https://hachettepartworks.com/
-
lik'in the way she's coming along.......kind of a rustic / antiqued look
-
I haven't had it happen to me much, but I do look out for it. I 'rinse' my hands off quite a bit.......the admiral likes it because I will sometimes offer to wash the dishes finger prints are my biggest issue, I'm better able to keep them under control this way. I just got done decanting a 1 3/4 oz bottle of the rust red primer.......now I gotta let it de-gas and warm up. I could have used it for the bottom paint....with the gray plastic, it would have toned down a lot more than the red paint did. it's done....no going back
- 1,090 replies
-
- 7
-
-
- showcase models
- vendetta
- (and 2 more)
-
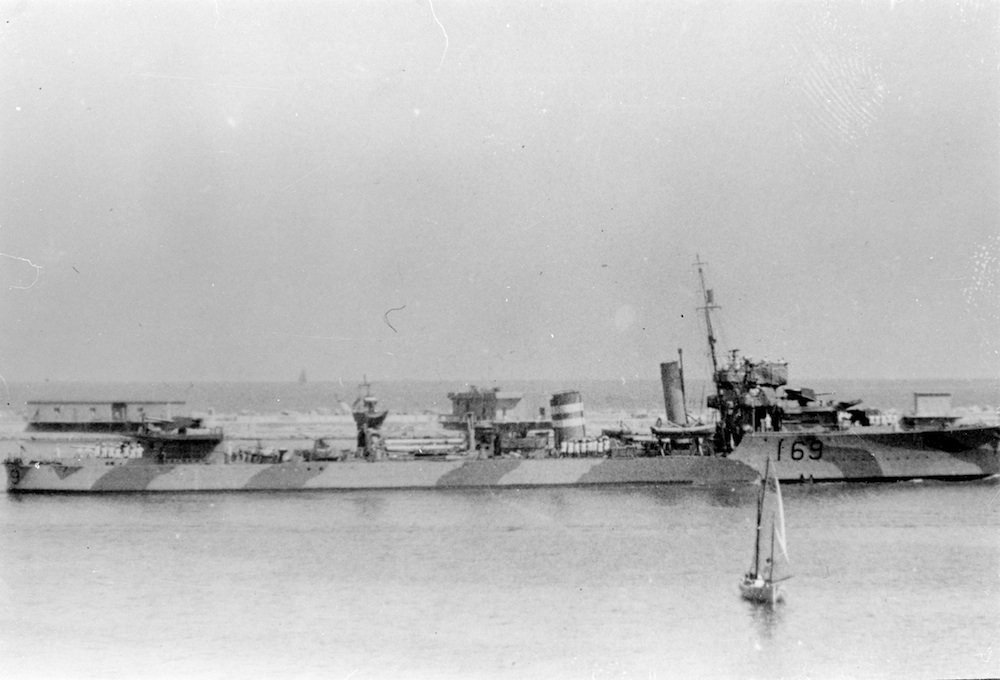
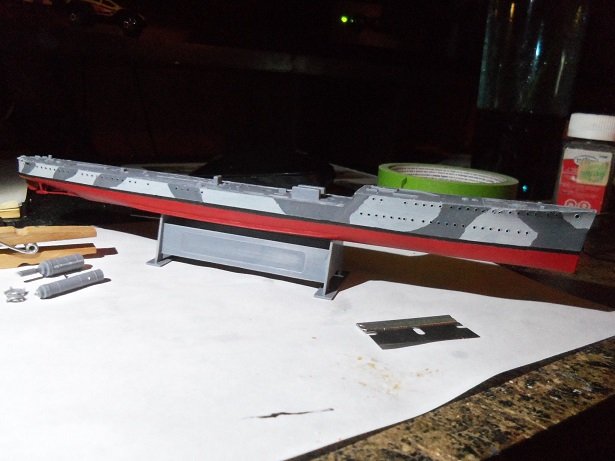
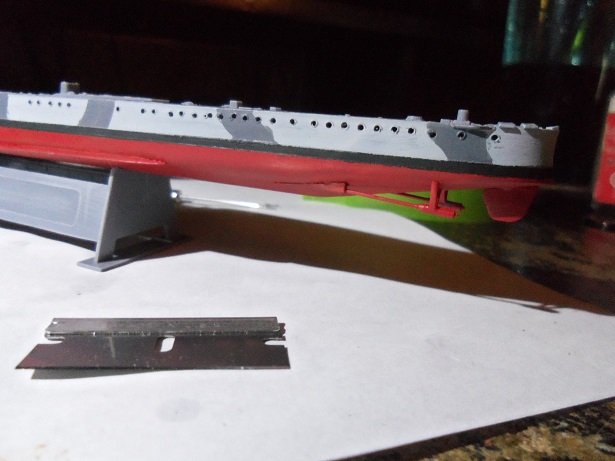
I've seen those pictures on that forum.......that's a big ship he's building! the picture is the Waterhen, with the Stewart along side. I've actually seen quite a few pictures of the Waterhen........should have book marked that site for me......yes. I don't plan on going hog wild with the PE, but one never knows. I can look at the Titanic and see if any of it can be used for her as well.... hopefully not much of a scale difference. I'm aware of paint mixing.......the illustration appears red like that because it's printed on white...that and the fact that it has a glossy finish. I didn't use a primer....the gray plastic shadows it well enough I think....it doesn't look too red, now that it has fully cured. the camo isn't jagged or straight...commonly seen on most war ships....I haven't done a camo job like this for quite some time. once I get the decals on, it will look much better. it's also the reason why I chose this camo......looking at the earlier camo, it shows a lot more above the deck, and it will allow me to use the gunship gray more on deck as well. I don't plan on buying anything special....as far as I can see, in '41 she had both torpedo launchers and all four guns. it's just too bad that the kit doesn't offer any variant choices, like some kits do. at first, I wasn't happy with drill'in out the portholes. now that I see it painted, I'm a lot more satisfied with it.
- 1,090 replies
-
- 7
-
-
- showcase models
- vendetta
- (and 2 more)
-
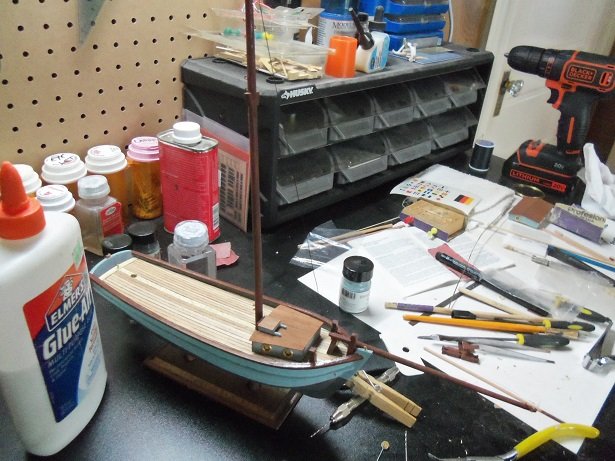
I worked on her a little bit today. thinking that I have the mast fitted out, I decided to cement it into the deck. room for the horse will be a little tight, but it should work out fine. the boom and gaff are now painted as well. if I need to add anything, I can simply drill it later. I hope to have a bigger update tomorrow
- 171 replies
-
- 12
-
-
- krabbenkutter
- authentic models
- (and 1 more)
-
thanks OC and Lou..........you must be a connoisseur Lou
- 1,090 replies
-
- 6
-
-
- showcase models
- vendetta
- (and 2 more)
-
thanks Greg...make me feel good that you like it your levels above me. I added some extra to her, seeing that it's a long hull. now if I can only get the deck to look good. I'll be sure to add the two white stripes on the aft funnel {the 7th destroyer flotilla} here is her earlier camo
- 1,090 replies
-
- 9
-
-
- showcase models
- vendetta
- (and 2 more)
-
thanks CDW......already got a tiny taste of PE. I'm more worried about my nerves,,,fine time that the admiral wants to quit smoking
- 1,090 replies
-
- 8
-
-
- showcase models
- vendetta
- (and 2 more)
-
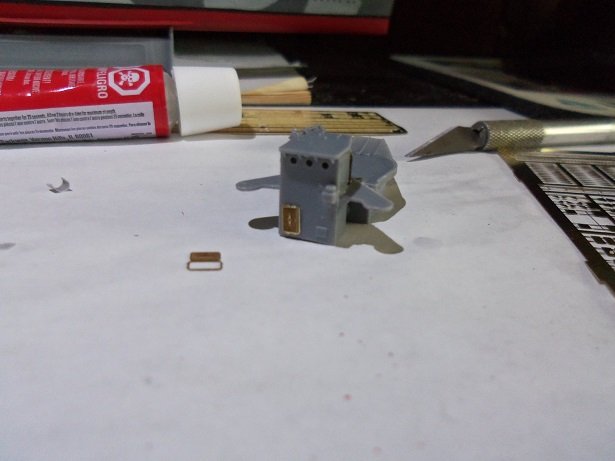
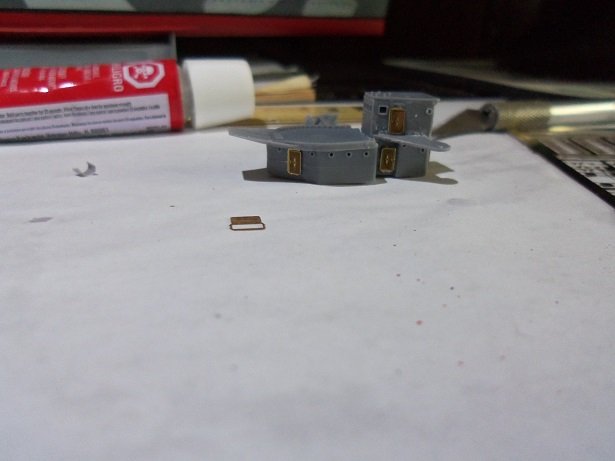
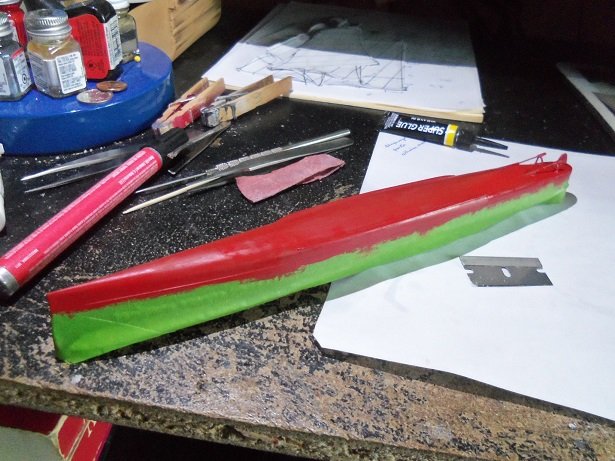
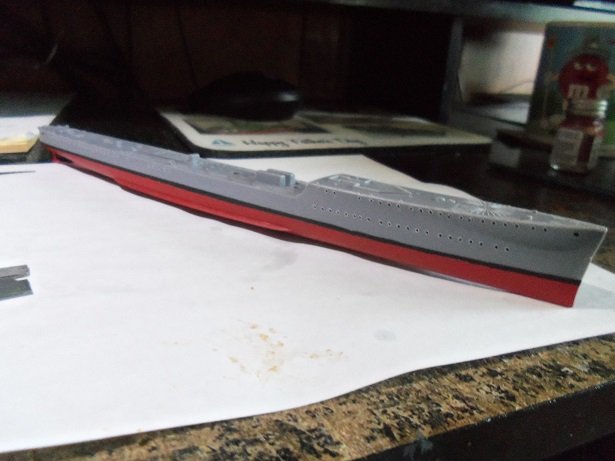
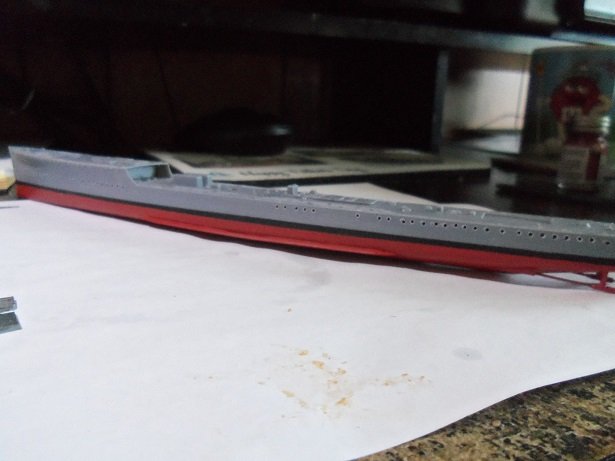
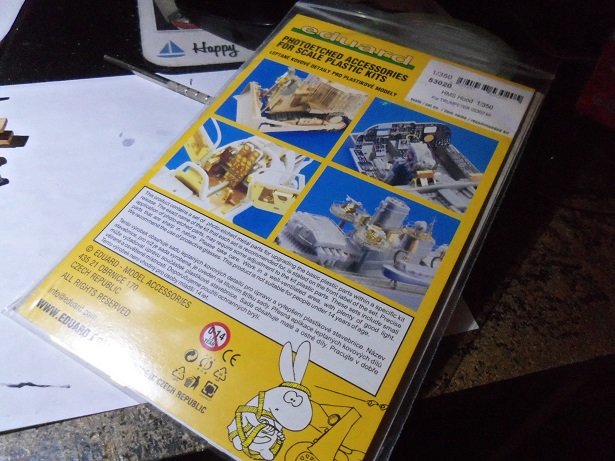
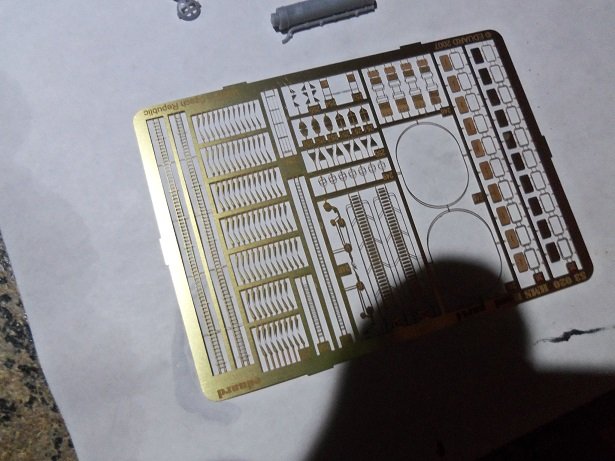
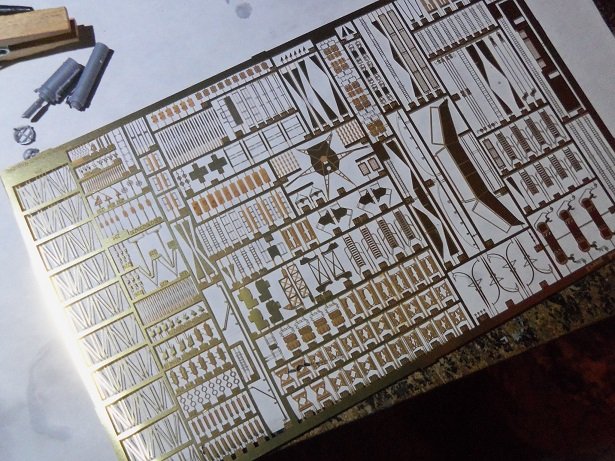
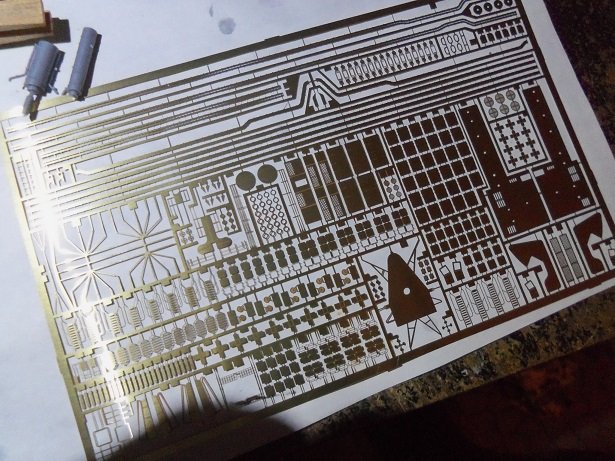
JOB!!!!! you get fired?????? say it isn't so I hope you find one good buddy! I keep pray'in for Wally to let me go.......but I guess they're not done with me yet {I know....it's not funny} sure.......OK OC........I'll go buy a black 'n white camera fine........I have pictures! if your faint at the sight......look away {may cause seizures}. I figured I'd paint the hull. the color chart that came along with the kit shows a red......looked like a normal red to me, so I painted the bottom in flat red. I was going to decant some red primer....it looks a rust color...I still may do it for the deck. masking tape off..........re-positioned and another line added for the black water line. now I said I wanted to go with the camo during 1941. I would have gone the 1940 route, but it looks a bit more complicated. reusing the masking tape is not a good idea.......don't do it. I had to make a couple of small touch ups. I went with the Ghost gray, and then camo-ed her with Gunship gray. here is a closer shot of the port side..... drum roll please...................the PE is here! ....all the way from the Czech republic ! I have all the railings, doors, gussets, and ladders I will ever need! first thing to do is put those doors on the backwards bulkhead. the paint that I mixed for the deck....now that I look at it again......I think it looks a shade on the pinkish side, so I might not use it. back to the drawing board more soon


- 1,090 replies
-
- 12
-
-
- showcase models
- vendetta
- (and 2 more)
-
sorry to hear............hope you are having it looked at and taken care of.
-
coming along really good Chris.........the decorations really add a lot to her. looks awesome!
-
glad to see you forged forward with this....it will make for some incredible detail. nicely done
- 601 replies
-
- 5
-
-
- constitution
- revell
- (and 1 more)
-
nice progress
-
painting has started..........pictures in a bit
- 1,090 replies
-
- 6
-
-
- showcase models
- vendetta
- (and 2 more)
-
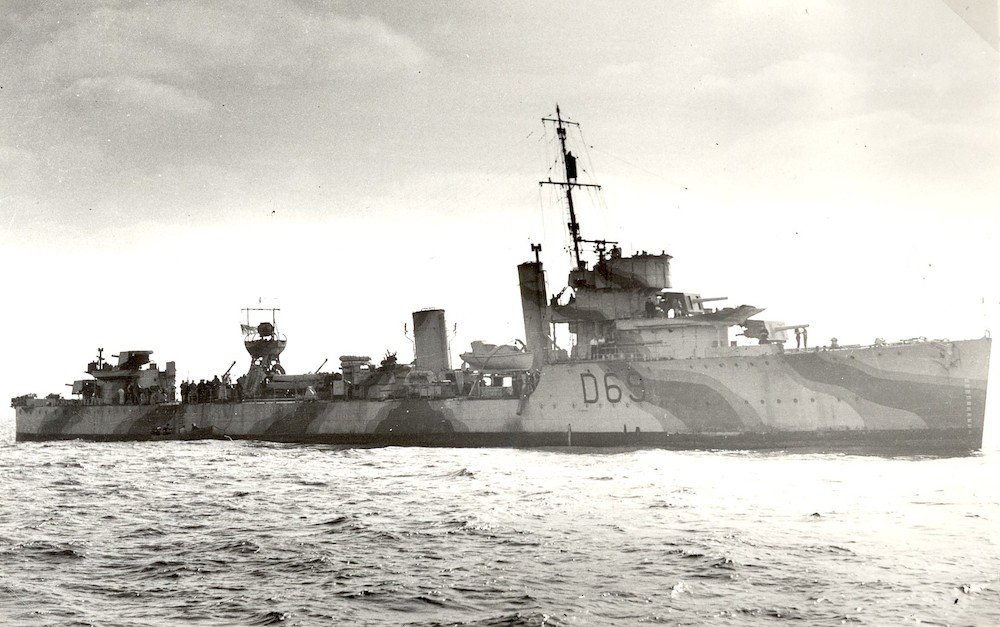
I'm going to go for the 1941 version.........she had two camo jobs done on her about this time. what stinks though, is that most of the pictures are in black 'n white, so I had a hard time judging if they used black or a darker gray. I'm going for the gray, since the pendant number can still be read though the camo. it was said that during some of her refits, armament from captured ships was used on her {mainly the smaller guns} and operated them until the seized ammo was used up
- 1,090 replies
-
- 7
-
-
- showcase models
- vendetta
- (and 2 more)
-
look'in sweet EJ..........the arches under the balcony are a nice touch too! very nice work
-
yea....I kept comparing the nets to the rigs, just to make sure they were wide enough. for the beads, I strung them on some thread and air brushed them. if that's the kit box under the plates, what is that box off to the side? did you get a fitting kit? good for you!!!! more parts the merrier!
- 51 replies
-
- 1
-
-
- krabbenkutter
- billing boats
- (and 1 more)
-
I think Greg should get another one and do the Stewart, or the Vampire.........I have some pictures of the Waterhen
- 1,090 replies
-
- 6
-
-
- showcase models
- vendetta
- (and 2 more)
-
the only mistake i made was starting the wind around the windlass from the outside.......if I had started from the inside, I might have been able to miss the stairs. the poor girl sits in the spare room........in need of some line repairs {from her move in 2010} also needs her braces and studding sails. since building her, I've been absorbed in building wooden models....haven't gotten back to her. I'm sure your masts are not as tall.......no sky or moon sails......not as many back stays are needed.
- 37 replies
-
- 2
-
-
- eagle
- constructo
- (and 1 more)
-
I still have the holder I made, when I assembled my net rigs netting looks really good! well done on the rig as well.
- 51 replies
-
- 1
-
-
- krabbenkutter
- billing boats
- (and 1 more)
-
I'm running a meager third, with nar a lick 'o paint on her yet. that will change..........hopefully tomorrow, but I have a couple chores to do. great job Greg.........but I don't have any extra flags lying around........guess I'll have to make do with what I have. superior job with the weathering and rigging. awe-inspiring model!
- 1,090 replies
-
- 8
-
-
- showcase models
- vendetta
- (and 2 more)
-
thanks Lawrence.........I have smaller dead eyes that I might use. I know.........I couldn't come up with more colorful names. I will try and have an update soon. thanks for look'in in thanks also for all the likes........really appreciate it!
- 171 replies
-
- 7
-
-
- krabbenkutter
- authentic models
- (and 1 more)
-
if you can change the anchor chains...........they would look better wound around the inside of the windlass, and not on the outer drums. here is something I did for the Cutty Sark...the Revell kit 1:96 scale. https://cuttysarkdrydock.wordpress.com/2011/09/23/the-cutty-sark-windlass-revamp/ it's not much, but it shows how the anchor chain is rigged using this type of windlass. rigging a three master is hard..........the cutty can give you an idea......here is how the standing rigging looks on a clipper. https://cuttysarkdrydock.wordpress.com/2011/09/23/the-cutty-sark-rigging-sheets/ the reason I post this, is that for the Revell Cutty, the standing and running rigging is separated into two parts. I'm not sure what your sheets look like. look'in good Archie
- 37 replies
-
- 2
-
-
- eagle
- constructo
- (and 1 more)