-
Posts
16,007 -
Joined
-
Last visited
Content Type
Profiles
Forums
Gallery
Events
Everything posted by popeye the sailor
-
you guys are awesome! no wonder why I love this place just came out of the shower.......didn't make sense to do it first then end up hitt'in the bunk smell'in like beef fat I wish I had some progress to show, but I came home to a house full.......my son Kevin and his future admiral was here. I'll try and get something done before my week-end come 'round
- 1,090 replies
-
- showcase models
- vendetta
-
(and 2 more)
Tagged with:
-
you two are a riot..........just the laugh I needed after the day I had. got home about 4:00 PM......still have to take a shower and do burgers on the grill. the admiral is badgering me at the moment......can I drink a beer in peace? just for that.....I'll drag my feet....and have two! then I can have another while I'm cooking ......a man's gotta have priorities
- 1,090 replies
-
- showcase models
- vendetta
-
(and 2 more)
Tagged with:
-
look'in great so far Archie.......bow looks really good.
- 37 replies
-
- eagle
- constructo
-
(and 1 more)
Tagged with:
-
I had these pictures from last week........no worries, I'm still work'in on the destroyer. I need to make a few cleats.......the Billing's cleats I have are too big.
- 171 replies
-
- krabbenkutter
- authentic models
-
(and 1 more)
Tagged with:
-
I agree with Carl..........not elaborate .........my eye! where did you terminate all those lines! nothing short of amazing Greg ....mine will never be that good I will definitely be dragg'in my knuckles behind you at this point. I wish I had noticed the cap sooner Carl..........very nice gentleman to talk to though. I thought it was so cool that he bought the 'Cars' model for his grandson....I told him that I did the same for my two grand sons, Chase and Tripp. I may have to locate HobbyTown........Hobby lobby clearly doesn't have the paint selection that I'm accustomed to. I have the sites book marked...may even look at an online purchase. pretty soon, it will be just you 'n me........Greg will be off on that other project that he mentioned earlier
- 1,090 replies
-
- showcase models
- vendetta
-
(and 2 more)
Tagged with:
-
looks extremely well done Greg I wondered why the hawse holes in the deck were so large.......makes sense now. I'm not sure I have chain that small....I thought the same thing. who ever heard of flat chain? on mine........added some more parts to the fore structure......didn't get much further than that. I went to Hobby Lobby to get some more paint. while we were there, of course I had to window shop. there was the U.S.S. Arizona.....1:426 scale.......I eyed it...it looked so tempting. I bought several bottles of paint, a four pack of tweezers - Squadron models.......some thinner too. An older gent was in the aisle too.......had the 1:150 'Connie' and one of those 'cars' models for kids {from the movie} in his arm. he was looking over some of the military models, like I was. I commented on the B 25 Mitchel and the B 17 on the bottom shelf....adding that I build anything that crosses the table........he got into how he's not a huge modeler, but wanted something to in his spare time. the conversation went from that.....to wooden kits.....and different manufacturers......to balsa aircraft {yea.......we ran the gambit} I mentioned the Arizona........he gave a nod......but then the admiral says......yea, but it's plastic. I saw the look on the man's face........and then I noticed the cap he was wearing........NAVY! Pearl Harbor was the next subject, along with some very eloquent damage control........we talked history, and muddied it up, mentioning the Missouri........and the fact that it's plastic, held no bearing on it's significance. he left with a......'nice talk'in to ya'.......and I breathed a sigh of relief. she didn't mean it how it came out......but like I told her, no harm done. anyway, with what I bought, she told me to put it on my charge card........no problem, I said.......as I snatched up the Arizona
- 1,090 replies
-
- showcase models
- vendetta
-
(and 2 more)
Tagged with:
-
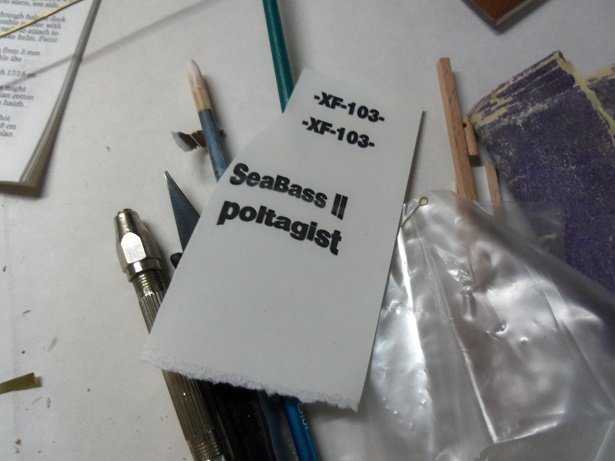
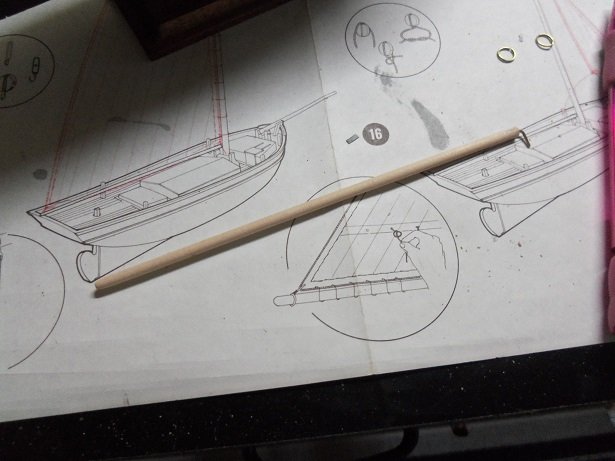
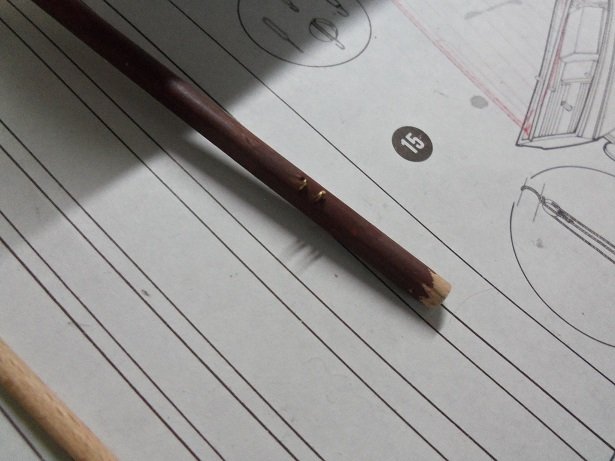
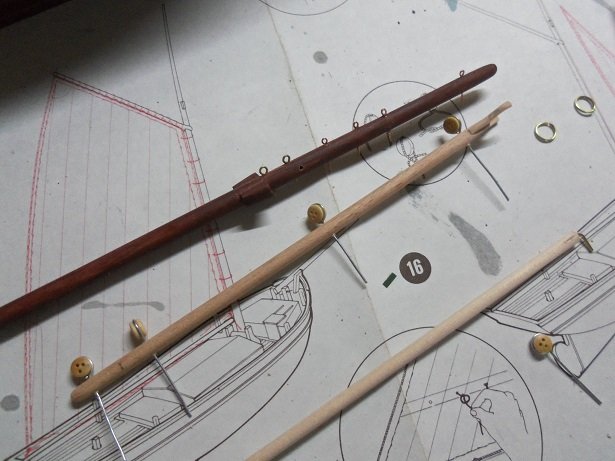
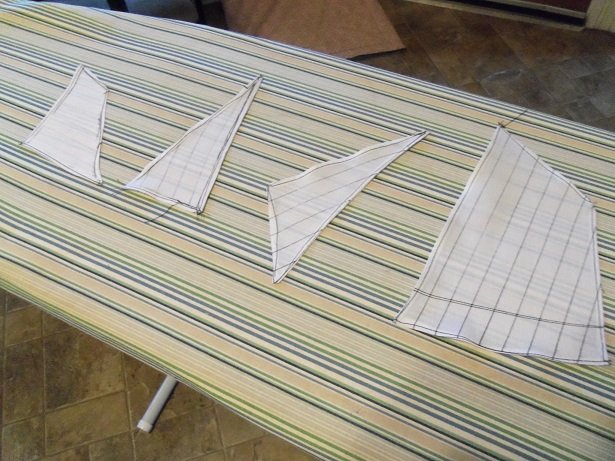
hey there just a quickie to let ya know I haven't forgotten bout this one. I've been doing the little things.......like making the decals...... I'm adding a name on the transom.....these are the two I'm thinking of. I found a decant dowel to make the boom, and added the pivot anchor on it so far. for the mast and gaffs, I've been drilling holes and adding the eye bolts. I used the dead eyes to mark them........they are in thought to be used for the shrouds, but I might go with smaller ones. after all, this is a small model......they might look out of scale. and I sewed the sails. they are a bit rough at the moment......I need to trim the thread. I ironed them to flatten them out, but left some of the flutter, form the sewing. the next step will be to start tying blocks where they need to go, and drill holes for more eye bolts and belayments. I will have another update real soon ! thanks for the good word and look'in in
- 171 replies
-
- krabbenkutter
- authentic models
-
(and 1 more)
Tagged with:
-
OK........here I go........my first bit of actual PE. I'm attempting the platforms on the torpedo launchers. I used a razor blade to cut them......but then I find that there is plastic film on both sides. gotta get that off first...........it's a good thing I put a white sheet of paper on the table. I'm using tweezers, my x-actor, and a pick to manipulate it. Gibbs is laying at my feet under the desk. I got it all bent into shape.......not too huge a task.....so far, so good...........and then I drop it! it lands on the floor very close to Gibbs.........I try to get up without alarming him..........but no dice, Gibbs moves and the part is swept up in his fur! before he can get too far, I clipped the fur between two fingers and the platform slides out into the palm on my hand! >WHEW!< the platforms are on the first one now.....no chance for a repeat performance,,,,,,,but, I still have the other one to do. can't wait to try the railings sorry Carl.....can't see the touch ups....I may need an electron microscope looks great!
- 1,090 replies
-
- showcase models
- vendetta
-
(and 2 more)
Tagged with:
-
the rug is now one of those woven types.........already lost a part C33 for the torpedo tubes. yea.......it's gone to never never land. I too a piece of trim junk and made one.......no worries. paint what white?
- 1,090 replies
-
- showcase models
- vendetta
-
(and 2 more)
Tagged with:
-
thanks......hard to believe that there are so many parts! camera's on the charge at the moment......but i'm still steam'in along
- 1,090 replies
-
- showcase models
- vendetta
-
(and 2 more)
Tagged with:
-
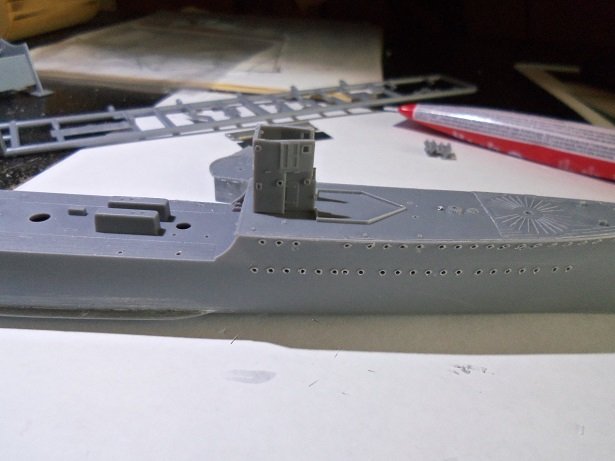
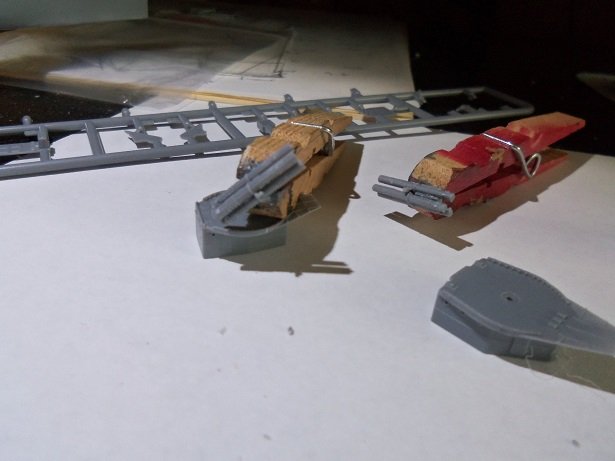
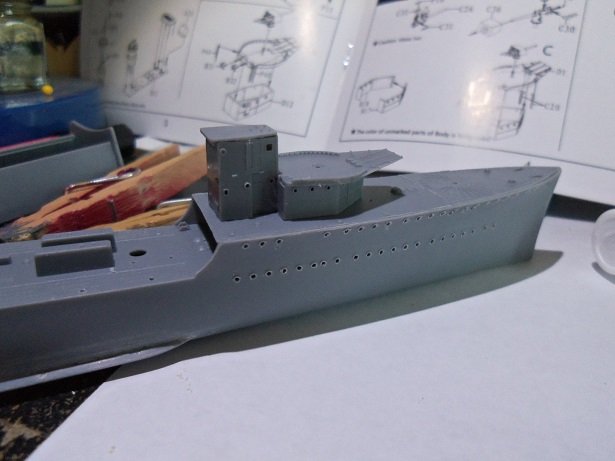
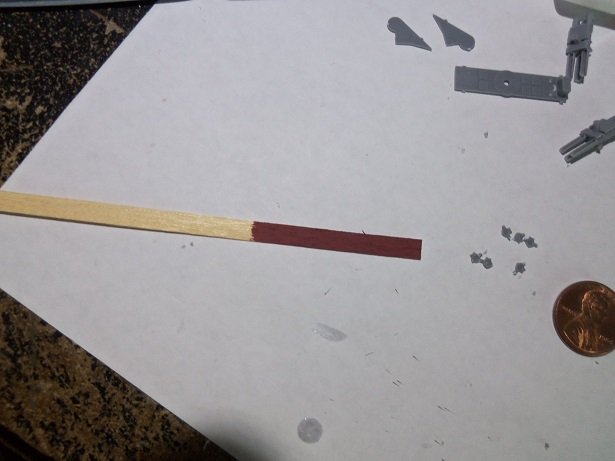
I knew this would happen...........your almost done Greg! but what did I expect......your such a wizard with PE........what an awesome looking model you've done just as well Carl.......really top notch job there cripes! the PE I ordered is just hitting the mainland, and is being processed by customs I've enough PE supplied in the kit, so I can continue until it get's here. I began to assemble the aft section of the fore structure. add the roof and the front fascia, and the shell will be comprised of five parts. while this was drying, I will cement the rear covers on the torpedo tubes......another 6 parts. I took a part count last night on just the torpedo launchers....there are comprised of 17 parts. it's pretty amazing, considering how small they are. I should just say the heck with it and decant some more of the primer red for the hull bottom, but I took to mixing paint again. by this time, I was able to cement the two parts of the fore structure together. it's actually coming out better that the structure I made for the Jeanne D-Arc......that one was a pain in the butt! I'm not sure if anyone noticed, but in early models, these structures were usually assembled in halves {left and right}.......I had never done one that involved assembling each individual wall together. an evolution in the model industry?........dunno >shrug< {just thought it was interesting} here is an idea of how small these covers are....... this is flat red, a little flat light tan, and flat brown. it looks good.......but I still might decant some primer red and compare the two. still plugg'in away........hope to have more done today you guys are doing a stellar job!
- 1,090 replies
-
- showcase models
- vendetta
-
(and 2 more)
Tagged with:
-
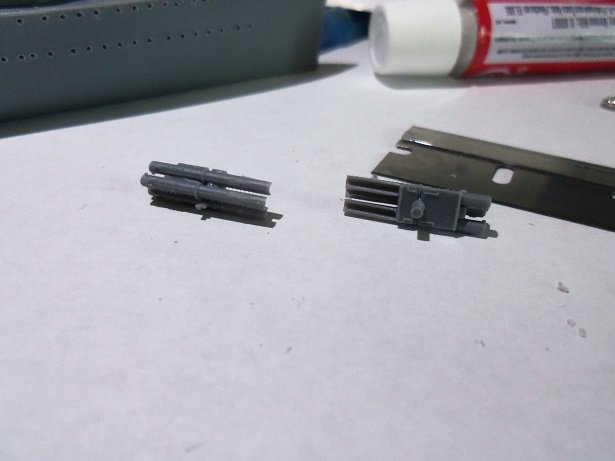
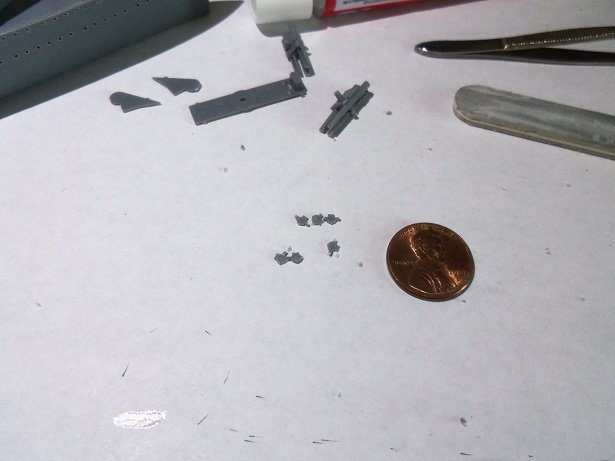
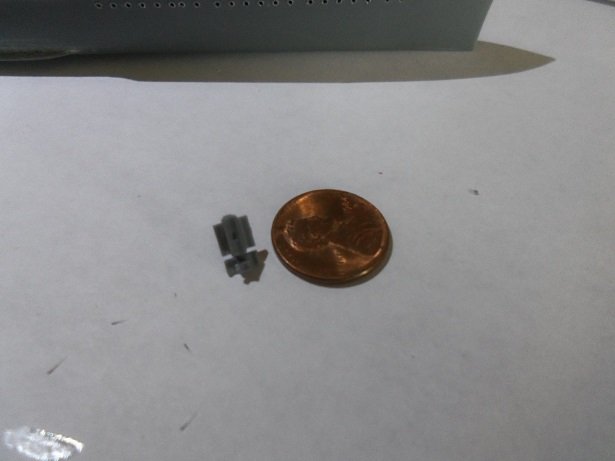
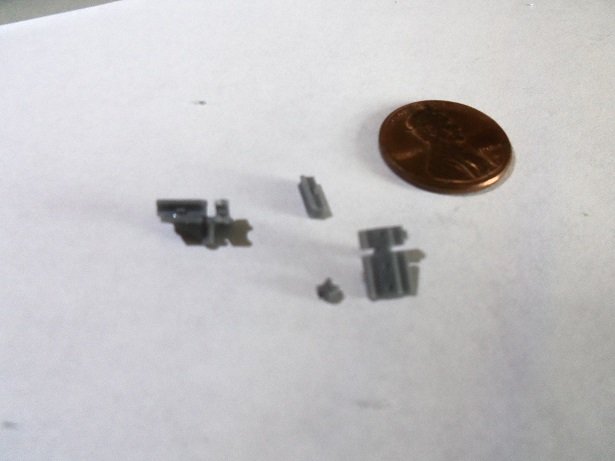
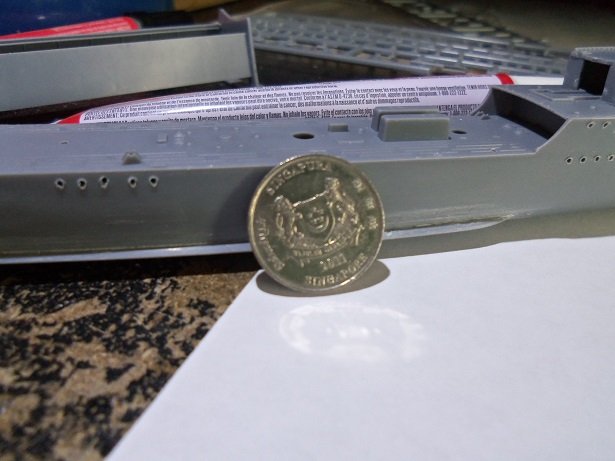
getting paint on my desk would be an improvement what can I say.........I didn't have my 2.0's on! you two are doing some really good macro pictures...it doesn't show the folks out there just how small these parts are. right now, I'm assembling the torpedo tubes. I've already dropped a couple of the parts on the floor.......found 'em.......so far, so good. the PE looks even worse.........I'm gonna go to the drug store to see if I can find some 3.0's! {not really}......I have ways to magnify what I'm doing. the base of the launcher is made up of three parts...I have one assembled to this point. here is is in size to a penny {US} these are the part that it's comprised of......... the aft structure has been started....... and the fore structure has been started. I could have use a Singapore 20 cent piece.......but it's larger than the American Penny it's a fairly new coin...........2011. I'll go back to play time now
- 1,090 replies
-
- showcase models
- vendetta
-
(and 2 more)
Tagged with:
-
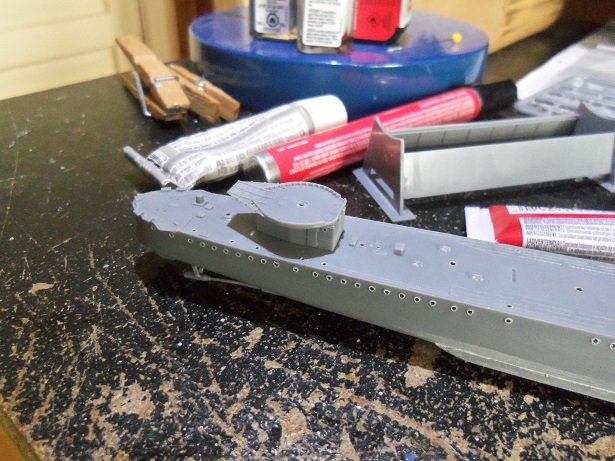
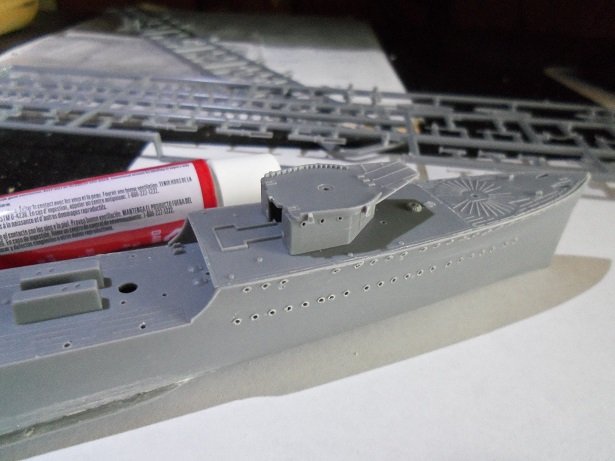
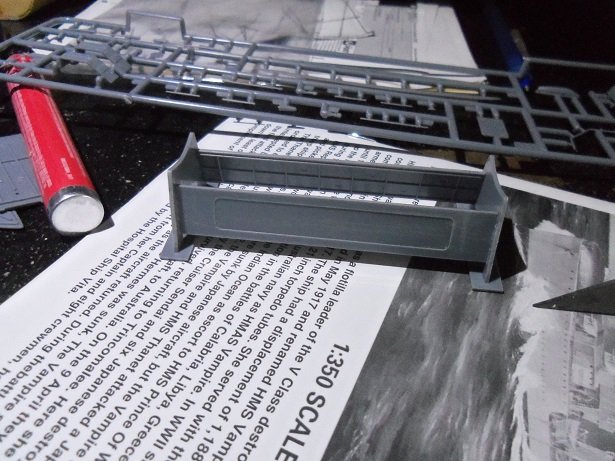
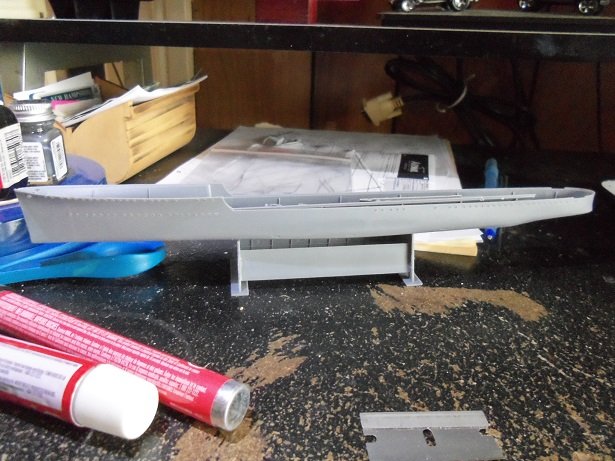
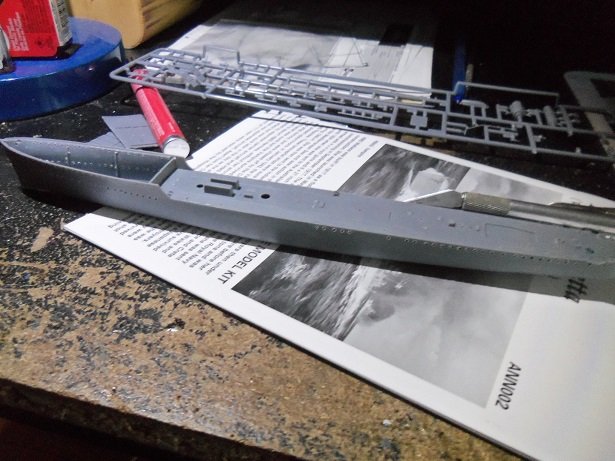
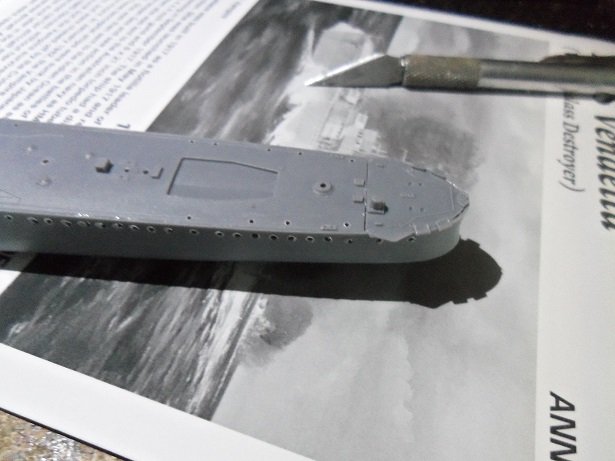
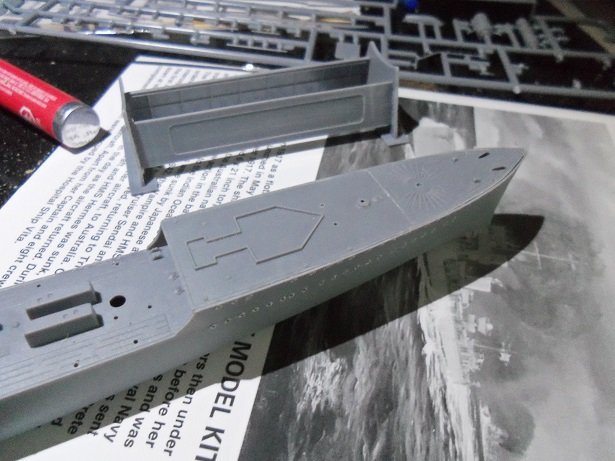
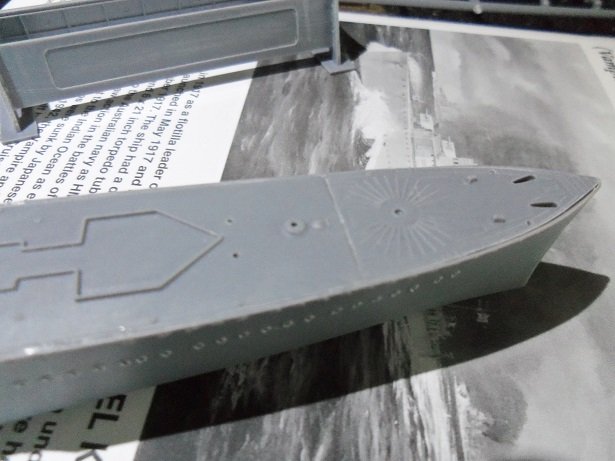
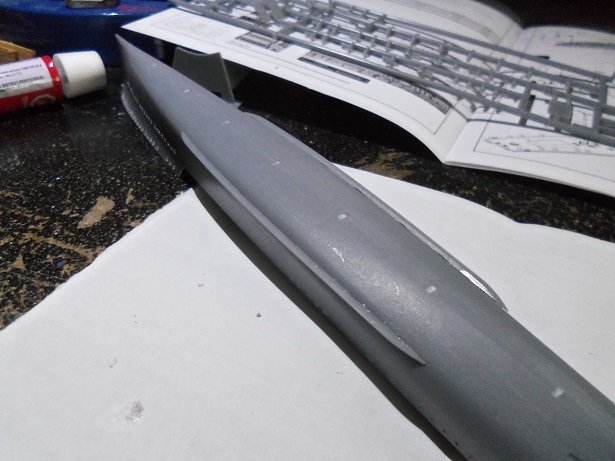
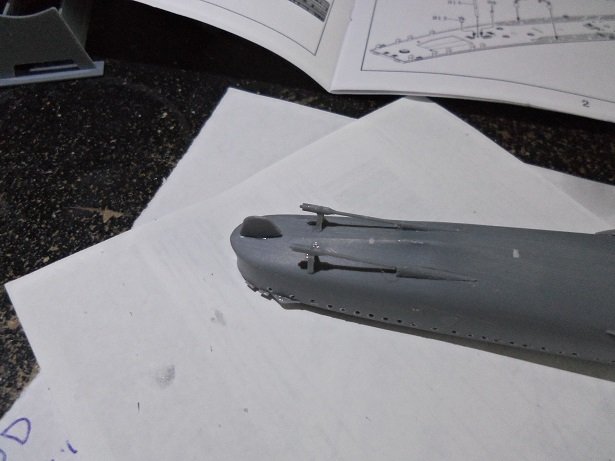
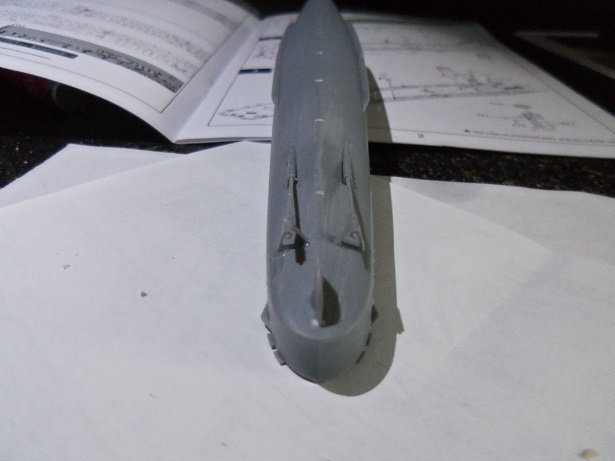
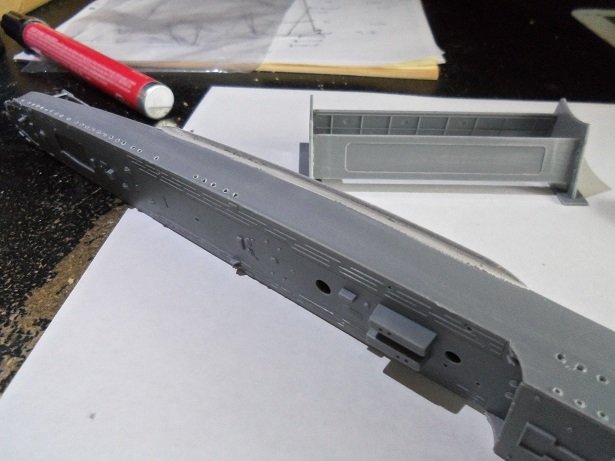
you two are just runn'in away! .....and here's 'ole Popeye bring'in up the rear......putt'in along.........<putt>.........<Putt> well, I figured I'd do a bit of assembly yesterday. I decided to go with the mask route.....the deck is on will present a small problem in the paint dept, but I think I can work around it. get all this together, and then I can play with some paint {over a tray}.....we all know how I like to drop paint {when I say I threw the paint on.....I mean it! } first I made the stand......this thing was awkward to assemble. luckily, any glue spears are on the inner part of the stand. this was before I did anything to the hull then I drilled out all the port holes........not totally satisfied with the results, but too late now. the aft section of the decking was added to the hull. the fit was pretty good.......no gap really to speak of. if I don't fill it with anything, it might get regarded as deck detail {I hope}. the forward bulkhead was next. cut it off the sprue, checked the fit.........and then ended up gluing it in backwards it's OK though.......that's what PE is for the bow sections were cemented in place. nice fit there as well. the outer keel parts were next,,,,,, don't mind the sprue dimples.......painted over, they will be gone. the screw shafts and rudder were next there were a few small gaps on those keel parts, so I used a bit of filler. I'll sand it down later. I can sand this later........gotta let this dry for now. I'll play with something else in the meantime
- 1,090 replies
-
- showcase models
- vendetta
-
(and 2 more)
Tagged with:
-
there are many places where you can get them....5 mm for the lower shrouds.........3.5 mm for the upper shrouds. but, if you don't do them for this one, seeing that your enjoying the project..........there's other opportunities down the road http://www.cornwallmodelboats.co.uk/index.html http://www.syrenshipmodelcompany.com/ http://www.billingboatsusa.com/ http://www.agesofsail.com/ecommerce/ just some of the site I have book marked. have fun, above all........and enjoy
- 37 replies
-
- eagle
- constructo
-
(and 1 more)
Tagged with:
-
perhaps you could bring home work to do during the week your parents will love seeing you more often......if you weren't doing it already but, it's great to see your back
-
nailed it! love the added color. well done Piet!
- 378 replies
-
- java
- pacific crossroads
-
(and 2 more)
Tagged with:
-
glad to hear your getting back in the saddle again. about the bulwarks........if the bulkheads have the bulwark posts, I would think you could start planking at the top......but before you do, you would need to frame out all of the gun ports and plank around them. a lot of folks start at the deck line and go downward towards the keel, saving the bulwarks for last, since there is a lot of fancy cutting to do.
-
NICE!!!!! what Jasta is that? I have two Dr I's....I think they are 1:144 scale, that I did a while back. I got them on E-bay from a fellow in England. I did one as the Red Baron and the other one is Werner Voss's plane. they are small....I laughed when I got them {I thought they would be larger}. really like that camo job you did! I'm surprised......most that I've talked to have had terrible out comes mixing the two...fish eyes.......chipping and peeling etc. glosses and flats are different in the suspension of pigments, as far as enamels go. military models don't have much call for gloss colors either. for the car buffs, I stumbled onto a really nice brand of paint, which can be used straight from the bottle, if desired. http://www.gravitycolors.com/us/product/porsche-pearl-silverstone/ the admiral got me a battery operated drill for father's day {a pre gift}. I've been using a Ridgid drill...the small one, which works well for modeling, since it can hold the smaller drill bits. the one she got me is smaller I think and even more compact......can't wait to try it out. if it does well, it will end up in one of the drawers. I assembled the stand.......I used a glue pen that I've had for some time. I guess I'm not as handy with it though......it did make for a bit of a mess. luckily, the messy part is inside the stand, than outside, so clean up will be minimal. I think I ill revert to the tube with a nozzle applicator. now to drill out all the holes in the hull.
- 1,090 replies
-
- showcase models
- vendetta
-
(and 2 more)
Tagged with:
-
look'in really good for the life rings, the plastic rope can be cut off, and thread {rope} can be attached to them. I used to do the {pain in the butt} method of simply cementing the rope on, but have since changed to tying the rope on. it actually looks much better, since I can paint the entire ring red {or a suitable color}, and lash the rope on. using white thread to lash the rope on, gives it the four corner white sections to the rings, and a little more added detail.
- 51 replies
-
- krabbenkutter
- billing boats
-
(and 1 more)
Tagged with:
-
amazing progress Danny........you have truly become the master of card! each section is a very detailed piece of art gonna be so cool to see these sections together on the deck.
-
nice job on the bottom balcony EJ.......looks superior! are those decorations dry fitted?.......they will be gold I imagine. your carving is getting better and better with each piece you make...gonna be very ornate when done!
- 961 replies
About us
Modelshipworld - Advancing Ship Modeling through Research
SSL Secured
Your security is important for us so this Website is SSL-Secured
NRG Mailing Address
Nautical Research Guild
237 South Lincoln Street
Westmont IL, 60559-1917
Model Ship World ® and the MSW logo are Registered Trademarks, and belong to the Nautical Research Guild (United States Patent and Trademark Office: No. 6,929,264 & No. 6,929,274, registered Dec. 20, 2022)
Helpful Links
About the NRG
If you enjoy building ship models that are historically accurate as well as beautiful, then The Nautical Research Guild (NRG) is just right for you.
The Guild is a non-profit educational organization whose mission is to “Advance Ship Modeling Through Research”. We provide support to our members in their efforts to raise the quality of their model ships.
The Nautical Research Guild has published our world-renowned quarterly magazine, The Nautical Research Journal, since 1955. The pages of the Journal are full of articles by accomplished ship modelers who show you how they create those exquisite details on their models, and by maritime historians who show you the correct details to build. The Journal is available in both print and digital editions. Go to the NRG web site (www.thenrg.org) to download a complimentary digital copy of the Journal. The NRG also publishes plan sets, books and compilations of back issues of the Journal and the former Ships in Scale and Model Ship Builder magazines.


