


popeye the sailor
-
Posts
16,007 -
Joined
-
Last visited
Content Type
Profiles
Forums
Gallery
Events
Everything posted by popeye the sailor
-
 thanks for the good word Robert.........we are all still learning these small projects are cool, but I feel more comfortable building the larger ones......fits my "finger" size I appreciate the kind word....at the moment, I'm doing the next step. I should have an update later thanks for look'in in and thanks for all the likes!
- 171 replies
-
- 6
-

-
- krabbenkutter
- authentic models
- (and 1 more)
-
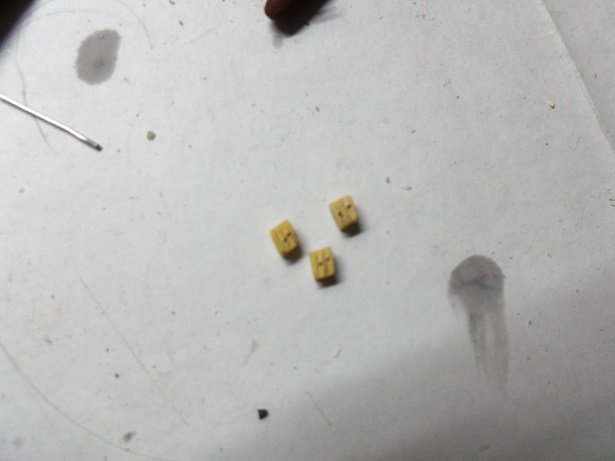
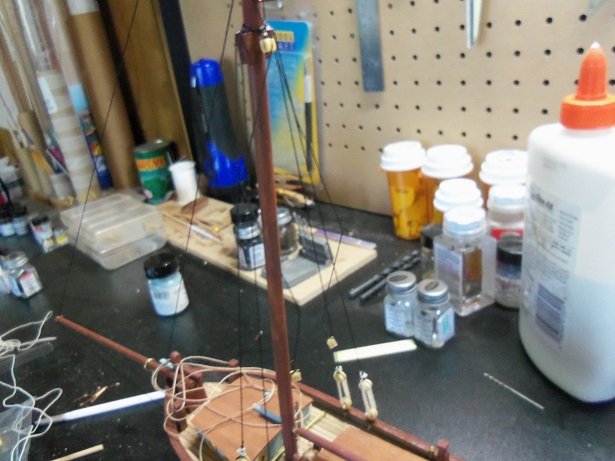
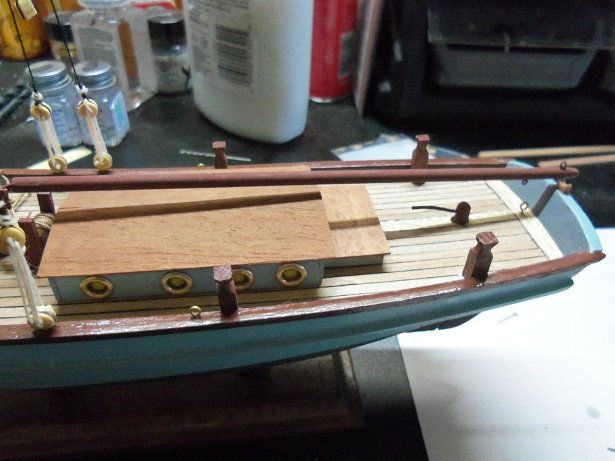
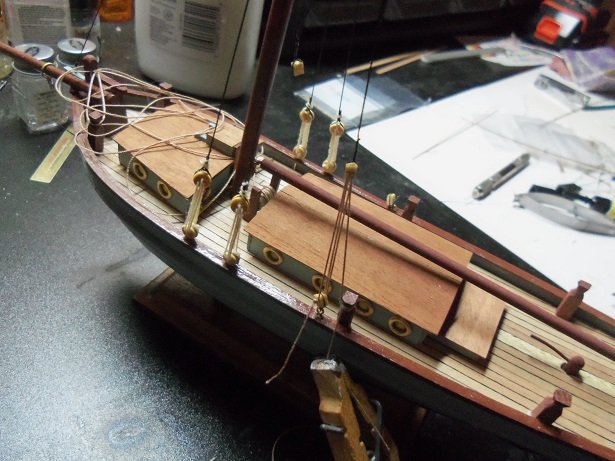
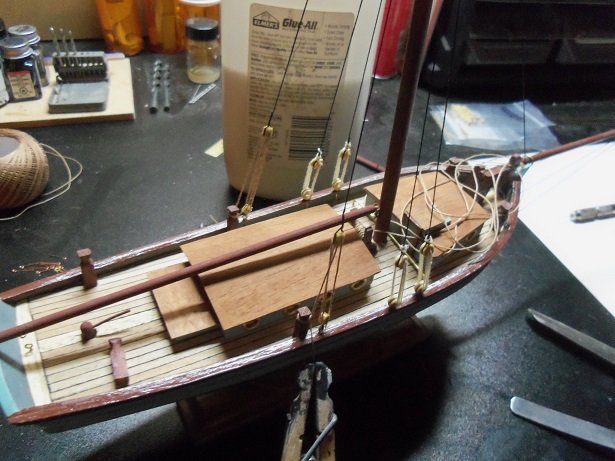
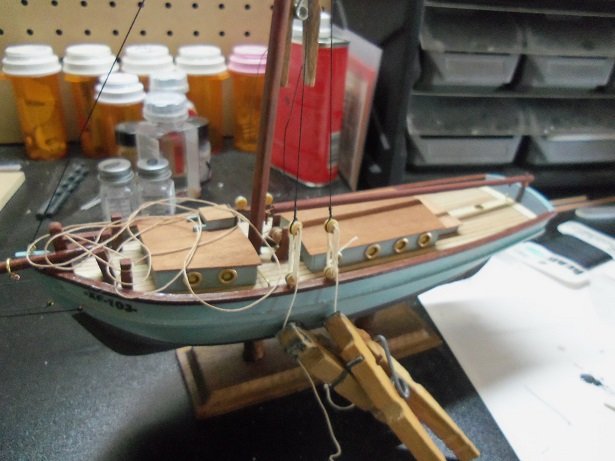
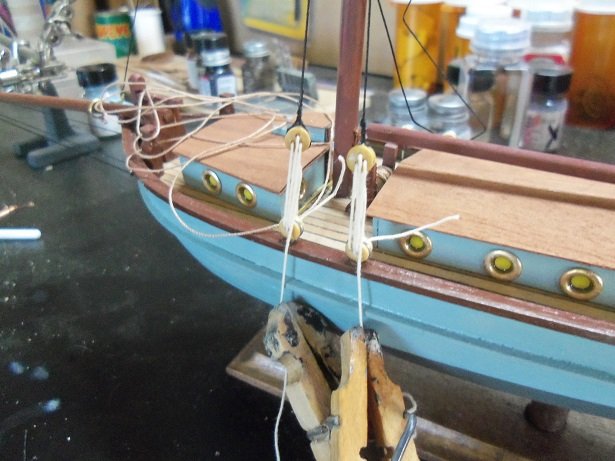
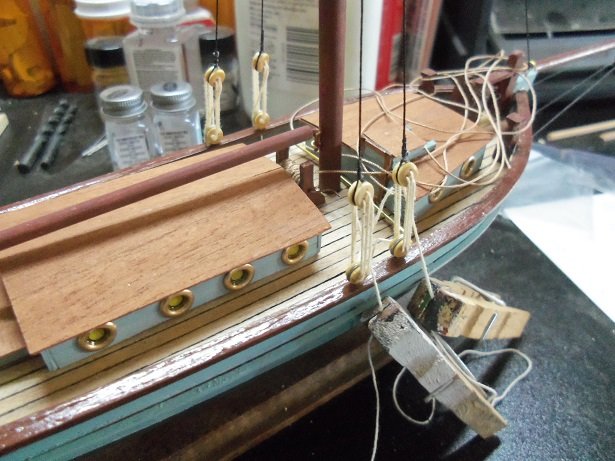
thanks John.....and thanks to everyone for the likes I got to do some more on her today. now I kinda knew this from the start, but I thought I might be able to use them......but the double blocks included in the kit are pretty poor. misaligned holes.....and as I found out, very brittle. I tried to drill the holes a tiny bit larger and the first one just crumbled. these are 3 mm double blocks {I believe}........good thing I ordered some {I may need to order more for the Thermopylae}. so, I rigged up the pendants for the back stays..........darn pain in the tookus for my fat fingers, and the eye bolts for the stationary ones. as can be seen, I terminated the dead eye lanyards.........and the first block goes to the throat halyard. then I added the last two pairs of posts and the tiller. the port side back stay is now rigged.... ...and then the starboard side. I just noticed that the starboard post didn't hold....cheap CA glue I think these are the last line to rig before the sails start to go on. so I'll be working on the gaff next {as soon as I re-cement that pesky post}. I tried to get some decent pictures..........but a black table top doesn't help much. hope to have more on her tomorrow
- 171 replies
-
- 12
-
-
- krabbenkutter
- authentic models
- (and 1 more)
-
very nice progress on the Maine's hull.....looks really good! nice pictures of the Mikasa
-
WOW! you got the hull look'in super.........now you've started to trip out the interior nice shape to the partitions and walls ...look'in my-t fine! not so much on the bat boat though........she don't got the fins

-
pok'in in Mark to see how your progressing........looks like you and the death star are getting along super the emblem looks great! I hope things get better for you....hope Janet is doing better. look'in forward in seeing more
-
so good to see more progress being done on your little ship she's look'in better than ever. nice addition to the bow glad to see your back!
-
so sorry to hear about your brother Jack........been while since I've been able to view the scratch build forum {I get hung up in the kit forum}. my condolences to you and your family
-
look i very nice Dr. Per
-
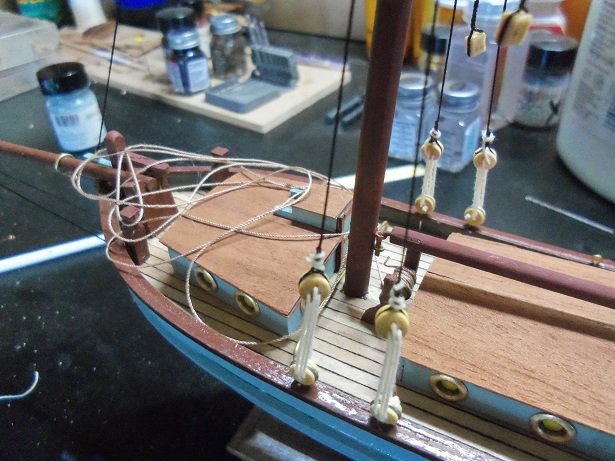
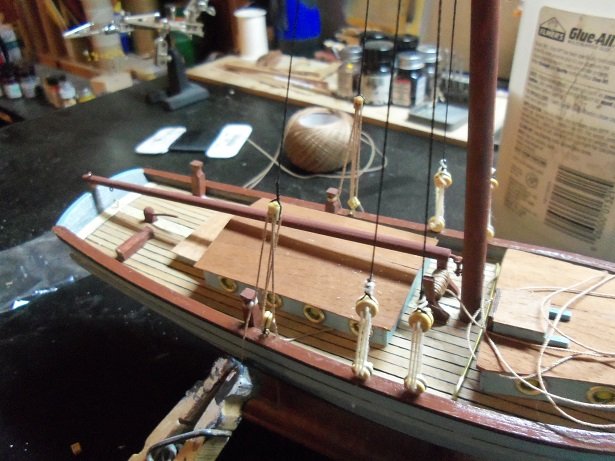
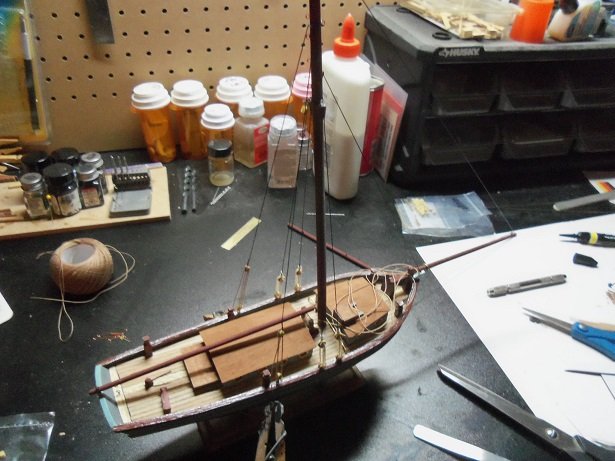
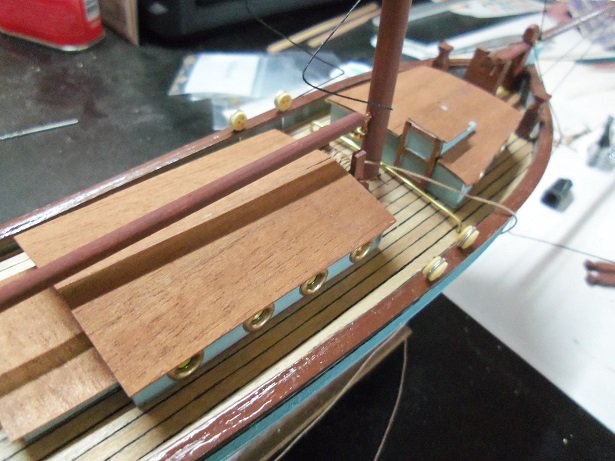
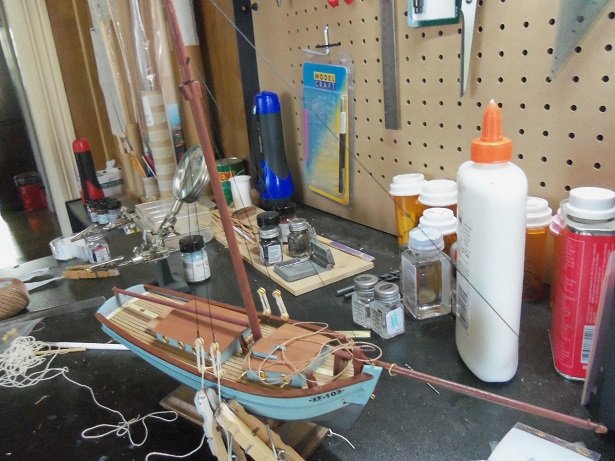
thanks Piet and Sam.........I like it when mistakes turn into something good. as with the sails being not so perfect......they should fit right into the build. so Yesterday.......I did what I've been putting off....the shrouds. I was going to down size the dead eyes to 3.5 mm, but the 5 mm were sitting on the table and I went with them. the boom is now cemented in place........I was going to wait till I had the blocks tied on, but the heck with it.....I can do it later. the holes for the dead eyes were drilled, so that the shaft will go into the deck, from under the cap rail. saves marring up the outside of the hull. then the port side was done first........the shroud lines were tied on, and I used a jig to space the lanyard length. the starboard side was done next. the two back stays will be next, and then gaff can be added. that will be the first sail to go on.
- 171 replies
-
- 10
-
-
- krabbenkutter
- authentic models
- (and 1 more)
-
you've made some good progress Archie.....she coming along splendidly! lots of folks will do the shrouds first......and then the back stays, just so that they will be out of the way in tying the rat lines to the shrouds. the shrouds and rat lines look good, but you might want to add lines to them for a closer spacing. they will look better, but it's up to you if you want to do it. did you drill holes in the fife rails {around the masts} for the belaying pins? when you get to the running rigging for the yards and such, these areas are where most of those lines will terminate. if the kit does not supply belaying pins, most online shops carry them. don't mean to be picky.........you've done a real nice job so far. I've been your shadow....glad to see your enjoying your project.......I will continue to do so. also very glad that your talking about your next project....you've learned so much already gonna love watching you when you get your ducks all in a row keep looking in on other projects and see what others do........there is so much knowledge here on the site.......so many talented folks here. you'll be up to speed in no time
- 37 replies
-
- 2
-
-
- eagle
- constructo
- (and 1 more)
-
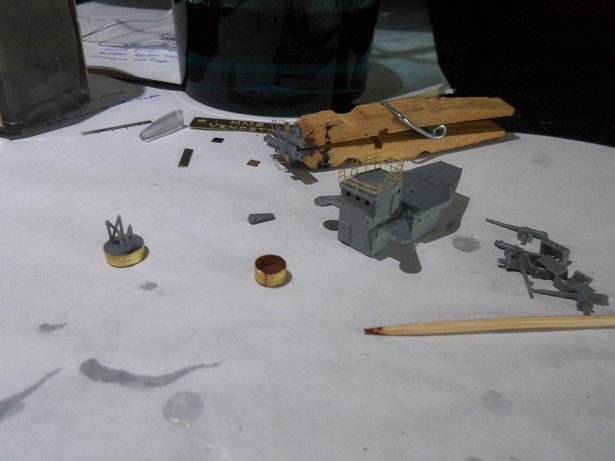
thanks all.........I just spent 20 mins looking for a paravane! I had it in my tweezers.........and then.......*poof*......it was gone! I thought it got into Gibb's fur {he was laying in his favorite spot}, but no. found it a foot or so away from my desk on the carpet. the same thing happened to the machine gun that sits on a platform. I had broken the barrel, trying to trim away the sprue leaving, and was gluing it back on, when it too took a fly. I though it was a gonner too, but I found it. hard to keep track of all these small parts. the admiral says that she's beginning to see a pattern here just run of the mill clothespins Sam........must be that the parts make them look bigger than they really are
- 1,090 replies
-
- 8
-
-
- showcase models
- vendetta
- (and 2 more)
-
any progress is good progress Jesse...........there are no rules on speed amazing work your doing........! super job my friend!
- 1,306 replies
-
- 8
-
-
- syren
- model shipways
- (and 1 more)
-
your moving right along now! the decking looks great
-
I think this would classify as a form of torture....... the diagram shows the square portholes too.......are those going to be added as well?
- 405 replies
-
- 7
-
-
- tamiya
- king george v
- (and 2 more)
-
Awe heck.......I have all that PE.......I'll think of something icky mae no worries Carl yes Lou.......but the PE would be bigger
- 1,090 replies
-
- 7
-
-
- showcase models
- vendetta
- (and 2 more)
-
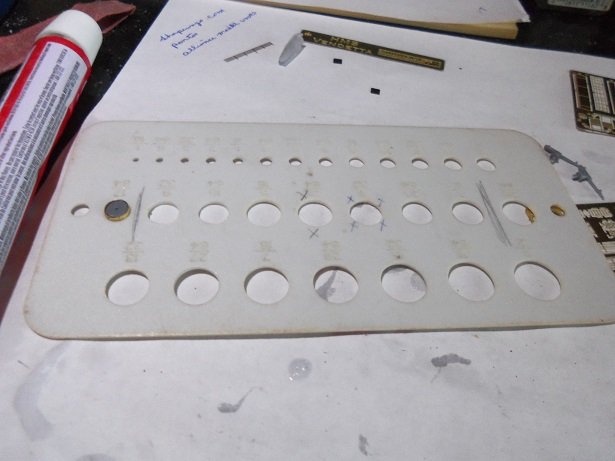
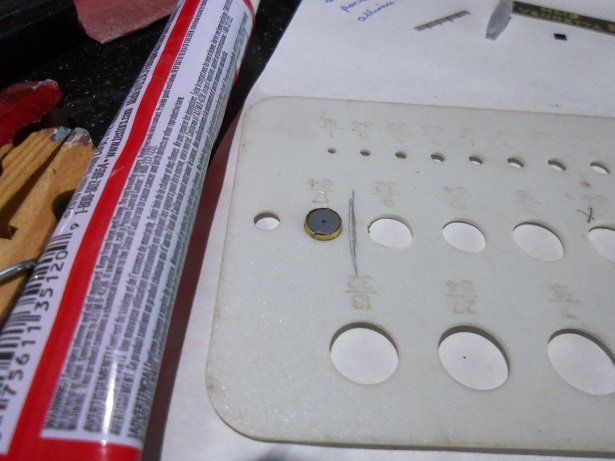
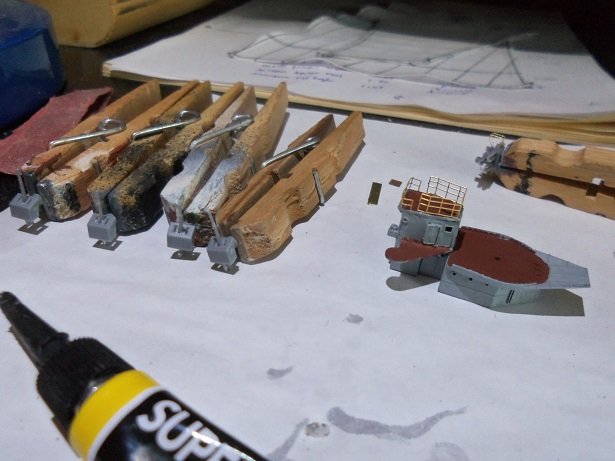
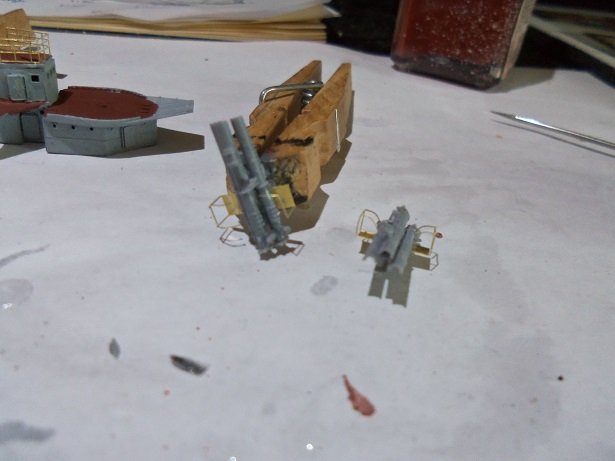
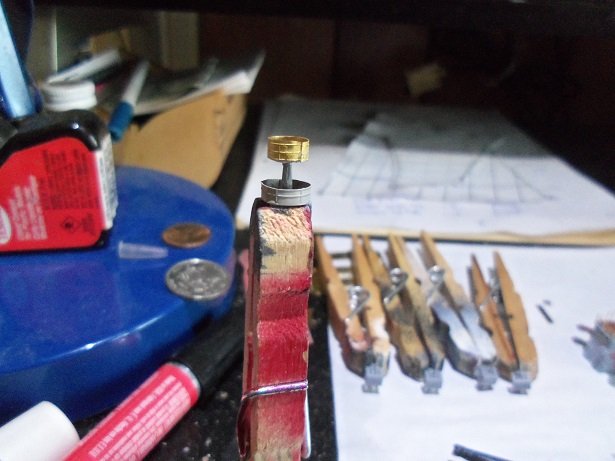
so I take it your finished Carl........such a sweet vessel! very well done indeed I gotta scare up the pictures I have so far....they are still in the camera. even though it's our anniversary today, I've done a bit more while musing over my coffee this morning. as I mentioned earlier, I found a neat way to do the search light tubs....I used a drill index. the tubs came out OK......now to assemble them and paint them. I did some PE work on the fore structure too........the front railings came out good......but the back ones were a pain. assembly started on the four big guns. I ended up having a bad turn on the torpedo launchers......take a look here........it's the only picture where they look this good. note that one of the railings is missing on the platforms........they are looking worse, the more I adjust them. I may have to do something different with them. the little railings are breaking off....trying to save them, but it's like putting gas on a fire. assembling the tower...... I think I need a bigger boat
- 1,090 replies
-
- 10
-
-
- showcase models
- vendetta
- (and 2 more)
-
look'in really good Carl.........your search light tower is different than what I'm seeing. gotta go.....I see two tubs instead on one. show ya when I get it assembled
- 1,090 replies
-
- 4
-
-
- showcase models
- vendetta
- (and 2 more)
-
thanks Ron and Robert......my first time with a solid hull. it's been interesting.
- 171 replies
-
- 8
-
-
- krabbenkutter
- authentic models
- (and 1 more)