


popeye the sailor
-
Posts
16,007 -
Joined
-
Last visited
Content Type
Profiles
Forums
Gallery
Events
Everything posted by popeye the sailor
-
 I need to see how and where you guys are terminating these lines. I am wrestling with the searchlight tub at the moment......you ought to see how I solved the problem I didn't paint the inside of the funnels......didn't think of it really. saving grace.........it will never be seen by those in the know
- 1,090 replies
-
- 6
-

-
- showcase models
- vendetta
- (and 2 more)
-
the other side looks a bit better.......I was kinda put out by it, until I thought about it. it nice when you can solve a problem by coming up with a reason for it thanks for the good word Carl pictured is one more thing I need to change.......can you see it?
- 171 replies
-
- 9
-
-
- krabbenkutter
- authentic models
- (and 1 more)
-
that's Dirk........putting holes in a star destroyer, before the rebels do well take solace Greg that your building her at a time where she still has them......you won't need to do all that will you need to do the square ones? glad you found out about the D cable
- 405 replies
-
- 5
-
-
- tamiya
- king george v
- (and 2 more)
-
off to a good start in giv'in her some teeth! your work is superb as always Bob........nicely done! gratings look great too! you'll have the deck layout done in no time.
- 359 replies
-
- 2
-
-
- prince de neufchatel
- model shipways
- (and 1 more)
-
I think I read where the cables were only on the bow section....did you mention something about this in your intro? as a mater of fact, the Hood PE I got has the complete set of cables included
- 405 replies
-
- 5
-
-
- tamiya
- king george v
- (and 2 more)
-
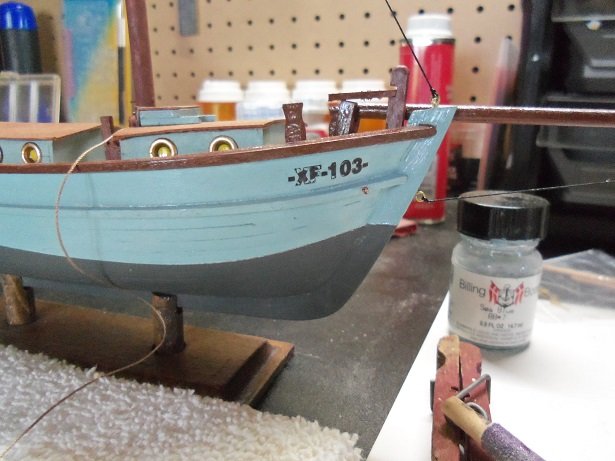
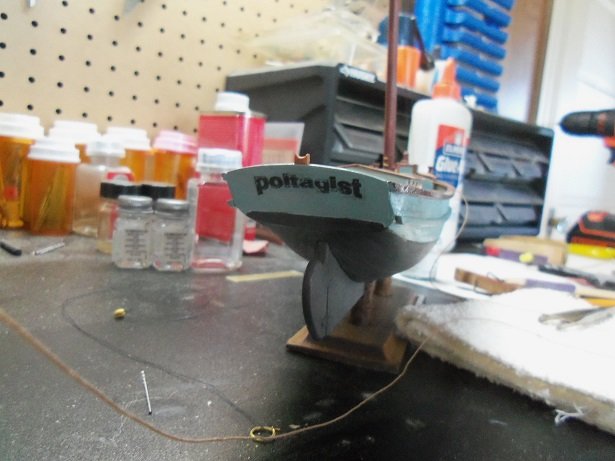
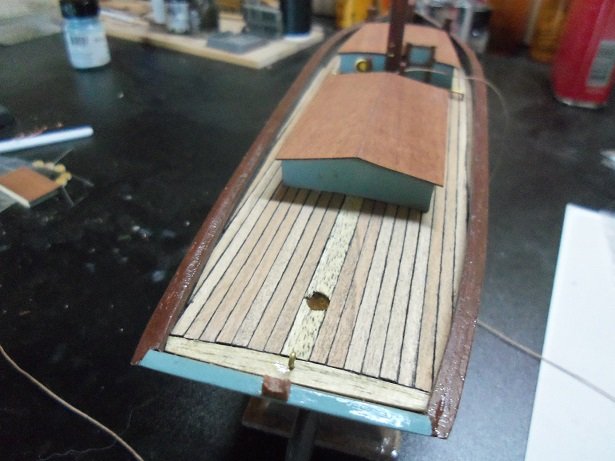
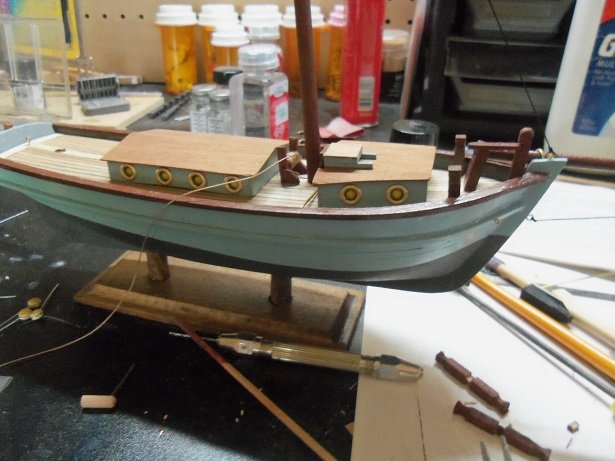
I'm not done yet Robert.......I've got the rest of the rigging ahead of me I'm still not completely happy with the sails, but I'm going to use them anyway, since this is a work boat. the traveler is crude......but will do for the same reason. I did some more painting to finish off the gaffs and booms.....they are ready to have the blocks added to them. I started to rig them for tying. the decal were another let down.......depending on how you want to look at them. I guess you can't use decal paper that has already been through the process. I gave them a coat of decal bonder, but for some reason, it didn't trap the ink very well. as I was applying the decals, some of the black came off. although they look shoddy, they have the look as though time has eroded them, and look as though they need a repaint. to make things worse, I couldn't cement the aft hatch in place, because I had installed that rear porthole. I removed the porthole and filled the hole with filler, sanding it down and painted over it. the aft hatch can now be cemented in place. the tiller is almost ready to be installed.....that's next. until the next update.........thanks for look'in in
- 171 replies
-
- 15
-
-
- krabbenkutter
- authentic models
- (and 1 more)
-
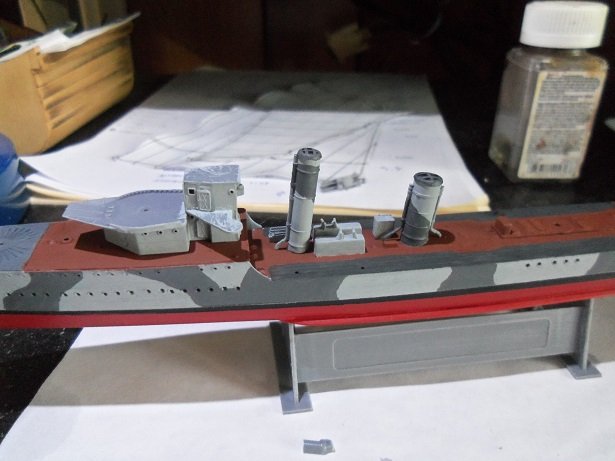
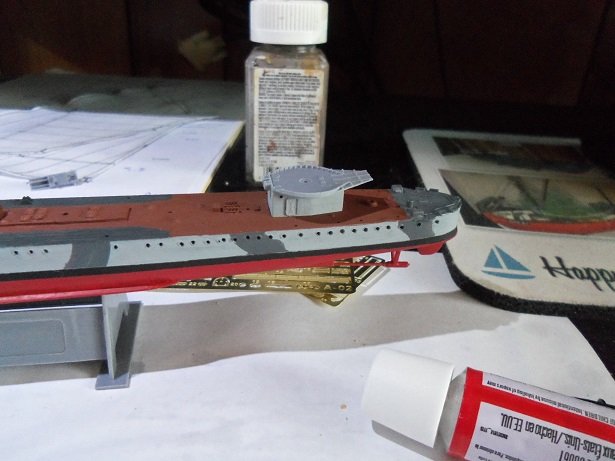
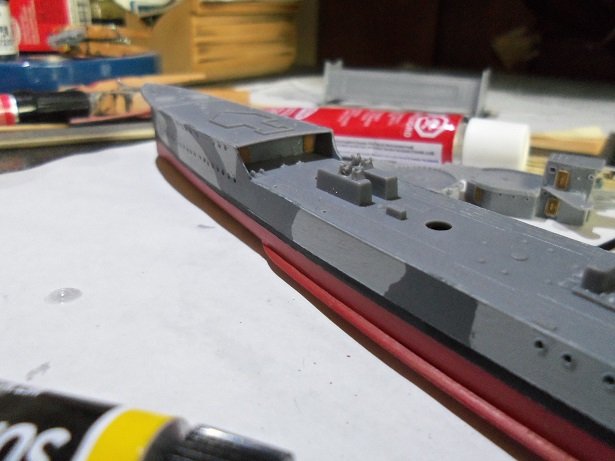
never a dull moment with you two...it's a good thing you have something in common very nice work Carl....on both fronts. the subs must be waterline models. are you gonna do a diorama with them? Vendetta's looking really good.....well done my turn to show my meager work. I did some painting to the funnels.......while they were between coats, I started on the rest of the deck. Then I used that sooty black stuff I mixed up to do the side boards on the deck. I'm still play'in with the PE.......there is a generator {or something or another} that locates near the aft funnel. I gave it a new face on both sides. that part with the railing.......it will have to do. I gave it some paint and cemented everything on deck that I have finished. I left the fore and aft structure removable though...still more to do on them. darn close up shows my shoddy paint work the aft section so far........ ....and here is a starboard view. for that platform aft of the funnel, I found six PE covers for those hatches...kinda dresses them up a little. hopefully, I can get more done before I go back to work. it will be a short work week though......I took Monday and Tuesday off. Monday is our 30th anniversary {it's kinda like an eval at work......I'll see if she'll keep me or not } wish me luck

- 1,090 replies
-
- 12
-
-
- showcase models
- vendetta
- (and 2 more)
-
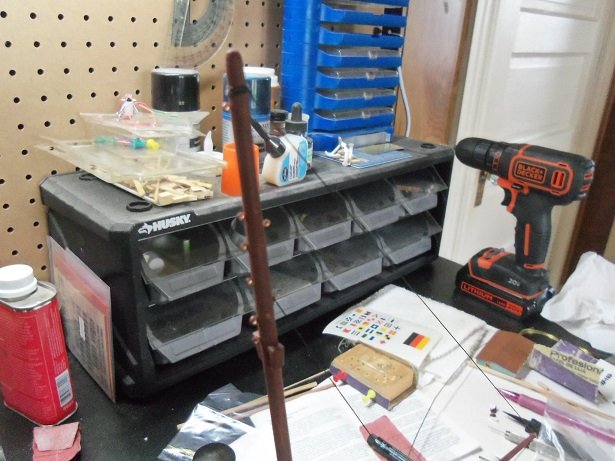
off and running I see......... I used my battery operated drill for the Vendetta.......does well at a slow speed. now, if I was to do anything major for a modification, I wouldn't use a scroll saw...already seen where that gets you {now THAT'S a mess}. have you a method thought up to cover over the potholes aft? I would think really thin brass.......use a paper punch or something to make the circles....would do well. better yet though....I've seen items in the local craft store, like confetti, or look in the clothes enhancement dept......I've seen stuff there too that can do well in covering them up.
- 405 replies
-
- 5
-
-
- tamiya
- king george v
- (and 2 more)
-
that's a fine list you folks created there........I was looking at Gold Medal this evening.
- 1,090 replies
-
- 6
-
-
- showcase models
- vendetta
- (and 2 more)
-
thanks OC.......and thanks for all the likes now to do more of the rigging, and get the sails on. appreciate ya'll look'in in
- 171 replies
-
- 9
-
-
- krabbenkutter
- authentic models
- (and 1 more)
-
sorry I didn't get back to you about the anchor.........you did well with it anyway she looks great!.....life preservers....the nets......and the rigging looks really super! I'm sure the folks who you built it for, will be quite pleased with your efforts! well done......CONGRATZ!
-
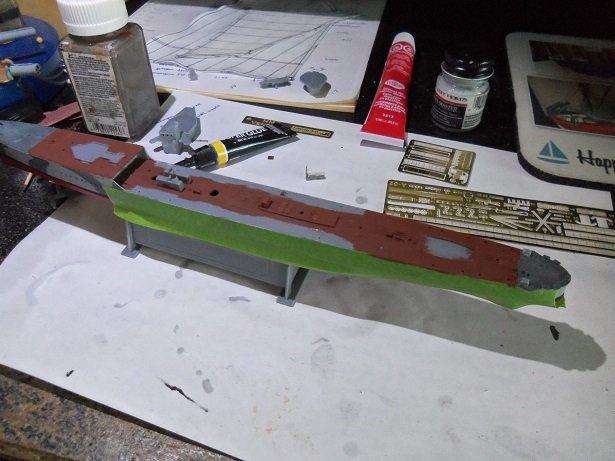
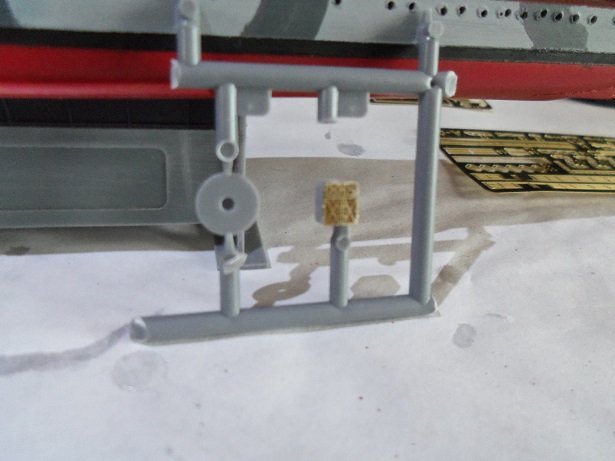
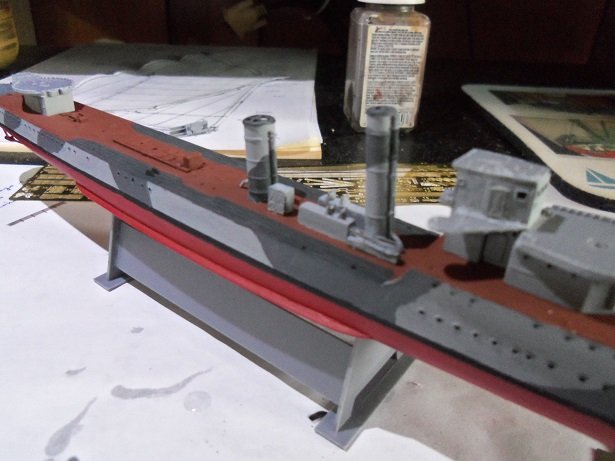
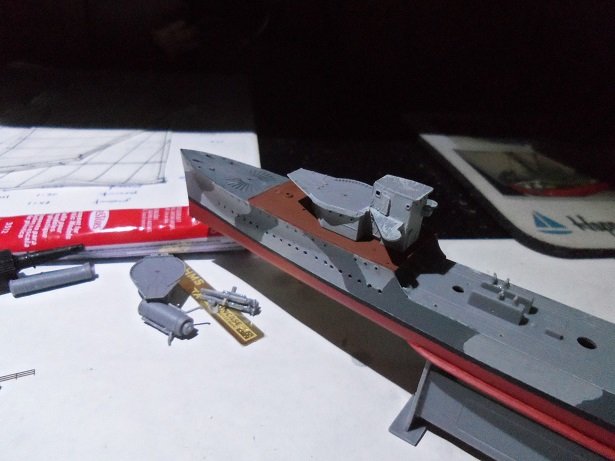
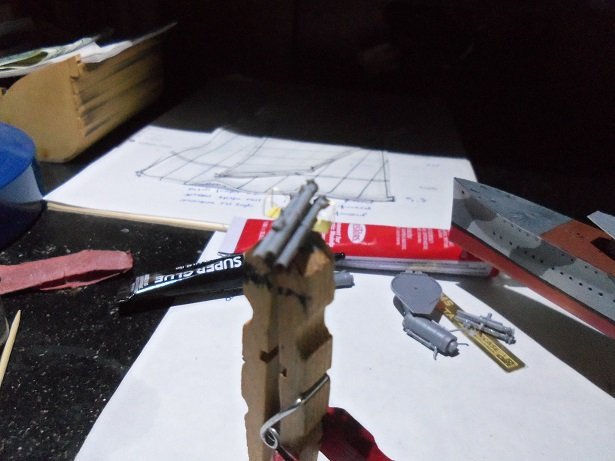
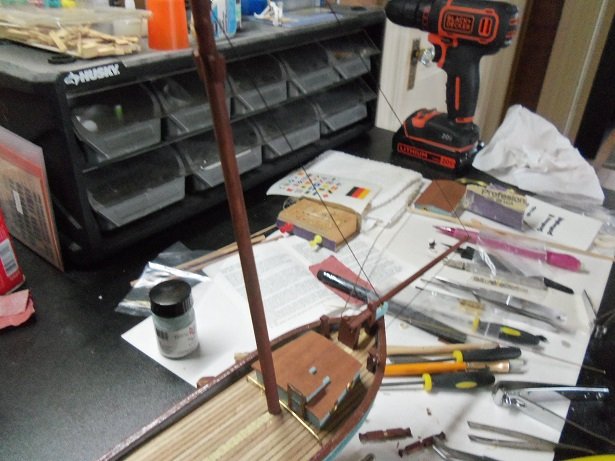
spur of the moment thing.......I have a graduation to go to for my oldest grandson. it will take a bite out of my day today, so I won't get as much done as I would have hoped to accomplish. here is what I have so far. for the ill fated bulkhead, I did get the door in place......also the cradles for the paravanes. there is a small structure to the right of these two structures, that needs a railing to go around it before it's cemented in place. I fared badly with it, so I'm substituting some other railings on it...that's where I ended last Friday. I had decanted the primer...even though it's still in it's wet state, I compared it to the color blotches on the diagram. it is pretty close to the gunze color, so I used it without making any adjustments. the fore structure has been given the ghost gray so far, set on the deck to see how it will look. the main deck still needs to be done. I also see a saving grace......I notice that the main mast is on the same slant, as the funnels, so I might not have to drill a hole in the fore deck. I managed to save the pipe on the aft funnel......so that little problem has been averted.....now they can be painted, once PE has been added. I assembled the platforms on one of the torpedo launchers...haven't gone much further there. kinda blurry......hope you can see alright. I'll post any progress today ASAP
- 1,090 replies
-
- 11
-
-
- showcase models
- vendetta
- (and 2 more)
-
quite a project you have going Greg.......I'll definitely be following along I looked up degaussing....never heard of it before.....very interesting reading!
- 405 replies
-
- 8
-
-
- tamiya
- king george v
- (and 2 more)
-
the fore deck is shaping up nicely super job Kevin
-
perhaps Peabody and Sherman can be of help?
-
sounds like it might have been better to use filler........glue would only soften the plastic {never tried CA}. is it salvageable?
- 229 replies
-
- 4
-
-
- trafalger class
- airfix
- (and 2 more)
-
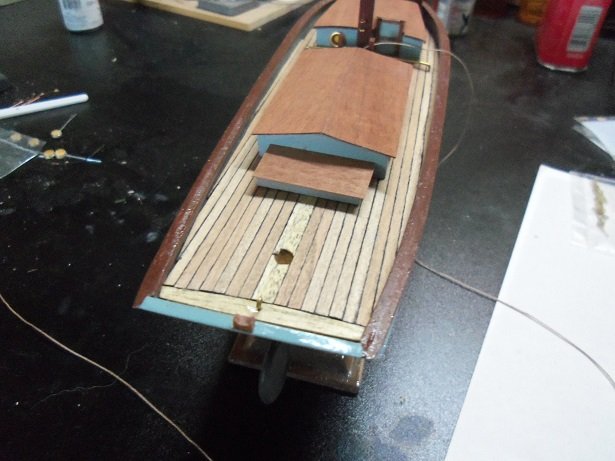
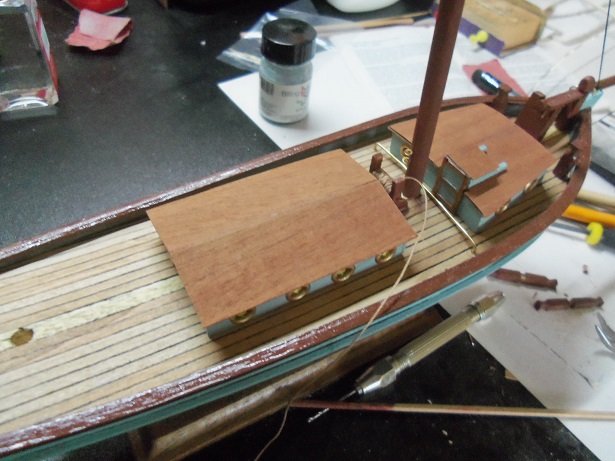
I've been trying to get the latest update up for you folks to see. I started to do some pre rigging........fore stays........I also got the horse in place. the winch is in place, after winding some thread on it. I also added the main cabin......an effort to get some progress done on her. hope to have more done on her soon.........thanks for look'in in. thanks for the likes as well
- 171 replies
-
- 13
-
-
- krabbenkutter
- authentic models
- (and 1 more)
-
she's look'in fantastic Carl........looks like you'll be done before I know it I don't have too much progress to show, other that starting to paint the fore structure, painting the fore deck, and getting acquainted with the PE better. I don't know if I have anything for the paravanes......I'll have to check. as for another of these projects.......if I can make some real progress on this one, I may consider it. I also thing the budget director might have a problem with it........since I bought that U.S.S. Arizona kit. I should have an update by Weds.
- 1,090 replies
-
- 8
-
-
- showcase models
- vendetta
- (and 2 more)
-
hey there OC....finally got a chance to see what you are up to off to an impressive start. it will be interesting to see how your going to improve on this added detail your thinking of
- 229 replies
-
- 4
-
-
- trafalger class
- airfix
- (and 2 more)
-
what scale is your Missouri? I recently bought the Revell U.S.S. Arizona, in 1:426 scale.
-
does she like it there? I remember when I first brought the Nordkap home.......the first wooden ship I ever did. we had this cabinet in the dinning room that she kept cookware in. the Nordkap was a skeleton on a pine board.......the fellow I got it from started it, but it ended up in his attic for 30 or so years. when she saw it, she asked {with this 'put out' sound in her voice} "now where you gonna put that?" I looked, and said "right here....." and I put it on top of the cabinet that's where I built most of it too! I was building a Revell Cutty Sark in the computer room......she warmed up to it
-
good to hear Carl.......what will you be doing? PE railings stink!
- 1,090 replies
-
- 6
-
-
- showcase models
- vendetta
- (and 2 more)