DONATION DRIVE - SUPPORT MSW - DO YOUR PART TO KEEP THIS GREAT FORUM GOING!
×


popeye the sailor
-
Posts
16,007 -
Joined
-
Last visited
Content Type
Profiles
Forums
Gallery
Events
Everything posted by popeye the sailor
-
 wasn't feeling well yesterday, so I took the day off. was going to do a little, but ended up sleeping in my recliner {pffffff} then there was the walking dead that I wanted to watch sorry Patrick..........a carver, I am not there is a lot of mixed info on this ship Sjors.......I'm just going by what I see :D for instance, is it me, or do these masts look a bit stunted?
 -
I'm following the pictures I have of her......the rebuild. now I need to make the diamond decals.......and perhaps the circle inlays { I'm not too optimistic about them though}. should look pretty cool when it's complete {the process, that is}
-
such a neat idea!
-
so cool Michael.......... in so many ways, a life-like replica!
-
what spring.........cold weather.......snow and flurries.......ice! Augie's planting his spring peas.....and we can't even break ground! this keeps up.......we'll go right into summer.......which I hope is hot.....hot......hot!!! ice age.........why just yesterday, I thought I saw a wooly Mammoth..........oh......it was next door's sheep dog :D
- 2,191 replies
-
- 5
-

-
- confederacy
- Model Shipways
- (and 1 more)
-
thank you Adrieke! so good to have you looking in .......a little bash........a little scratch......but aren't they all though the hope is to keep as close to the photos of the actual ship {the ones I have anyway}, as I can. it's been fun so far thanks for the good word!
-
speaking of that......have you made any progress? love to see where your at with this bad girl
-
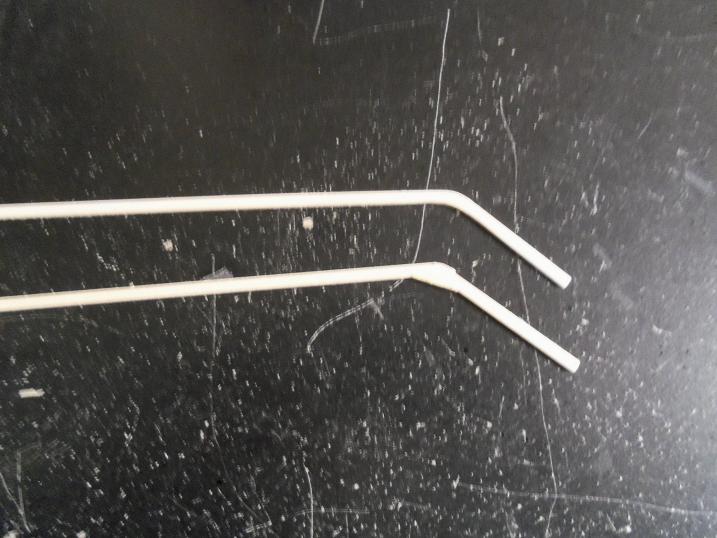
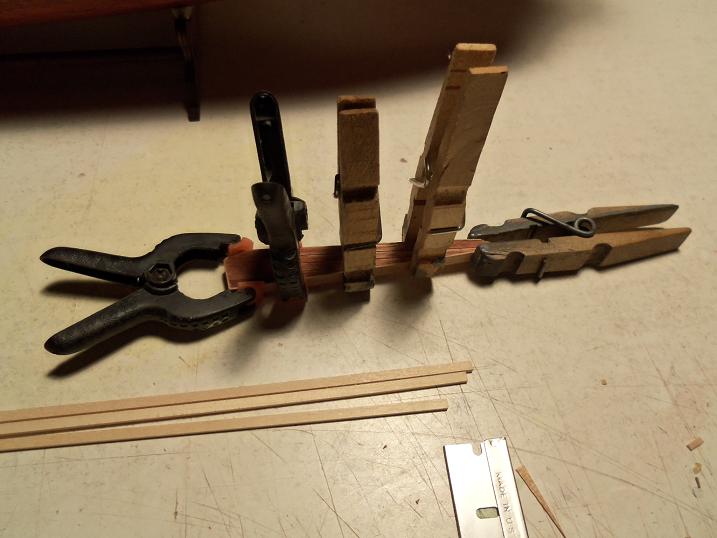
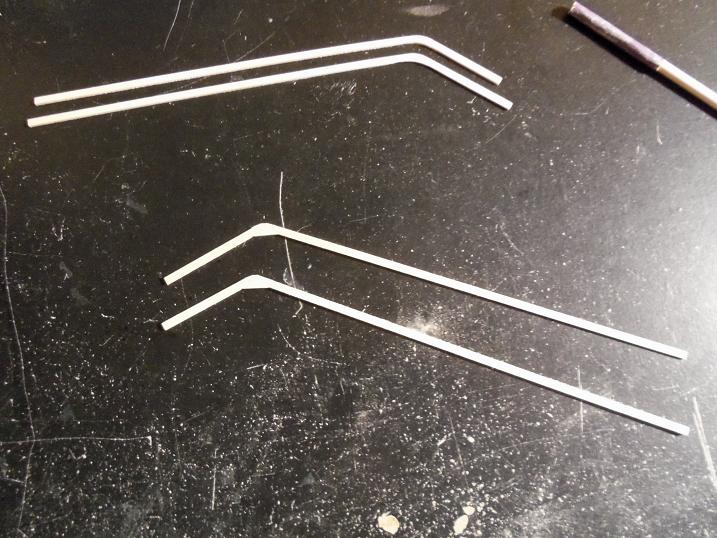
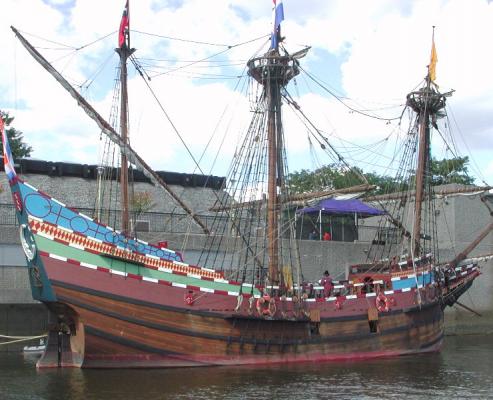
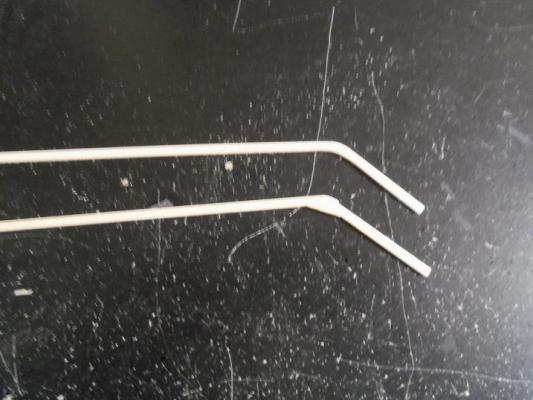
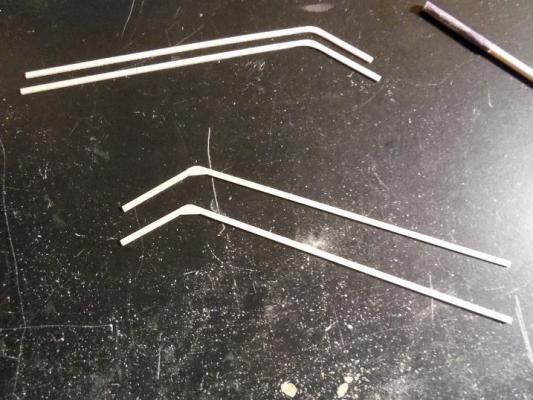
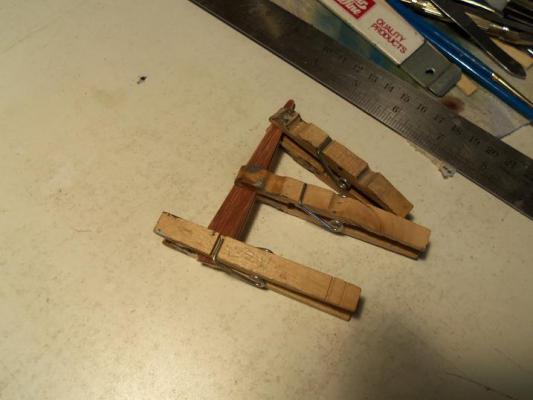
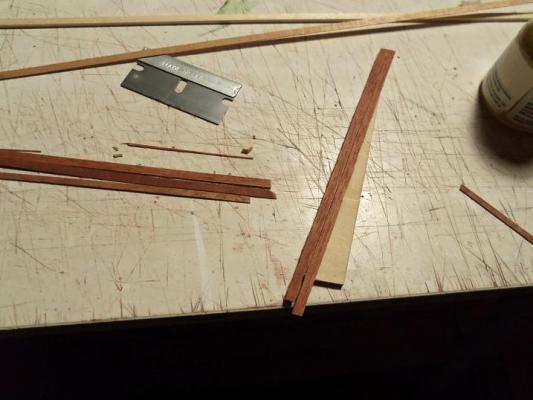
thanks Mark the inclines aren't done to any instruction....just done by eye, so I have to scratch make all three sets. I've tried to bend strips like this before.......after many failed attempts, well I don't think I need to tell anyone here how hard it is. they start out bulky, but they come out good in the end. I'm not too concerned with glue blotch, since they will have that stripe overlay, hiding it. thanks for the good word!
-
that's my nail biter too........all smooth to the eye....until you lay on the first layer of paint. I've come to consider it normal, and have included it as a step in my paint process. looks good....... good to see your still working on her.
-
thanks Patrick........the only color that I didn't do is the reddish brown.......didn't want it to clash with the mahogany. not sure how I'm going to go with the striped strips.......I may have to do some curving with it as well. thanks for the good word!
-
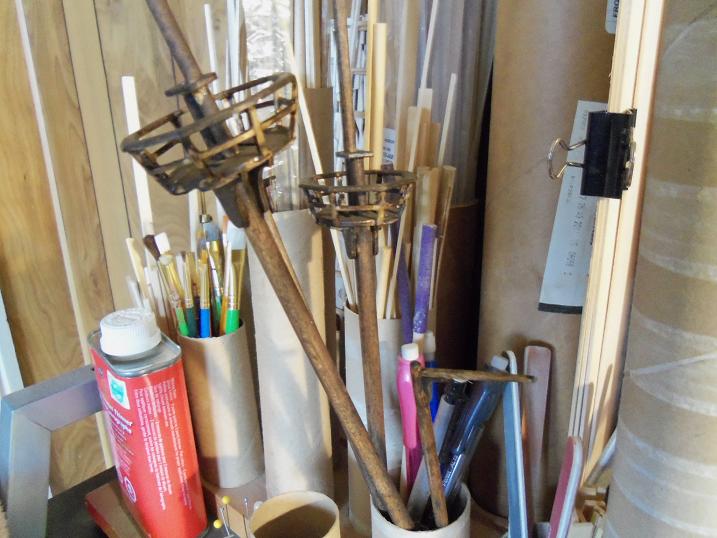
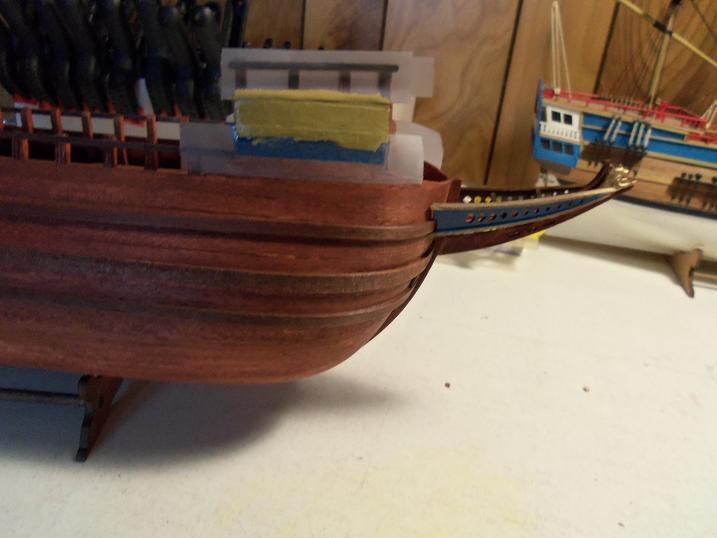
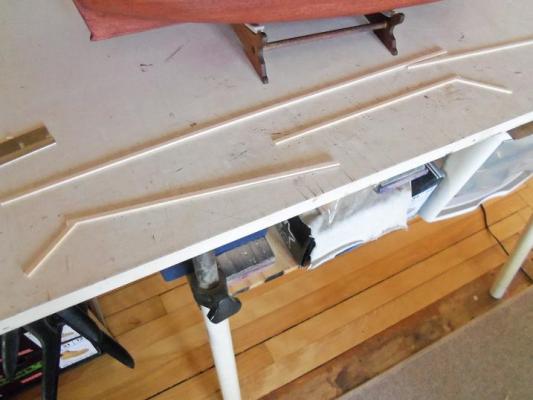
I went into the camera........yea, there were still a few in there. here is a close up of the nests. horror show...........or no? more work on the rails......progress on the top rails. here is the center rails the other side of the rudder is planked over.......now to wrap the outer edges to hide all the plys the top rails are shaped and ready for stain. the center rails are next, and then I can make the final pair of curved rails. I'll even need to bend a couple to run along the edge of the mid ship...from the bow to the stern. more to come.


-
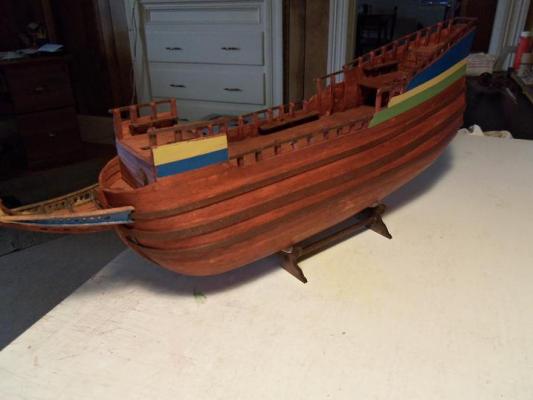
thanks John......this is the basis for the hull decoration. when I get the rails on, it will really stand out
-
thanks Augie.......I've probably done it in the past, but didn't realize it. all I could imagine, was cracking and flaking as it dried glad my thoughts were put to rest.
-
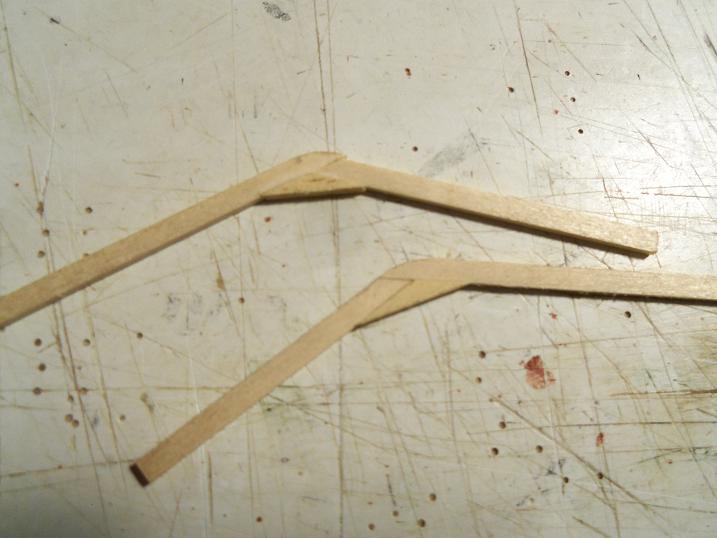
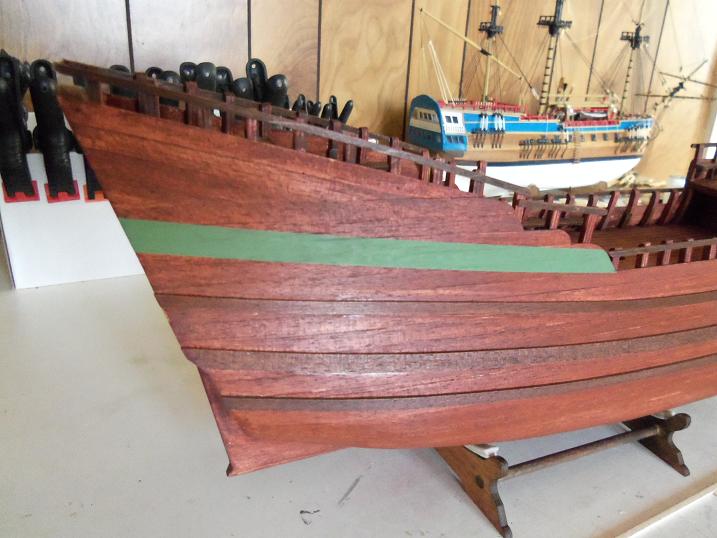
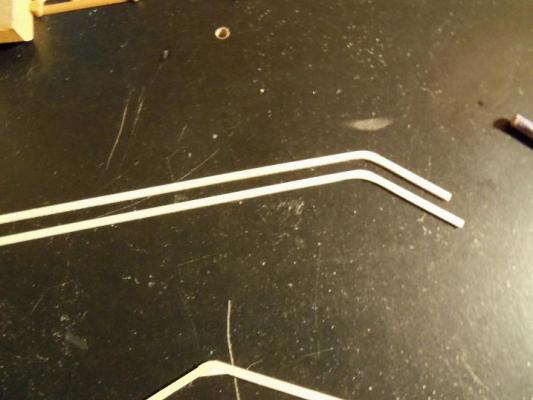
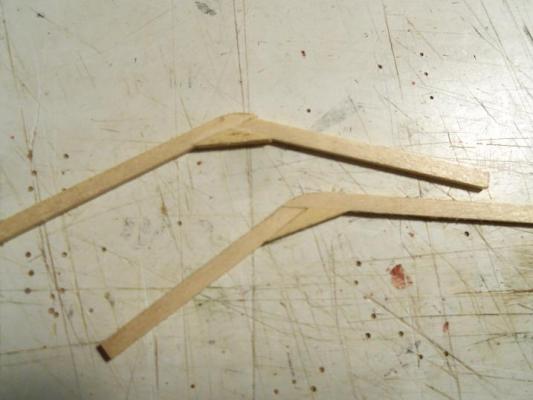
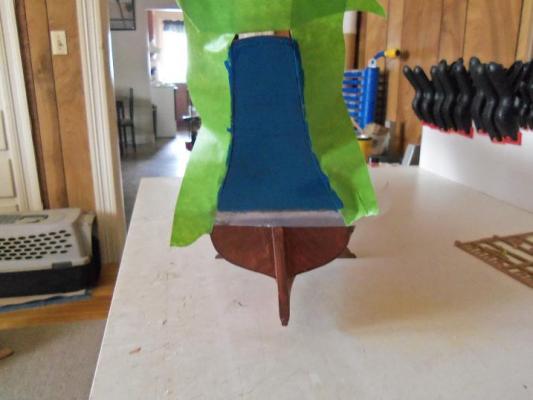
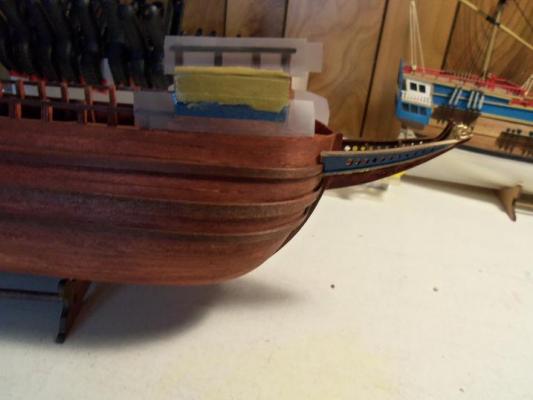
the curve along the outside of the rails isn't a problem......what of the inside curve? a tiny triangle of material is cemented in place there, and will be sanded to a curved contour. the paint work is done. I found that the paint stuck quite well.......I was able to mask it off with the scotch tape, pulling none of it off when removing it after wards. more work done to the rudder, thickening it up now I'll have to see what's still in the camera

-
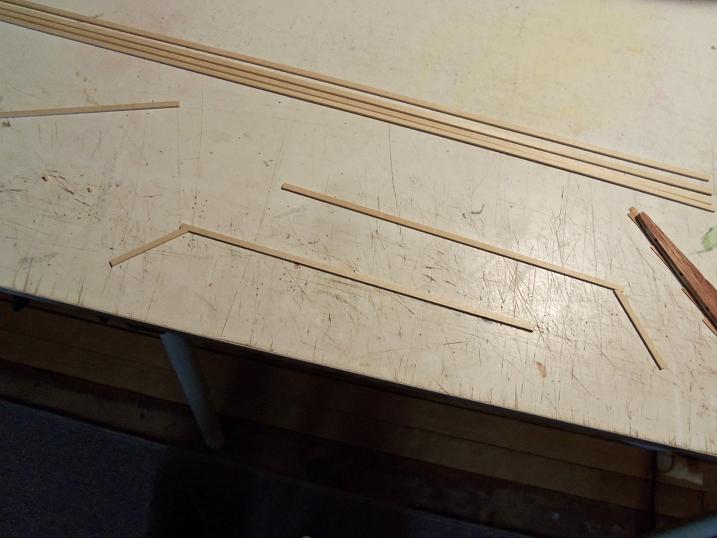
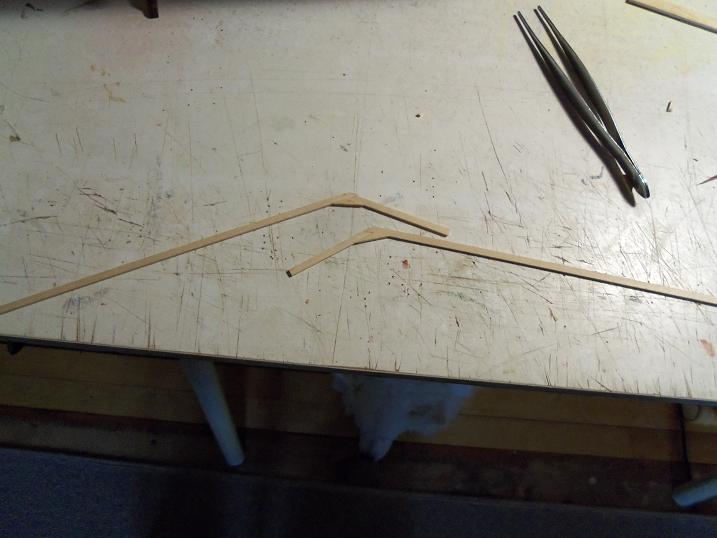
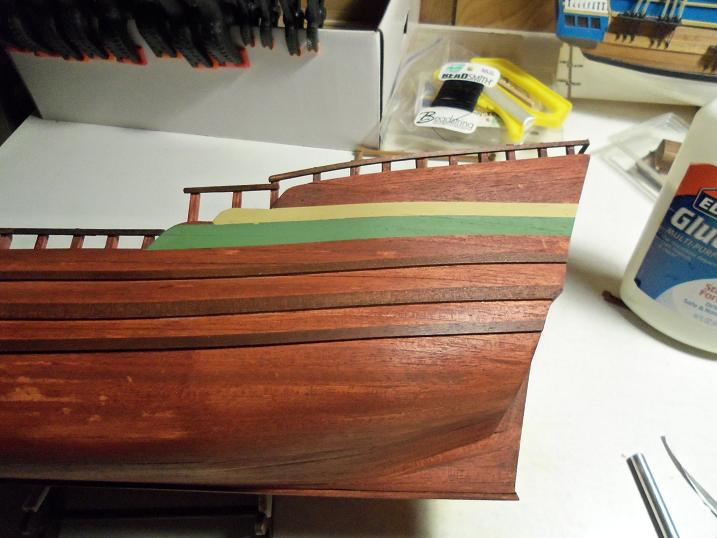
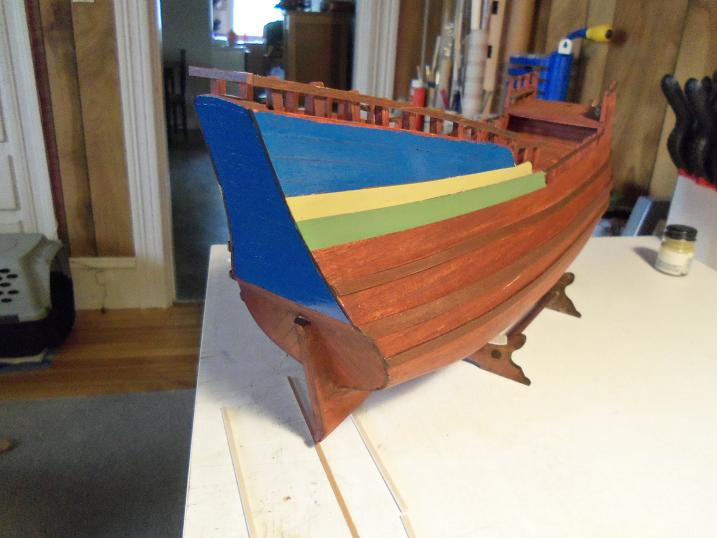
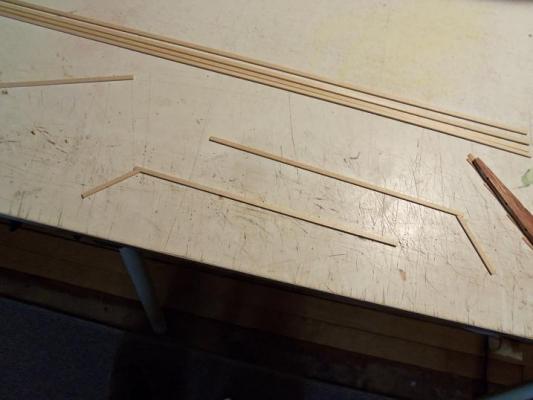
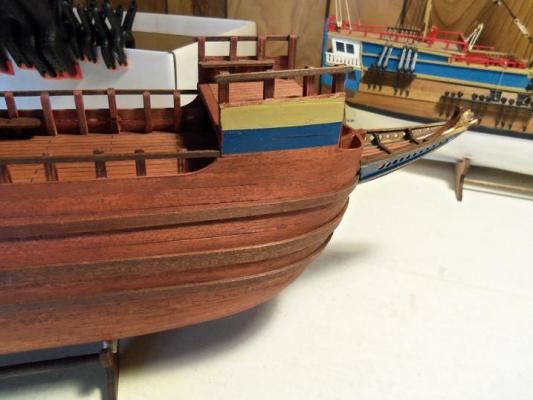
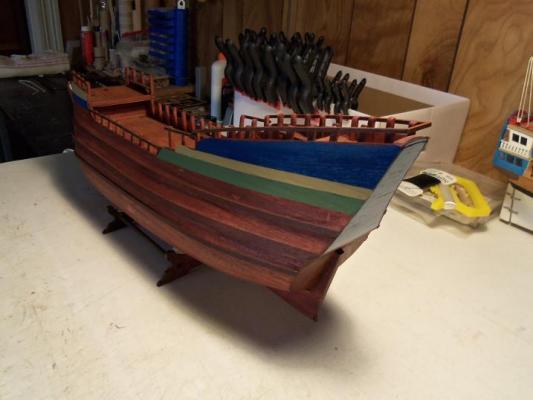
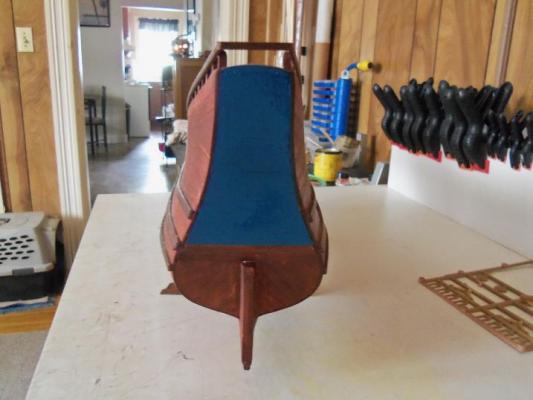
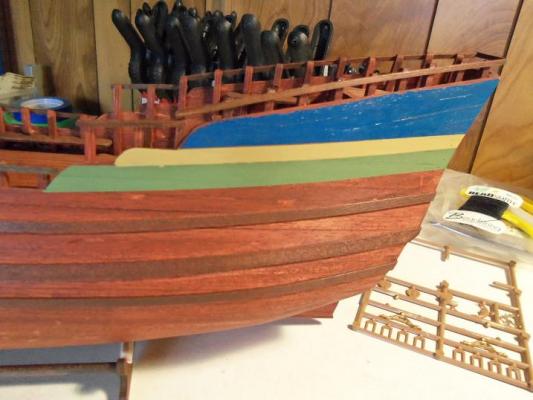
yes.......this was inevitable......tried to stall it till I did a test on this, but I guess there's no better time to see if paint will stick to stain. the stain has been dried for quite some time on the hull. I began with the transom, setting the back drop for the decorations. I have no flats in blue.........I'm working with what I have. I will be using a flat clear coat, I'm pretty sure that it will even everything out. the sides of the stern was next. I was having some trouble getting the Frog tape to stick, so I took to using scotch tape, which did a good job of it. any bleeding that occurred, will be covered by the rails, laid over the seams. this color green closely matches the picture.......it's an old bottle of Testor's paint. the old label.....it doesn't even tell you what the color is. since it is hard to bend a plank strip sideways, I'm having to do a bit of assembly to the rails. the inclines have a rounded appearance, so I'll have to create curves rails to fit them. these are the top rails. I haven't forgotten about the rudder........I began to plank one side, but I found that it will be too thin for the keel stem. I'll need to beef it up a bit. the yellow is a model master color...British armor sand {something like that}...closely matches the color of the middle strip. and then the blue again, which is a Billing's color...Mediterranean blue. I used the same color on the transom......don't be fooled by the light refraction. for the fore deck's outer hull, the colors are reversed, and only the sand and blue.


-
thanks Patrick and Bob........there's more paint to go now that we're back on line, I can post the latest pictures.
-
thanks Evan....that will save me some work as well. you've confirmed the yellow stripe too I really like those pictures!
-
looks really nice.........don't see any reason why you couldn't do bulwark stanchions {posts}. is there to be a cap rail on the bulwarks? you had to frame in the walls for the cabin.....and so you did beam for the upper deck. is there to be a fore cabin or deck? if so, then this will require posts, framing, and beams to support an upper deck (if there is to be one). looking in has a very homy feel to it......nice work!
-
Michael........the Metal Maniac......hmmmmm, has a nice ring to it sweet stuff!
-
you got 'em studdering now Doris.......very well done......{big thumbs up!}
- 883 replies
-
- 1
-
-
- royal caroline
- ship of the line
- (and 1 more)
-
thanks Lawrence.......I'm looking forward to it........don't believe I've ever rigged a ship of this era before. ....and there will be crow's feet! :D
-
slow and fun are synonymous with these builds John.........in my case, I open a box and they come flying out. but, in your case.....they must come out of the wood work she looks great so far
- 745 replies
-
- 1
-
-
- francis pritt
- mission ship
- (and 1 more)
-
thanks John and Sherry....doing some more painting at the moment. I'll be glad when the hull work is complete and I can get some clear coat on her thanks for the good word!
-
not too sure about the lids, but if you find that they weren't there in that period......
-
thanks Bob....first time doing a bow like this thanks to you as well, Nenad!