HOLIDAY DONATION DRIVE - SUPPORT MSW - DO YOUR PART TO KEEP THIS GREAT FORUM GOING! (Only 51 donations so far out of 49,000 members - C'mon guys!)
×


popeye the sailor
-
Posts
16,007 -
Joined
-
Last visited
Content Type
Profiles
Forums
Gallery
Events
Everything posted by popeye the sailor
-
 looking sweet Michael
 -
looking good Nils.......it has that hewn look to it, with the darker spotting in the wood. a nice honey stain, and that will make the grain pop! it is too bad it's a wood that doesn't like to behave
-
Cutty Sark by NenadM
popeye the sailor replied to NenadM's topic in - Build logs for subjects built 1851 - 1900
it can be altered Nenad......elongate 'A' {your going to plank it over anyway} and at the same time, you can make the windlass space wider. you can do it.......you've done so much..so far the main deck looks great! very nice!- 4,152 replies
-
- 1
-

-
- cutty sark
- tehnodidakta
- (and 1 more)
-
you have been busy Danny......good progress! the ship's wheel look outstanding, and the stairs look sweet as well! well done on the stanchions and railings too!
-
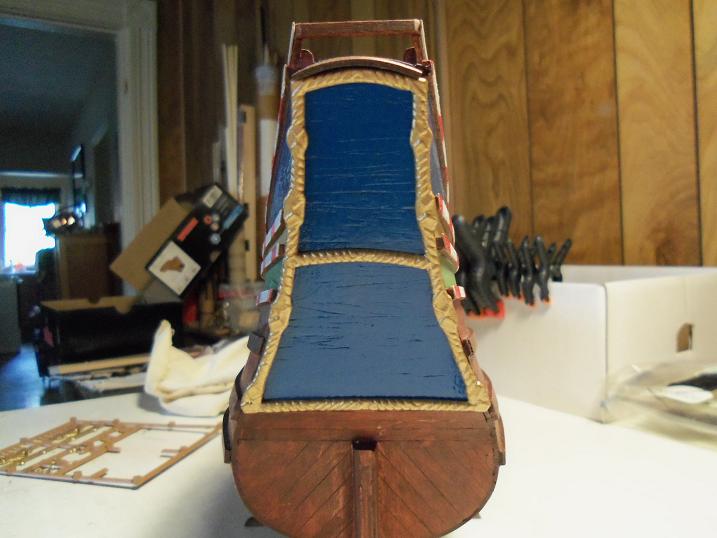
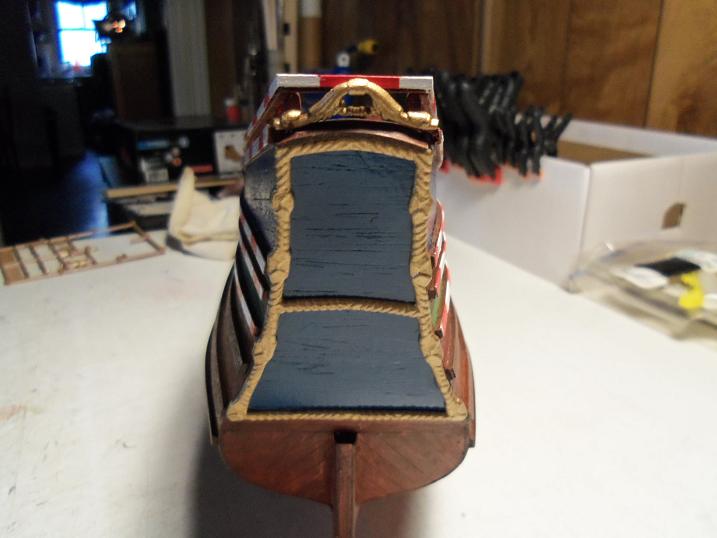
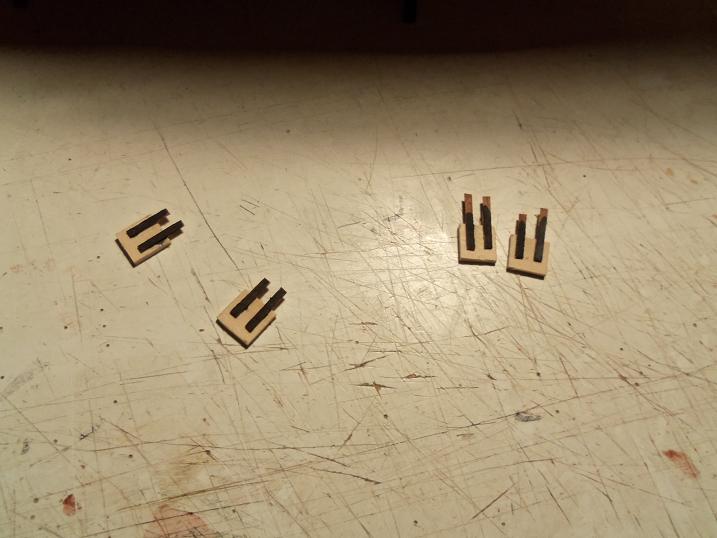
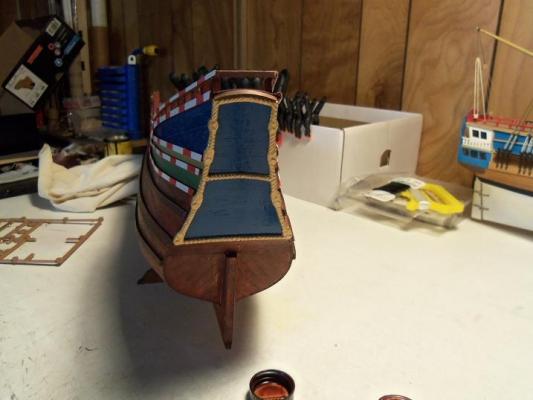
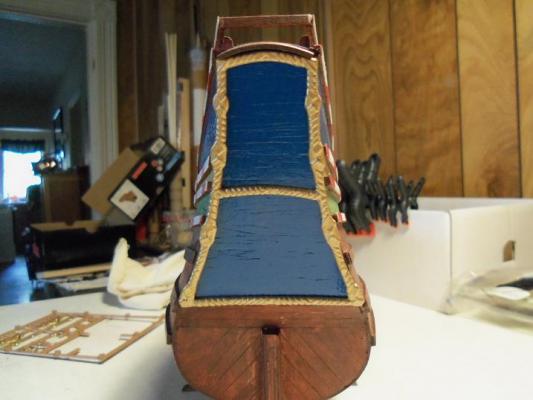
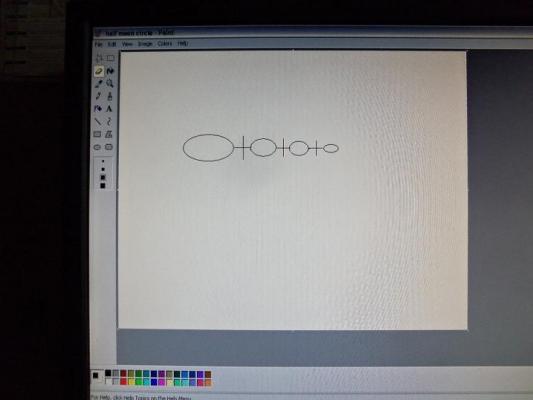
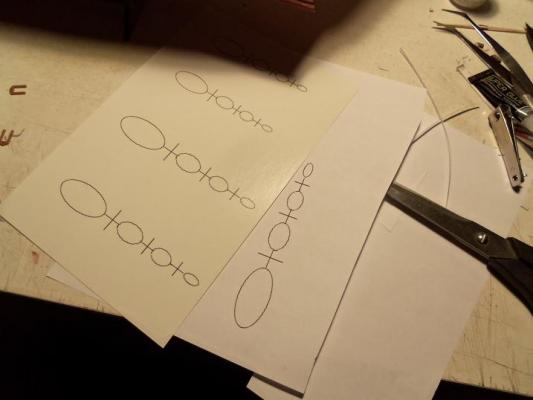
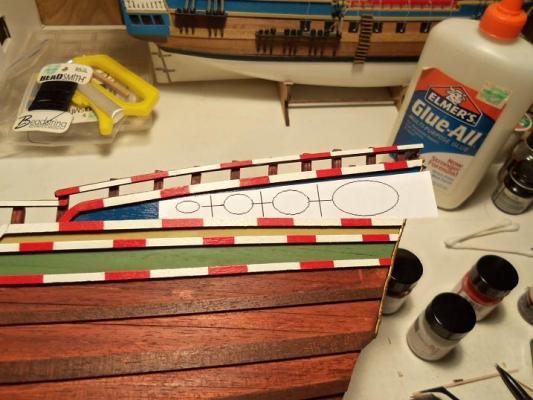
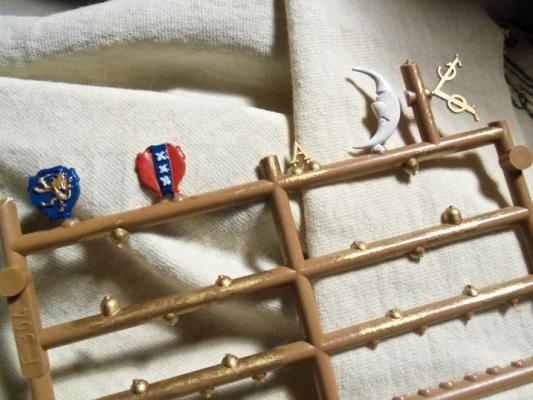
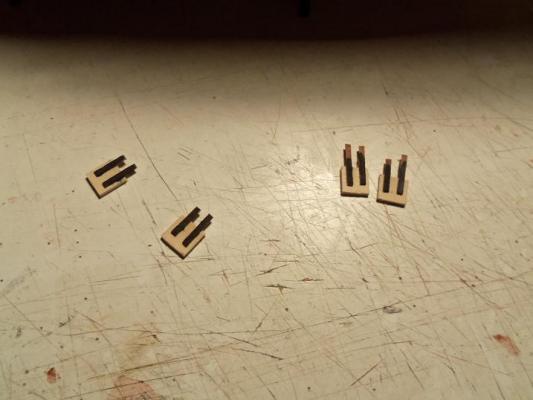
I had begun on the transom this past Friday. still some more to go before it will be complete. I'm going to lean more toward the Billing diagram with it, instead of the picture I've shown you......I like the added detail it brings to the build. first, I added the decorative molding that encases the transom......then the 'brim' at the top of it. on the back rail, I added a piece of the striped stripping and the ornament on the top now, as I mentioned, I created the circles and lines on paint shop. the one that is included in this computer is bare boned......can't do too much with it. I have downloaded paint shop 10.....I just need to install it, and I'll see how much more I can do. after importing the scanned copy of this design into the decal maker, I ran off a sheet.......but I think the image needs to be beefed up a little.......it may be hard to see. if this was the decal itself, you would not see all this white, but it will fit something like this on the ship there are other parts that will adorn the transom.........two crests, the moon, the stars, and the logo for the East India company. the stars are going to be interesting.......they are the studs that I found in the paper craft dept, at Hobby Lobby. I still want to go back and buy those other stars I saw......I will be sure to show them when I do. for some of the folks that have ship star decorations.......they will find these quite useful. anyway.......I painted all of these parts. the Billing diagram shows that there are four gun ports....two on the transom, and two just below the counter. these I have to make from scratch....they are missing in the kit. they are 10 mm squares of basswood......for the hardware, I'm using dark mahogany stripping......they are in the beginning phase. the mahogany was painted flat black........two of them will be painted blue, and the other two will be stained the color of the hull.......there's still more to do to them

-
thank you very much Lawrence. i've done a bit of work on the circles and lines........I having to make them using paint shop....need to figure out how to make the design look thicker.....I'll show you what I have so far. thanks for the good word.
-
are you using model master paints {made by testor's}.......I'm quite a fan of the armor colors. sorry to hear of your mishap......I'm sure your redo will be as equally pleasing to the eyes
-
looking good J!
-
frame work looks good Patrick
-
it's kinda like the window maker that I use. looks very good Augie!
- 2,191 replies
-
- 2
-
-
- confederacy
- Model Shipways
- (and 1 more)
-
congrats Mobbsie........few can boast.......many aspire.....to have their ship in such a display. very happy for you, my friend! I'll look forward in seeing the recent update on your latest master piece!
- 1,279 replies
-
- 2
-
-
- agamemnon
- caldercraft
- (and 1 more)
-
oh, woe be to the names taken in context....I could name them.......but it would get rather jaded near the end is your name not Bruce no, it's Michael that's gonna cause a bit of confusion......mind if we call ya Bruce to keep it clear?
-
good thing.......that could have caused more harm. my best wishes to you and speedy recovery
-
very good tutorial on making the ship's wheel Danny......... super progress your making
-
Cutty Sark by NenadM
popeye the sailor replied to NenadM's topic in - Build logs for subjects built 1851 - 1900
almost done with the main deck........that's great! I enjoy reading your log Nenad.......I understand- 4,152 replies
-
- 1
-
-
- cutty sark
- tehnodidakta
- (and 1 more)
-
sand the edges of the slots a little.........snug, but not tight
-
you make it look simple Matti........I should try it, before I can say that I can't I love the Wasa and the Norske love......one of these days, I hope to see myself with one of them very nice work your doing.
-
well, you don't have to go far........your classroom is right in front of you
- 1,616 replies
-
- 1
-
-
- caldercraft
- agamemnon
- (and 1 more)
-
thanks John, Mark and Patrick I think the ship's barber is out at the moment Sjors.....but I could do it! I have attachments for my clippers! ......and for that traditional stooge's haircut........I can use a bowl! :D appreciate the good word! I do listen to classical music from time to time........I was thinking more of the songs like "sunglasses at night"....or "cheap sunglasses" thanks for the good word Nenad! decal makers are nice things to have Daniel......I wish I had one when I was into modeling cars. although it makes it easy to create the fancy designs on ships, it still doesn't come close to those who are really good with a brush. the first thing to do, is to figure out whether a particular aspect is painted on.....or carved. to be honest......I don't know if I can carve .....I should try it. I'll keep it in mind when I do get the updated version icky-may thank you Borge.........good to see you here! did you see the glare all the way to Norway? :D thanks for the good word!
-
thanks Geoff for an kit with missing pieces, it's been a lot of fun. thanks for the good word and looking in I look at so many builds here.......it's hard to see them all. I skimmed through your logs....... I was glad to see how quickly you picked things up. now I see your doing two builds......the more you do, the more you'll learn. your doing very well........keep up the good work!
-
thanks Augie
-
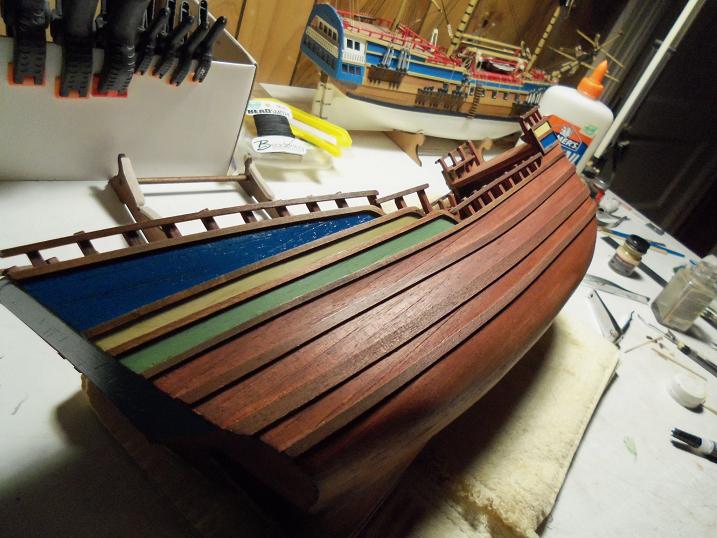
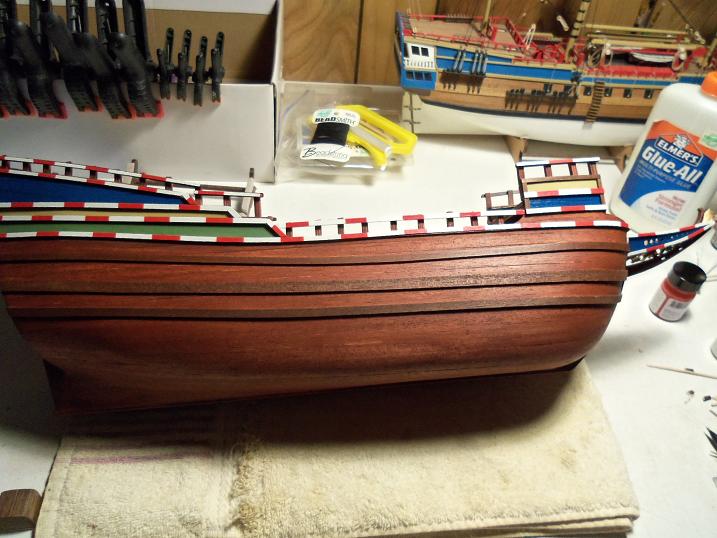
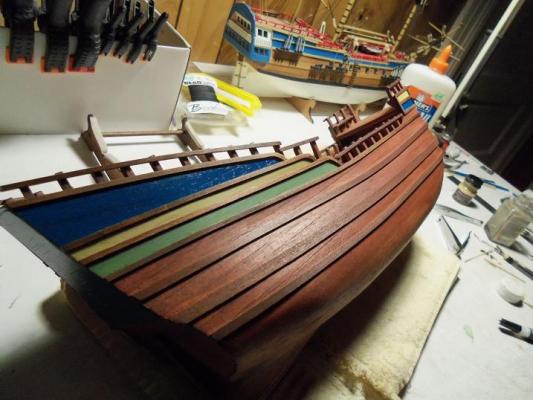
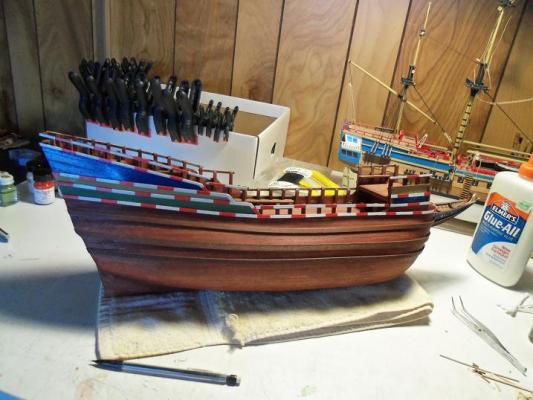
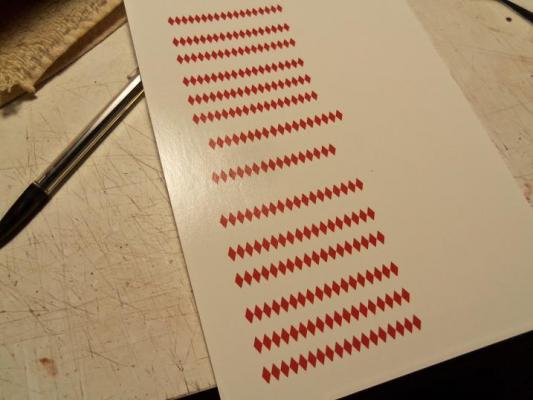
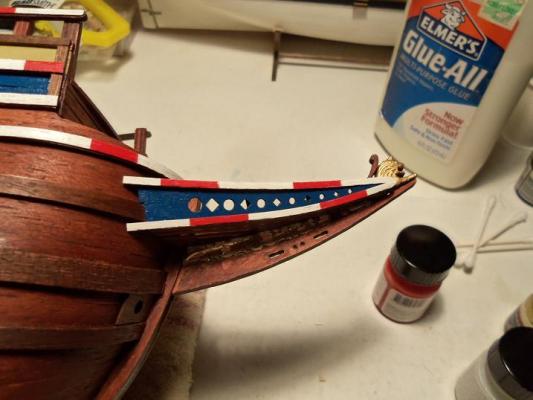
thanks Bob and Ferit. I got ink cartridges I'm almost done with the starboard side....just have the trail boards to do. I have a set of the diamonds printed.......and I find out that I'm out of bonder.....crap! I'll have to go and get some tomorrow.....then perhaps, i"ll be able to show you that bit of progress. so.....yes, the starboard side is done.......started with the rails..... ...and then the striped trim I made one set of decals......still need the bonder to seal them up. I might have to make an even smaller set......I think these are still too large. still need to make up the circles......I did the trail boards now.....both sides are finished.

-
your progress looks very good.......the guns are very well done.
-
sorry to hear of your problem.....I know how painful it can be. I used to go to a chiropractor once a year for adjustments. I haven't been for quite a while now.........I think I wore the kink out. hope to see you back at the table soon