HOLIDAY DONATION DRIVE - SUPPORT MSW - DO YOUR PART TO KEEP THIS GREAT FORUM GOING! (Only 51 donations so far out of 49,000 members - C'mon guys!)
×


popeye the sailor
-
Posts
16,007 -
Joined
-
Last visited
Content Type
Profiles
Forums
Gallery
Events
Everything posted by popeye the sailor
-
 that is so gorgeous Sherry! I even had to look back to see the before pictures.....man, I love those railings! I really like that color...your choice of scheme is quite a compliment to the wood.....some very nice work indeed!
 -
super work Michael.......your skills are amazing. keep to your original intent with this model.....with the mechanics you've put into this boat, it would be sad to not see it in action.
-
that don't sound too good.........I don't mind a little plywood delamination, but that would really fry my eggs. very interested to see the decking done as well
-
oh boy..... sorry for the quick exit yesterday, but I seemed to have picked up some sort of malware.......ad pop-ups all over the place! the admiral installed a program she has on her computer to combat it.....and of course the shot over my bow, that I should dump XP. Now for the catch up. thanks Patrick.......I hope to get to the decal soon. I need to finish up on the other side, and then it on to the transom. I need to get new ink jet cartridges first. thanks for the good word thanks John.......not too sure if the original ship was done this way, but it sure makes for an interesting model thanks for the good word! thanks Keith......I wish that was the case. I don't think it had a crest on any of the sails. I'm dying to try the idea on a large scale....I have done flags at this time. I do know that it is possible to pass sail cloth through a printer. it's something to shoot for in the future. I have read that particular article about Henry Hudson, and that website is the same one that I gleaned a couple of pictures from, among others that I have visited. did you see that one I posted from National Geographic? I thought it was pretty cool. thanks for the good word, my friend! thank you very much Sherry.......still more to go before I get to mast her. I am rather hampered at the moment......can't use the cellar for airbrushing {bottom paint & clear coat}, so I don't have a timeline for it yet. for now, just do as much as I can........I think 90% of the parts have already been assembled in some way or another. pretty awesome, if you think about it thanks for the good word! thanks Frank! thanks Andy........always a pleasure to see you pop in every now and again thanks for the good word! thanks Michael........I guess that the next generation would have a much easier time with their modeling......they'll have pictures to fall back on. we have to rely on historians and written text to imagine how these ships were adorned......even then we have to wade through all of the conjecture and points of view. all 'n all.......I think we do a fine job of it thanks for the good word! I didn't know that Sjors... in our country......yes, it could be construed as a word of caution, but it's OK on this ship......it's a barber shop! thanks for the good word, my friend!
-
whoooooHoooo.........wood meets wood!
-
thank you Peter and Mark! I followed the picture once I get the starboard side done, I can do the transom. I also need to do the bottom paint {anti foul}......according to the picture, it is red. I can't airbrush, so I will have to break out the brush......unless I get a good day, then I can do it in the garage. thanks for the good word!
-
thanks Augie.........you don't think it's too hard on the eyes?
-
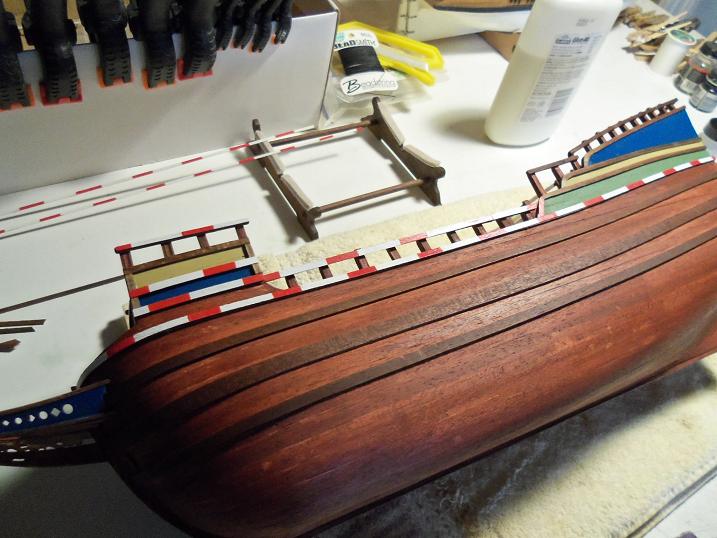
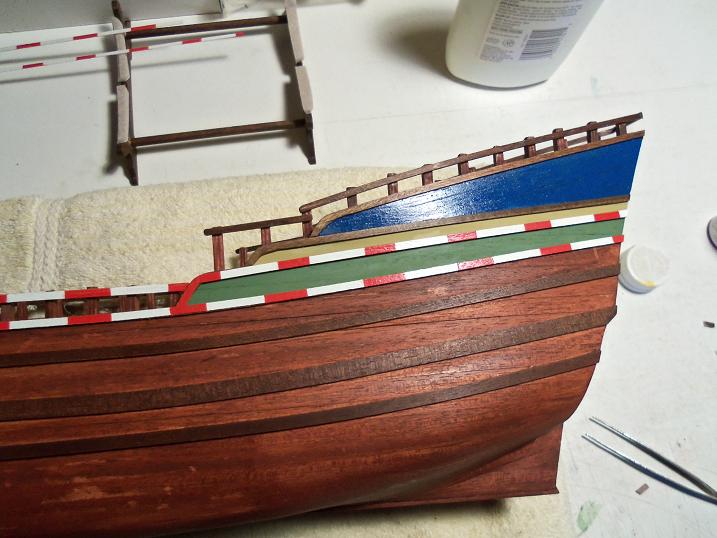
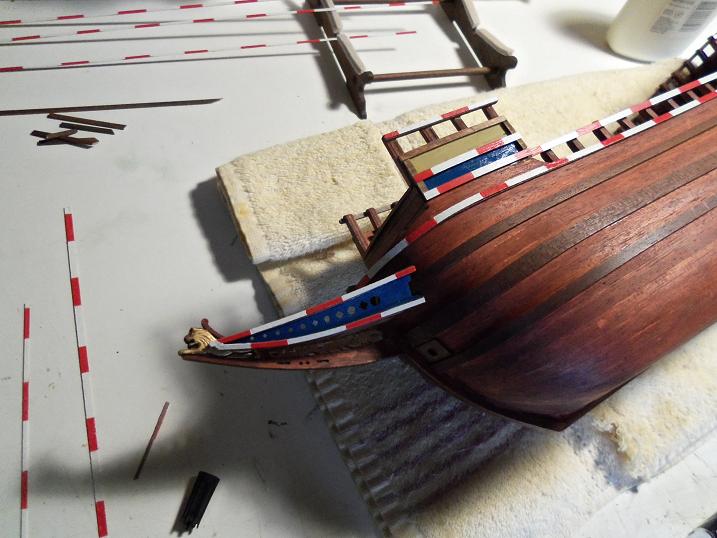
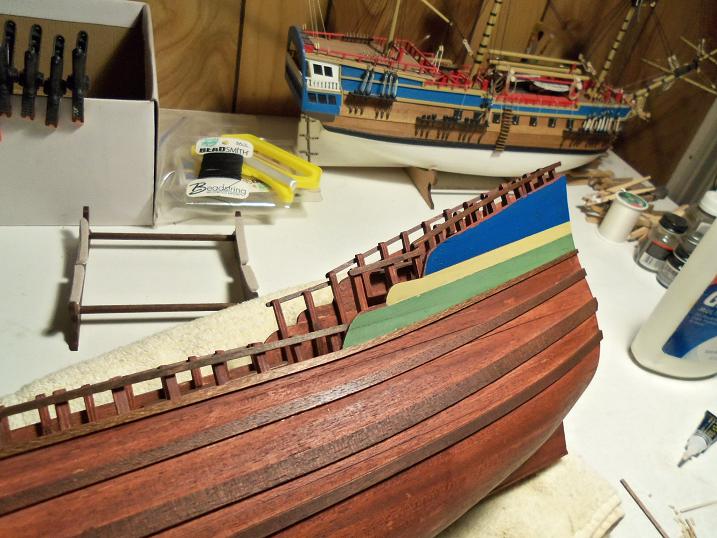
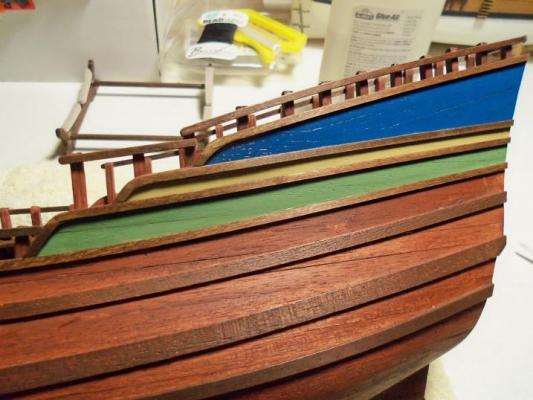
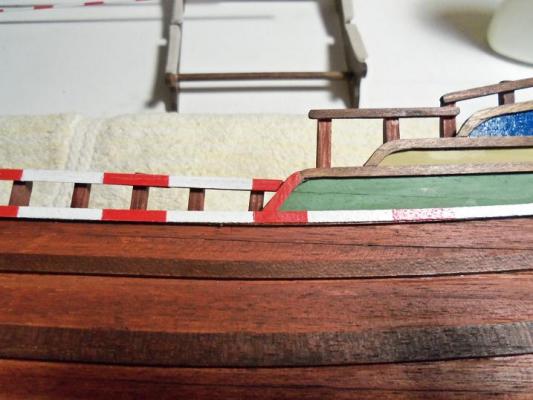
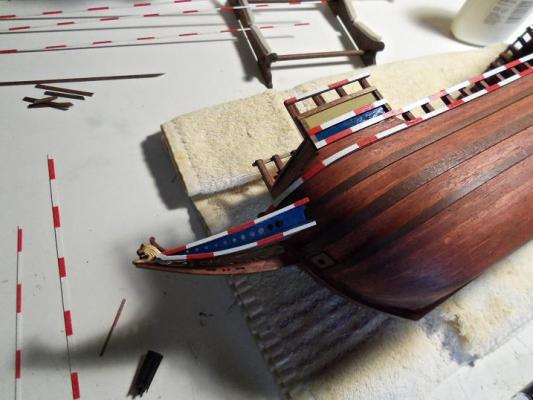
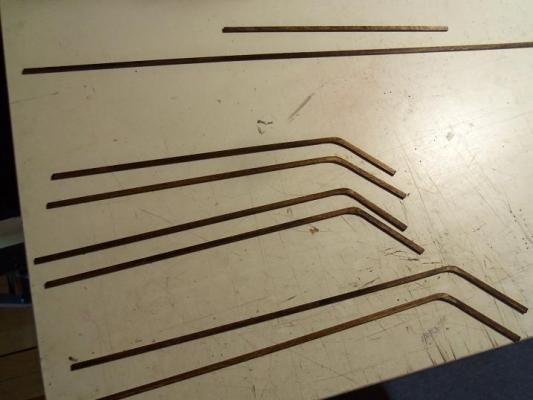
today.......I started with the incline rails, cutting and trimming them to fit. I began with the striped strips.......I must warn you......it does get a bit graphic here. if you have that 'dizzy issue'.....then look in controlled glimpses. if your susceptible to the 'WTBH syndrome', refer to the picture a page or two back, and it should dissipate rather quickly. my only regret, is that I probably should have made the sand area a bit wider. and so I began........ when I did the inclines, I wasn't sure how I was going to the curved parts.........I quickly figured it out though then it was time for the bow to get it as well until I arrived with this........really staggers the imagination, doesn't it?


-
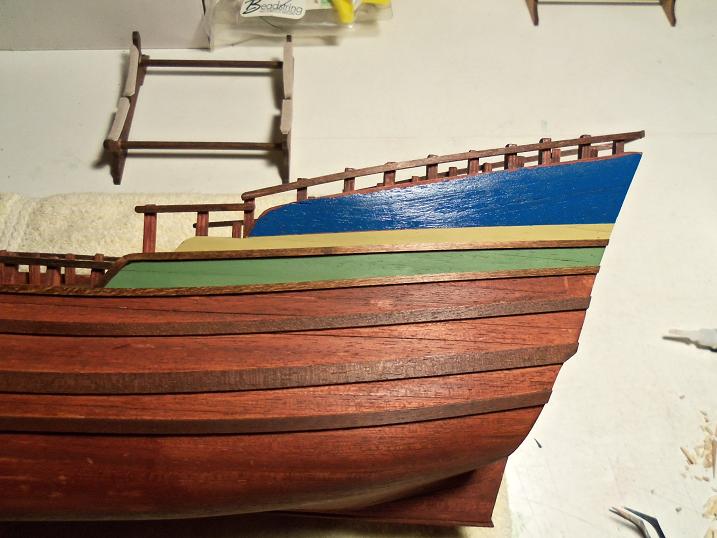
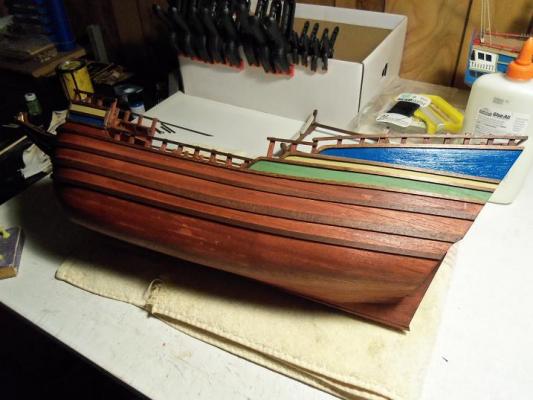
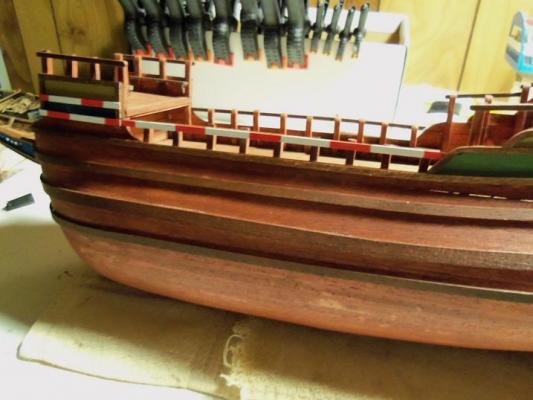
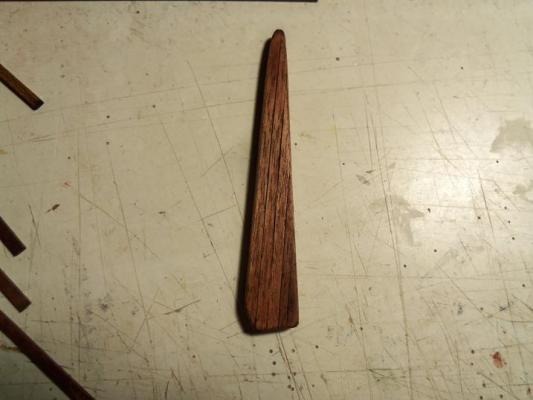
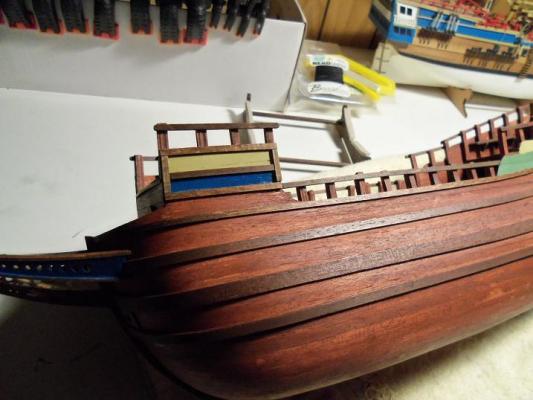
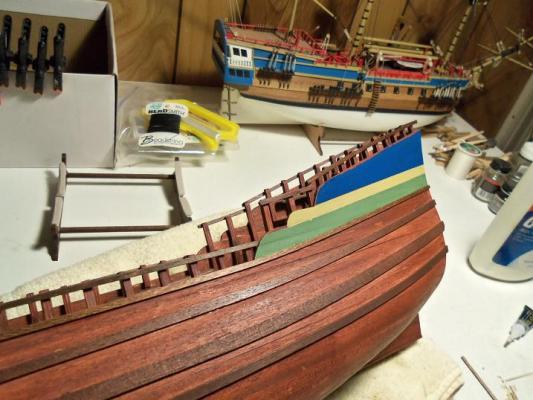
I said that I was going to do a little yesterday.....well, I did. I began with the rudder, finishing it off and staining it. instead of the bland looking plywood, it looks like this. all of the rail parts got the reddish mahogany stain. working on the port side first, the rails were cemented in place....starting at the fore deck 's outer hull I added in the end caps.......and then the bottom rail was added.


-
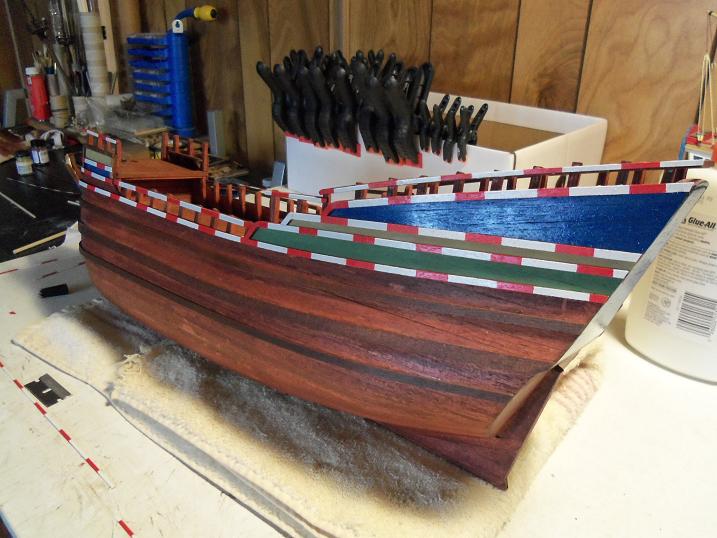
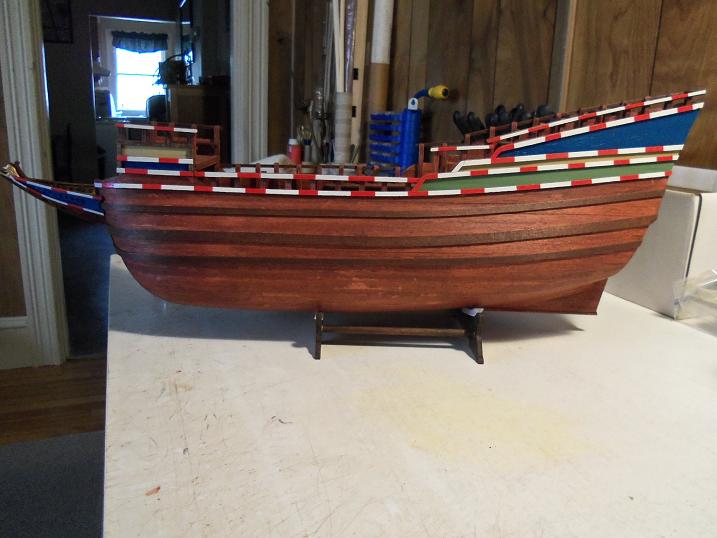
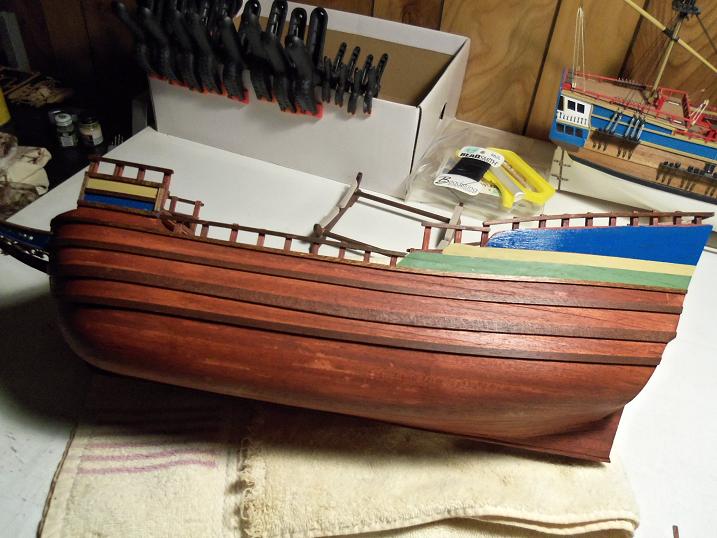
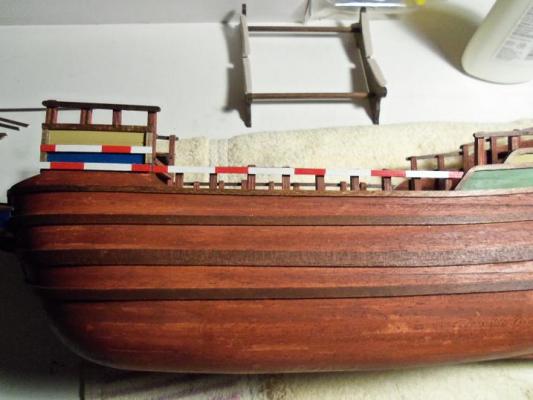
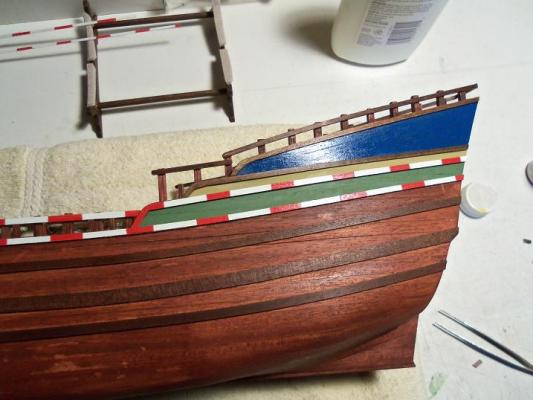
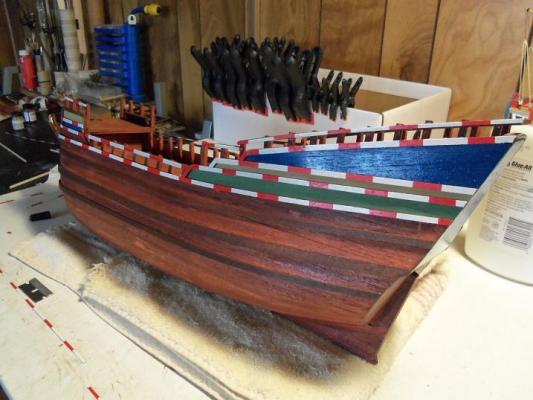
thanks Bob and Frank. I need .......and will be getting the updated version of the decal maker. I can get away with using the one I have at the moment........the diamonds will be on a light background and I can do the circles and lines in black.......I'm a little off on how the actual ship looks, so a little bit more won't matter. one side of the ship is complete....with the exception of the decals. all I can say is that it really changes the looks quite a bit!. I'll have the update...as soon as I give Gibbs him early afternoon break thanks Keith.........I think the admiral's printer has new ink jets......I wonder?????????? icky-may
-
thanks J........I'm going to try and do the circles......I'll probably need to do it in the same process. thanks Patrick.......I use decal set, the Testor's equivalent.....oh, yea, a must have although, with as flat a surface that I'll be working with, I might not need it. thanks Lawrence.......if it was inlay, I probably would...but the diamond and circle patterns are painted on. there is no rise or indention in the area that they go on. now the stars on the transom is a different story........they have a rise, so it is thought that they were carved and nailed in place. when the sides are done, I can do the transom. having a plastic model background for most of my life.......decals have been the perfect solution concerning the detail required. I have been using it in my wood builds......and so far, it has been quite successful. I'm hoping that this build will turn out like I think it will. I'm pleased with how it look right now......update soon
-
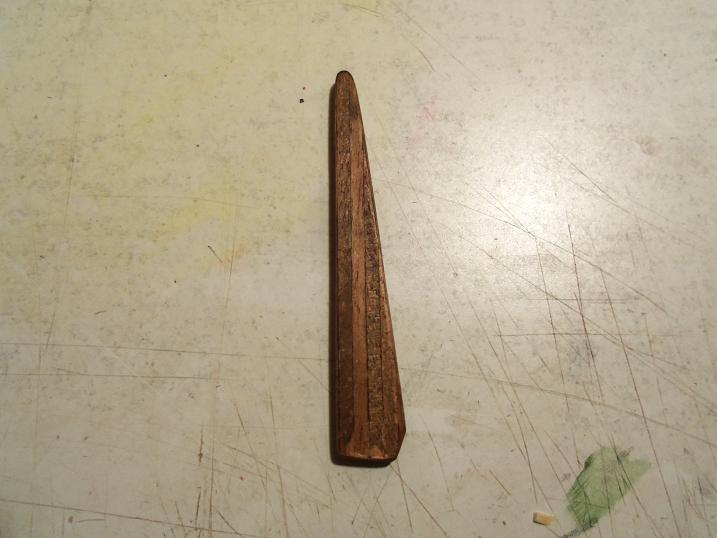
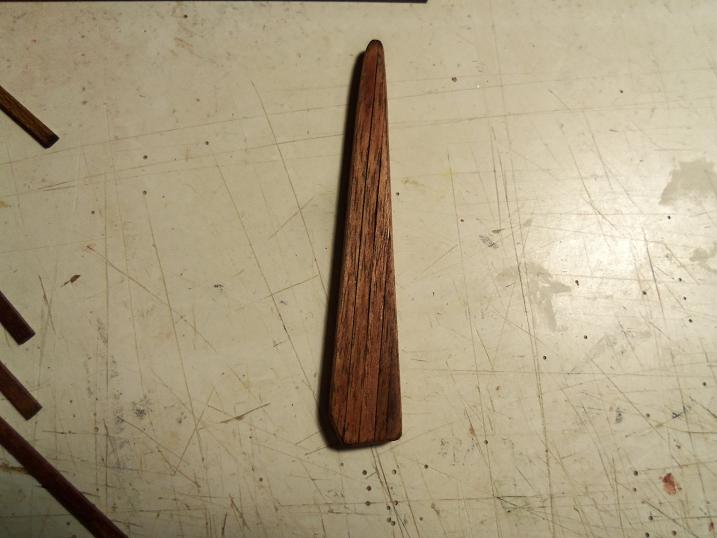
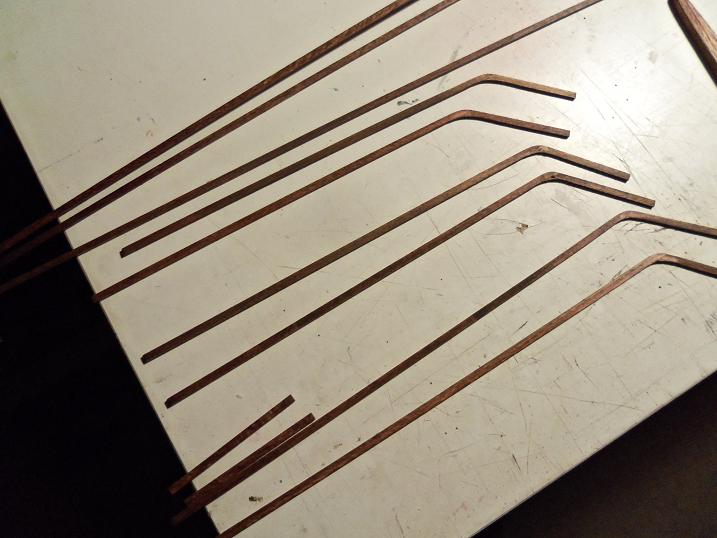
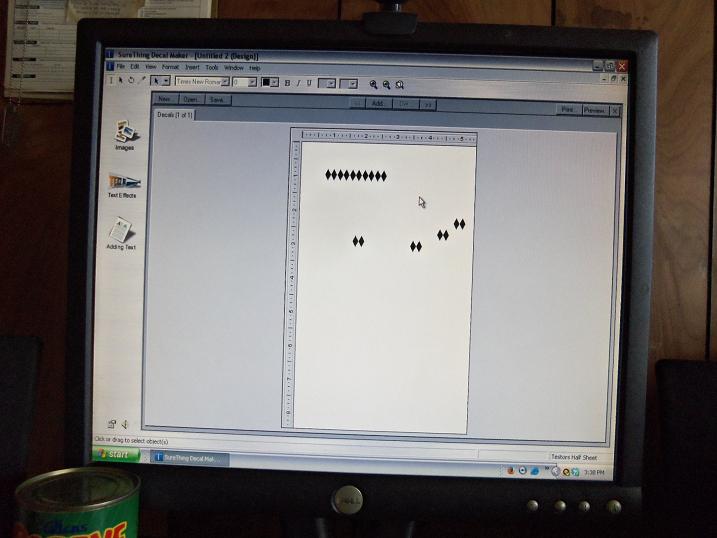
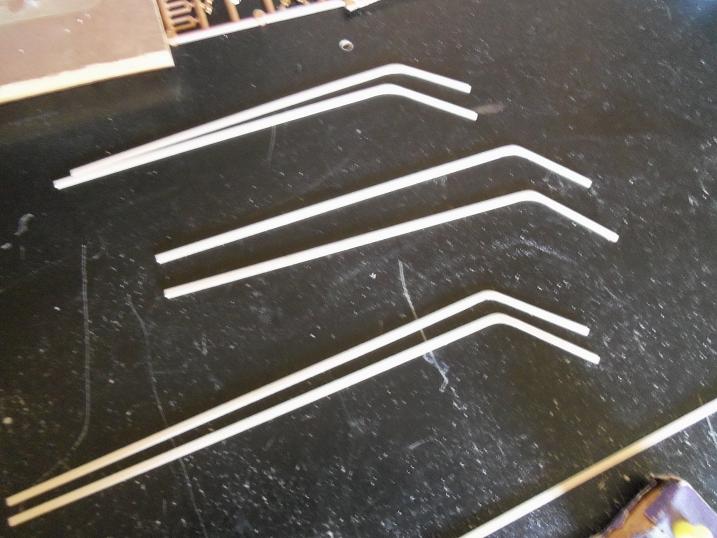
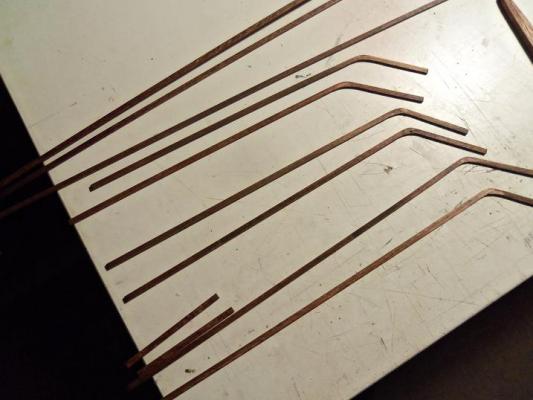
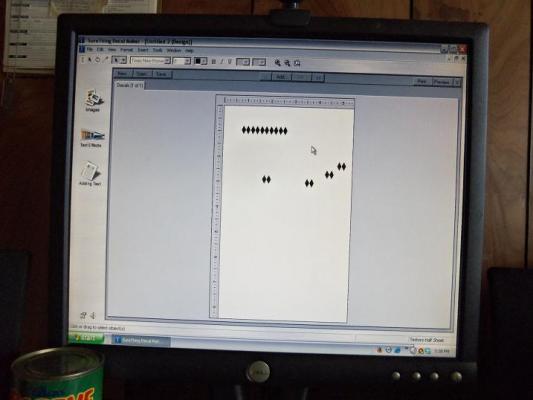
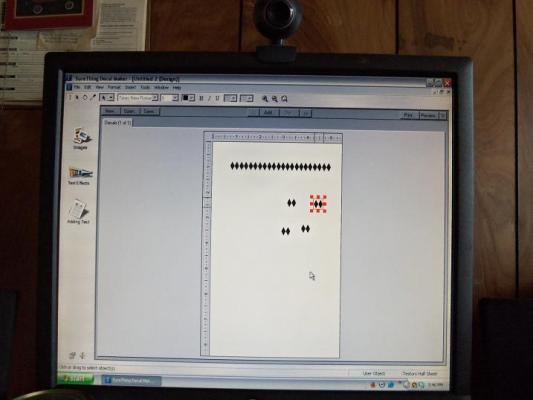
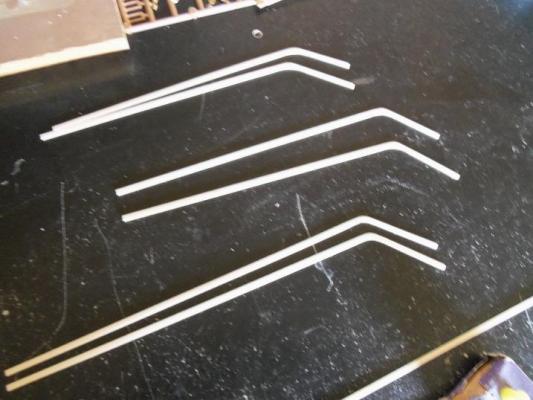
I began to do a little work with the decal maker. in my search to find the perfect diamond image, I found it odd that I was more successful looking through images of mineral diamonds, than playing card images. I did see some really cool tats though........if I was doing a car model, I could see an avenue for some cool decals! I settled on two of them......one of them has a black border around it, so I'll save it for another time. I have another one that is a pair. it was imported into the decal program and sized down.. ....I need to go a bit more, but I'll wait until I have the string created and do it in one shot. I'll need to change the color as well......I went ahead of myself and created the string before I did it......I had to do it to each pair, instead of it as a whole. this is done by copy and paste what I need to do now, is print this out once it's finished, and then scan it back into the computer it will then be reintroduced into the decal maker again, where I can copy the image as many times as I want, as well as resize it down a bit more. I have already checked it with the test copy I printed. the other thing I'm concerned about is the transparency issue. I've done a search.......seems I'm not the only one who has noticed it. there is a transparency tab on the program page, but it has been deactivated. I contacted the company today......and got a pretty prompt reply. there is an updated program for it, but it will cost me another $15.00 to get it.....only being offered as a download. I need to get inkjets for my printer as well, mine are almost dead. I'll have to see what develops here on the rail front.......I have all three pairs done and stained.......all I need to do now, is give them the reddish tone. I have also done some bending to another pair of strips. these will be used to do the bottom line, the base line for the incline rails. I'll see if I can get some of it done now........the bow area is easy.
-
true........but it's what you choose in the end, that counts. three major elements: functionality, law of probability, and imagination go into making a model.......I'd say, you covered the bases quite nicely
-
fantastic build Matti! your skill at bash is amazing and your art work is impressive it would be very hard to instill the amount of detail you've put into her......an all around beautiful job!
-
pin rail looks nice Bob.......the color is not a bad choice at all! I like the way you did the margin plank as well....deck looks great
-
I should get back to my snow plow......I also go to old model kits.com and look at some of the kits they have. very interesting to do, but it got sidelined, working on the boats. one day I'll get back to it......I hope very nice looking pieces they have there
- 382 replies
-
- 1
-

-
- stadacona
- sylvan scale models
- (and 1 more)
-
Cutty Sark by NenadM
popeye the sailor replied to NenadM's topic in - Build logs for subjects built 1851 - 1900
looking very good so far Nenad! where your finished to the water way.....it 's impressive- 4,152 replies
-
- 1
-
-
- cutty sark
- tehnodidakta
- (and 1 more)
-
..or rather you could make it a double drum....top for port, bottom for starboard. making sure that both sides have equal tension, would insure that the boom would swing smoother, without the threat of it swinging back wards. in this way, one line would be coiling up, while the other is being let out. nice video .......cool to see it in action.
-
very nice Andy..........those are all kits? jeeze.......I should have hit 'follow'........the Wharf is on word press too
-
good to hear that you sorted out the keel problem. now.....on with the planking!
-
awwwwww.....you didn't steal it........play with it....have fun with it try another approach...use 1/16 square stock for the railing / stanchions. it will look more 'tubular' rather than 'finned'. nice how you did the cap railing.......better than my approach . it's too bad that you couldn't start with the bases I did in my kit.......it would save you from drilling all those holes.
-
my word Sjors.......your moving right along! nice job!
-
looking very nice Augie.......are you going to be using P.E. for the windows?
- 2,191 replies
-
- 1
-
-
- confederacy
- Model Shipways
- (and 1 more)
-
I don't know what's up with this picture......I have others that show full masting. I'm only using it for the color scheme anyway, so it's all good thanks Mobbsie.......you too kind I'm pleased with the way the nests came out.....it's just the blotches that don't enthuse me. funny, I like the way they look in the picture. I'll just touch them up a little....they'll look fine. the green is actually a military flat....a couple of shades brighter than an olive drab thanks for the good word......pop in any time thanks Max........just goes to show the differences in these two kits. add in a bit of bash......even color, and the differences become even greater you could go with a simple dome....or you could spend the extra and get the full case. either way.......get that beauty of yours covered! not one speck of dust should fall on that wonderful work you've done. I hope to see you with another build soon.....there are so many cool techniques waiting for you to discover! thanks Keith........yea.....that's a weird picture of her. I have others though that show the full masting. pop in any time.......hopefully, I can get this all together. I agree.....I think it's going to look nice, if it goes the way I want it to. the picture doesn't show the upper mast rigging Bob.........Anja was kind enough to send me a couple of pictures. there are some lines that the Billing diagram doesn't show........it will be a hoot when I get there.......thanks for the good word.