glbarlow
-
Posts
4,126 -
Joined
-
Last visited
Content Type
Profiles
Forums
Gallery
Events
Everything posted by glbarlow
-
 I’m glad professor gene is helpful, I don’t think I know him though. 😂🤣
 -
Interesting, that same book edition is on the US WOB site for $9.99, maybe they don’t get the exchange rate thing.
-
Amazon has the individual books, which I have the entire set, and This hardcover combined set as well as the Sea of Words book.
-
The open companionway is a great touch. I know how important it is to get a good fit with the false deck, which you’ve clearly done.
-
It’s available on Amazon in multiple formats.
-
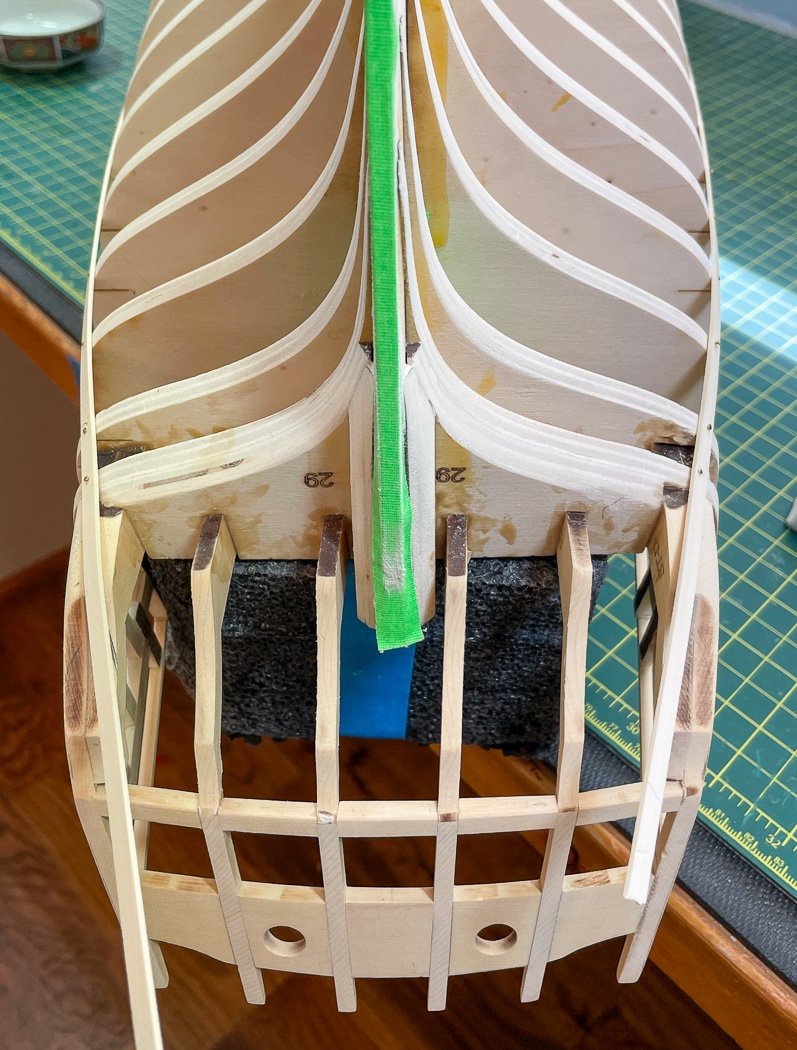
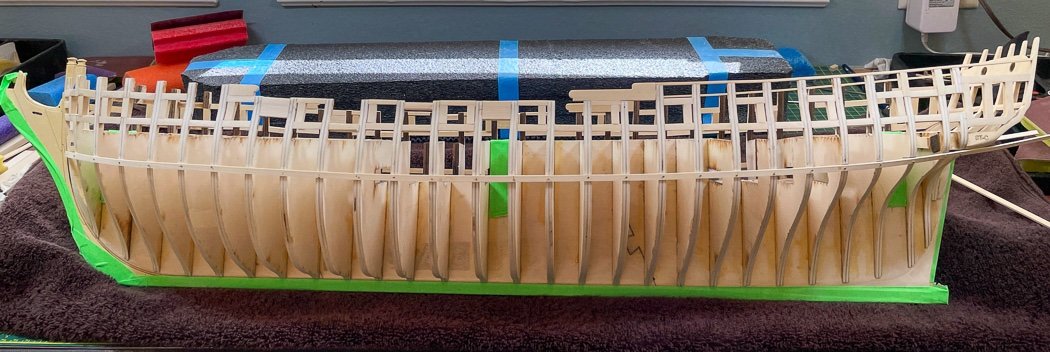
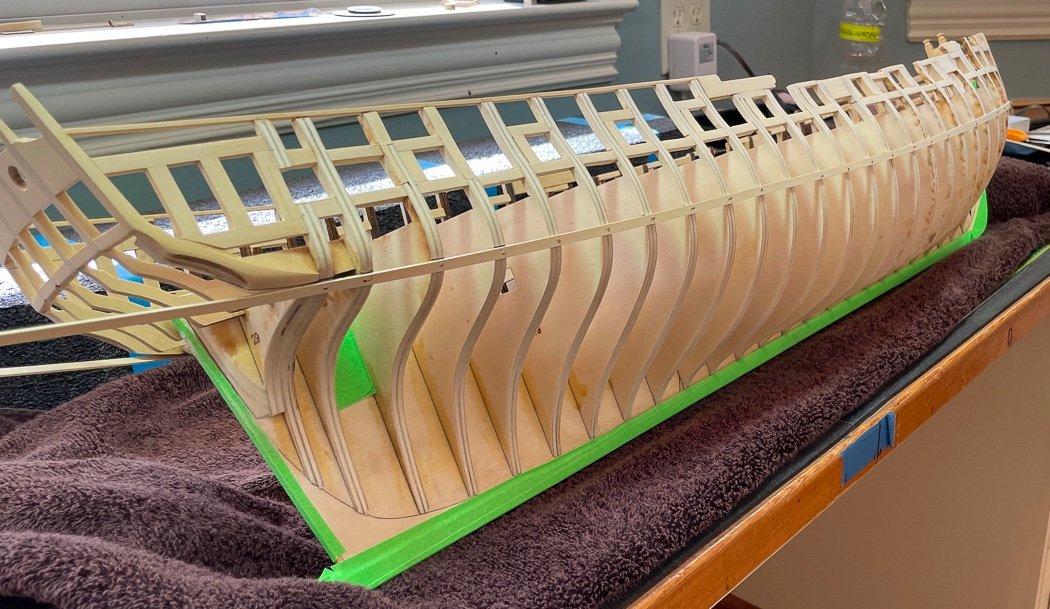
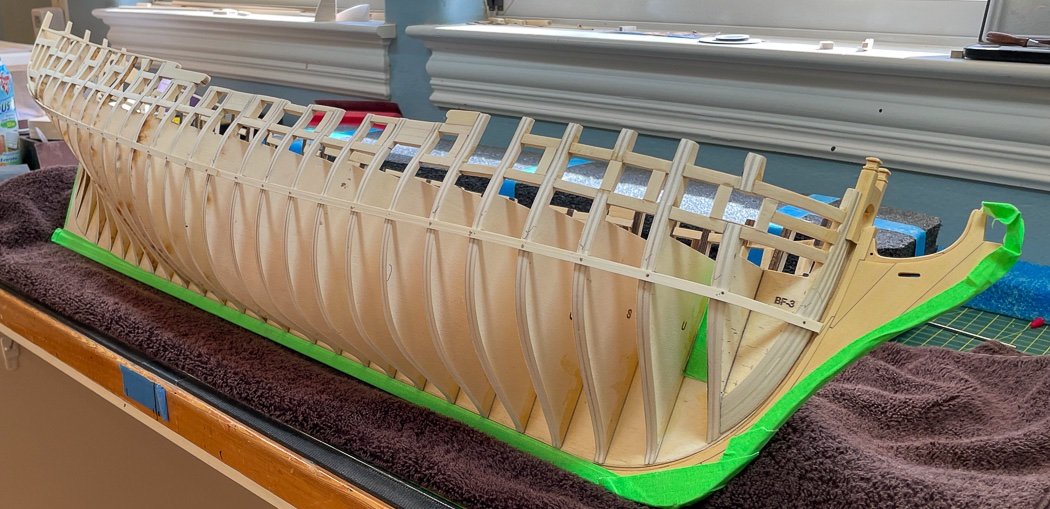
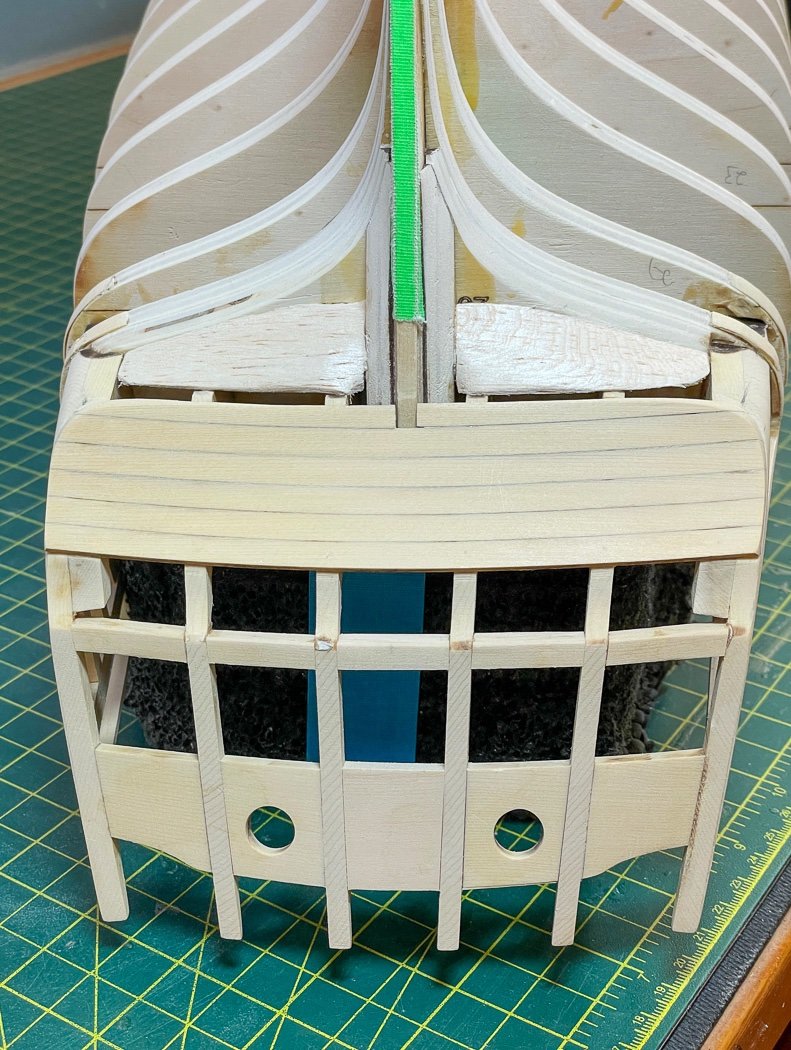
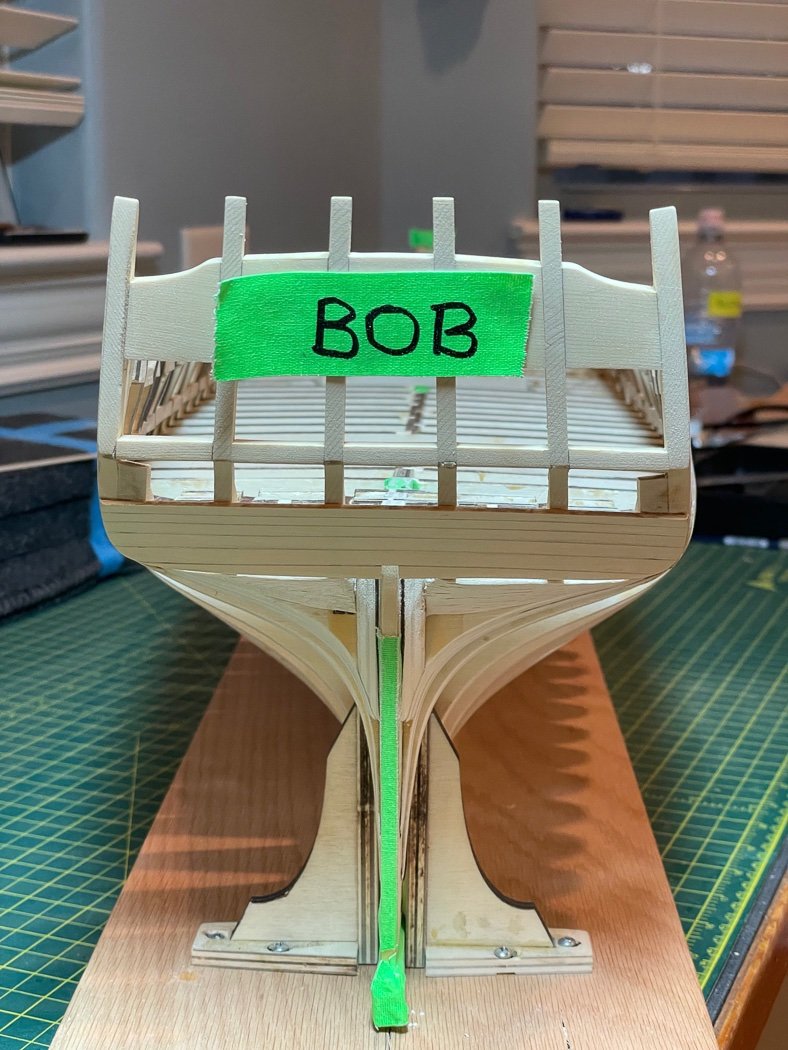
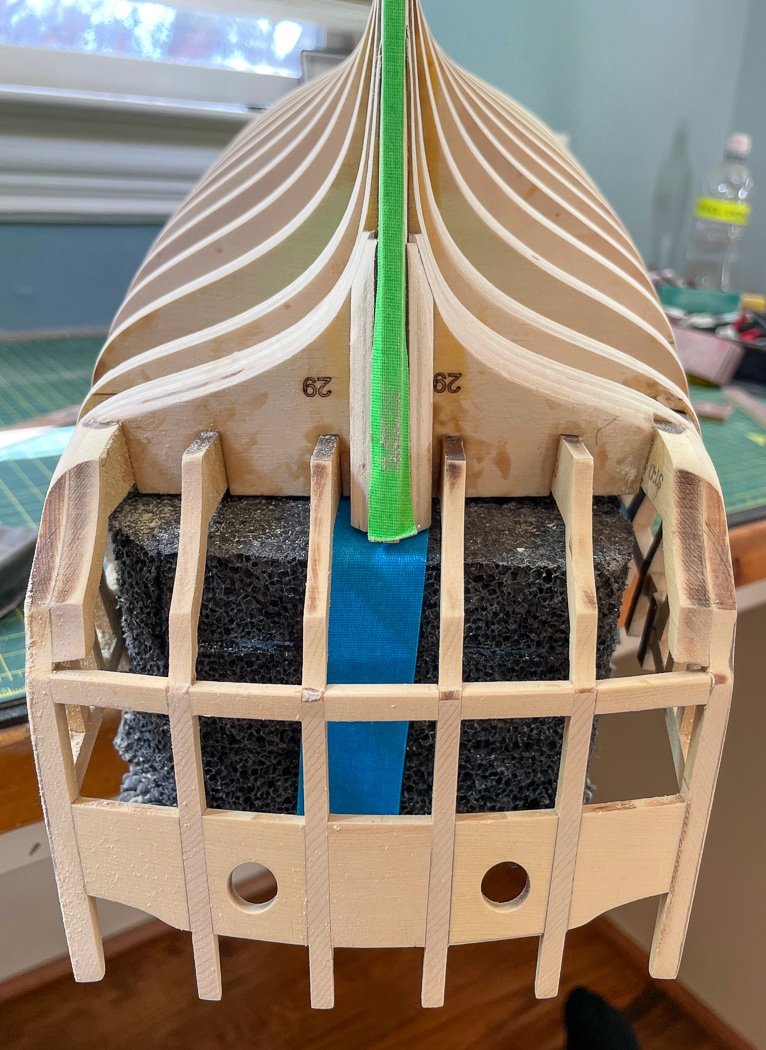
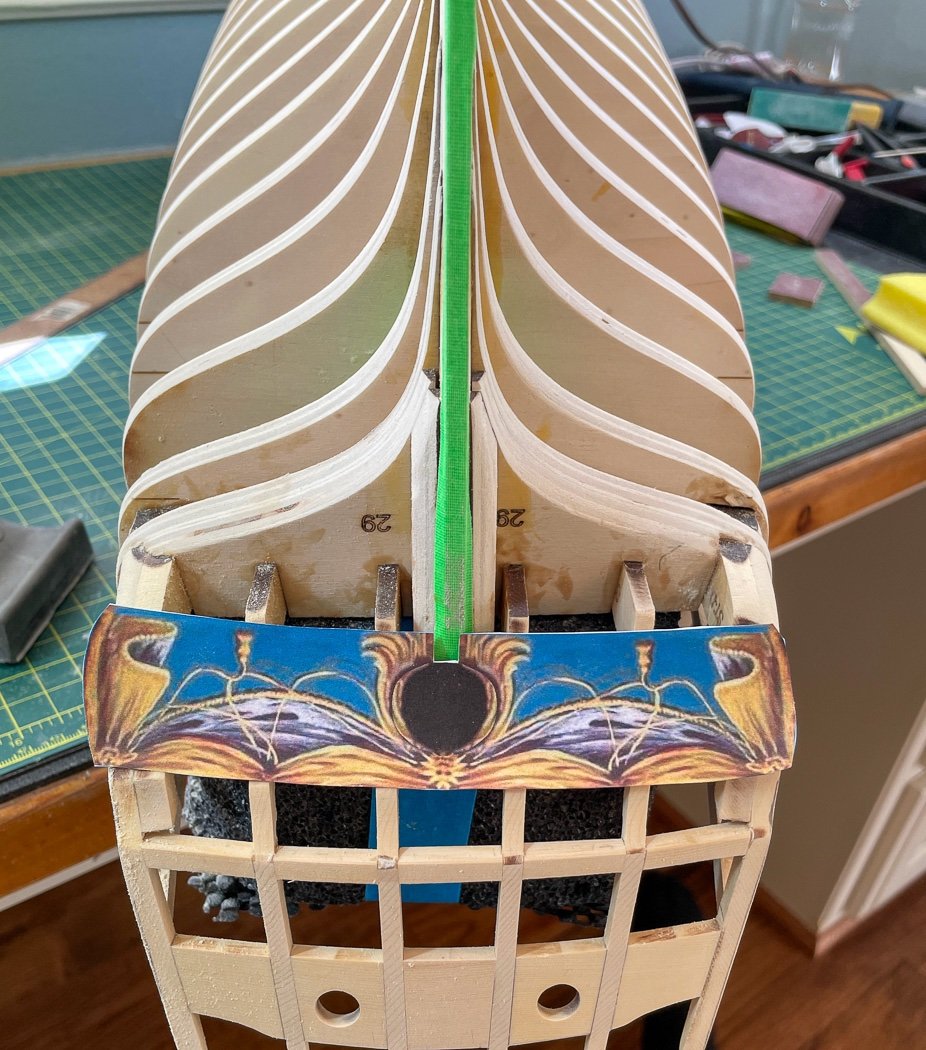
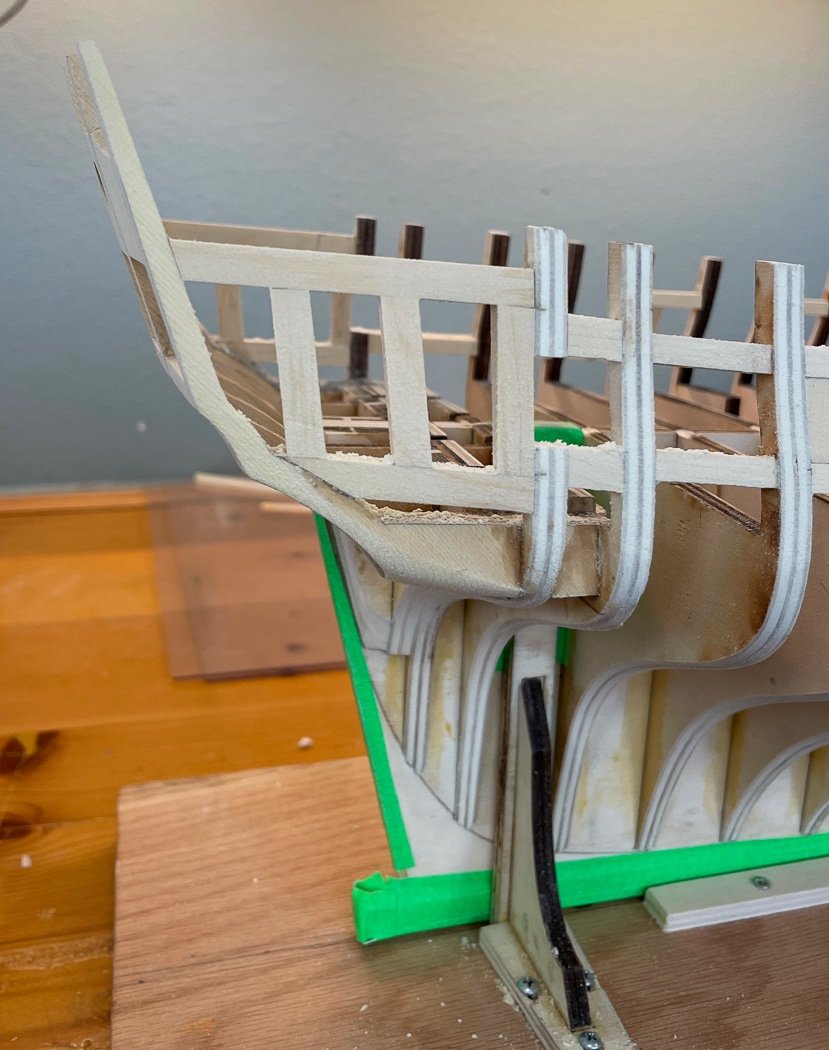
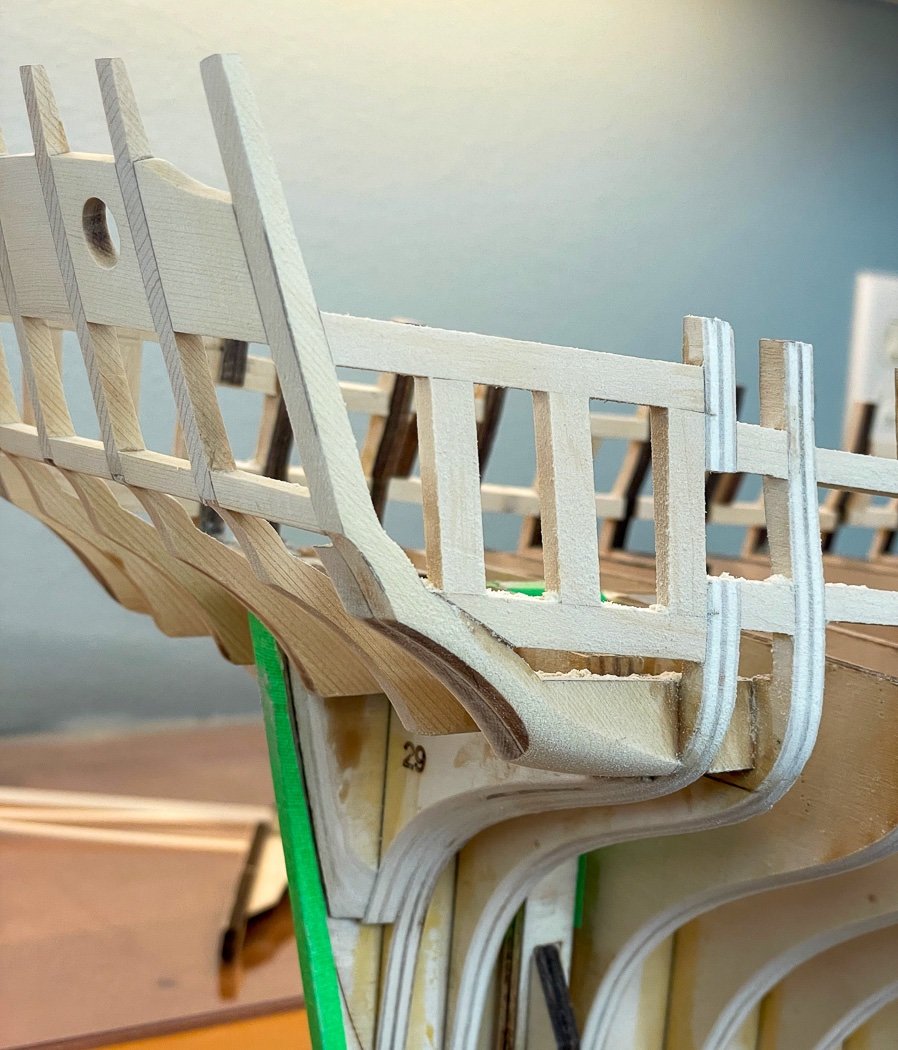
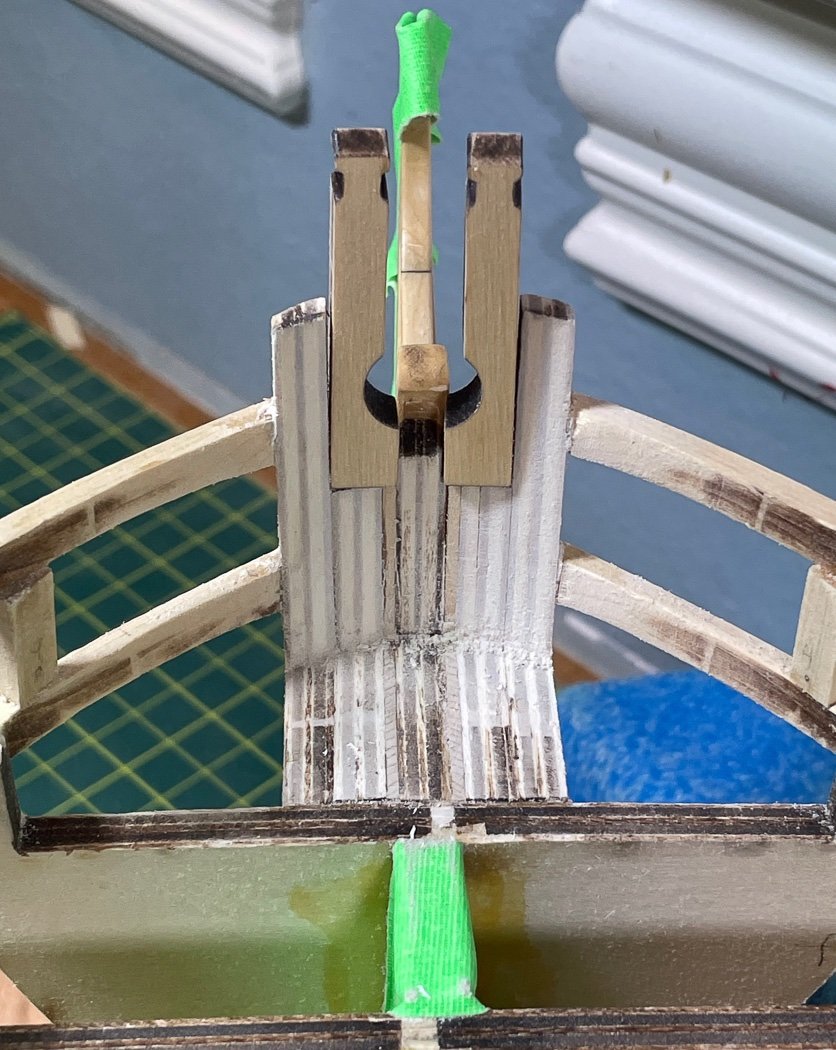
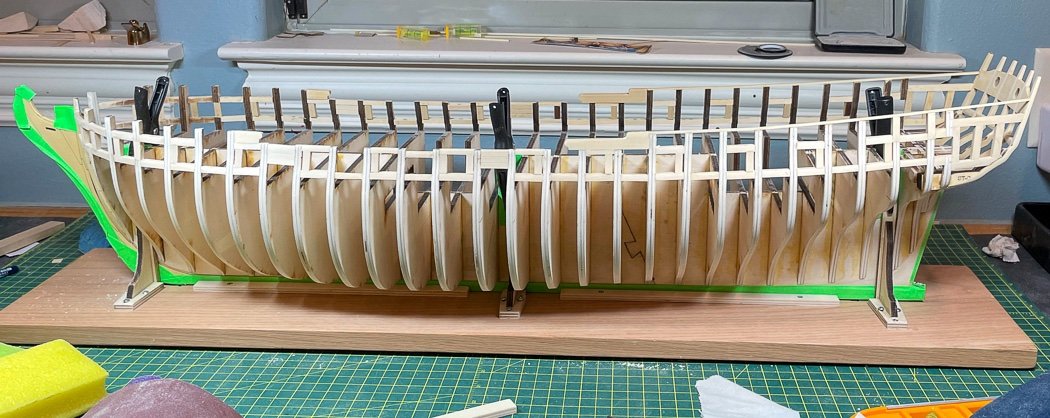
Counter and Wales Prep Not a lot to show for several days work, there was a lot of fussing about to set the line for the wales and complete the lower counter. I have decided to name my ship BOB, why you might ask? There are a lot of good Winchelsea builds going on. For the stern and counter in particular I’ve spent a lot of time looking at multiple build logs searching for the perfect way to shape the counter, which then impacts the line of the wales at the stern, which is tied to virtually everything up from there. So I’ve looked, thought about it and determined one clear thing. There isn't one answer. Across the board everyone’s is a bit different - which is great and something I need to embrace. So rather than analyze and search for examples in fear of having a bad build log photo I’ve come to conclusion I just need to build….BOB. This isn’t a revelation to many of you I’m sure, but nonetheless here I am…just me and BOB. First up was the very careful alignment of a batten, starting with, but not always ending with, the bulkhead reference marks, then doing the exact mirror on the opposing side. Imagine my surprise after many hours of looking, lining up, nailing (I hate nailing things, glad I had that nail driver I never use) my wales batten split stern frame D, just like Chuck noted it should in the monograph. I want to emphasize I ended there after everything else - so BOB did ok with her alignment (of course ships are ‘her’ and Bob in this case is a ‘she,’ it’s confusing I know). I was glad I remembered to mark the line with pencil before removing the batten, that would not be a fun thing to forget to do. After a number of dents and pricks of my fingers with little nails and many more of them on the floor than in the ship I was able to look from all angles and feel BOB was looking quite sheik with her sheer exposed. Note BOB’s slender S-curve at the bow. Here’s something interesting, the measurements of the wales taken from the plans are a near perfect match to the framed NMM print I have framed and having on my wall - talk about inspiration (and I'm sure no accident). The stern looked a bit different as I added the lower counter, adding it did not come without a lot of adjustment to the stern frames. It probably ended up back where it started, who knows, but I spent a good bit of time getting shaped in a way BOB was happy with. This is where I examined all those build logs - there’s a lot of excellent lower counters out there in case you’re wondering. So this may not be the best counter, but I'll counter with its the counter BOB is going carry around from here on. I am not at all sure about those stern fillers, another example of lots of examples in all shapes and sizes. It is however just balsa wood. I am confident it will reveal itself when I start the lower planking - it will take nothing to reshape it or even remove it, so for now it stays. BOB fills better this way. Having constructed the frame, marked the lines, countered the counter I can finally move past the skeleton. After two months to get to this point it’s time to put some skin on this puppy…I mean BOB. Thanks for stopping by and your likes comments.
- 840 replies
-
- 16
-

-
- winchelsea
- Syren Ship Model Company
- (and 1 more)
-
Nice work on the wheel. I like your hold down brackets for the mill. Where did you get those?
- 419 replies
-
- 1
-
-
- Victory Models
- Pegasus
- (and 2 more)
-
Welcome. Great start, your excellent wood working skills are clearly evident already.
-
The grates look great. Nice looking model you have there BE.
- 857 replies
-
- 3
-

-

-
-
- Sphinx
- Vanguard Models
- (and 1 more)
-
I cut them on brass plates, I mistakenly thought it was something different. Thanks though.
-
Beautiful work. What is the device you are using to scrape moldings? It is impressive.
-
Thanks, I think they’ll be fine after I sand them flush to the planking, and better still once they’re painted black. Frank, my bow lines up nicely with the Chapter 9 bow templates so i think I’m good on that front. I appreciate your looking in.
- 840 replies
-
- 4
-
-
- winchelsea
- Syren Ship Model Company
- (and 1 more)
-
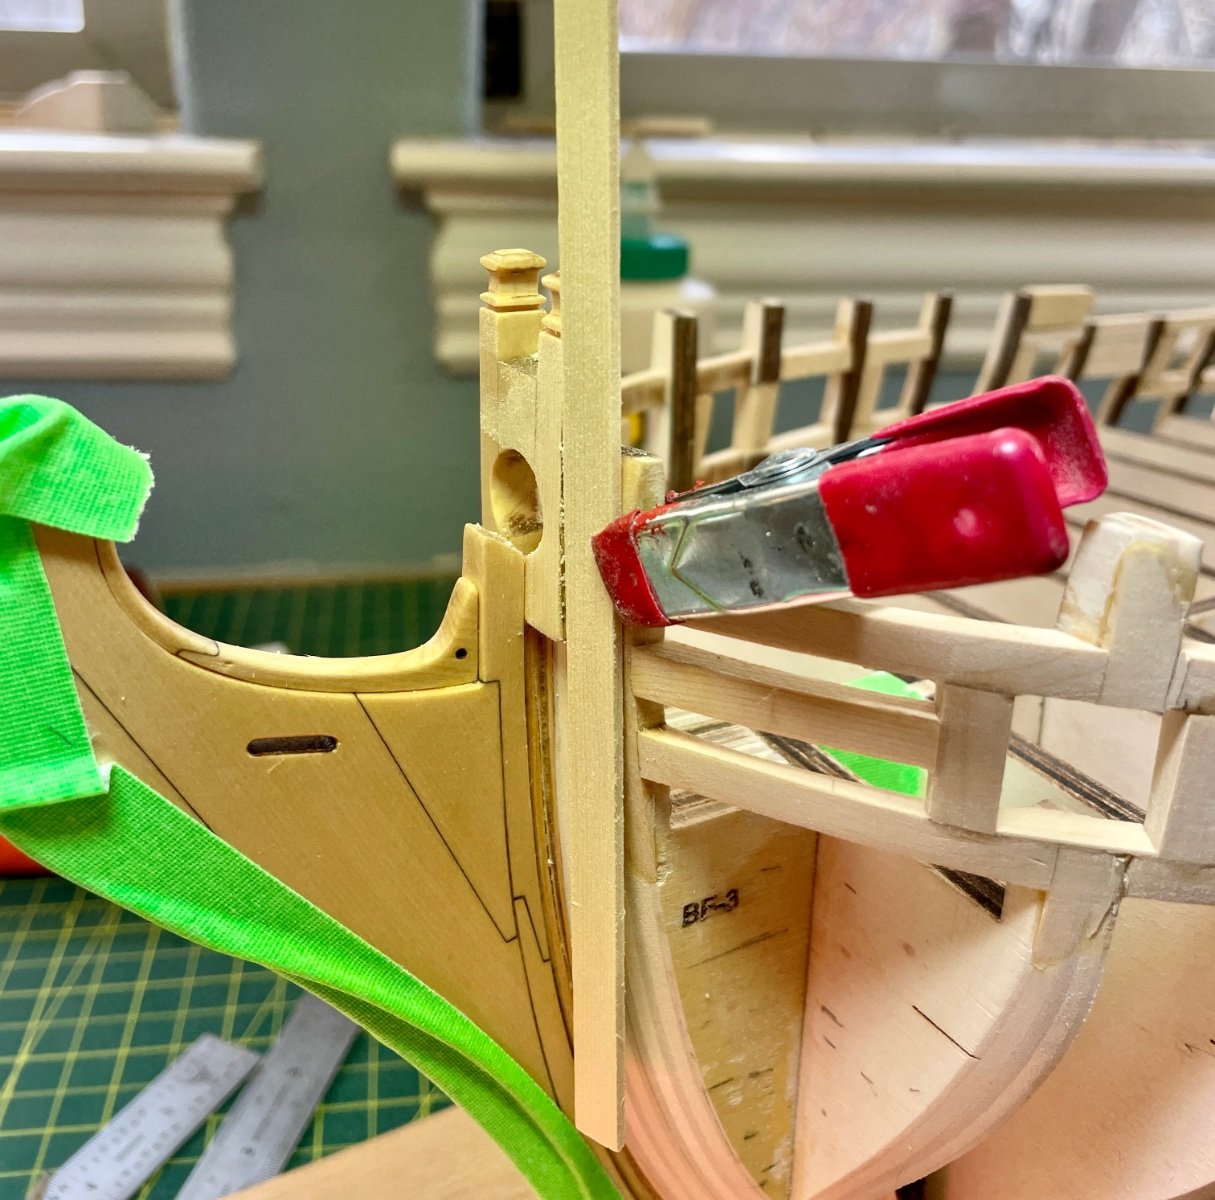
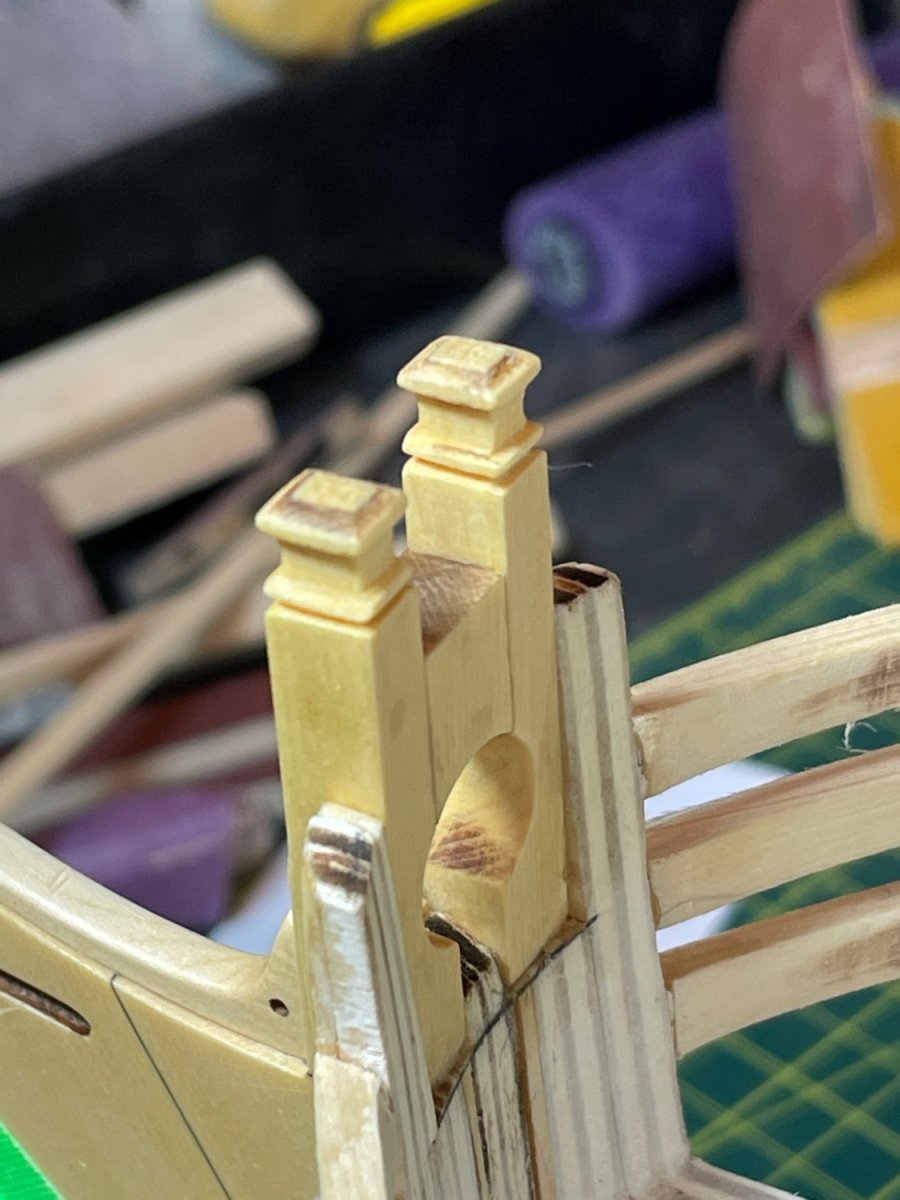
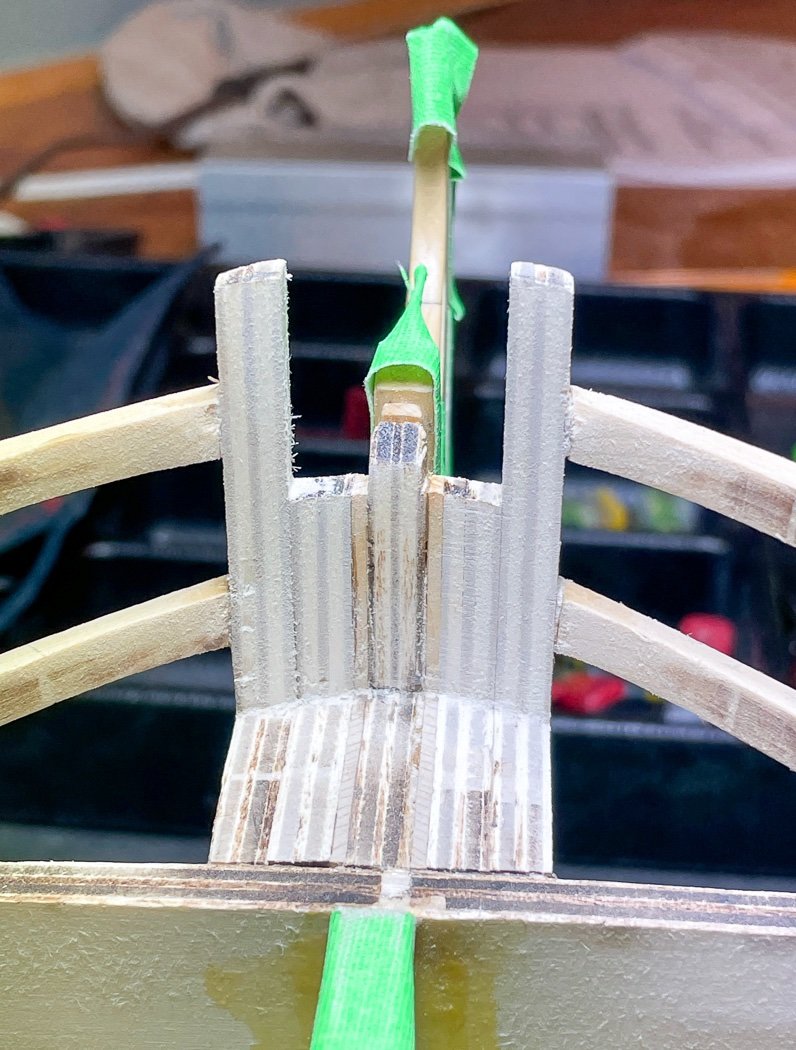
Here are some updated photos of the bollard Timbers with the angled bowsprit hole and more bevel to the front and rear, though the carving is still square. As you can see that’s as much as I can bevel until the planking is in and I can sand it smooth to that. Any more comments are welcome.


- 840 replies
-
- 12
-
-
- winchelsea
- Syren Ship Model Company
- (and 1 more)
-
Yes the would be pairs if as I was thinking. Again, I’m guessing. I suggest DMing James.
-
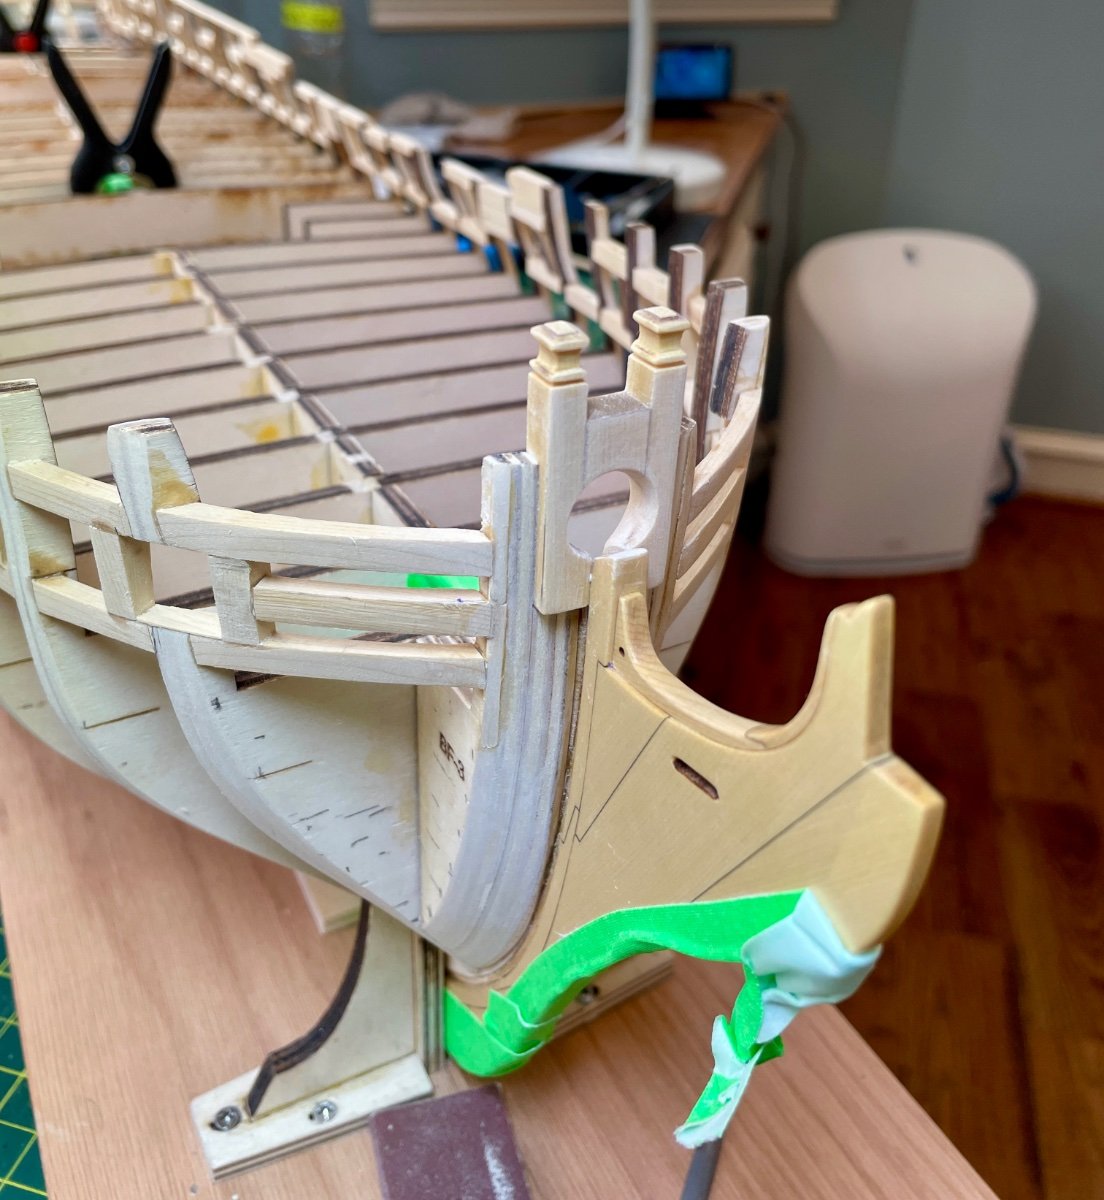
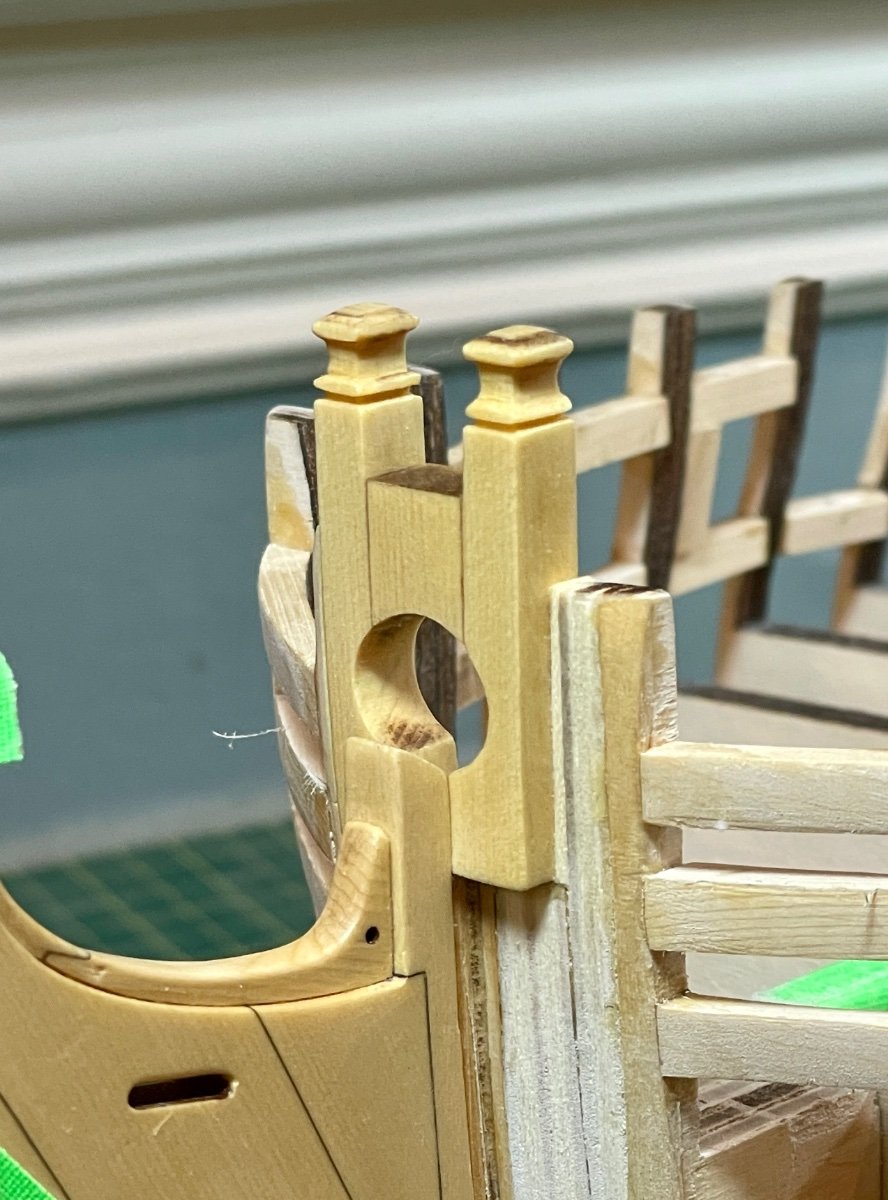
Bollard timbers are complete and installed. Since I plan to paint them black later I wasn’t as concerned about removing all the laser char. And with that Chapter 1 is complete.


- 840 replies
-
- 18
-
-
- winchelsea
- Syren Ship Model Company
- (and 1 more)
-
James should be able to give you an answer. My guess is as the are lift or jeer blocks they would be seized around the mast long enough to then down through the slot where you see them.
-
Cutting out gunports
glbarlow replied to Etcher's topic in Building, Framing, Planking and plating a ships hull and deck
Not sure what “craft knife” your using. I cut them with a #11 blade as I plank so the port is never completely closed. It takes some technique to shave or peeling and cutting the peels. I have no problem with splintering with this approach. I file the last of it smooth and use a custom made sanding stick cut to the size of the port. -
That looks grand! Any secret process for getting those trucks so clean? I’ll get there someday I hope.
- 642 replies
-
- 3
-
-
- winchelsea
- Syren Ship Model Company
- (and 1 more)
-
Nice work! Where did you get those pins?
-
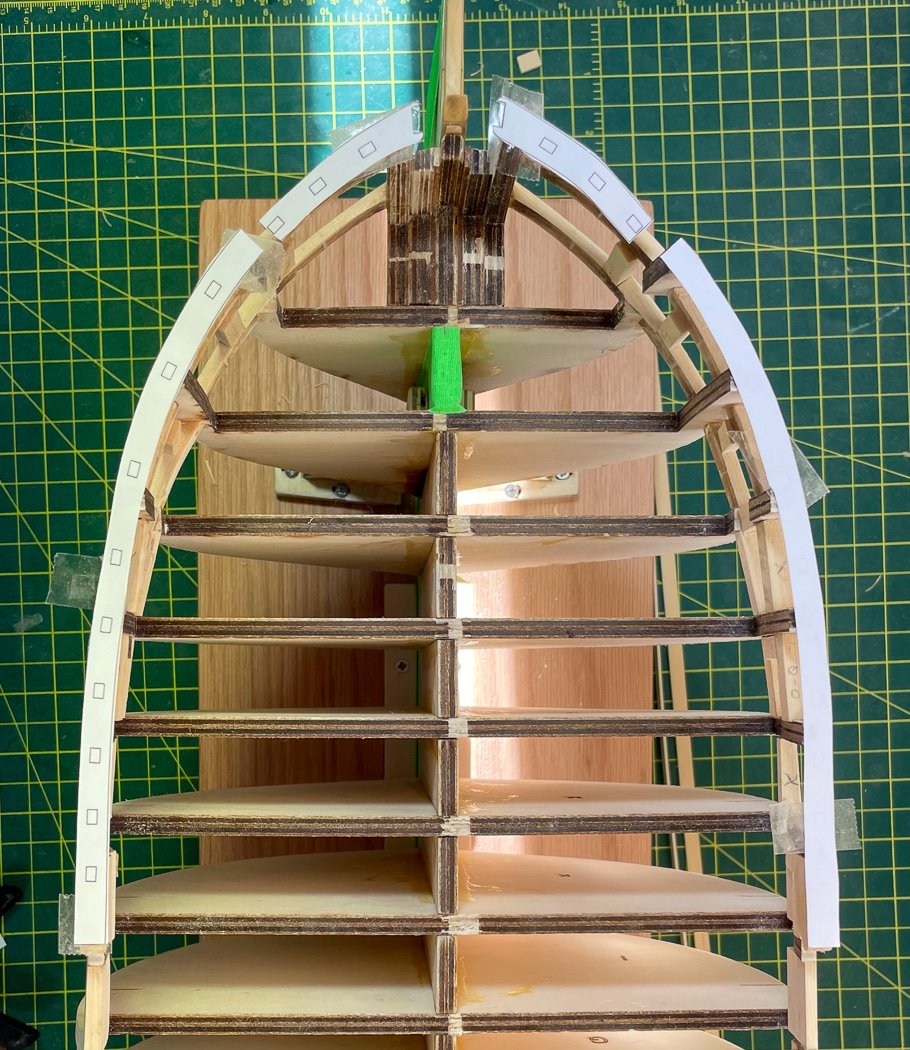
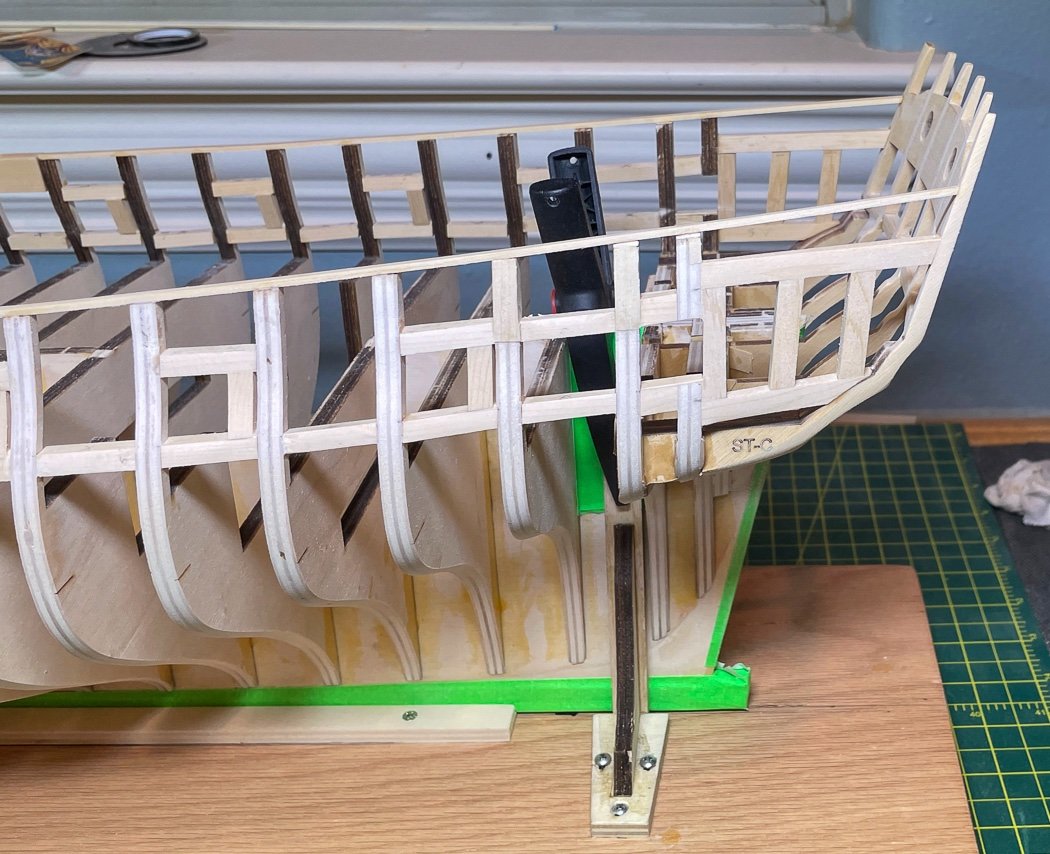
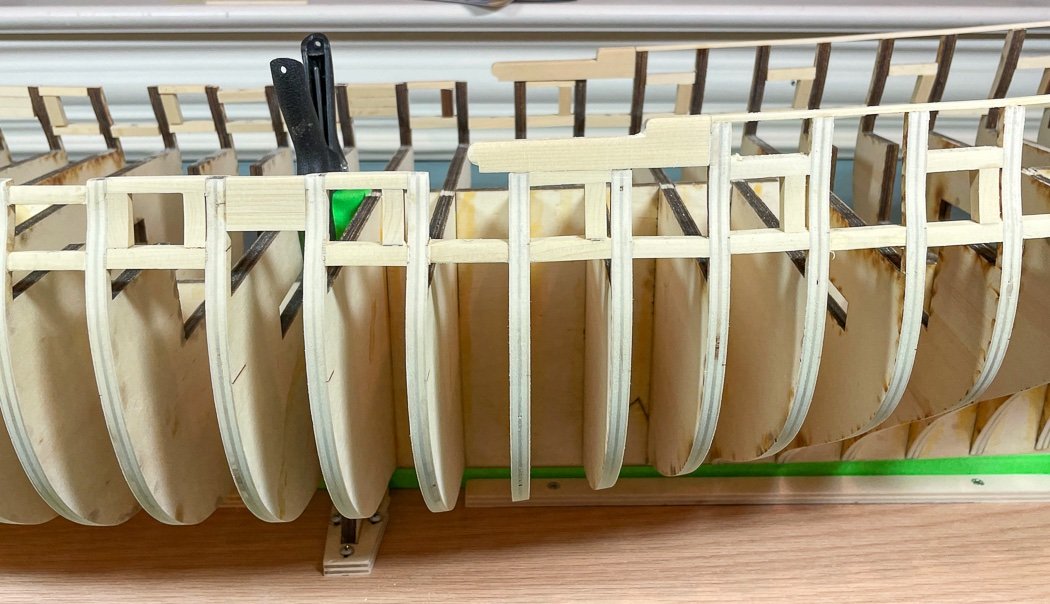
Quarter Galleries & Completing Framing Moving on to the quarter gallery and finishing up framing work. It’s great to have the templates Chuck provides as part of the plans. A skilled person (not me) could probably build the whole model with nothing more than the plans. I make good use of them checking, comparing and using measurements transferred to the model as I build it. I make enough mistakes without guessing at stuff, though I probably get carried away with it. Although pretty straightforward the gallery framing still has multiple angles to content with, once more the Byrnes sander does its thing, between the tilting table and mitre gauge I get what I need. I cut close to length required and let the sander do the rest (well, after I sort out what angles are required, there may have been some wasted wood involved. Belt and suspenders I suppose, still its nice to have a little affirmation using this cut-out of the template (measured against the bottom of the frames, my wood is thicker) to confirm it’s all the right fit. Chuck makes a point of not changing the angle of the transom in the process of this framing, my cut-out confirms I haven’t. After fairing it starts to look like the stern of a great ship (I squared up that port after seeing the photo). I’ll admit I got a little lost in sorting our fairing the stern, thanks Chuck for talking me off the cliff. I looked at a lot of logs and for the most part they all seemed a little different, then it dawned on me, they’re all a little different. I think I’m pretty close now and unlike I sometimes do, I managed to stop sanding before I sanded too much, maybe. You can see the pencil marks I applied from marking the dotted lines from the stern frames template. Not an exact fit to the printed counter decoration, but reasonably close. I can adjust more if needed when I install the counter in chapter 2. Time to move on. Thanks to Chuck (as always) for the good timing for me on the Chapter 10 forecastle cap rail templates. I was able to confirm my bow is the close to the right curve. I do this a lot, I buy chapter parts ahead of when I need them so I can look ahead to confirm something I’m doing now will be the right fit for something added later. More of that positive affirmation stuff . Added the hance pieces and the strip along the quarter deck and the fairing across the top of the frames required to do so. The sheer now stands out. Then it was time for one of those hold your breath moments, using the Dremel to bring the bow area down to 5/32 in preparation for the bollard timbers and not blow up the bow in the process. I got close as I dared with the Dremel then finished it up with my chisels, files, and sanding tools. Now if I can carve the timbers right before I run out of blanks I can finish chapter 1. Ever closer to looking like a ship. Thanks for stopping by, your likes and comments are always appreciated.


- 840 replies
-
- 19
-
-
- winchelsea
- Syren Ship Model Company
- (and 1 more)
-
No help on tree nails. Your frames are looking great. Turning the mill into a spindle sander is paying off. I remember assembling all those frames for my Fair American, it is a lot of hard work.
-
Excellent, thank you Mike. It’s now in my reference file.
- 607 replies
-
- 1
-
-
- winchelsea
- Syren Ship Model Company
- (and 1 more)
-
I’d suggest reviewing BE’s Alert build log. My Cheerful might be of help. My boom crutches were scratched and a huge undertaking. BE’s Alert is likely more helpful. He too has a Cheerful log.
- 562 replies
-
- 1
-
-
- vanguard models
- alert
- (and 2 more)
-
You can check my sequence on my Cheerful build. As I recall I planked the deck, then planked the bulwarks (inner hull?). I added spirketting and a waterway to cover any gaps. I painted the first level off the ship but that was largely wasted since I sanded the bulwarks and had to paint it again anyway. The transom work is thoughtful, we’ll done. The ports most likely weren’t used for guns so their height is not relevant to that.
- 562 replies
-
- 2
-
-
- vanguard models
- alert
- (and 2 more)
-
To his point☝🏻 you’d benefit from better fairing,especially the first bulkhead at the bow and you could add some balsa filler there as well Like we’re all saying: the challenge of fixing things that went wrong is half the fun.
- 362 replies
-
- 3
-
-
- Amati
- Lady Nelson
- (and 2 more)