


glbarlow
-
Posts
3,837 -
Joined
-
Last visited
Content Type
Profiles
Forums
Gallery
Events
Posts posted by glbarlow
-
-
7 hours ago, Blue Ensign said:
even under macro
Thanks BE, these photos often reveal something I never saw even at workshop close I then feel a need to go back and correct, if I can find them without the photo 😊
-
-
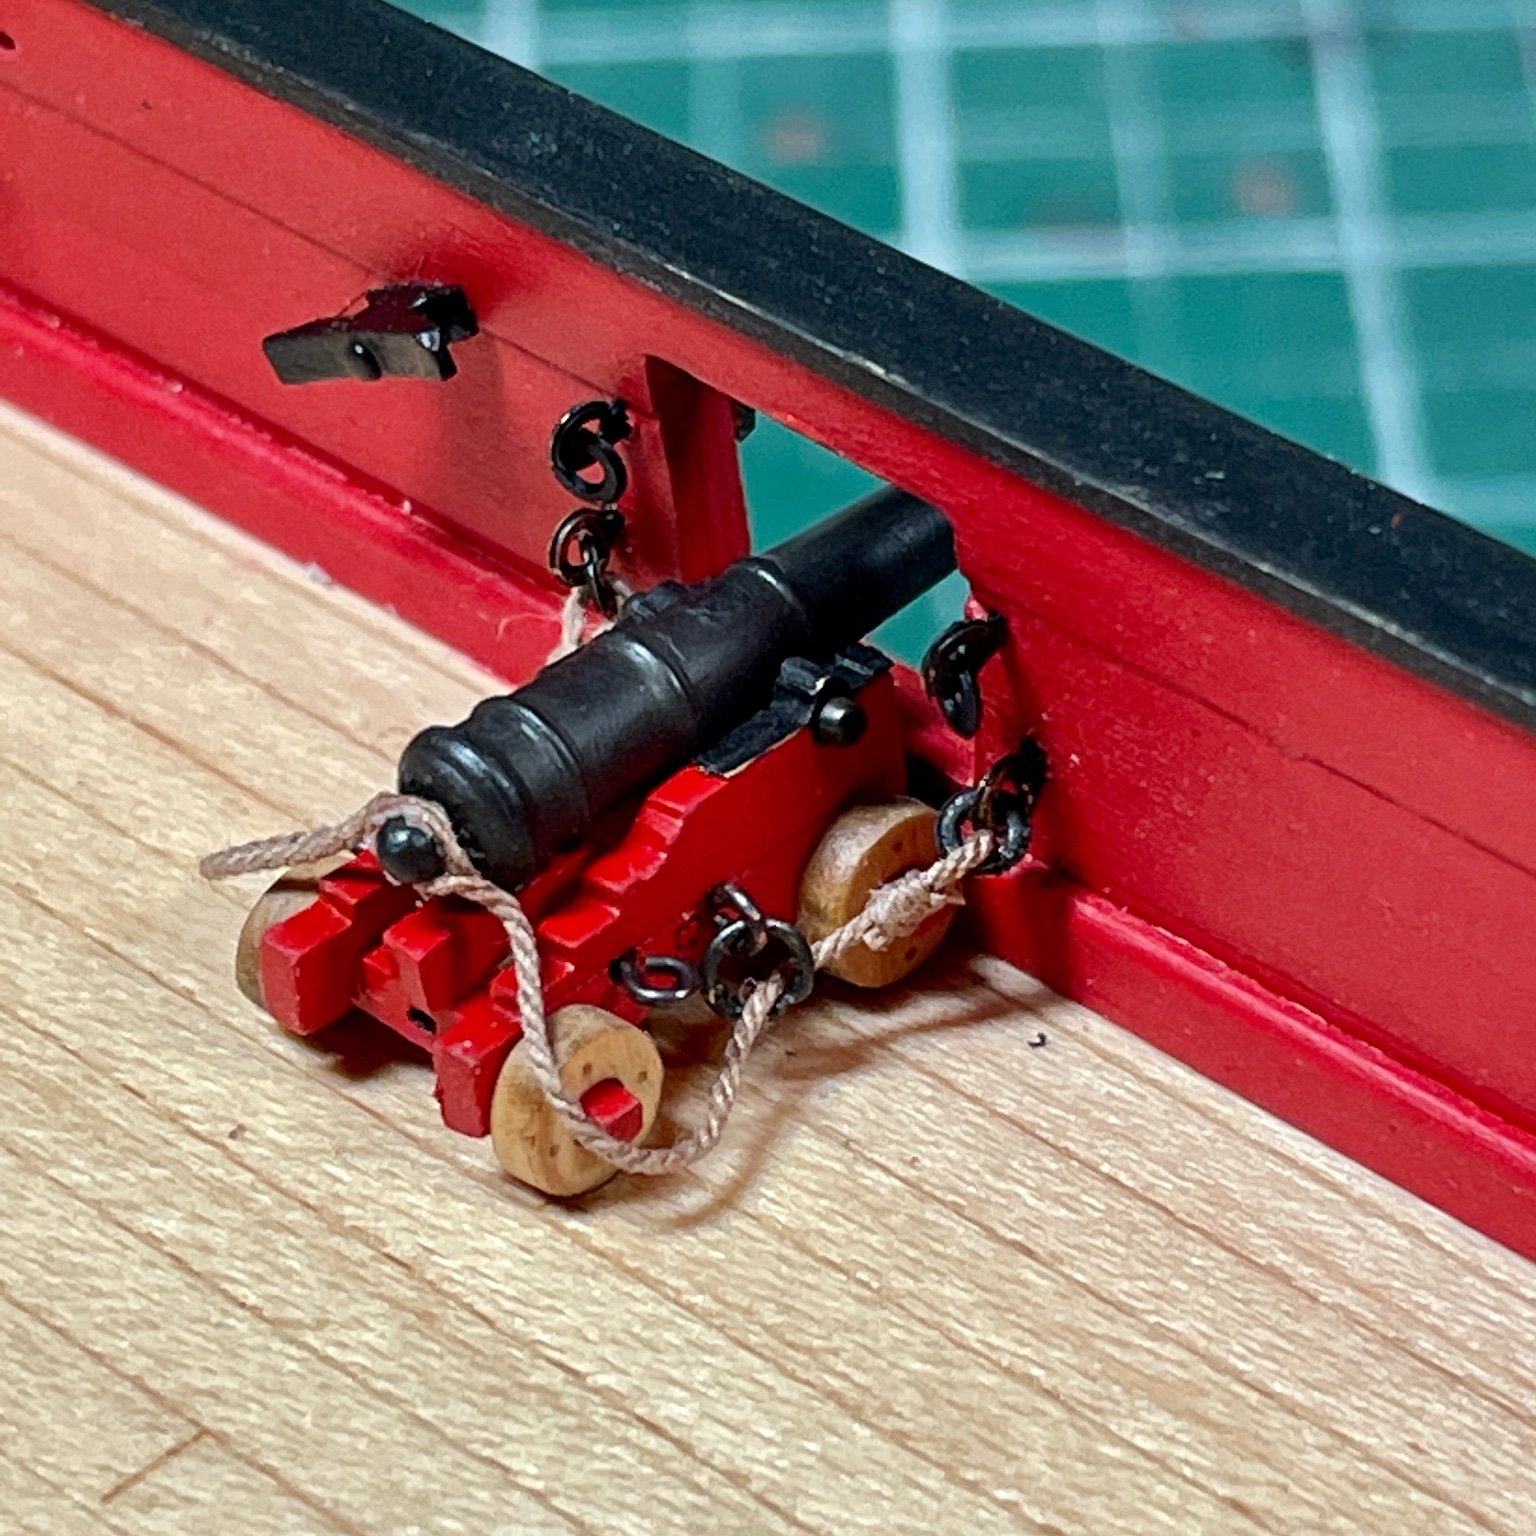
Assembled, rigged, and mounted the first cannon to figure out how I wanted to do them. These things are tiny. First challenge, the rope size was limited by what would fit in the kit ring/eyebolt. The weathering powder worked well on the resin cannons.

My next post will be more detailed about how I got here, not another one photo wonder.
Thanks for dropping by.
-
Well done. The cannons look very sharp.
-
2 hours ago, mtaylor said:
actually a very pale yellow.
No idea what the real white stuff looked like, but pale yellow would look sickly on a model in my opinion. I use Admiralty’s Paints Matt White on my hulls, for whatever reason Admiralty’s Dull White doesn’t cover well over large surfaces. Odd considering how well Dull Black does.
-
You’re off to a great start
-
-
So we’re cutting the curved planks on the forecastle?
-
If I send you some brass can you make mine😂well done.
- Matt D and FrankWouts
-
 1
1
-
 1
1
-
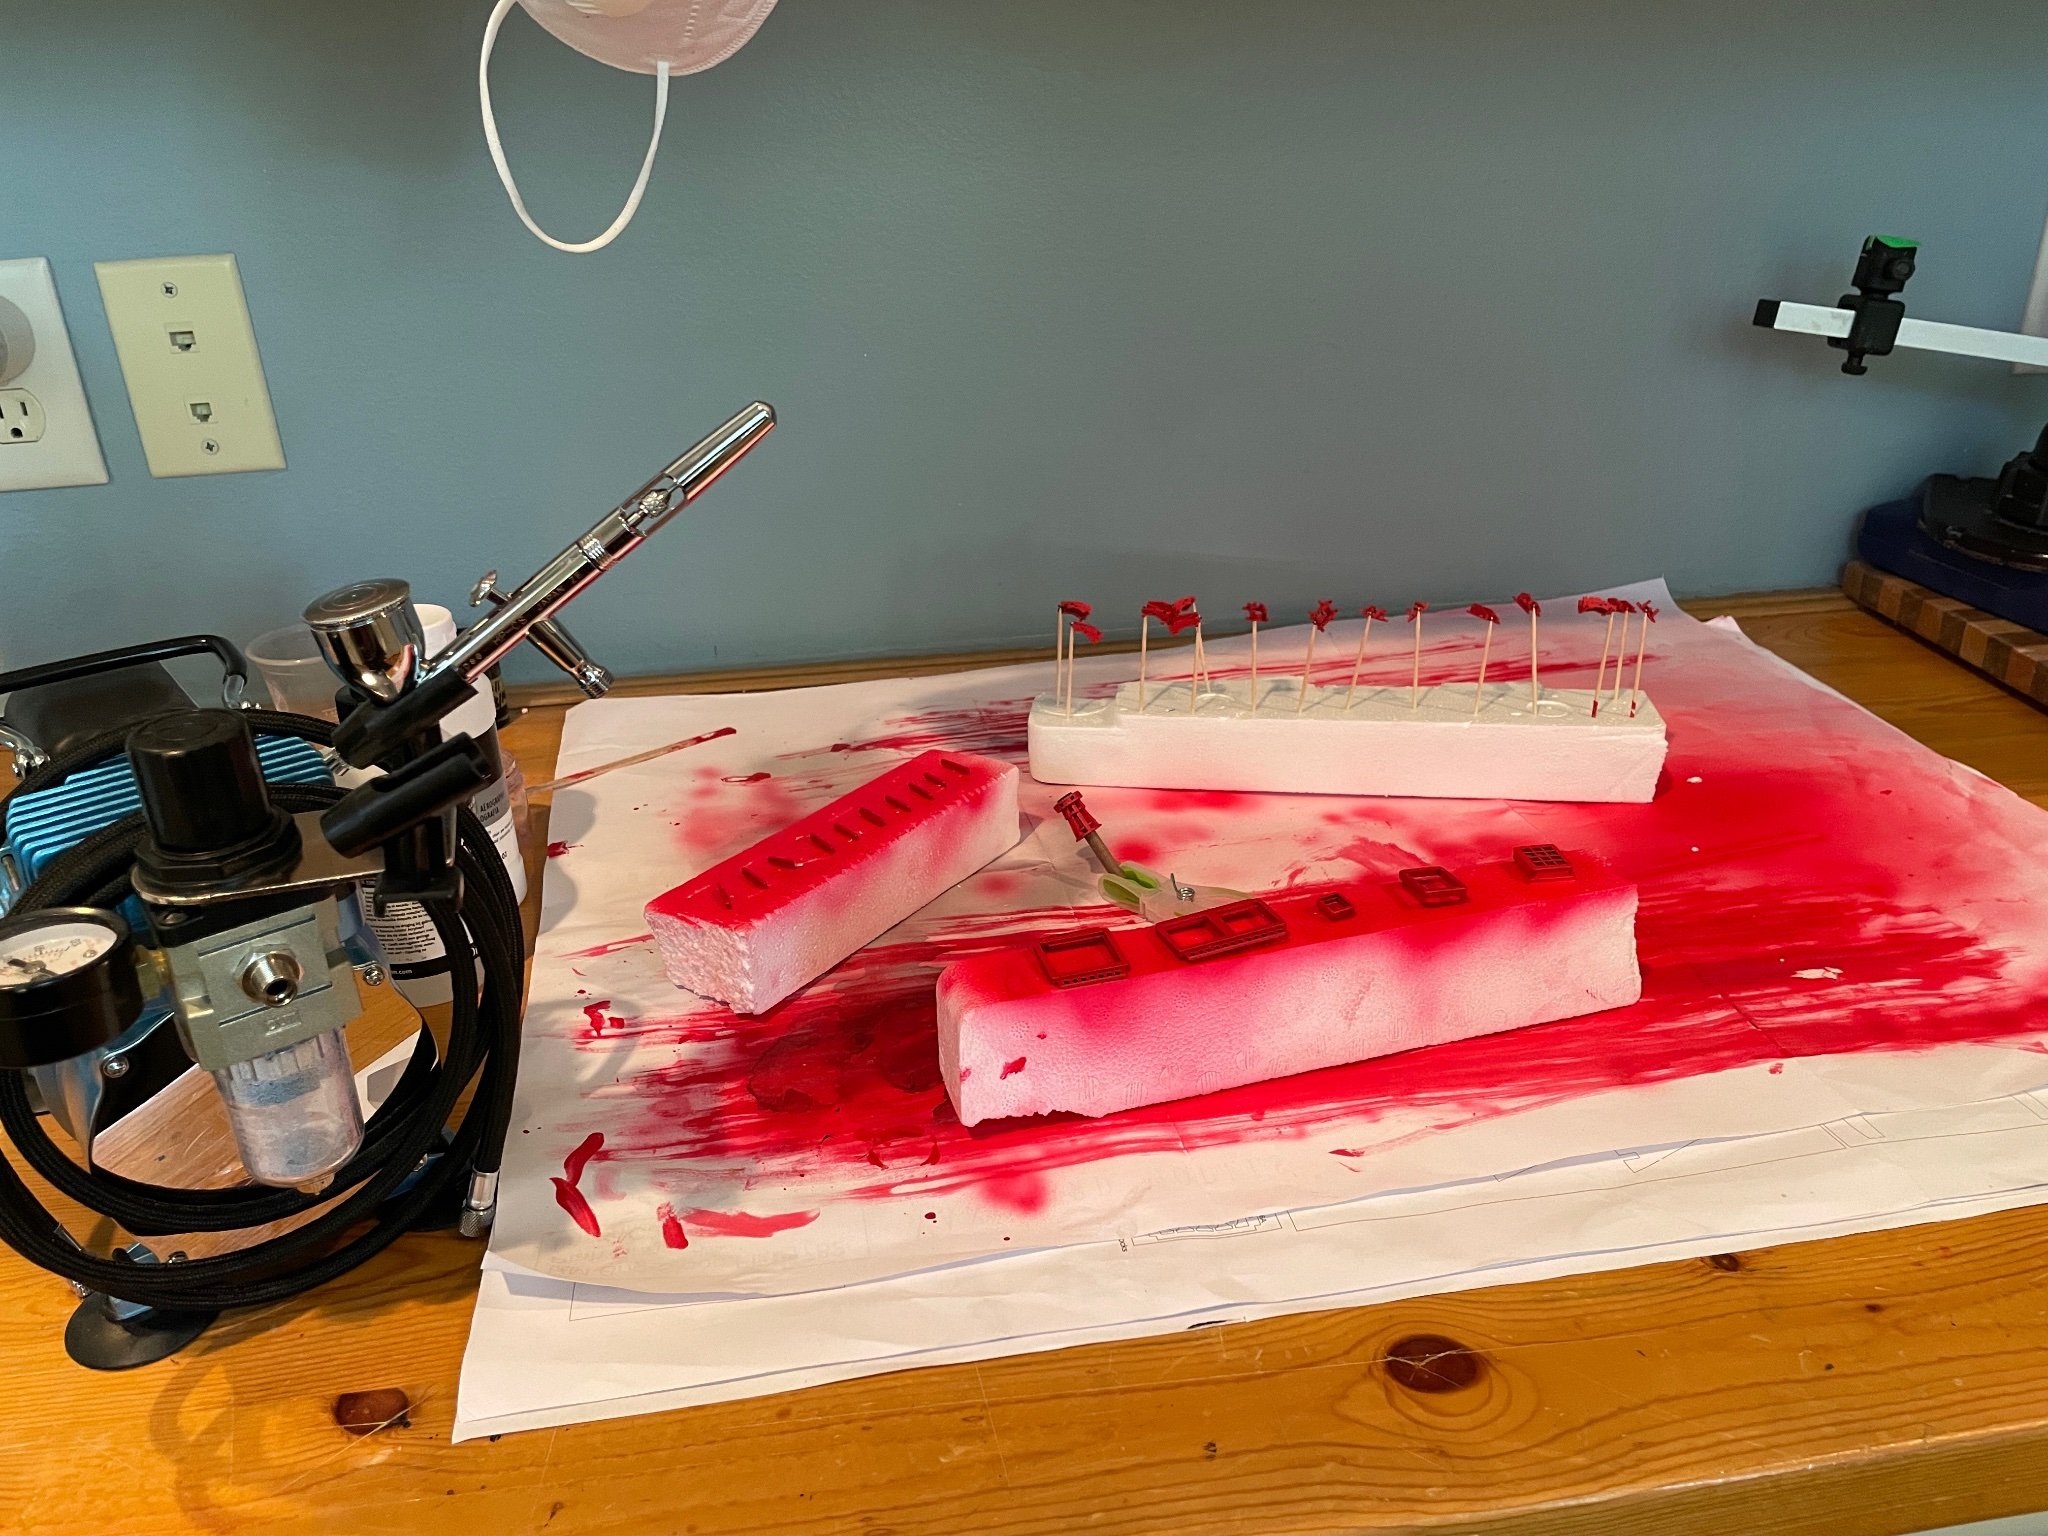
Embracing airbrushing. Kinda fun once I got the hang of it.
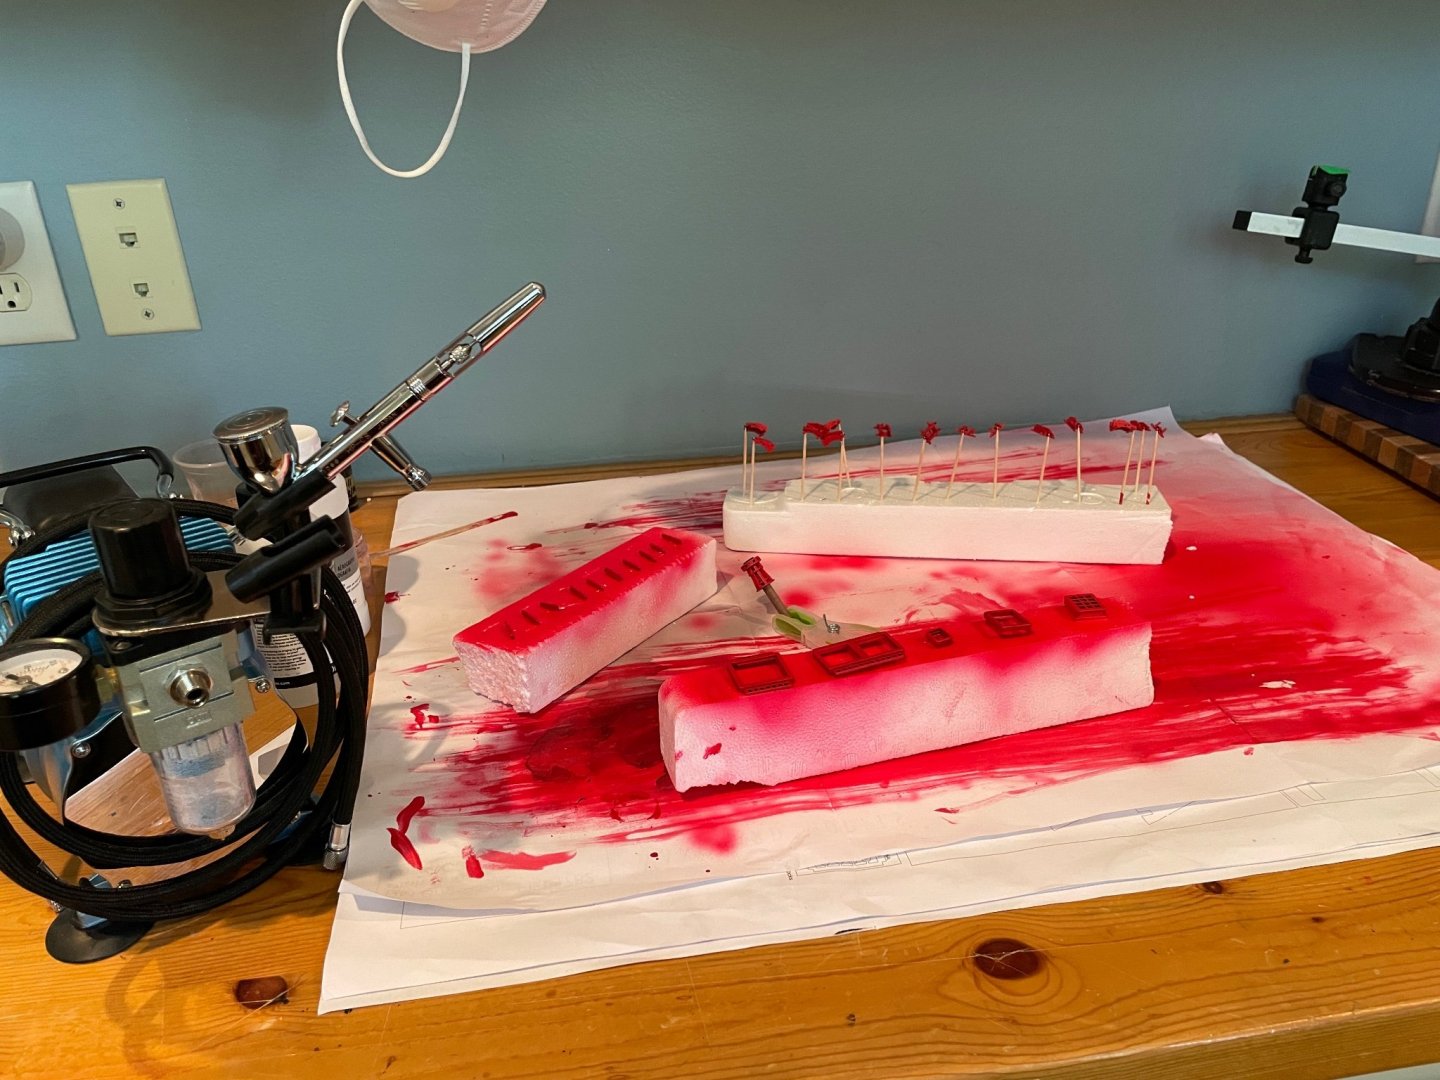
I still prefer the brush for most things but the airbrush is a great add to my workshop.
- PRS, niwotwill, Ryland Craze and 6 others
-
9
-
It looks like you’ve sanded the deadwood area at the stern to accommodate both plankings at the thickness of the sternpost (which you don’t attach until after the second planking). Once you have the bulkheads squared up and glued into place the next step is fairing the hulls, sanding them front to back so that a batten (thin long plank) lays smoothing across all bulkheads most of the char should be gone when you’re done.
Use the search function for Lady Nelson builds, between looking at all of them, the Amati video, and the instructions you’ll be able to determine next steps in the build sequence a see examples how to do it.
-
-
1 hour ago, Jaager said:
produced much more durable clear finishes
I deleted that because I went and checked what was used, turns out it was neither shellac or varnish but something more high end. I also deleted it because it really wasn’t relevant, just frustration with so many my way is better than all other way comments. My edit better reflects my point.
where are the links to your work so we can see your way in the form of results, my links are below?
- thibaultron, mtaylor and Canute
-
3
-
I seriously doubt a hull coated in shellac would survive a dunking in alcohol, that’s a bit silly. However, I look forward to seeing your Flirt finished in a hard coat of shellac once you start it. I actually don’t know how you botch something you wipe on and off with a cloth, that would take effort.
A can of WOP, which will last for multiple models, cost $12.98 and is at the consistency I desire. Why would anyone waste time, energy or effort buying $14.97 pint of polyurethane and $21.95 quart of mineral spirits to mix their own. I can afford $13 every three models.
I never understand why some feel compelled to convince others their way is the only way. If we know anything it’s that there are many ways to accomplish the same thing, I don’t need to validate my choices by denigrating the choices of others. I’m moving on from this post, content in the lasting beauty of my WOP finished models and no plans to buy shellac.
-
CA is perfectly ok to use with rigging if sparingly used with a very light touch. Clear Matte acrylic is a good alternative but without the holding power. Seems like learning to seize lines to blocks is the skill you need for next time.
Sorry to say in my experience and in my opinion once the CA is there in excess and dried there isn’t much to do except regret not redoing it when you look at it later. As Chris noted the clear acrylic might help, but really the thing to do is do it over after learning to seize lines. I don’t think any of us tie bowline knots on models. There is no magic solution.
- mtaylor, thibaultron and Canute
-
3
-
13 minutes ago, bartley said:
poly can look quite good
So it doesn’t look plastic or synthetic if done right…
- thibaultron, Canute, Gregory and 1 other
-
4
-
Again we’re all entitled to opinions informed by experience, or not. As I said earlier these types of posts incite all sorts of opinions posed as preferred methods. Ultimately the builder has to experiment, develop the necessary skills to do it well, and choose their own best course. Then later in your experience curve you can reply to posts like these with your opinion.
Bottom line, as these type of posts prove over and over, there are as many options, methods, and opinions as there are model enthusiasts. A lot of them even work.
- Ryland Craze, Canute, Gregory and 2 others
-
5
-
1 hour ago, VTHokiEE said:
some viewed it as a plastic or synthetic
Nothing plastic or synthetic about WOP. Anything, especially shellac, if done wrong can look bad. WOP isn’t generally available outside the US, so experience with doing it properly would be limited.
- Canute, thibaultron and mtaylor
-
3
-
1 hour ago, bartley said:
the "synthetic" look of wipe on poly.
If you get a synthetic look you’re doing it wrong.
- Canute, thibaultron, Ryland Craze and 1 other
-
4
-
As Mark noted there is not a one size fits all, as this string continues on you will see many options based on personal preferences, one is not better than another, it’s what finish makes you happy.
For what it’s worth, I prefer Satin Wipe On Poly. The key for me is to wipe it on and wipe it off before it dries. My opinion is glossy, which many options create, is not a good look. But that is just my opinion, which is what the other suggestions are, opinions. Experiment with the basics and decide what your opinion is on what’s best.
-
-
Looks really nice. Great work!
- BobG and FrankWouts
-
2
-
I also used boxwood on the molding for the same reason. Your Cheerful is really looking great.
-
16 minutes ago, Dfell said:
Hope you don’t mind am using your good build as a very helpful guide
I’m glad you find my log helpful, that’s always my goal.
Your Nikon 3100 should have a white balance setting, I’m a Nikon shooter as well (mine are D850, Z7, and Z7ii).
Press the menu button and select the photo shooting menu, scroll down to the Whit Balance. It’s likely in Auto which is great for most things but will vary for every shot. There should be choices, I think cloudy will give you a consistent warmer look. And if not your photos look great, a perfect white background shot is hard to achieve without the right lighting and settings. It’s why my log photos are just at my workshop top with an iPhone. I only do white background for the finished photos.
HM Brig-Sloop Flirt 1782 by glbarlow - Vanguard Models
in - Kit build logs for subjects built from 1751 - 1800
Posted
I think I do a lot of fiddling about😂