


glbarlow
-
Posts
3,852 -
Joined
-
Last visited
Content Type
Profiles
Forums
Gallery
Events
Posts posted by glbarlow
-
-
-
Hoping the box doesn’t collapse during shipping as the UPS people toss it about with all that weight. 😳
- hollowneck, chris watton, mtaylor and 3 others
-
 6
6
-
2 hours ago, BobG said:
smaller working vessels
Aren’t you starting your Flirt?
- mtaylor, chris watton, thibaultron and 1 other
-
4
-
17 hours ago, Blue Ensign said:
little mini kit of the double Capstan
I have it and the stove, but mine are going in Winnie, if I can get that far once I start it. That will keep me occupied for a couple of years.
- BobG, Canute, Blue Ensign and 2 others
-
5
-
-
I haven’t used enamel oil based paint in over a decade. Water based acrylics are far far easier to work with in multiple ways. I’d dump the old paint and get acrylics. I doubt you’d find few on MSW that would disagree.
- grsjax, Ryland Craze, mtaylor and 2 others
-
5
-
OR…you could toss the likely very old paint that came with the kit and replace it with water based acrylic available from any number of places and choose your own color combinations.
- grsjax, mtaylor, Roger Pellett and 3 others
-
6
-
12 hours ago, desalgu said:
I see they make small table saw also. Do you have one?
The Byrnes table saw is the best tool I own and the one I’ve had the longest. I consider it essential to model building. You’ll find dedicated threads and testimonials all over MSW. It is a family owned (just Jim and his wife) business with amazing customer support. I highly recommend it and the sander.
I change the forms for bending different size planks but I haven’t found the top tab necessary. #11 blades is the most used blade for all of us. While both the Swan Morton scalpel and Excel blades are #11, they handle differently. The scalpel is sharp but very thin and breaks if twisted.
I’m pretty proud of my Cheerful, it’s also my best log. I learned so much.
-
-
On 8/4/2021 at 11:45 PM, desalgu said:
problems I'm having with planks curving around bow
Check out my current log on Flirt (linked below) to see how I use Chuck’s plank bending technique to solve this problem. There are 4 videos of Chuck demonstrating the technique here on MSW. It will come into play again on the second planking too.
-
On 7/8/2021 at 10:56 PM, desalgu said:
used a battery-powered drill that rotates very slowly
Where did you get your drill? I’ve been looking for something like this for a while.
Good work solving the problem we’ve all had with gunport patterns.
-
-
On 8/16/2021 at 1:50 PM, DelF said:
You’ve shown that using proper techniques needn’t take an inordinate amount of time, and will pay dividends
Thanks Derek, I appreciate your saying so.
-
52 minutes ago, Gregory said:
serve as final planking on any ship,
Thanks for saying so. It will get a bit more dicey with the very thin deadwood required around the sternpost.
39 minutes ago, Blue Ensign said:Good training also for when builds such as Cheerful or Winnie
Thanks BE. That’s exactly my thoughts. I have the first chapters of Winnie waiting for me.
-
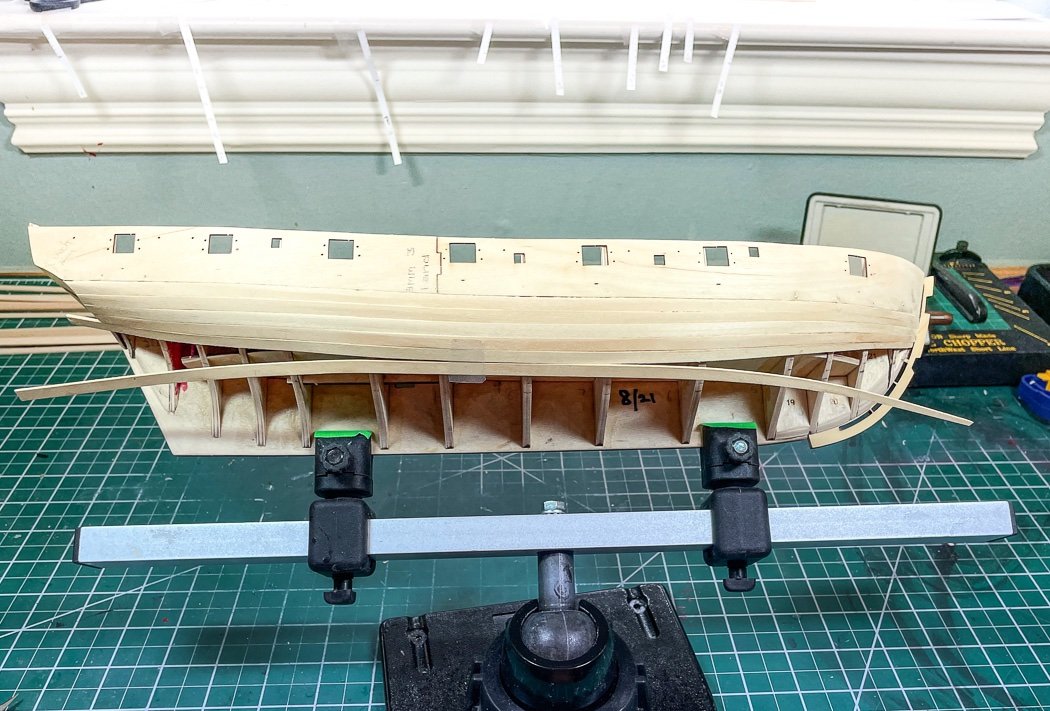
First Planking
With the gunport patterns completed, time to start planking.
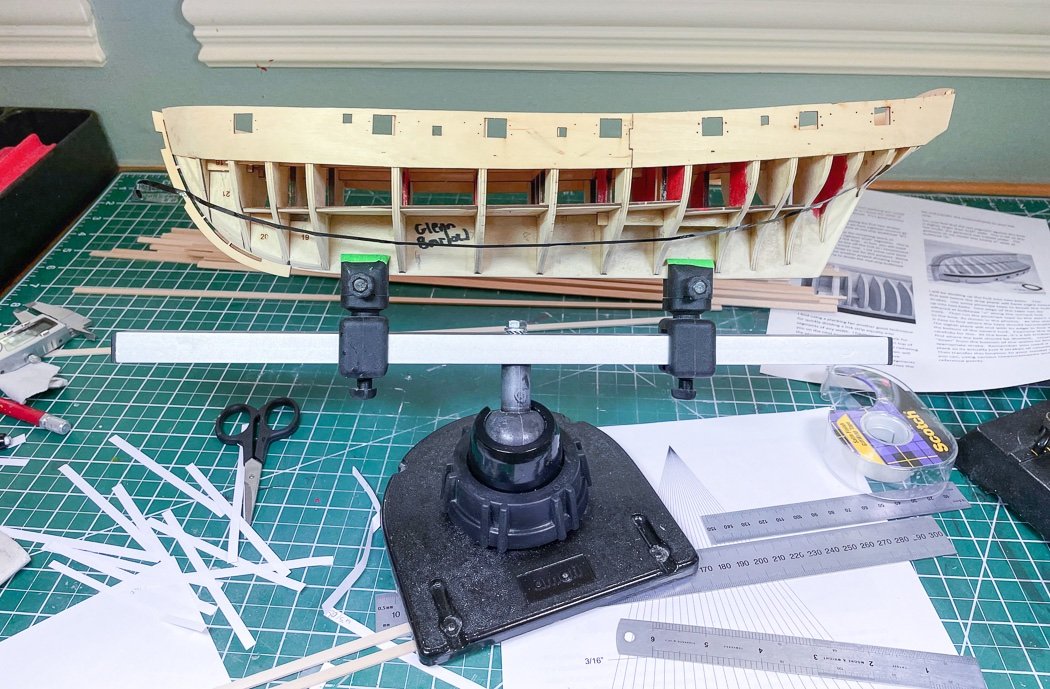

Following Chuck’s “Lining the Hull” .pdfs as a guide I began the first planking by dividing the hull into two belts and marking the bulkhead markers using a planking fan. I described this process in my Cheerful log, so I won’t repeat all of that here. Granted in the case of Flirt’s small hull I don’t necessarily need to do it for this first planking, I could have covered the hull one way or another. I also acknowledge there are other methods and techniques for planking. Suffice it to say it is my opinion this is the best process to plank any hull. I am doing it here as practice for my future Winchelsea build, where this technique is essential to single planking. Since I know I will need full planks width with from midships to stern I only lined from bulkhead 8 forward. (PS: for grins I always write my name and the start date on the former, sort of like writing your name in wet concrete I guess, no real reason).
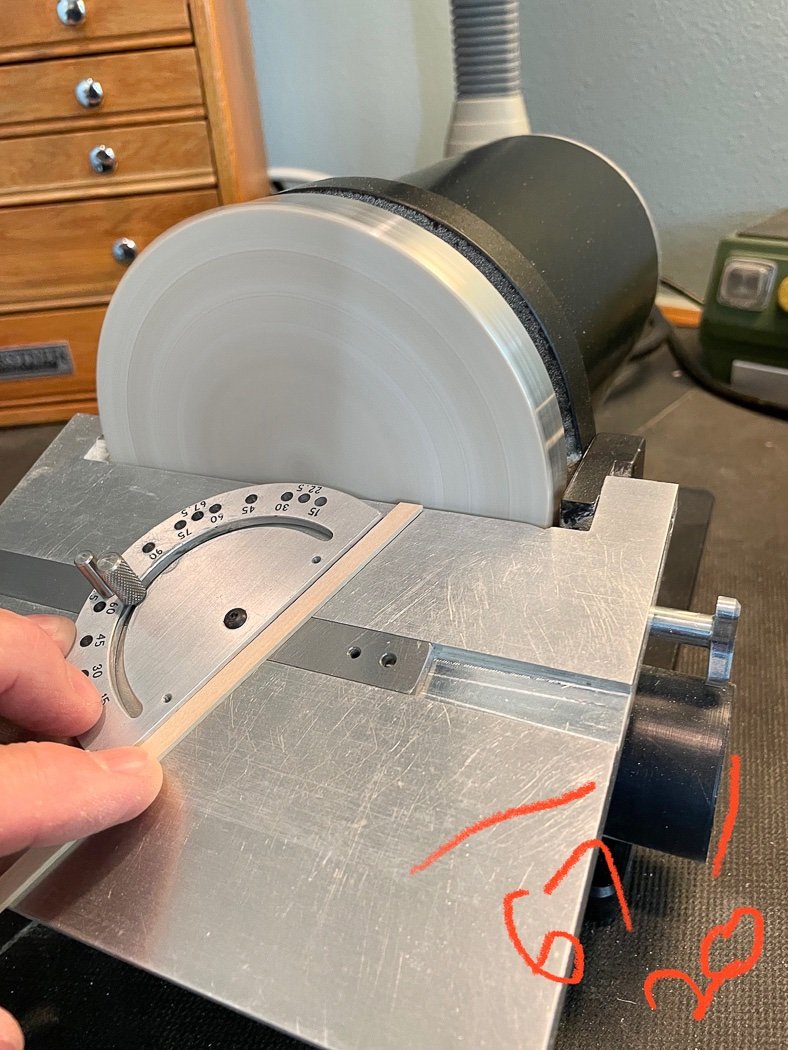
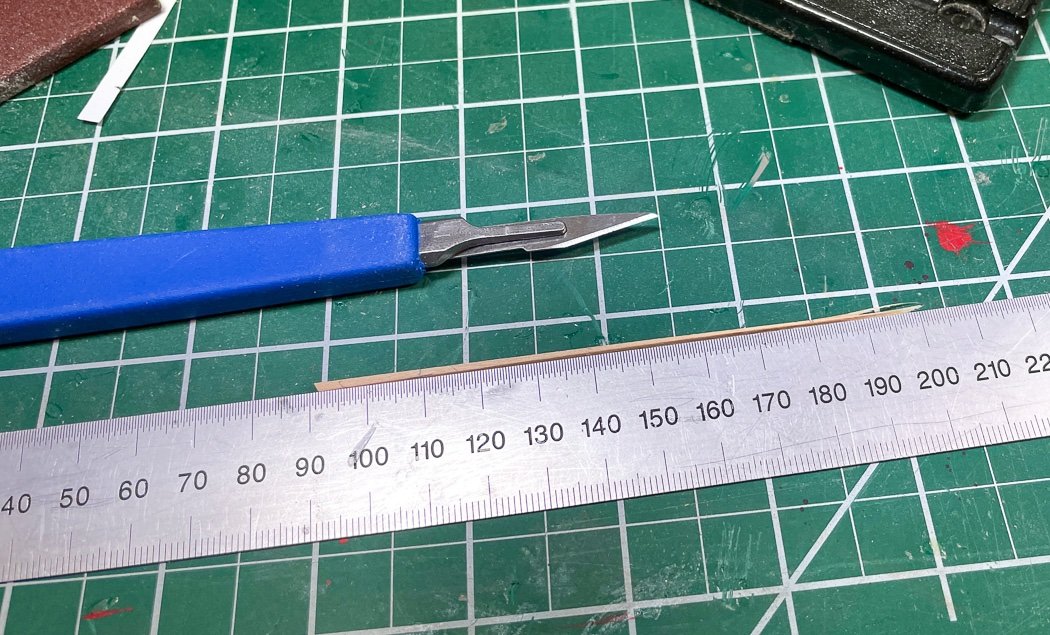
I used my Byrnes Sander to sand the angle (67 degrees for the first several) to meet the bow and at the same time tilt the table down to bevel the back side to fit into the stem notch provided as part of Chris’ design. Next up, I taper the plank per the lining off plan simply using a steel rule and a #11 blade. The Swan Morton scalpel works as does the regular Excel knife version, whichever I reach for.
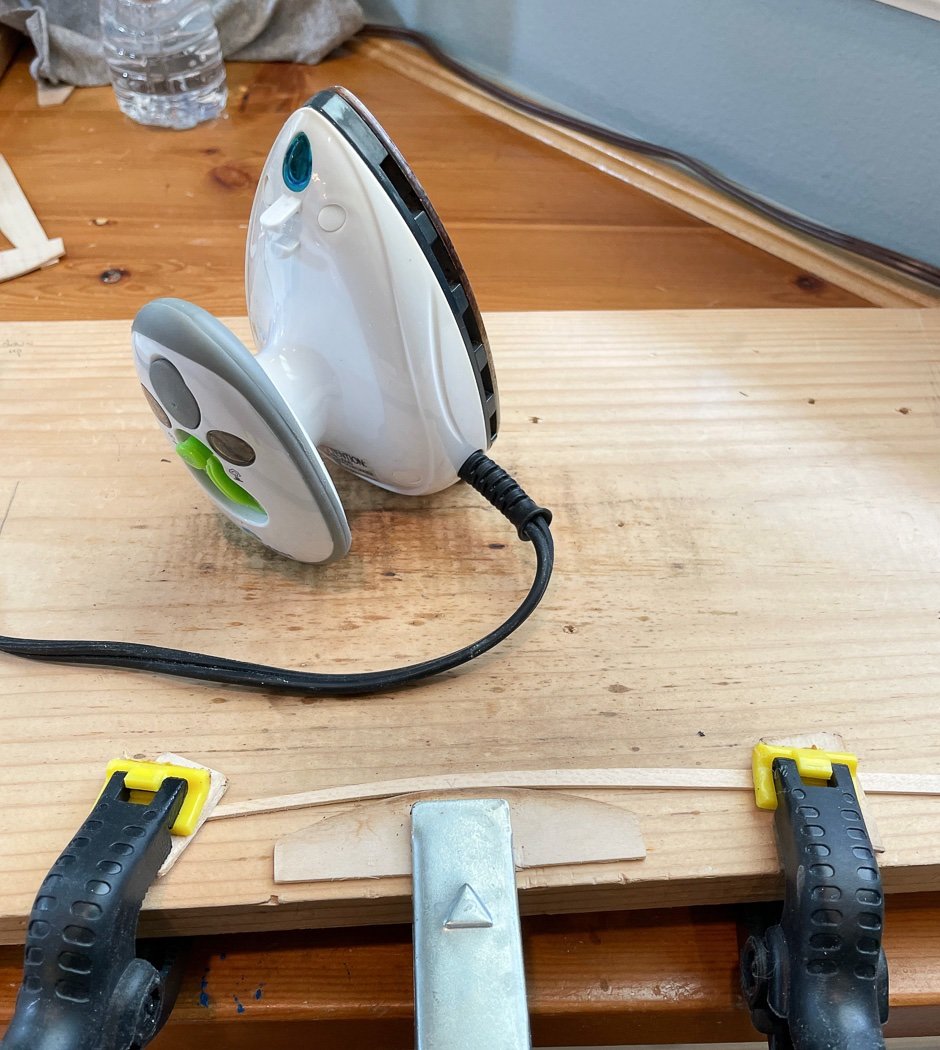
Then the fun part, bending the plank. I don’t soak planks. just a finger wipe of water and a travel iron at my plank bending station. I converted to this method when I built Lady Nelson, I don’t know how I’d ever have planked Cheerful without it. Again I described this process on both those logs so I won’t repeat it here. There are a series of videos Chuck has describing it in detail available here on MSW.
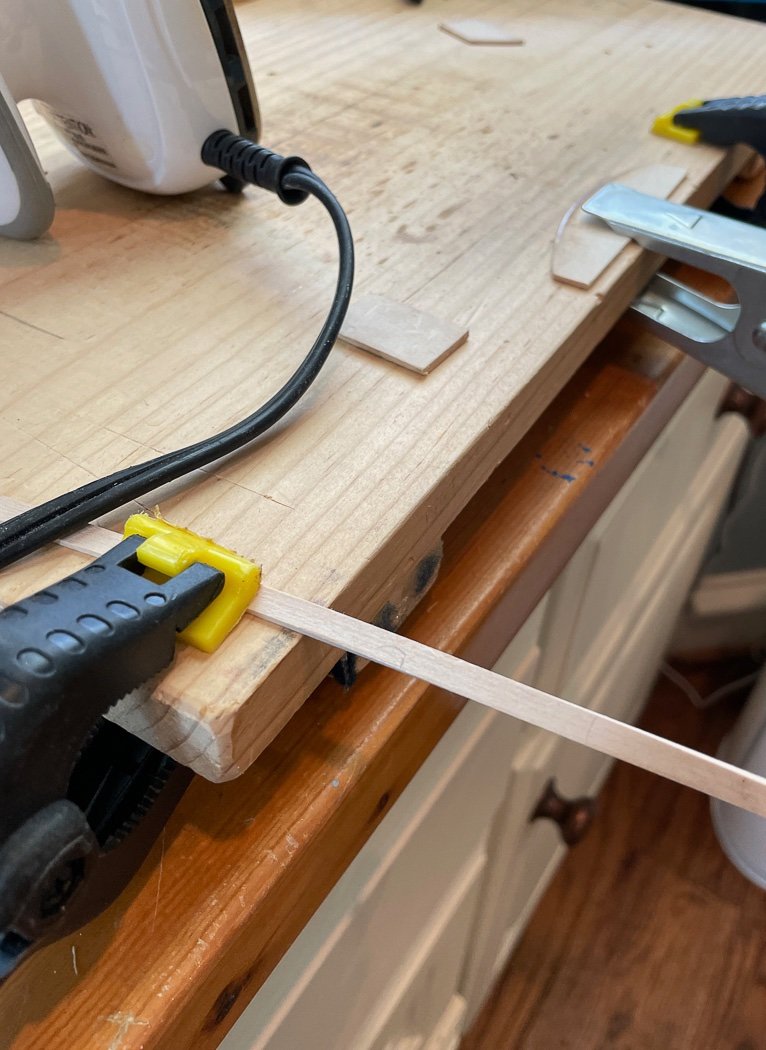
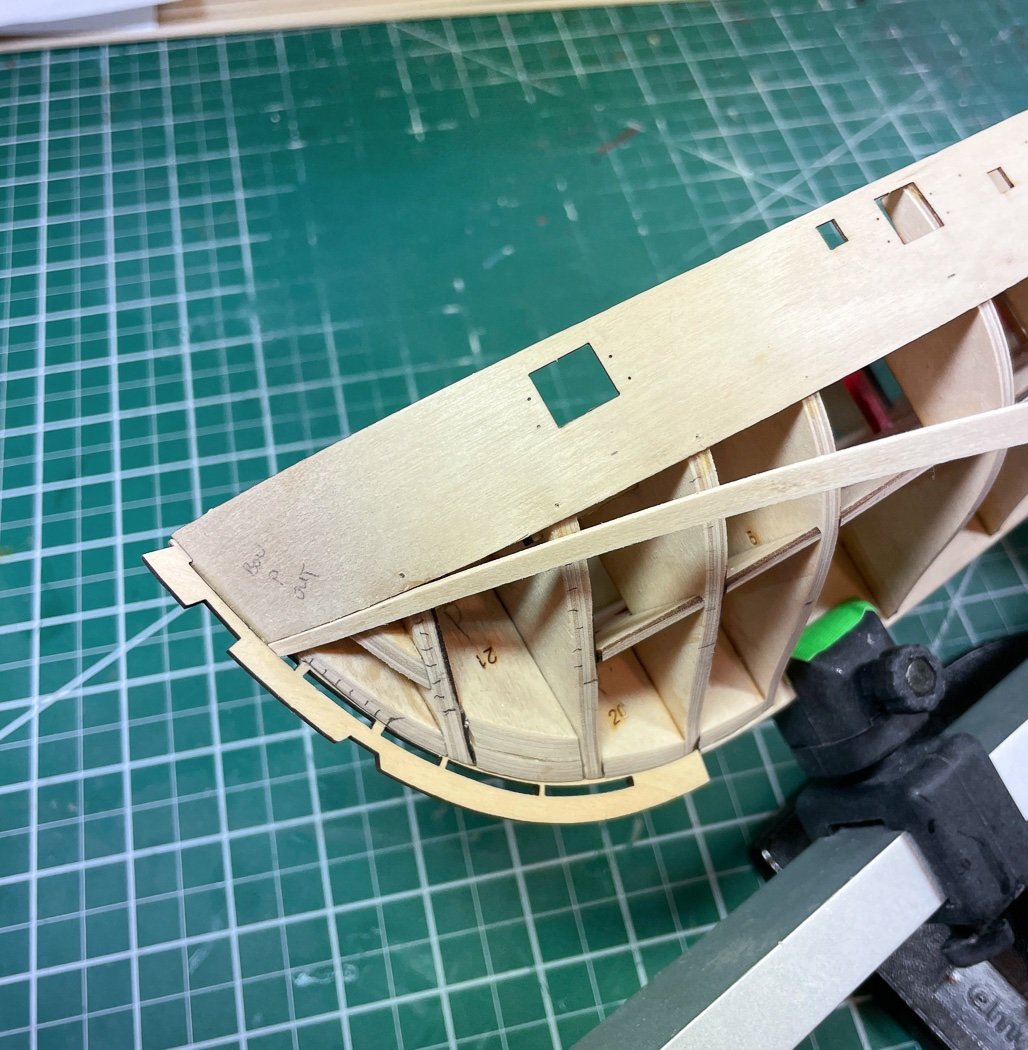
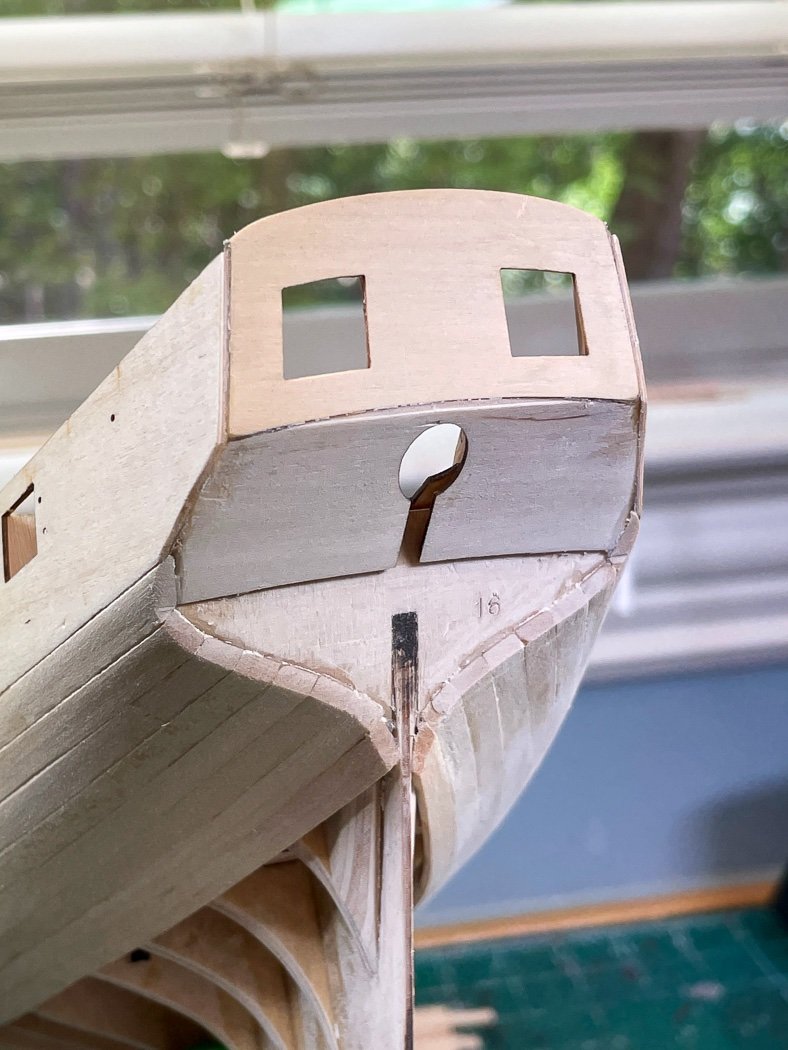
Having bent the plank to fit the length of the hull, I also add a twist using the iron (and keeping my fingers clear) to fit the plank under the counter when needed.
Once bent, like shown here (just hanging with a piece of tape for the photo) I get a plank that will l lay right on to the bulkhead without forcing, nailing, or soaking. It seems counter-intuitive to bend down to fit up, but that’s the geometry of a bow that both turns inward in two dimensions as you move down the stem. This plank was the next one installed, where you see it is where it went.
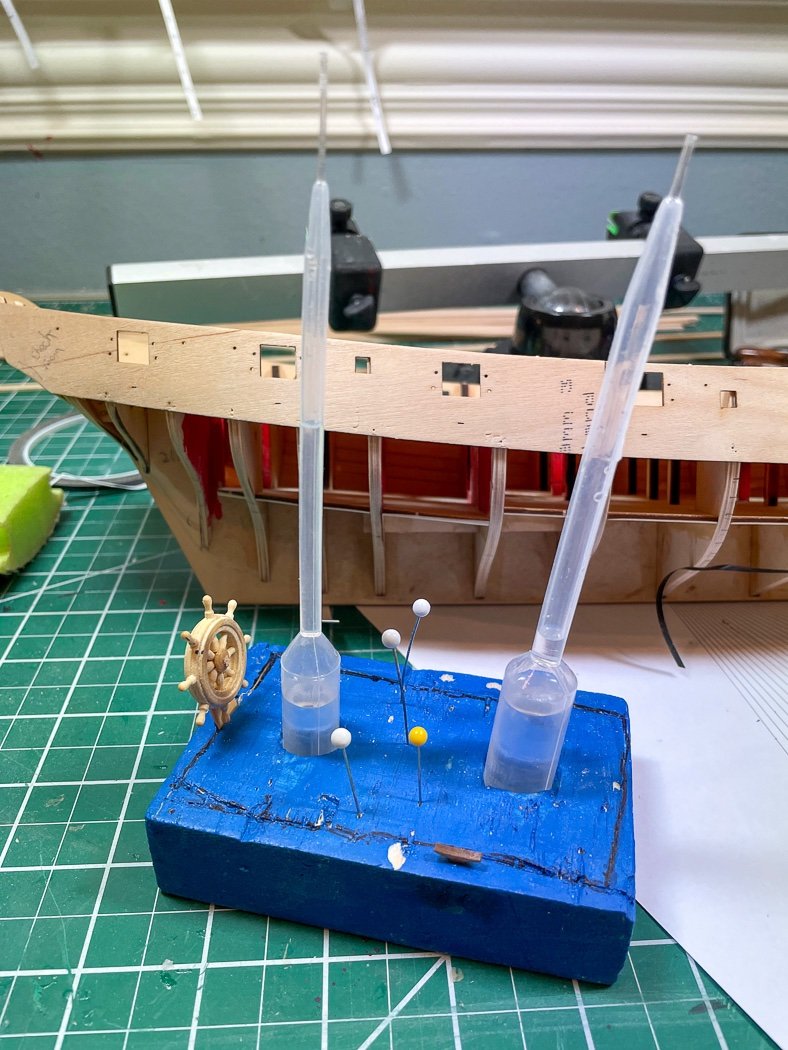
I use only CA for planking. For what it's worth the Smith Industries version I use doesn't a strong smell, at least that I notice. These two applicator types have been a part of my work bench for years, one medium and one fine tip. I use them until they fall apart at the tip then reach for another one, they generally last for one model. The key is to maintain them standing up straight and to gently blow out the excess glue from the tip at the end of the work session. My holder was just a bit of balsa with two holes until my granddaughter decided it needed painting and a little decoration. I don’t know the purpose of the ships wheel or the cleats she added, but they are there to stay now.
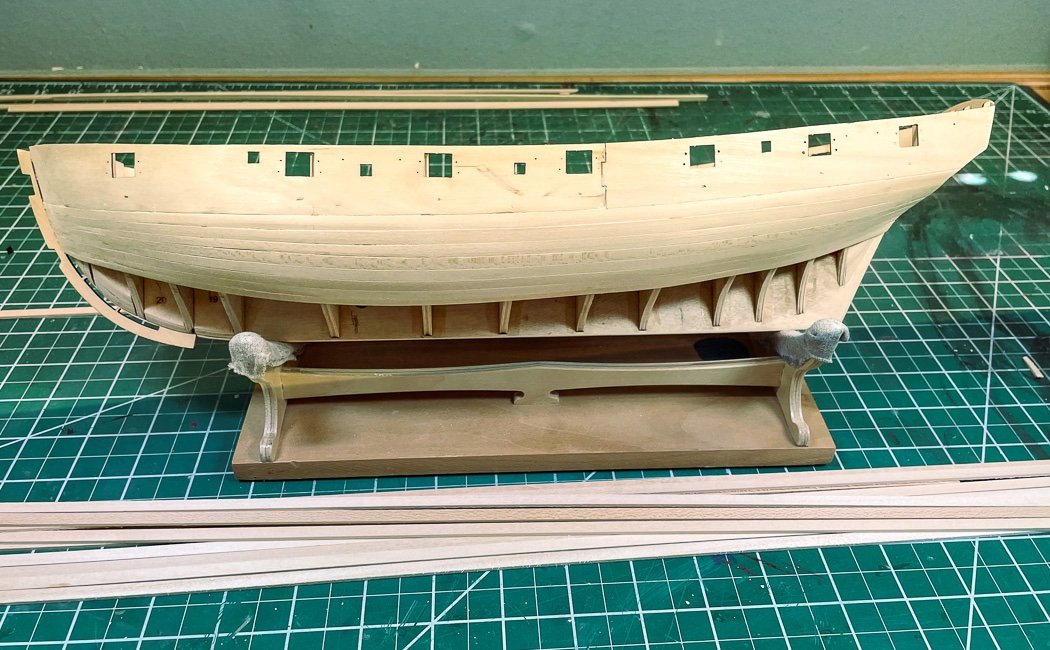

With that the first belt is complete, now on to the second belt to finish up the first planking. I need to sort out the deadwood area around the sternpost, the second layer of boxwood planks are only 1mm, not much room for sanding to fit. I needs to be sorted out with the first planking. Off I go.
PS: The white balance of these photos are all a bit wacky, Since they are pretty basic images I didn't spent much time trying to correct that. I'll have a talk with my iPhone next time round.
-
-
You’ll get it, persistence pays off.
-
-
I’ll enjoy seeing your new technique for the second planking though I’m pretty locked into tick strips, plank bending, and CA. Always instructive to read your log. My applicators work great for my use of CA, but I did pick up your applicator (or should I say your wife’s:-) for my white PVA glue use.
-
-
Add a thin 1/32 strip as a waterway and the paint bleed will be covered.
-
33 minutes ago, Neill said:
MDF dust is especially nasty stuff if inhaled
That’s not any less true of plywood dust or any sawdust for that matter. When sanding anything I wear a mask. MDF is a solid reliable frame for any 1:64 ship model.
- Blue Ensign, mtaylor, Neill and 1 other
-
4
-
6 minutes ago, Gregory said:
borrowed some images
I thought those look familiar, glad they are helpful.
I agree, in theory maybe one deadeye of the pair could be rigged, only if the shrouds aren’t served, but I don’t know why you would. As others noted the challenge is both getting the spacing the right distance and all shroud deadeyes in line. I don’t know how you’d do that off the ship. Plus I don’t think it would be easier off the ship anyway.
-


HMS Sphinx 1775 by Blue Ensign - FINISHED - Vanguard Models - 1:64 scale
in - Kit build logs for subjects built from 1751 - 1800
Posted · Edited by glbarlow
I do these color boards too. I was amazed that the Cerulean Blue I bought from three different manufacturers, Golden, Grumbacher, and Winsor & Newton are completely different. I was thinking ‘Cerulean’ means ‘whatever’ Blue.
I also prefer Admiralty Yellow Ochre over Gold for decorations, just seems right.