The Rigging Continues
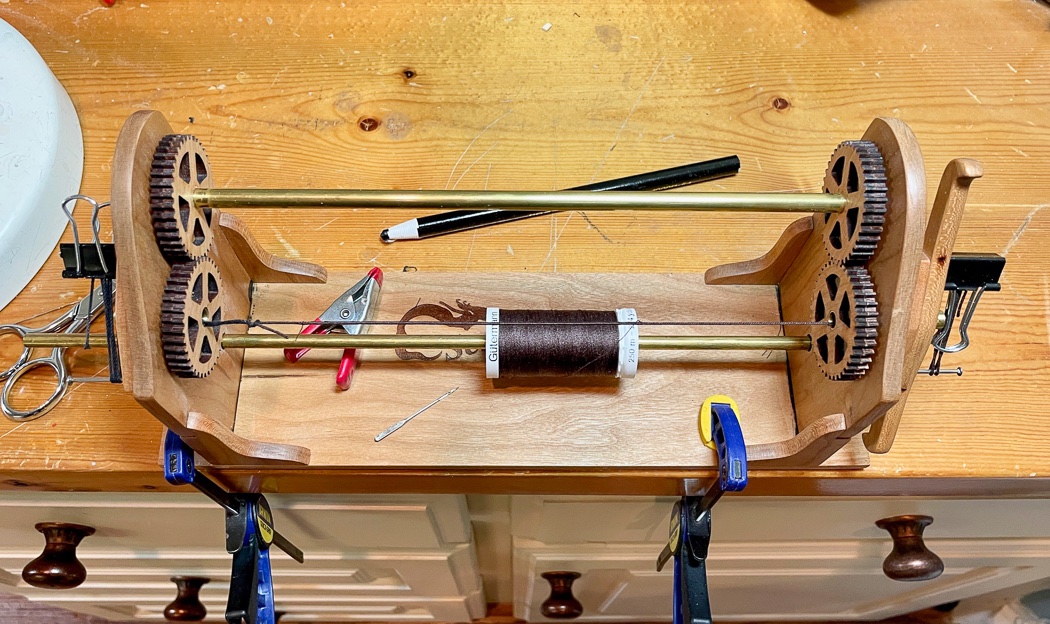
I had never served a rope on any of my previous models I’m sad to say. In fact as I was starting Cheerful last year I wasn’t sure I would on it either, I wasn’t sure I wanted to get into it. During this phase of the construction I served a LOT of rope in multiple lengths. The @Chuck Serv-O-Matic makes what I thought would be complicated really not any more difficult than loading it up and turning the crank, and turning the crank some more and then some more turning of the crank. If you’re not sure about serving rope, I highly recommend you get this machine and serve away. It’s easy and, so far, none of my served ropes have sprung into an uncoiled mess, he said hopefully.
I also prefer the now historic Syren Dark Brown rope instead of black for standing rigging, I determined Guterman 100% polyester #593 (Seal Brown I think) is a good match and is what I loaded on the server. Also, I discovered a sewing machine needle (vs. regular sewing needle) comes in handy for starting the thread through the rope with the threading done on the pointy instead of at the back of the needle.
Shrouds
Right up front let me say there are many other ways to set shrouds, many of them likely better than mine. My method is an amalgamation of what I’ve learned from the many great builders on this site, my own experience in having done a few on nine prior models, and limited patience. I doubt my method is the best choice for many, I’ll share it here nonetheless.
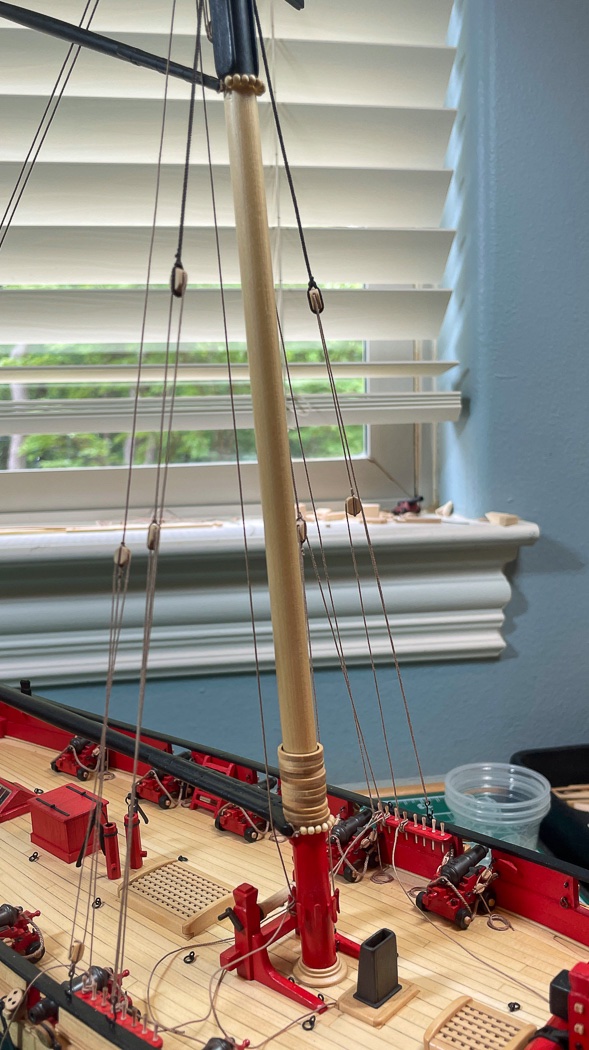
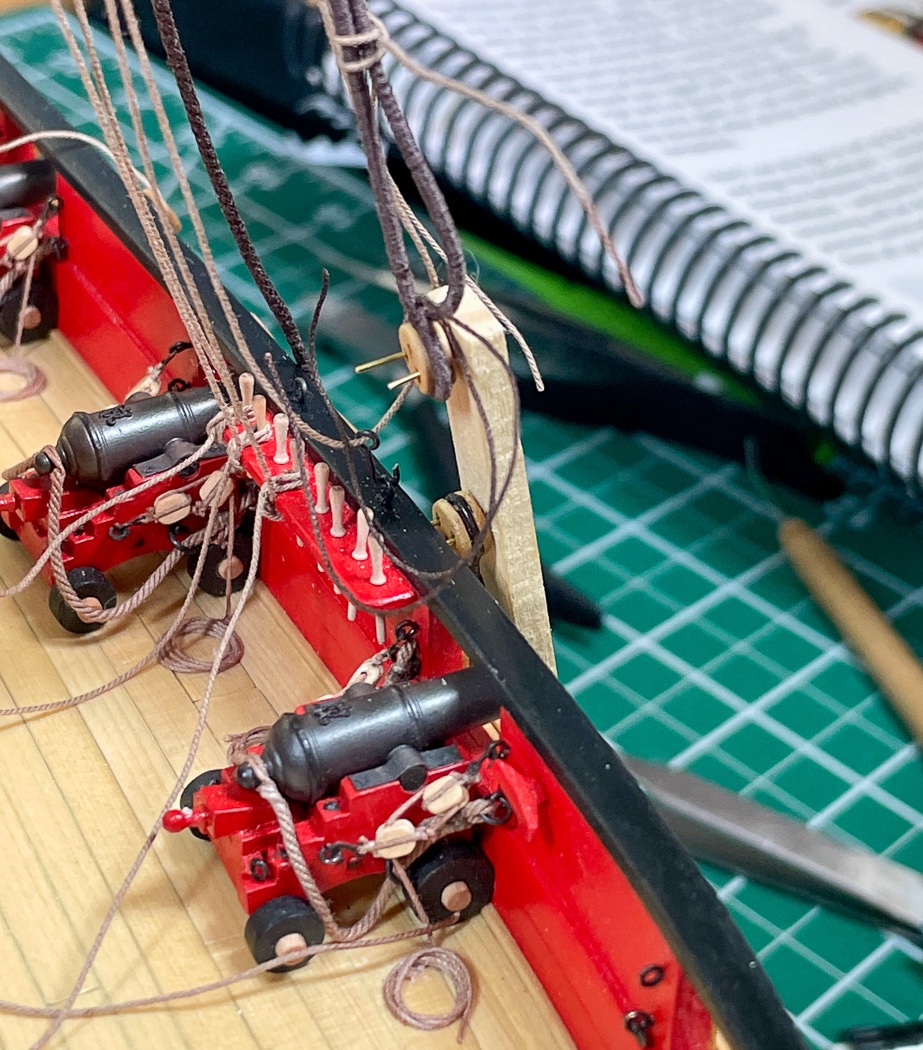
With the able Quad Hands on my bench I decided to install the shrouds after the mast was stepped. I followed the common practice of alternating sides by pair: fore starboard, fore port, stern starboard, stern port. The forward shroud on both sides is served its entire length, the other shrouds are served to just below the cheeks. Many cranks of the serving machine were enjoyed.
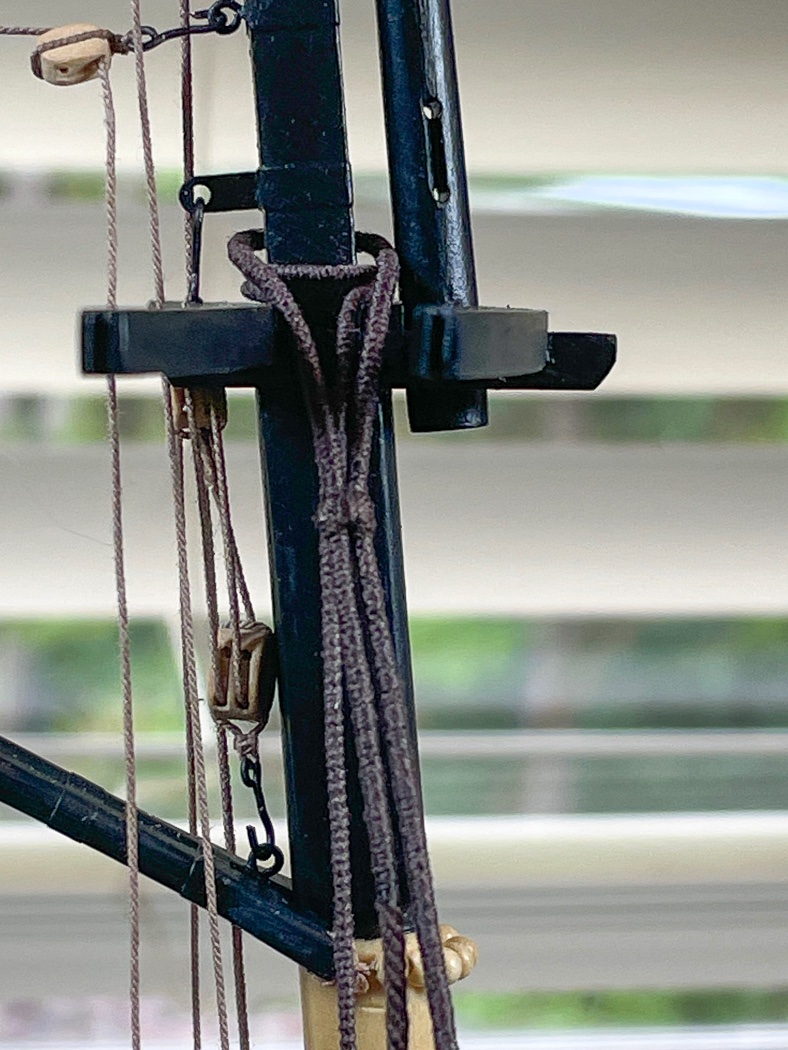
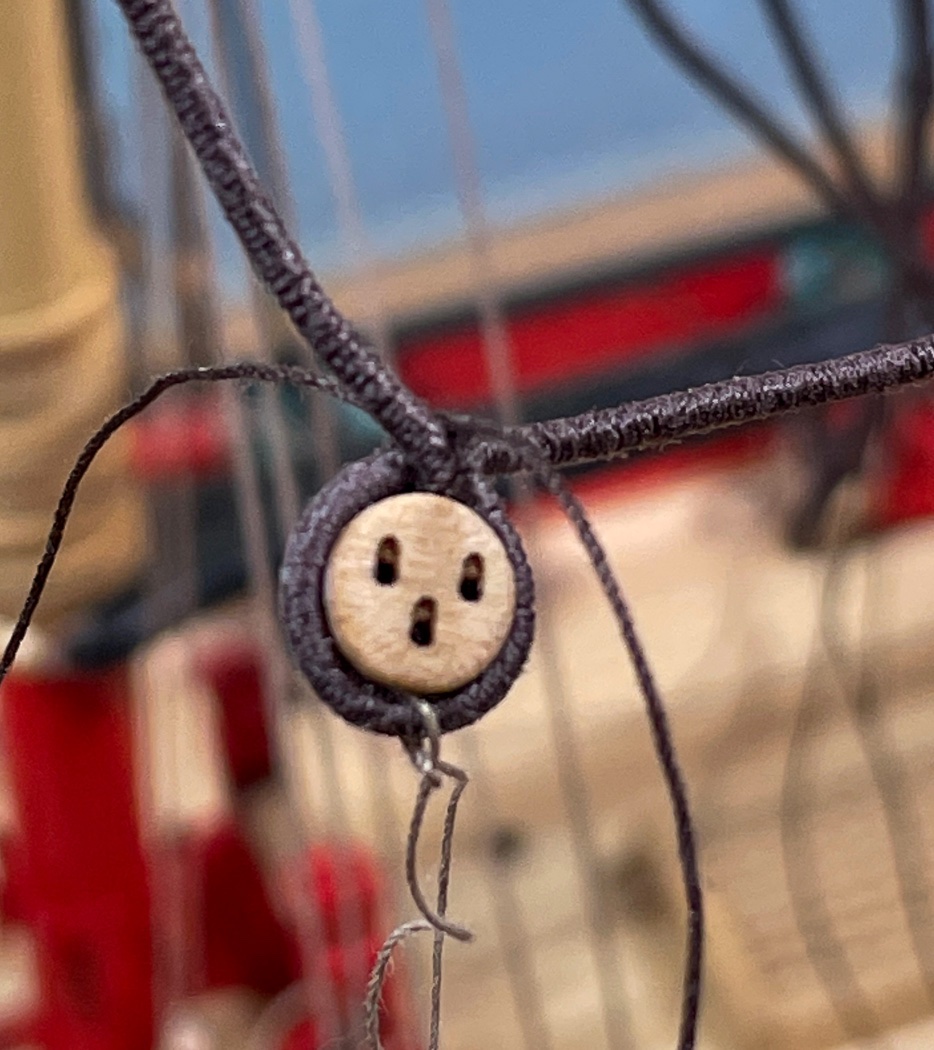
I used the same seizing at the masthead and the deadeyes. I chose .012 dark brown rope instead of thread because I wanted the shrouds to show a bit of heft. After 10 turns and tightening my "fishing lure" I crossed the two running ends to the back side of the seizing and tied them in a square knot then sealed the knot with a drop of CA.
I really enjoy building models of sailing ships, I do not however enjoy installing deadeyes (or worse the still to come ratlines). As I mentioned many modelers have many methods and I wish you all well in whatever manner you choose. I start with a jig that includes a sacrificial deadeye glued on and two brass pins at the required distance below inserted into the deadeyes already on the hull. A piece of tan thread is tied by clove hitch onto the shroud and used to mark the bottom center of the loop made by the jig (after a lot of fumbling about).
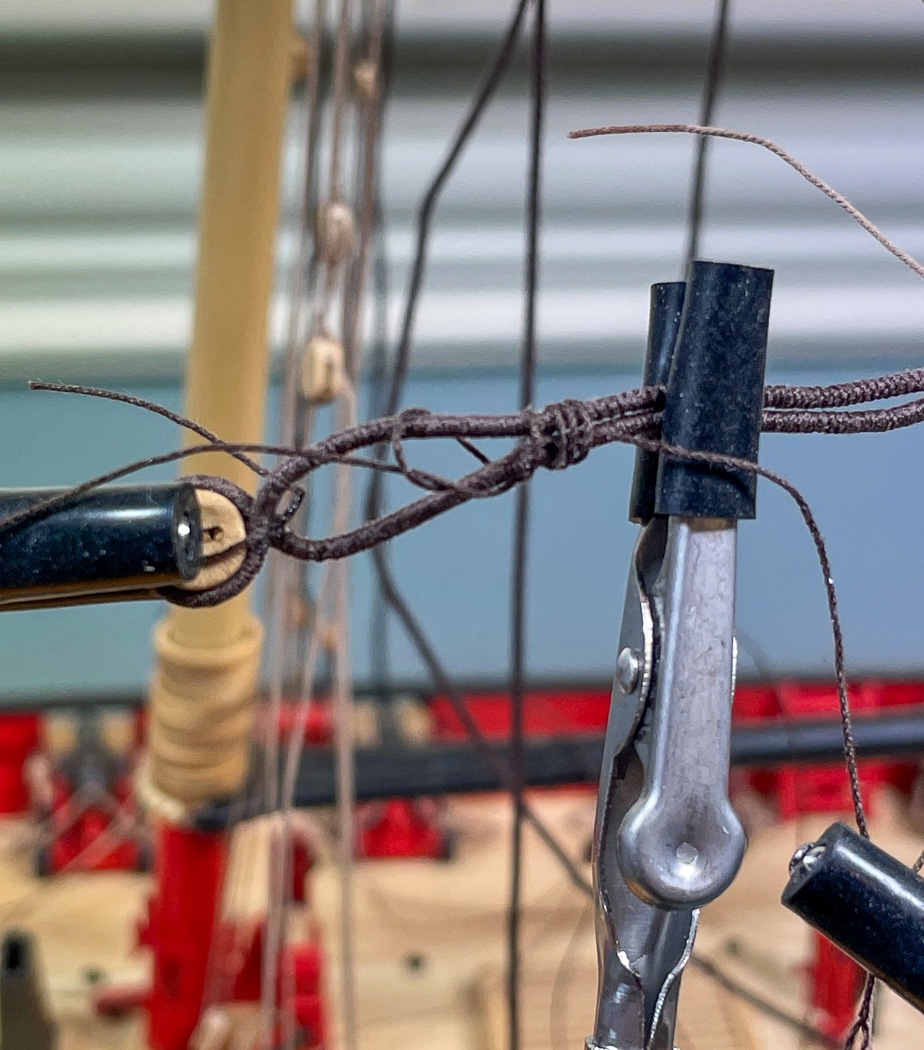
That loop is transferred to the closely located Quad Hands and the shroud dead eye (temporarily upside down in the photo) turned in by crossing from back across the front and then seized with a clove hitch.
With the running length temporarily seized with another piece of tan rope with another clove hitch the shroud is tested with another jig, this one with brass pins on both ends at the required distance.
Once the length is confirmed and set, the clove hitch is glued at the dead eye and three seizings, as described above except four turns instead of ten, are added, the running length is trimmed at the top of the third seizing. The distance between seizings is established by the plans.
The lanyard is added and temporarily tied by half hitches just above the first seizing. That’s one done, seven more to go.
I’d like to say it's as smooth as I described it, but for me it isn’t. Getting all eight the right length is a lot of fumbling and fiddling about and very time consuming. How did I ever do 74 of these on the 1:64 Pegasus...
Eventually though it gets done and I can finally move on. I’ll do a little twisting about to clean them up more when I permanently tie off the lanyards.
Burton Pendants
The two Burton Pendants were actually the first item installed over the mast head, before the shroud lines. The standing portion is fully served and runs about a fourth of the distance down to the deck. The tackle is hooked to the cap rail and belayed to the pin rack. The challenge was having the each pendant equal distance from the masthead and deck. No cranes on these ships, the pendants did all the heavy lifting.
Lower Backstays
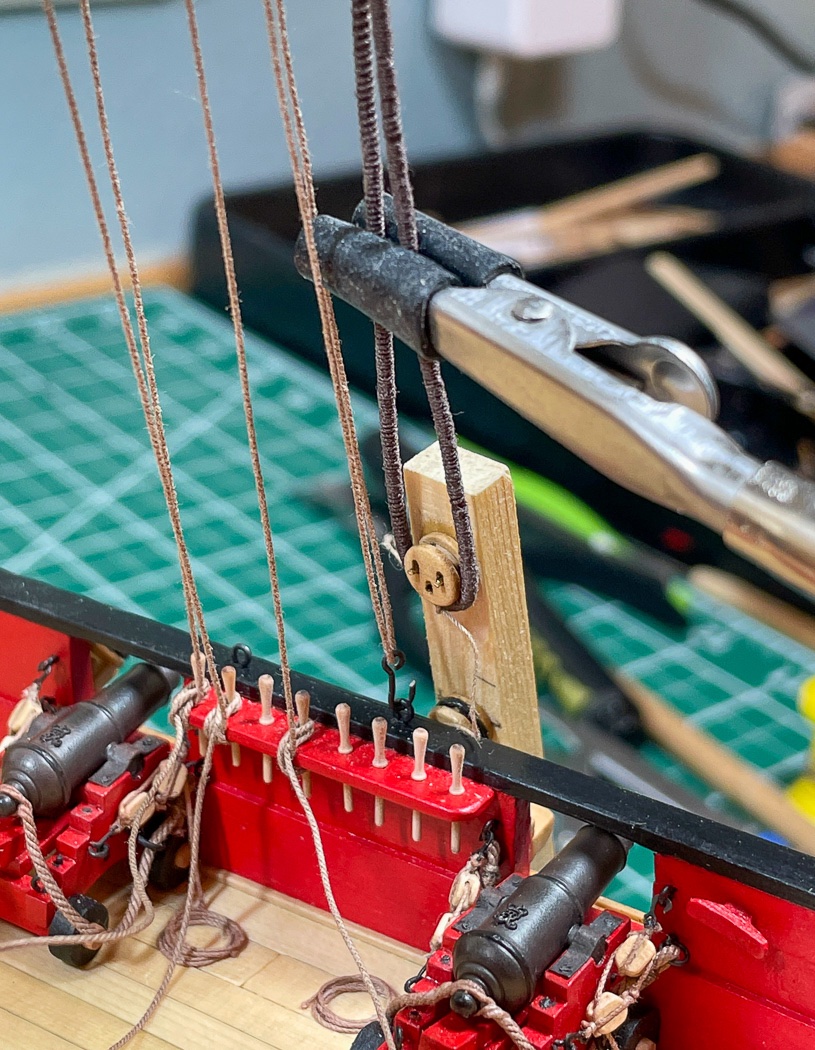
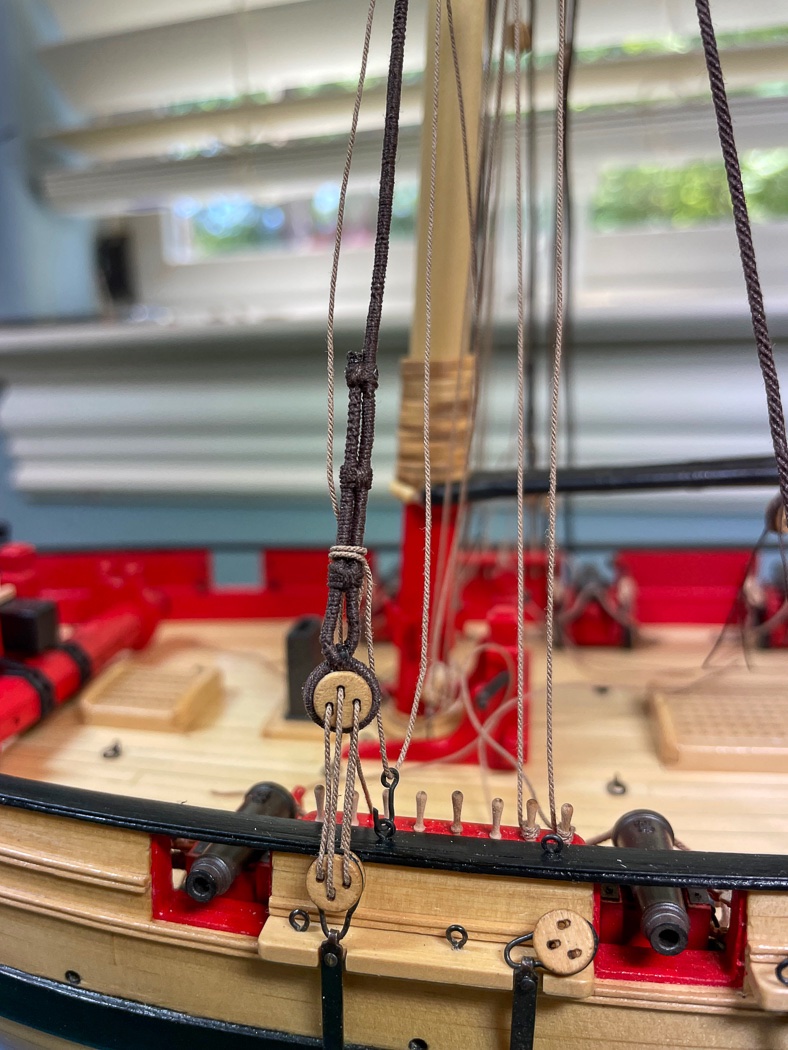
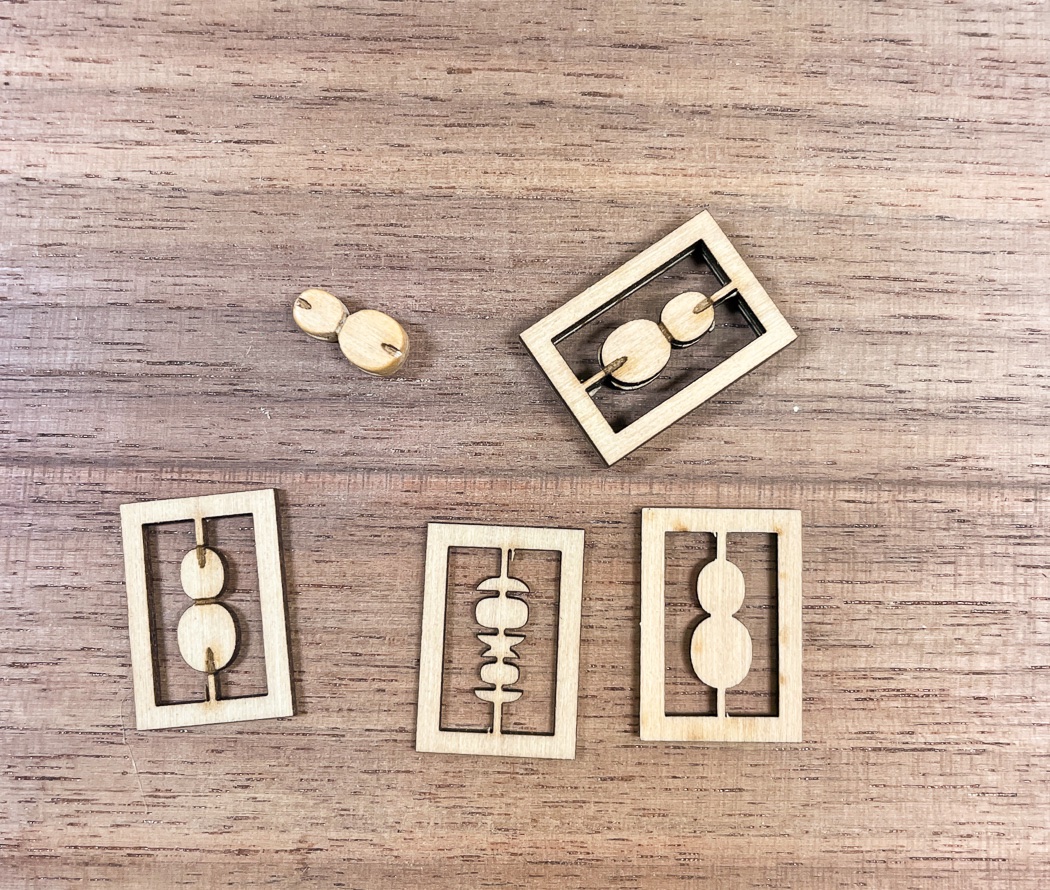
On to more fun rigging beginning with constructing two fiddle blocks from Syren. They consist of three layers, I squared them up using their frames and glued the three together, I trimmed away the frames and did some sanding, removing the char and shaping them a bit by rounding the edges.
The fiddle blocks look pretty cool rigged up, Yet another clove hitch wrapped the center, glued and the ends trimmed away. I sorta wish there were more than just the two as part of the rigging.
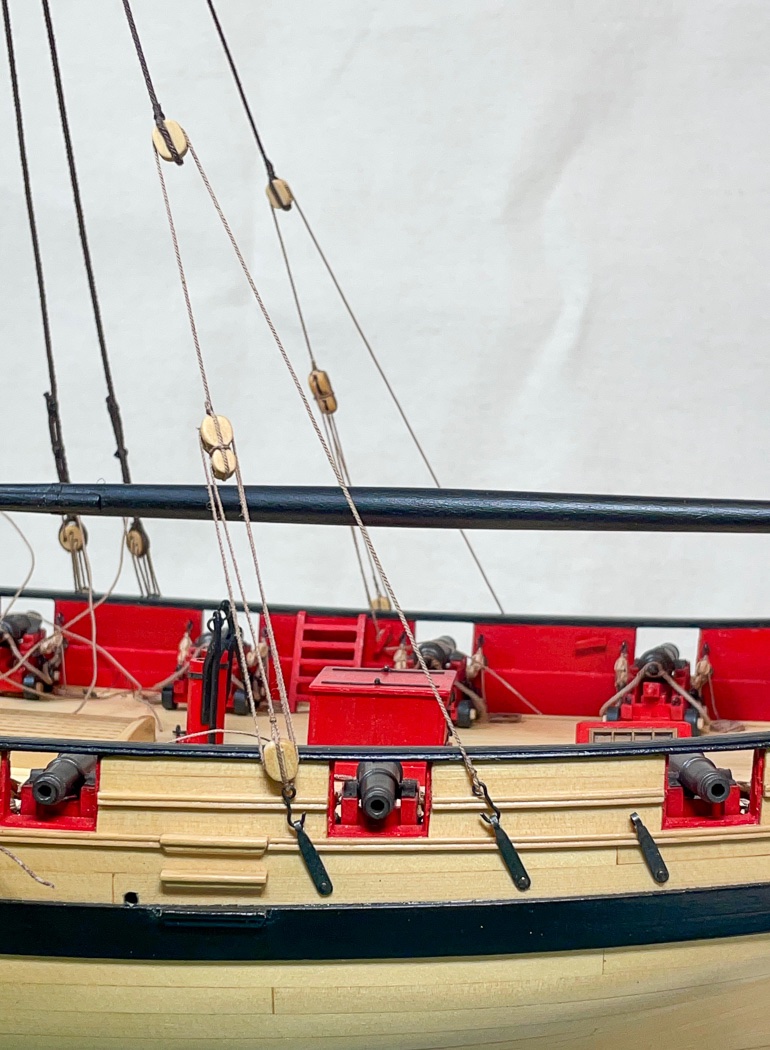
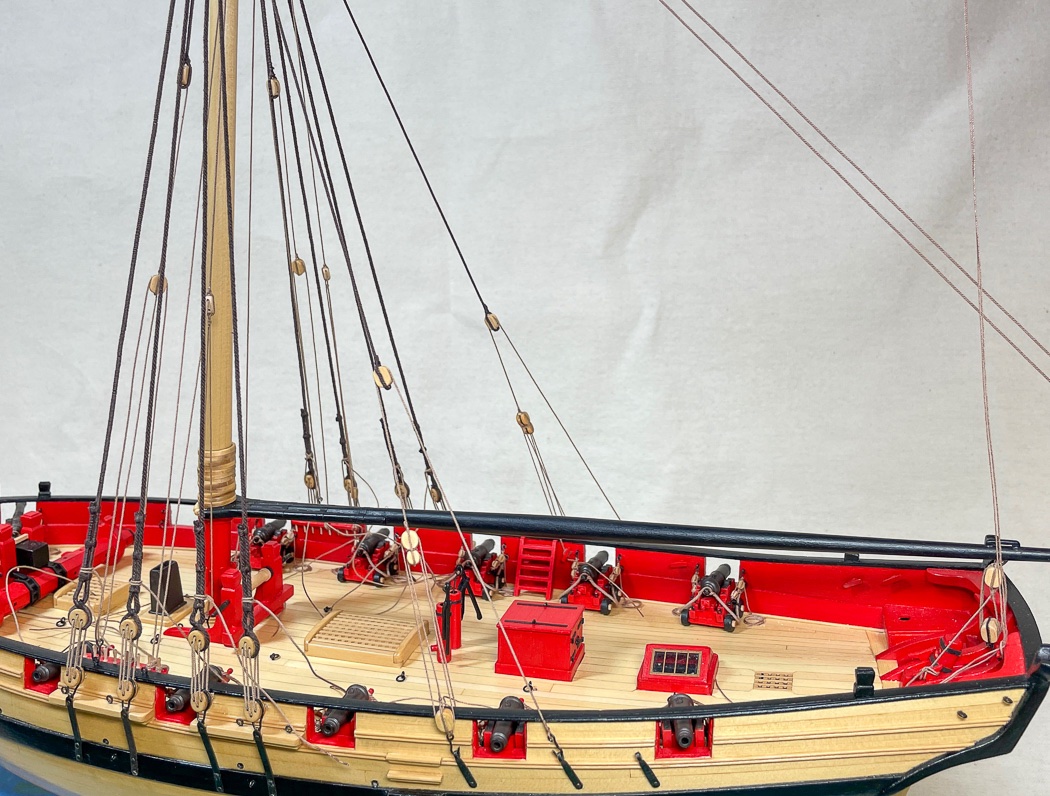
After installing some long pendants, served around the mast head equal to the shrouds at just below the cheeks ending in a block, tackle was added using the fiddle block, two hooks and another block. These are terminated using two of the metal straps added so long ago on the side of the hull and belayed to a cleat next to the ladder. The plans show the two hooks facing each other, I’m not sure why so I just followed the plans. The third strap is for the upper back stays I’ll add later.
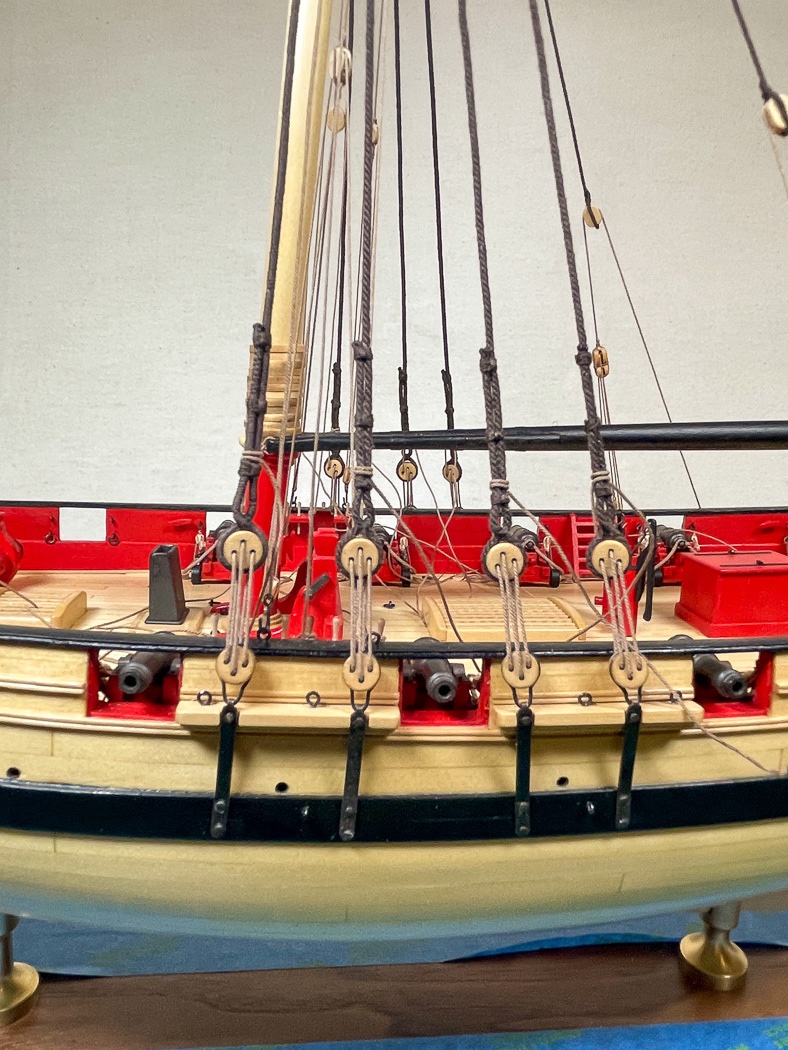
After the chore of the shrouds the backstays were a bit of fun, like the Burton Pendants the main challenge getting both port and starboard stays to match in length with placement of the block and fiddle block.
The ship now has a lot of blocks and strings running about. Of course the mess on the deck and the alignment and tension of the lines will be adjusted later. How long ago did I plank that deck…
Lower Yard Sling
This was a fun little project in and of itself, routed around the masthead and terminating in a thimble with a hook, it will hold up the lower yard.
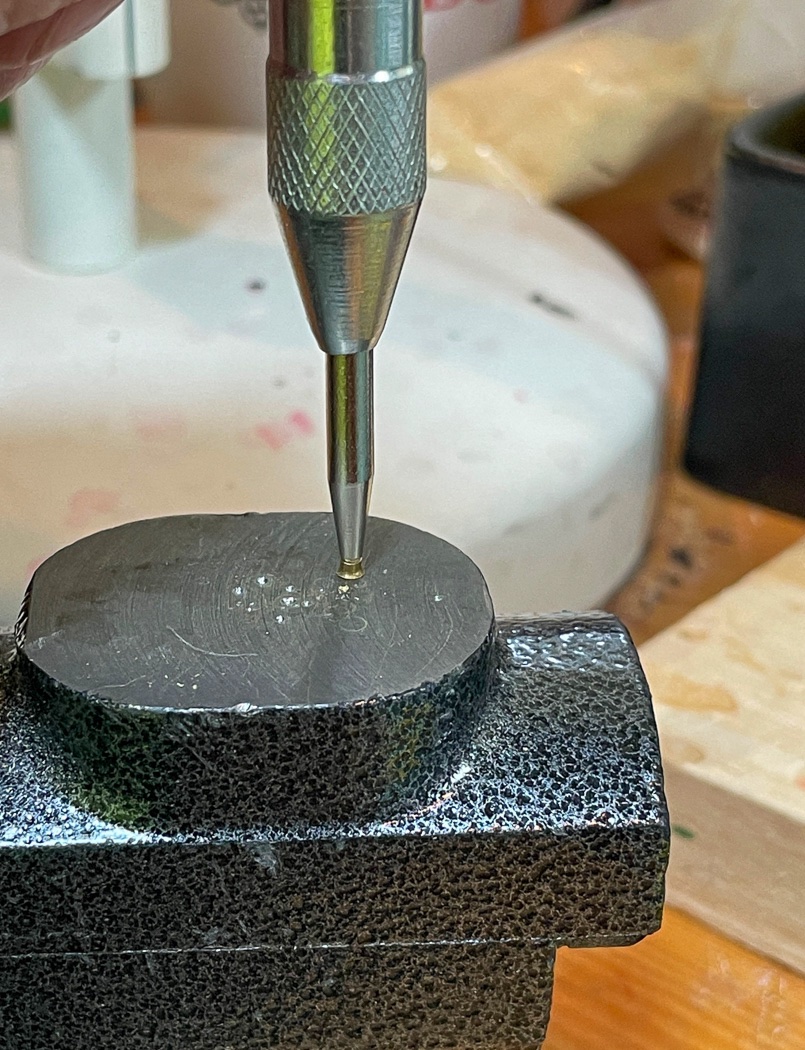
I described this brass tube cutting tool in a previous post, Out it came again to cut some tube for the sling thimble. I cut a couple of different sizes as I wasn’t exactly sure which I’d use (I settled on 1.75mm). I learned to hold the brass down using the knurled knob with one finger and covering the cutting area with another so the cut piece doesn’t fly off somewhere. With the right tension adjustment in the spring loaded punch I created the thimbles and then blackened them. I was having too much fun and so made a bunch, I’ll need them someday.
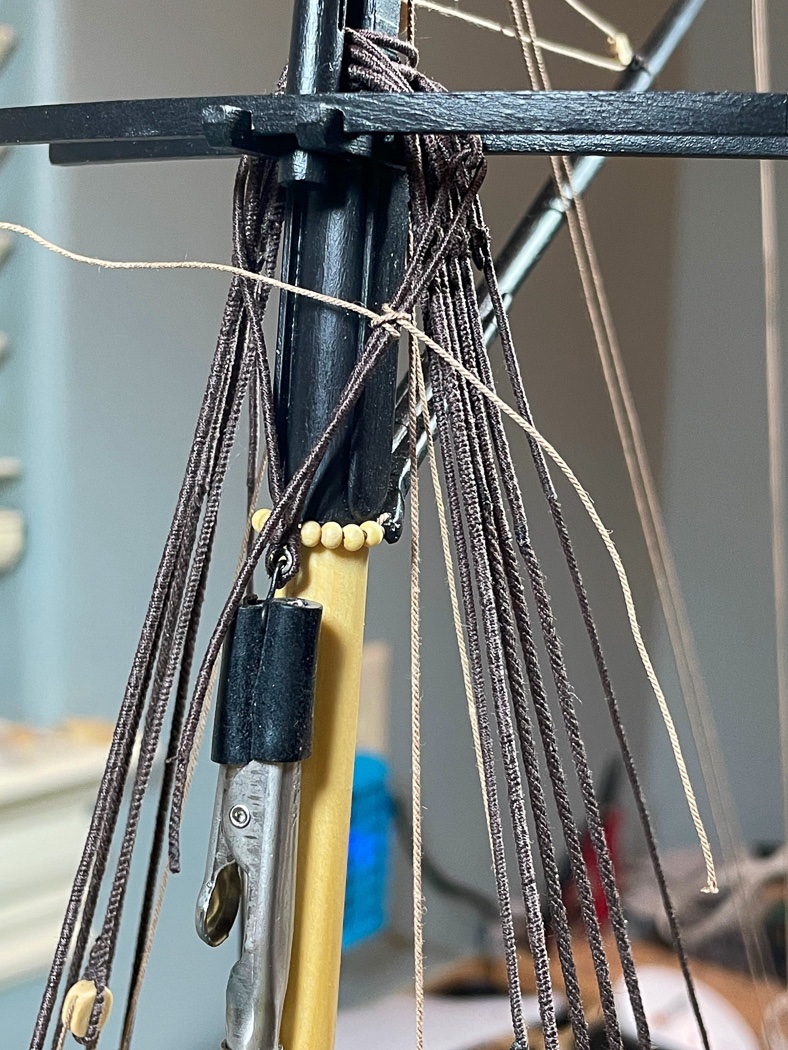
The sling rope is served its entire length with the thimble seized at the center. I made a hook with a larger eye to fit into the thimble. Here I had to make a decision. The monograph has the the sling meeting in the back center of the mast head, but notes many ships instead had them meeting on the port side. I opted for port, the main reason being it’s getting pretty tight back there with all the served lines needing to be below the throat halyard eyebolt, there is more room to work on the side of the shroud gang.
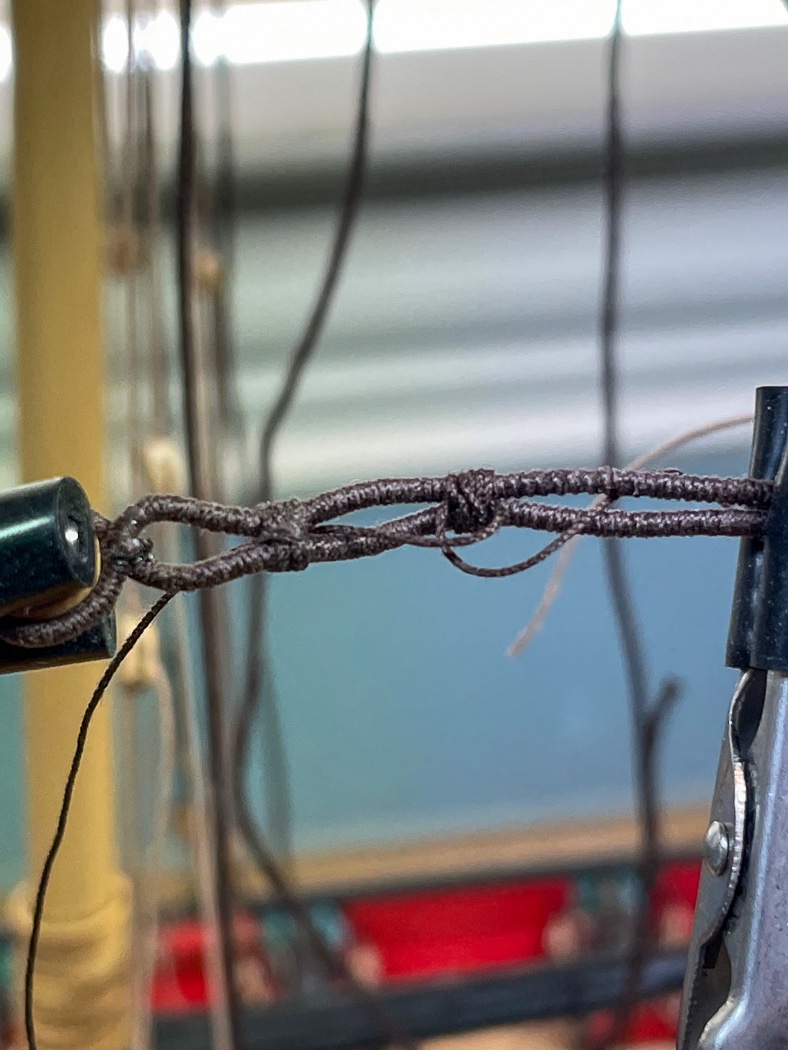
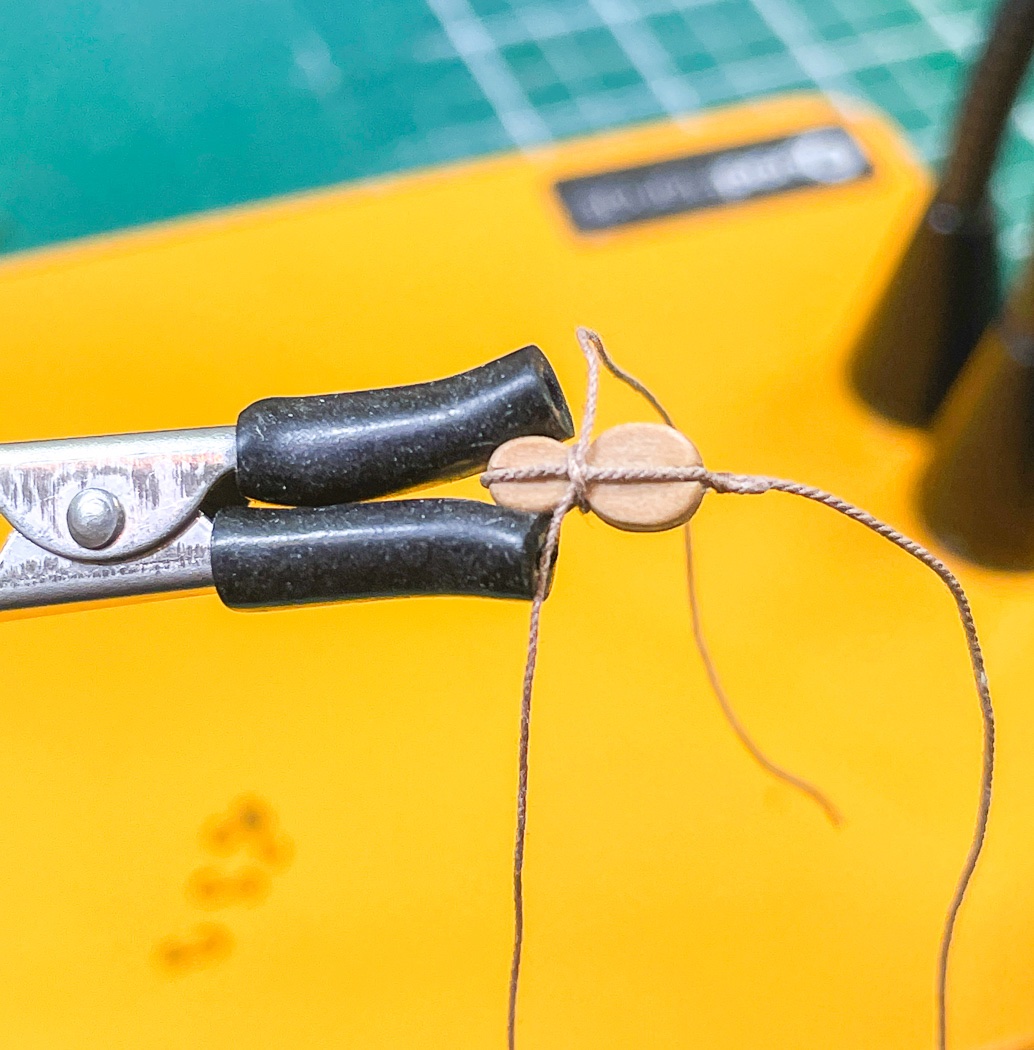
I seized an eye on one end off the ship after measuring the distance with a prototype sling seen here (not served and with a temporary thimble). The plan is to have the hook just below the parrels of the gaff. The first eye I could then do with the sling off the ship.
Then the fun begins, determing the location of the second interlocking eye. I did this by looping the loose end through the completed eye and settling the center of the hook on the mast. A clip removed from the quad hands provided a little weight to hold the hook at the bottom center while I adjusted the length. Yet another piece of tan rope tied in a clove hitch held it all in place until I had the right length. Notice my served line is extra long, more than needed but a few more cranks on the serving machine was better than coming up short (though it didn't need to be quite this long).
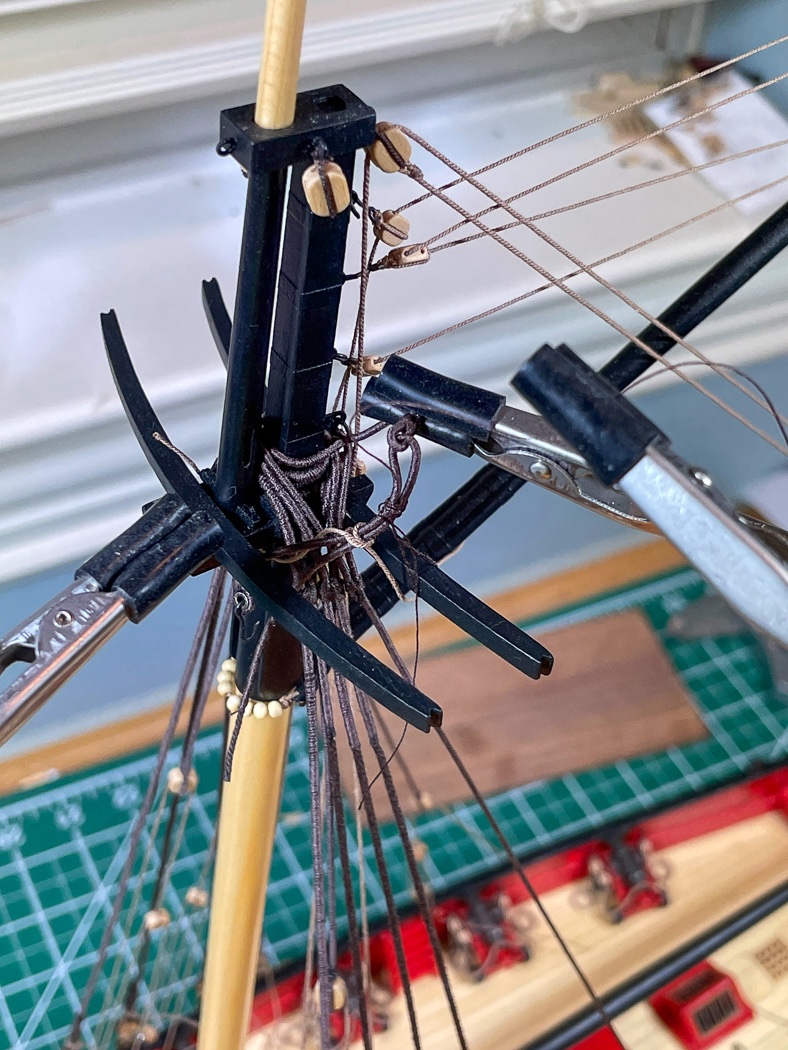
Then it’s working in the tops to seize the second eye interlocked in the first eye so that the completed the hook hangs at the right length and lays nicely on top of the port shroud gang. Though it took some fine work to do this without breaking anything, it proved the be rewarding when, as a result of careful planning, it came out right the first time (not everything I do does).
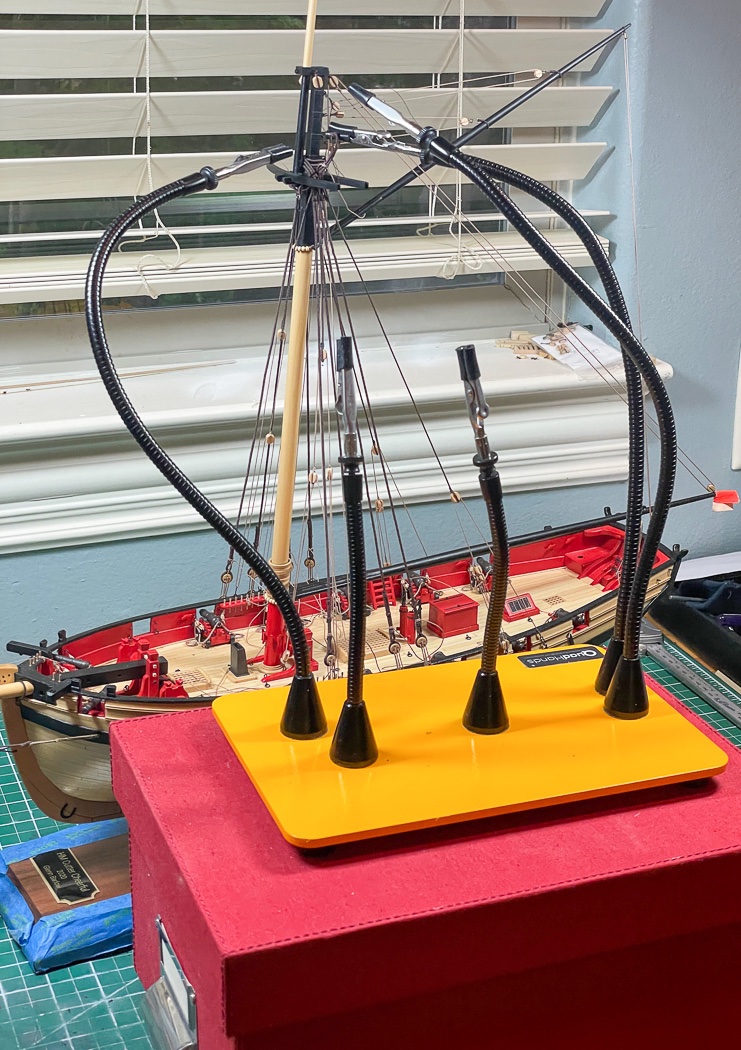
Working on the ship up high in the tops is made possible by the Quad Hands, the old third hand I had is a joke compared to this tool. I like the middle size plate augmented with a third 16” hand (for a total of five) bought separately. Here it is assisted by a box - one I got in a bit of trouble for when my wife walked by and asked what I was doing with her nice linen covered box from her sewing room. Fortunately both the box and I came out unscathed.
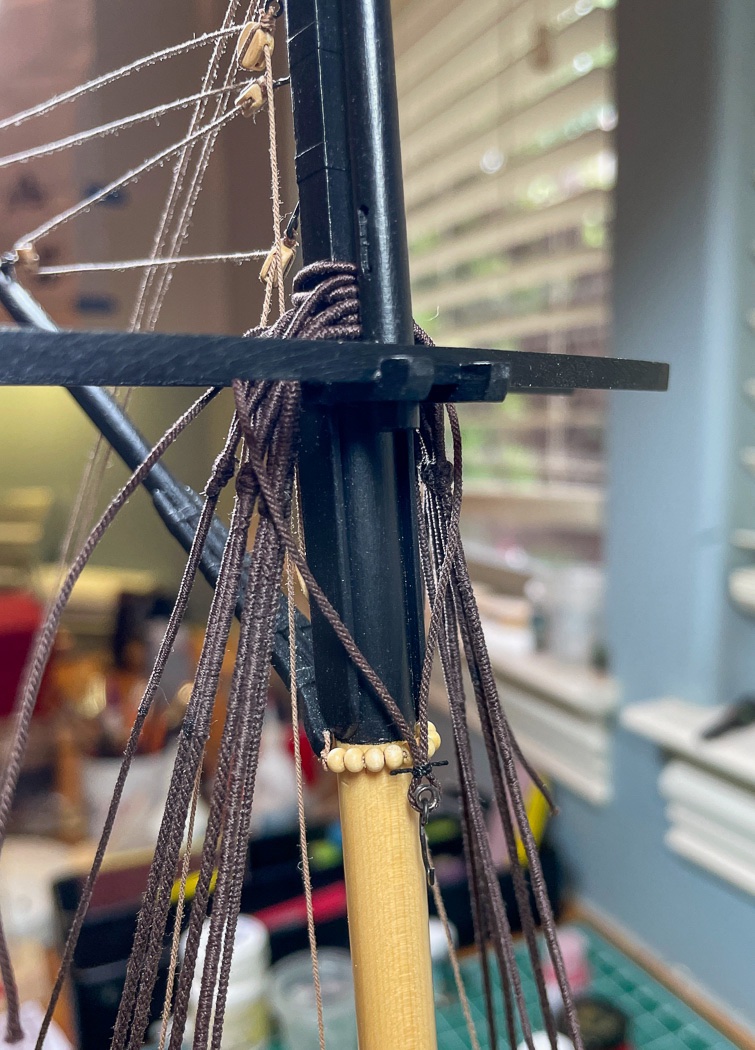
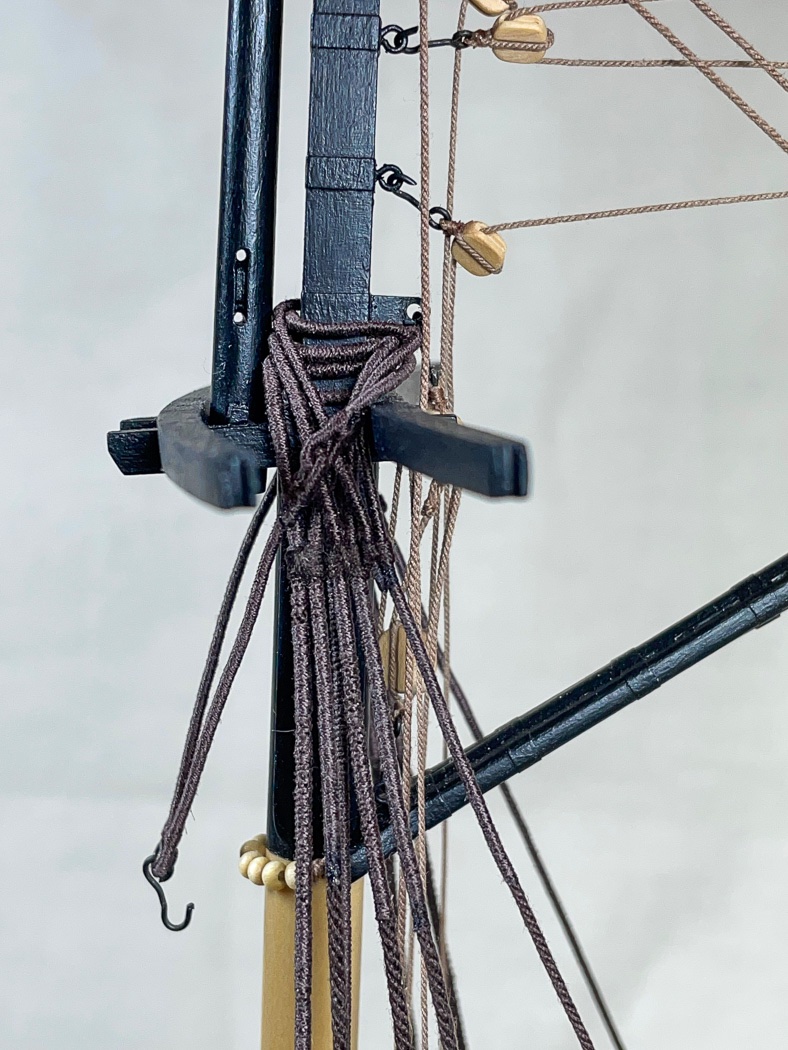
The completed sling came out just right for me, the lower yard will be happy to fine it supportive of its position on the ship, or so it would say if yards and slings could talk.
The mast head is getting crowded with just the main stay to add. I think here is where serving all that rope pays off, perhaps especially at 1:48. The shroud gang though packed in tight looks pretty cool to me. I’m also pleased with my decision to connect the sling on the port side, those eyes are better accented here than behind the mast in my opinion.
Now to the main stay and then see how long I procrastinate before starting the ratlines before finishing out the mast rigging.
Thanks for stopping by, your comments and likes are always appreciated.


 Thanks Jean Paul. I’m looking forward to following your Cheerful adventure as well.