druxey
-
Posts
13,395 -
Joined
-
Last visited
Content Type
Profiles
Forums
Gallery
Events
Everything posted by druxey
-
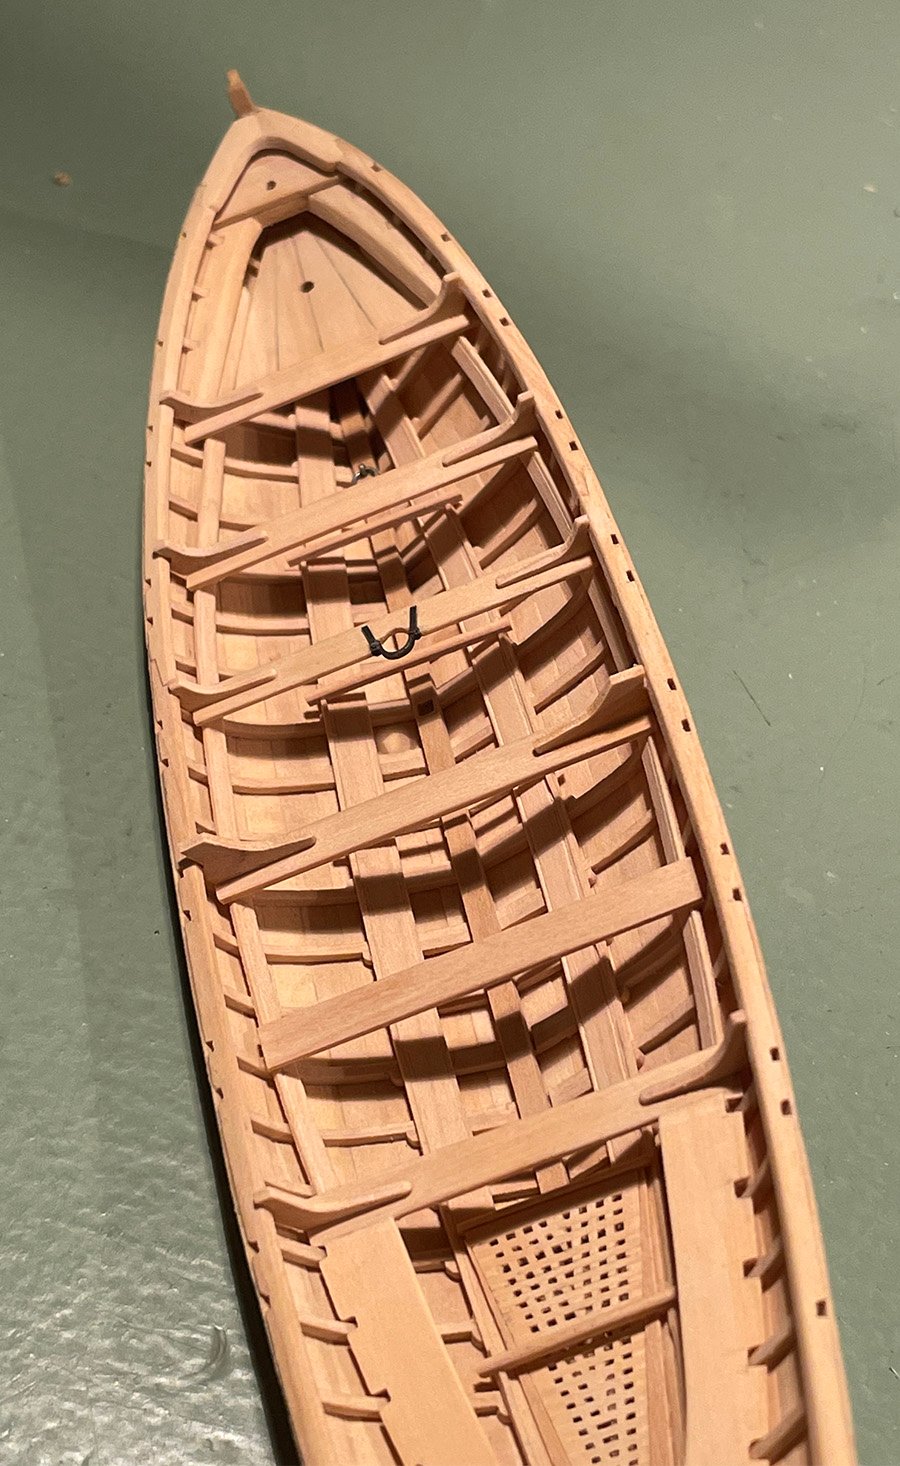
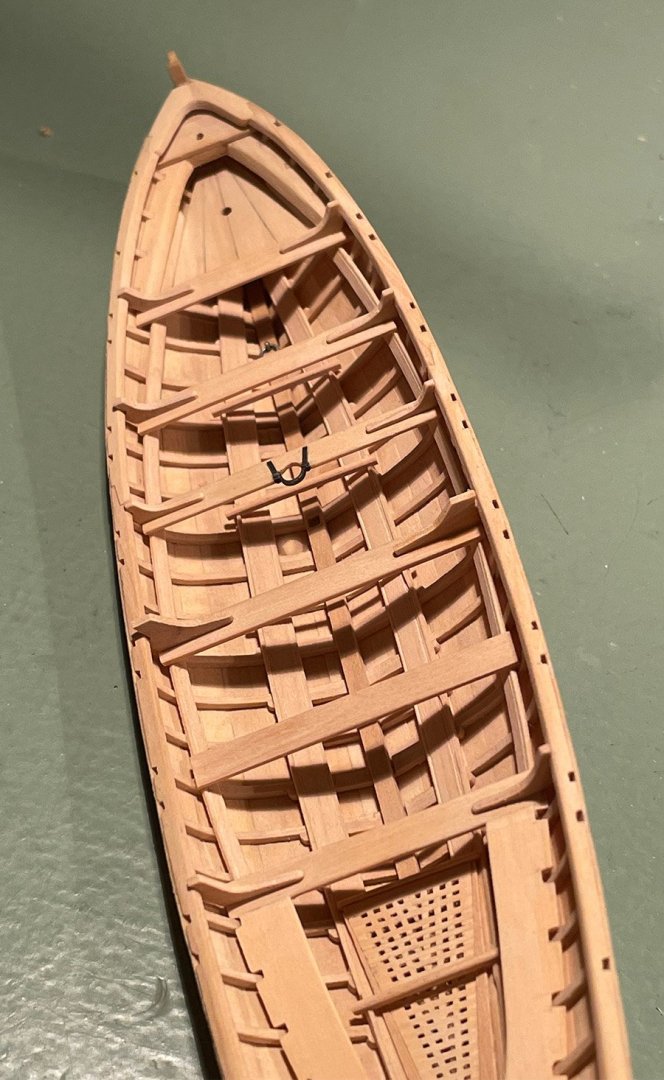
 Spent the morning trimming and installing the turned stanchions under the thwarts and making miscellaneous hardware: ringbolts, eyebolts and hooks that are located along the inwale. All the standards above the thwarts have also been shaved down to their final shapes. The photos show how thin the outer planking is! Next up will be the short toptimbers that support the wash strake.
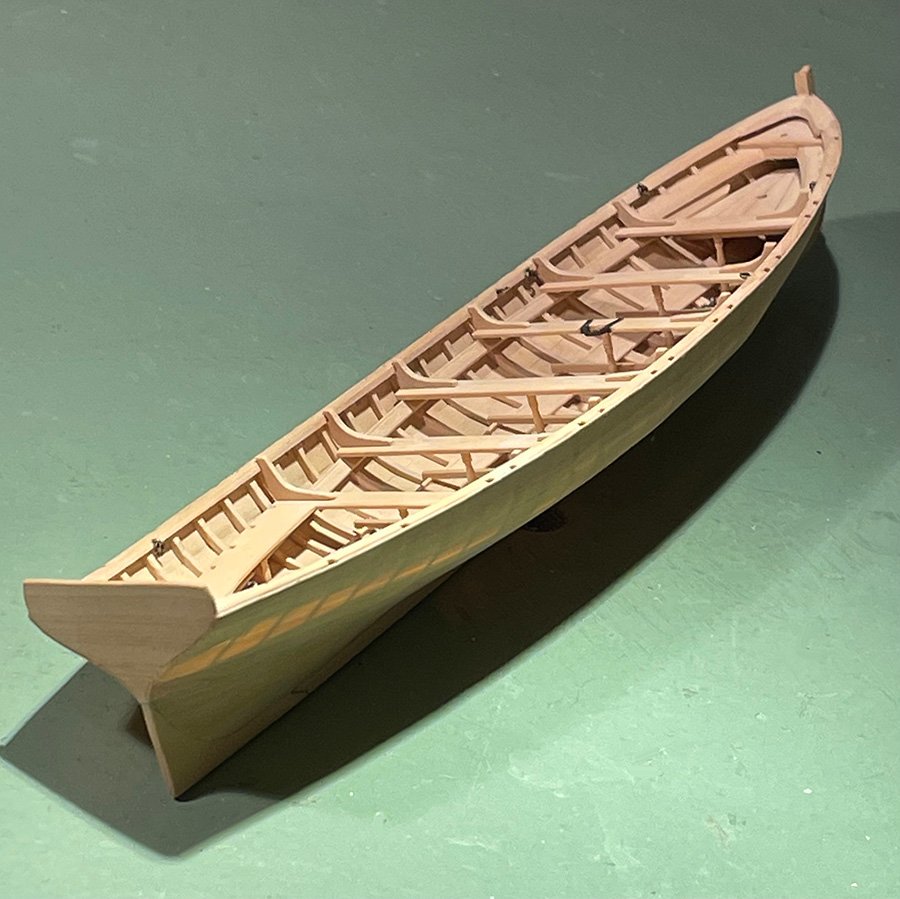
- 433 replies
-
- 24
-

-
- open boat
- small boat
- (and 1 more)
-
Welcome back, Mr. Mott!
-
Maury: The are chemicals specifically for 'antiquing' brass and copper. These create a brown rather than black patina. There are other chemicals that give different color finishes. For example: https://jaxchemical.com/product-category/colorants/
- 433 replies
-
- 6
-
-
- open boat
- small boat
- (and 1 more)
-
Slow and neatly does it! You're off to a good start.
- 70 replies
-
- 2
-
-
- Lowell Grand Banks Dory
- Finished
- (and 1 more)
-
Darius: I suspect that the planking would be tapered and possibly in irregular widths. Although Vasa and Mary Rose are not necessarily examples for R.S., look at the deck planking on these contemporary examples of shipwrightry.
-
Um, wish I could take credit for the technique, but I saw this some time ago on MSW: another benefit of belonging to this wonderful forum!
- 433 replies
-
- 13
-
-
- open boat
- small boat
- (and 1 more)
-
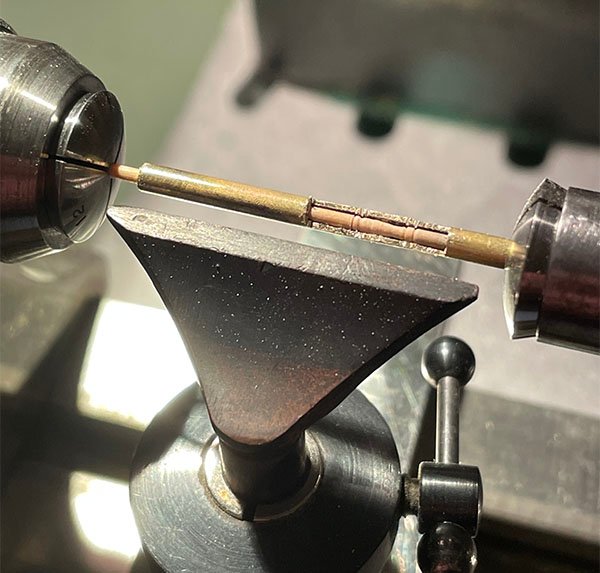
Moving on, all the standards (inverted knees) have been added to the thwarts and the model removed from the 'girdle'. As the standards are so small, I've found it easier to install them oversize and then reduce them to final dimension when firmly glued in. You can see some 'as installed' ones and other standards finished. To shape them, I use micro chisels and a custom sandpaper stick. Next are the pillars under the thwarts. To turn such thin pieces, it is necessary to support them. I cut down a piece of brass tube and fixed in in the tailstock so that the stock can revolve freely in it. Notches mark the main dimensions of the baluster so that I can replicate the turning.
- 433 replies
-
- 29
-
-

-
- open boat
- small boat
- (and 1 more)
-
That set of oars look very good!
-
I'm not sure if this company is still in business. I seem to recall other members of MSW having issues with them.
-
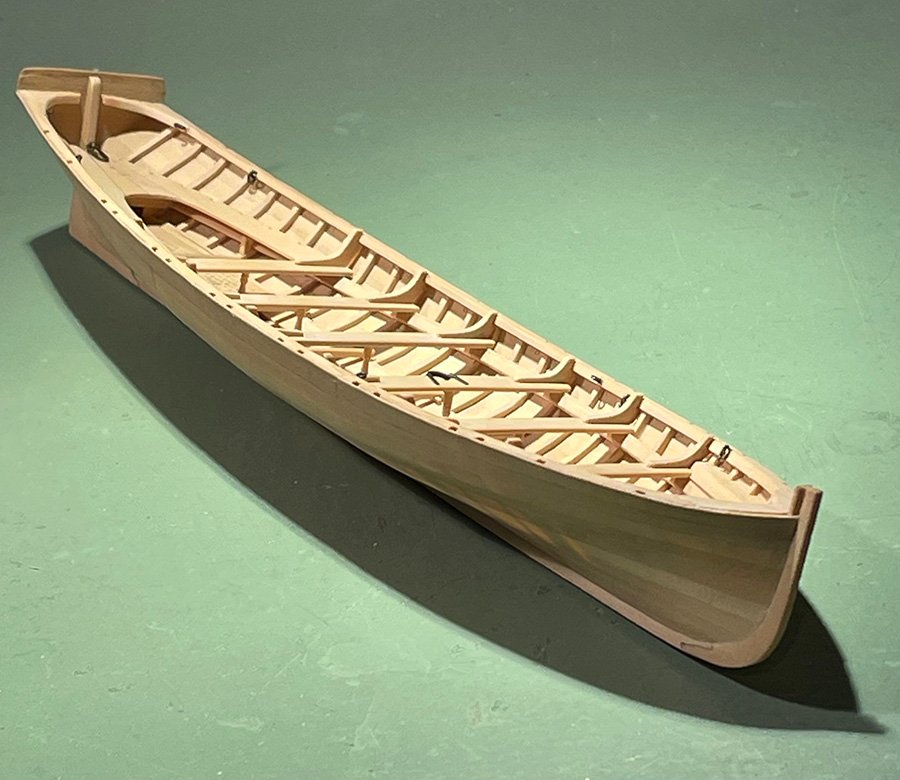
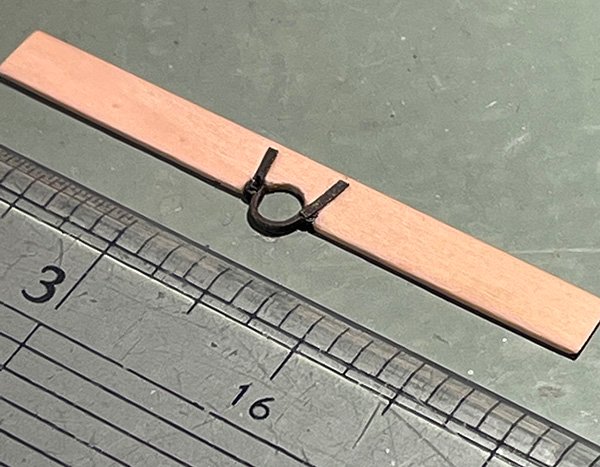
Thanks for looking in and the compliments. Moving on, the thwarts are in and the hull now fixed to within an inch of spec'd beam. A little miniature metalwork produced the clasp for the mast. It was fabricated from brass, silver soldered and then chemically darkened rather than blackened. I felt black would have been a little too much contrast to the wood color.
- 433 replies
-
- 23
-
-
- open boat
- small boat
- (and 1 more)
-
Coming along nicely, Bob. Some filler is inevitable, so don't sweat over a less than perfect planking job. Each model you build will improve your skills with the experience that you gain.
-
Definitions
druxey replied to Don Case's topic in Building, Framing, Planking and plating a ships hull and deck
'Rotten to the core', Bob! -
Definitions
druxey replied to Don Case's topic in Building, Framing, Planking and plating a ships hull and deck
Harris cut is a straight diagonal cut for joining two pieces end on. The false keel it the usual application for this joint. Cyphered joints are longitudinal half- joints, edge on. See and read: https://books.google.com/books?id=TWsmw-QqvmAC -
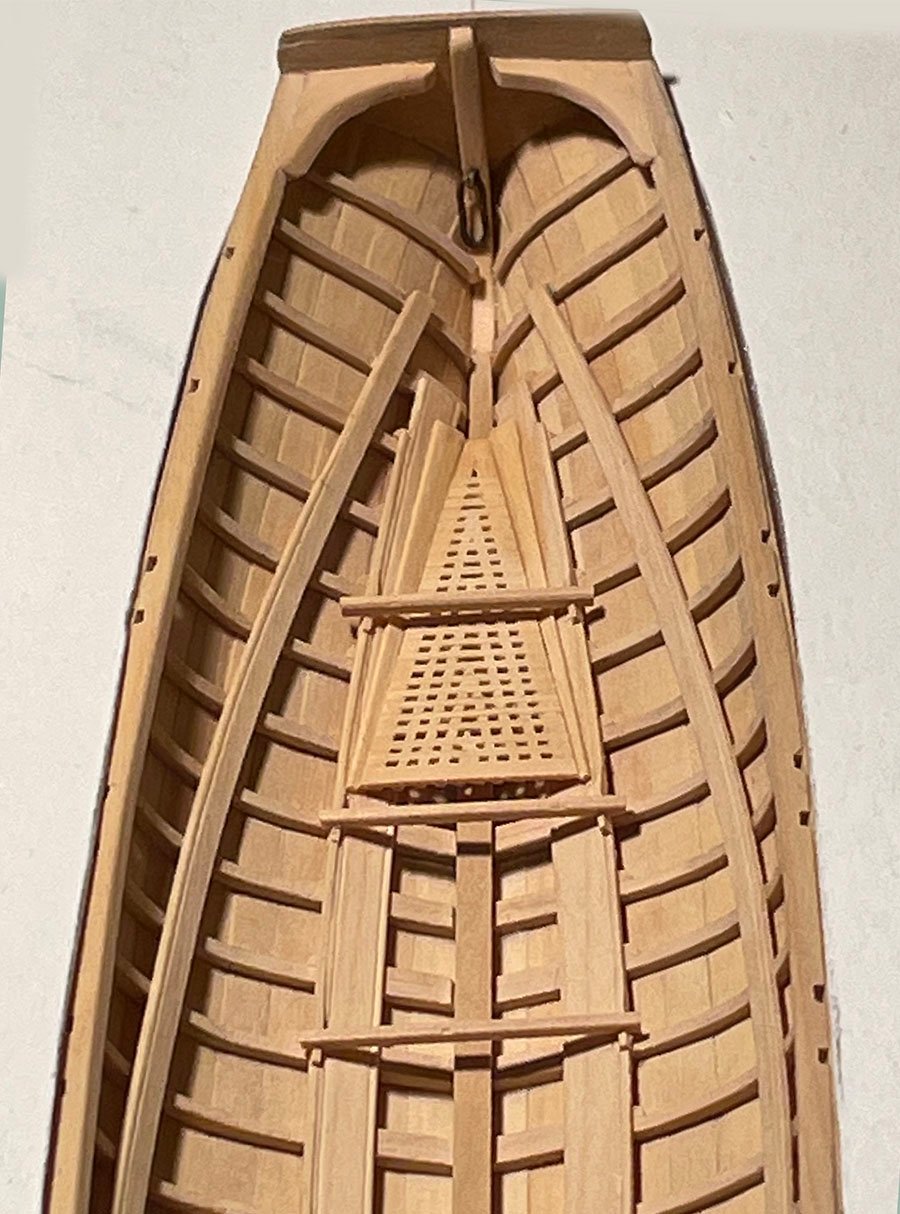
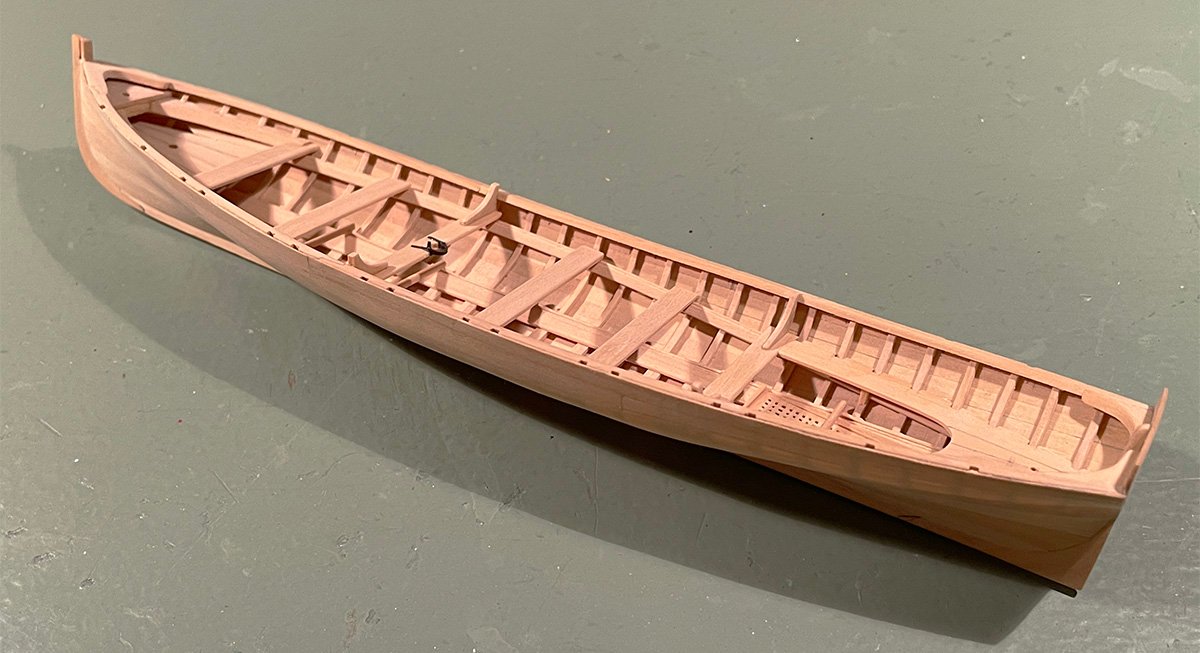
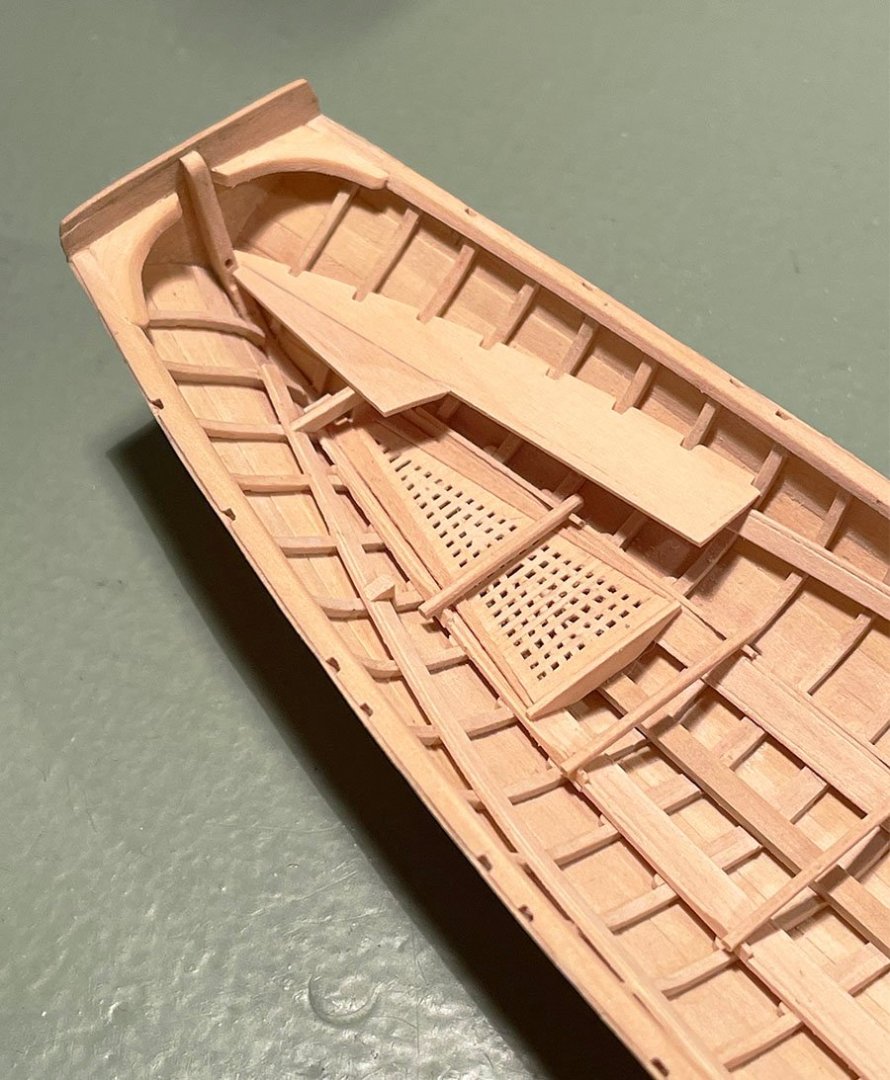
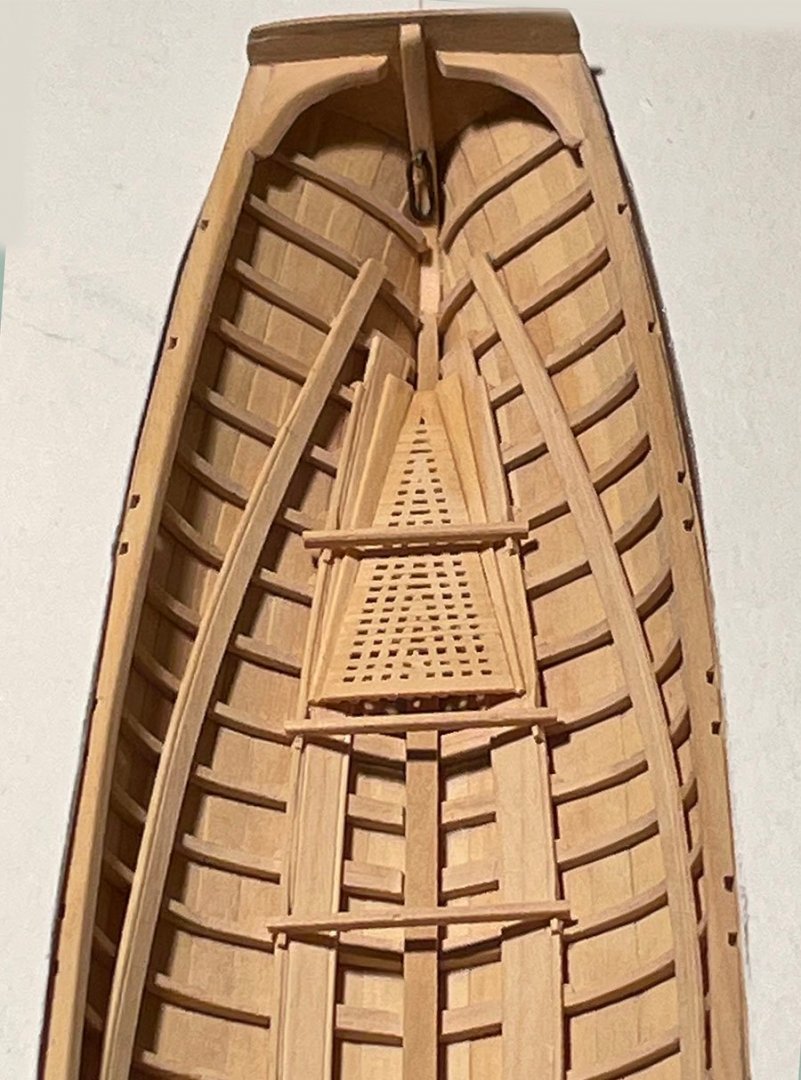
The stern sheets have been made and installed. These were made in two halves to make fitting them easier. The scores for the frames were under-beveled considerably to fit. There will be small turned pillars under the thwarts. Six will need to be made.
- 433 replies
-
- 24
-
-
- open boat
- small boat
- (and 1 more)
-
While good, be aware that the AOTS series do have errors in them. Check against other references.
-
Congratulations on all that you have achieved in just two years, Chris!
-
Perhaps part of the problem is conflating excellent draftsmanship with researched historical accuracy. The two are not always mutually inclusive. I would tend to accept both Frank Fox and Richard Ensor's work with less question than John McKay's. For instance, there are questionable items in the AOTS book by McKay and Coleman. Although beautifully delineated, for one instance, joggled deck planking was of later origin than 1779. A good friend of mine, the historian Karl Kessler, declared: "This is a very small book. Read elsewhere and read critically, always."
-
Practicing a new skill on scrap is a good strategy!
- 160 replies
-
- 4
-
-
- Model Shipways
- norwegian sailing pram
- (and 1 more)
-
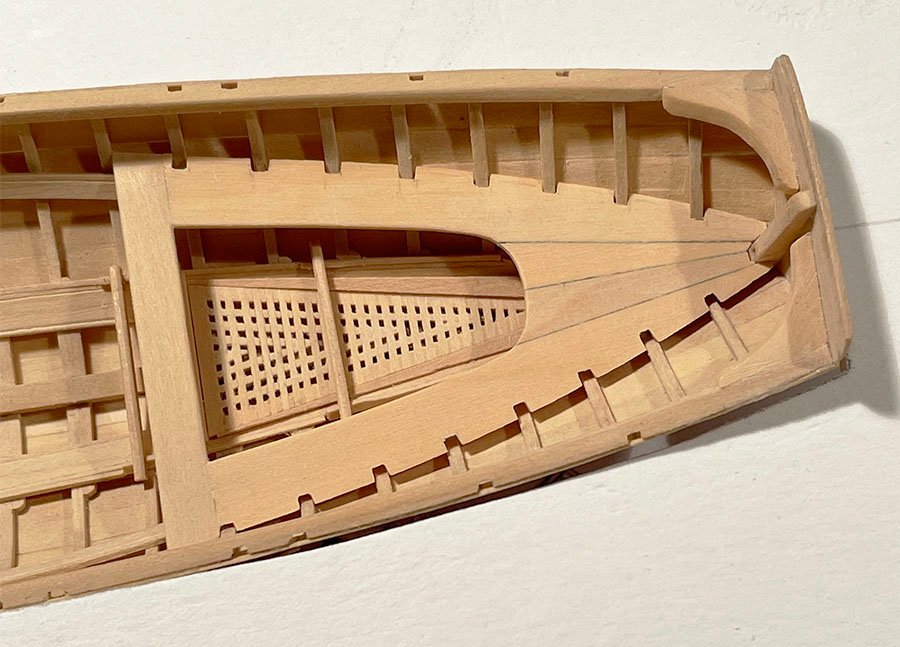
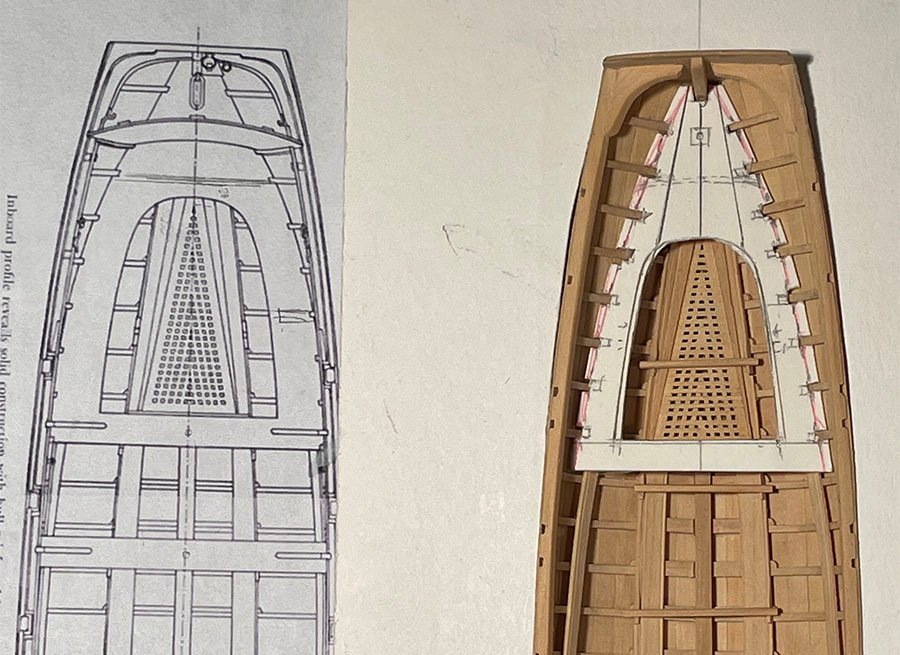
So, onward again. Next are the stern sheets (seats). Here is an interesting departure from the published plans. The card pattern has a distinctly different outline when fitted to the model. I checked immediately whether the riser height that supports the thwarts was too low. It it is on spec. If the lines plan is true (and it faired out perfectly) then the plan of the stern sheets must be wrong. This, I suspect has to be the case, so will continue using my pattern shape. Beneath the stern sheets is a low partial bulkhead and two supporting knees. These are not shown other than in section on the profile but are seen in the photograph, post #203. (The knee is only just visible to the right of the anti-hogging post added by the museum.) These photos are as good as a time machine! Thank you again, Eberhard. Thanks for dropping by, and remember to sign on for the Trafalgar project!
- 433 replies
-
- 25
-
-
-
- open boat
- small boat
- (and 1 more)
-
Her lines are looking sweeter!
-
A really fine beginning, Gianpiero! Not many folk make tabled scarphs as they are completely hidden. Like Greg said: ahead of the pack.
-
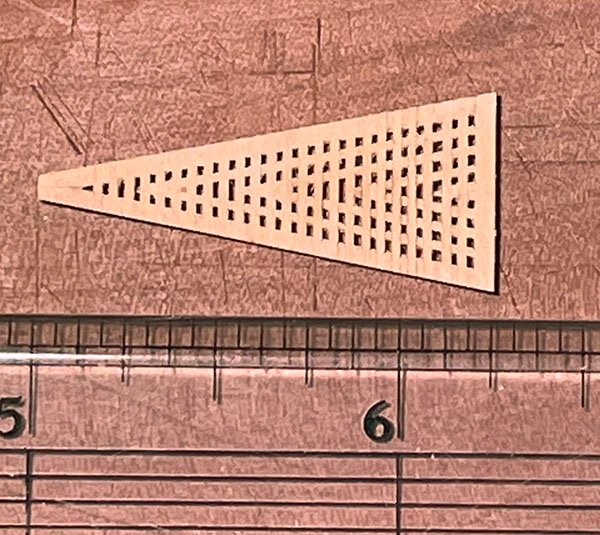
Rarely has such a small part taken so long to make. However, it was finally done (pic before cleaning it up), refined and then installed. The white 'background' is actually Foamcore board with a cut-out to act as a kind of girdle, cinching the hull in to the designed beam. I've found that carvel hull boats always tend to spread a bit, whereas clinker boats do not. In this instance, the spread was four scale inches. The hull will stay in this until the thwarts and their standards (inverted knees) are installed. This will stabilize the hull shape.
- 433 replies
-
- 36
-
-
-
- open boat
- small boat
- (and 1 more)