druxey
-
Posts
13,370 -
Joined
-
Last visited
Content Type
Profiles
Forums
Gallery
Events
Everything posted by druxey
-

Greetings! Long time lurker coming out of the bushes!
druxey replied to EKE's topic in New member Introductions
Brush yourself down and welcome, Erik. Nice to know that there are architects out there that respect various classical traditions and don't just slap on a Georgian portico here and Elizabethan oriel there, and perhaps a Gothic arch or two! -
Glad all is well optically, Alan! Look forward to seeing further progress on your model soon.
-
Wow. The model is certainly taking on a busy and occupied air. I can almost see those oars moving in unison.... The shields look fantastic.
-
Well, glad that you've surfaced again, Michael! I had assumed summer outdoor activities had taken precedence, but was beginning to wonder. Good to know that all is well in Mottingham!
-
Modelling locks or Latches
druxey replied to jackieofalltrades's topic in Metal Work, Soldering and Metal Fittings
What size or scale are you thinking of? -
I read the hood as a short slotted one.
-
Good move and idea, Chuck! You'll learn a lot from this kit.
- 30 replies
-
- 1
-

-
- grand banks dory
- model shipways
- (and 1 more)
-
To the issue of steering rope slots in the deck, this poor hand-held shot from the 70's that I found in my archive shows the arrangement on an Amazon class vessel. A small hood-like fitting on each side.

-
Jewelers Saw Blade Teeth
druxey replied to acaron41120's topic in Modeling tools and Workshop Equipment
It depends on the thickness of the wood you are cutting. A rule of thumb is that at least three teeth should be in the wood at any particular moment. -
Ha! Better late than never, Steven. I'm glad you've done so - I see it only took you three years to take my suggestion!
-
Whether Alfred had a brake pump to the upper deck or not, Gary? If it wasn't on the draught, it may not have been present, but we need that Time Machine again. Now, where did I park it?
-
Interesting arrangement of the timberheads and 'embryo rails' on the poop deck. I've not seen that before. And nice detail shown of the pantry on quarterdeck level around the mizzen mast and upper well on the orlop.
-
Dating 18th-century map from ship drawings
druxey replied to Stephen Gadd's topic in Nautical/Naval History
I believe that the peak of smuggling activity took place in the latter half of the 18th century. This was true particularly during the Napoleonic Wars when French imports could only arrive by nefarious means. The other reason for smuggling was to avoid paying Customs duties (some things haven't changed!). Therefore there were more Revenue cutters to combat this as the century wore on. From the fullness of the bows, I agree that this other vessel represents an armed merchantman.- 17 replies
-
- 2
-
-
- flag
- 18th century
- (and 3 more)
-
Interesting method of making the drumhead, Amalio! Lovely clean work as usual.
-
I just came across an interesting photo which shows half a dozen ships' figures mounted on a building in London: https://spitalfieldslife.com/2020/09/24/william-whiffin-photographer-x/ Scroll down to the sixth image. I cannot reproduce it here to respect the copyright. It appears to have been taken in about 1900. The old Shot Tower on the South Bank (dismantled in about 1950) features in the first photograph of the series.
- 64 replies
-
- 15
-
-
One should be able to wet-bend 3/64" basswood easily, with the grain at right angles to the diameter.
-
Nice work, Chris. It's always good to see something a little different modeled.
- 179 replies
-
- 7
-
-
- shipyard
- wütender hund
- (and 1 more)
-
An appropriate reply would take a lot of electrons to answer your question in detail. Might I suggest a good volume on building a model like a full-size ship. Some suitable books: The Anatomy of Nelson's Ships, Longridge HMS Euryalus 1803, Volume I, Yedlinsky The Naiad Frigate, Volume I, Tosti The Fully Framed Model; HMN Swan Class Sloops 17670-1780, Volume I, Antscherl
-
Well, the photo of Victory's stern shows that the paint job is still not right! The lettering of 'Victory' is in Perpetua, a typeface from the 1920's. Since that photo was taken it has been repainted in Clarendon - a Victorian design from about 1845! So, a degree of scepticism is justified. All the restoration team need have done was studied painted contemporary models' sterns to get that detail right. Obviously, they did not!
-
How, I wonder, would those contrasting hull shapes do on stability tests?
- 186 replies
-
- 2
-
-
- keelless
- reverse clinker
- (and 4 more)
-
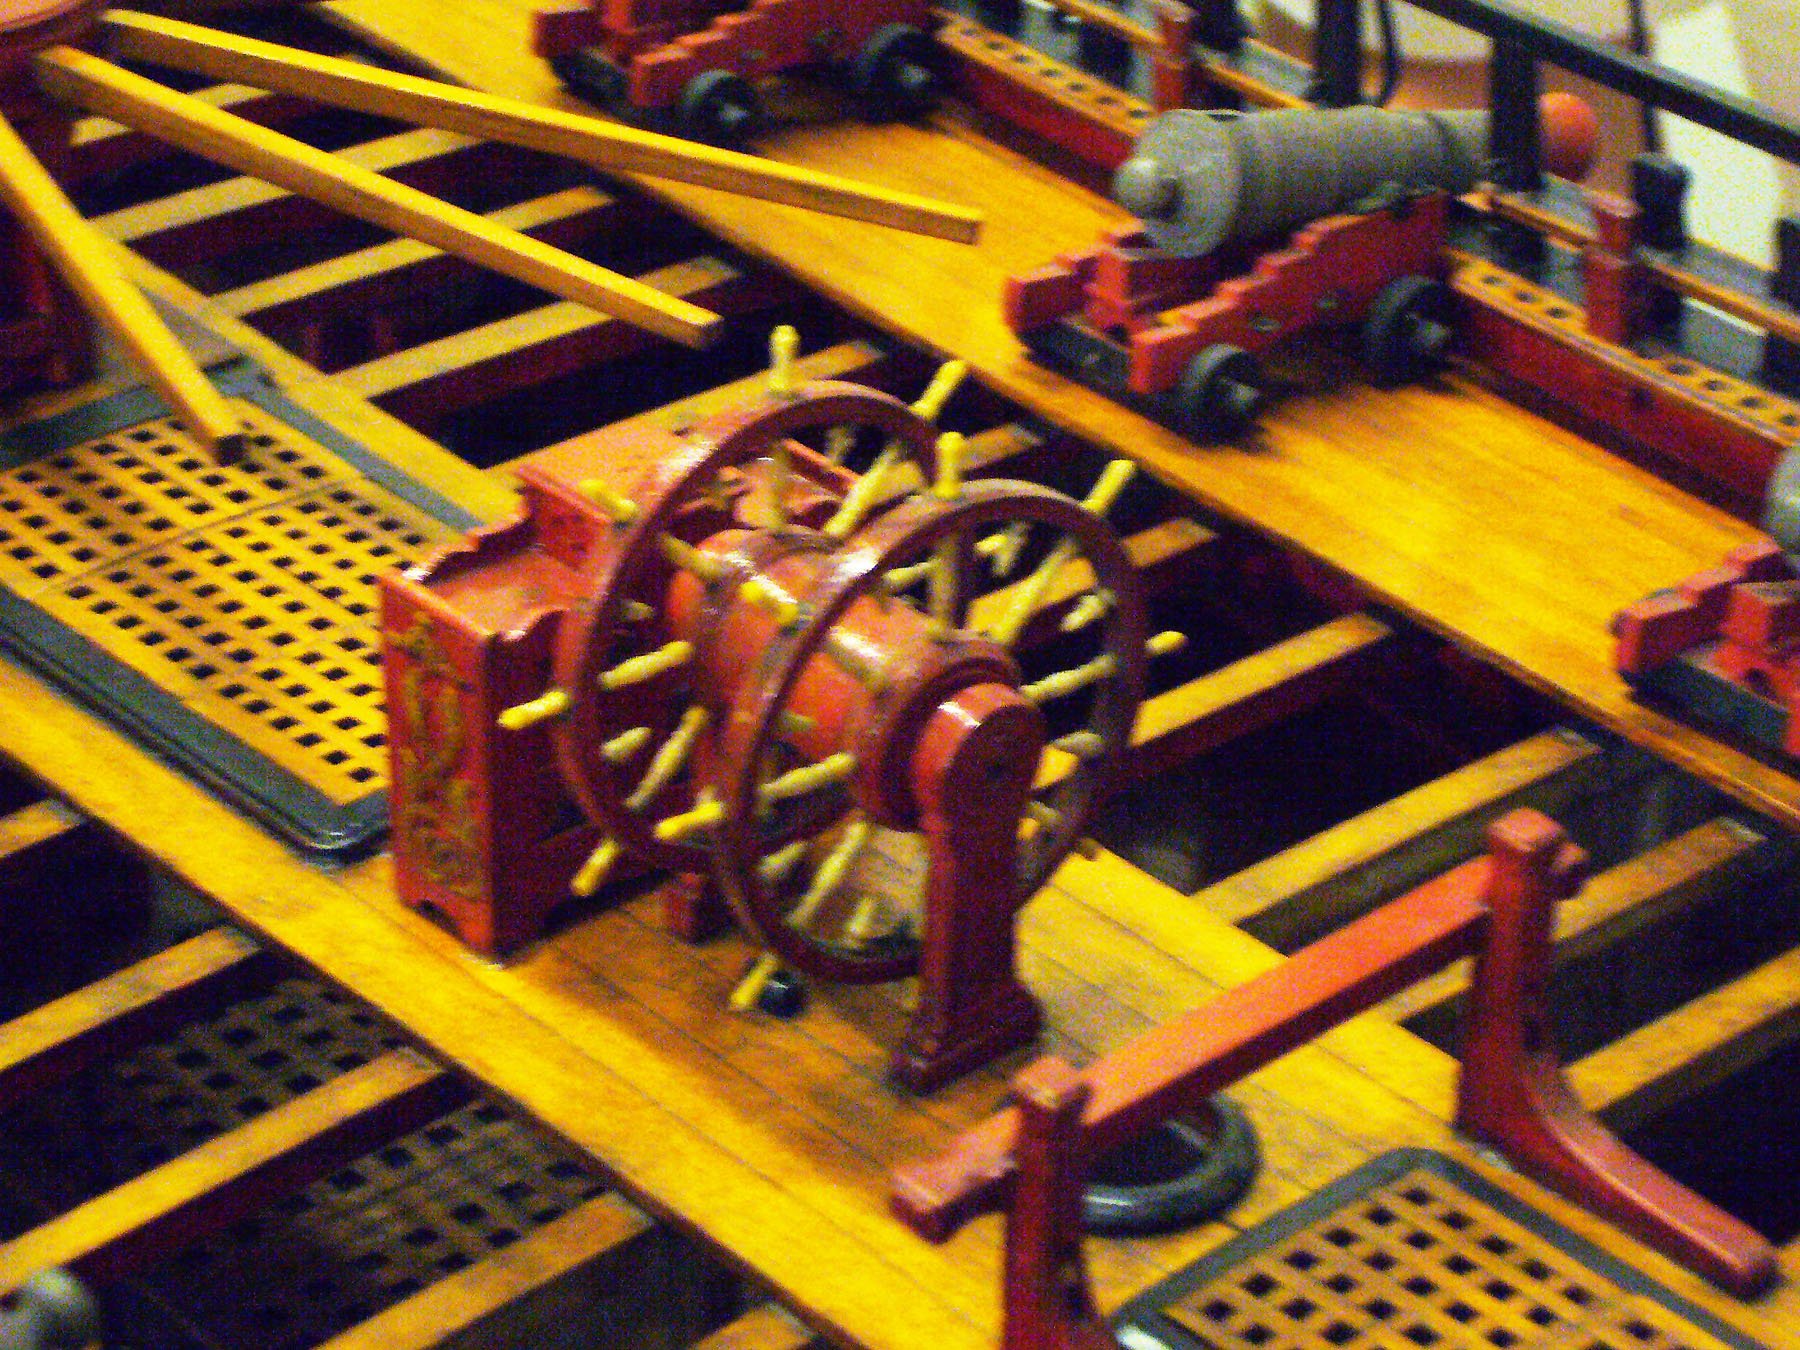
Also note that bulwarks and carriages are NOT red! What is the date of this painting?
-
A point source of light, whether the sun or artificial, will always show up any defects! Also just catching up. Very, very nice so far.
-
Perhaps the pillars rest above carlings when the beams at different levels do not coincide vertically.
-
Ah, those days long past of Letraset! I think the aged remains of my stock (in my graphic design days) went out about 25 years ago....
-
Can't answer your tech problems, but welcome!