


WBlakeny
-
Posts
252 -
Joined
-
Last visited
Content Type
Profiles
Forums
Gallery
Events
Posts posted by WBlakeny
-
-
-
-
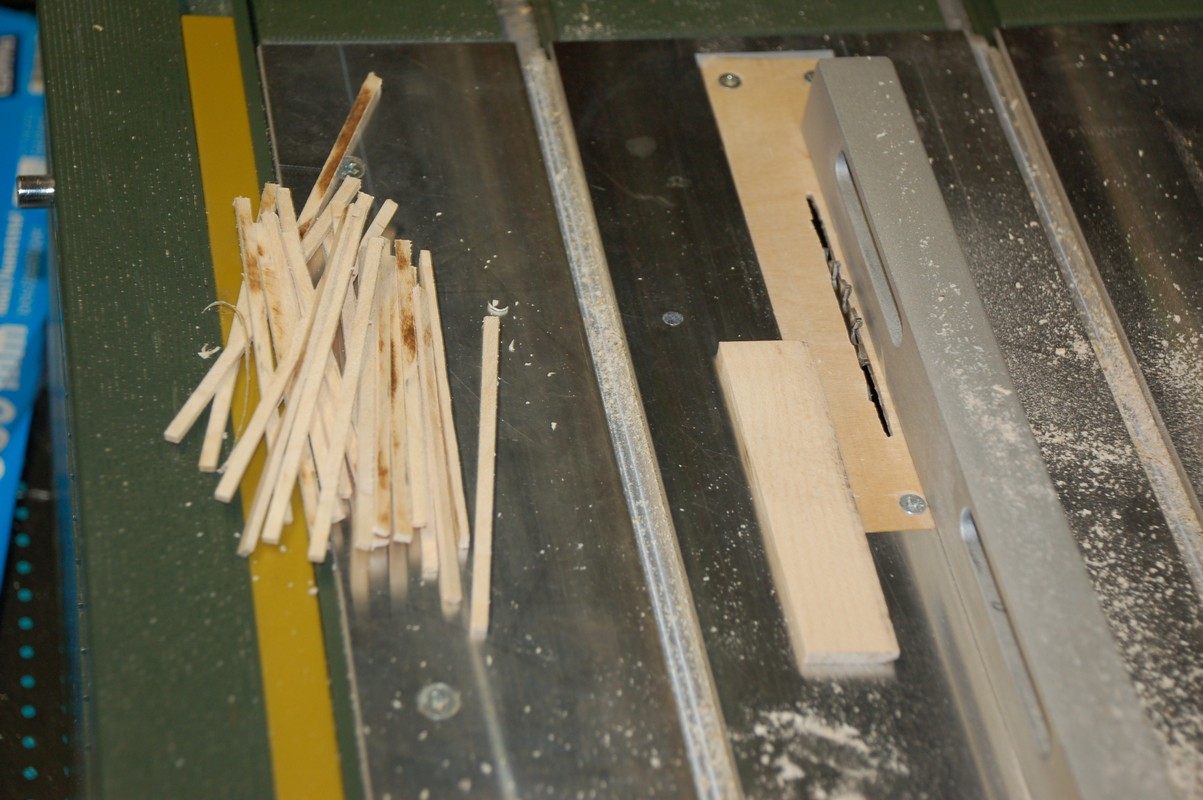
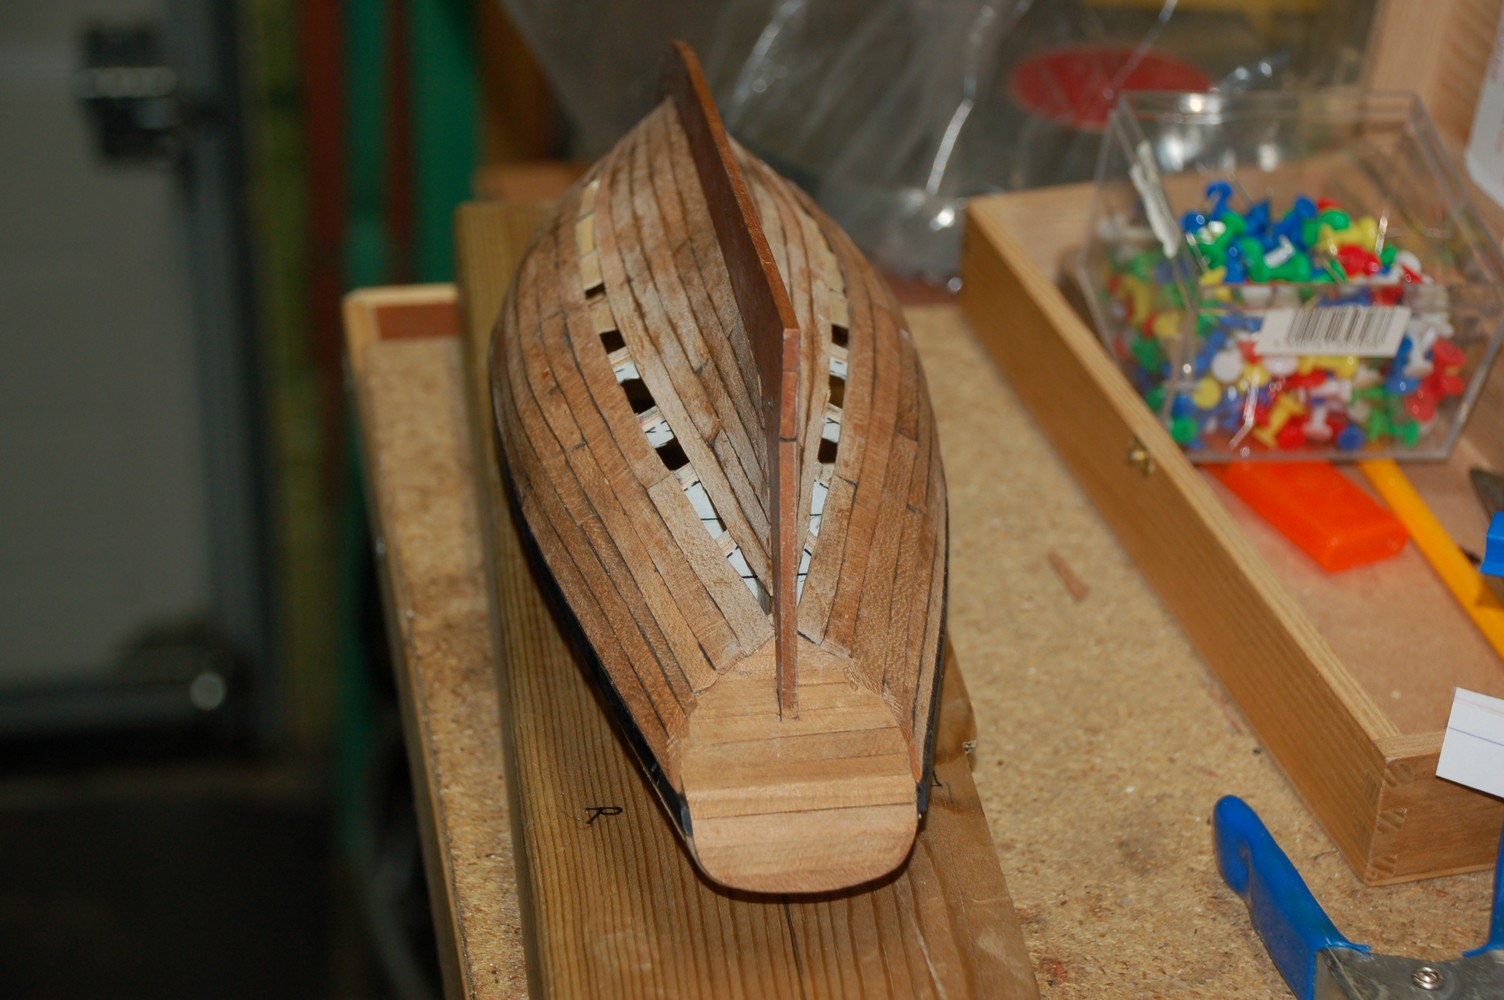
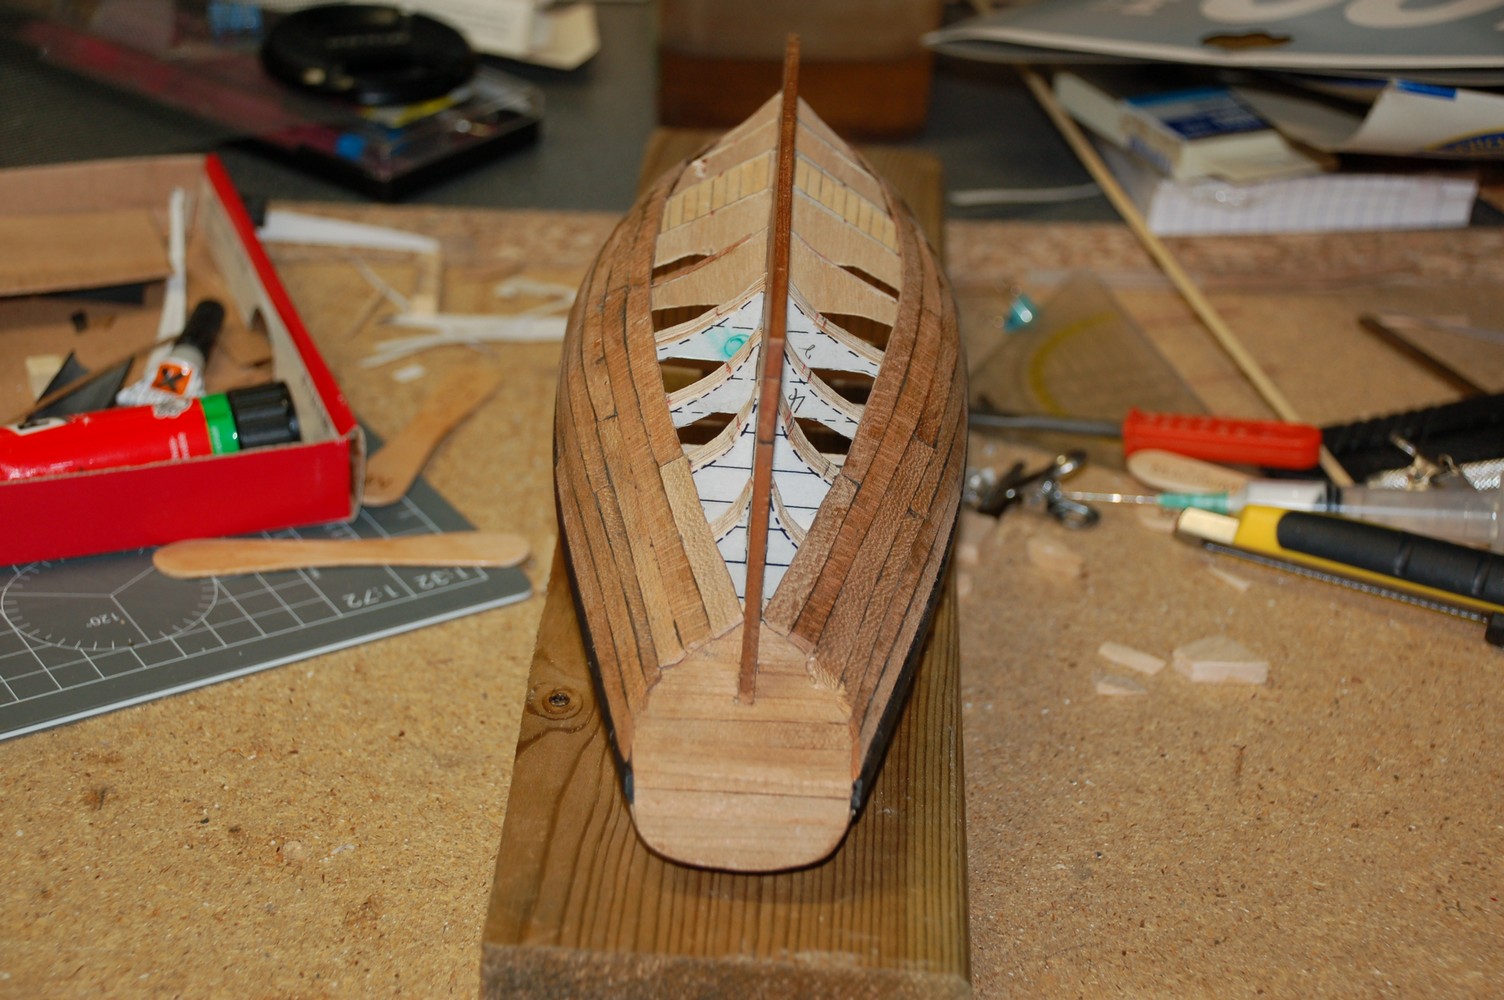
Now on to the margin plank.
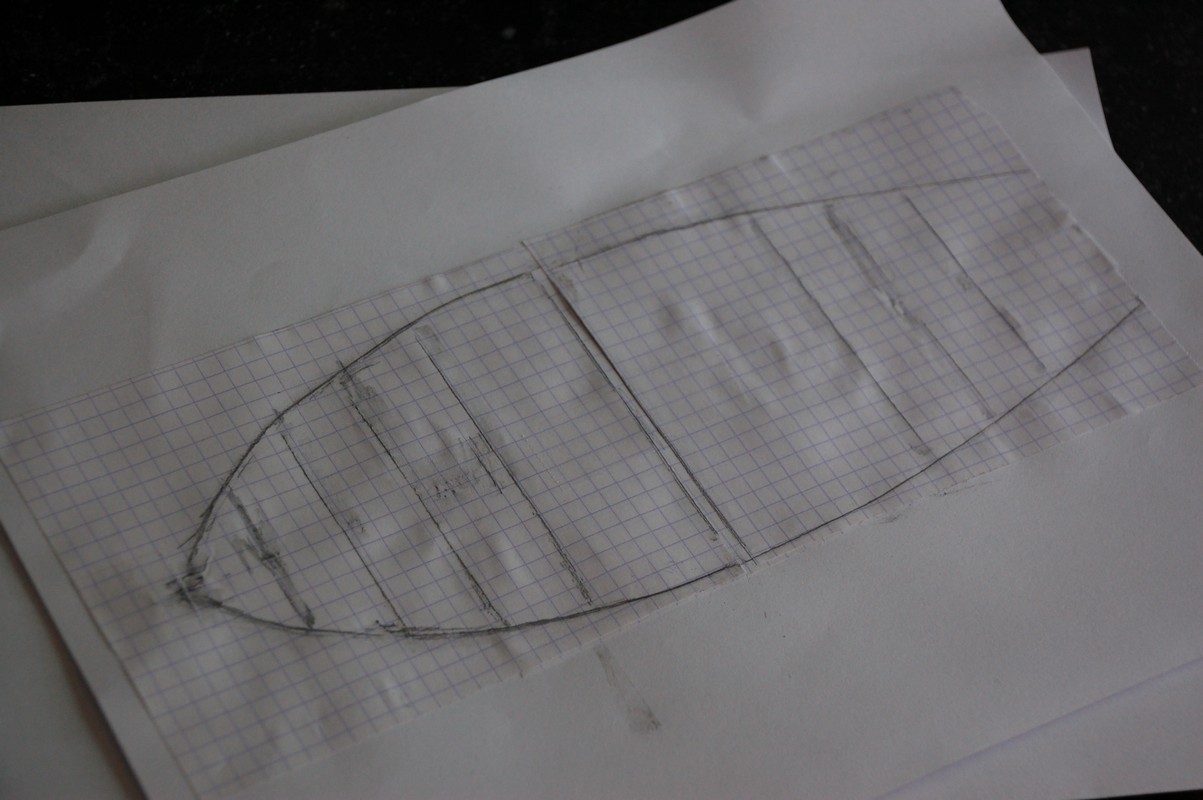
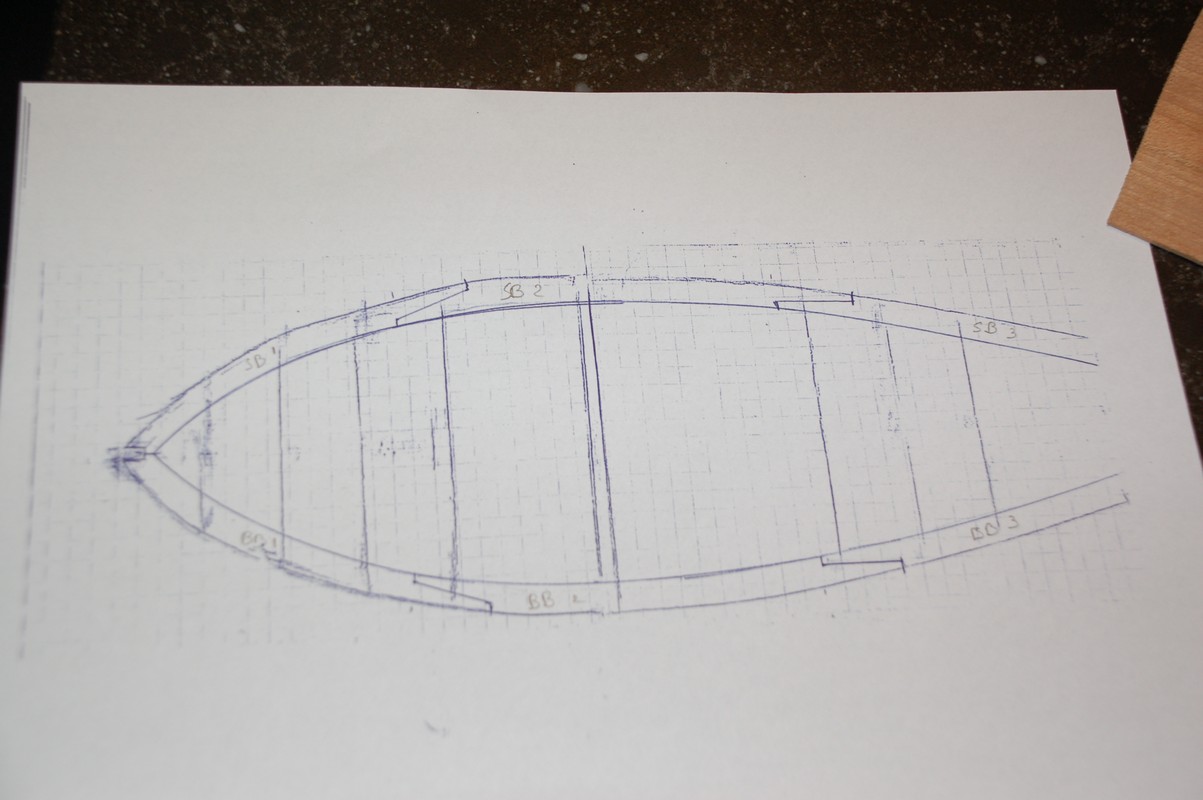
I started with making a template out of paper by tracing the hull.
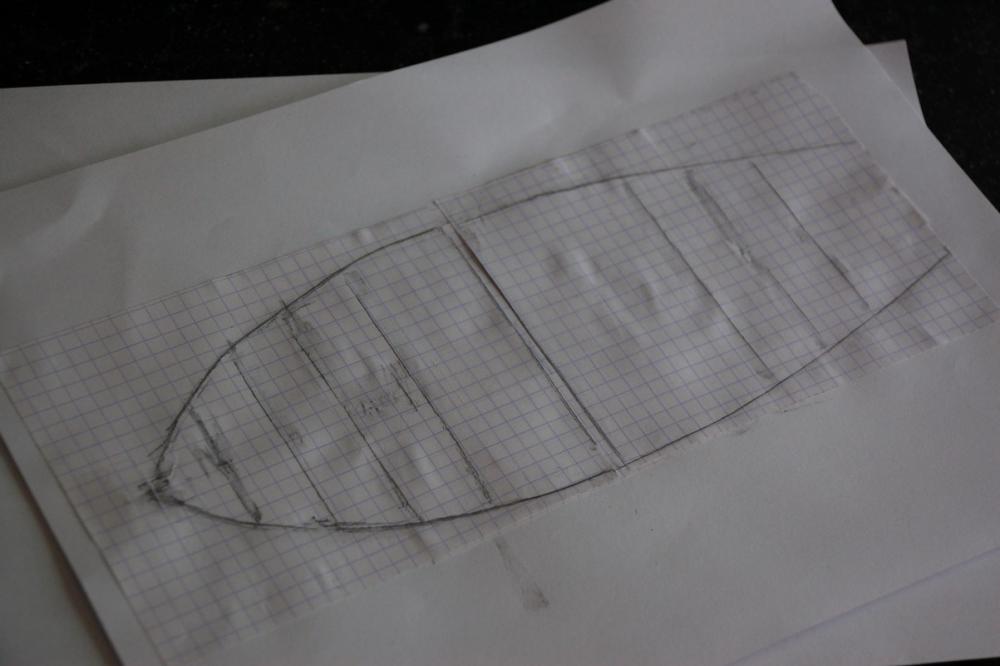
Onto which i drew the different parts for the margin planks.

I cut those out using caution.
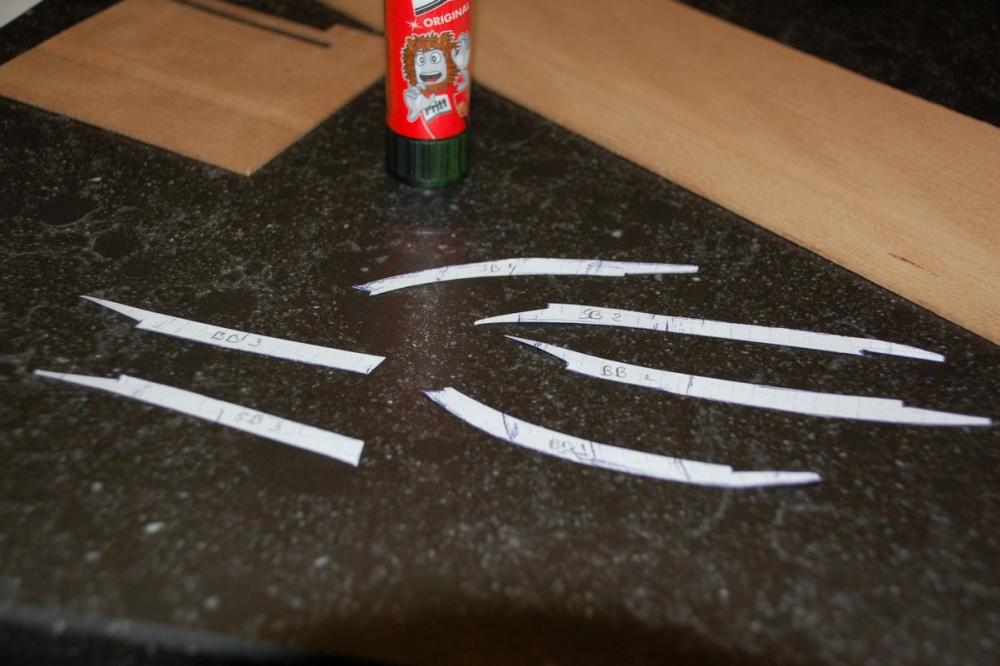
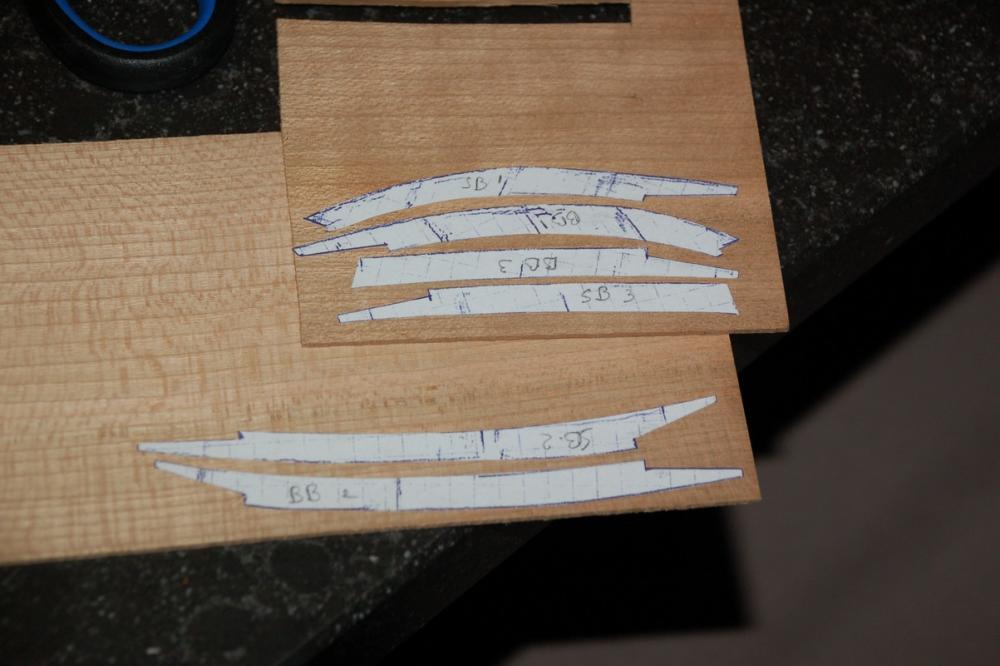
And glued them on a piece of Cherry wood using a glue stick (Pritt).
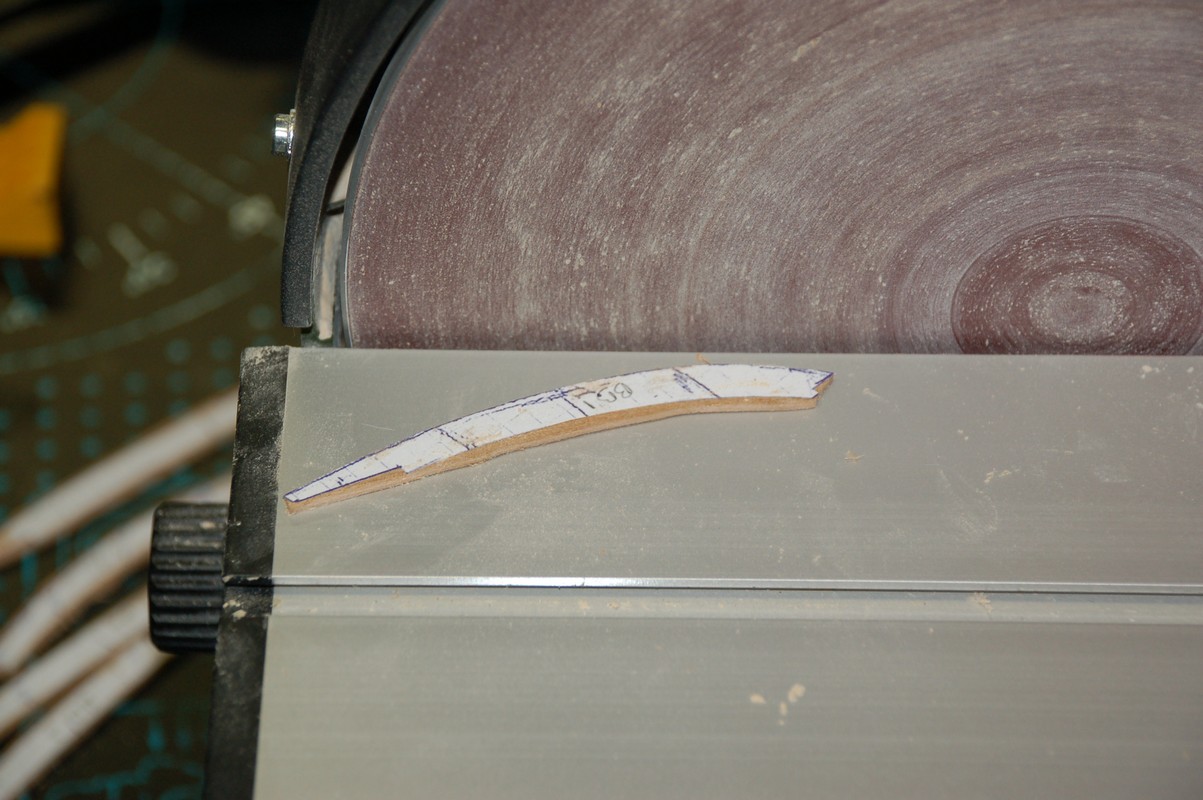
After sawing them out, i needed a sander to get them to close to the line. My scroll saw skills are not so good

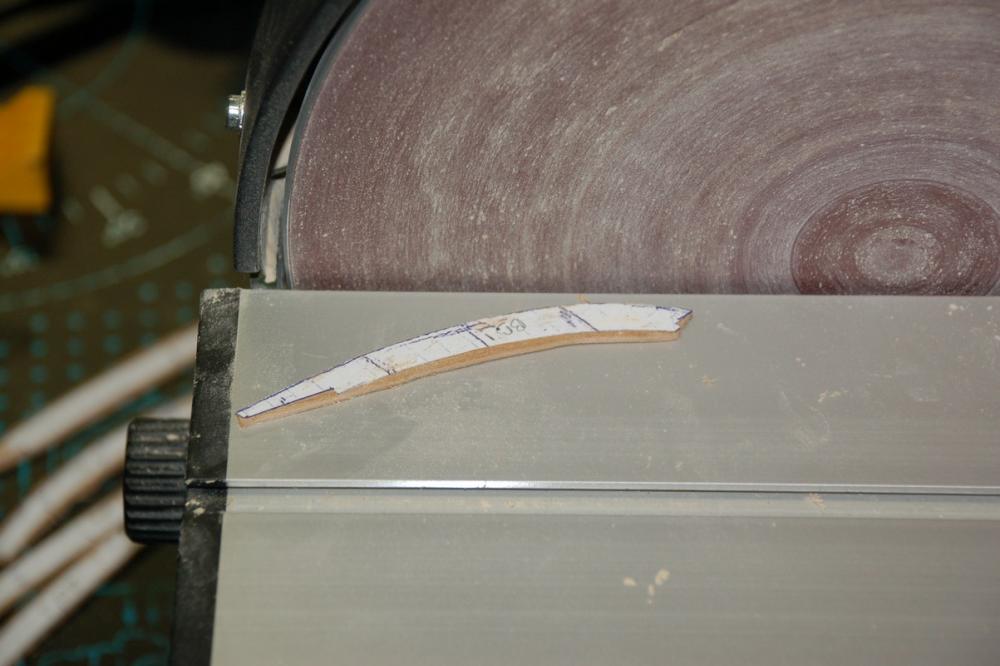
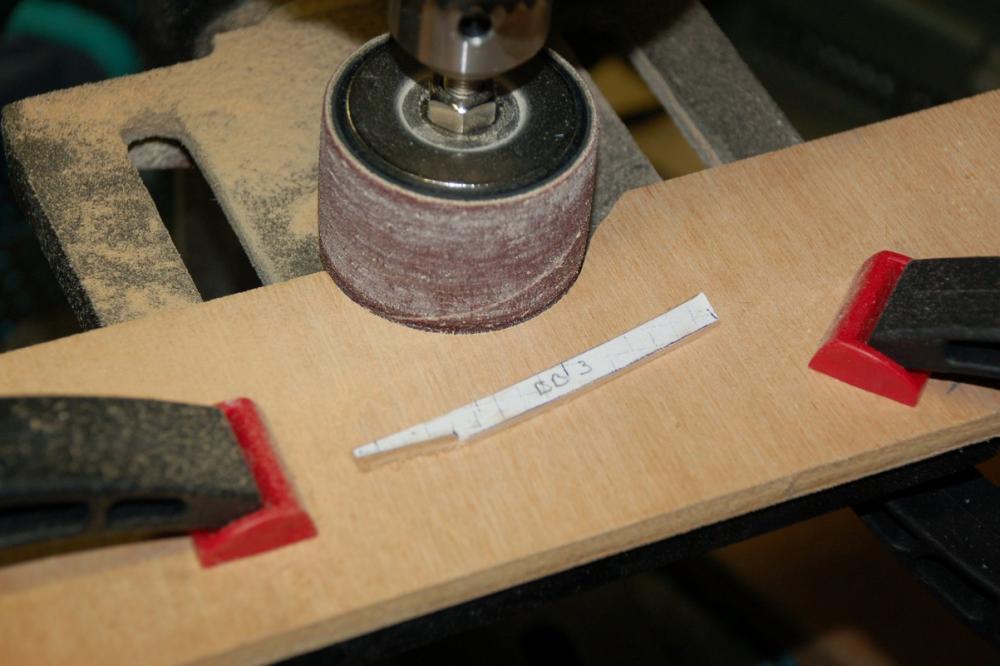
The delicate parts i did with file.
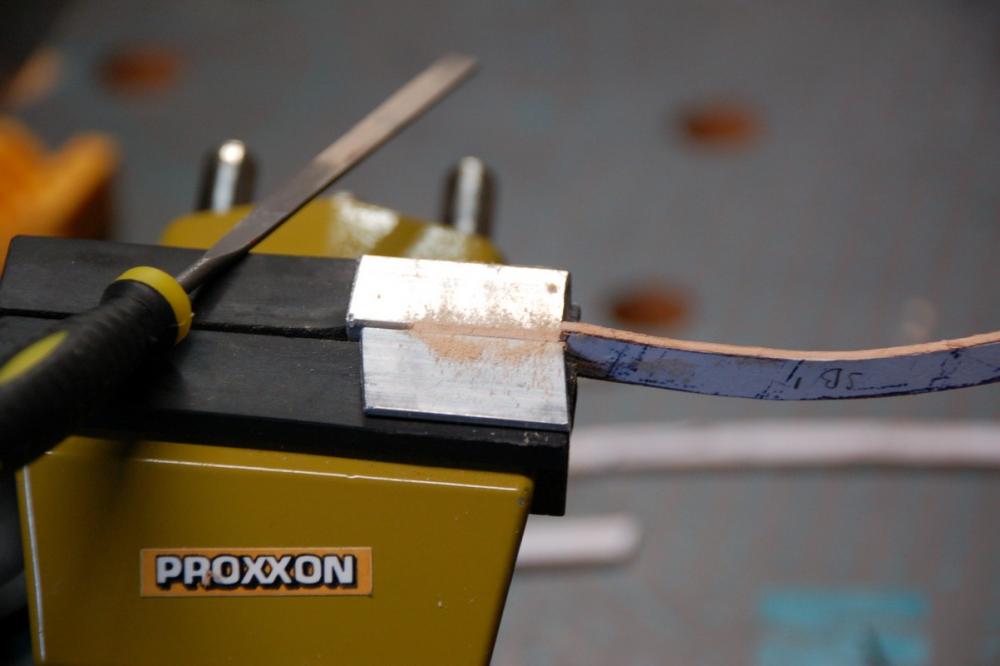
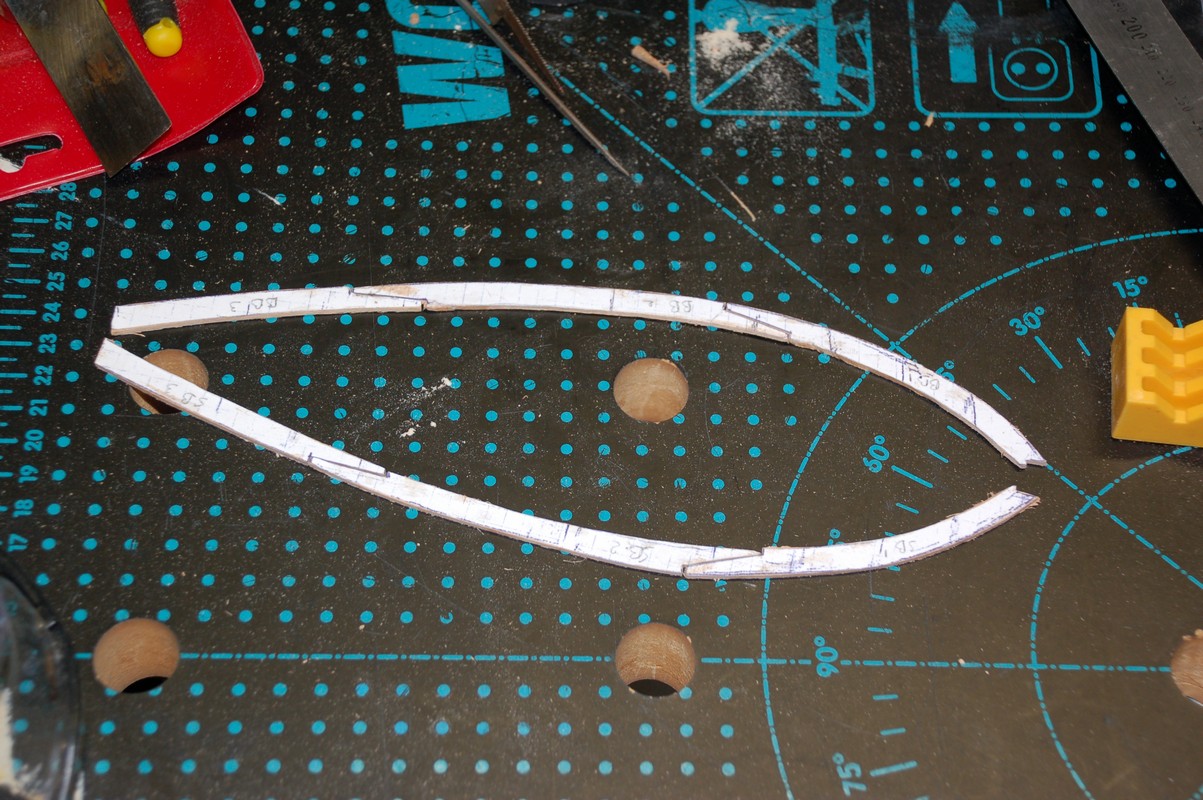
The result before placing on the hull.
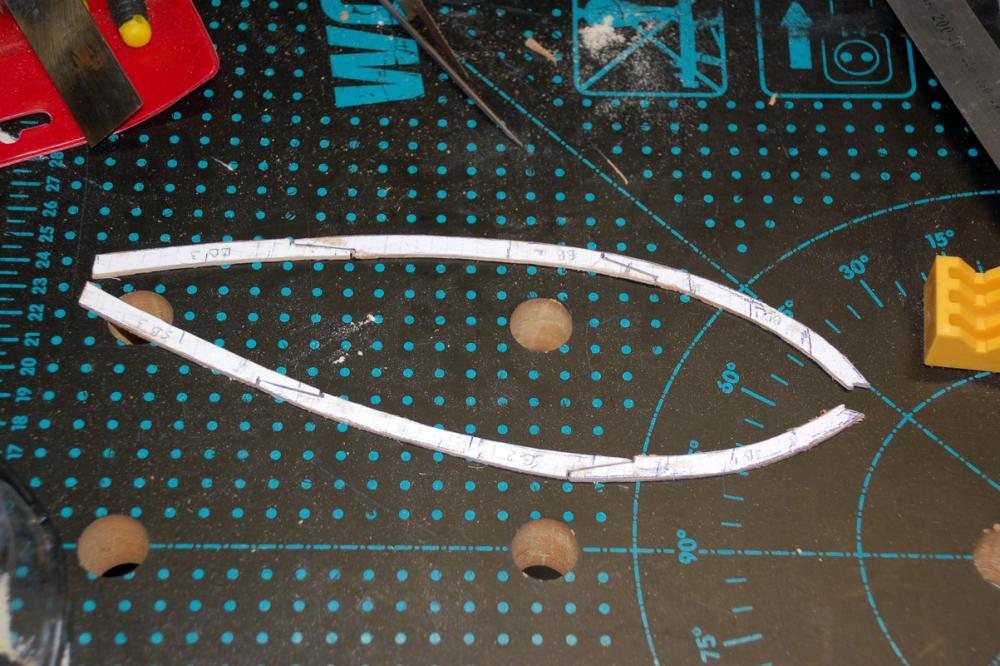
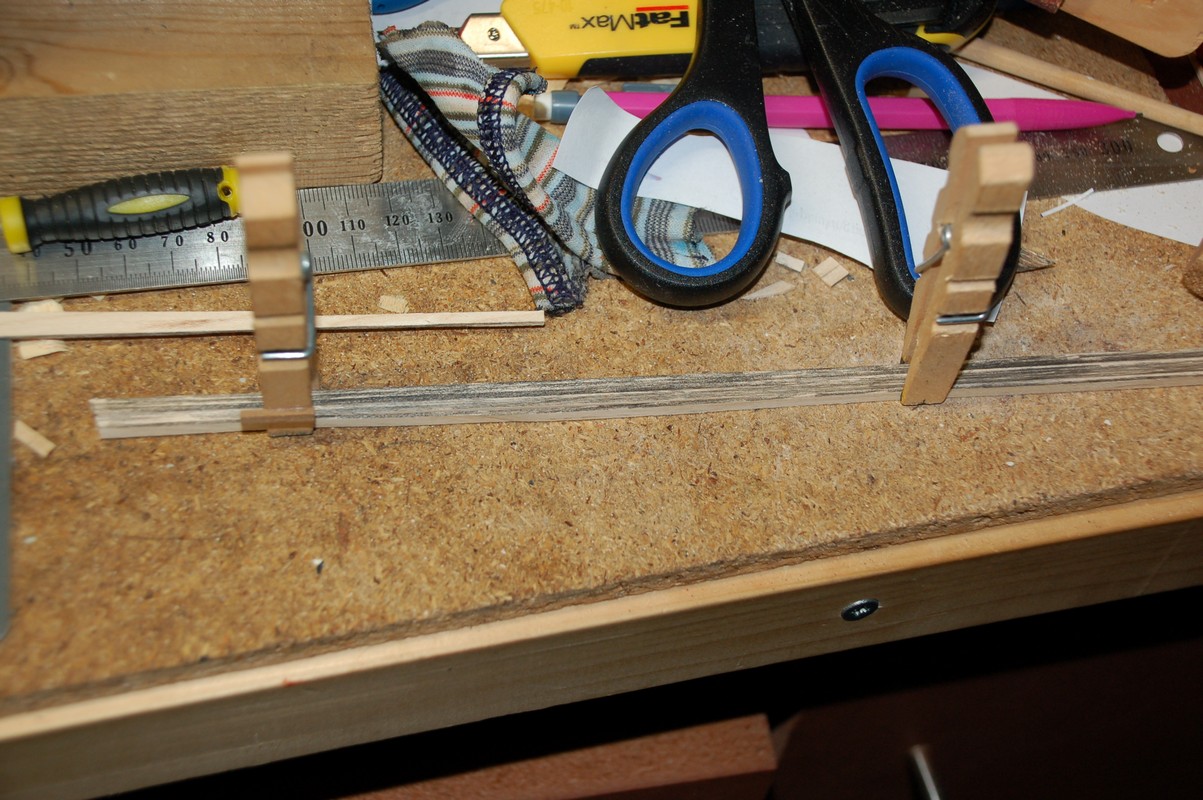
And finally glueing it in place.
-
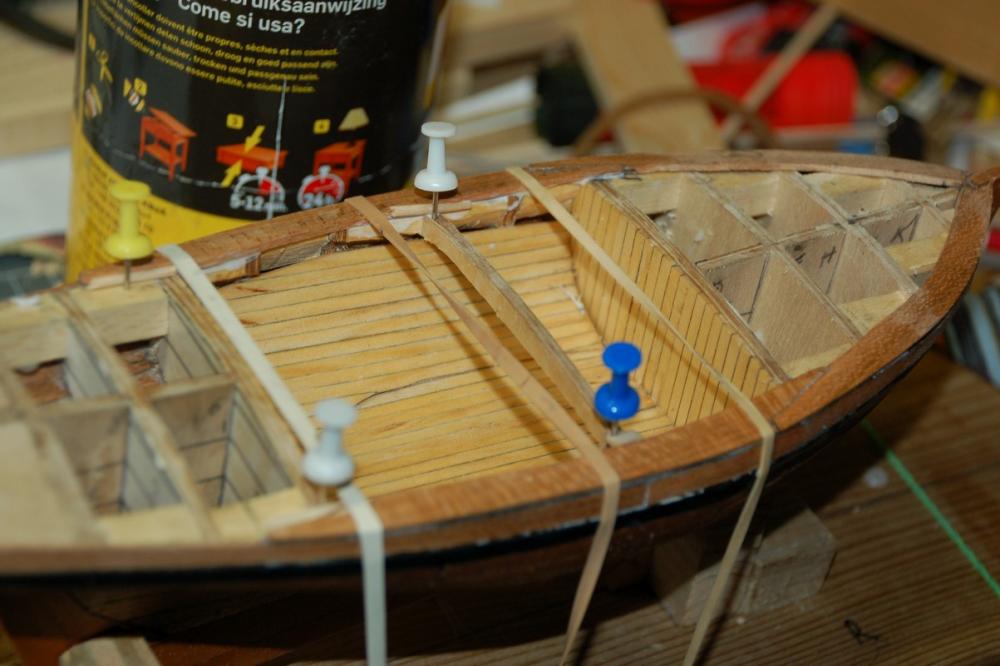
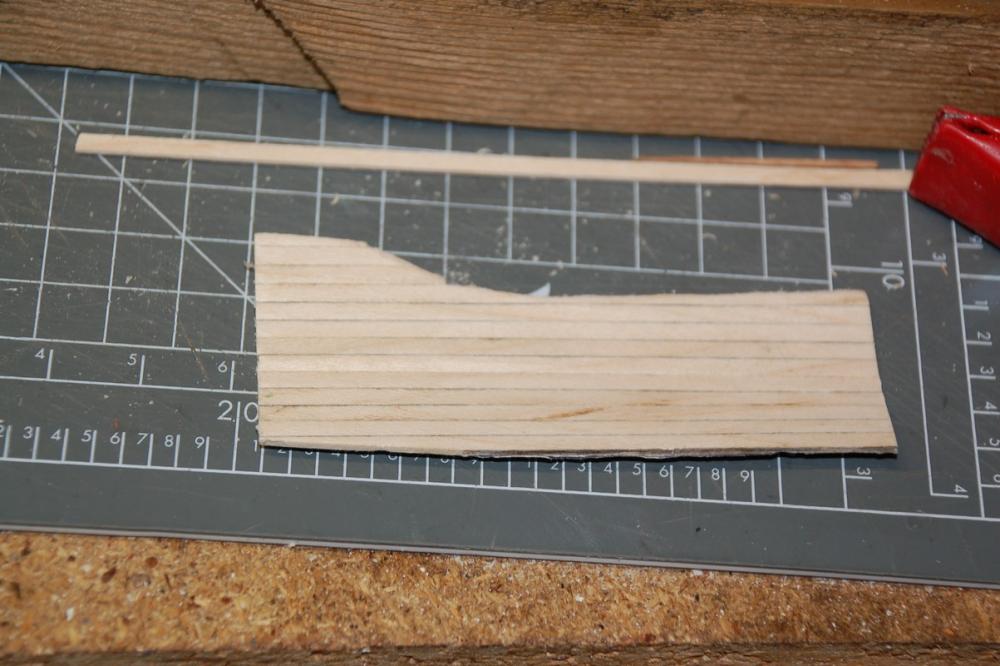
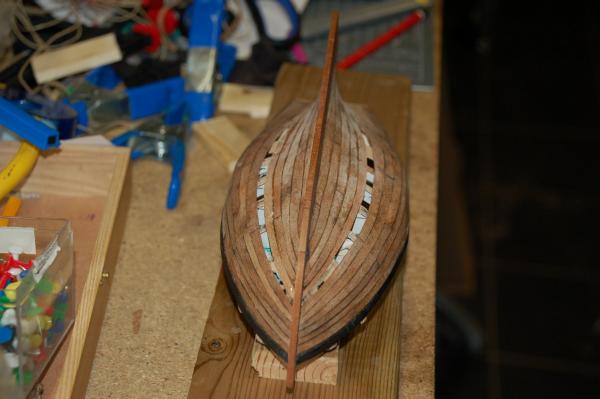
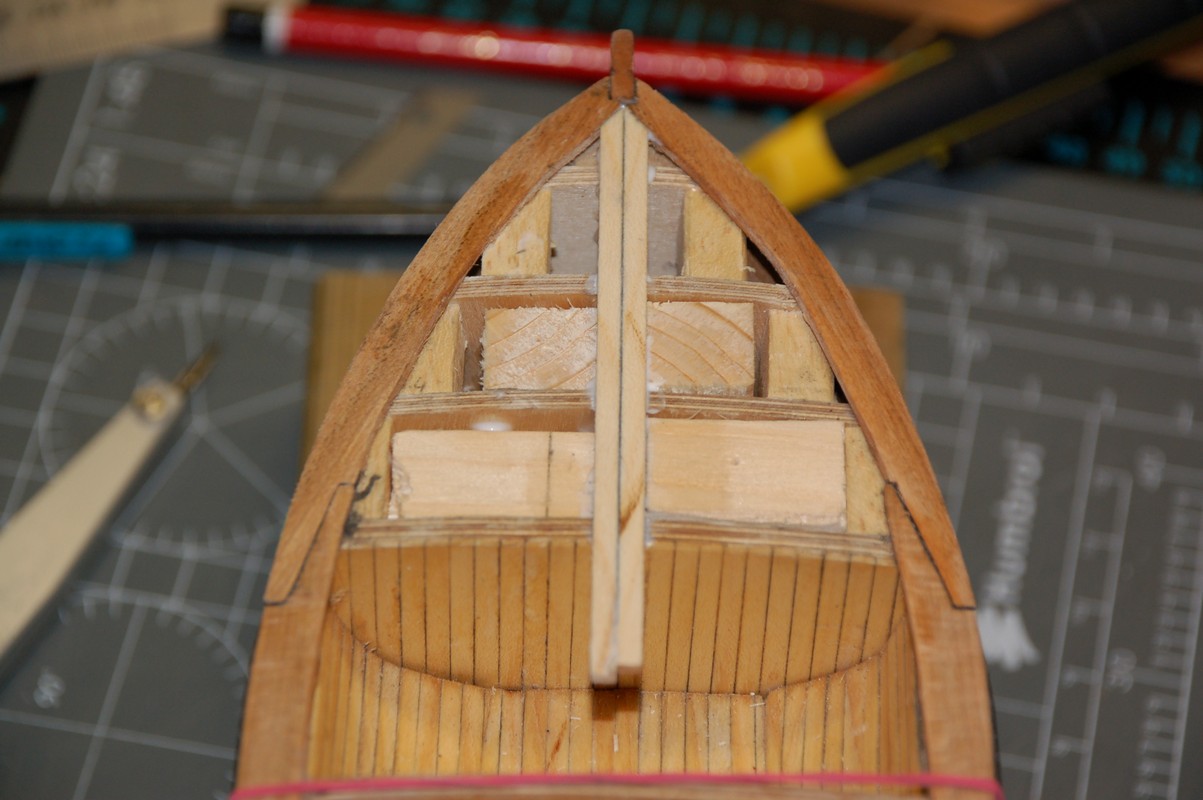
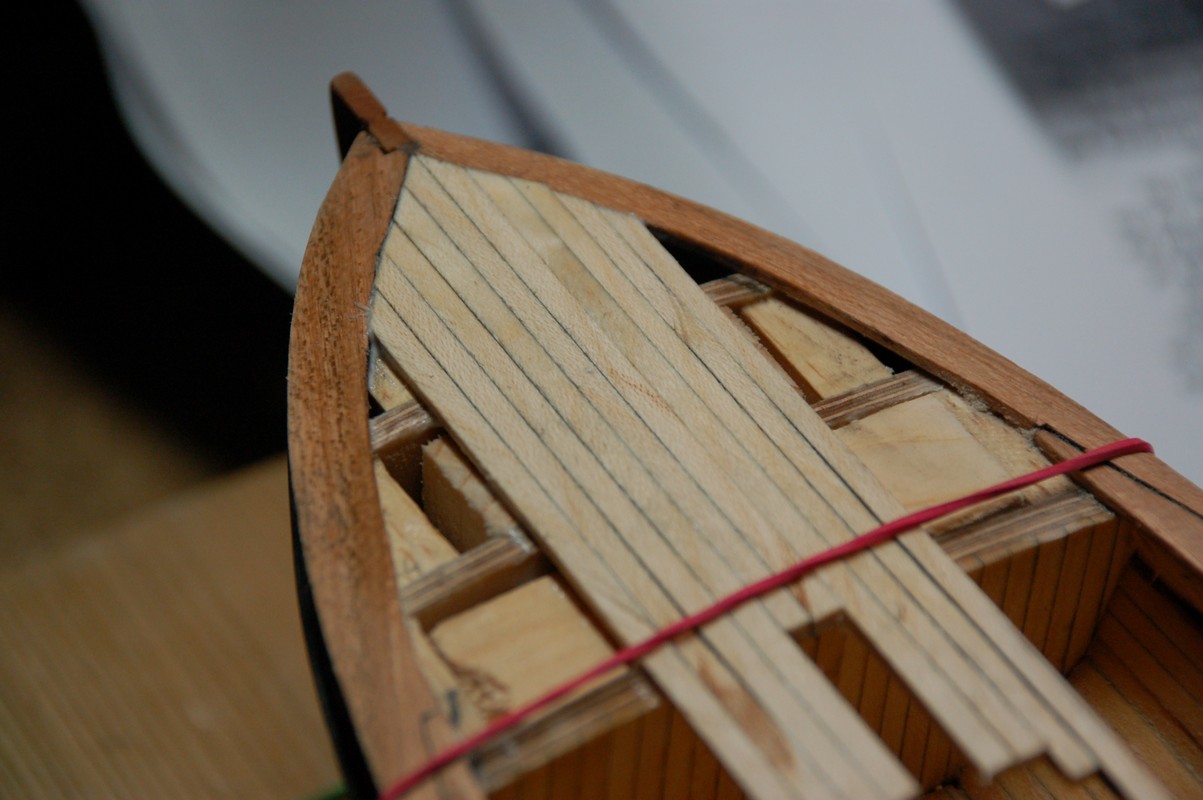
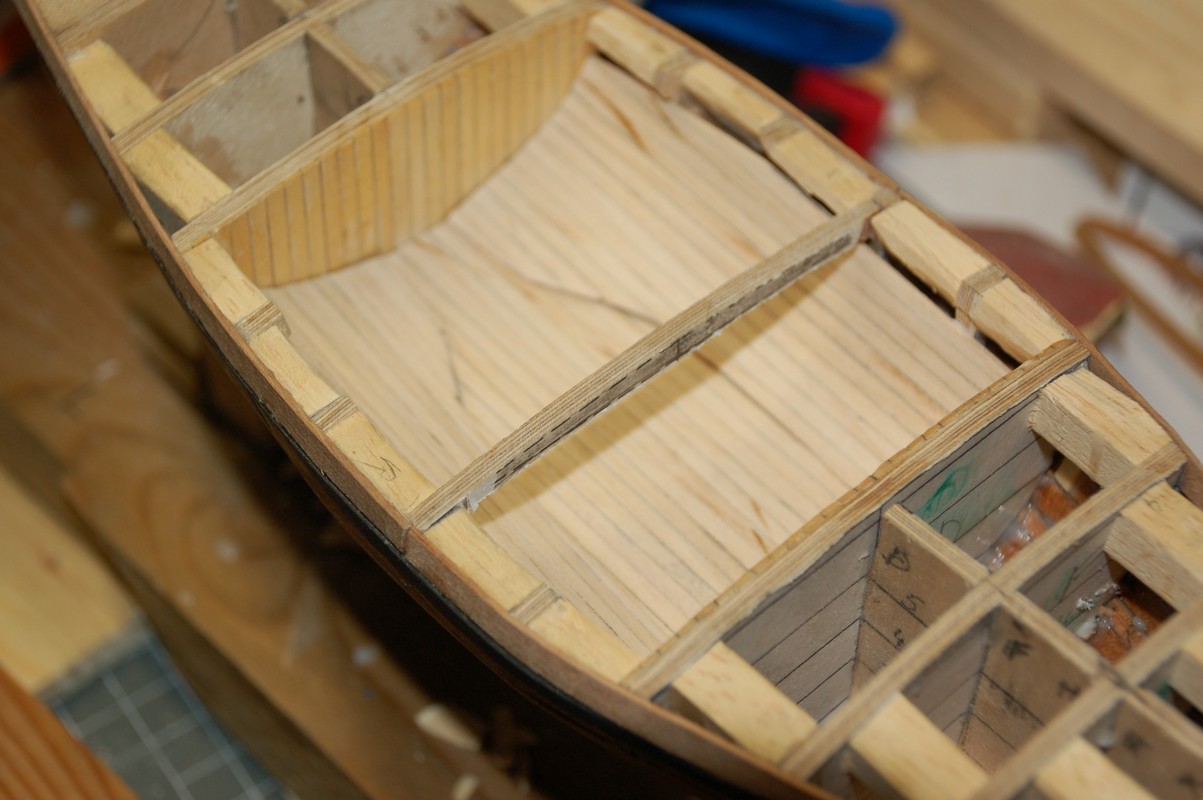
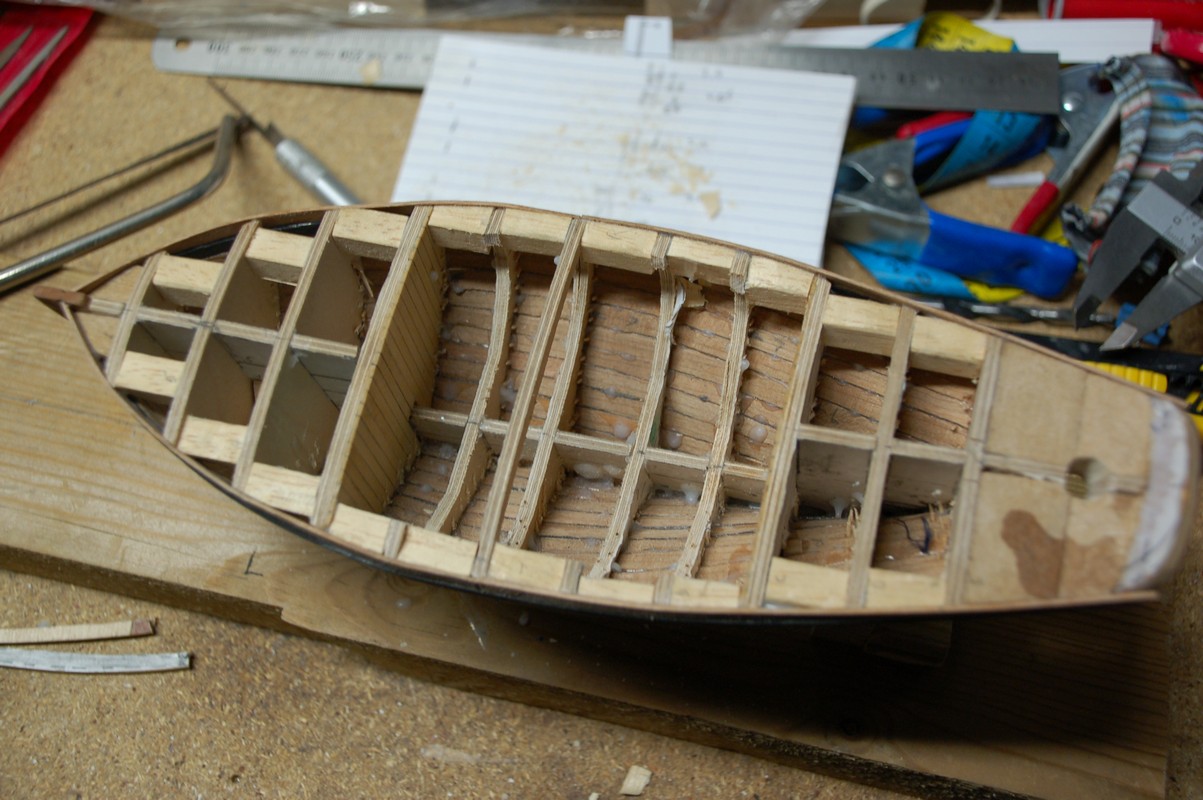
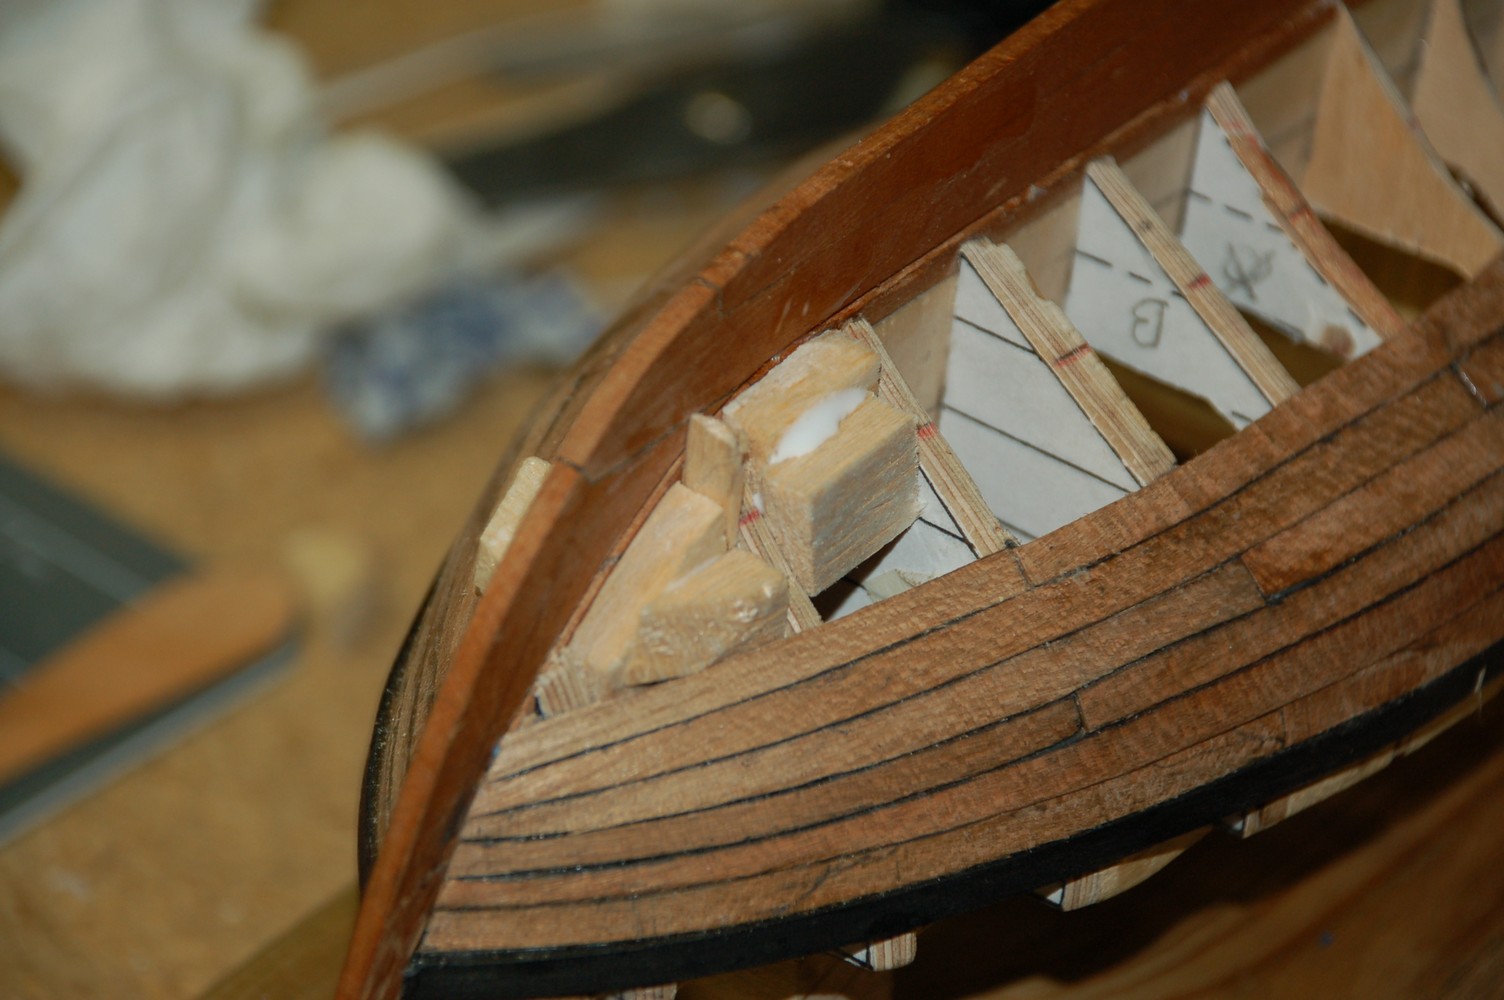
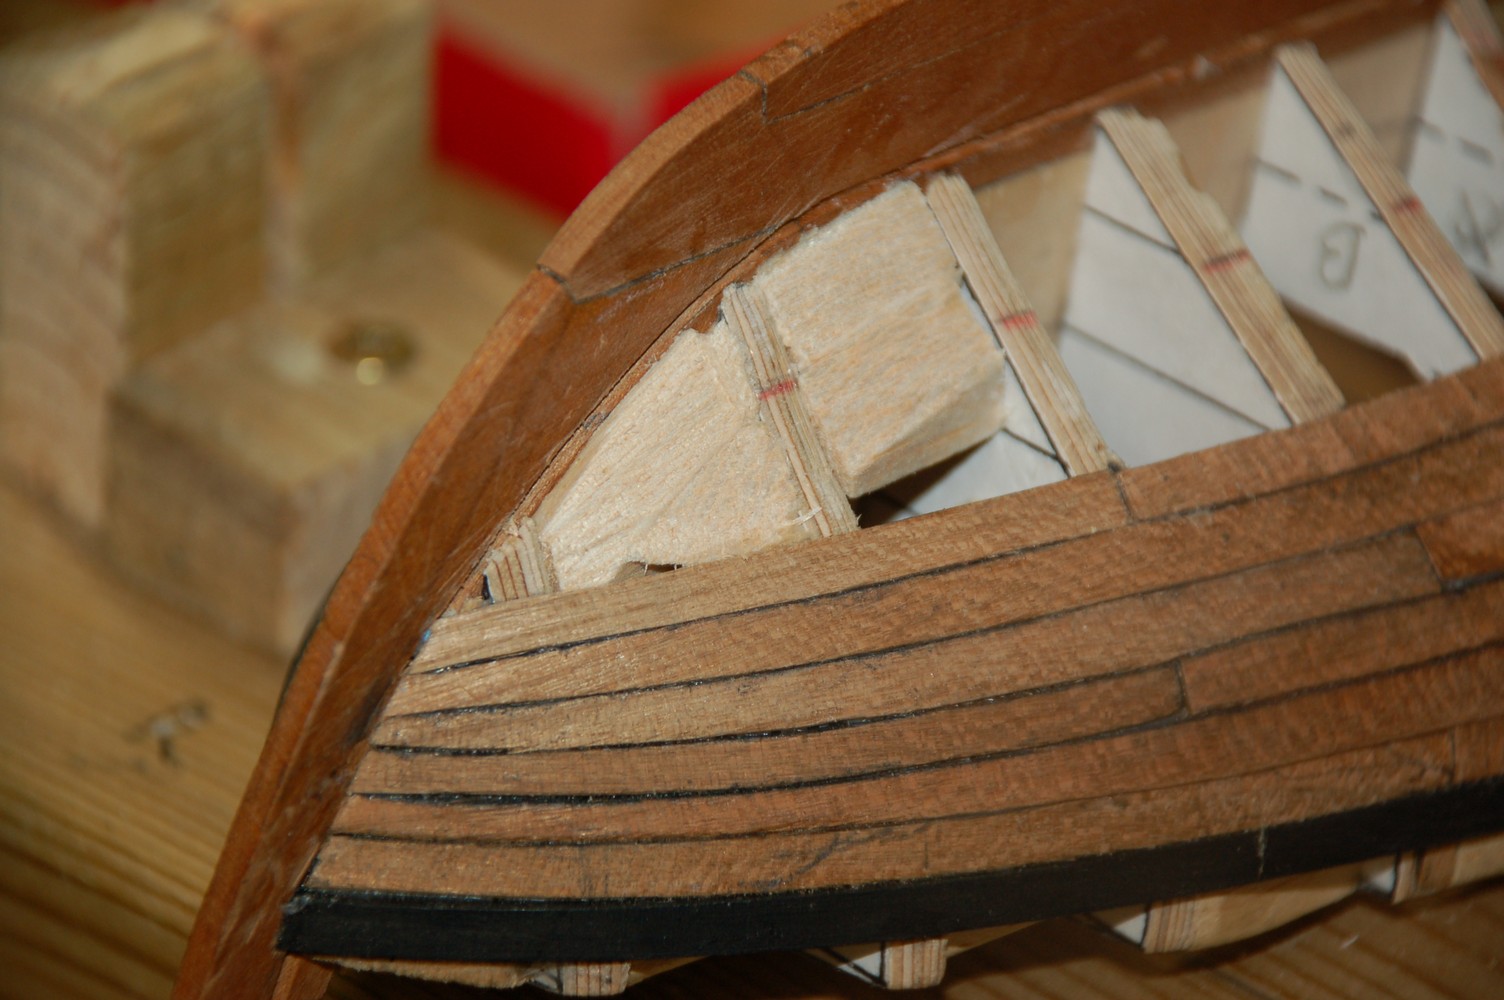
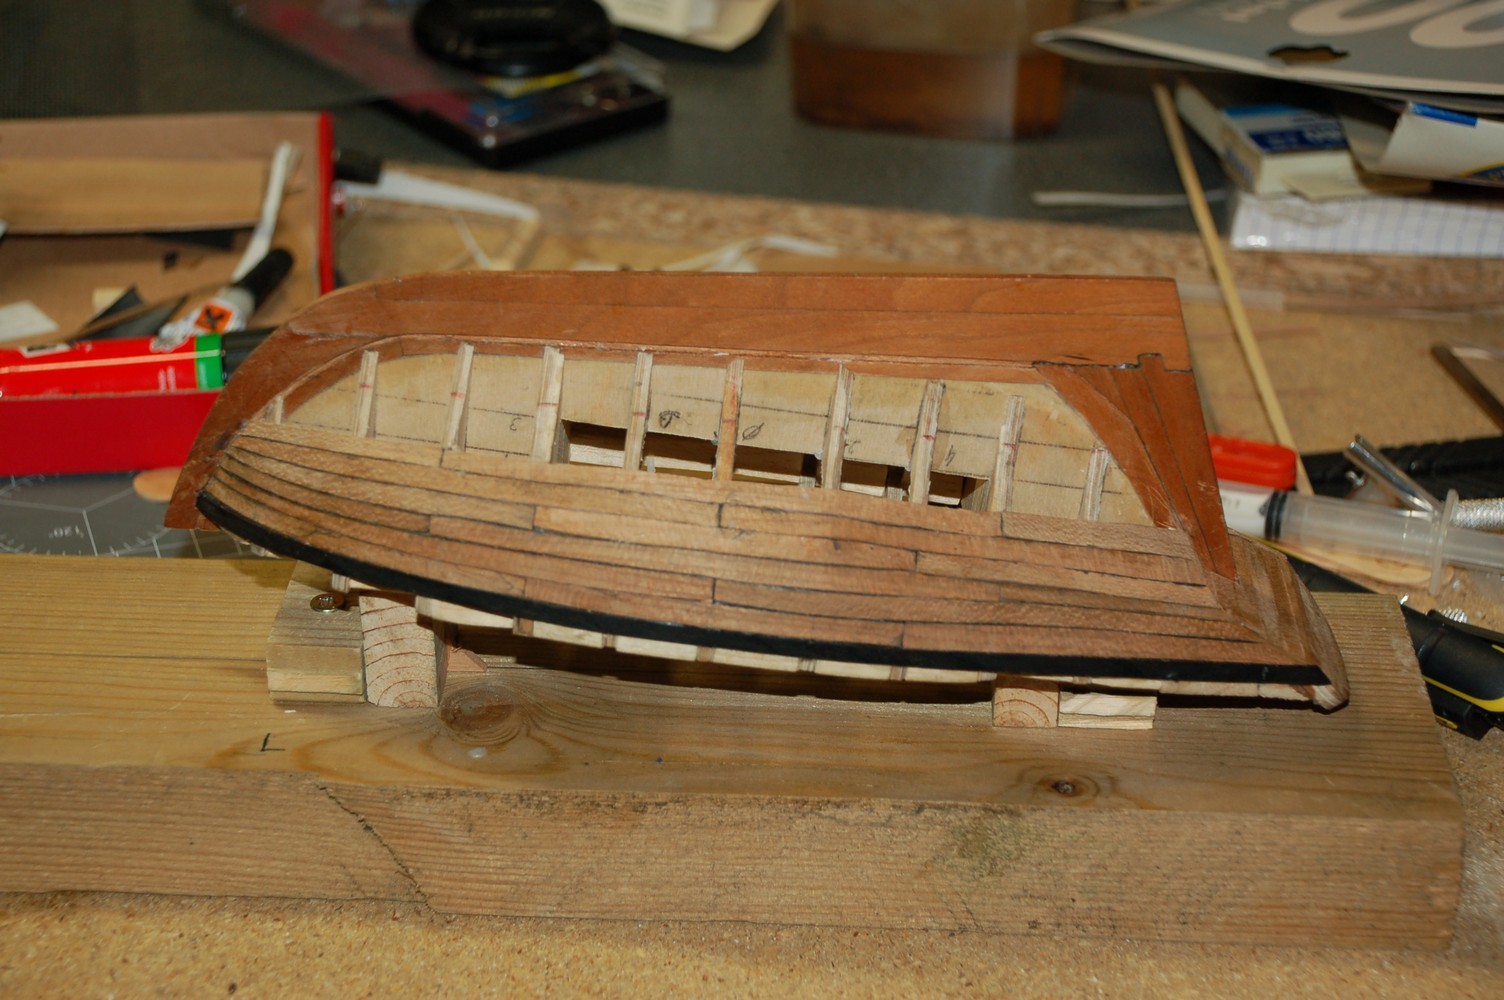
Start of the planking the cabin floor using a paper template.
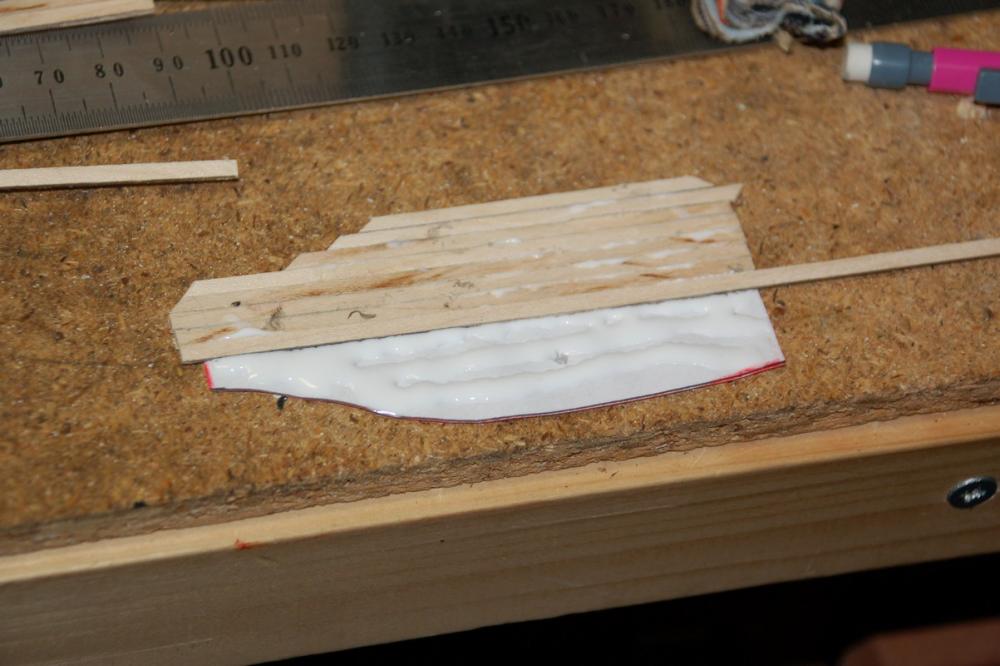
First i prepared the planks using a pencil to imitate the caulking.

Then using again a paper template i made the cabin sidewalls.
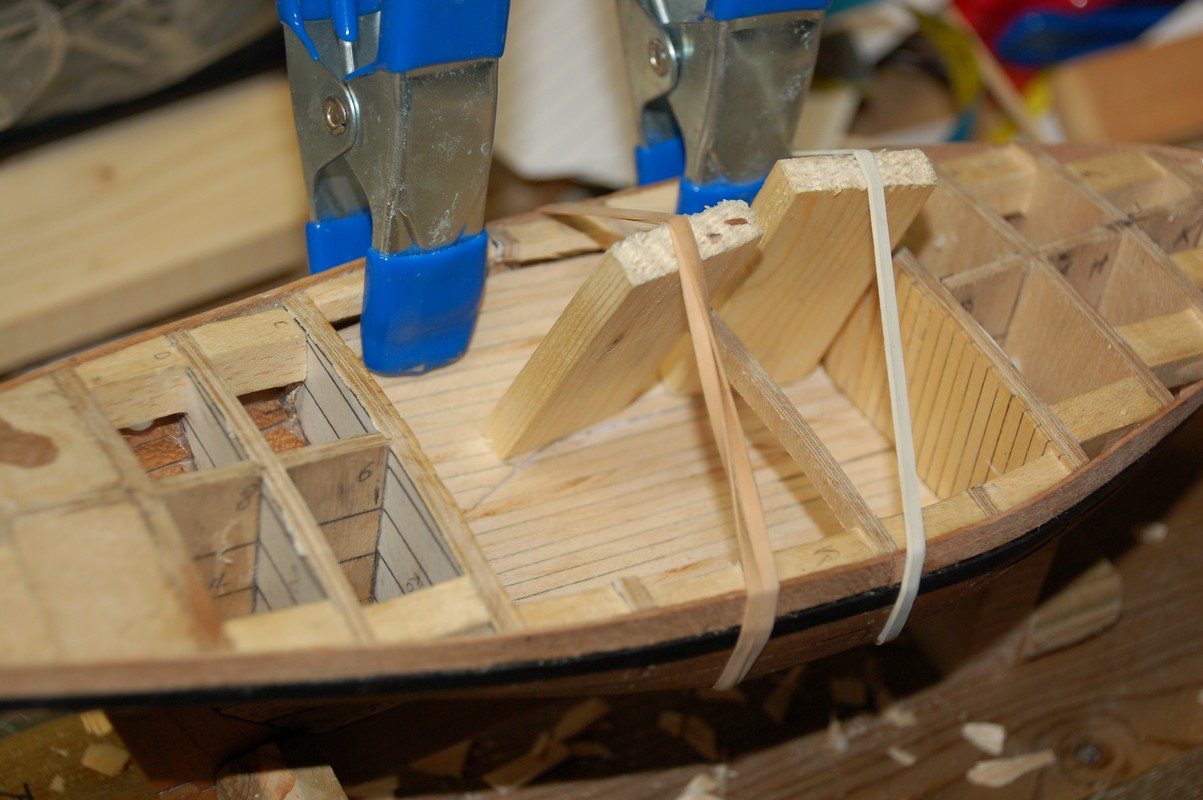
Afterwards i glued them in place and used some wooden blocks to put some pressure on certain points.

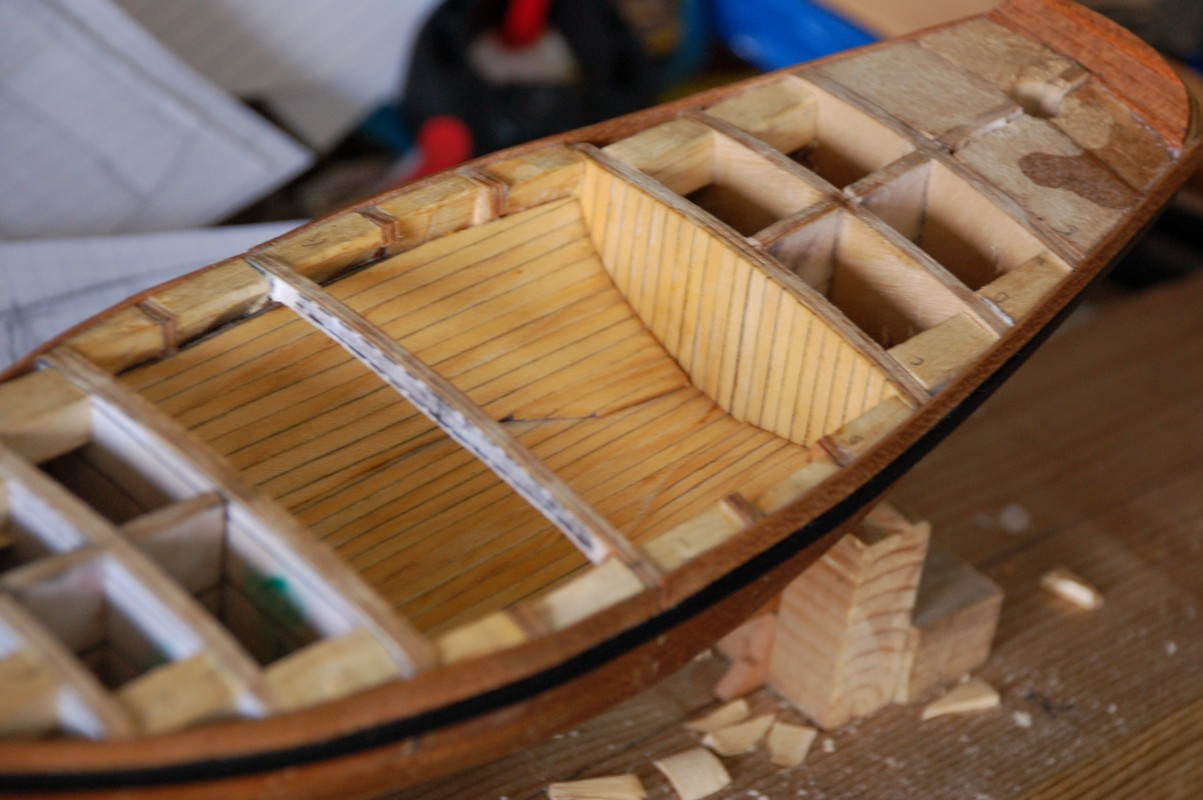
Cabin planking done.
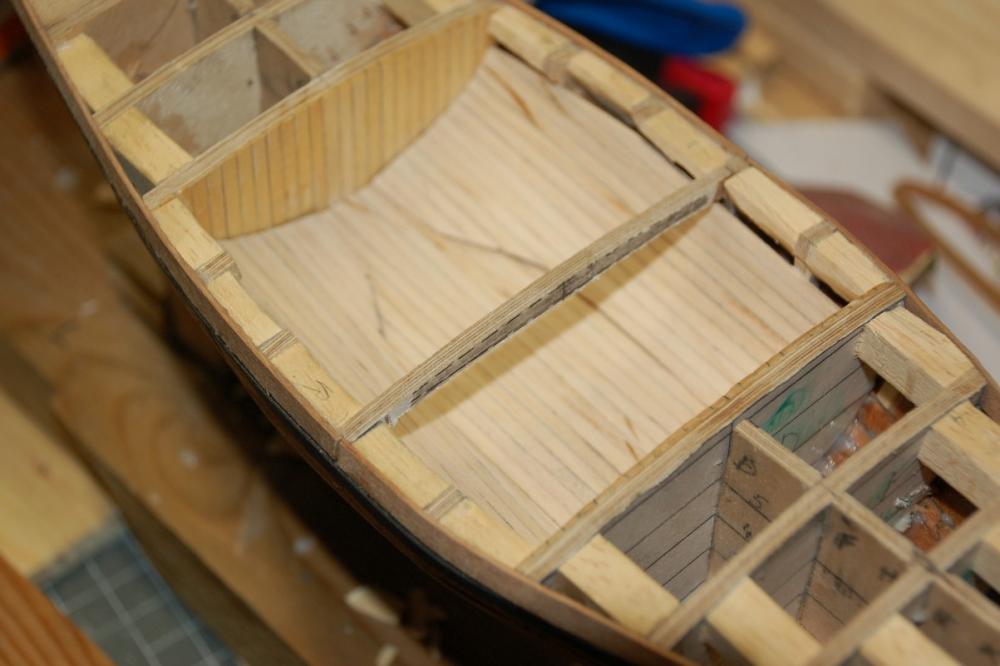
And finished the cabin with some oil.

-
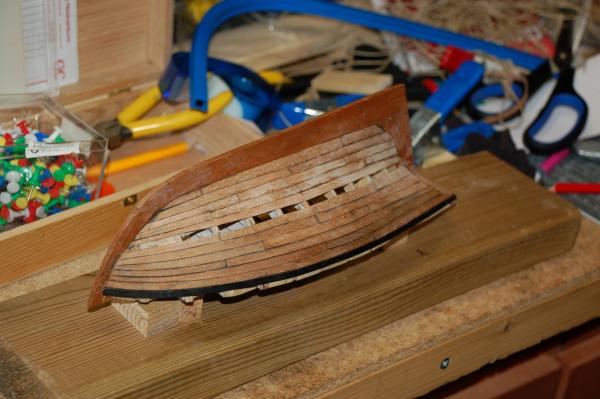
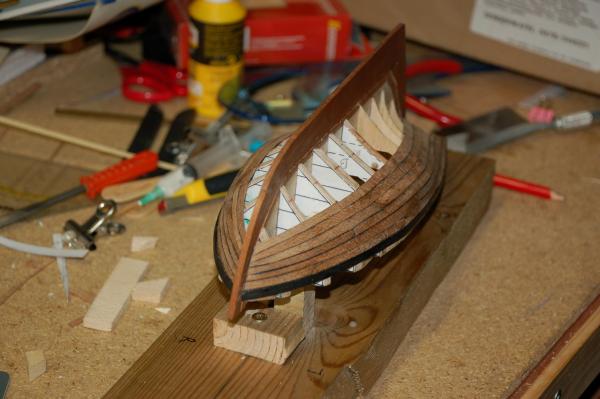
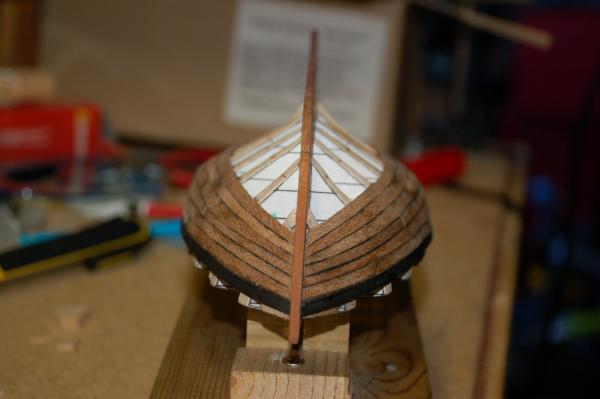
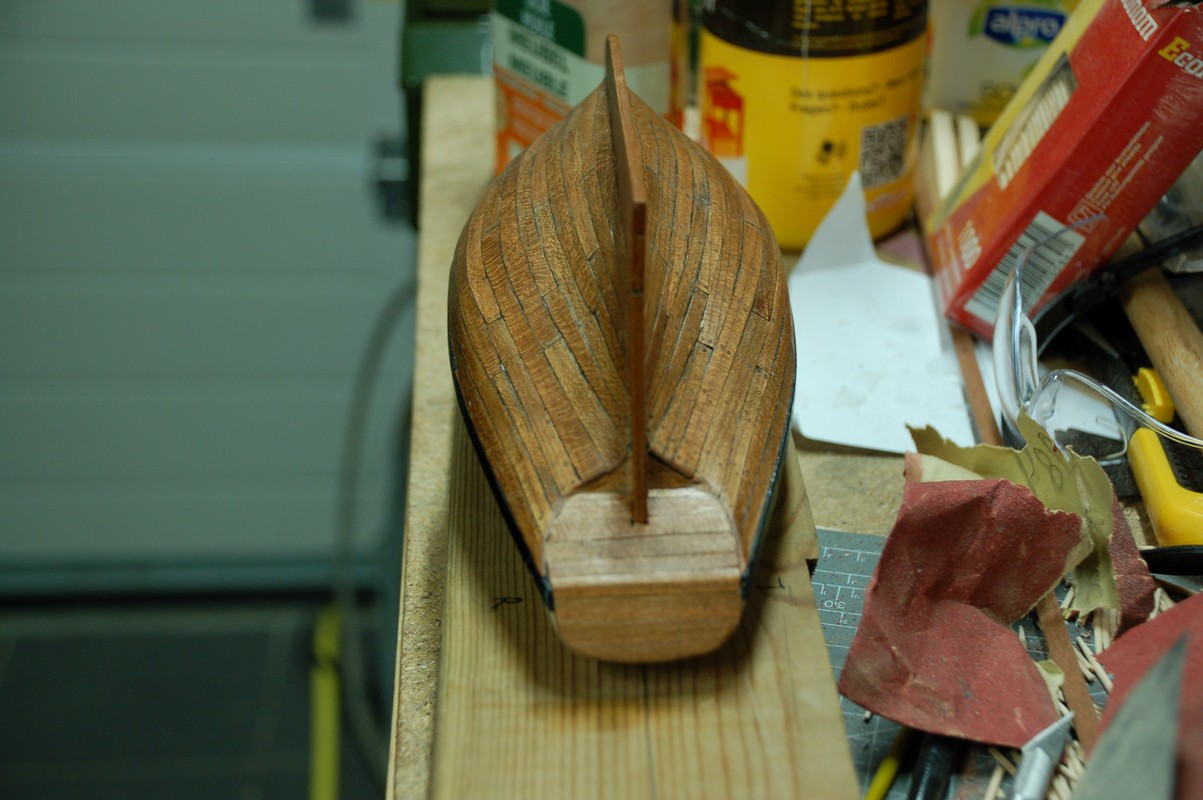
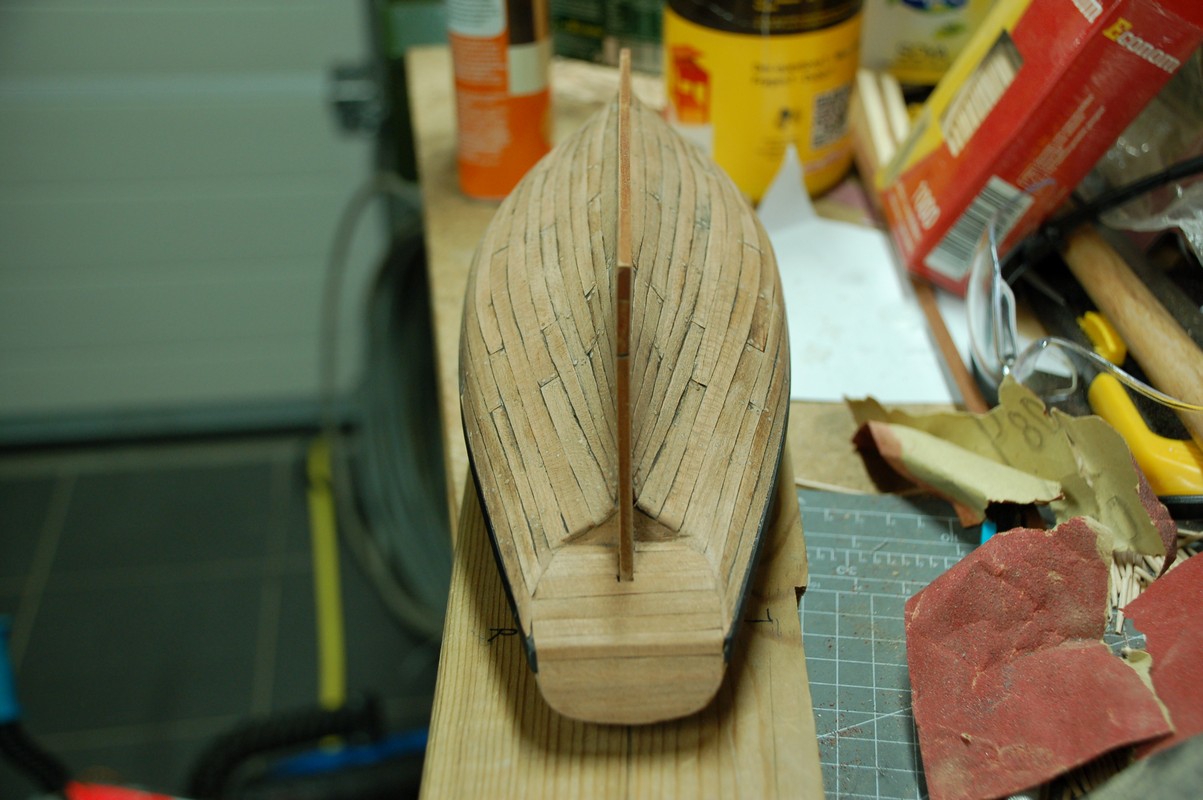
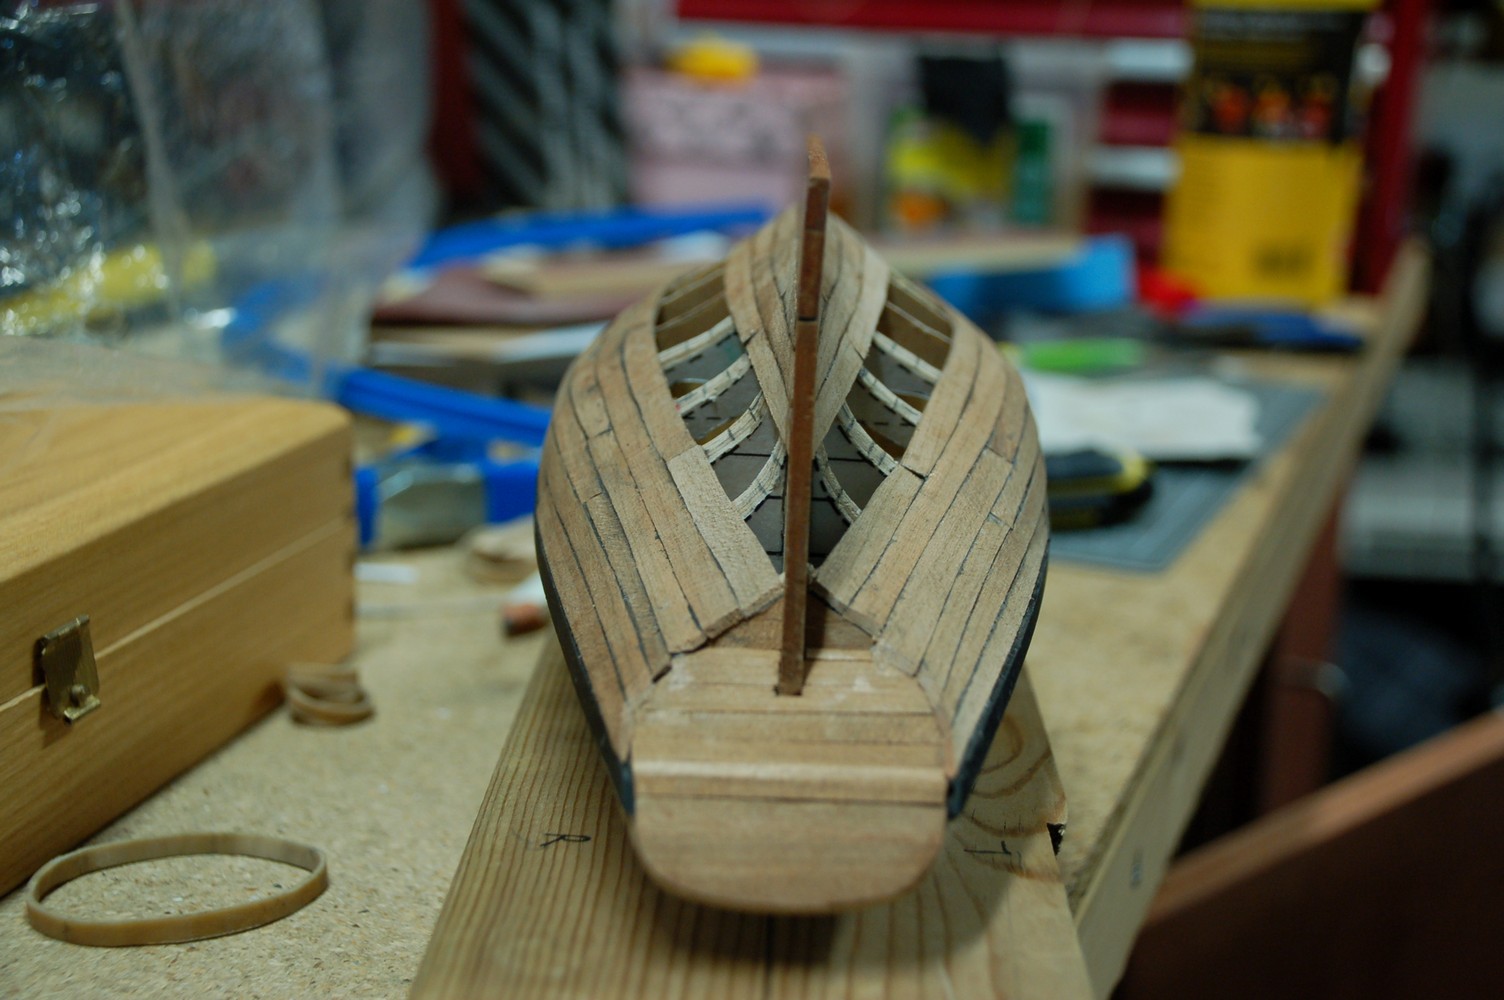
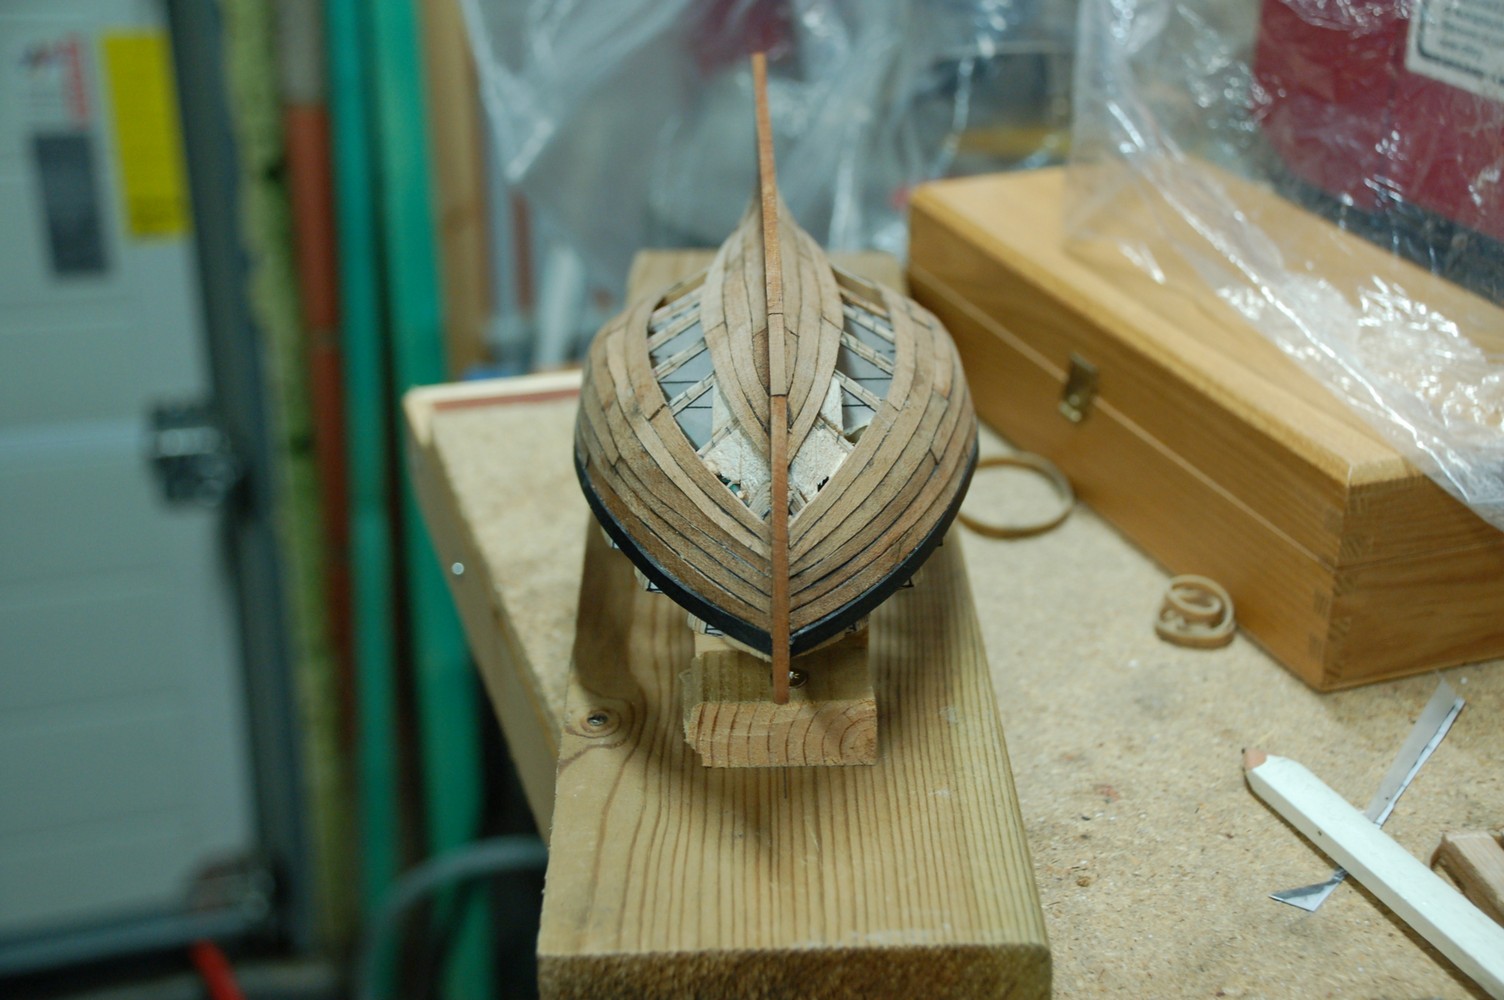
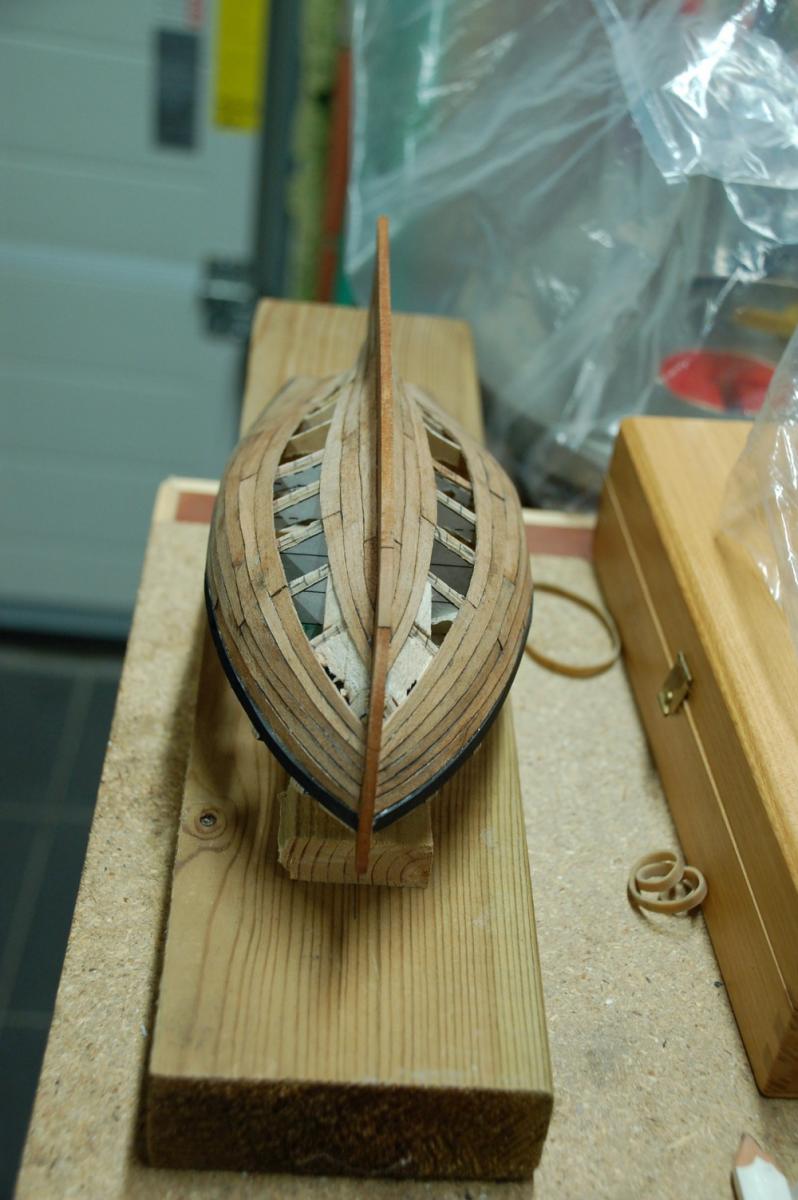
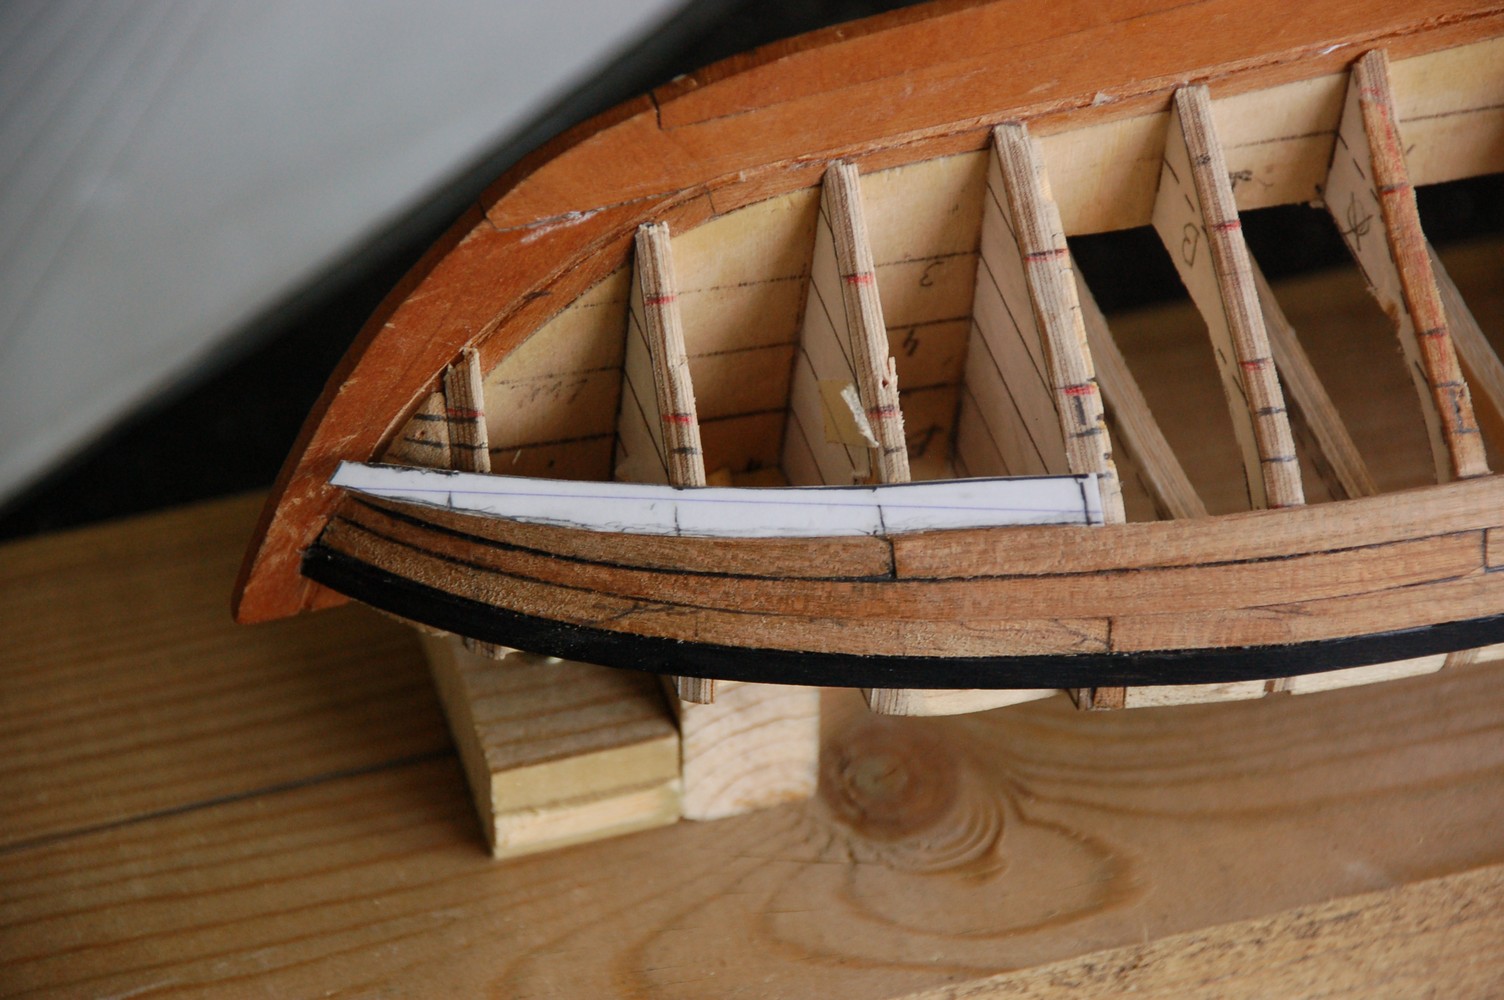
One final plank to install.
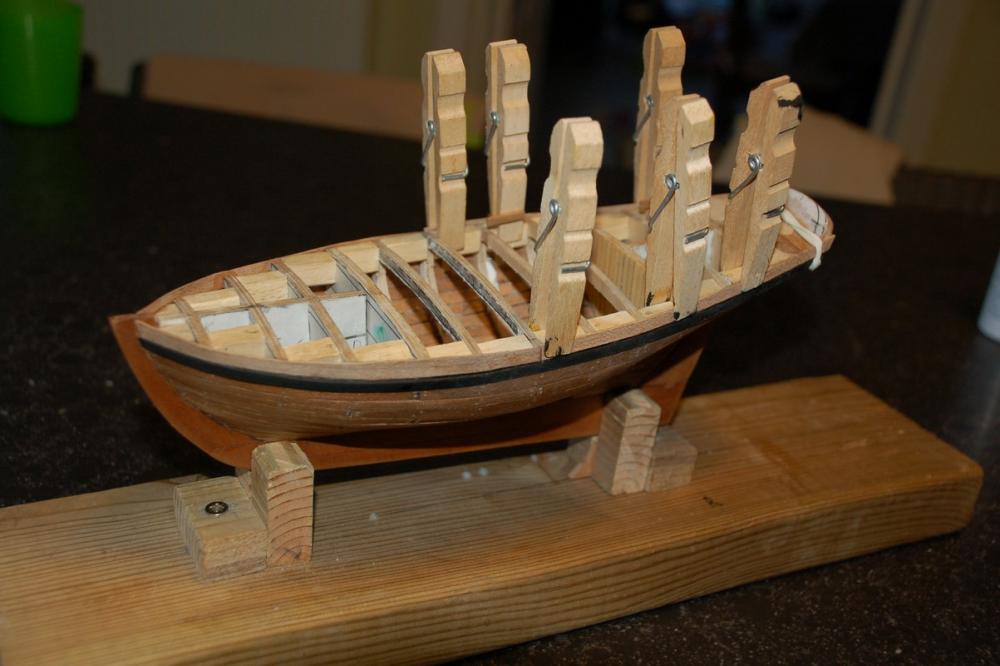
Then it was time to remove the temporary beams to start building up the cabin.

- VACorsair, Mirabell61, DORIS and 1 other
-
 4
4
-
-
-
-
-
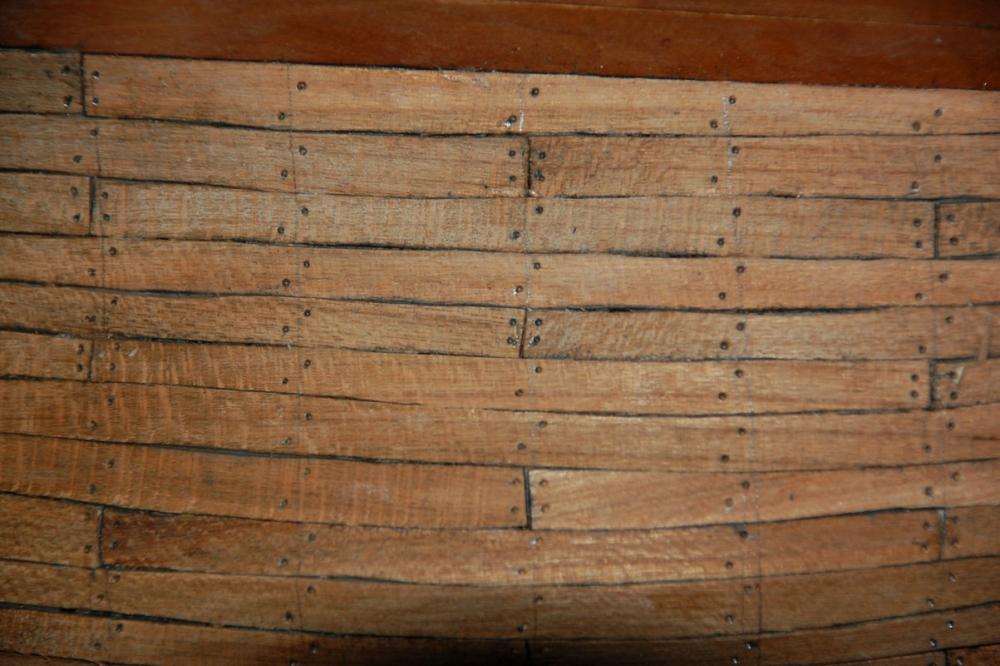
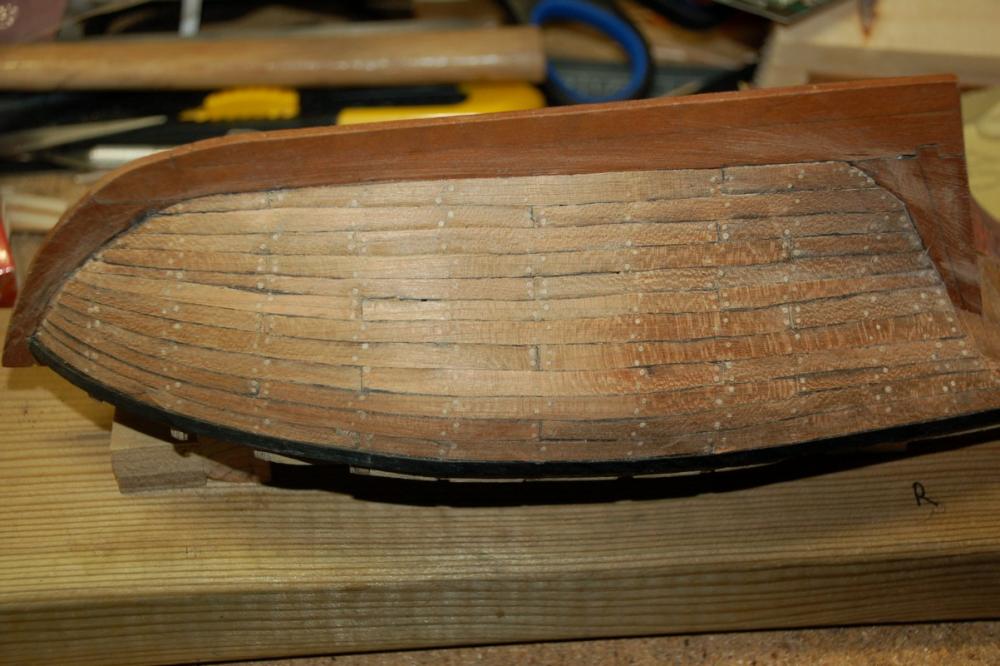
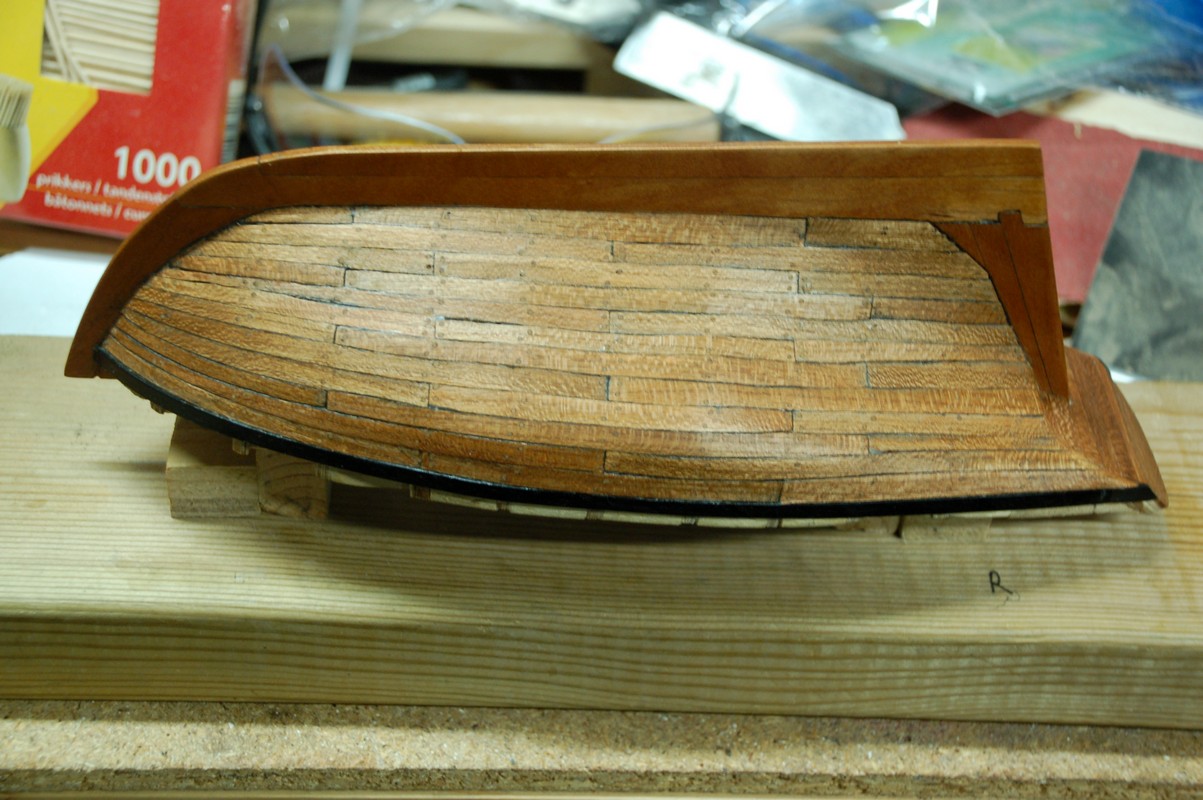
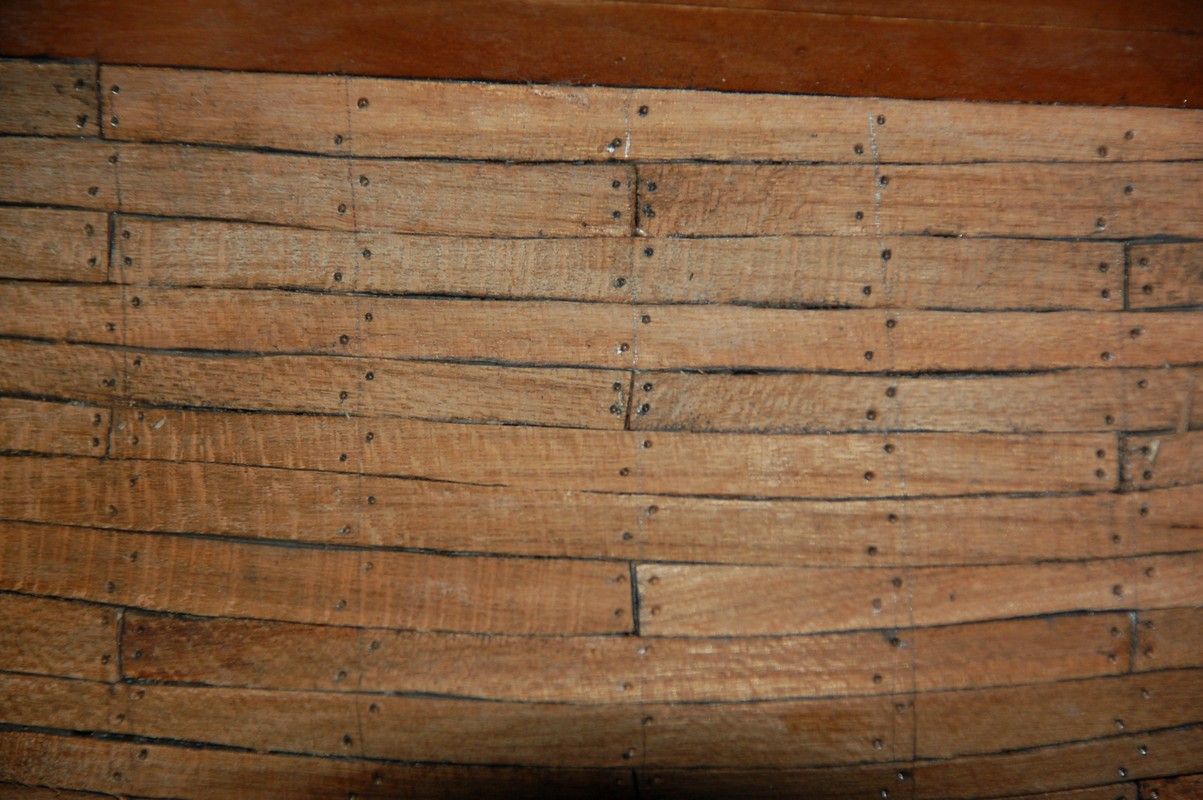
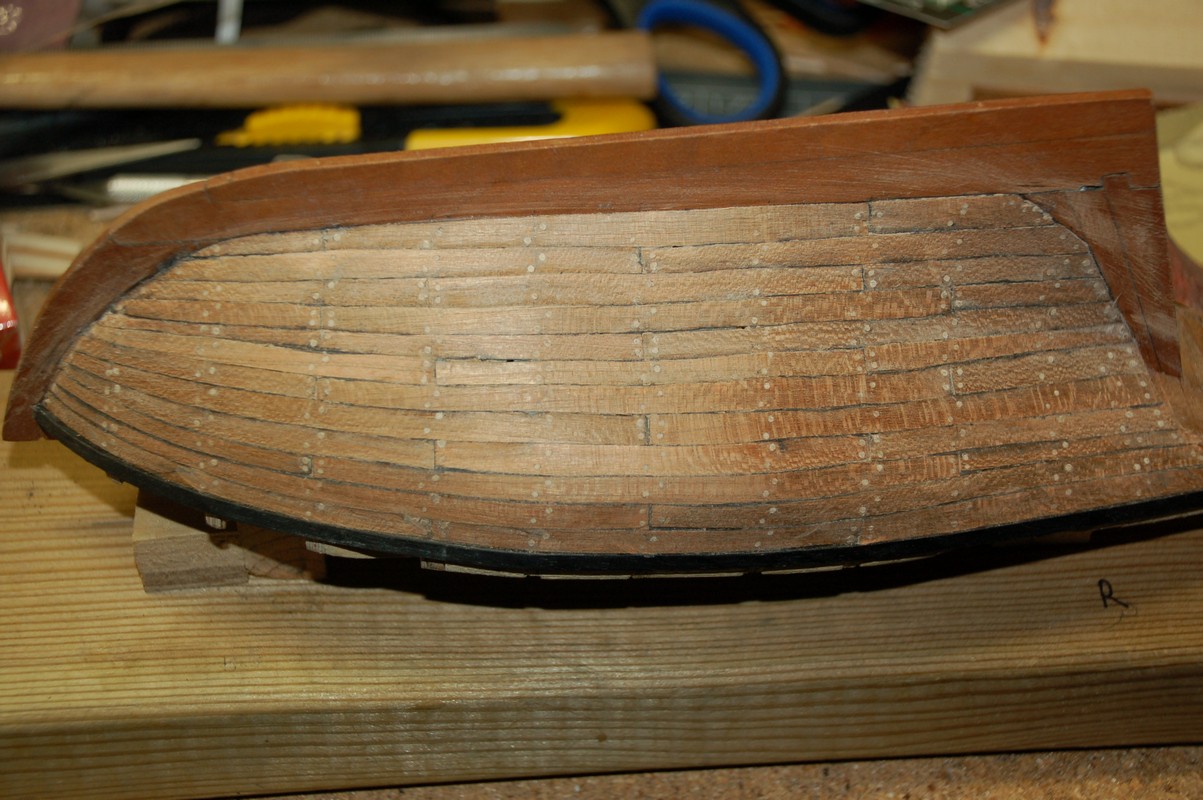
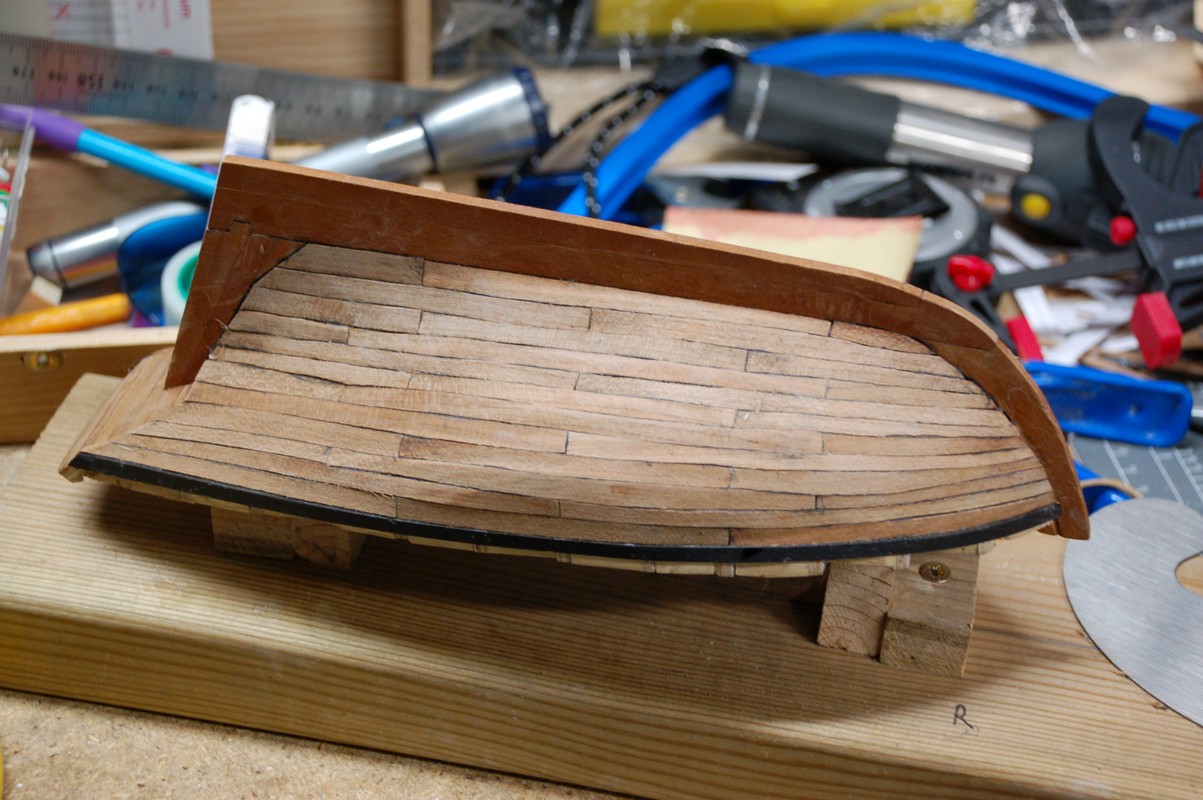
After the sanding i gave the hull a coating of oil.
I'm really happy with the result.

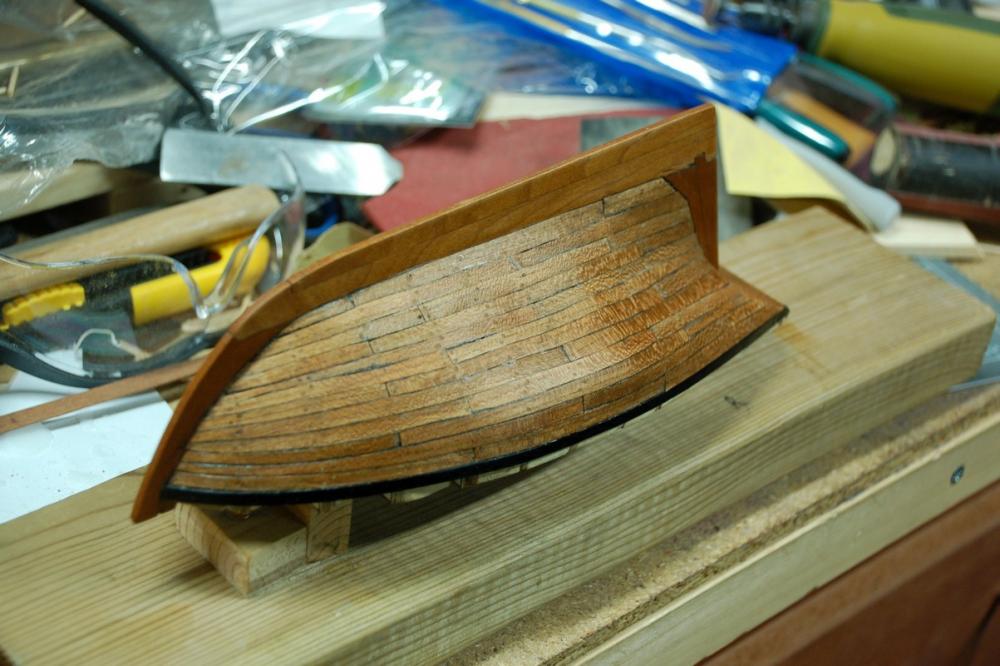
The treenails became darker with the oil. Much better now.
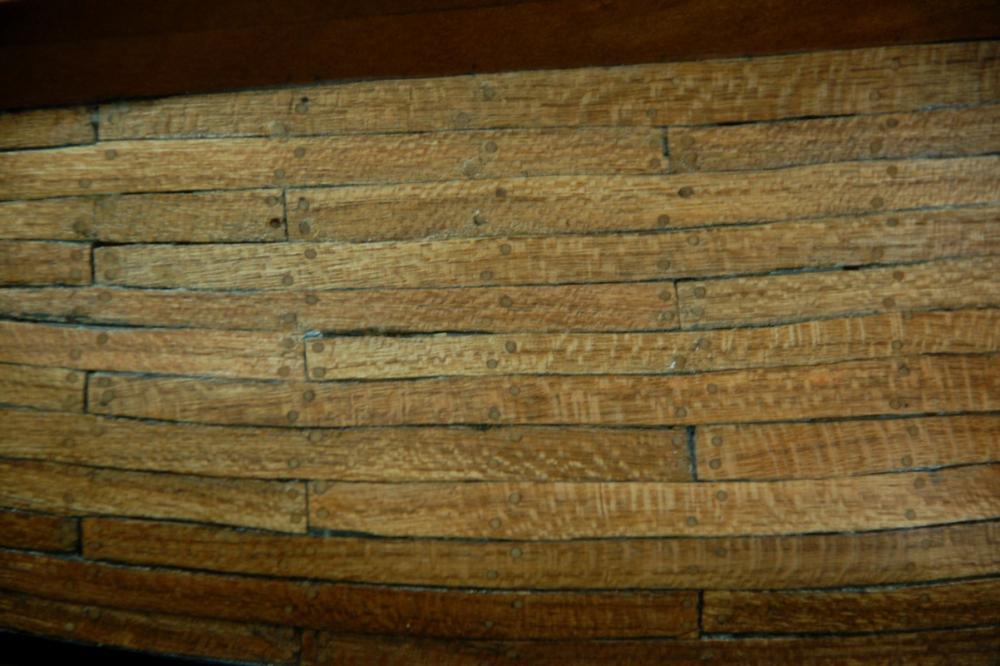
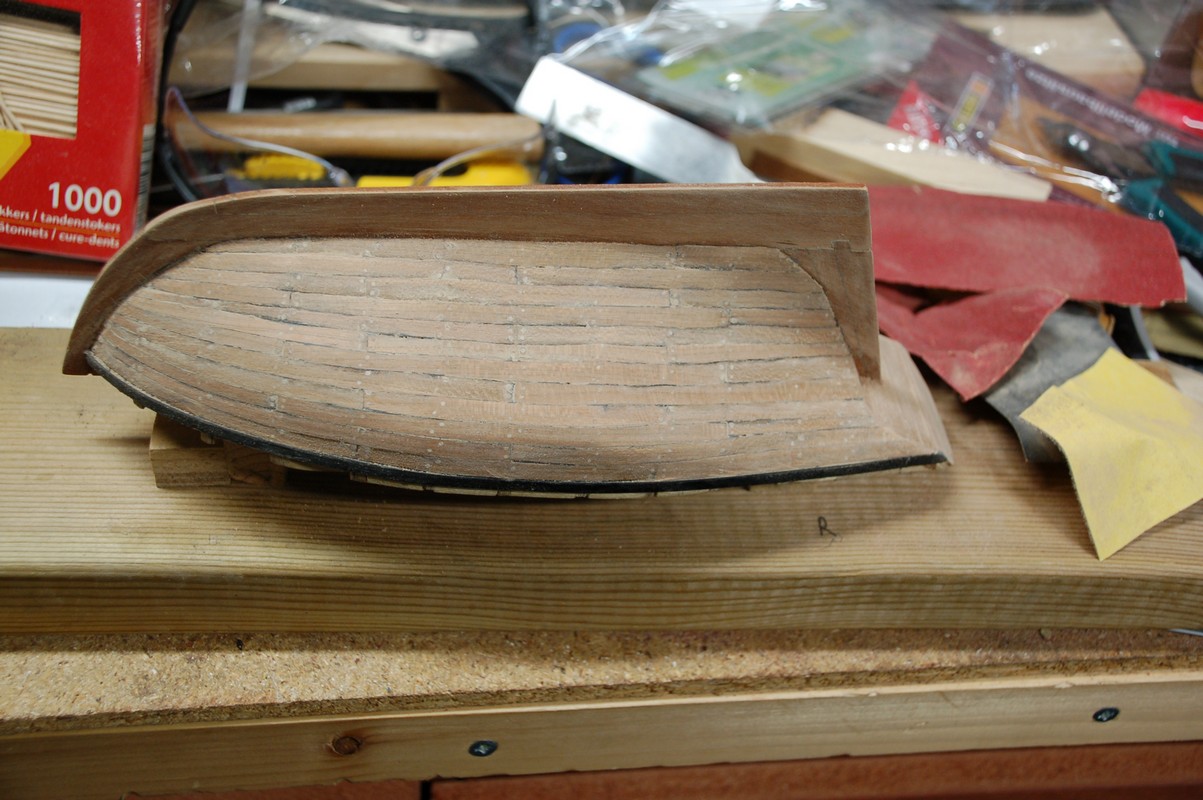
The planking is far from perfect. But it's better then it was before...
And for once i won't have to paint the hull to hide the planking job.
-
-
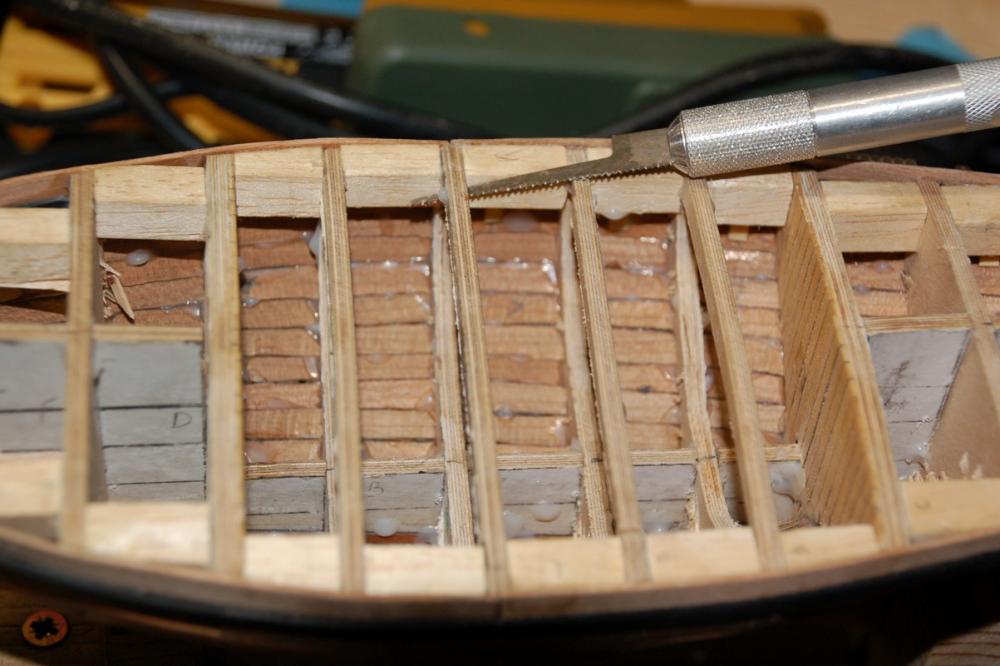
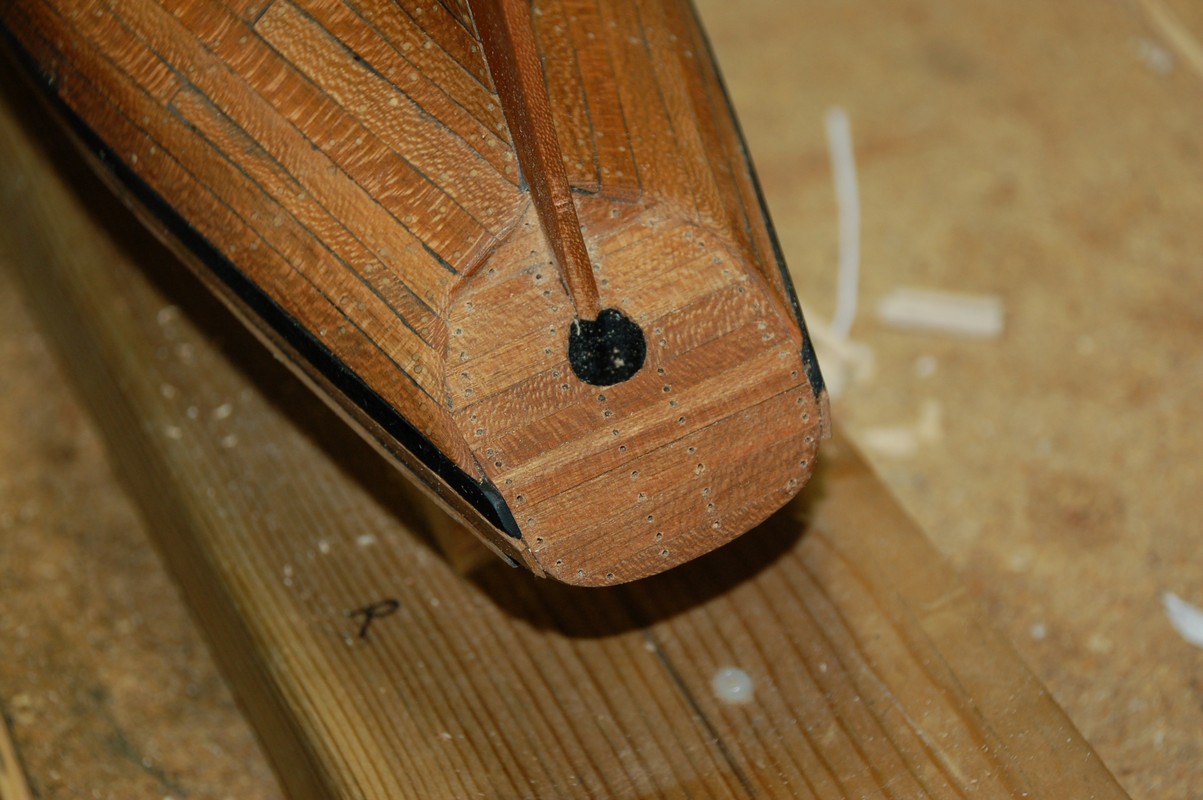
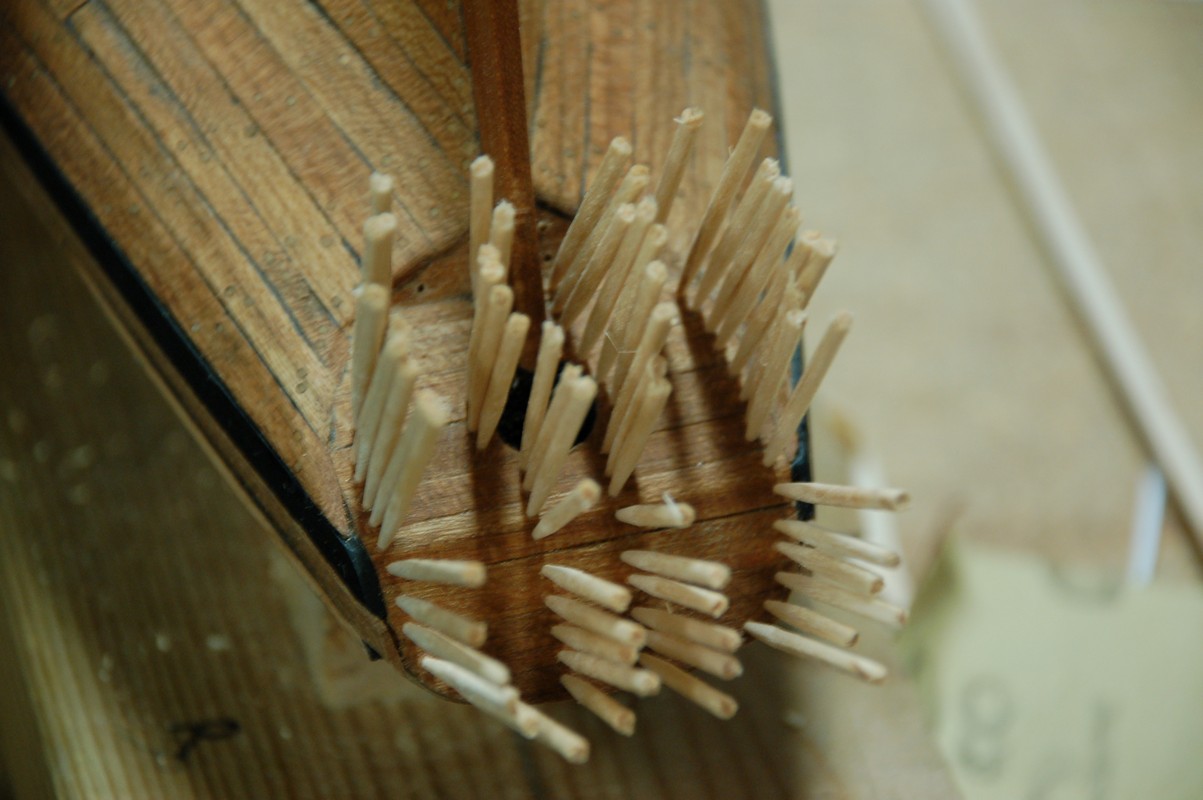
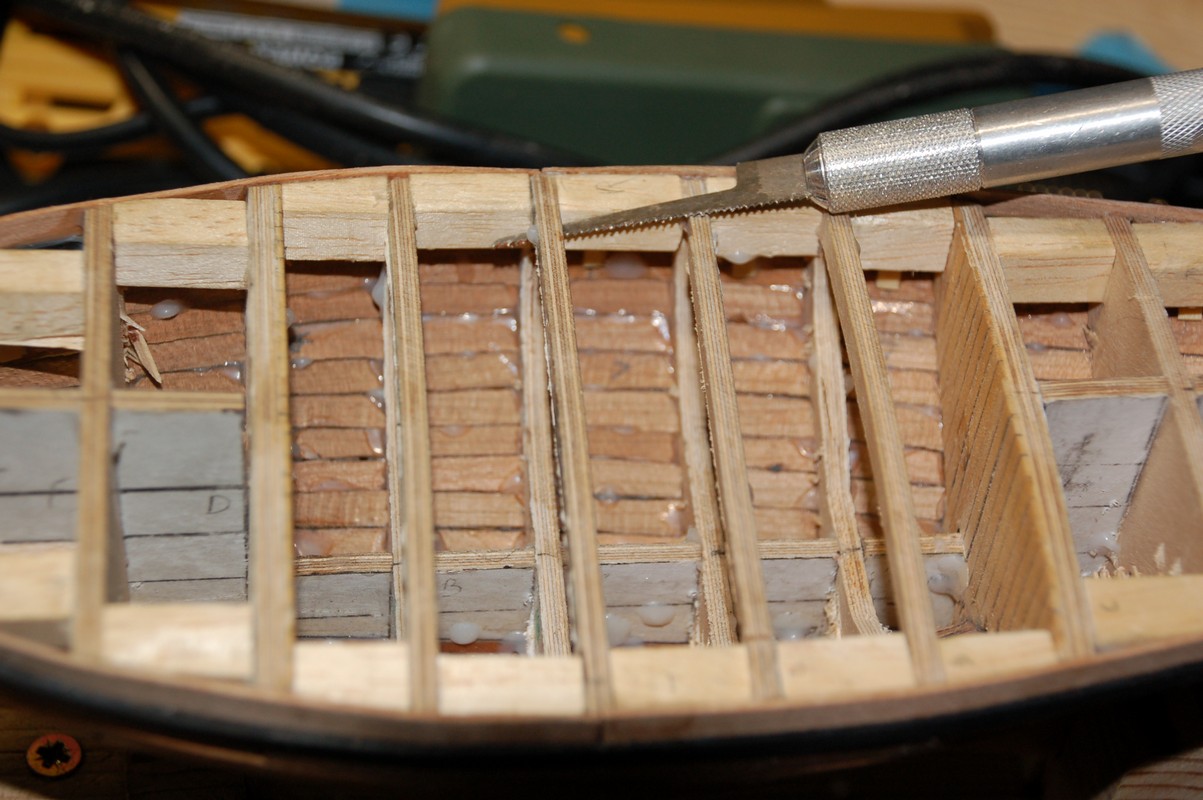
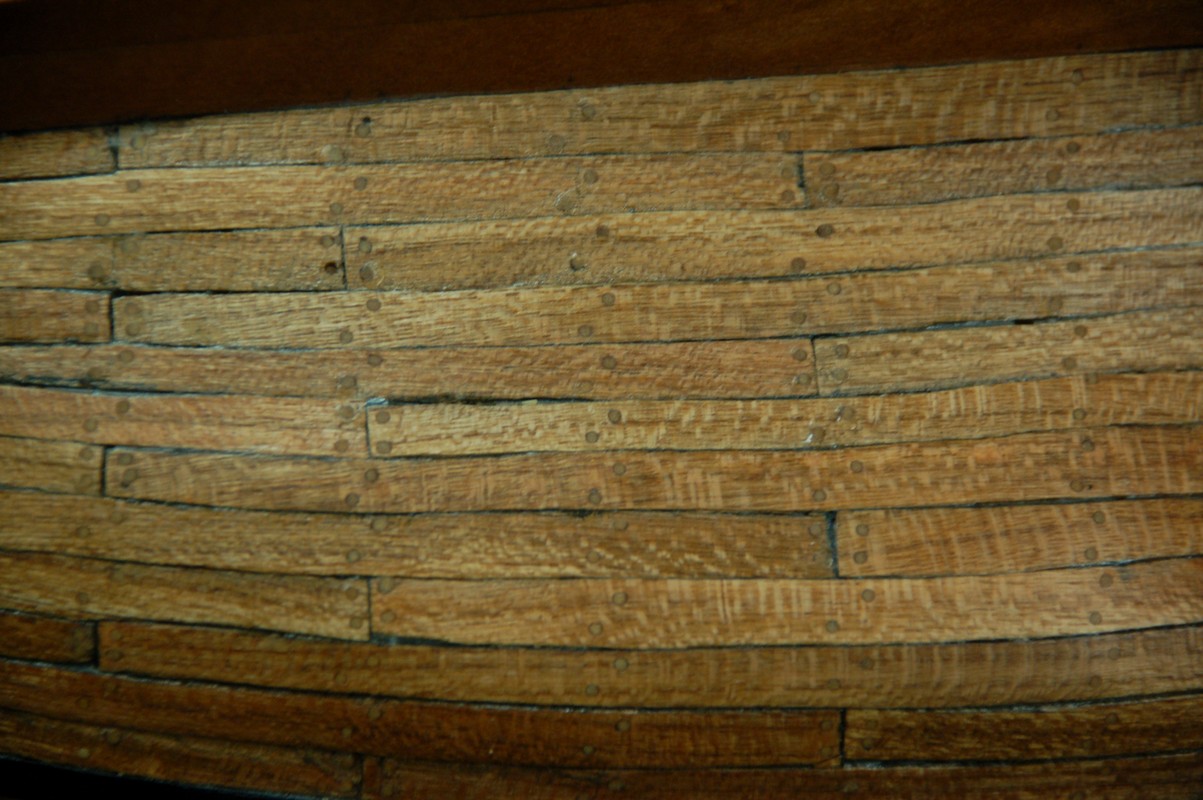
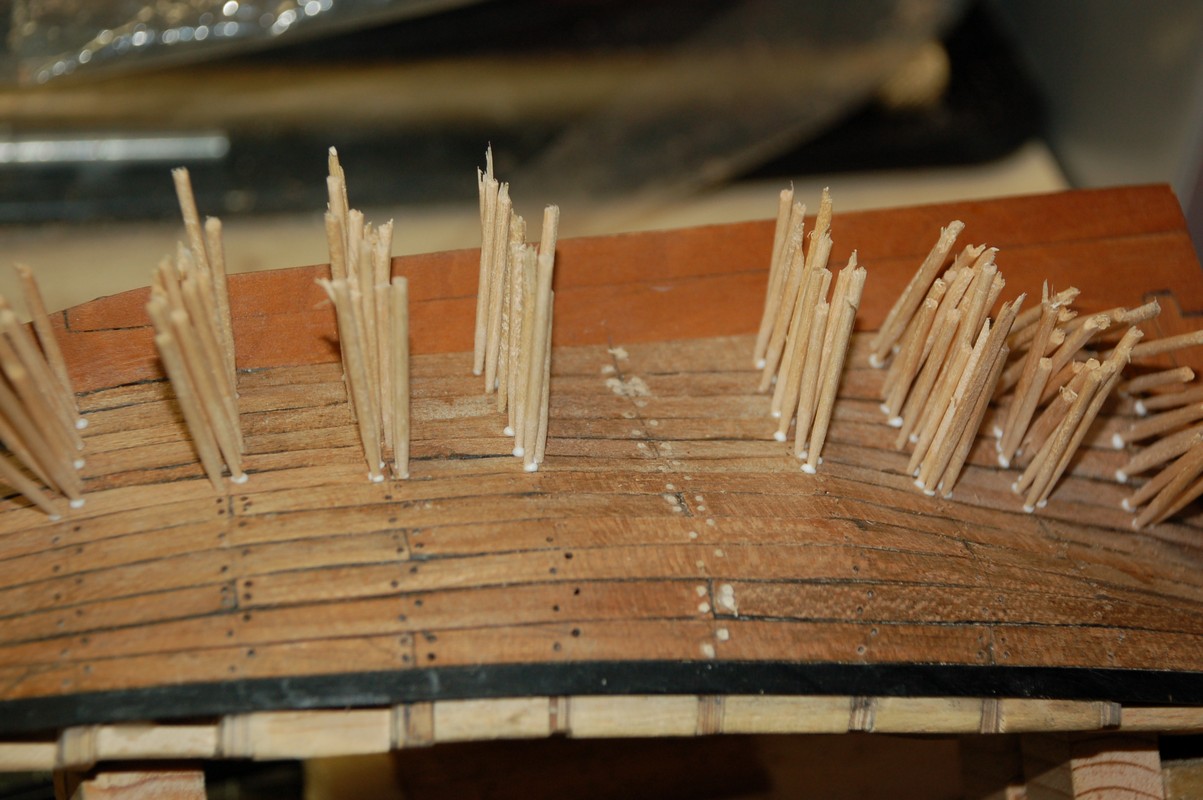
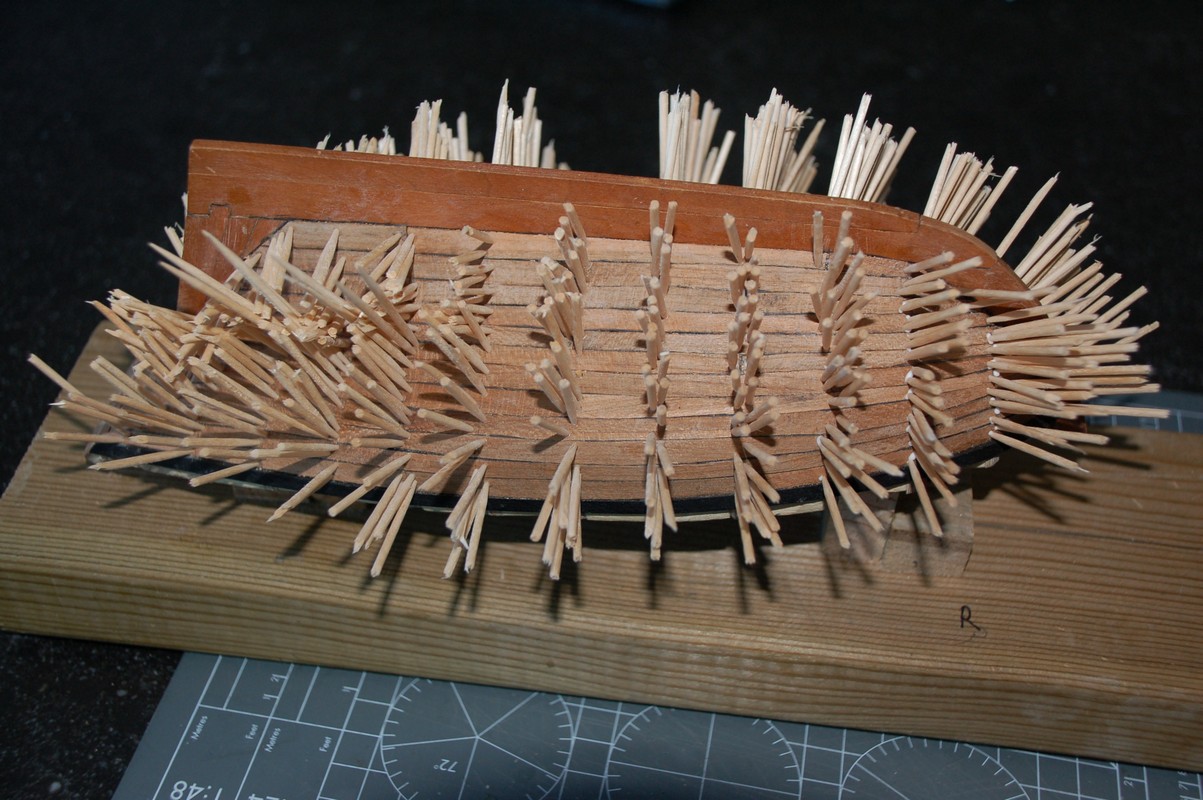
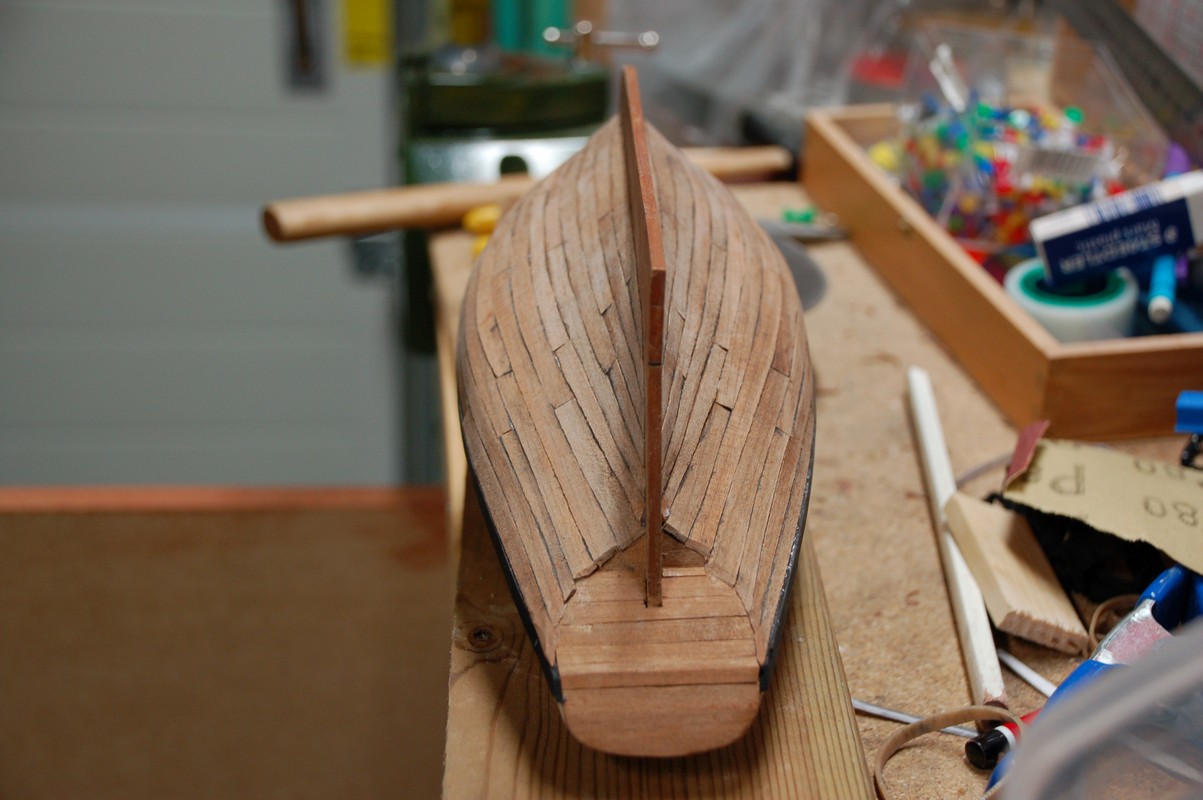
I've drilled the holes for the trunneling. I first marked the spots with a pencil, then i made a dent on each hole. I wanted to make sure the drill didn't wander off while drilling the holes.
Then i filled the holes with a dab of glue and a toothpick.
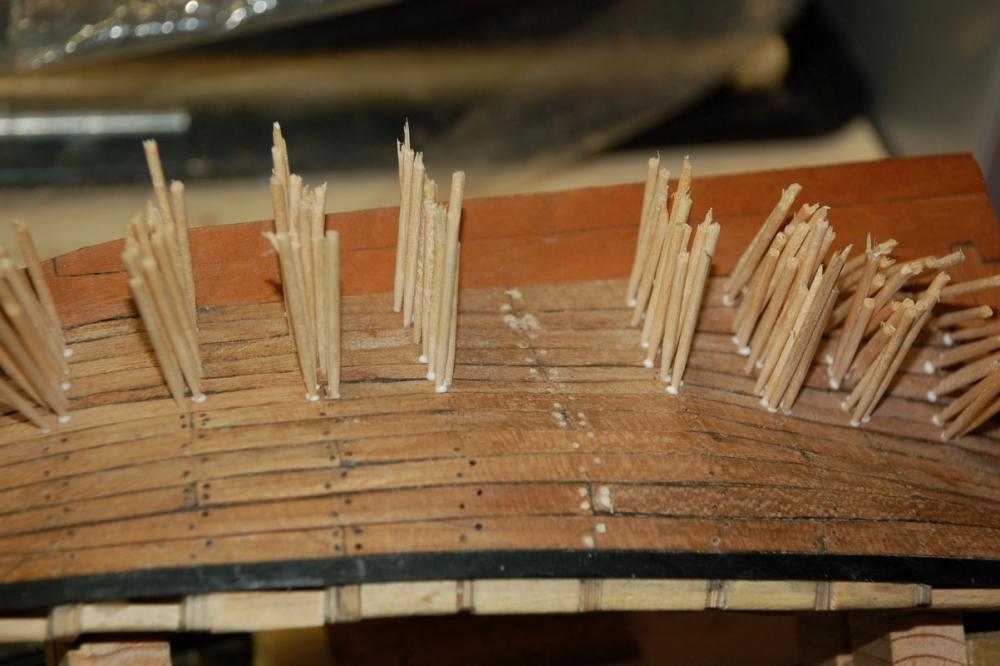
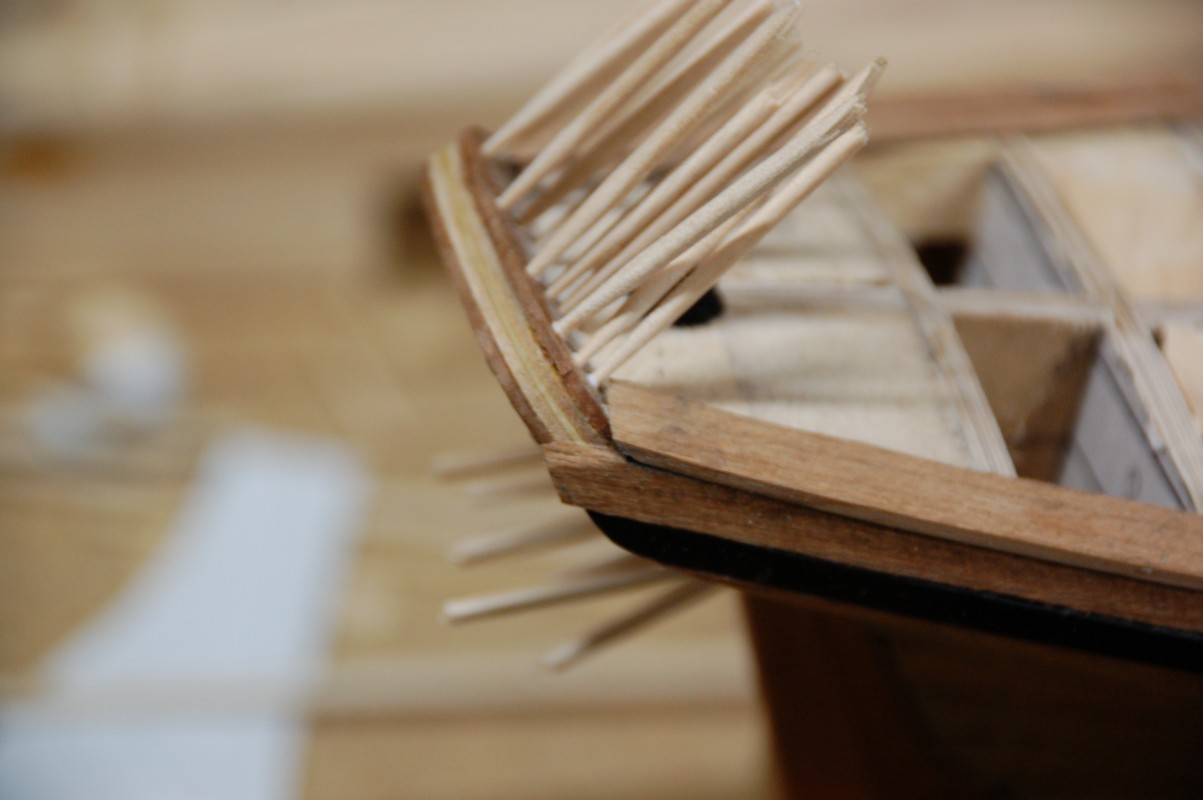
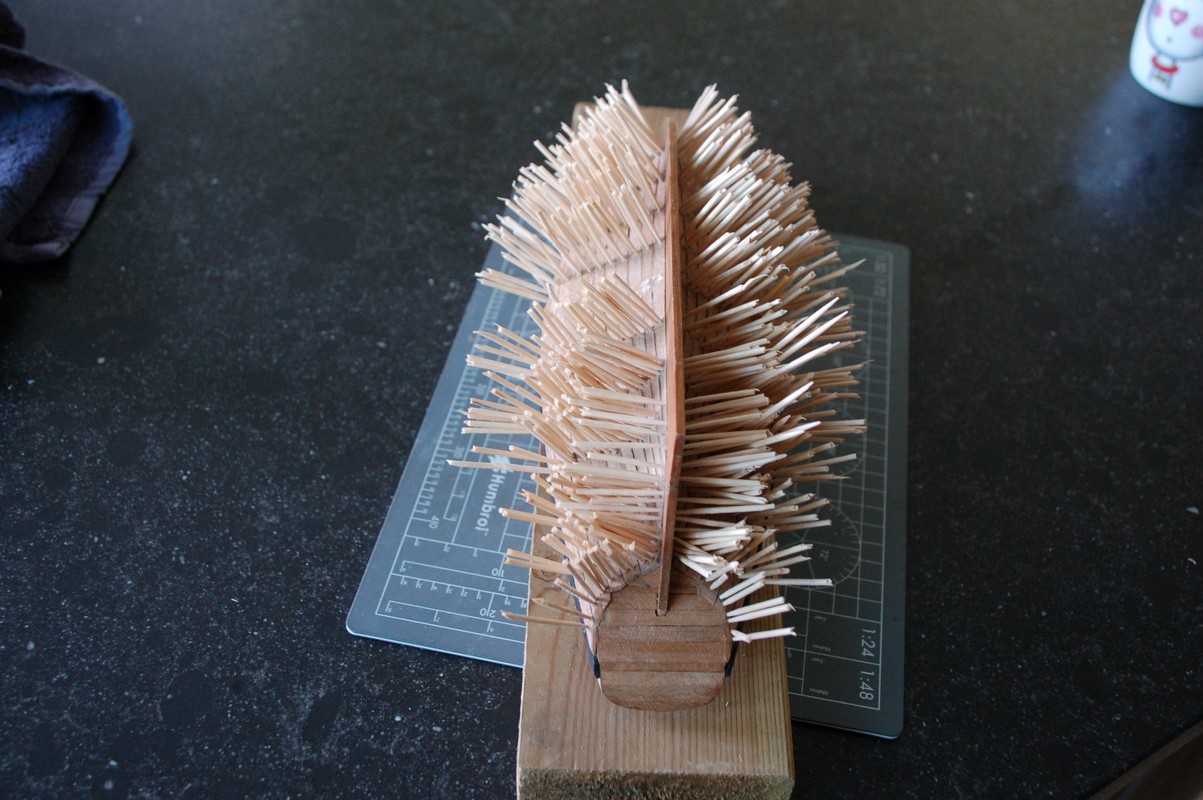
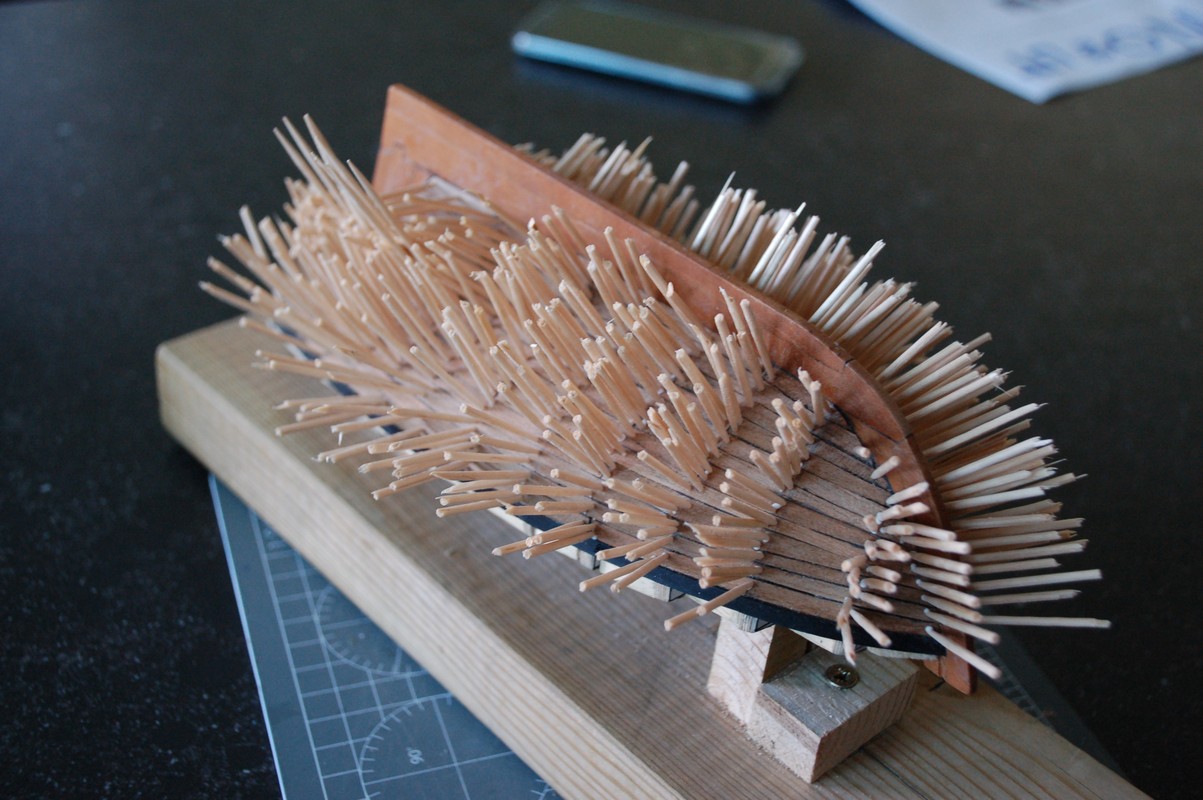
And slowly my little boat changed into a porcupine.
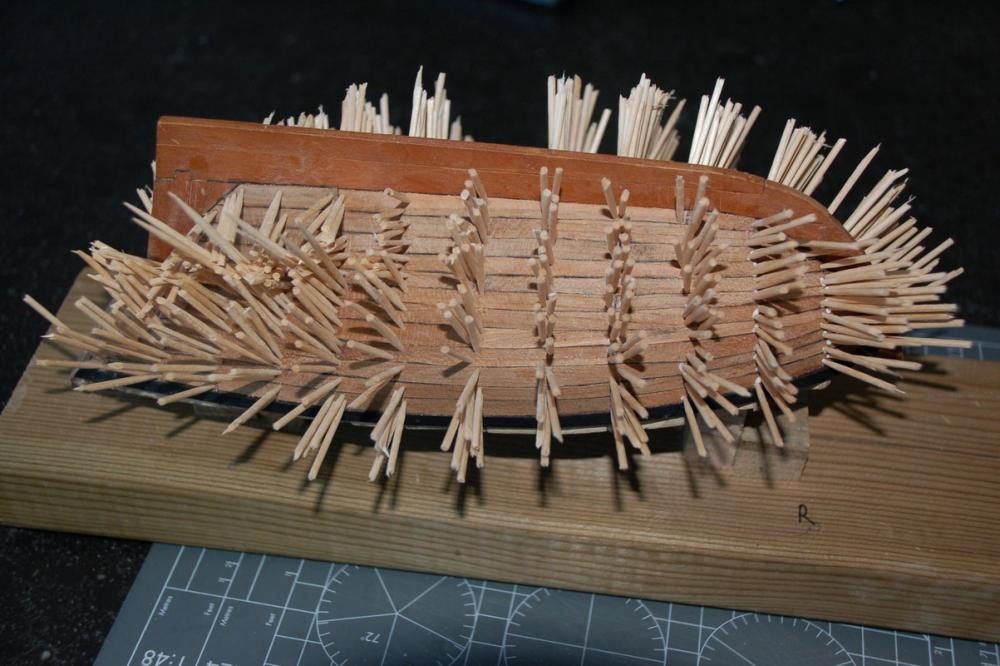
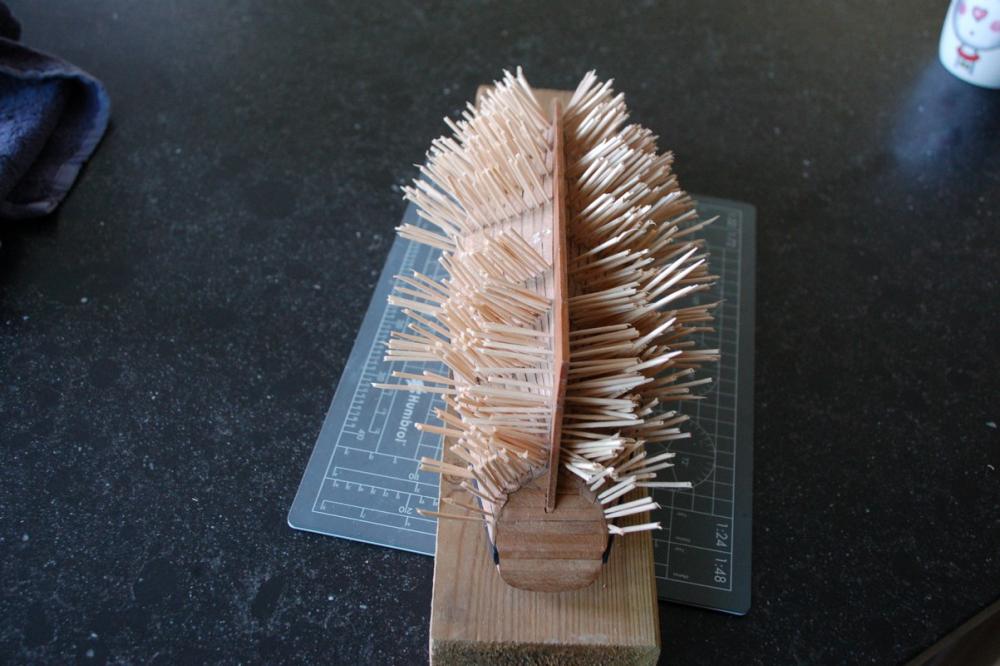

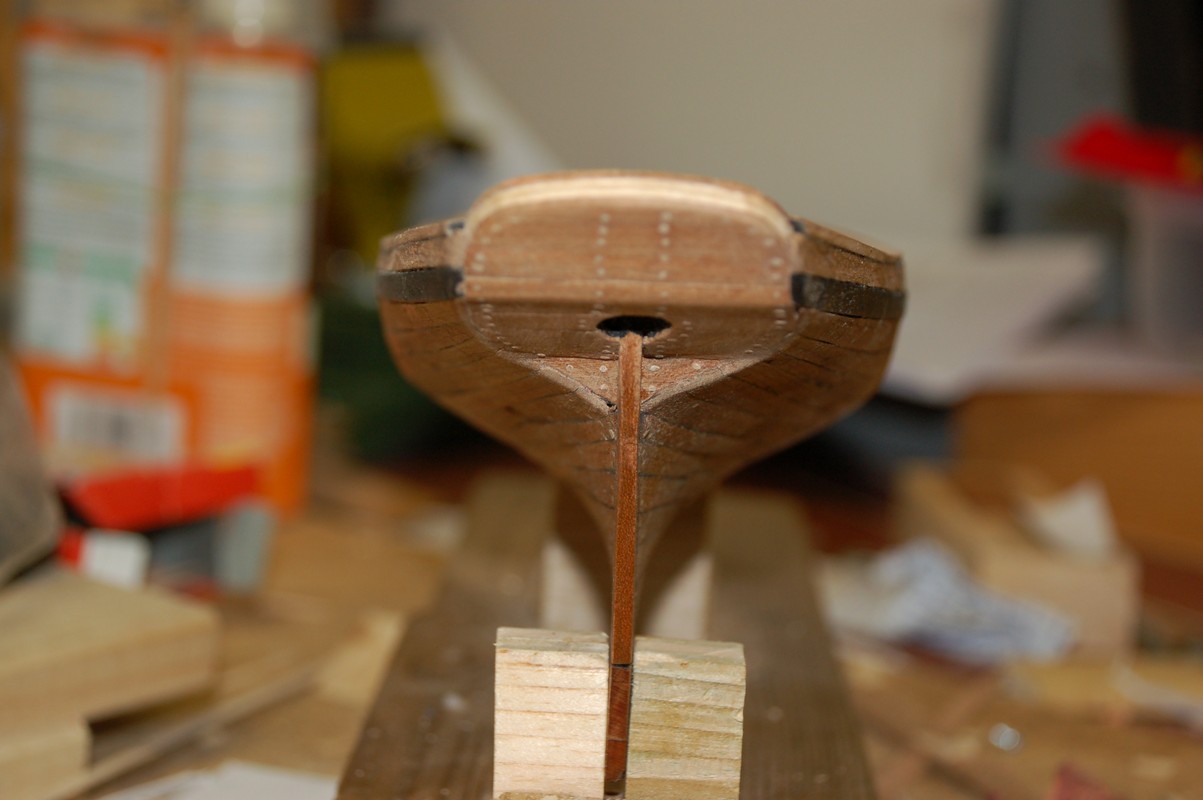
The day after i used a flush cutter to cut the toothpicks.
Let the sanding begin...
-
-
-
-
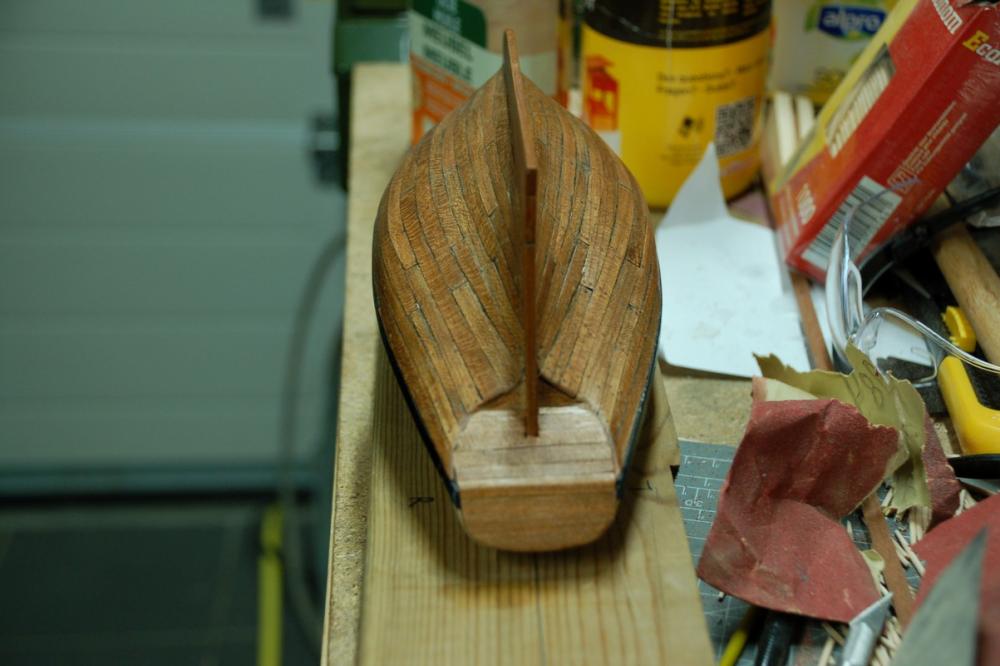
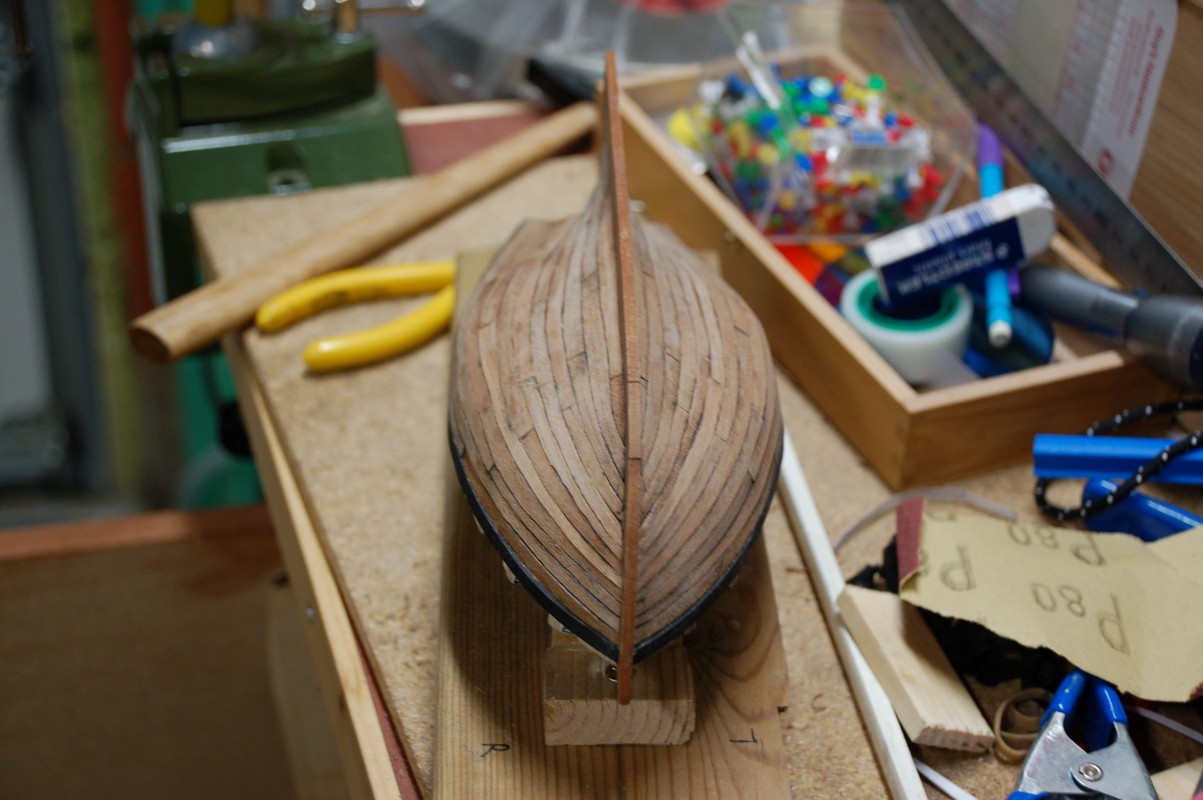
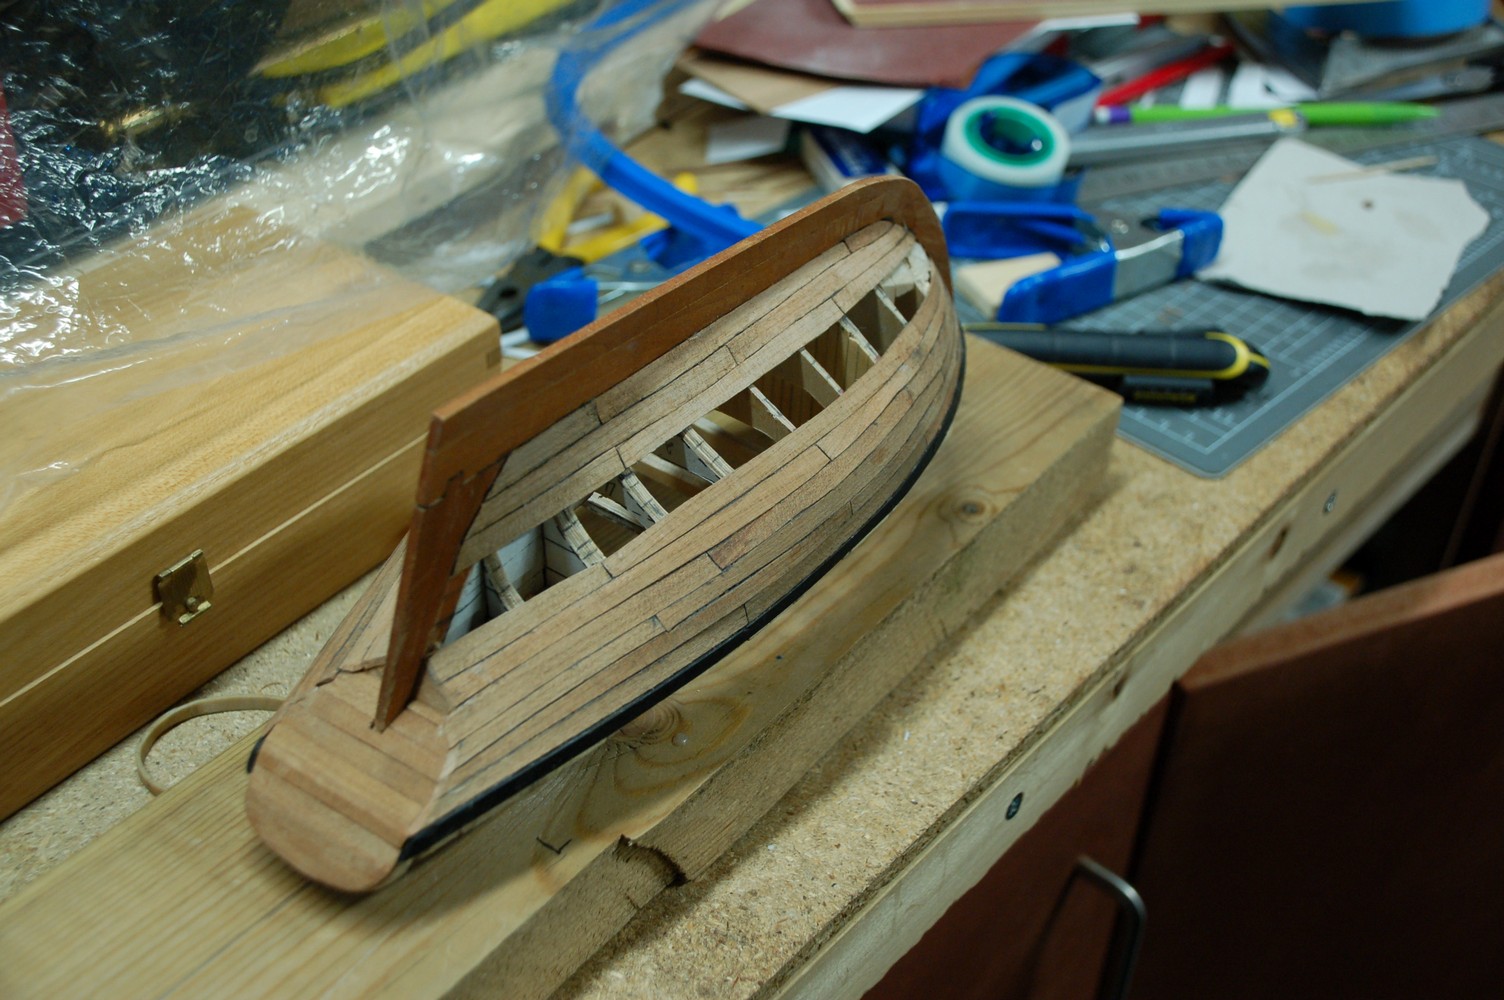
I'm up till the last plank on either side.I did a first try for a plank on that last row, but i had to throw it away.I thought it was going to be easy to fill that space up with a plank.
 And I really should clean up my working table.
- jct, BLACK VIKING, Omega1234 and 6 others
-
9
-
-
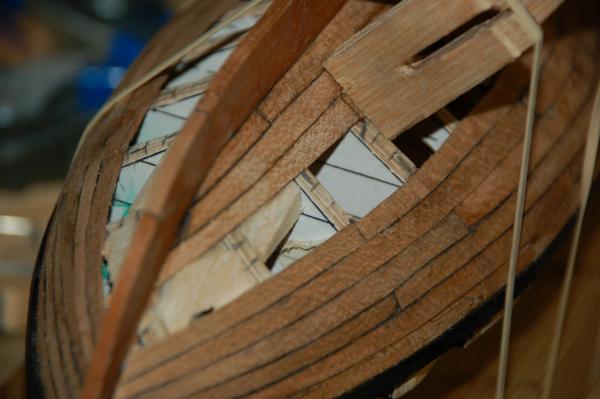
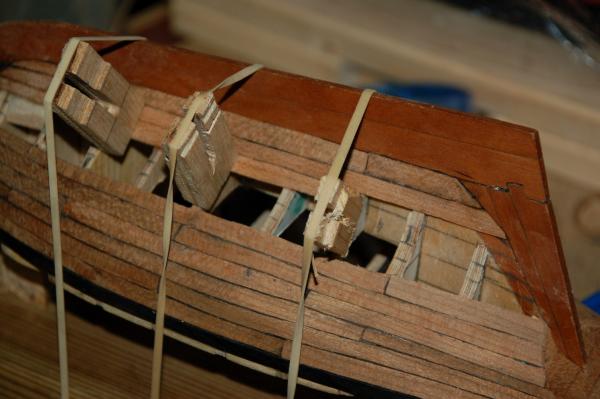
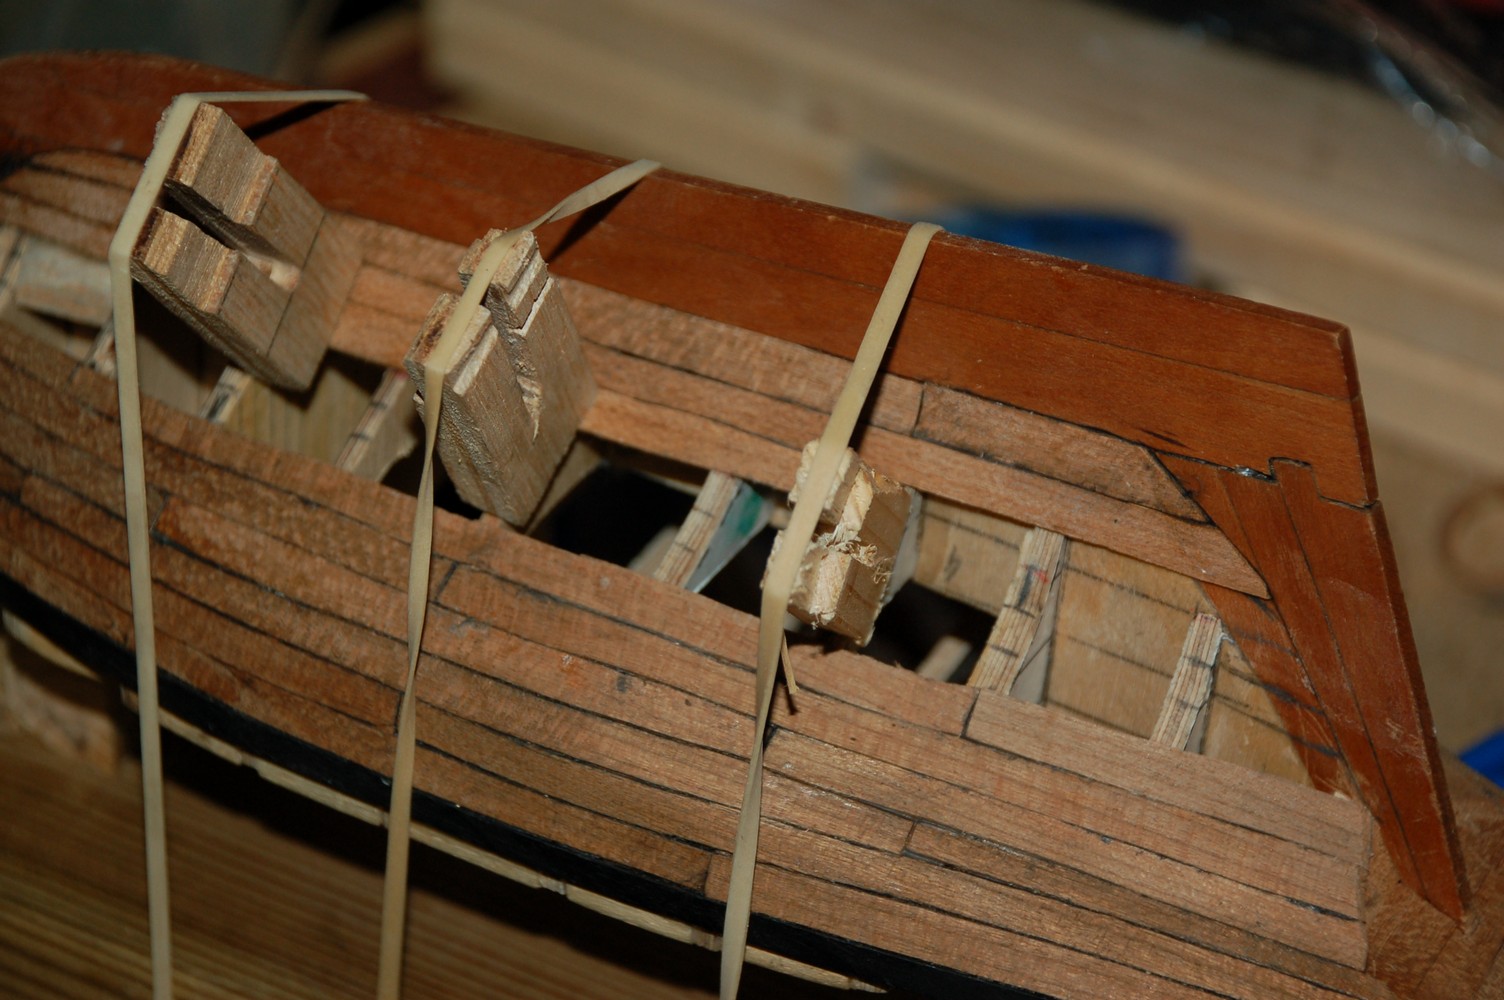
This brings the log up to date, i started on the third belt from the keel up now. The garboard strake has been put on on both sides.And i'm now finishing the the third belt on starboard side.Using rubber bands and wood pieces i was able to put the pressure on the plank where it is need to remain in its place till the glue has dried.
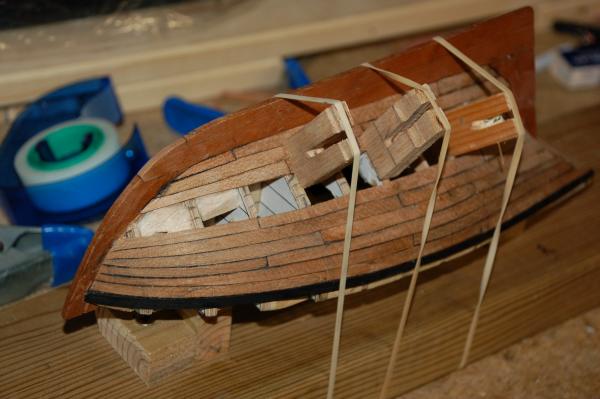
 The garboard strake on the port side
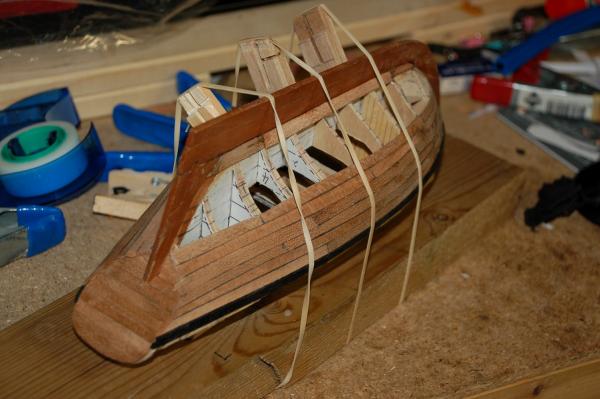
-
-
Time to continue on the Corsair now that my President is finished.First thing is catching up with the log, I've some old photos from the planking.I continued with the second belt of the planking. This one already went quicker and smoother then the first belt.I'm getting the hang of it. My planking is not perfect though, the planks don't look to straight. There's a lot of area to improve
One thing I've found out that it is easier to make first a template for the plank on a piece of card. Then afterwards you can immediately see if it fits correctly to the prior plank.Another benefit of making a card template first, you can use it to guide the knife on the wood along its edges.
 Both sides glued on.
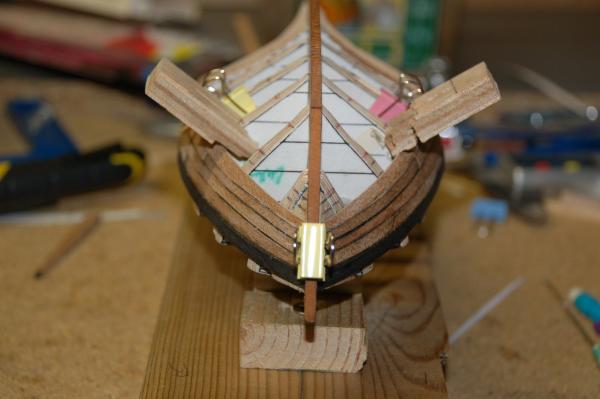 Second belt finished.
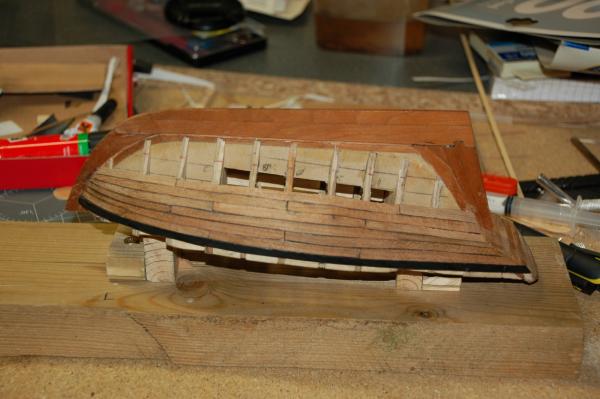

- DORIS, michael mott, russ and 4 others
-
7
-
-
-
Hey S.Coleman. I hope you'll have lots of fun on this model.
I don't think the scale is really right on this one for it is indeed a bit small.
And yes, I think, Sergal is the same company as Mantua. Same goes Panart as well i think.
The colors are of my choosing.
-
Bravo! This is not longer shipmodelling but a work of art! So beautiful!


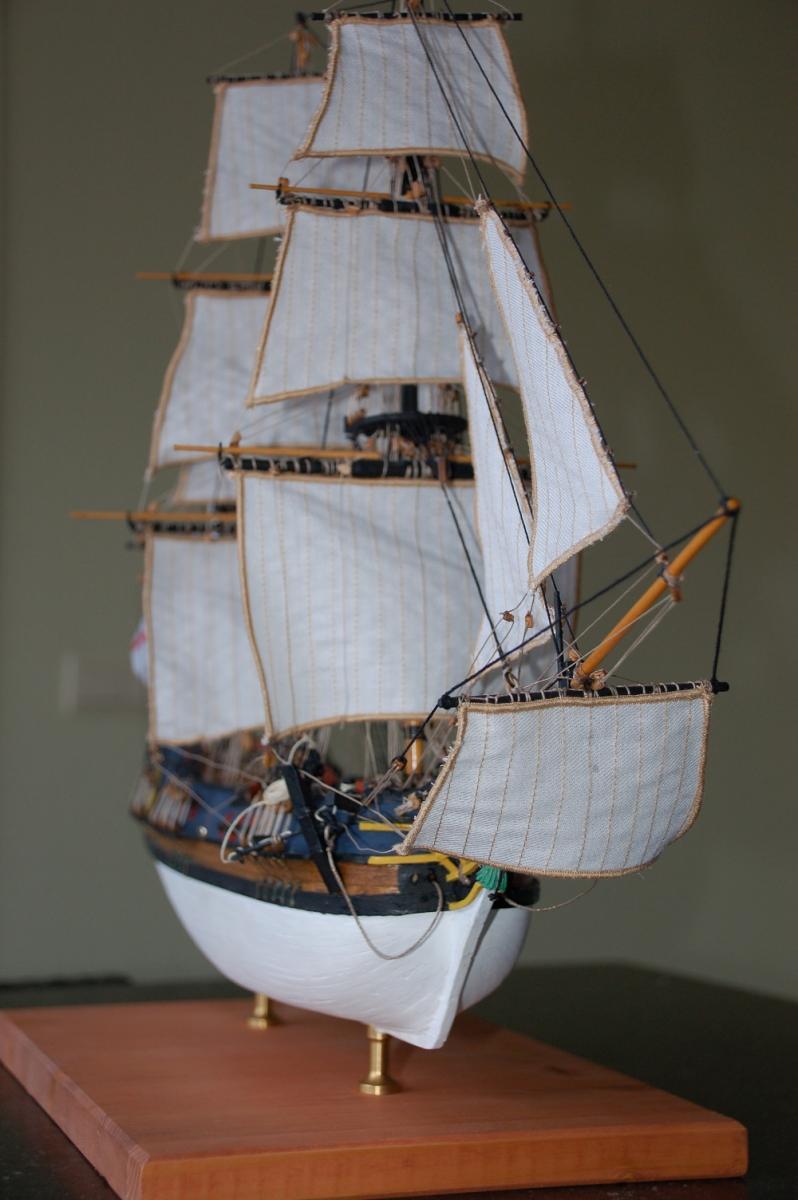

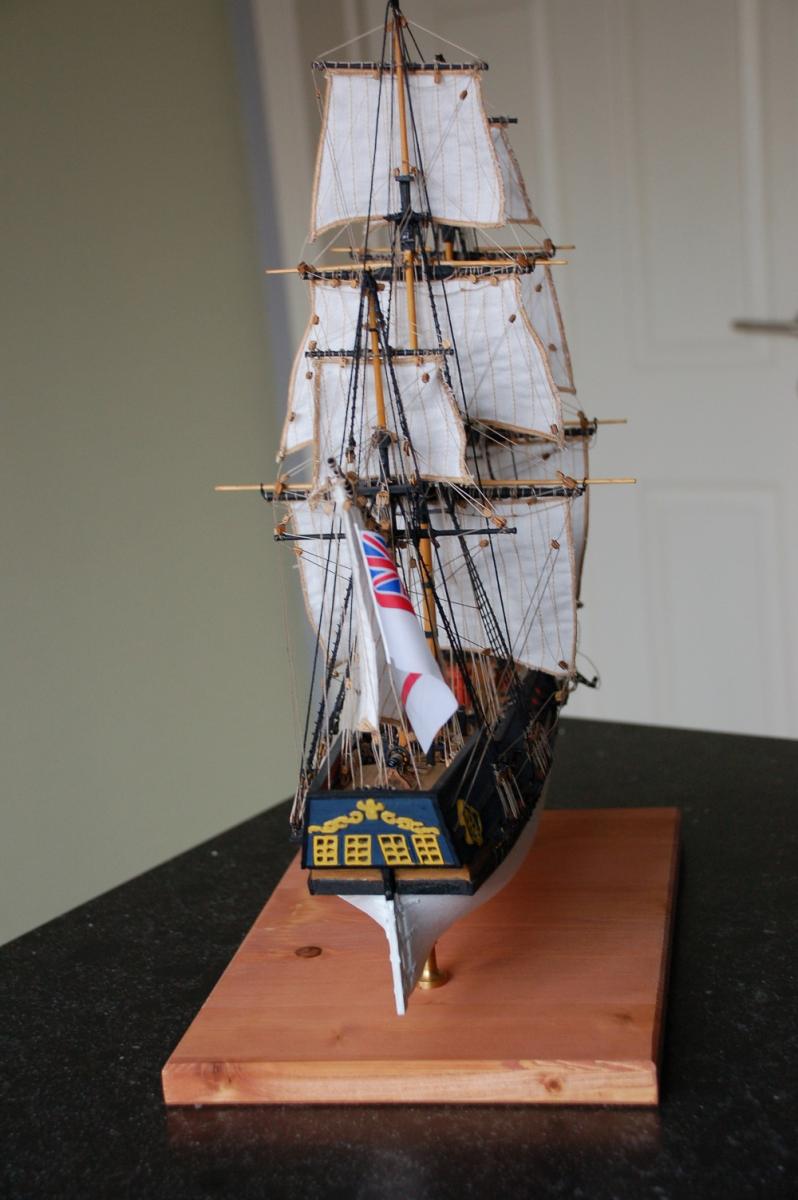

Corsair by WBlakeny - FINISHED - 1:32 - SMALL - Bermuda boat - First scratch build
in - Build logs for subjects built 1801 - 1850
Posted
Continuing planking the deck, now near the stern.