-
Posts
1,605 -
Joined
-
Last visited
Content Type
Profiles
Forums
Gallery
Events
Everything posted by vaddoc
-
Very nice Bill! Seems you had fun and learnt a lot. Good luck with your next project.
-
.thumb.jpg.6fd4c1b78768bb3efd745ab810936005.jpg)
What paint brushes to get?
vaddoc replied to Ed Gibbons's topic in Modeling tools and Workshop Equipment
System 3 brushes. Fantastic results with acrylic and enamel. -
.thumb.jpg.6fd4c1b78768bb3efd745ab810936005.jpg)
Wood Filler Advice
vaddoc replied to Ed Gibbons's topic in Painting, finishing and weathering products and techniques
Elmers colour changing filler is very good, my preferred filler. I tried osmo filler as well-very good, more liquid, dries much faster and comes in various colours. -
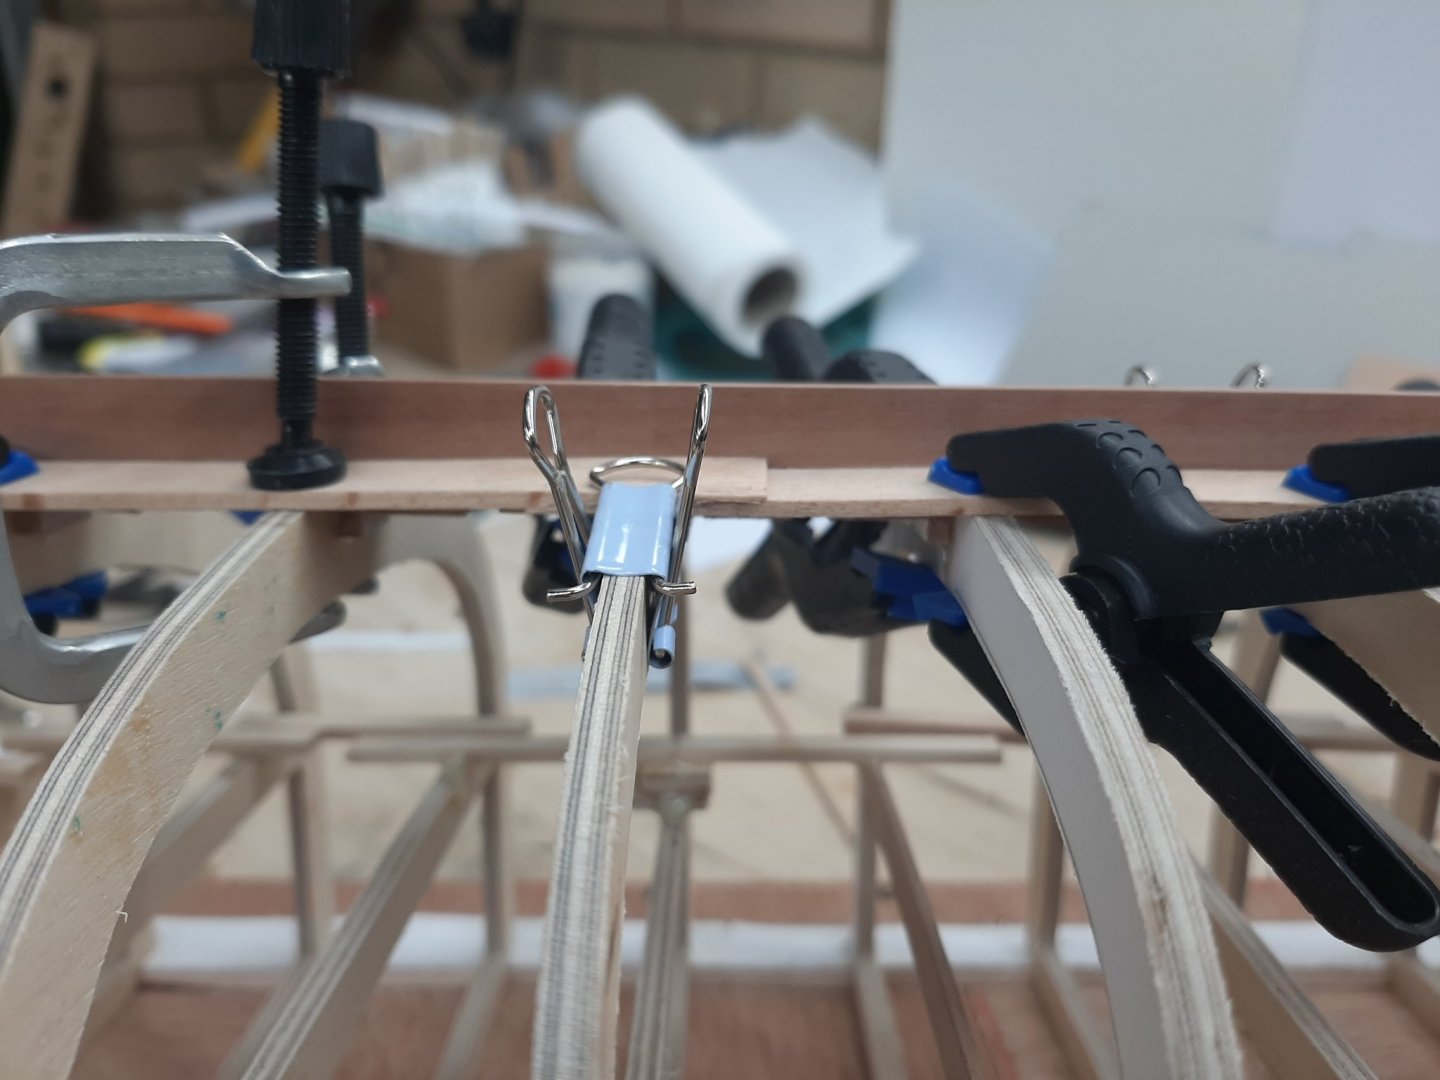
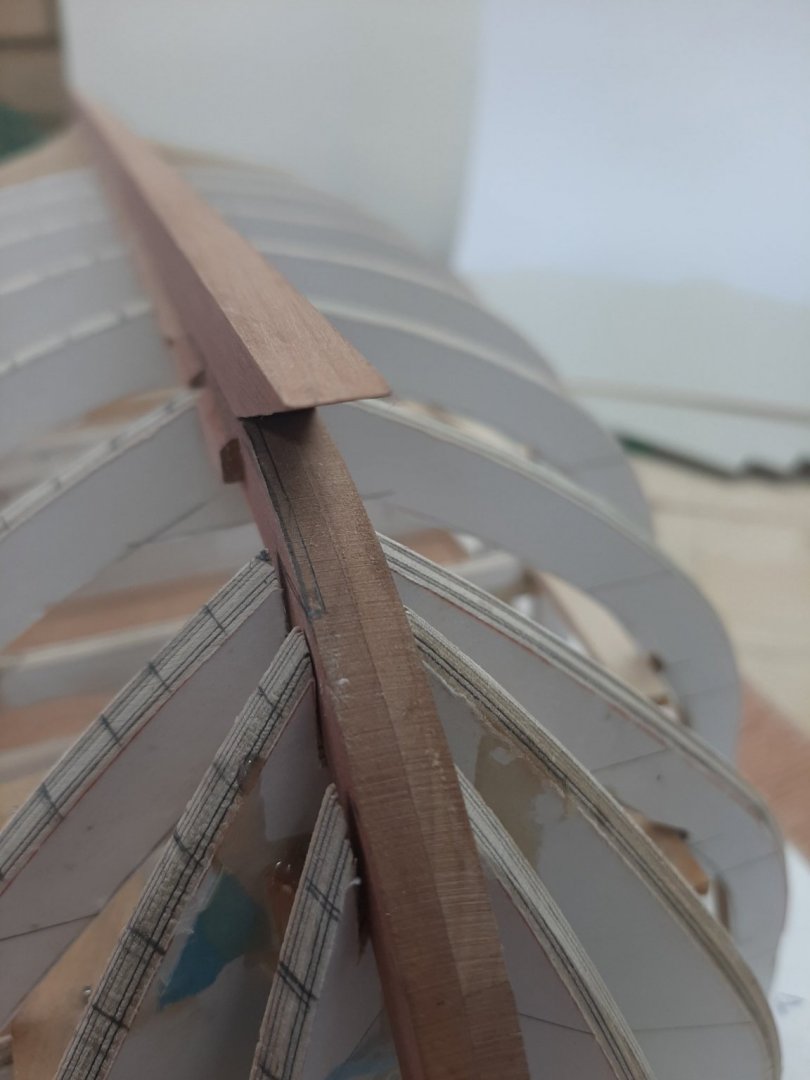
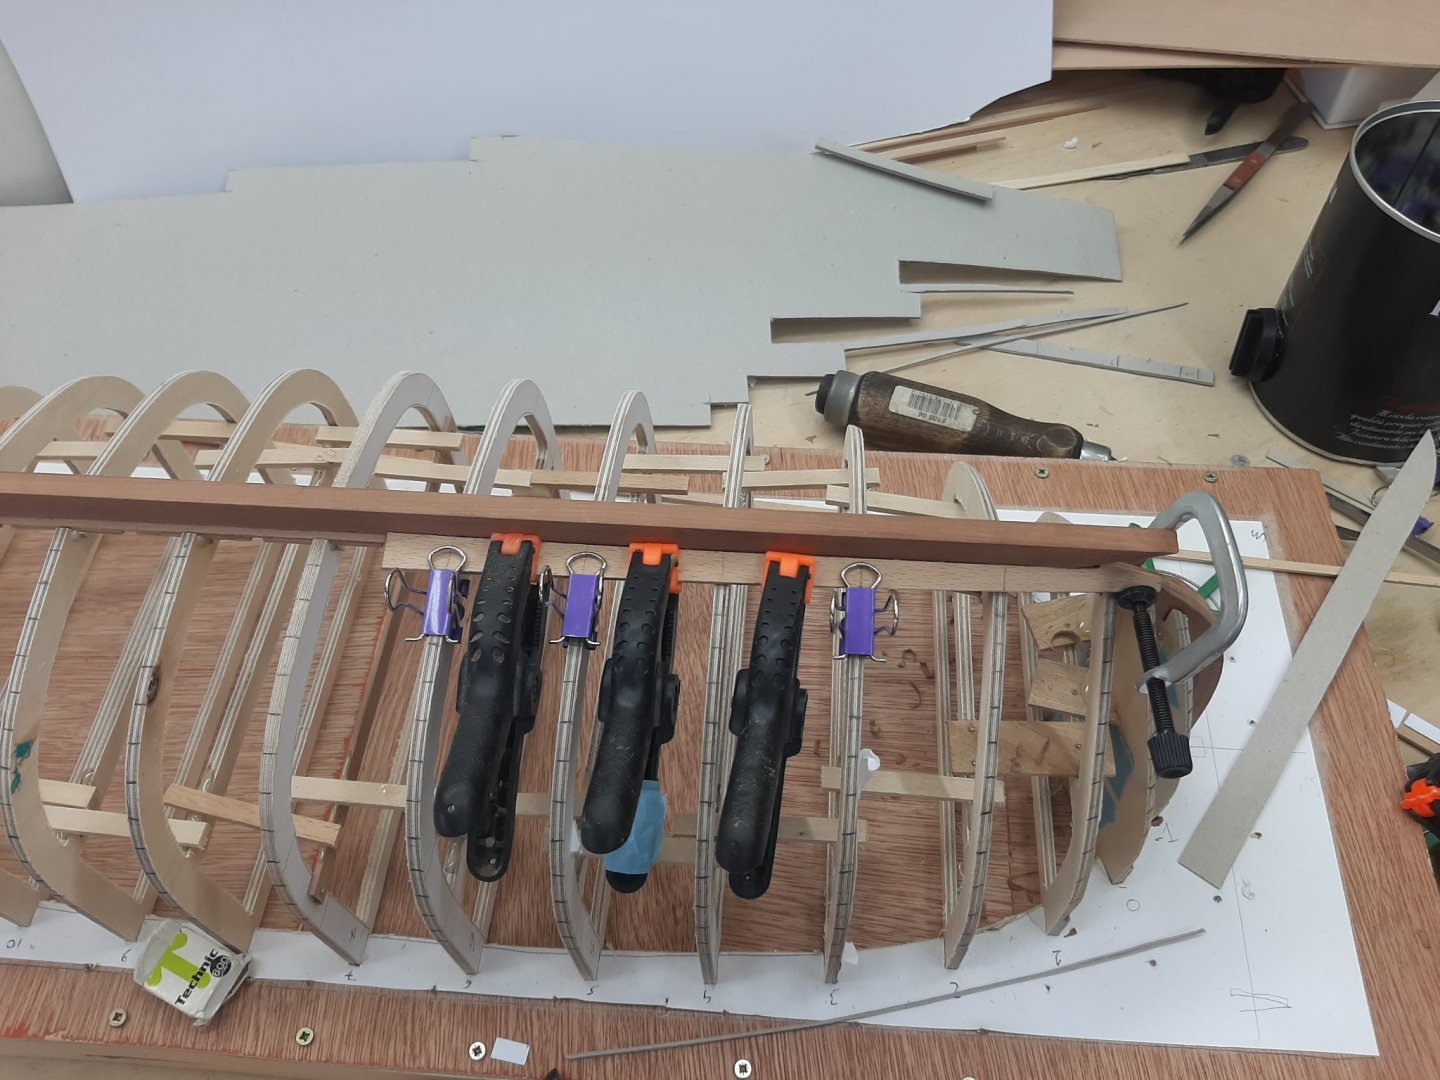
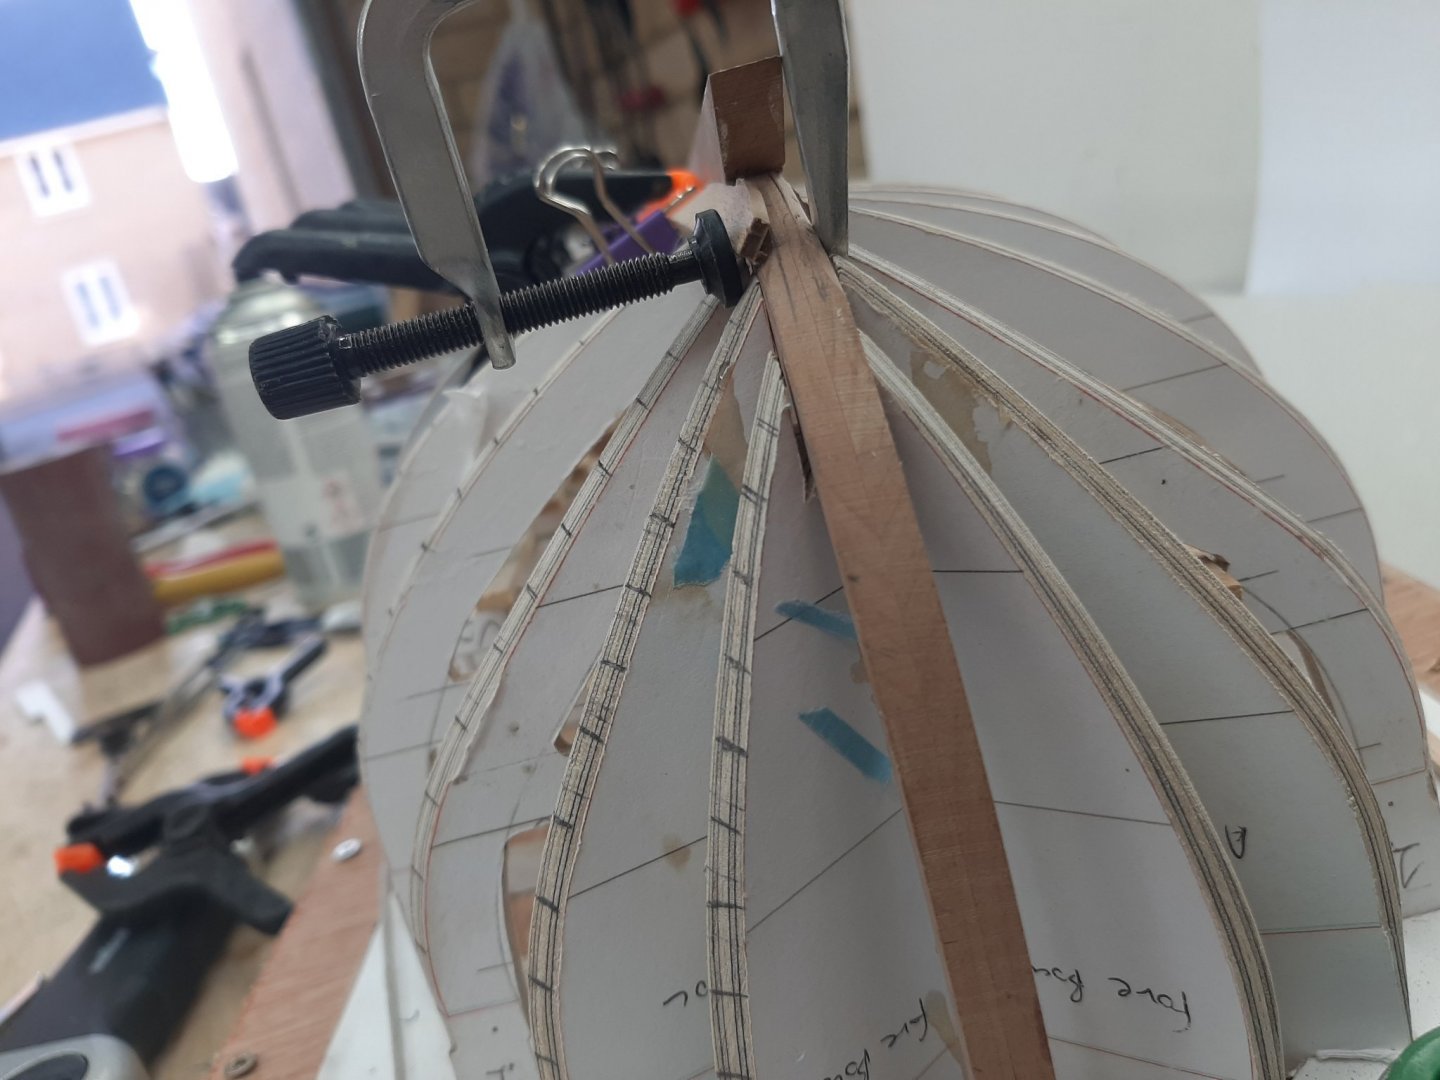
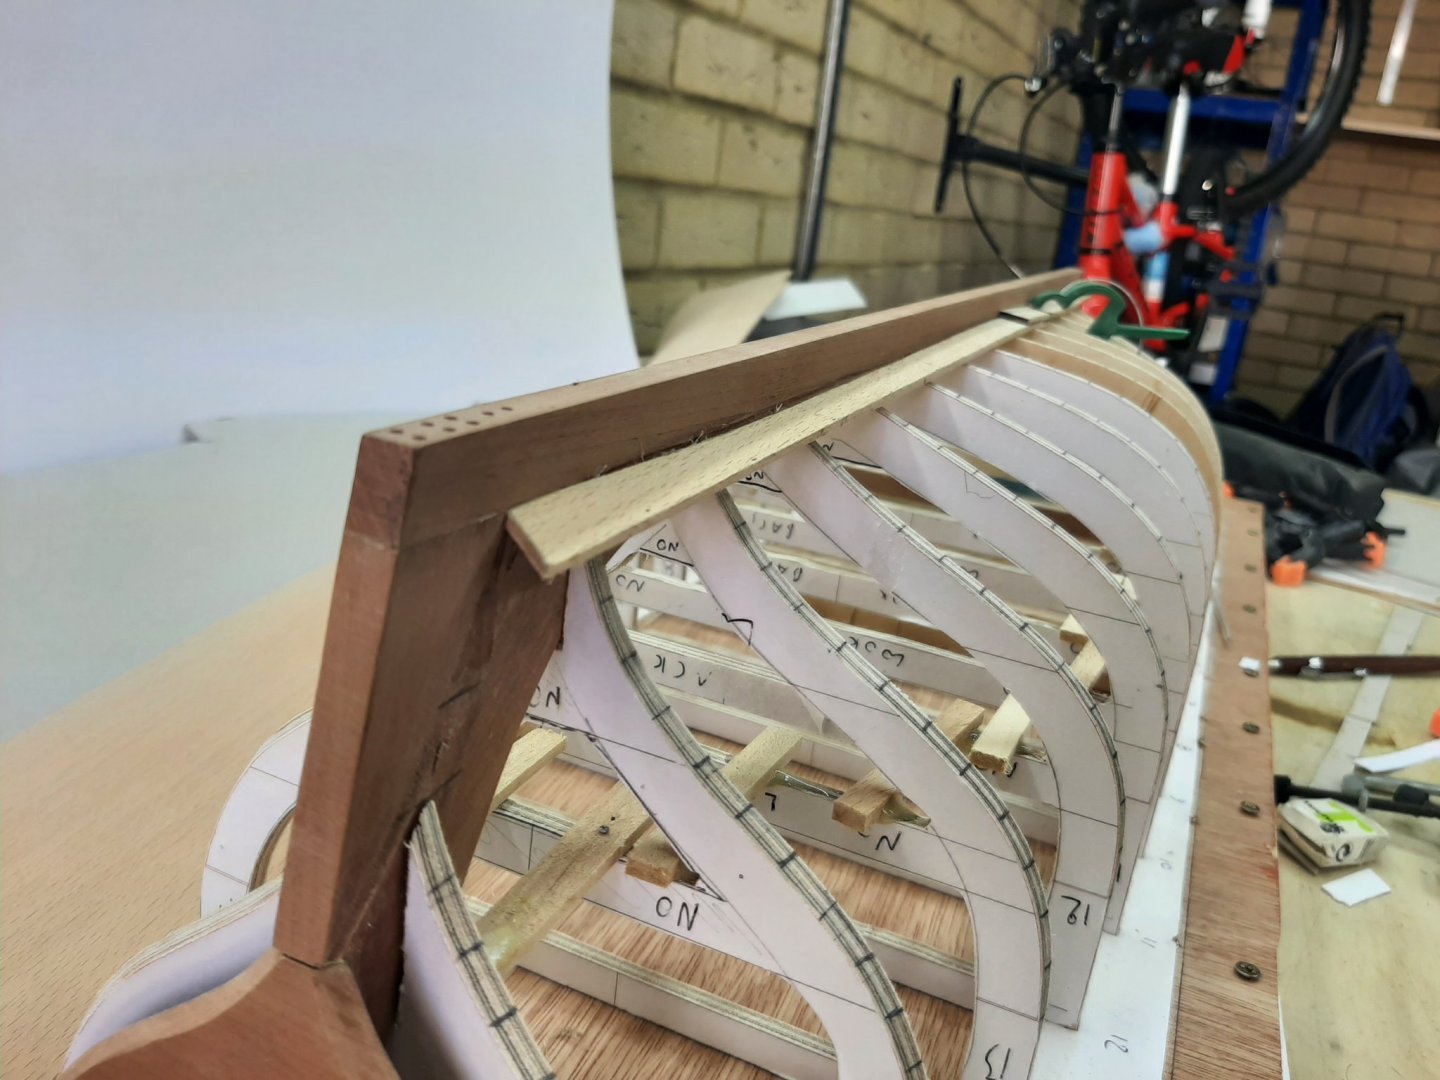
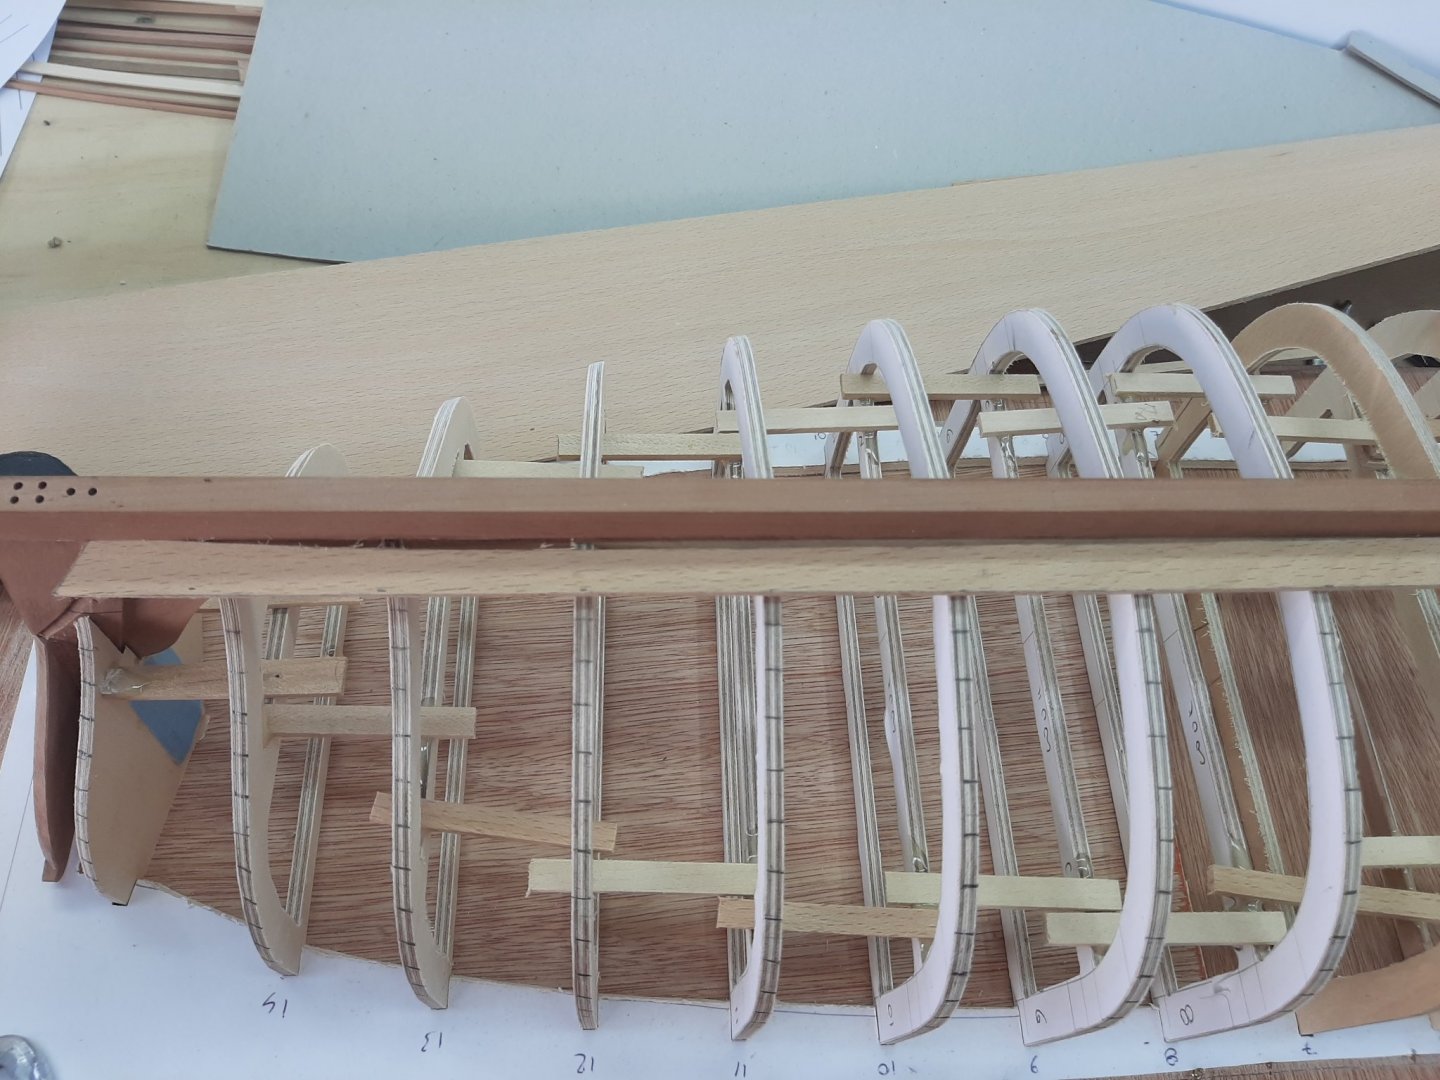
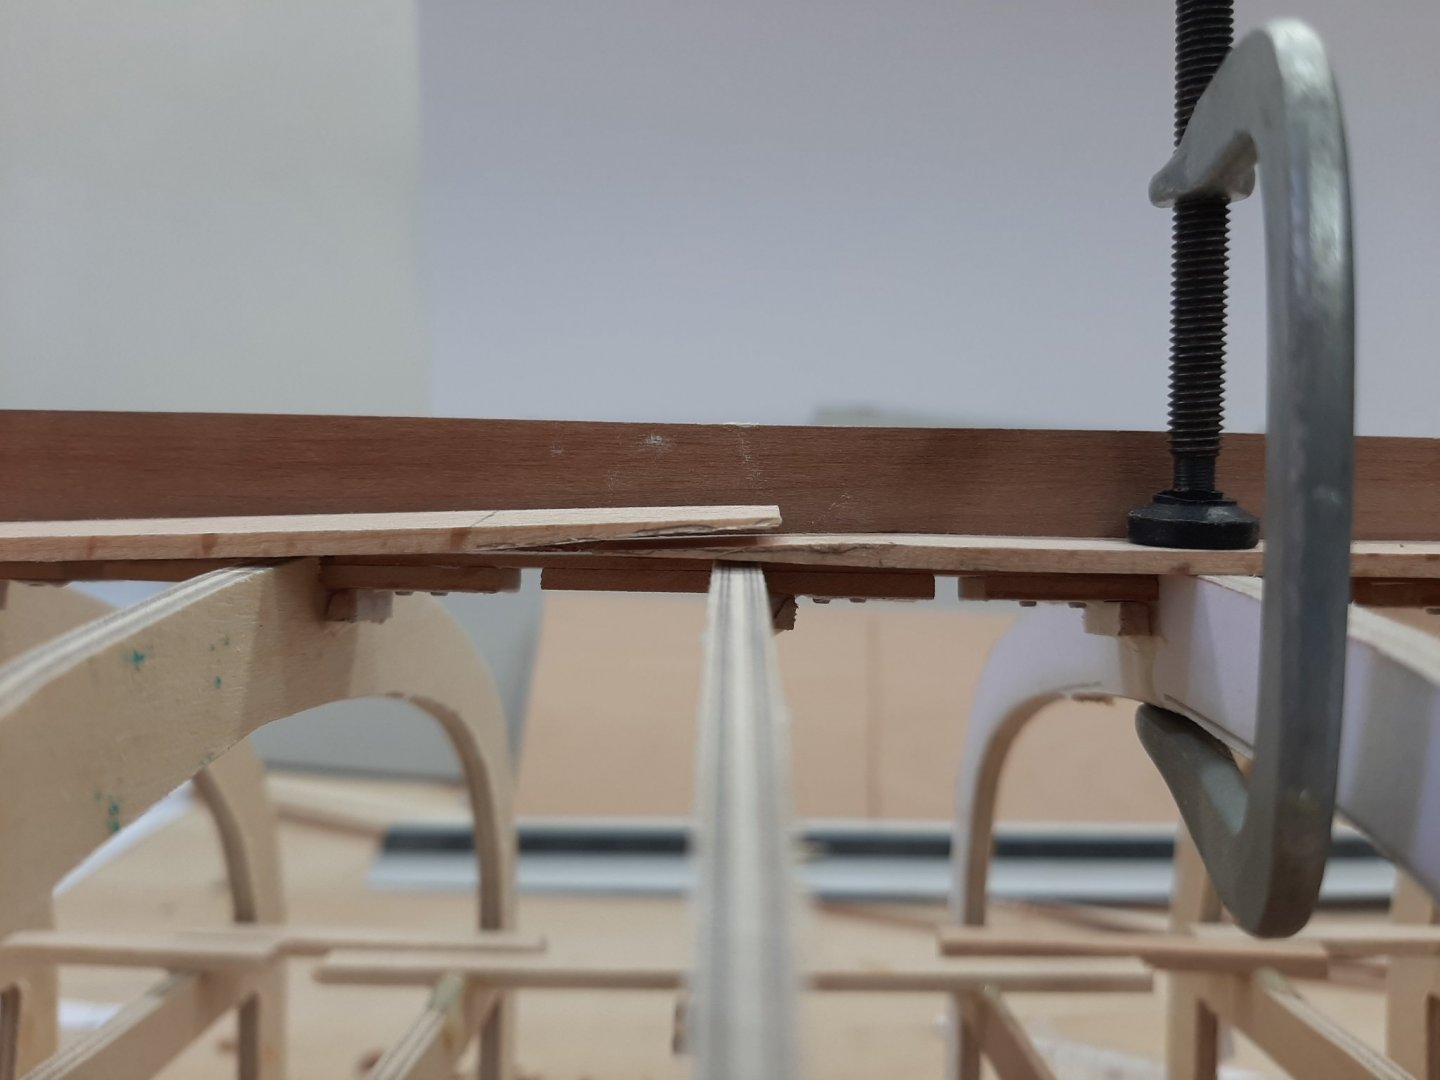
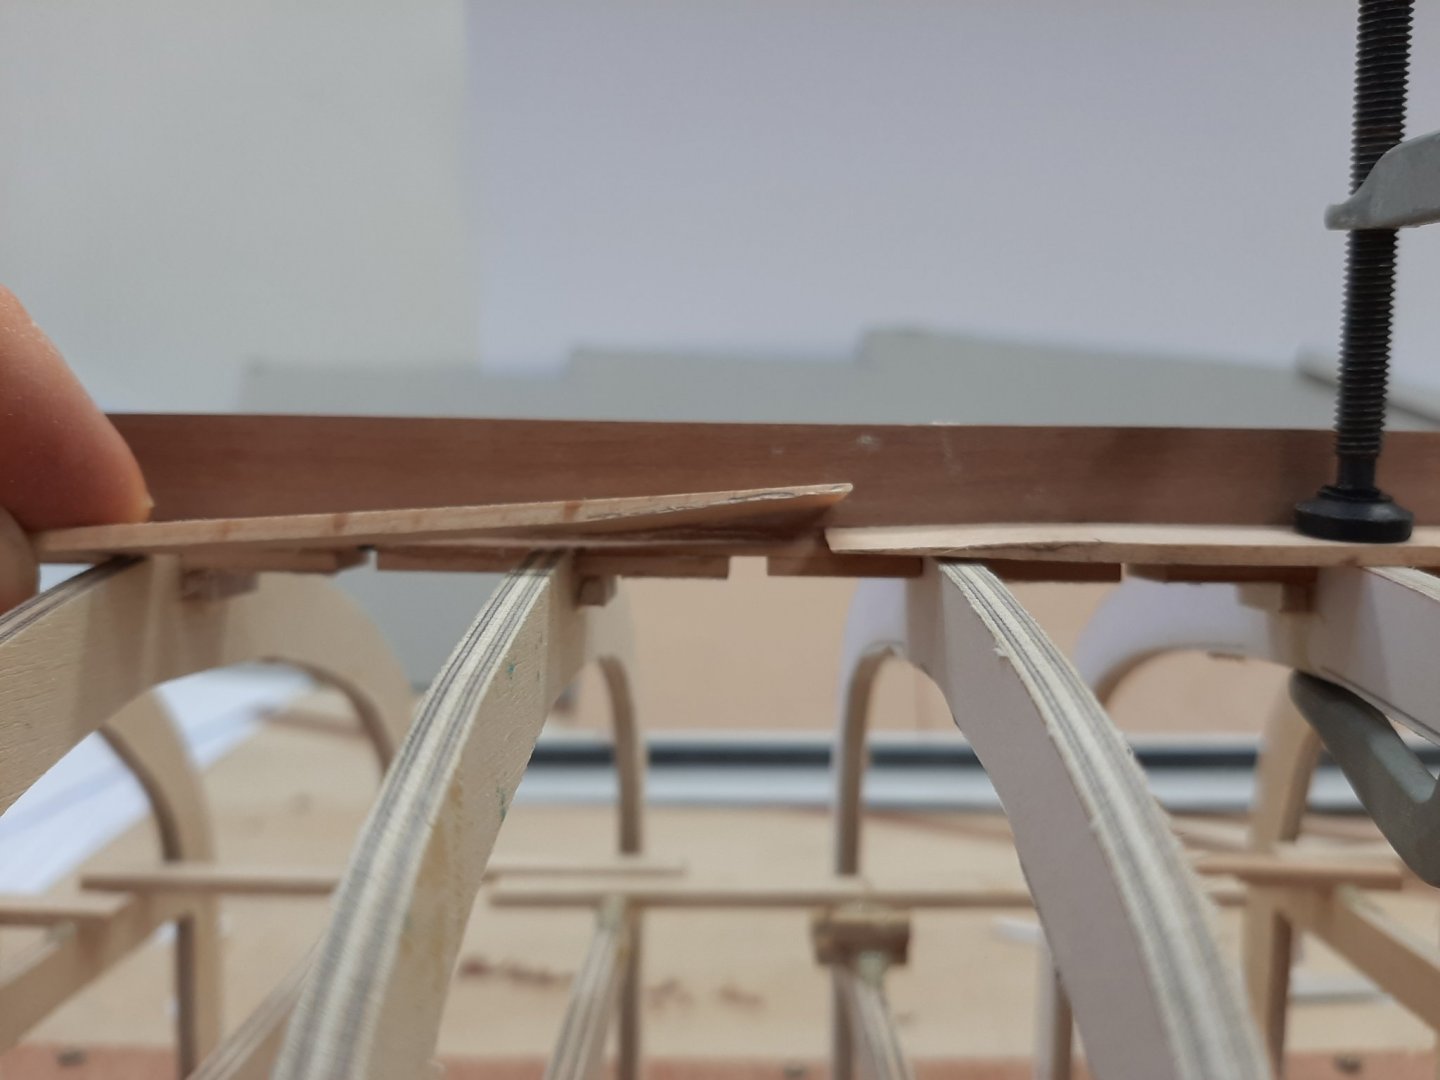
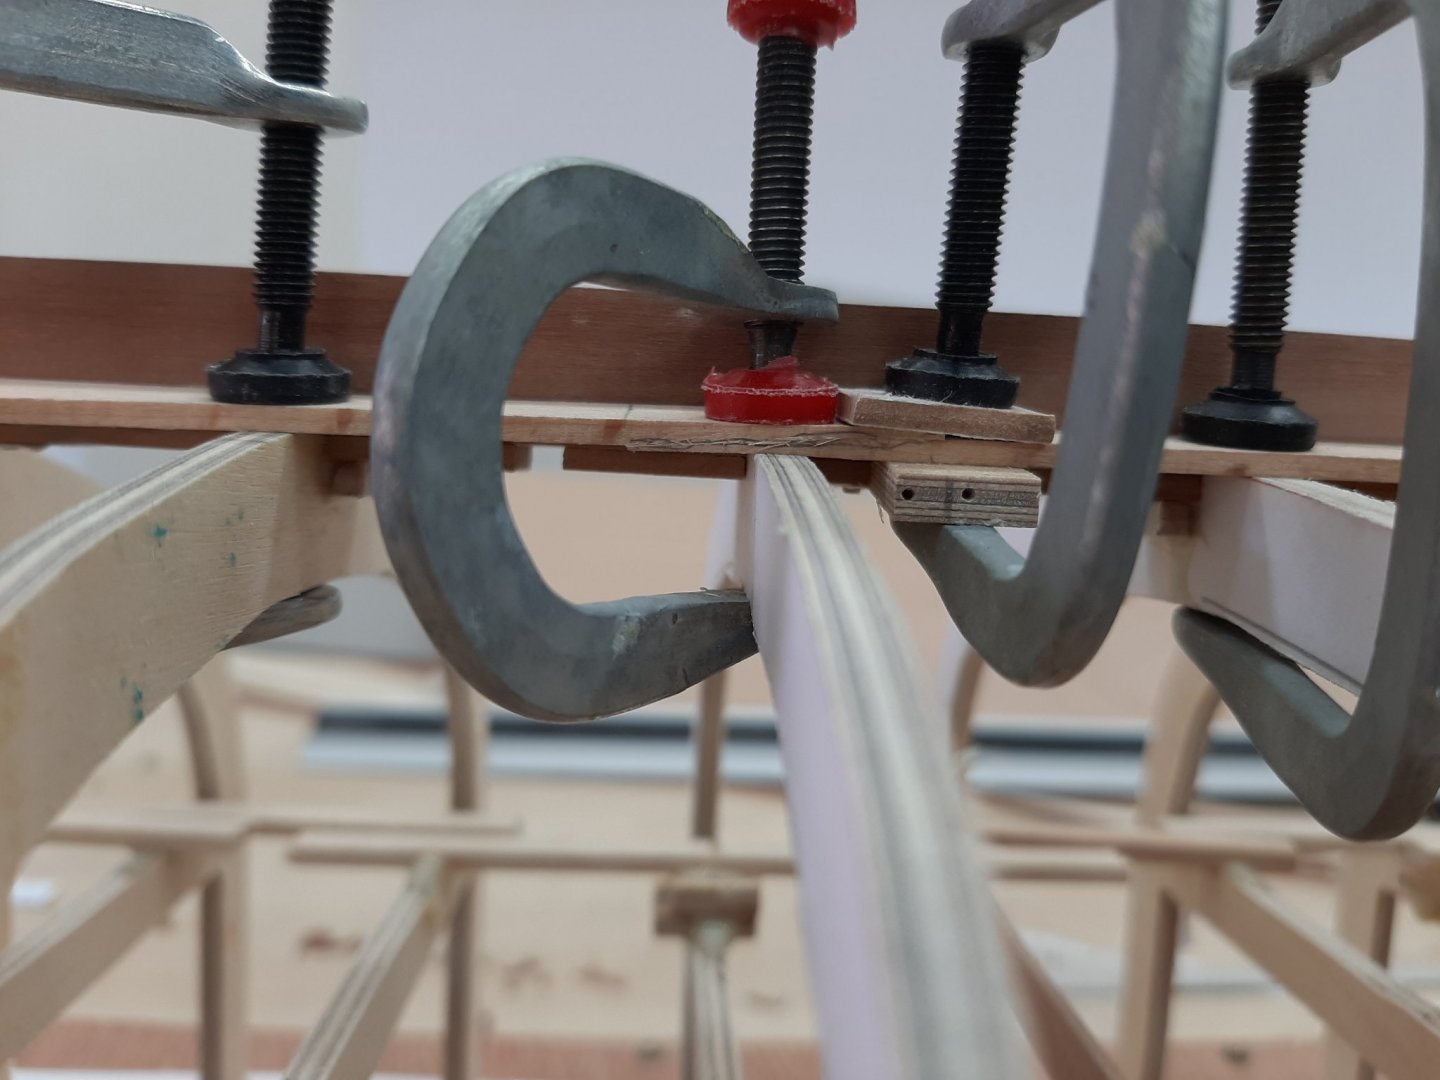
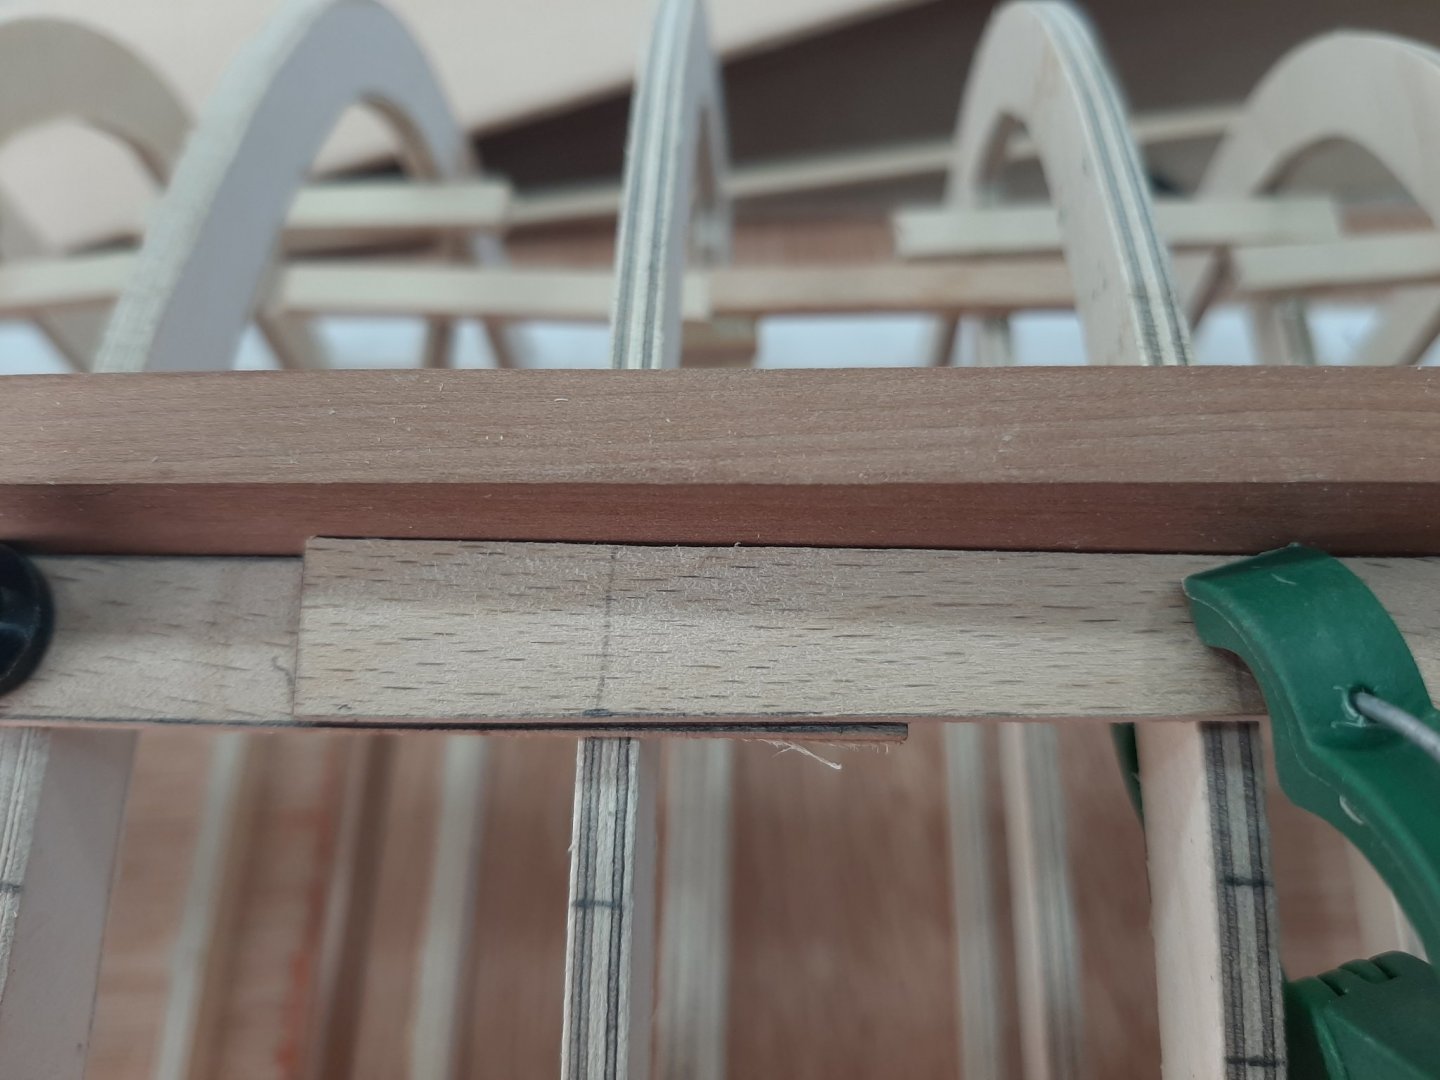
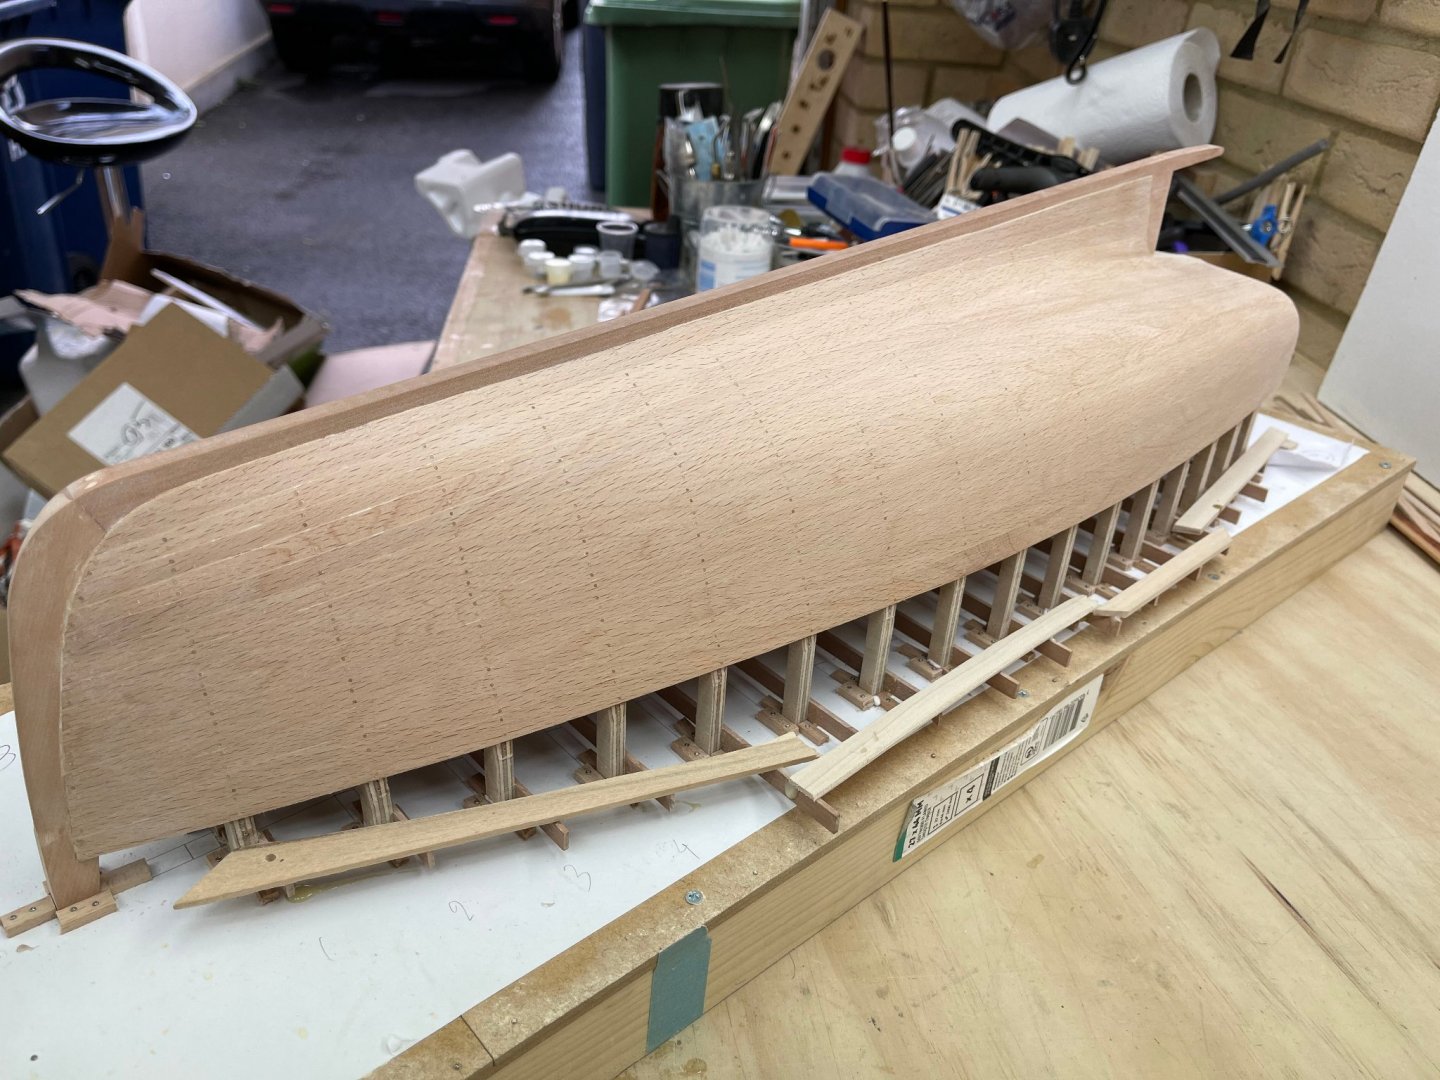
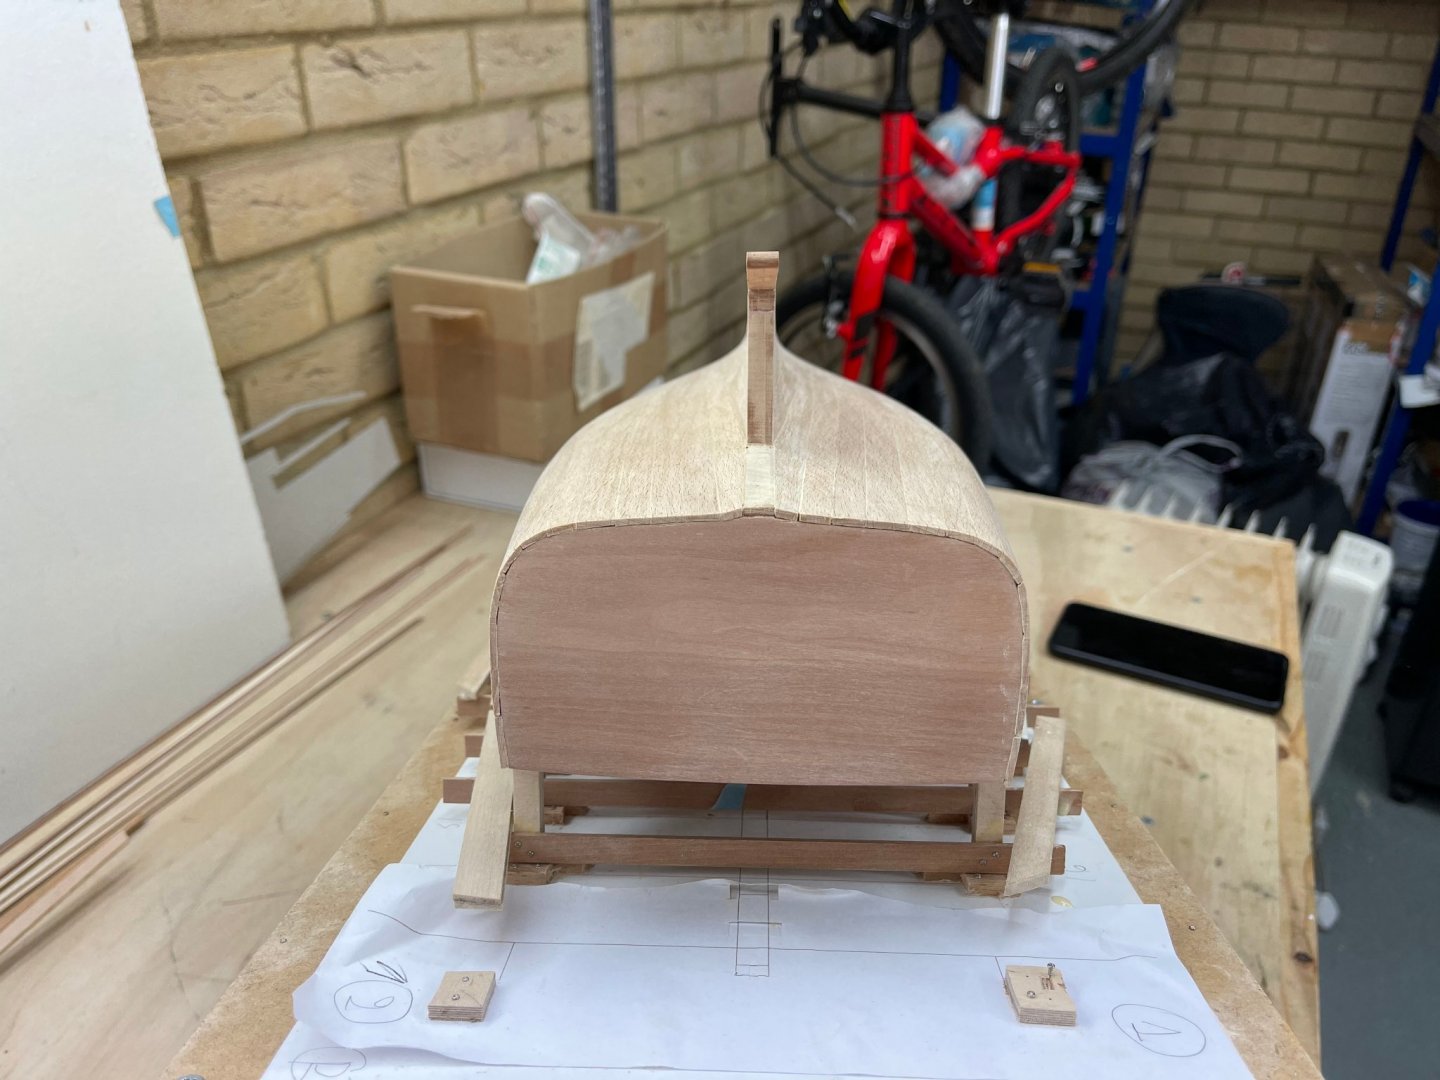
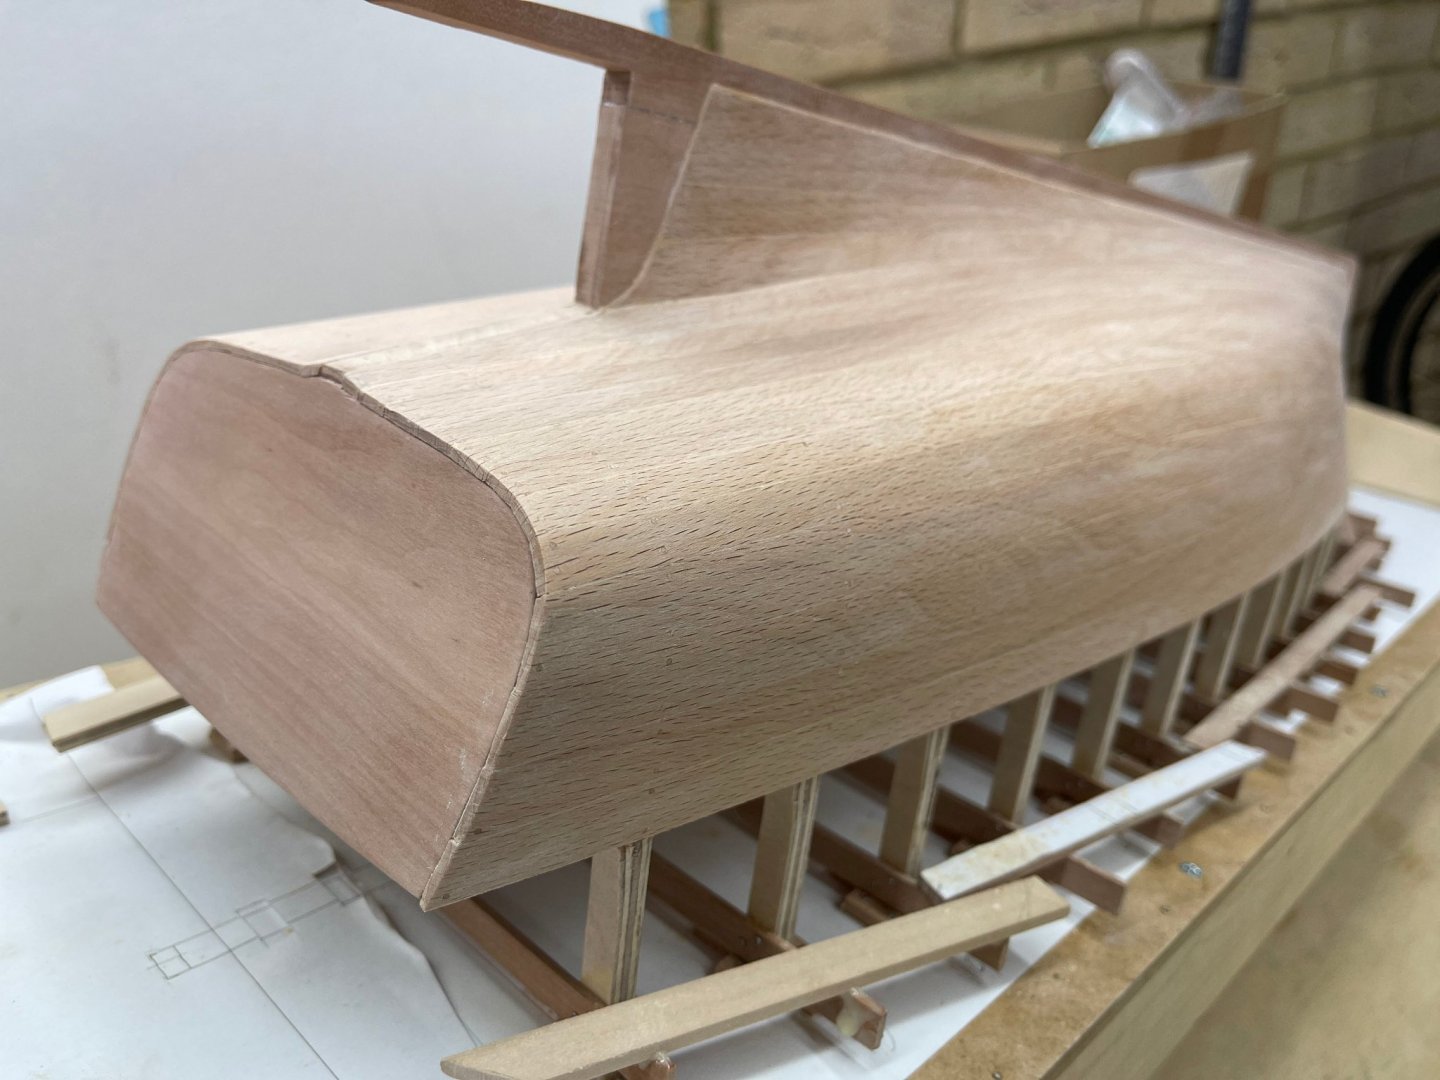
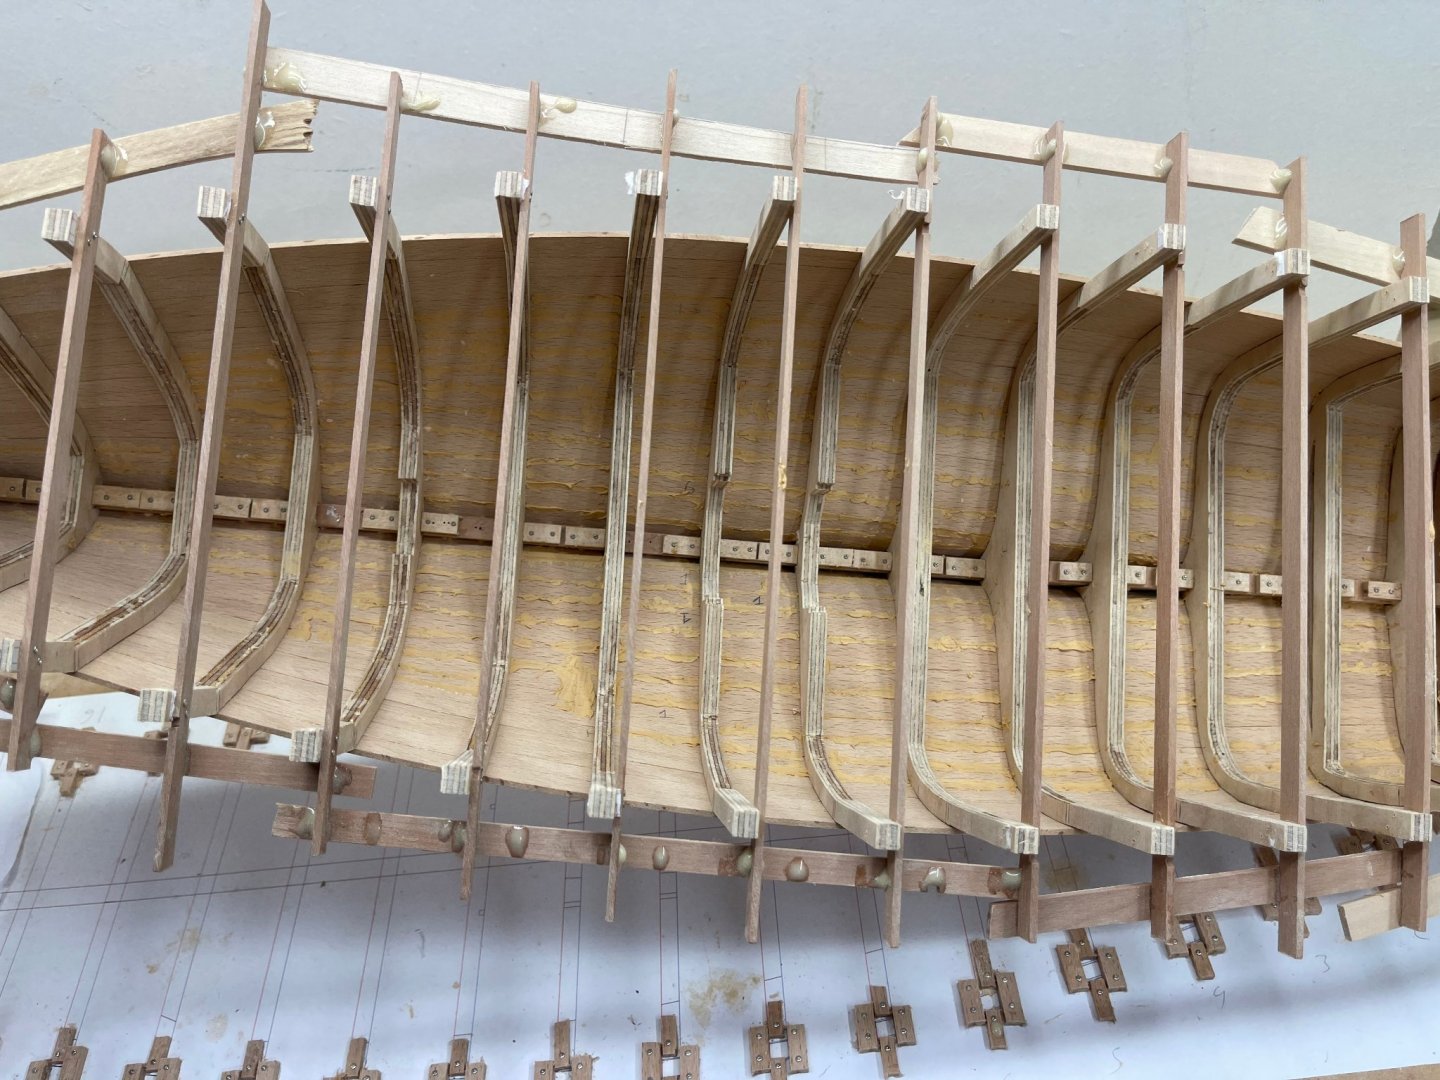
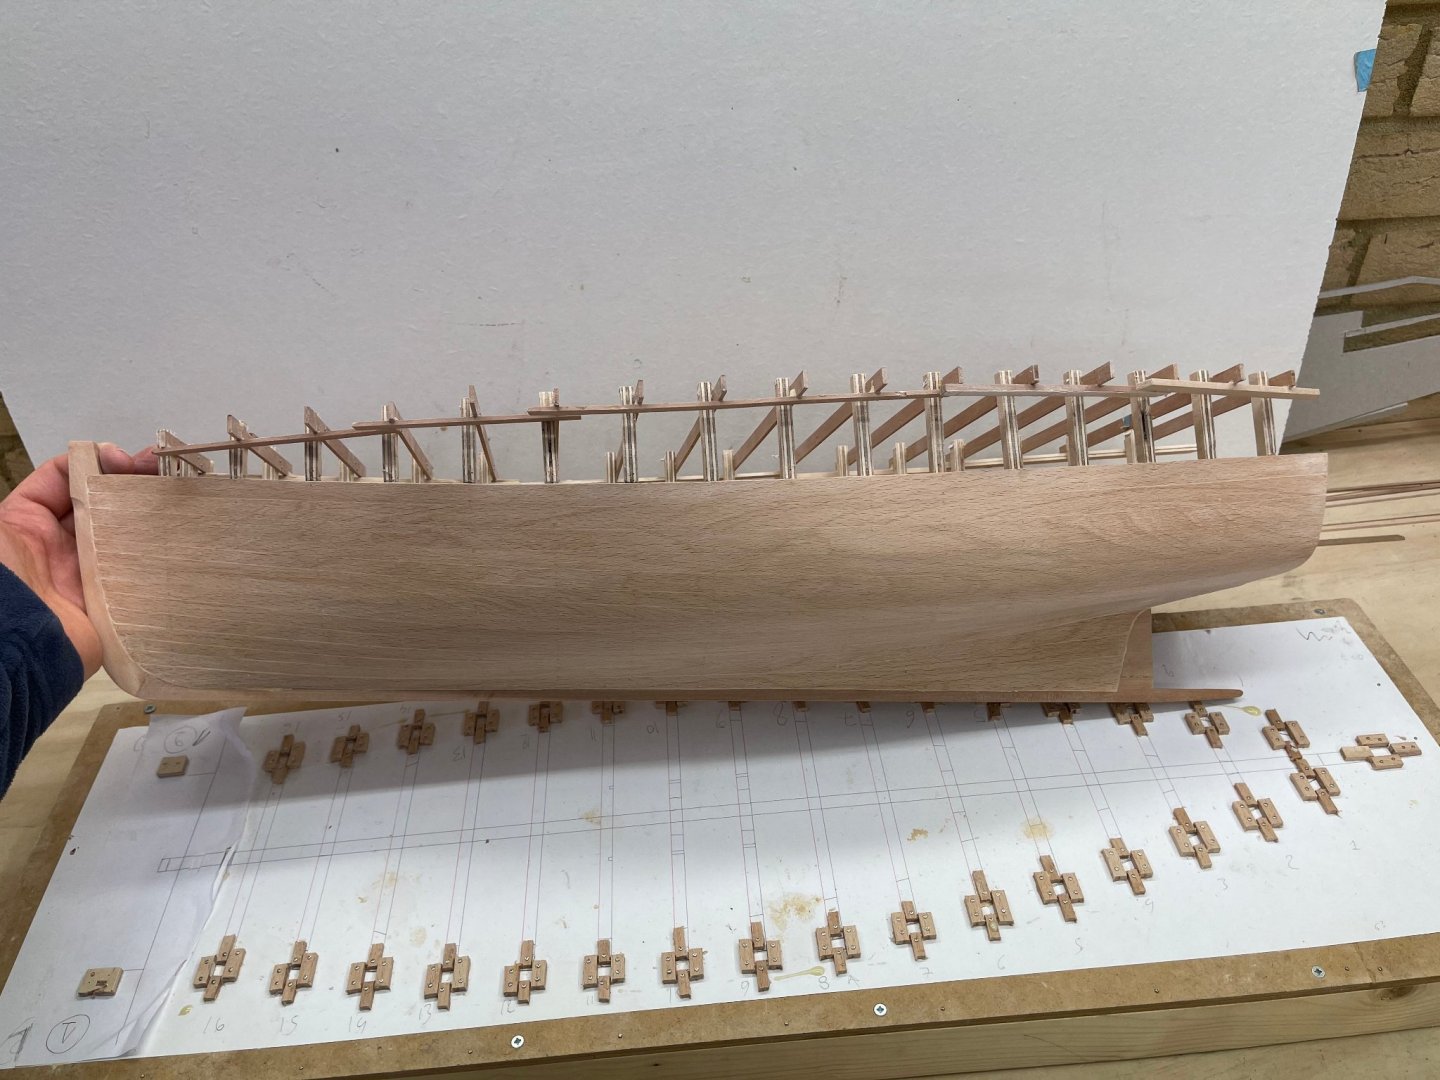
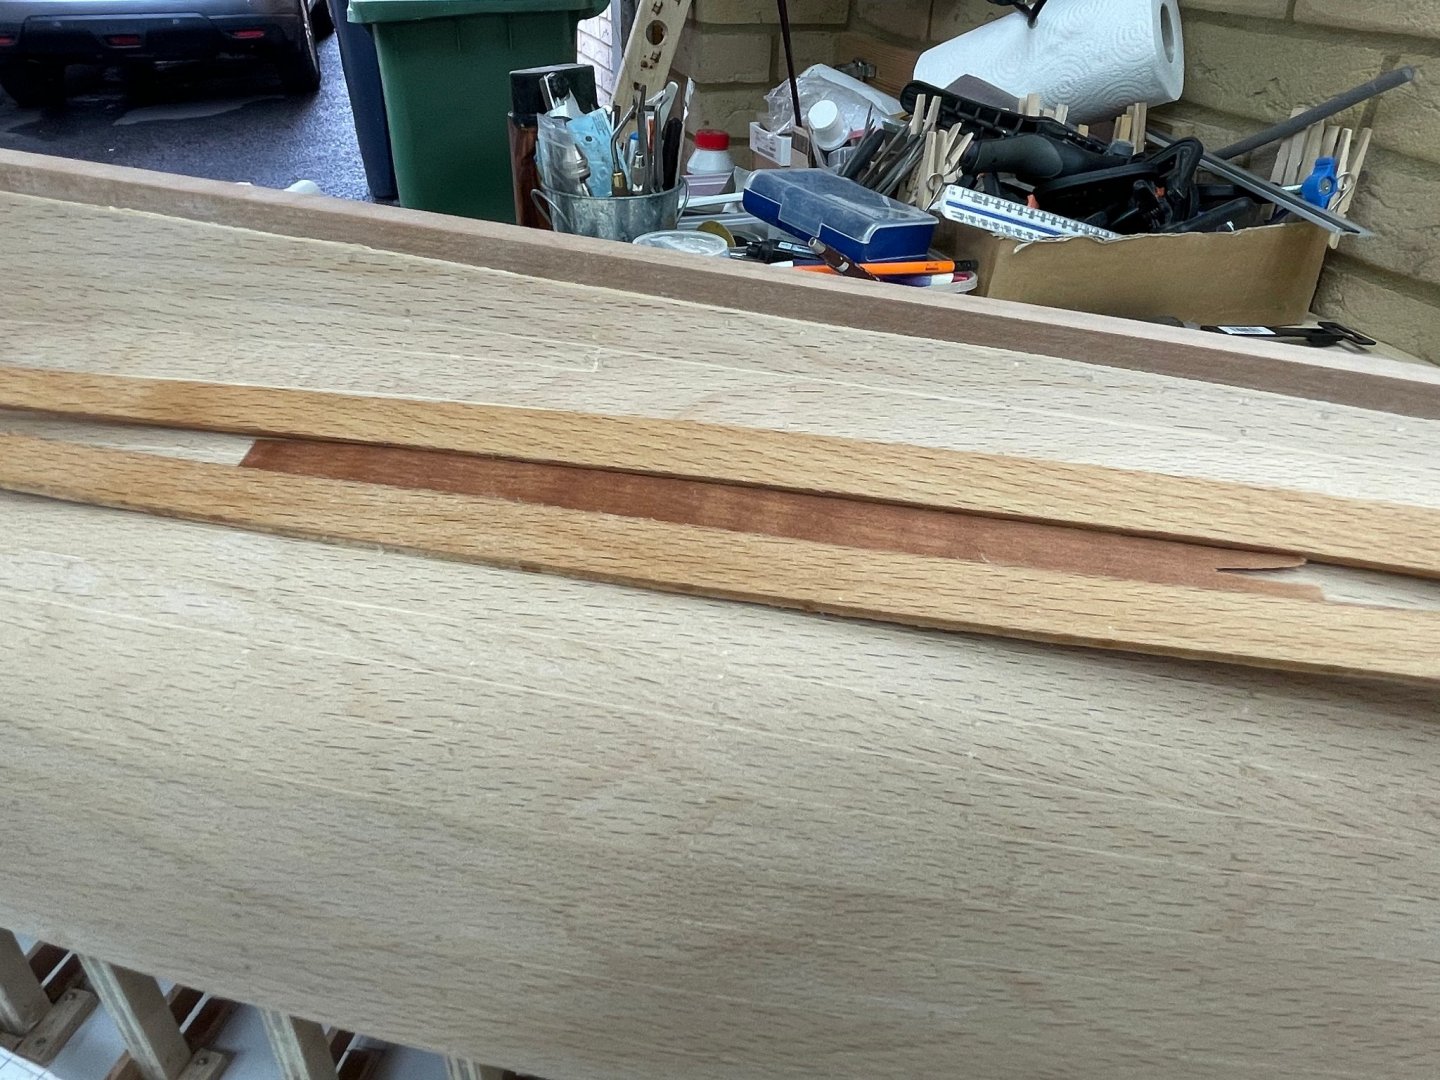
All done Mark! But the lines are on the other side of the boat. The final fairing will be done while cutting the actual planks Today I nipped over to the shipyard, just for a few minutes. I put the planks to the steamer and then straight on the boat. Beech responds great to steaming, the planks immediately twisted to shape. Actually, the garboards look reasonable The problem with planking without a complete stem is that it is difficult to get the planks to end up at the same level on both sides. The excess wood at the plank edges will be trimmed away when the false stem is installed. The scarf joint needs a bit of tinkering. Or maybe I just need to push the half a bit forward. Best wishes to all Vaddoc
-
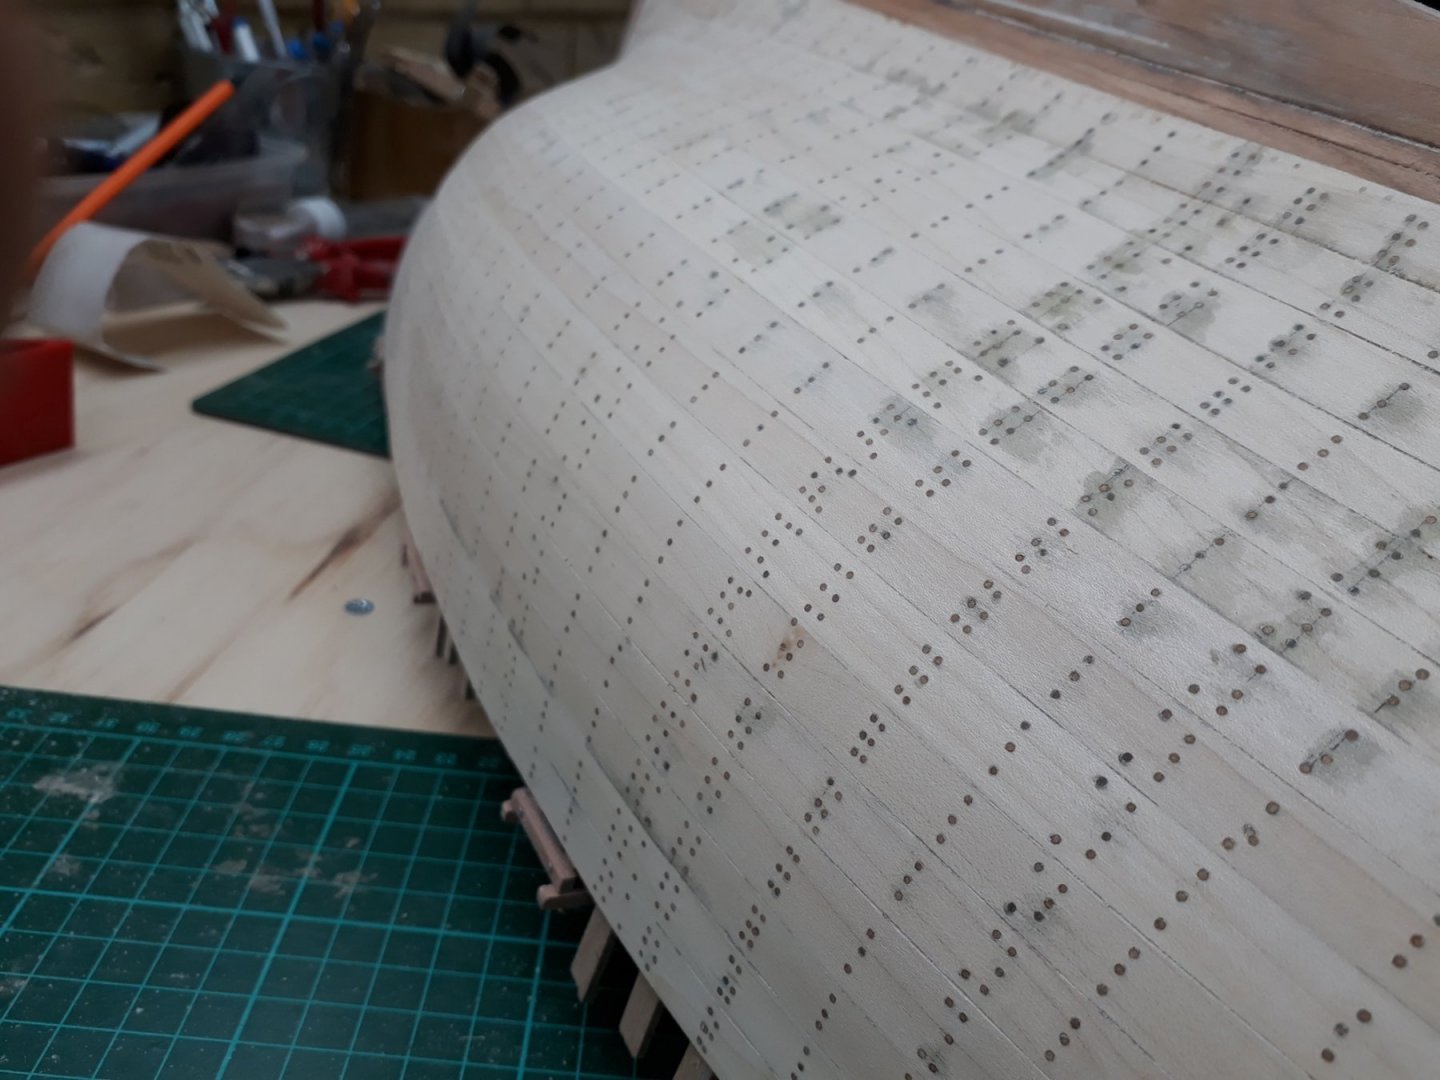
Many thanks to all for your comments and likes! Bedford, that was great. Unfortunately I do not own a quality plane that can reliably do the job. However, your suggestions were very helpful and I think I did find a solution. Also, I decided that the planking will be carvel. I will in the future make a large scale lapstrake boat but I will choose an easier boat. It will be lots of fun but needs to wait. I first made the port garboard in two halves. It took very many tries, I kept getting it wrong but finally I got it right. The planks are sanded to shape so the edges are much smoother compared to the Launch, which were cut with a knife. This is the overlap for the scarf joint The twist in the garboard is significant, almost 90 degrees. Planks will easily take a bend but will resist a lot to be twisted. Note the gap between plank and keel-it disappears with the plank in place. Another area that needed attention was the stem. The edges have to be trimmed to accept the plank ends. After planking, the excess plank material will be trimmed off so that the false stem will sit flush. Or so is the plan... Next, I tackled the scarfing. After a bid of thinking and testing, taking on board Bedford's suggestions, I find a solution. Since the planks are 2 mm thick, I went for a 25 mm scarf joint. Basically, I just used the belt sander bellow to create the bevels. This worked fine with no dramas. The edges will stand a bit proud but nothing a bit of sanding will not fix. I ll probably try and thin the edges a bit more. Now, much more care has gone into this boat, compared to the Launch. The CAD drawings are much more accurate, the frames were cut with much greater care and generally, it was put together better. With this in mind, I decided to make a set of identical garboard halves for the starboard side. Test fitting: They fit! So now I have both garboards. They need to be steamed and secured into place, this will also make the whole structure much more rigid. Another issue that needs to be dealt with is how to secure the planks to the frames. I was thinking of using threaded brass wire but now I am not so sure. This was the plan for the lapstrake. With carvel planking, sanding of the hull will be needed and the brass will complicate things. Maybe tree nails will be a better choice. Regards Vaddoc
-
.thumb.jpg.6fd4c1b78768bb3efd745ab810936005.jpg)
Painting Problems
vaddoc replied to Neil10's topic in Painting, finishing and weathering products and techniques
I very much like the Humbrol spray primer. Goes on thin, sandable, dries quickly, does not smell. Comes in white, red and grey (most versatile). It will cover everything and solves adhesion issues. -
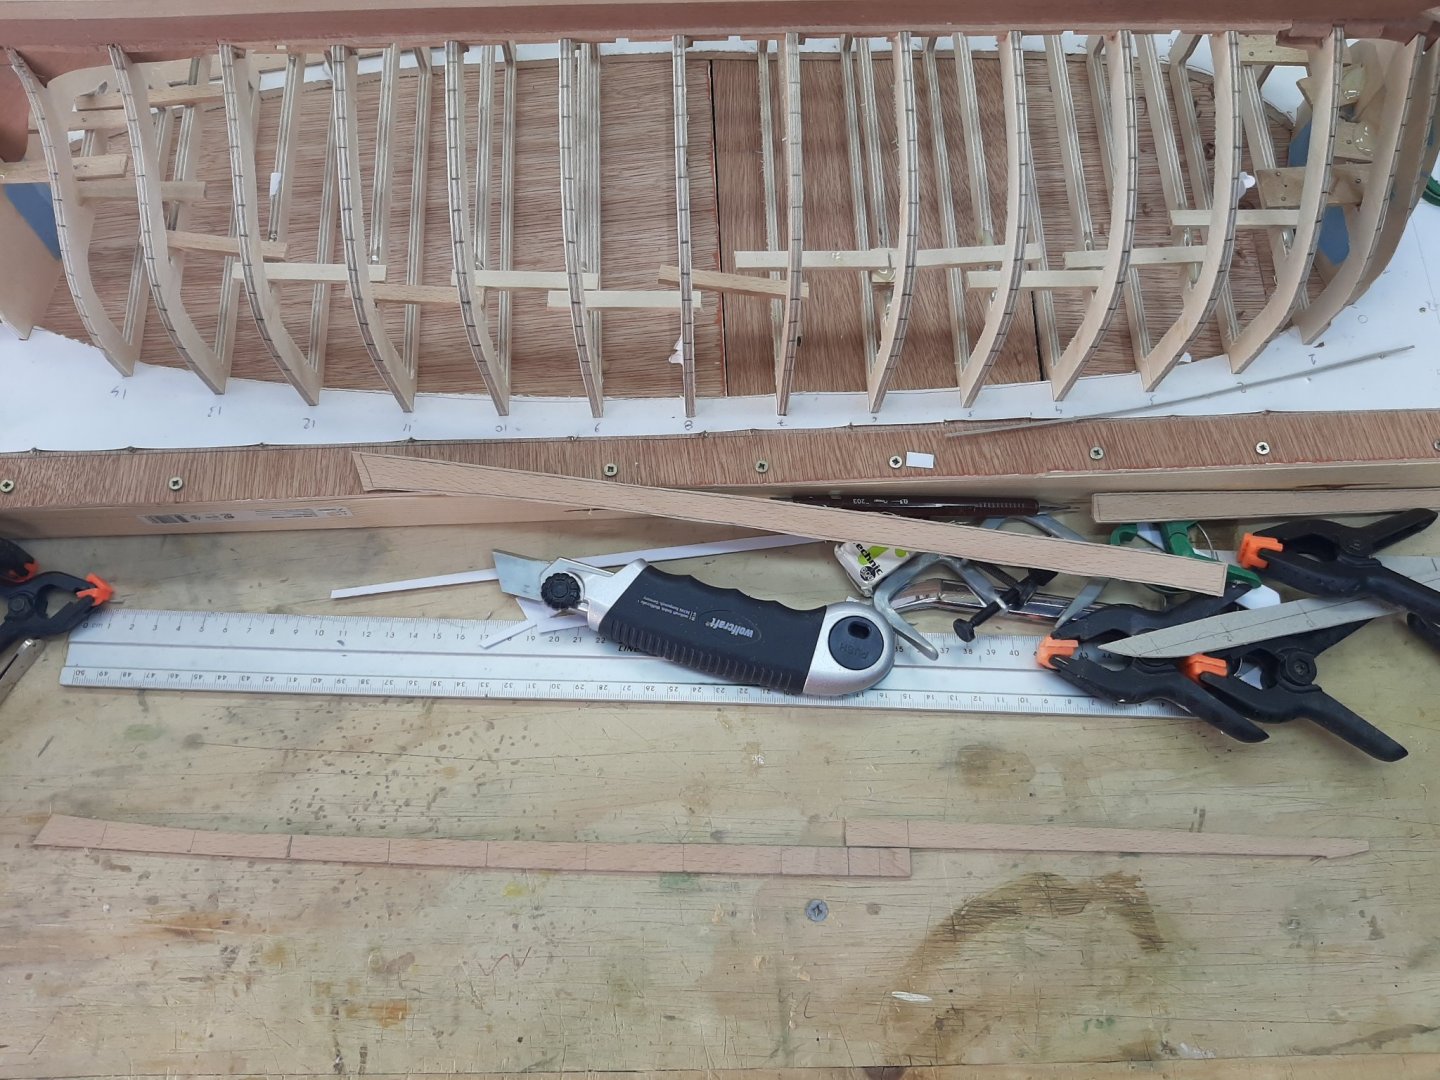
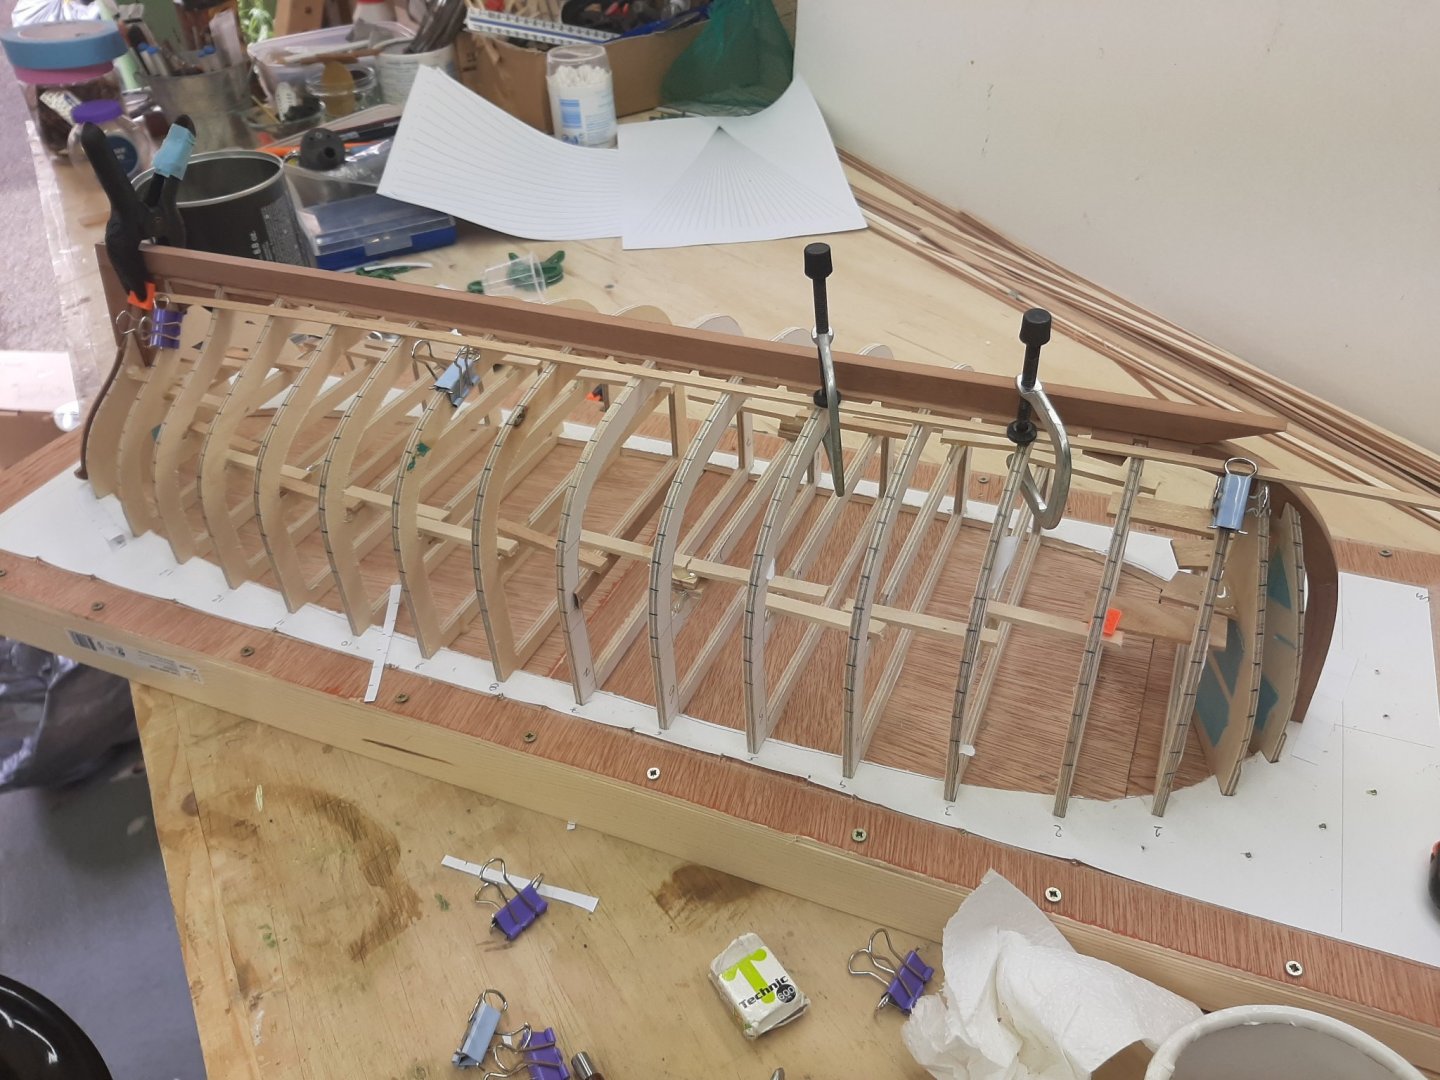
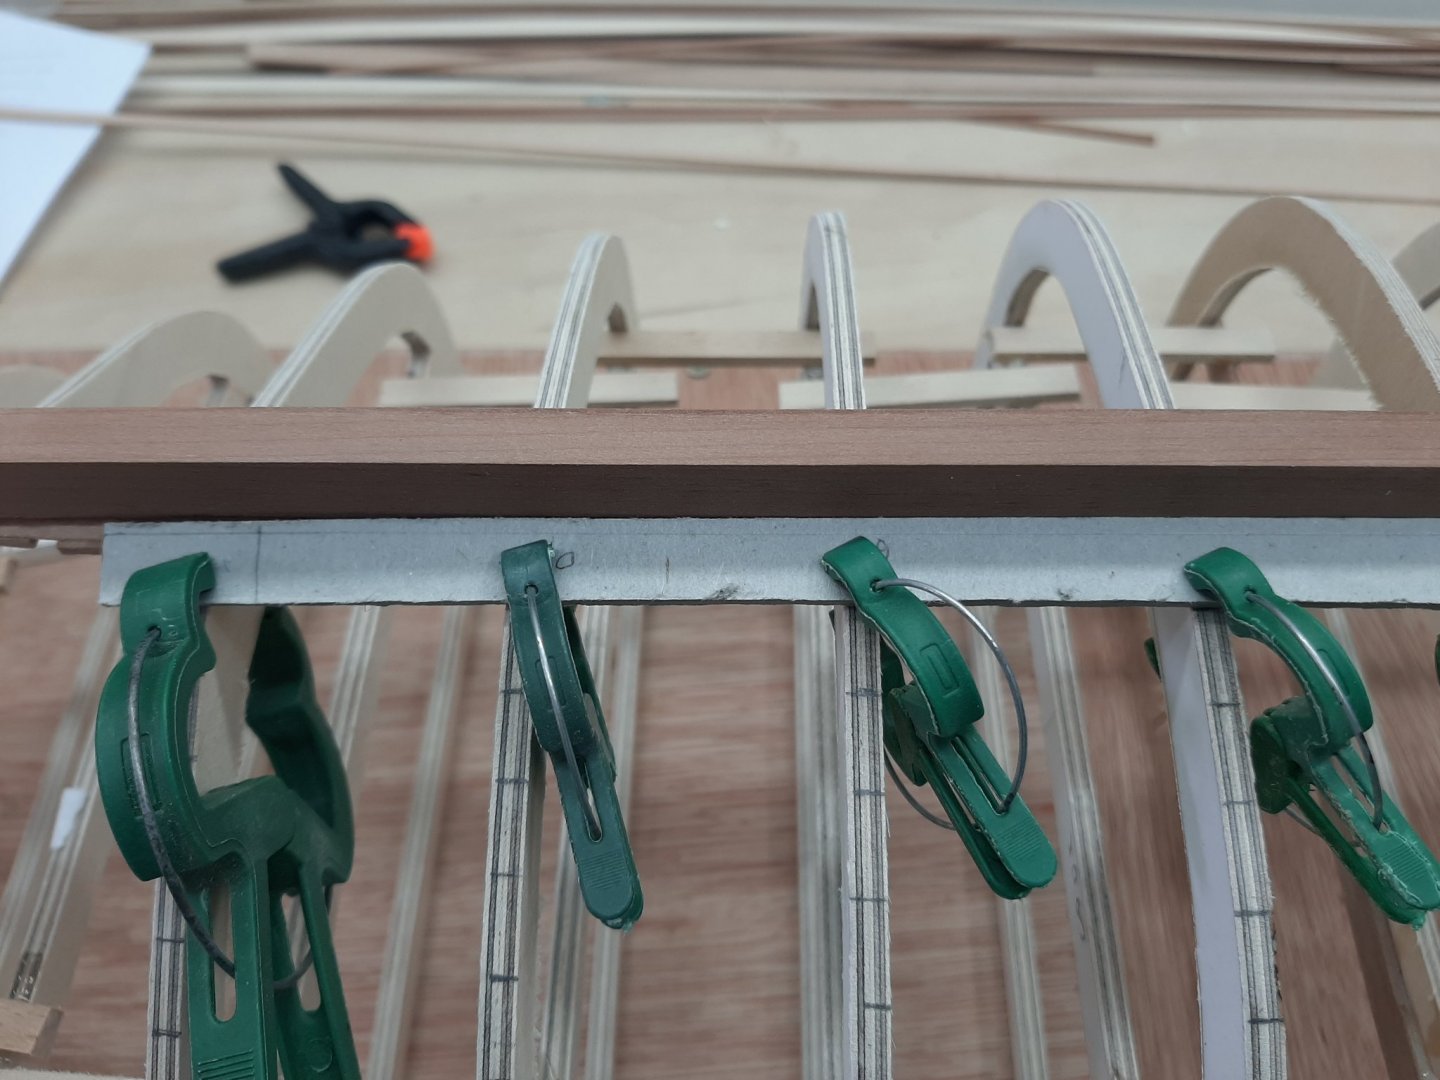
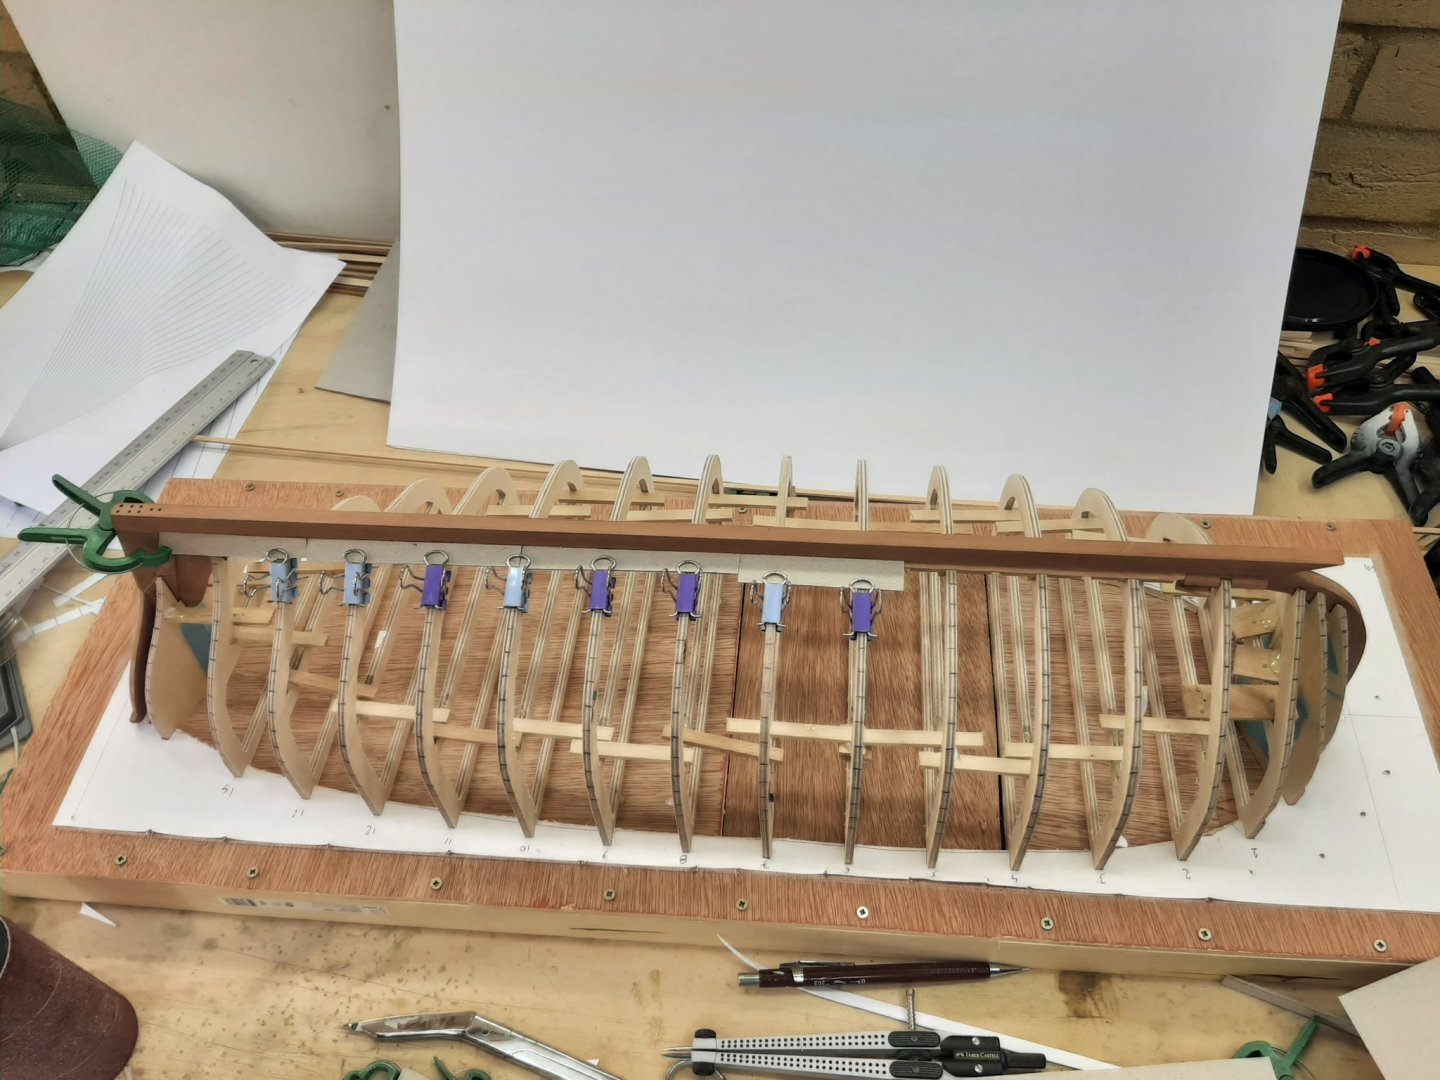
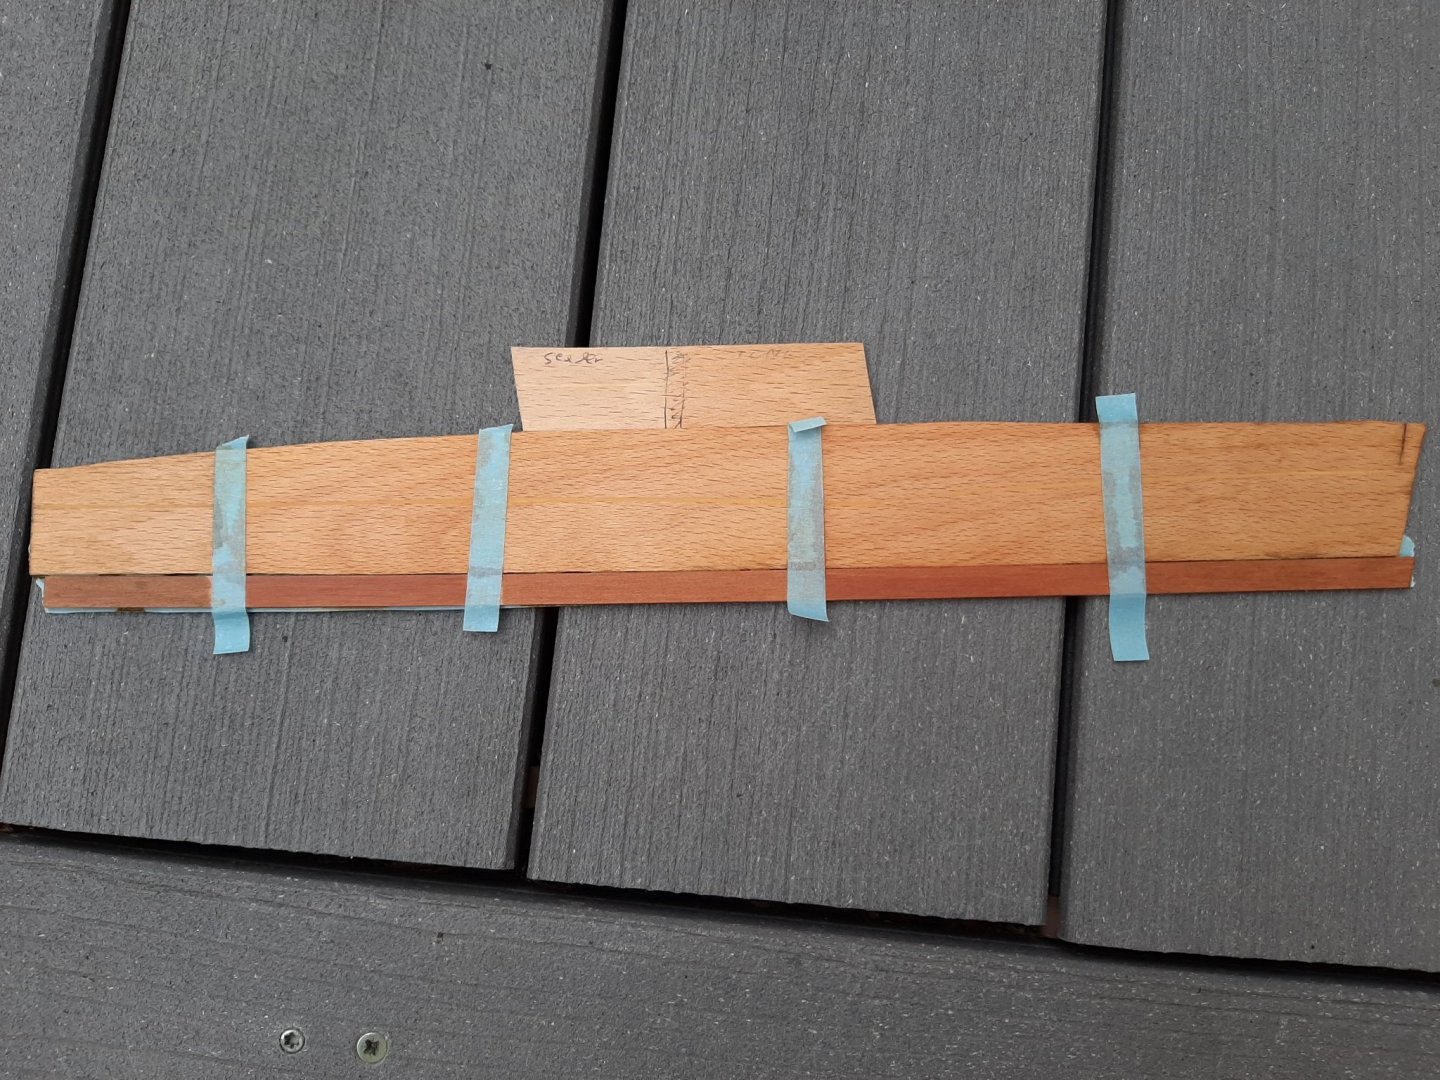
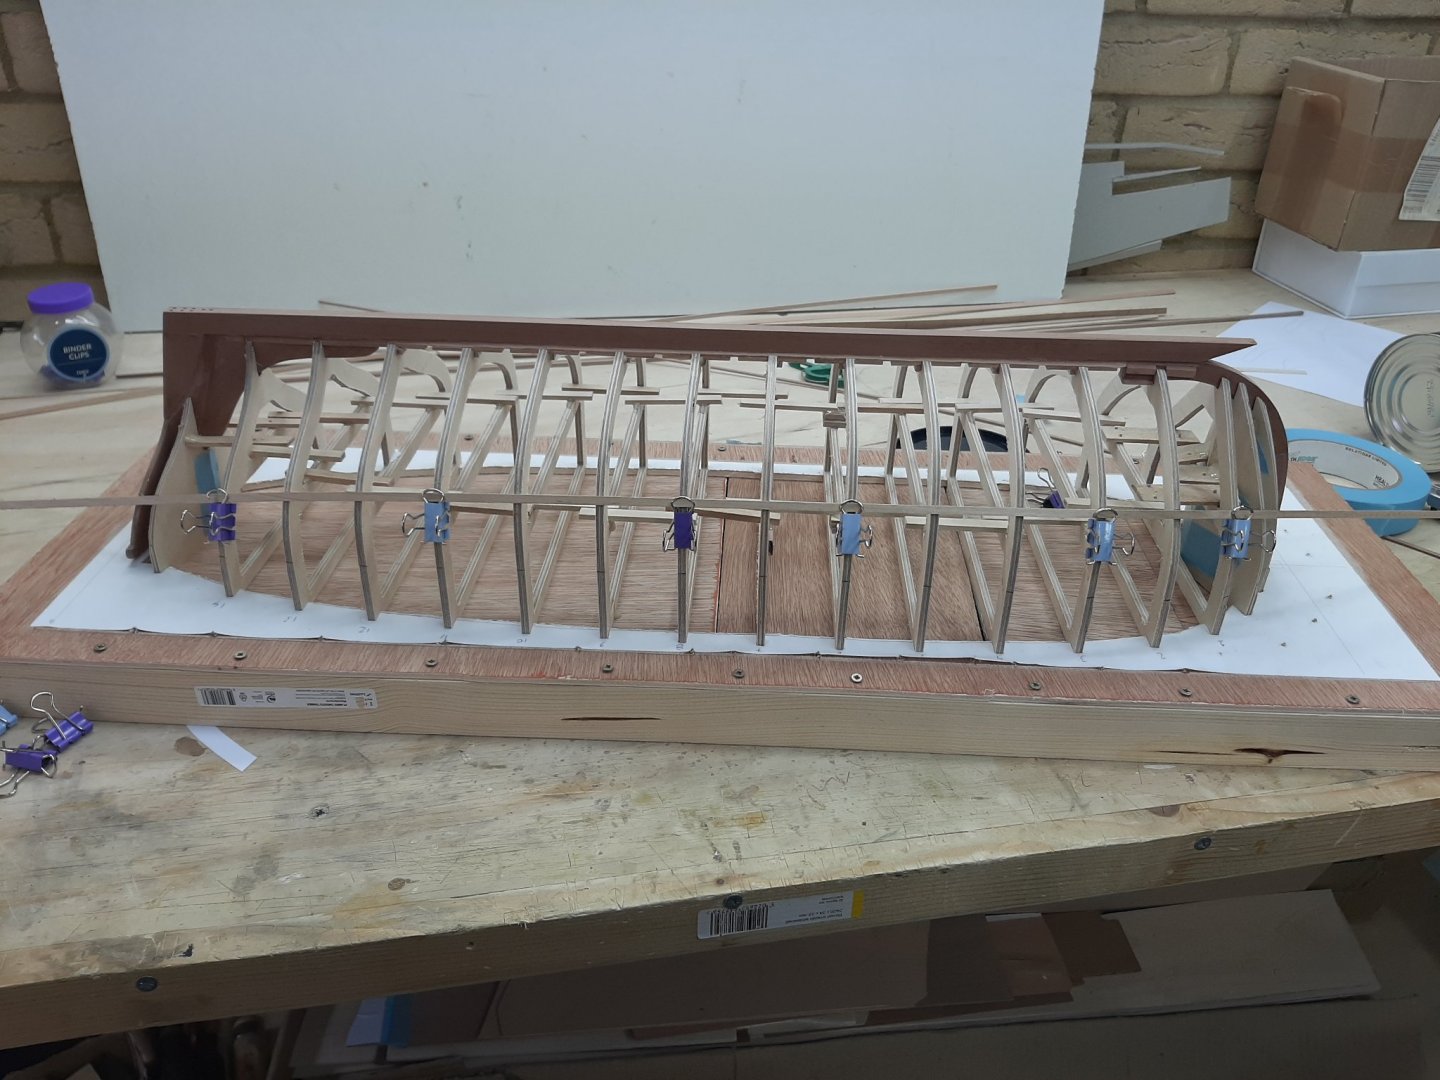
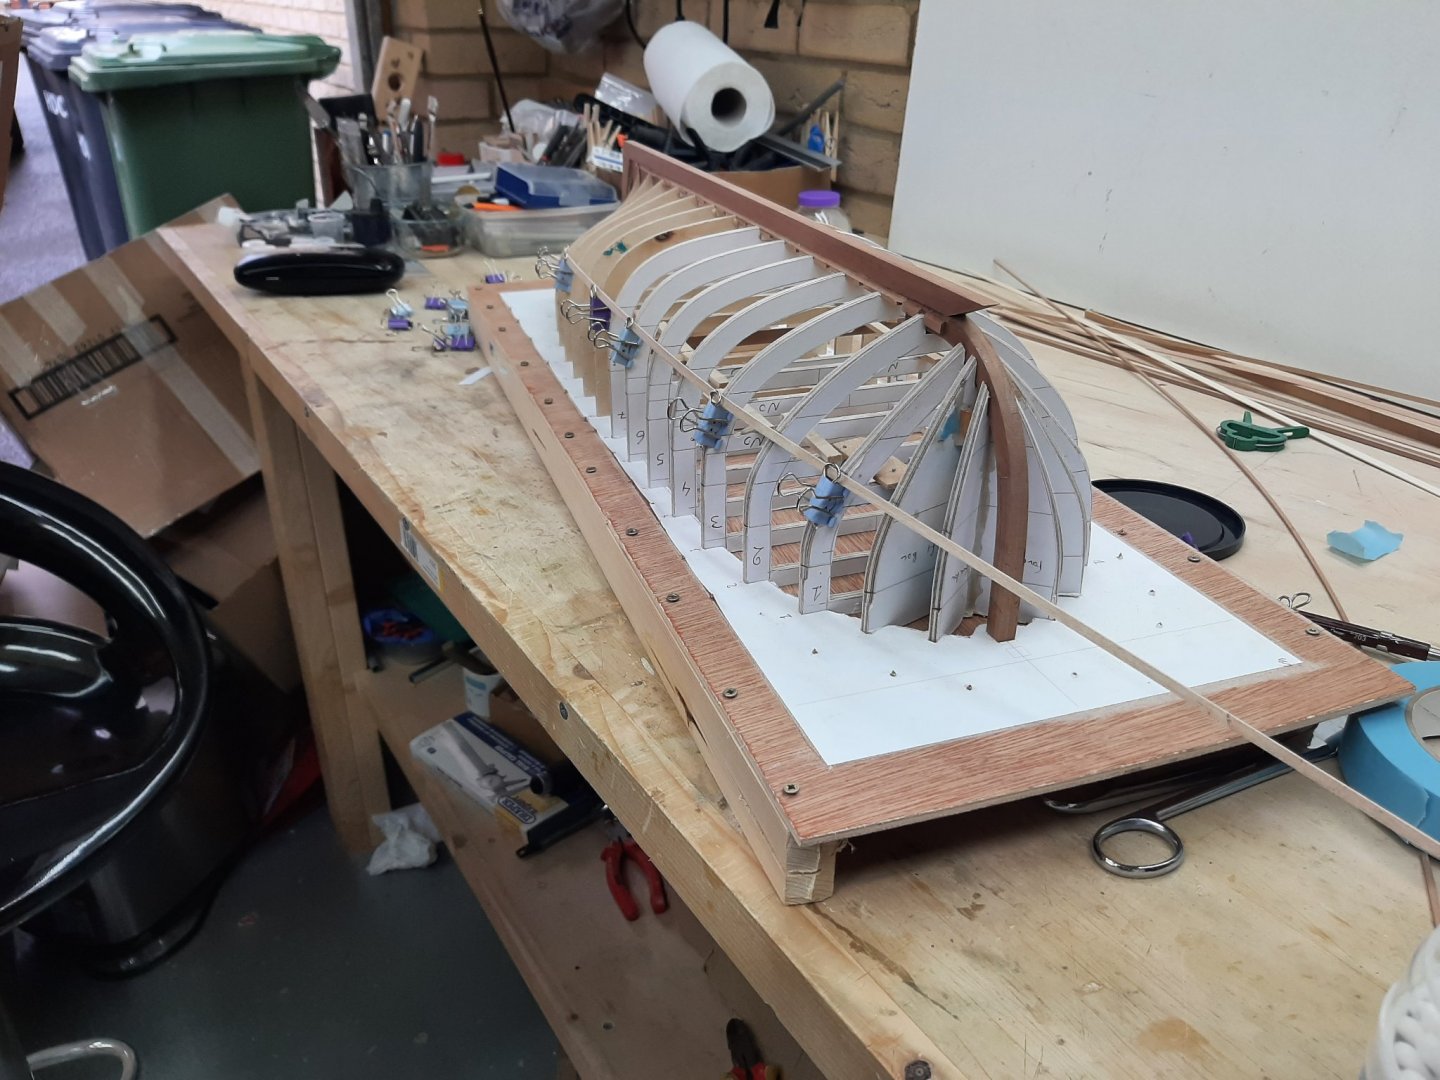
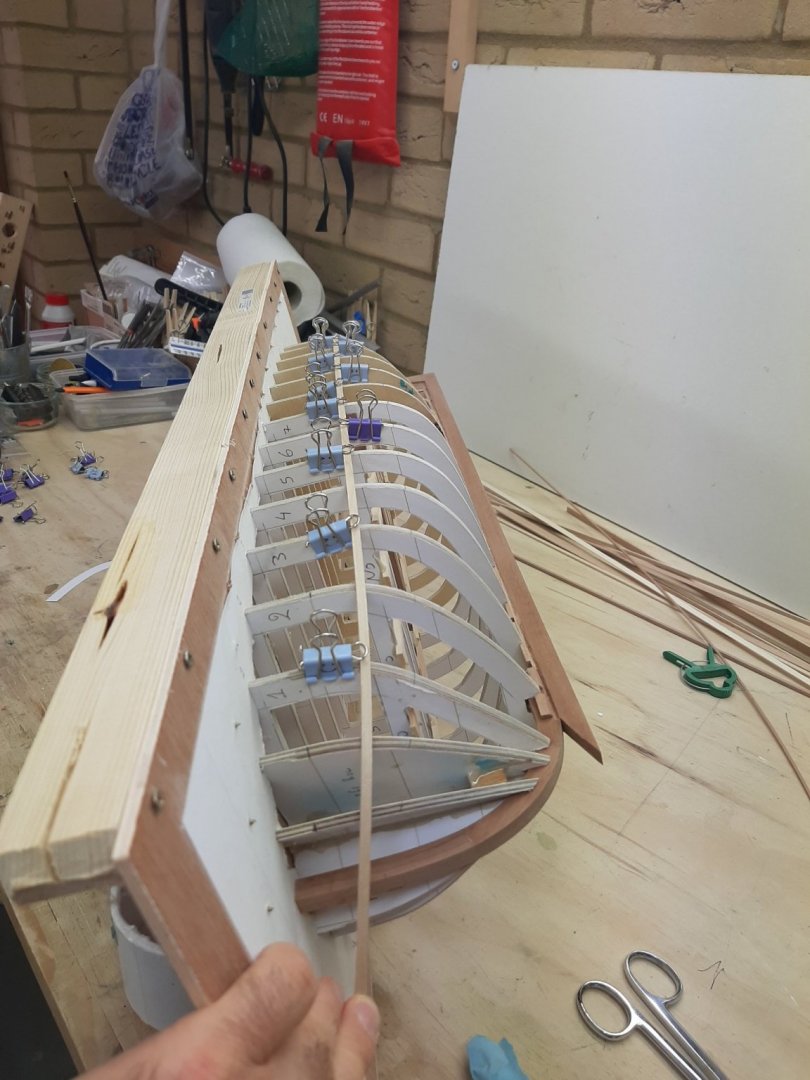
Dear friends Due to increasing life commitments it's been almost a month since my last post. Unfortunately, I also did not have any time and more importantly peace of mind to visit the various very interesting logs I 've been following - I will try and catch up. However, I found some scraps of time to visit the shipyard and made a bit of progress. In the last post, I had divided the hull to three zones. Excluding the very curved bow, this hull seems to be much easier to plan that the Launch. I simply used the planking fan diagram to divide the zones into plank widths at every station. I used a baten to figure out the plan ends at the bow and stern. I have decided to scarf the planks so I do not care how much spilling will be needed and how curved they 'll end up to be. The final fairing of the planks will be done during the actual planking but I hope my lines are not far off. It is very difficult to capture the run of the planks right side up, due to the size of the boat but they look ok But now it is clear that this boat will be very difficult to do lapstrake. I am concerned that this curved bow will cost me my sanity. I wonder whether it would be better to do a carvel planking and leave the lapstrake for a future boat with a more friendly bow. Decisions-decisions... For now, I started making the first template, for the garboard plank. Initially I thought to do it in 3 pieces but then realised it makes no sense to have so many scarfs - one is plenty, giving a length of 3 to 3.5 m per plank. The last photo shows the pieces for the aft segment of the garboard-they still need to be connected. I have the feeling that the garboard should be a bit wider but I am not going back, it will be fine. Also, I need to figure out a way to scarf the planks. It needs to be reproducible and reasonably easy. Also, for this boat I will sand the planks to shape, and will put more effort to have minimal gaps. Regards Vaddoc
-
Personally, I try to avoid fruit woods for planking. They are a bit too hard to work with and a bit reluctant to bend, especially along the axis of the plank. I find maple and beech much nicer. Beech is much harder than maple and has a huge distinctive grain, both hold an edge very well. Walnut is terrible. Maple hull, later painted. The stains were caused by aliphatic glue that I did not bother cleaning... Beech hull, fate yet unknown.
-
Dear all Many thanks for your likes, comments and encouragement! I have not worked on either boat for the last 3 weeks, since my last post on the Yawl log. I now work pretty much 7 days a week and life has gone into hyperdrive-it is what it is and we must do what we need to do! The little spare time I have I ve decided to invest in working out to get back into shape. Today though I popped to the garage to do a bit of testing with stains. I made a grove in a piece of beech, filled it with filler and sanded to 120 grit. I ordered a number of stains, different colours and compositions-some "wax stains", "some oil stains" and some "something else". The next photo shows 5, supposingly completely different colour stains. They came out almost identical! The one on the right is walnut, the middle one is pine. There is however a bit of difference in the blotchiness, I think the middle one is a bit better. The pear wood is very dark because it was not sanded, it looks much lighter and uniform in sanded pieces. The small piece has clear sealer on the left, Tung oil on the right I expected much bigger differences in colour and better coverage of the filler. Maybe when the piece dries, the colours might change. As it is though, I quite like the middle one. But I have a few more stains to try. A word about stains: I now know why they are called "stains". The mess they created was unbelievable-pretty much everything got stained! Vaddoc
-
Congratulations GL, fantastic work. This last plank on the starboard side, this was no easy task. It is much easier to fit planks as you go with no limitation on the one edge rather than making a plank to fit a gap. Very well done!
- 153 replies
-
- Ancre
- Bruno Orsel
-
(and 2 more)
Tagged with:
-
Thanks Hakan, that was indeed the question Now I ve never thought about it but I think you are right, unless the plank is perfectly cut, with time it will warp back and no rivet will hold it. Much more difficult to perfectly cut a very long plank than a short one.
-
Many thanks for your likes and comments! Dowmer, I ll be using 2 mm thick planks, probably 8 to 12 mm wide. Unfortunately, the only edge bending it will tolerate is a little nudge to fit into place! However, I have many lovely maple strips which I d love to use, I ll give it a try and see whether Chuck's method will work. Thanks for the tip Druxey. In the past I had used very thick black fishing line. The problem is that due to the shape of the bow, the perspective is easily lost and I cannot eyeball a fair shape. This is why I need a very wide baten, to make sure there is no edge bending and the lines are fair. But even with this, bending the baten around the curve at the bow, pulls the baten up midships. A very stubborn hull. Bedford, you answered a few queries I had but now I have another for you. Planking the launch, I had noticed that at the bow some planks had a funny S shape. Initially I tried to simplify it but then I realised that this would be wrong and I had to trust my markings. The bow of the launch is very sharp, so probably this is why this S shape was less pronounced-it is much more visible in your boat and I expect even more on the yawl. Now, the planks in your photo are half planks-or plank thirds. I assume many adjacent planks would need scarfing. Here is the question: Does it matter if the scarfing is done at the same point mid ships or would builders spread the joints at different frames? Wonderful plywood by the way! Regards Vaddoc
-
This is lightning fast progress GL! The planking seems to be going very well. Are your planks straight strips sanded more narrow near the edges or have you done any spilling?
- 153 replies
-
- Ancre
- Bruno Orsel
-
(and 2 more)
Tagged with:
-
Seriously nice model Bolin. The colour really lifts it a lot.
- 179 replies
-
- longship
- Helga Holm
-
(and 1 more)
Tagged with:
-
.thumb.jpg.6fd4c1b78768bb3efd745ab810936005.jpg)
Air brush vs paint & brush
vaddoc replied to jefferyt's topic in Painting, finishing and weathering products and techniques
Do a search, many discussions and lots of good info on painting. With modern paints and thinners and good brushes, you can get fantastic results hand painting. But I assume that consistency is much easier with spraying. -
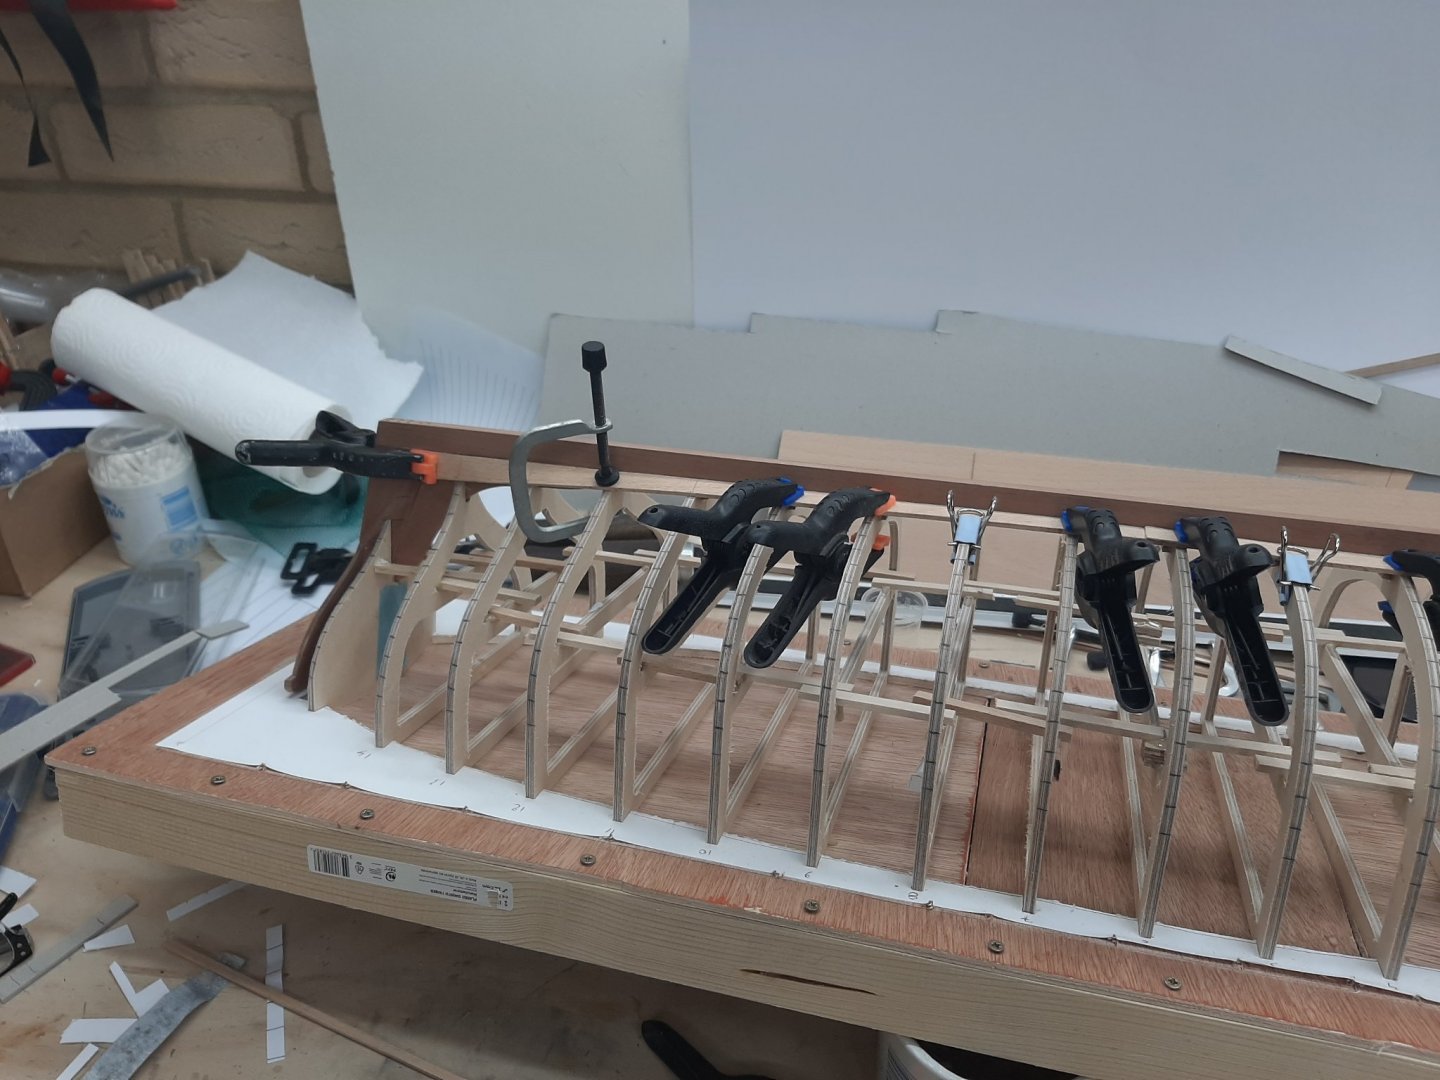
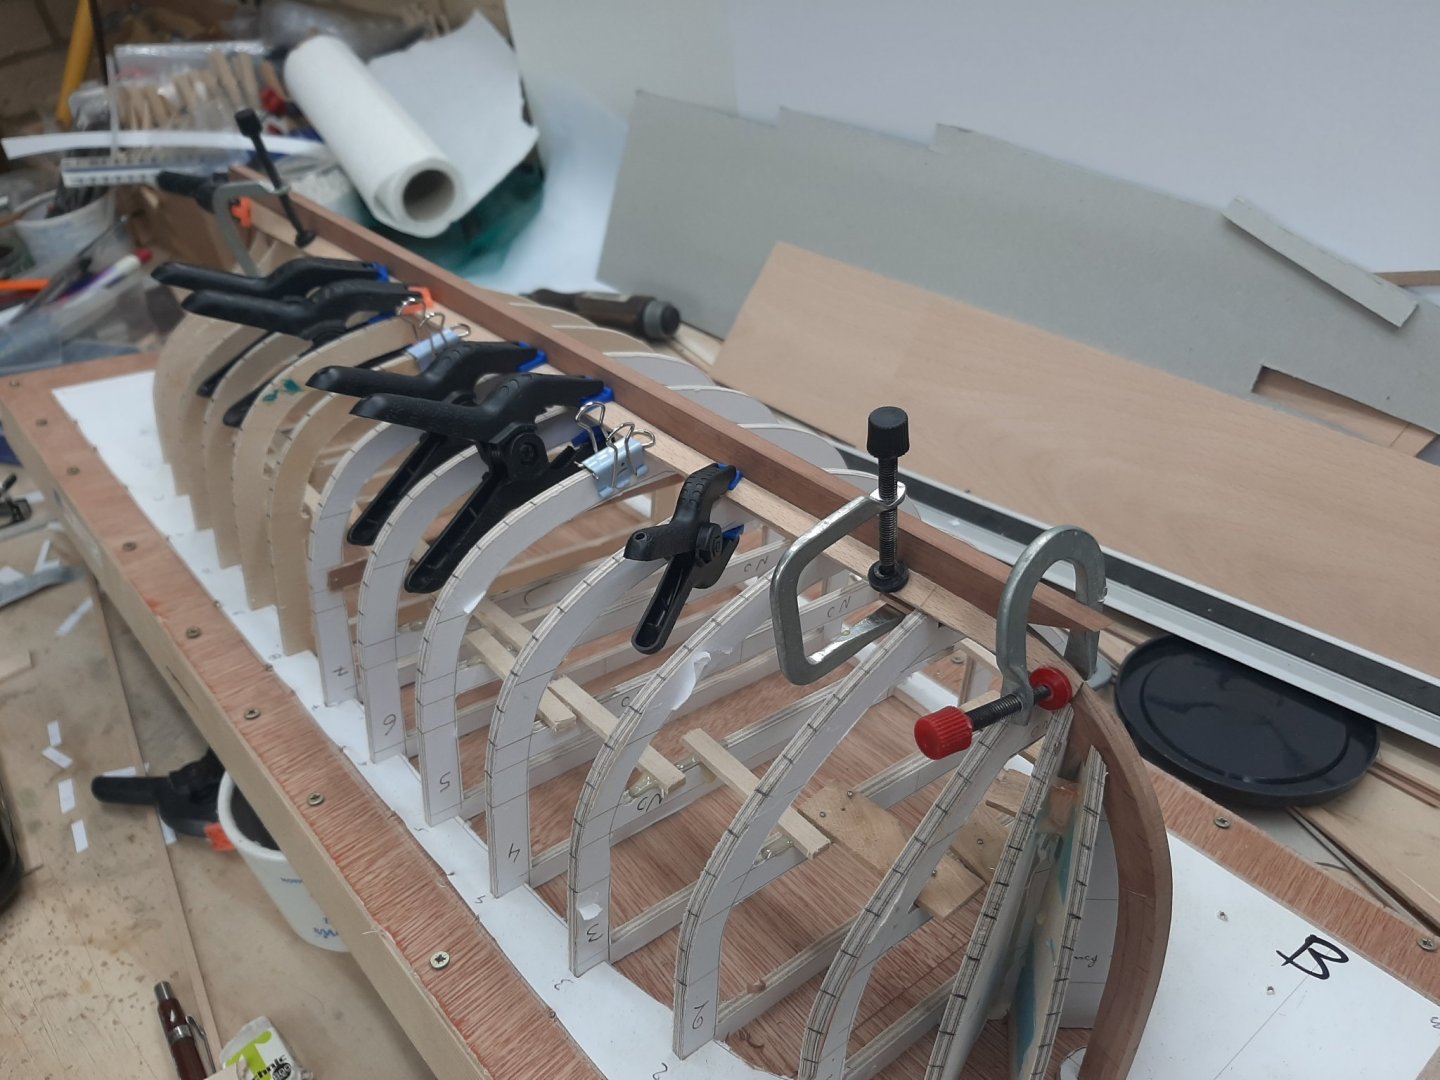
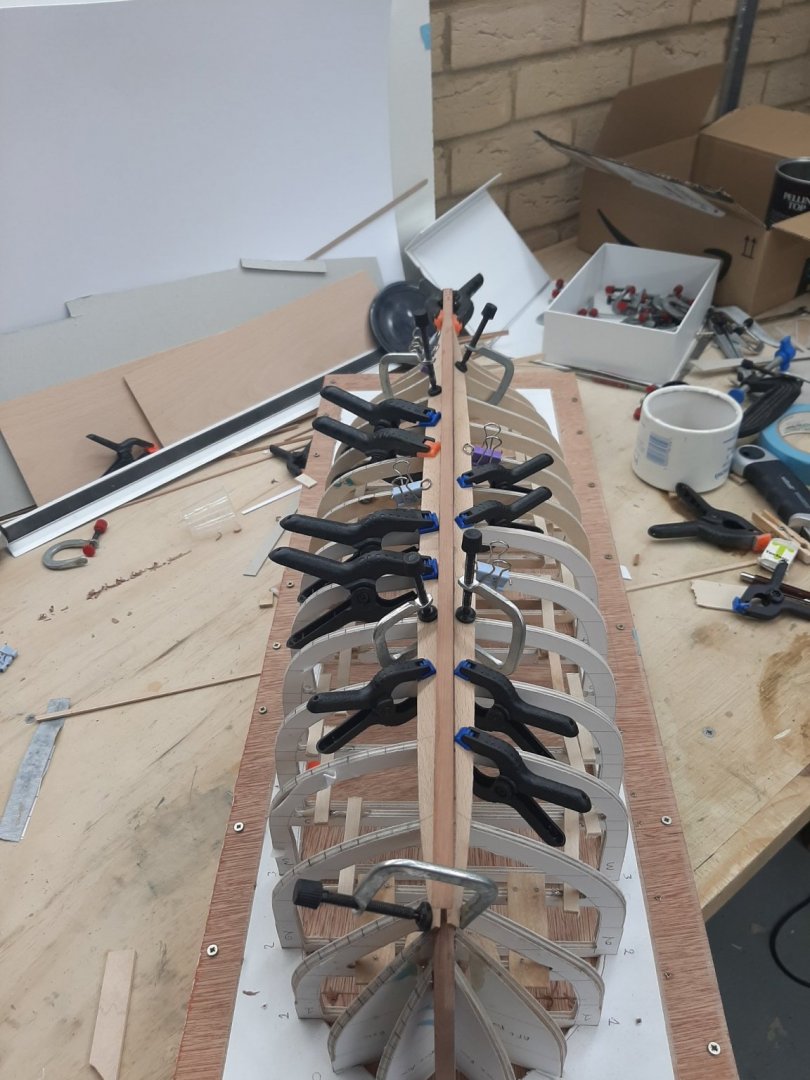
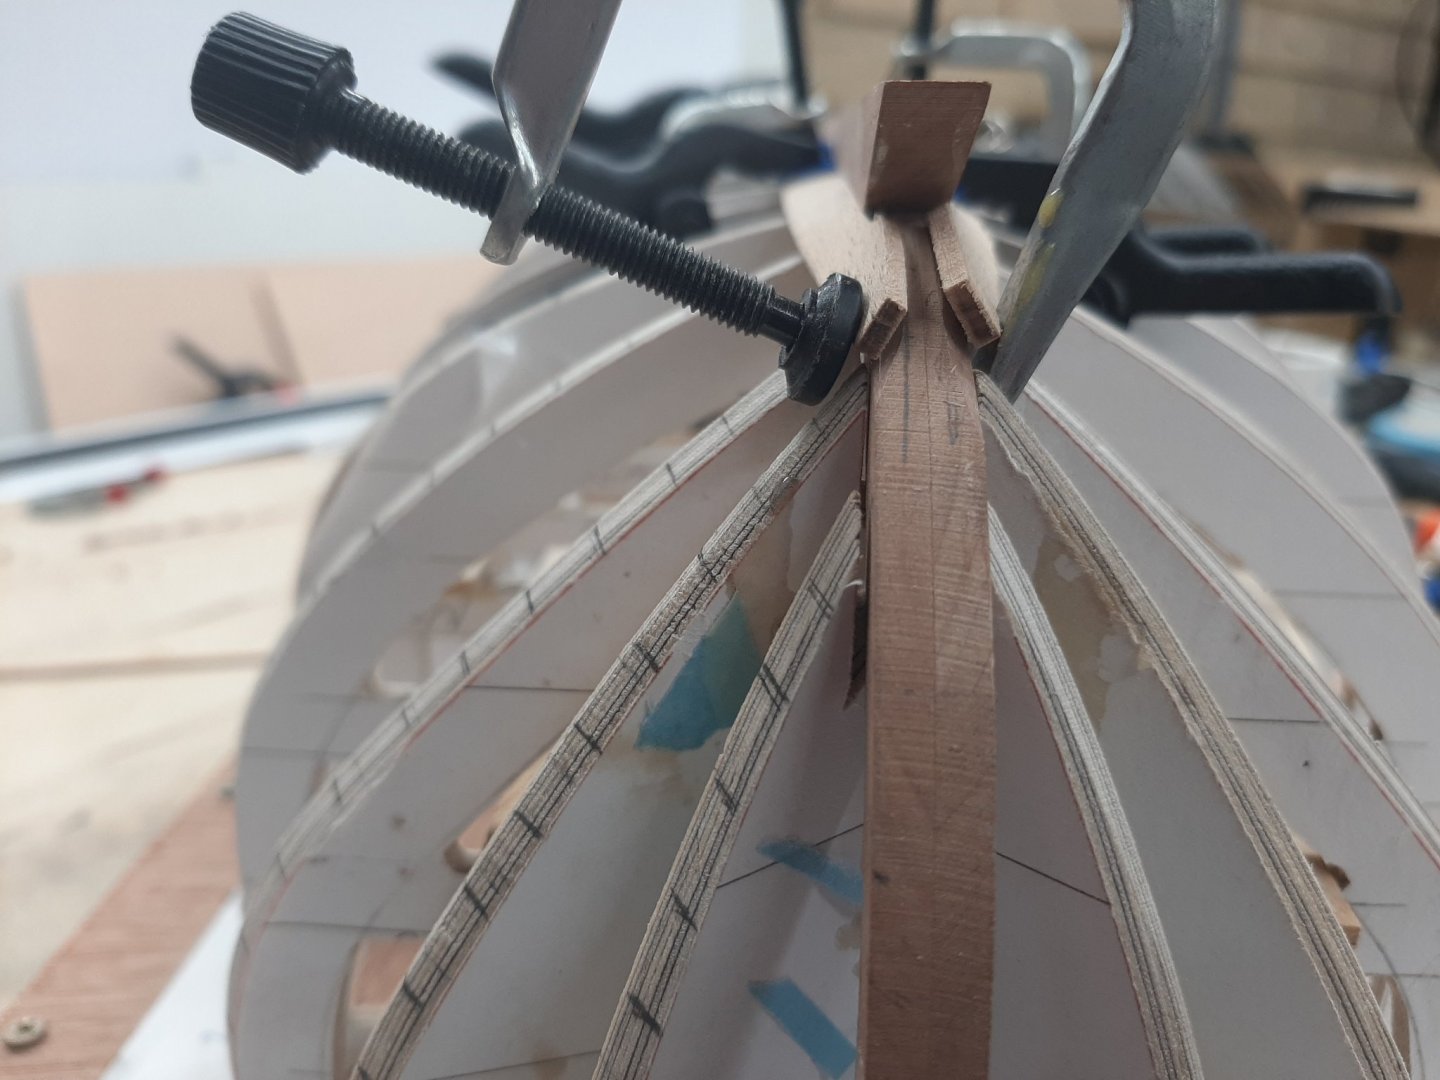
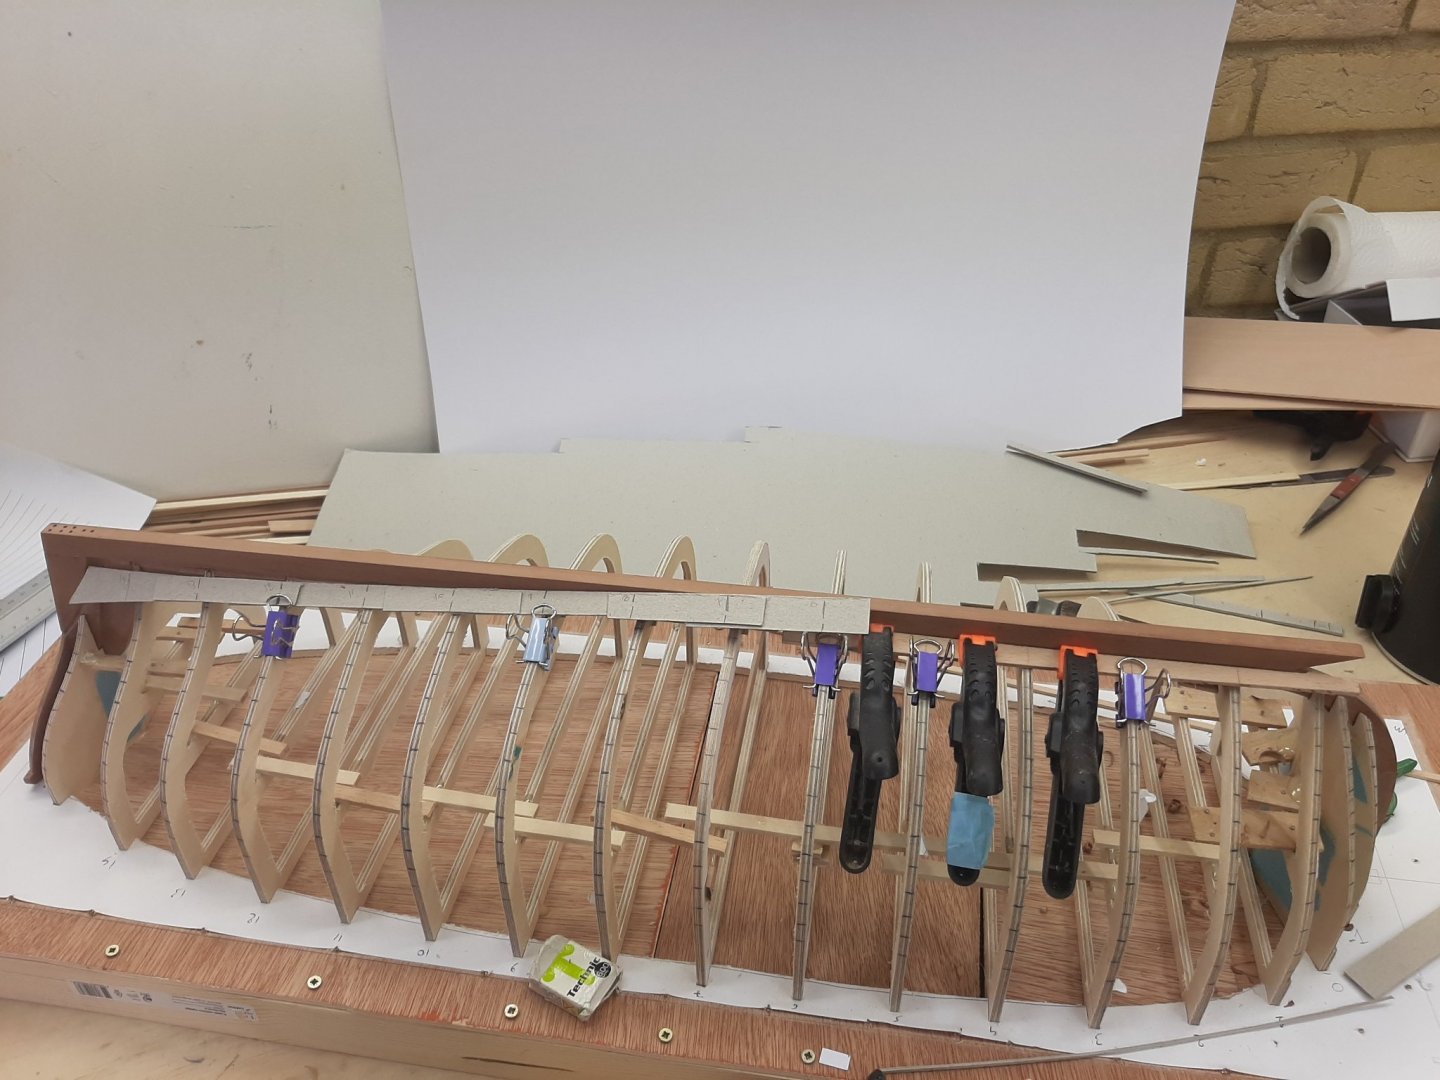
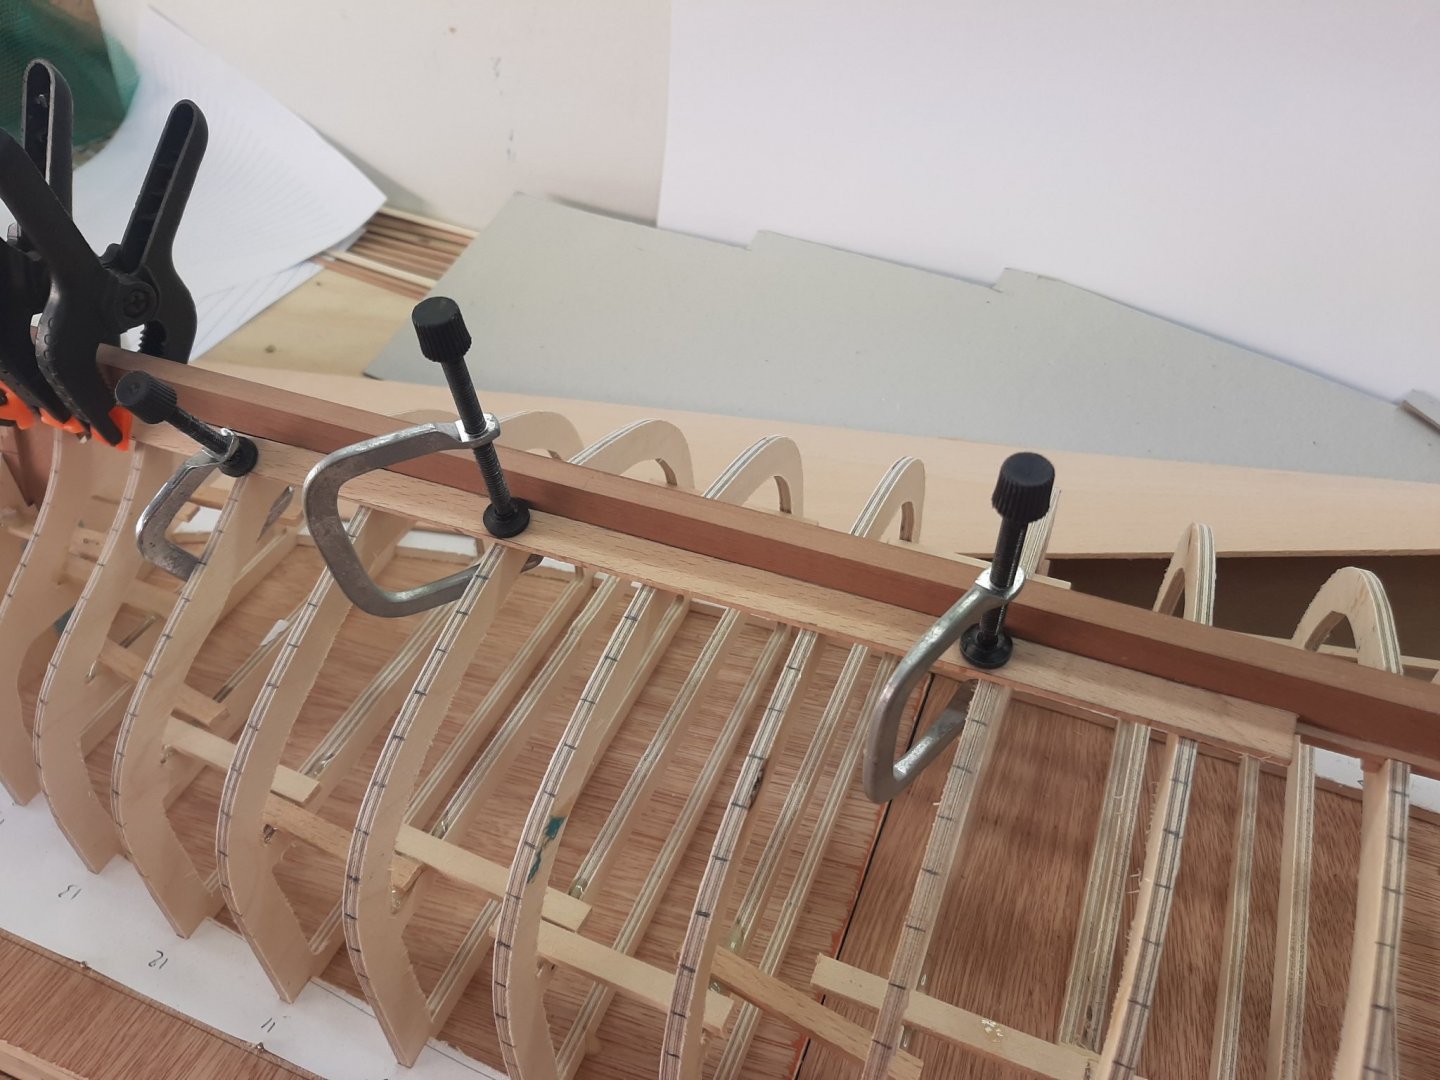
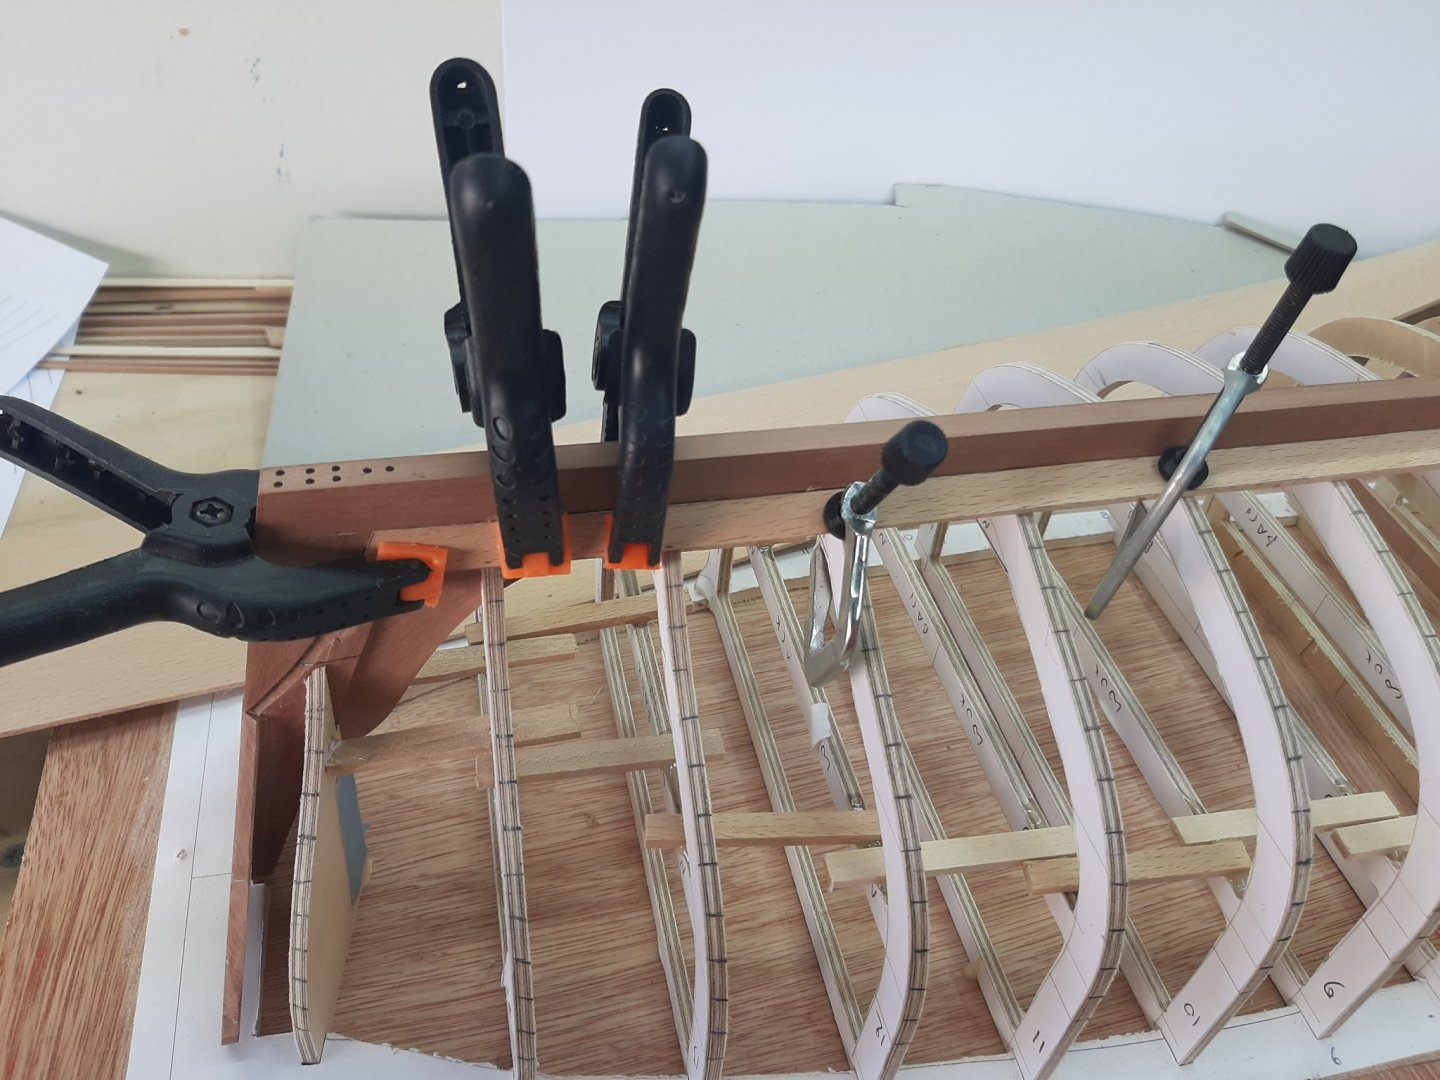
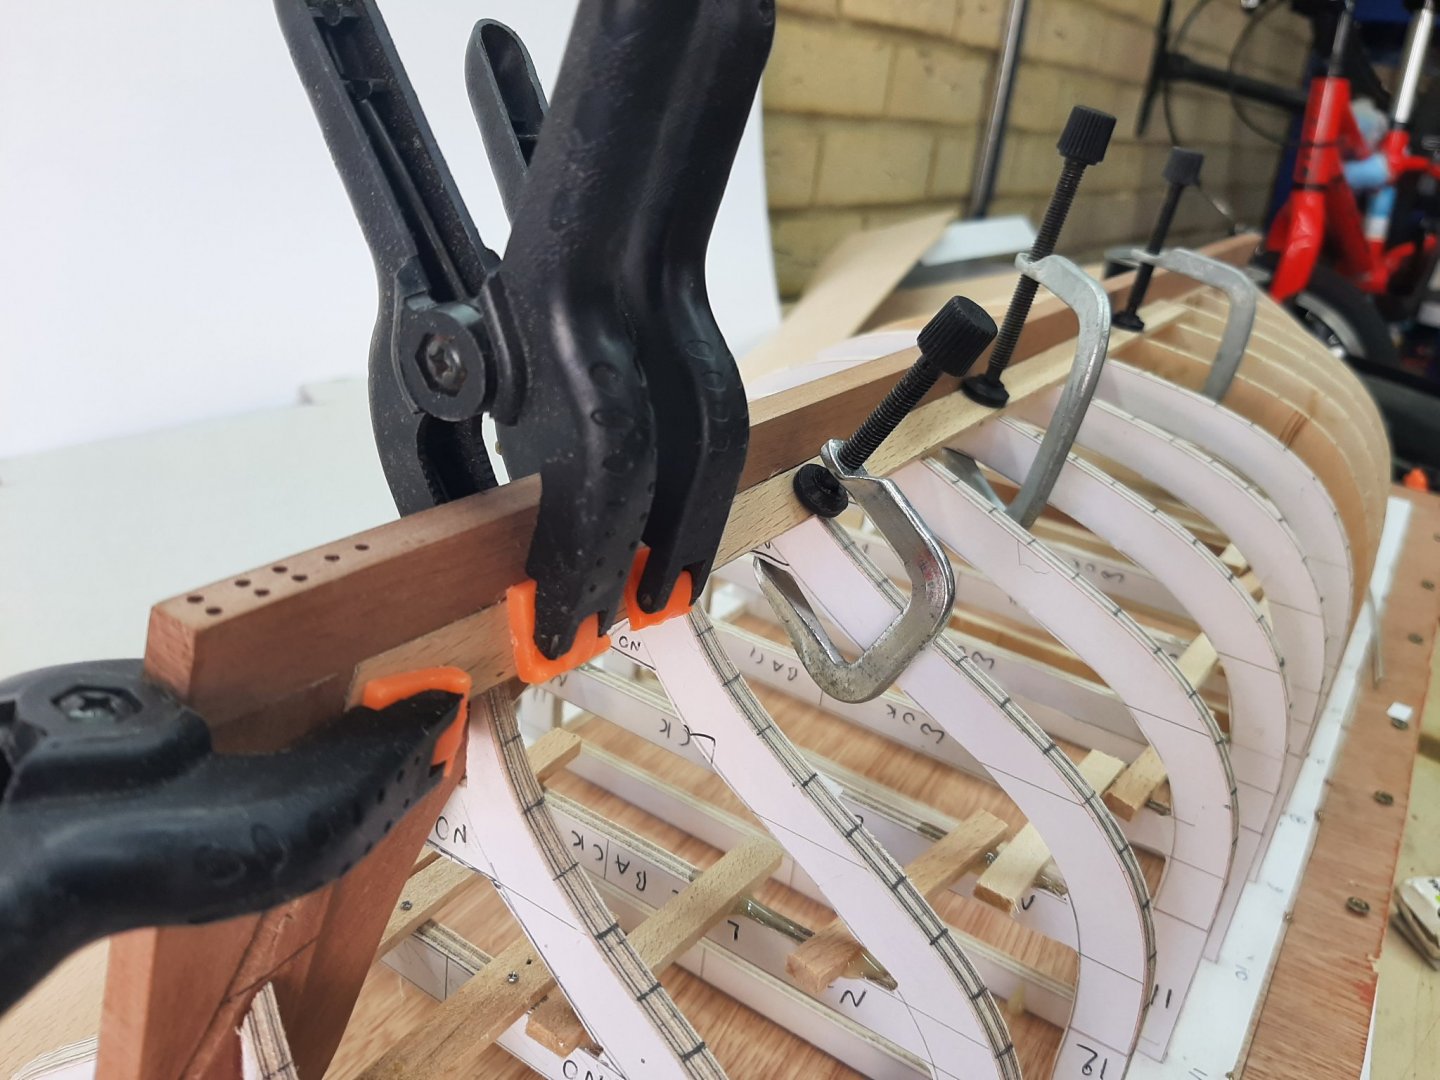
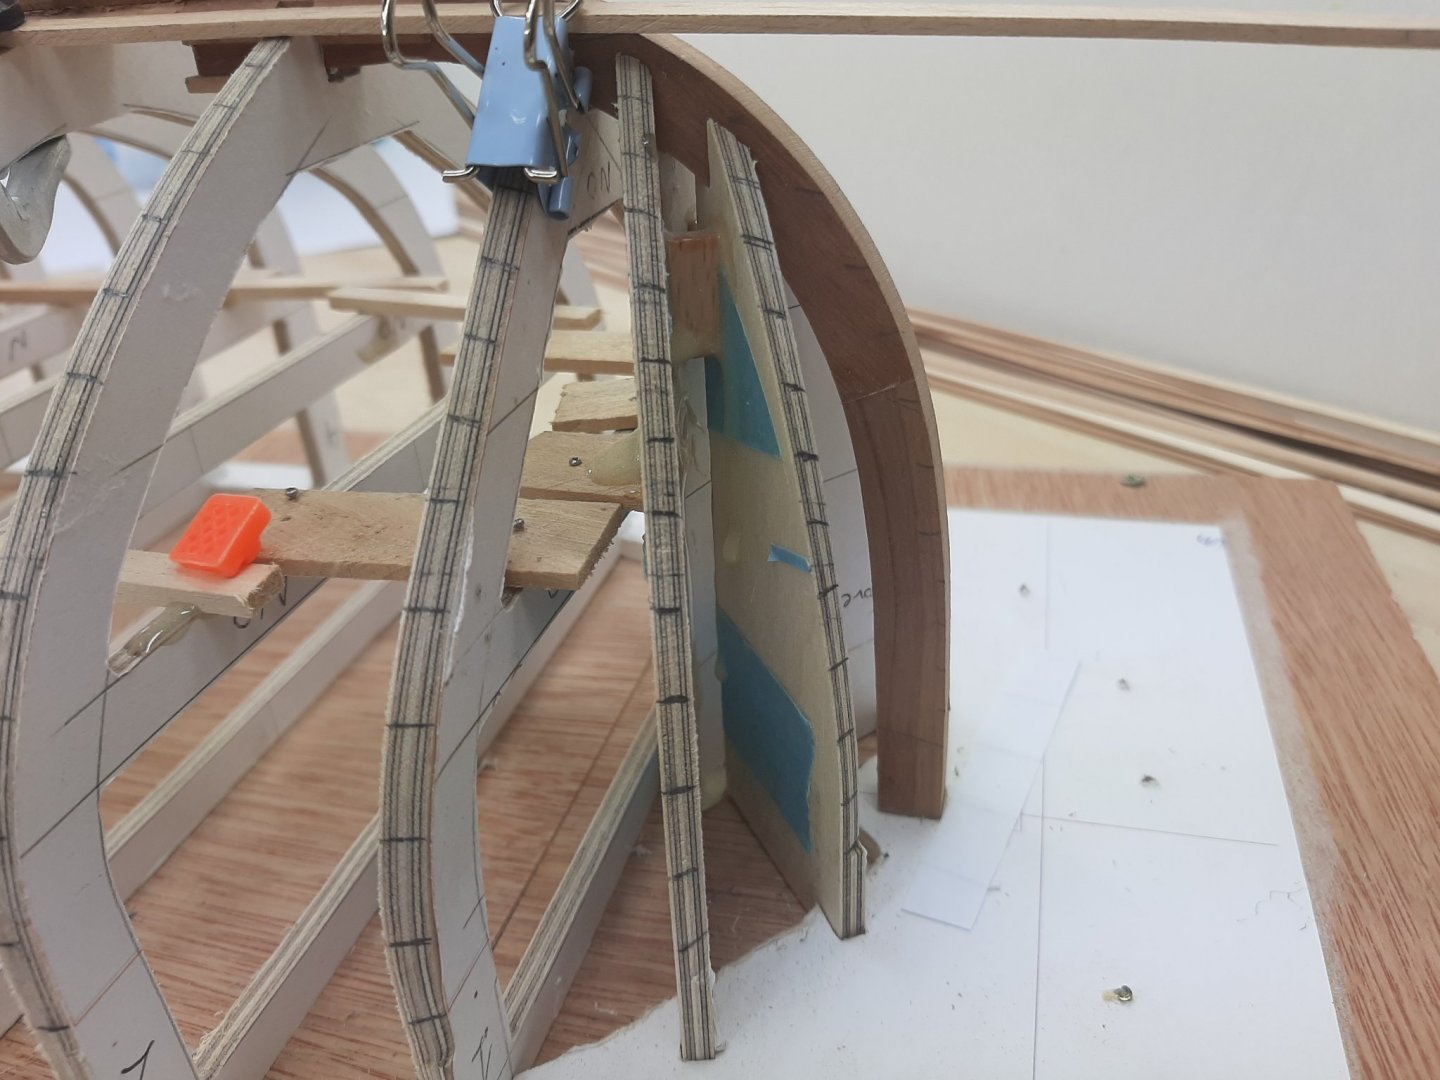
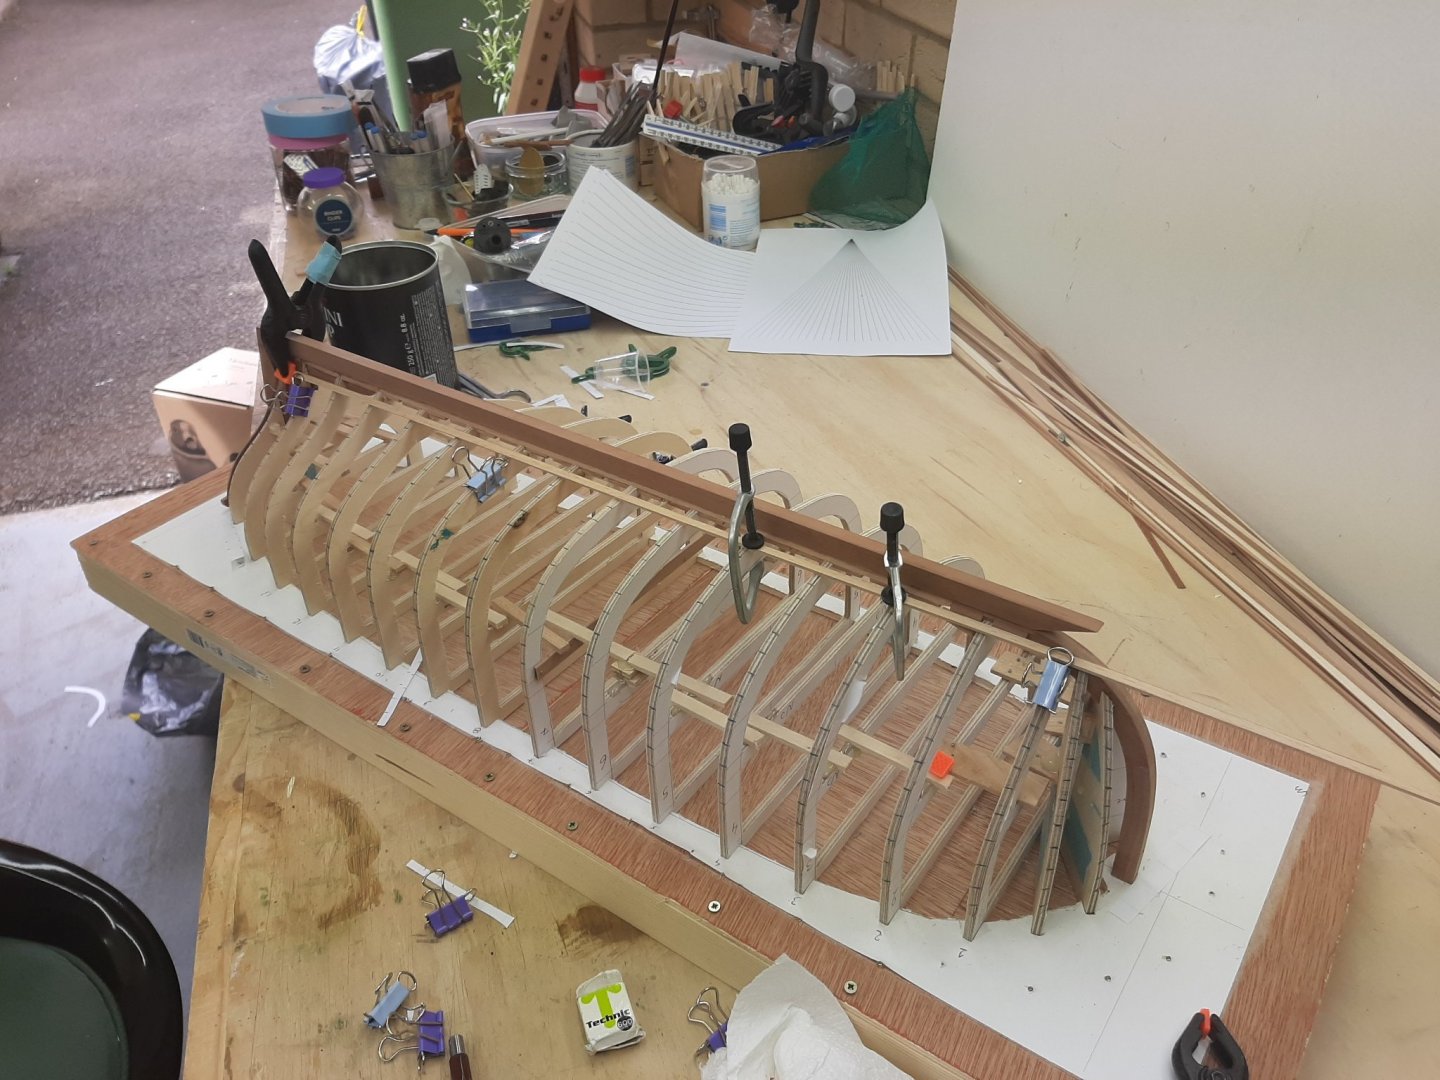
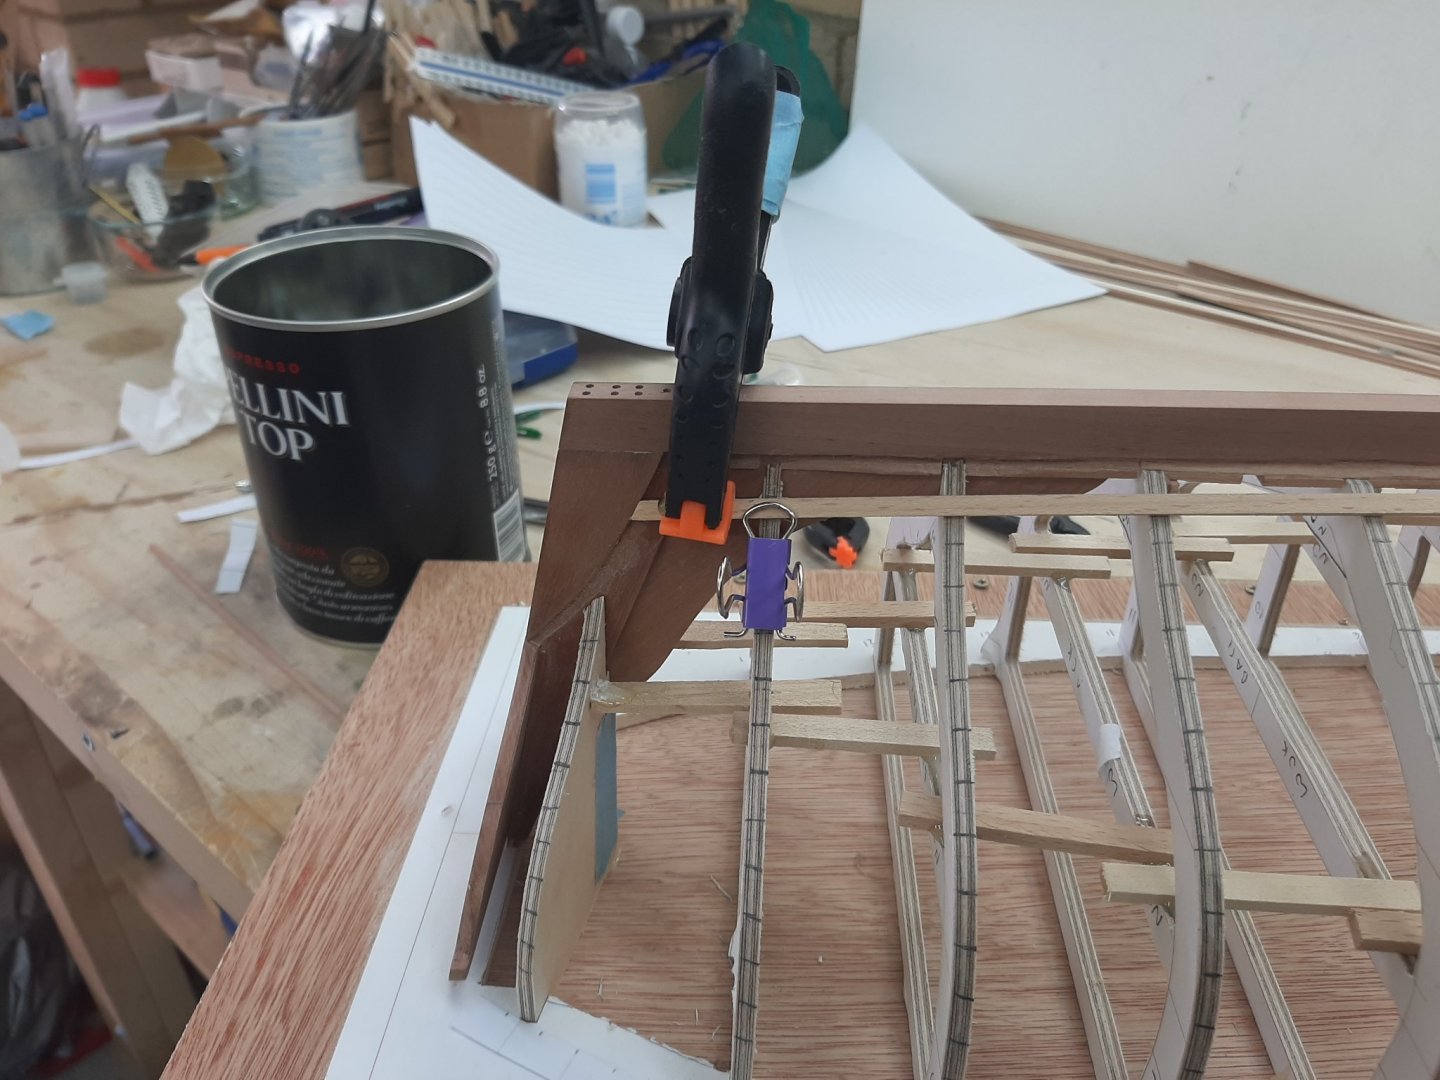
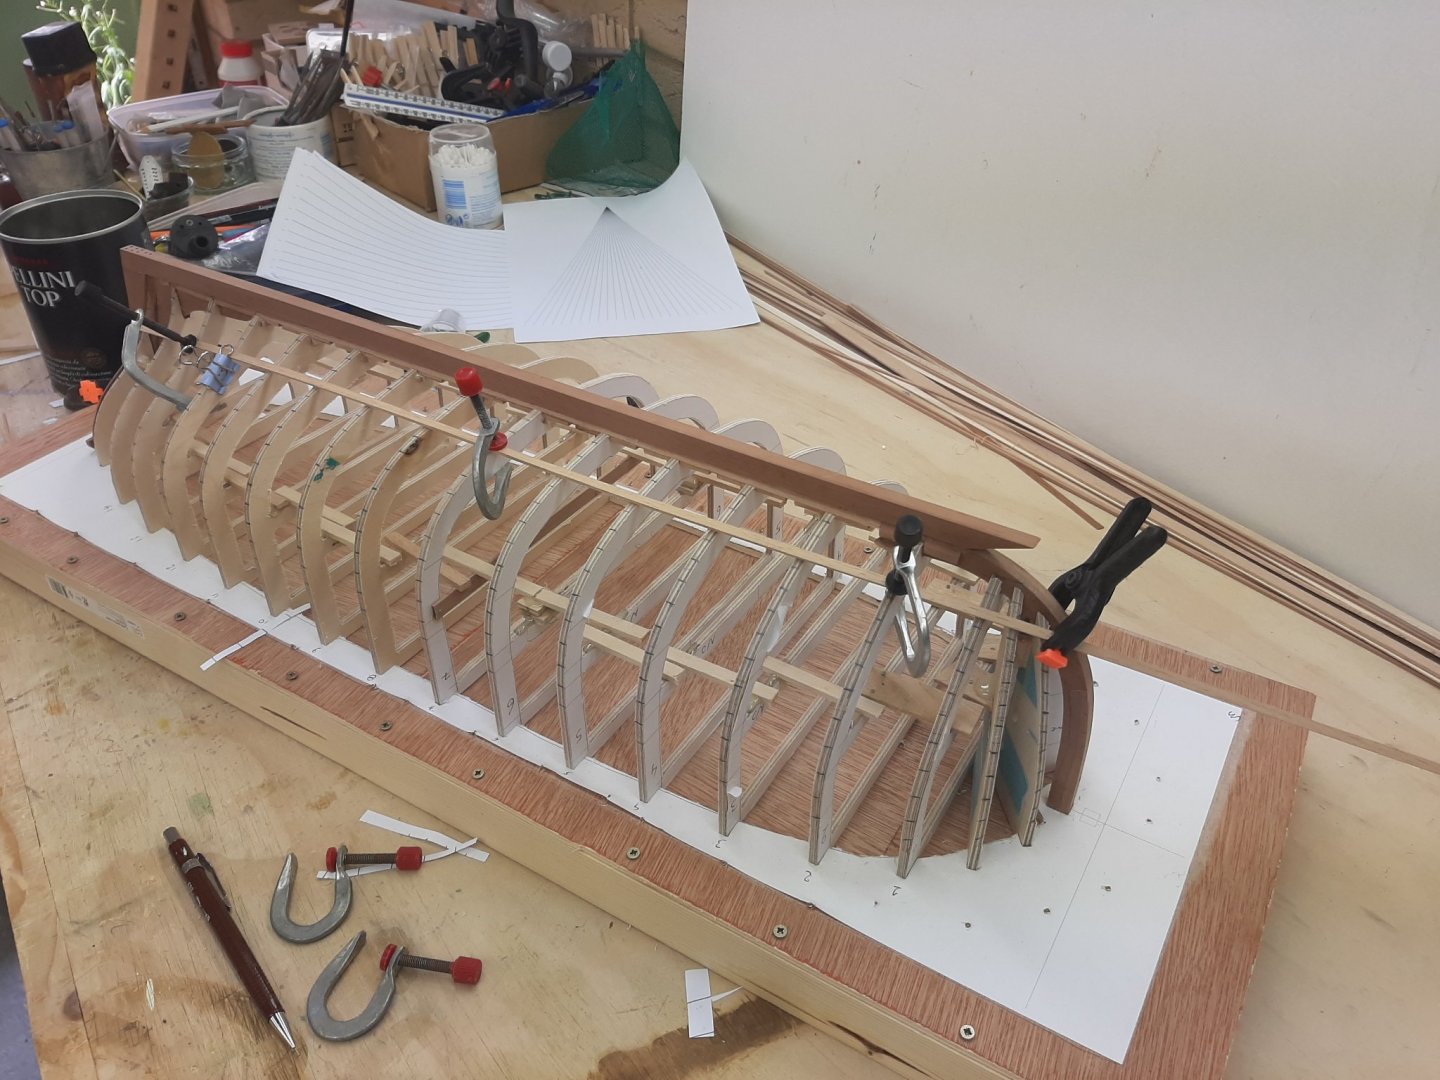
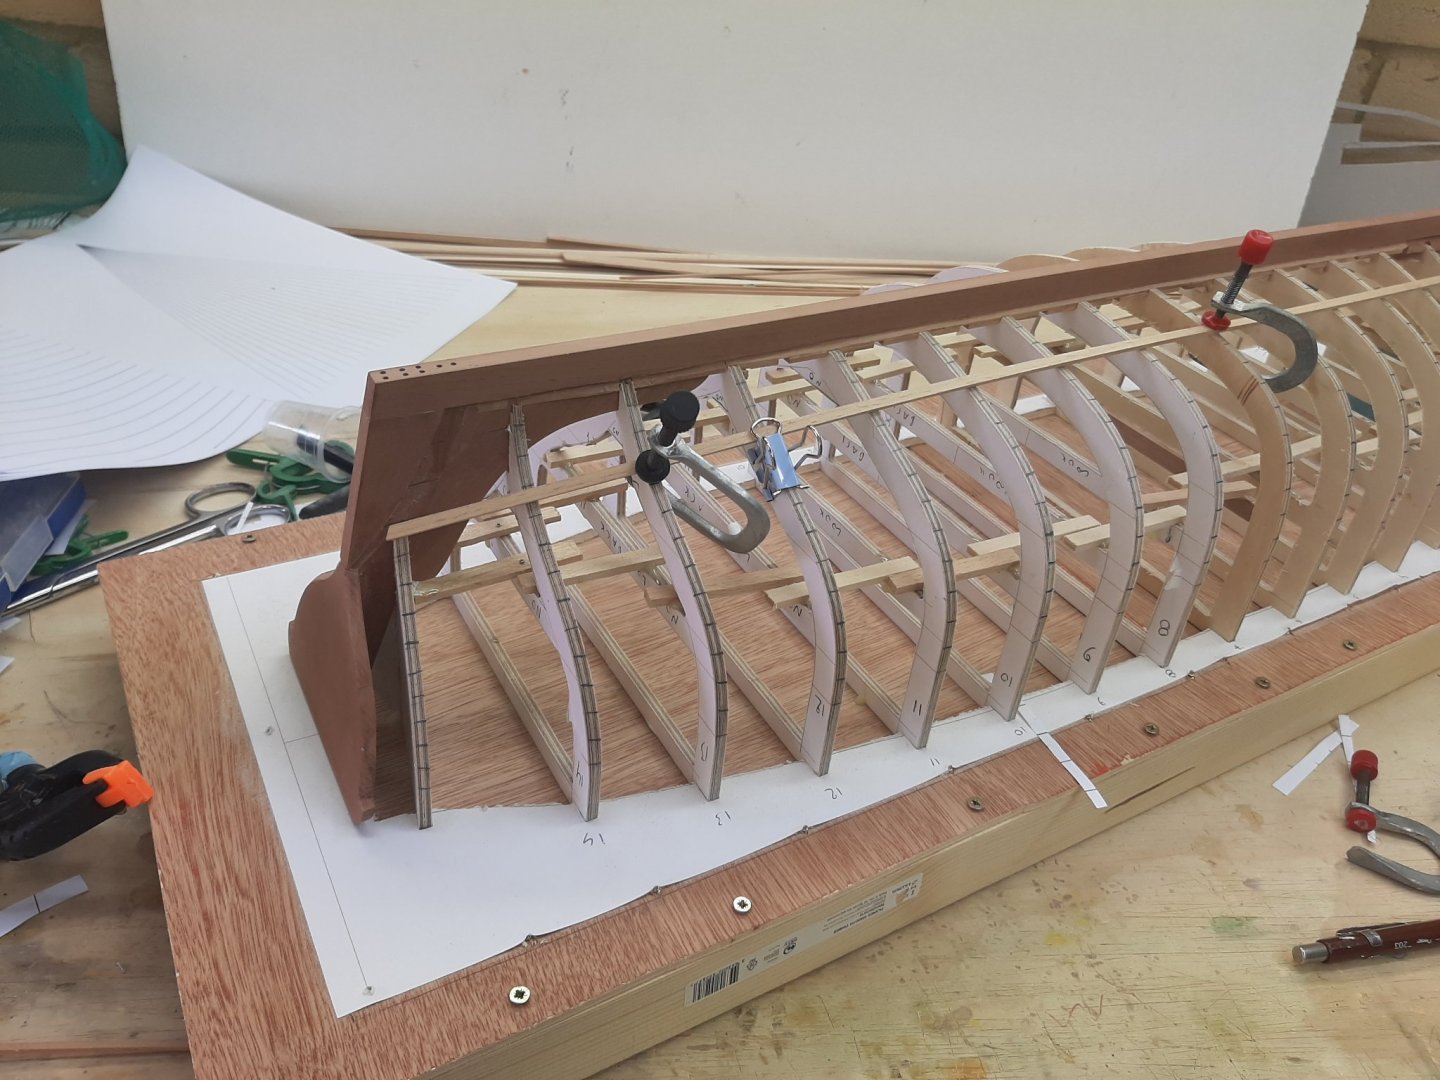
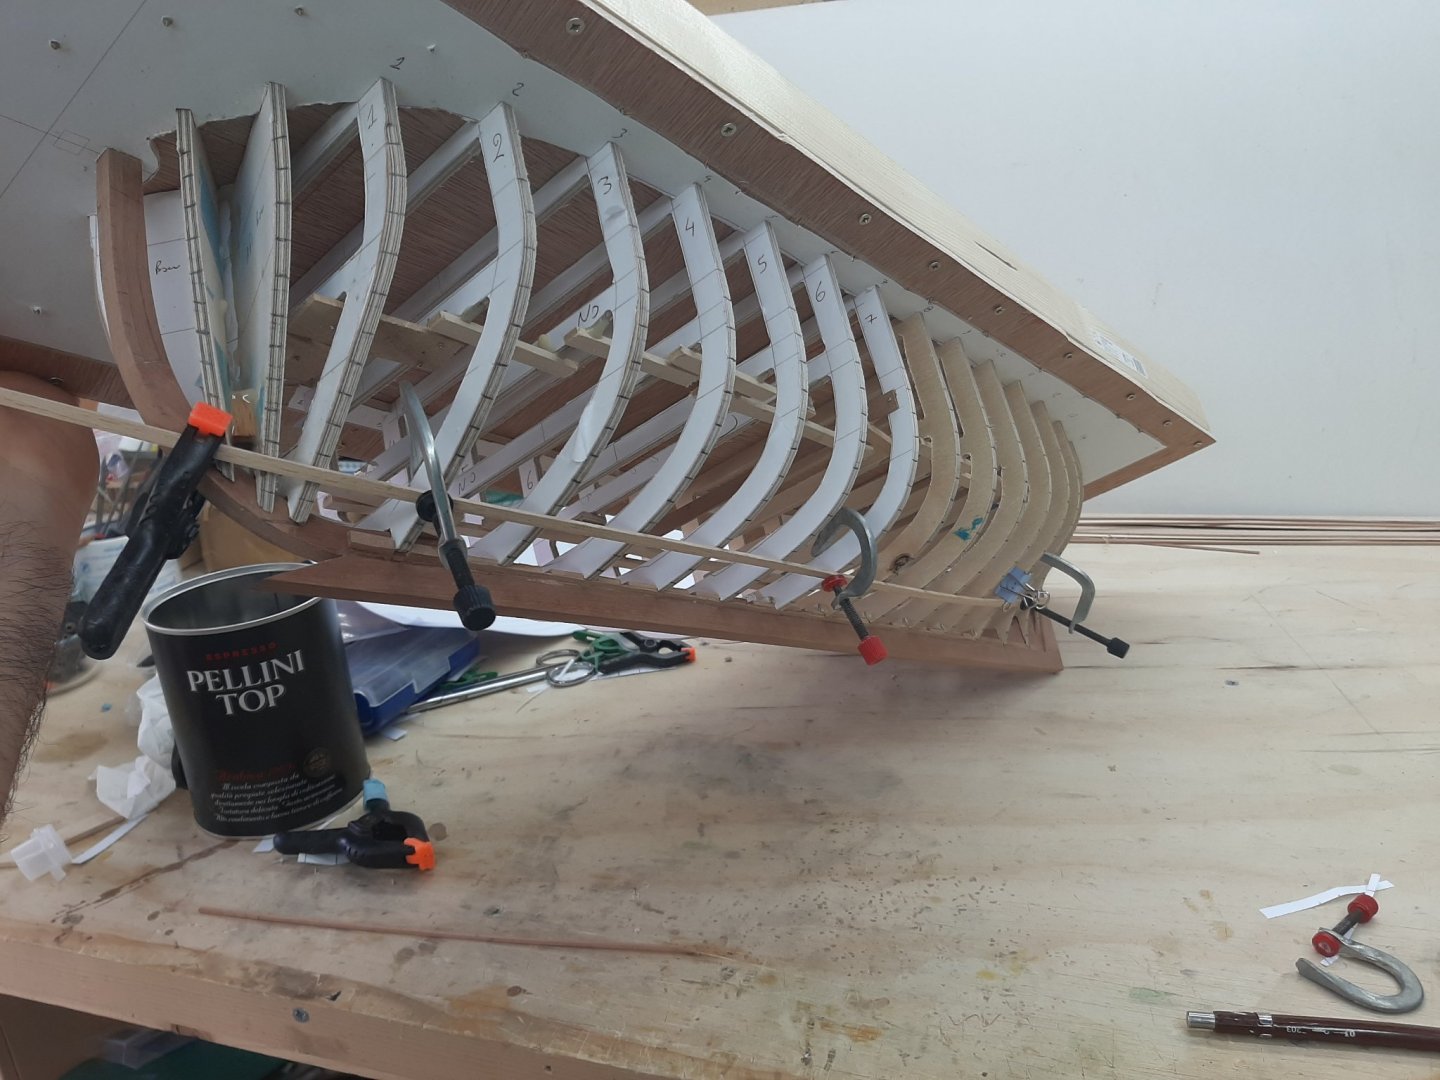
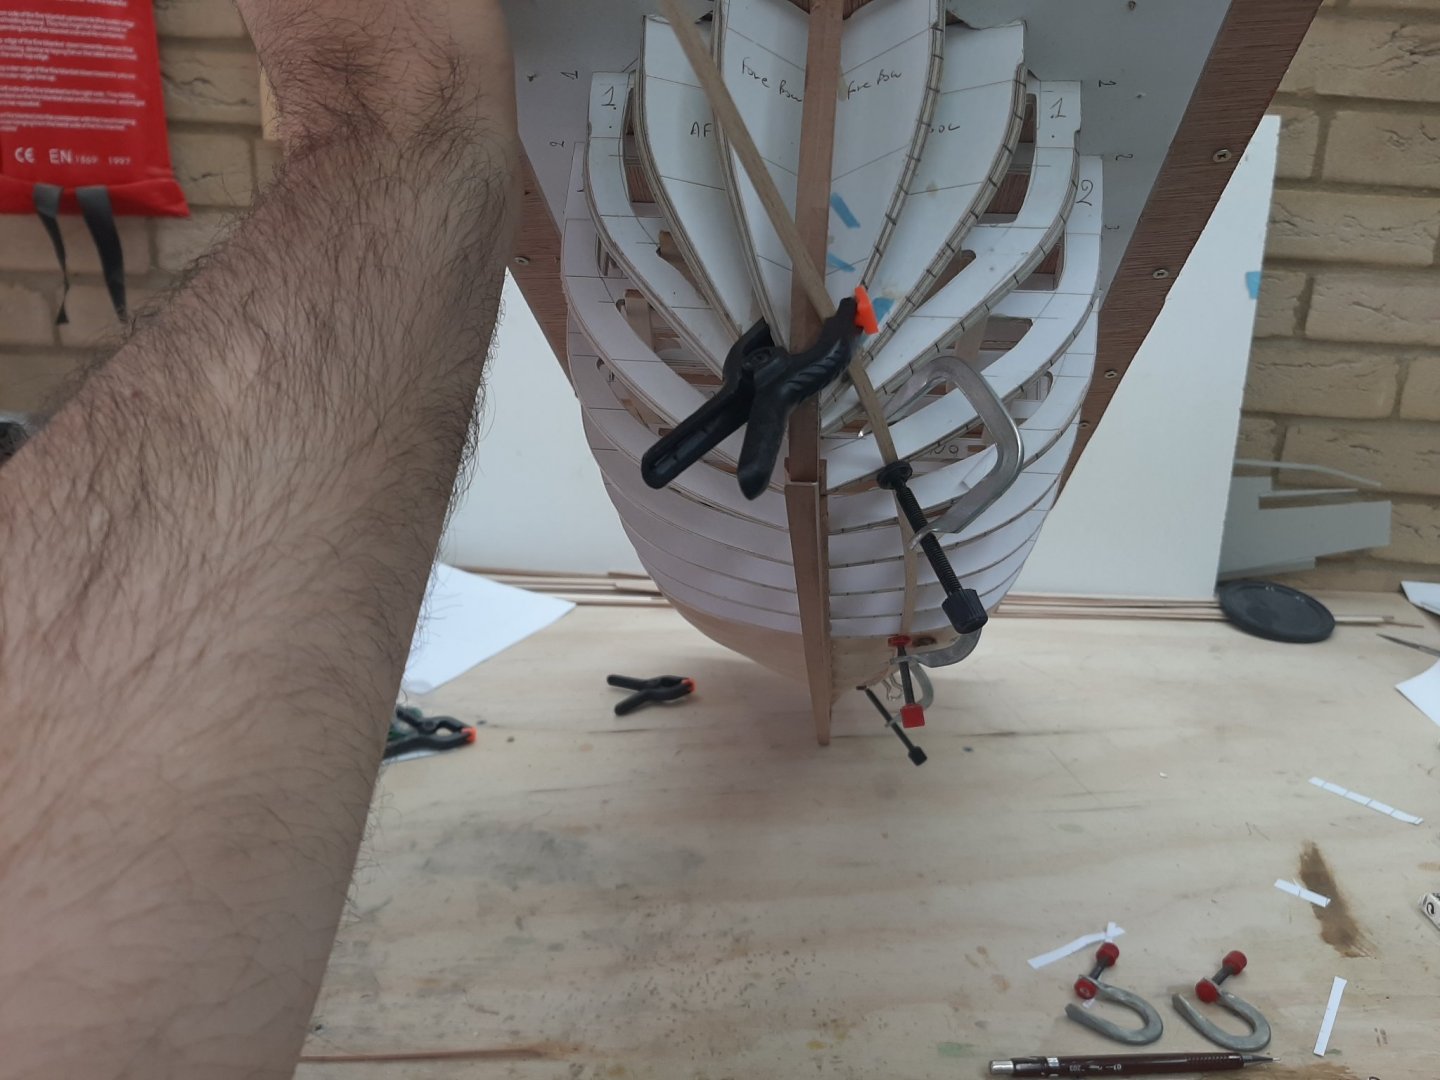
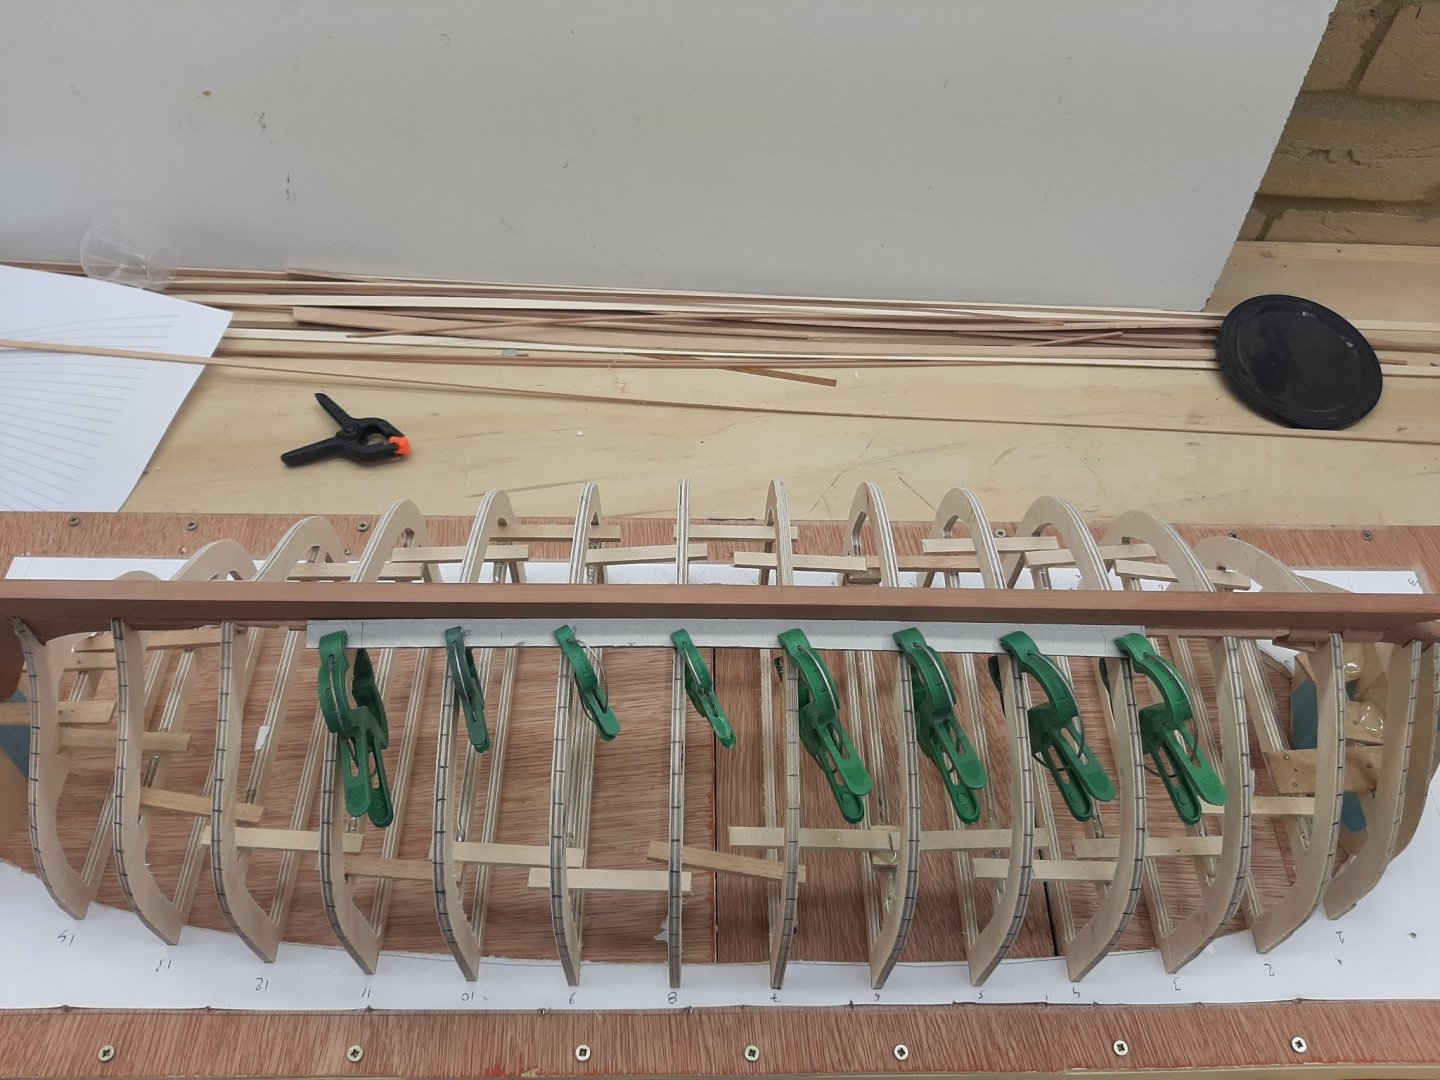
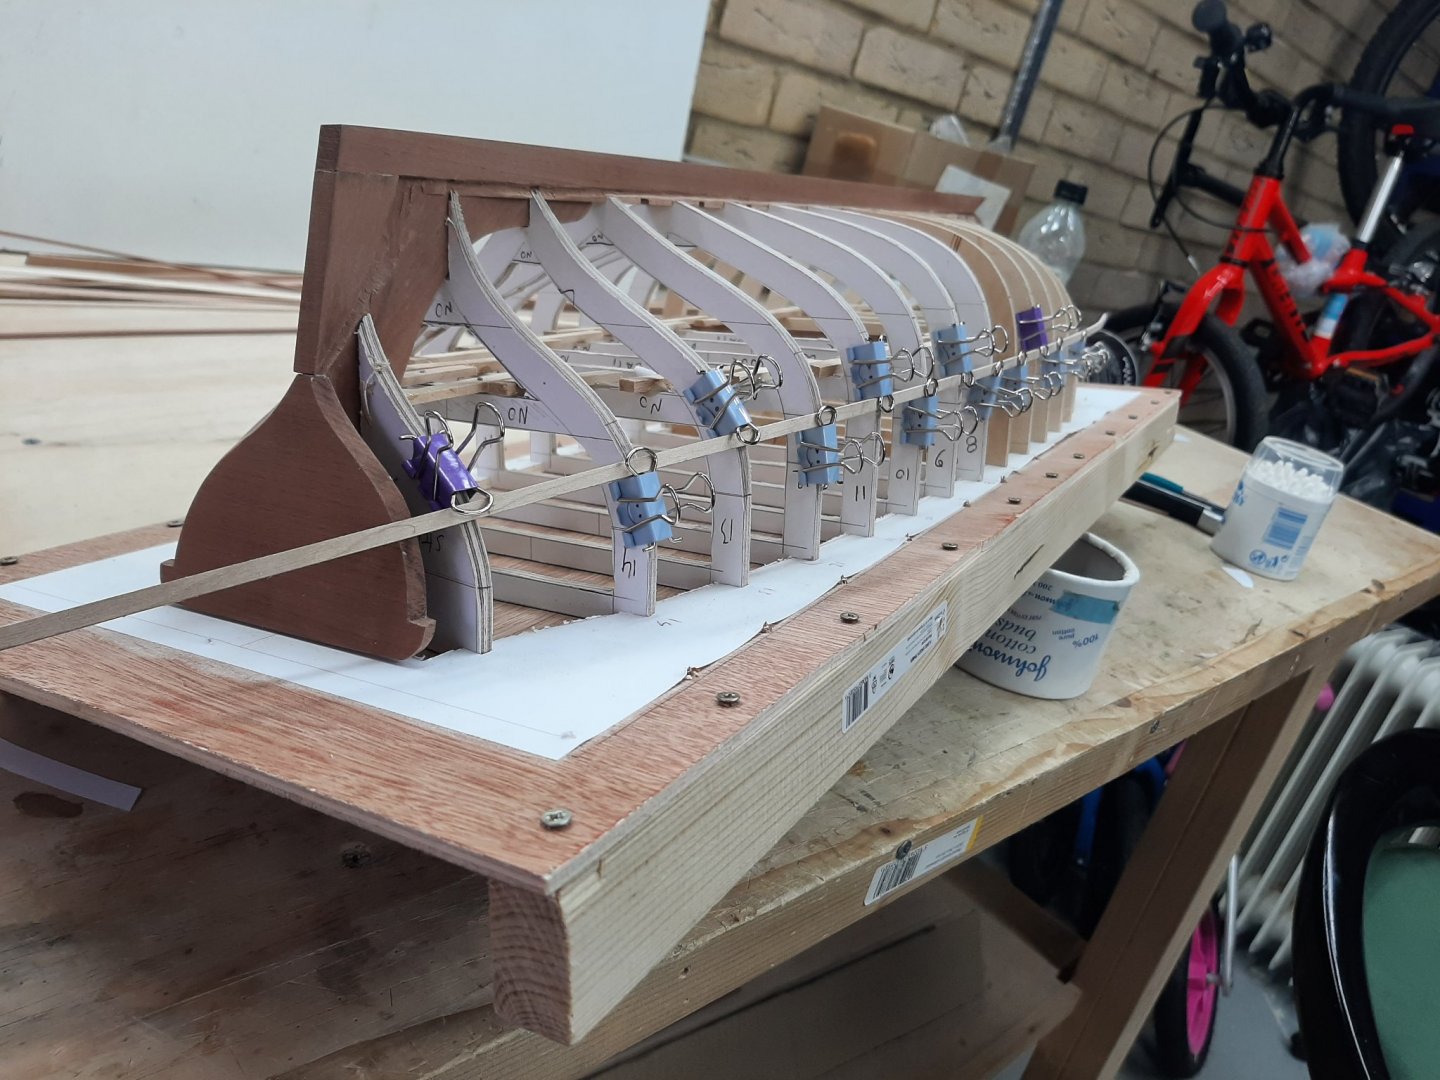
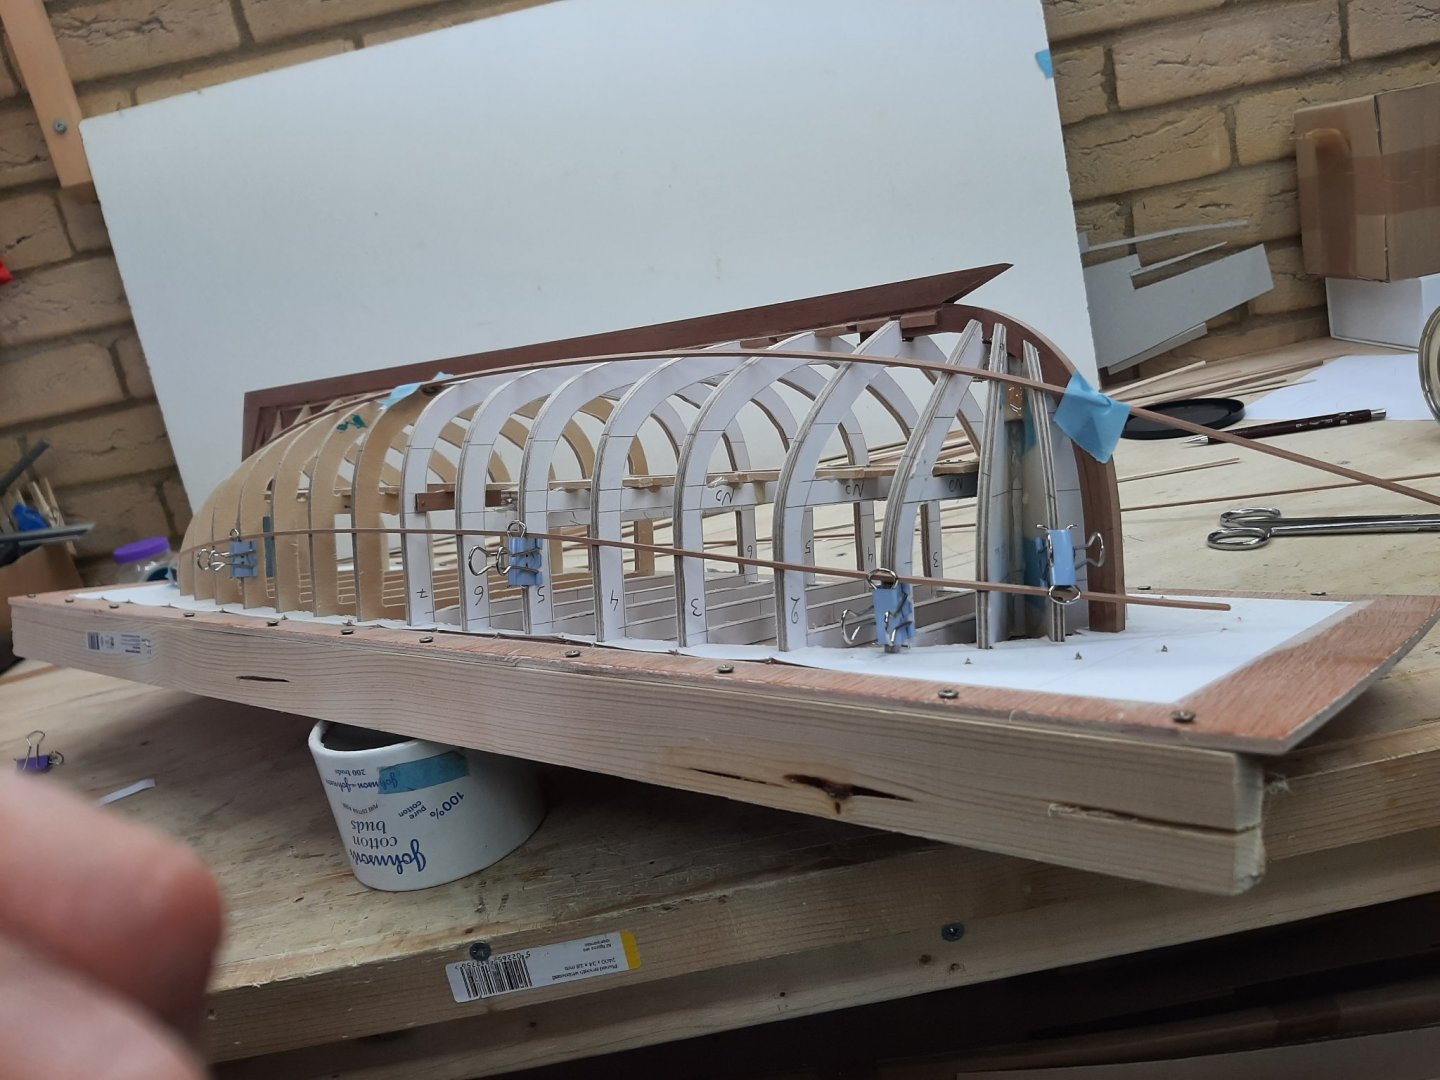
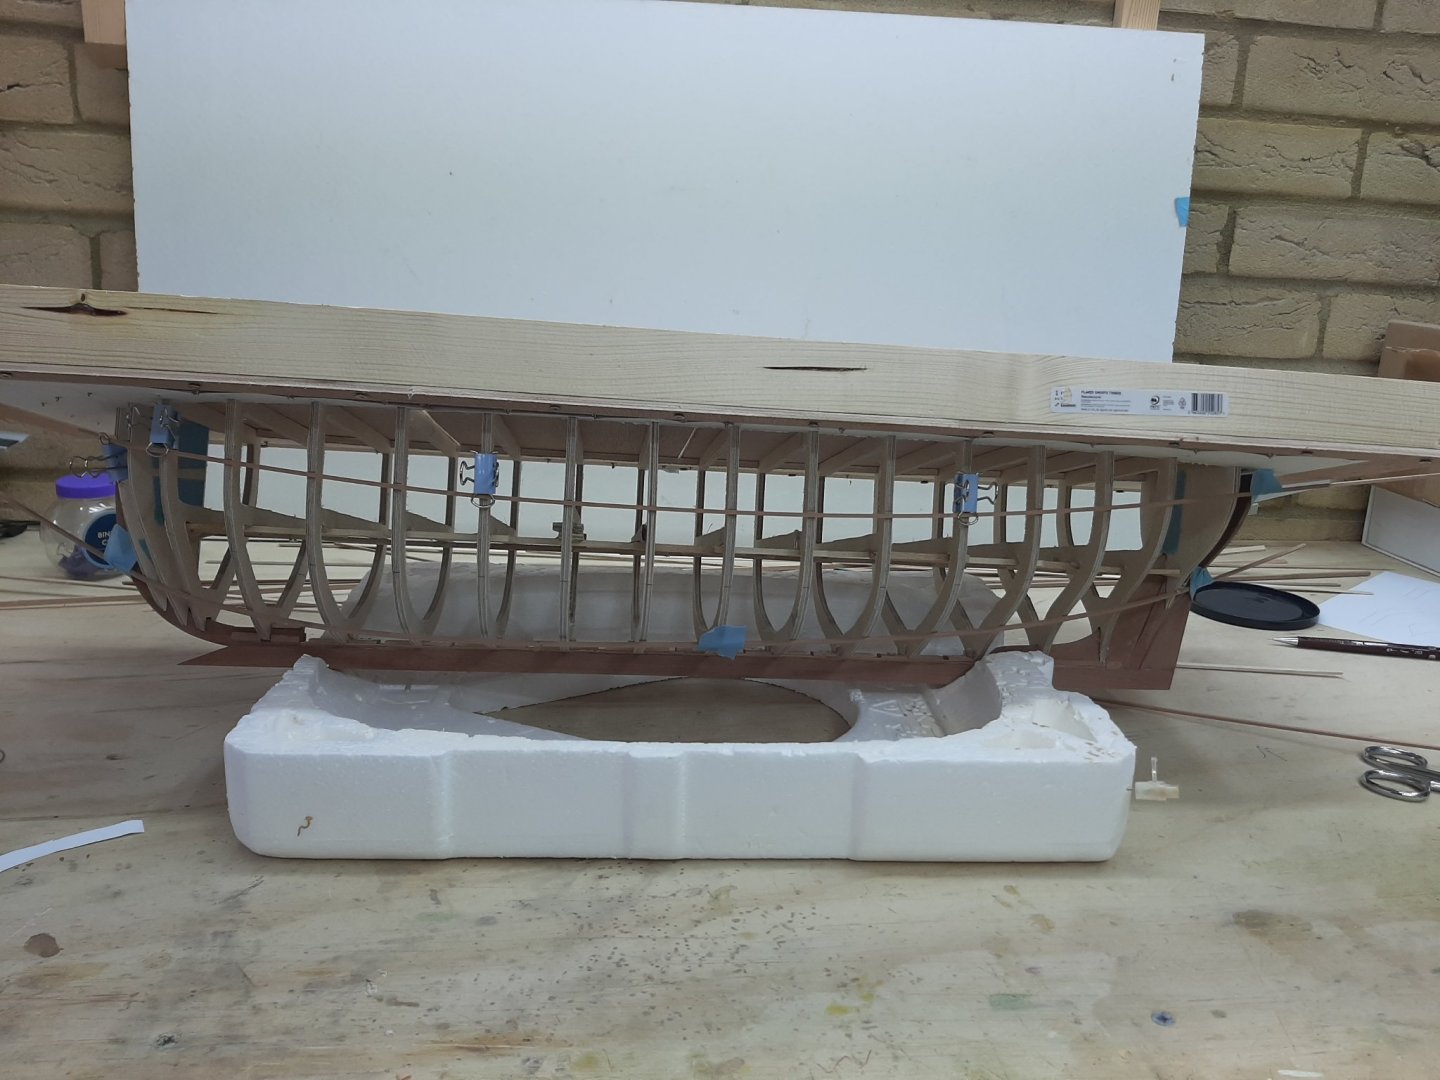
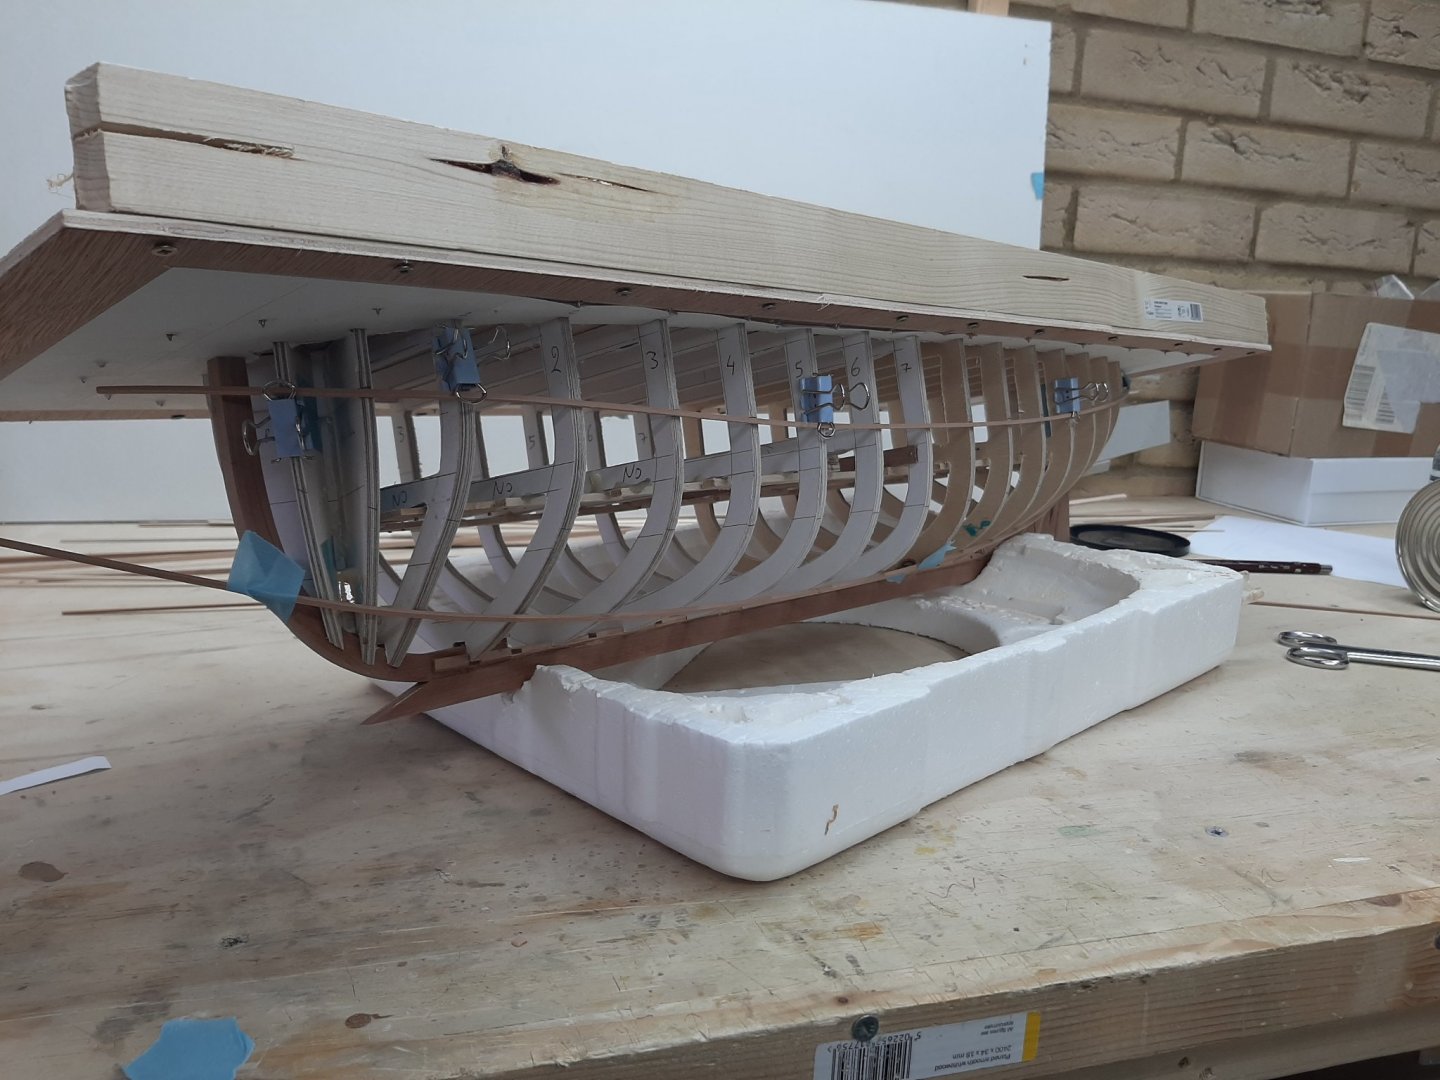
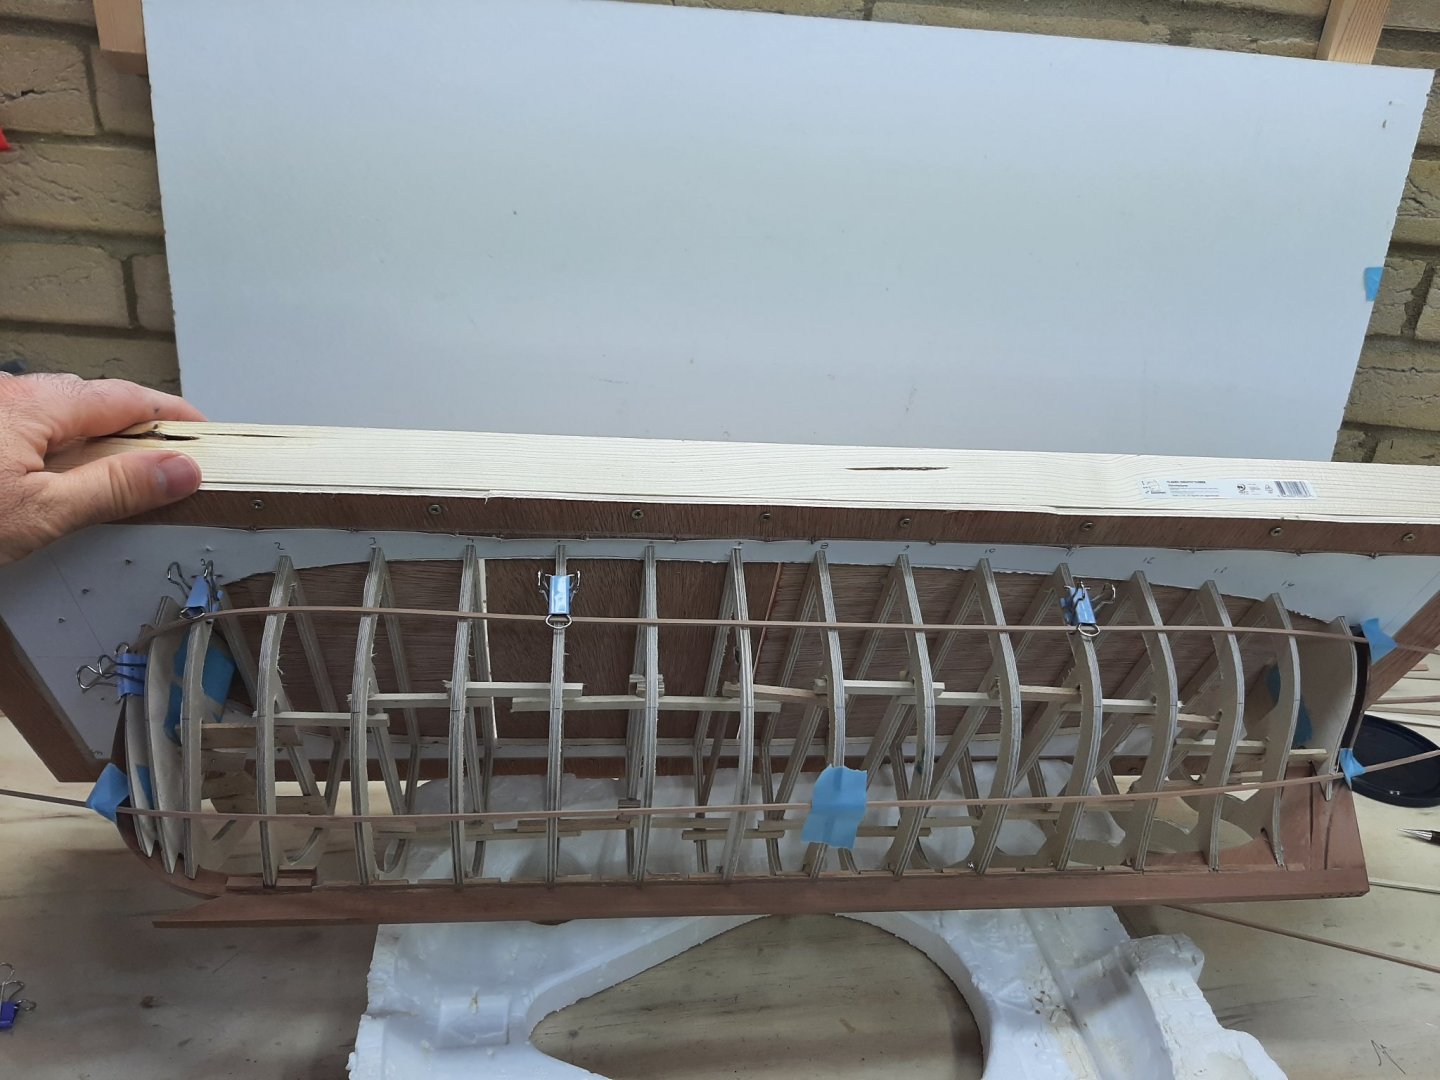
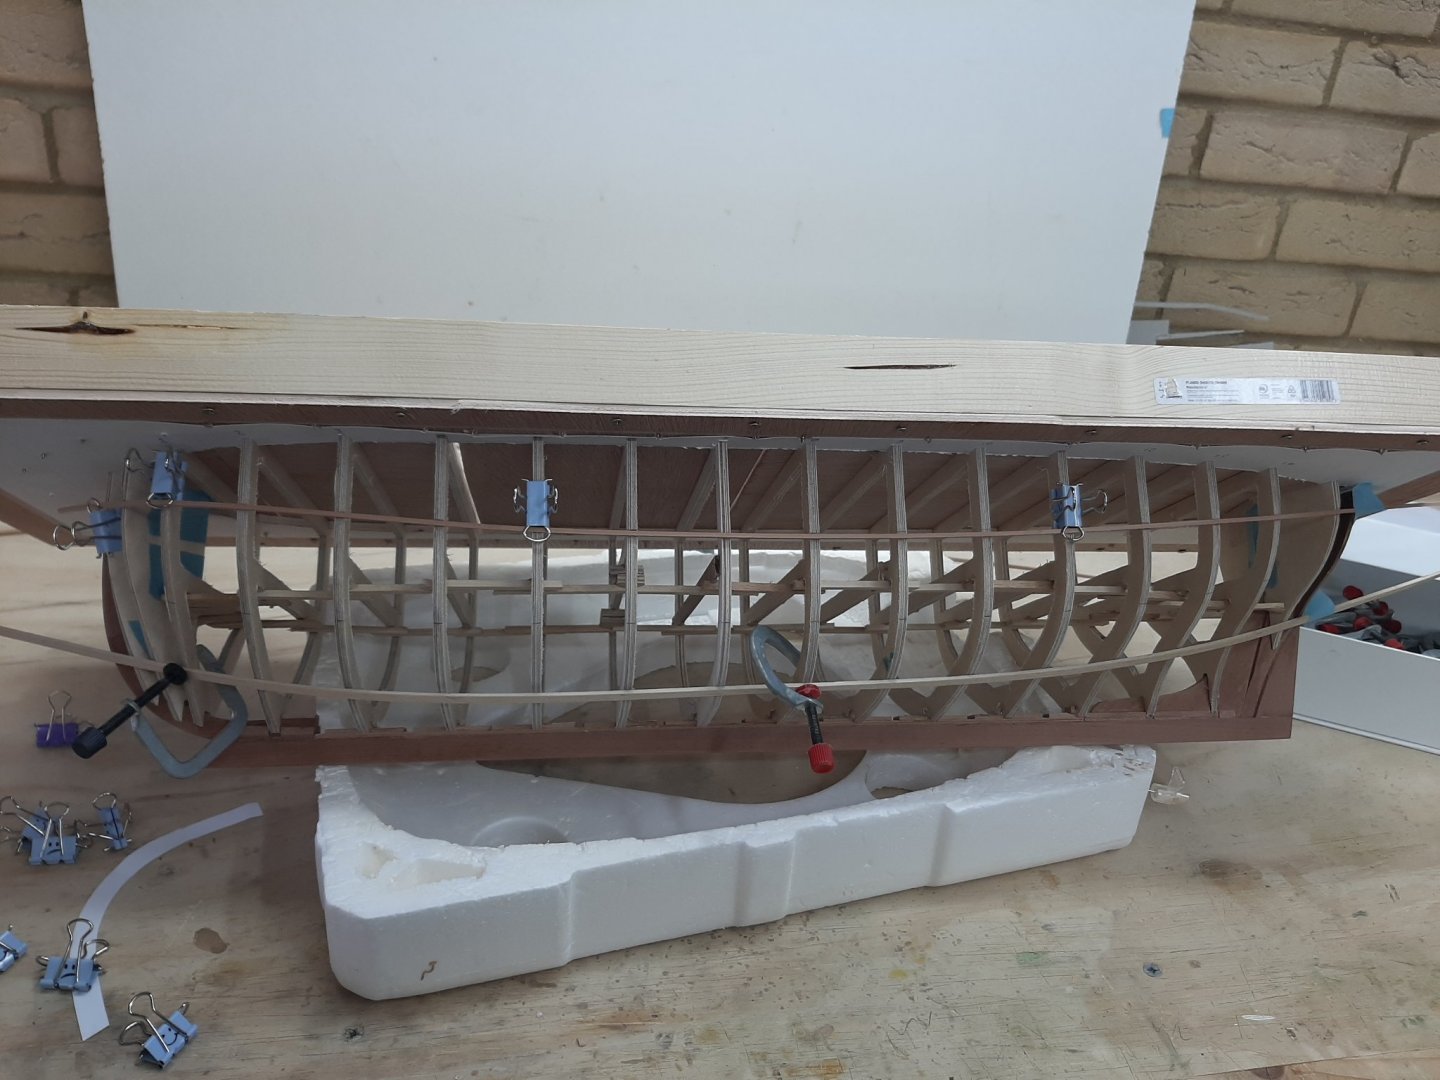
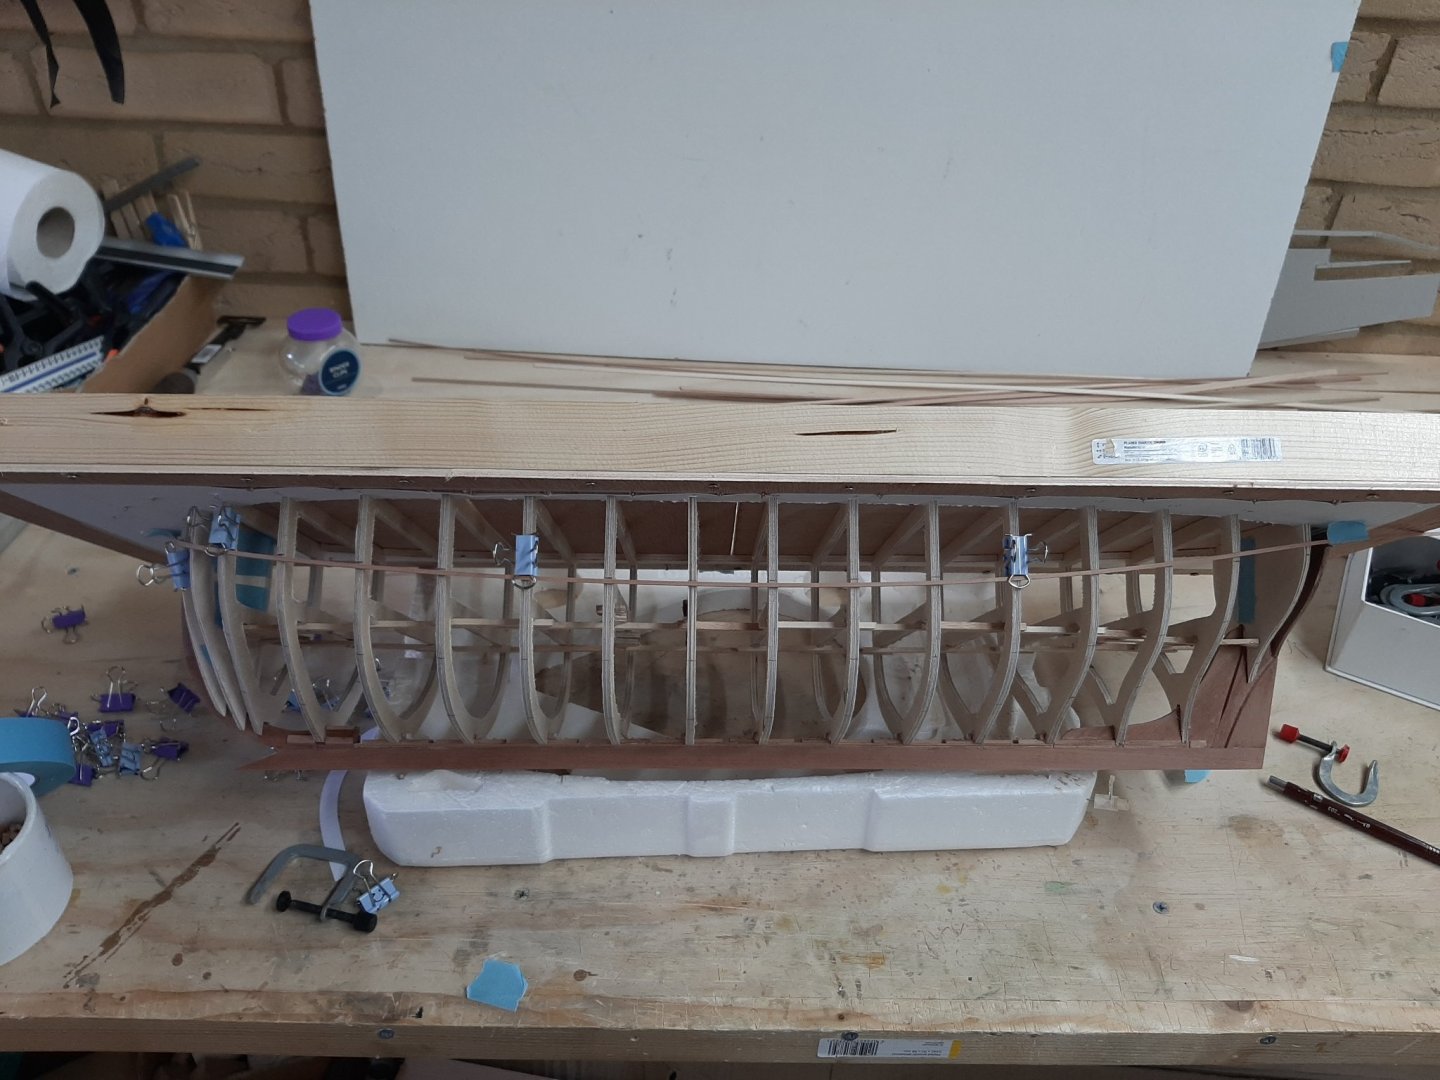
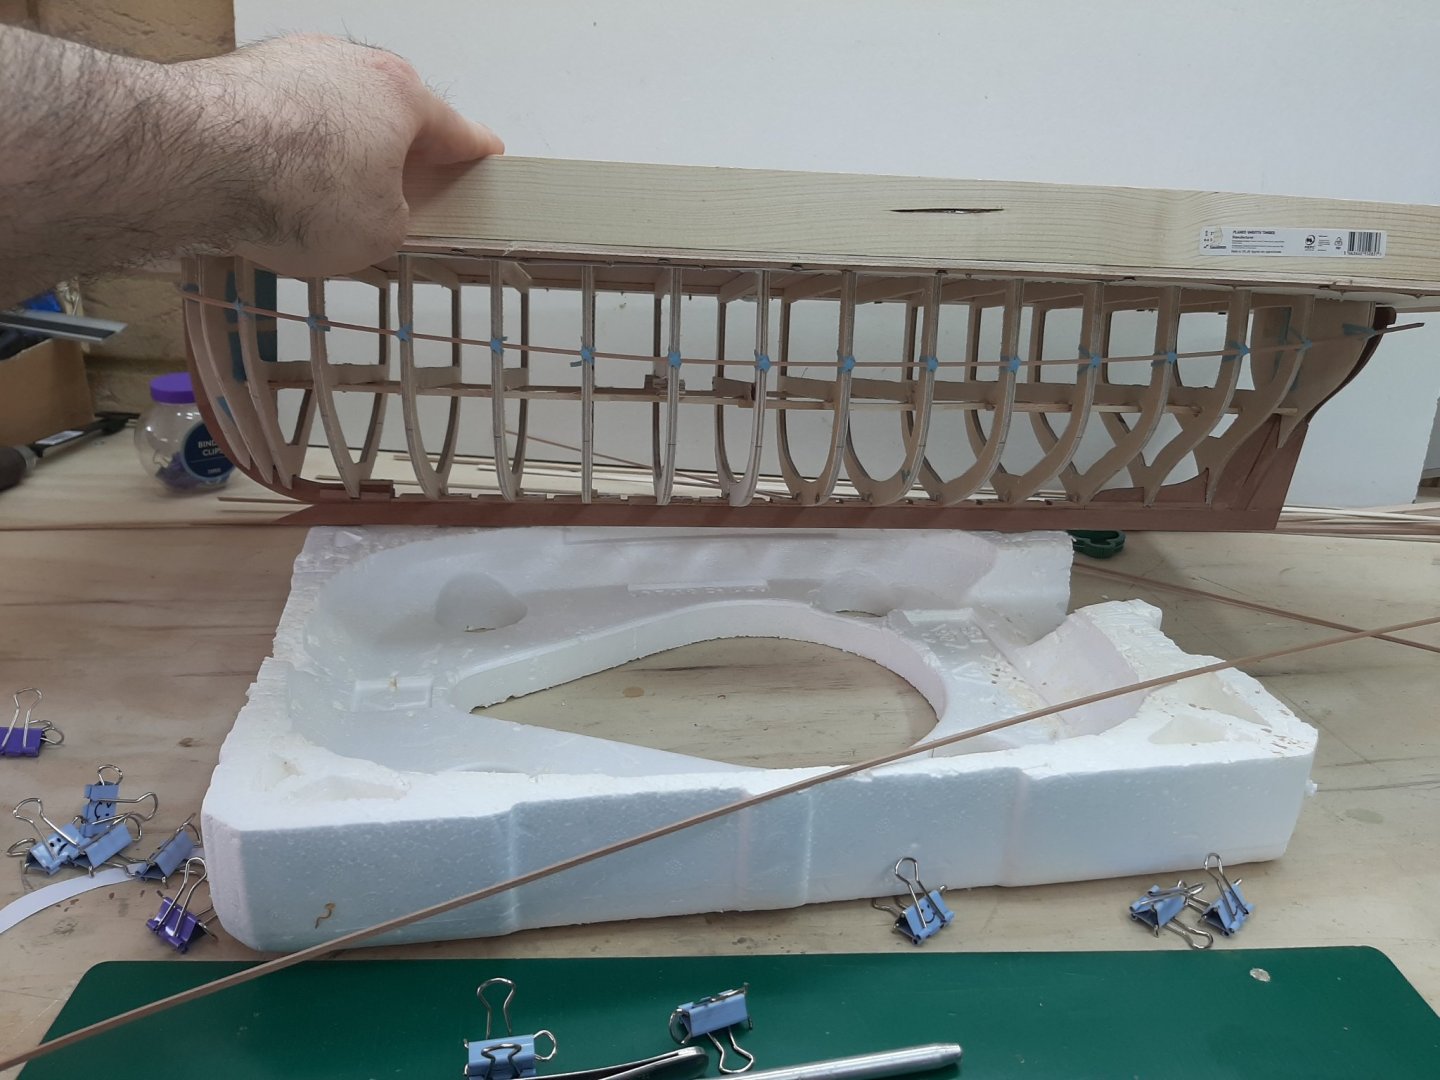
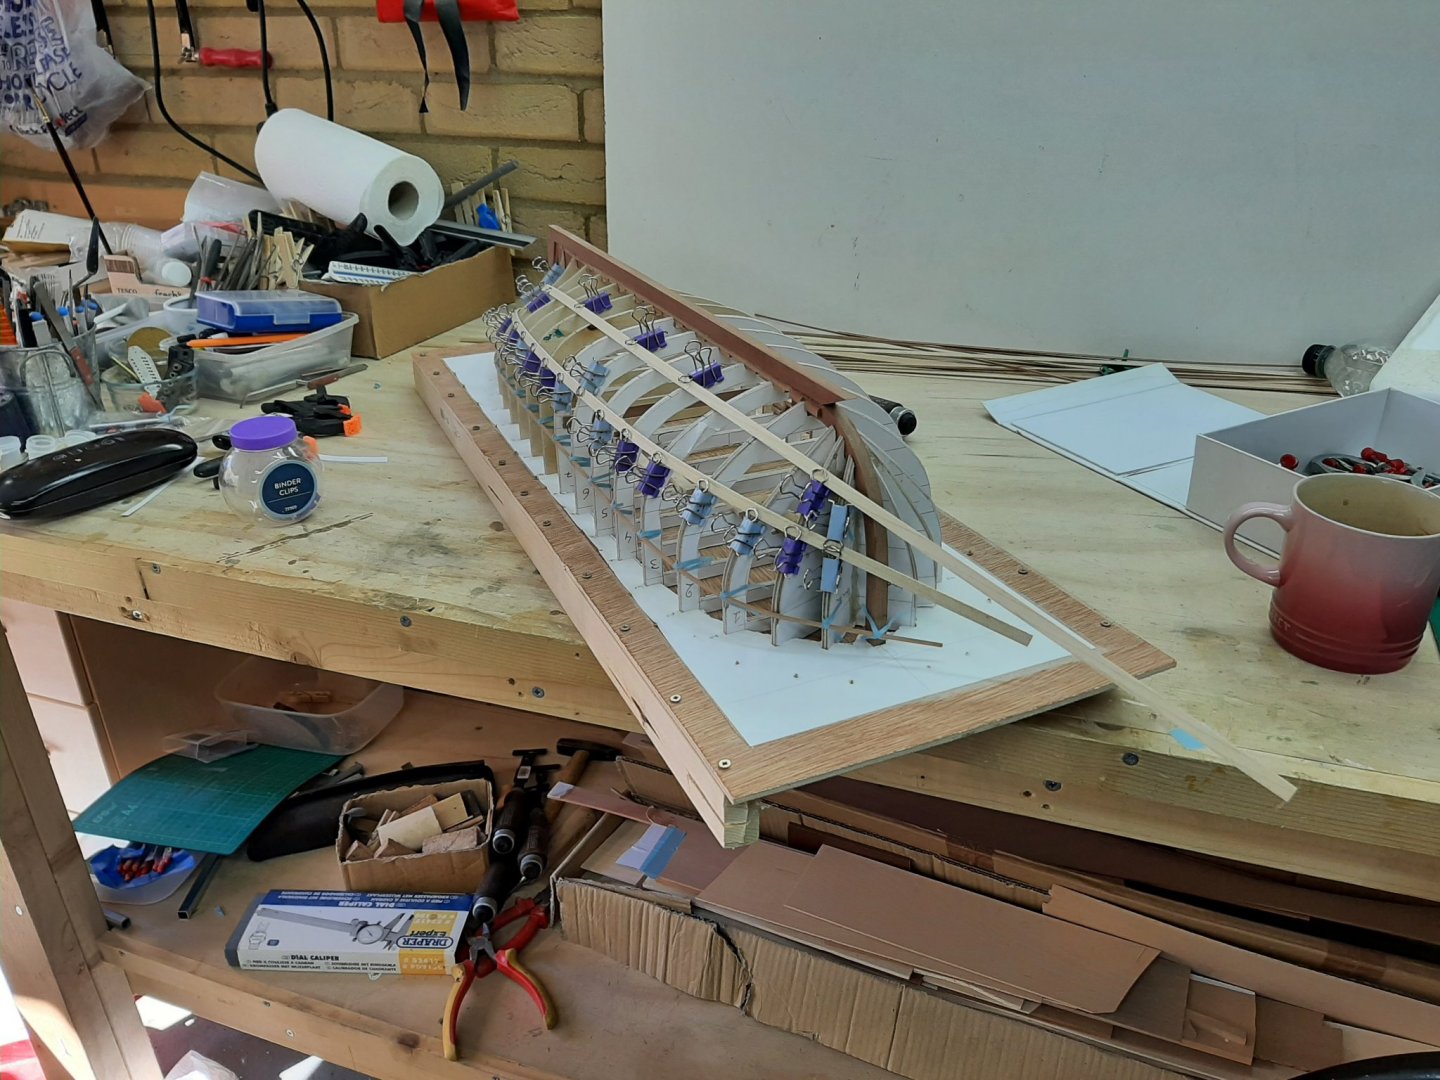
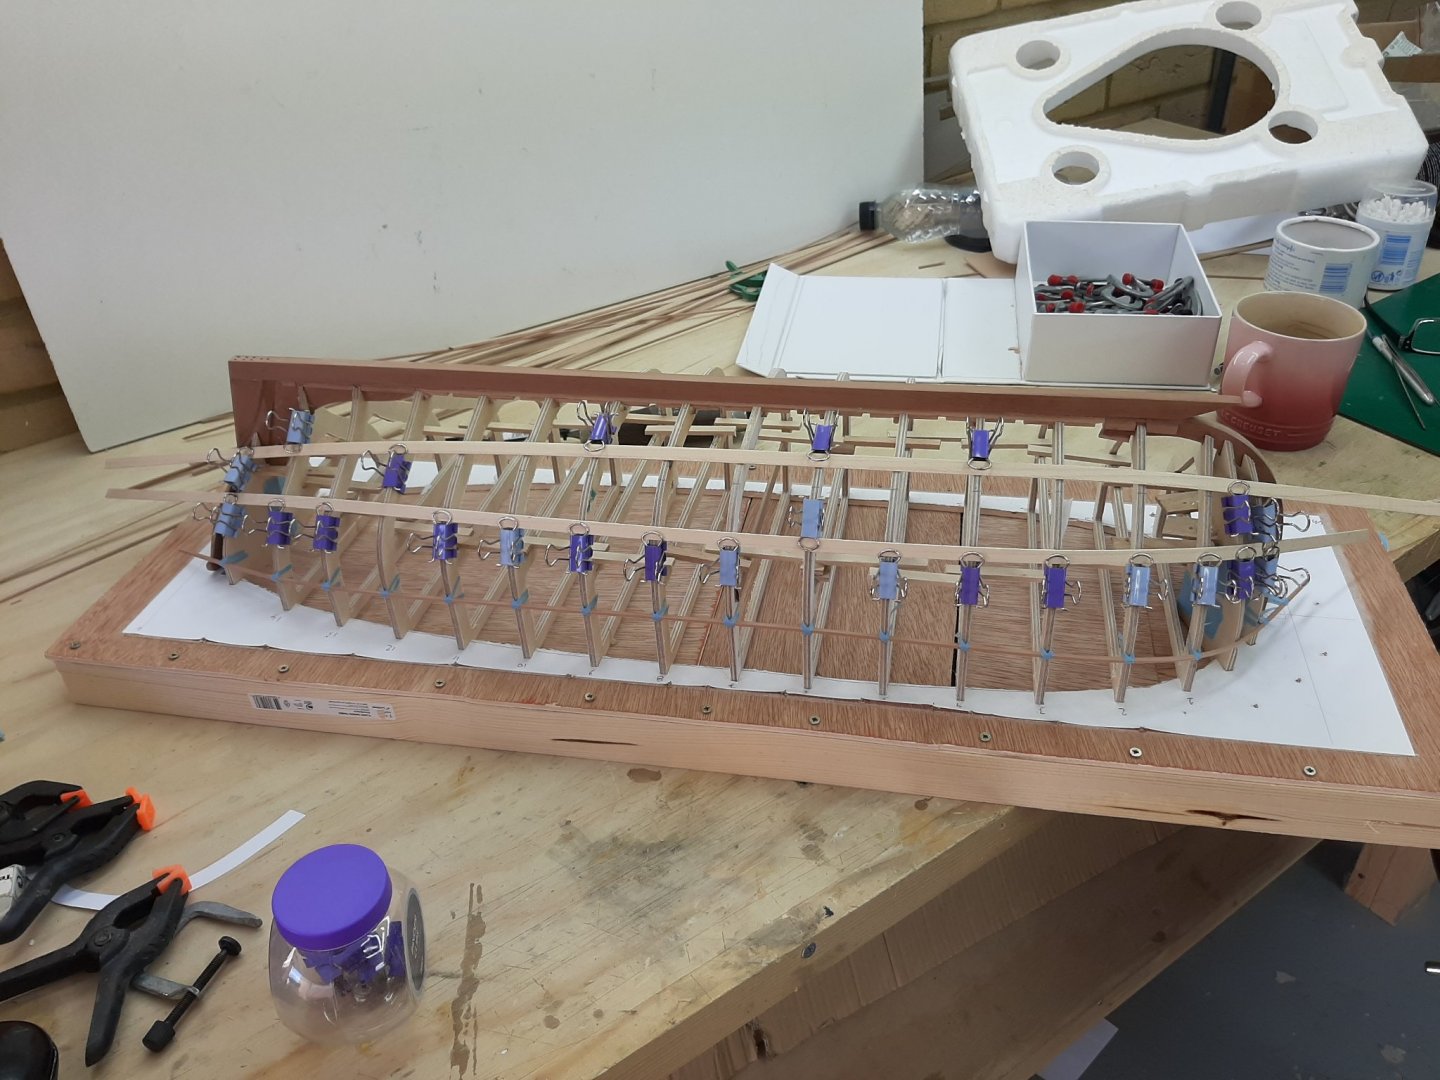
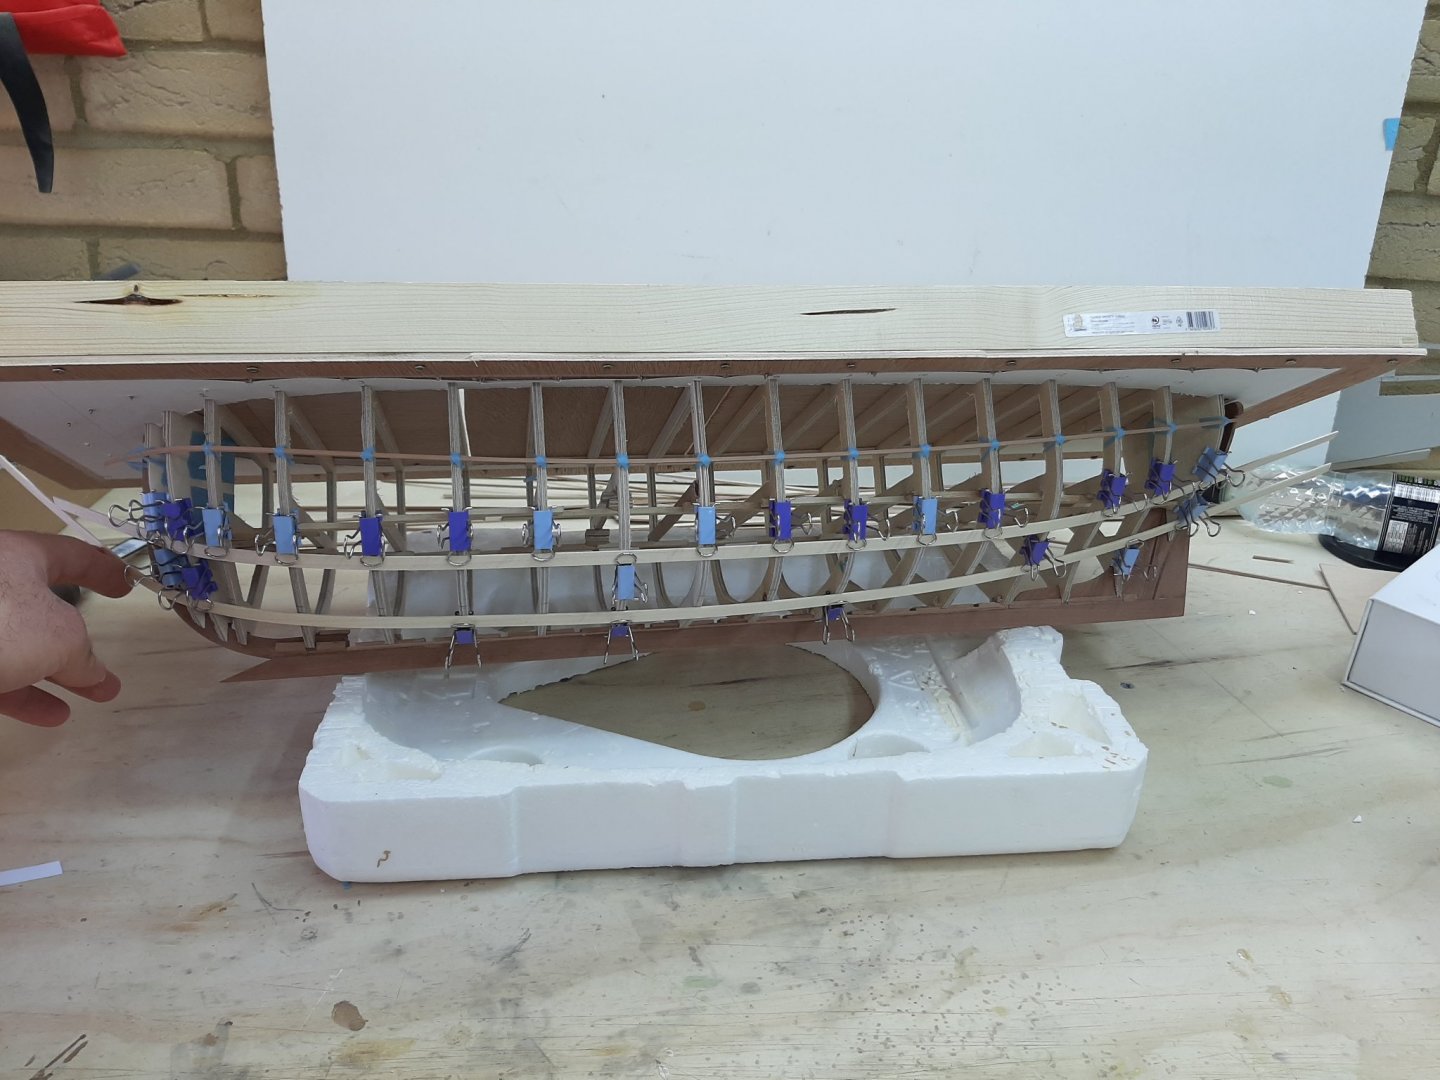
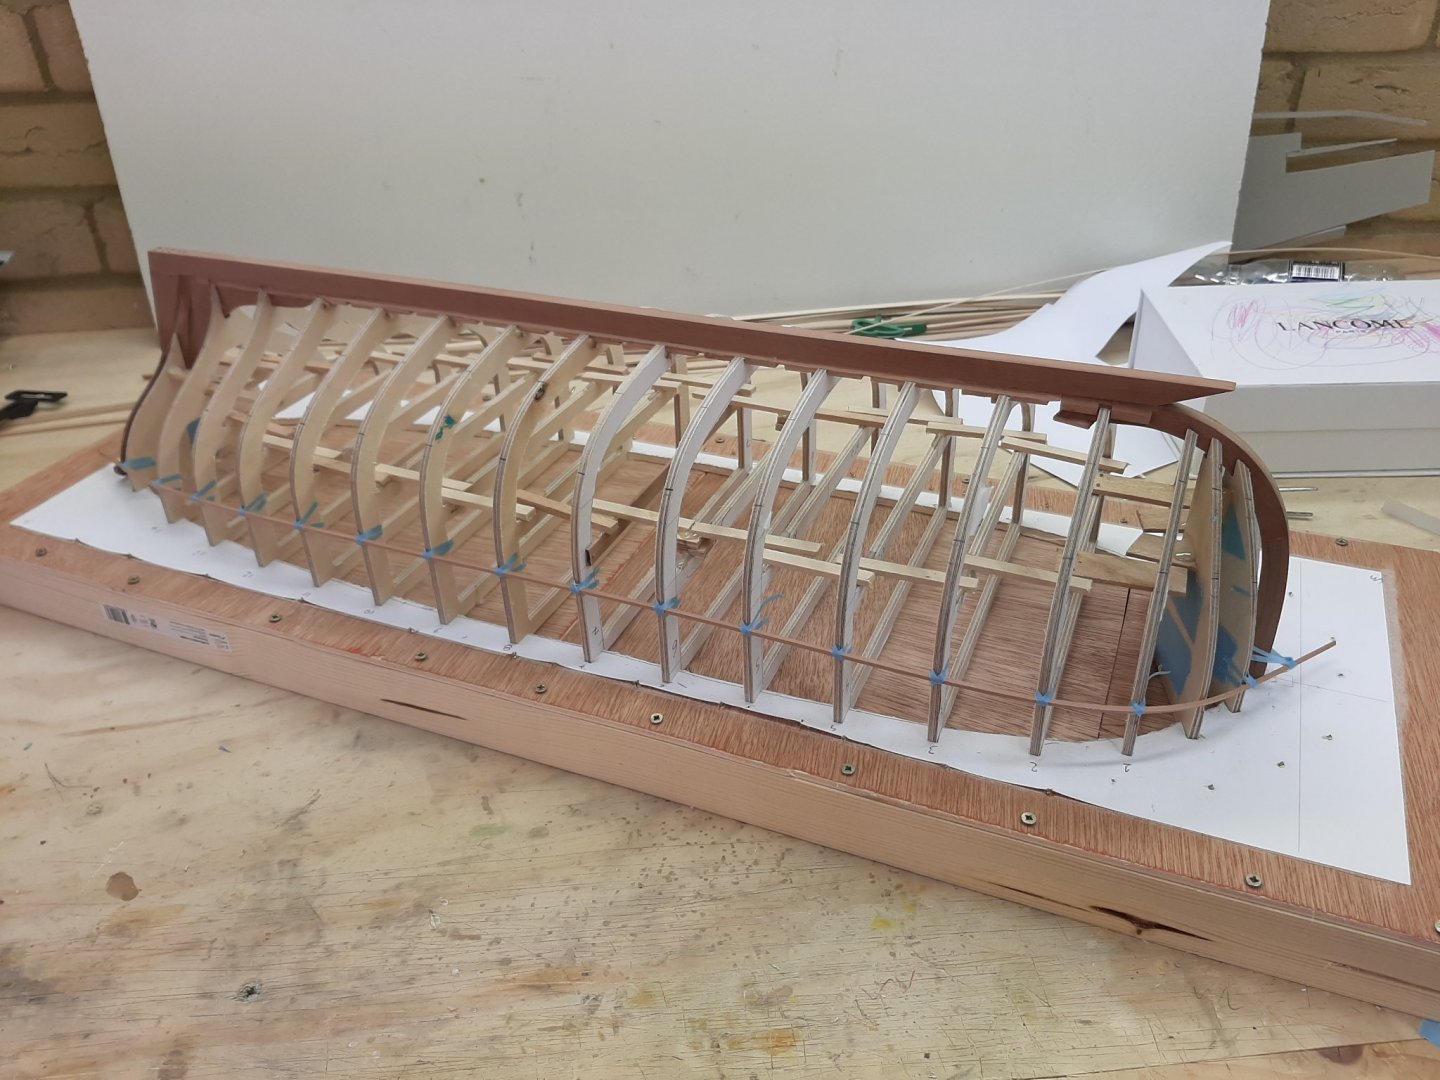
Dear all With the hull of the fishing launch completed (but still not finished), I decided to start working on the Yawl. The initial intention was to build two hulls back to back, one carvel and the other lapstrake, as a learning exercise as well as building two boats I like. The two hulls are very different and my initial impression is that planking the Yawl will be much more difficult. The first challenge came when I tried to deploy a baten. My usual 2 x 4 mm strip cannot negotiate the curve at the bow, it will break. How do you plank a boat without batens? I tried a slightly wider one-no go. I used a 2 x 2 mm pear strip that looked bendy and starting playing with the hull. My initial intention was to divide the hull into three areas. To do this, 2 lines are needed. One going through the point where the transom and sternpost join, and another one halfway from that point to the sheer. In lapstrake, the planks should have equal widths but to the eye, only the planks at the sides being vertical will show their true width. The planks bellow the turn of the bilge being at an angle will appear more narrow. So, in reality, only the planks in each zone need to have the same width. I tried to eyeball the run of the strip, to make sure it is fair but that was impossible. A square sectioned baten will happily bend in all directions. Again, the very curved bow made it very difficult to arrange a fair run. I tried many times but afterwards, eyeballing the hull, it was obviously wrong. I did manage though to define the sheer using my CAD markings-I hope these are accurate. However, all of the above attempts were wrong. The run of the 2 dividing lines is far from fair-it is all over the place. It is impossible to do this without a baten. So I use two maple strips, 1x8 mm (or something like that) as batens, They are very straight, very bendy and do not permanently deform and of course they will not tolerate any edge bending. After many failed attempts, I think I got my 3 zones kind of close. Now, the following photos show how difficult this hull is and how the bow messes up the perspective. In the first photo, the lower baten seems wrong and the one near the sheer appears fair. In the second photo, it is the other way around. In the third photo, both look ok. I marked the lines and removed the batens This would be a very difficult boat to plank as carvel. Lapstrake, even more. I have no idea what kind of spilling will be needed. Judging by the lift of the batens though, I expect the planks will have significant curves. Considering how long they will be, I think all of the planks, except perhaps the garboard, will need scarfing. I had decided on this boat to hold all planks with threaded brass wire. This would mean drilling 0.5 mm holes, using brass pins to hold the planks to the temporary frames, then re-drill to 0.6 mm when the steam bend frames are installed and screwing everything together. Have I bitten more than I can chew? Quite possibly!
-
The reason I am asking Hakan is that printing the plans has been a headache for me. Printing A4 and gluing together produced major inaccuracies at 800+ mm. Printing in a shop was not an option to print the 3D shapes I wanted at the views I needed-would the shop have the needed software to open the files? Converting to pdf, the compression is such that curves become series of small right angle lines-not an option, at least for 3D plans. I bought an A3 paper roll and I cut long pieces to A4 width and print with custom settings on my A4 printer. Even so, long straights lines end up ever so slightly curved. My next printer will def be an A3 one. I m really looking forward to this build!
-
Oops! I completely missed your new log Hakan! An excellent choice of boat and of scale. I ll be following for sure. Your drafting looks good. One advantage 3D has is that after the initial fairing of waterlines etc you can create and work with surfaces, then project vertical lines to get the shape of the frames with all bevels in a flash. But you have done very well on 2D. How will you print your drafts? Some will be close to 1000 mm long!
-
Welcome! Absolutely start a log, it is def worth it.
-
Thanks Noel! My main issue is the colour of the wood and that I would like the filler to disappear completely. I have many options for sealing the wood and a protective top coat. The wood needs some colour enhancing, the pear is now very pale pink and the beech again pale with a faint pink hue as both are steamed. I have no idea what the effect of the wax will be on these two very different woods and on the filler Cheers Hakan! I dislike shellac Wefalck but I do use sealer and steel wire-leaves the hull as smooth as baby bottom! The problem is that the wood needs some enhancing and I did not like much how beech responded to Tung oil. I have ordered some stain samples to experiment. I read that beech is notorious for staining blotchy so it seems that wood conditioner or a very light coat of sanding sealer is needed before staining. The 2 woods will of course respond very differently to the same stain, how the filler will like the stain is uncertain. The yawl is 18th century, from plans from the National Maritime Museum. You will find a link in my signature to the log. Now, today I started thinking on the planking and deployed a couple of battens-oh dear! The batens refuse to take the turn at the bow. When even the batens need steaming, this spells bad news. Regarding spilling, I suspect it will be so great that the planks will need scarfing. It does not help that I intend to do a lapstrake. I ll try and find the discussion you mention but if you remember where it is, please do let me know!
-
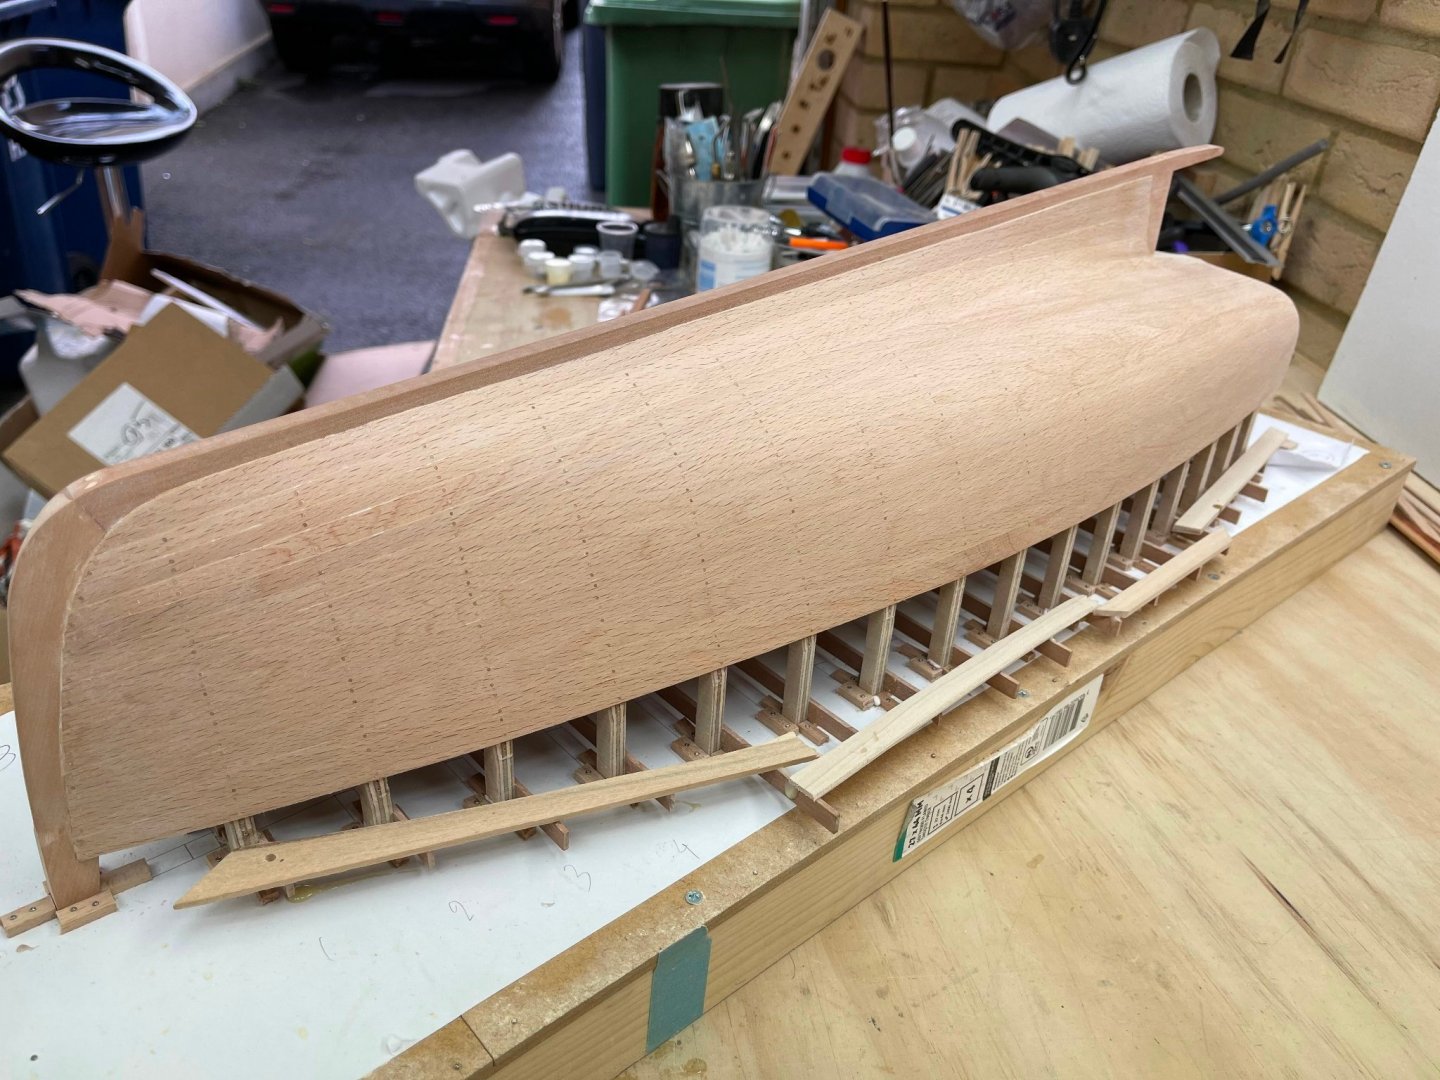
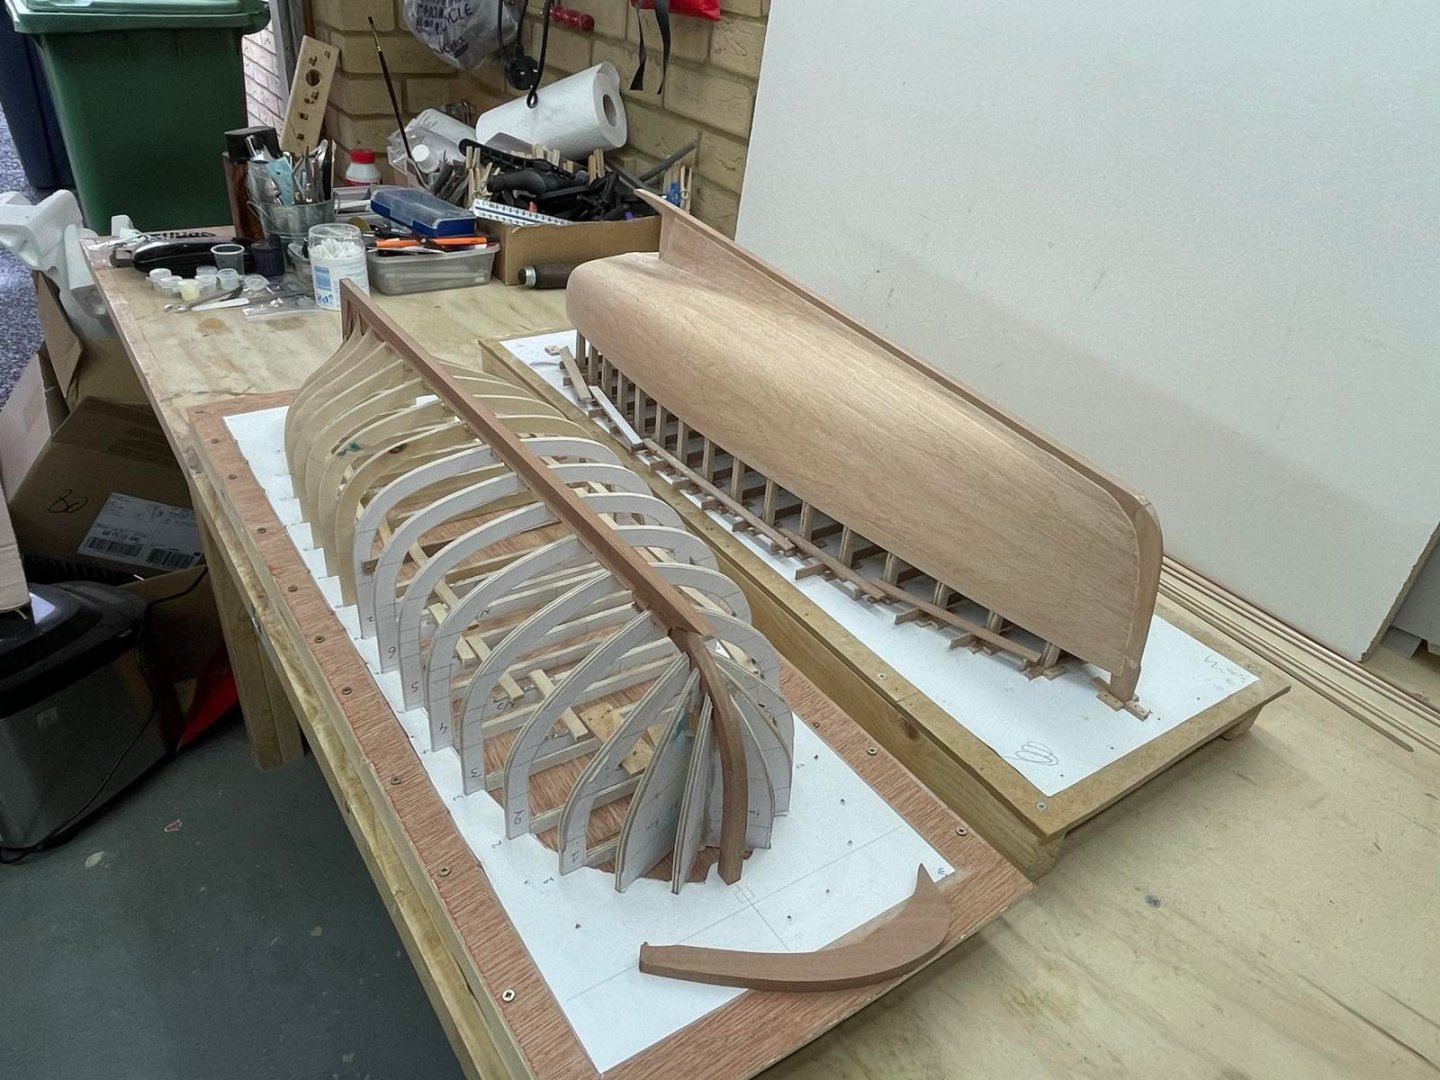
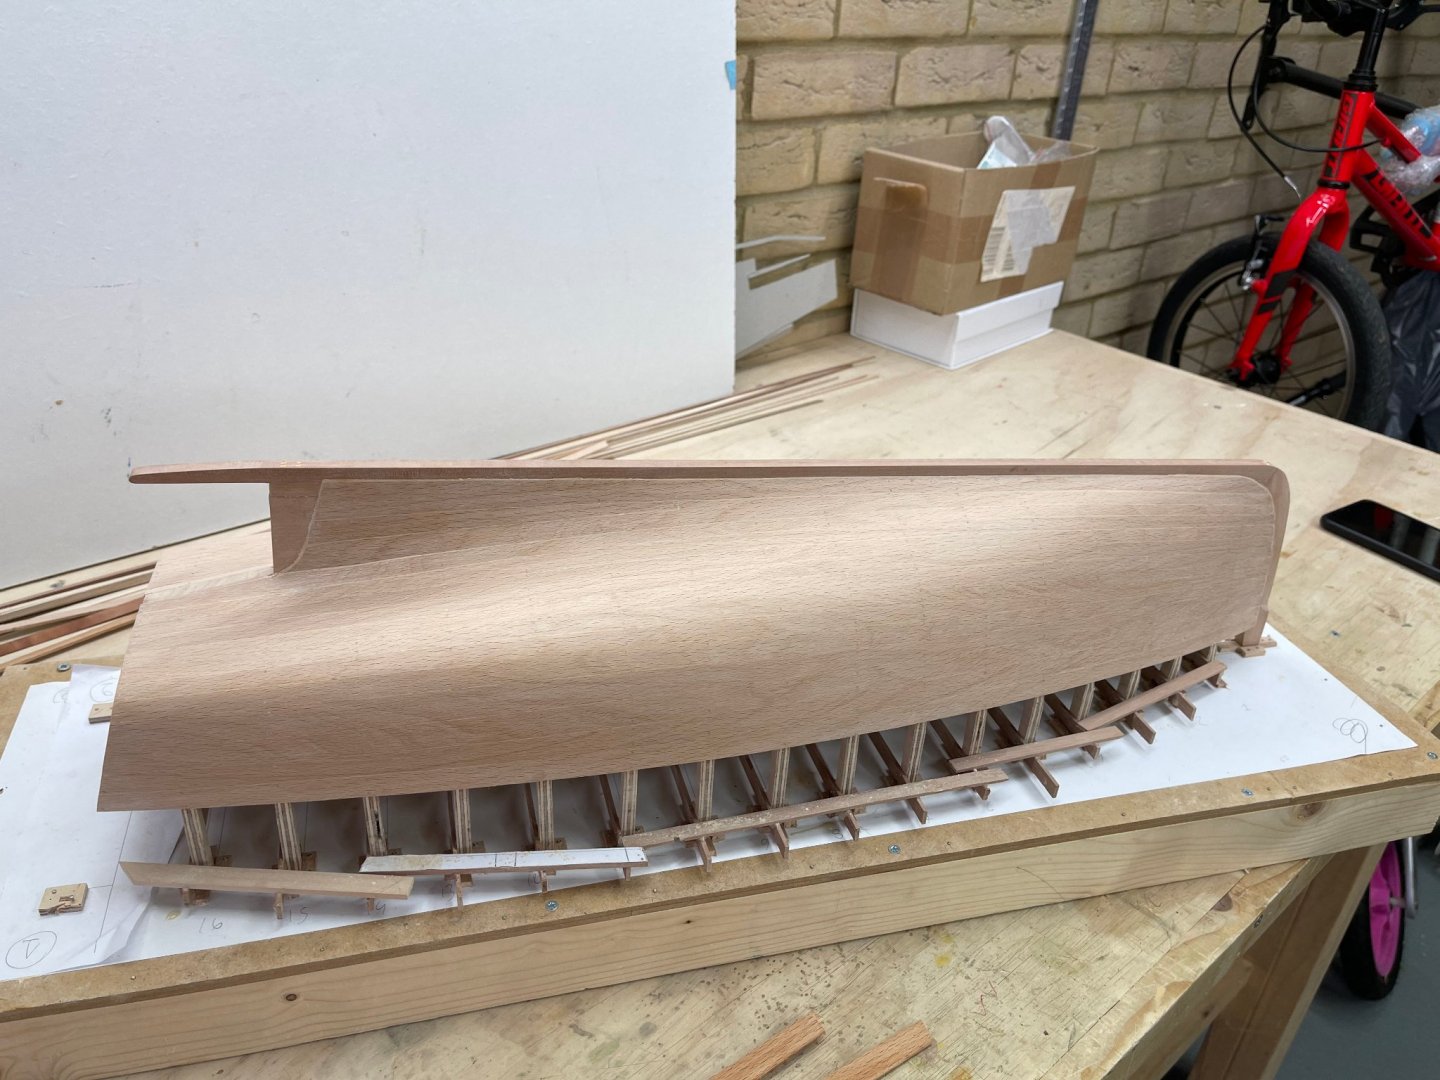
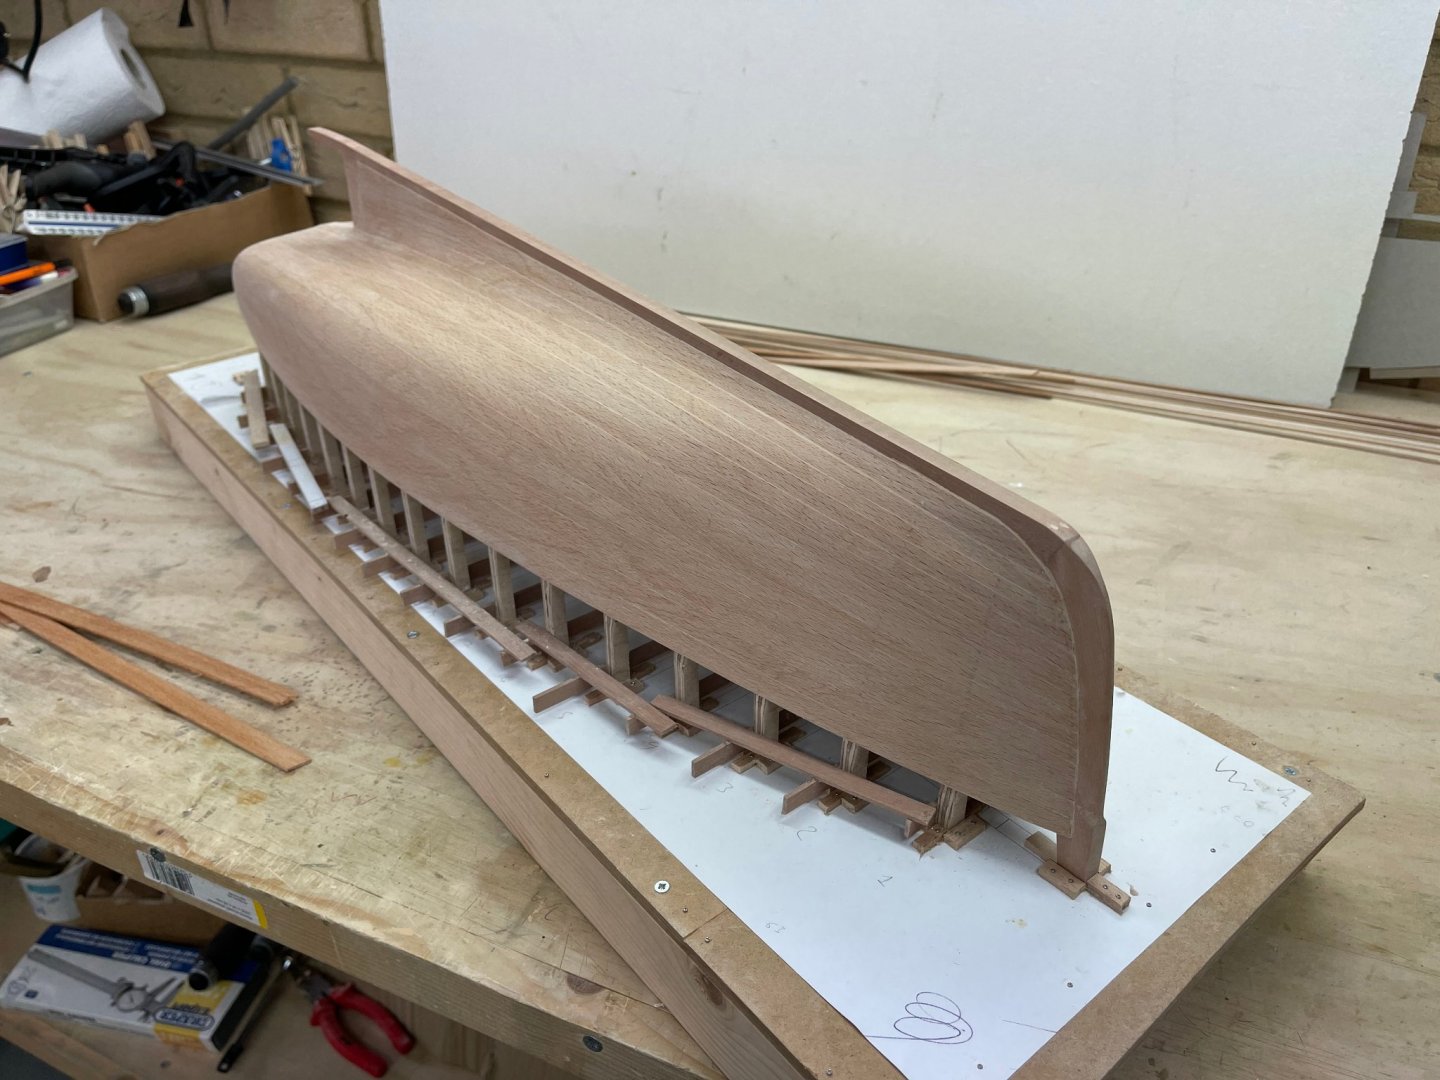
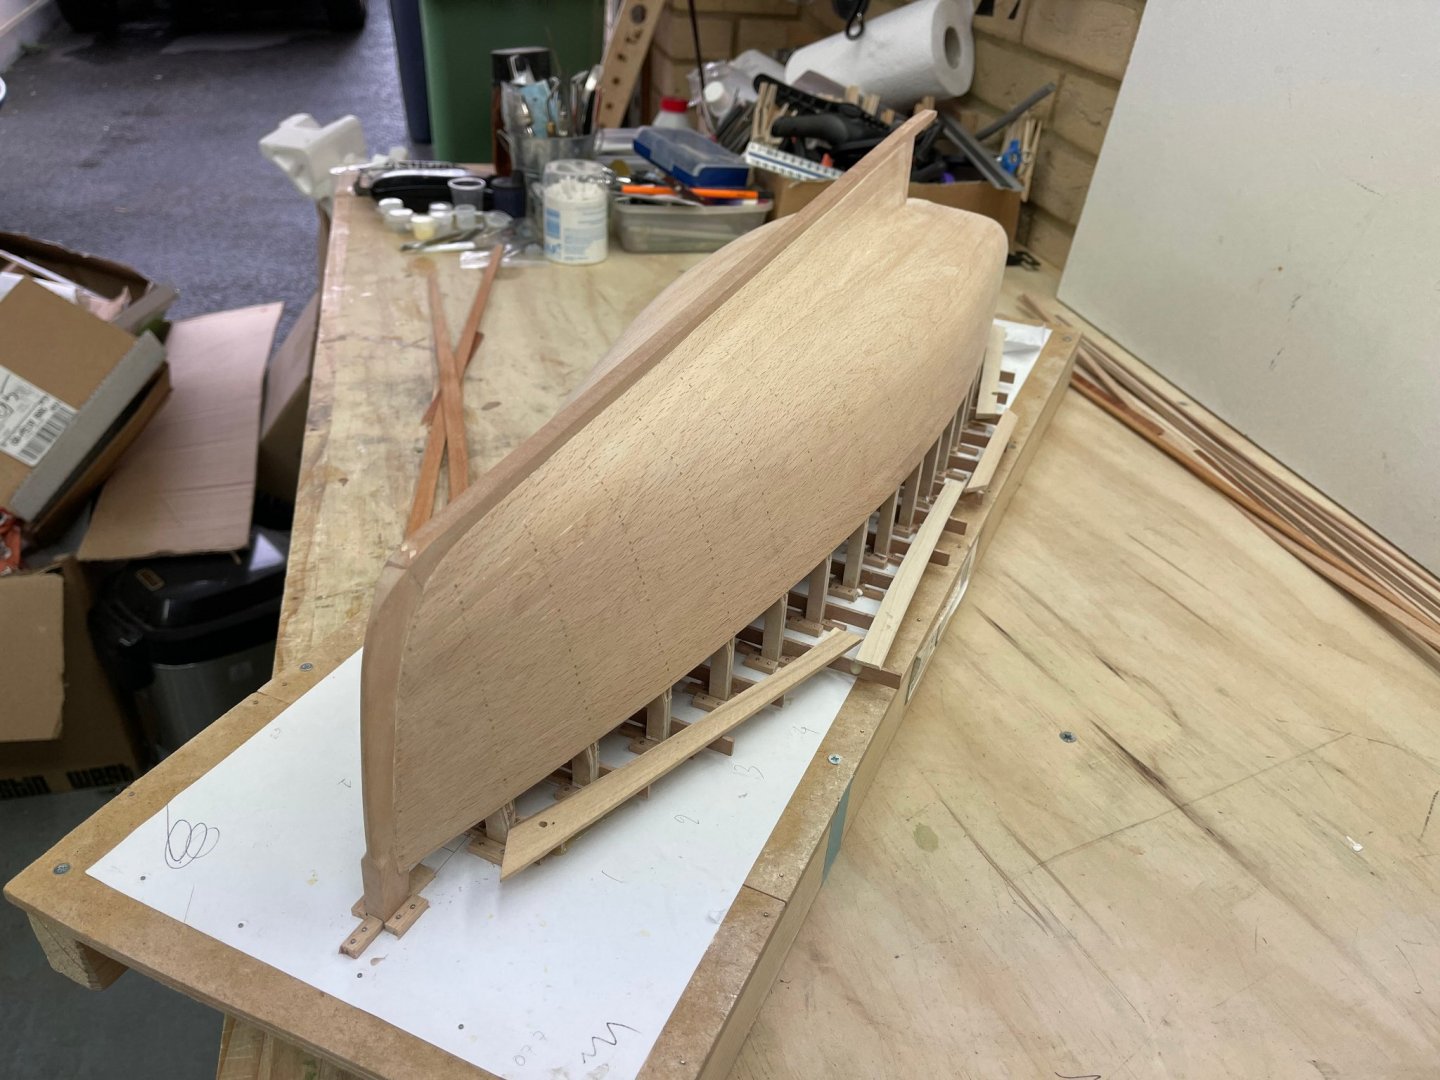
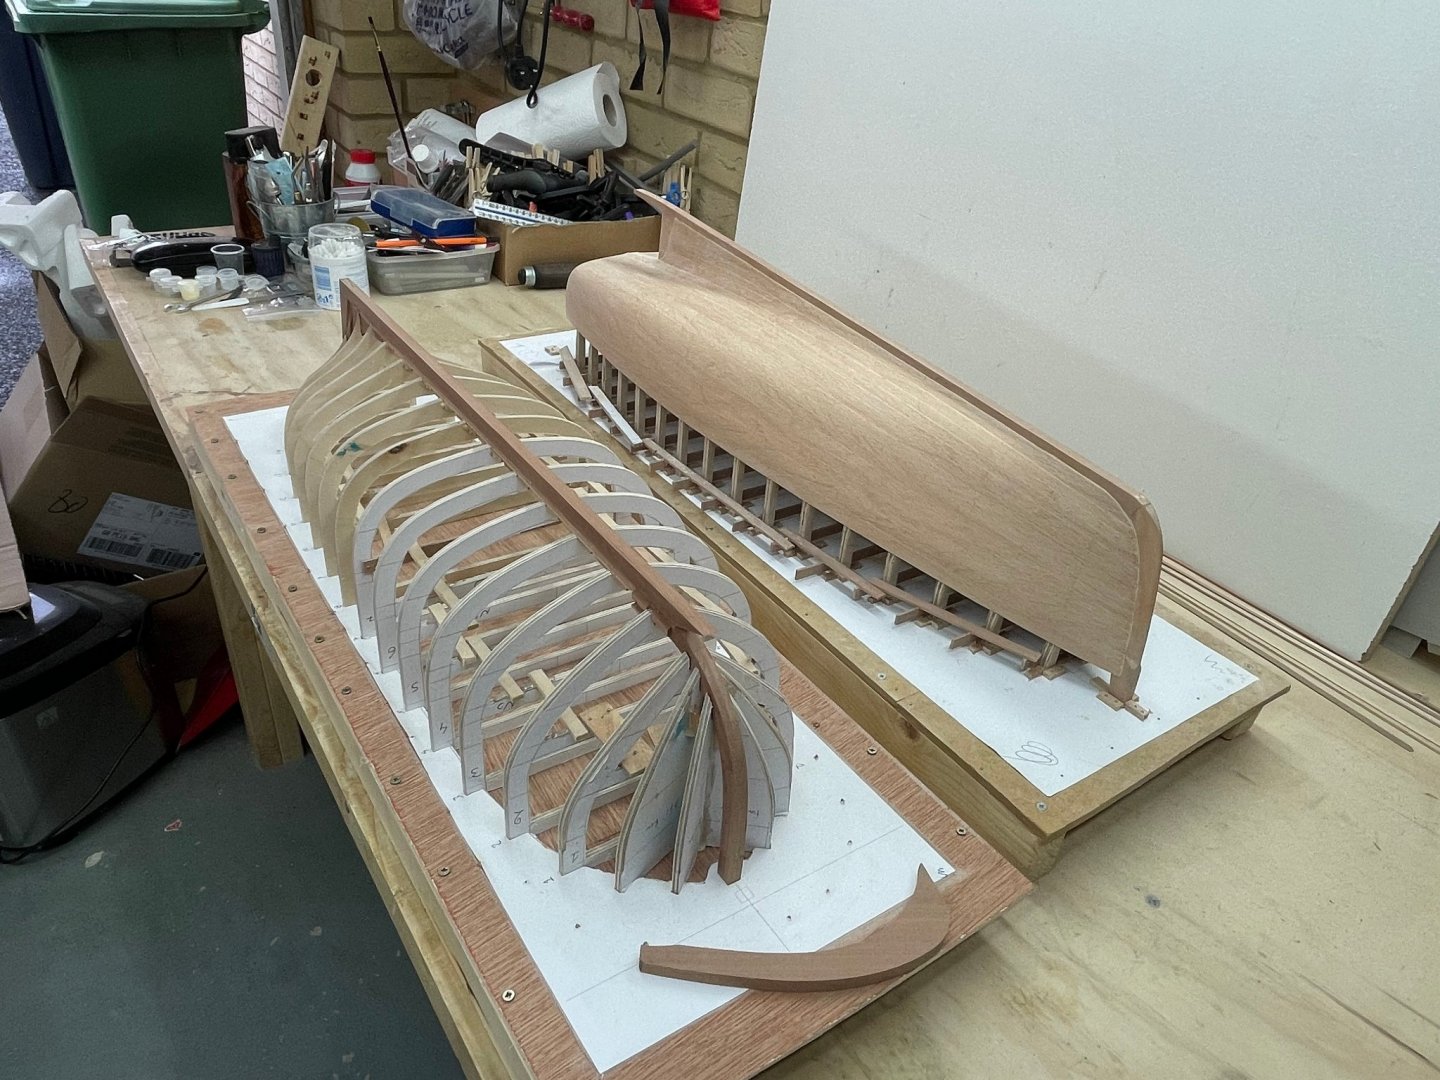
Dear all Hull is completed! All gaps are filled and it is sanded to 400 grit. It is very smooth to touch! The next photos were taken with the Admiral's fancy iphone as my cheap one was not up to the task. I must admit the quality is phenomenal. Inside is very rough but it will not be visible. Now, I am not sure how to finish the hull. I have decided I will not paint it. Now, I though that Tung oil will make the filler invisible. It does but only viewing it from certain angles. From others, the filler stands out the same. I oiled a few strips of pear and beech and this is the colour they take. The pear will be much less blotchy. I am really not sure what to do, leave the pear and beech light with the pink hue or darken them to this drastically different more wooden colour? I think now I should put this project on hold and start planking the yawl. This is a project I am getting a bit apprehensive with, I think it will be very difficult to figure it out and very difficult to convince the beech to wrap around the hull. The frames also look too flimsy and too far apart for the task. The two hulls side by side. Note the bow of the yawl, how did the builders of old got the planks to take this turn? Best wishes to all Vaddoc
About us
Modelshipworld - Advancing Ship Modeling through Research
SSL Secured
Your security is important for us so this Website is SSL-Secured
NRG Mailing Address
Nautical Research Guild
237 South Lincoln Street
Westmont IL, 60559-1917
Model Ship World ® and the MSW logo are Registered Trademarks, and belong to the Nautical Research Guild (United States Patent and Trademark Office: No. 6,929,264 & No. 6,929,274, registered Dec. 20, 2022)
Helpful Links
About the NRG
If you enjoy building ship models that are historically accurate as well as beautiful, then The Nautical Research Guild (NRG) is just right for you.
The Guild is a non-profit educational organization whose mission is to “Advance Ship Modeling Through Research”. We provide support to our members in their efforts to raise the quality of their model ships.
The Nautical Research Guild has published our world-renowned quarterly magazine, The Nautical Research Journal, since 1955. The pages of the Journal are full of articles by accomplished ship modelers who show you how they create those exquisite details on their models, and by maritime historians who show you the correct details to build. The Journal is available in both print and digital editions. Go to the NRG web site (www.thenrg.org) to download a complimentary digital copy of the Journal. The NRG also publishes plan sets, books and compilations of back issues of the Journal and the former Ships in Scale and Model Ship Builder magazines.


