DONATION DRIVE - SUPPORT MSW - DO YOUR PART TO KEEP THIS GREAT FORUM GOING!
×

.jpg.f26acc9a74319261612561bfa7da1303.jpg)
vaddoc
-
Posts
1,605 -
Joined
-
Last visited
Content Type
Profiles
Forums
Gallery
Events
Everything posted by vaddoc
-
I converted form soft solder with a heat iron to silver solder. I use the Proxon torch which is excellent. Silver soldering needs parts to be very clean and in contact but at least for me is more controllable and easier to work with. I use phos solder paste so when polished it does not stand out against the brass parts. I could never control the soft solder in the same way-strength is a non issue. In regards to equipment, it really depends on the scale you work and how large and thick the pieces are. If the pieces to be soldered are large, a powerful iron is needed to deliver the energy to raise the temperature. If they are too large, it may not work. Even with silver soldering, I had a few large pieces to solder and the Proxon torch was not adequate-I have a much bigger torch for these. Any of the irons you ve looked at will do the job.
-
.thumb.jpg.6fd4c1b78768bb3efd745ab810936005.jpg) Looks good George! What is the sea made of?
Looks good George! What is the sea made of? -
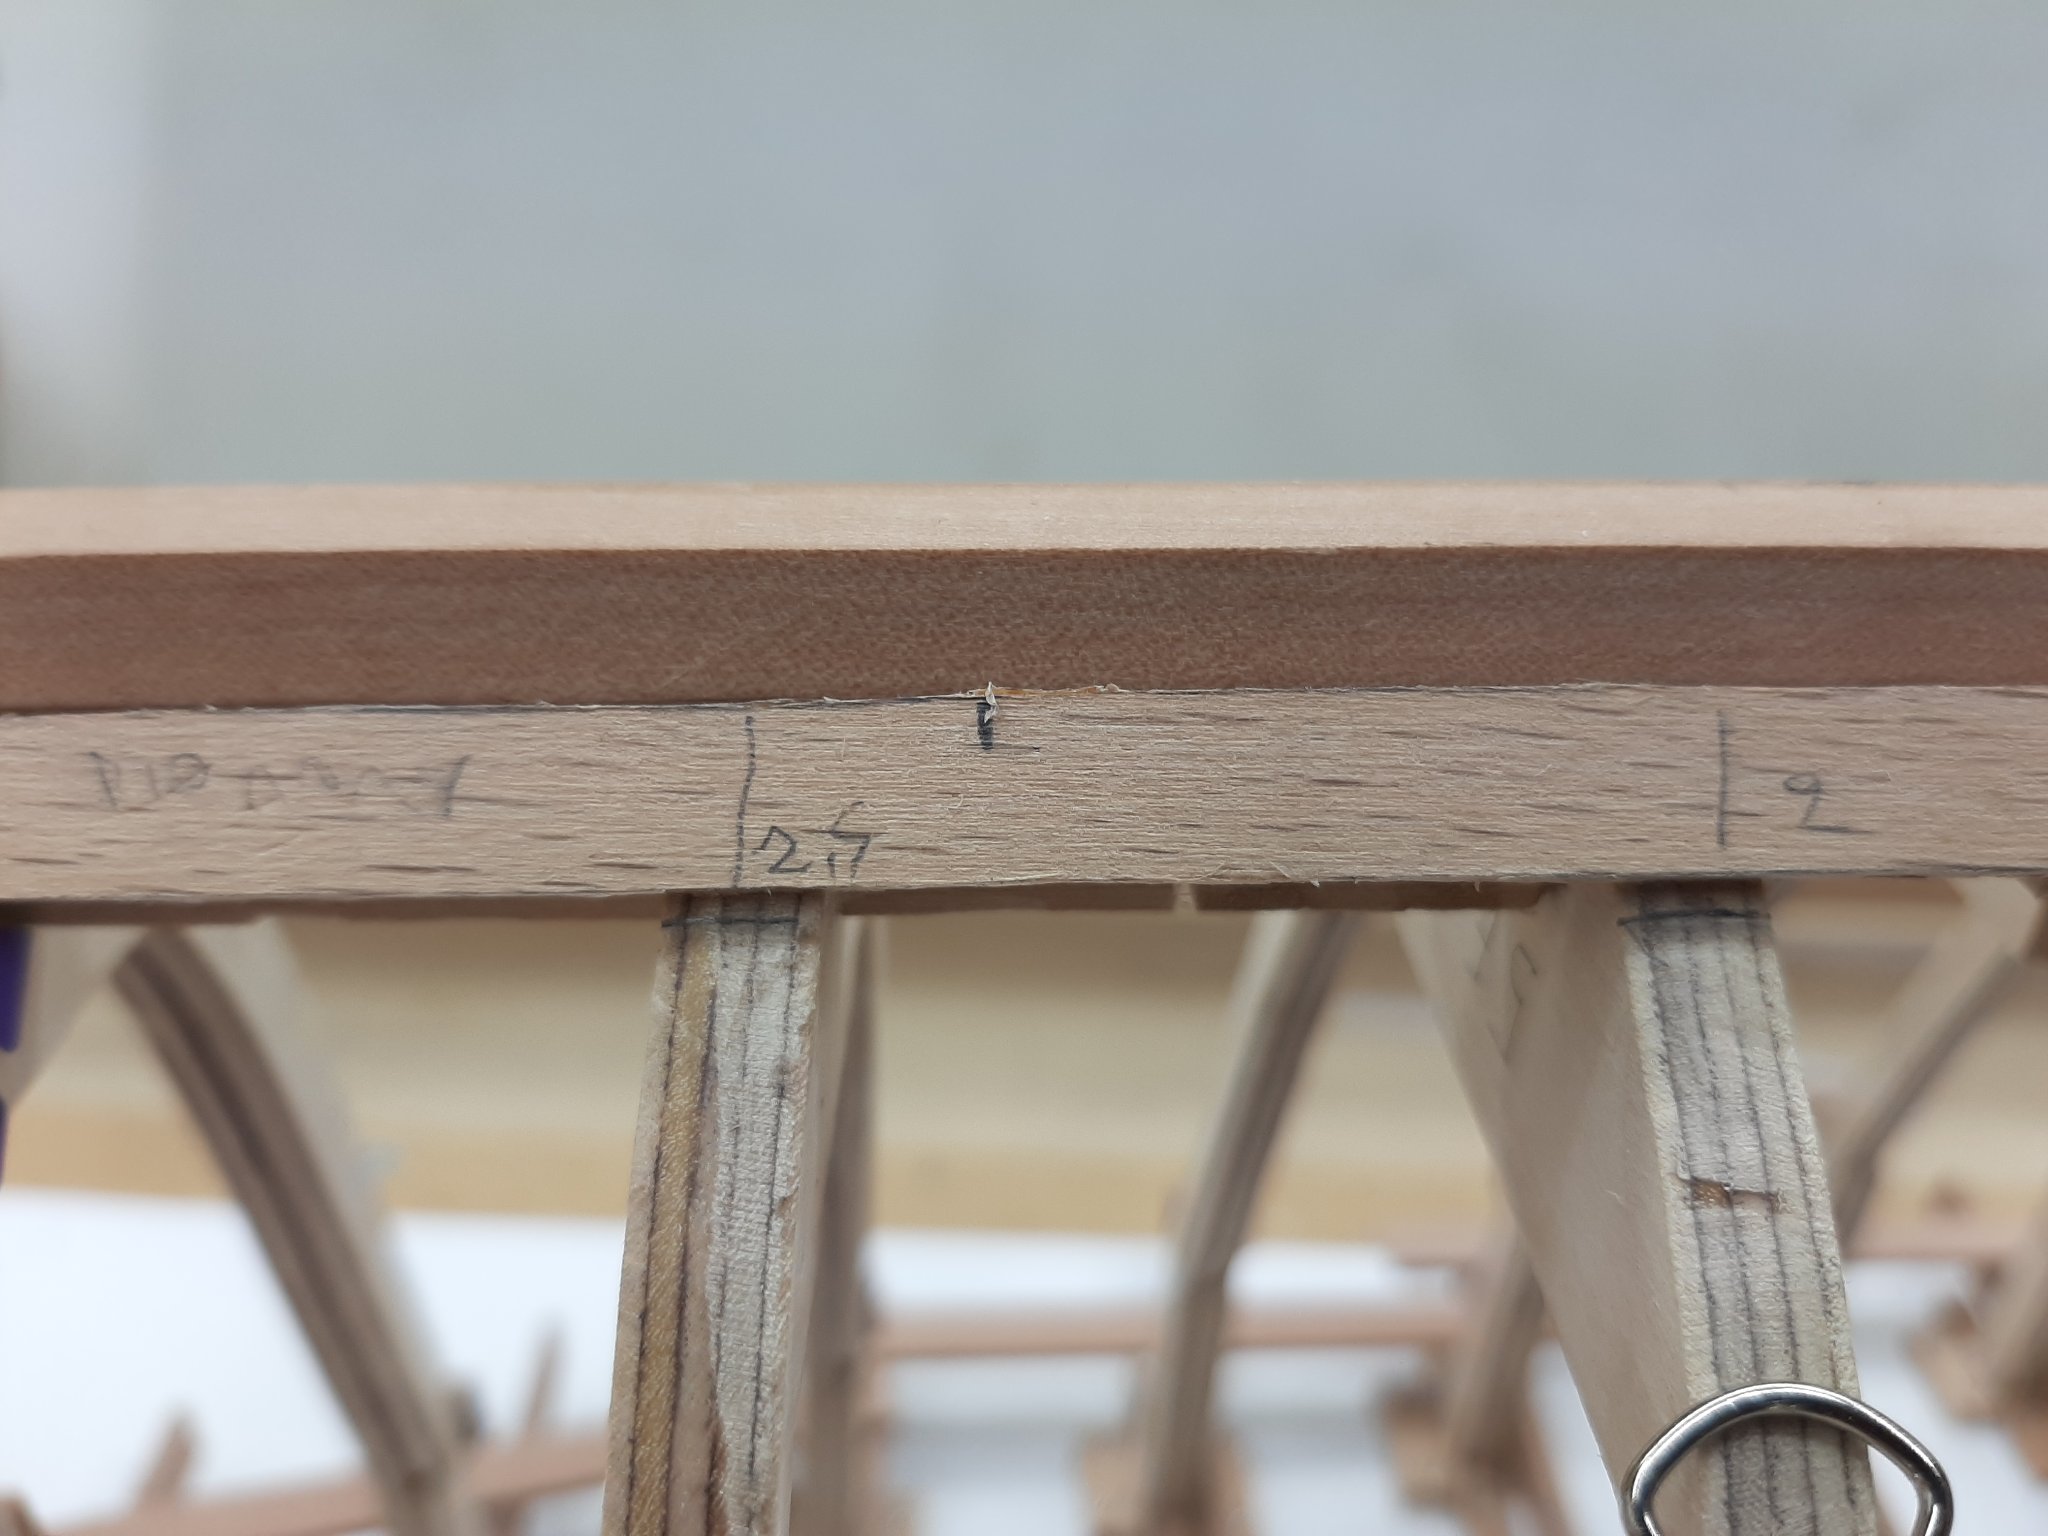
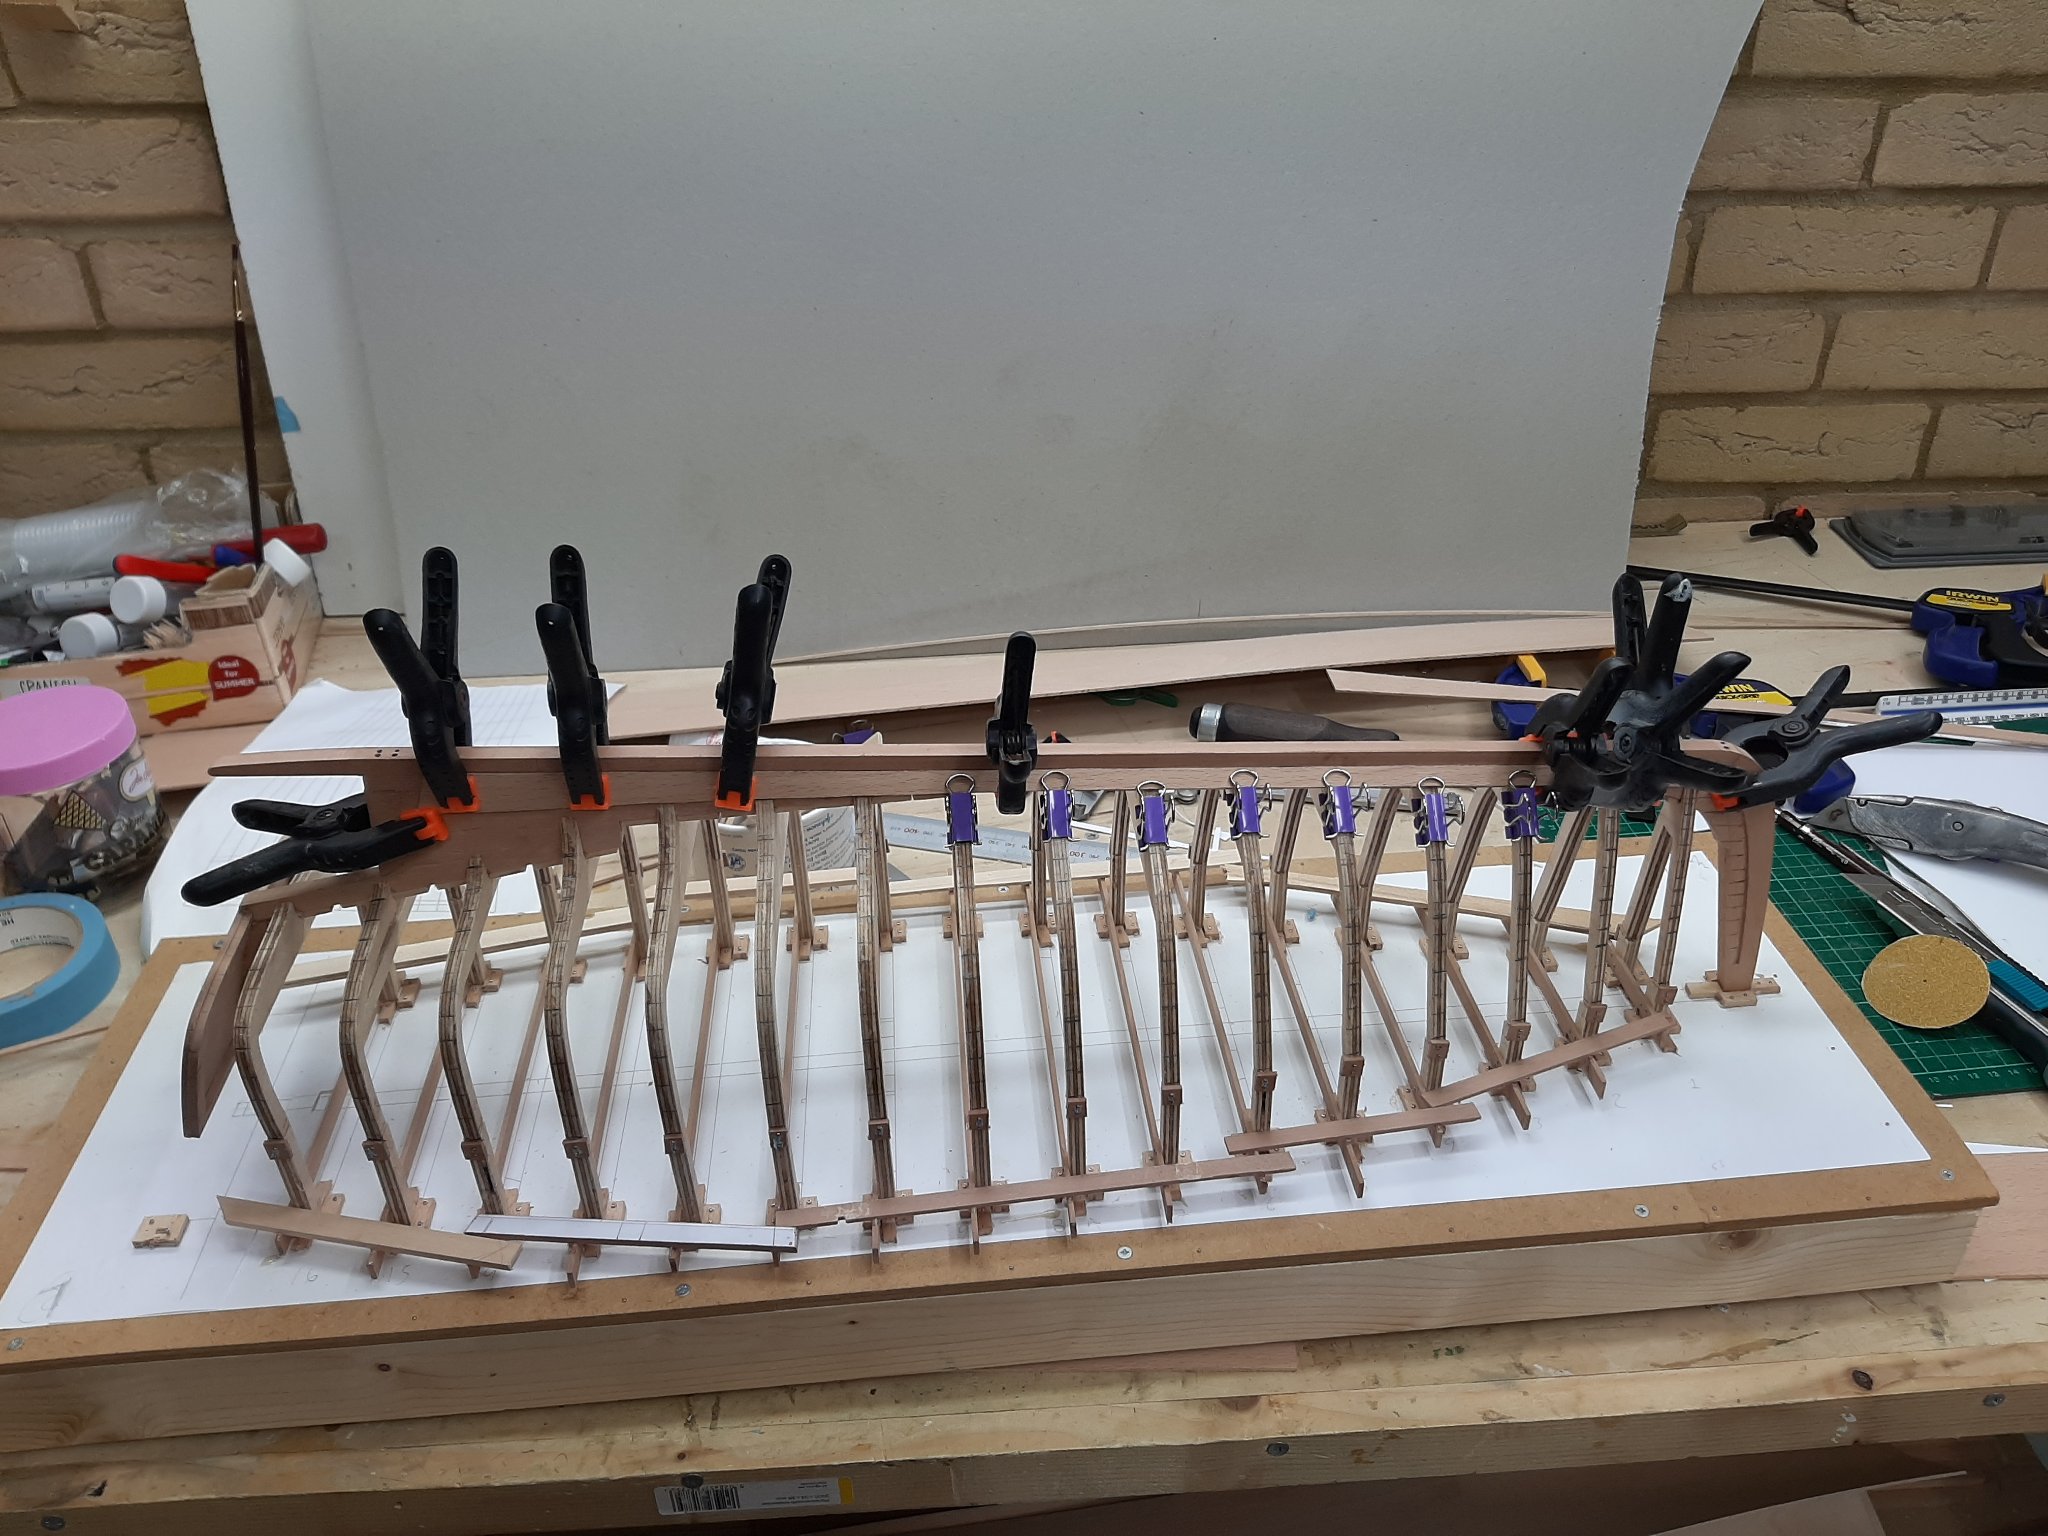
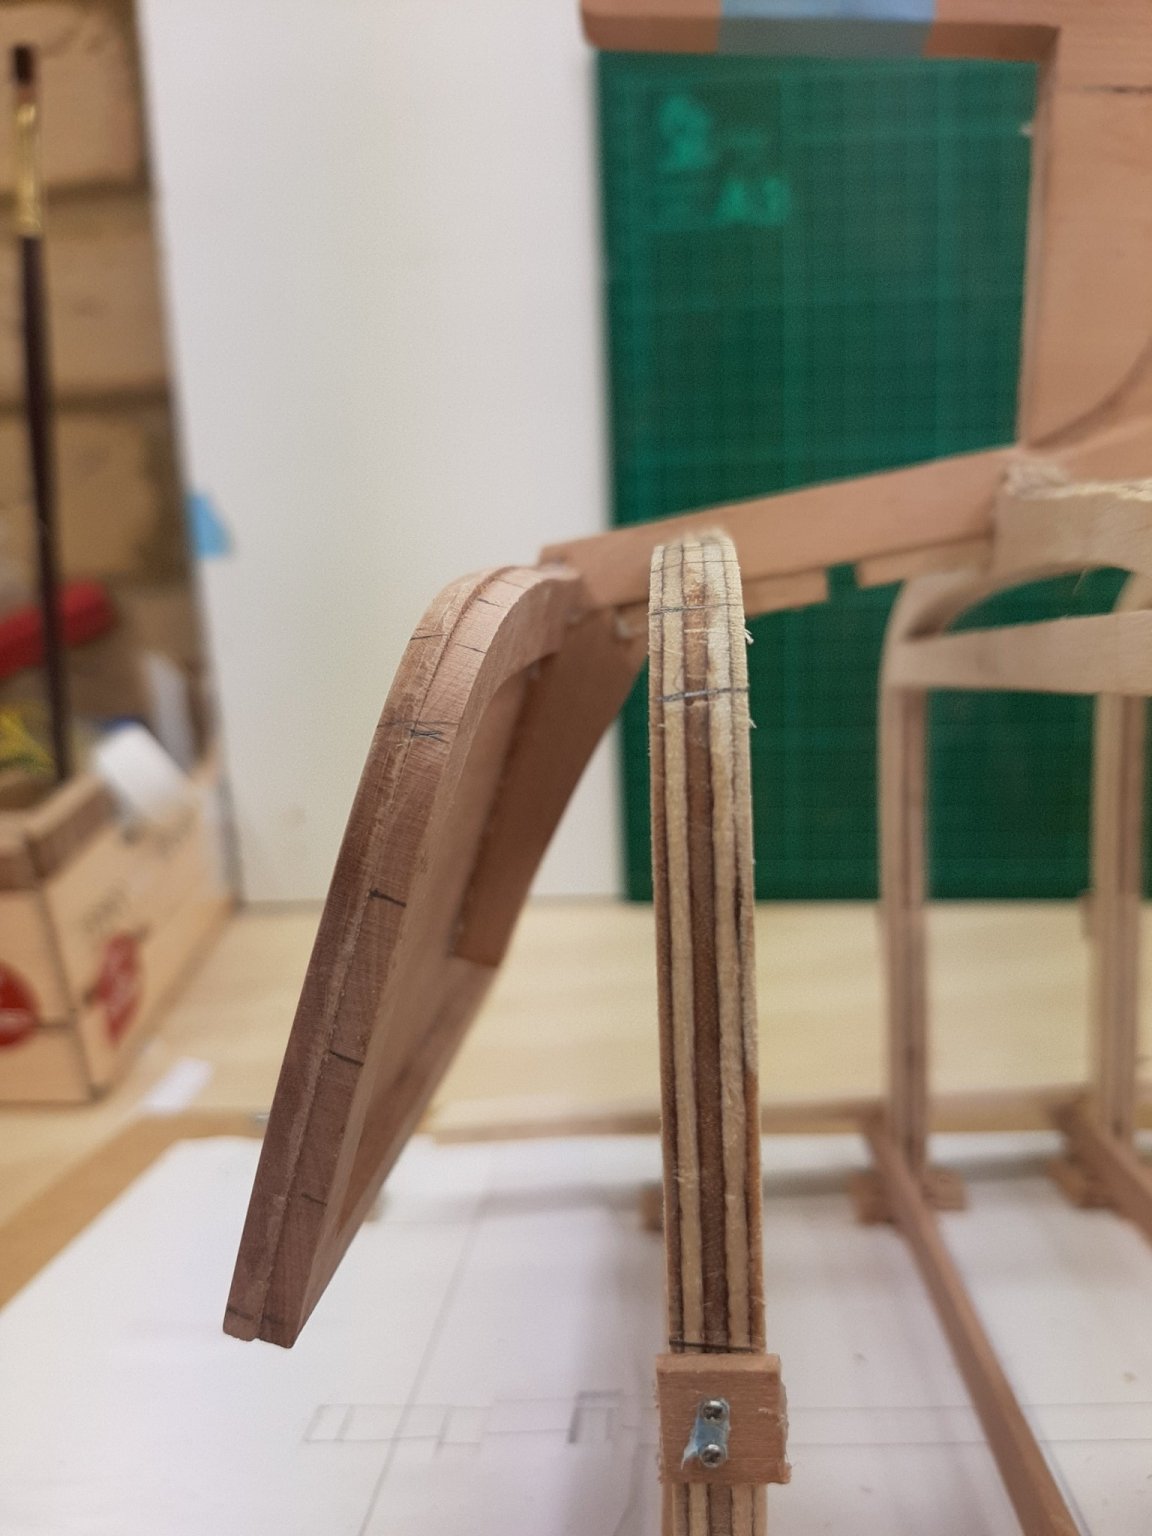
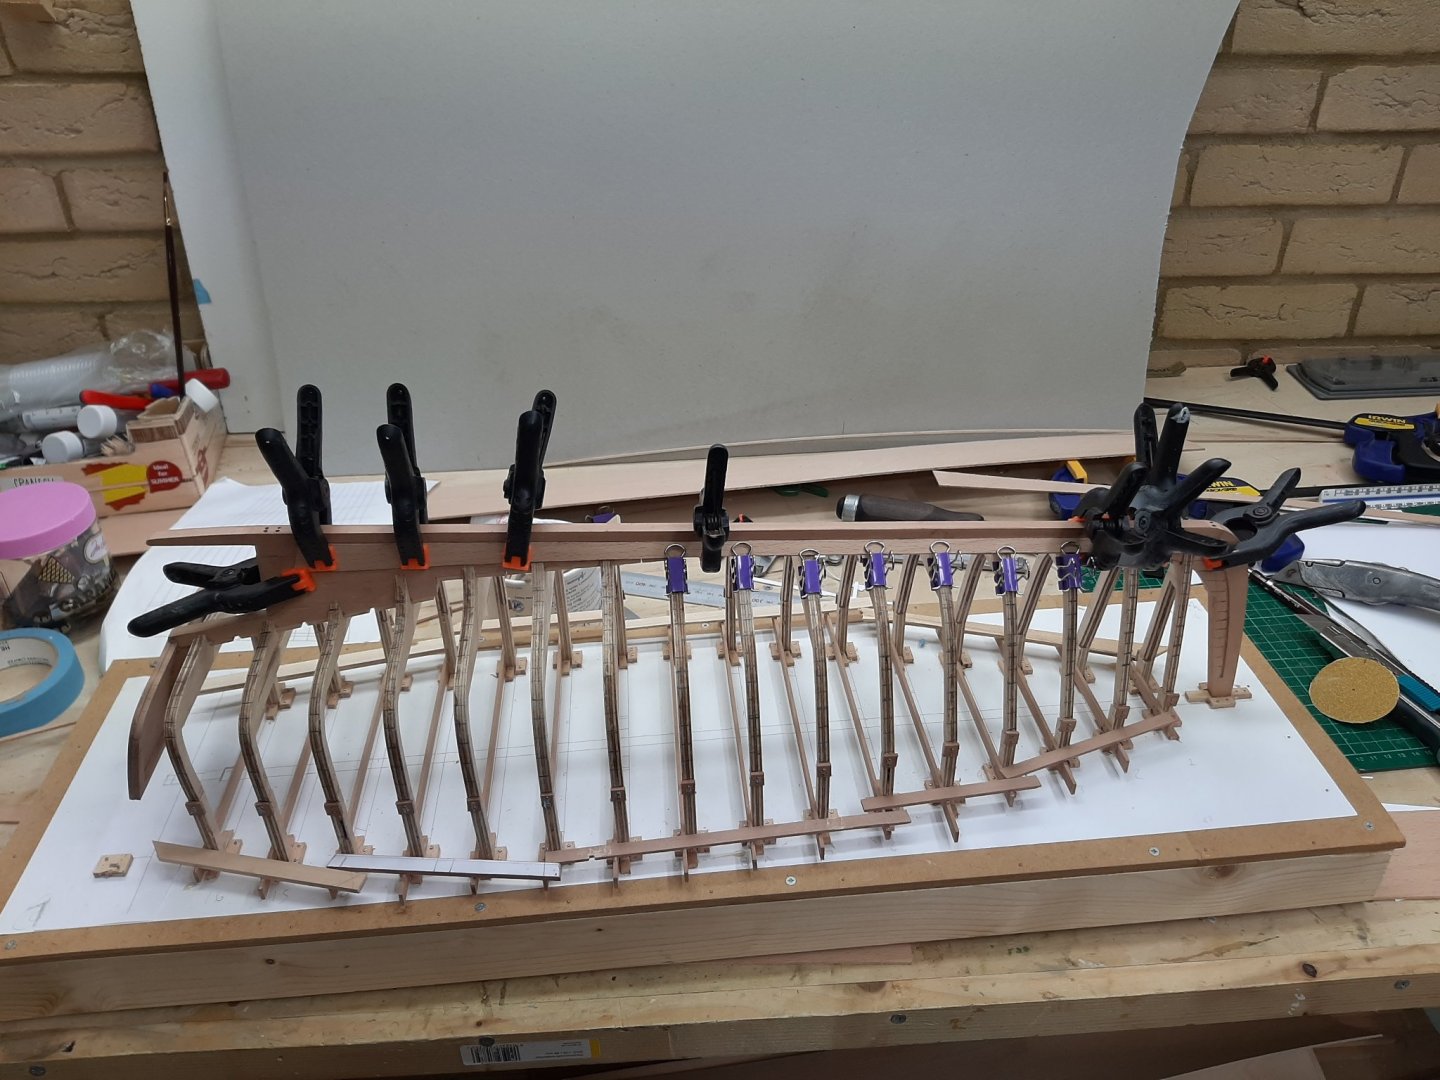
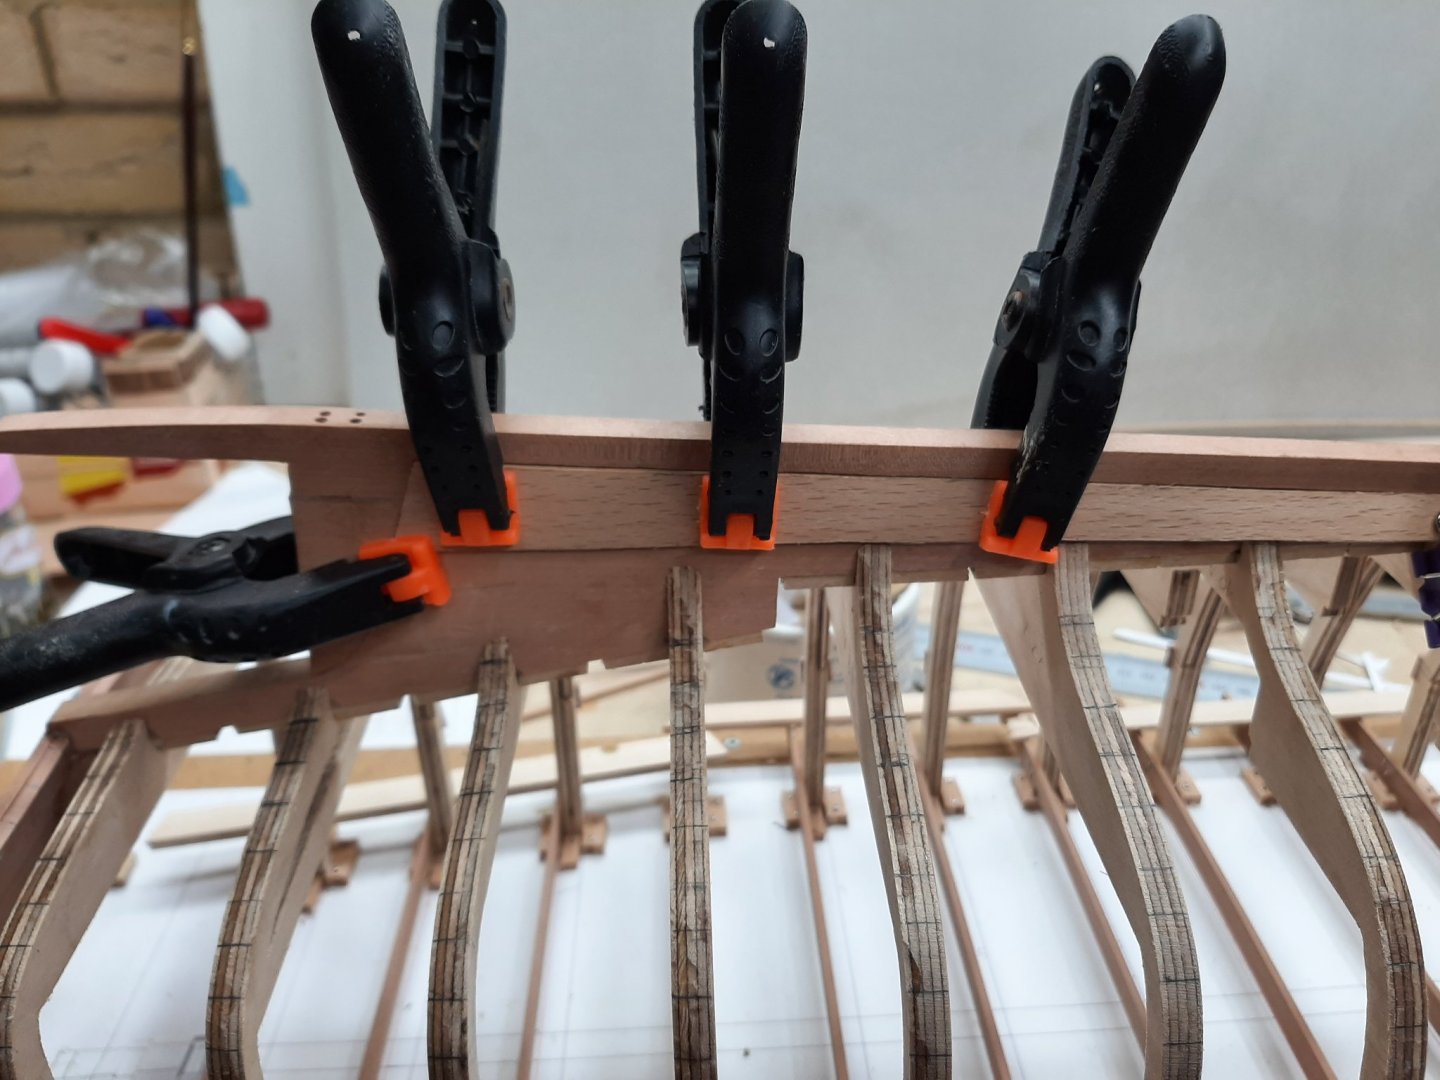
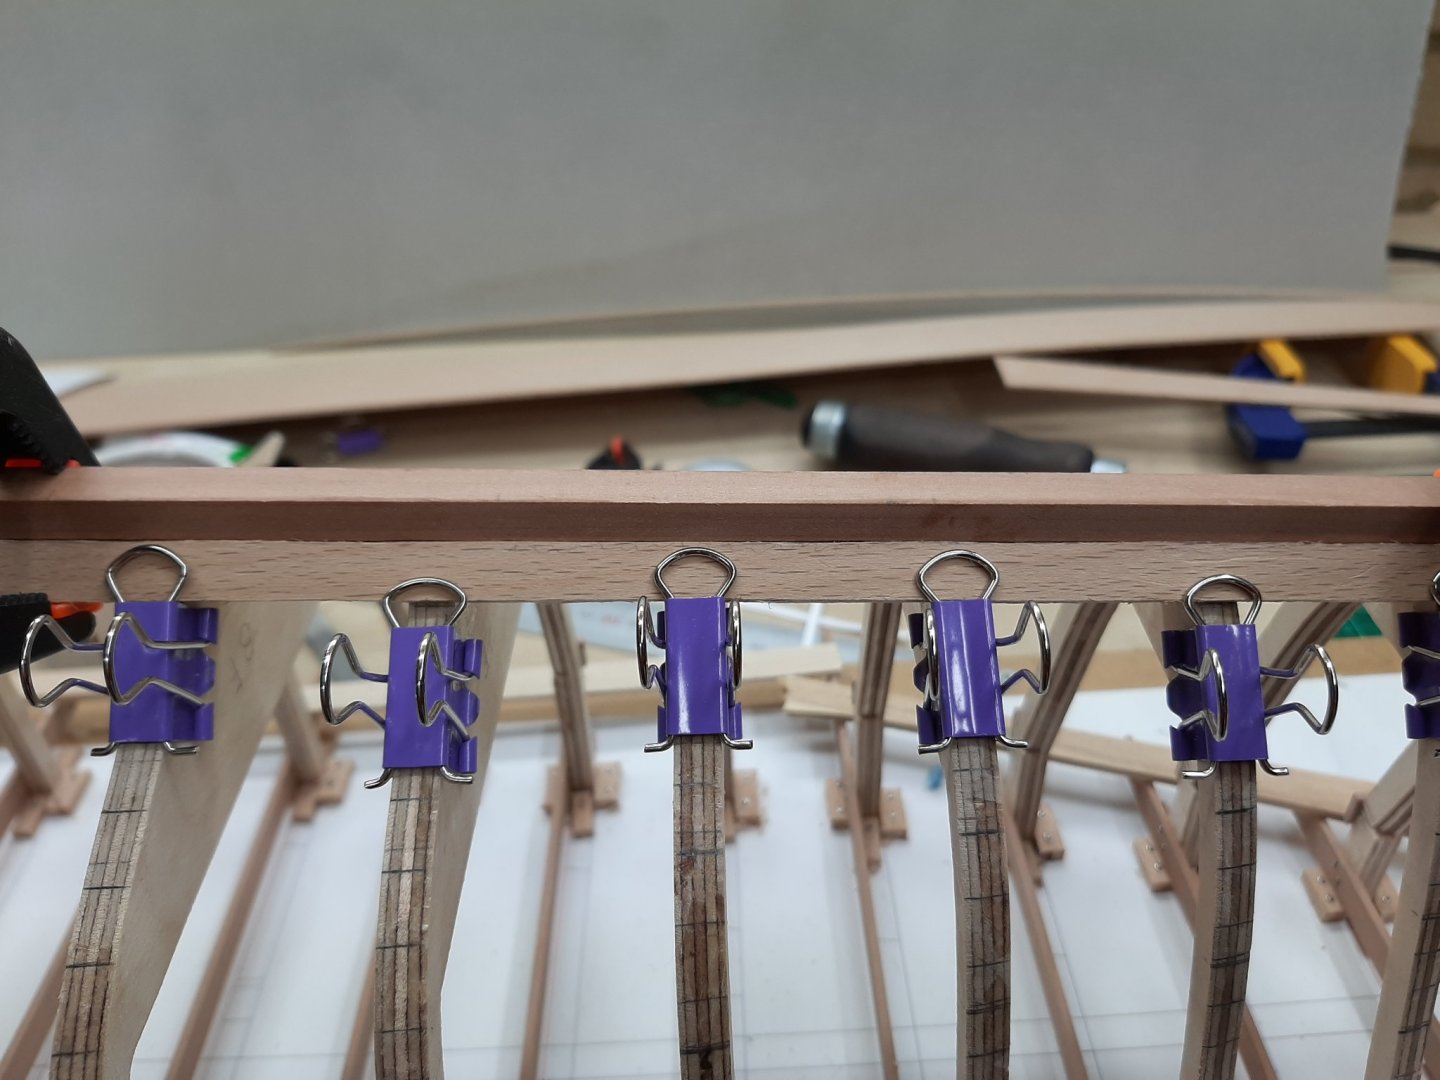
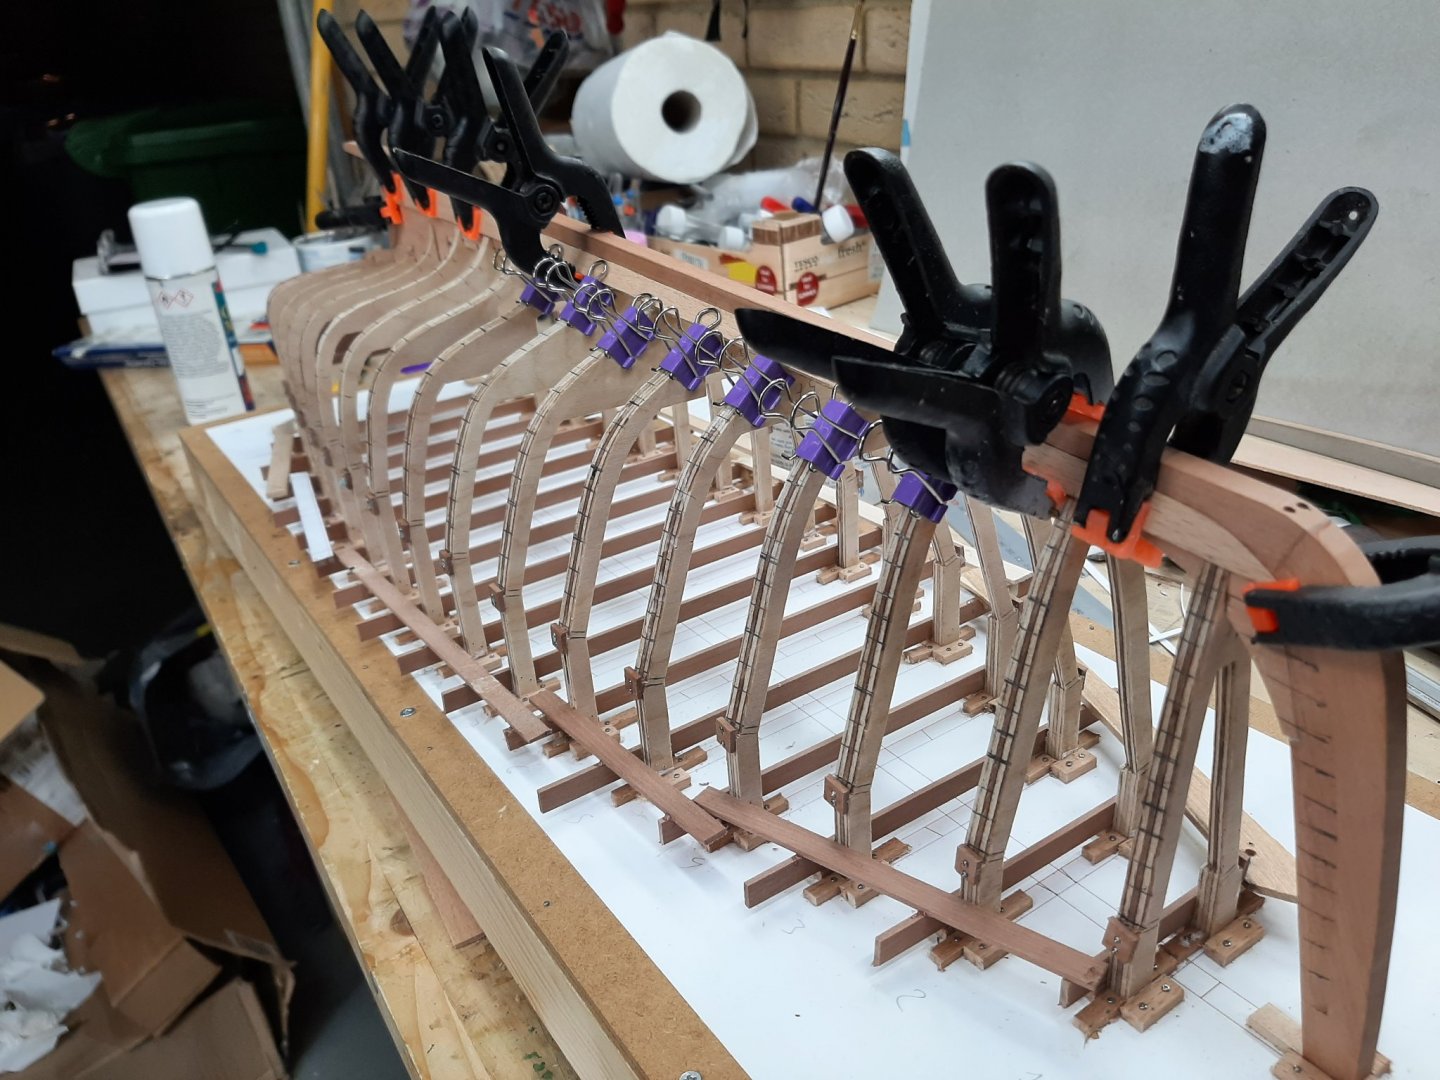
Some more progress so time for another post. Many thanks to all for your likes and comments! Now, in the previous post we have cut one of the garboards so next task is to cut its sister plank. This was much more difficult and more complicated than I expected. The two sides of the hull are not as symmetrical as they should or could be. The garboard I ve cut will not fit on the other side. I am not sure what is the issue, I think the rabet is not cut at the same height in a few areas but everything else looks ok. Still, it will not fit. I marked the frames to determine where the new garboard should reach and using a paper template I cut the new garboard. The plank did not come out right. There are unacceptable gaps with the rabet and at places it is not wide enough. Using the plank as template, I filled the gaps and then with a compass measured the widths again but this time used a different baten to connect the dots, a 2x2 mm pear strip. This time the plank looked better. It actually looks better than the first garboard! On the boat, the two garboards look identical but put on top of each other, their shape is similar but they do not fully much. But it also true that even tiny variations in the frames will massively affect the curvature of the planks. The next photo shows the first plank, the gaps are a bit larger but nothing terrible. I think also the rabet is not deep enough, I wonder if it would be simpler to sand the plank. They are actually a bit thicker than 2 mm. The work will now need to stop, I need to make a steamer device to steam the planks. Also I need to add some wood to the horn timbers for the planks to rest on. Vaddoc


-
I have decided to build a steam box.
vaddoc replied to Osmosis's topic in Modeling tools and Workshop Equipment
I was thinking solid wood planks or better sacrificial plywood but maybe PVC pipe is the way forward. -
GL, the boat came out fantastic, lovely details! Your confidence working with metal and wood, both large chunks and tiny pieces, is impressive. A very enjoyable log apart from the "sticking a pole to the whale's blow hole" part!
- 86 replies
-
- 2
-

-
- whaling
- clinker built
- (and 2 more)
-
I have decided to build a steam box.
vaddoc replied to Osmosis's topic in Modeling tools and Workshop Equipment
Excellent Art, your steamer seems to be working well. Now, I need to make a similar one! I have two boats to plank, about 50 planks altogether of 2 mm beech. I am thinking to make a long box out of plywood, with one end closed, apart from an opening to accept the steam feed hose, the other with a loose fitting cap and a rag so steam can escape. I presume a drain hole will be needed, probably just drill a hole but attach a hose so that the condensation be directed to a bucket to avoid making a mess. As you report things will get pretty hot in there so some caution will be needed. I ll post my results -
So sorry for your loss Michael. When I was much younger our cat died after being part of our lives for 18 years. I still think of him and visiting familiar places miss his presence.
-
Fantastic metal work Keith but the net indeed is a step further. The more I look at it the more difficult it looks...
-
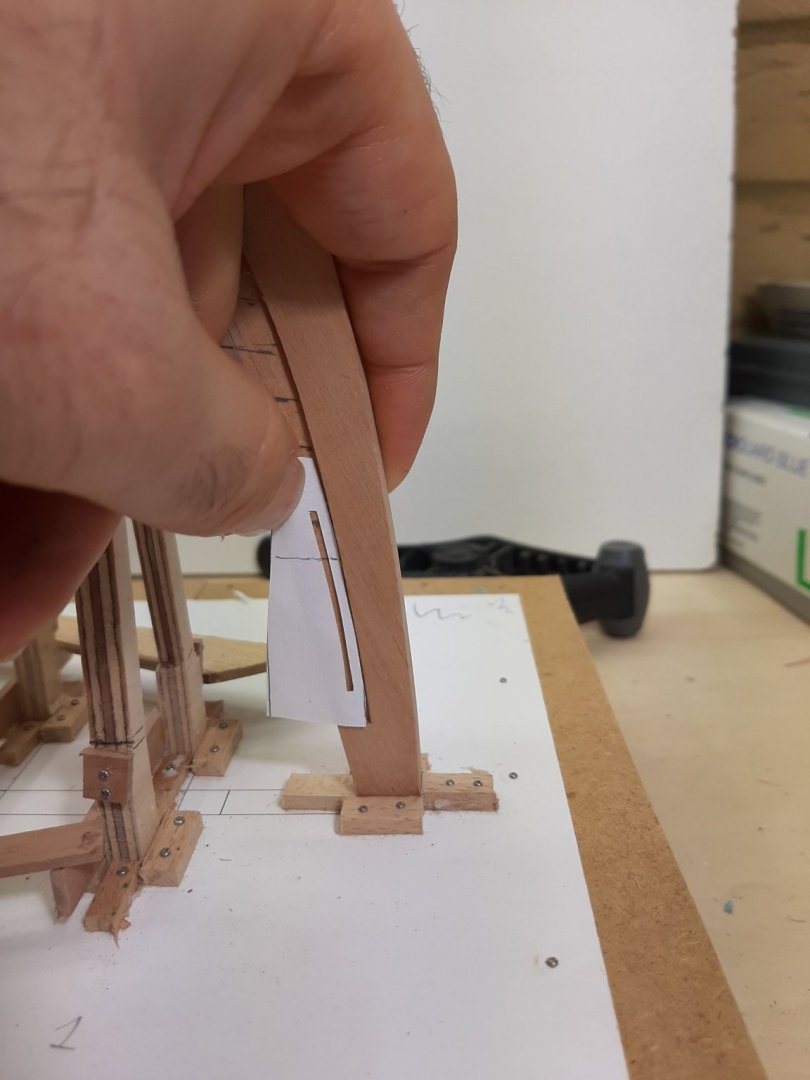
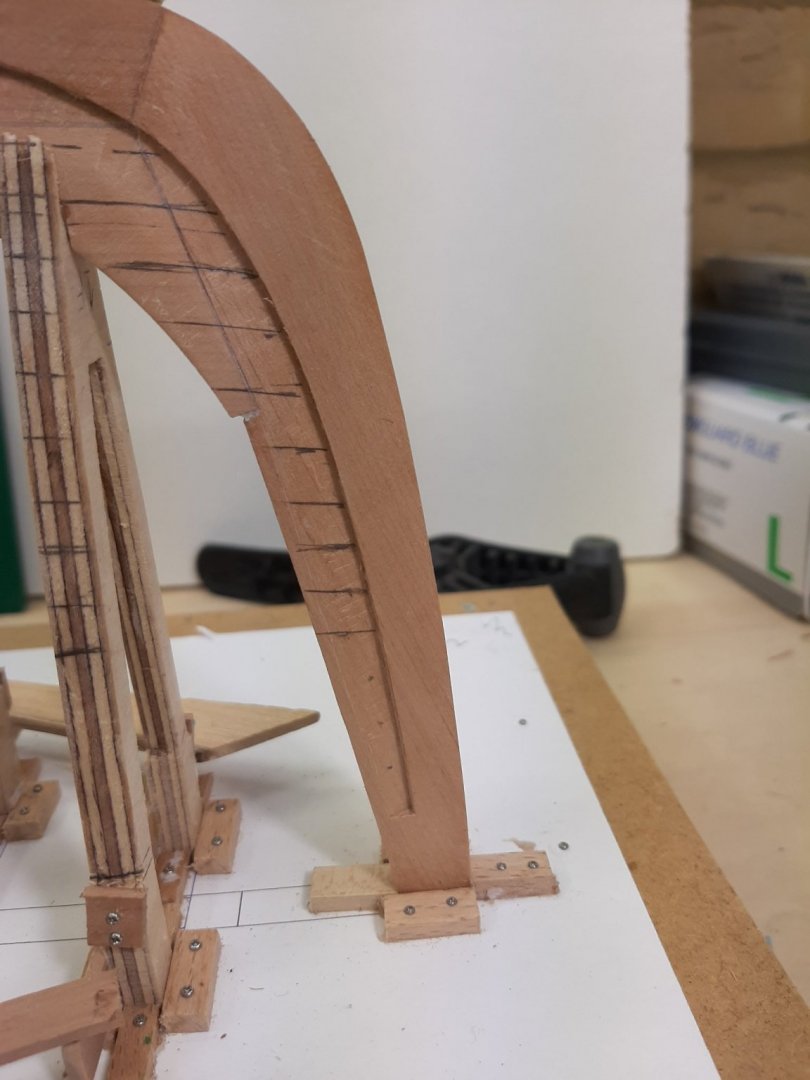
Just finished going over the entire log JD. Very nice! I enjoyed the transom bit very much, properly complex to make! Could I share couple of thoughts: Re your issues with the height and position of frames, position of rabet and the shape/angle of transom: Rhino is really powerful, it can give you all these answers. One solution is to extend the frames, sternpost and stem beyond the sheer to the same horizontal plane. This way all frames and transom will sit at the proper height. You can also project the transom to an appropriately angled plane to get its shape. Also, perhaps consider before tackling the frame shape to first fully define sheer, rabet and edge of transom as a continuity. I am very interested to see how you ll approach the planking, at this scale you ll probably be able to get away with a lot of edge setting. Regards Vaddoc
-
-3 Hakan but there is wind, real feel -8!
-
Very nice Hakan. Your frames came out great! Epoxy thickened with gypsum could be a good alternative with gap filling properties, although epoxy has the potential to cause great mess.
-
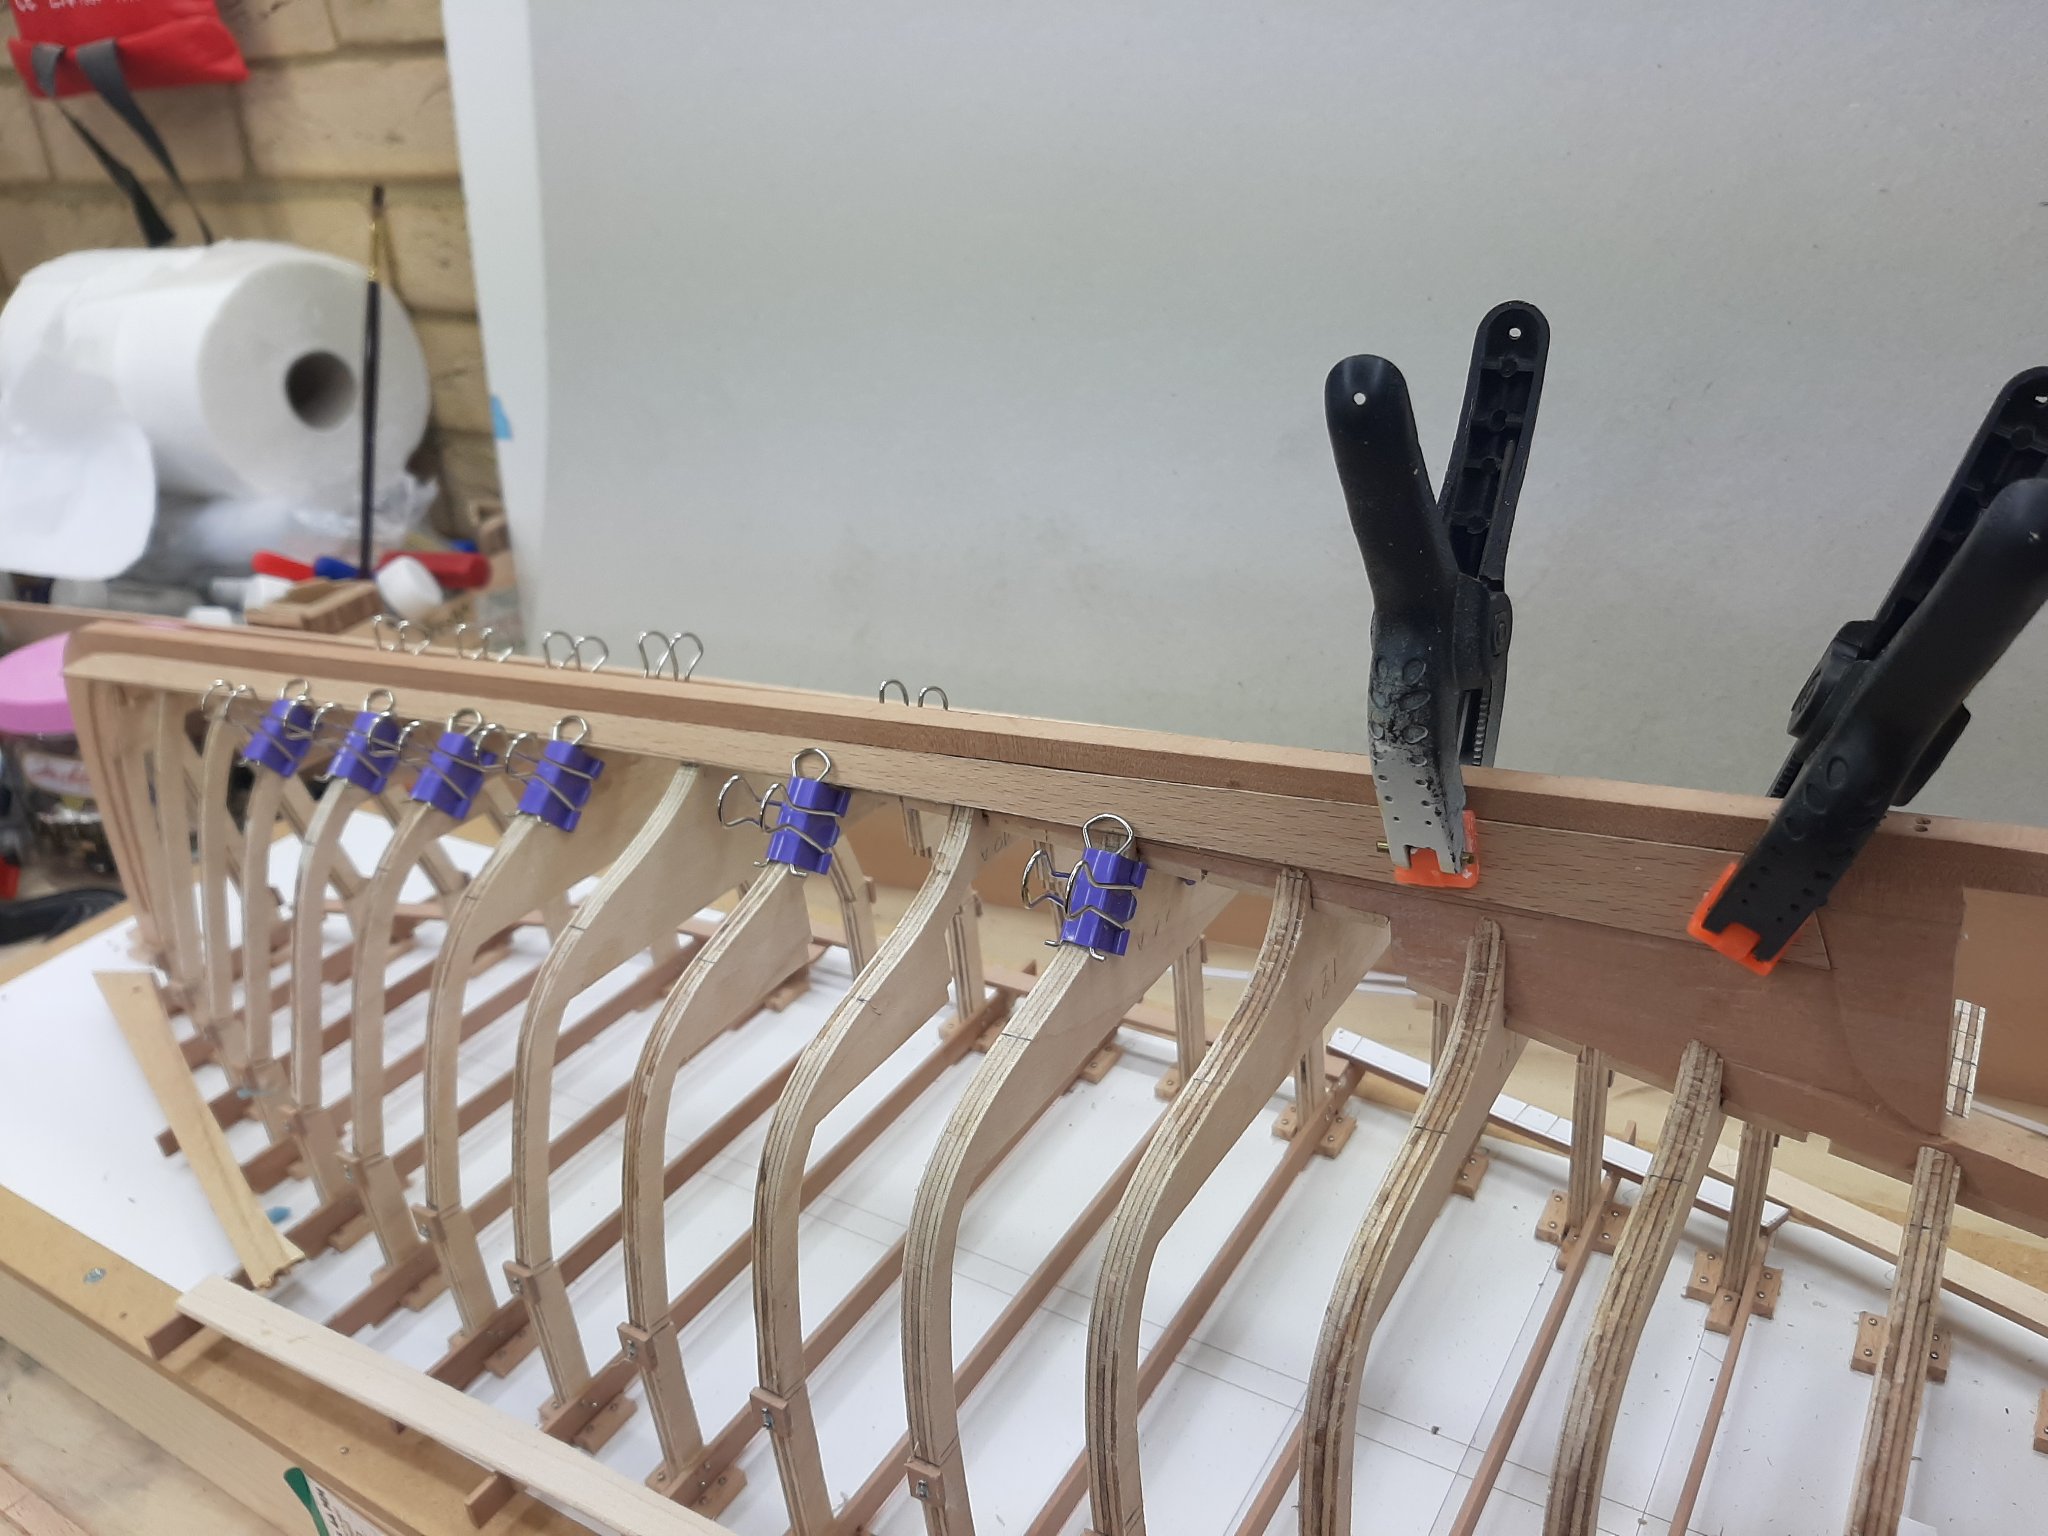
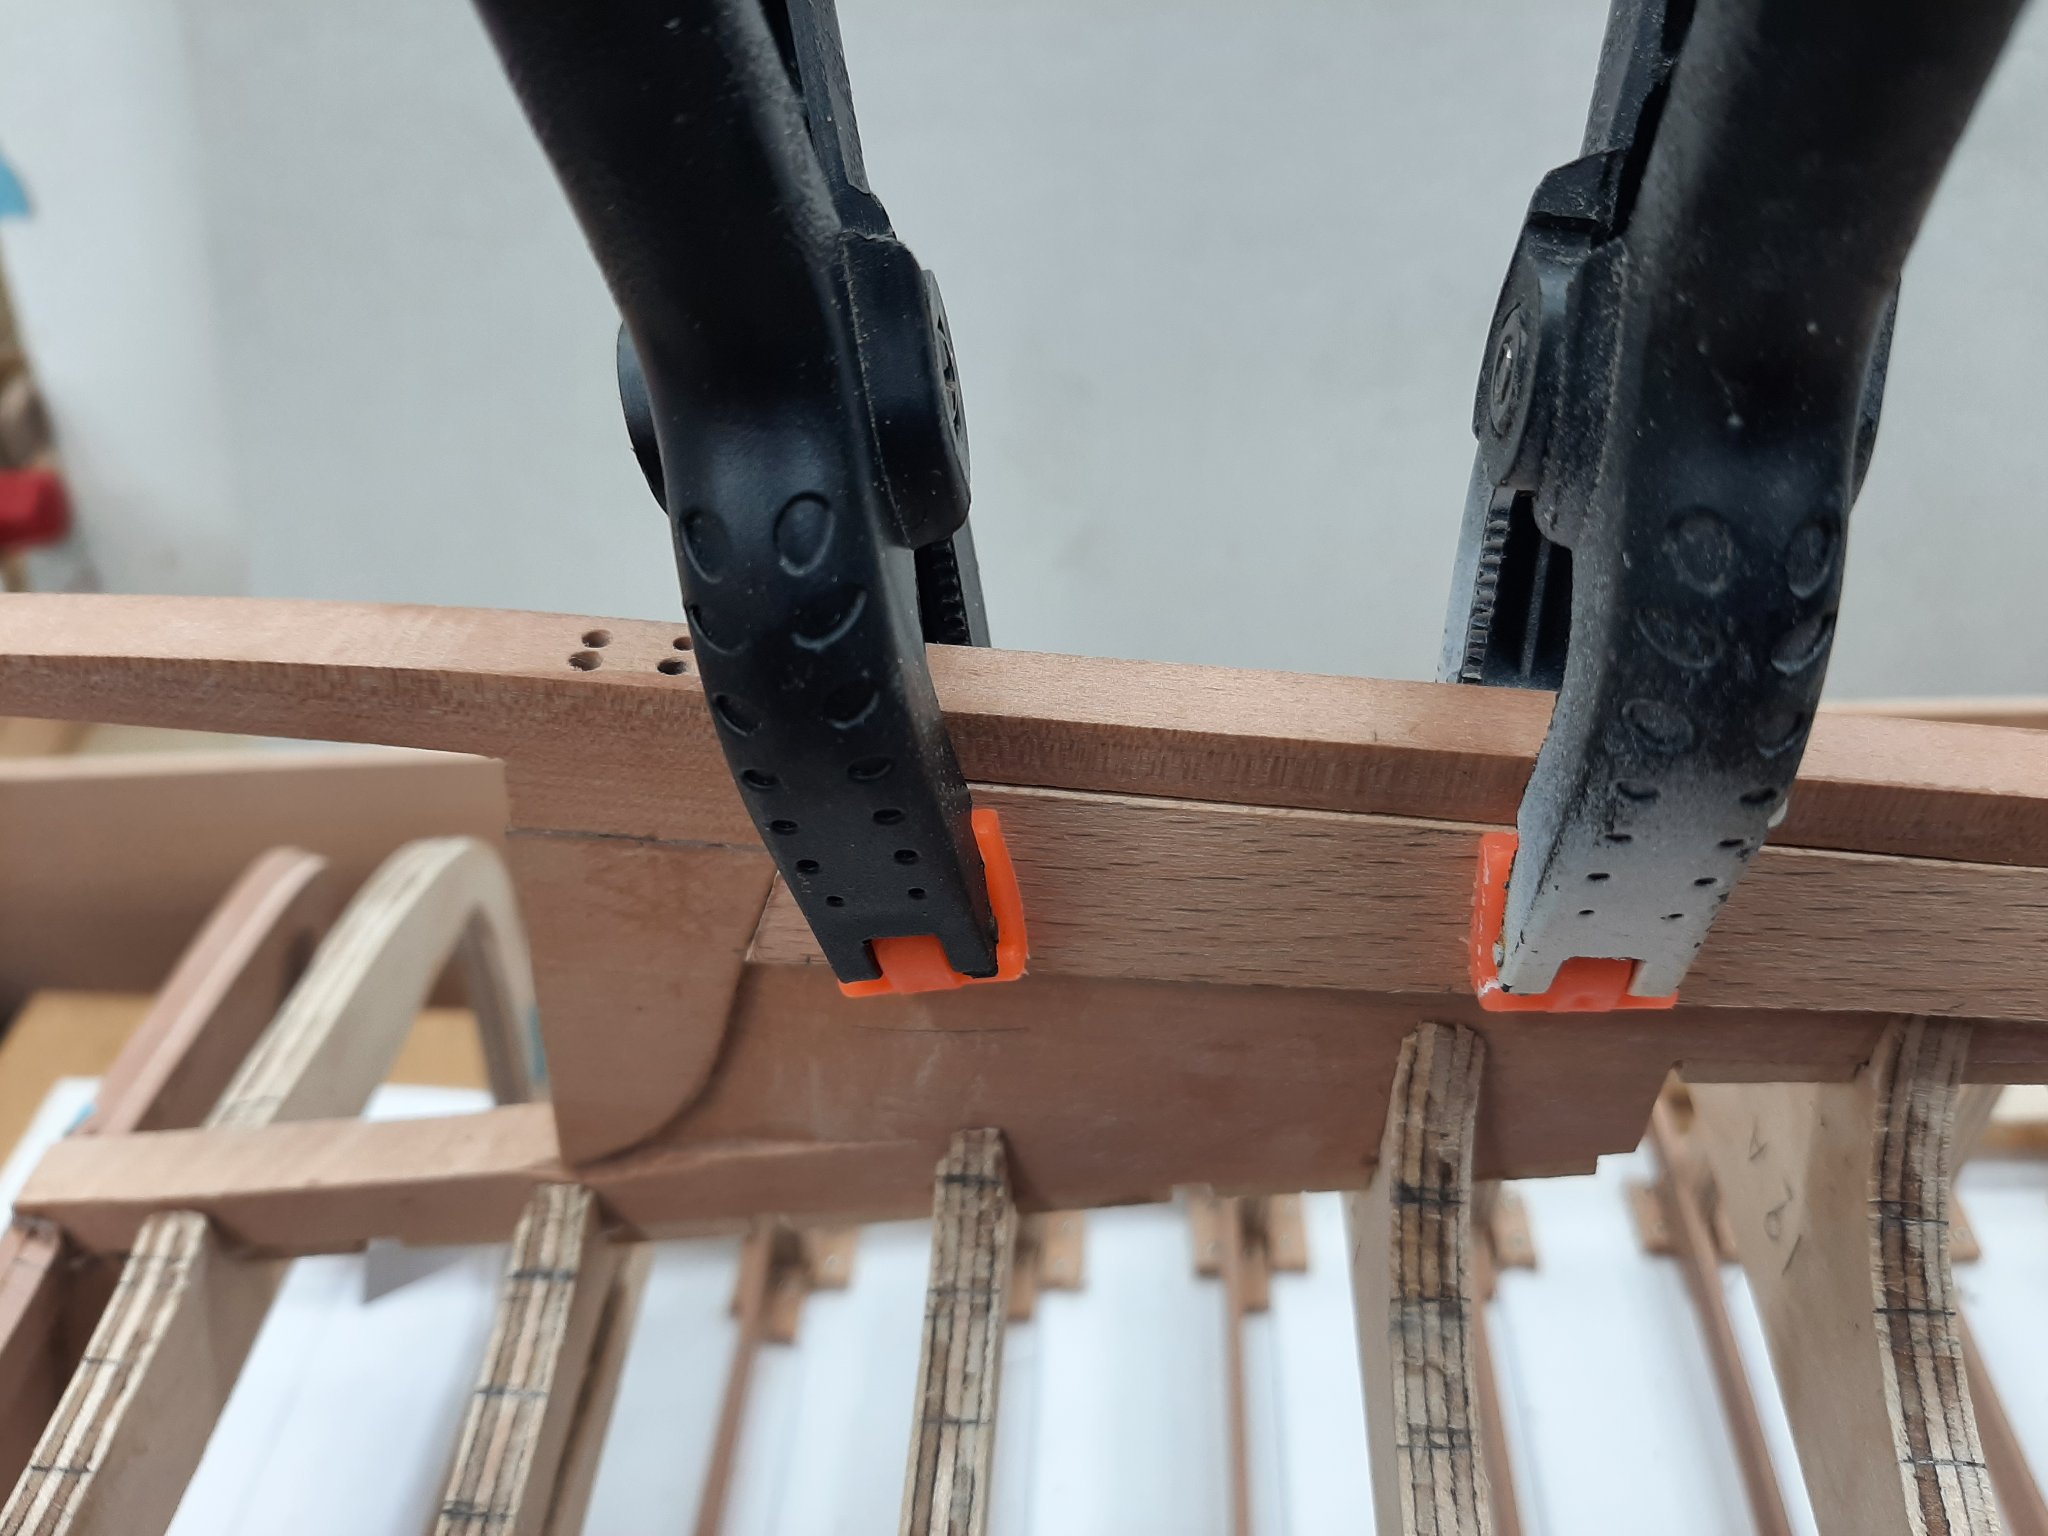
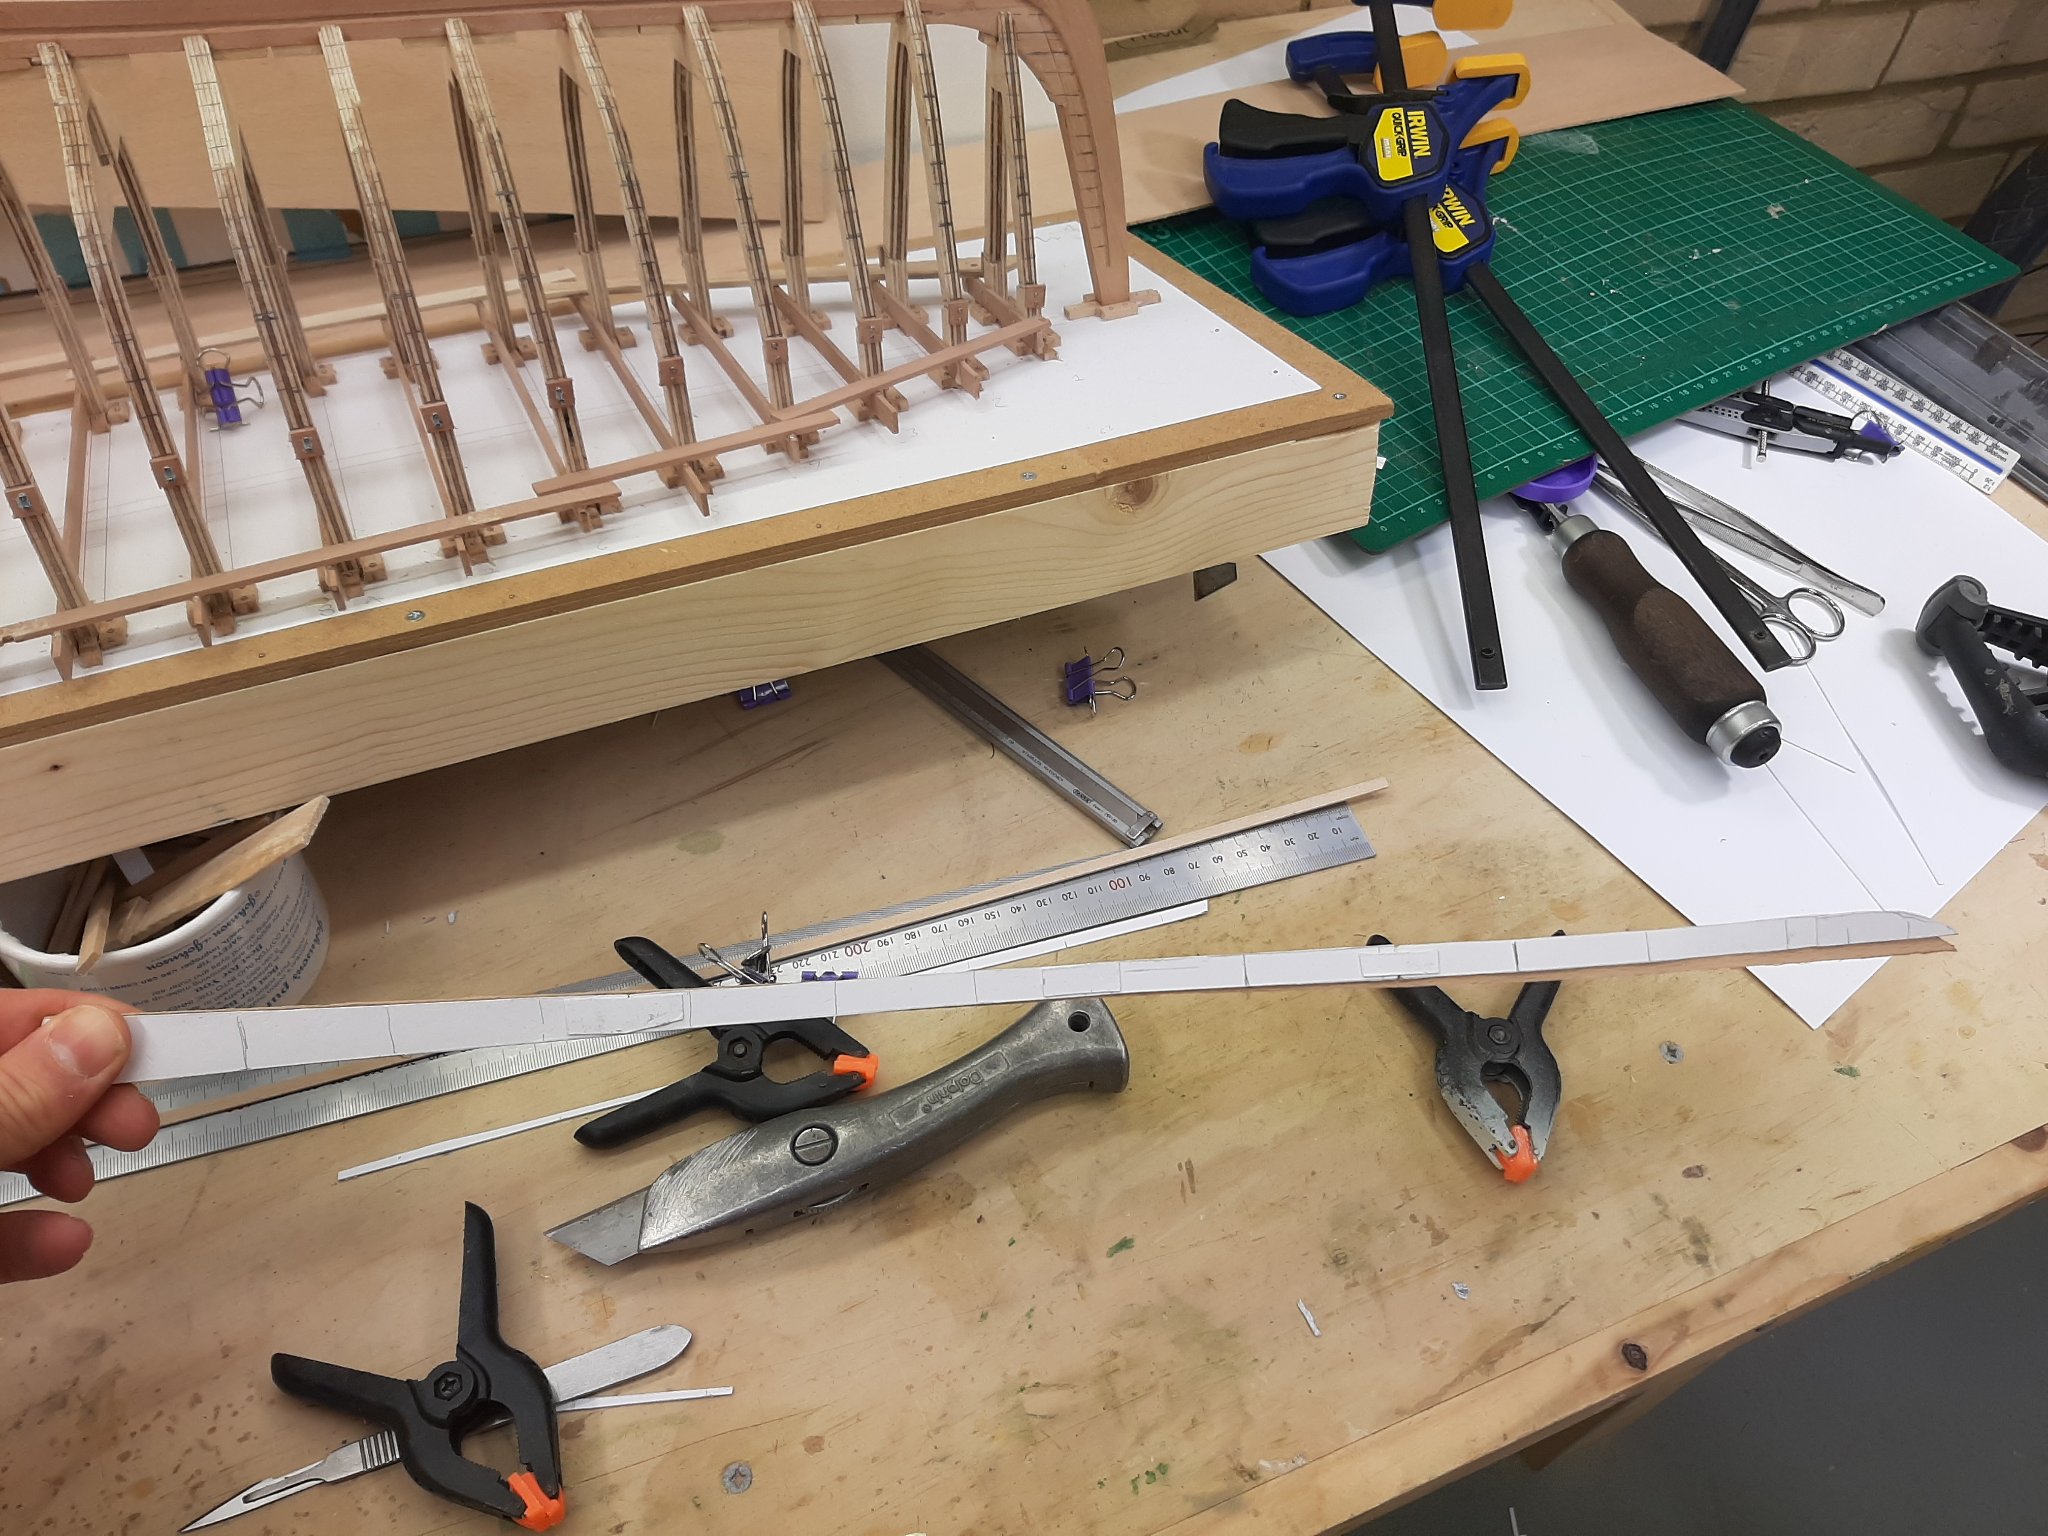
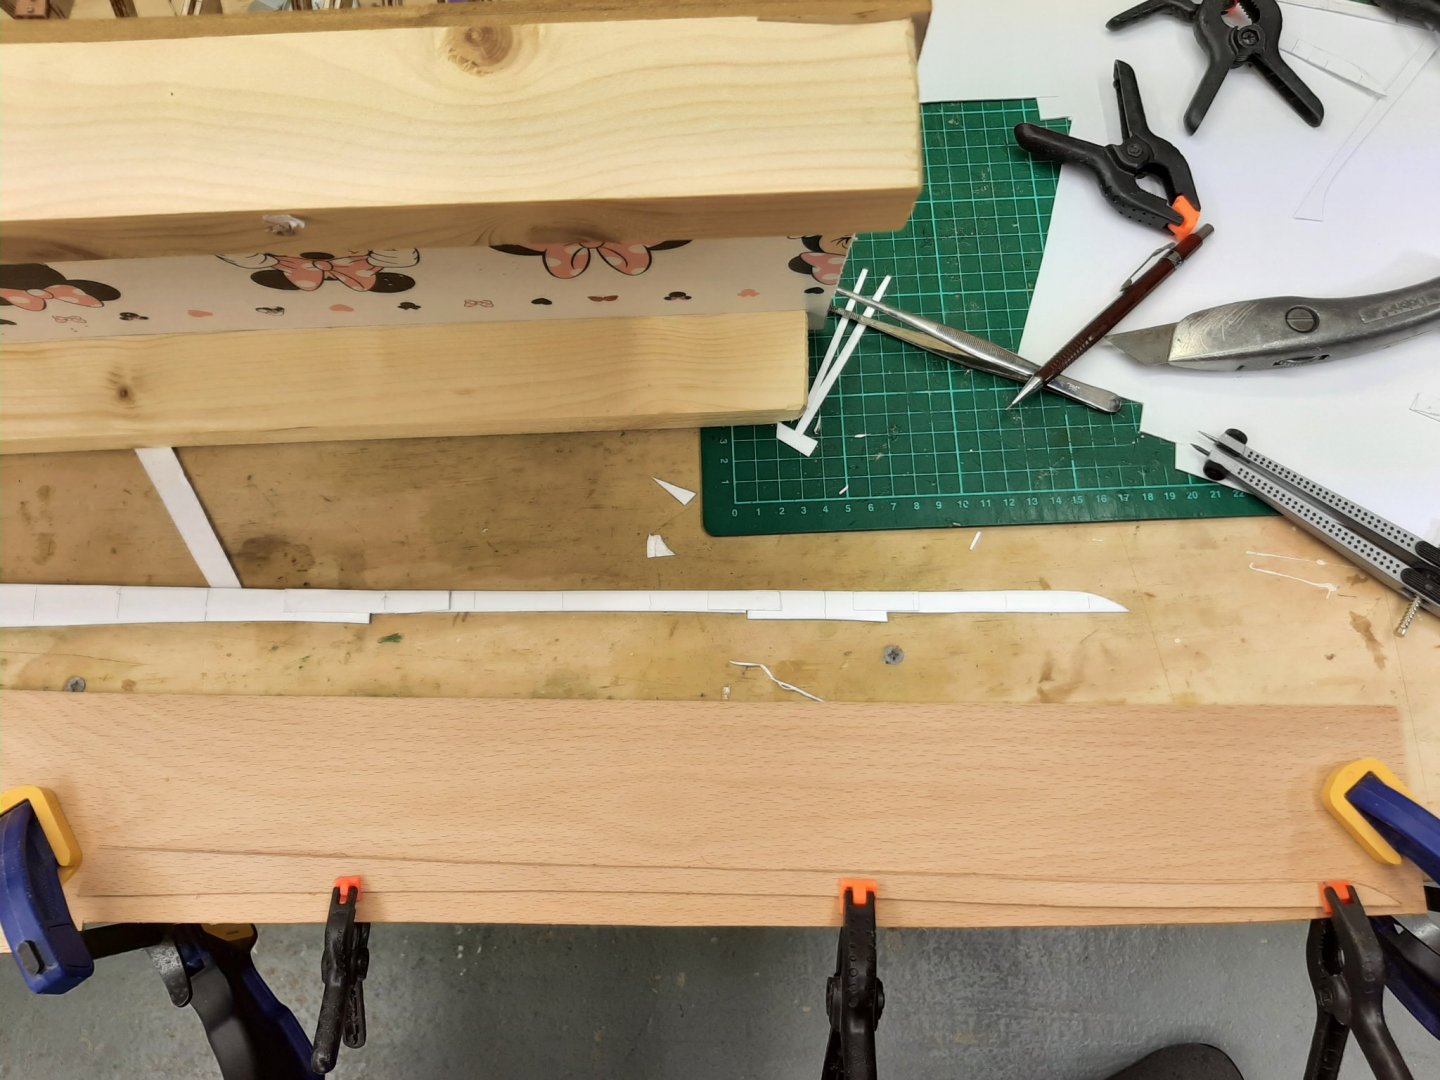
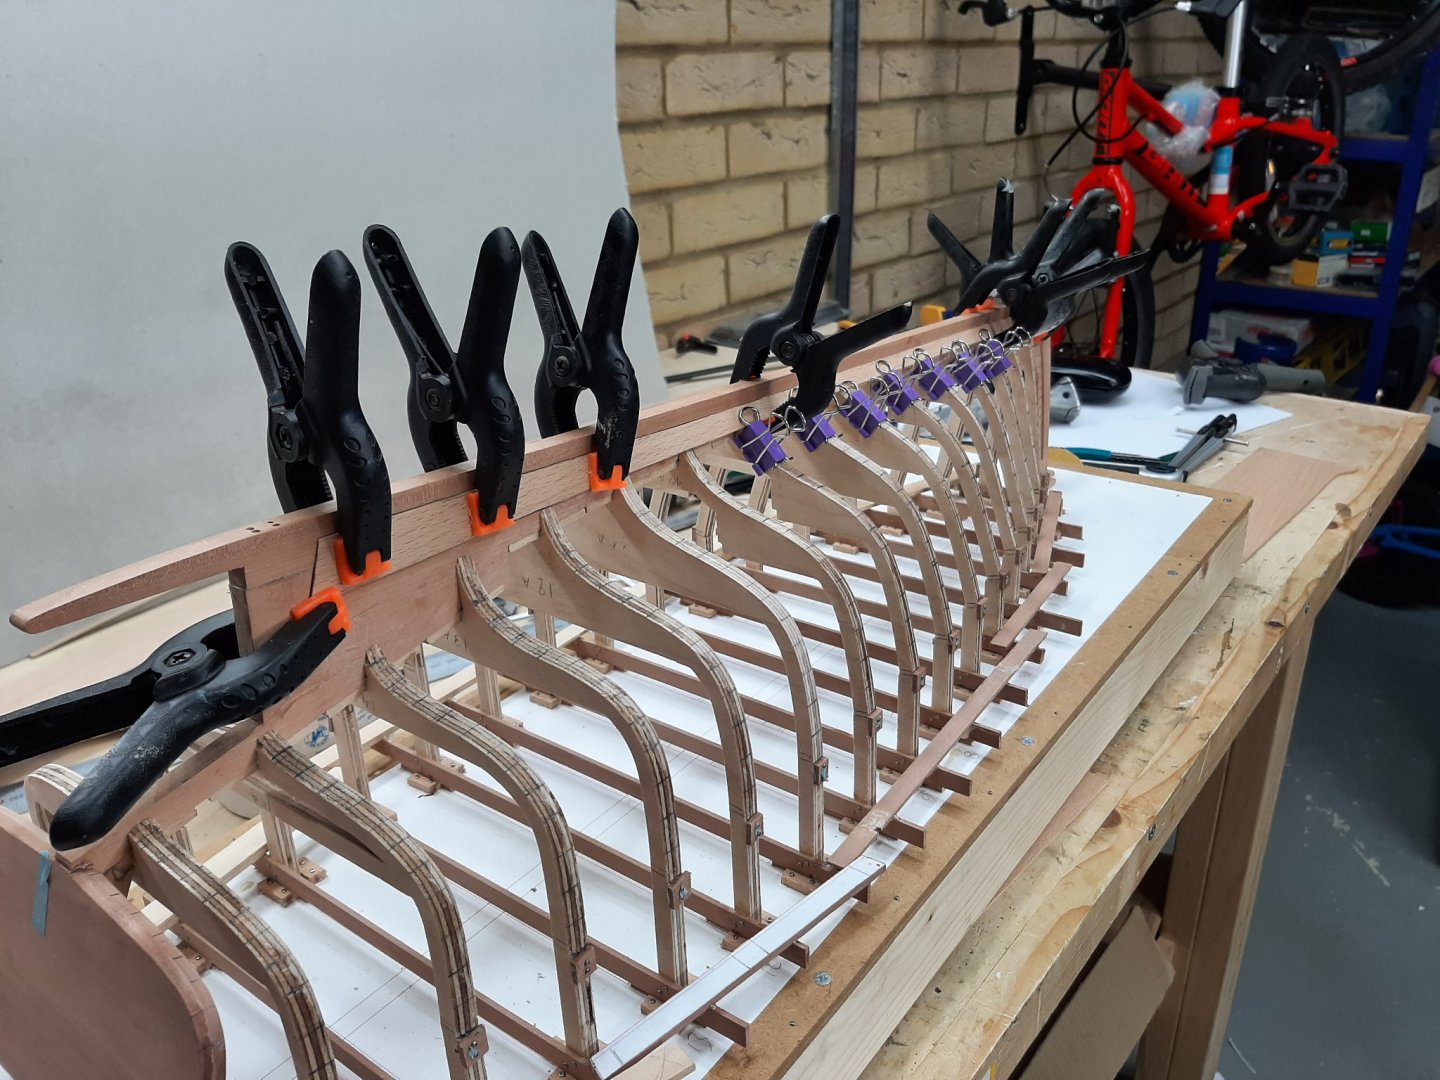
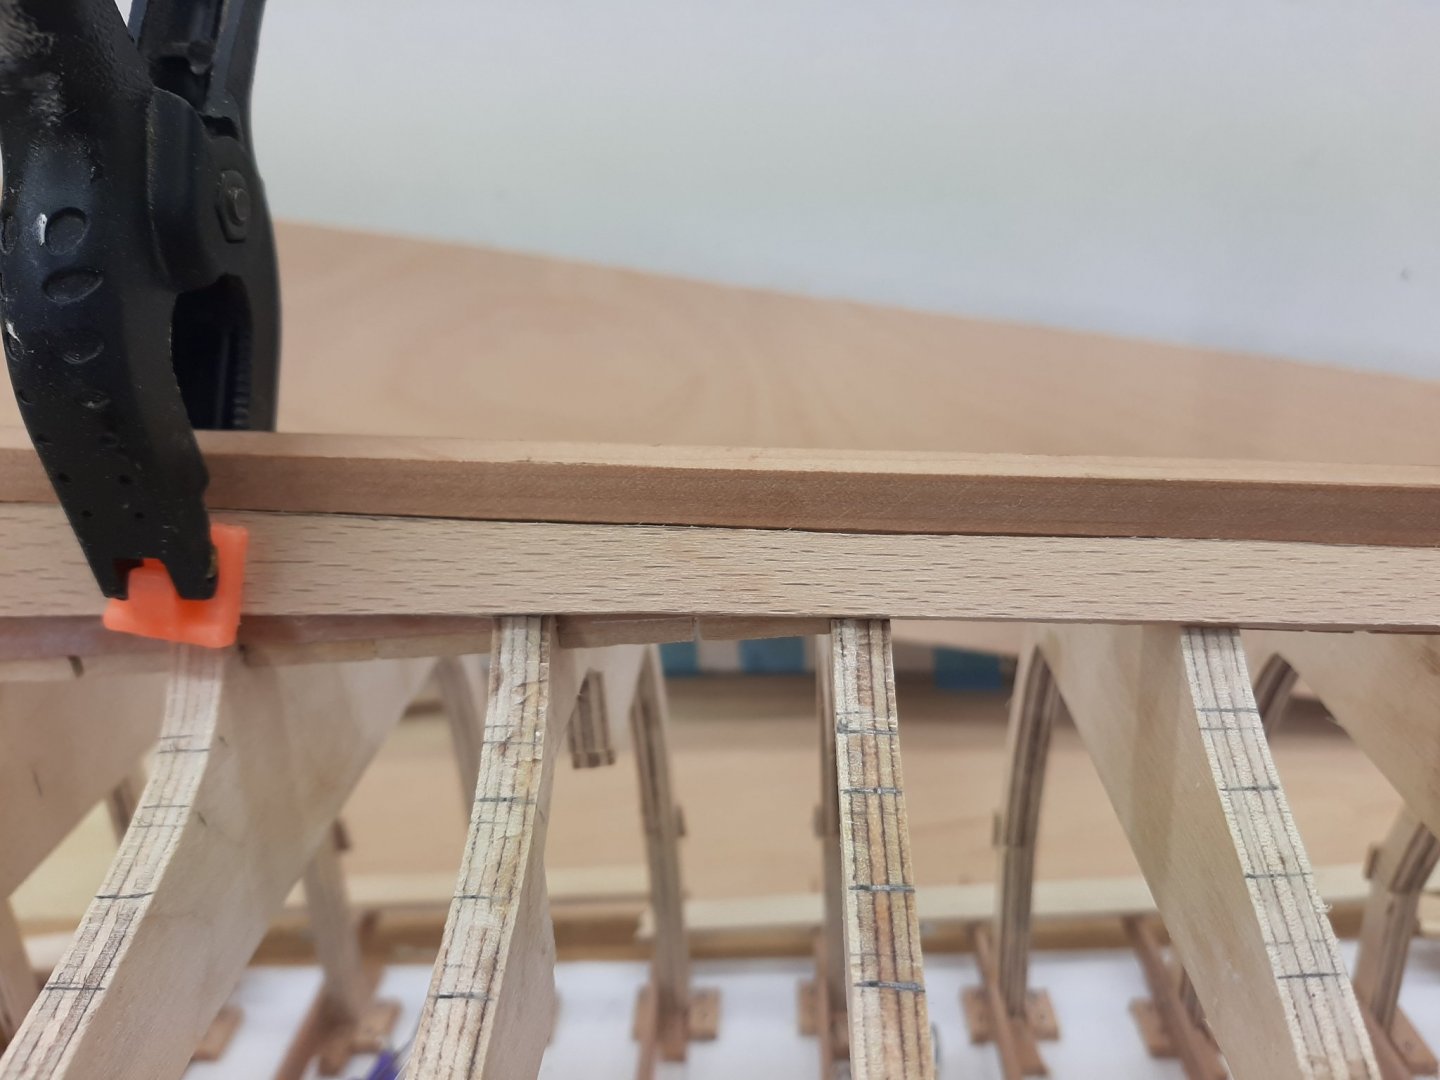
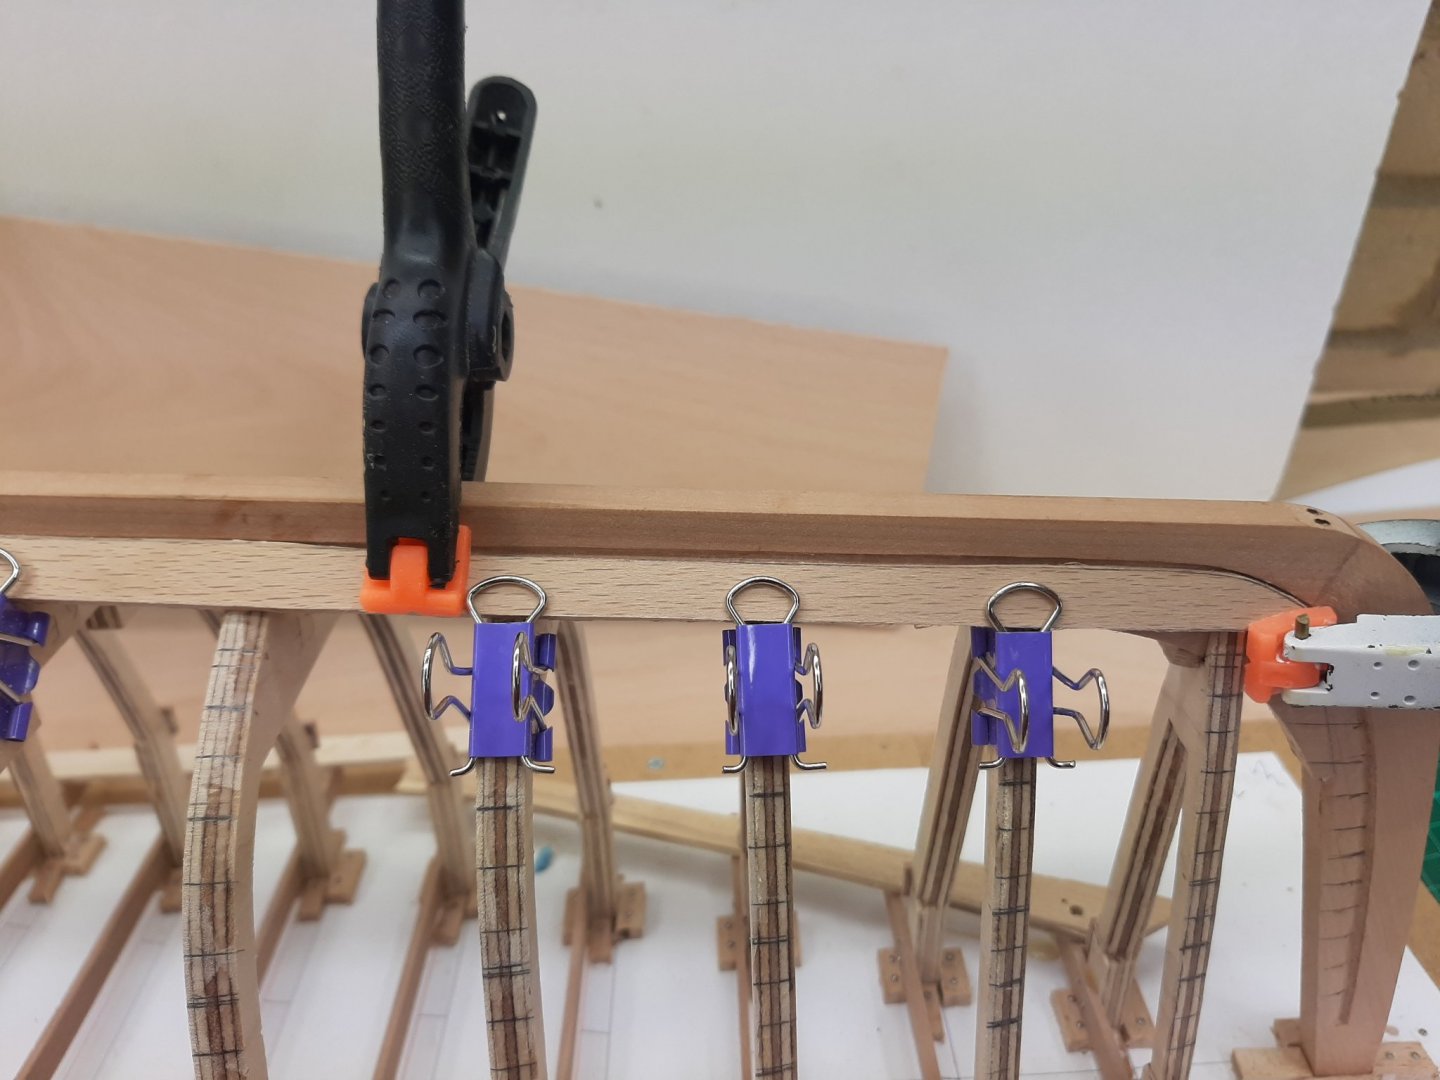
So I gave it another try and this time things worked better. I actually remembered that planking the Deben, I had laminated the card to double its thickness. So I did the same and indeed the laminated card holds its shape much better. Also, I used spray glue instead of the water based glue sticks. This made a huge difference as the glue dries almost immediately and does not distort the paper. The new pattern was transferred to the wood but in a different way. I used paper template to define the rabet edge, the stern end and the turn of the plank at the stem. Then, with the compass I transferred the distances at all frame positions and used a baten to connect them with a fair line. This was the outcome, it worked just fine. Compared to the first plank, it looks more correct as it probably will fill the previous gaps. But the first plank looks just wrong, it is clear the card had distorted at the fore end. I then tried to install the plank. This was difficult, exactly as the ship builder mentions in the video a few posts earlier, the most difficult thing is to get the plank to twist and this garboard has a huge twist. I had to do a very minimal amount of scraping/sanding and with the help of many clamps, the plank seems to fit well with very little edge bending. A little filler won't hurt I presume! Now, all boat building activities are temporarily suspended, not only due to professional and family commitments but also because of the weather-it is freezing cold in Cambridgeshire. Best wishes Vaddoc


-
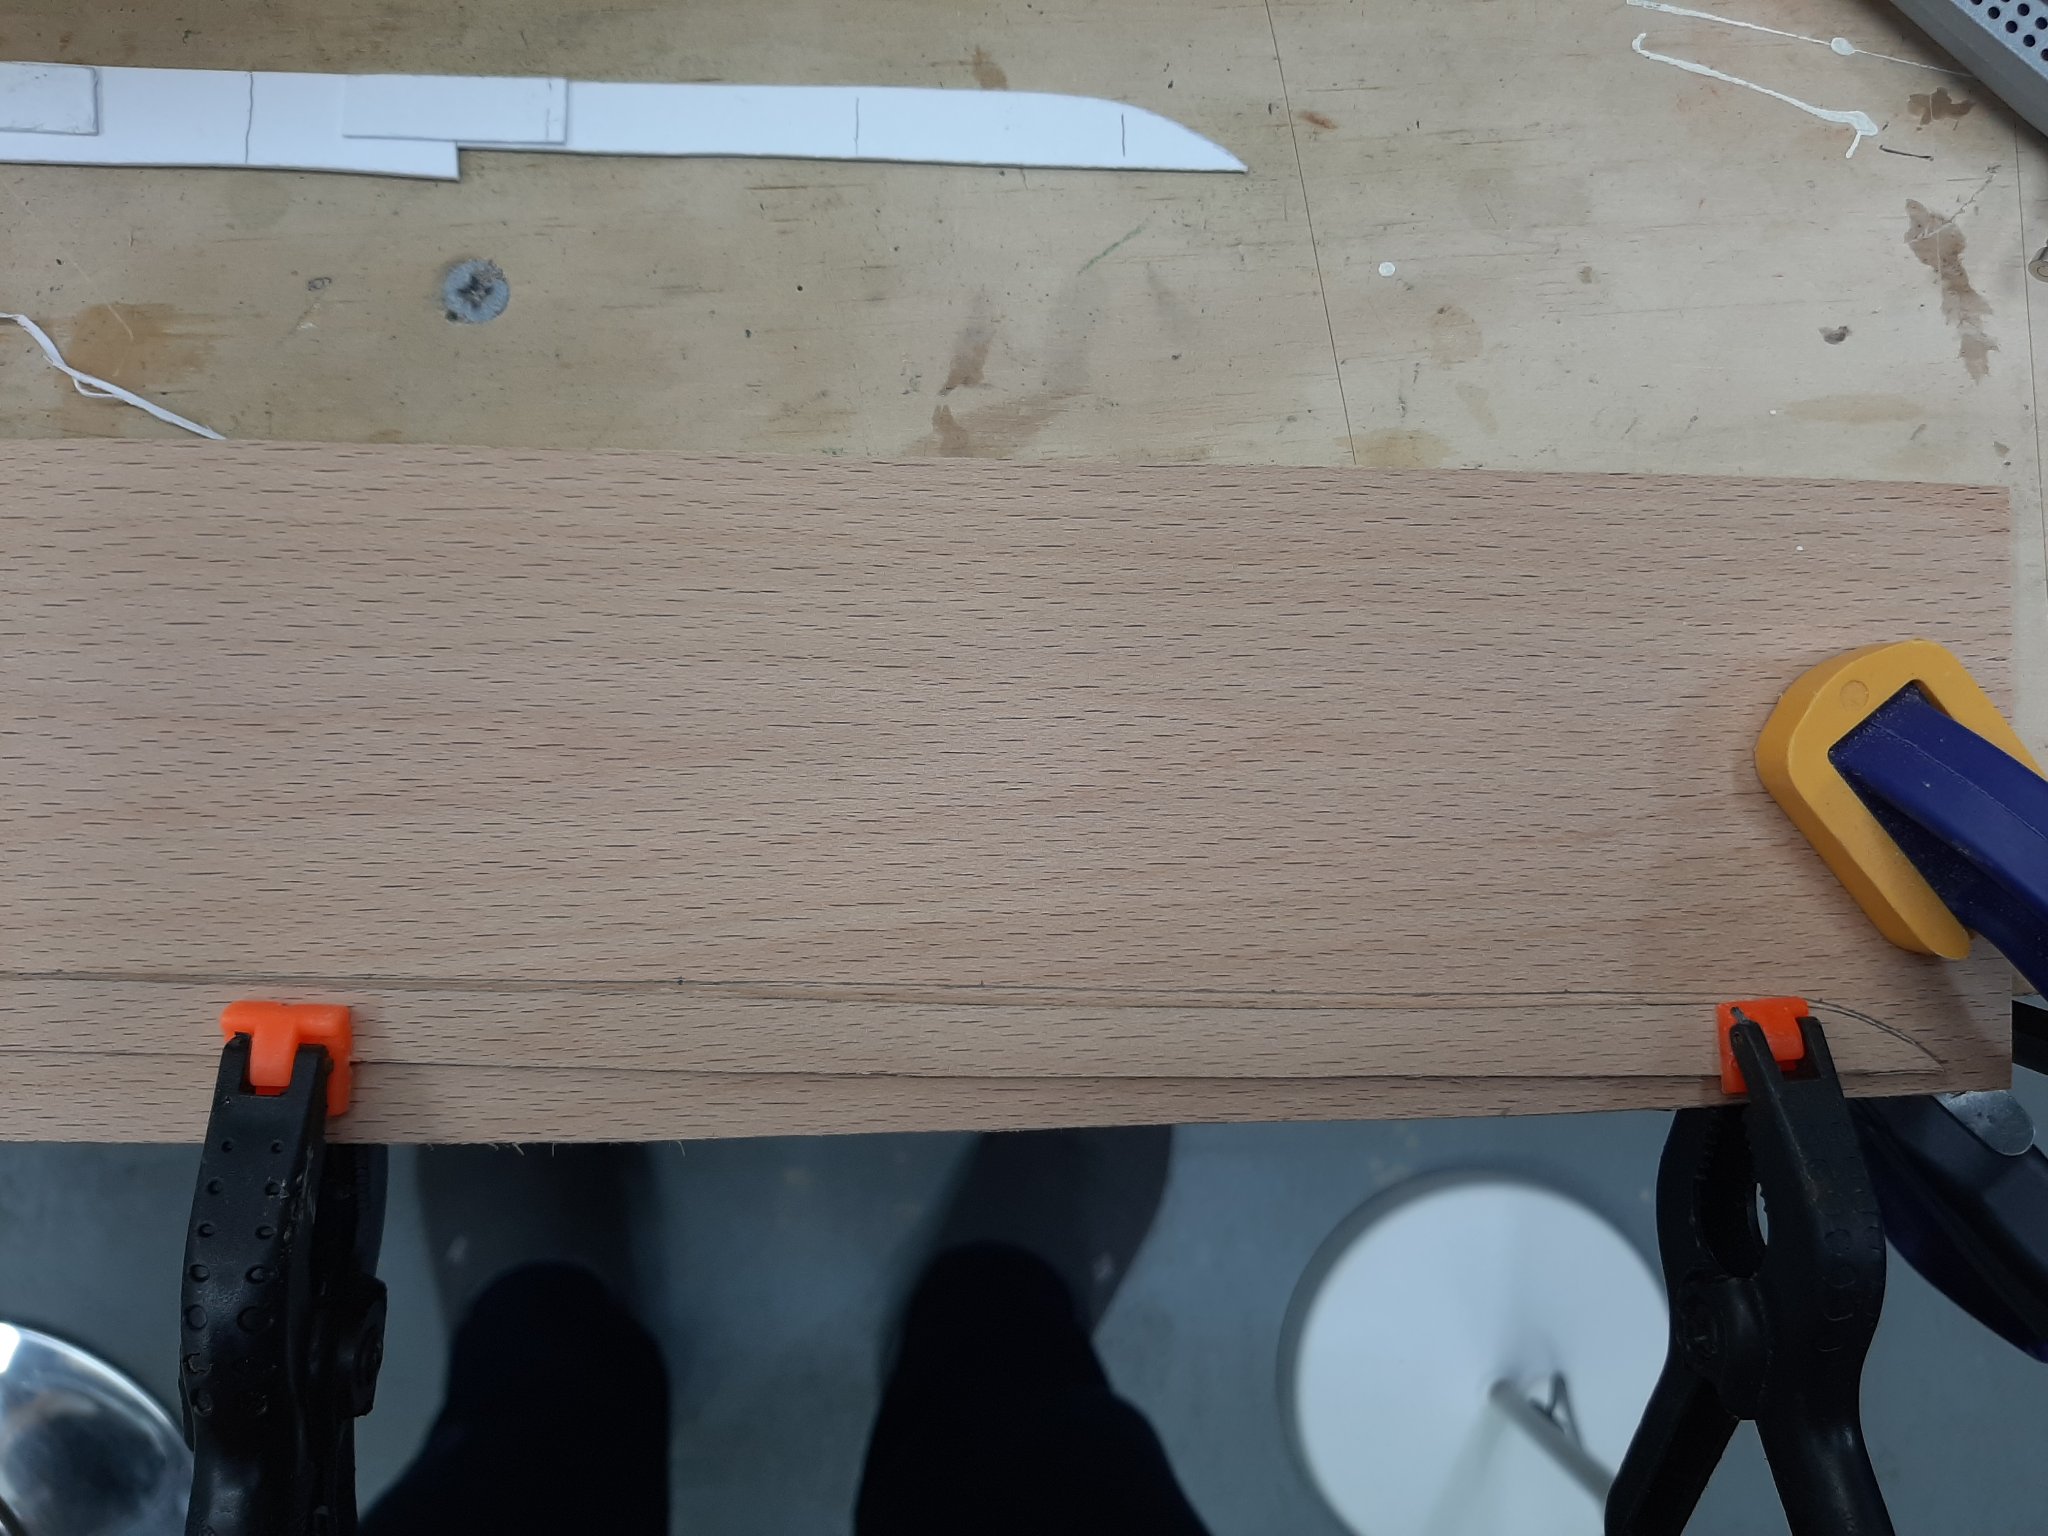
Indeed Hakan, this is why planks need spilling. I think the problem is that the card is not stiff enough. I actually have 2 mm thick card that I used to plank the Deben but it is too thick and difficult to cut. I ordered 1 mm thick cardboard, see how this will do
-
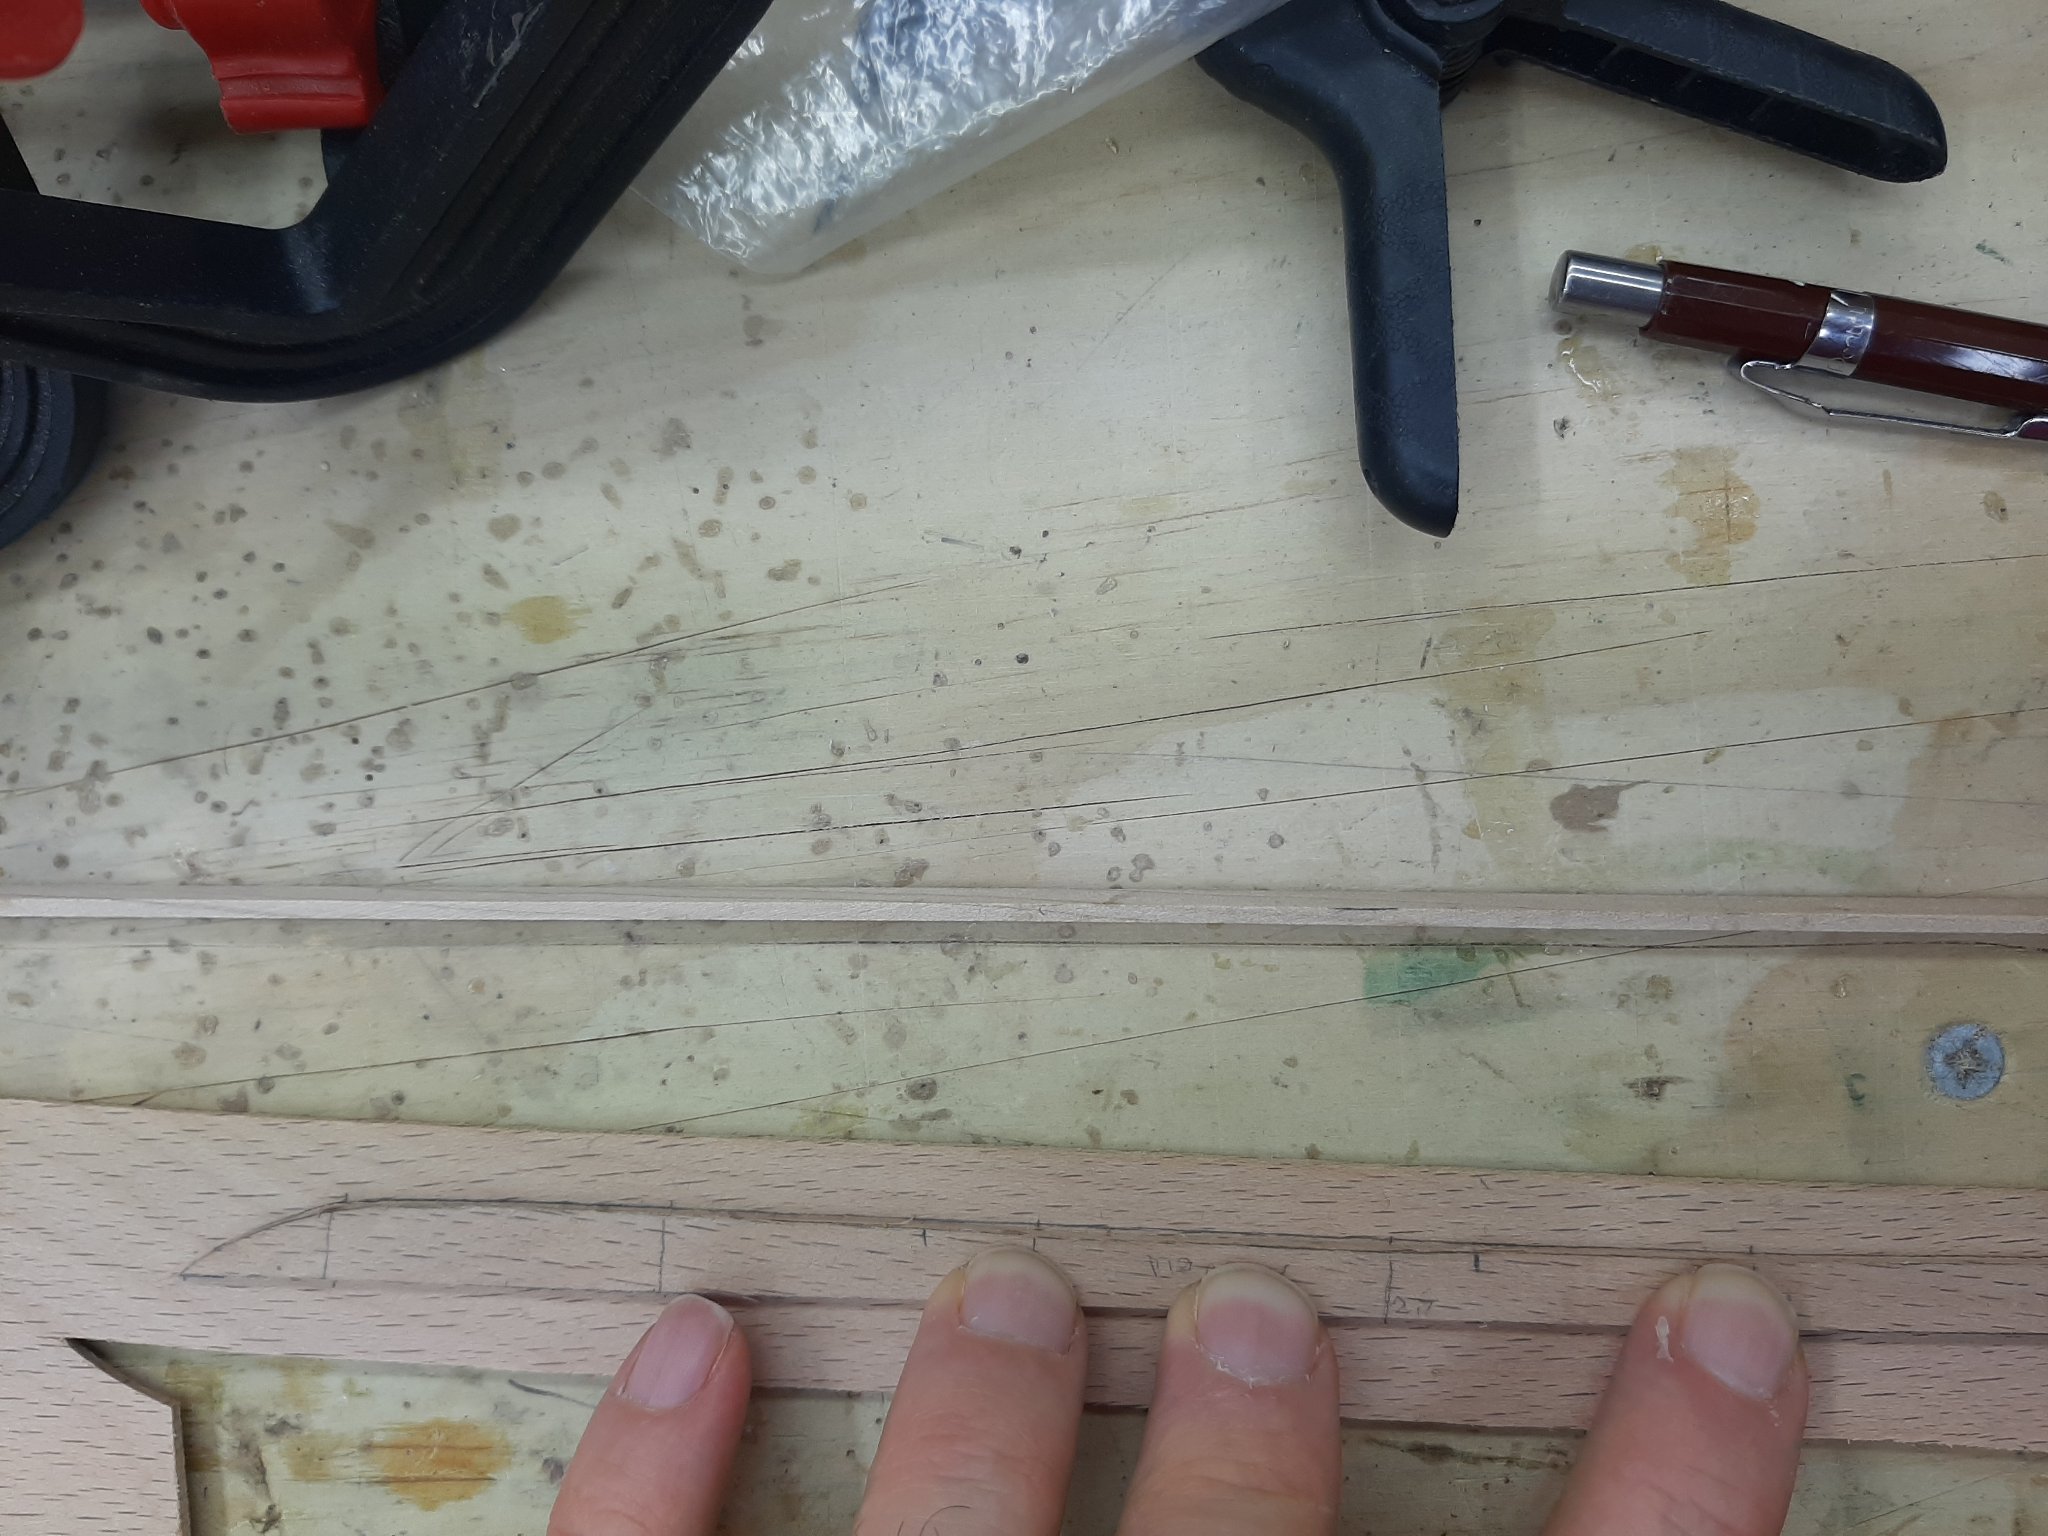
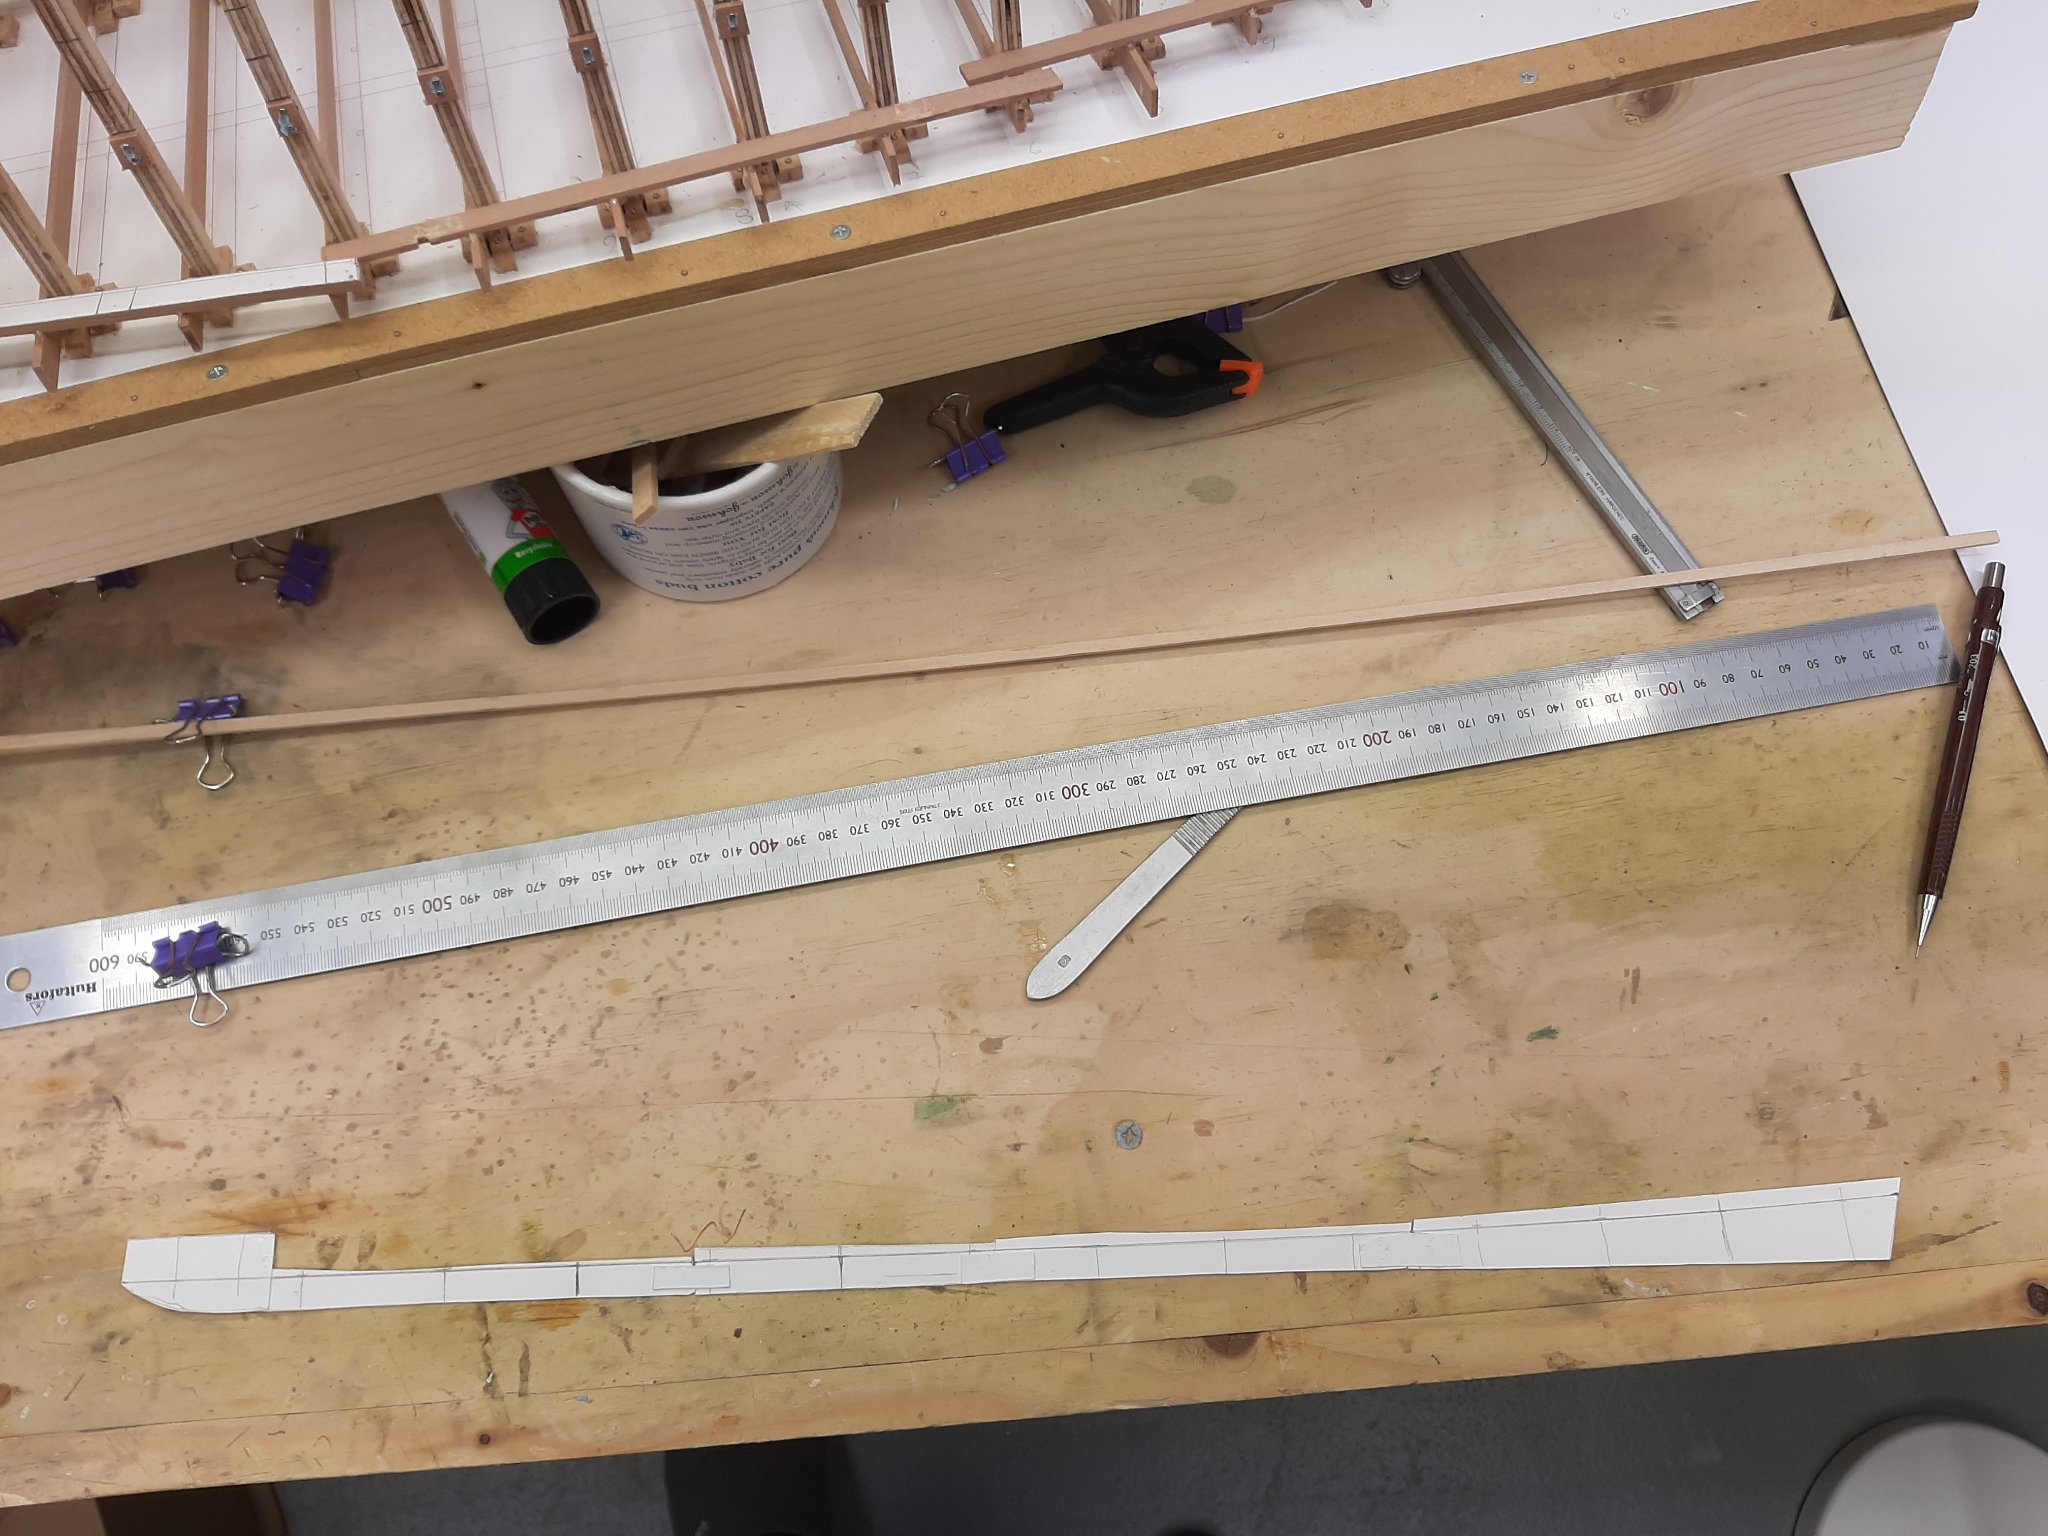
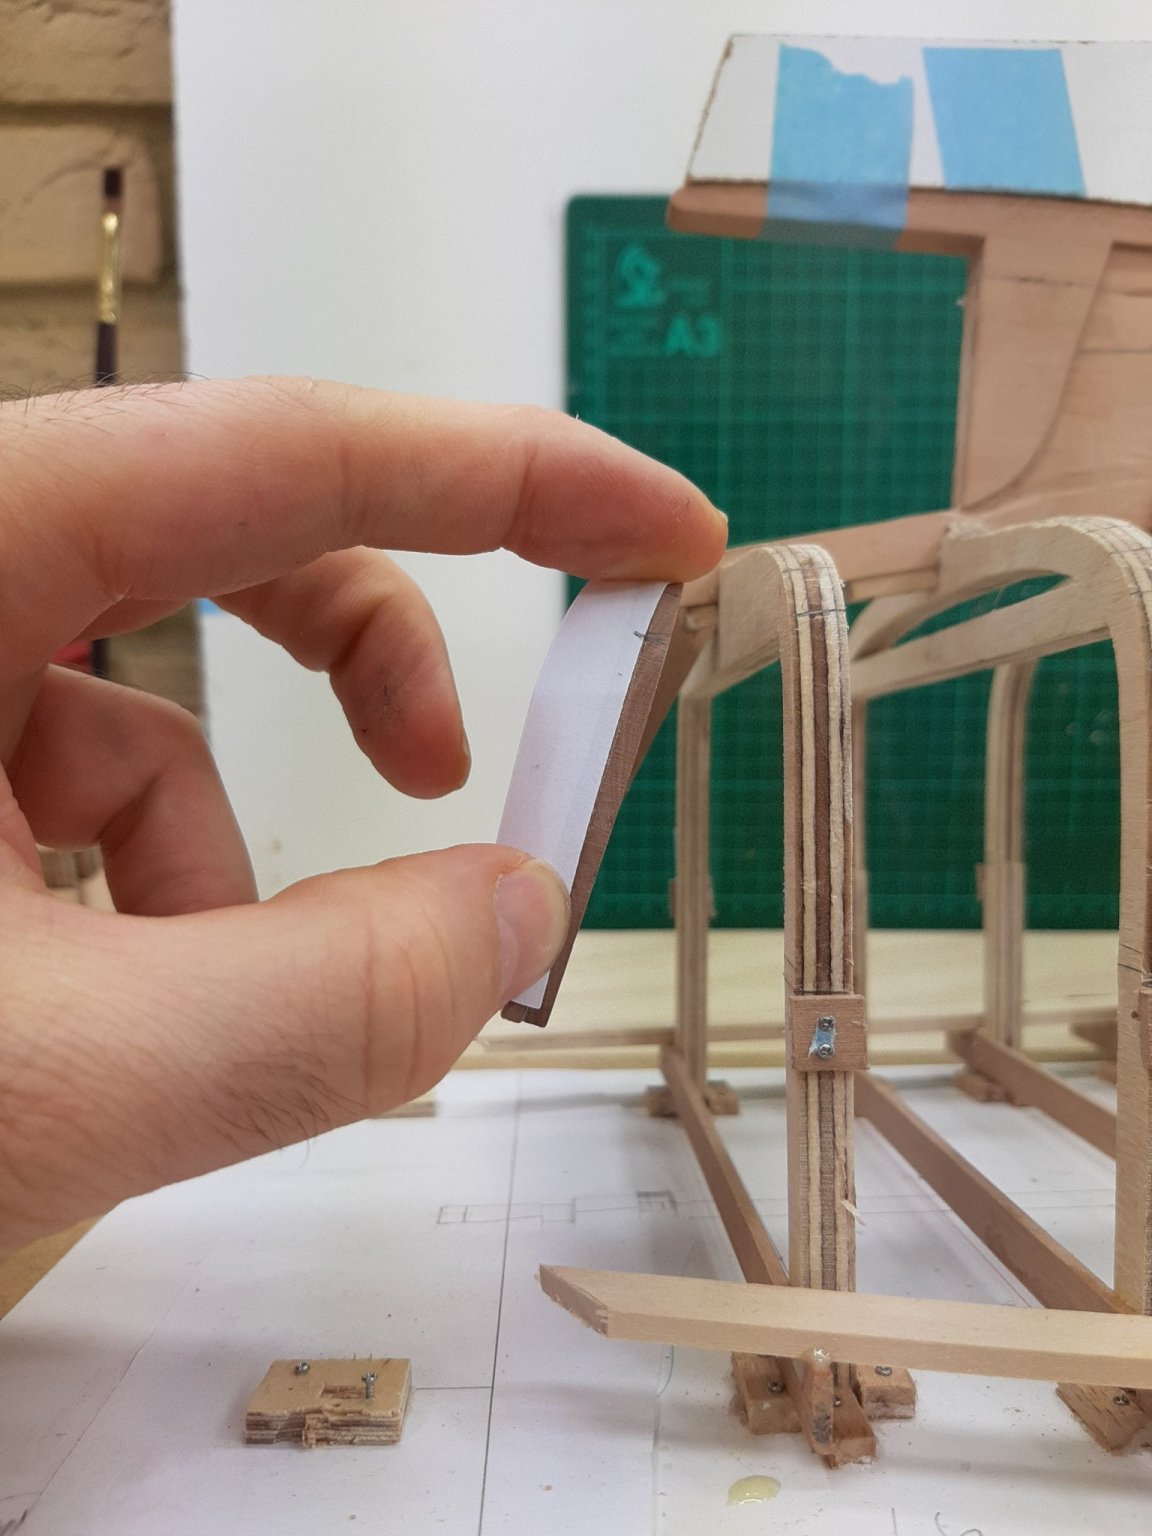
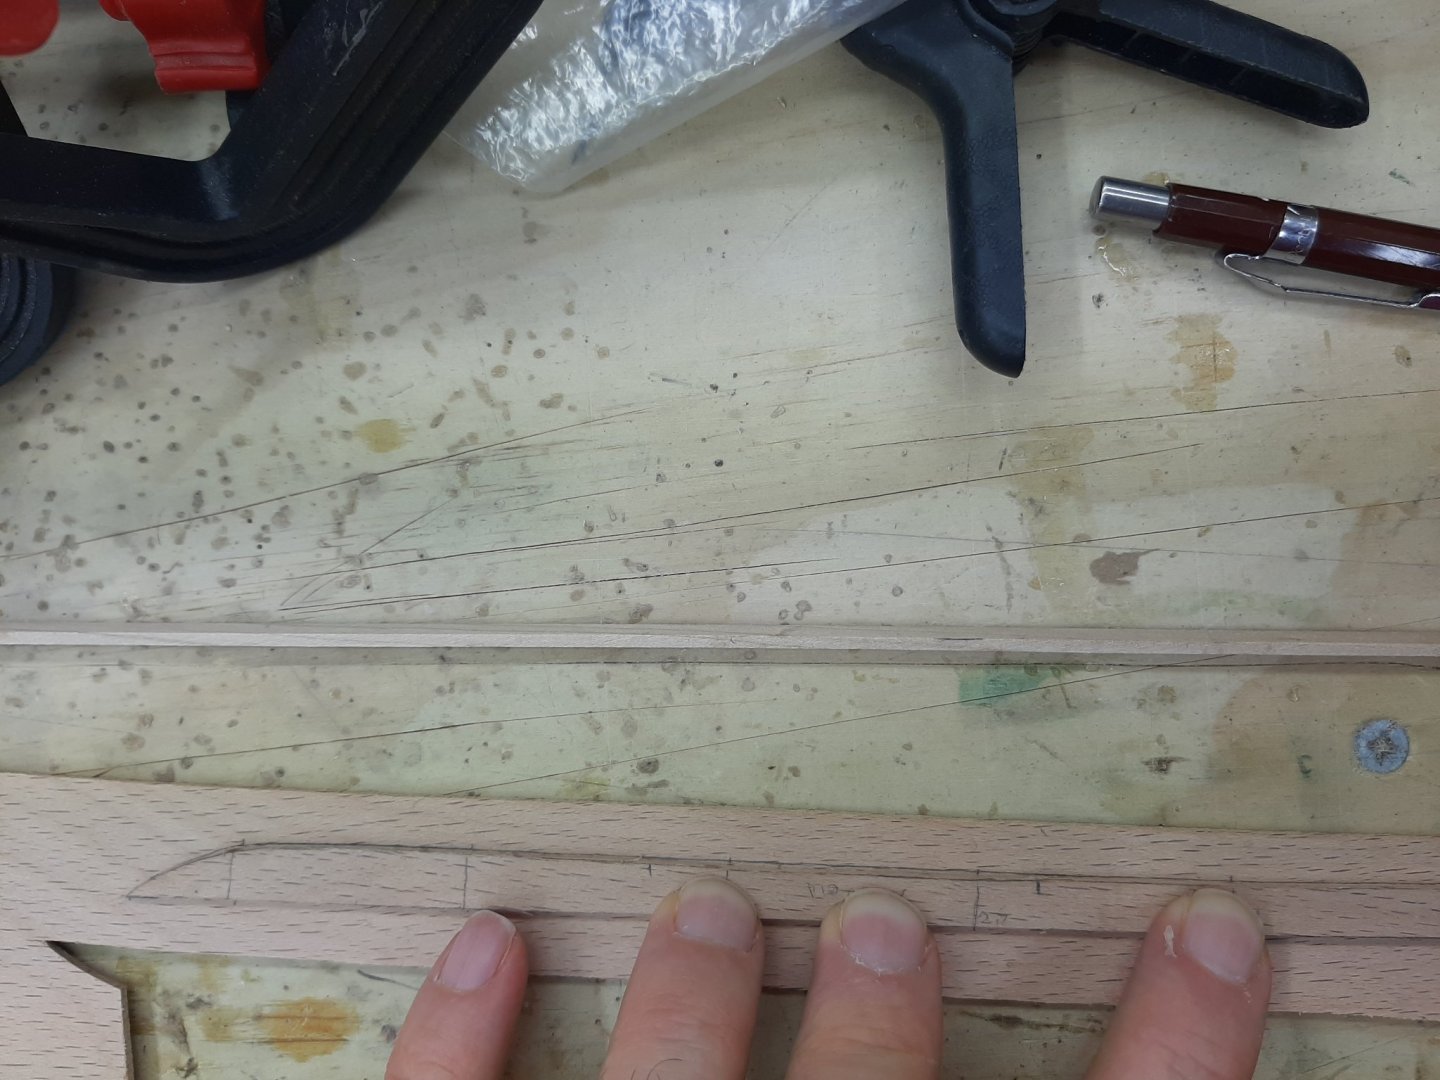
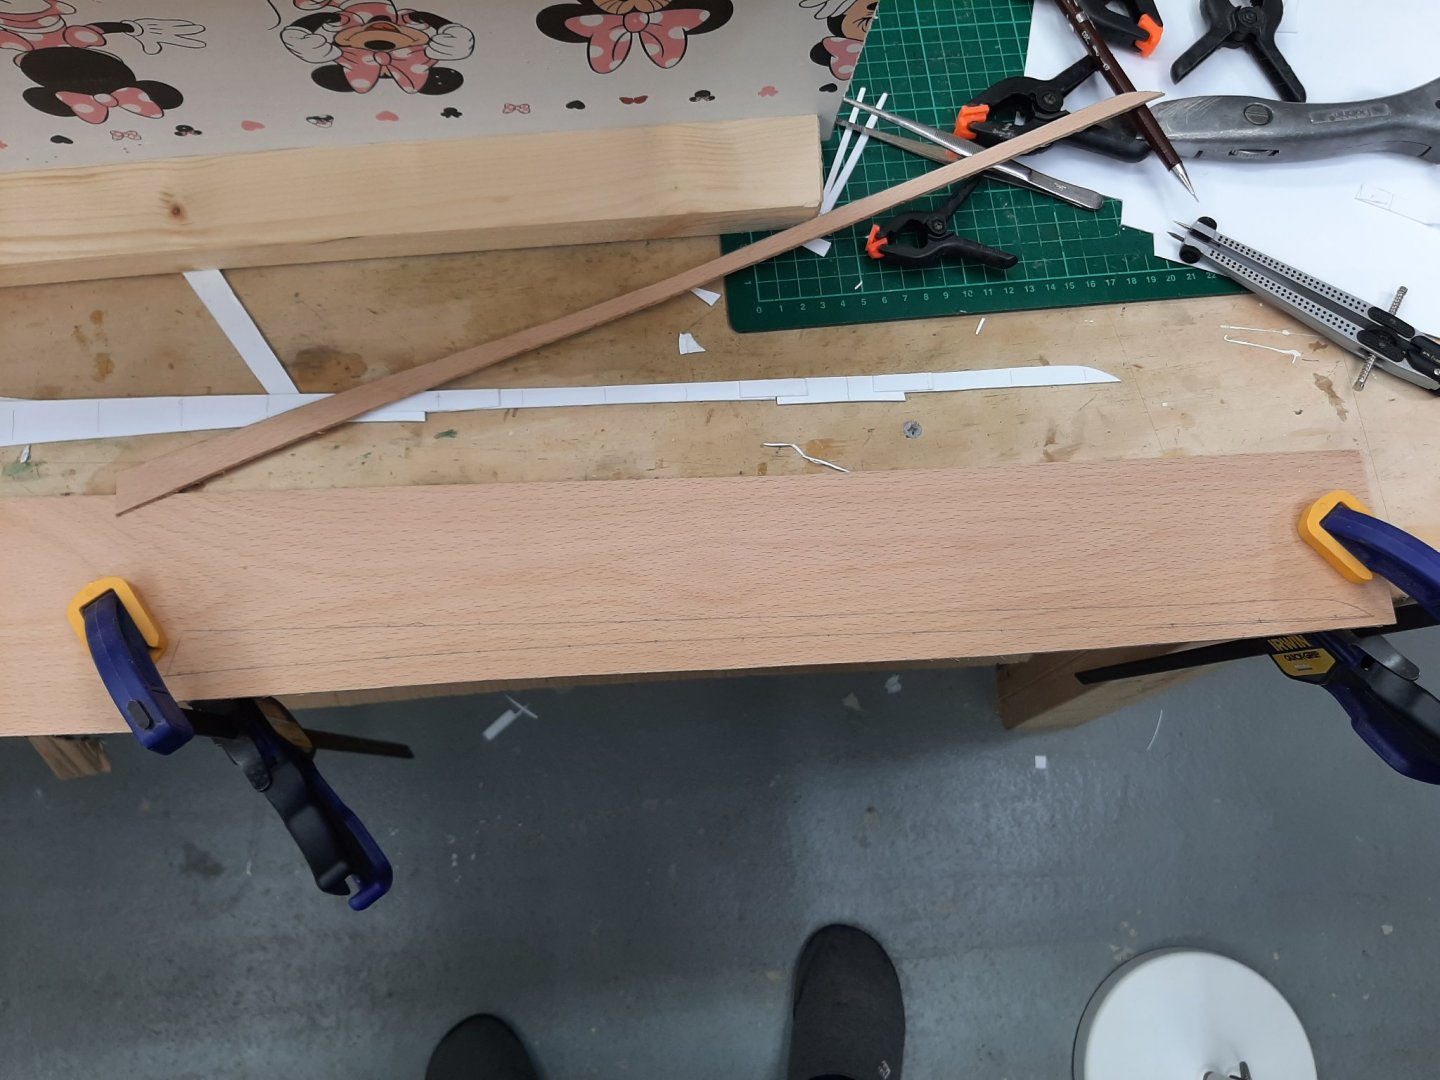
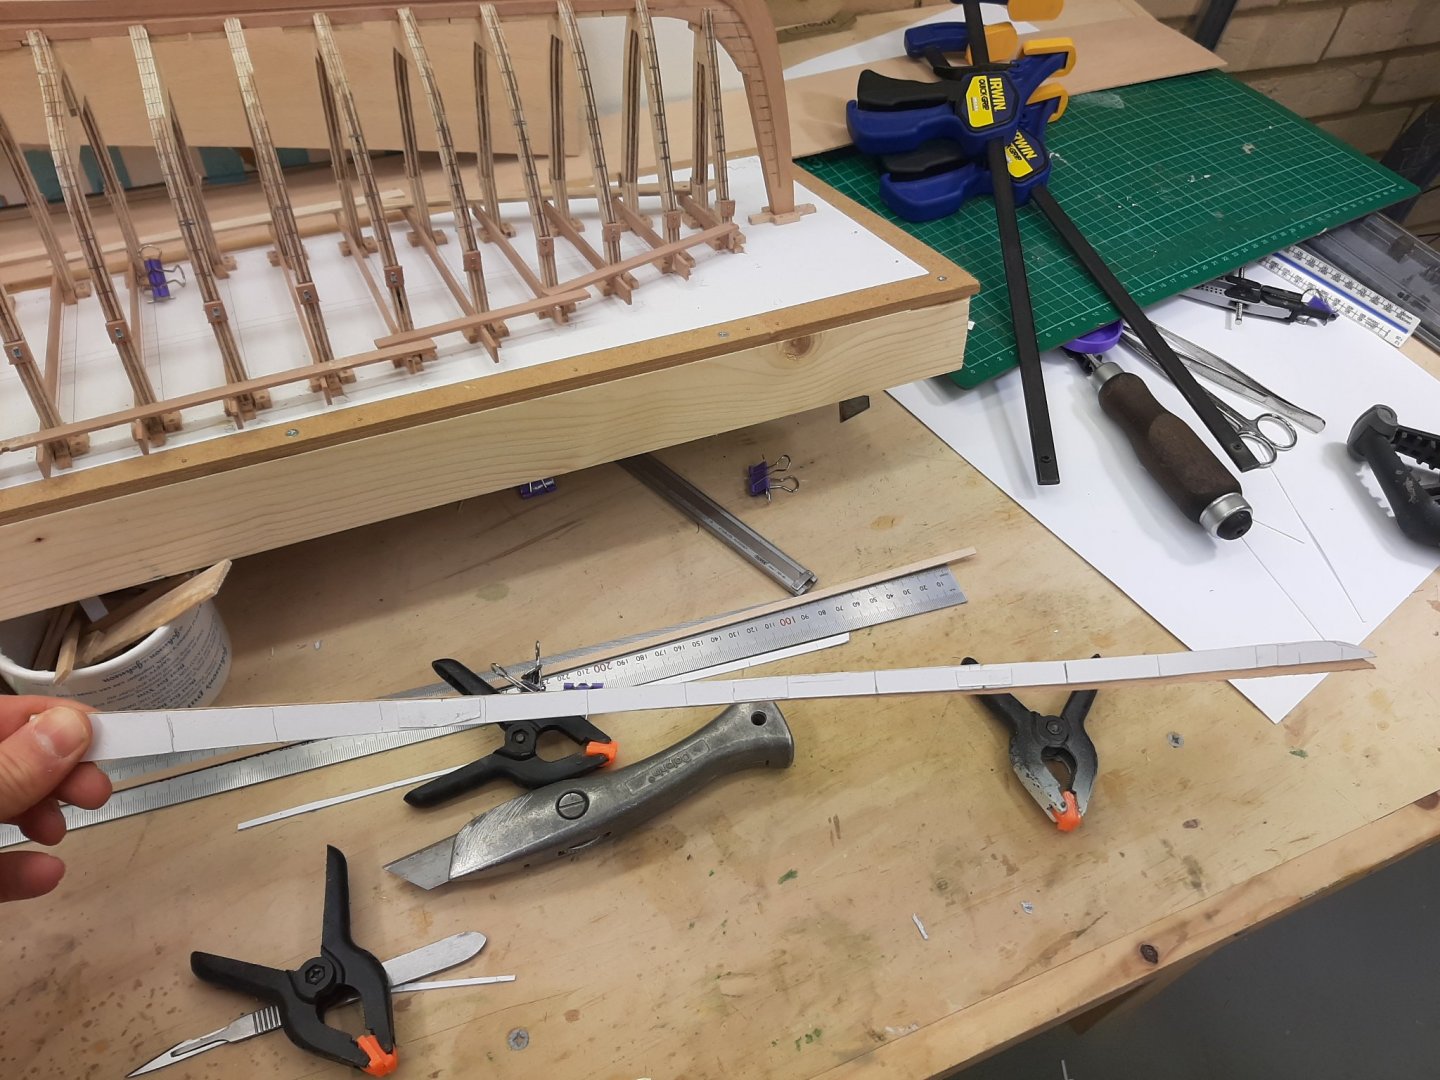
Well, so far planking was all talk and no action. So today I cut the first plank. Yep, it went pear shaped! Lets go over this failed attempt. I finished the paper template and it looked ok. I intended the upper edge to be straight, it is not but it is not far off either. Then I used a batten to connect the markings into a fair curve The template was cut and seemed ok Then transferred to the wood sheet. I used one of the warped ones as I suspected this first attempt would not go well. I used a carpet knife to cut to the line. This went ok but the plank does not fit well. What went wrong? Well, to start with the plank does not much the template But also, now the template does not sit as well on the boat! The card I am using is not stiff enough I think. Now, this needs some further thought!


-
Regarding bending wood: In a recent thread on this subject, there was some good info. Soaking will make wood bend easier (up to a point) because increasing moisture content destroys some chemical bonds within the wood Heat will soften the wood lignin and allow the wood to bend. When cool, the wood will retain its new shape to a large degree Moisture will decrease the temperature needed to soften the lignin, depending on species sometimes very dramatically. Usually this temperature is well above 100 degrees C, moisture will bring it bellow 100. Maybe best to leave the upper edge of the lower plank untouched and bevel the lower edge of the plank above it? I am still trying to digest question No 3...😁
-
In this case I would think CA glue, which has actually been used previously in this model and can be removed with debonder. PVA glue might work as well. I wonder if varnish could be an option. Also, in the past I have used women's hair spray to preserve dried flowers, it works very well, it strengthen them and prevents the fragile leaves from falling apart-(is it a form of lacquer?). Maybe it would work.
- 95 replies
-
- 5
-
-
- POW
- Bone model
- (and 2 more)
-
Dan, I have absolutely no experience in such projects but those lines look too far gone. Even if they can be strengthened, they will probably fall apart soon. Is replacing all rigging an option?
- 95 replies
-
- 4
-
-
- POW
- Bone model
- (and 2 more)
-
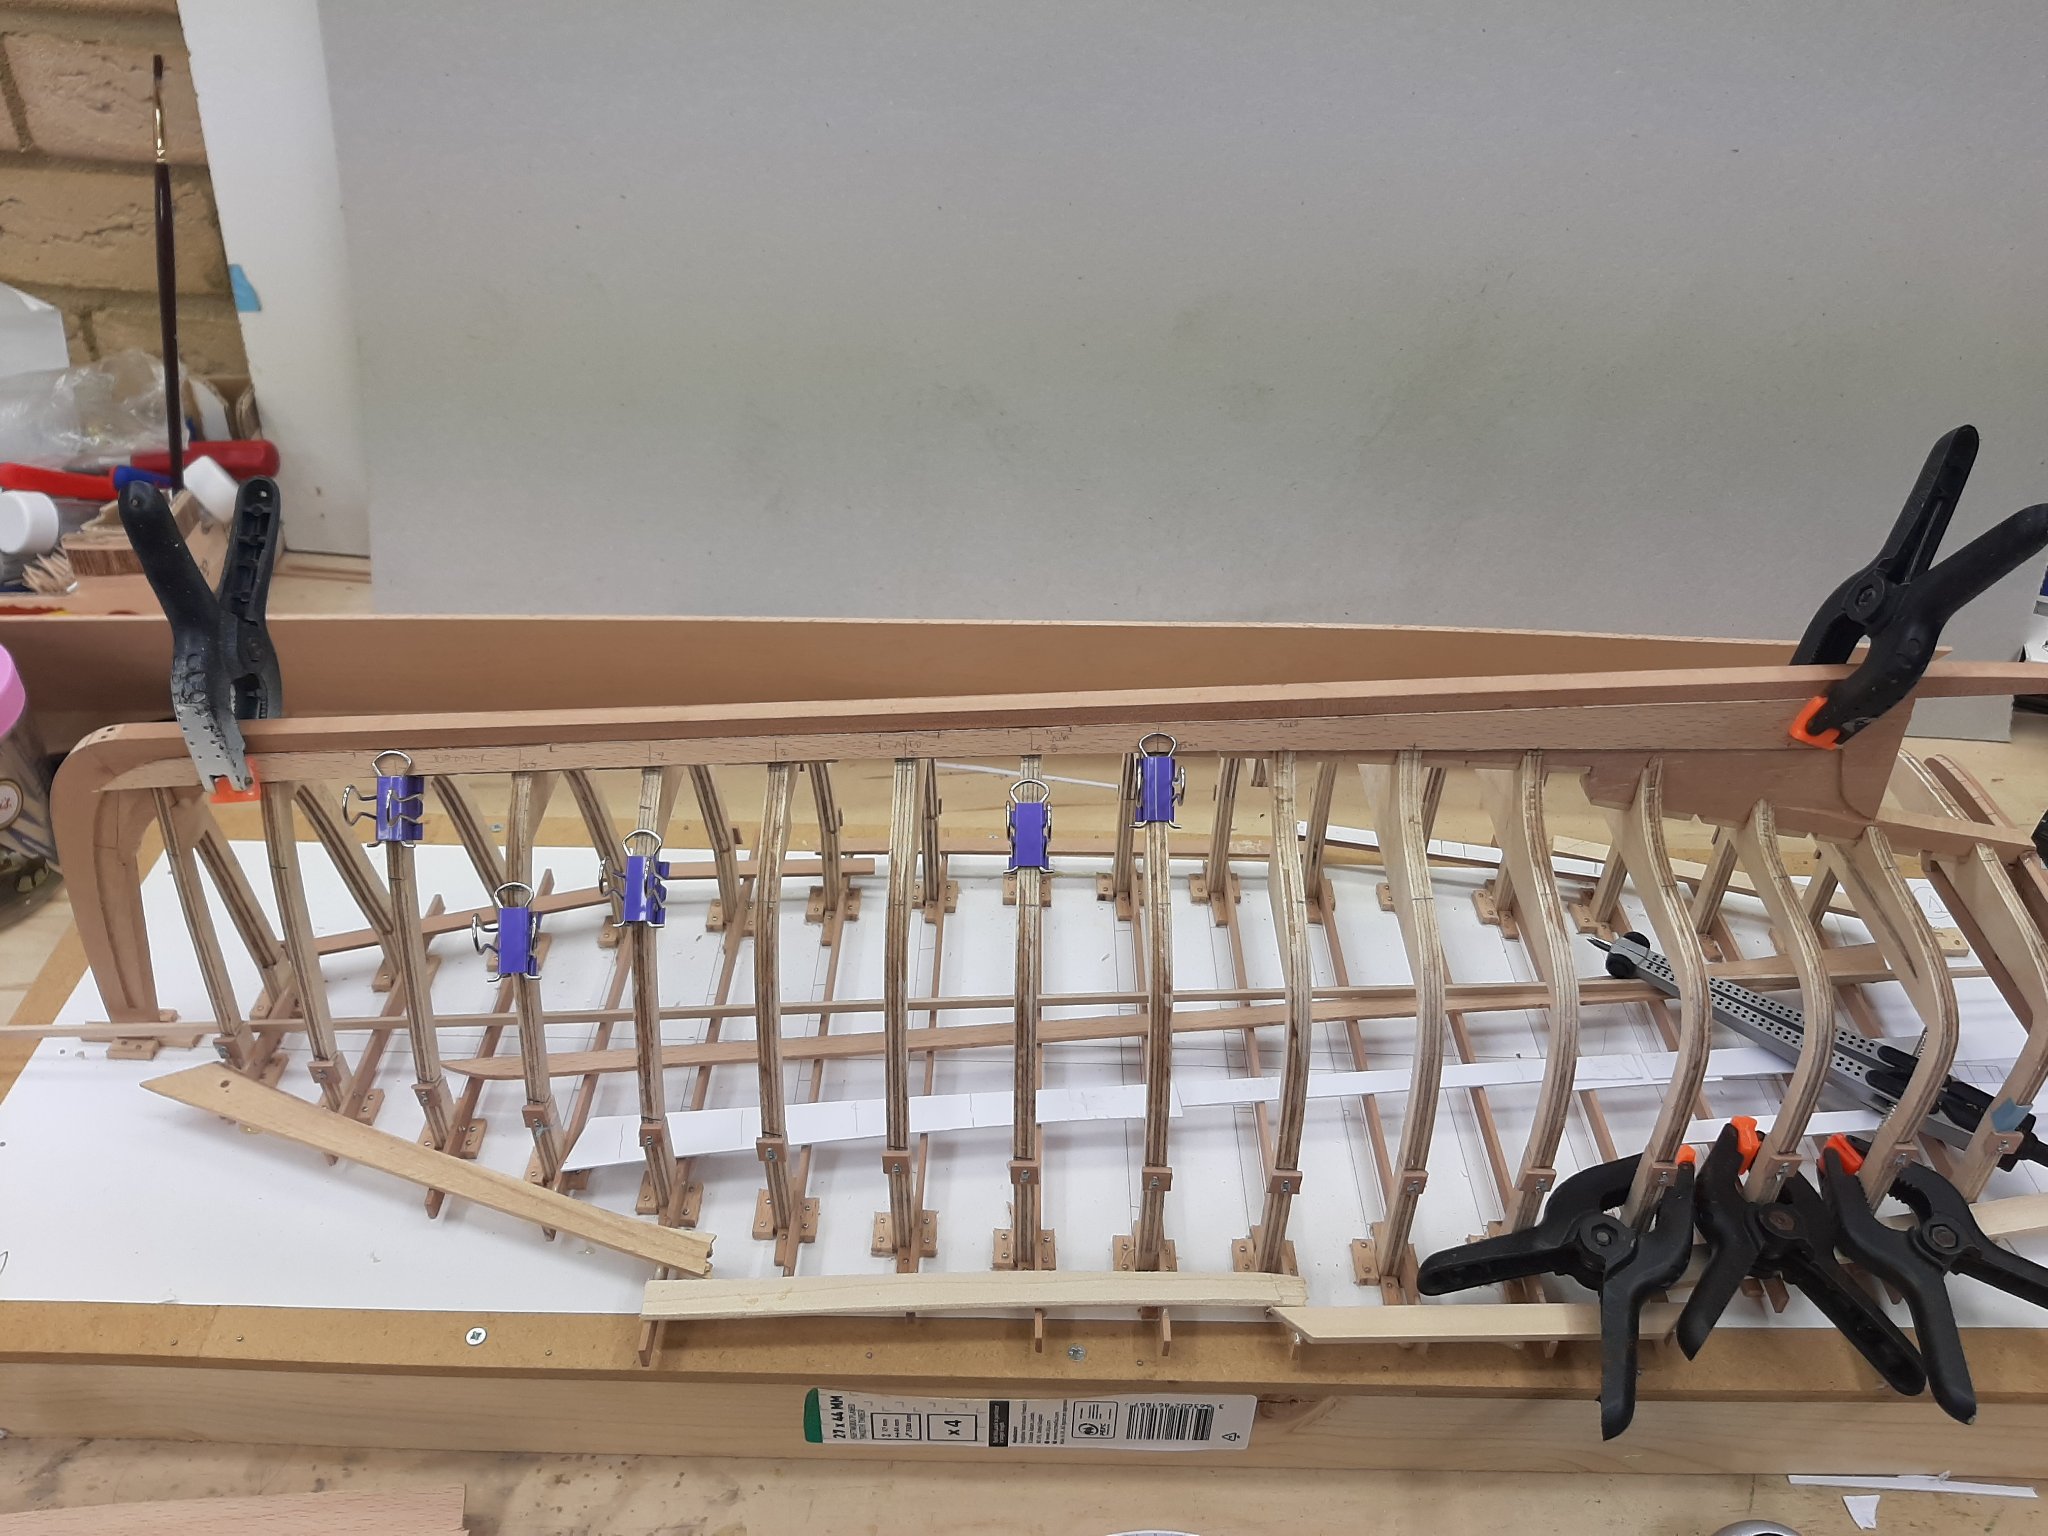
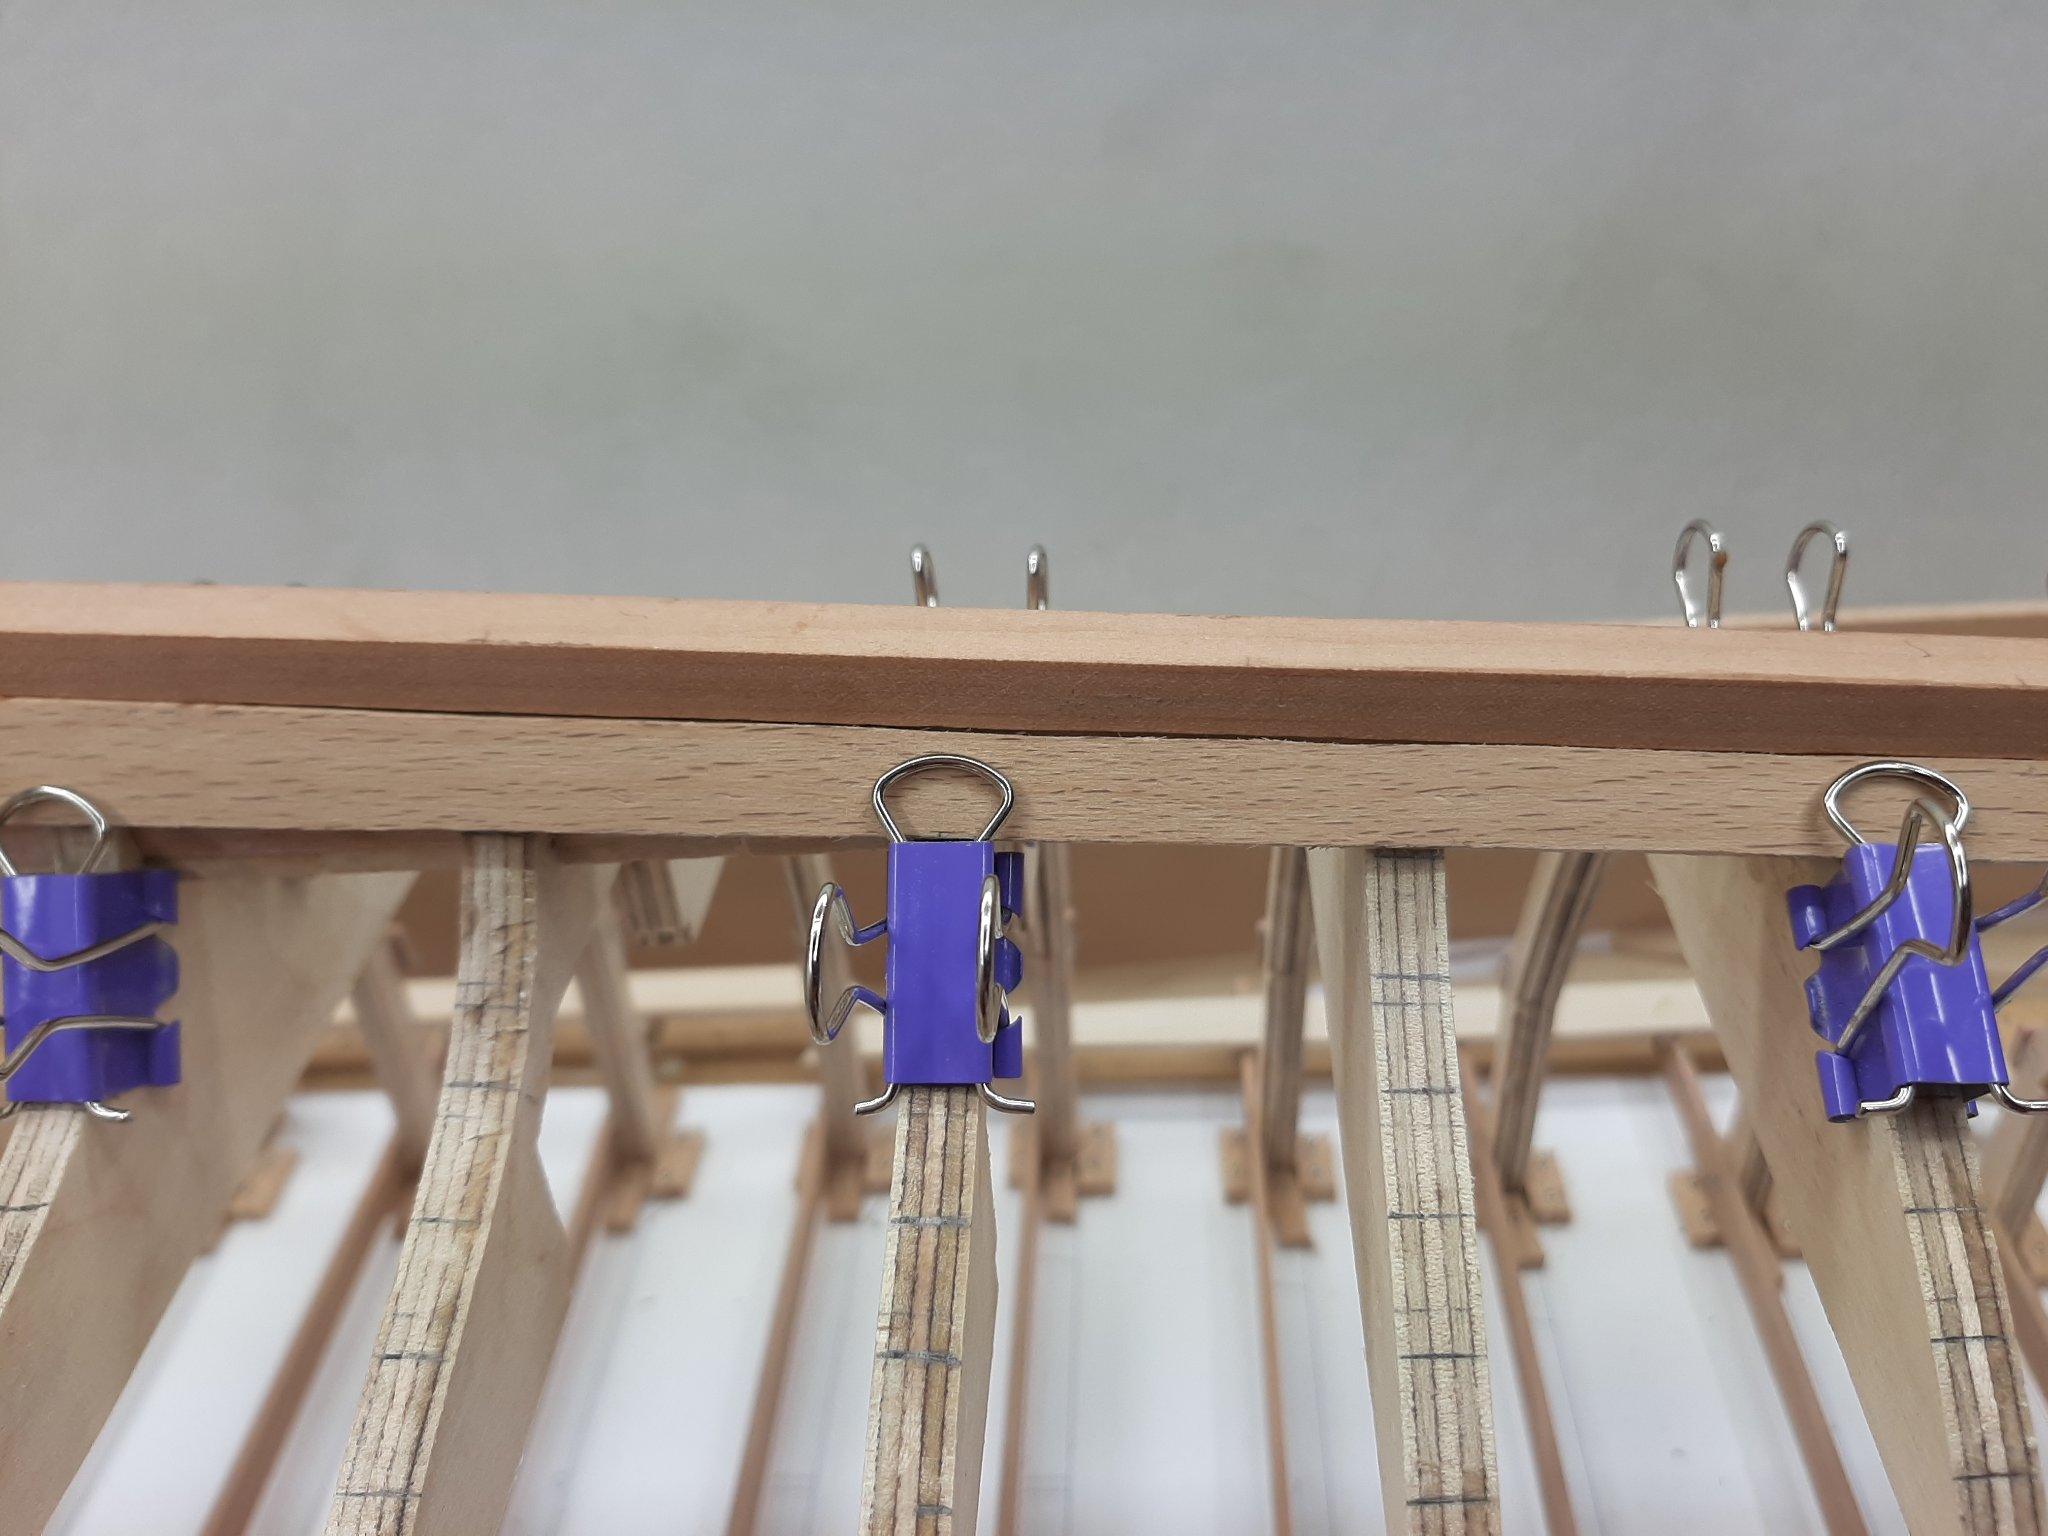
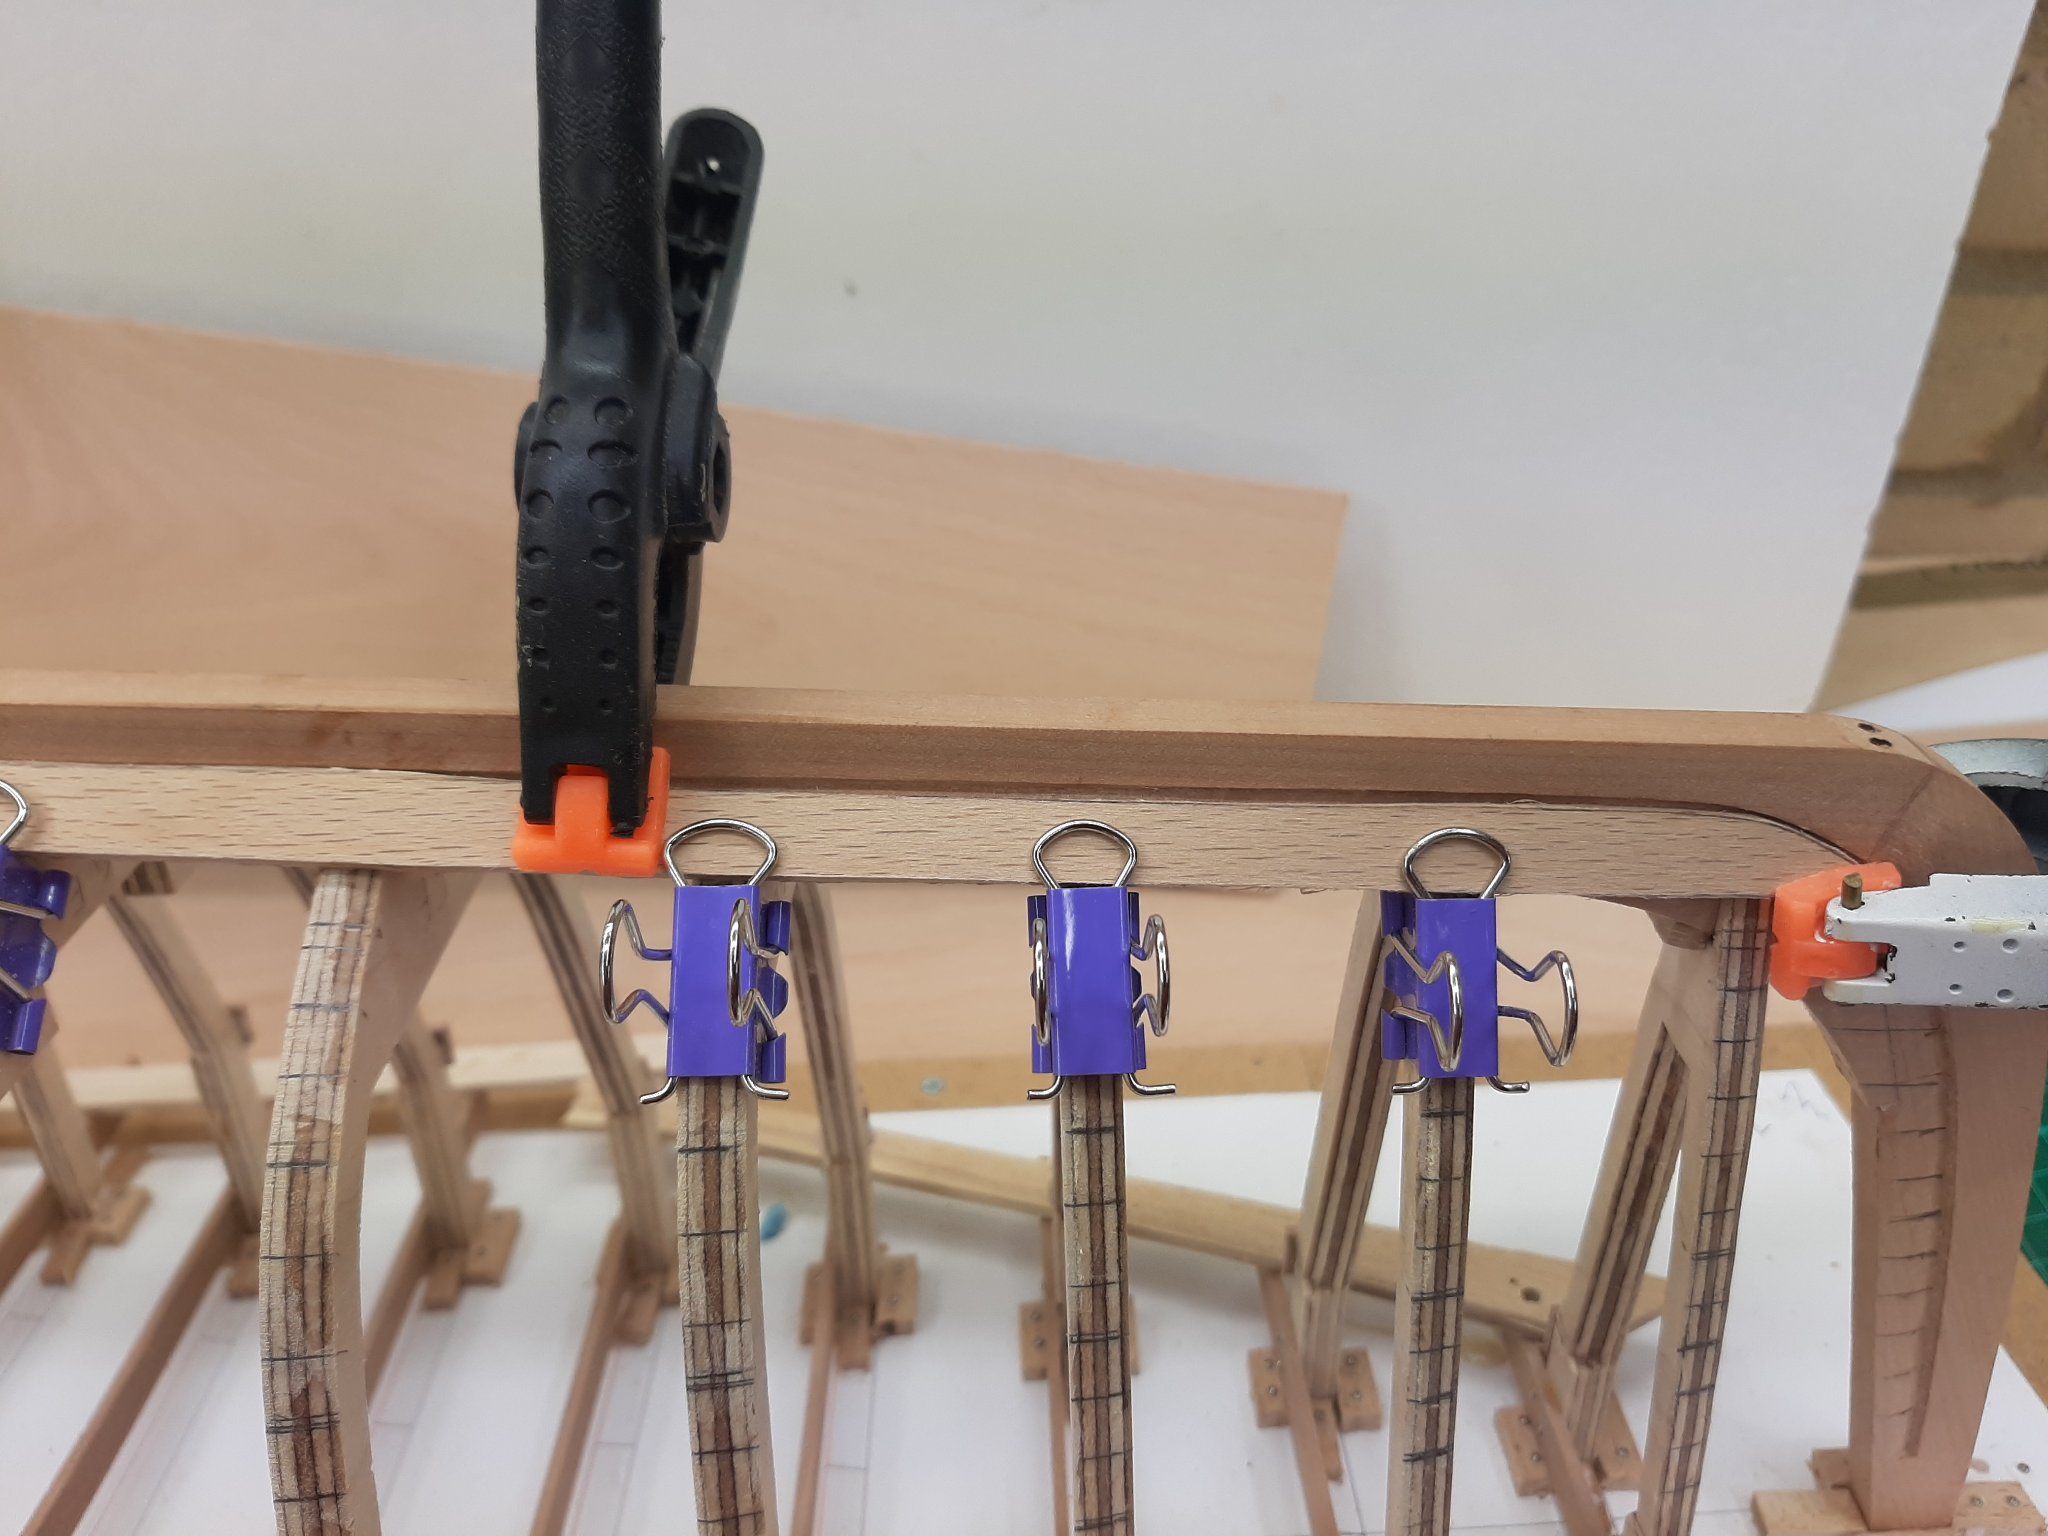
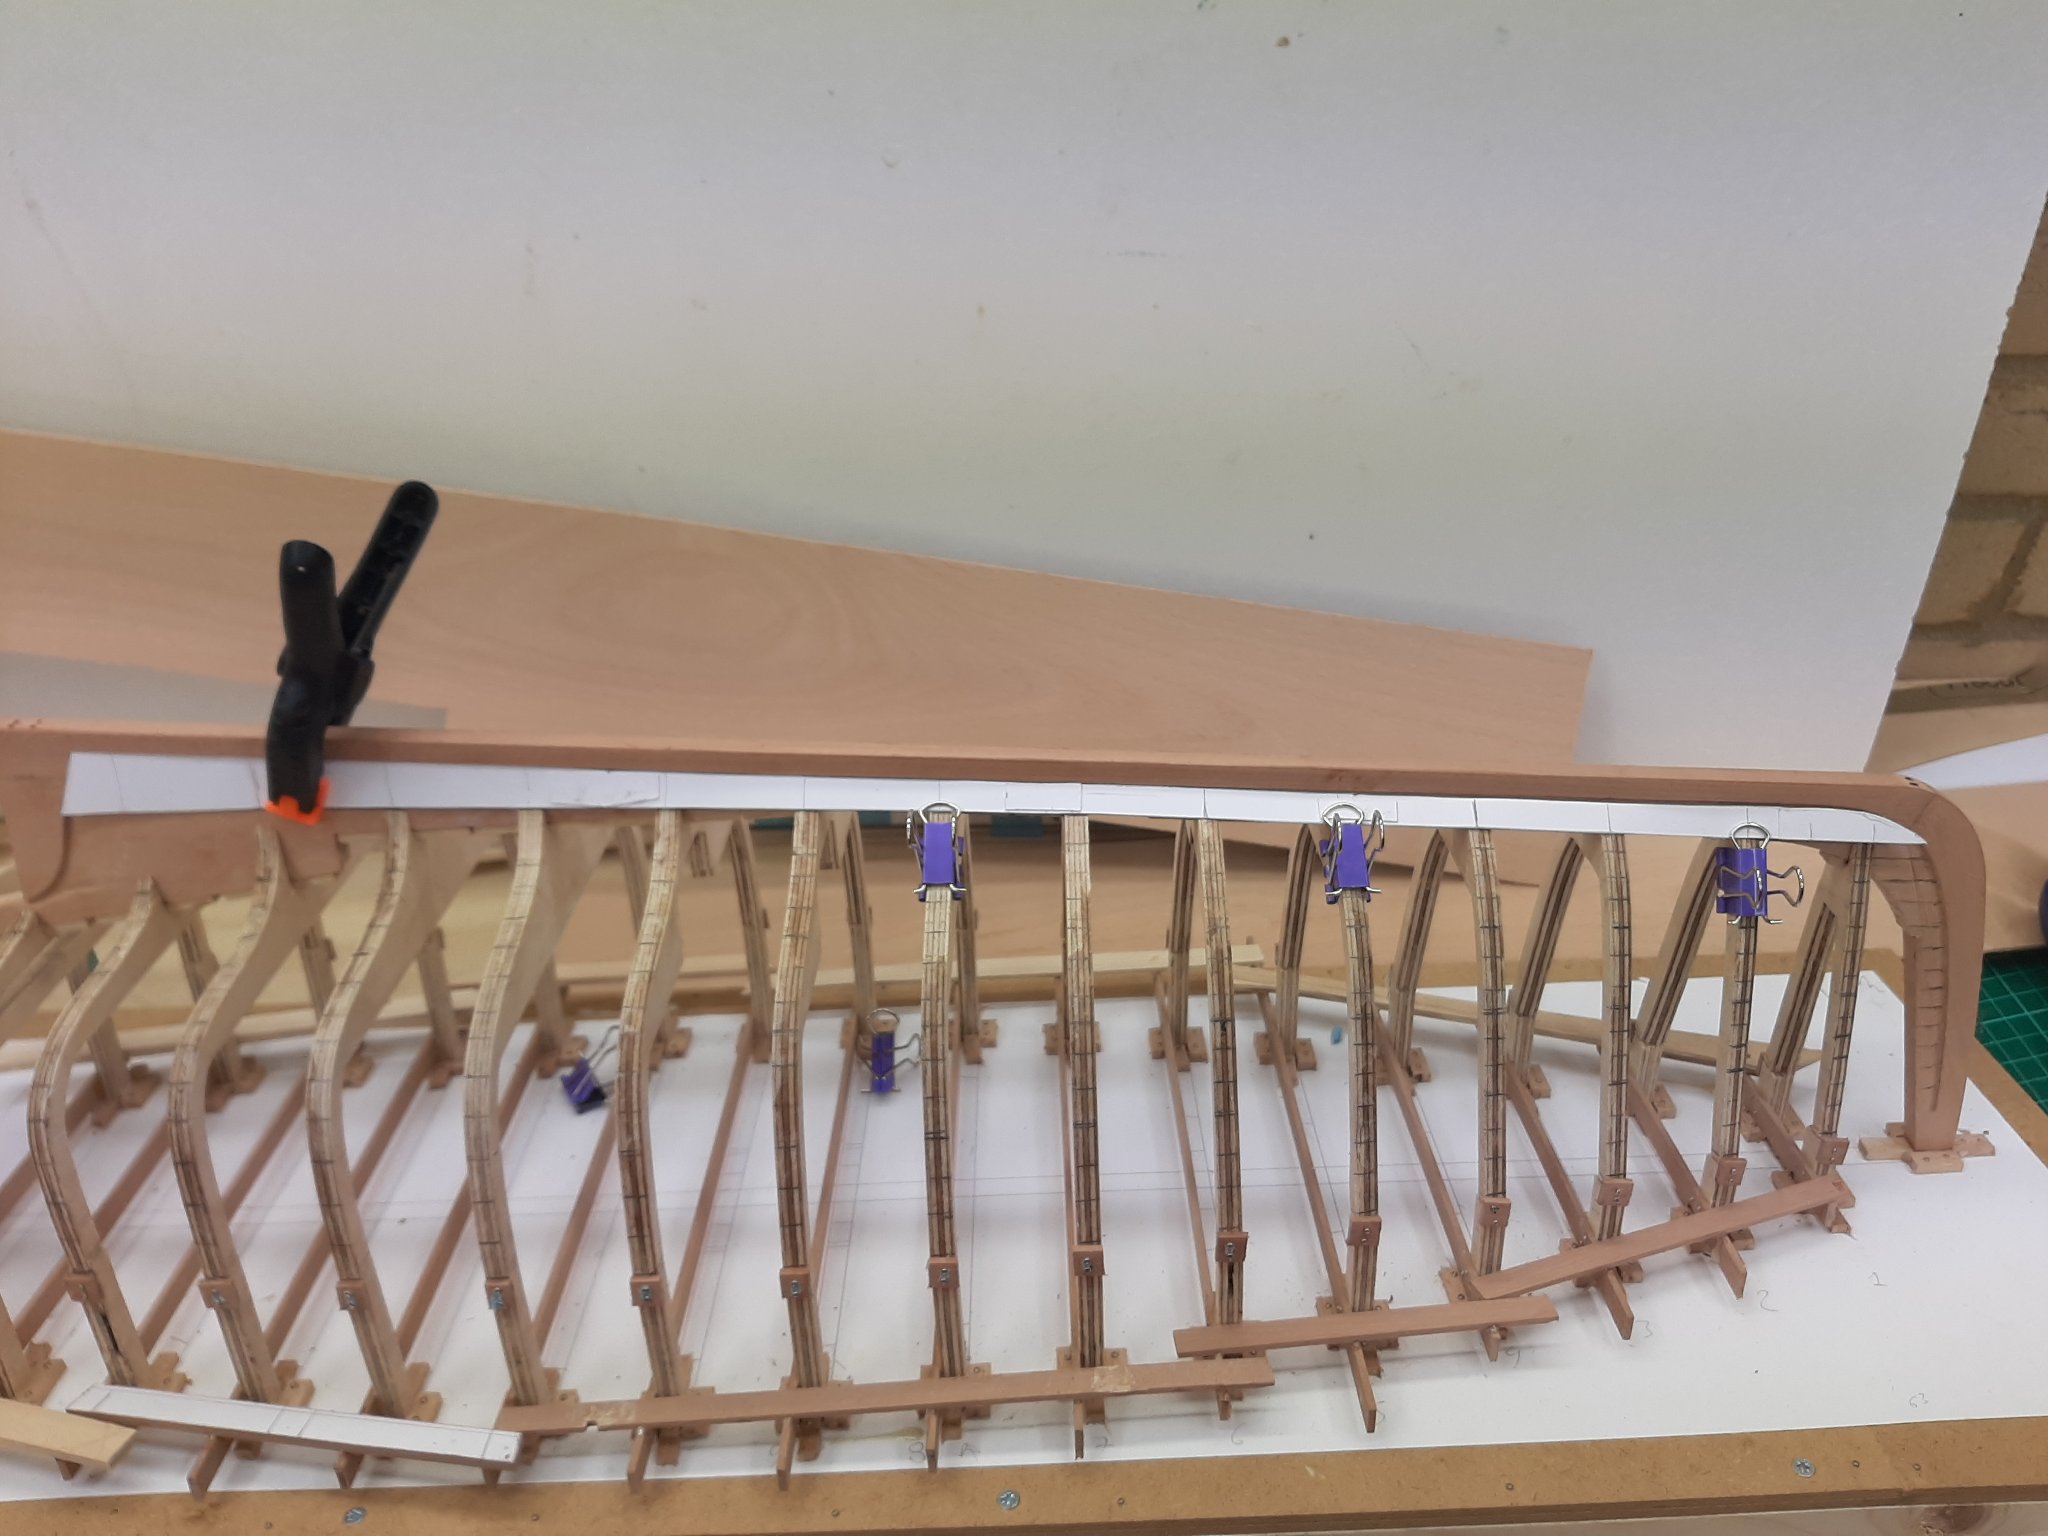
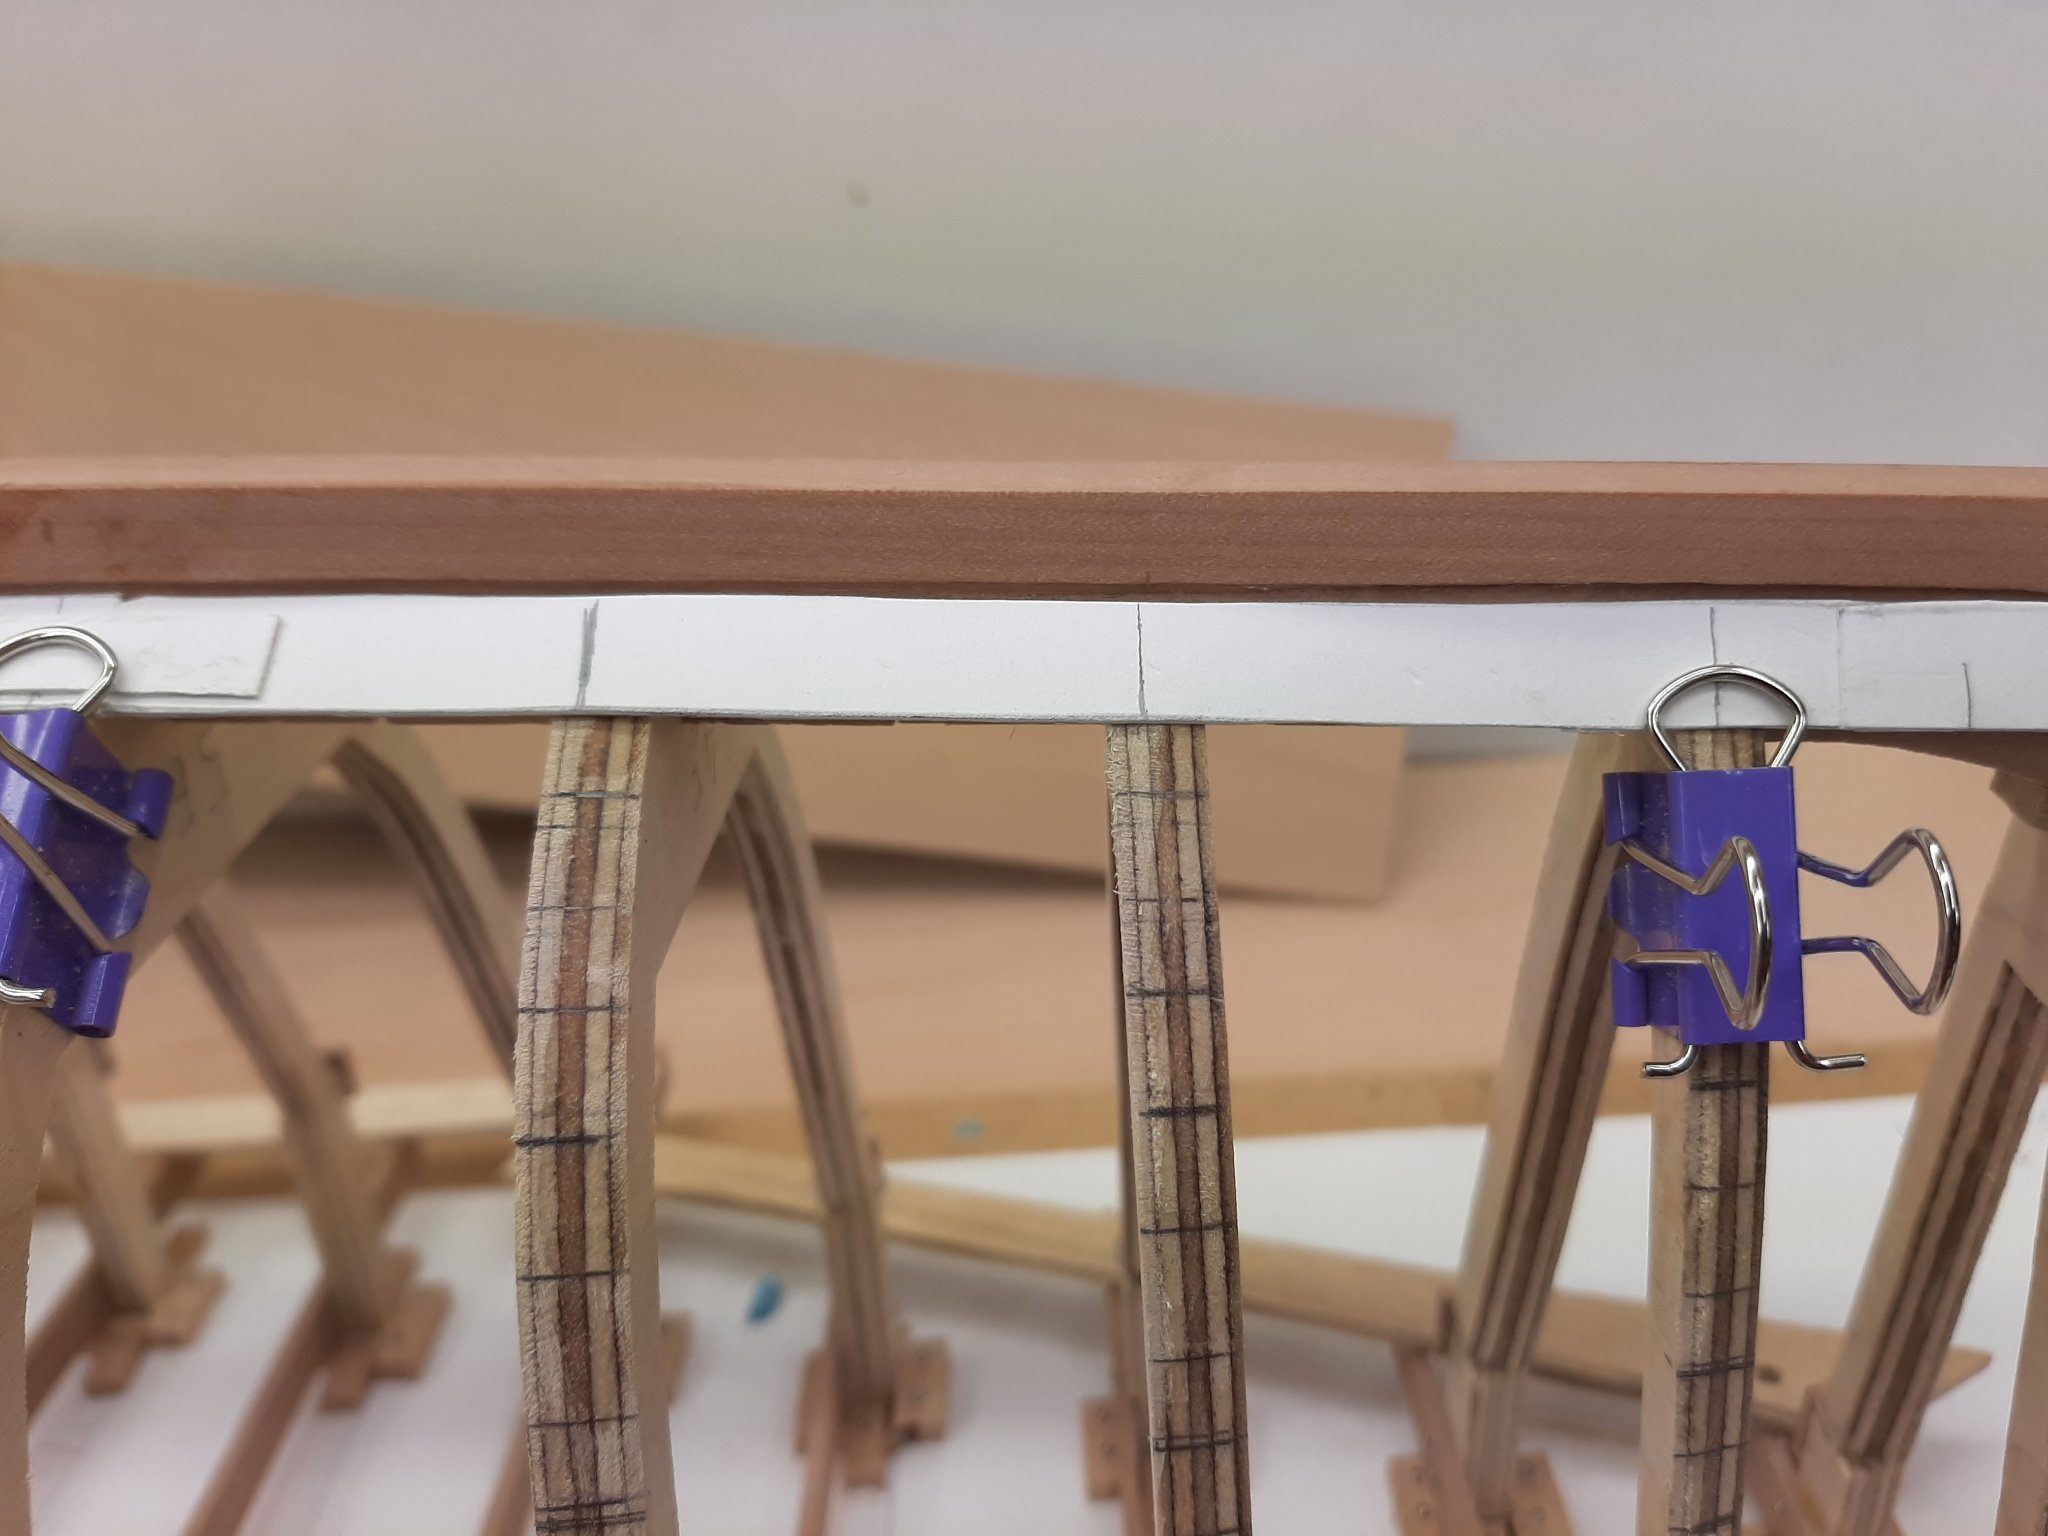
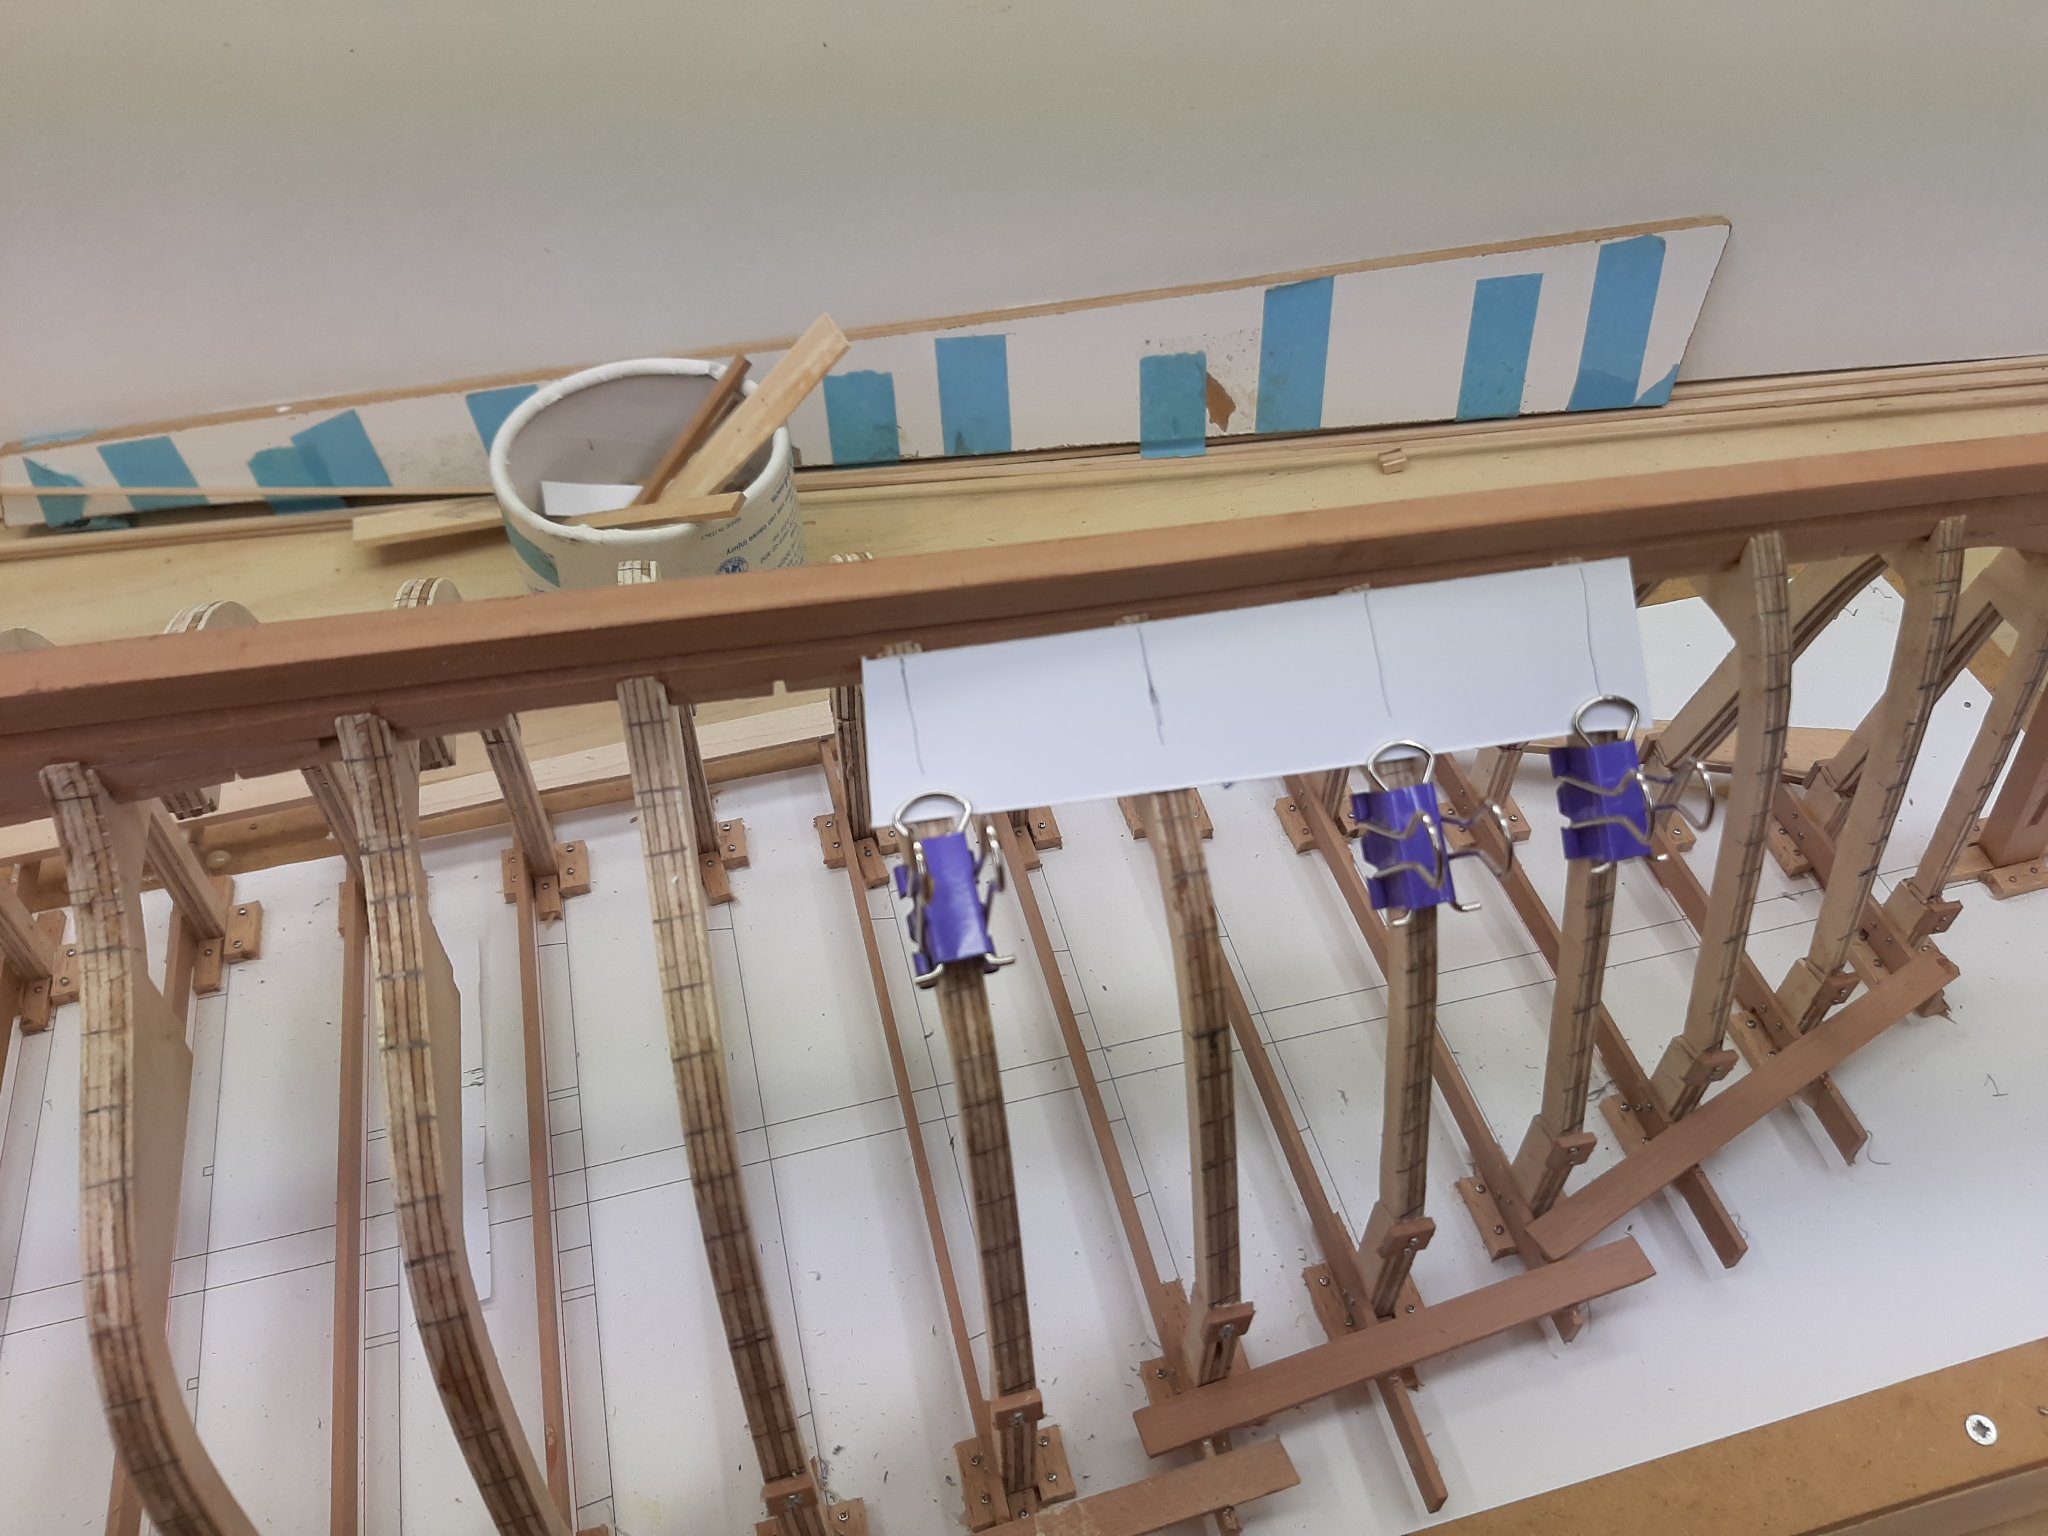
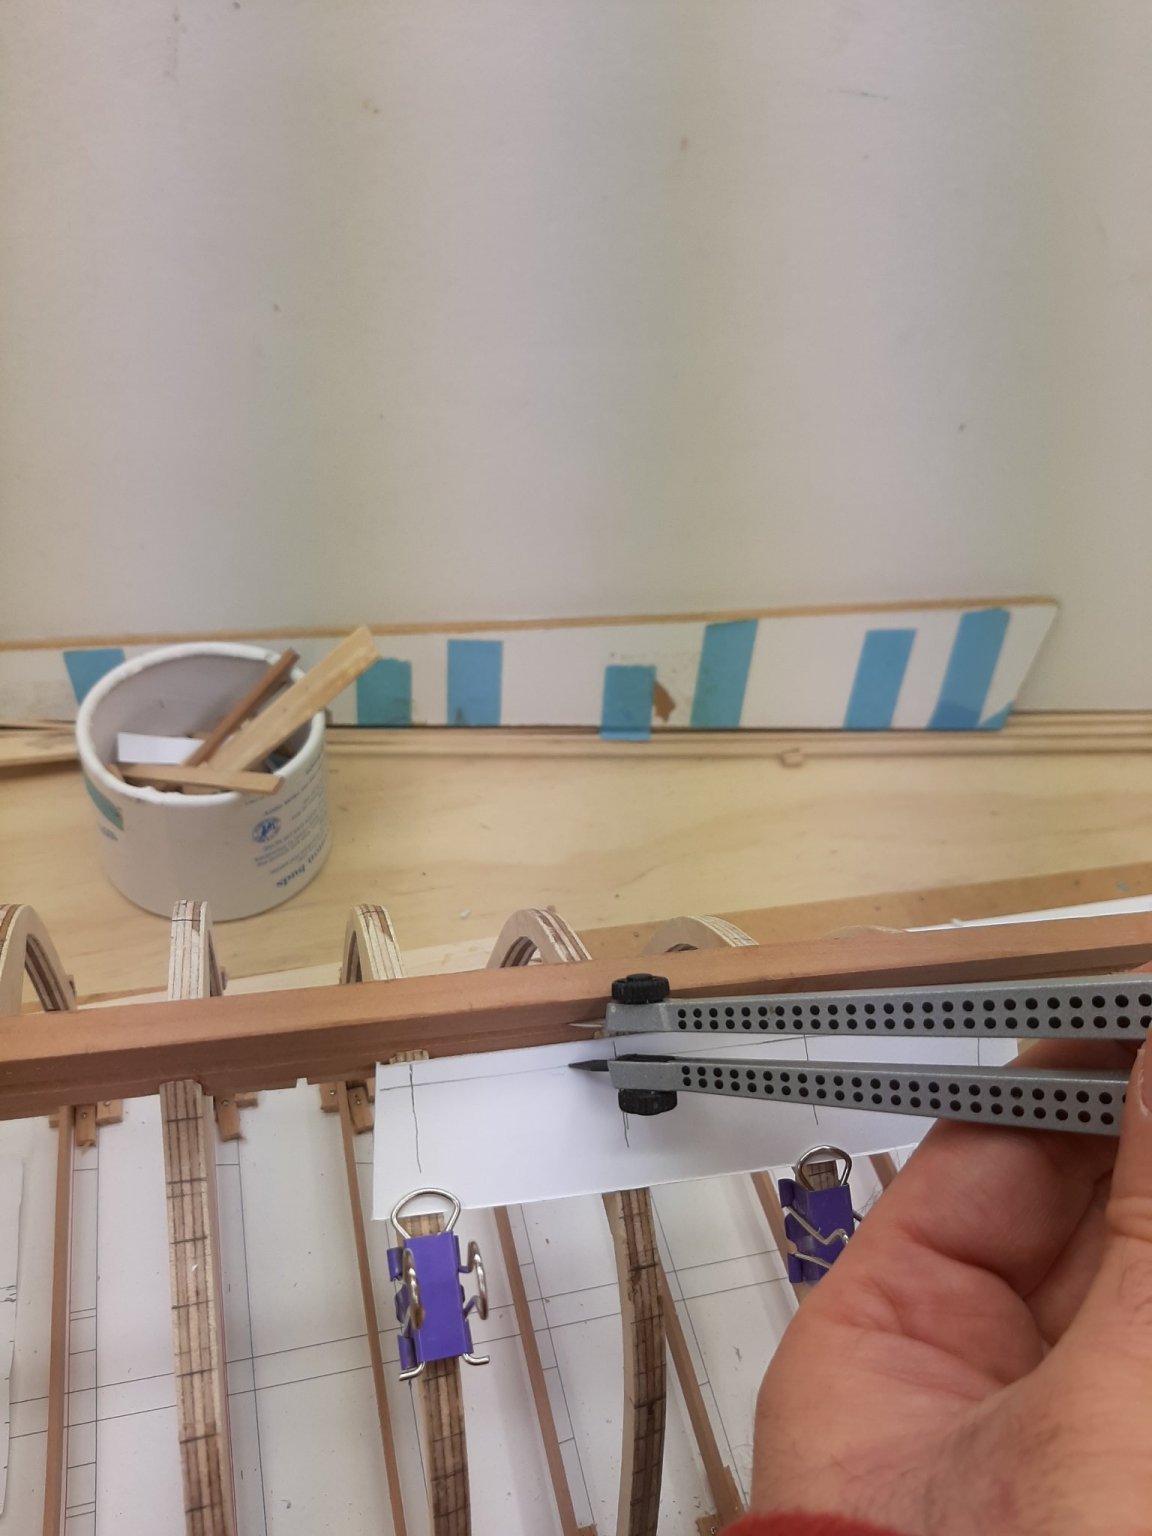
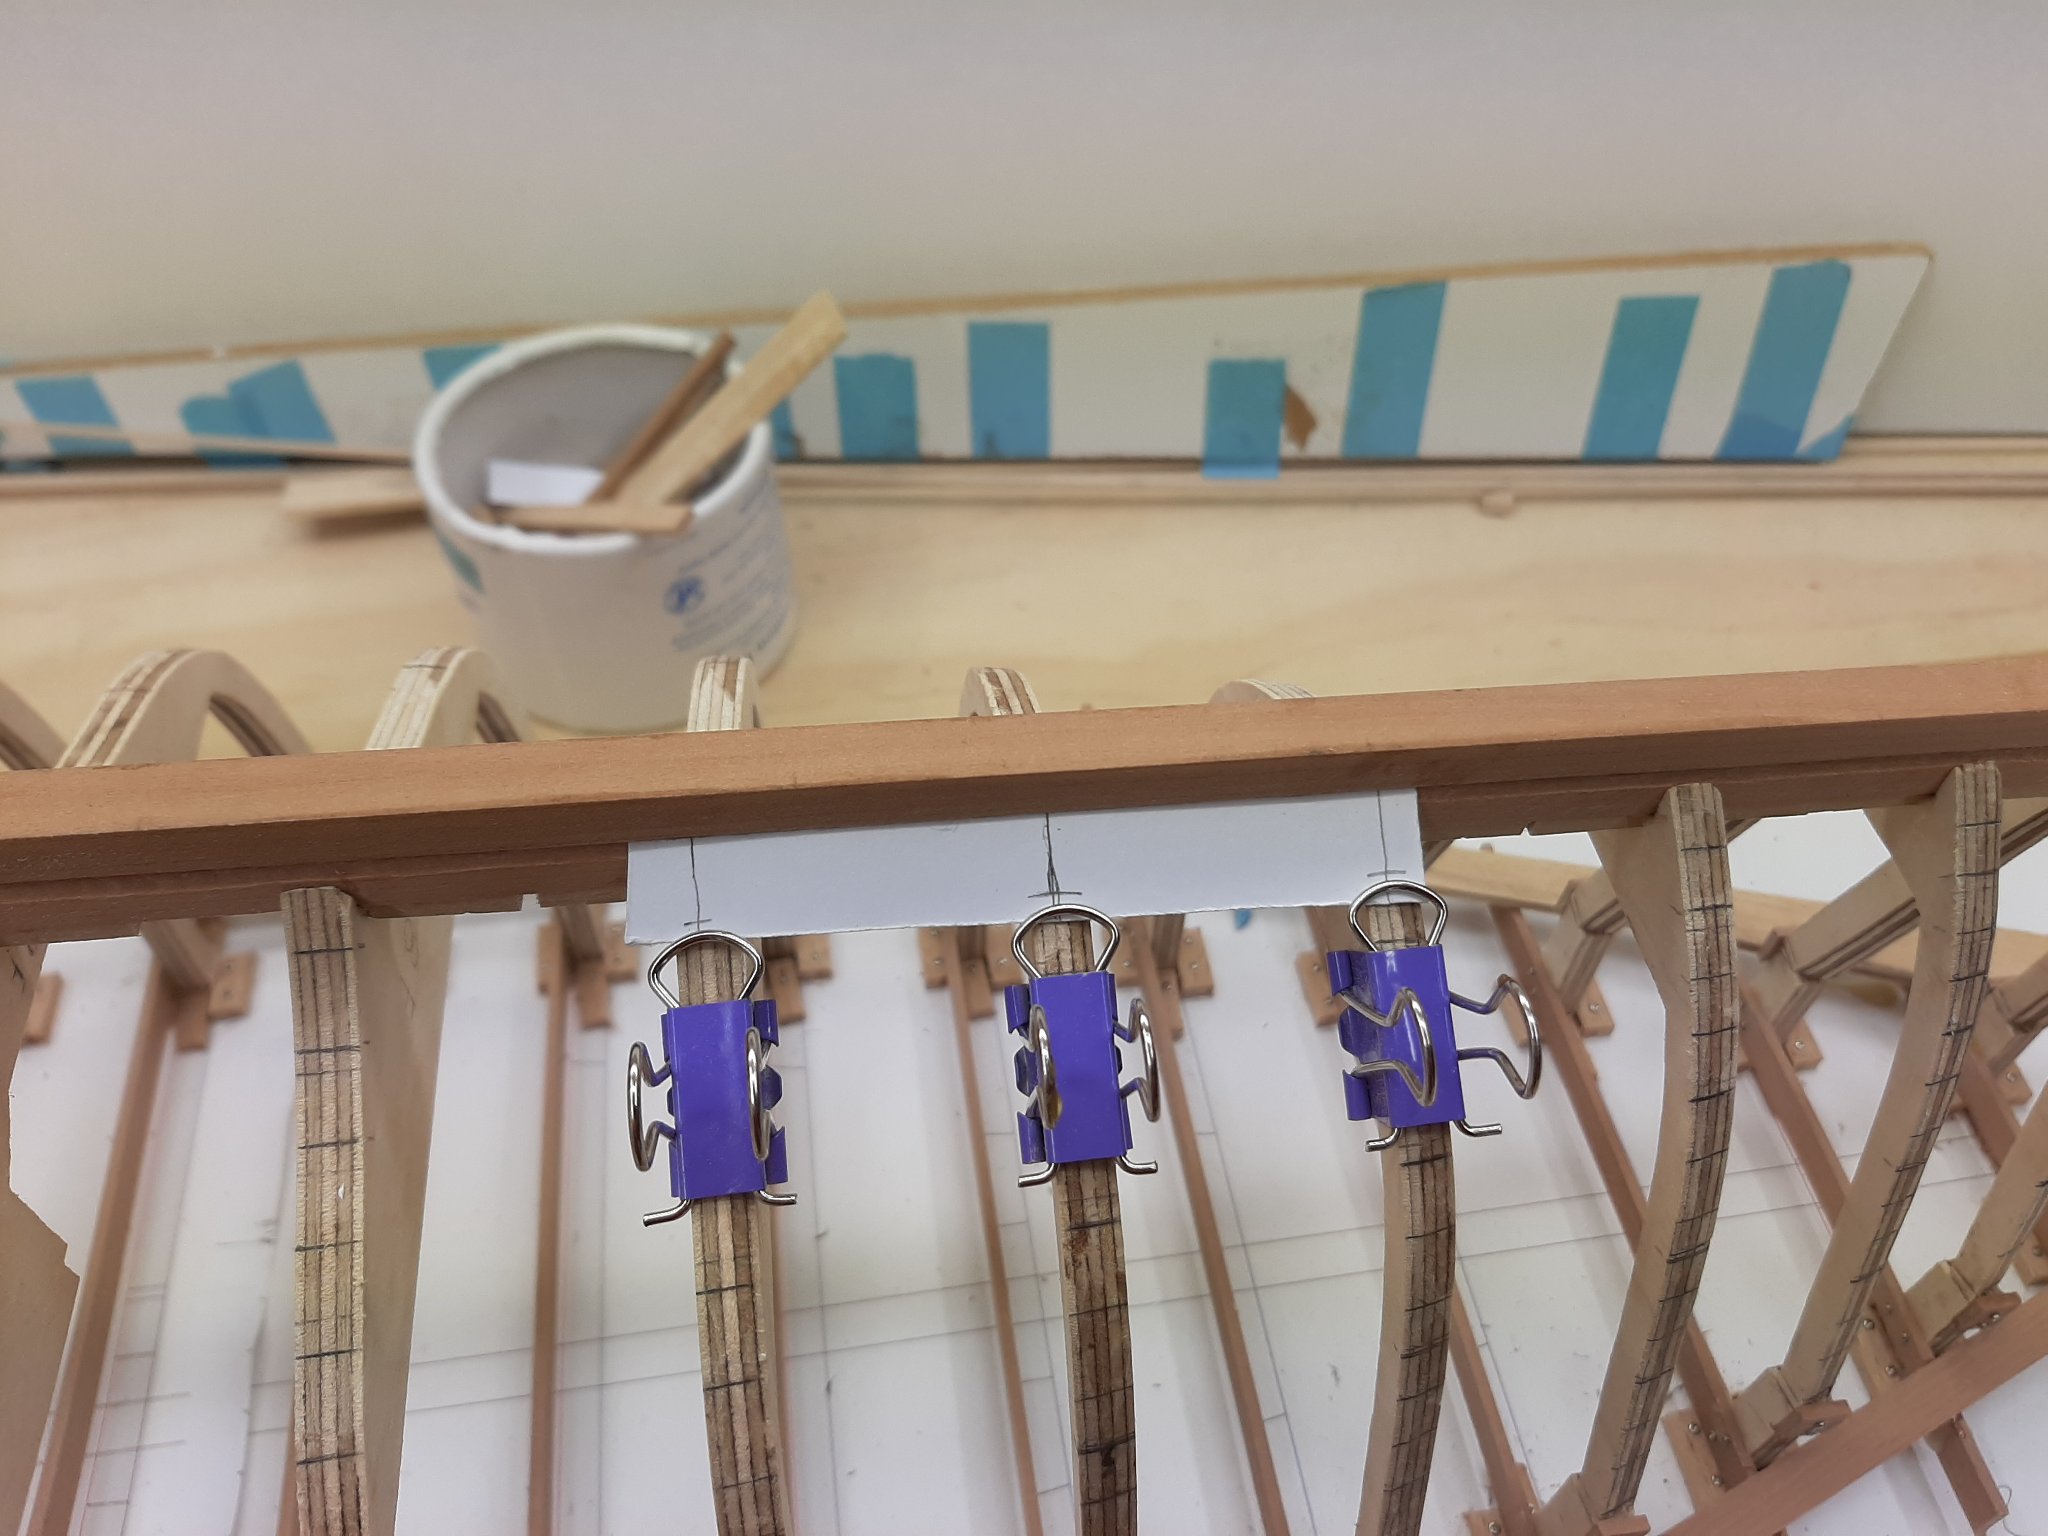
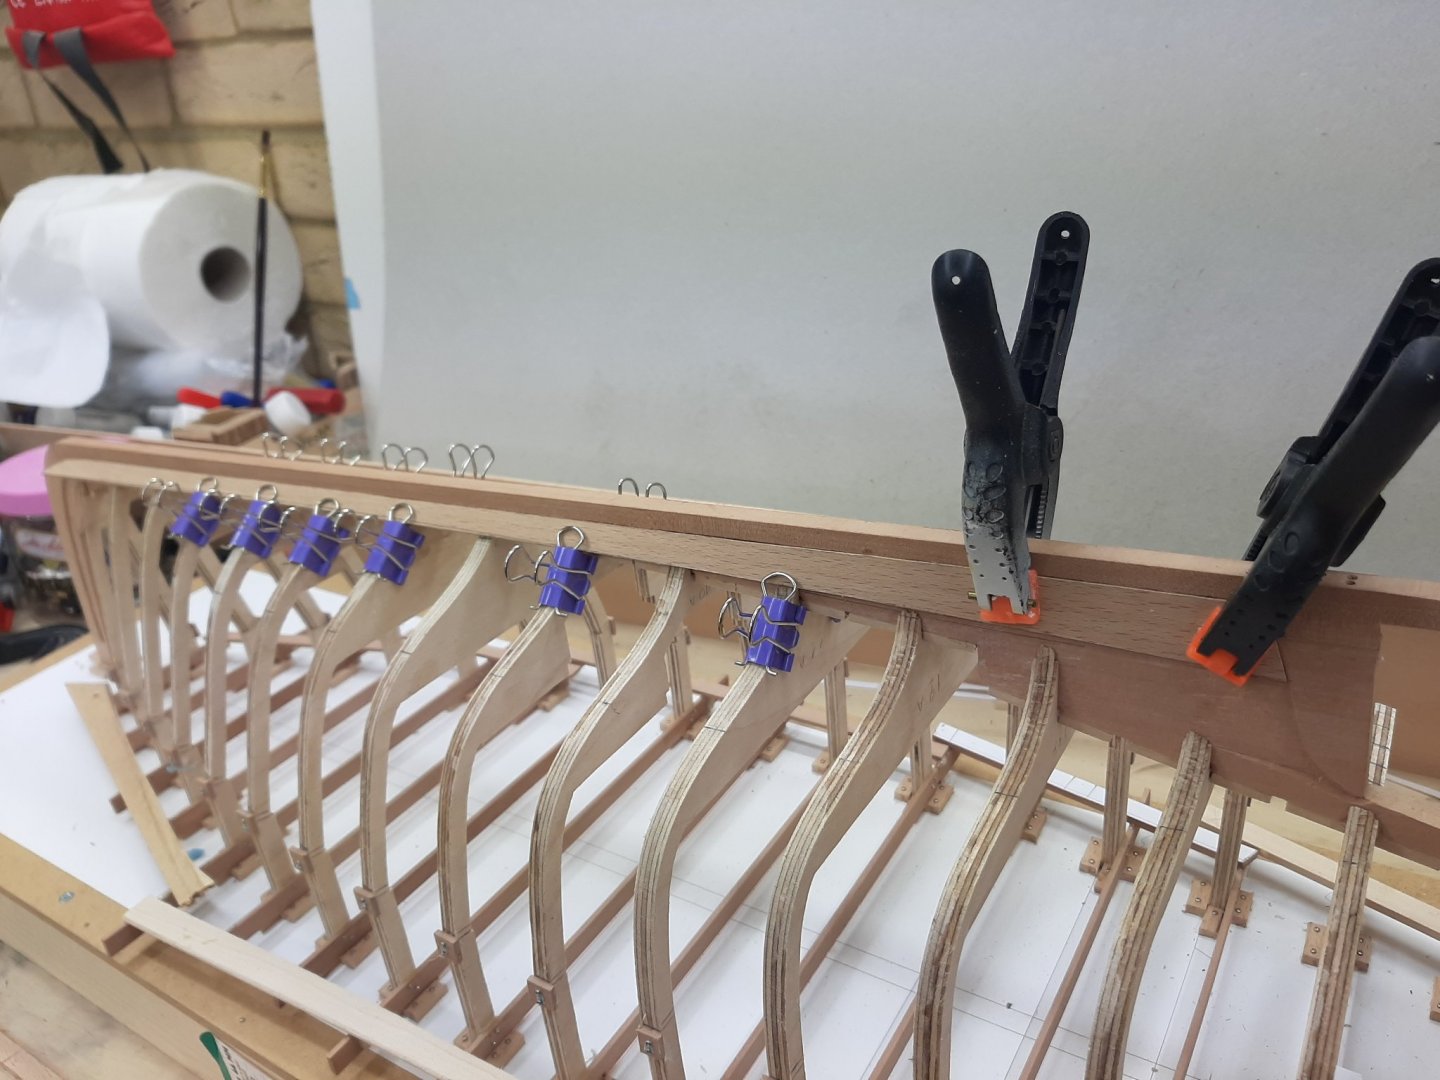
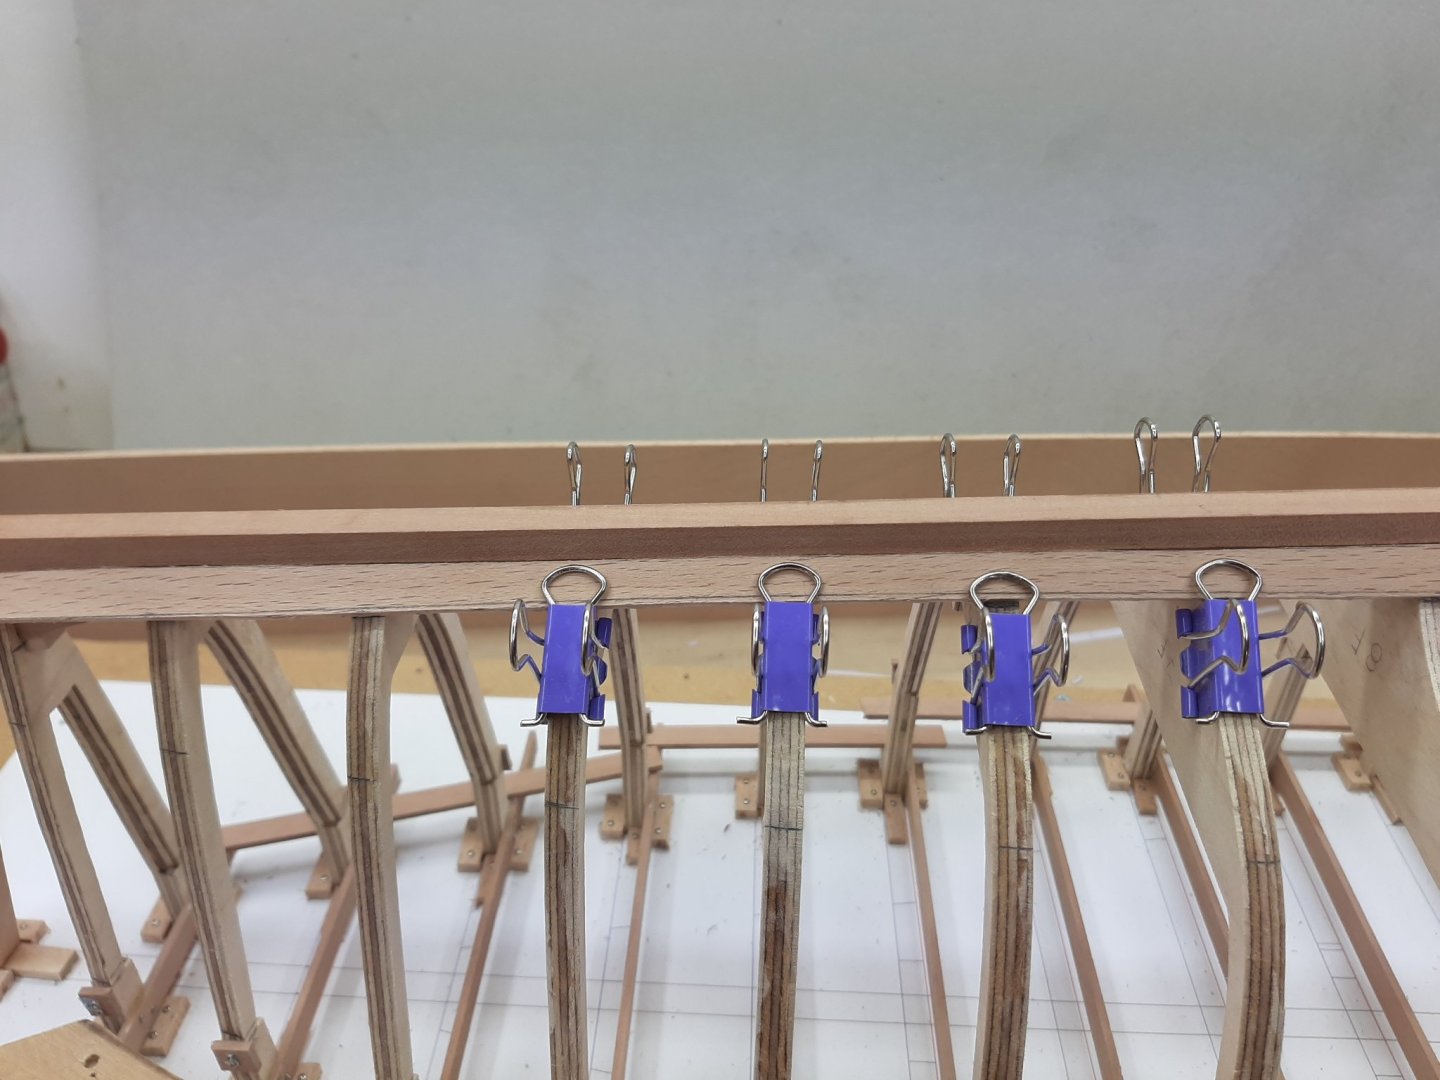
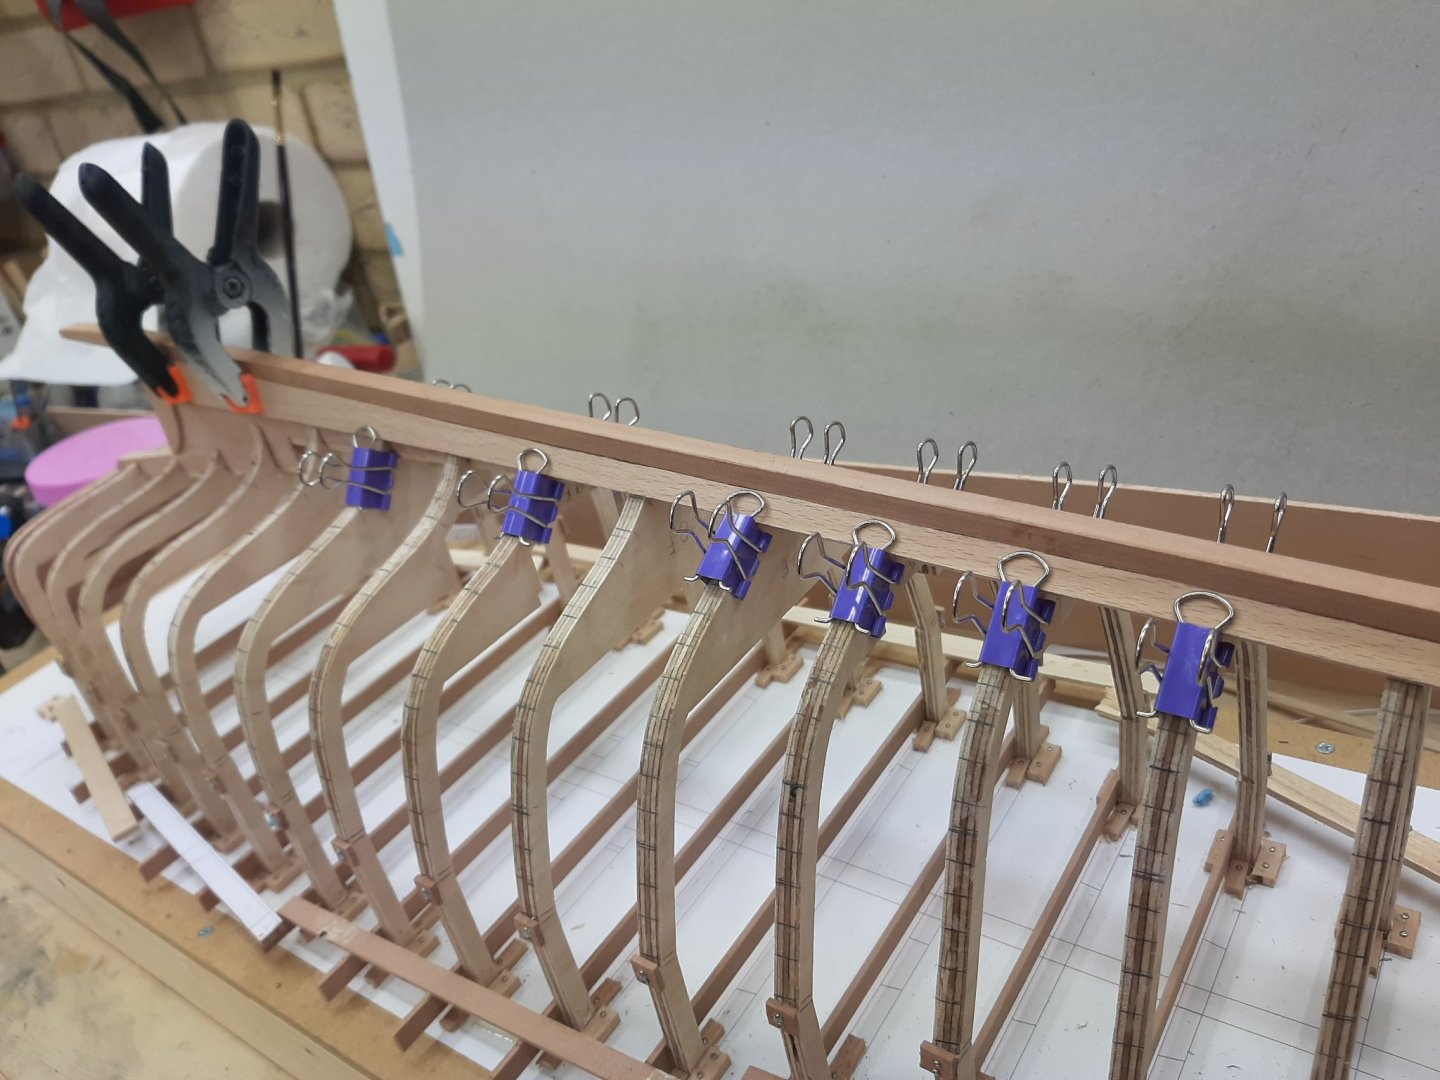
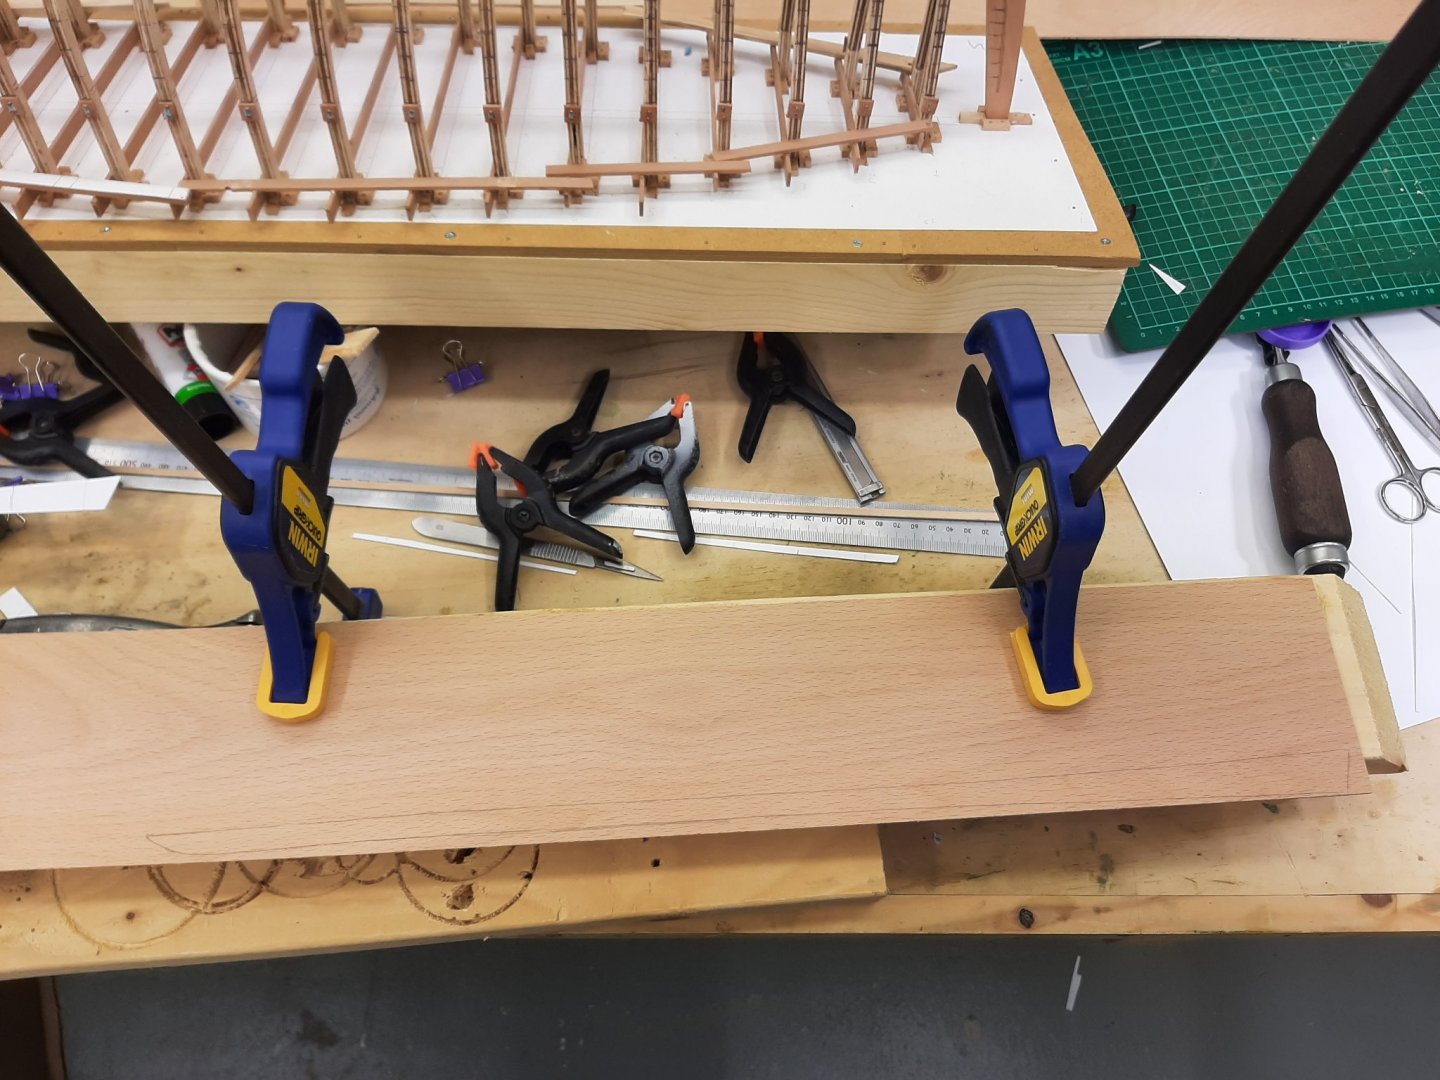
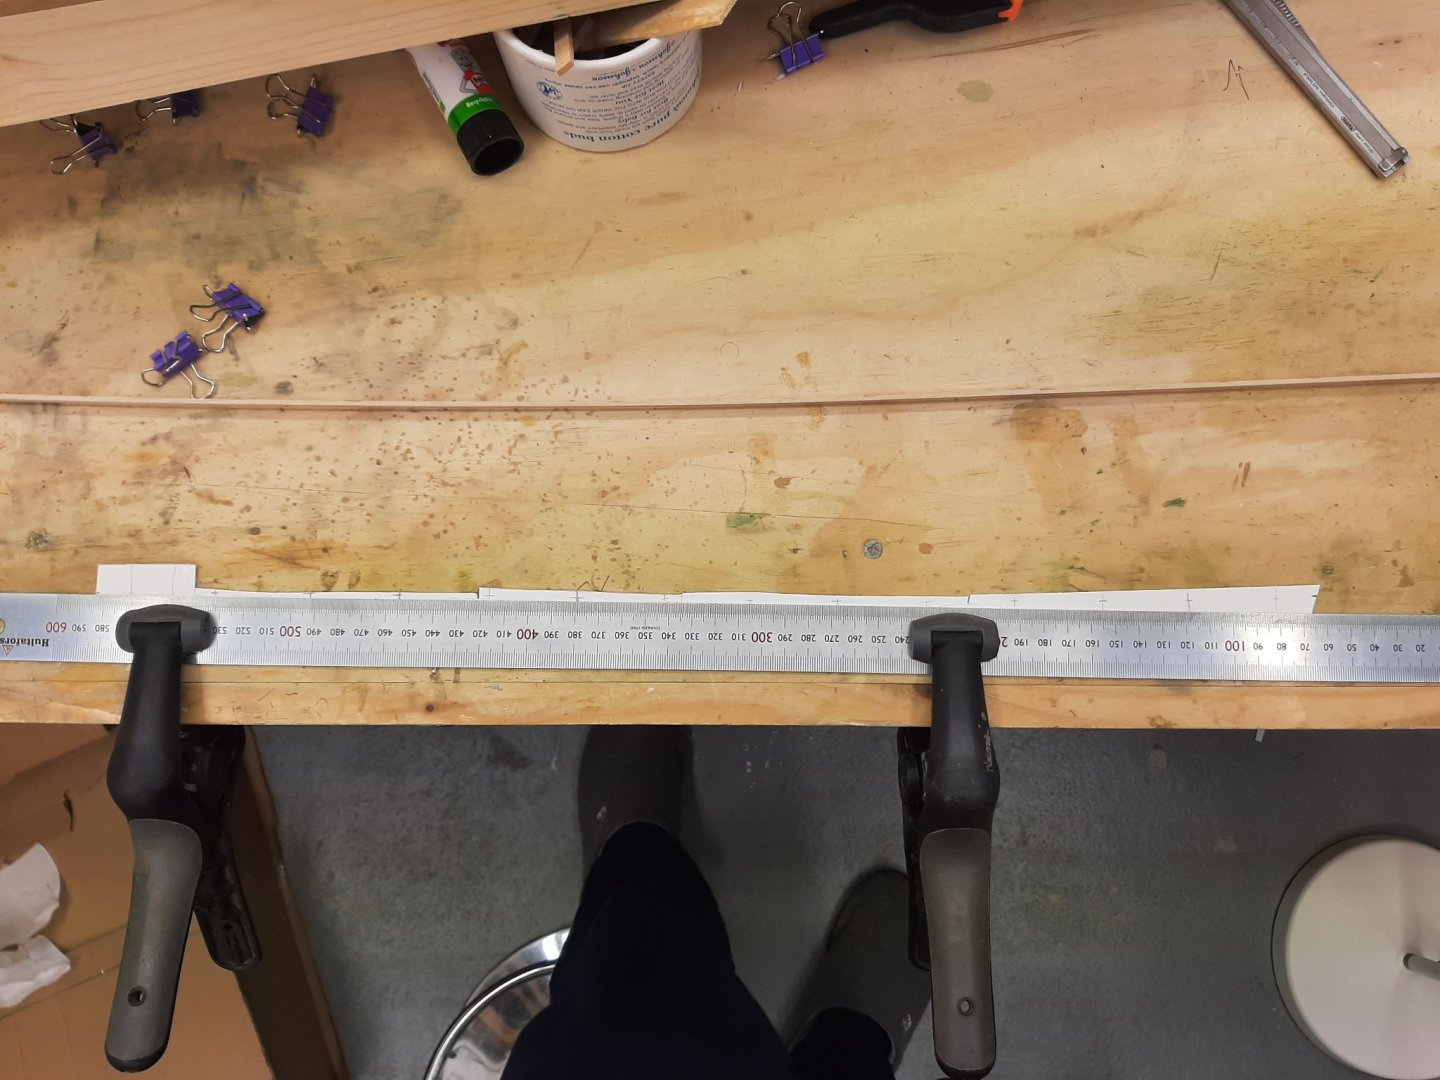
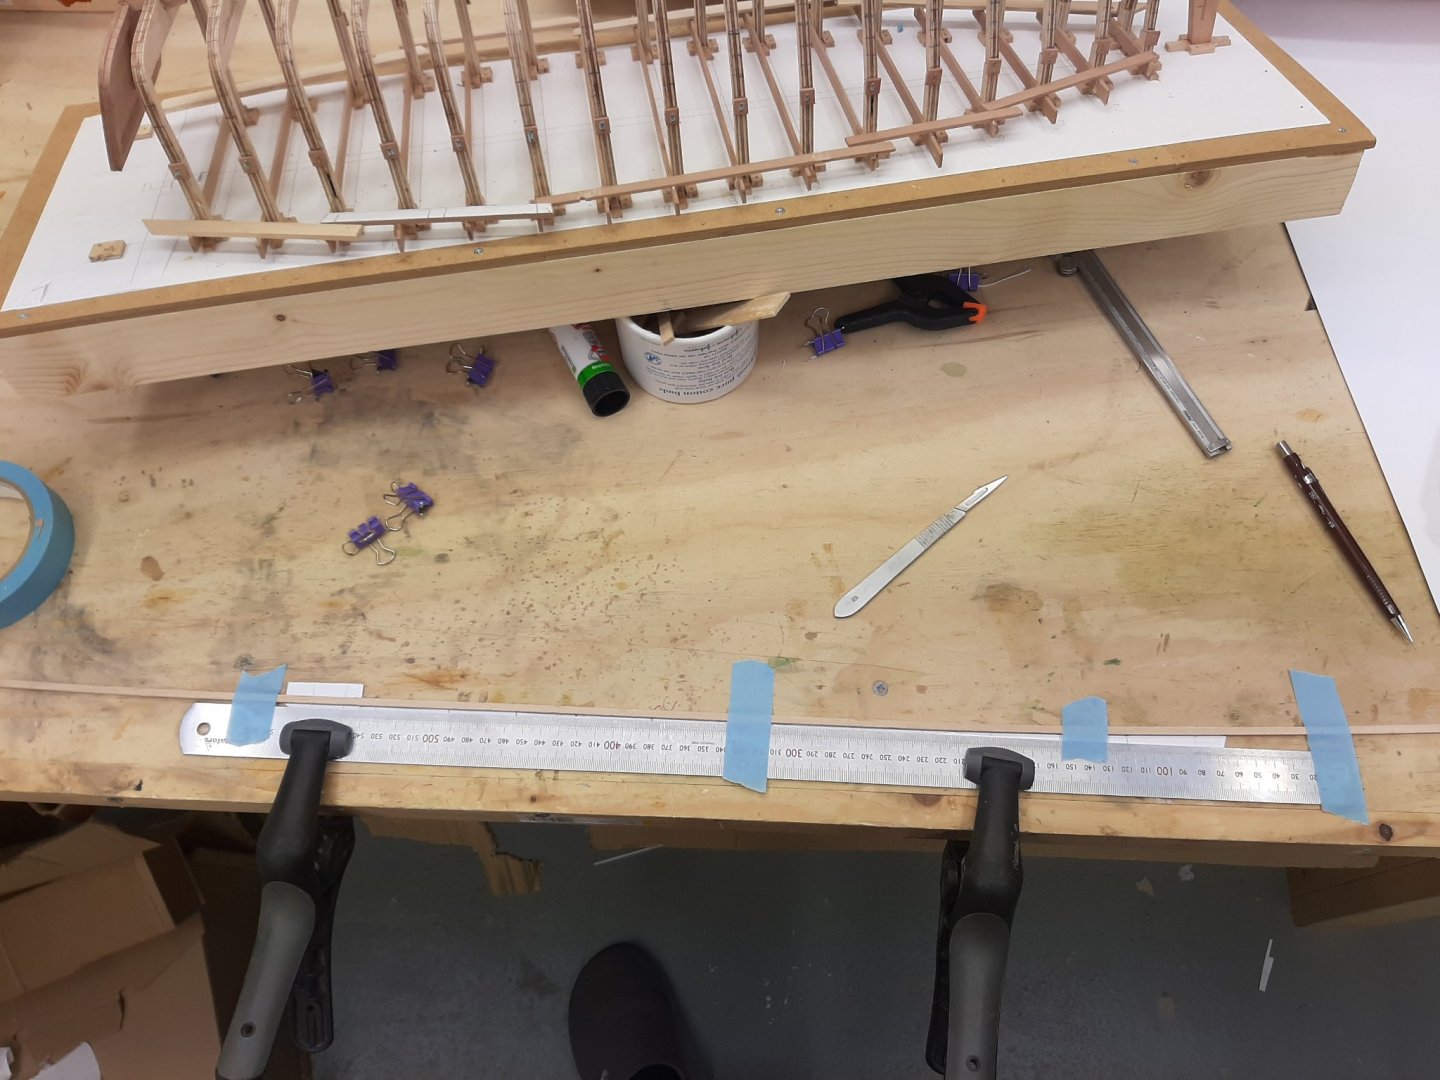
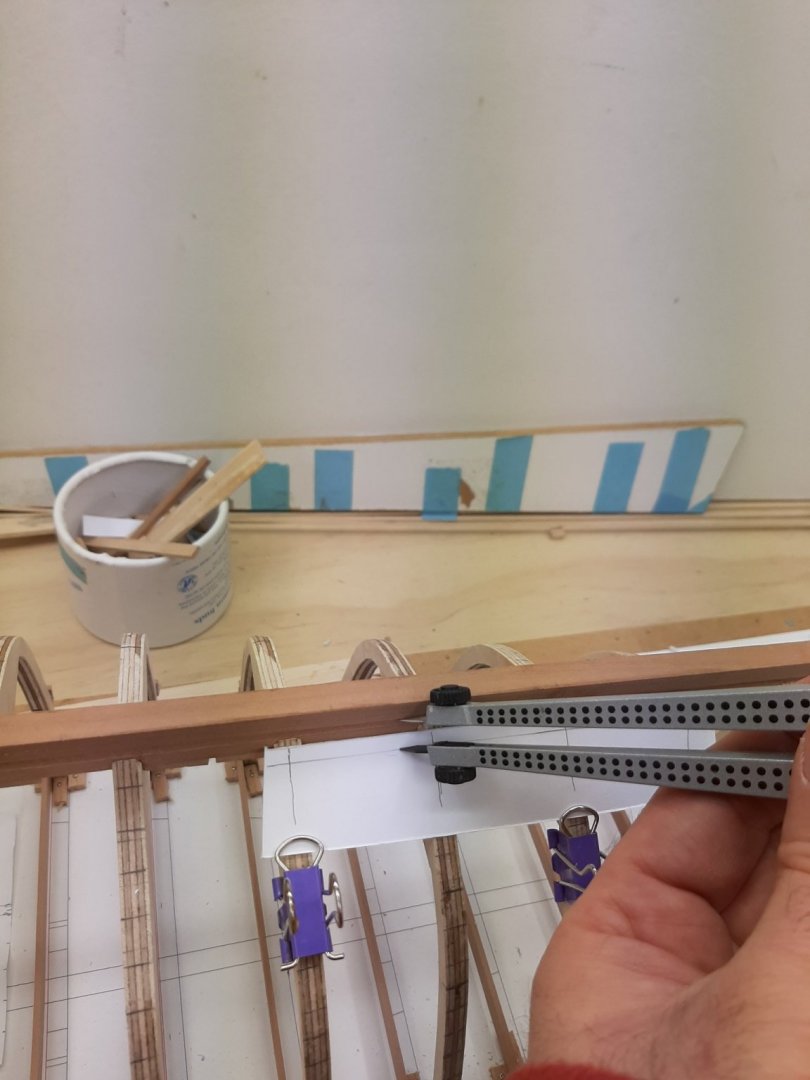
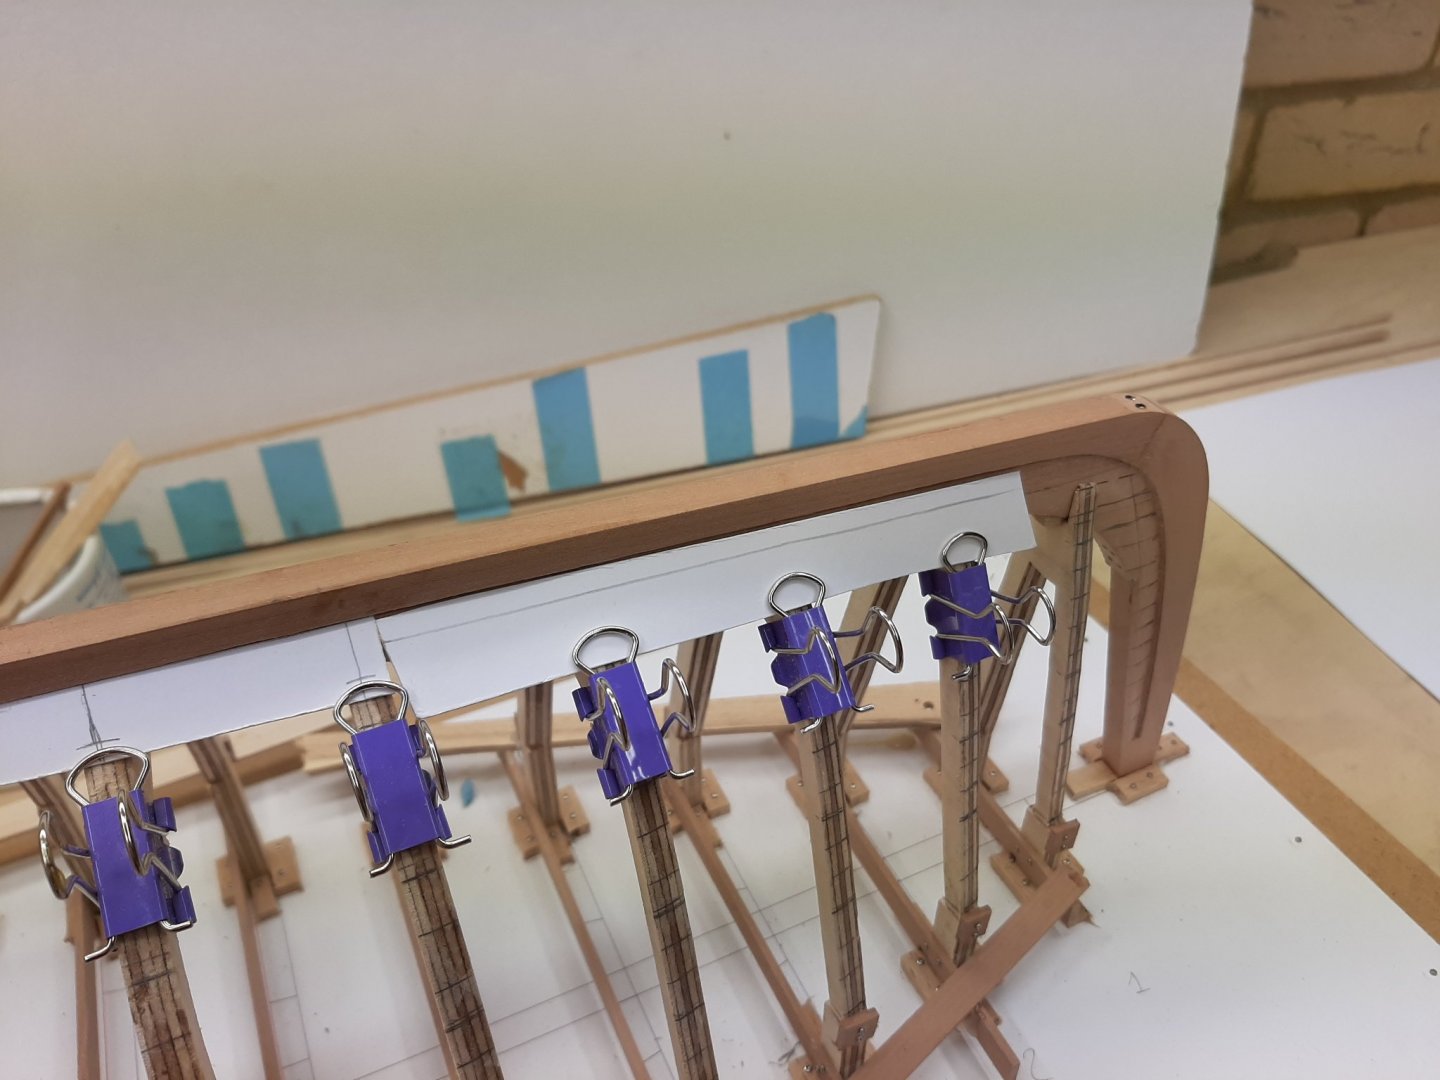
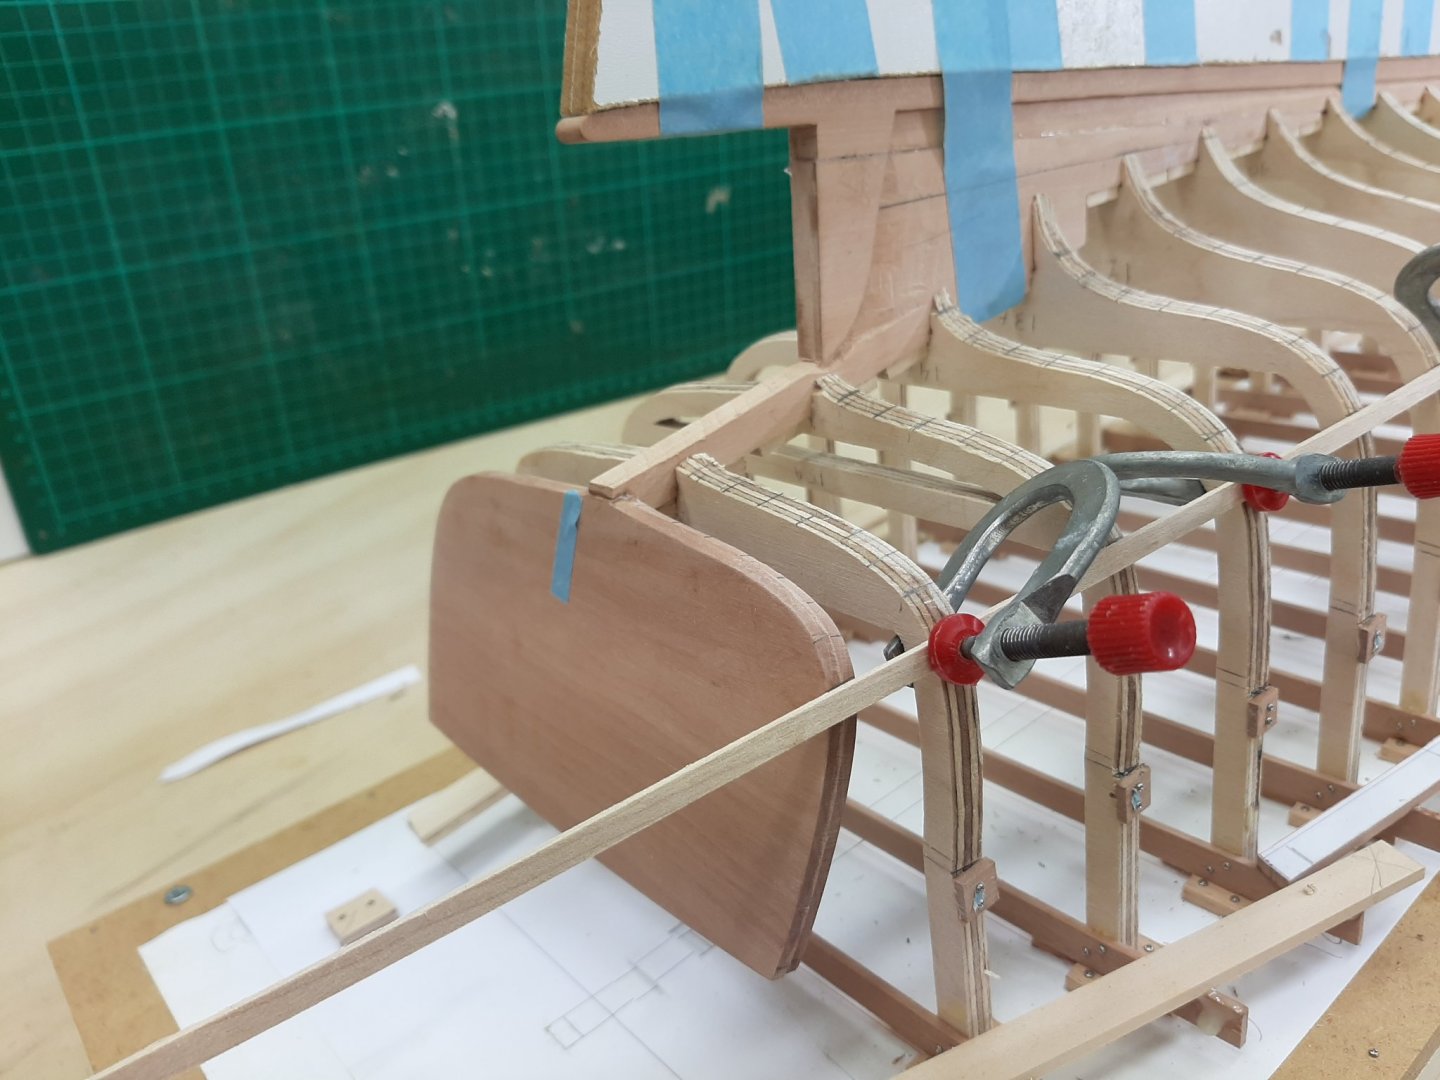
So now it is spilling time! I tried just a bit of spilling, to see how this would go. I have a feeling it will not be as easy as the last boat due to the more narrow planks. So we ll start with the garboard. Although the keel is dead straight, the corresponding edge of the garboard will not-there will be a curve to it. I used pieces of card paper to make patterns. The paper is attached to the frames, then a compass is drawn along the rabet at a constant angle, Then the positions of the middle of the frames are marked and the new edge cut. it actually took two goes as the strip was too thick and was distorting things. After I had the edge, I marked the points where the other edge crosses the middle of the frames. I used the compass to mark this in relation to a random position on the frames. This cross points will be connected later with a baten so the edge can be drawn. I then moved a bit further and repeated the process. Then I reached the stem with a third piece. All pieces are connected with pieces of card glued at the junctions, in the end we should end up with a solid piece that lies effortlessly on the frames. The rabet edge will be ready, the other will need to be drawn fair with a baten connecting all the cross points. Then the plank will need to be cut, shaped appropriately and installed. Then do the same on the other side. This will be a mountain of work, still the lapstrake on the yawl will be even more difficult. Best wishes Vaddoc


-
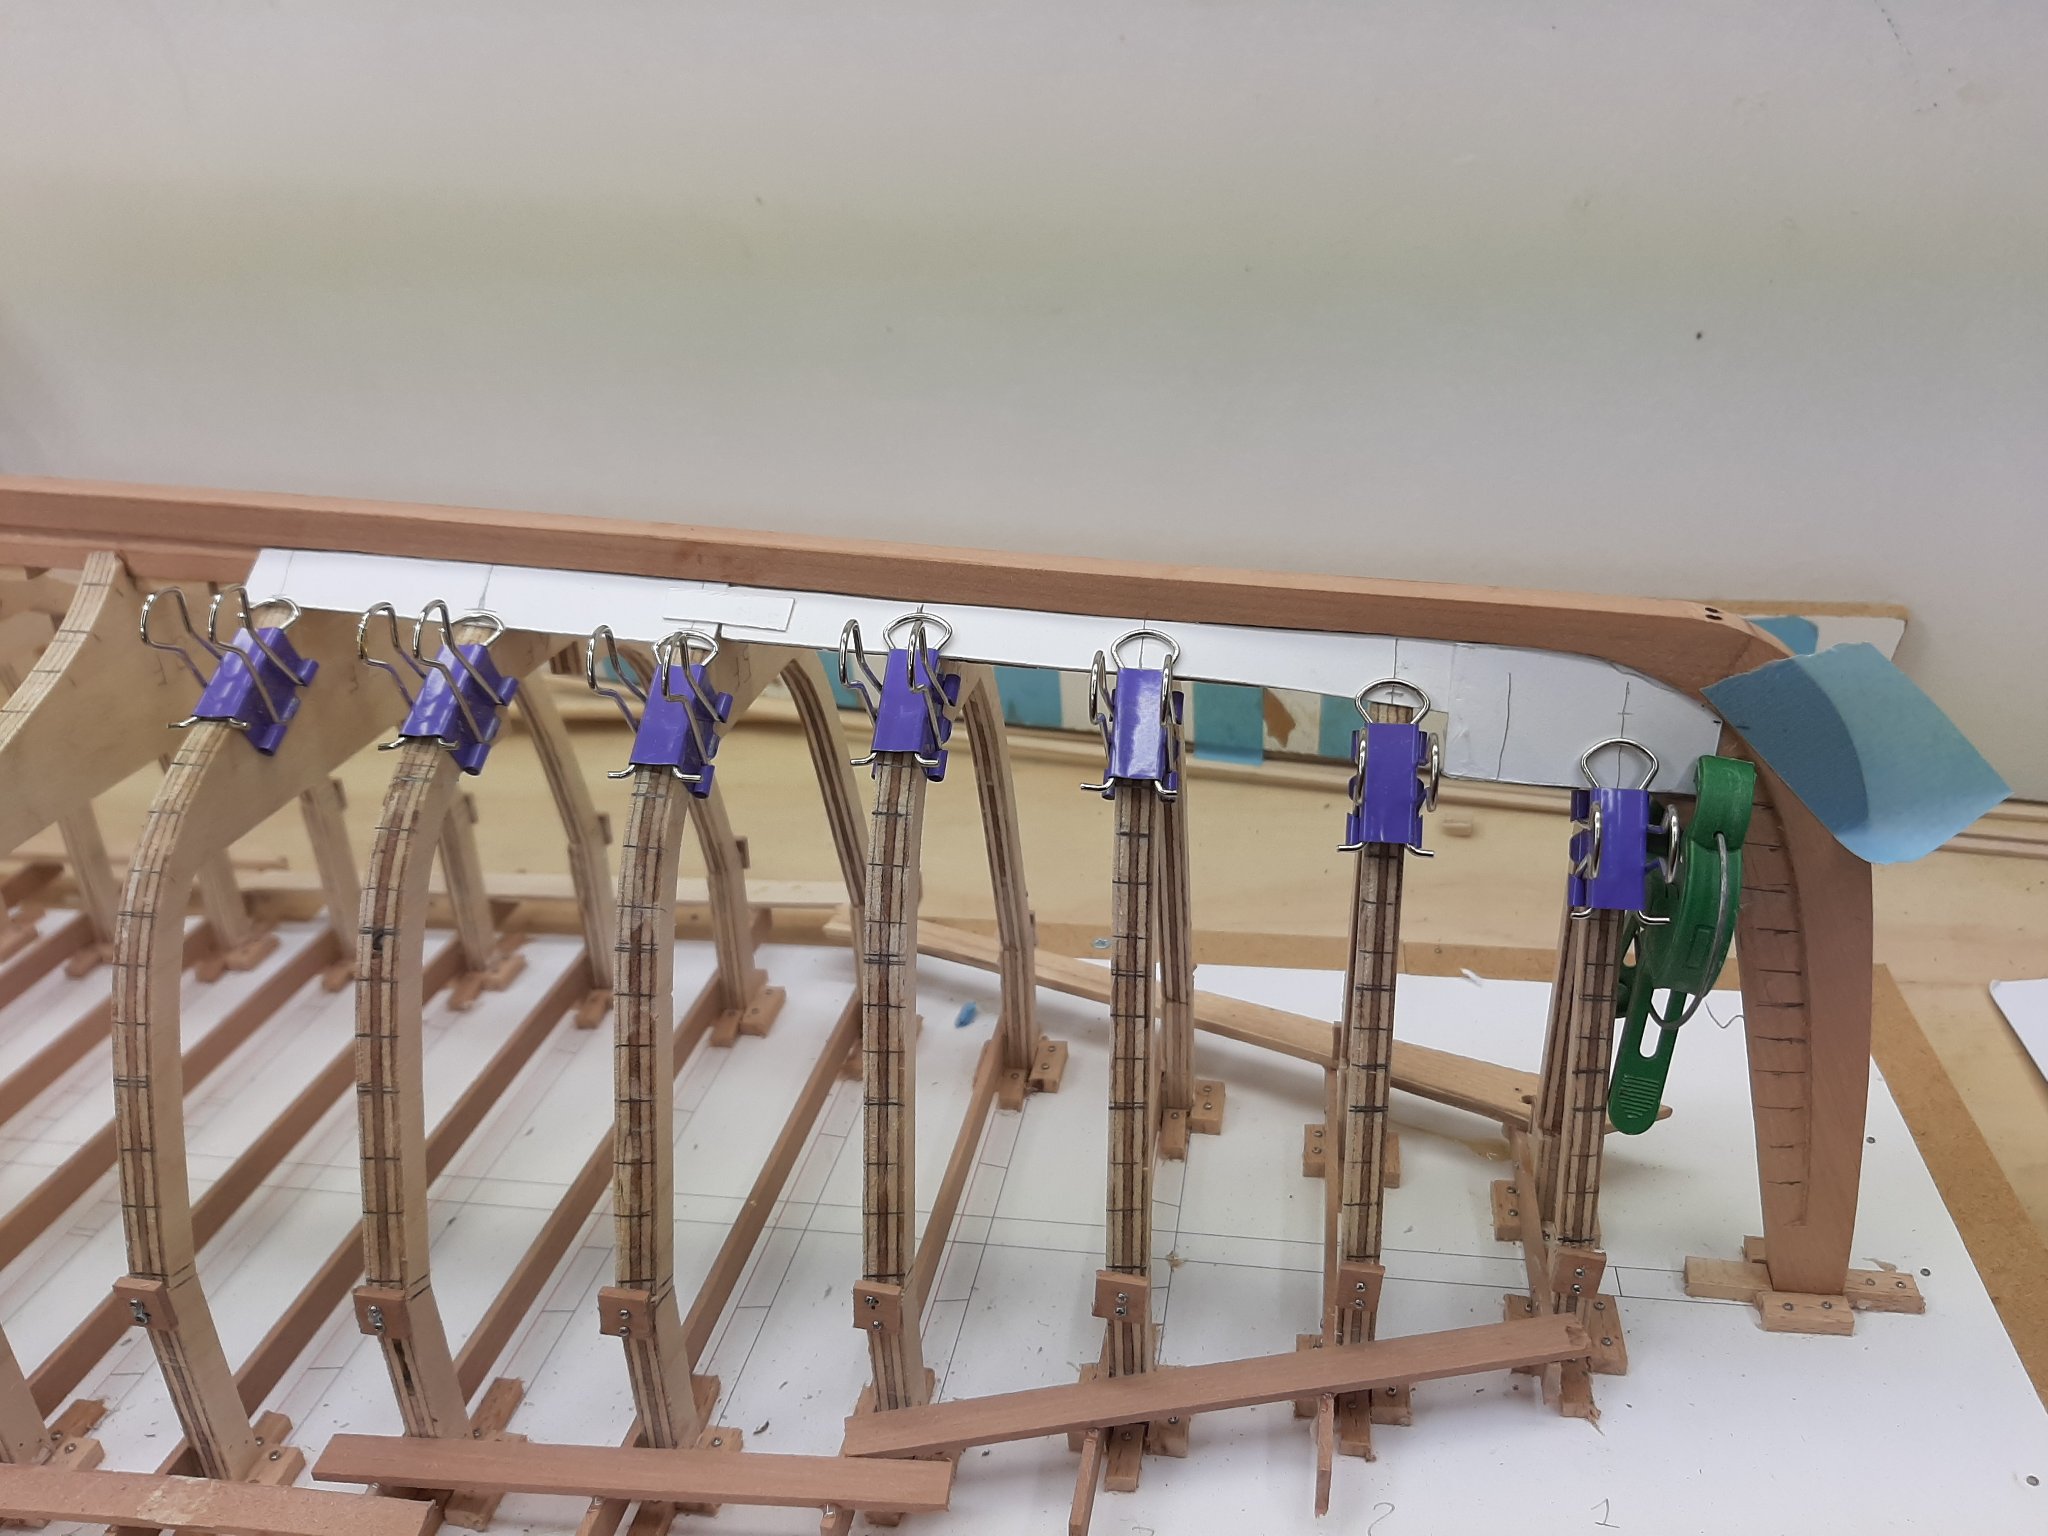
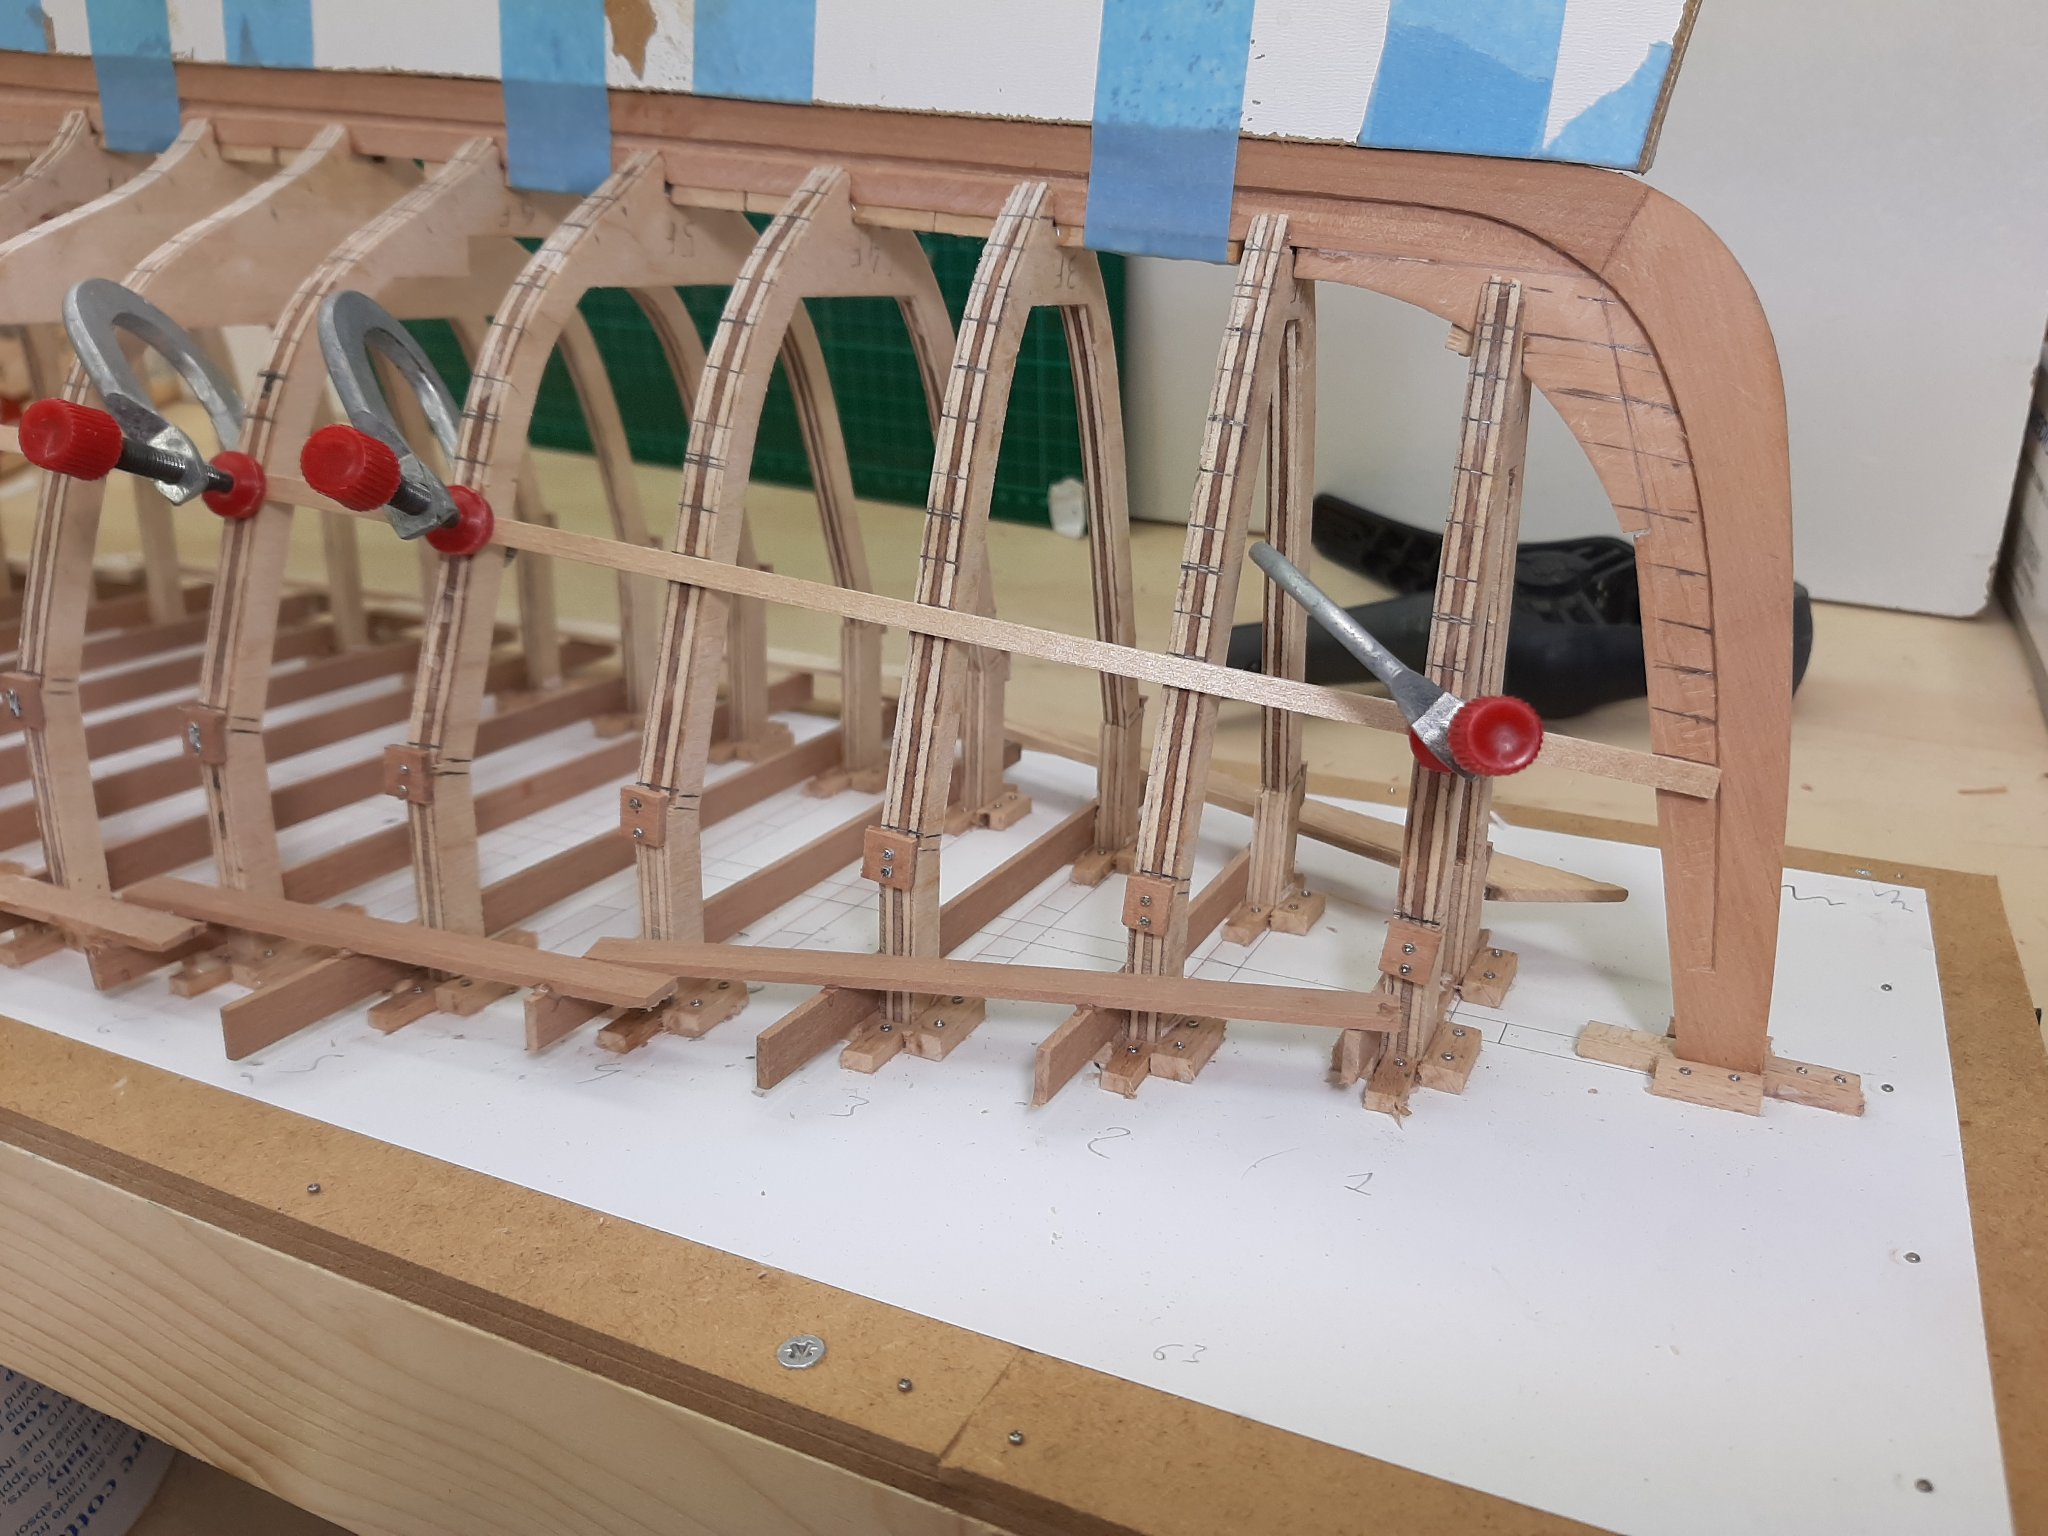
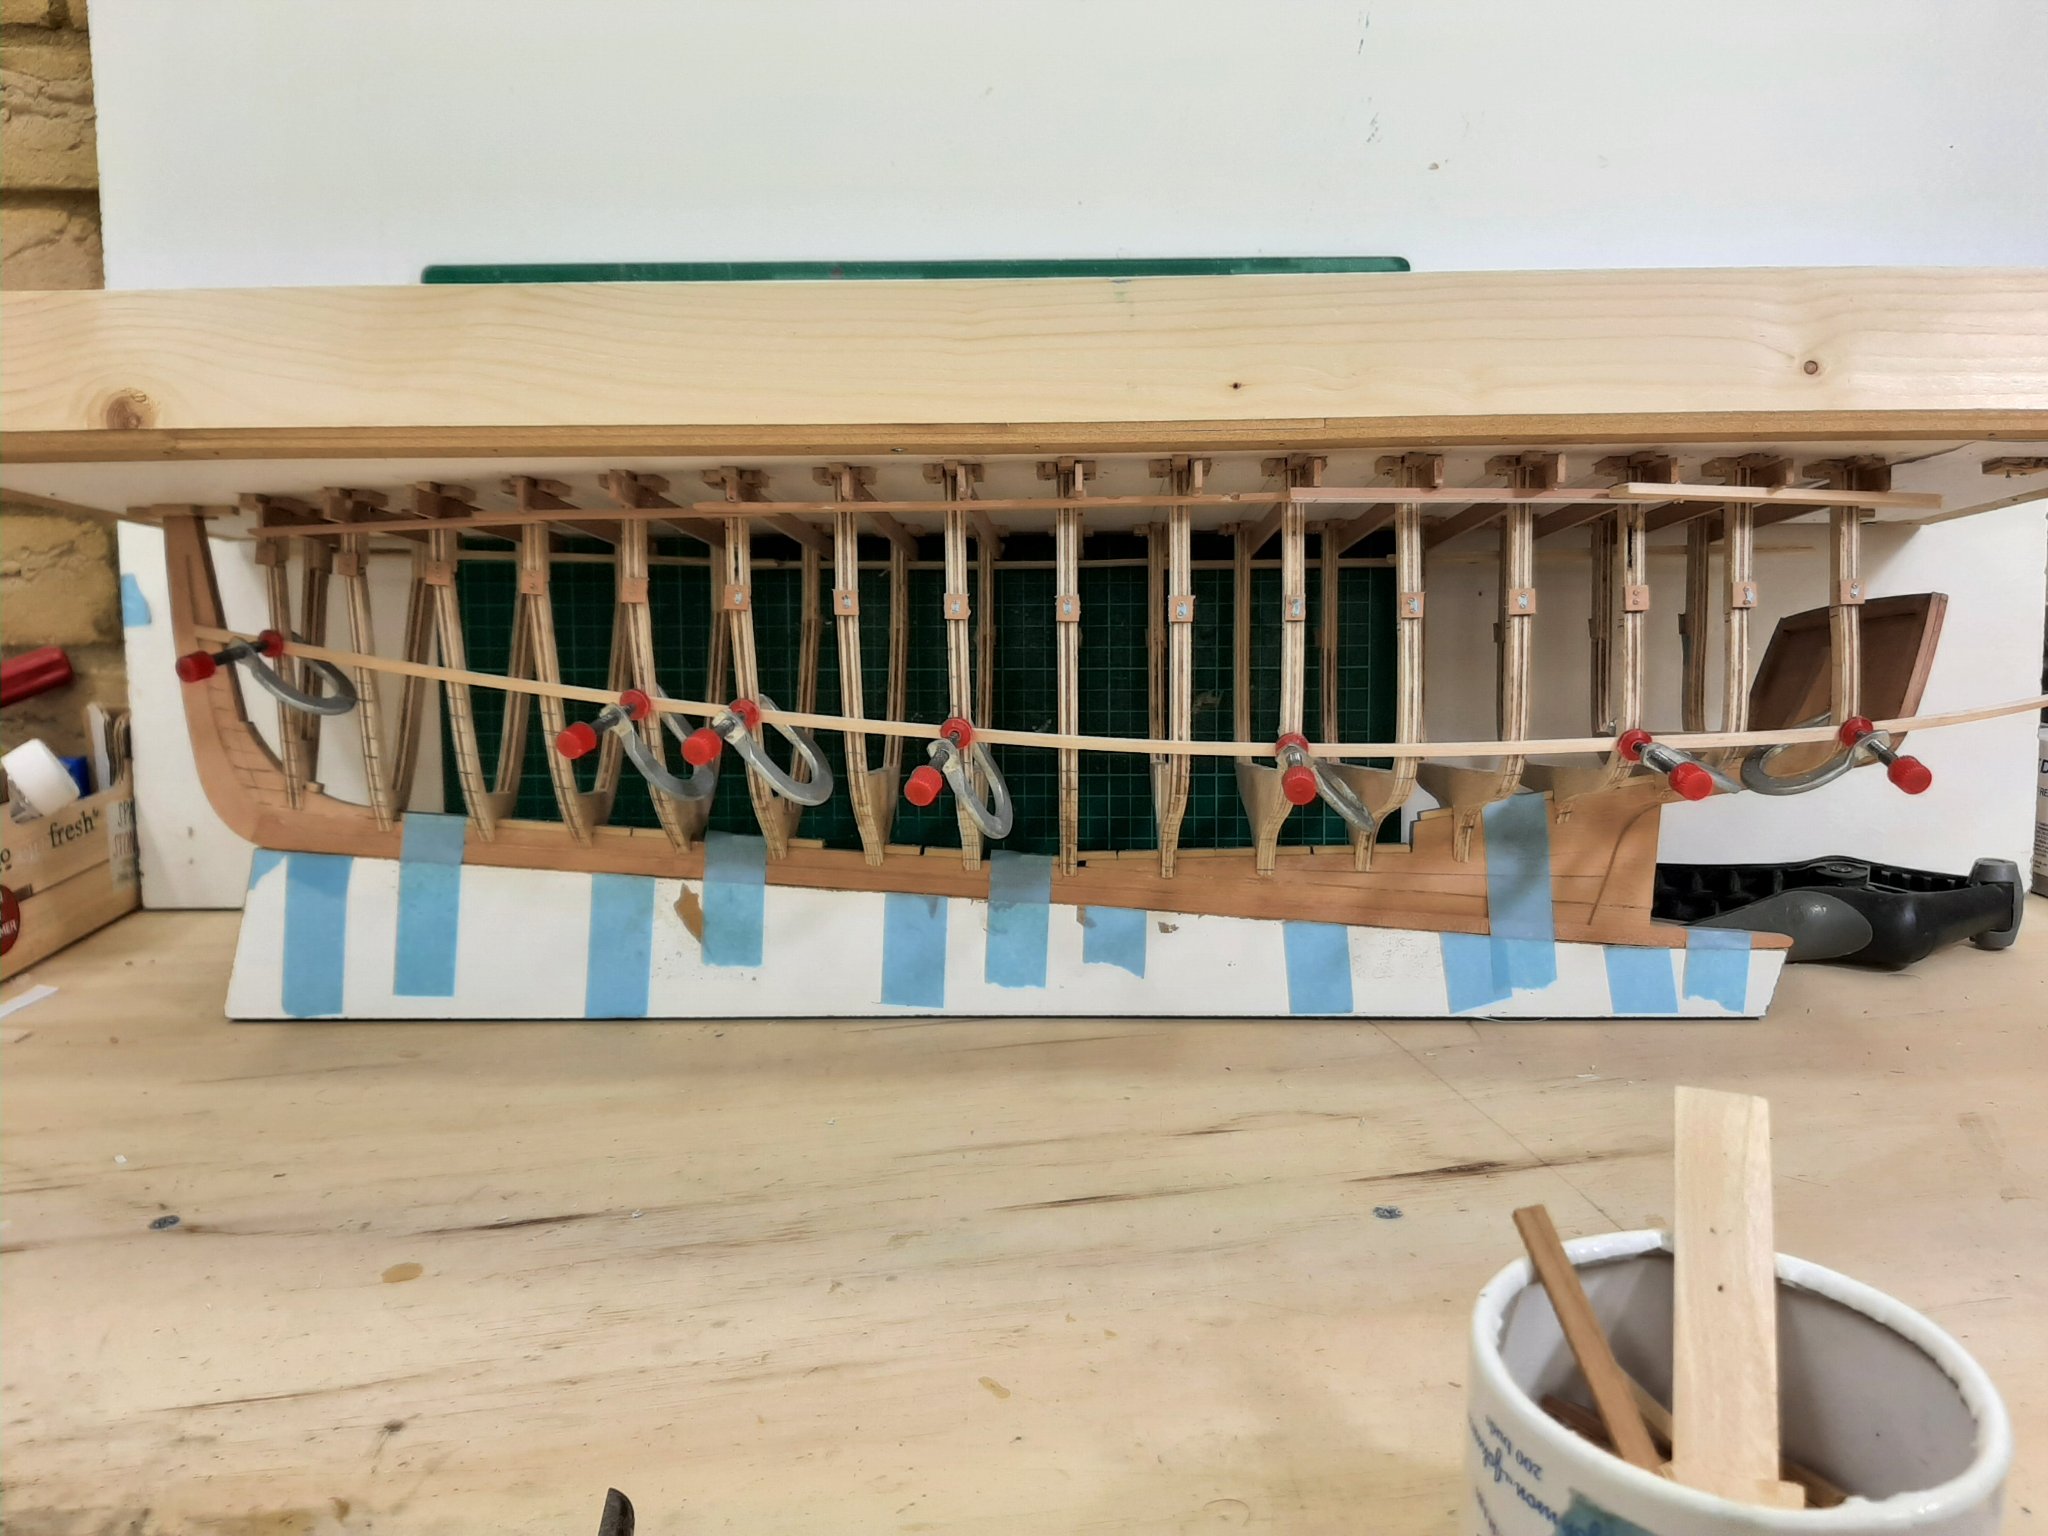
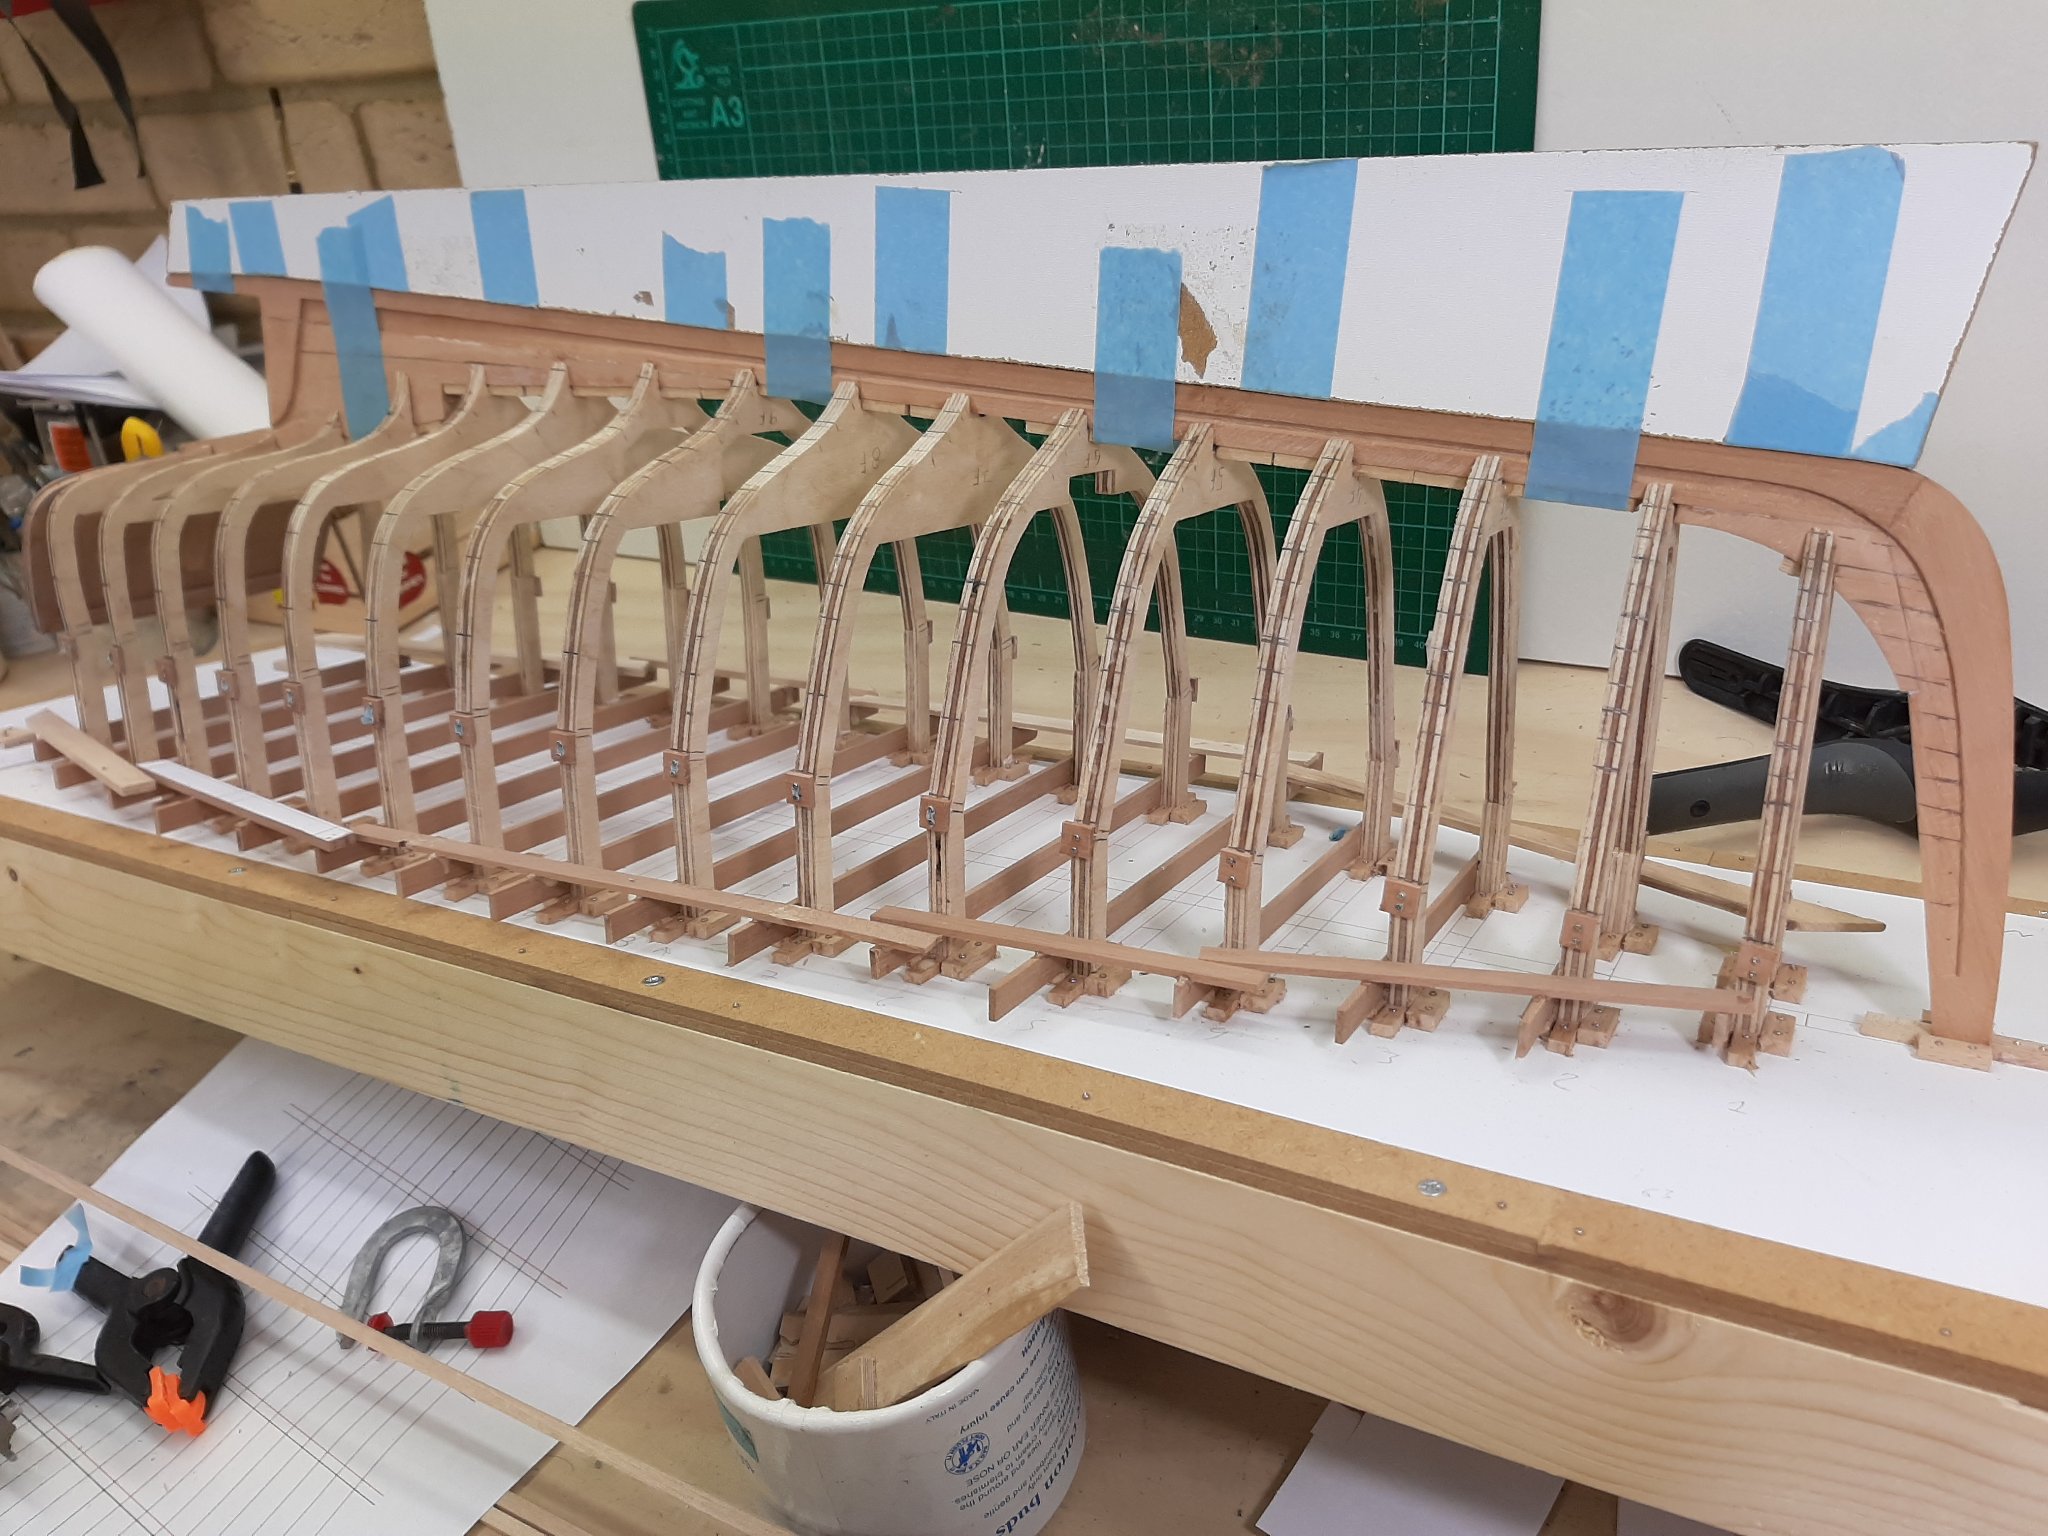
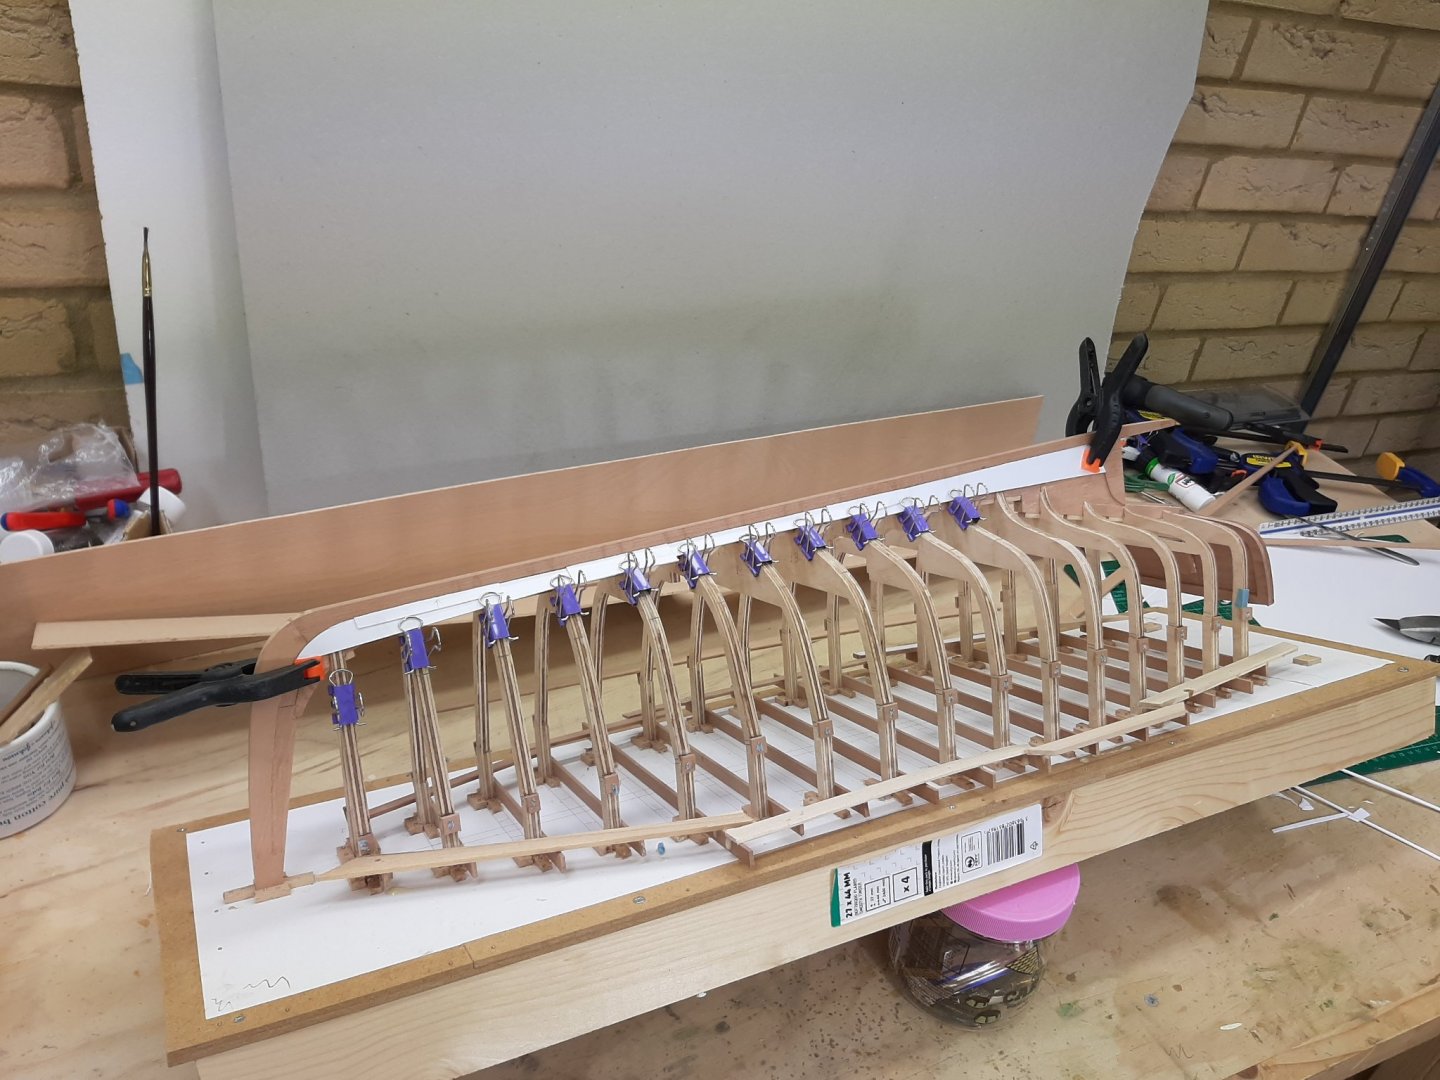
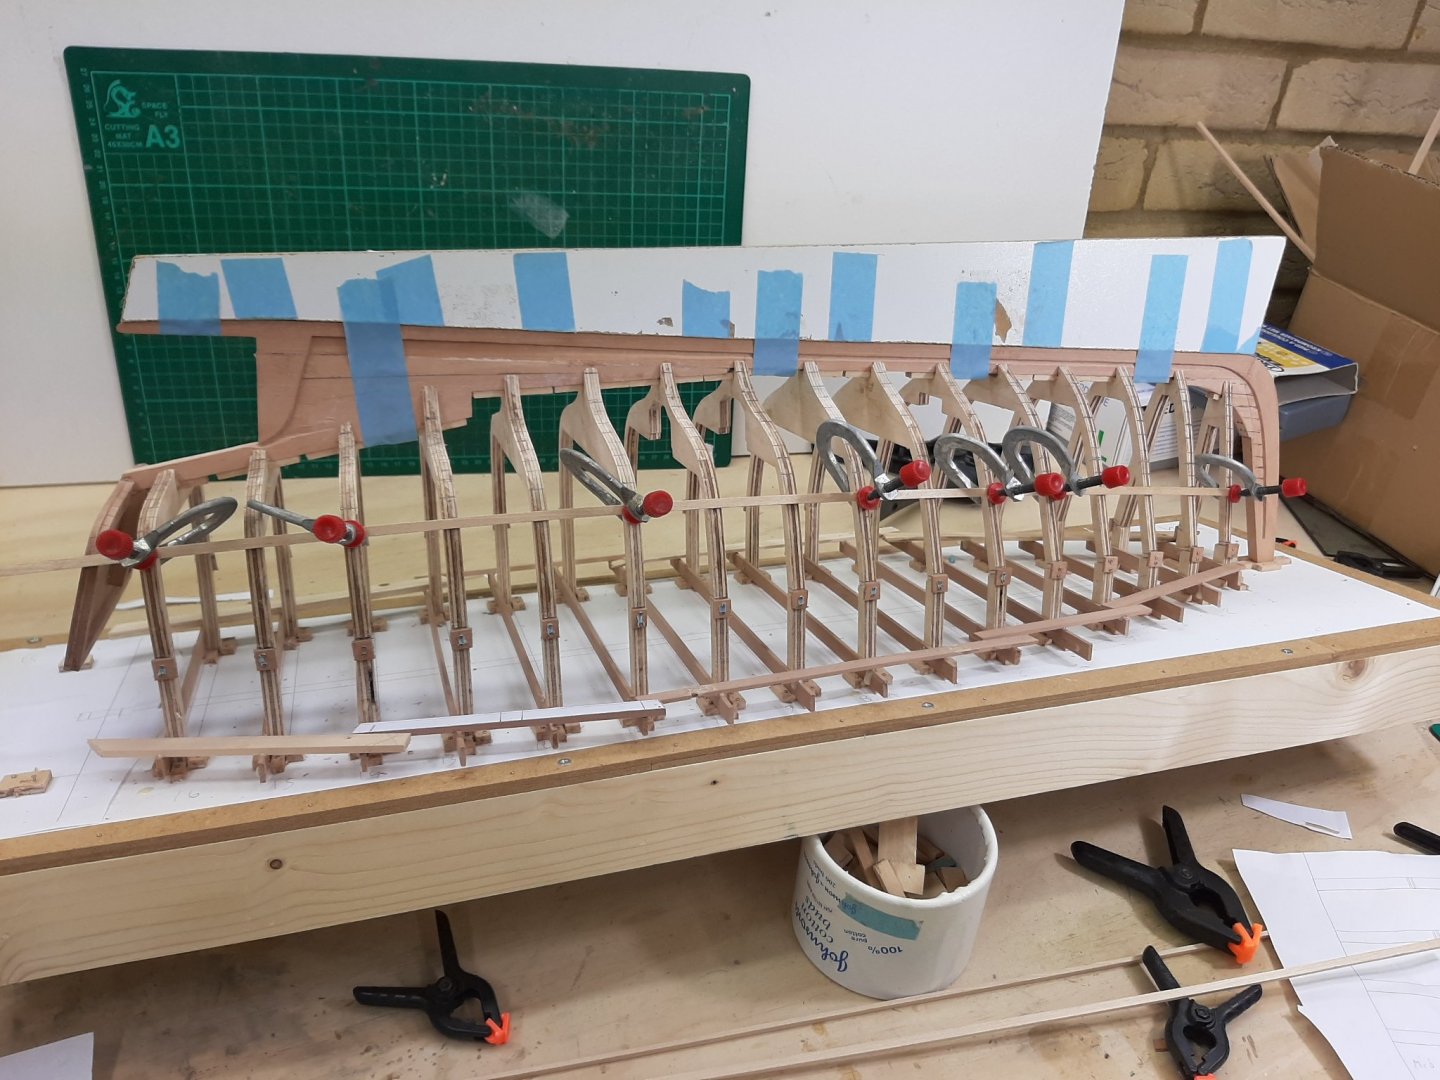
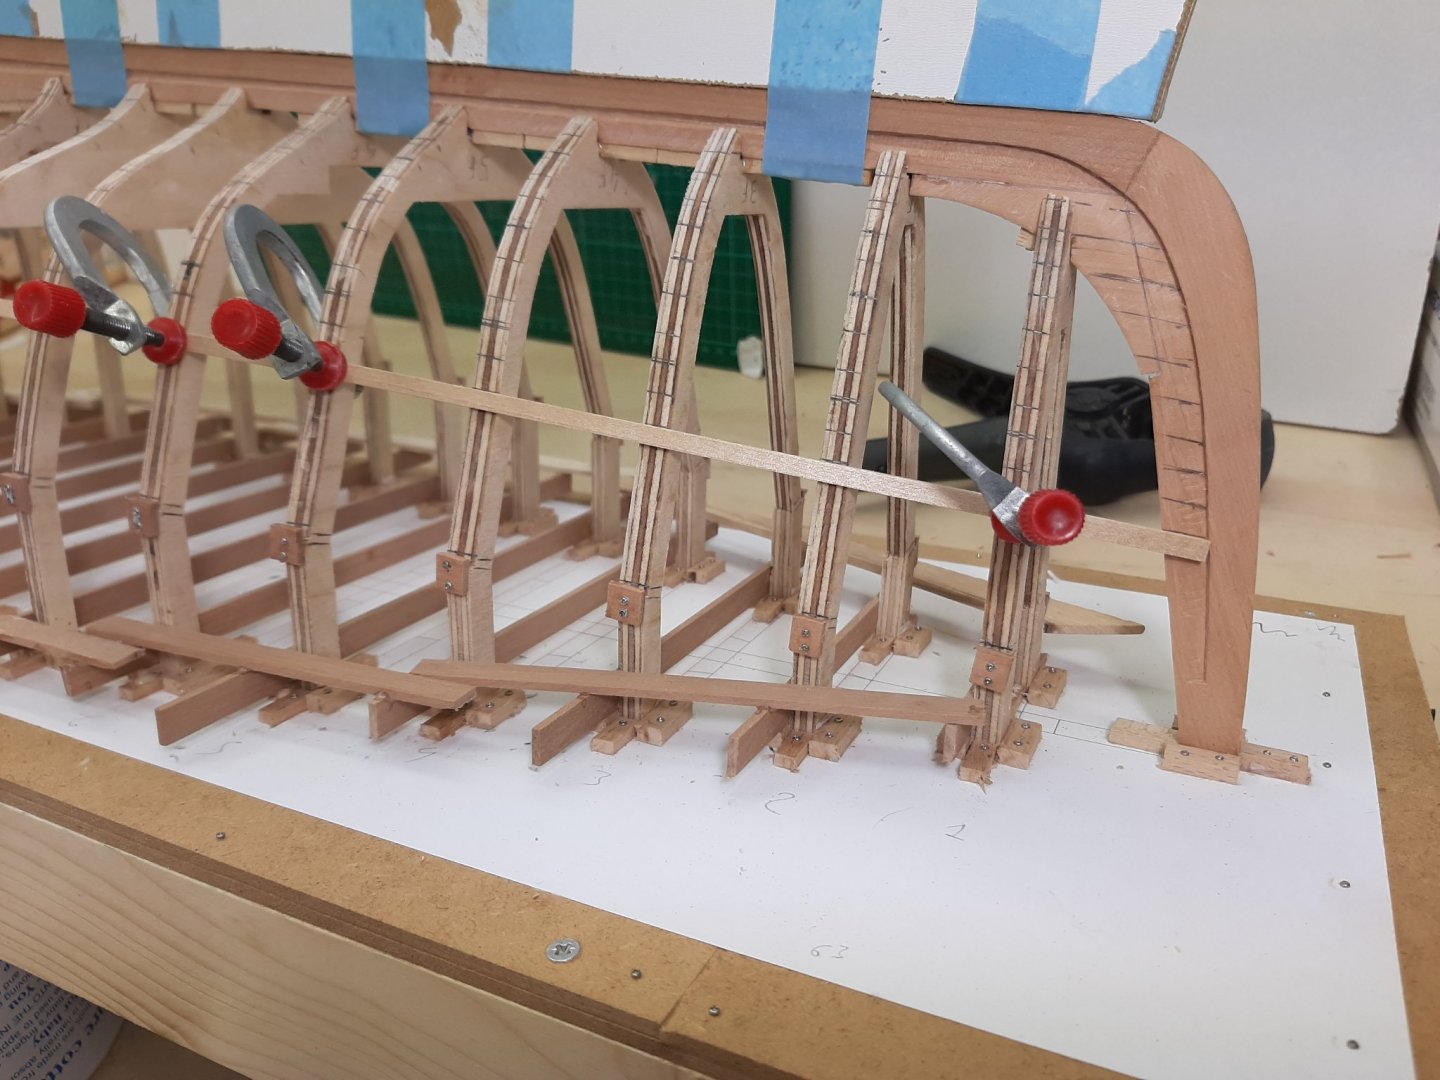
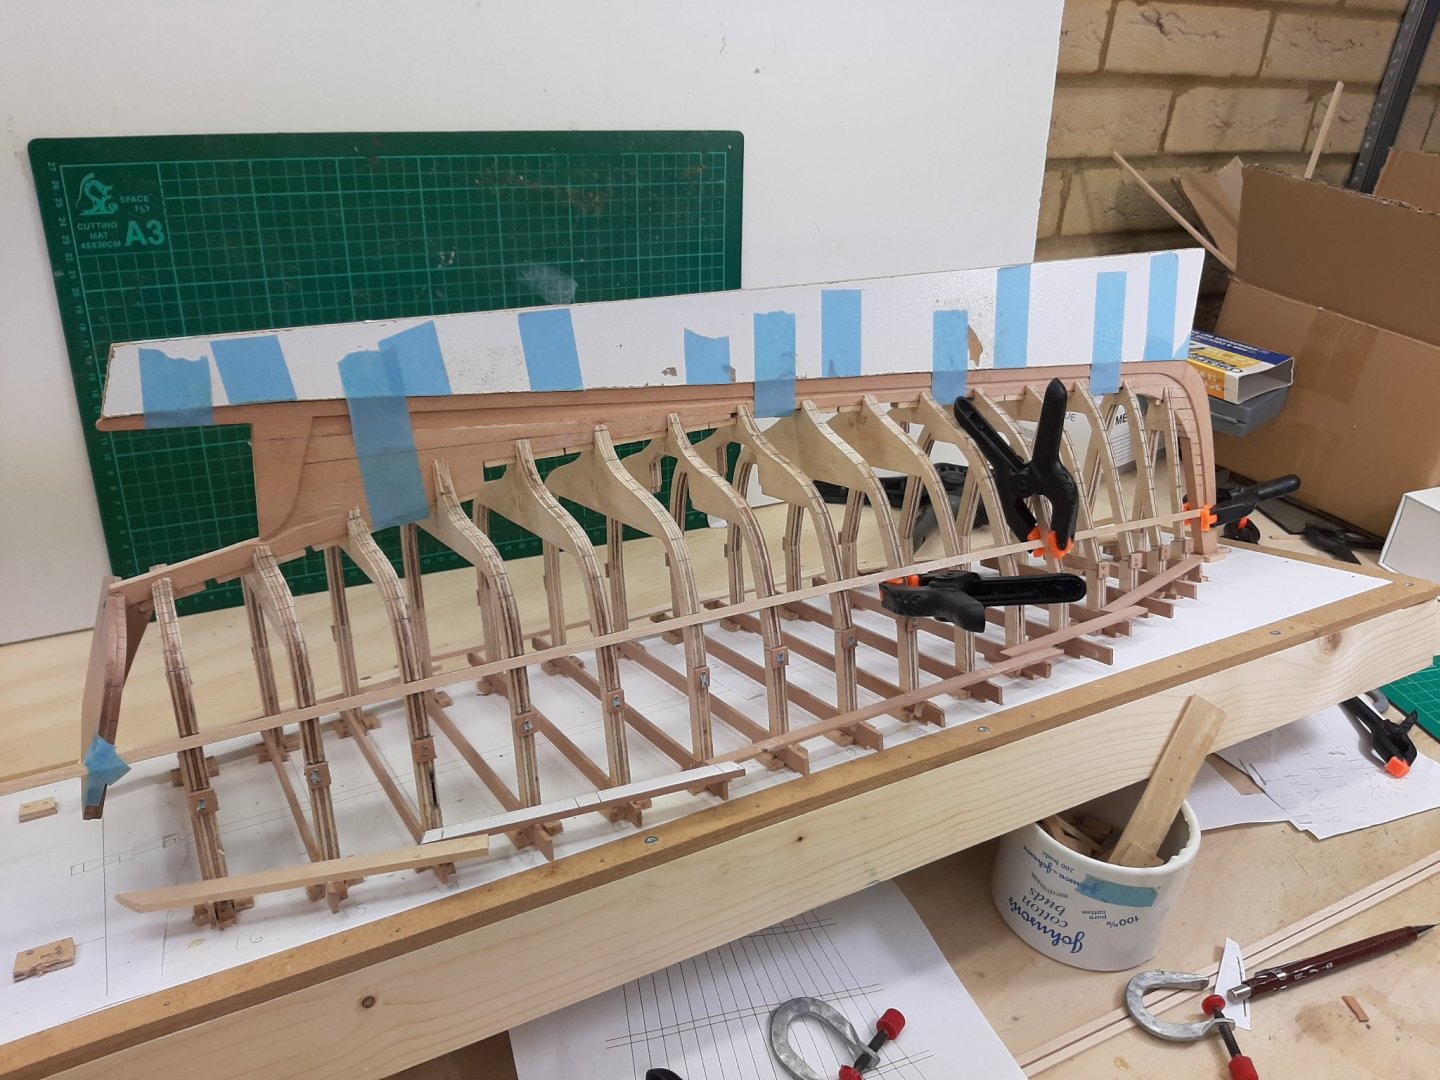
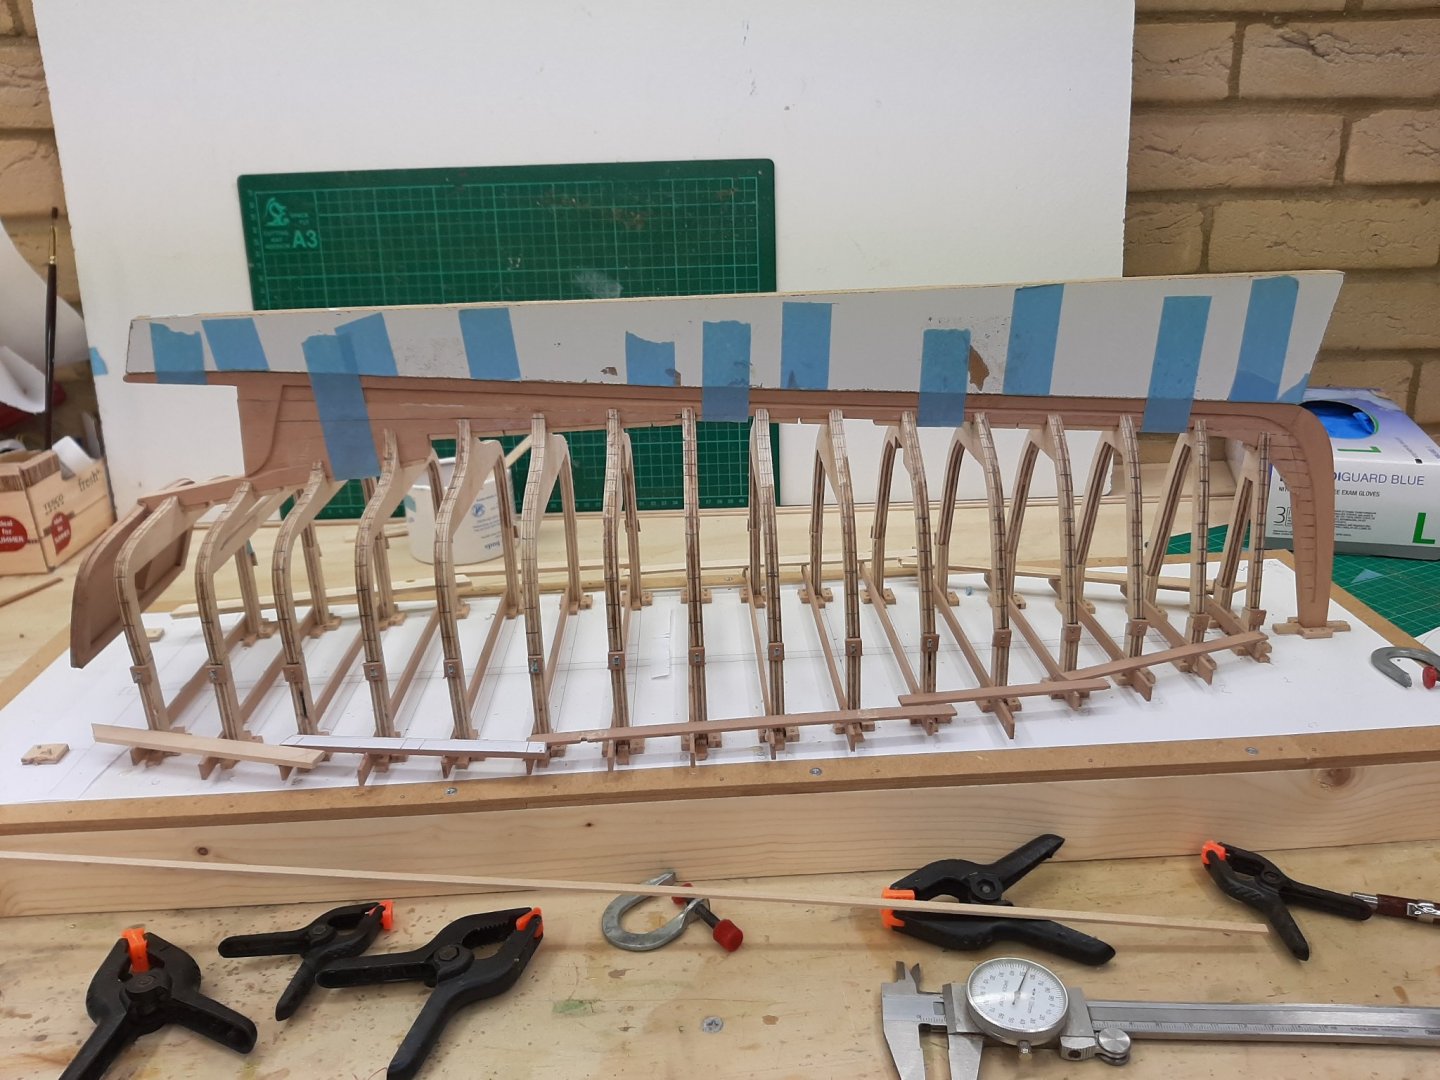
Many thanks to all for your likes and comments. In the last post: The bottom and middle zones were marked The sheer has been defined So we need to plank the upper zone. However this is not that straight forward. We still have not cleared the curved parts of the transom and hull. The bottom plank of this upper zone cannot be very wide, I measured and the widest plank the transom can accept is 8 mm. So this plank will have its own width but the remaining planks will need to be as equal as possible. So I deployed a batten and carved out a reasonable plank. Actually for some reason this took a bit of headscratching. Note that I removed the sheer batens but screwed pieces of wood to make sure I do not lose it. With the boat right side up, it does not look too bad For the rest of the zone, I measured the distances and I think the gap should be filled with 4 planks, so that there will be a symmetry with the rest of the planks. Everyone knows that the better a boat looks, the faster it goes! So lets do it Using the same method, the rest of the planks are marked. So now all planks are marked and only the formality of actually planking the boat remains! This is certainly a milestone! I started spilling the planks but I ll make a new post for this Regards Vaddoc


-
Miniature Drill Bit Chuck for Dremel Tool?
vaddoc replied to turangi's topic in Modeling tools and Workshop Equipment
Gaetan which do you like more, the proxon or the dremel? -
Miniature Drill Bit Chuck for Dremel Tool?
vaddoc replied to turangi's topic in Modeling tools and Workshop Equipment
Yes, all the above are very true! The reason I am getting the proxon is that my dremel died just because the spindle lock pin wore out and it costs a third of the whole tool-it is also out of stock... The second reason is that I will need to drill a lot of 0.5 and 0.6 mm holes (a few thousands) and the dremel collets does not hold such thin drills well. The third is that I already have the power sourse so the proxon tool is less than £30. -
Miniature Drill Bit Chuck for Dremel Tool?
vaddoc replied to turangi's topic in Modeling tools and Workshop Equipment
Proxon claim that their rotary tools have no run out, that their collets are very high quality and their chuck has minimal run out. Apparently can grab drills from 0.3 mm. I plan to buy it in the next financial month. -
Now this is a very interesting log! Great start George. Visiting Averof next time I am in Athens is now on the priority list. Actually, recently I read that they contemplated restoring the engines but it is completely out of the question. Apart from being prohibitively expensive, it seems that the whole ship would need to be cut to pieces or something similar.
-
Brian, absolutely have your guns made, no reason not to. You are doing a fantastic job.