md1400cs
-
Posts
2,862 -
Joined
-
Last visited
Content Type
Profiles
Forums
Gallery
Events
Everything posted by md1400cs
-
 Colin, Beautiful superlative work. Stunning photos as well. I'm happy that I found your log, nice update. Cheers, MIchael
- 80 replies
-
- 1
-

-
- deagostini
- victory
- (and 1 more)
-
Nigel, Oh My!! I so had to find this ship model. With all due respect here is a link. Yes beyond Stunning. http://shipmodels.com.ua/eng/models/elite/le_rivoli/index.htm PS: I will, off course remove this post if I've over stepped on your log (:-)Though I'm sure that there would be an interest. (I could not locate his build here at MSW) Michael
-
Nigel, There you go again "raising the bar" sweeeet work!! A pleasure for the visual senses. Cheers mate Michael
-
Yea what a "shocker" So, Fred Hocker, those of us whom are lusting after Vasa II (the promised bible on rigging), please don't see these after publication issues going for these insane (unsold so far) amounts. We all want Vasa II at $50.00 USD as was our first purchase price of Vasa I. As we all know supply and demand need's control pricing. That said, I don't believe that the marketplace will allow for this kind of pricing for book I. I hope...ok time for a single malt or two. Cheers..
-
I was looking for something else through Google, and ran into this OMG is this seller "nuts" (:-) Thought that I would post http://www.amazon.com/Vasa-Archaeology-Maritima-National-Maritime/dp/9197465909/ref=sr_1_4?ie=UTF8&qid=1439497988&sr=8-4&keywords=vasa+1628
-
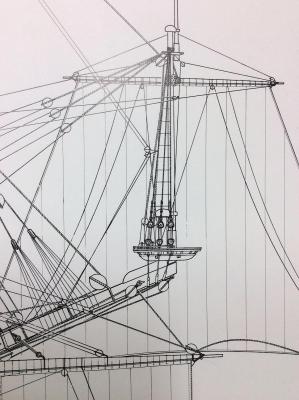
Mark, I think that you were smooth sailing by using ropes with the chain plate deadeyes. I found this close up pic of the 1/10th. I have also seen more models that have used rope, including Calyton's (arguably the most accurate of all the Vasa models privately built) But [always a conjunction somewhere (:-)] the museum 1/10th, in this pic, seems to (appears to) have used only one attaching ring per side. Very difficult to tell. The museum plan set shows three attaching points with ropes. Ropes it will be. Yes you are right much easier. And I will attach three separate point per side, as you did with yours. Cheers Michael
-
Mark, Looking good ! Michael
-
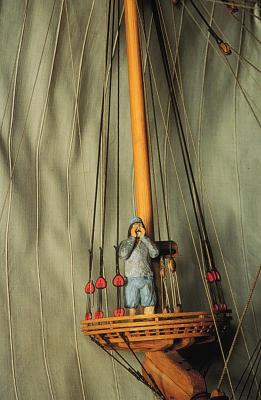
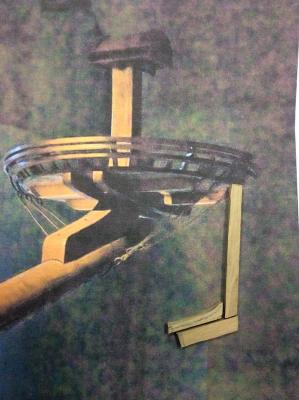
Mark, Hi thanks for dropping by, and thanks for your nice compliment. Noted on the shrouds, I need to think about this. I may have bitten off more than I can chew with the platform detailing. Having a bit of a learning curve on how to add the two upper ring braces to the platform, Hmmm I will follow your lead by using ropes to secure the six deadeyes to the sprit mast under the platform. I have seen two options; one has all six ropes attaching to two rings (three on each side) and the other was having six separate attaching points under the platform, three on each side. The 1/1 only has a reconstructed platform so no help. The 1/10th seems to have six attaching points (as you did on yours) I will probably go with the three rings on each side. Regards, Michael
-
Joachim, More excellent work. Oh so I like your work room, lucky YOU (:-) Michael
-
Thanks Frank, Yea this is going to work like a charm. I also decided to use smaller wood. OK need to close shop. You're a So Cal guy, almost time for the Dodgers (:-) (;-) PS: really enjoying following along with your current build Alert.. MIchael
-
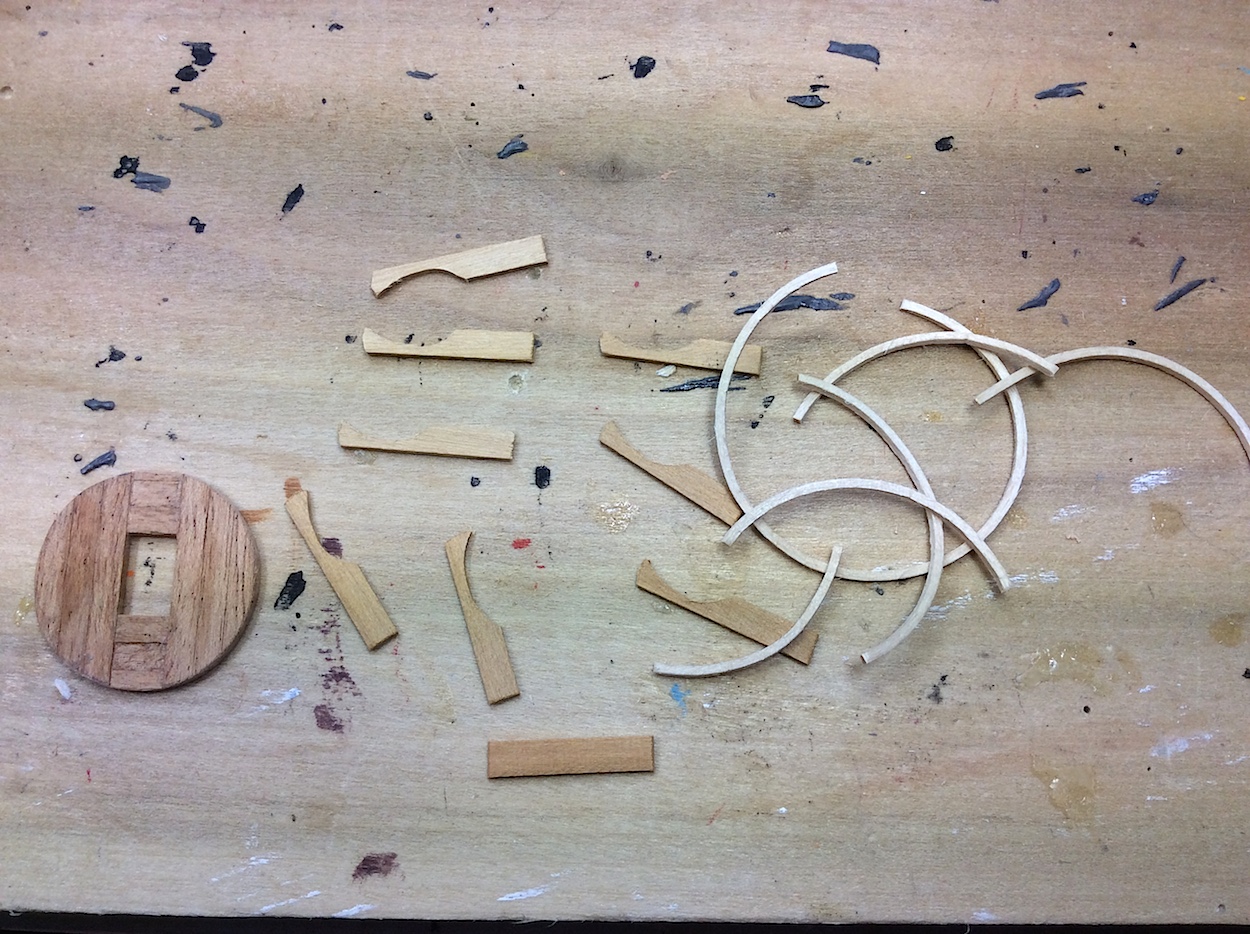
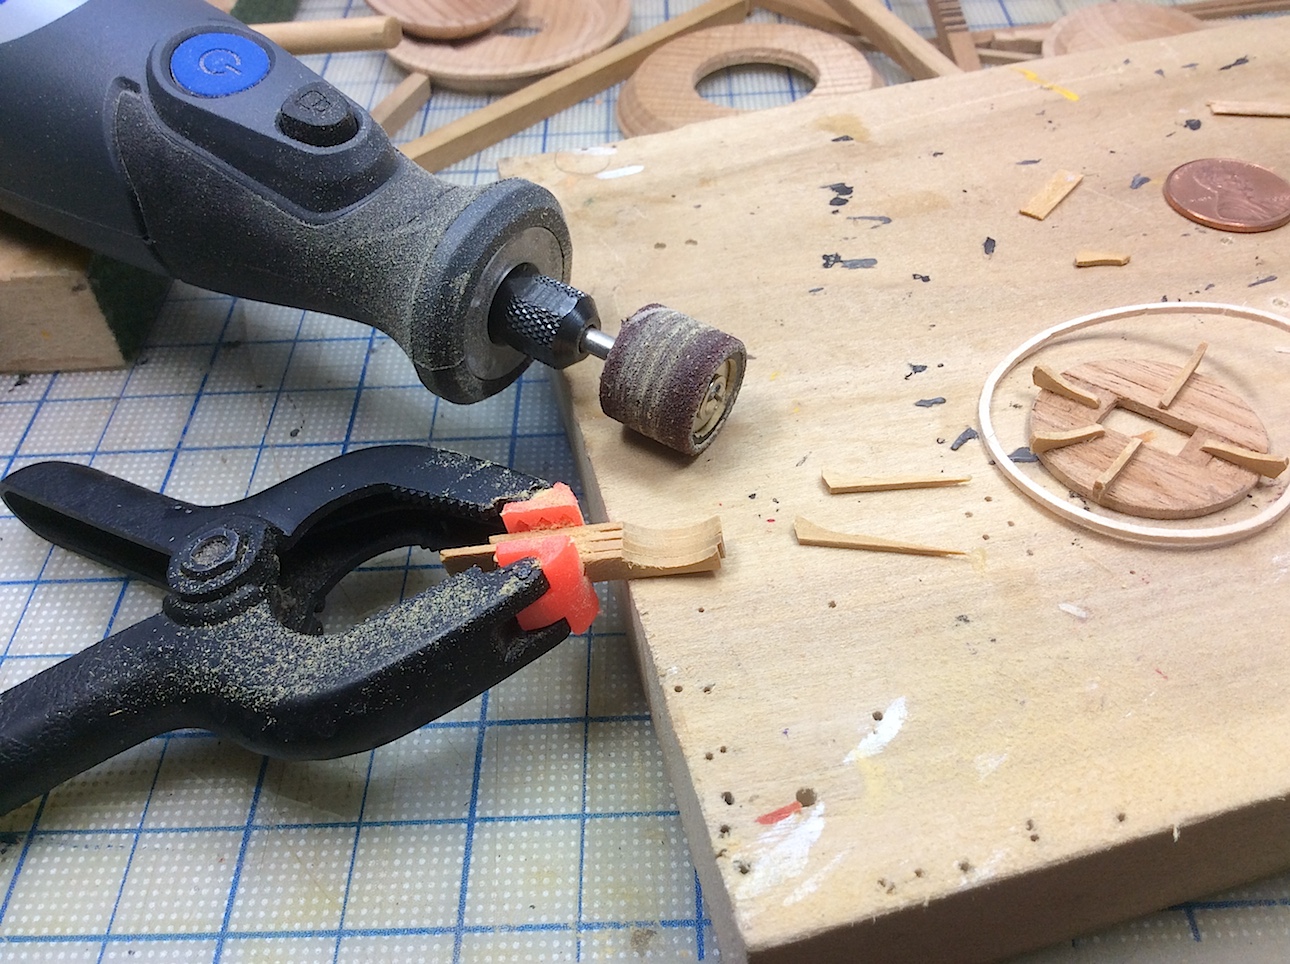
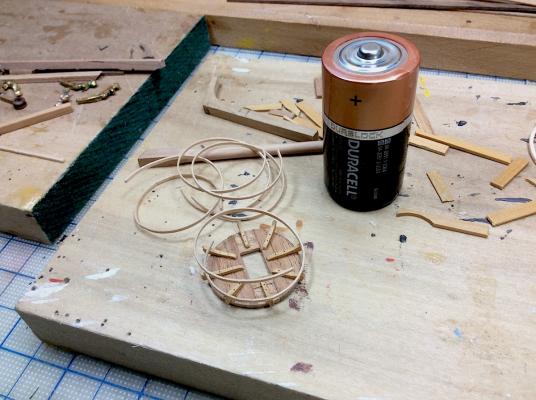
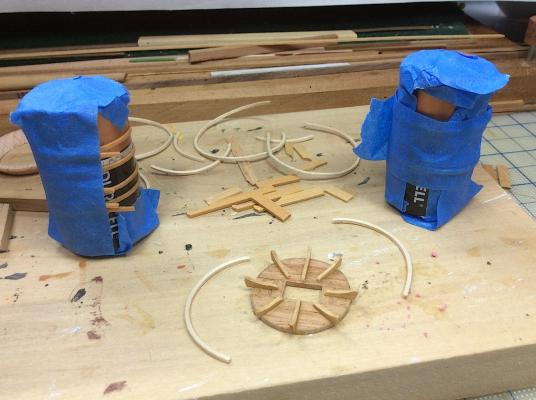
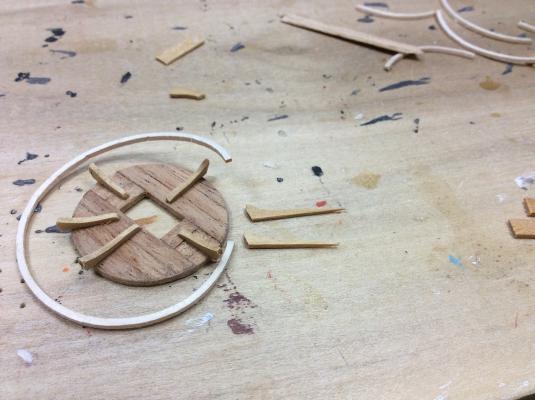
George, As always thanks for your kind remarks (thanks for the likes as well). My pleasure to share, I have learned so much from so many of you. Minor alteration; After looking at the basswood rings my gut was telling me that the arcs are too wide. With such tiny glew points for the rings, I foresaw the rings snapping off. So wet some new pieces and wrapped them around a much smaller diameter battery. I figure that when they dry and "set" there should be minor pressure towards the glue points, as opposed to away from. We shall see. Not sure how those two thicker pieces (on the right all wrapped up) will dry ?? Hmmm. Looking more carefully at the museum platform reproduction it appears as if the lower ring is wider than the two above. I have not had good luck finding other detailed pics of this part of the ship. Regards, Michael

-
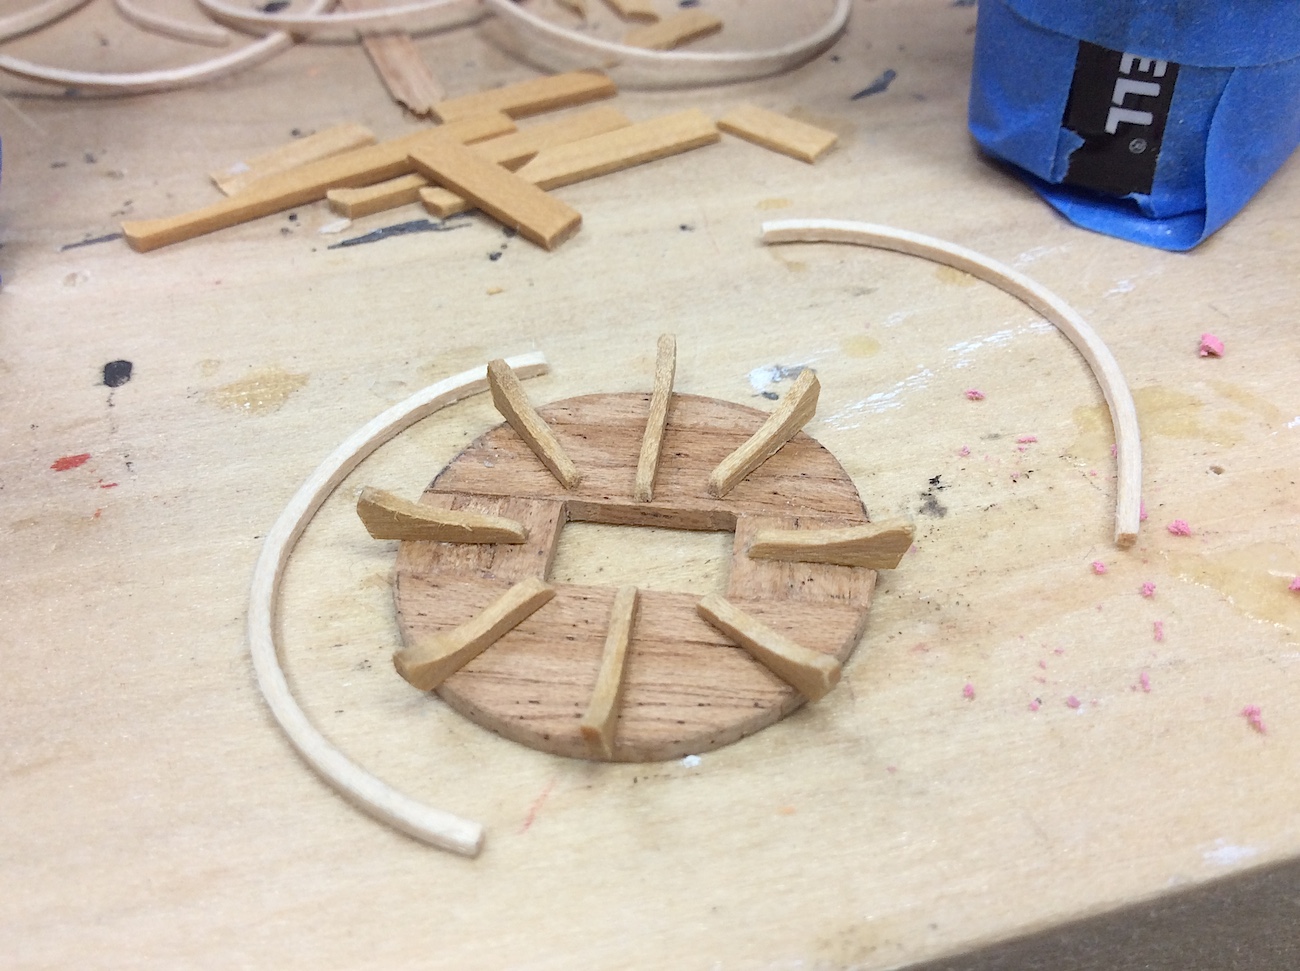
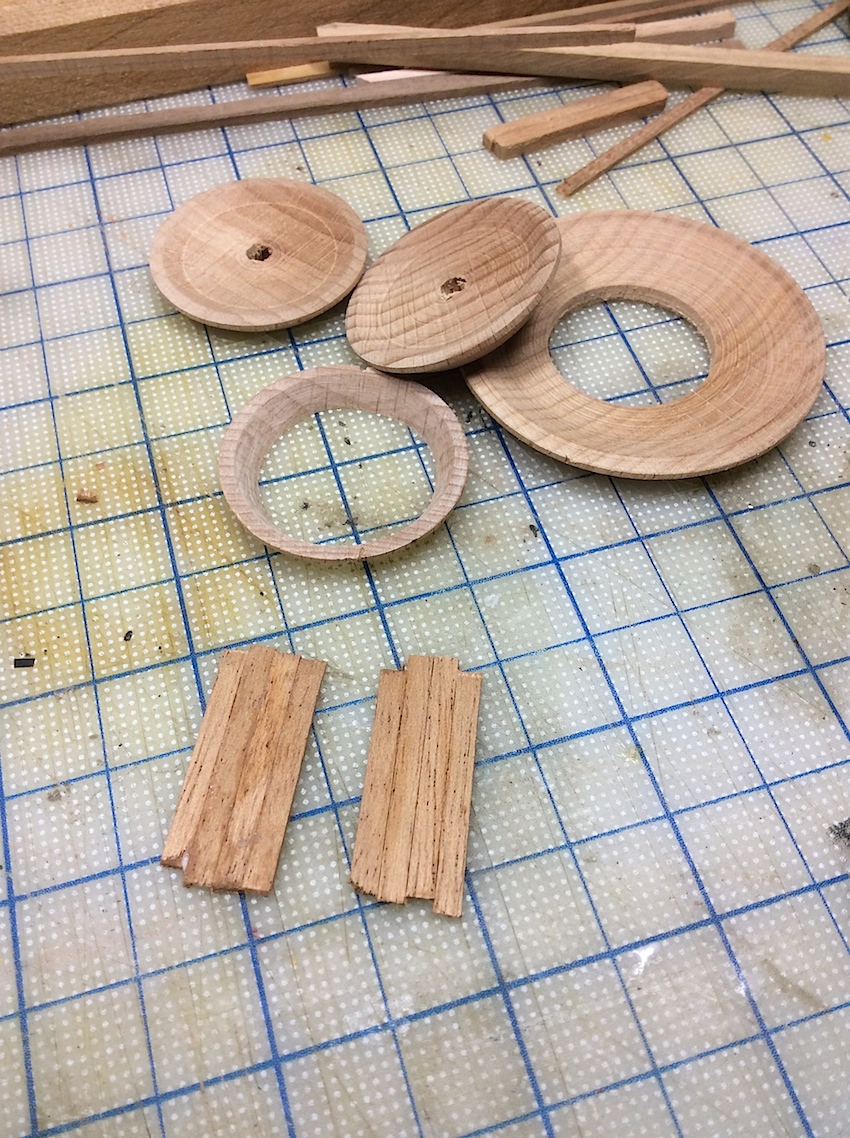
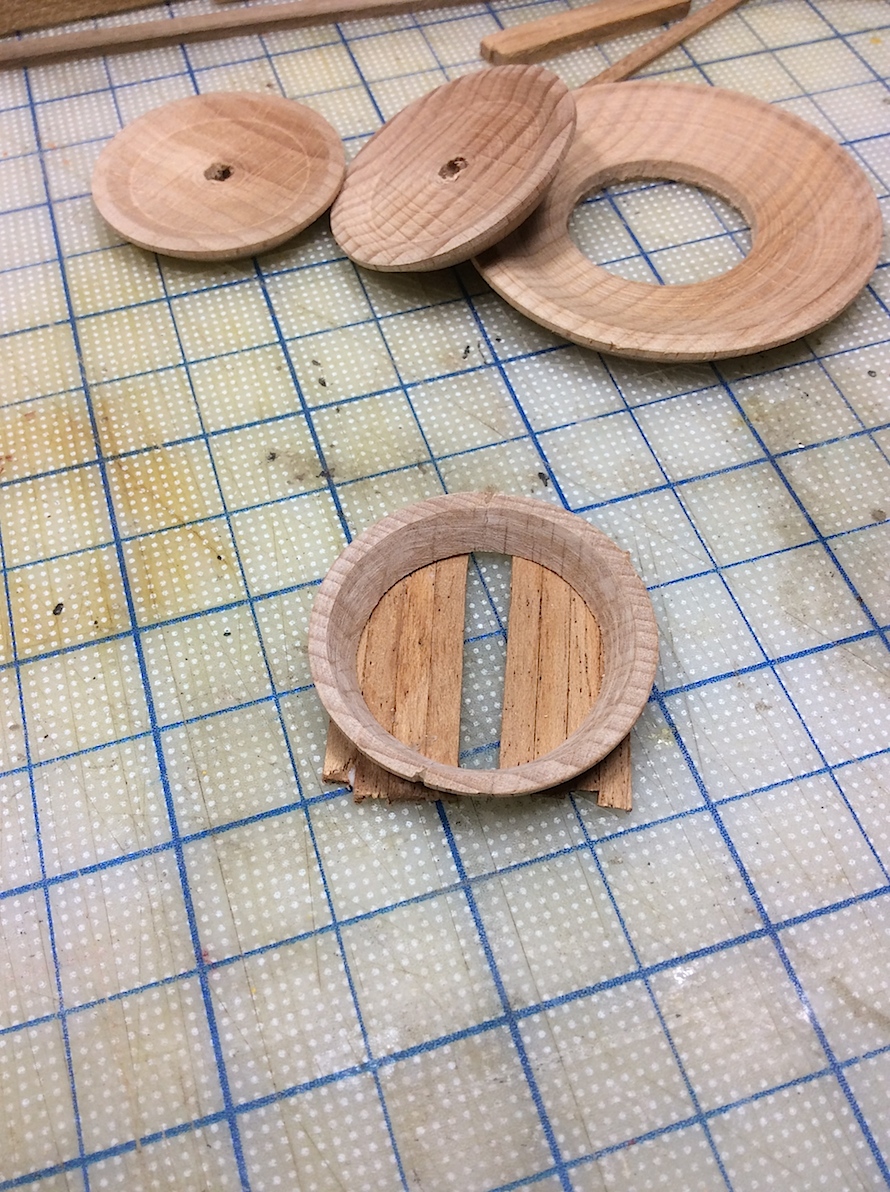
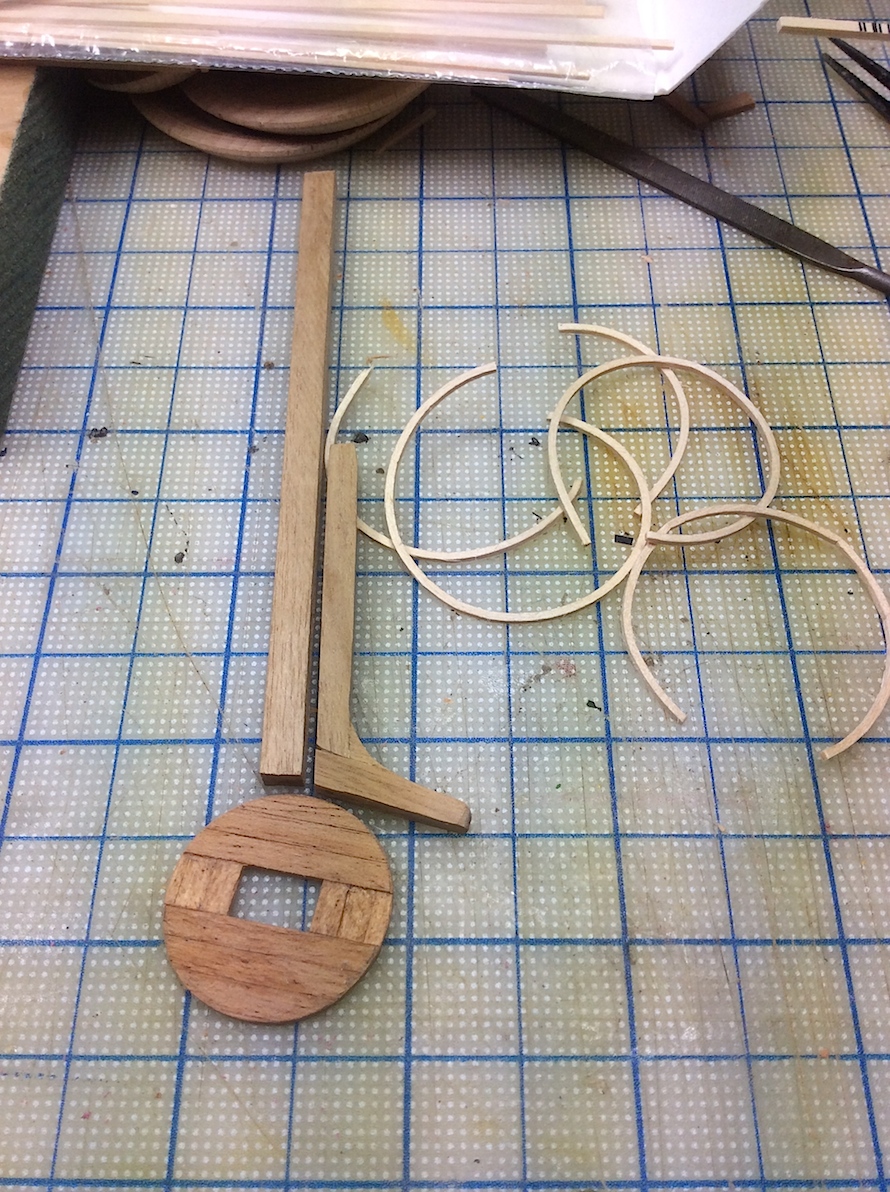
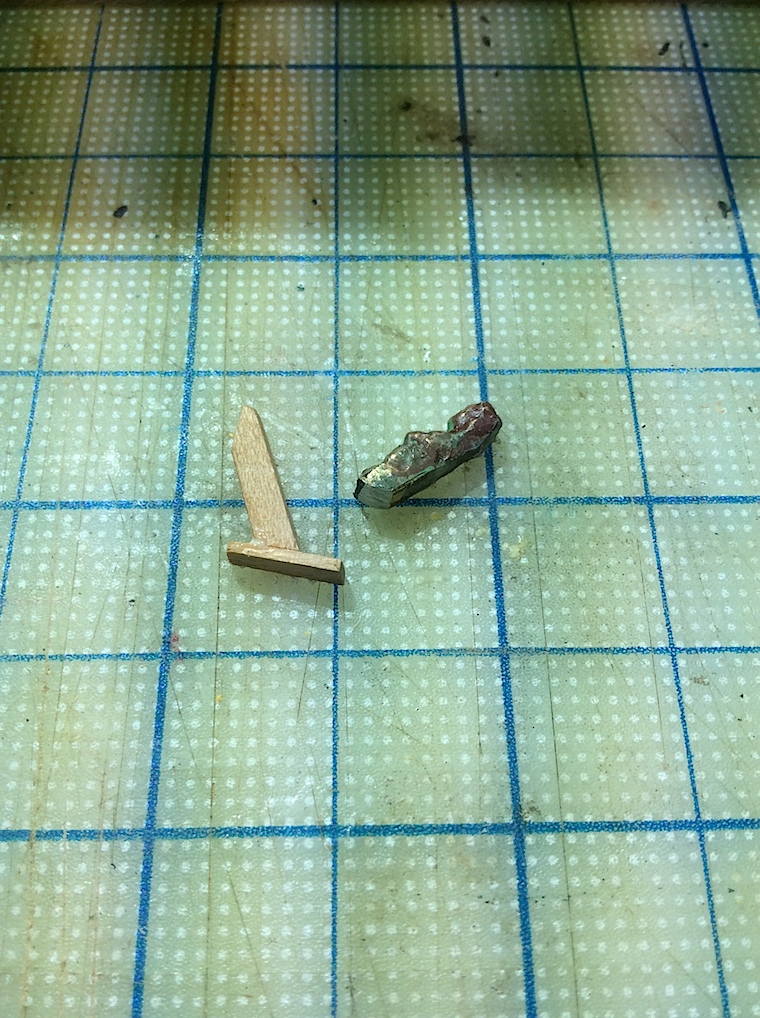
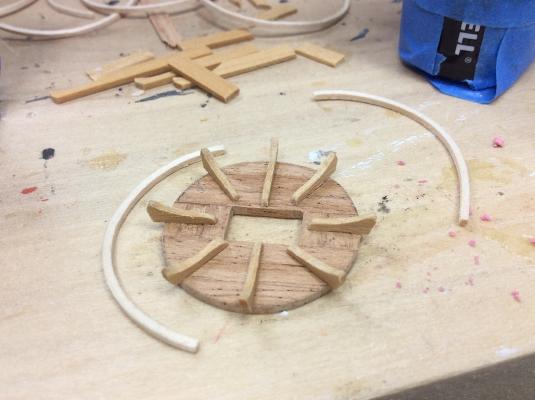
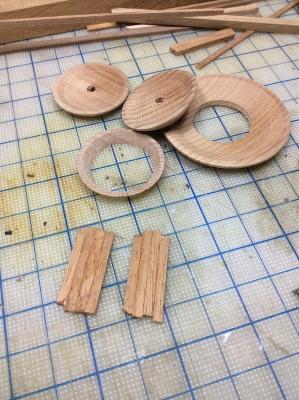
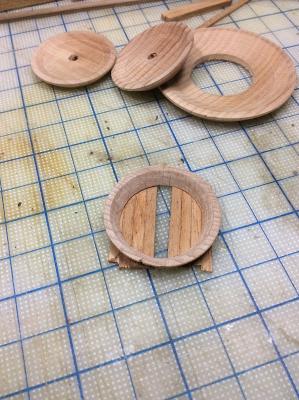
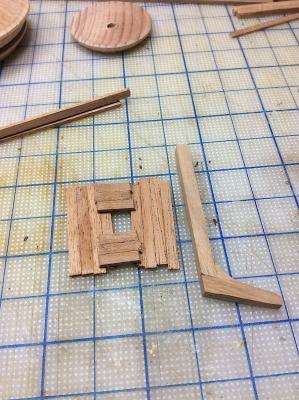
Hi Mates, Started working on the bowsprit mast tip assembly and its platform. Initially I had decided to incorporate the wooden discs that Corel had included for this purpose. Bore out the center, narrowed the thickness, added lower step boards, then instead decided to just build it from scratch (as I will for all of the others as well). Using Basswood strips, heated in water and rolled, let to dry overnight. The strips will be stained a darker shade before installing. Started the lower rail brackets attaching them to the rounded planks….. That’s it so far, always nice when you folks drop in, many thanks. Cheers, Michael


-
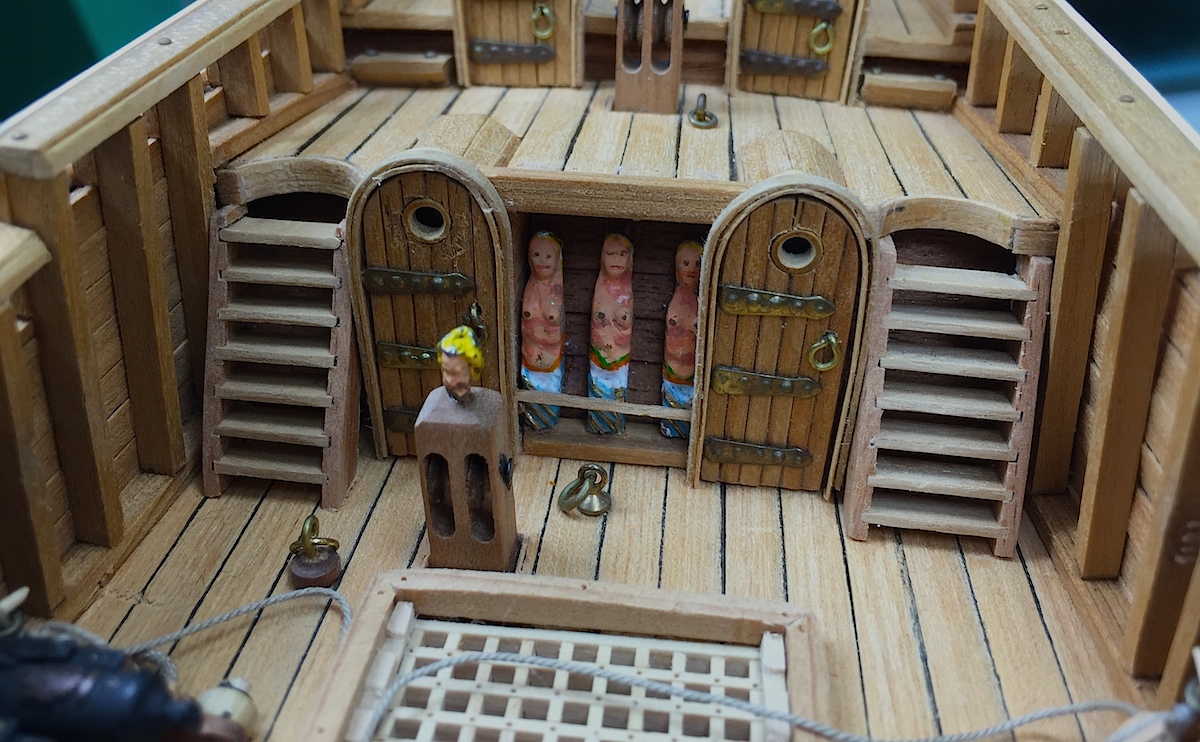
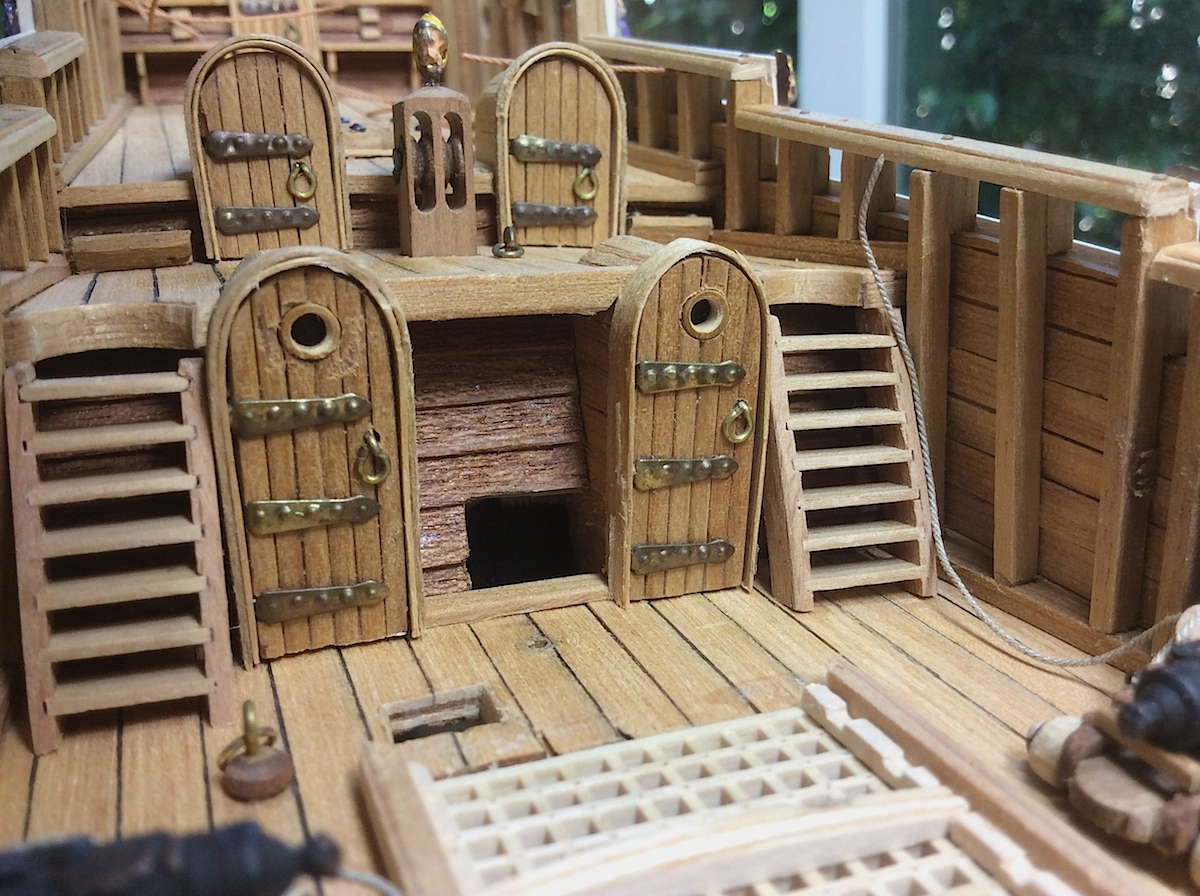
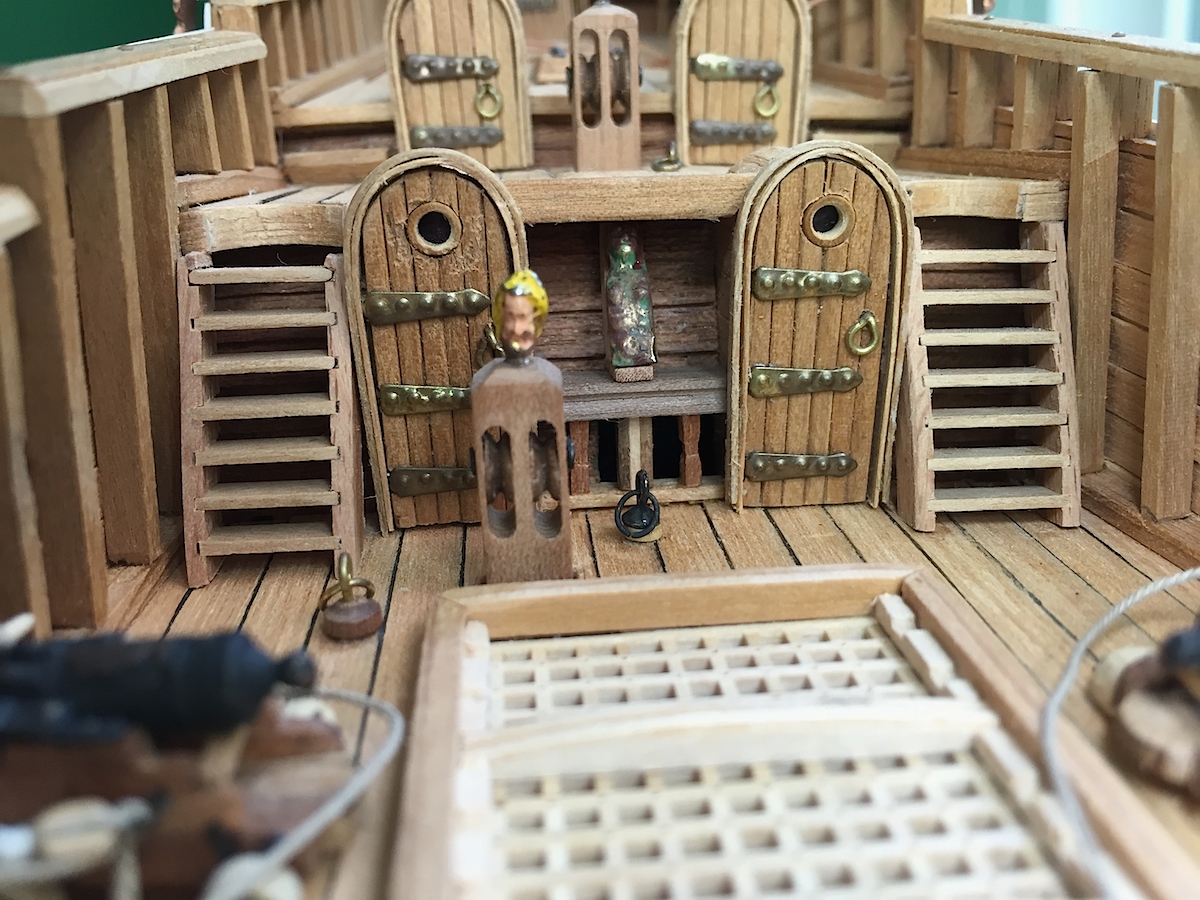
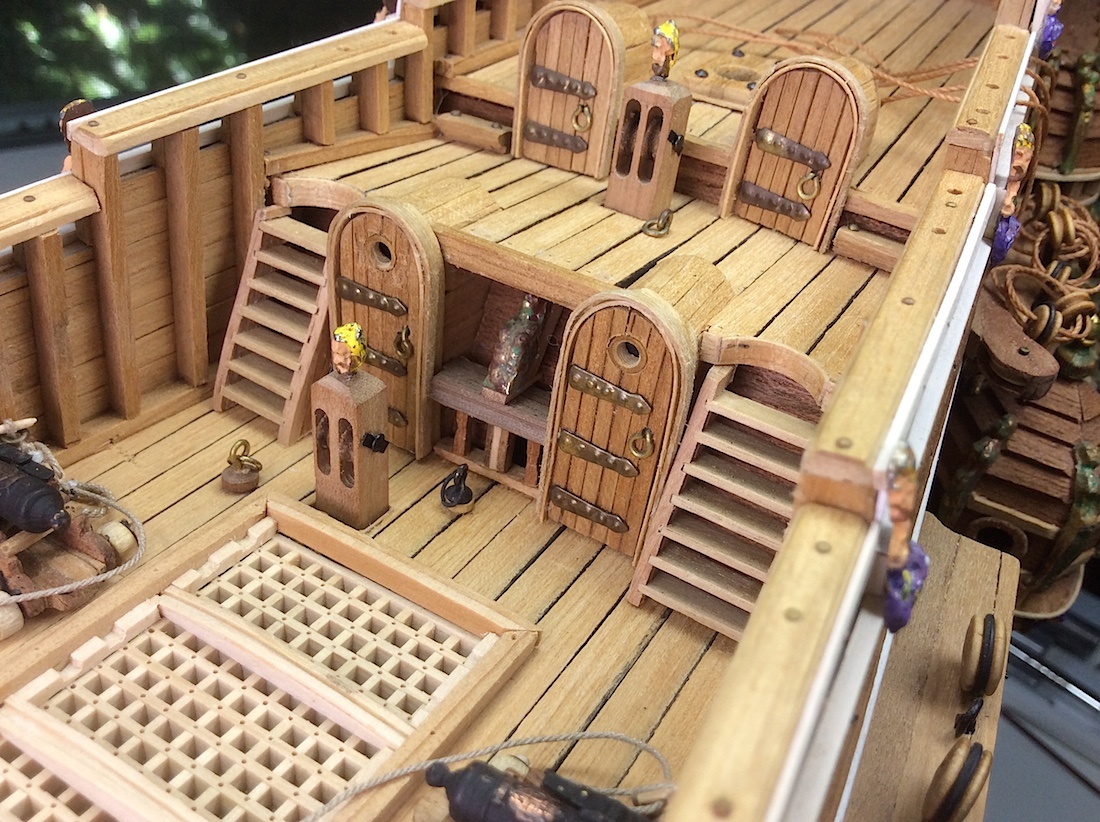
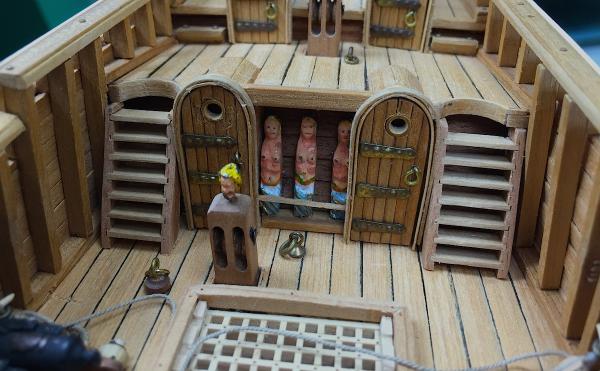
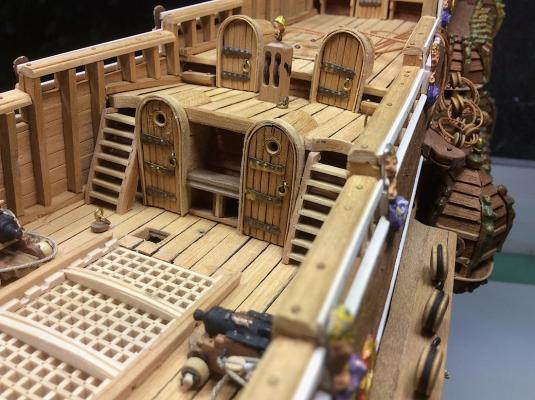
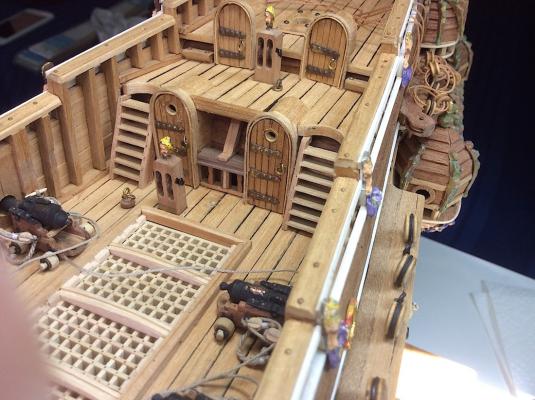
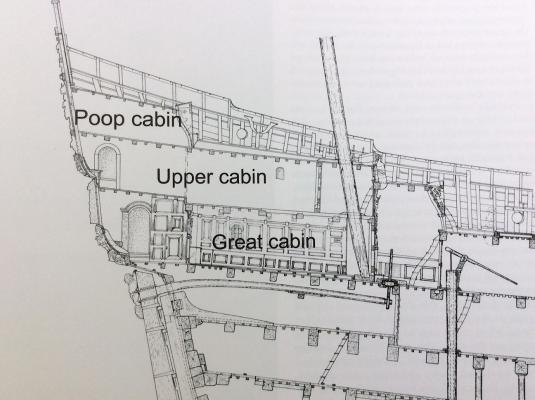
Hi Mates, Back again with another “fix”, just as I was starting to go vertical; Peter (flyer) was kind enough to post a suggestion regarding too much nudity on deck ha ha….but more importantly about the missing opening just behind the figures. So decided this brilliant idea should be exercised. First some (again) complaints about Corel’s kit. • the weather deck is much too narrow so the doors are too close together and not enough space is available between the doors for the proper amount of figures. This also caused some previous grief when building the proper size gun carriages. • The deck gradations are way off as well. So the last set of doorframes stand much too high above that deck =============== MY MISTAKES. Door hinges should mirror each other at each door, not both have left side hinges Those portholes in the doors were a figment of my early imagination. The Vasa does not have these. Those two rope rings on the deck don’t belong there either, but deck scaring keeps them in place. Grrrrrr Thanks for dropping by.. Peter thanks or your great suggestion, very much appreciated. Big improvement !! PS: I recommend looking at Peter’s beautiful log (Pegasus). His rigging work alone, along with the great photos are so nice. Thanks for dropping by..And thanks Peter for your great suggestion, very much appreciated. Big improvement !! Cheers Michael PICs just don't want to load in order w the heck??


-
Nigel, Lovely work. Treenails are a perfect addition to this already excellent build. Michael
-
John, BEAUTIFUL website. Your photos are all five stars. You have a wonderful eye for photography as well. Cheers, MIchael
- 2,250 replies
-
- 4
-
-
- model shipways
- Charles W Morgan
- (and 1 more)
-
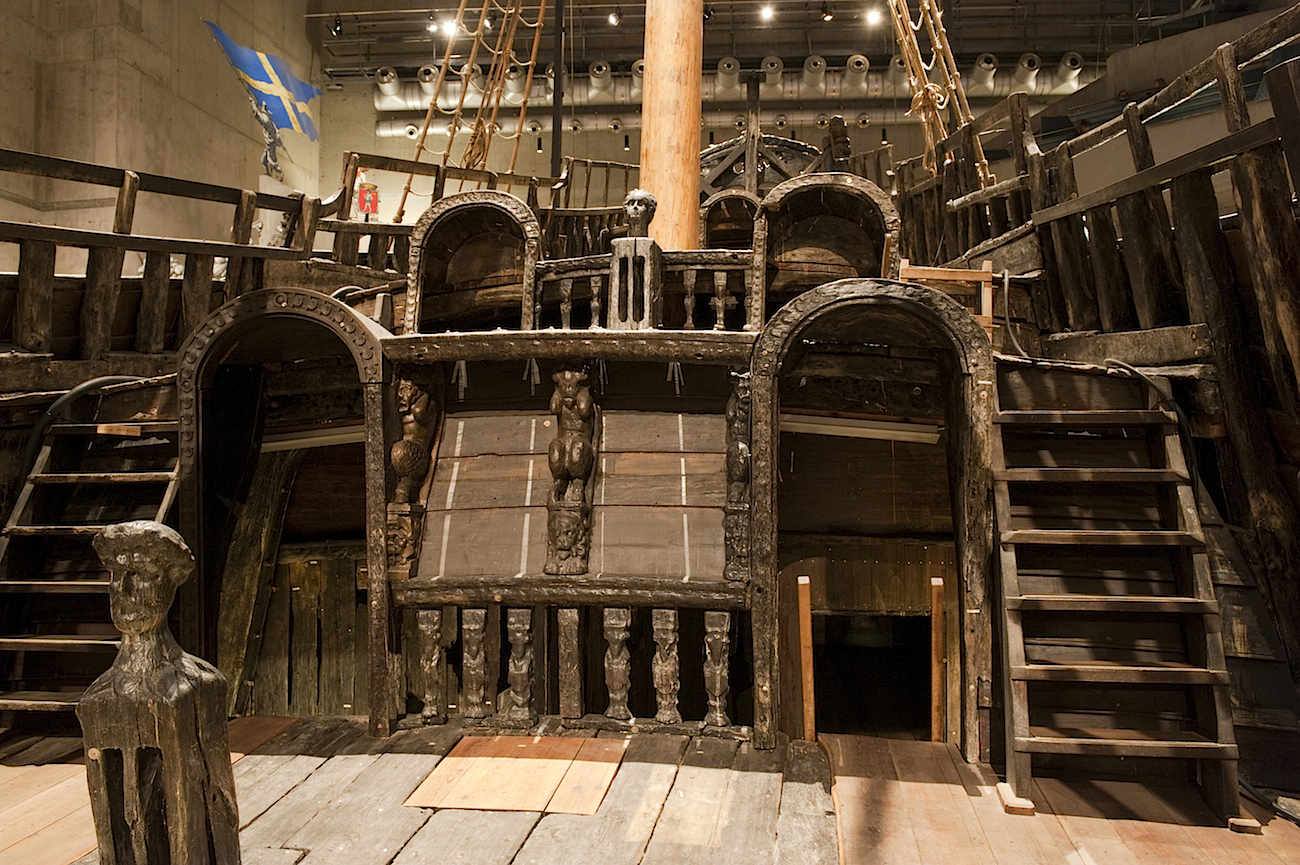
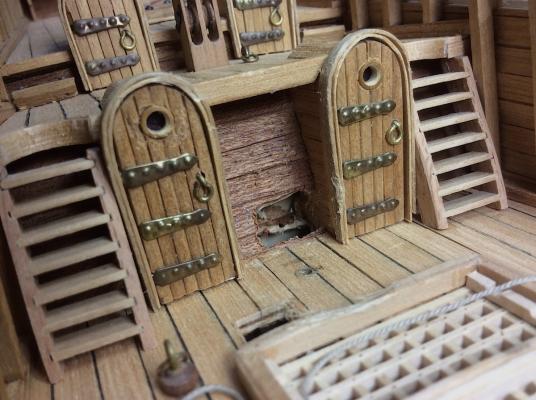
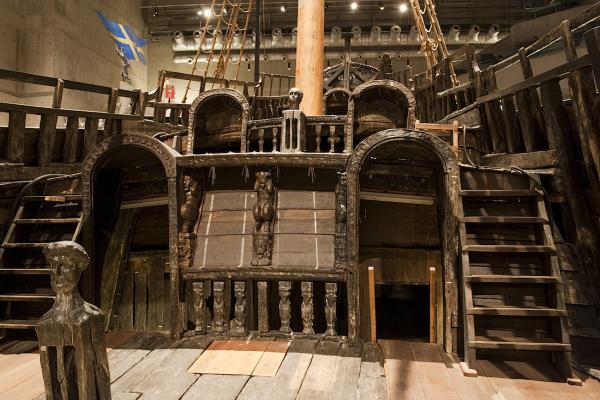
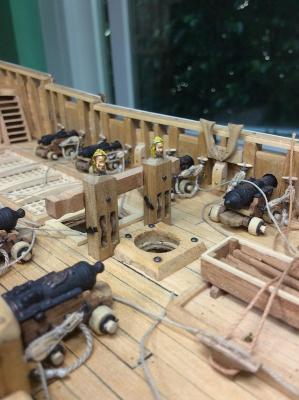
Peter, Thanks for your always super kind comments, as well as your suggestion regarding the figures. Brilliant. I never noticed, nor realized this until your suggestion. Excellent, very accurate idea, I will "fix" this. The enclosed photos are exactly what you are taking about. That lower right center area is indeed open so that steering commands could be shouted just below. Again thanks for the advice, very much appreciated indeed !! Regards, Michael
-
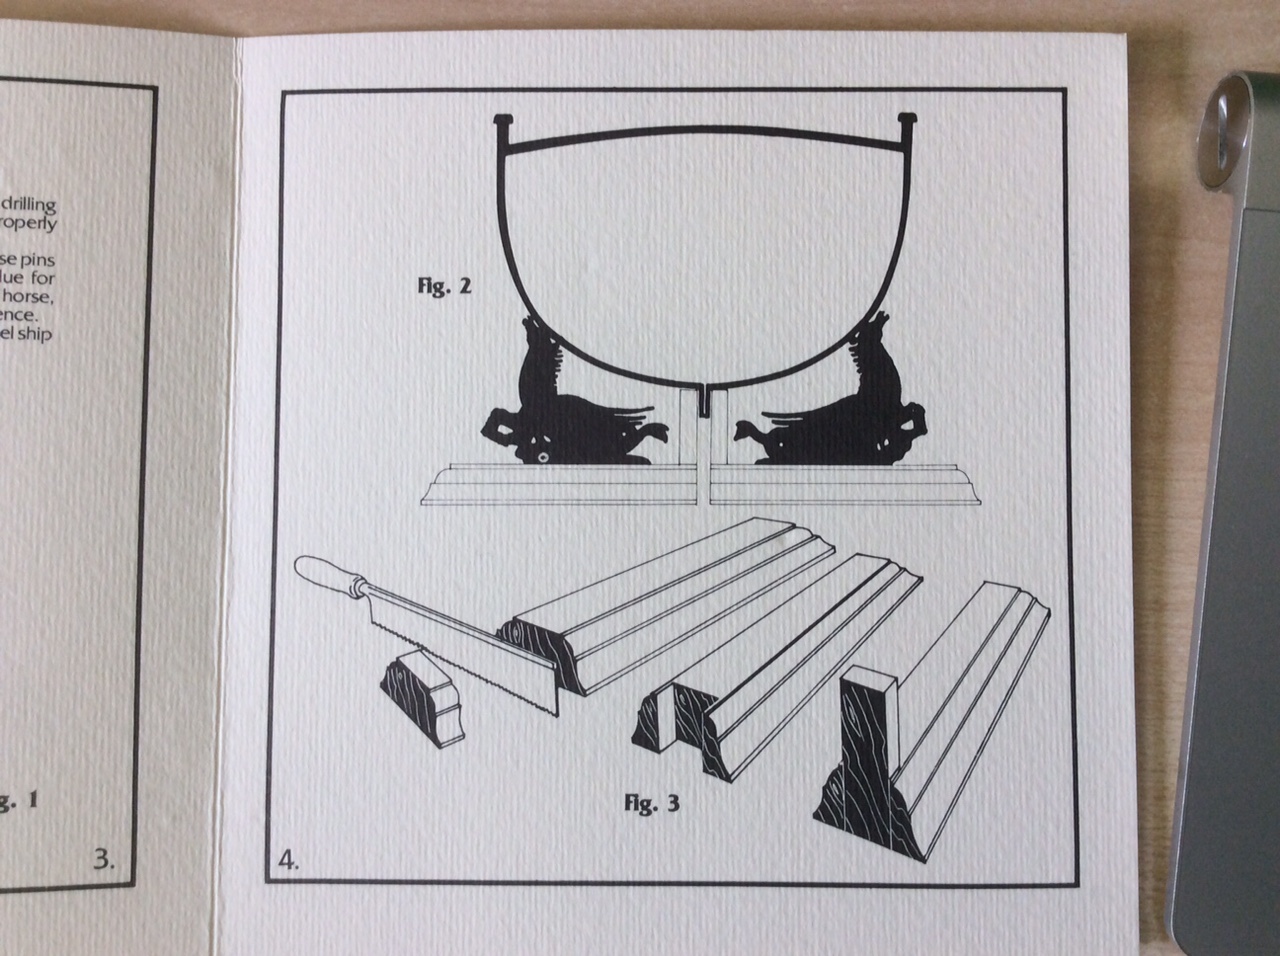
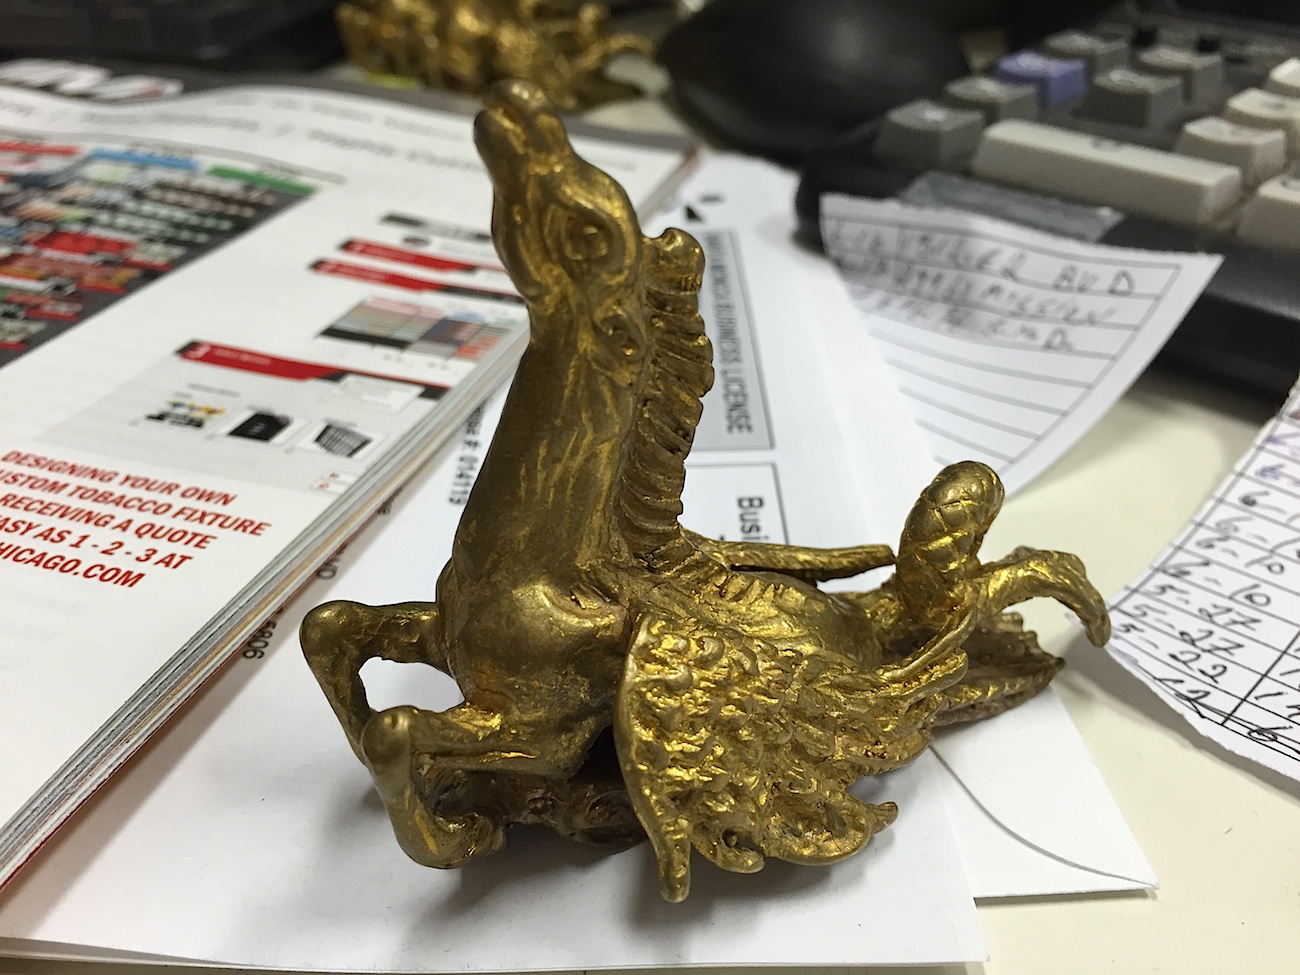
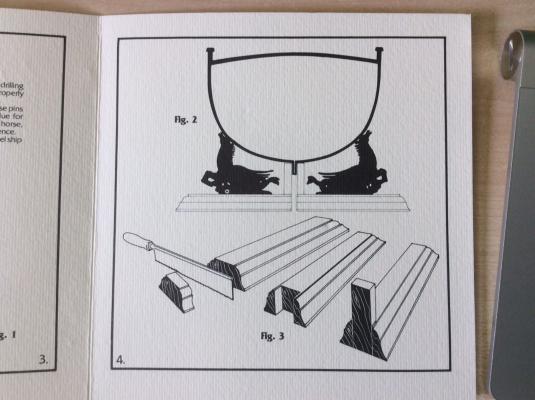
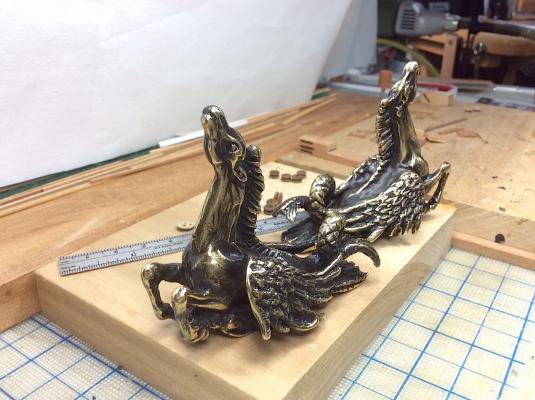
Ferit, No I will not add color, that is it (:-) There are four horses, they will be mounted to wooden bases. Two will support each side of the bow, and two for the stern. I have not decided on how to "fix" the ship in place. Suggestions involve drilling holes in the keel, not so comfortable with this idea-so far. Michael
-
Frank, I was done by a company that specializes in plating and or detailing small pieces.
-
Joachim, Nice update. Your quality of work is beyond spectacular. Your ship is becoming amazing. This A V is so complicated, especially with the mix of old wood and new metals--such beautiful detailing you are accomplishing here in this log. Really enjoying following along. Regards, as always, Michael
-
Thank so much for your kind comments, George, Buck, Capt, Steve thanks for being always supportive Frank (Riverboat) whoa your post was such a heartfelt honor. Certainly made my month lol super king of you.... Frank (fmodajr) those figurines are a bit much indeed. ================================= Speaking of figurines, here is what I had done with the four brass Winged Pegasus, that I purchased from a friend of yours. to be used as the base stand for the ship. Polished antique highlighted lacquered Cheers, Michael

-
Hornet, Thanks another great technique.
-
Thanks Mates, Very helpful indeed. The general concept seems to include white glue and water, I will do some practice runs first. Again THANKS for the help... Michael
-
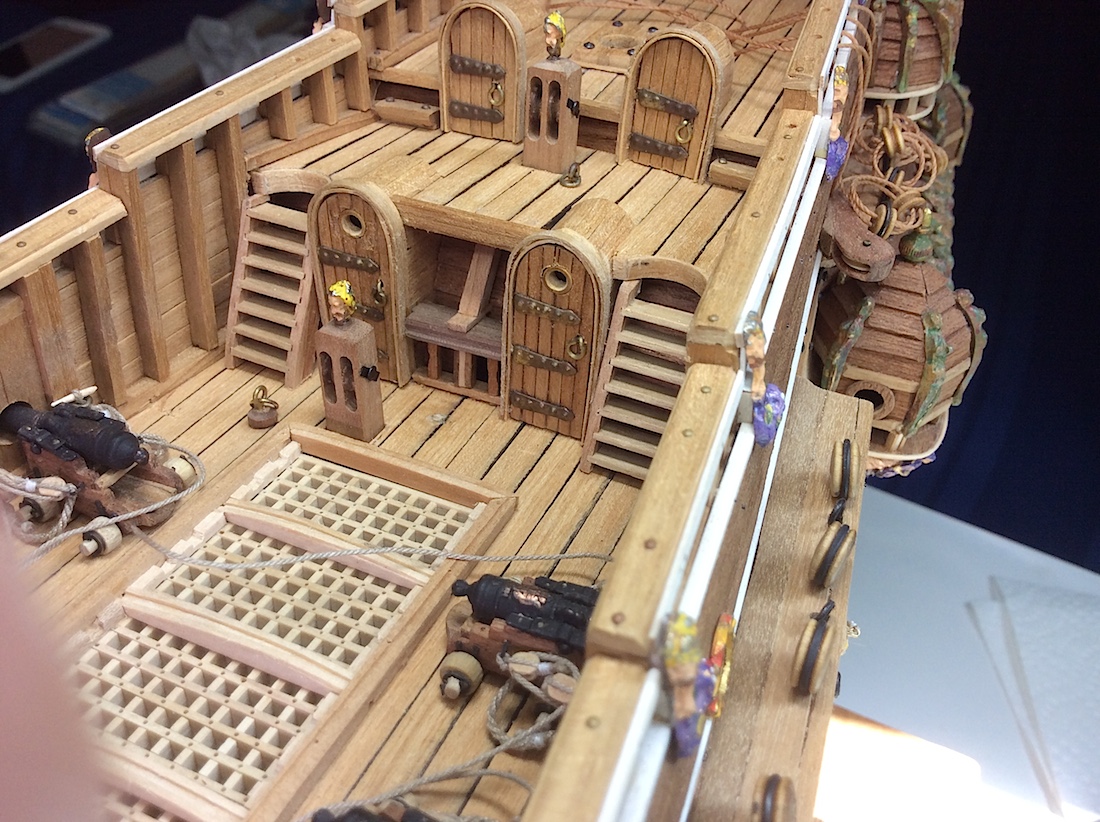
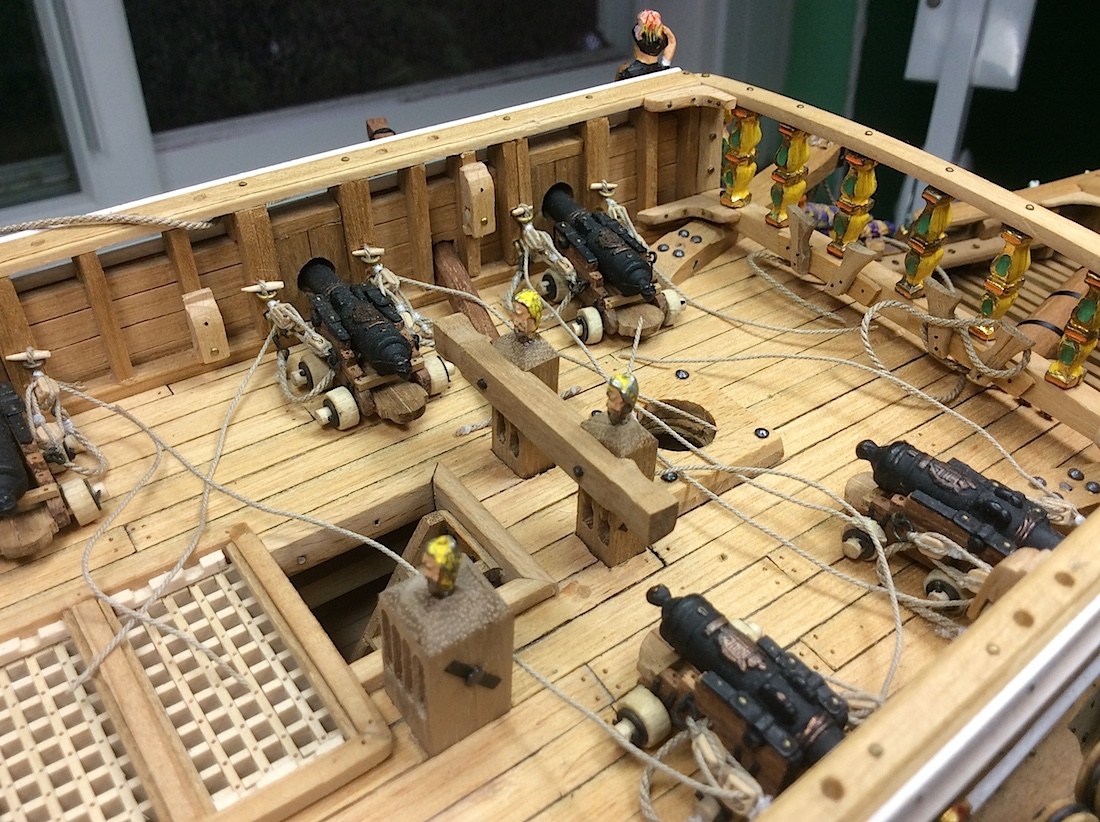
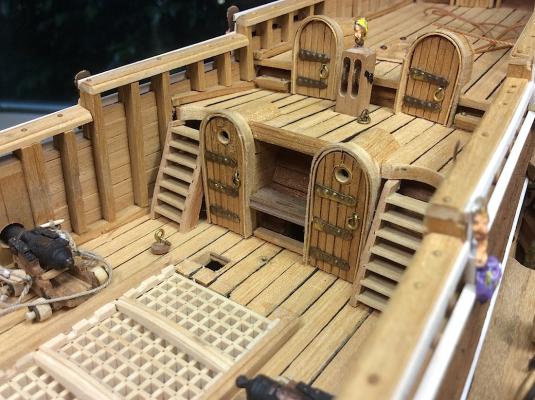
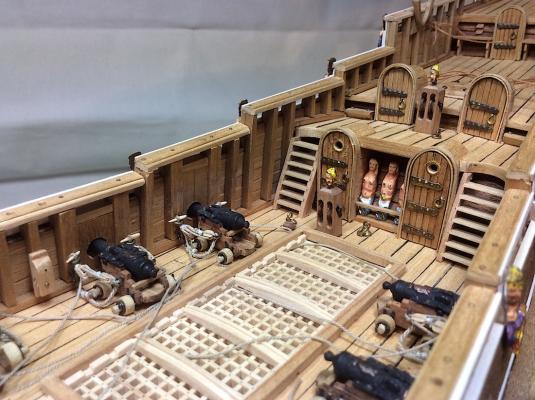
Hi Mates, Well all done here, hard to believe. Last of the cheaves have been installed the one double and the two single ones. Time to move "vertical" or thereabouts. Regards, PS: Not crazy about those three semi-nudes sheltered between the two doors, but needed to fill the space. These were leftover figures from the "á la Corel" kit included incorrect bits that were intended to lie above the galleries. Hell they might have kept the shipmates spirits lively (:-) They may eventually still be evicted.... Michael
-
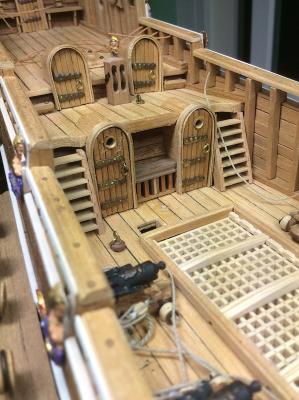
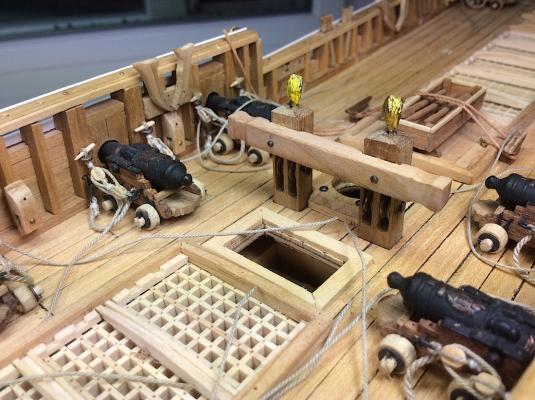
I’m trying to button up details on my Vasa weather deck. I need to coil the carriage ropes. I have seen some beautiful work here in that regard, but I don’t remember reading about any good technique(s). How should I coil the ropes, and keep them in place before re-positioning them next to the carriages? I’m also concerned about scaring the deck with glue marks. I do know that many cut the ropes just under the pulleys and then “attach” the coiled bits on each side. I include a photo of my messy deck so that you may have a better take on my dilemma. Thanks for any advice. I have learned so much here at MSW in these last two years! Regards, Michael