md1400cs
-
Posts
2,862 -
Joined
-
Last visited
Content Type
Profiles
Forums
Gallery
Events
Everything posted by md1400cs
-
 Ulises, Your planking looks excellent, nice work. PS: The S Trinidad OcCre cross-section is next up for me--prob. in 5 years from now (:-( ha ha ) Michael
- 786 replies
-
- 3
-

-
- Royal Louis
- Finished
- (and 1 more)
-
Thanks for all of your continued interest and, such nice comments. Thanks also for the "likes" or just for dropping by. I'll post a minor update later today. Michael
-
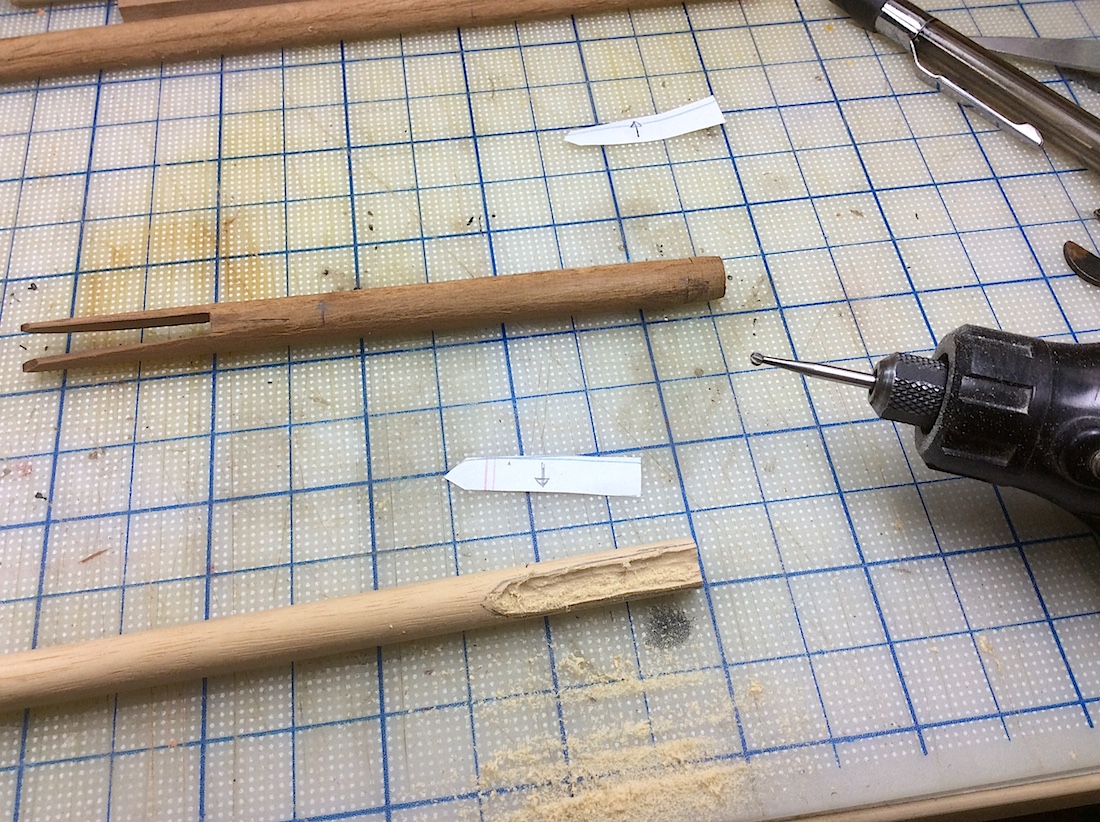
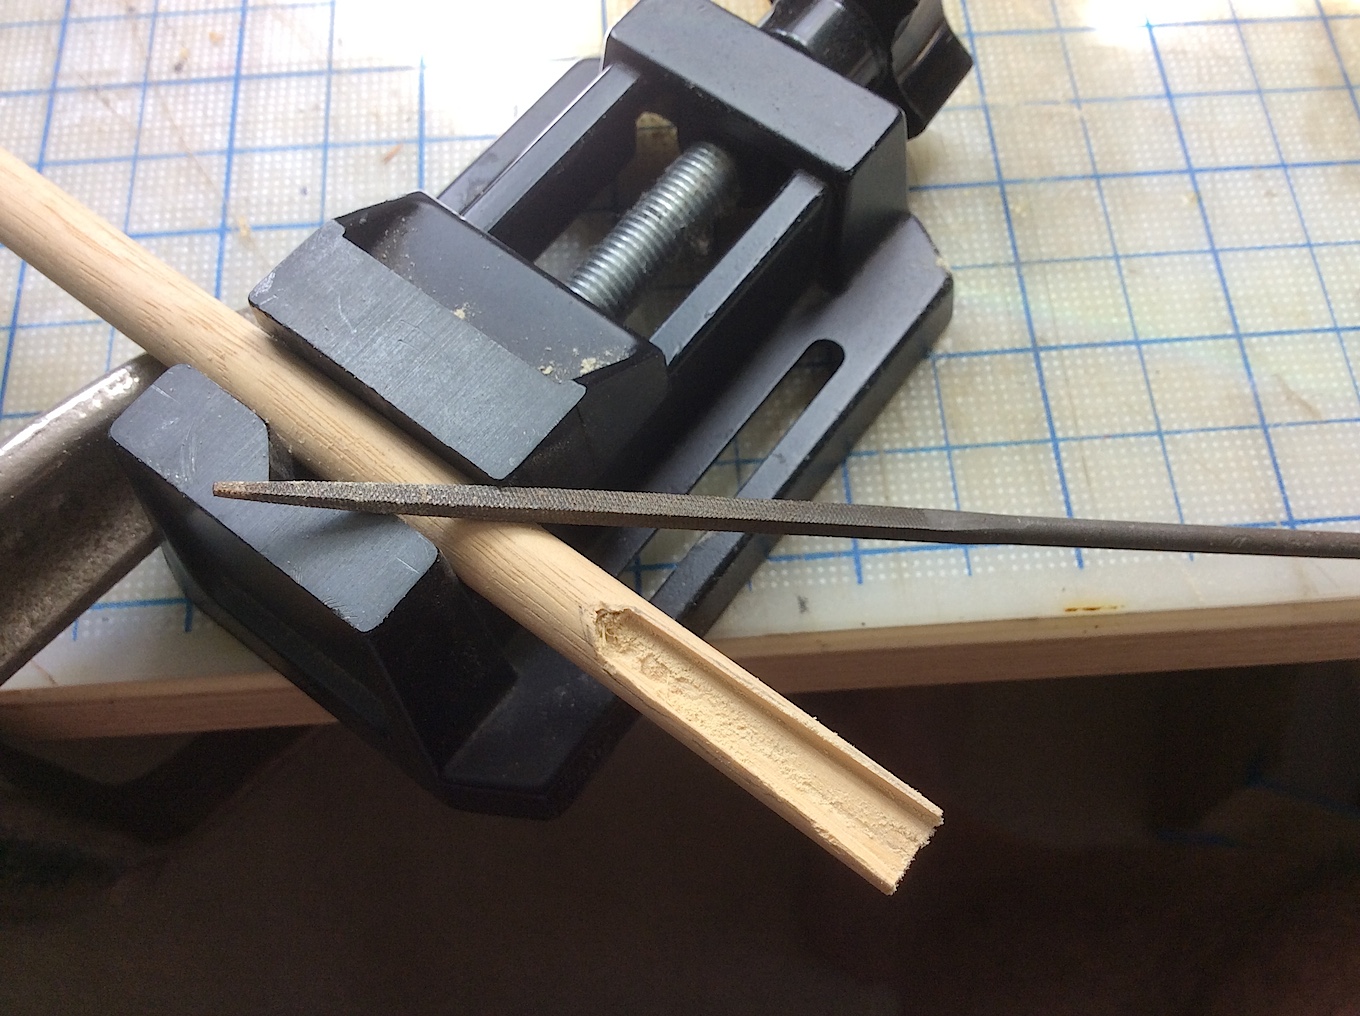
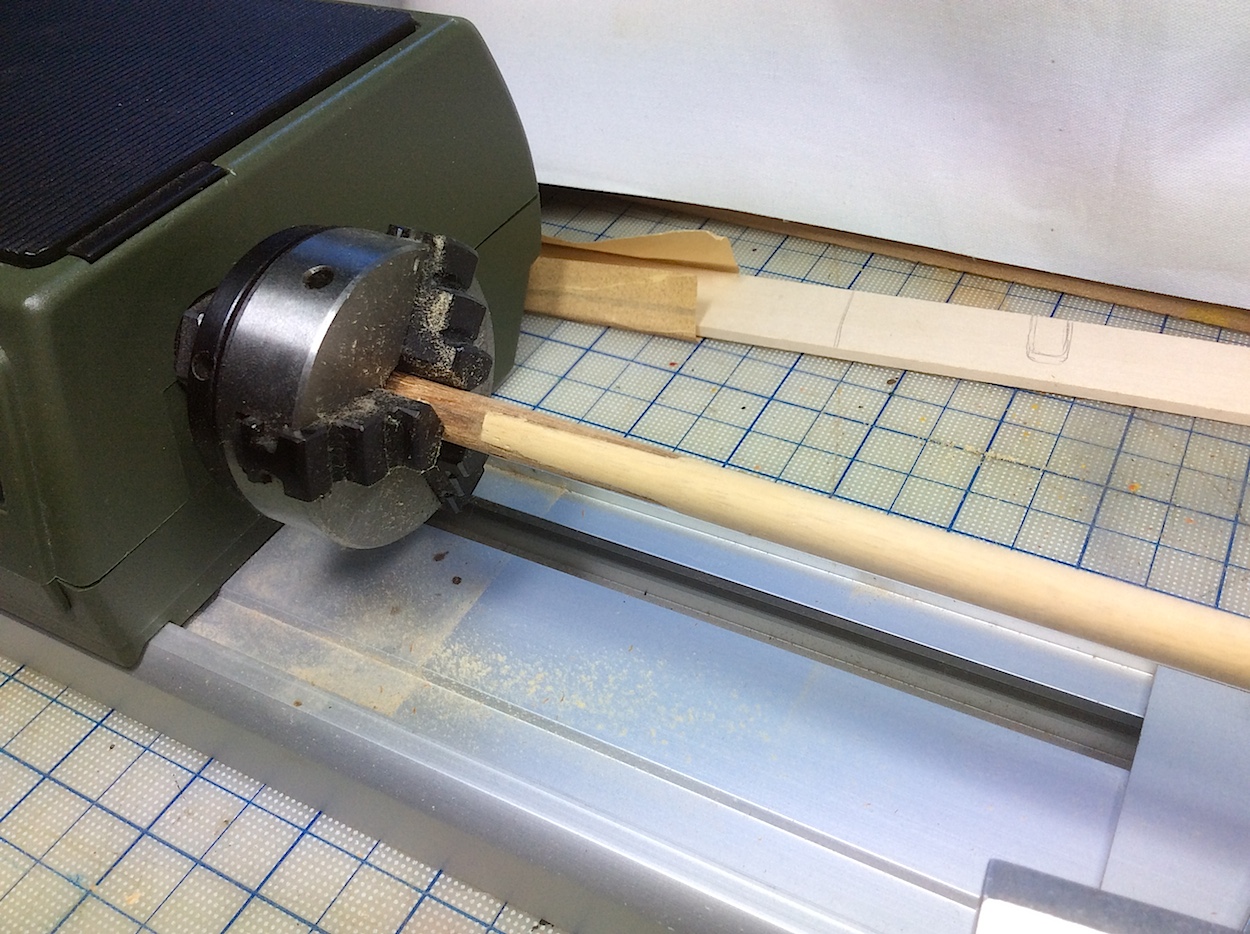
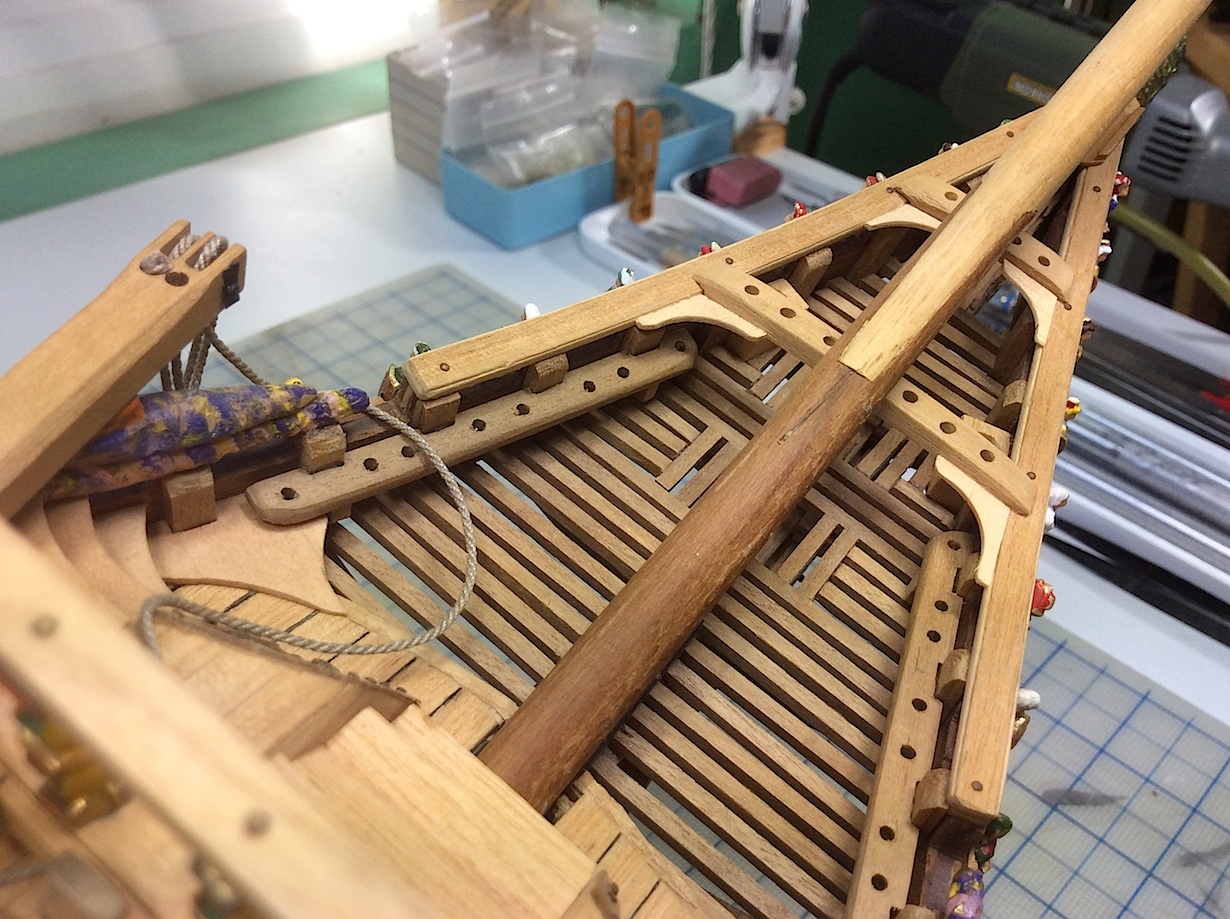
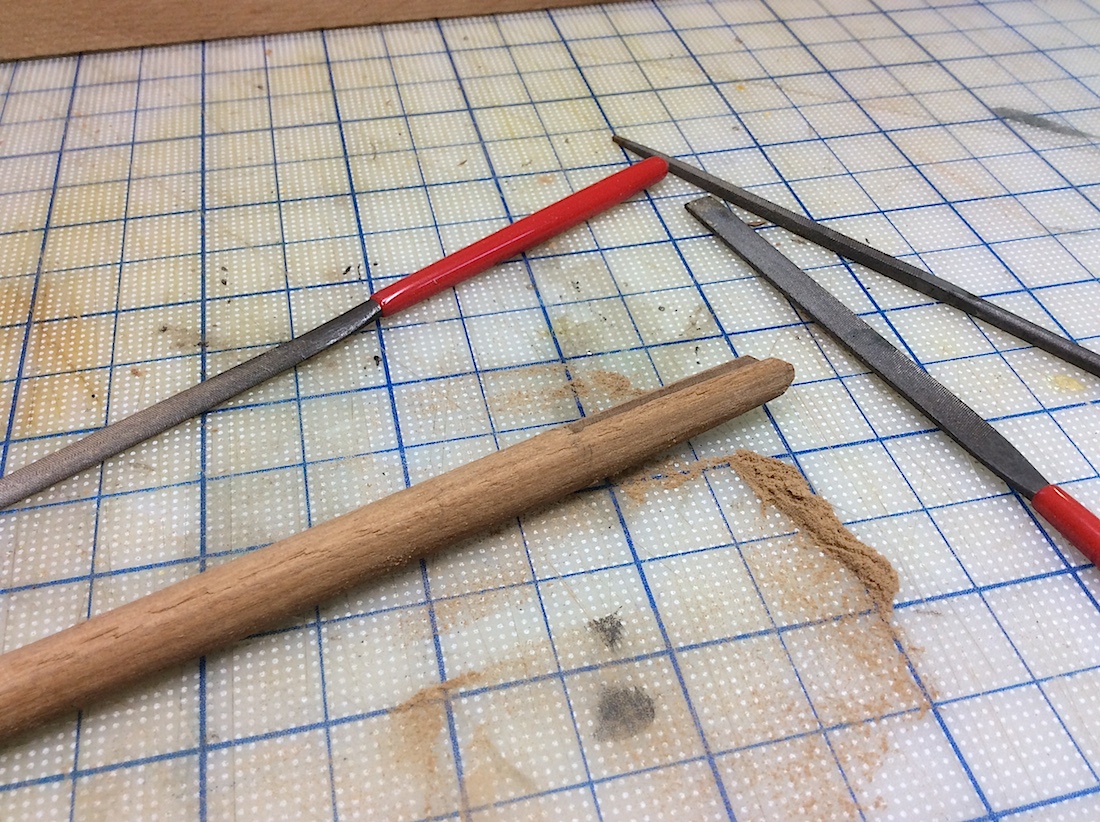
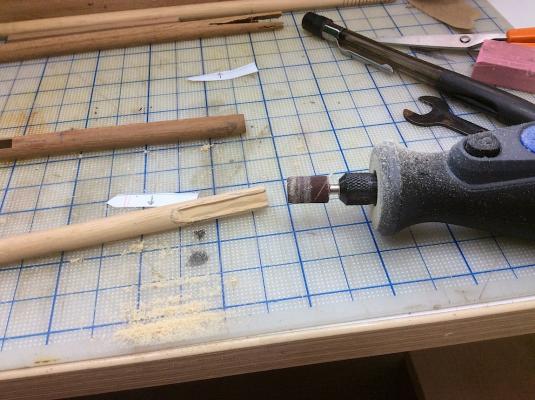
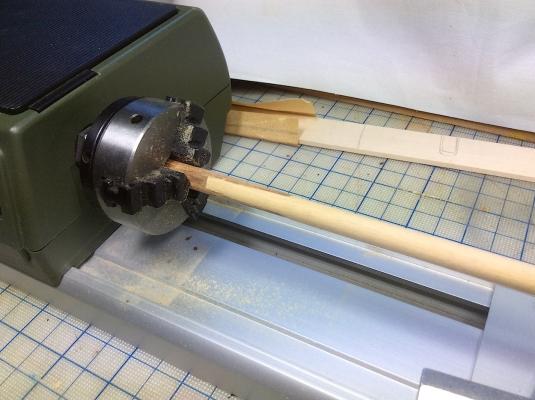
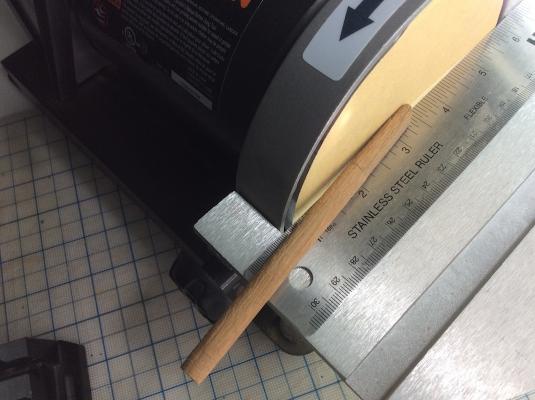
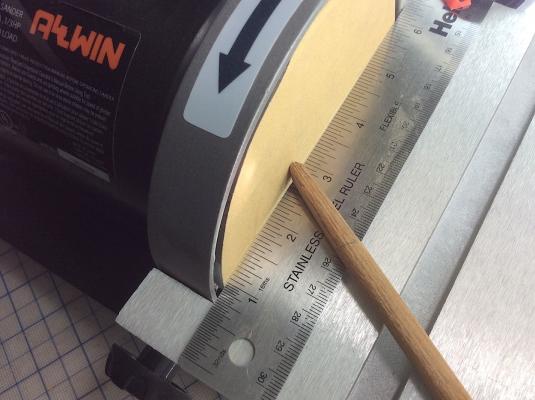
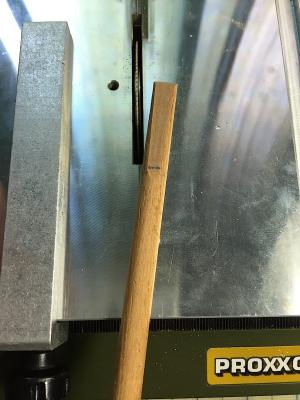
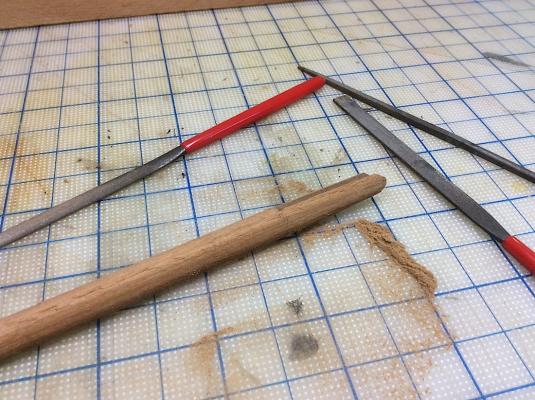
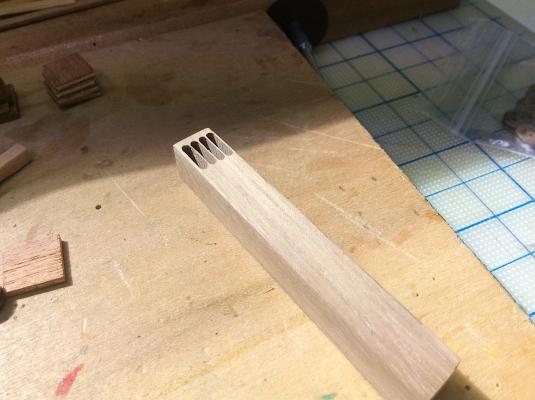
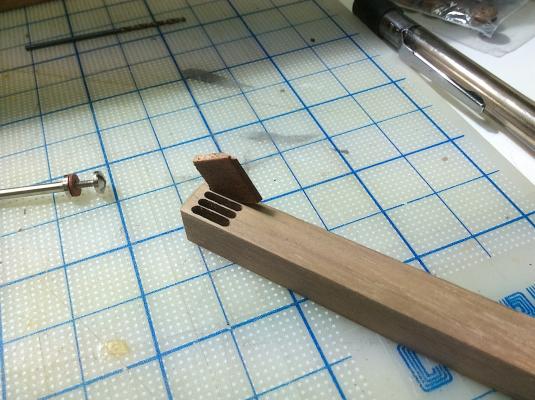
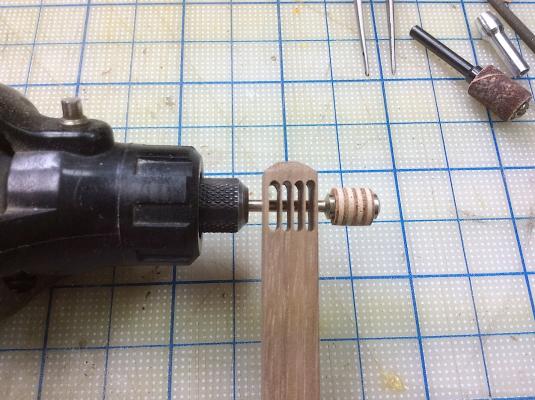
Hi Mates, Thanks for your kind remarks, and likes. Follow up to trying to splice together two dowels for the bowsprit mast. After making a pattern for the cutouts first used a ¼” Dremel sanding band, then one of those sculpturing bits, followed by and end mill bit, and lastly a small file. My first use of the Proxxon lathe was comfortable. The light dowel was then stained a bit, as it seemed too white. Now onto adding the tip vertical masts, platforms needed blocks, metal strips to wrap the two pieces. Regards, Michael


-
Mates, Thanks for your very kind remarks. I'm working on joining the two pieces together, still a work in progress. If it comes out ok I'll post some updates Regards, Michael
-
Frank, Hi. Working on the bowsprit mast and Corel instructions are confusing, so I'm copying your work here starting with "I notched out the top of the bowsprit dowel and attached the posts." for the tip bits, platform and assembly. Great informative log on your part - BIG thanks, very helpful. Michael
-
Kevin, Always a pleasure dropping by your build log. Michael
- 1,319 replies
-
- 1
-
-
- caldercraft
- Victory
- (and 1 more)
-
Hi Mates, Thanks for the "likes" If I don't feel ok about the splicing, I start over and i will do as Mark suggests (:-) Michael
-
Jason, Your super well detailed very large format photos are a great treat. Beautiful work!!!! Michael
- 800 replies
-
- 1
-
-
- snake
- caldercraft
- (and 1 more)
-
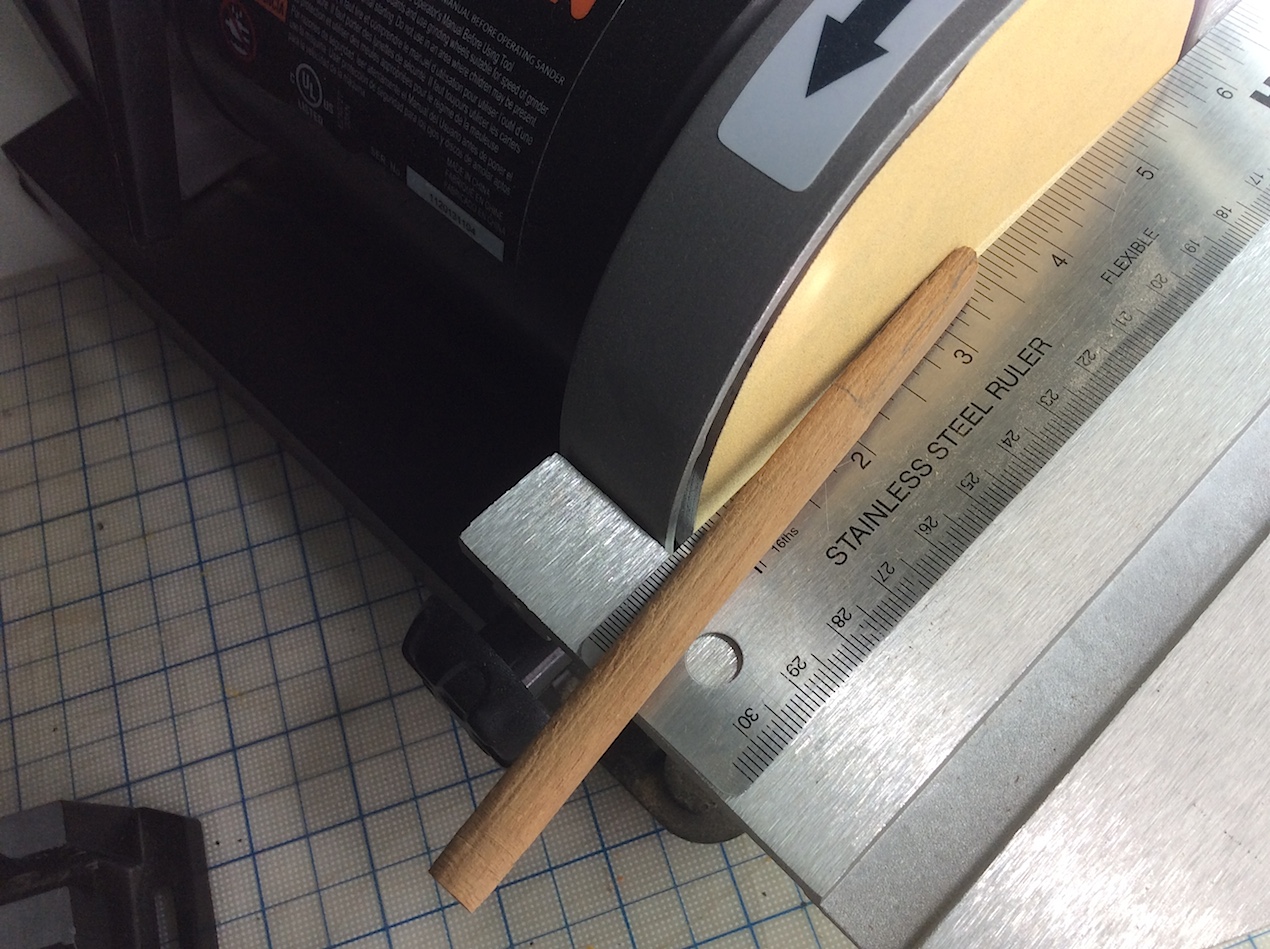
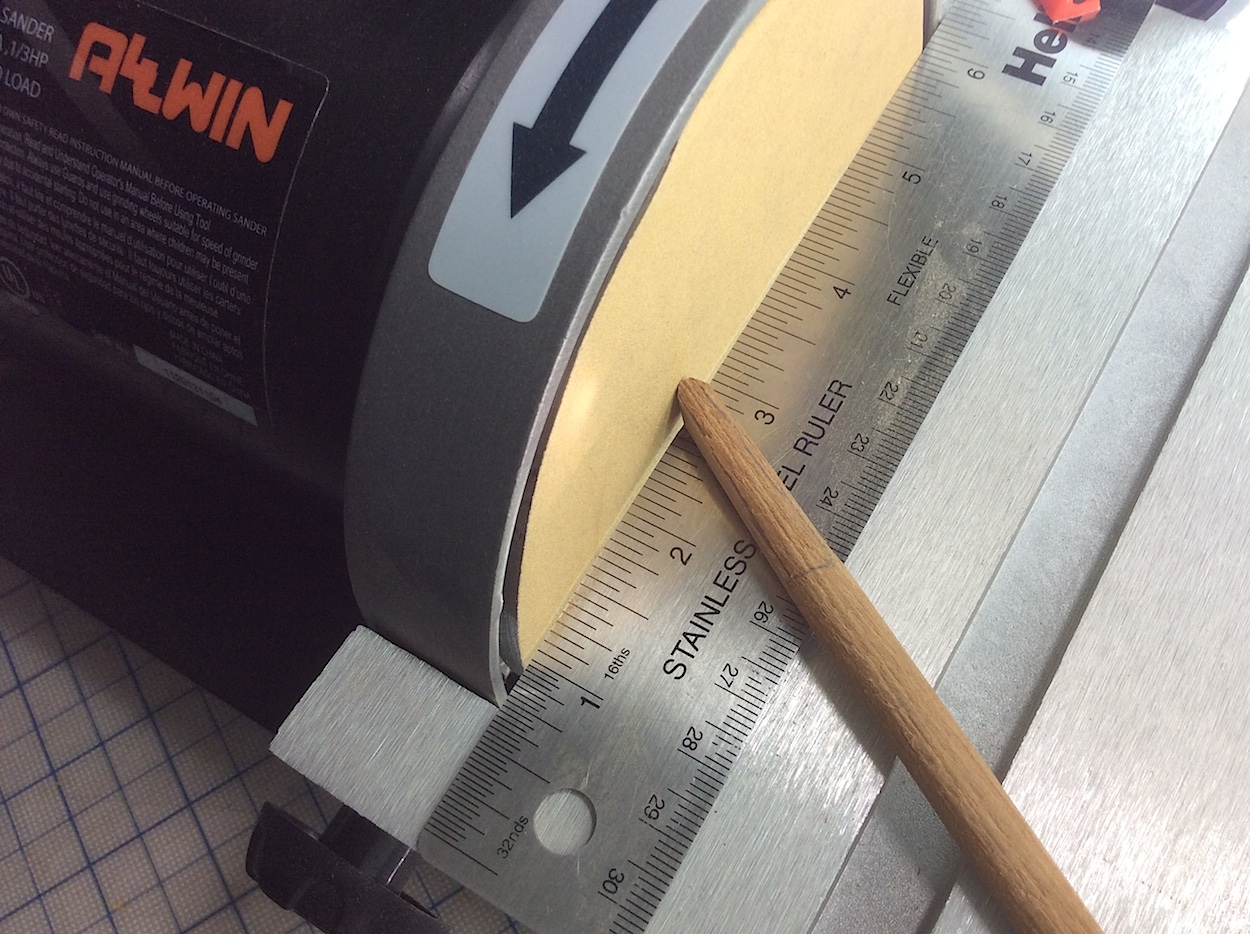
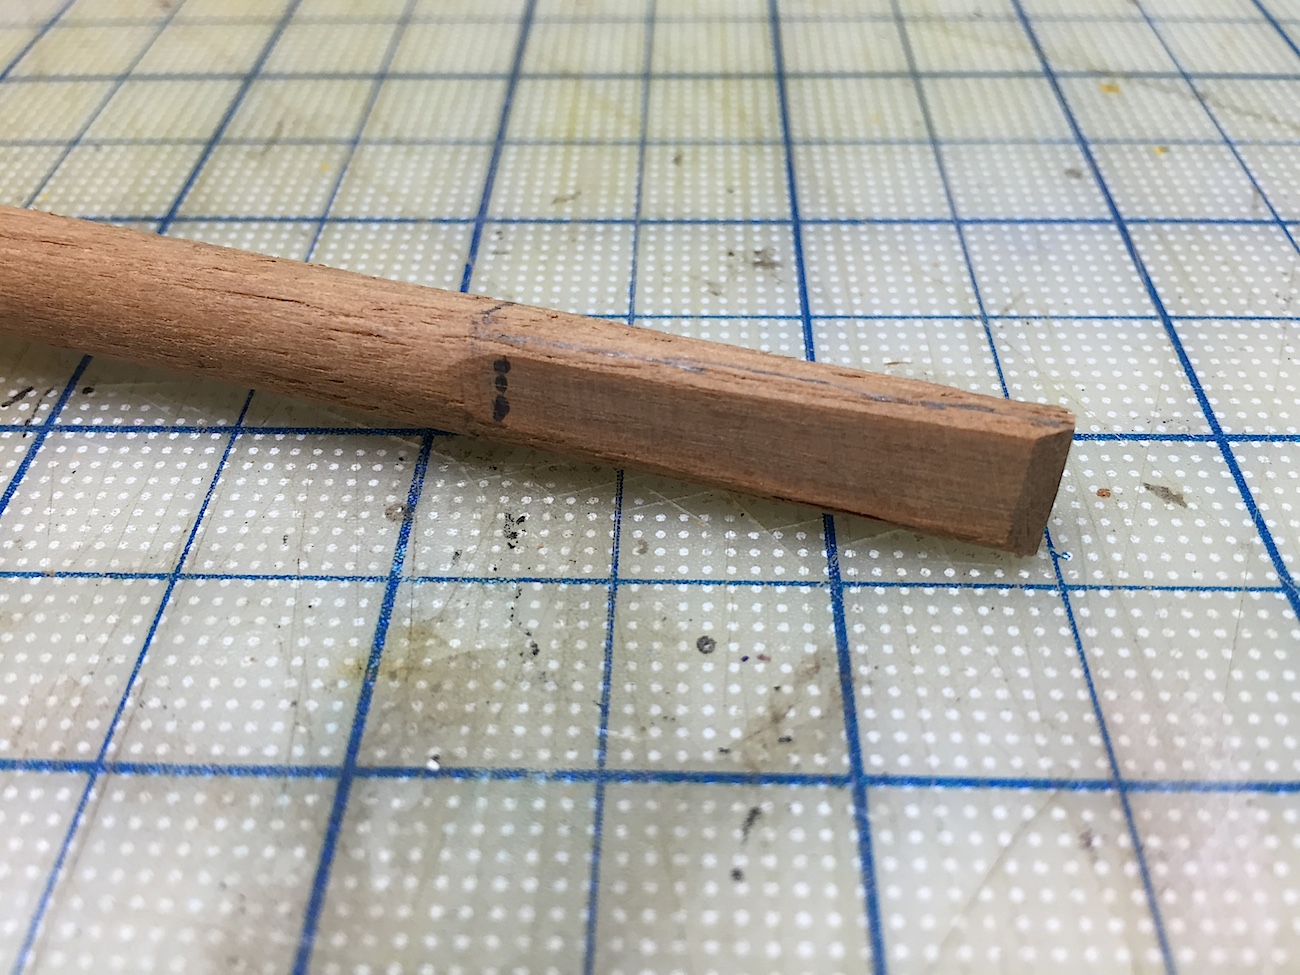
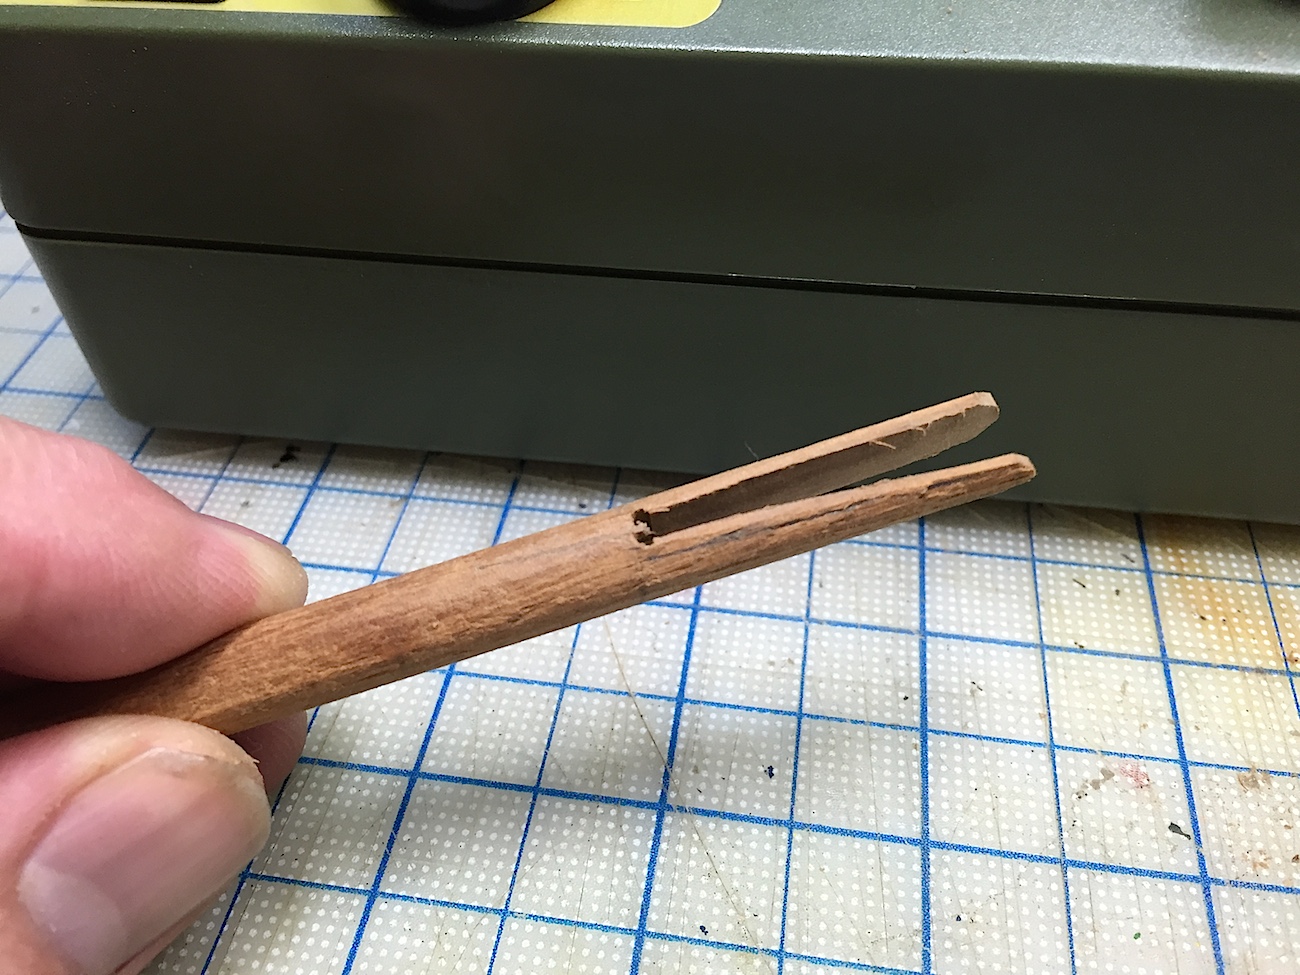
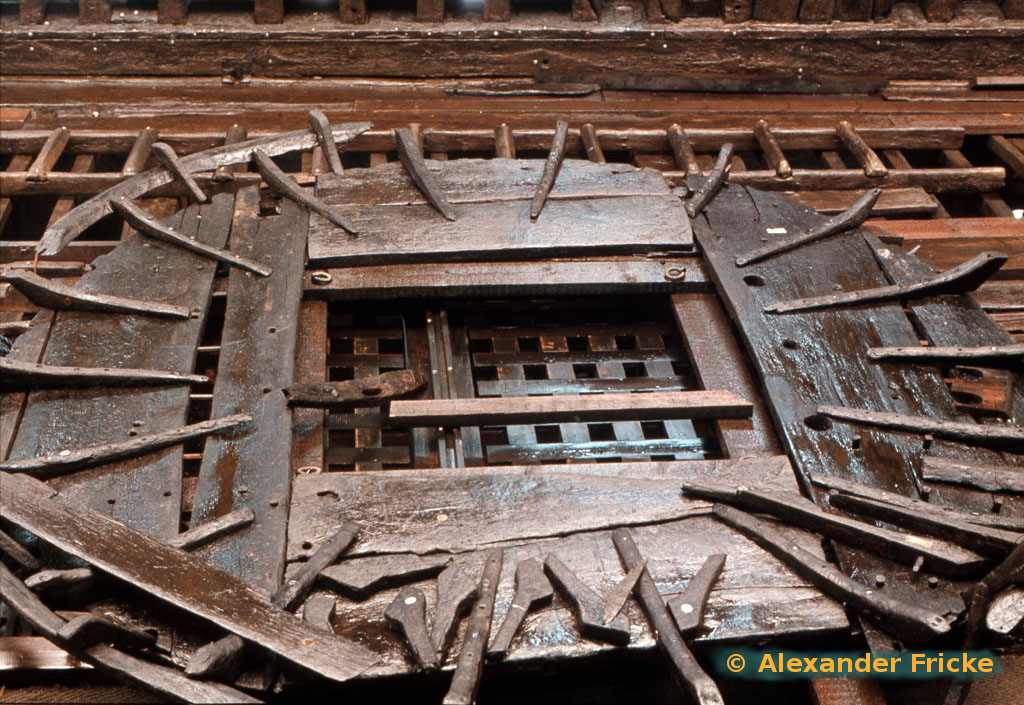
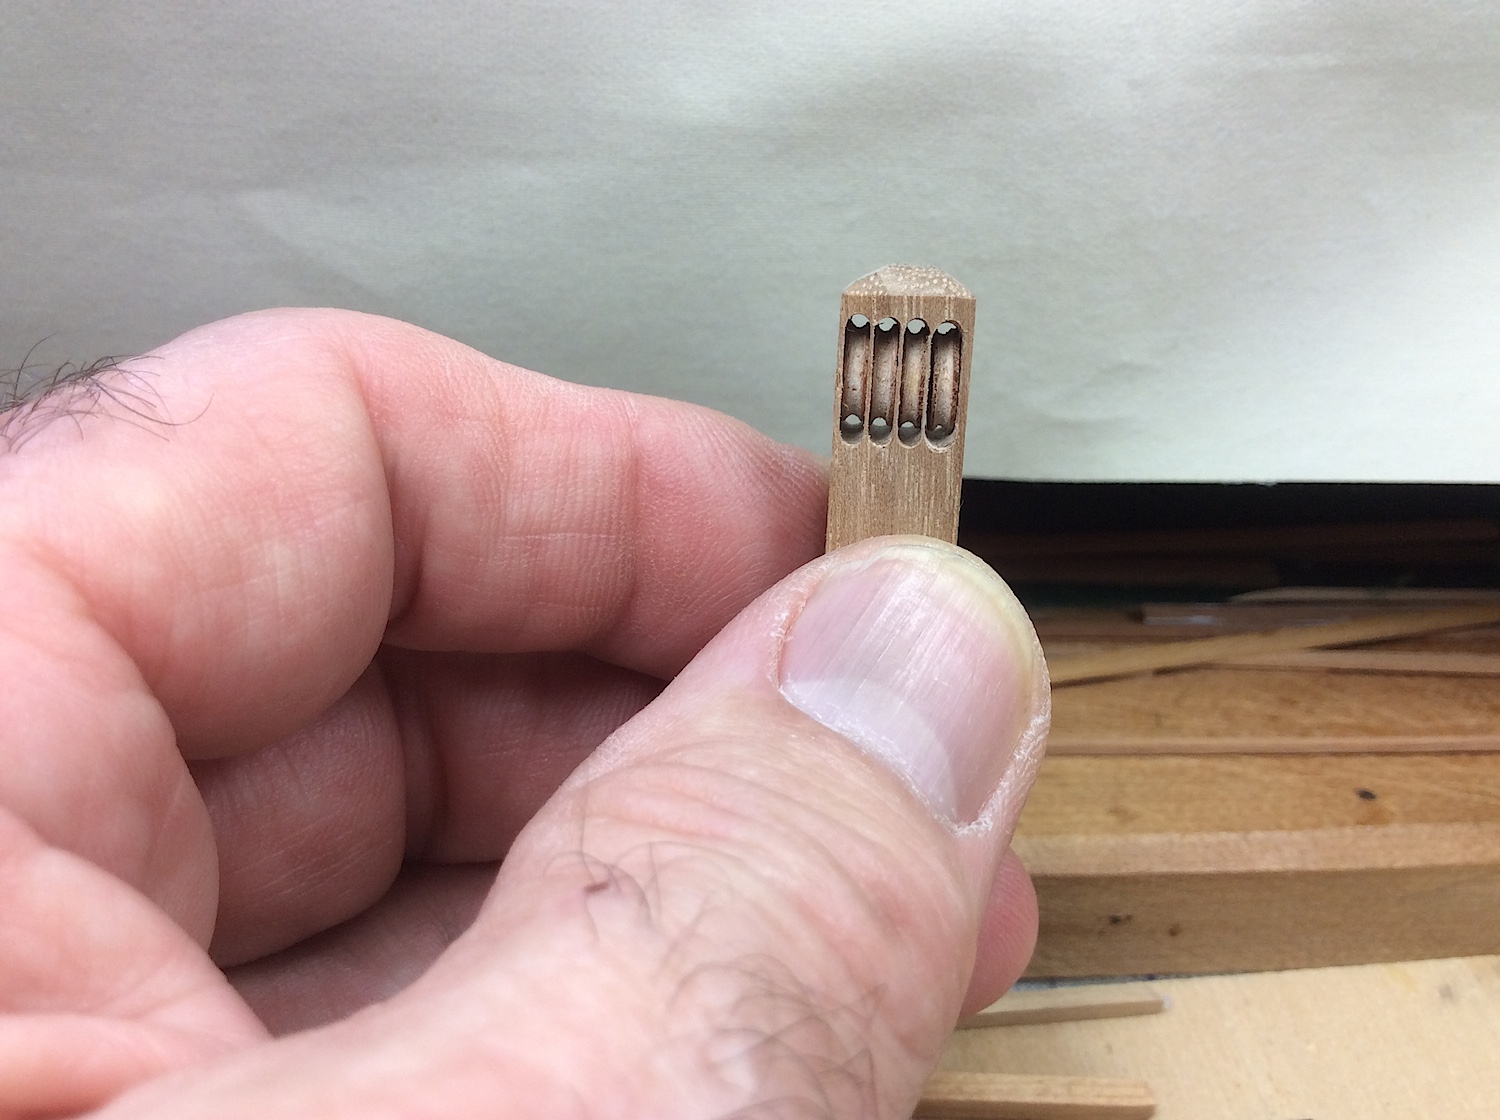
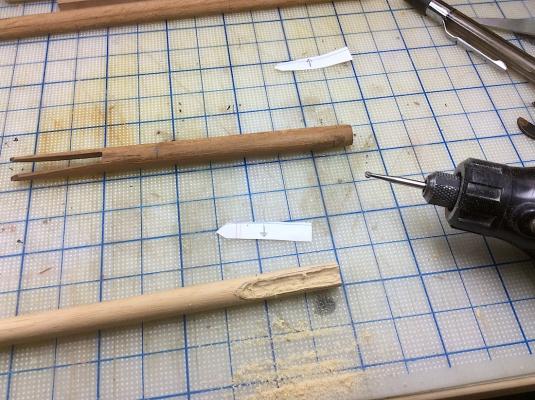
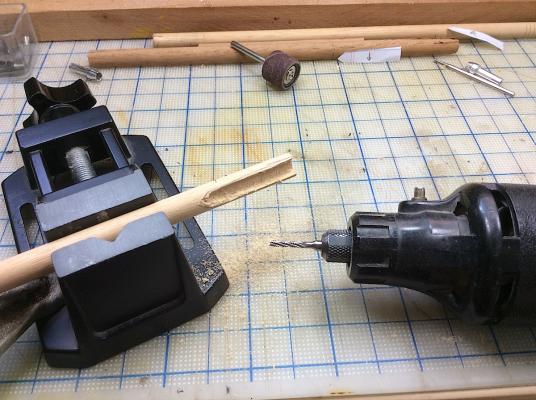
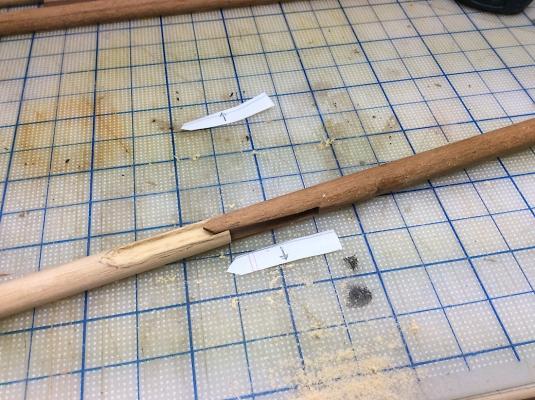
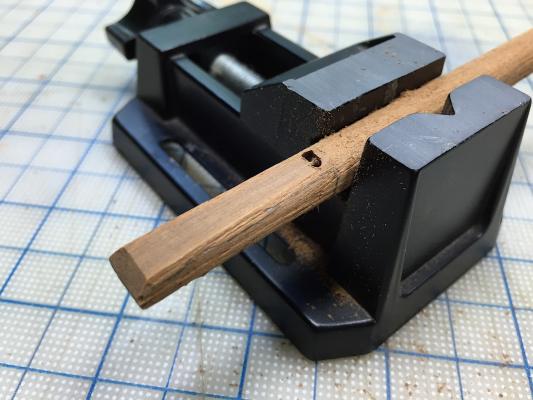
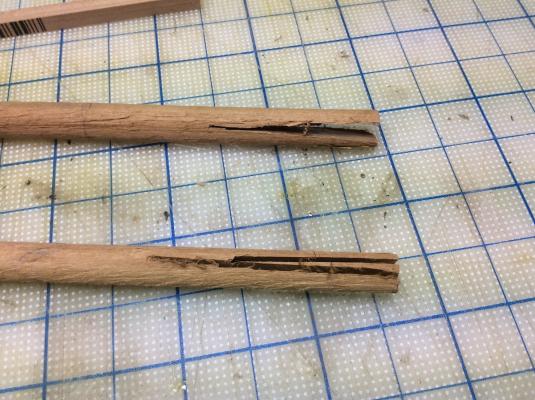
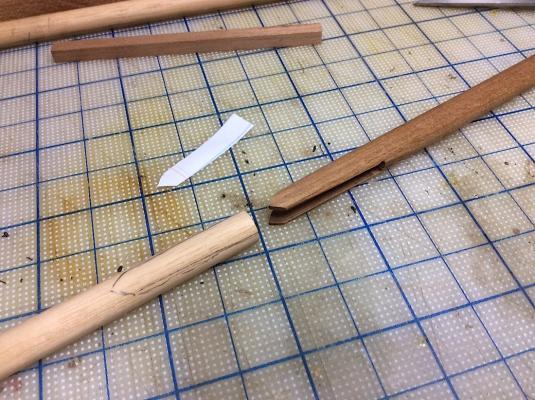
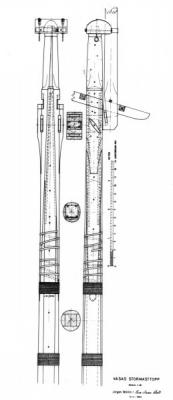
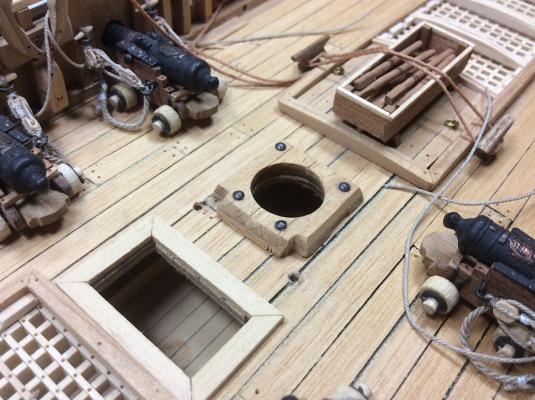
Hi Mates, Moving onto the bowsprit mast, first update. Thought that I would try to seam together two mast pieces as was done on the 1:1. Pics are self explanatory but some thoughts; • Pic 5, 6. Drilled holes so that when I sawed both inside cheeks the center-piece would fall out more easily. And so it did sort of. • Pic 11- are the first two attempts with my first use of Proxxon KS-15 circular saw. (tried to use the scroll saw but broke two blades, after very little progress). Purchased a second 50mm fine tooth saw for the KS-15 circular saw. I originally tried the 58mm saw that came pre-installed. That was much too ruff (see pic 11 below). The finer saw made much smoother cuts • Also used the Proxxon DS-115 scroll saw to “clean” the insides a bit better, for that it worked well. After much filing it seems to look as if the first part might look ok. Though it still needs a bit of work. I have not quite mentally figured out how to mate/sleeve the long mast To be continued J Cheers, and thanks for stopping by. Michael


-
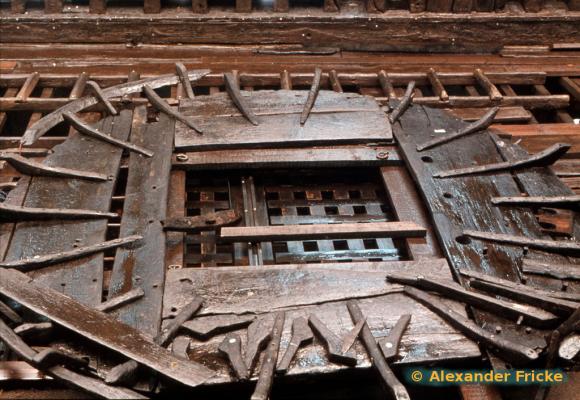
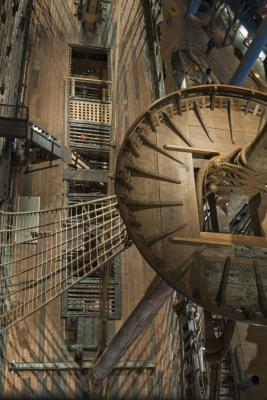
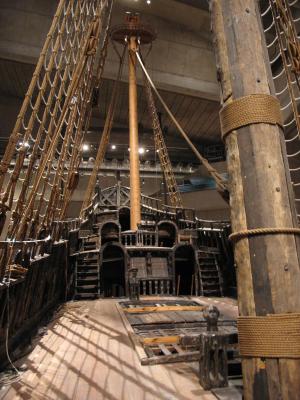
Mark, Nice update. Looking very good indeed. Yes masts, those will be an issue. I found these in my files, may be of help if you don't have them. I am also about ready to start the masts on mine. PS: Some of these jpg's are small files (:-( WasaMast copy.pdf
-
ROYAL CAROLINE 1749 by Doris - 1:40 - CARD
md1400cs replied to DORIS's topic in - Build logs for subjects built 1501 - 1750
Doris, Finally got an email update, somehow missed your last few updates. Beyond descriptive words. Such beautiful art. Interiors alone are stunning. Also loved the video such a peacefully captive ten minutes Oh my. Yes "relax" and take on a French ship. Be sure to identify this next project with "kit Bashing" in the title (:-) Congratulations on another stunning model. Sincerely, Michael- 883 replies
-
- 1
-
-
- royal caroline
- ship of the line
- (and 1 more)
-
NIgel, Always such a pleasure dropping onto your build logs. Your latest window details are also marvelous. Beyond bashed might be an understatement. Michael
-
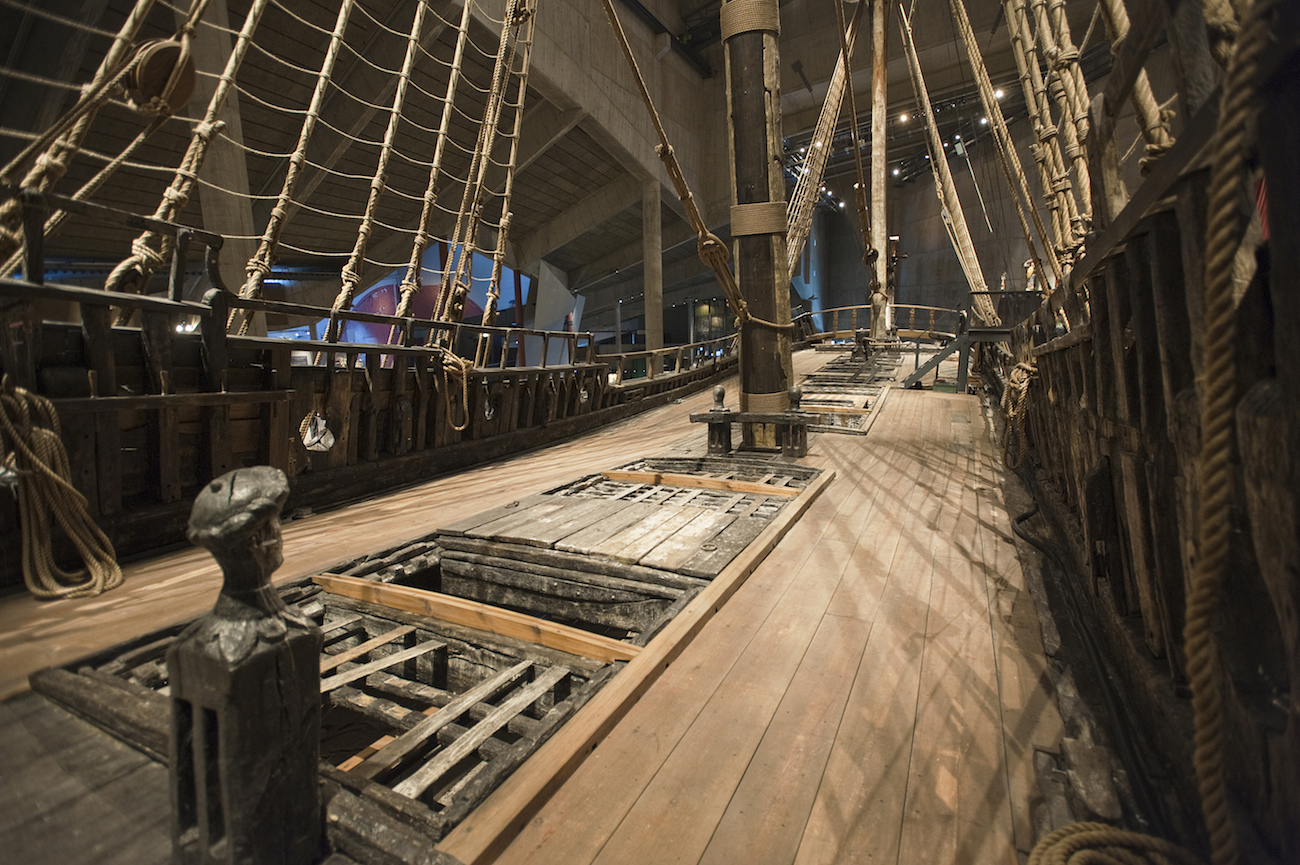
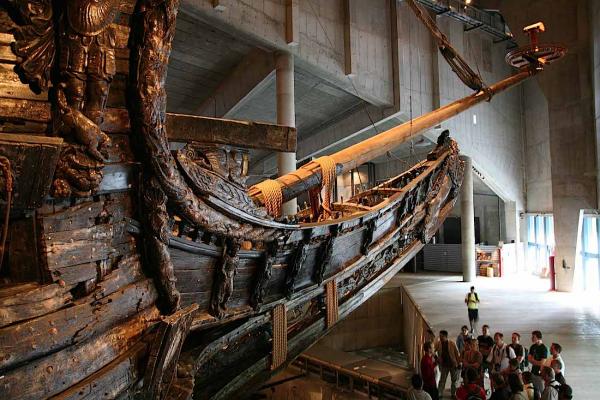
Mates, Thanks so much for dropping by, “likes” and your always very kind remarks. John, Jan, George, Nigel, Joachim, Mark, Frank M, and Frank, a big thanks for also still following along as well as always saying such nice words. Pnevrin, Your words are so kind as well. Must have been amazing seeing her at the spraying stage, must have been very close looking to the way she came out of her watery grave. In the mid 90s I lived/worked in London for about two years. I took a long weekend and flew to Stockholm, just to visit the museum. Tried to have my 13 year-old son join me but he was not interested. Loved my visit. I hope to return one day for a second visit. Ferit, thanks as well, I have been thinking about one of your recent posts, I understand how you feel. I’m sure that many builders also occasionally feel as you do. And they, as I do, just ignore the build for a while, until the positive energies return-as they always do J Cheers, MIchael
-
Cristi, Beautiful work. This ship is one that I have always wanted to build, Maybe one day. In the meantime I will follow your excellent log. Great details!! Cheers, Michael
-
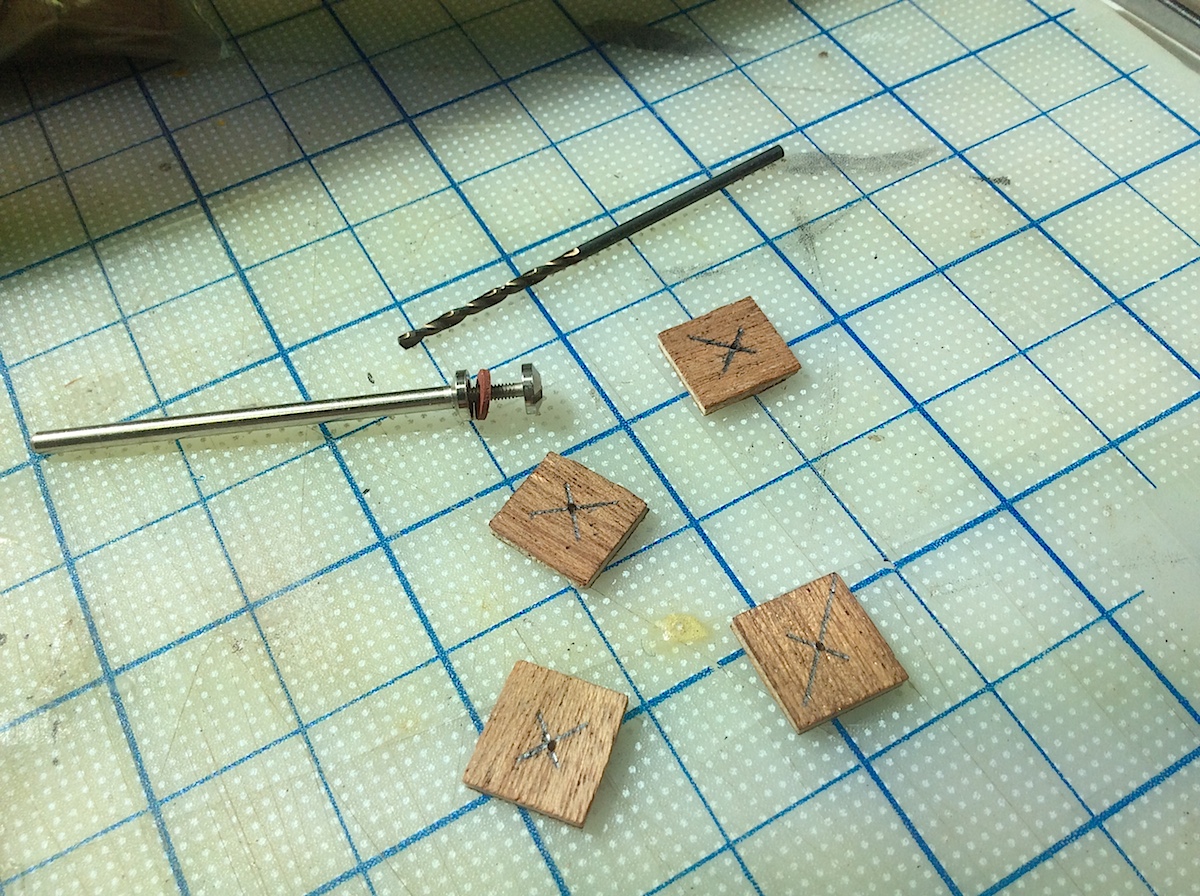
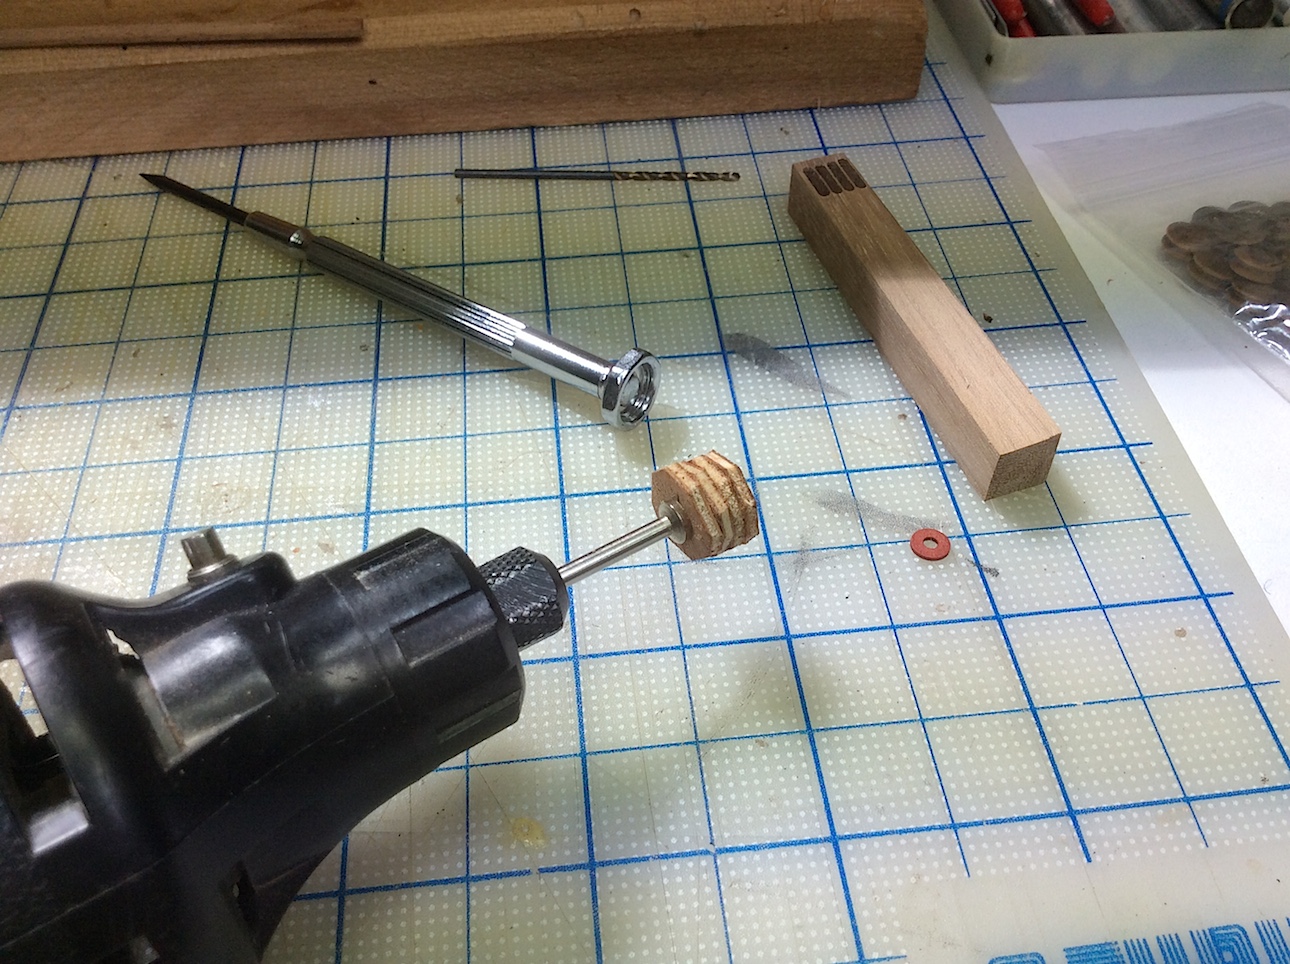
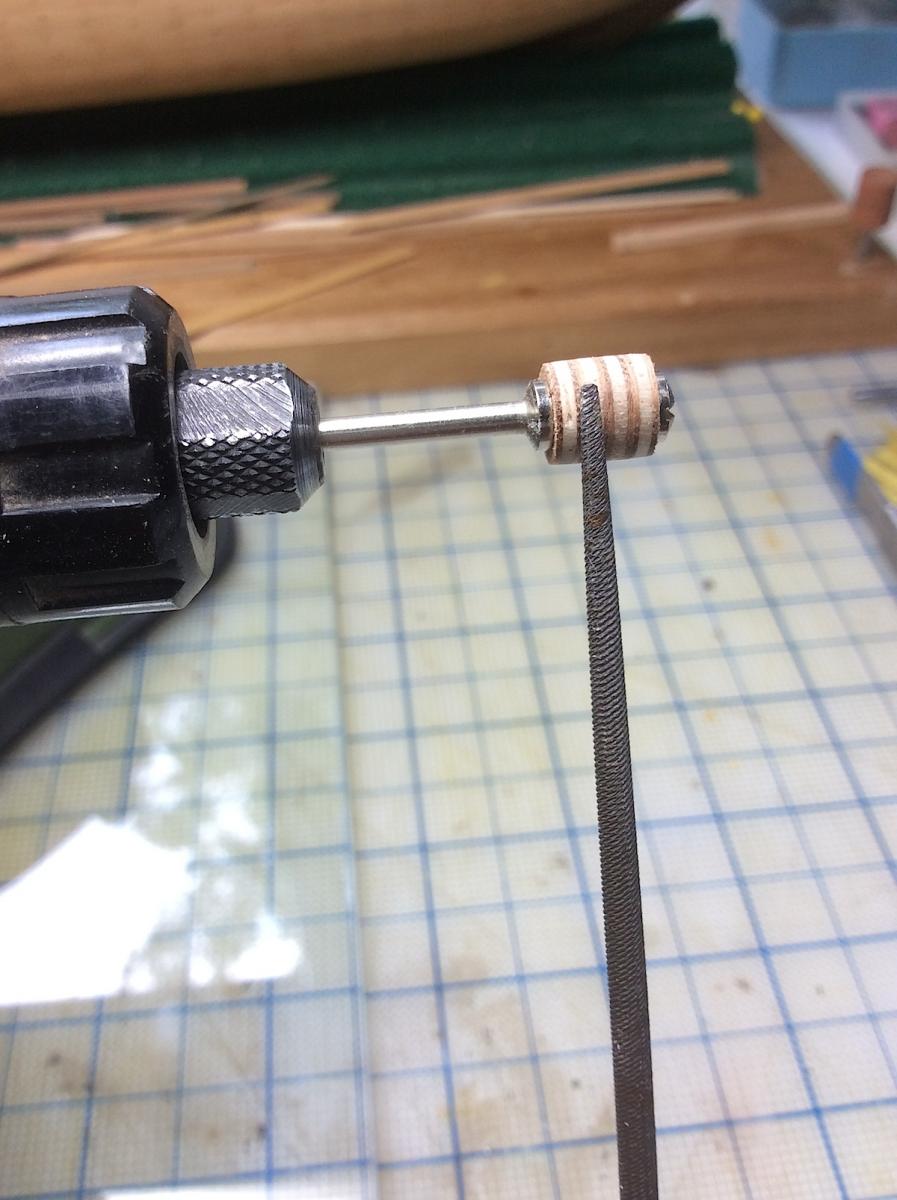
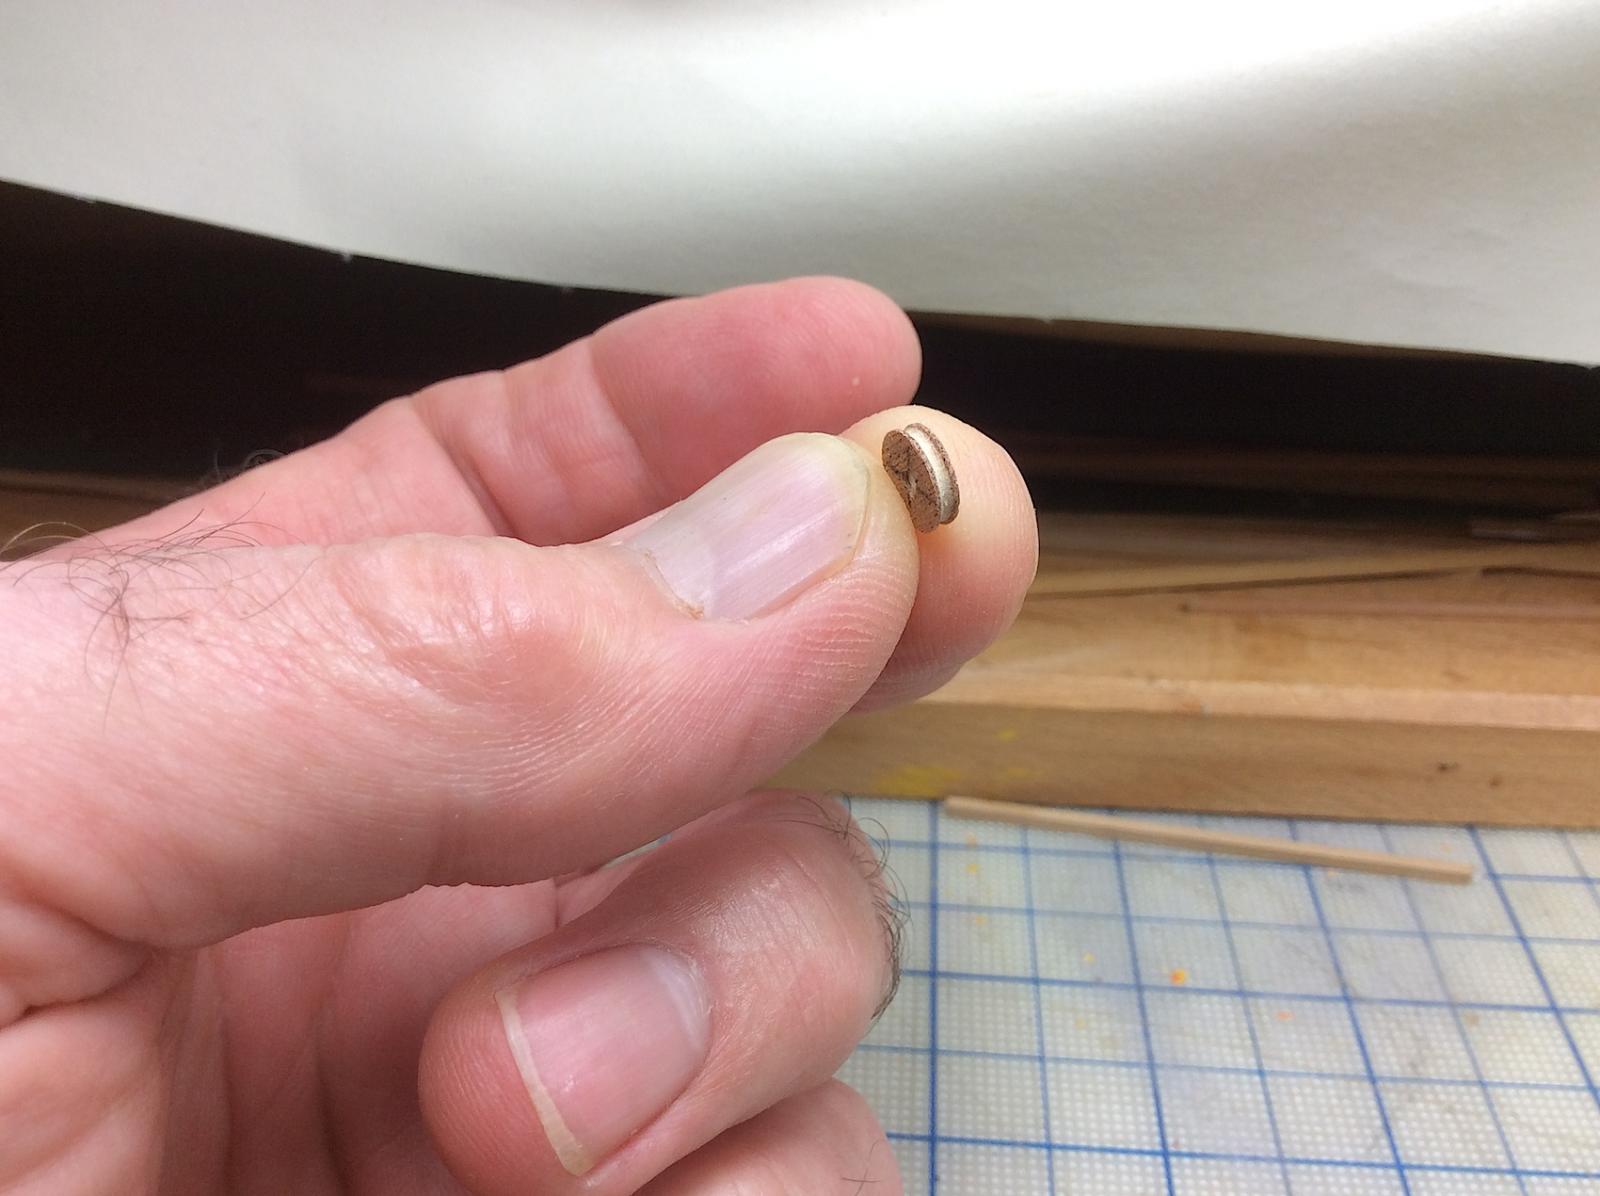
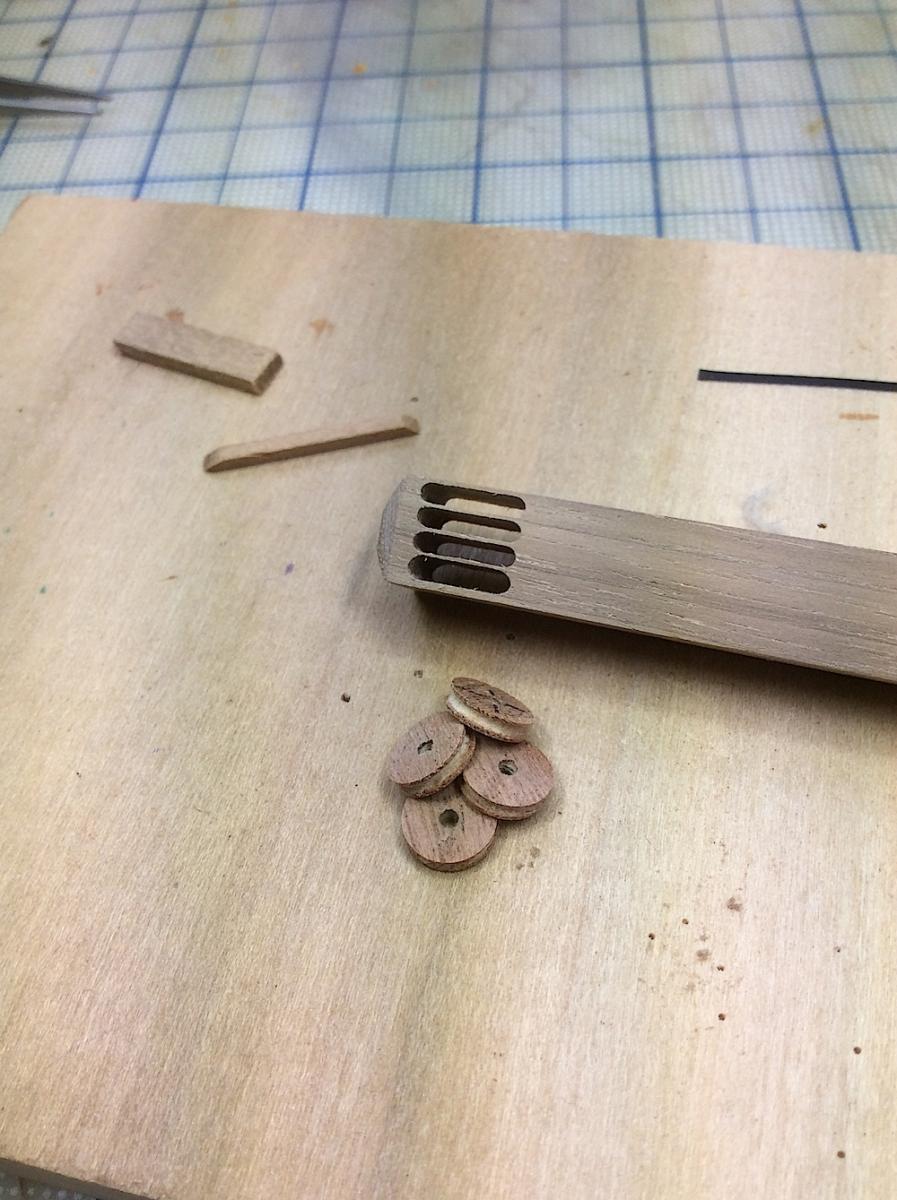
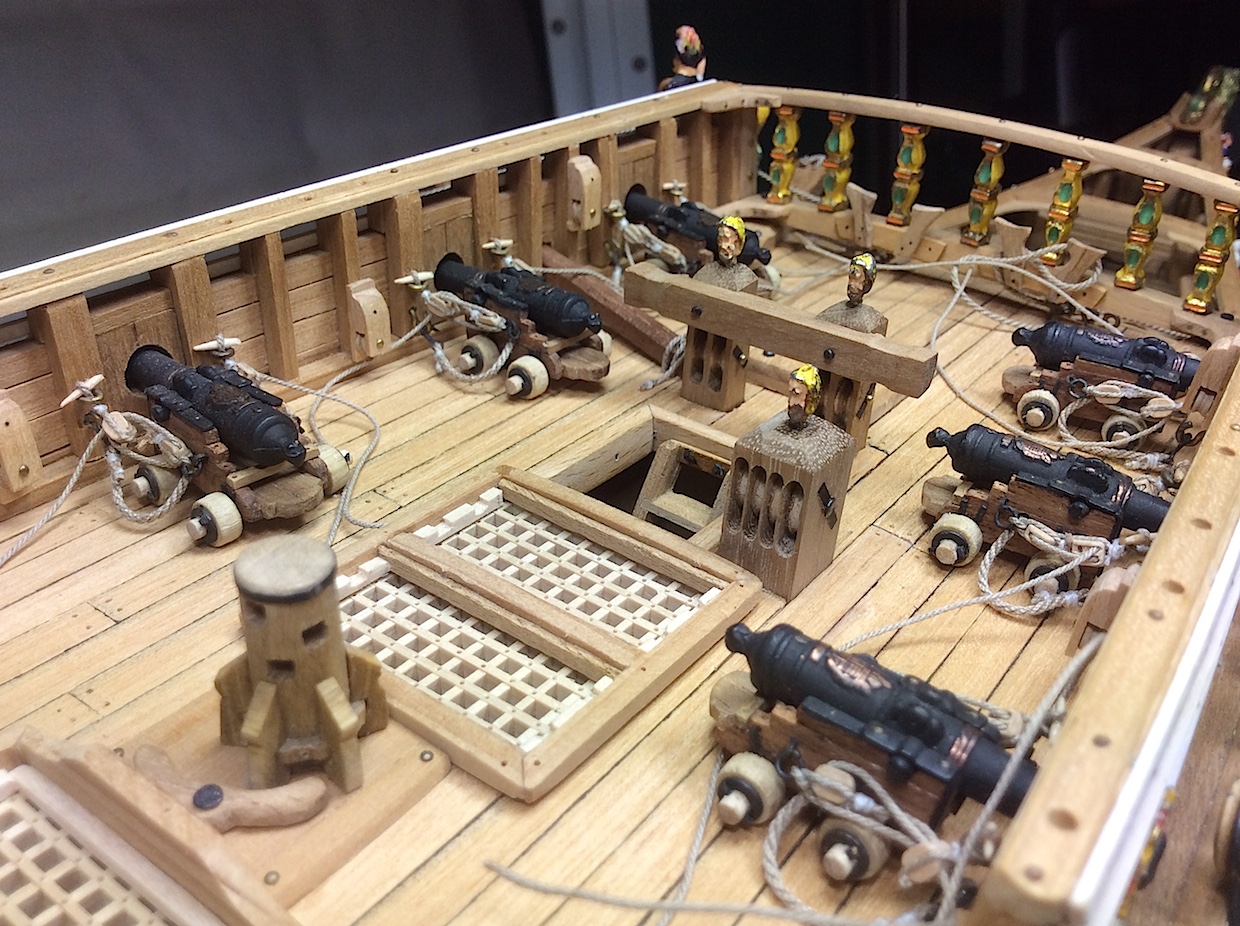
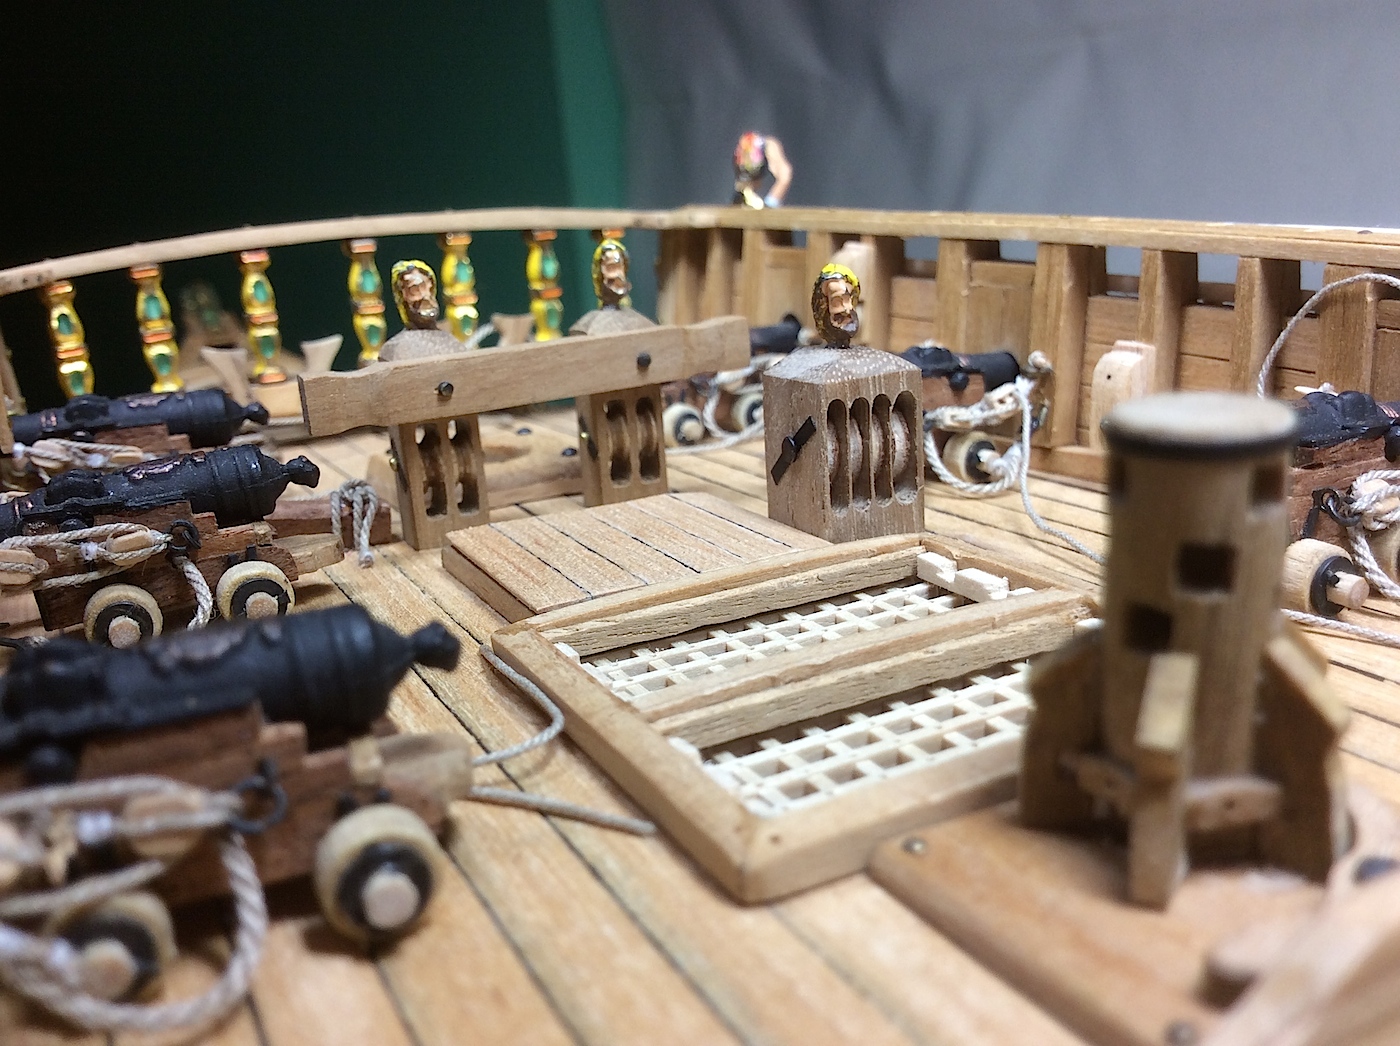
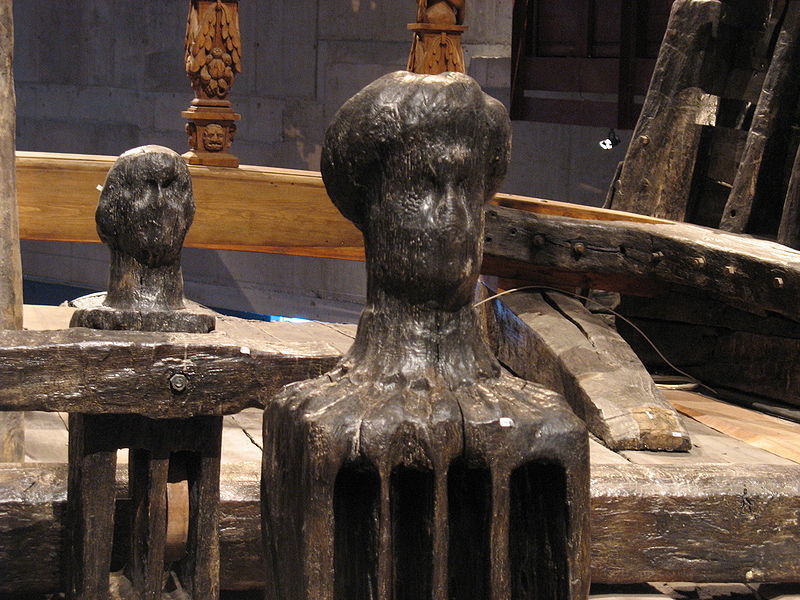
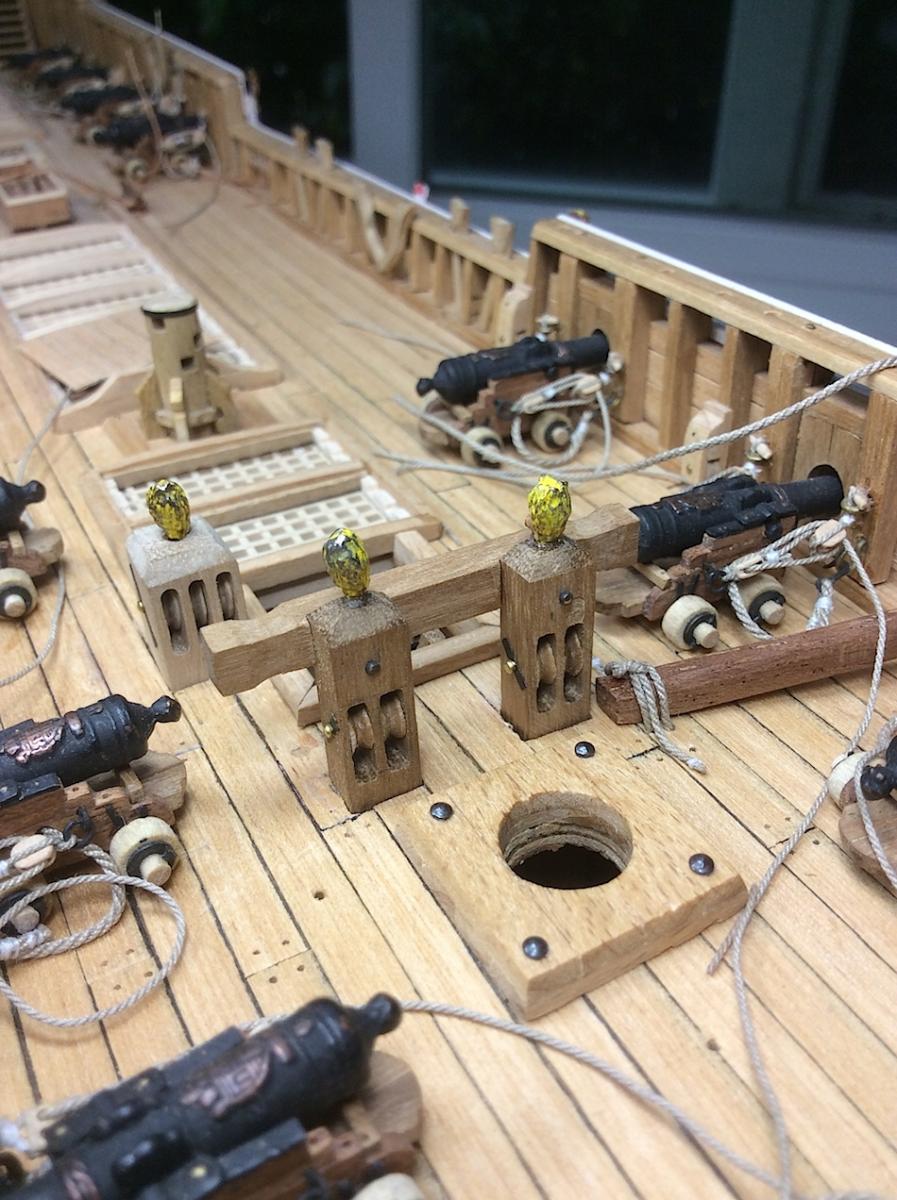
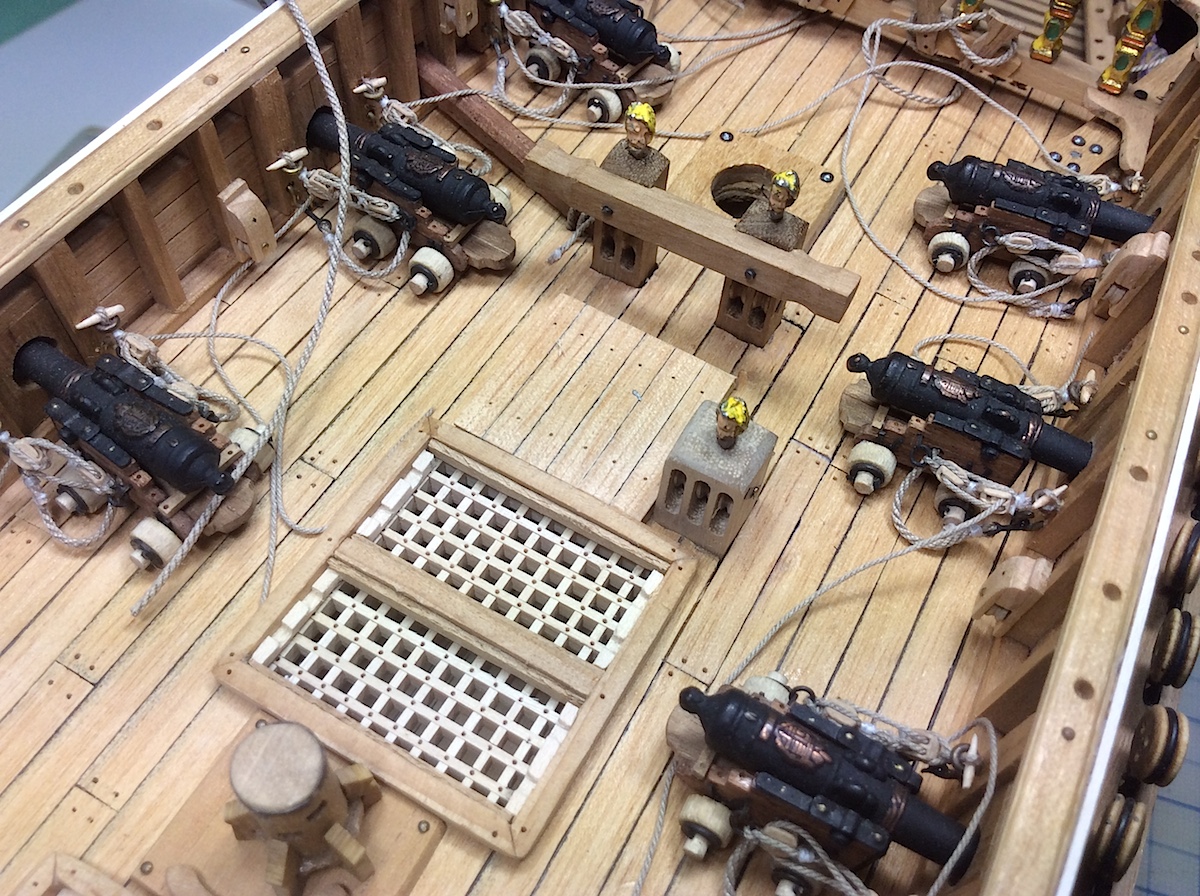
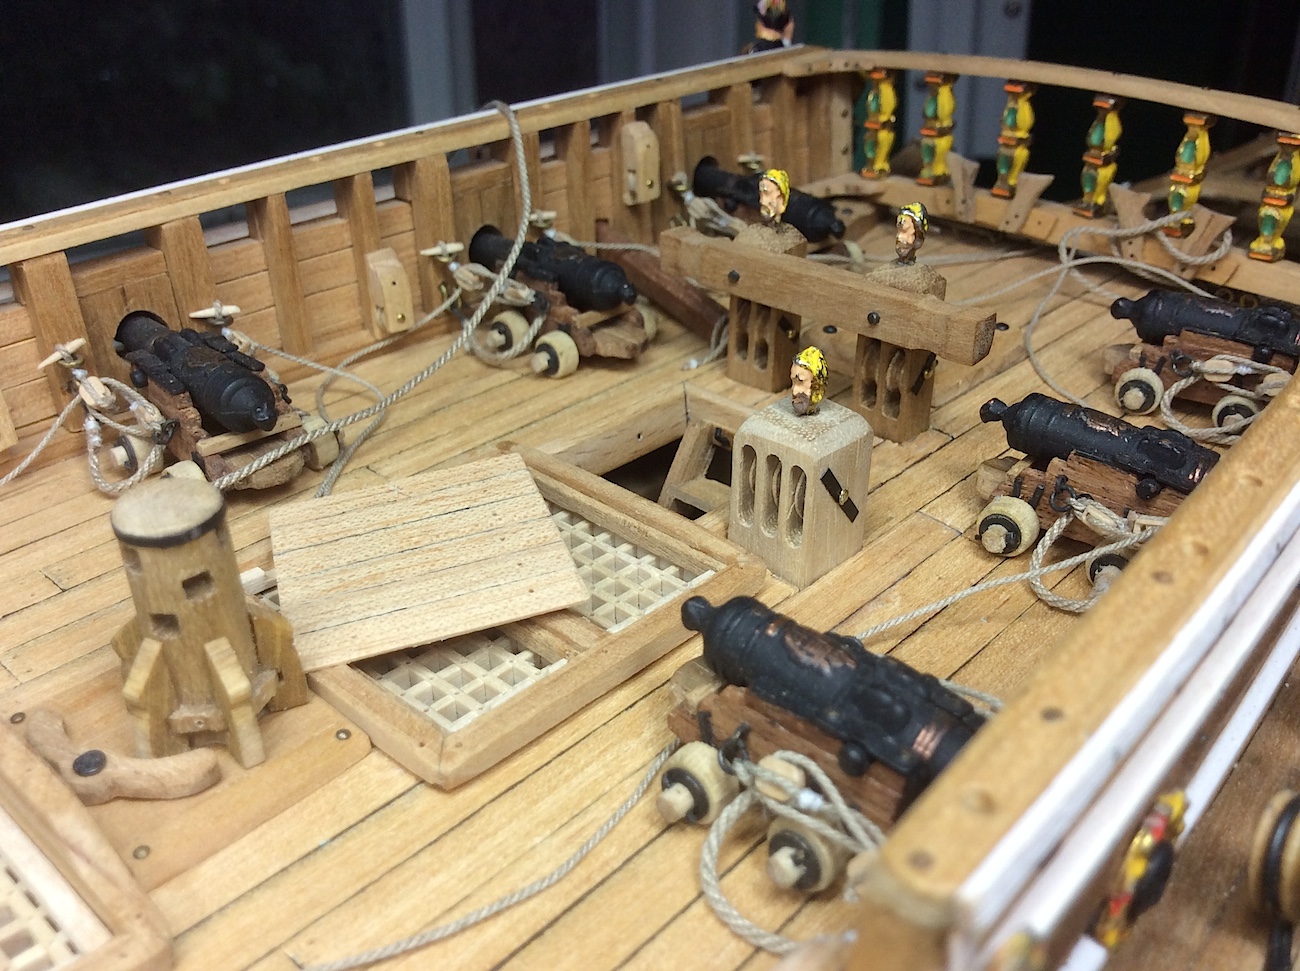
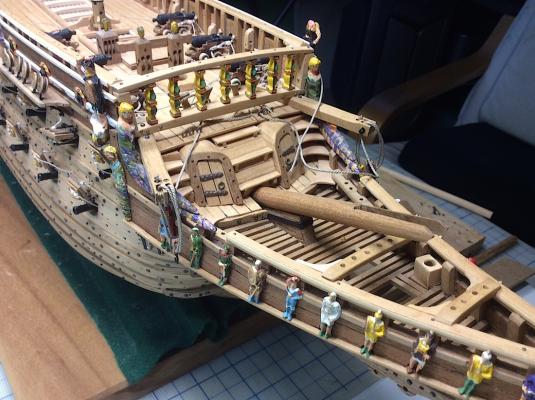
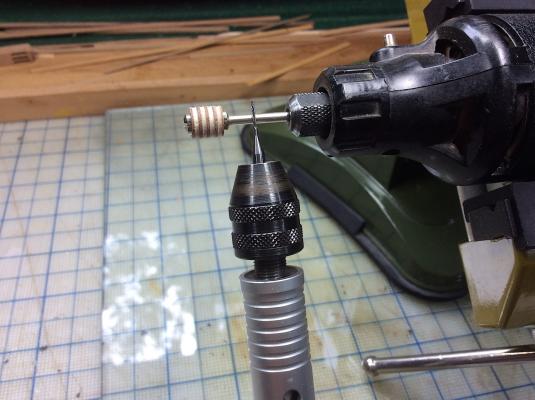
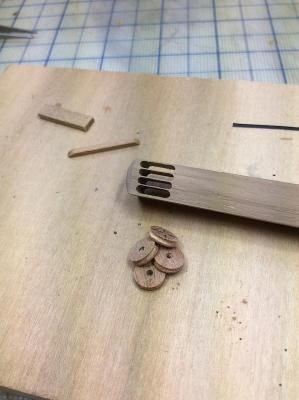
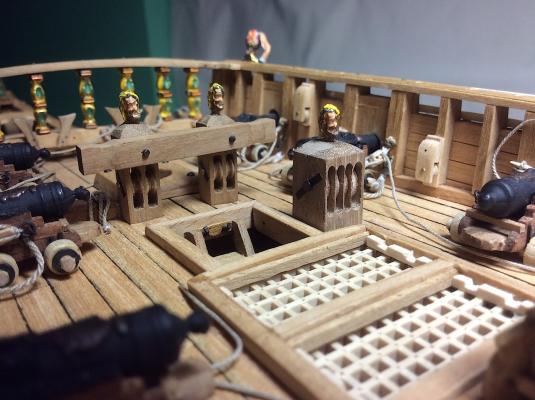
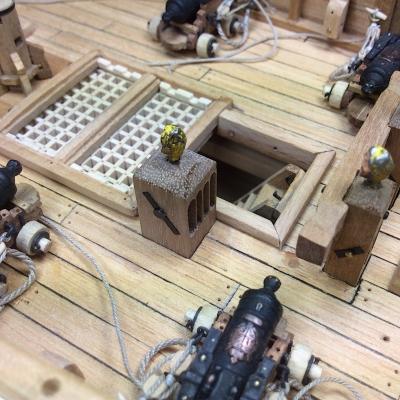
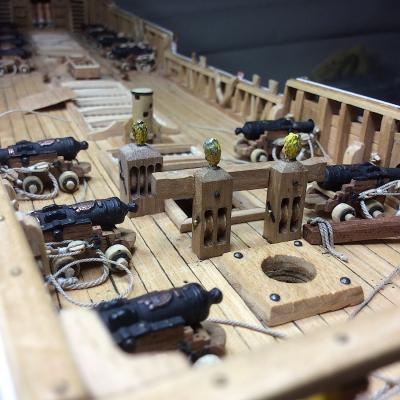
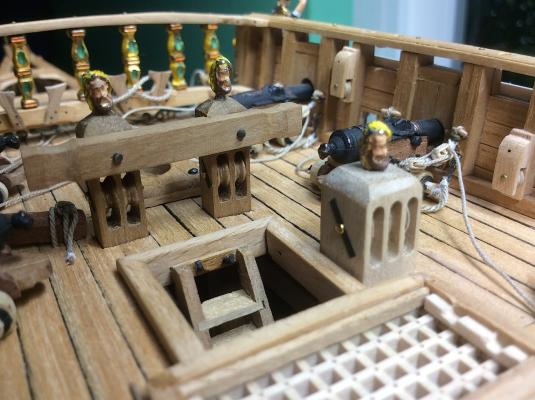
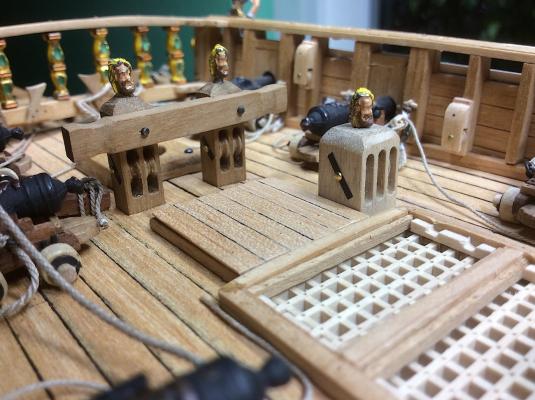
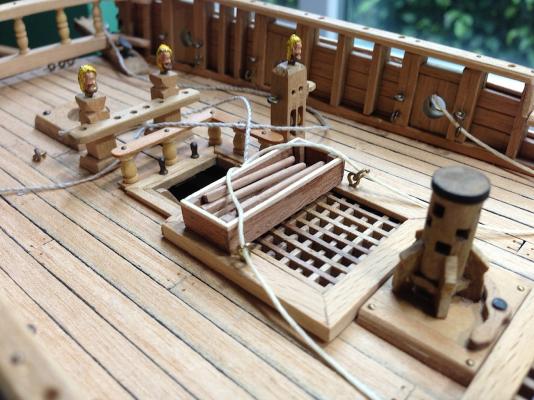
Hi Mates, Well after a bit of introspection, I realized that I needed to push myself. What was the point of buying an expensive tool and not learning how to use it to its full advantage, so Proxxon milling machine got another visit. After three attempts, I got one block with four sheaves (one a bit bigger) that looked ok. Next came the issue with the pulleys, and by some coincidence some left over cannon doors slipped perfectly into the grooves. So pulleys were made as follows. Pics are fairly self-explanatory: Drilled a center hole through each door Cut the corners, and attached the four to a Dremel using one of those circular micro saw shafts With a block, sanded the doors down to appropriate sized spheres. Using a round head micro file initiated four small grooves Then using an end bit deepened the previous grooves to appropriate looking depth The “pulleys” slipped right into the block with the now correct four sheaves. Looking at the close-ups, I now see that I need to re-paint the knightheads - ugly close up J Also I need to re-adjust the upper gun deck ladder hooks – they stick out too far - out of scale. Thanks for all of you kind comment. AND certainly your advice and encouragement. Michael


-
Nigel, Your build logs have been missed, very nice that you will again spend some time back in your shipyards. Cheers, Michael
-
Mark, Very nice work on your masts, especially the main. Like the "cut in". Question; What did you use to simulate the metal band wraps on the upper part of the lower main? Looks very good. Michael
-
Karleop, I apologise your ship is so beautiful, So loved your rigging and sails, forgot to mention in my last post that you are also my teacher (;-) Michael
-
Yea Frank, But first I have to take your courses on how to make beautiful sails from you and Karlosp (:-) Michael
-
Henry, Thanks for clearing that up. Ferit, yes your observation is correct, I had also had noticed regarding one larger sheave. Now we understand why. I might challenge myself a bit more attempting to groove 4 sheaves in another block. Depending how it (they) comes out I will attempt to remove the installed block. That might not be easy. Zero wiggle room and glued in two places. Maybe pliers with a quick snap might break the glue hold. In any case Henry your explanation is very useful. Thanks for posting. Cheers, Michael

-
Well Ferit, Thanks for that, well deserved I'm sure. As I gain confidence with my Proxxon skills, I may revisit this and do one with the correct four holes. This would not be too much of a surprise with this build, having spent so much time already going back fixing errors lol. This will just be a new error after the fix error Hmmmm Will you be going back into your shipyard anytime soon?? hope so. Cheers, Michael
-
Thank folks, No Mark it's not an optical illusion. I just did not have the skills to cut a fourth (correct) sheave within the block of that size. Also I did not know how to make such thin pulleys. I should have made a notation (;-) So the compromise. hmmmm George, thanks for your always so encouraging thoughts. Michael
-
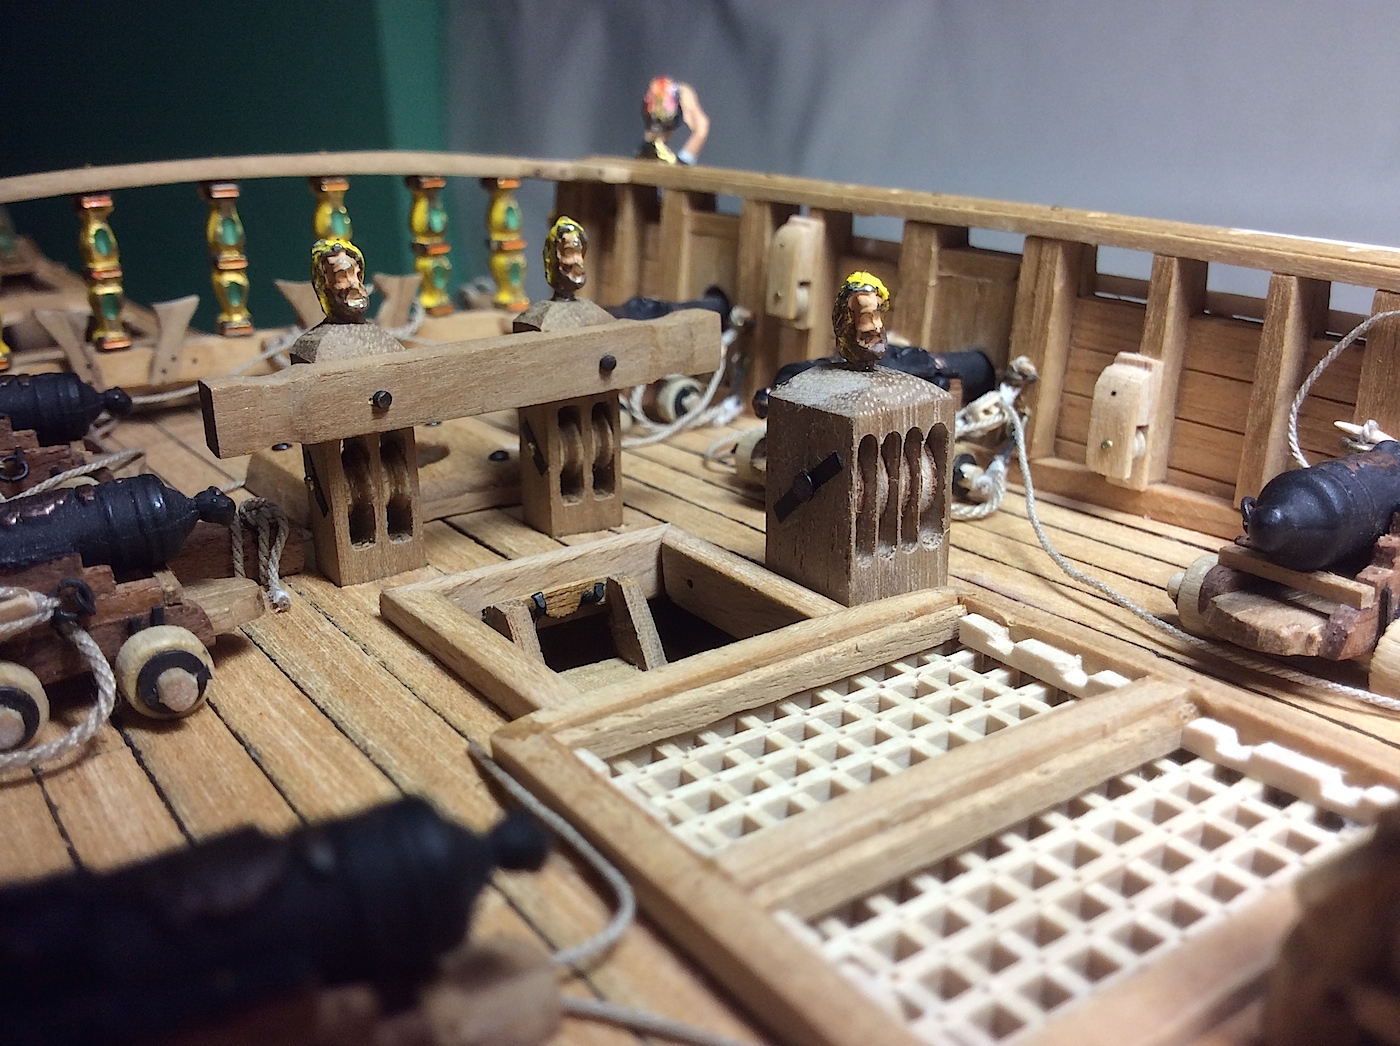
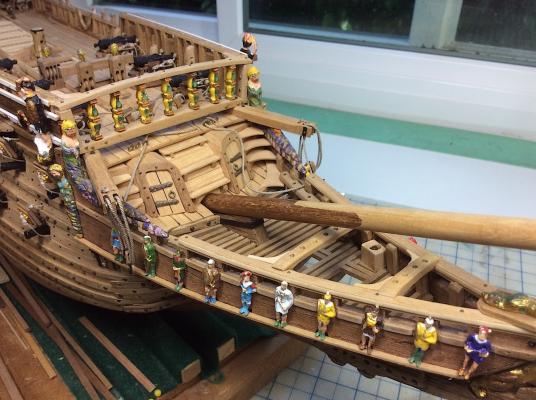
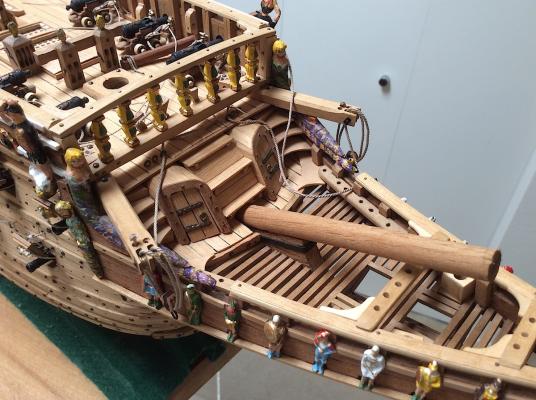
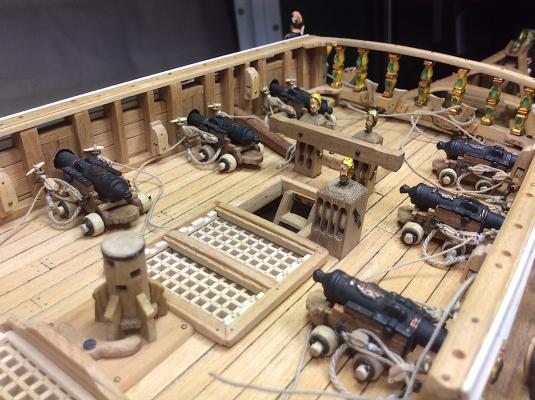
Hi mates, Well it appears as though this bit is actually completed. Thanks for all of the nice words, Like clicks, or just dropping in. A special thanks to Peter and Nigel for their so helpful suggestions, made such a difference. The last pic was taken before any “fixes” what was I thinking? ha ha. Learned so much about this ship since “that” installation. As I look at it now I start to laugh. At the risk of being redundant, if it had not been for MSW, I would still be in a state of confusion (;-) OK, now onto the next three sheaves. I pulled out the old ones so there are holes in the deck. PS: I won't bore you with pics of the setup. I'll post when it's done. PS2 2: not crazy about those Corel knighthead figures. Decided not to repaint them but leave them "used" looking hmmmm Regards, Michael


-
Hi John, Just catching up. Whoa beautiful updates, your masts and spars are perfect. Scaling looks awesome. Sorry to read about extended family member's illness, nice that he's now ok (:-) Regards as always, Michael
- 2,250 replies
-
- 3
-
-
- model shipways
- Charles W Morgan
- (and 1 more)