Old Collingwood
-
Posts
12,106 -
Joined
-
Last visited
Content Type
Profiles
Forums
Gallery
Events
Everything posted by Old Collingwood
-
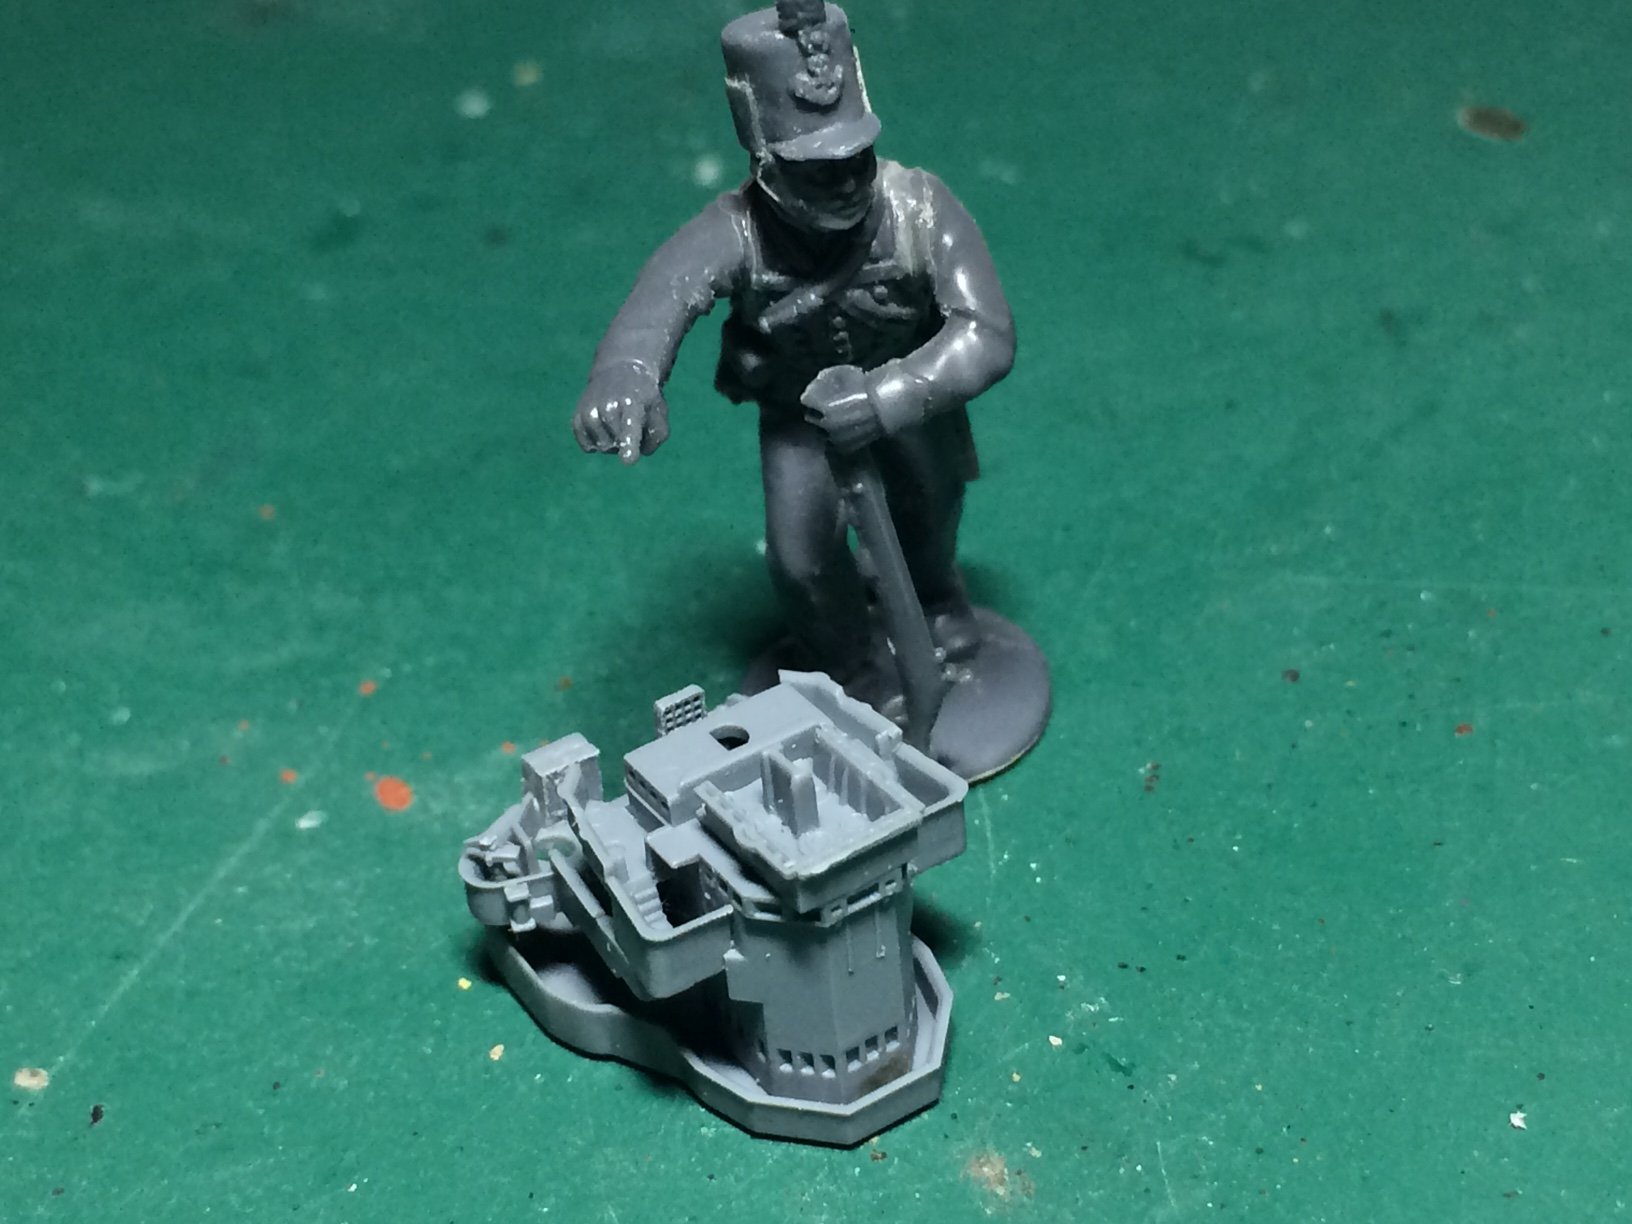
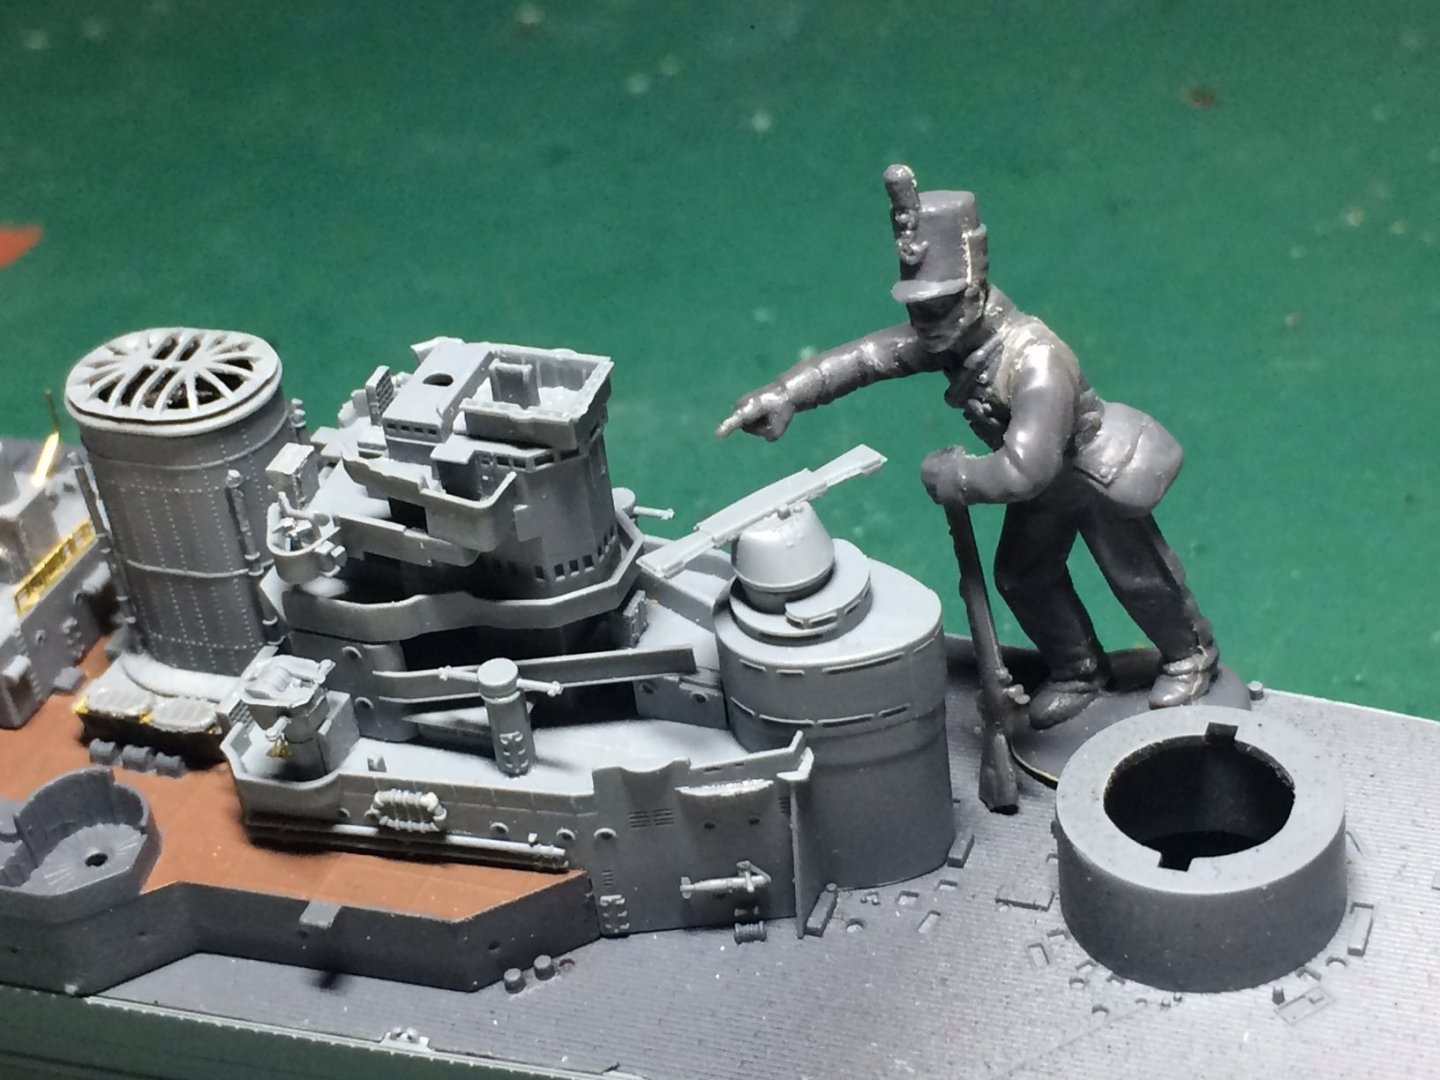
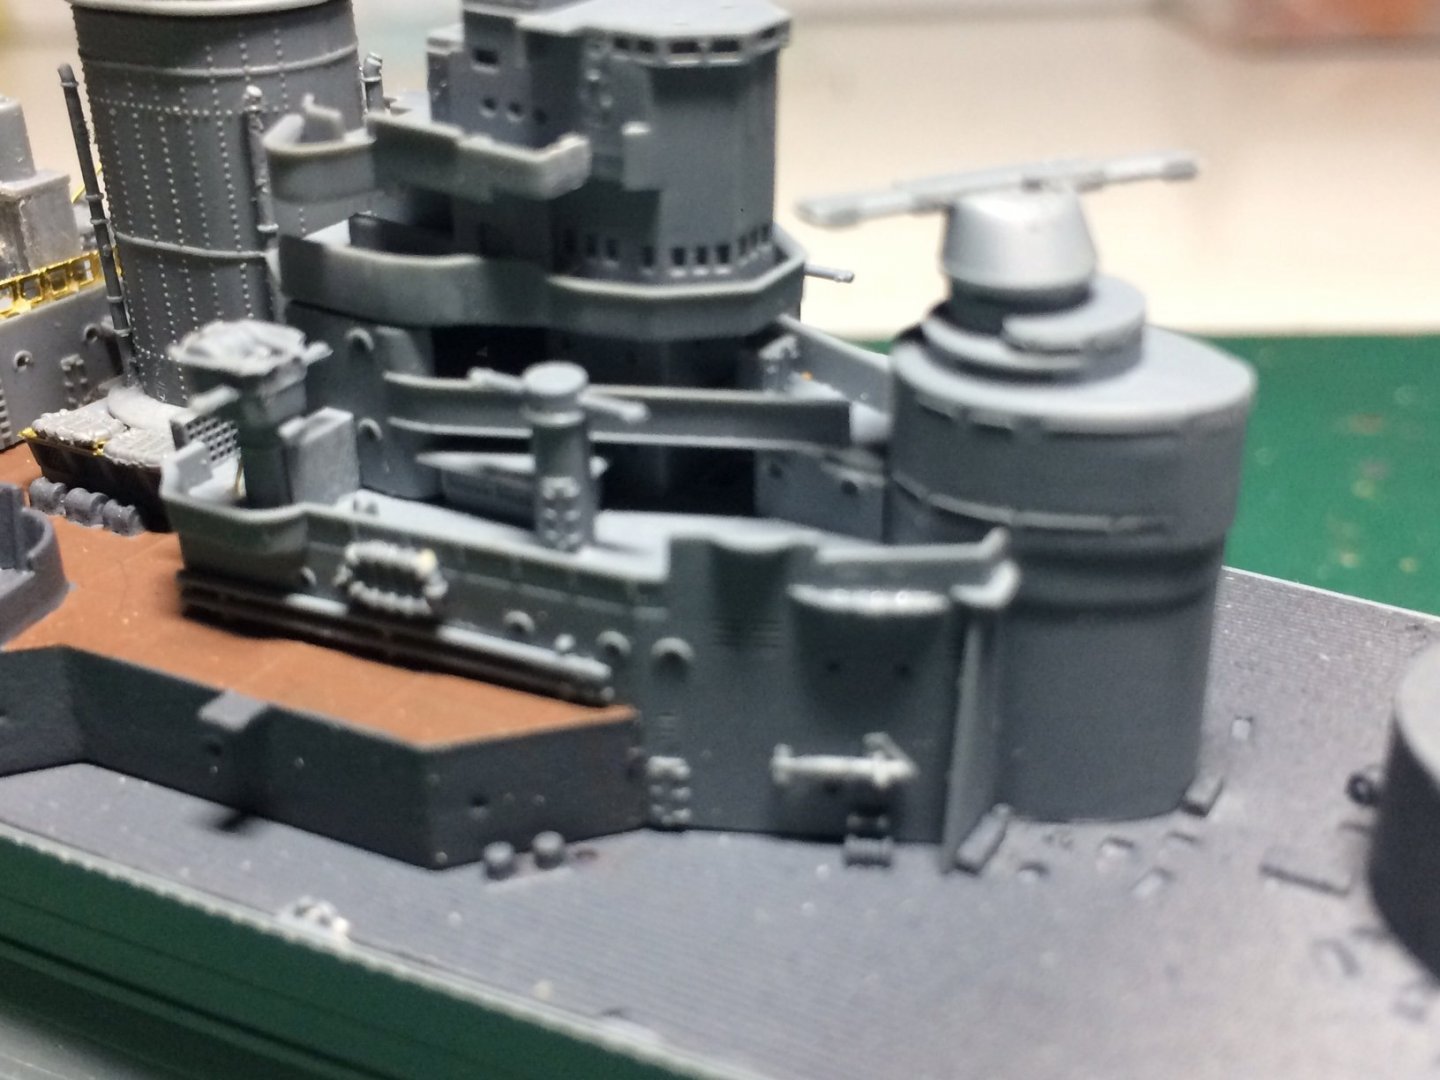
 Evening all, some more detail added to the conning tower stack and for scale I have added "sid" one of my 28mm figures - good job there was no giants around then lol. OC.


-
Splendid work Bill, she really is starting to look rather Special. OC.
-
Looking good EJ - very nice work mate. OC.
-
Good work there Denis - good to see you back at the bench mate. OC.
-
Thank you so much for those very kind words, Its an amazing kit but it does challenge a persons skill with all the very tiny parts, they are hard enough to cut away from the spru's and then handling them even before gluing them in place - you need a certain buld tech not to marr what you fit. OC.
-
Indeed - the challenge is handling them - good job they provide more rafts than you need. OC.
-
Thank you Kevin - funny what you can achieve just by messing about. OC.
-
Mark you have done a Fantastic recovery - we have all been there with the smallest little things looking like monsters - no big worry I say mate. All the very vet best for Thursday mate - we are all routing for you. OC.
- 505 replies
-
- 6
-

-
- vanguard models
- Sphinx
- (and 1 more)
-
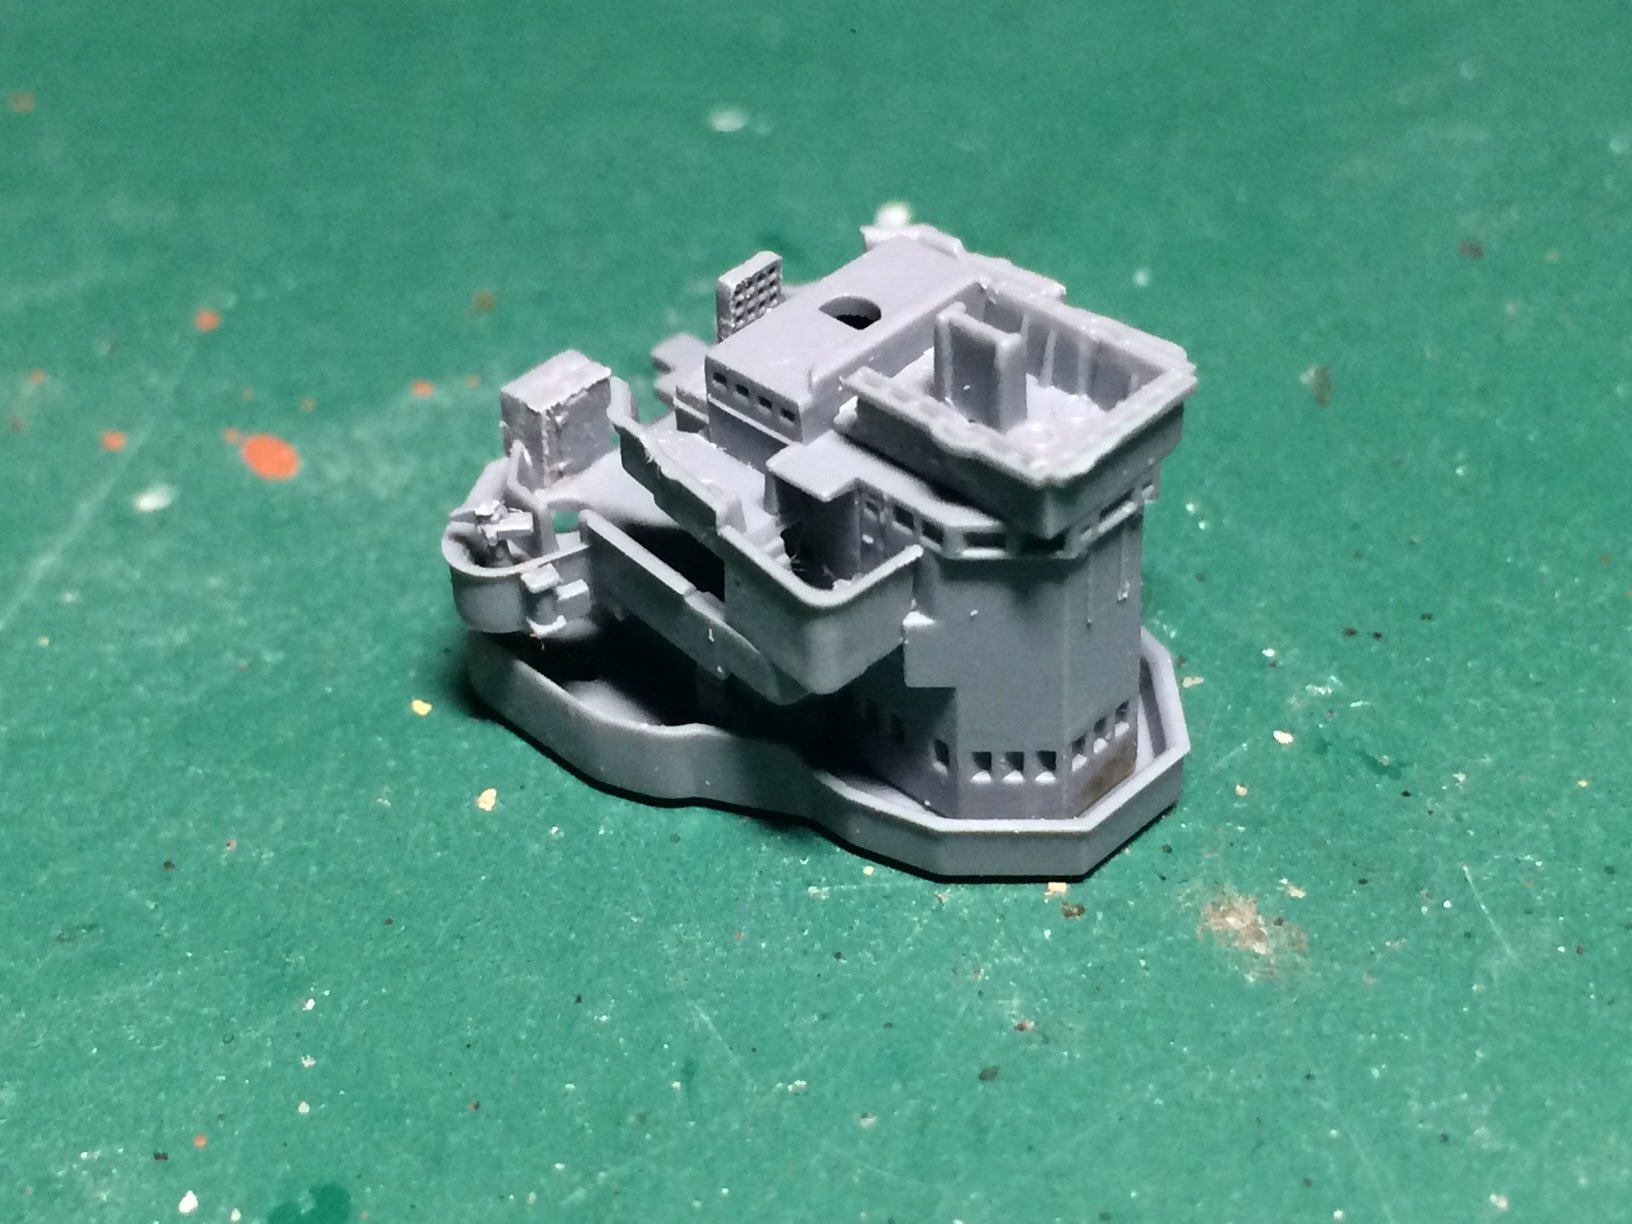
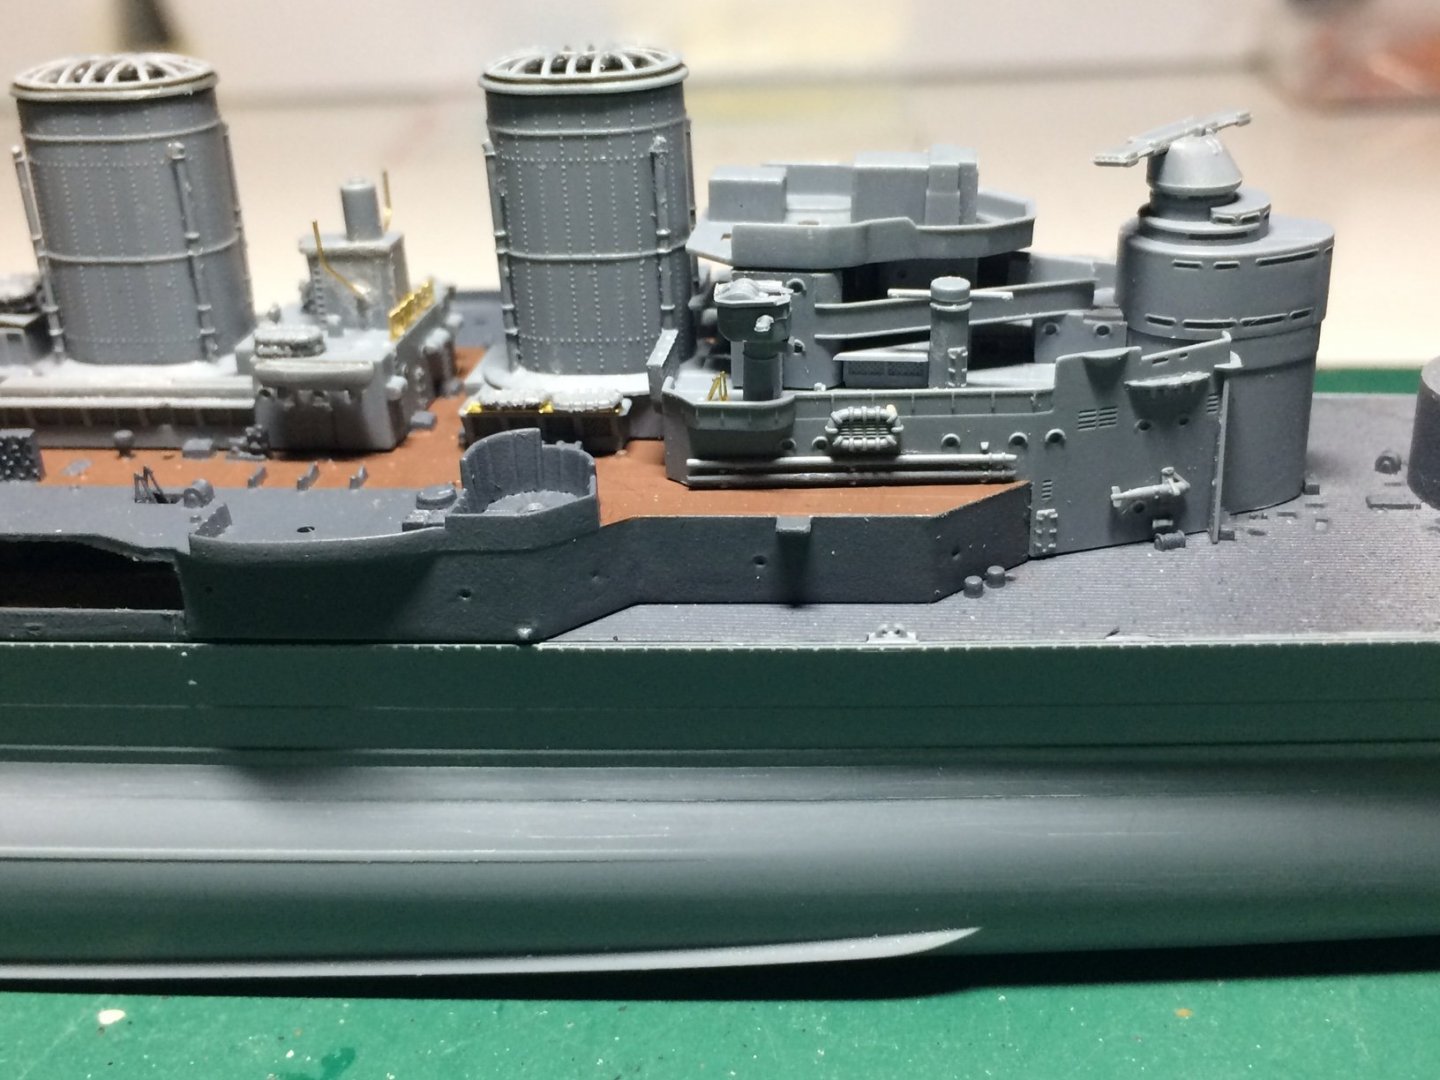
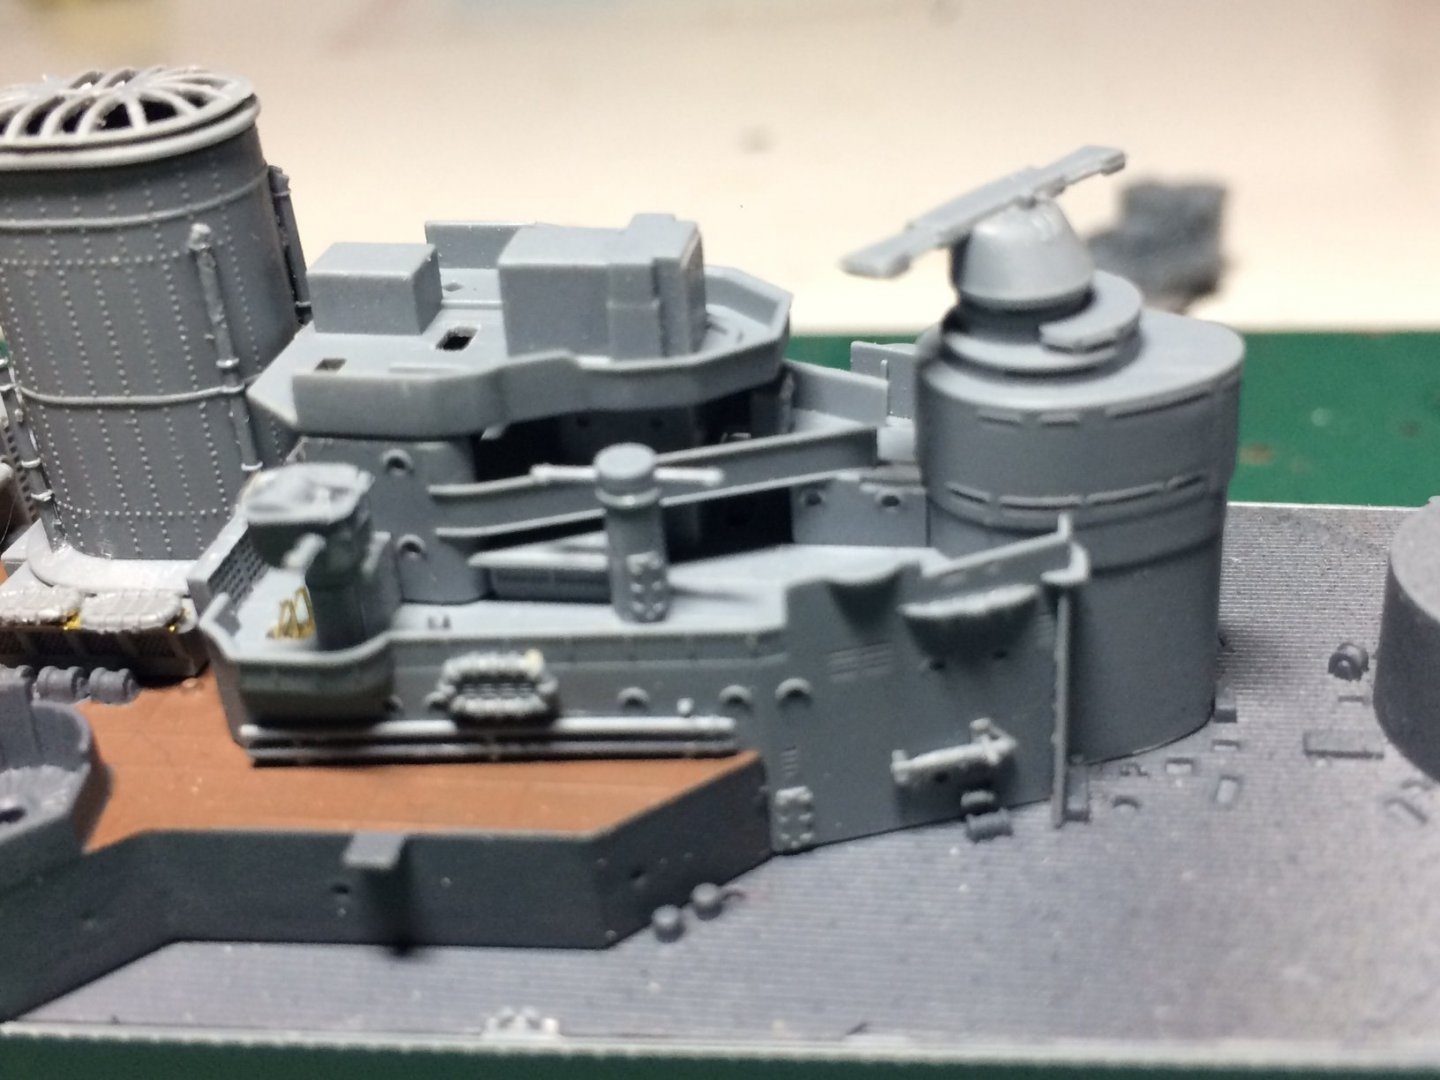
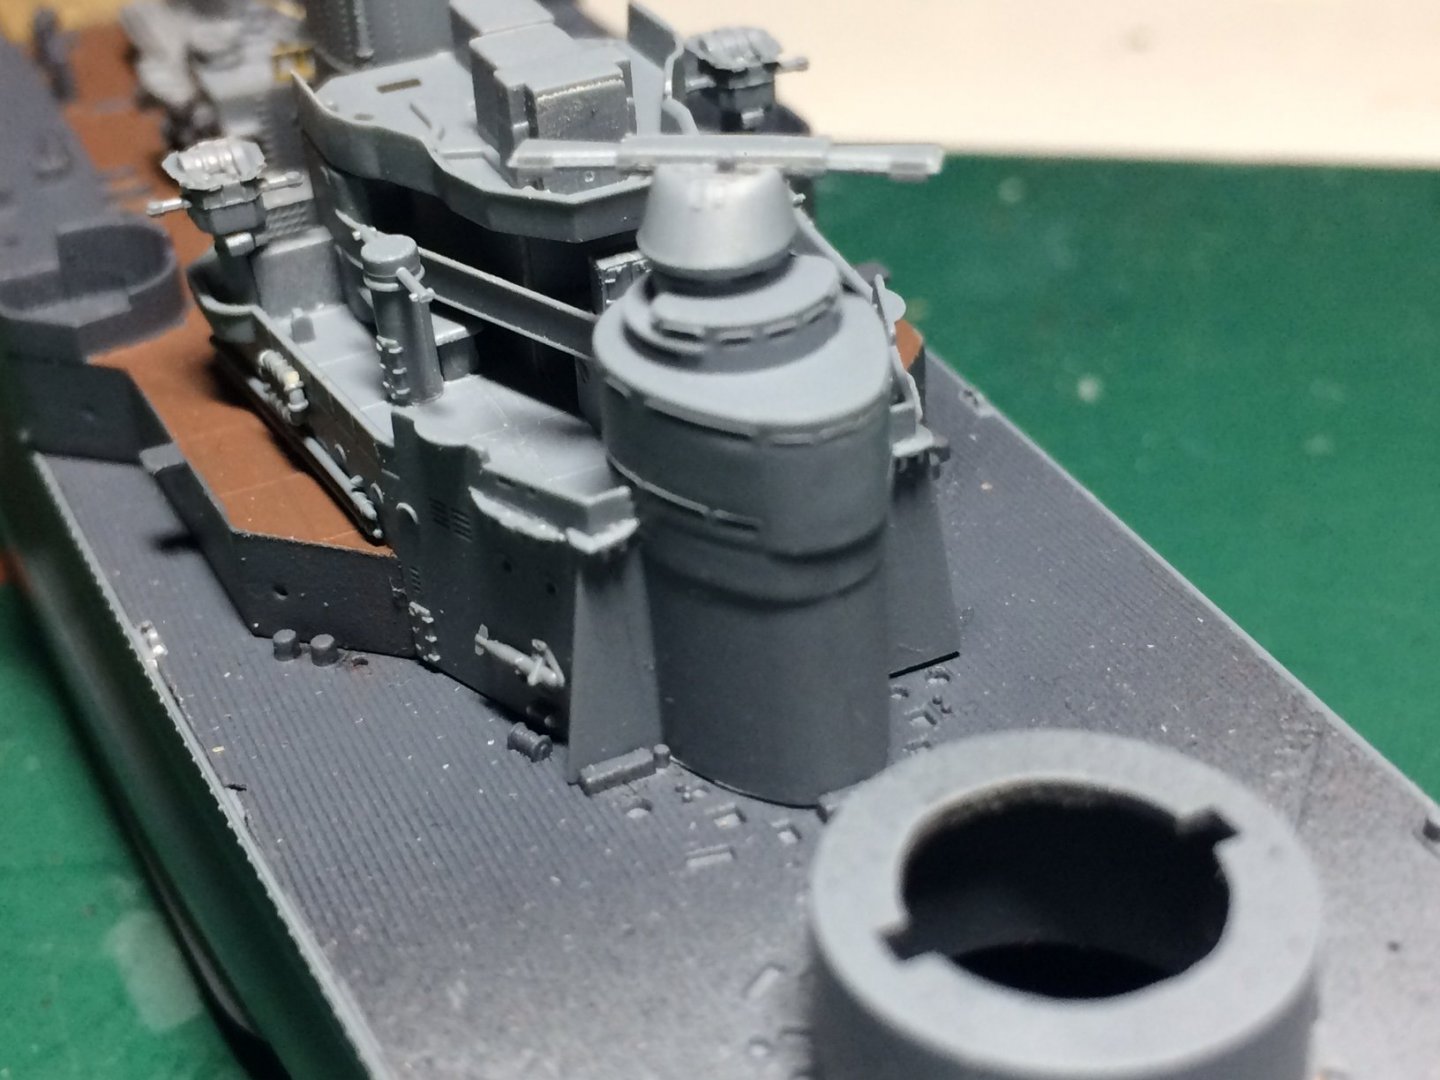
Evening all, a wee bit of work this eve - just adding details to some of the conning tower, I then dry fitted them together - getting taller. OC.
-
Thank you brother. OC.
-
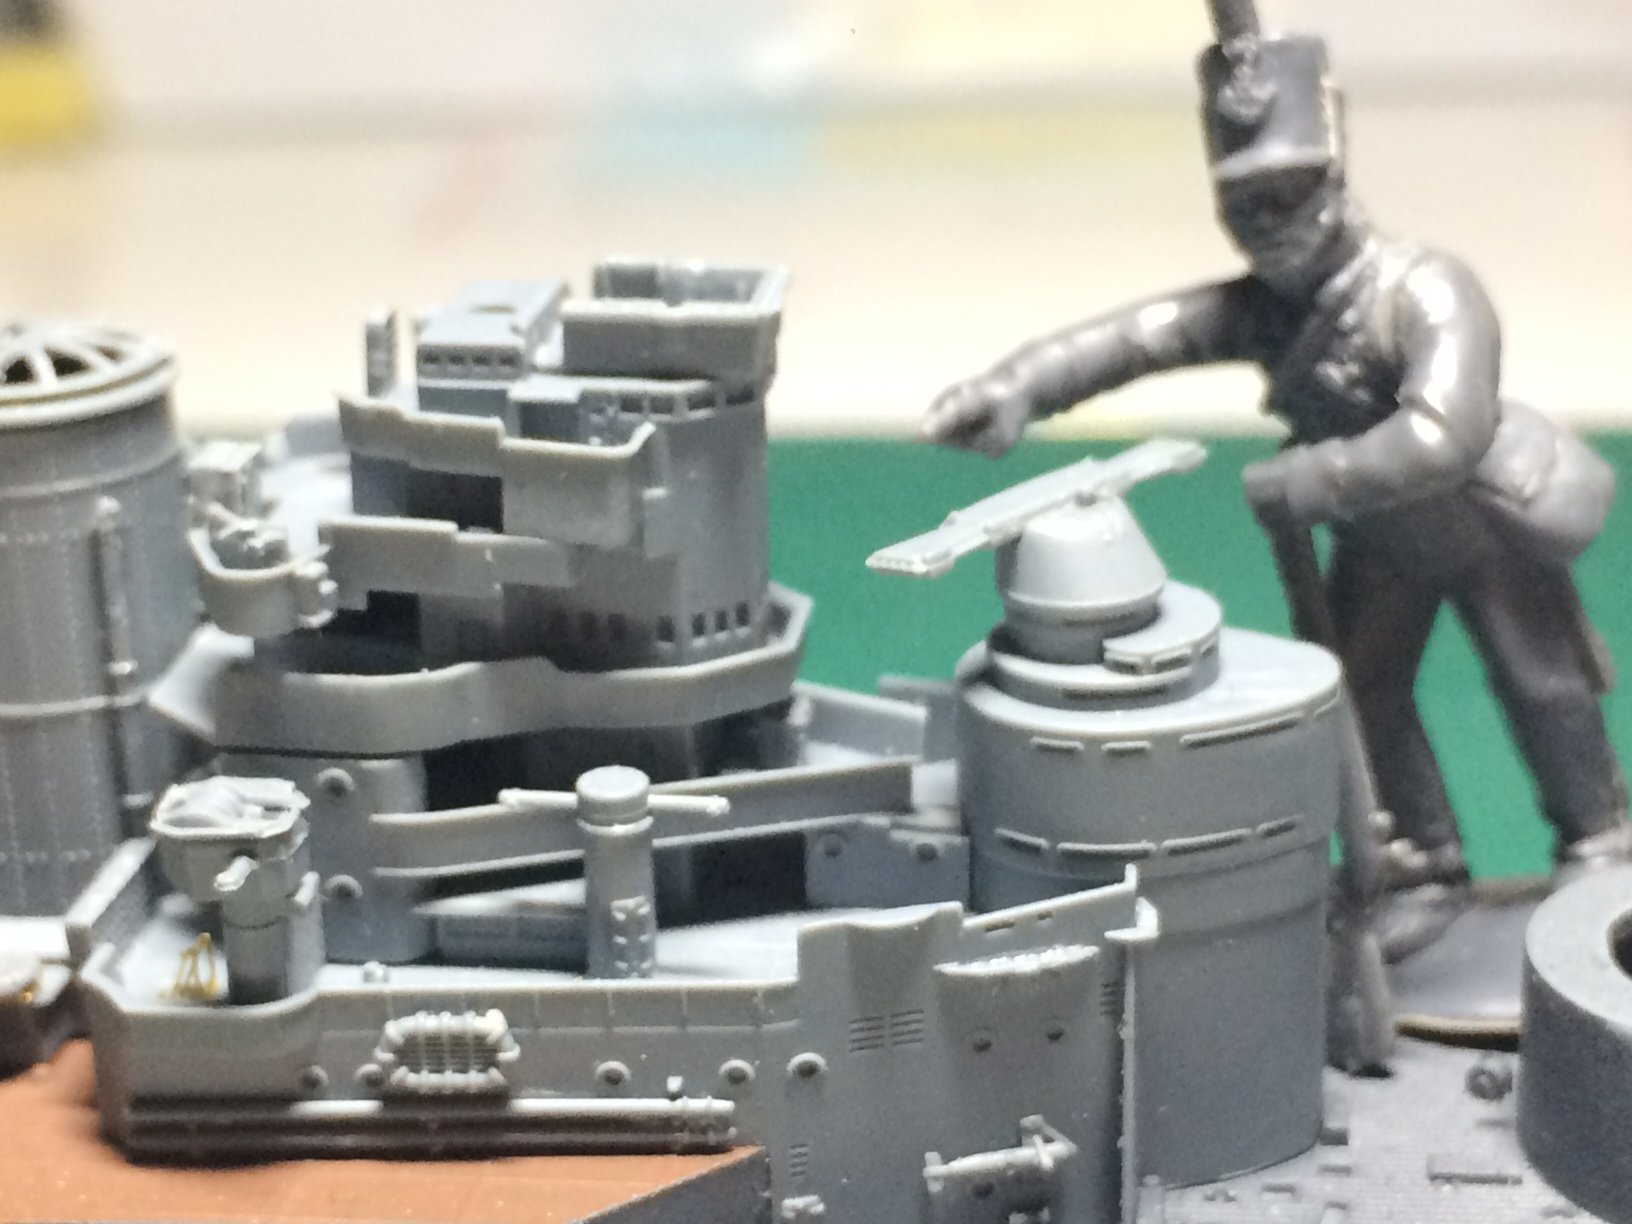
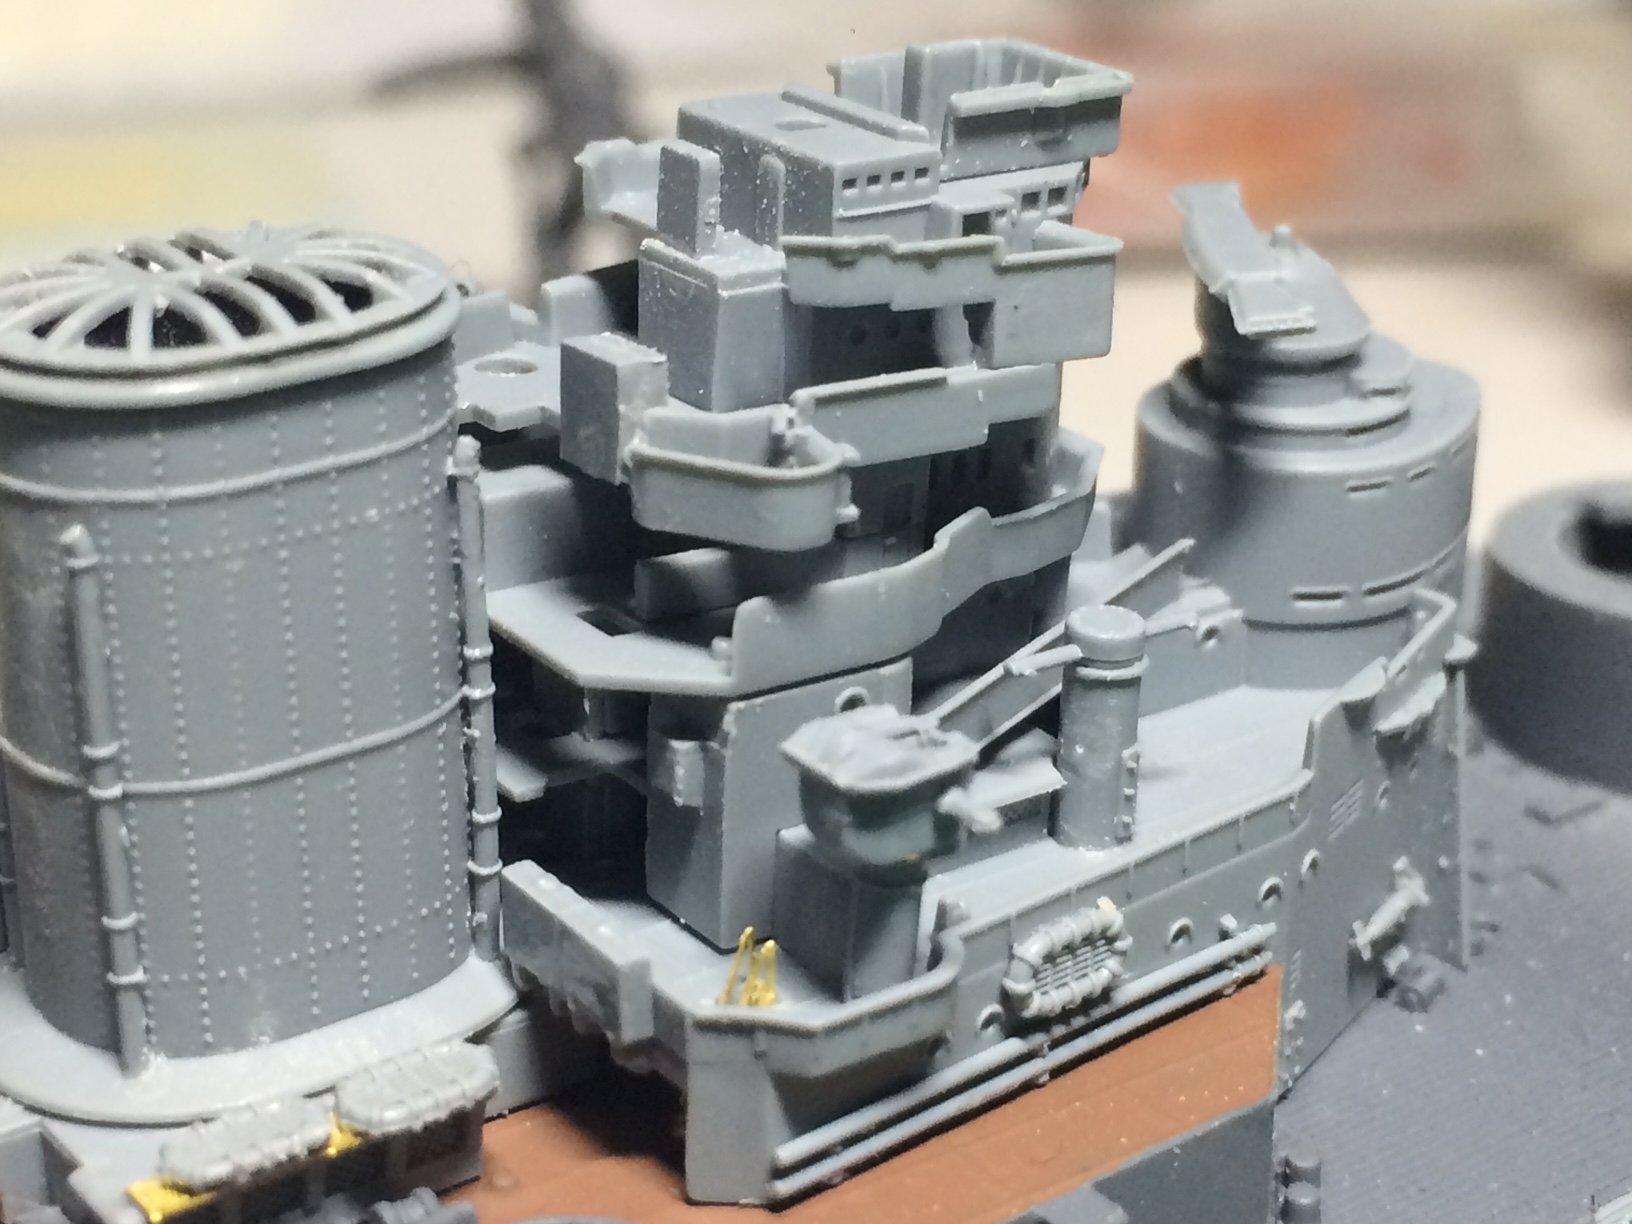
Just want to clarify - they are rubbish pics lots of noise and poor IQ - they are just fun pics messing around with a torch in bad light. OC.
-
Roger I think Ken is your man, I have dabbled many many many years ago in railway sets, but I think its down to you how far you want to go, how much immagination you have and how deep your pockets are, I would imagine raliways are like a rabbit hole. OC.
-
Joins us in "Ship little land" OC.
-
Looking Splendid Alan. OC.
-
Thank you Mark. OC.
-
Thank you Phil. OC.
-
I'm a bit worried about that man you have buried down there ontop of the batts - he wasn't doing anything bad - he is harmless.😁 OC.
-
Thank you kindly Alan. OC.
-
Thanks Ken, just fancied doing it. OC.
-
What a Fantastic build Chris - just amazing what you have created. OC.