Old Collingwood
-
Posts
12,104 -
Joined
-
Last visited
Content Type
Profiles
Forums
Gallery
Events
Everything posted by Old Collingwood
-
 Thank you for explaining that Craig, I guess for some sub assemblies where there is a uniform colour - assembling them priming/painting would be ok, but I can see the need to prime/paint railings first before attaching especially if a wood deck has gone down or other areas with different colours/shades of pant. OC.
- 174 replies
-
- 4
-

-
- prinz eugen
- trumpeter
- (and 2 more)
-
Thats why I wonder if its best to attach it first before priming and painting. OC.
- 174 replies
-
- 4
-
-
- prinz eugen
- trumpeter
- (and 2 more)
-
Does the metal primer stay put when you start bending it into shape, or does it crack? I have never used it. OC.
- 174 replies
-
- 3
-
-
- prinz eugen
- trumpeter
- (and 2 more)
-
Whats your work ethic with the painting - assemble the sub assmblies including the PE, then spray primer then colour then if you are fitting them the wood decks? just getting a flow for when I start my Hood. OC.
- 174 replies
-
- 3
-
-
- prinz eugen
- trumpeter
- (and 2 more)
-
Coming on real nice there mate, I feel your pain with pieces getting damaged - remember my Gryhound build and those rear quarter window frames - that liked ot snap?. Keep at it Mark - dont worry about the swearing I think the volume is turned down on the forum.😁 OC.
- 505 replies
-
- 5
-
-
- vanguard models
- Sphinx
- (and 1 more)
-
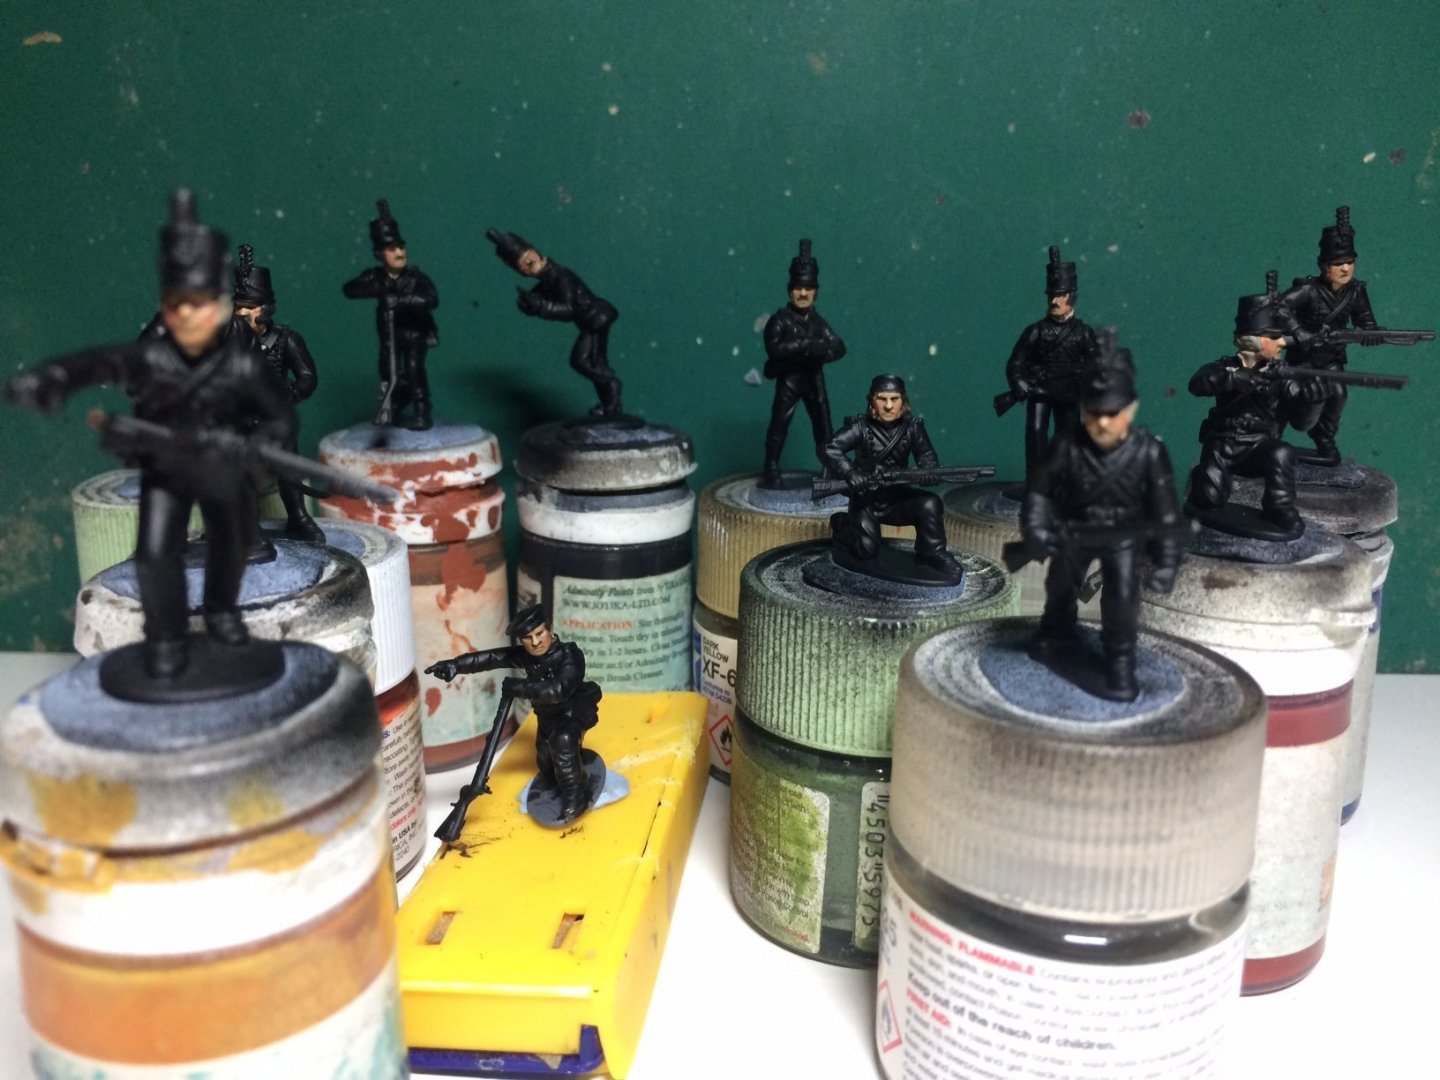
Evening all, I have done a bit more to the 2nd KGL group - jackets and a wee bit more of a washe to their hair. OC.

-
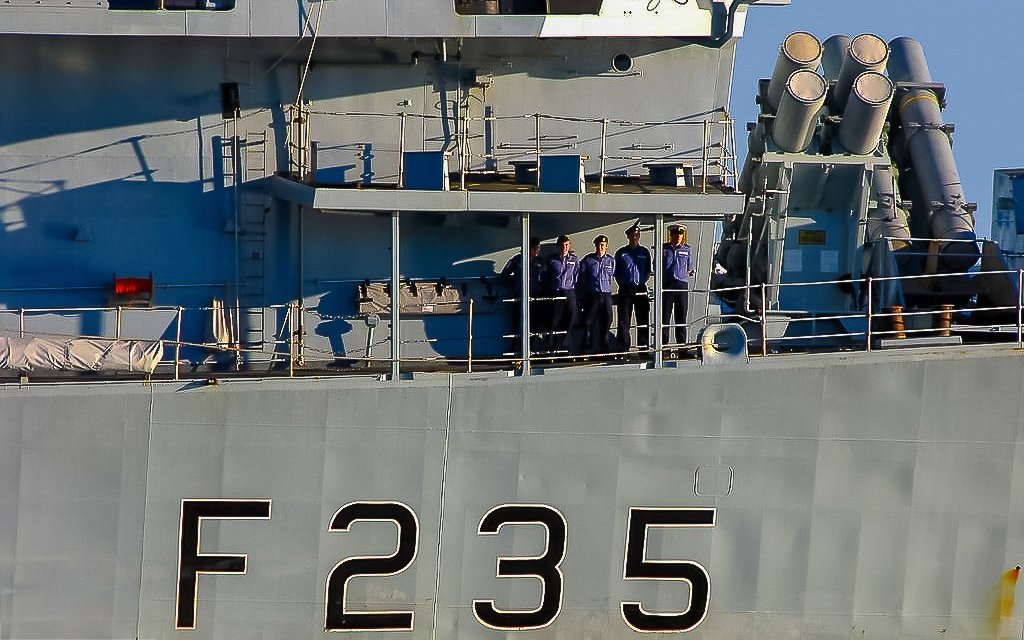
I have these few taken by me - HMS Monmouth close up HMS Argyl (sister ship) Hope they are of use. OC.

-
Thank you Mark, yep I am able to tackle more in one go now - and the airbrush so speeds up the priming, I find with each pot on the airbrush about 3/4 full I can spray about Five figures before I clean it and re-fill and do some more. OC.
-
Thank you Alan, the faces are the most difficult stage as you can go either not enough or over the top, after this stage I relax more with the uniform painting. OC.
-
Thank you kindly Denis - very nice of you to say. OC.
-
Blimy mate - you have some work there - should be an interesting project - with a nice set up when finished. OC.
-
Evening all, a little bit of progress - painted the faces, starting with a couple of flat flesh colour coats then some pink for the cheeks , then some wash using Agrex Earth Brown wash, then a mixed flesh/pink to the highlights like the noses and foreheads, folllowed up with a few "toshes" and hairs painted in Black/Dark Brown and light colour. OC.
-
I agree with every one else - I think you steped up a gear and creating some beautiful work. OC.
-
That is looking splendid mate - so much fine detail with the shrouds - really coming on, OC.
- 273 replies
-
- 1
-
-
- panart
- amerigo vespucci
- (and 1 more)
-
Hope your Right to Left or Left to Righ cross eyed soon recovers, other wise you will be sticking bow pieces and the stern wrong way round and vica versa. OC.
- 174 replies
-
- 6
-

-
-
- prinz eugen
- trumpeter
- (and 2 more)
-
Or keep her in her chair drinking tea. OC.
-
Looking the bussiness Denis - loving the contrast of the stripes and the undersides - really nice mate. OC.
-
I used to drive my mum nuts - soldiers all over the carpet - can here her now " can't you play upstairs in your bedroom with your soldiers ......ouch ouch" as she treads on them..... OC.
-
Thanks Phil. OC.
-
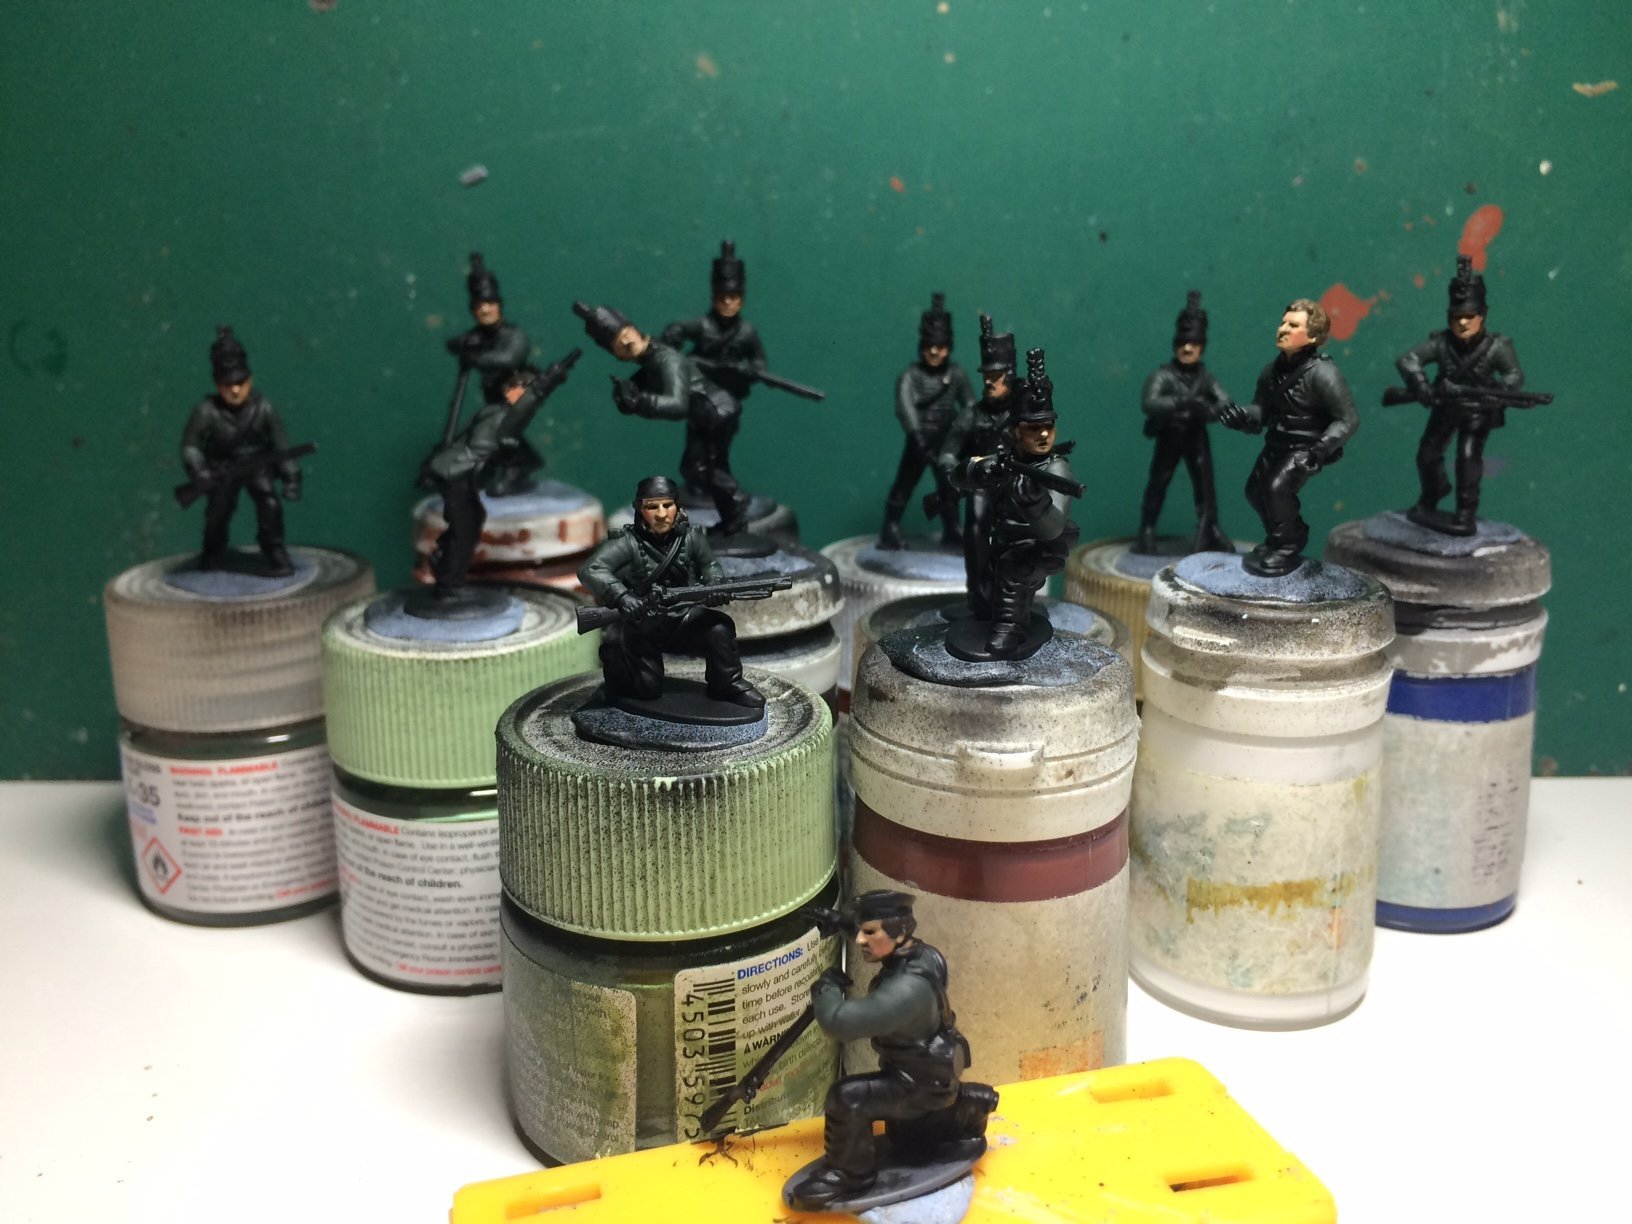
Thank you kindly Edward - so nice of you to say, it takes me back to the seventies painting those 1/72 Airfix soft plastic Napoleoinc soldiers from the farm set - and this little boxes of additional figures, just this time they are slightly better. OC.
-
Deffinatley Craig, It is so nice to use even under full pressures it puts on such a fine layer, getting the hang now of how to back off abit if I need to - I compared it to hand priming a lst figure and you can see the difference. OC.
-
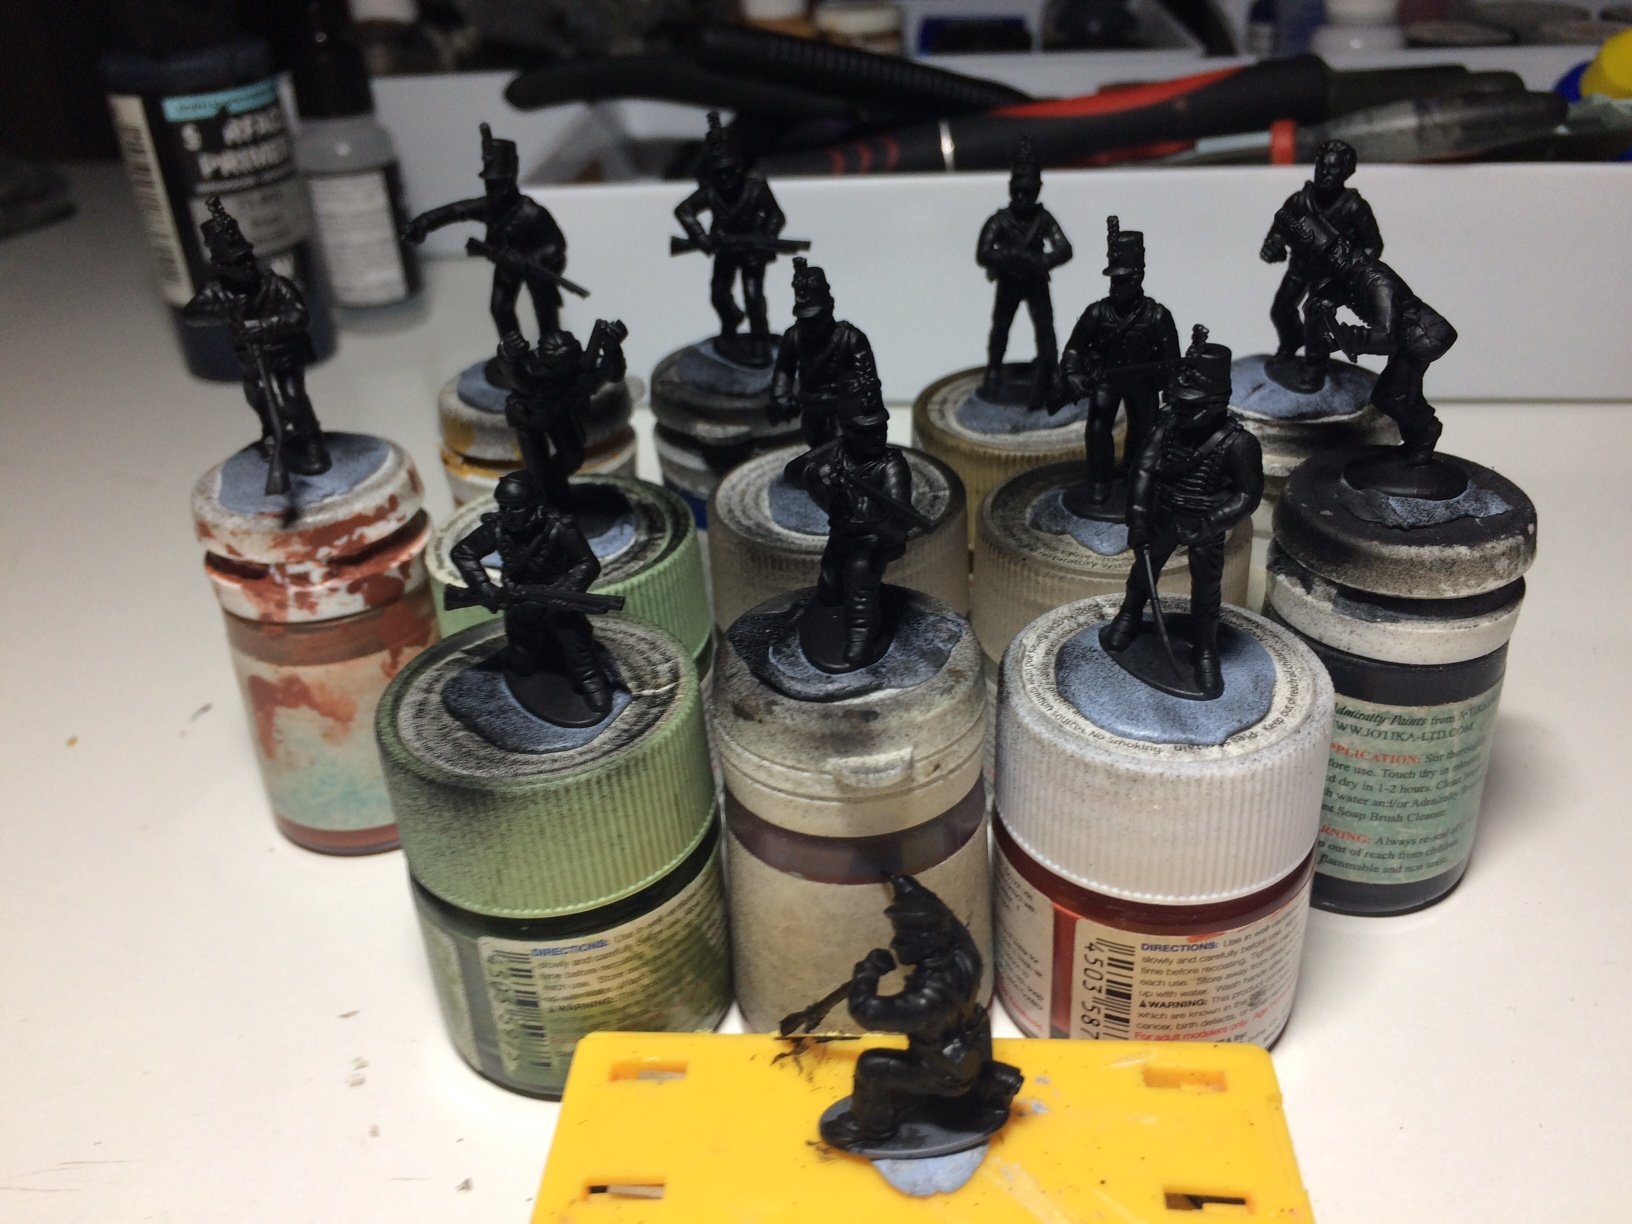
Evening all, spray booth was out on the table and a batch of 2nd KGL primed. OC.