Old Collingwood
-
Posts
12,106 -
Joined
-
Last visited
Content Type
Profiles
Forums
Gallery
Events
Everything posted by Old Collingwood
-
 Nice piece of kit brother - that lens is one of the really good ones (yep I owned one once when I was canon shooter) OC.
 -
Some excellent progress - you are doing a fab job on what is an old kit - very nice. OC.
-
Very nice work, can't beat a Warthog. OC.
-
Excellent work Brother - cant beat a "Toom" very nice work, and I spied a 55-250STM on the bench😉 OC.
-
Evening all, a bit more progress on the stables - I got the inside lower brick work painted Black (to match the farmhouse as its like that all the way round the inside walls) but after chatting with the admiral - as the room was starting to look like a dump tip with my table cluttered and messy making the rest of the room look messy, so I had a tidy up and put away most of my tools/tubs etc, then latter when I returned to do some more work on the build I just got out what I needed not everything. Its the pitfall of not having a work area or man cave. Anyway the next bit of work that was started and finished was a pre cut section of floor flag paving - I put a sand fill in down first, then picked out the different flag stones in different shades of Grey, and finished off with a couple of dirt washes as it would have been well worn. Foregot to take a pic - will tomorrow. OC.
-
Smashing work Kevin - really nice, I know what you mean about the motion sickness - when I used to watch cowboy films and saw the these carriages bouncing about so mutch I used to think that no way would I have gone in one. OC.
-
Very well said Mike, very similar class to the Corel Greyhound kit - quite a few of us tried to bring that kit to life. OC.
-
I was tempted Mark, but the call of the master builder at the Farm was too strong - he said "Son you must finish it - all the little people in your box need you". OC.
-
I was watching some guy on a video - free hand doing the different camo shades on a Me 109 including the blotches - amazing what you can do with practice. OC.
-
Thank you Alan, I have a few kits in my stash that will do well with the airbrush I am sure - from Tanks to Aircraft. OC.
-
So guess what turned up yesterday - it cost me a fair bit (for plastic modeling, it makes a gentle puring sound and you can inflate tyres with it if you want to) yep my airbrush kit has arrived Cam in a huge box quite heavy and contained a bout a Million of those styrene bits for protection - did they fall all over the floor when taking the boxes out - "cause they did". Its put away in my model cupboard till I get around to trying it out. OC.
-
Thanks Ken, I have purchased Two bottles of Vallejo airbrush cleaner, and will try thinning the acrylic paints using distilled water (will let some boild water go cold them put them in a few of my eye dropper empty bottles, that way I can gauge the mix by drops. OC.
-
Very nice progress - sure looks like a large piece of kit. OC.
-
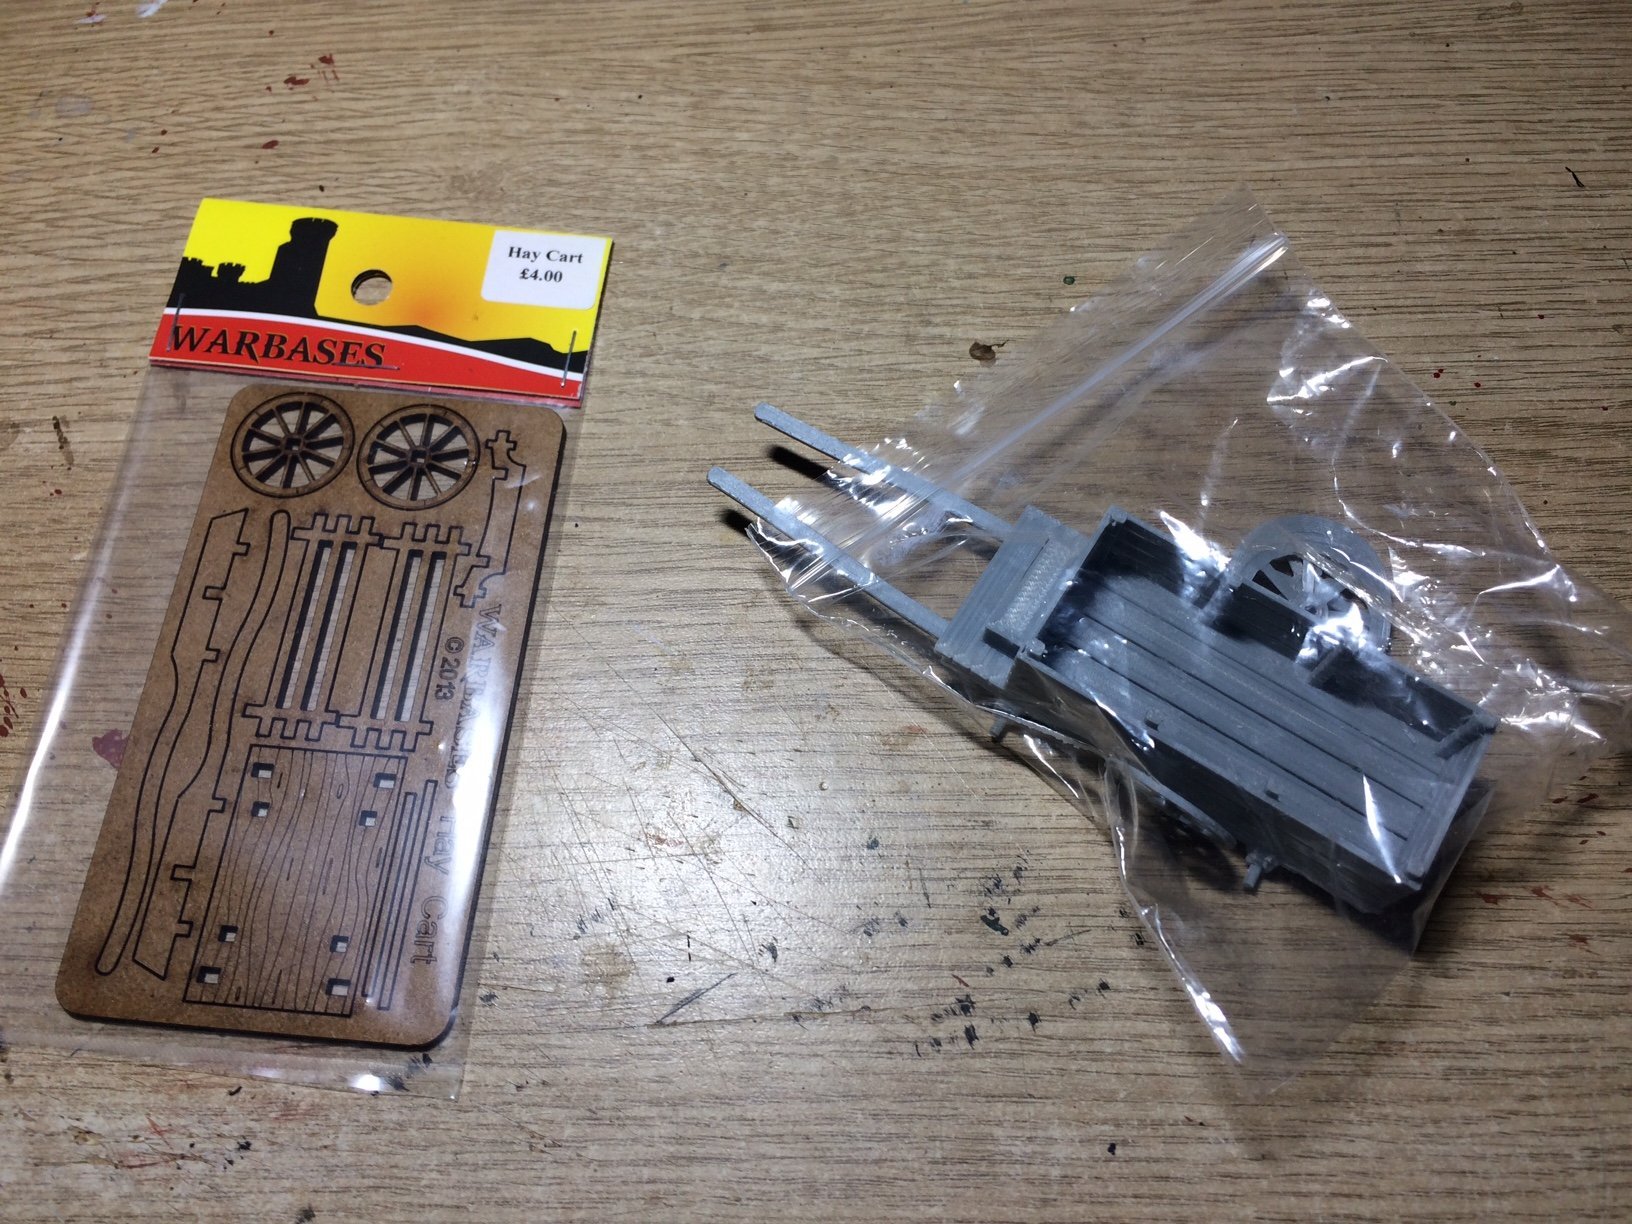
Evening all, more progress - Black Paint time on the doors/frames and window frames, oh and look what arrived in the post - my Two carts to go outside on the roadway acting as a partial defence. OC.


-
Very nice work mate, its a completley new science to me - so I will just follow on with an open mouth in amazed-ment of how thease 3d printing voo doo works. OC.
- 460 replies
-
- 5
-

-
- Finished
- Flower-class
- (and 1 more)
-
That is looking lovely Alan, I think all who attempt and do well at this scale deserve a medal. OC.
-
Very nice work mate - those breakwaters look so scale accurate - even include the partition for access by the look of it - most impressive. For so long we have been waiting for decent scale accurate kits - now we are spoiled for choice. OC.
- 225 replies
-
- 5
-
-
- I Love Kit
- Hood
- (and 2 more)
-
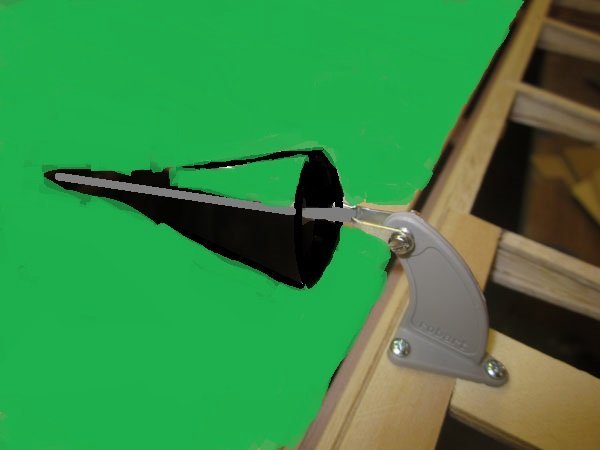
This is the best I can do Chris - I think on the out side of the wing there would be a half cone shape opening (imagine a cone cut down the middle, inside this the link rod would go where it would meet the pivit conection on the Aileron and the other way it would dissapeer inside the wing. Hope this helps - had a quick fiddle in Paint. OC.
-
Thank you @king derelict and @lmagna both Lots of studying than playing around to do, think my first job will be priming my figures with my Vallejo Primer. OC.
-
Yep, I have been watching some videos on spraying with acrylics and it shows the frequent cleaning of the airbrush - good job I brought some Vallejo cleaner - came today, I have been debating for paint thinners - distilled water or acrylic thinning agents? OC.