HOLIDAY DONATION DRIVE - SUPPORT MSW - DO YOUR PART TO KEEP THIS GREAT FORUM GOING! (Only 13 donations so far - C'mon guys!)
×


Old Collingwood
-
Posts
12,098 -
Joined
-
Last visited
Content Type
Profiles
Forums
Gallery
Events
Everything posted by Old Collingwood
-
 Wonderful work. OC.
 -
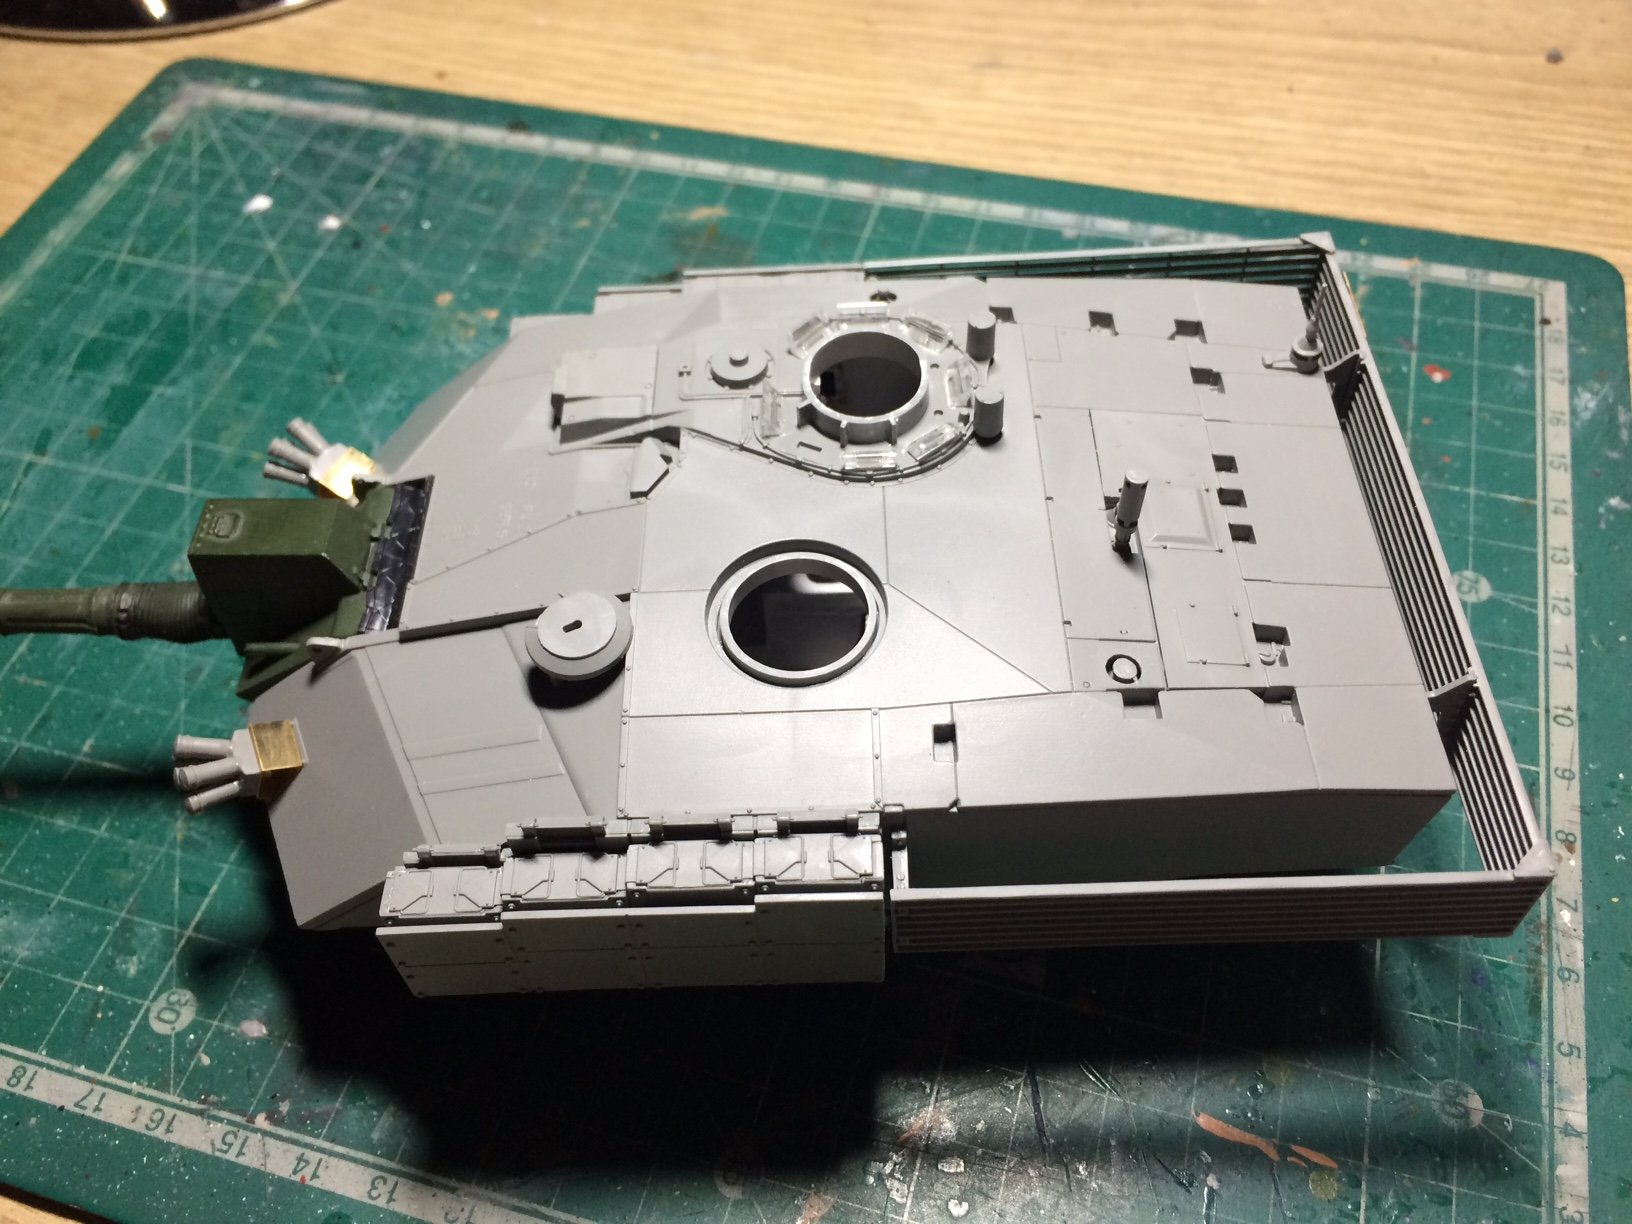
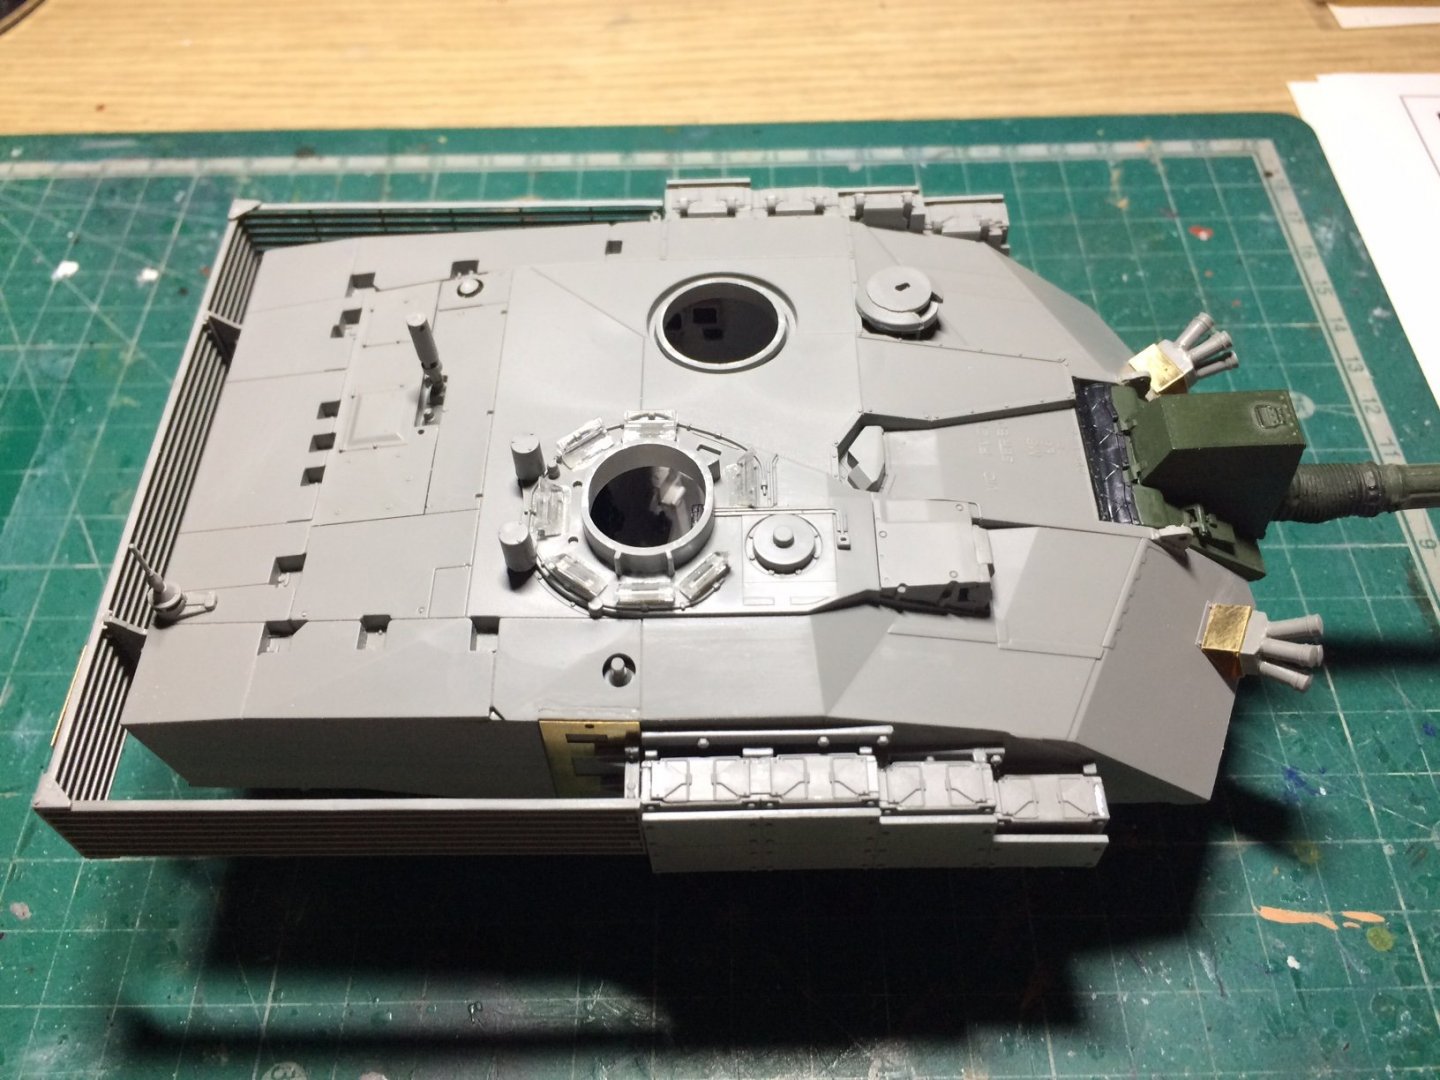
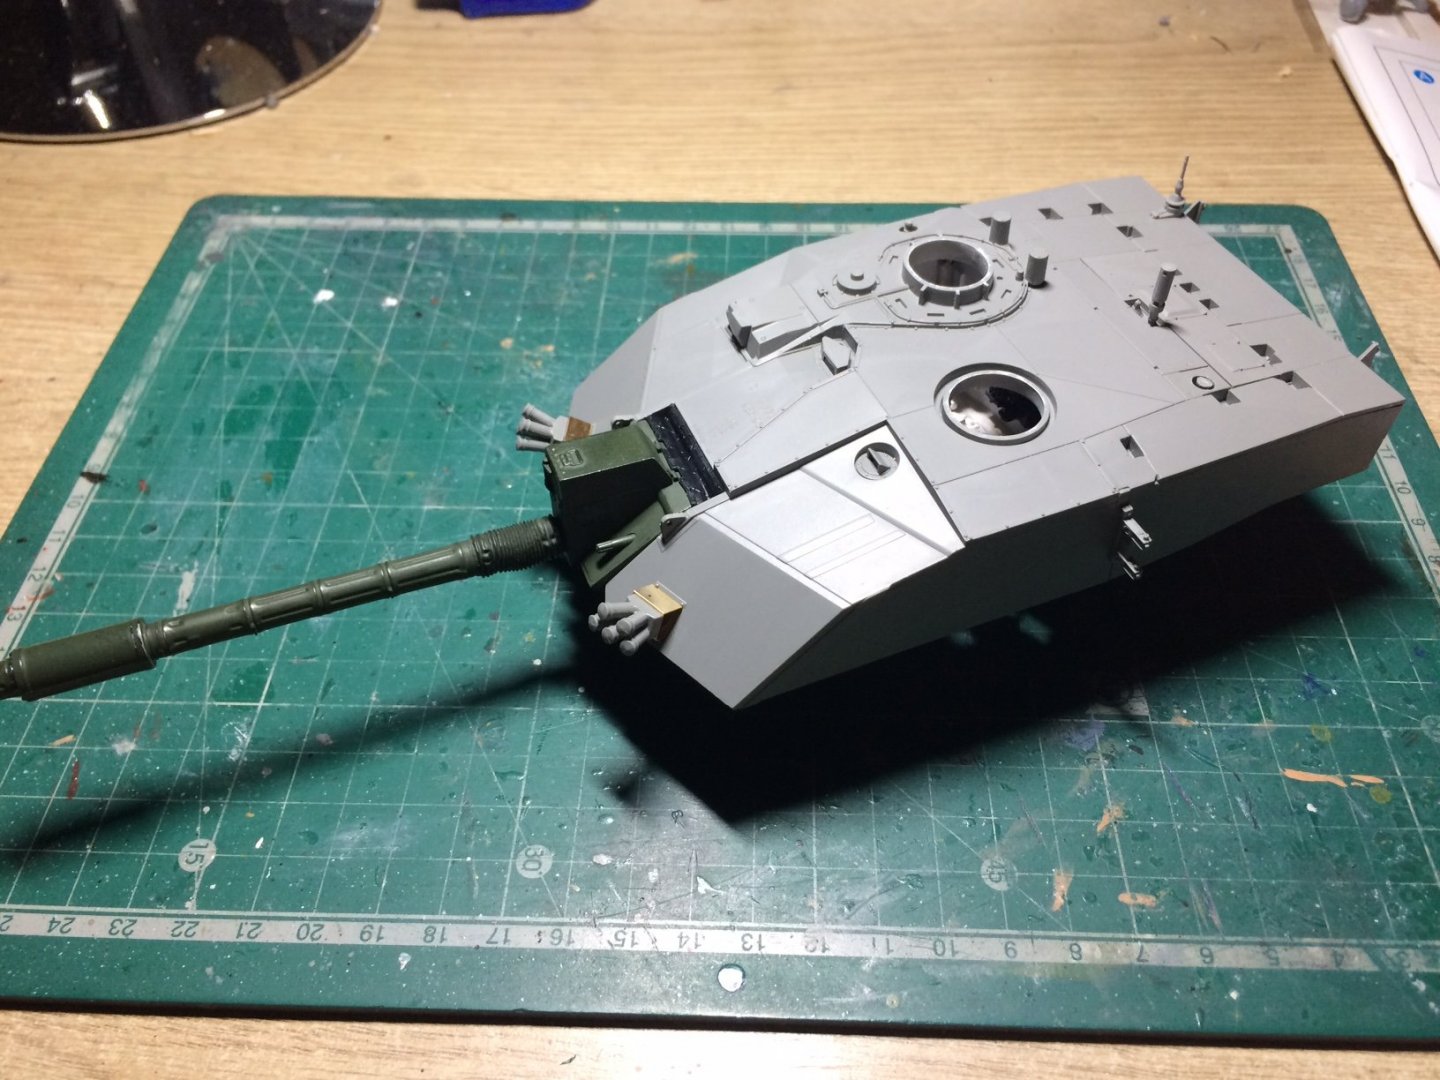
Evening all - some good progress today, I fitted the remaining turret armour frames (these needed positioning carefuly as the locating lugs for these lign up with holes that I had foregot to drill before closing up the turret, next was to make the armour sections/blocks - these are a Two part system consisting of the blocks and an external plate, after fitting these I then fitted the rear cage protection pieces. After fitting the turret armour pieces I continued with the main hull - this needed the drivers vision block fitting with the clear part, after I masked the glass part ready for the paint layers. So this is where I am at the moment. OC.


-
Sounds like a plan Ken, only one problem - the admiral is very possesive of her curry 😁 OC.
-
Thank you Edward, yep - Diced chicken pieces cooked through first - then when the water has cooked away a jar of Tikka Masala sauce is added along with a few mixed herbs salt and pepper and my secret ingredient - Hamp seeds, brought to the boil then left on a simmer for about an hour, served with Basmati Rice thats been steamed and finaly served with mini Naan breads heated up in a toaster till slightly crispy. OC.
-
Evening all, more progress today fitted inbetween cooking a chicken tikka curry and chilling out watching saturday nigh TV, so - I closed up the lower hull, just a simple glue and press to close job, then I checked that all the seams were tight, next I glued inplace the frontal glacies plate armour block that was the first thing I ahd built (remember that)? This was put on one side while I started work on the turret - this needed the observation glass blocks fitting around the commanders hatch, before I attampt to prime/paint the the turret I will try to put some tamiya tape around the fronts of these blocks to keep them clear, next job was fitting the base for the auto L94A1 EX-34 7.62 mm chain gun, after that I started fitting the turret armour locating framework - then dinner and TV called me so work stopped. No pics due to that but I will post some tommor when I continue. OC.
-
Love the new avatar by the way. OC.
-
Greg, Dont rush my friend - the enjoyment is in the making not in the finishing - the end is the horrible bit. OC.
-
Next on the build will be the turret armour blocks/frames etc and the Bustle Rack, I will then look at if its going to work (re-painting) with me glueing together both top and bottom main hull parts, as long as I have a way of holding it for rattle can spraying (when the weather improves) and I can mask inside I should be good to go. OC.
-
Thank you kindly Lou, yep it is abit of a job to take pics of the inside. OC.
-
Thank you so much Mark, Its quite weighty also - I think its easily doubled the bare turret weight. OC.
-
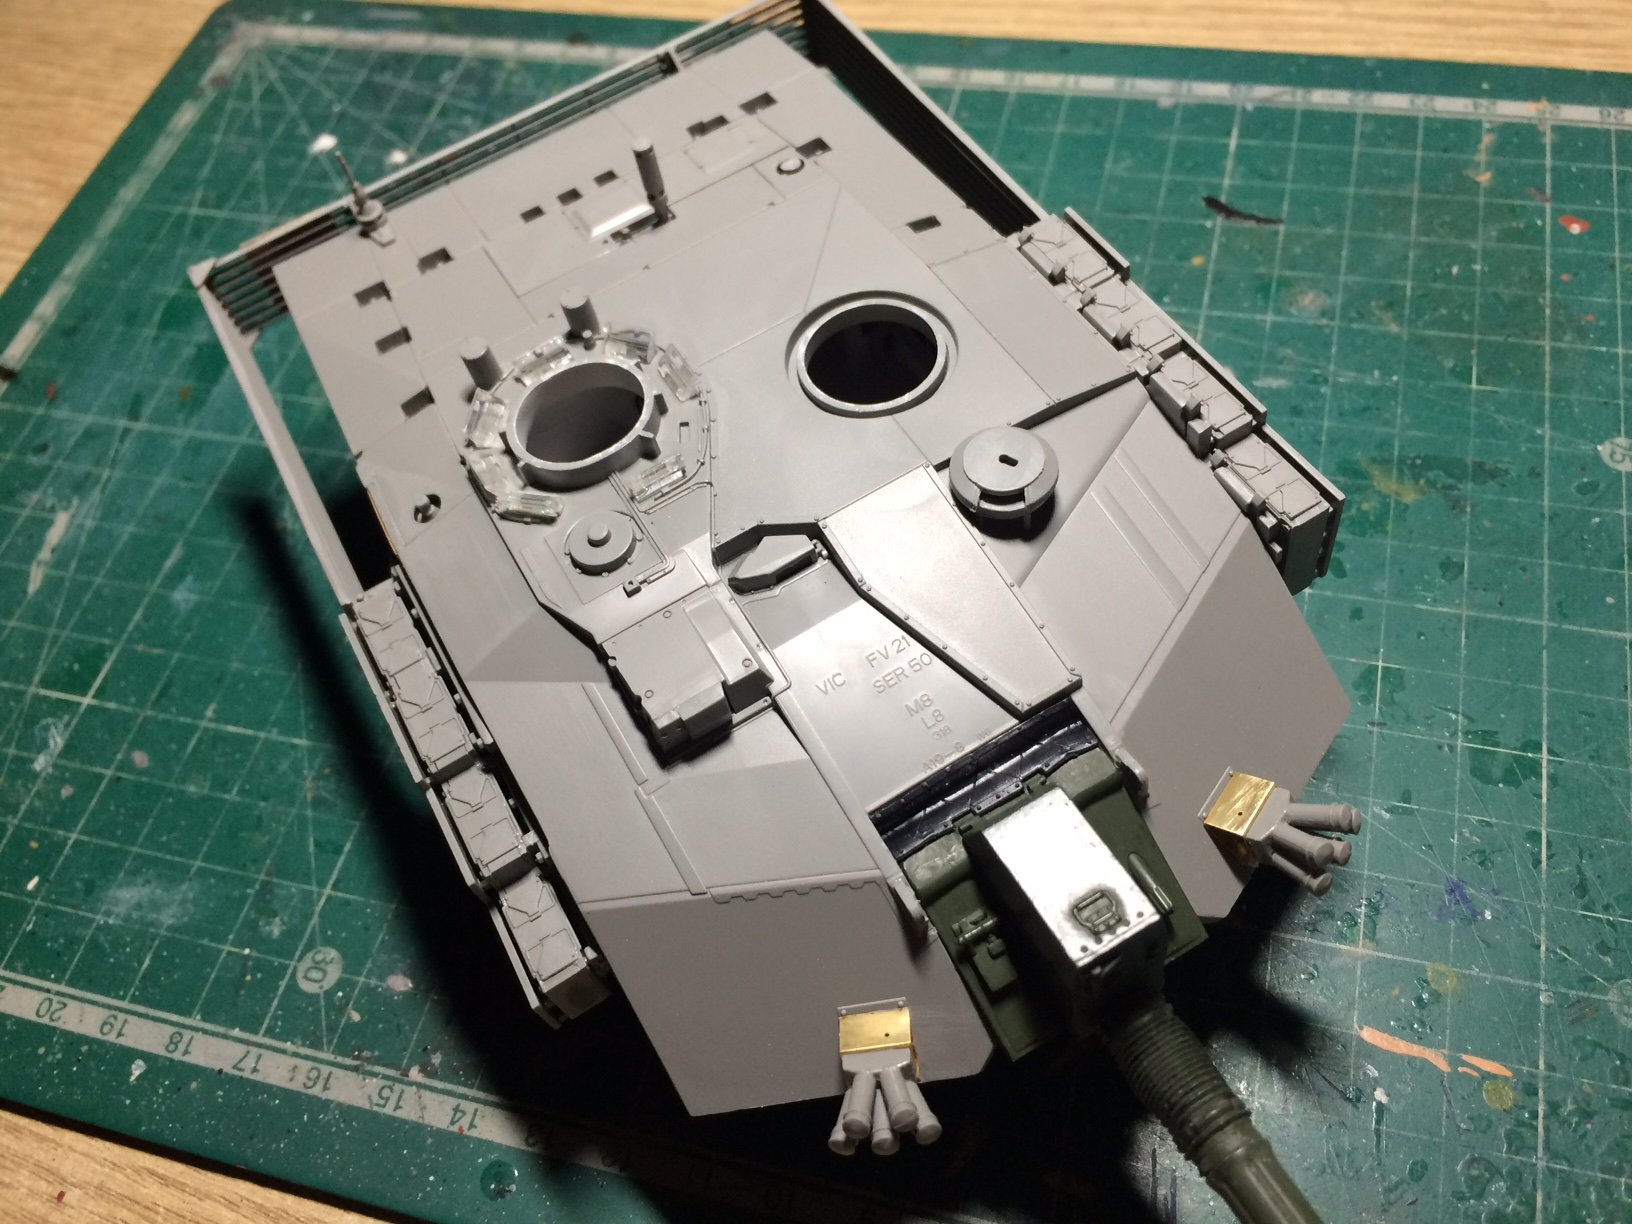
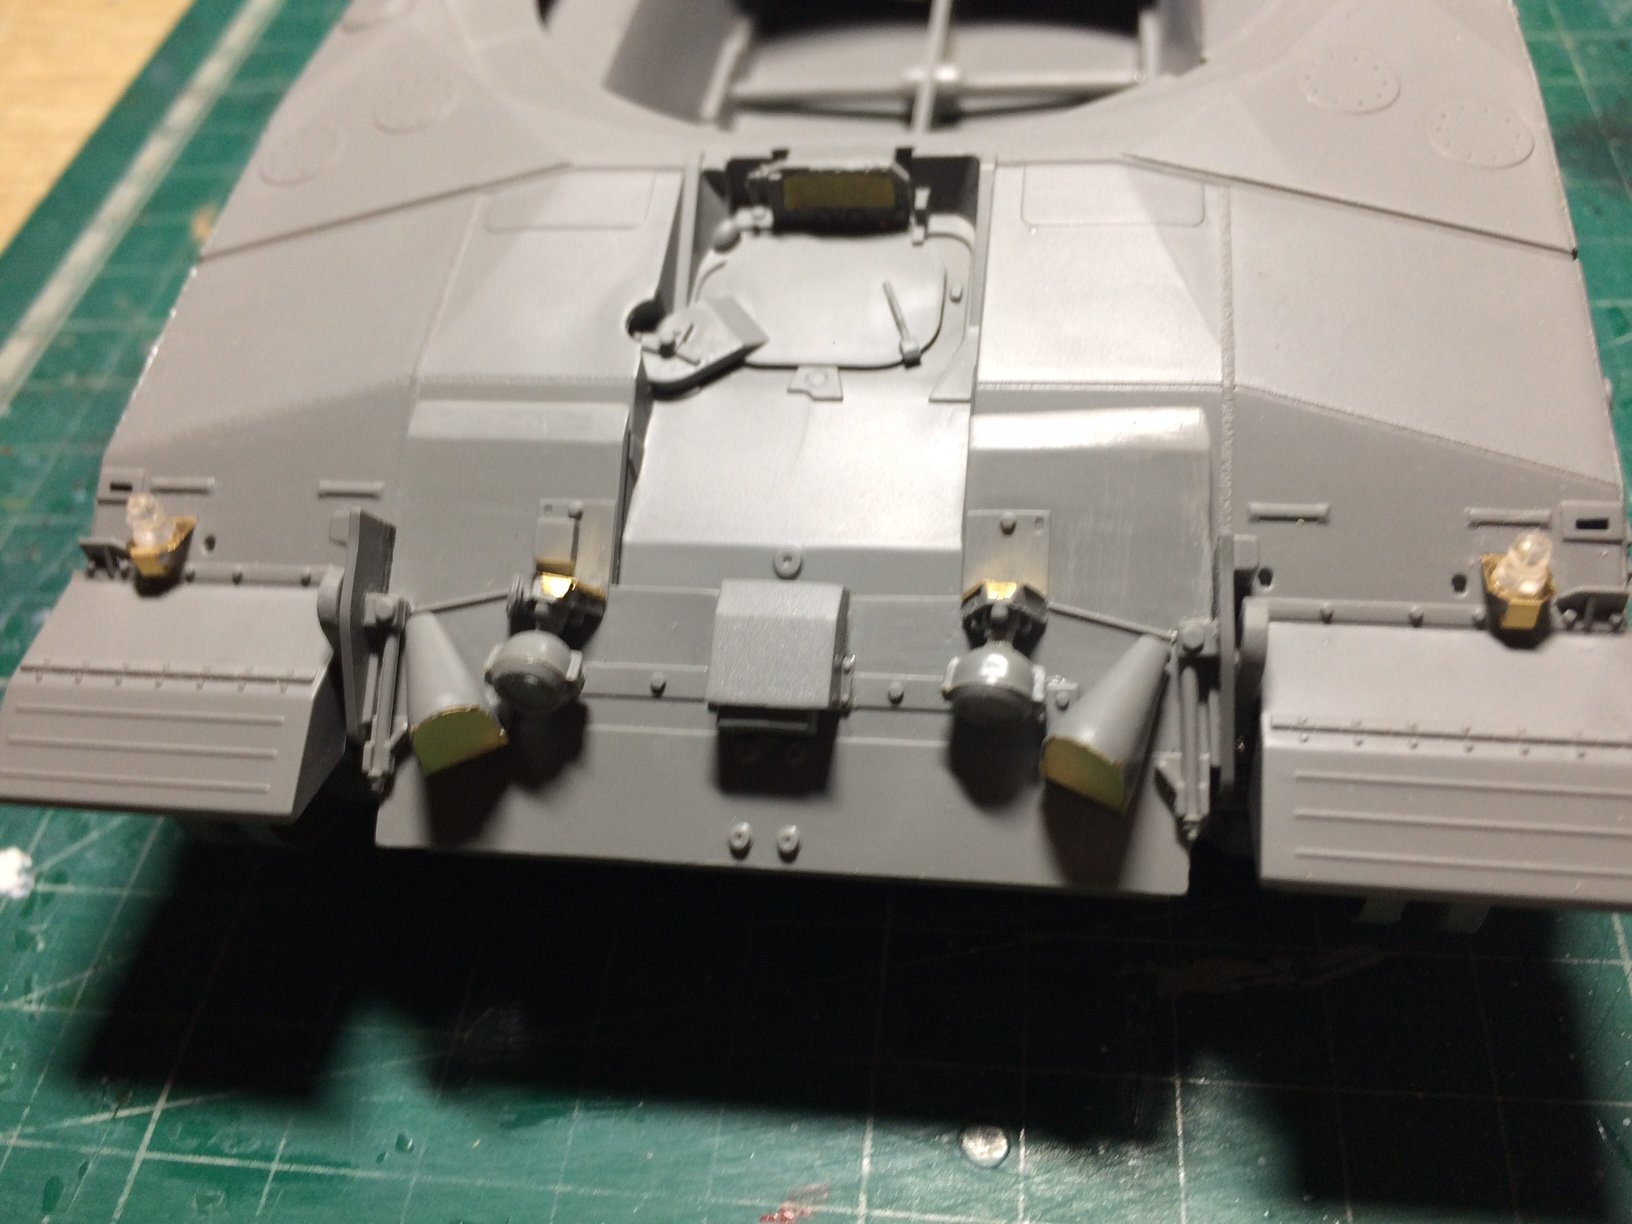
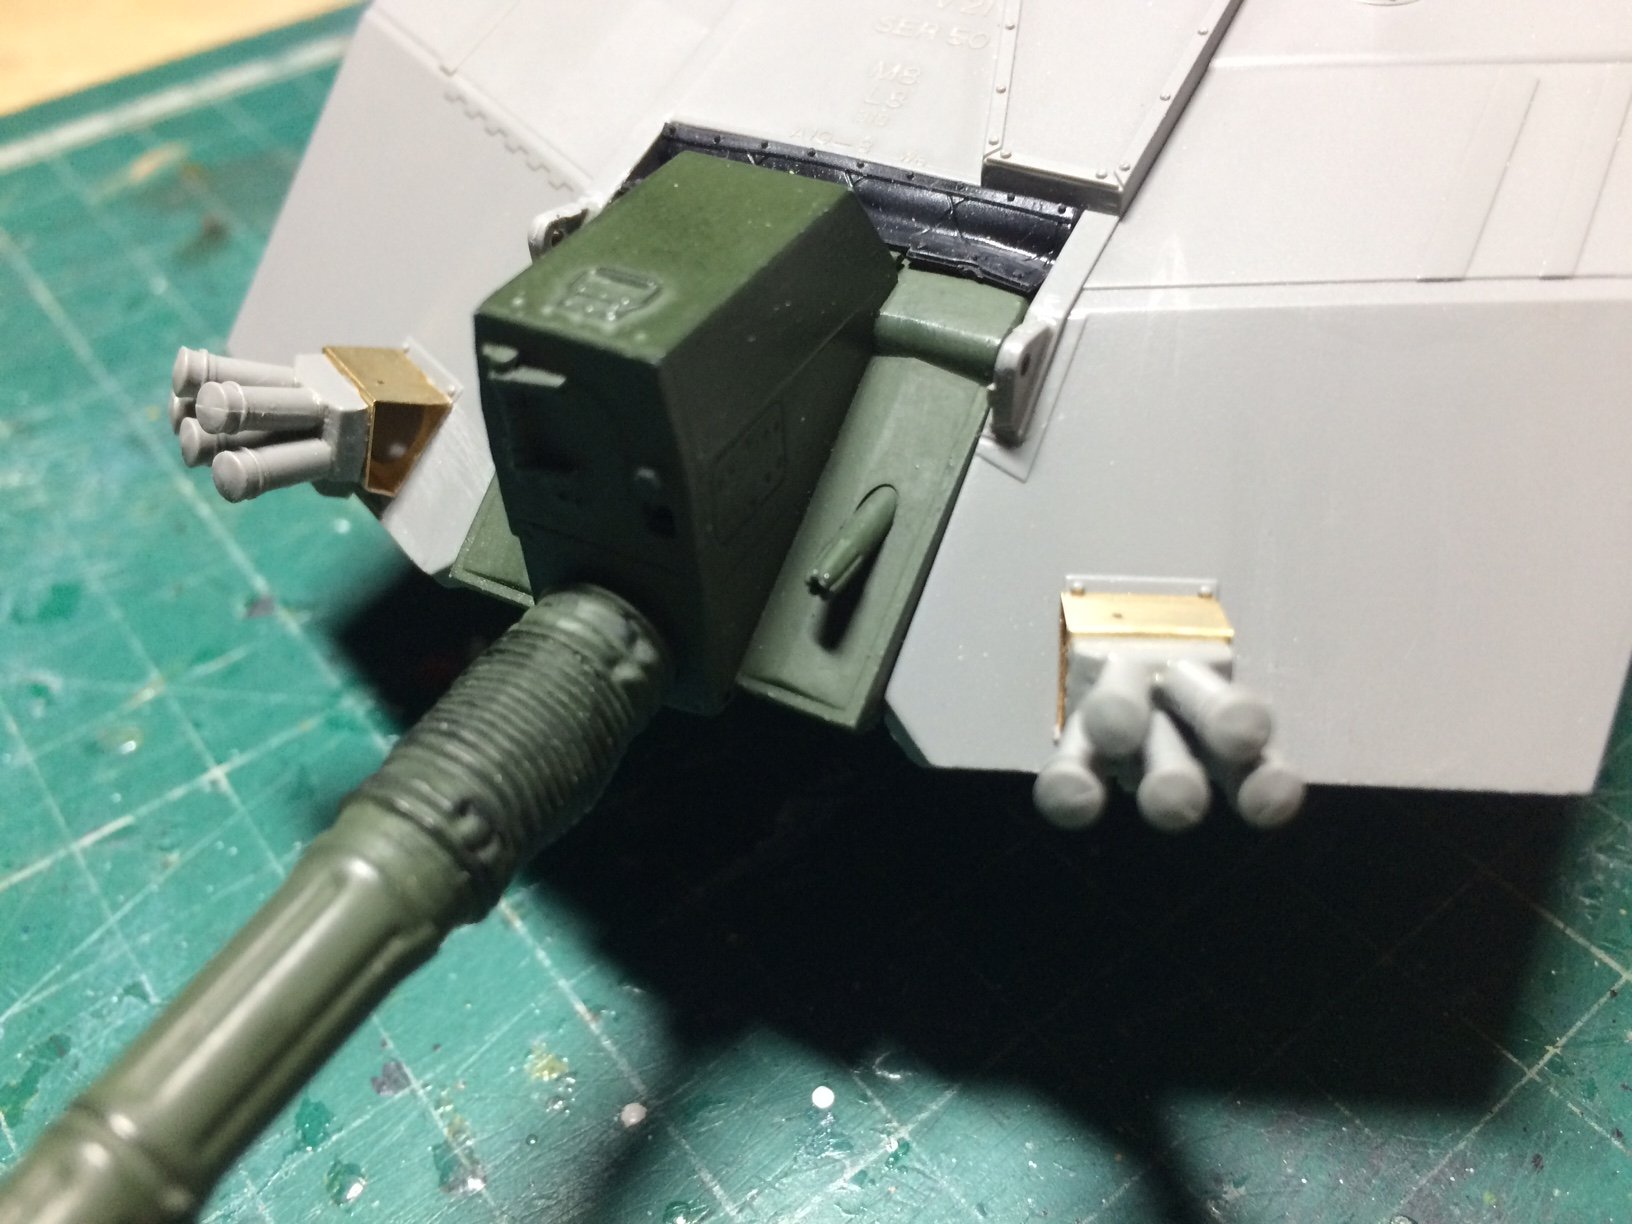
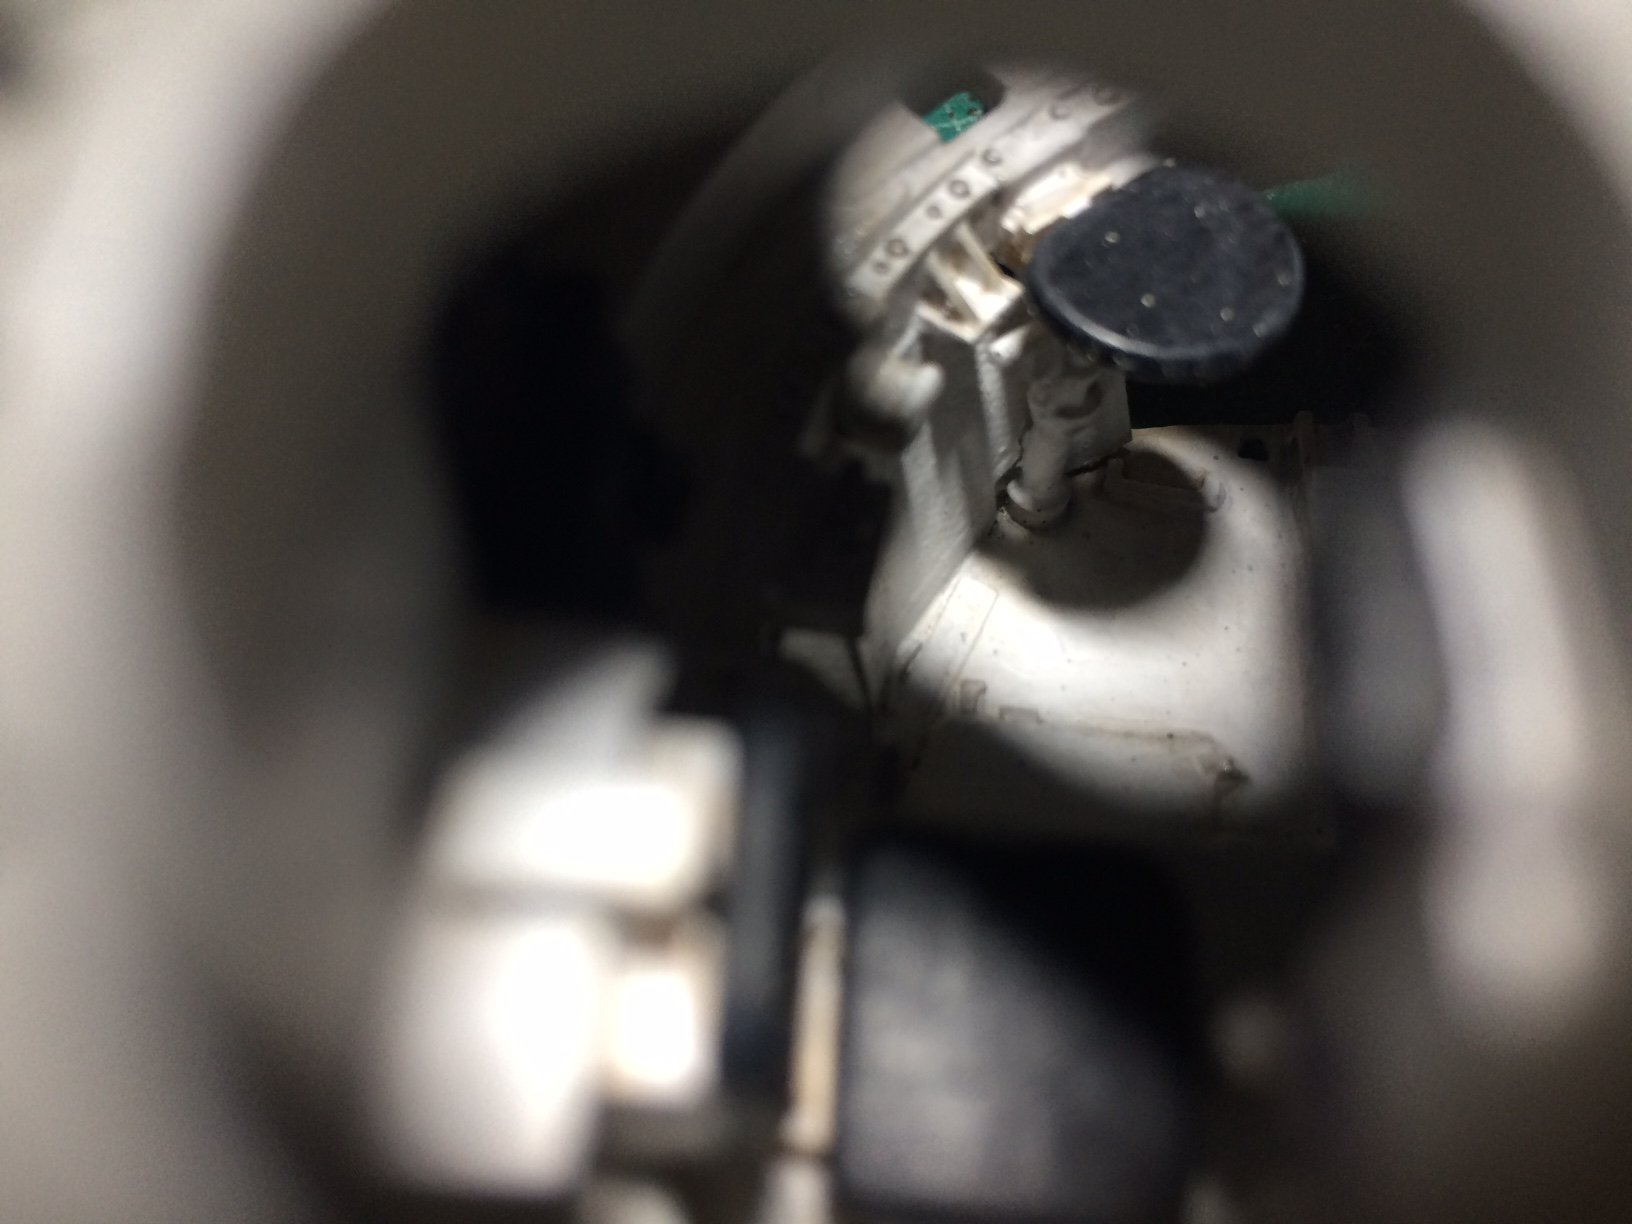
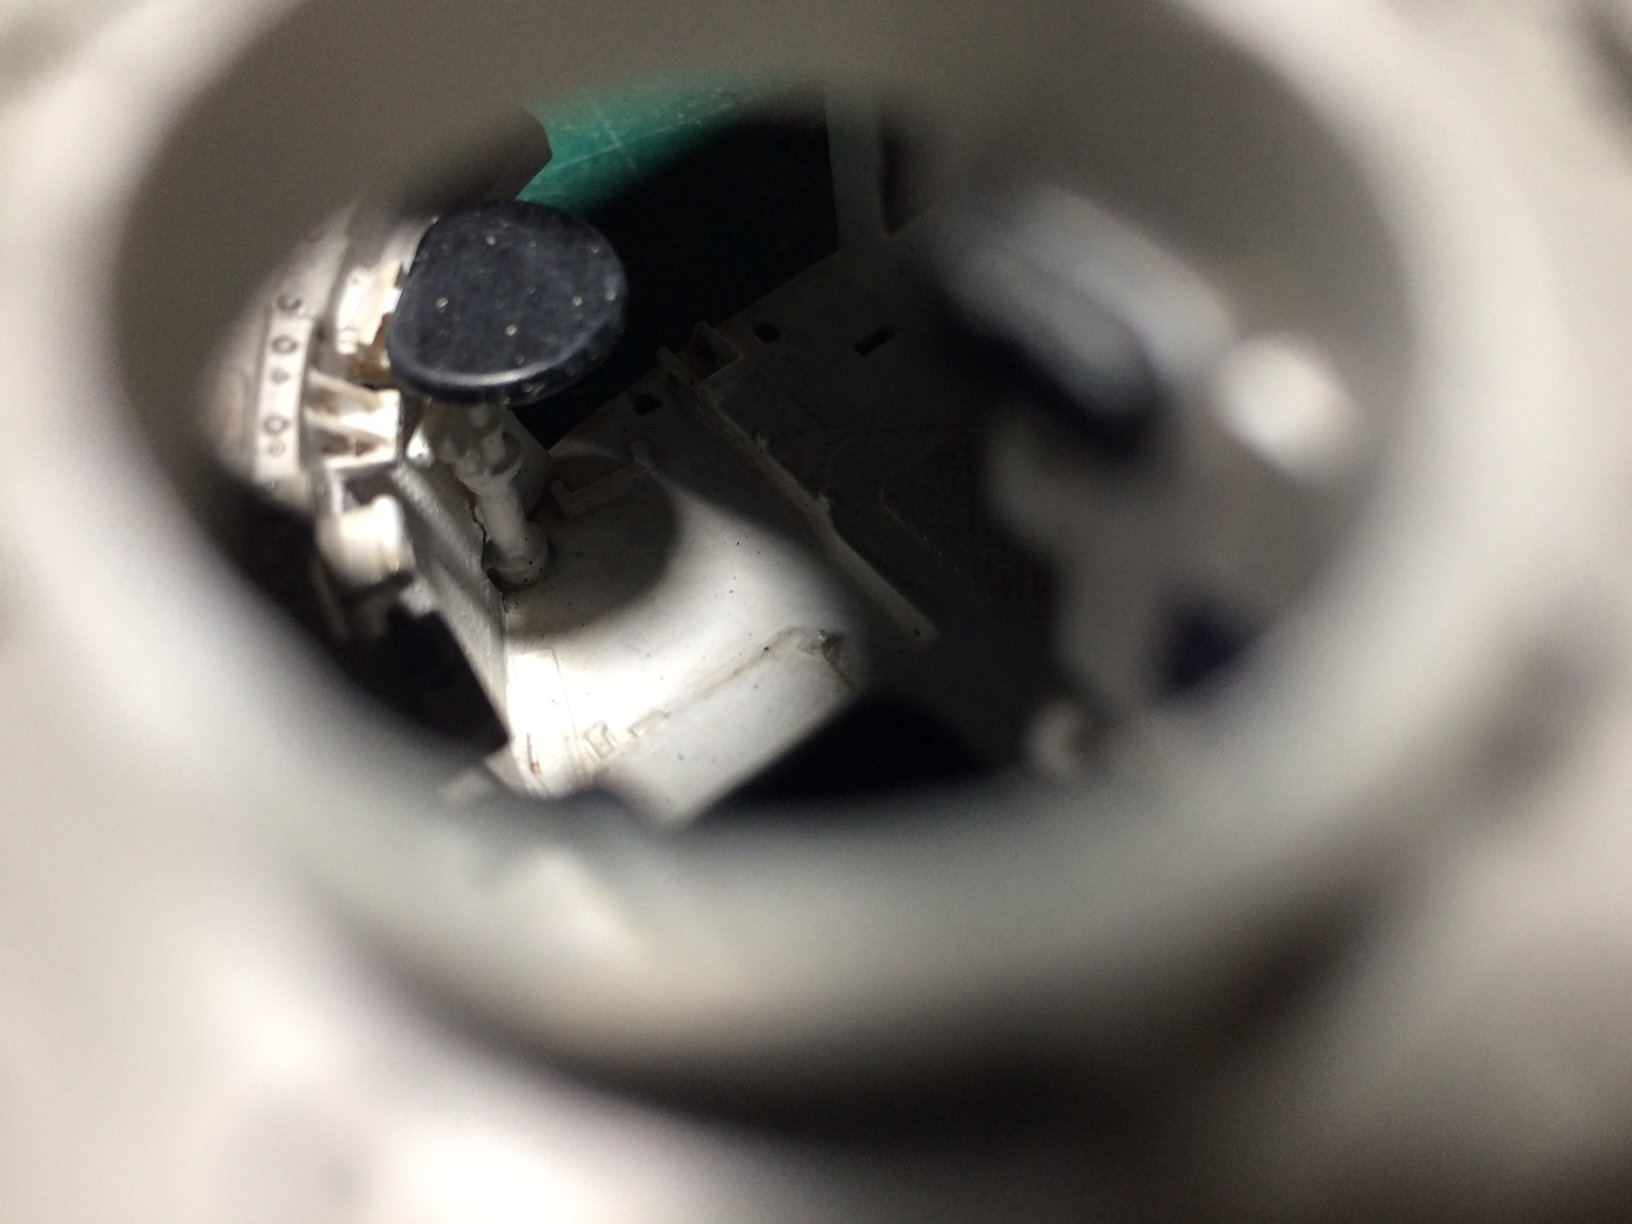
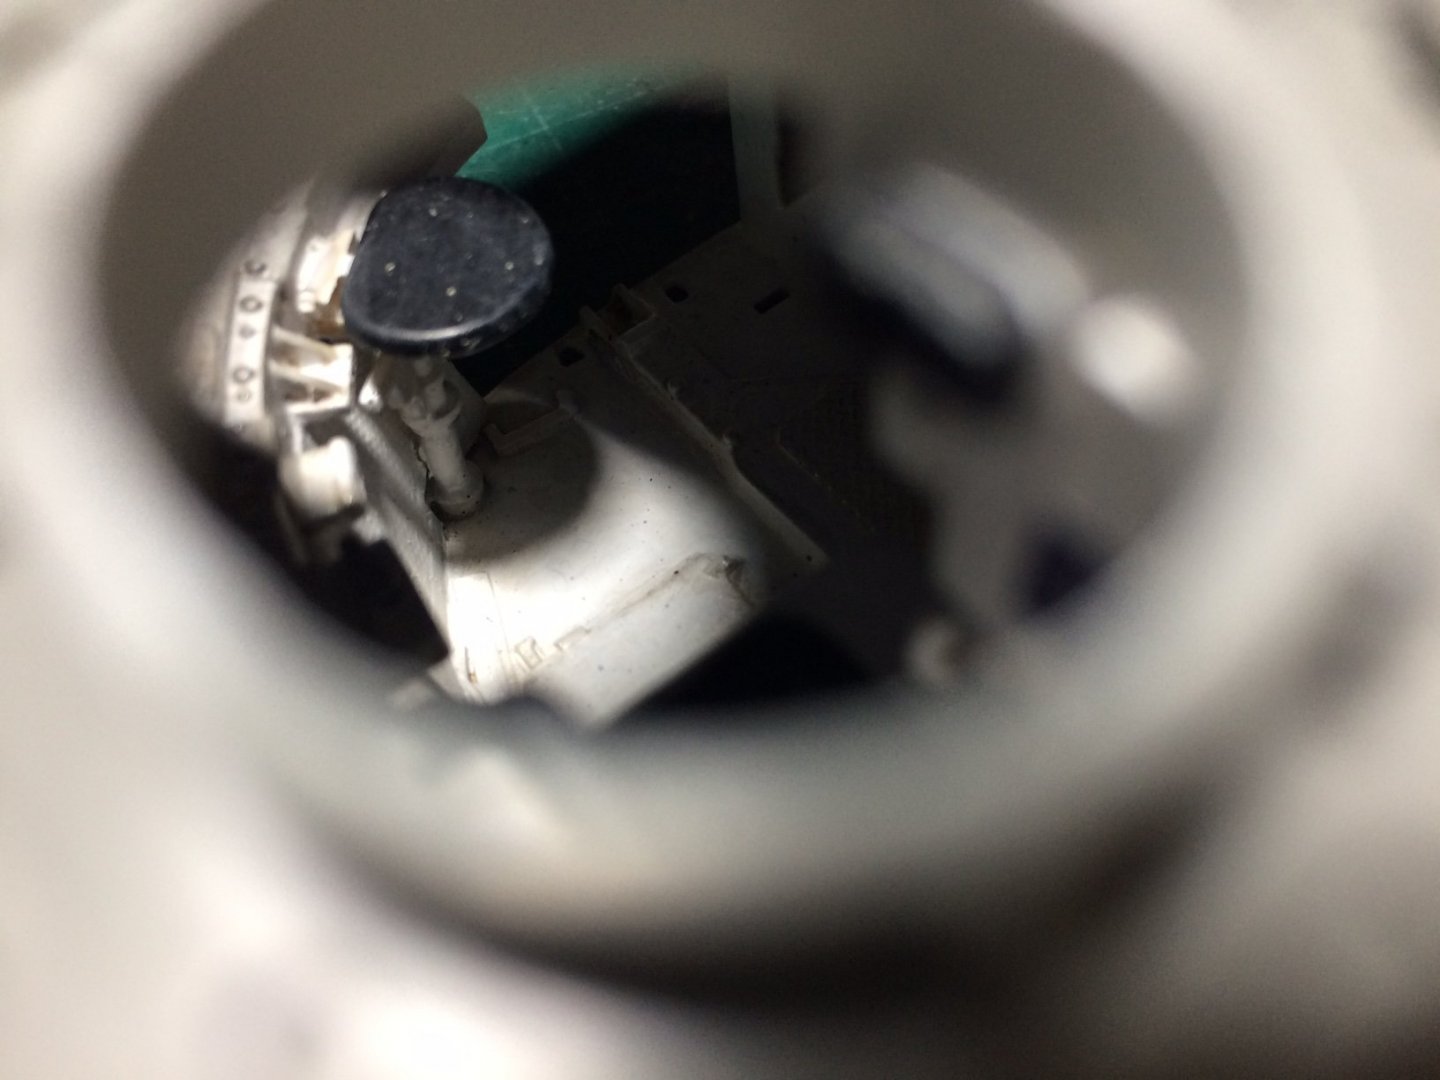
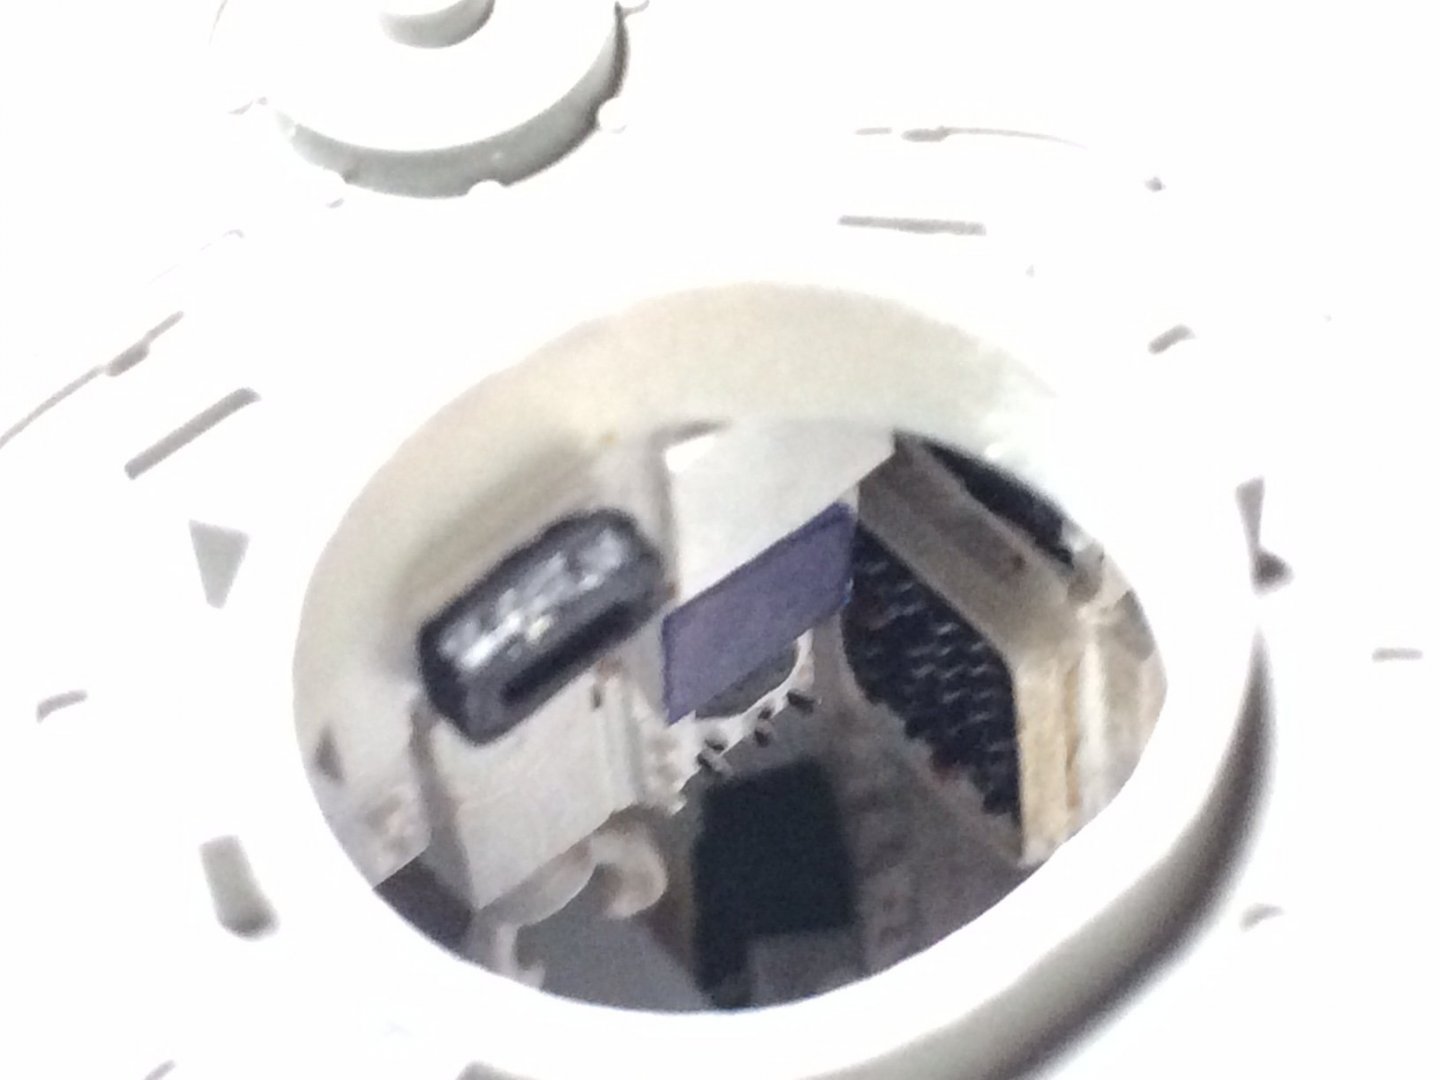
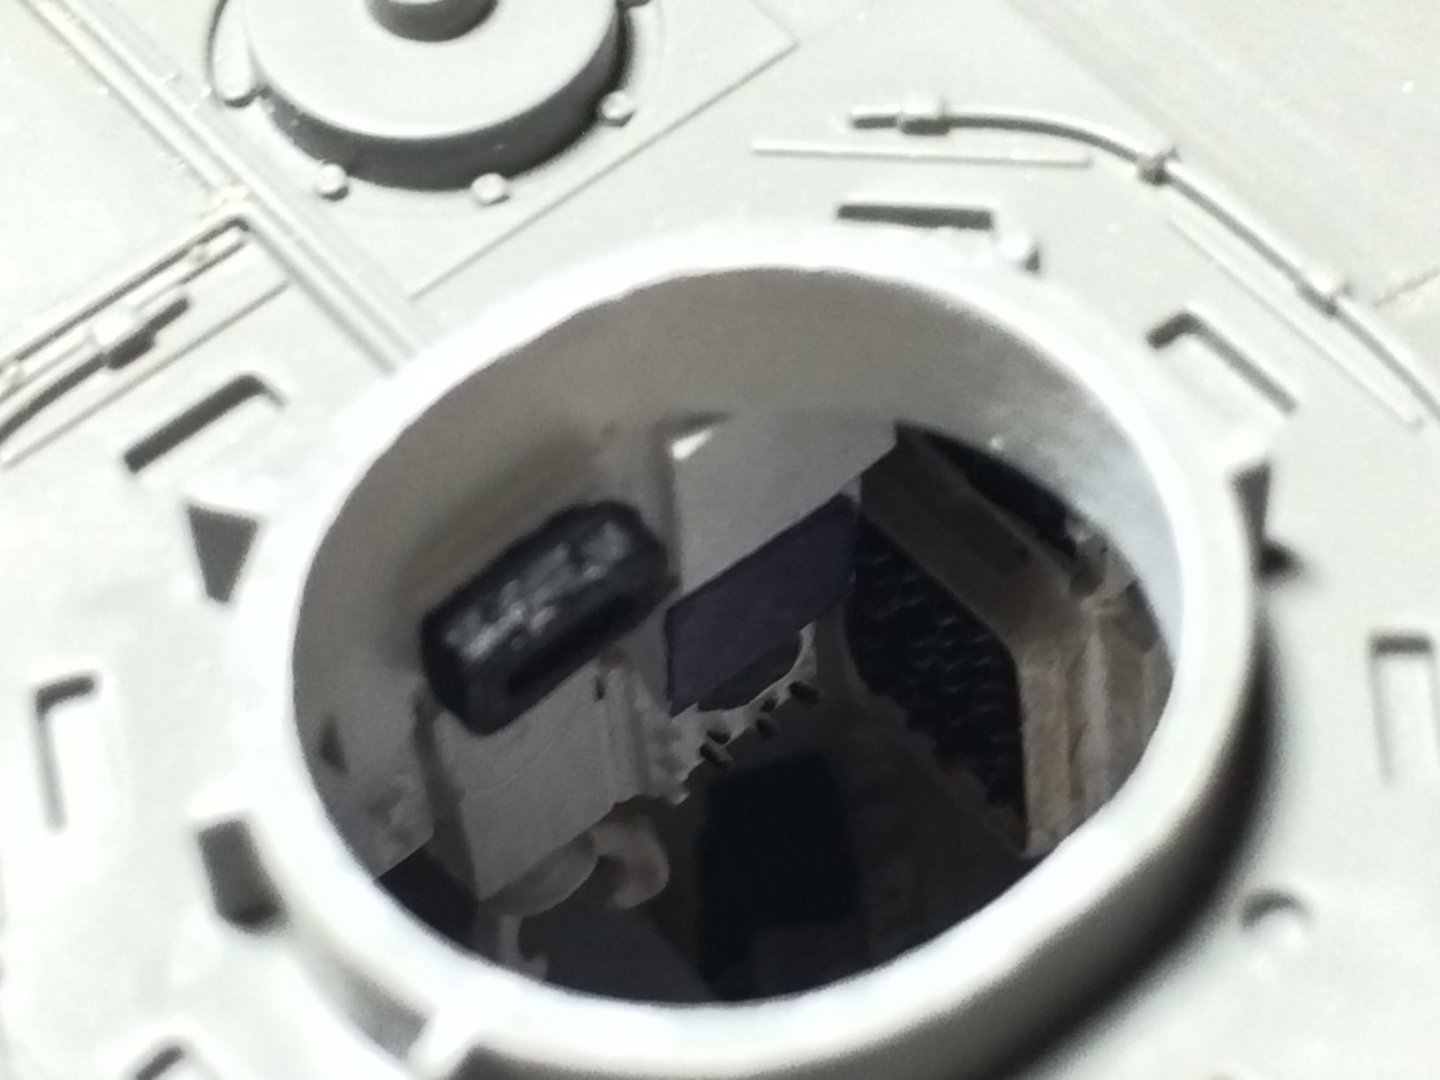
Evening all some good proress, I finished off painting inside the turret, then I added a few of the support brackets on the outside, then after doing several checks I decided now was the time to glue the barrel/breech in place - I decided to glue the barrel at a set elevation, then after letting it set for an hour or so - I buttoned up the turret. After letting it set I had a few fittings to fit to the top of the turret - this includes a rather nice rubber seal between the mantlet and the turret roof, at the opposite end - underneath there is a slight gap, I cut a 2mm length of PE and glued that in place, the last thing I did this evening was to make and fit the Two grenade launchers these include a rather nice PE frame. I had a go at doing some "through the hatch" pics - a bit difficult but kind of worked. OC.


-
Thats looking better mate - I get you know. OC.
-
Glad you got it fixed Chris, no worse headache or dissapointment to get to that stage and have a problem like that. OC.
- 55 replies
-
- 2
-

-
- Blue Ridge Models
- Normandie
- (and 2 more)
-
Evening All, another sloppy moment - I have done some building and painting but foregot to take any pics (I will go and stand in the corner)😁 so - firstly It was time to sort out those lovely tiny Accuarte Armour ammo sets, the idea was/is to assemble about Eight together on the rear of the turret on the shelf there, I decided it would be easier if I made a card base and super glued first on line of Four APFDS rounds, followed by another Four ontop of these, I had to messa round with the card to get it to fit, It was super glued down then the cap ends were painted an Off Yellow colour. I also decided to place a single "ready round" near to the loaders position, this was glued in place first then painted in its - Yellow - end cap, Mid Blue - Body and the pointer end - Aluminium. I have decided the best way to paint is to do some of it by hand and the bulk of it by rattle can, I started by priming (by hand) with Vallejo surface primer Black under the turret bottom, this took several coats by brush and also Very very hard to get a dead smooth finish, next for brushing was the gun barrel and sight, again this took Three or Four watered down coats of Primer (to stop it going on too thick), when dry enough I opened my fresh jar of Tamiya Acrylic Nato Green and proceeded to paint over the primer, a few coats down - I think it has covered ok? the good thing is any brush marks can be smoothed out when fully set uisng a fine rag/cloth. OC.
-
Does the engine cover close to it mate - wonder if thats the reason? OC.
-
What that man said - make sure the Doormen are not working - or we will not be allowed in......😁 OC.
-
Three/Four of my absolute fave British cars - Lotus Esprit Turbo (of course) Triumph TR7 last mosdel, and the Triumph Stag, oh and the Italian Bertone/Fiat X19. OC.
-
Do you know - I thought about that brother, I will have a look through my "odds and ends" tub in my work box, I have a few pieces of small PE already fixed under neath as they were intended to be, but even that was not enough weight, where the swivel points are between the lugs and the points are polly caps - so I am hoping it might be a nice tight fit requiring some movement to elevate the barrel and elliminate barrel droop/sag. OC.
-
Thinking about what EG said regarding the counter balance on the piviot point, I could perhaps rig up a small length of chain that would be hidden close to the breech /body near the inner mantlet, this could keep the barrel from level to max elevation, but the natural counter balance weight at the piviot point should keep it level and pull against the chain, it would still be free enought to elevate the barrel thought, and would not be seen........ideas.......ideas. OC.
-
They are designed like wave guides to help reduce the ships RCS. Their is a fourth rib on top of the bridge structure - but by their positioning, it appears that they might be related to the Seawolf guidance radars, they might be radar absorbent material placed so as to reduce reflections from the superstructure that would otherwise interfere with tracking targets. OC.
-
Thank you kindly mate, yep quite a bit of thought process gone into that - also the majority of the Internals form the M1 kit (no problem though as I will be building that one with lots of extaernal goodies). OC.
-
Any help I can offer - just shout (I have Big Ears) lol. OC.
- 211 replies
-
- 5
-
-
- prince of wales
- tamiya
- (and 2 more)
-
Thats good to know mate, will follow that with interest when you start. OC.
- 211 replies
-
- 4
-
-
- prince of wales
- tamiya
- (and 2 more)