


Old Collingwood
-
Posts
12,104 -
Joined
-
Last visited
Content Type
Profiles
Forums
Gallery
Events
Posts posted by Old Collingwood
-
-
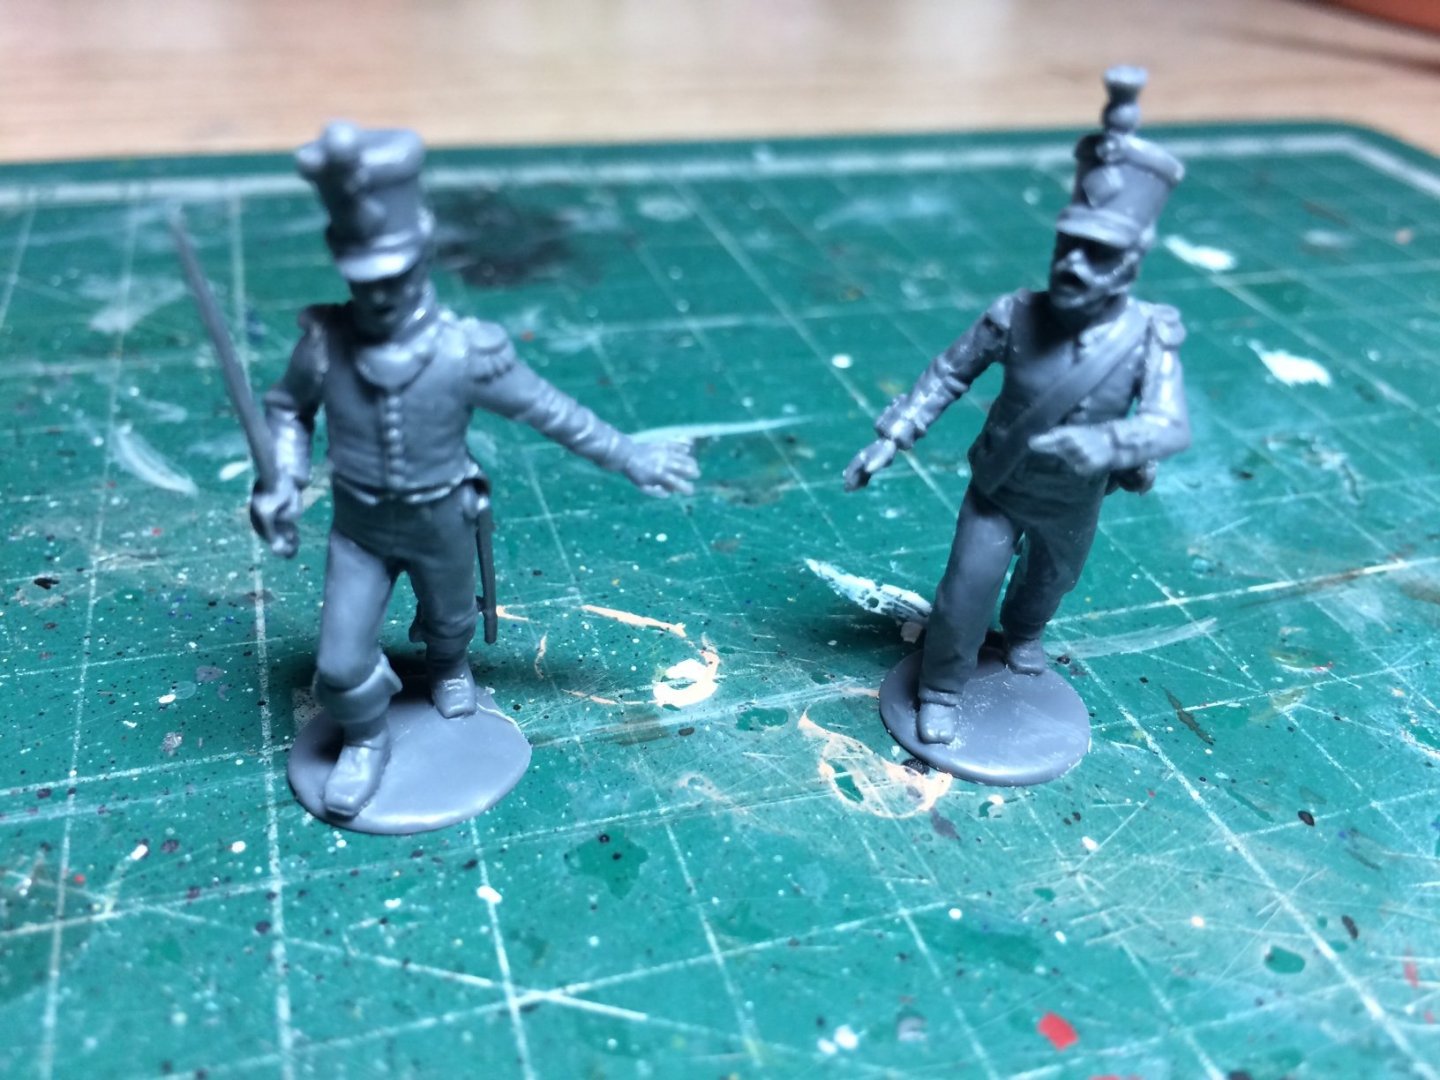
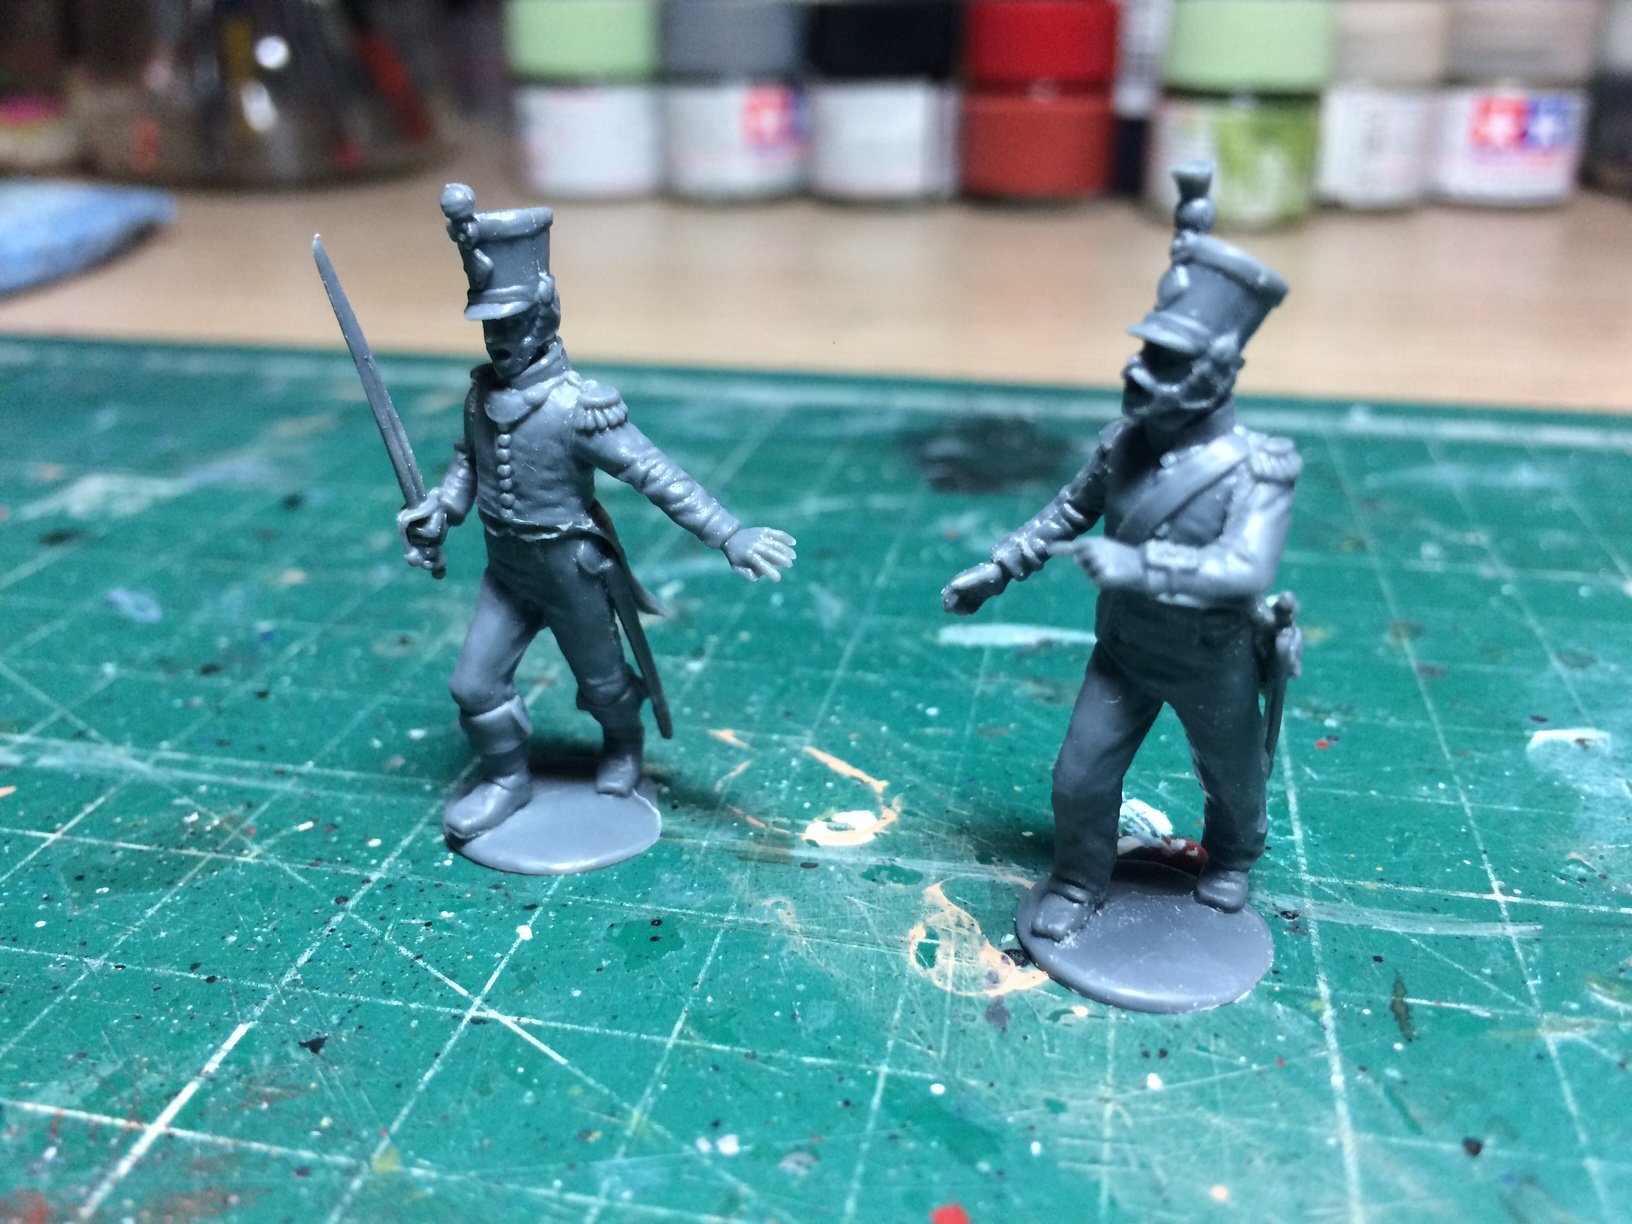
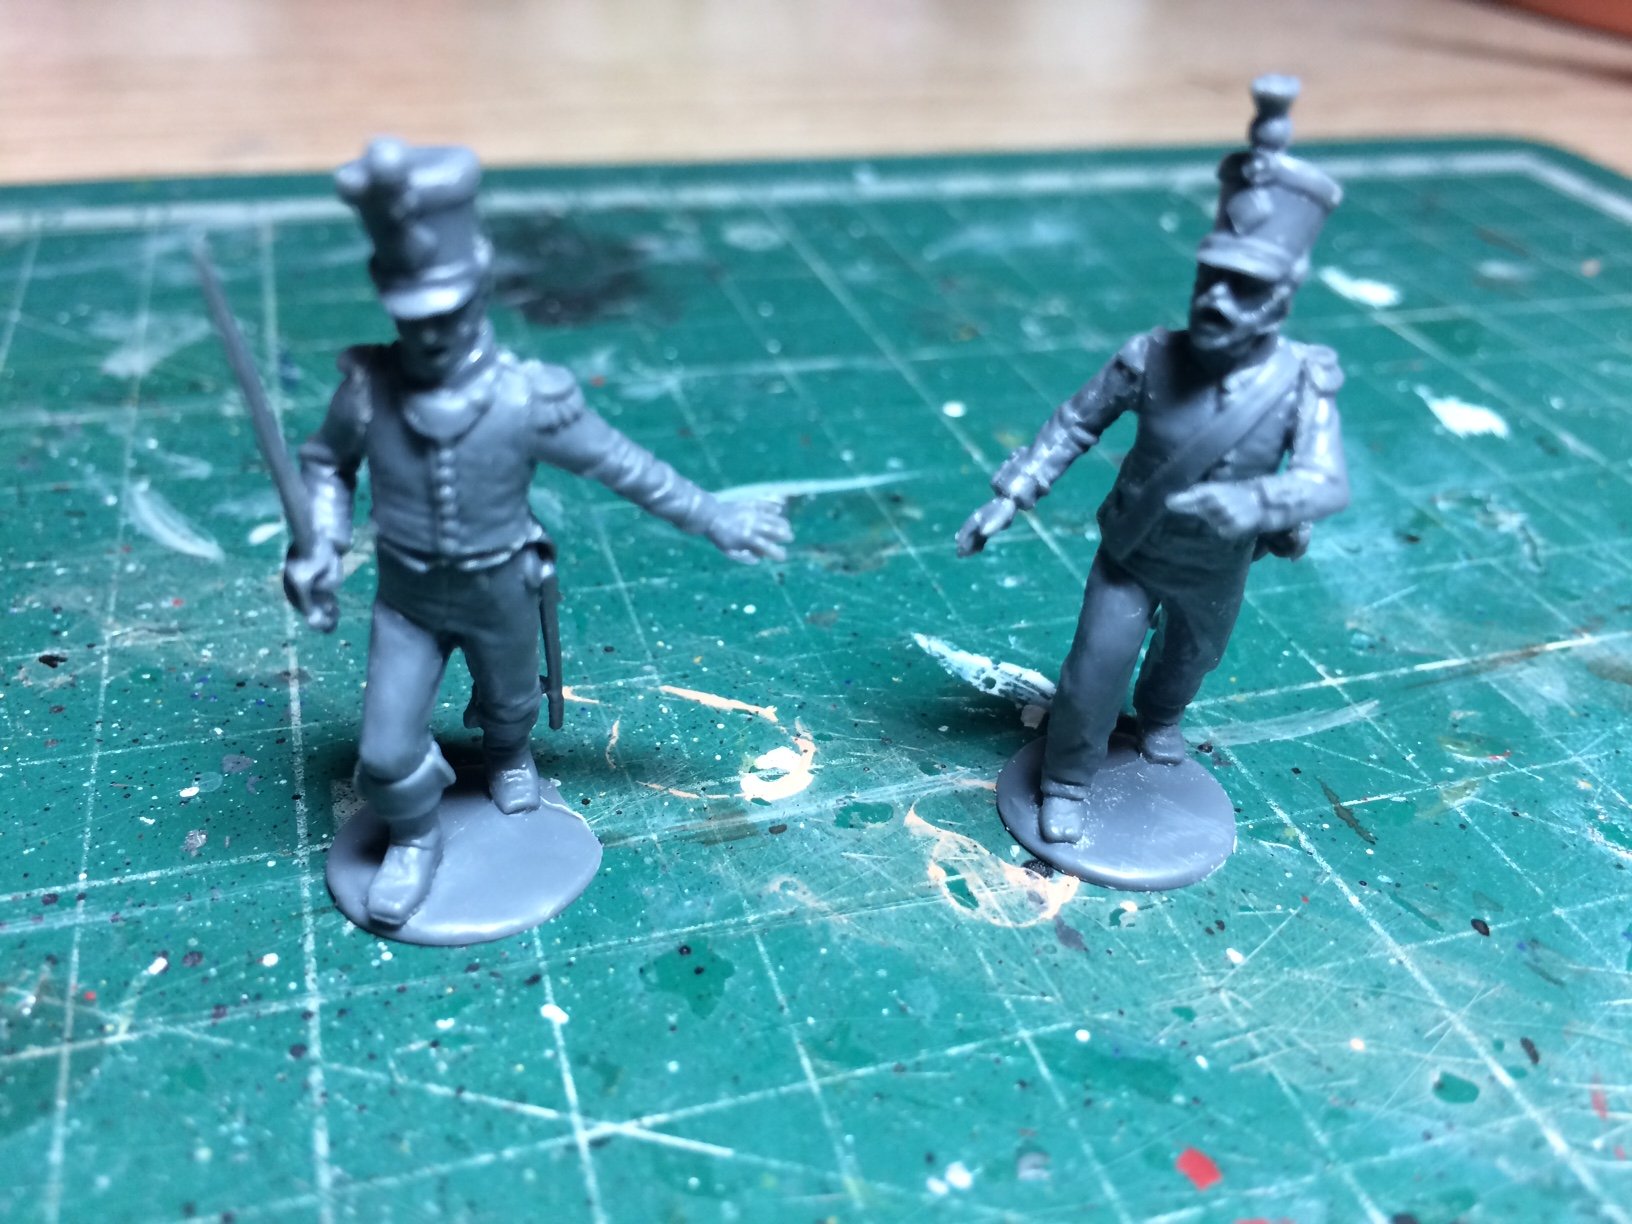
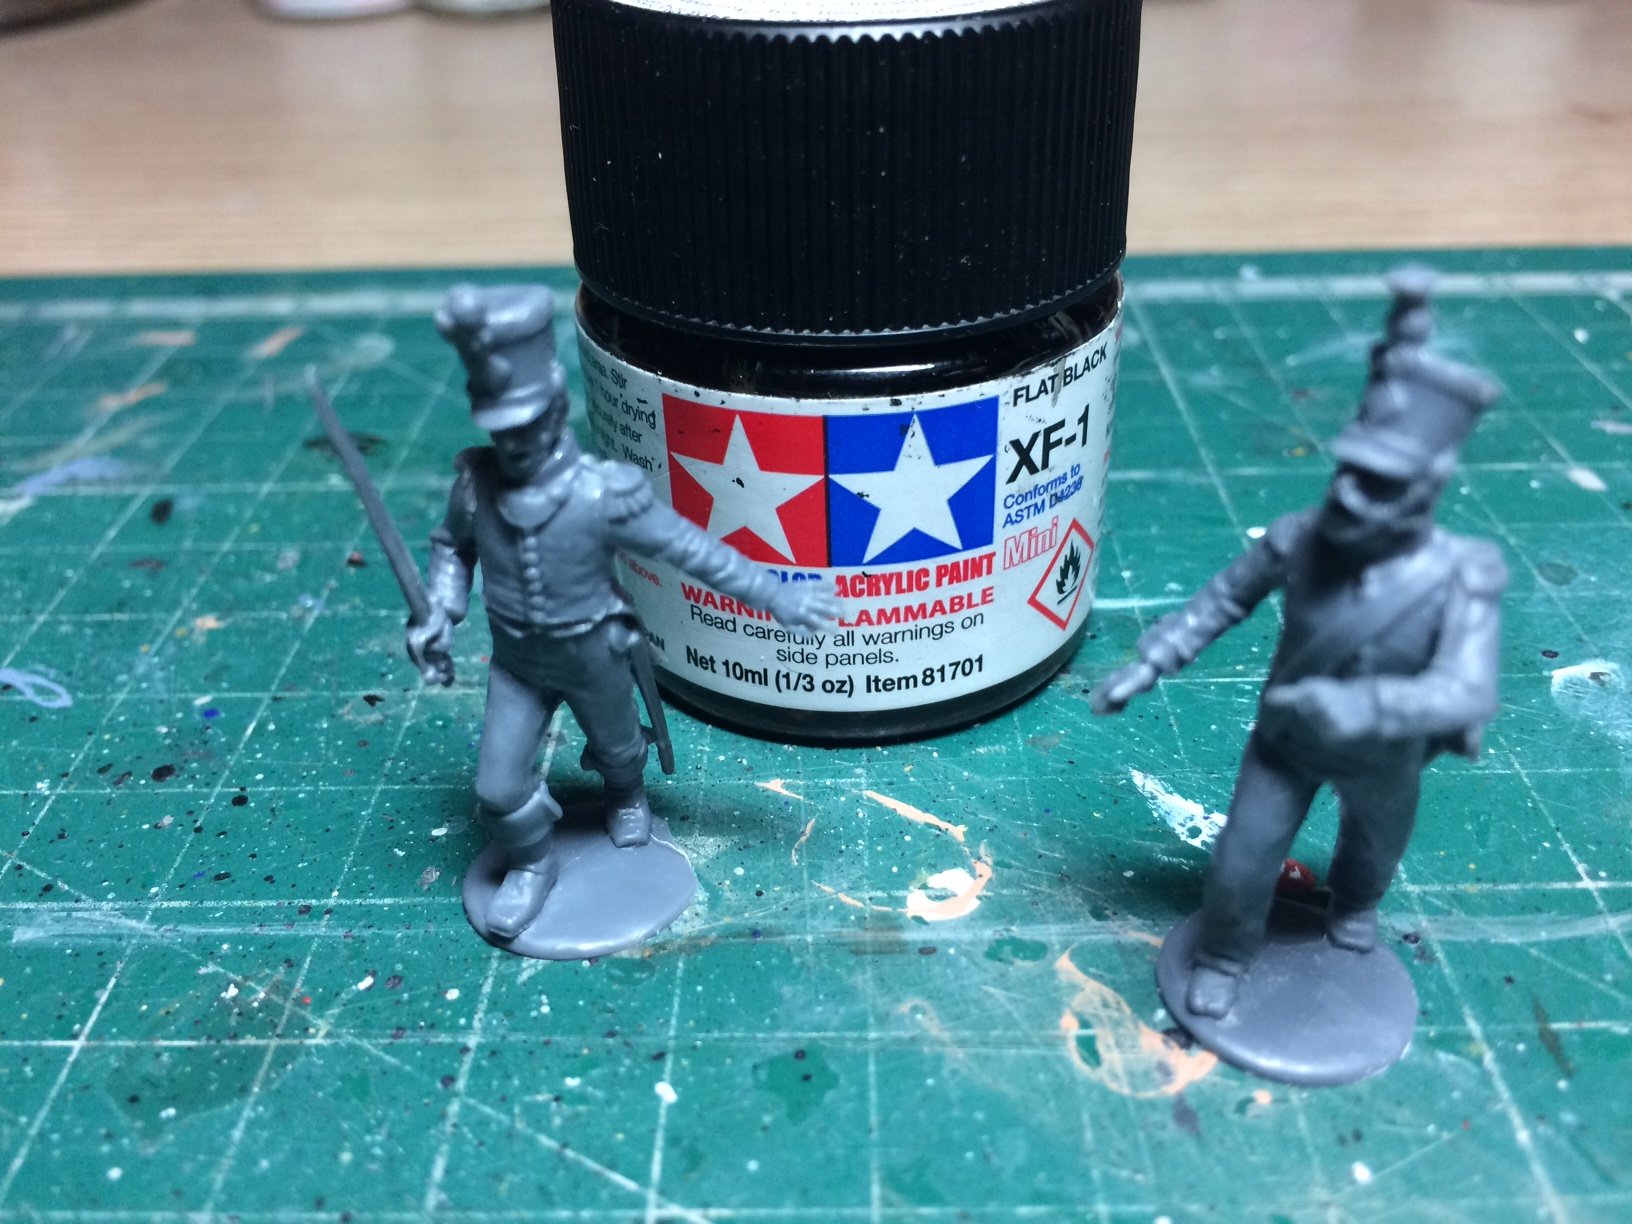
Evening all, more work again this evening - I have made a start on Two officers from the French regiments, both are assembled and awaiting painting.
One of the pics shows them against a small tin of paint to show what scale I am working with.
OC.


-
I also built this for my Admiral - have a look as I did some different things with the build.
OC.
- JeffT, P.Raveneau, lmagna and 1 other
-
 4
4
-
I think that wood (pontos simulted decks) or proper decking as we use in our wood kits can look simply superb, I have used both at different scales.
Scribing especially for planes can be really useful to open up panel lines that have been lost with sanding - or just plain missing.
OC.
- Canute, Hubac's Historian and mtaylor
-
3
-
I can't see most of them also - just lots of picture code.
OC.
- Ryland Craze and P.Raveneau
-
2
-
Welcome to the club.
OC.
- P.Raveneau and mtaylor
-
2
-
Welcome aboard Jon.
OC.
- JRGlasoe, mtaylor and Ryland Craze
-
2
-
 1
1
-
Nice clean workbench mate🙃👍
OC.
- Egilman, Canute, Edwardkenway and 3 others
-
6
-
Stunning work Kevin, those decks look loverly made all the more so by the tennon joints.
OC.
- Kevin, EJ_L and Edwardkenway
-
3
-
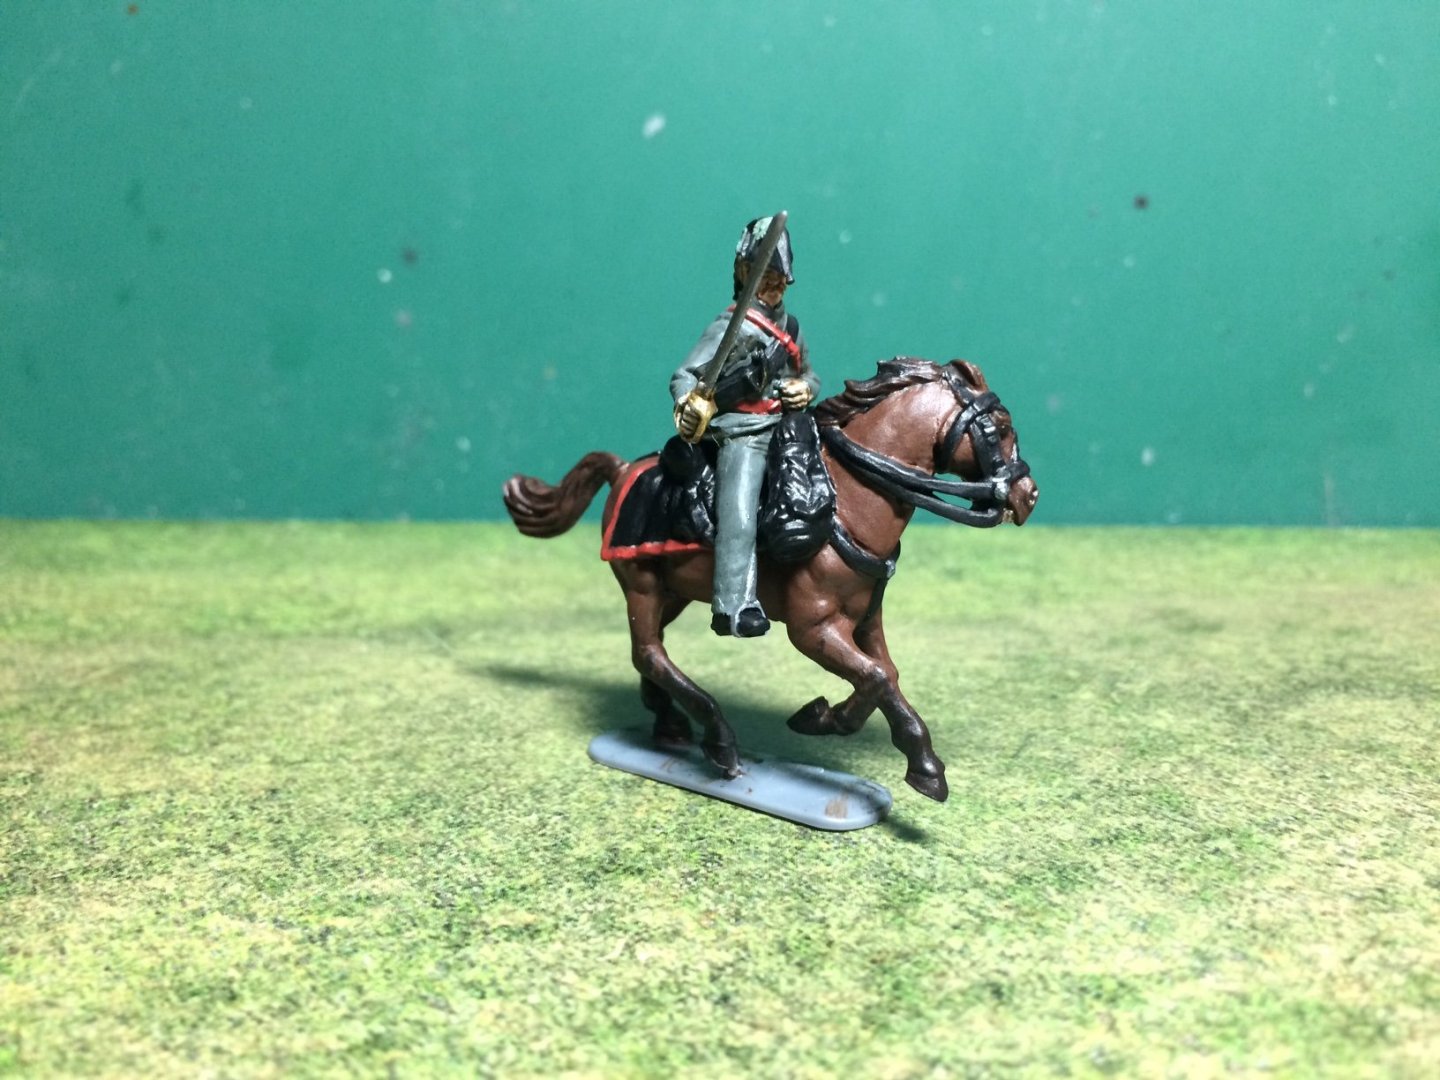
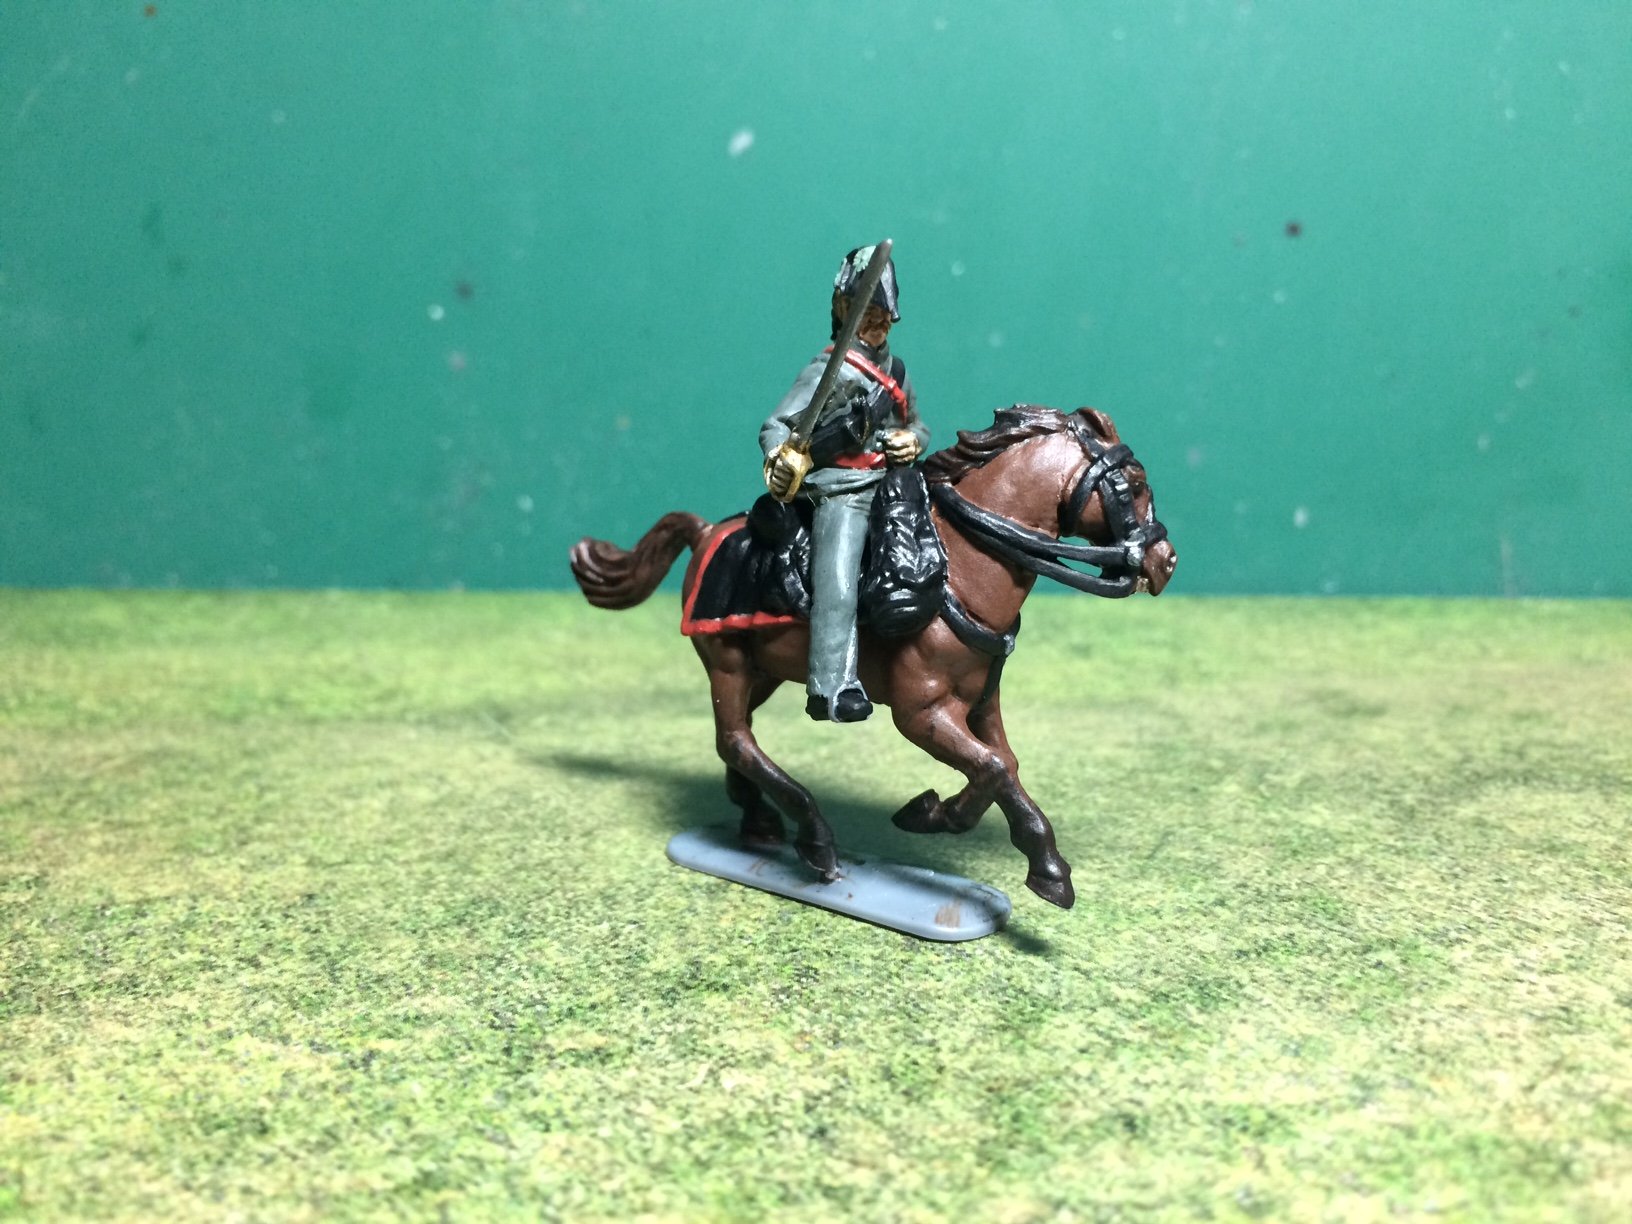
Evening all, right then Major Baring and his steed is painted just needs flat coating - but I need to wait for the weather to dry before I can sprey outdoors.
OC.

- pjofc4, Canute, popeye the sailor and 8 others
-
11
-
52 minutes ago, popeye the sailor said:
look'in good
")
Thank you Denis.
OC.
- Edwardkenway, Egilman, Canute and 2 others
-
5
-
2 hours ago, popeye the sailor said:
looking really good OC........the interior looks awesome
") you're really tempting me to start the Osprey.......the interior is almost the same!
you're really tempting me to start the Osprey.......the interior is almost the same!
nicely done!
Go for it Denis - you know you will have an audience😉
OC.
- Edwardkenway, Canute, mtaylor and 2 others
-
5
-
This photo might help - again its not mine I got it off the net, but it does show a (slightly more gentle tuck round to the back that would help with the planks) I had a similar problem when I was working on tha same kit about 10 years ago - it was a real nightmare to get right.
OC.

-
Having a re-think - if its the last frame causing the problem with it potentialy being too far back creating too sharp an angle, how about adding some more wood behind the last frame/but glued to it, this would enable you to sand a more gentle profile for the tuk, I think that would help a lot and take away such a sharp angle.
OC.
-
3 hours ago, ronald305 said:
thanks OC
I do have the blocks that came with the iron but isn't the blocks a little wide for the bend I need to make, plus the iron head is also wide I have been using the narrow part of the iron and sometime a soldering iron shaft part and gently pushing down on the plank after they have been soaked for 12 hours over the hot part of the iron and have been using the block inverted to support the iron. I have ordered a steamer to help with the twist part of the bend but would like to solve the sharp bend problem first
Ronald
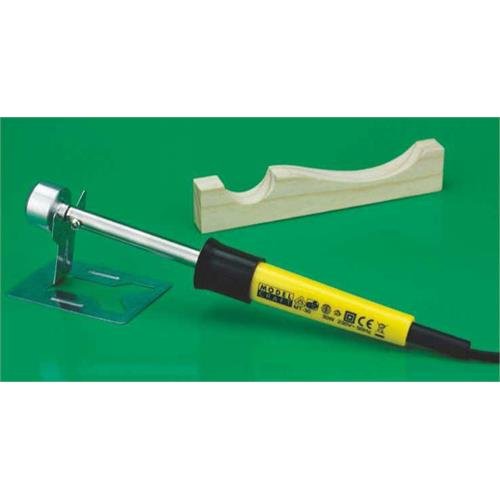
Does it look like this - you could use the half moon shape part to get a tighter turn, its what I used to use for some really tight turns.
Pic not mine.
OC.
-
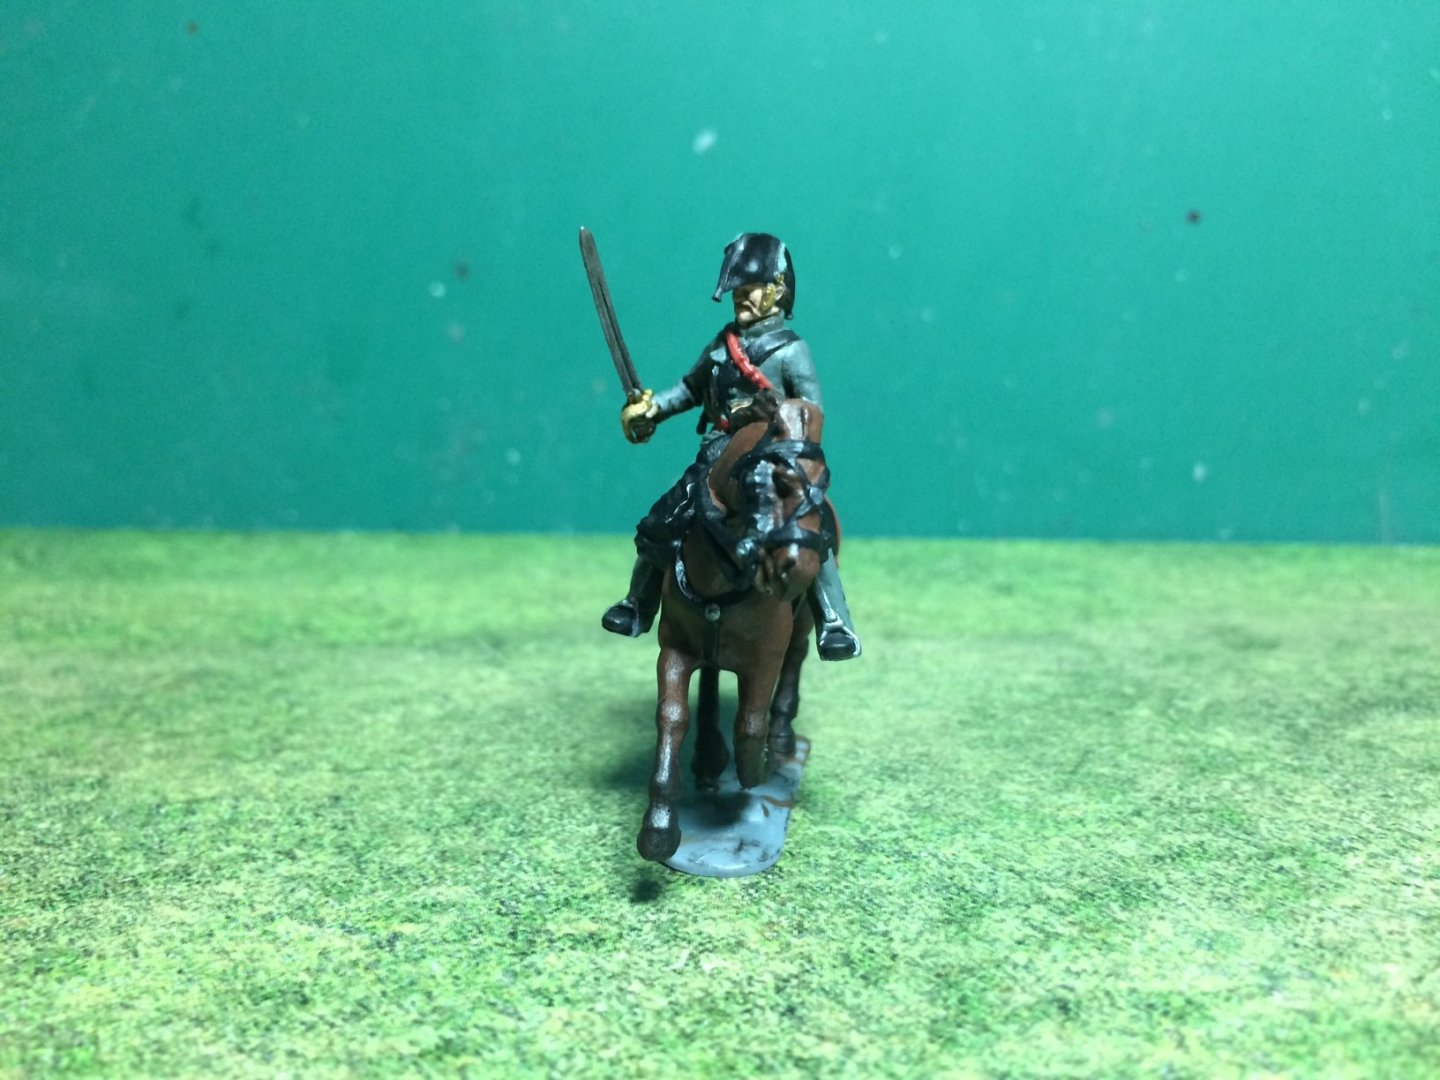
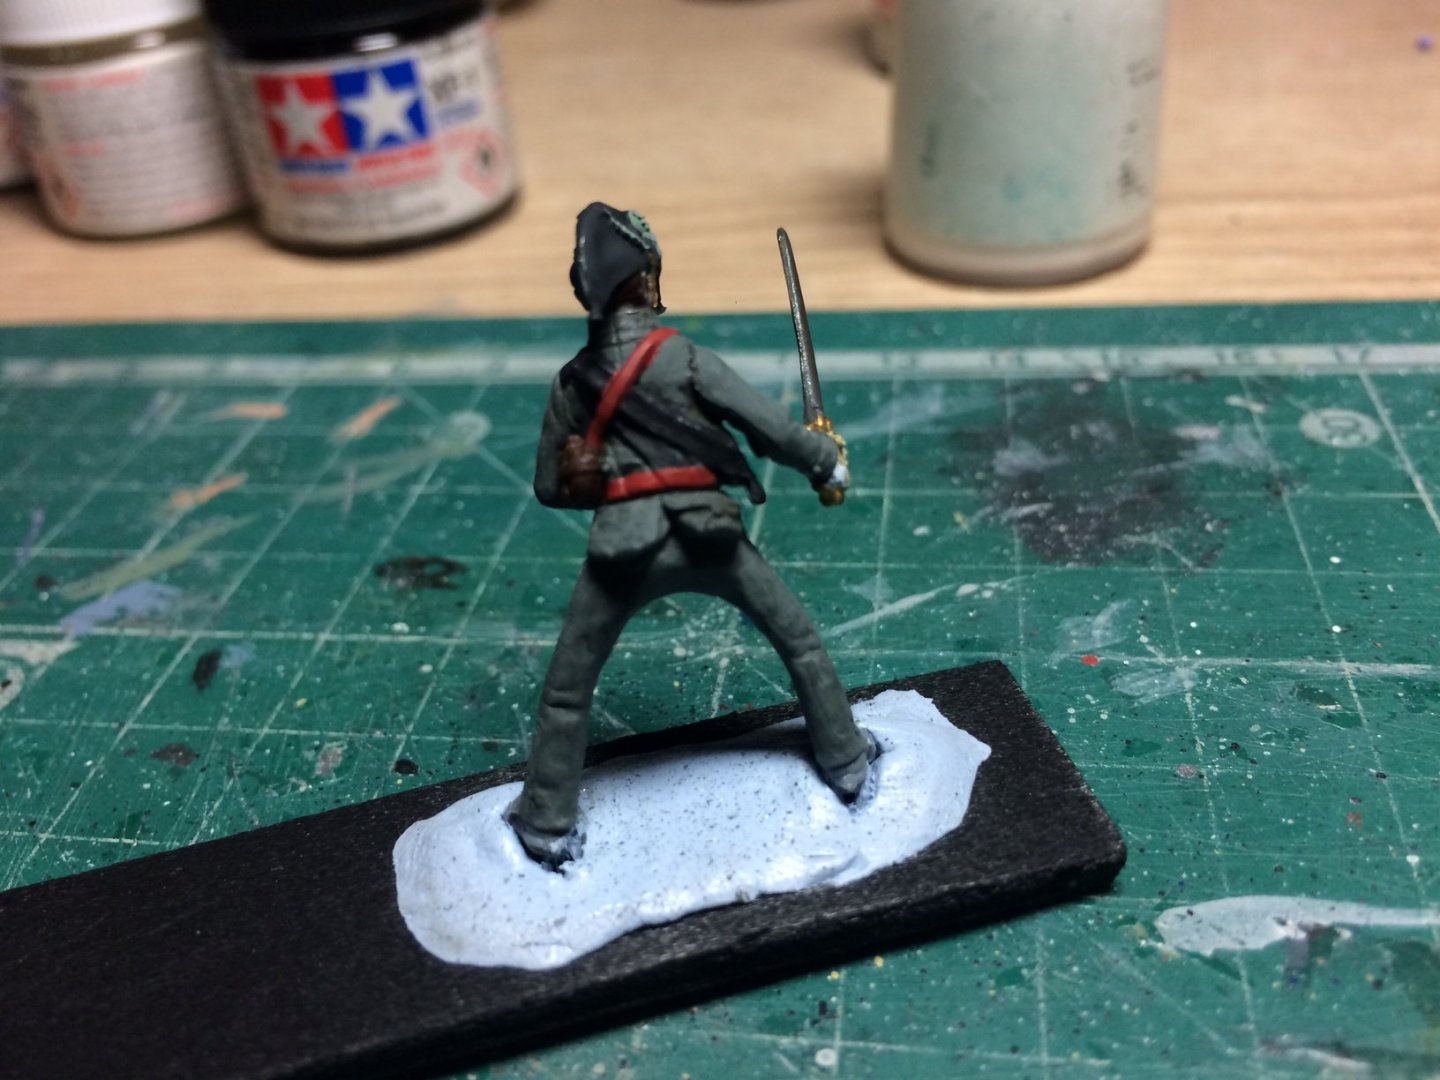
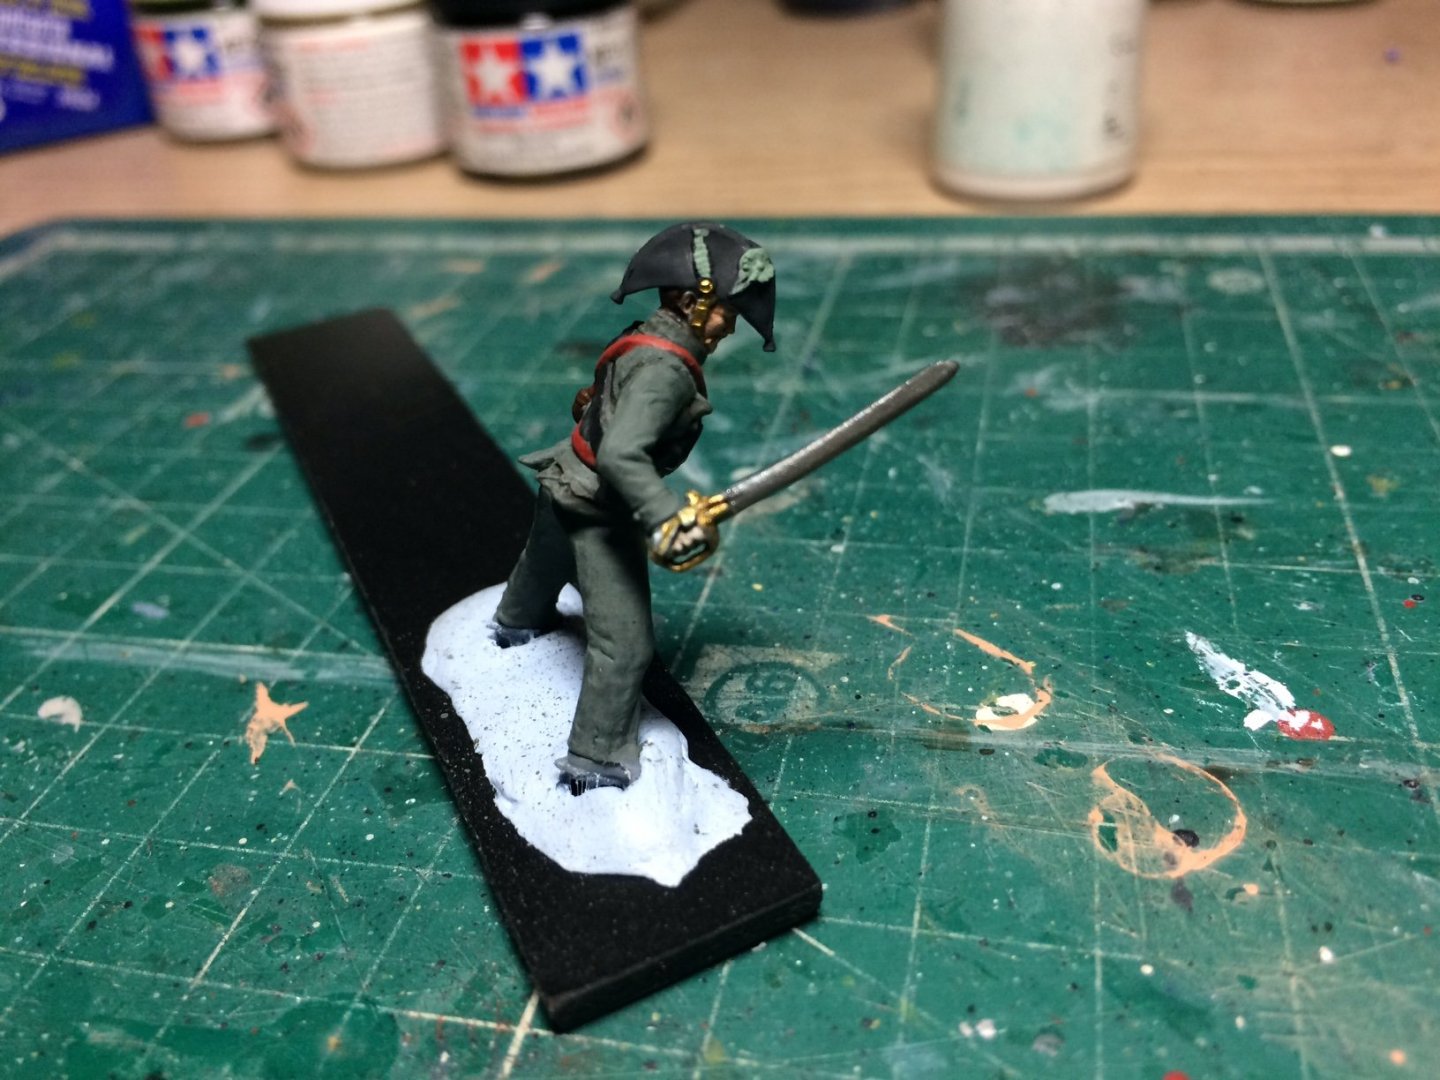
Evening all, right Major Baring has recieved some paint - just need to paint his boots and styrups.
OC.

- Jack12477, mtaylor, Edwardkenway and 6 others
-
9
-
Are you using a "Bending Block" with your heat Iron for bending? it should have come with your Iron, it is such a useful tool for getting tight turns with the planks.
What I used to do with mine was to soak the plank you want to fix - say one on each corresponding side, then when I t feels wet enough with a bit of bend to it - pit it over the bend in the Bending Block and using the heat from the Iron push down gently in the curve of the block till the heat/steam gently pushes the plank down into the curve. The key heare is not to push too hard - Just go gentle and feel the bend , it takes a bit of getting used to but it does work - I have bent a near circle using the tighter of the bends in the Block.
Give it a try.
OC.
-
2 minutes ago, marktiedens said:
Thanks O.C.
. I think I would rather tie ratlines than rig guns .
.
Mark
I know, thats why I cheated on my Pearl build - tried but said to myself "nah too much hassle" but enjoyed the ratline -ish (tiny ish)
OC.
-
-
That looks excellent Mark.
OC.
-
-
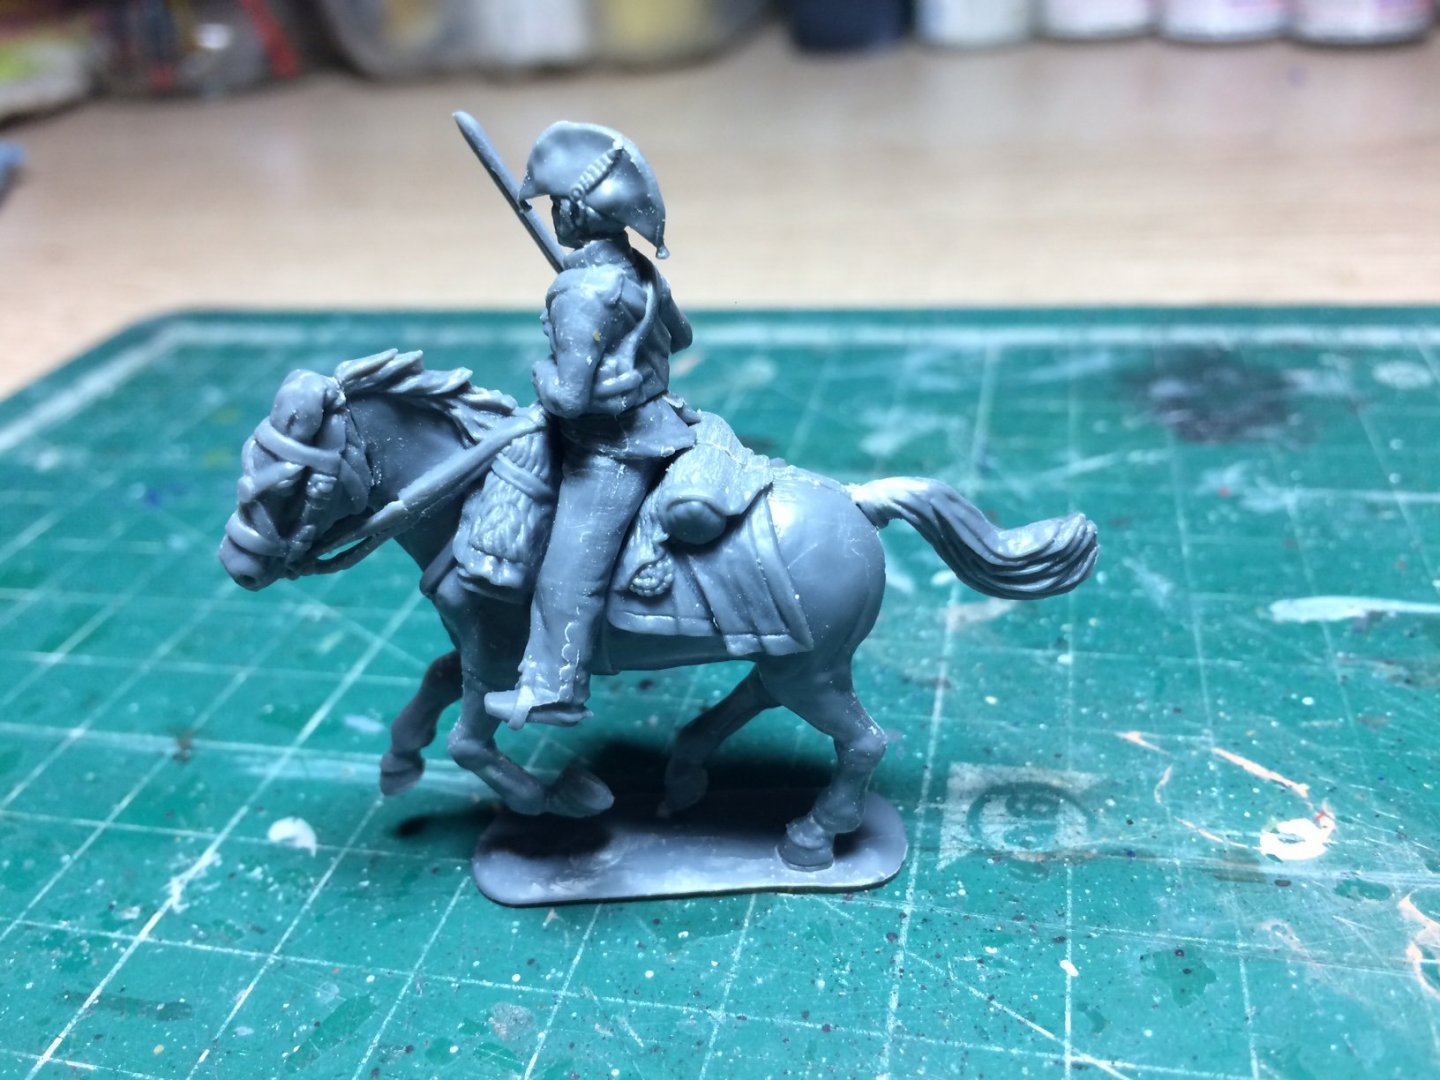
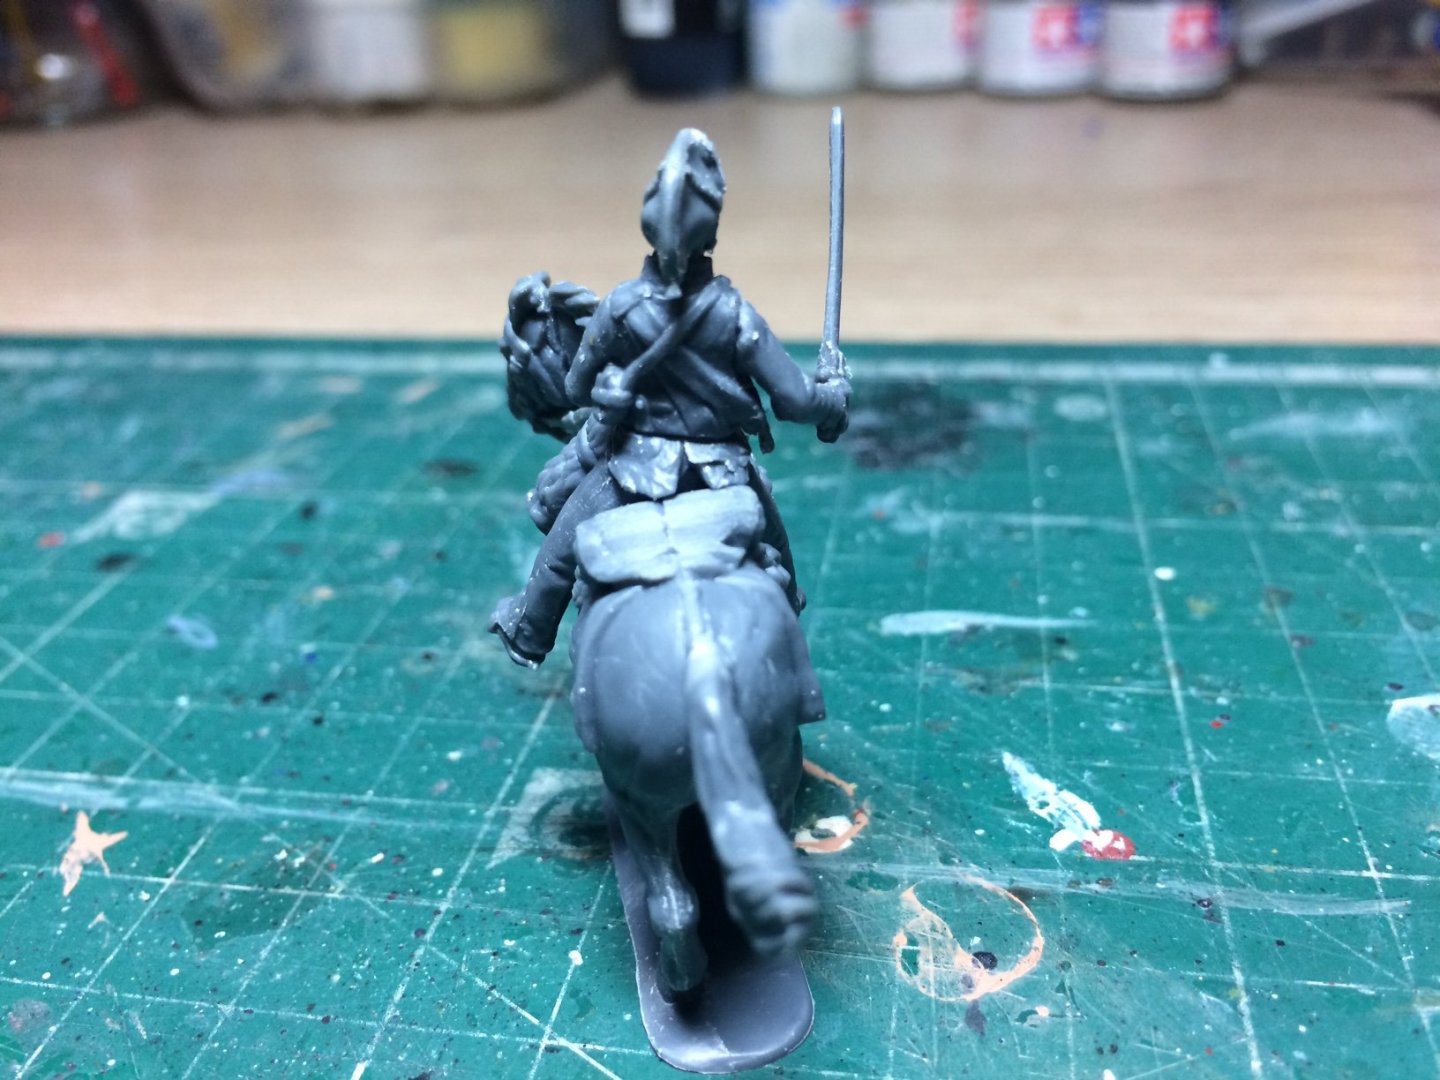
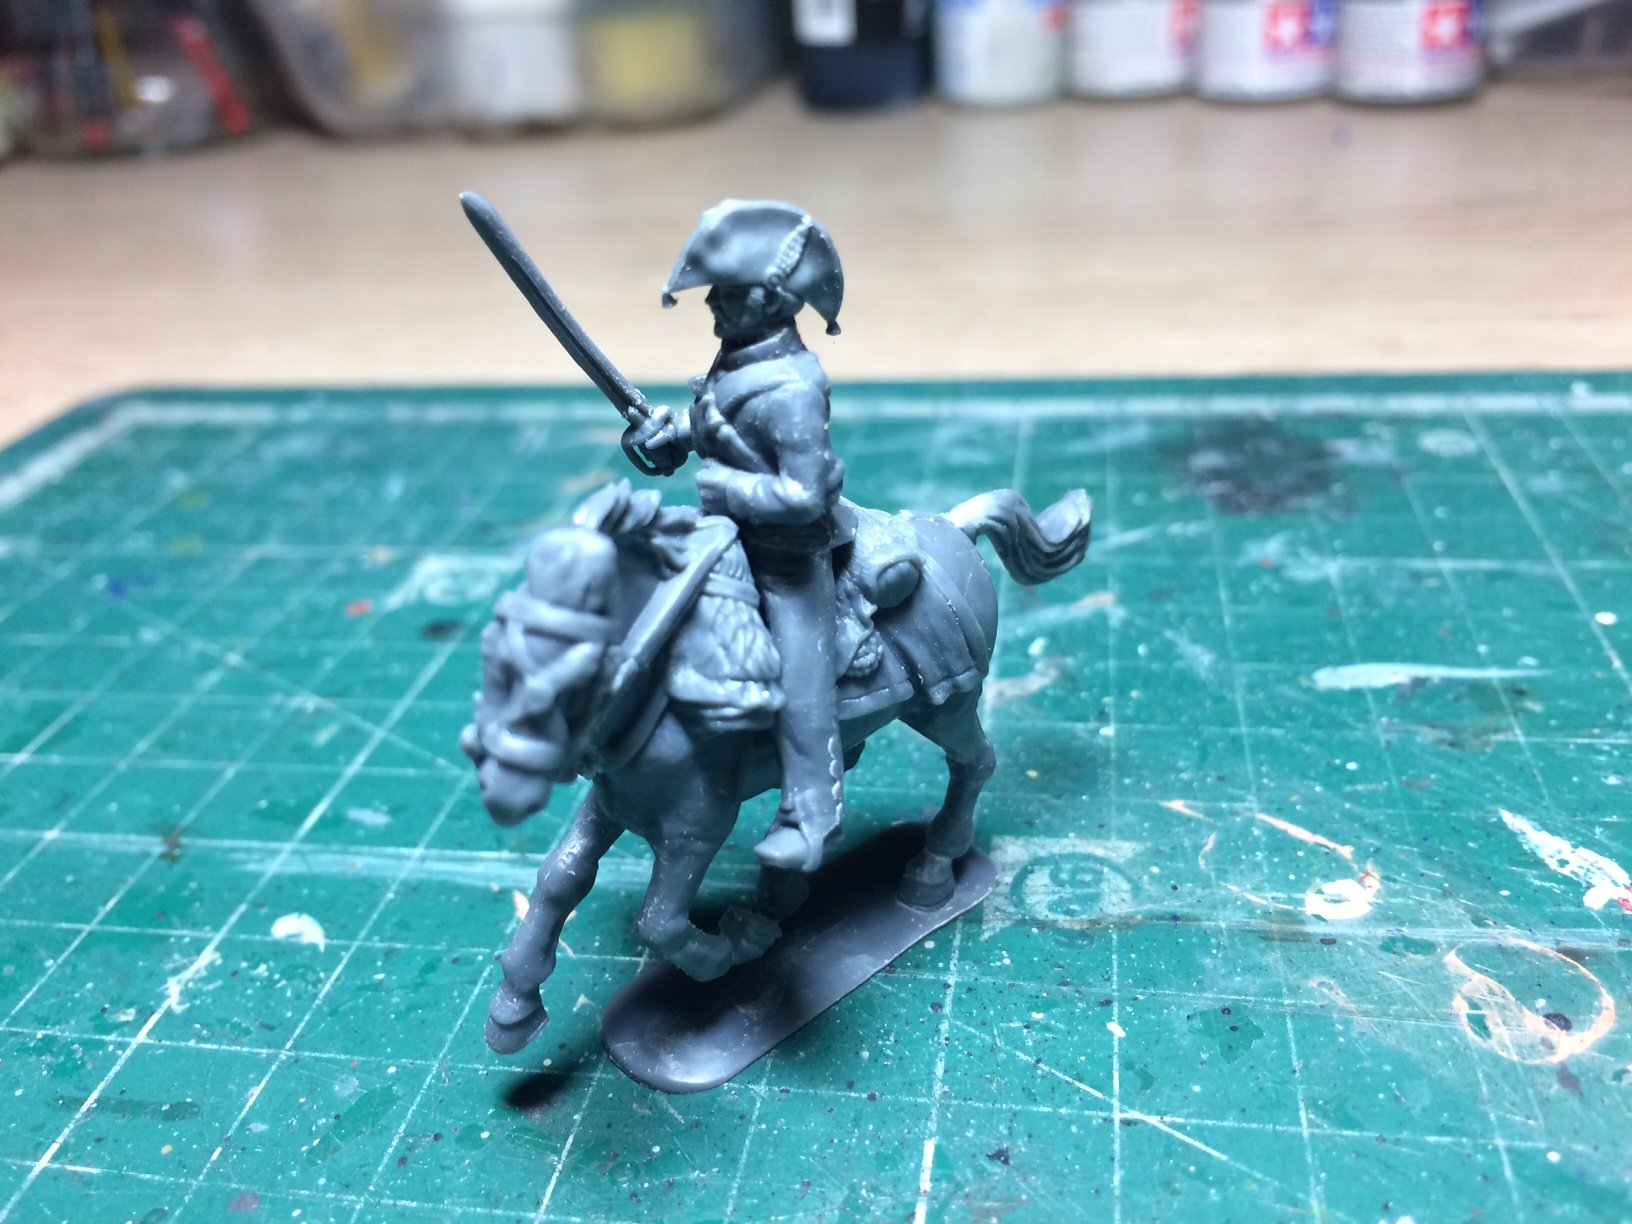
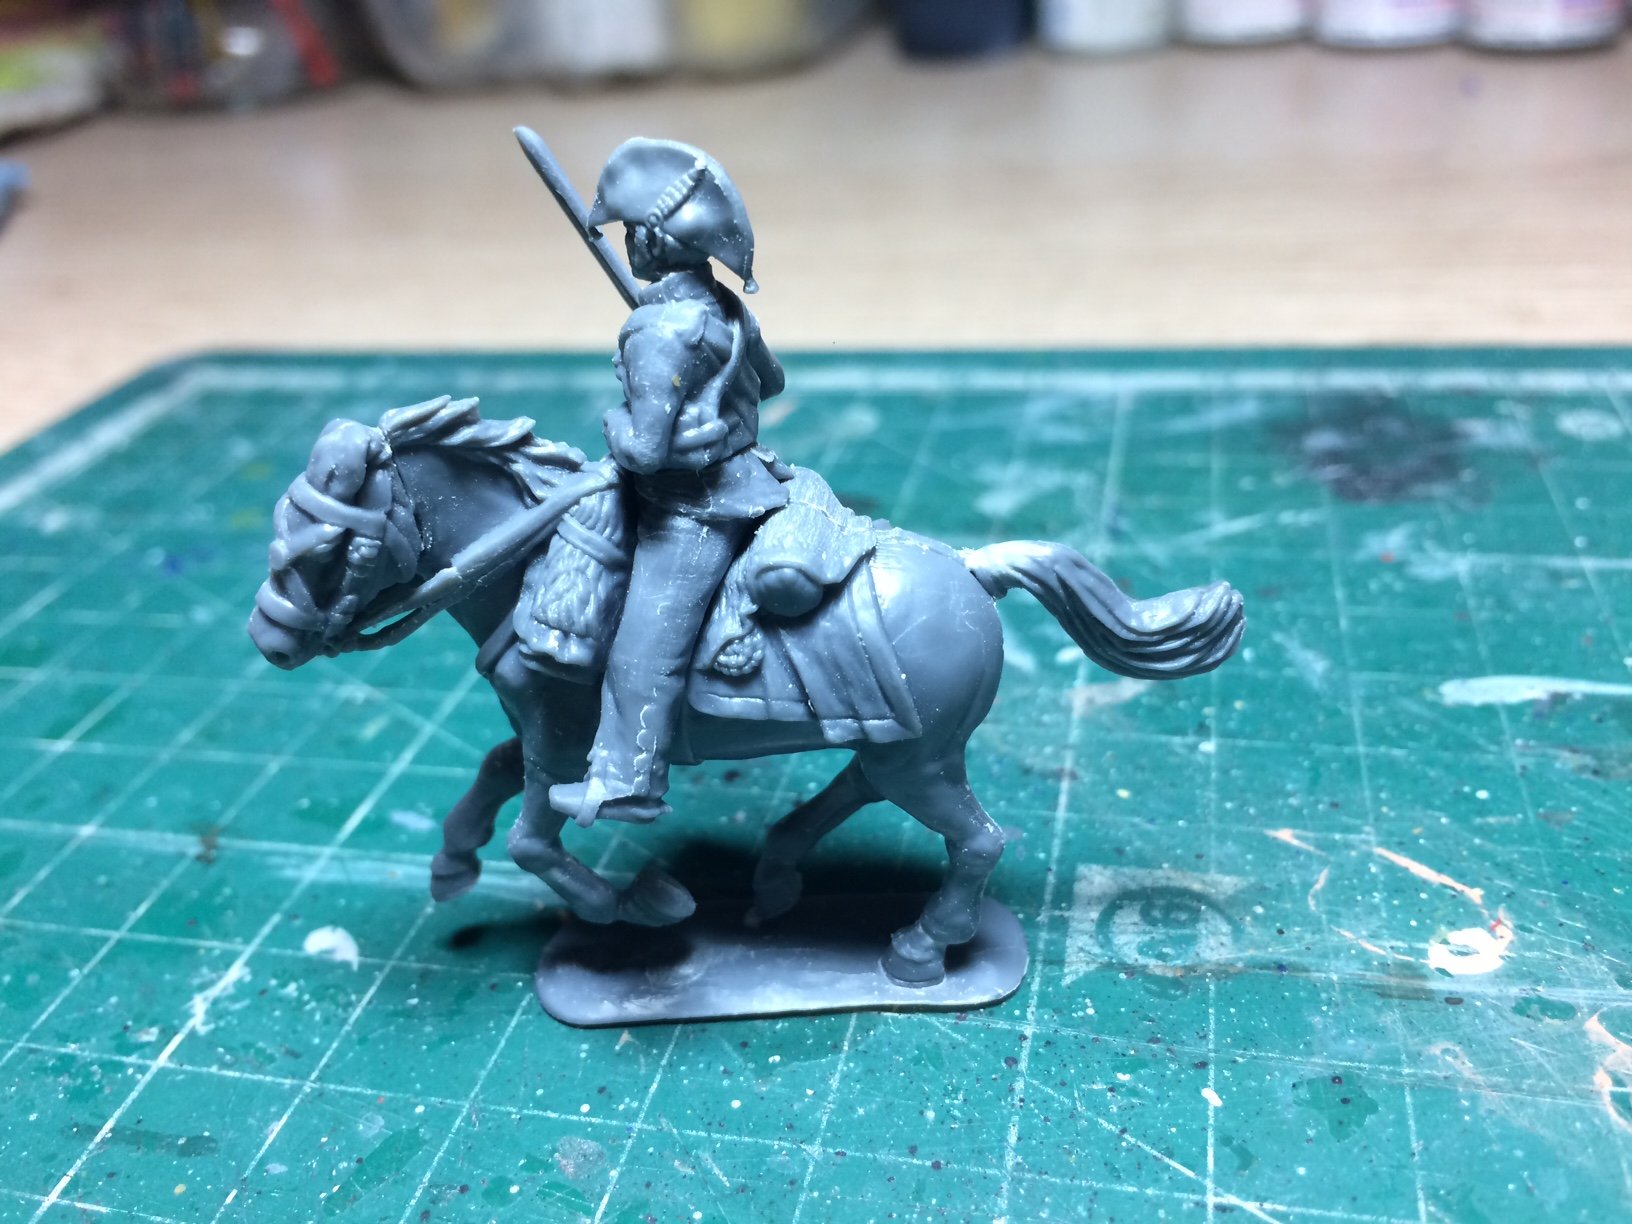
So I have made another start - here is Major Baring on his horse un painted.
He is not glued in the saddle yet so I can fiddle around with his position.
OC.

- mtaylor, marktiedens, Egilman and 5 others
-
8
-
12 minutes ago, CDW said:
Please don't follow my example, Papa. I am a bad influence in the excess stash department.
You need to invest in Ten pairs of hands so you can "multi-multi-multi-multi task and build many"😁
OC.
-
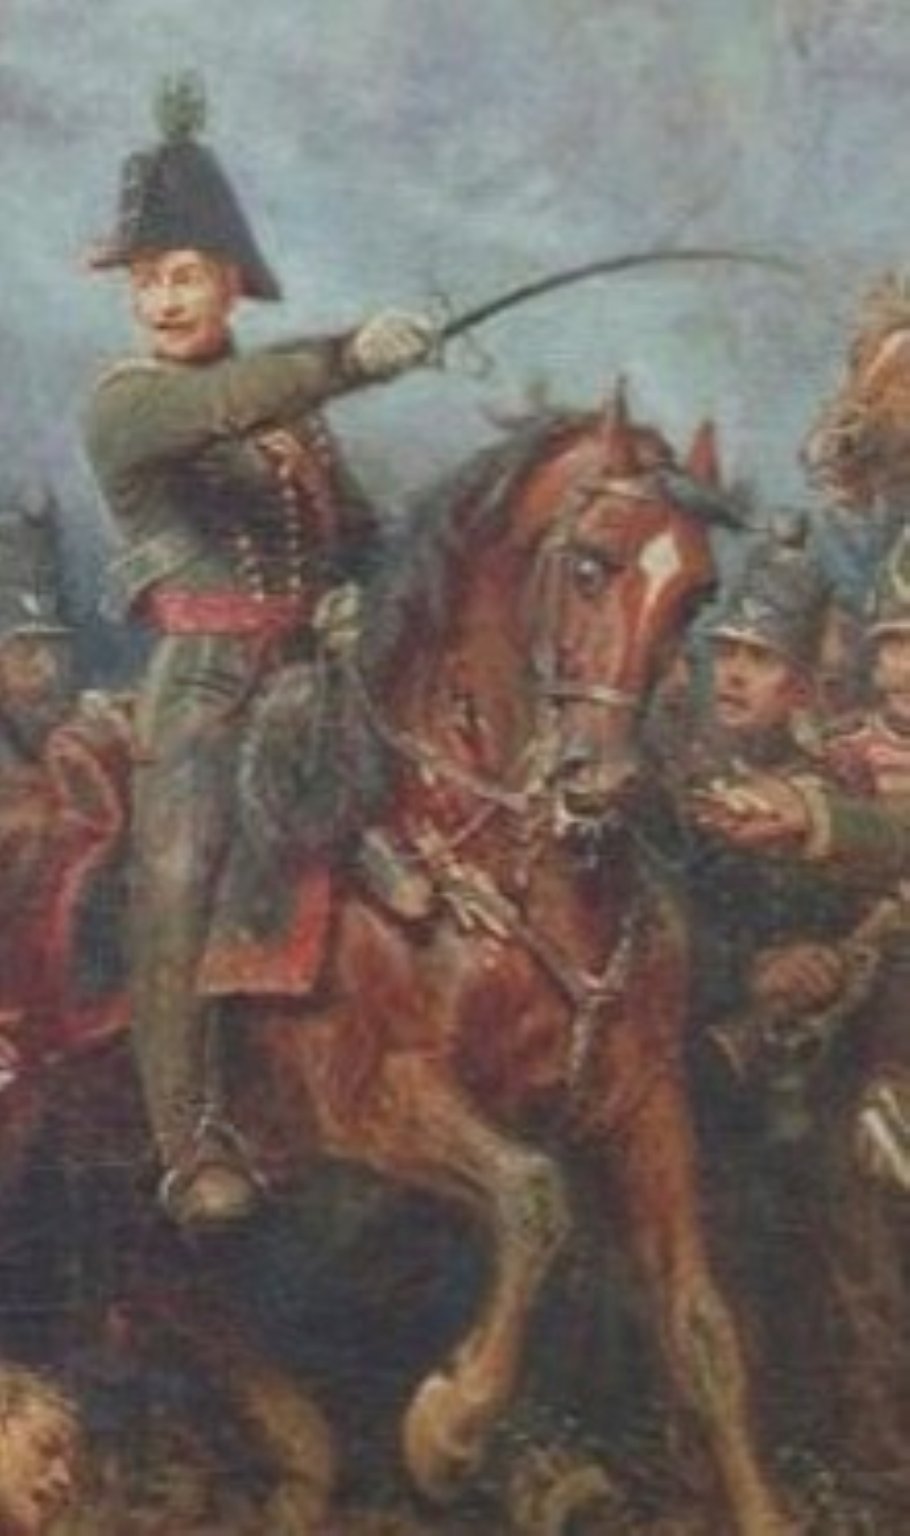
Afternoon all, I'm back - I decided to give my Chinook build a slight rest while I do somemore work here - I decided to have a go at building the chap who was in overall control over the Farm no less than - Major Georg von Baring, as he stayed "sted fast" with his army right through the battle for the farm.
Pic off the net showing him on his horse.
OC.

- Egilman, Jack12477, Edwardkenway and 5 others
-
8
-
Right then everyone, I'm going to put a little hold on this - Just when it was getting interesting, as I want to do somemore work on my Waterloo project - see you over there😉
OC.
- lmagna, mtaylor, popeye the sailor and 3 others
-
6


Battle of Waterloo Attack on La Haye Sainte Farm by Old Collingwood - 1/56 (28mm)
in Non-ship/categorised builds
Posted · Edited by Old Collingwood
Thanks Ken, indeed without both I would be in trouble - I put my glasses down the other day and I couldn't find my laptop let alone see to use it, but with my readers and magnifiers I seen to be doing ok, but when I have both on and at the table if the admiral calls me I go - "What what - who's there"?
OC.