Old Collingwood
-
Posts
12,104 -
Joined
-
Last visited
Content Type
Profiles
Forums
Gallery
Events
Everything posted by Old Collingwood
-
 Amazing detail - very very nice and just look at the scale 😲 OC.
 -
Thank you kindly, like I said to my admiral earlier - they certainly have thier own identities all Three planes. OC.
-
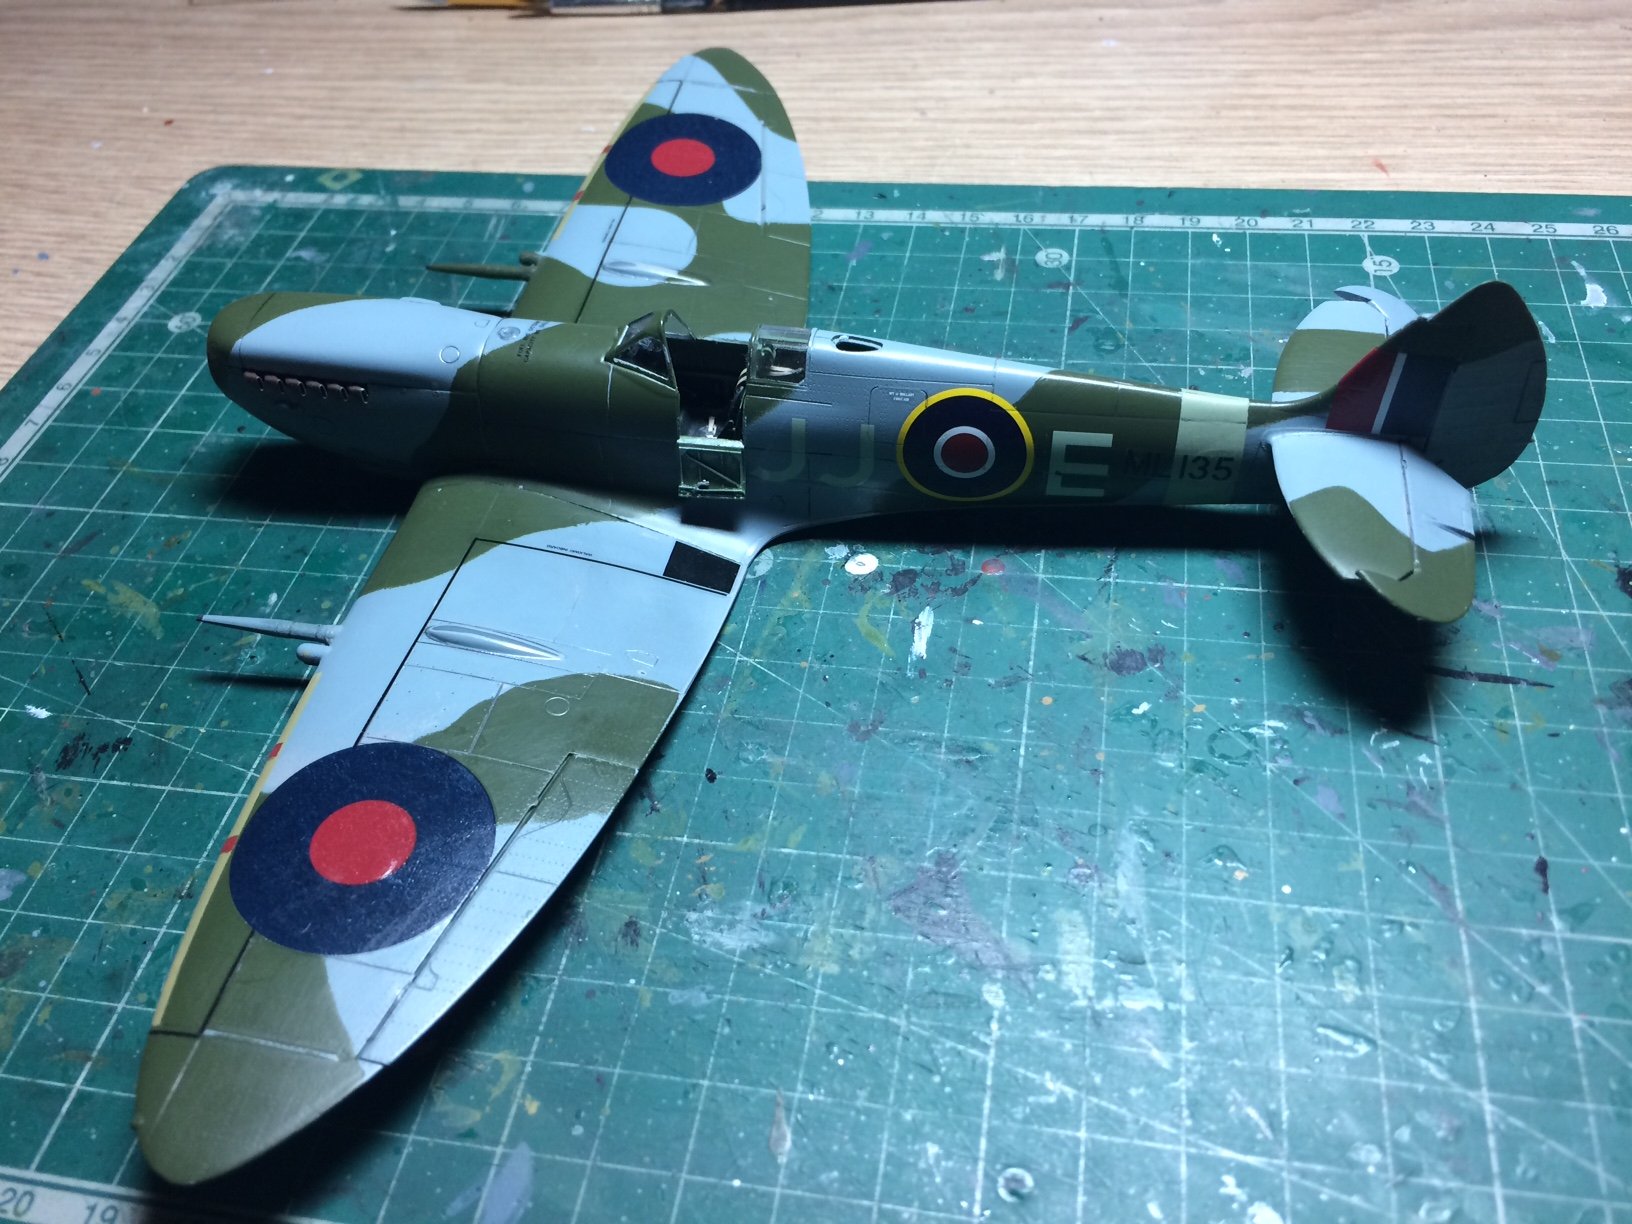
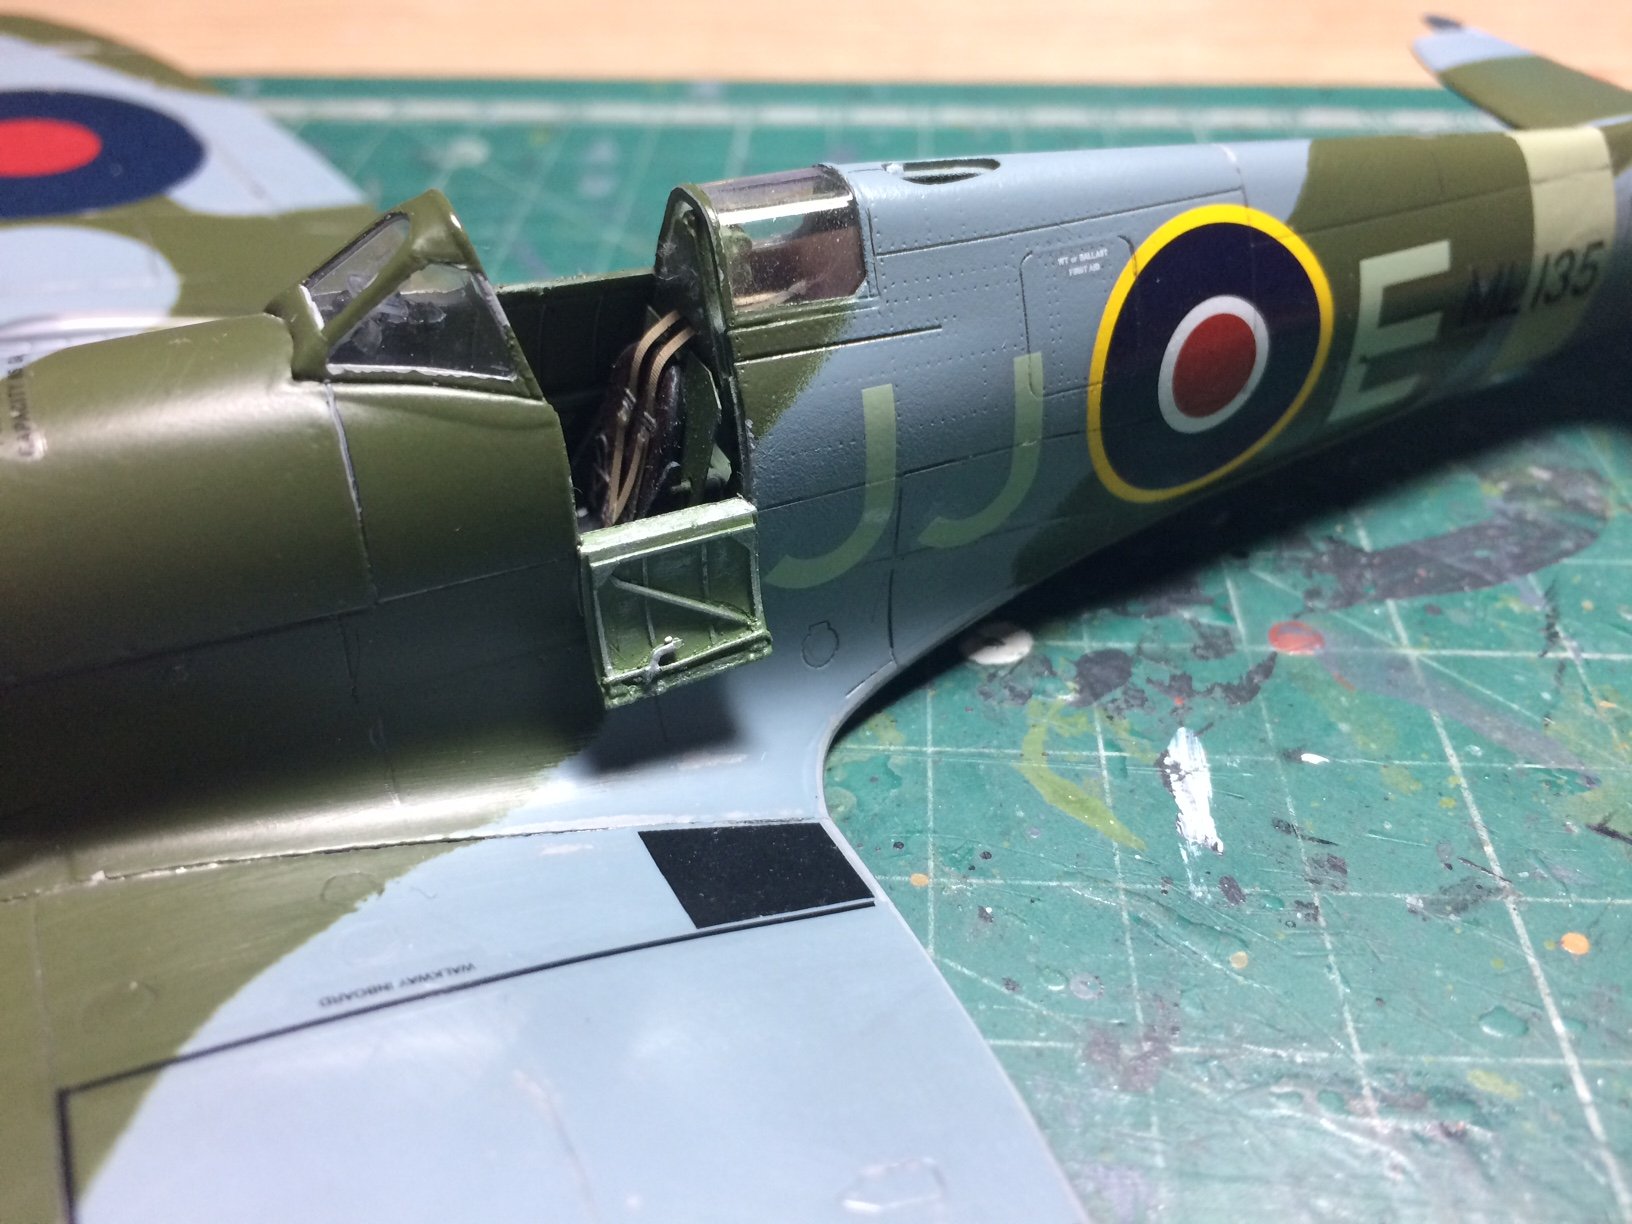
Evening all, I did a bit more on this today - firstly I took a few bits outside and sprayed them and put them in my tub to dry, next job was to attach a small bit of pe onto the cockpit door, this was then painted/highlighted and fitted, after I carried on doing some decaling work from the tail flash to the lower roundals and a few smaller ones. OC.


- 298 replies
-
- 10
-

-
Yep! we are the Decal Development Devils. OC.
-
Mine was a Very very frustrating stage (first planking) but somehow using different methods I got through. OC.
-
Loverly work. OC.
-
Hey, another figure maker - nice to have the company. OC.
-
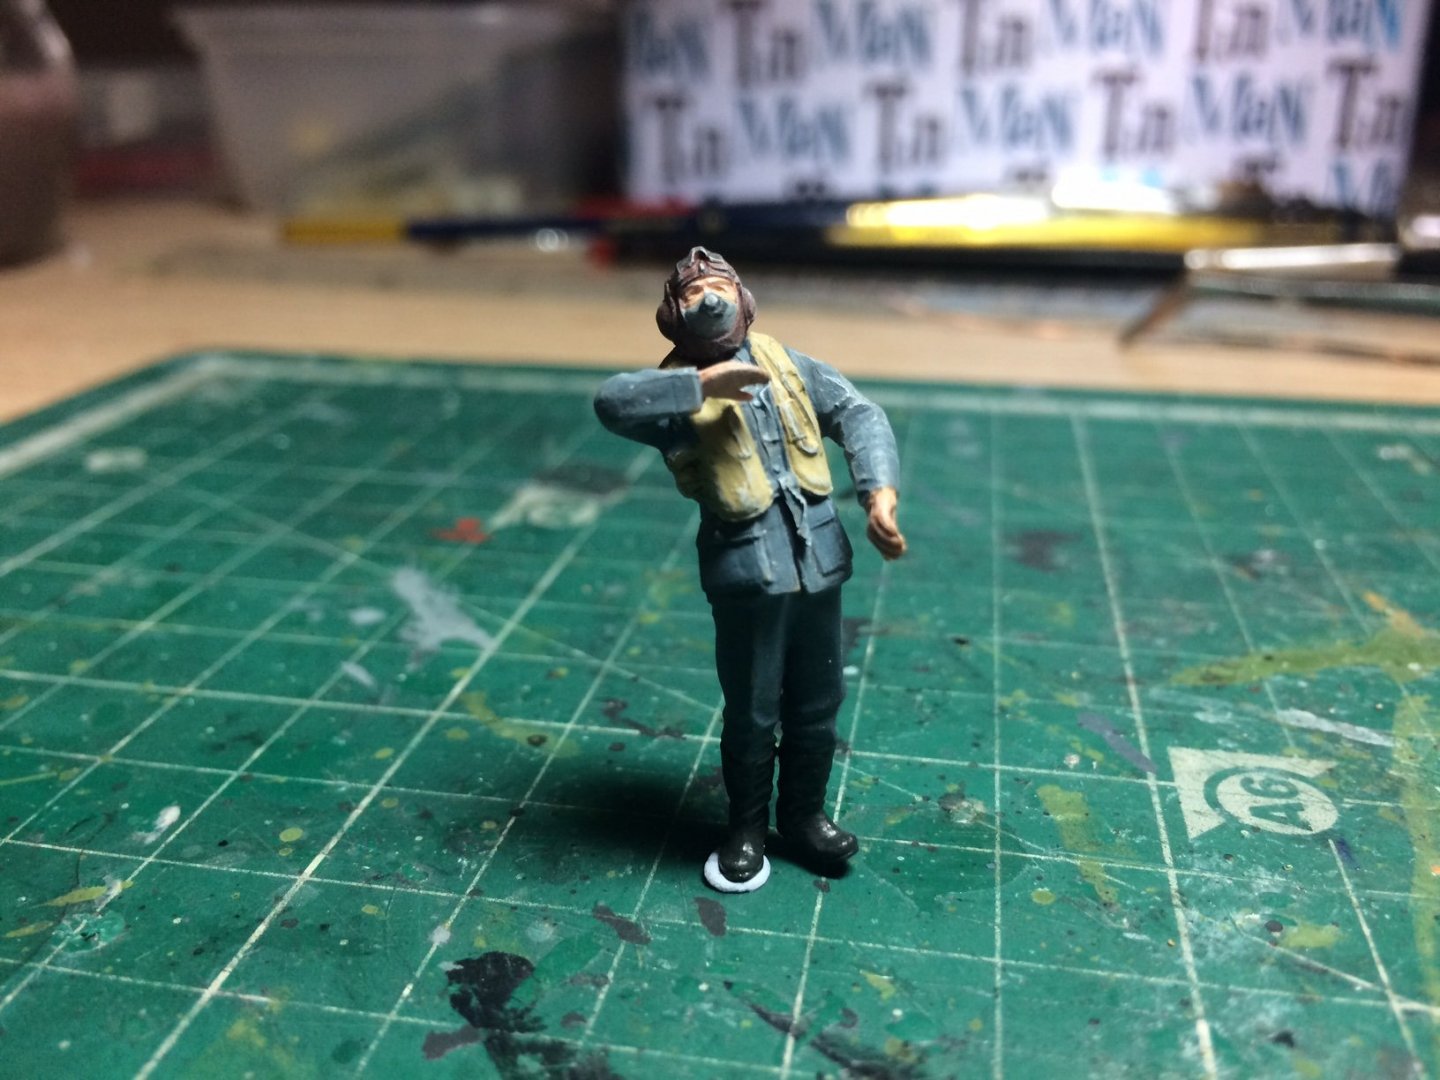
Evening all, I decided to make a pilot for the Spit out of my other figure/parts set, he is assembled in a pose where he is climbing into the cockpit. OC.
- 298 replies
-
- 10
-
-
Thank You kindly for the nice words Jack, I contacted Revell and they sent me out a new figurehead of the lady, but if you get this kit of the Pearl from Revell it has the Lady figurehead in it - https://www.revell.de/en/products/modelmaking/ships/sailings-ships/black-pearl.html OC.
-
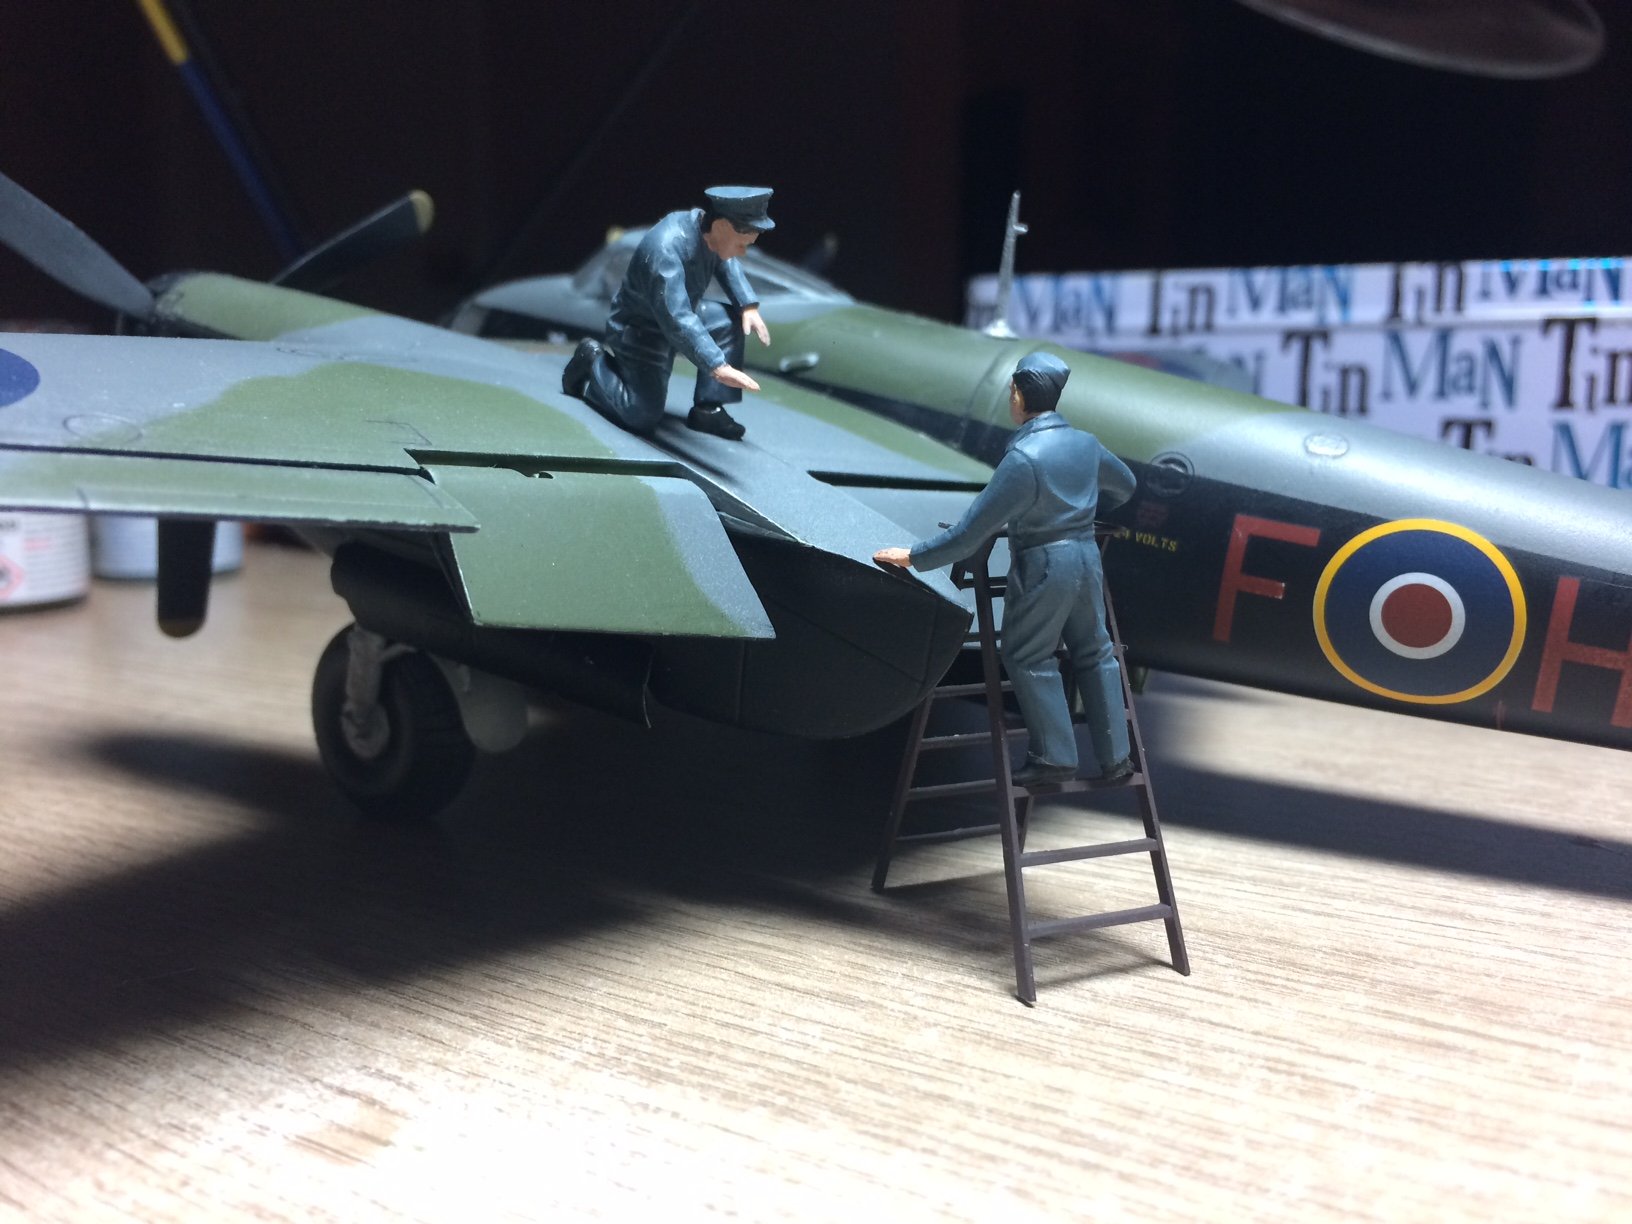
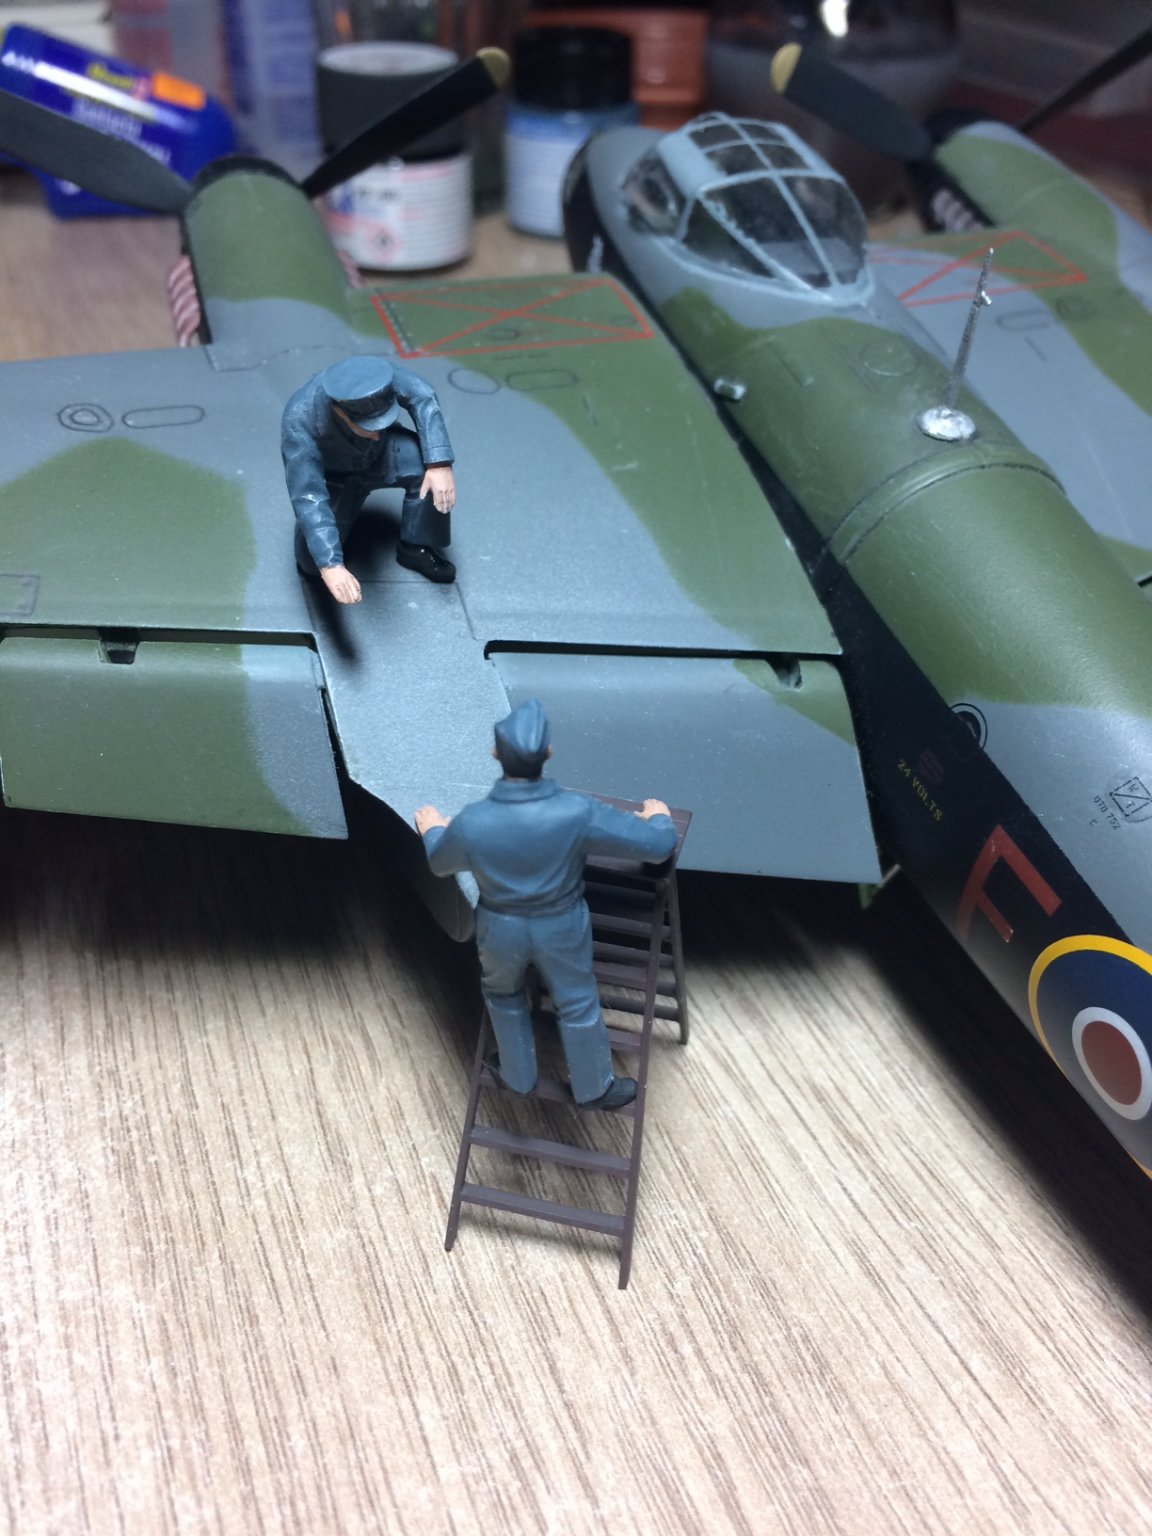
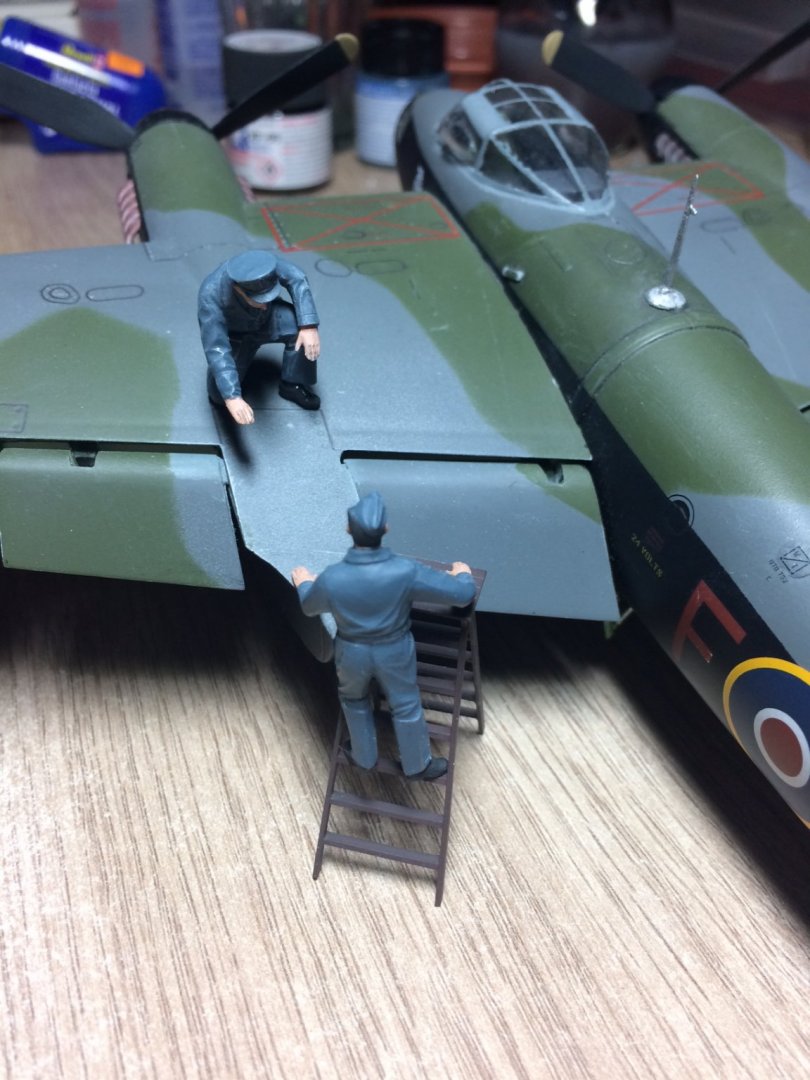
A bit more "Hands on" today - I painted the Sergeant, then after a bit of weathering, I fixed him down ontop of the wing and also offered up my dad where he will go - he just needs gluing in place to the rear section, (The sergeant is glued down though). OC.

- 932 replies
-
- 13
-
-
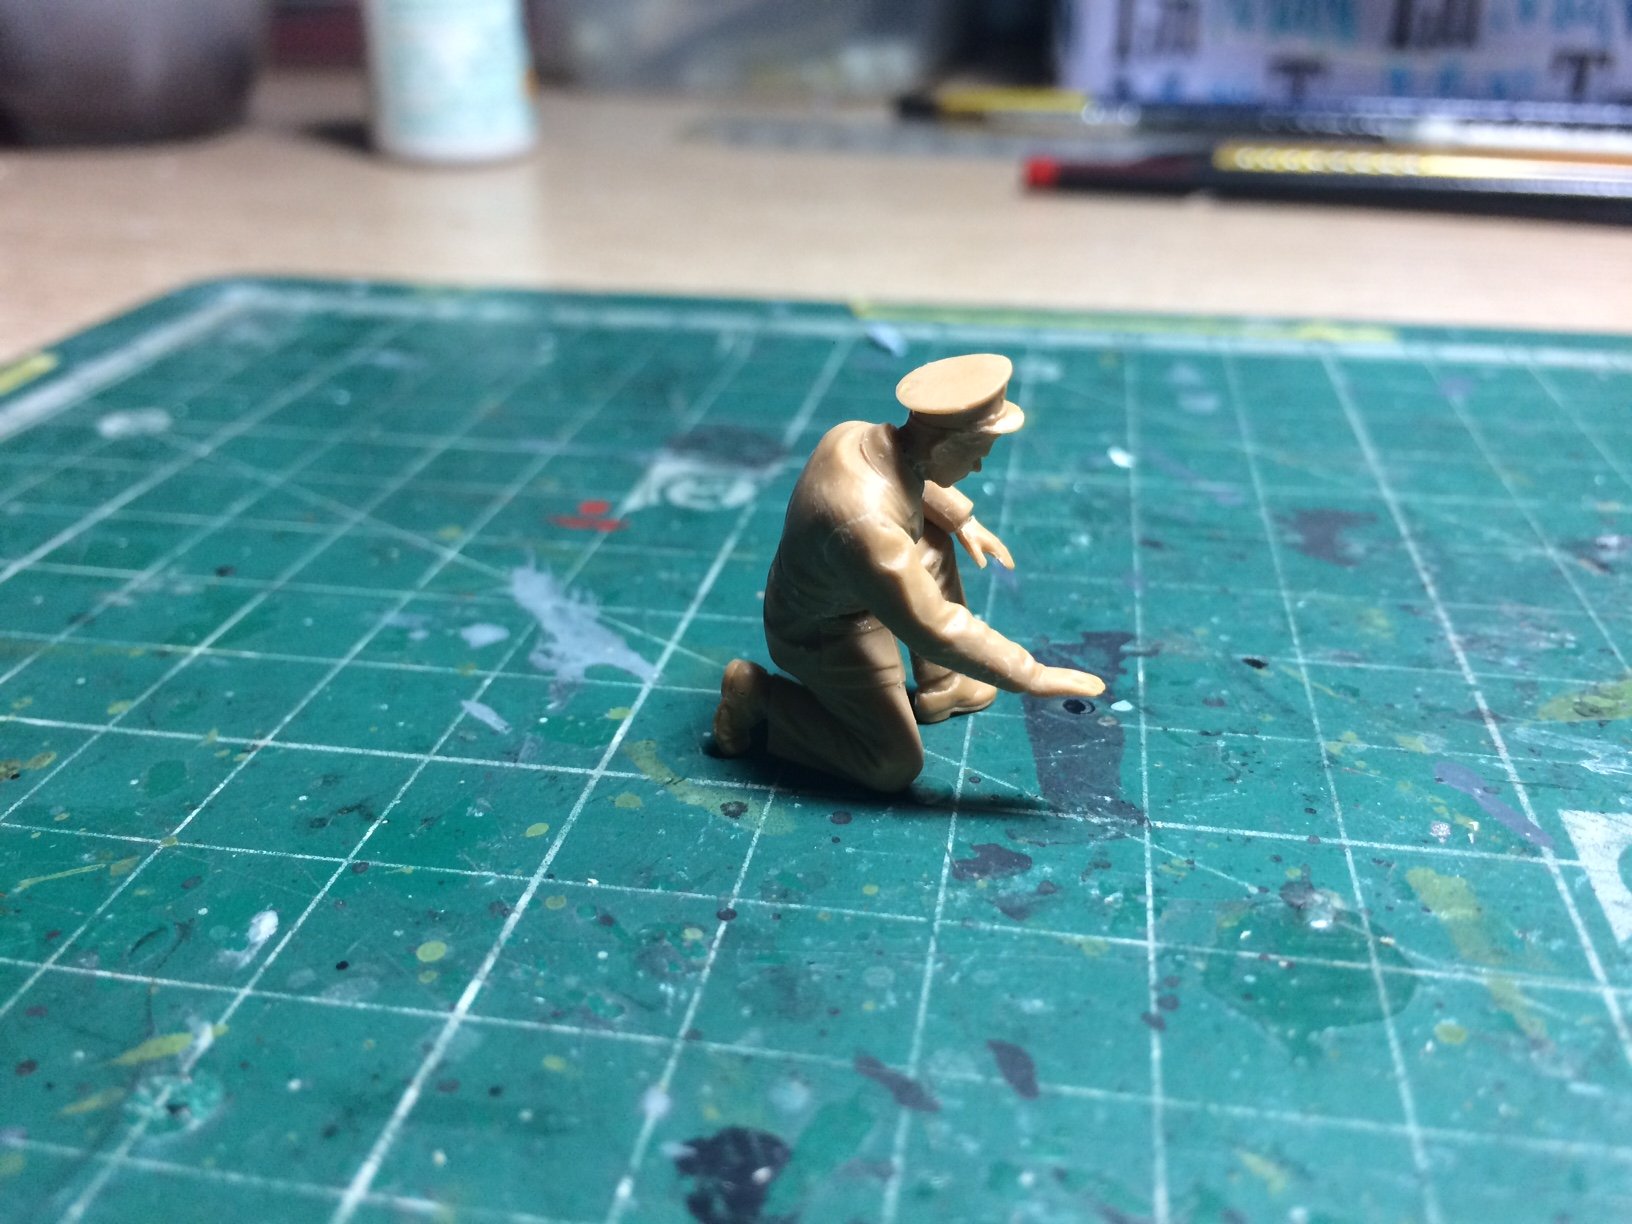
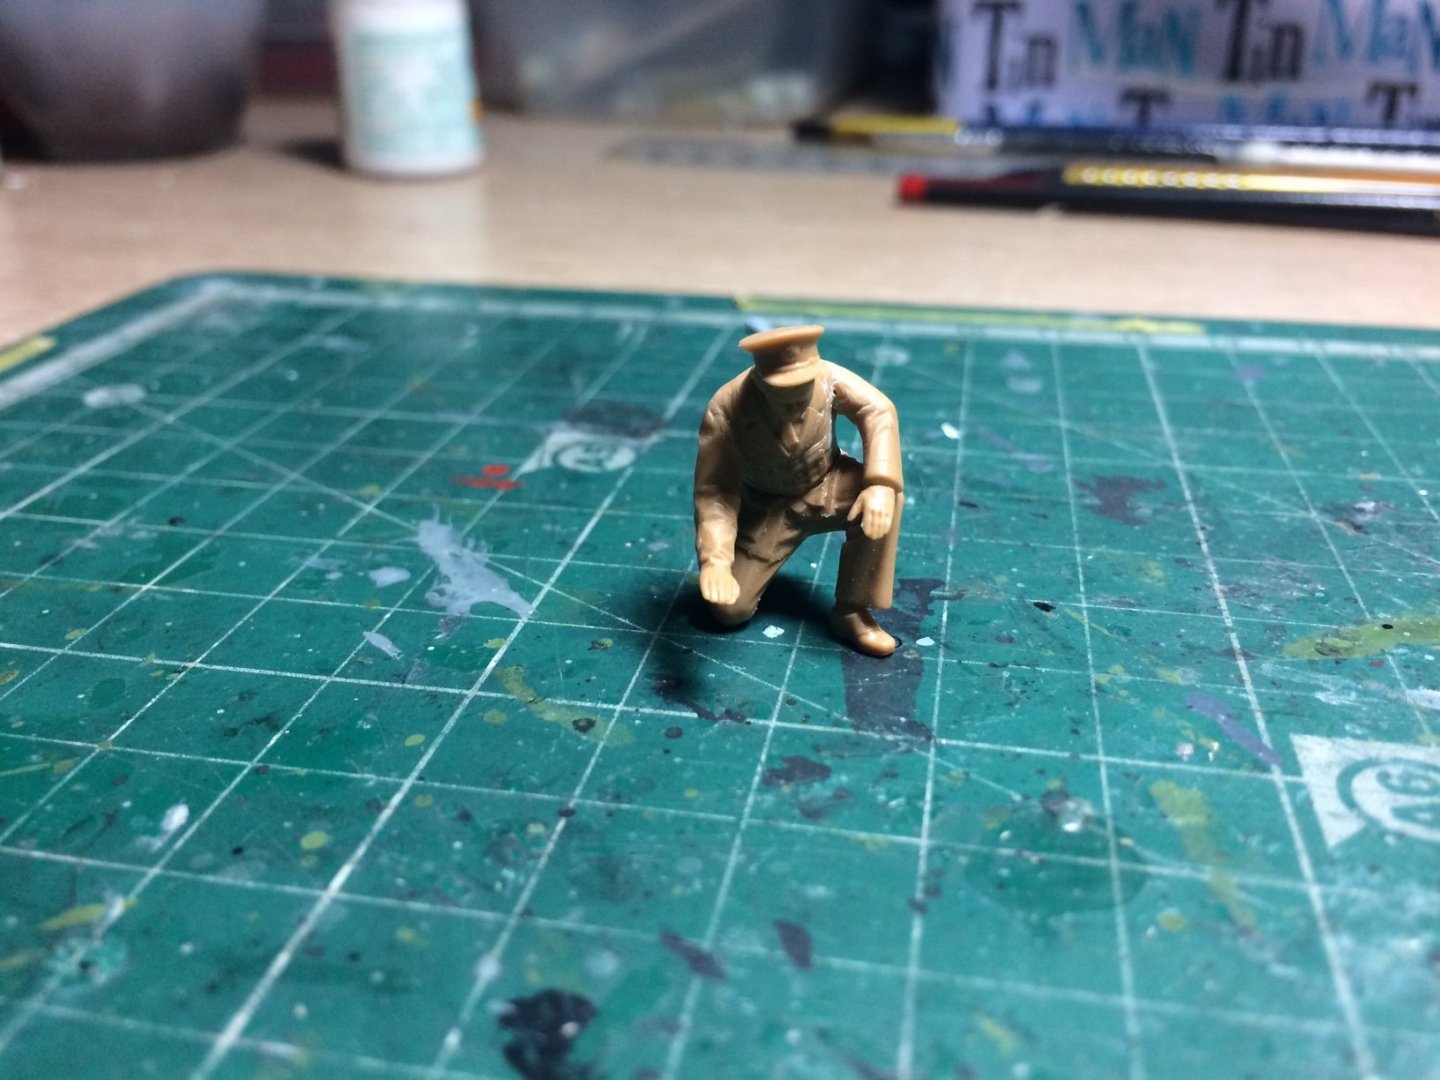
Evening all - more figure making my "Mossie - ite" friends, this time one of the sergeants - he will be put up on the wing giving instructions to my dad who is on a ladder to the rear of the wing. Needs painting/weathering. OC.

-
Looking very tidy Mike. OC.
-
This has so inspired me with my Waterloo dio I hope to start around christmas time, superb building skills. OC.
-
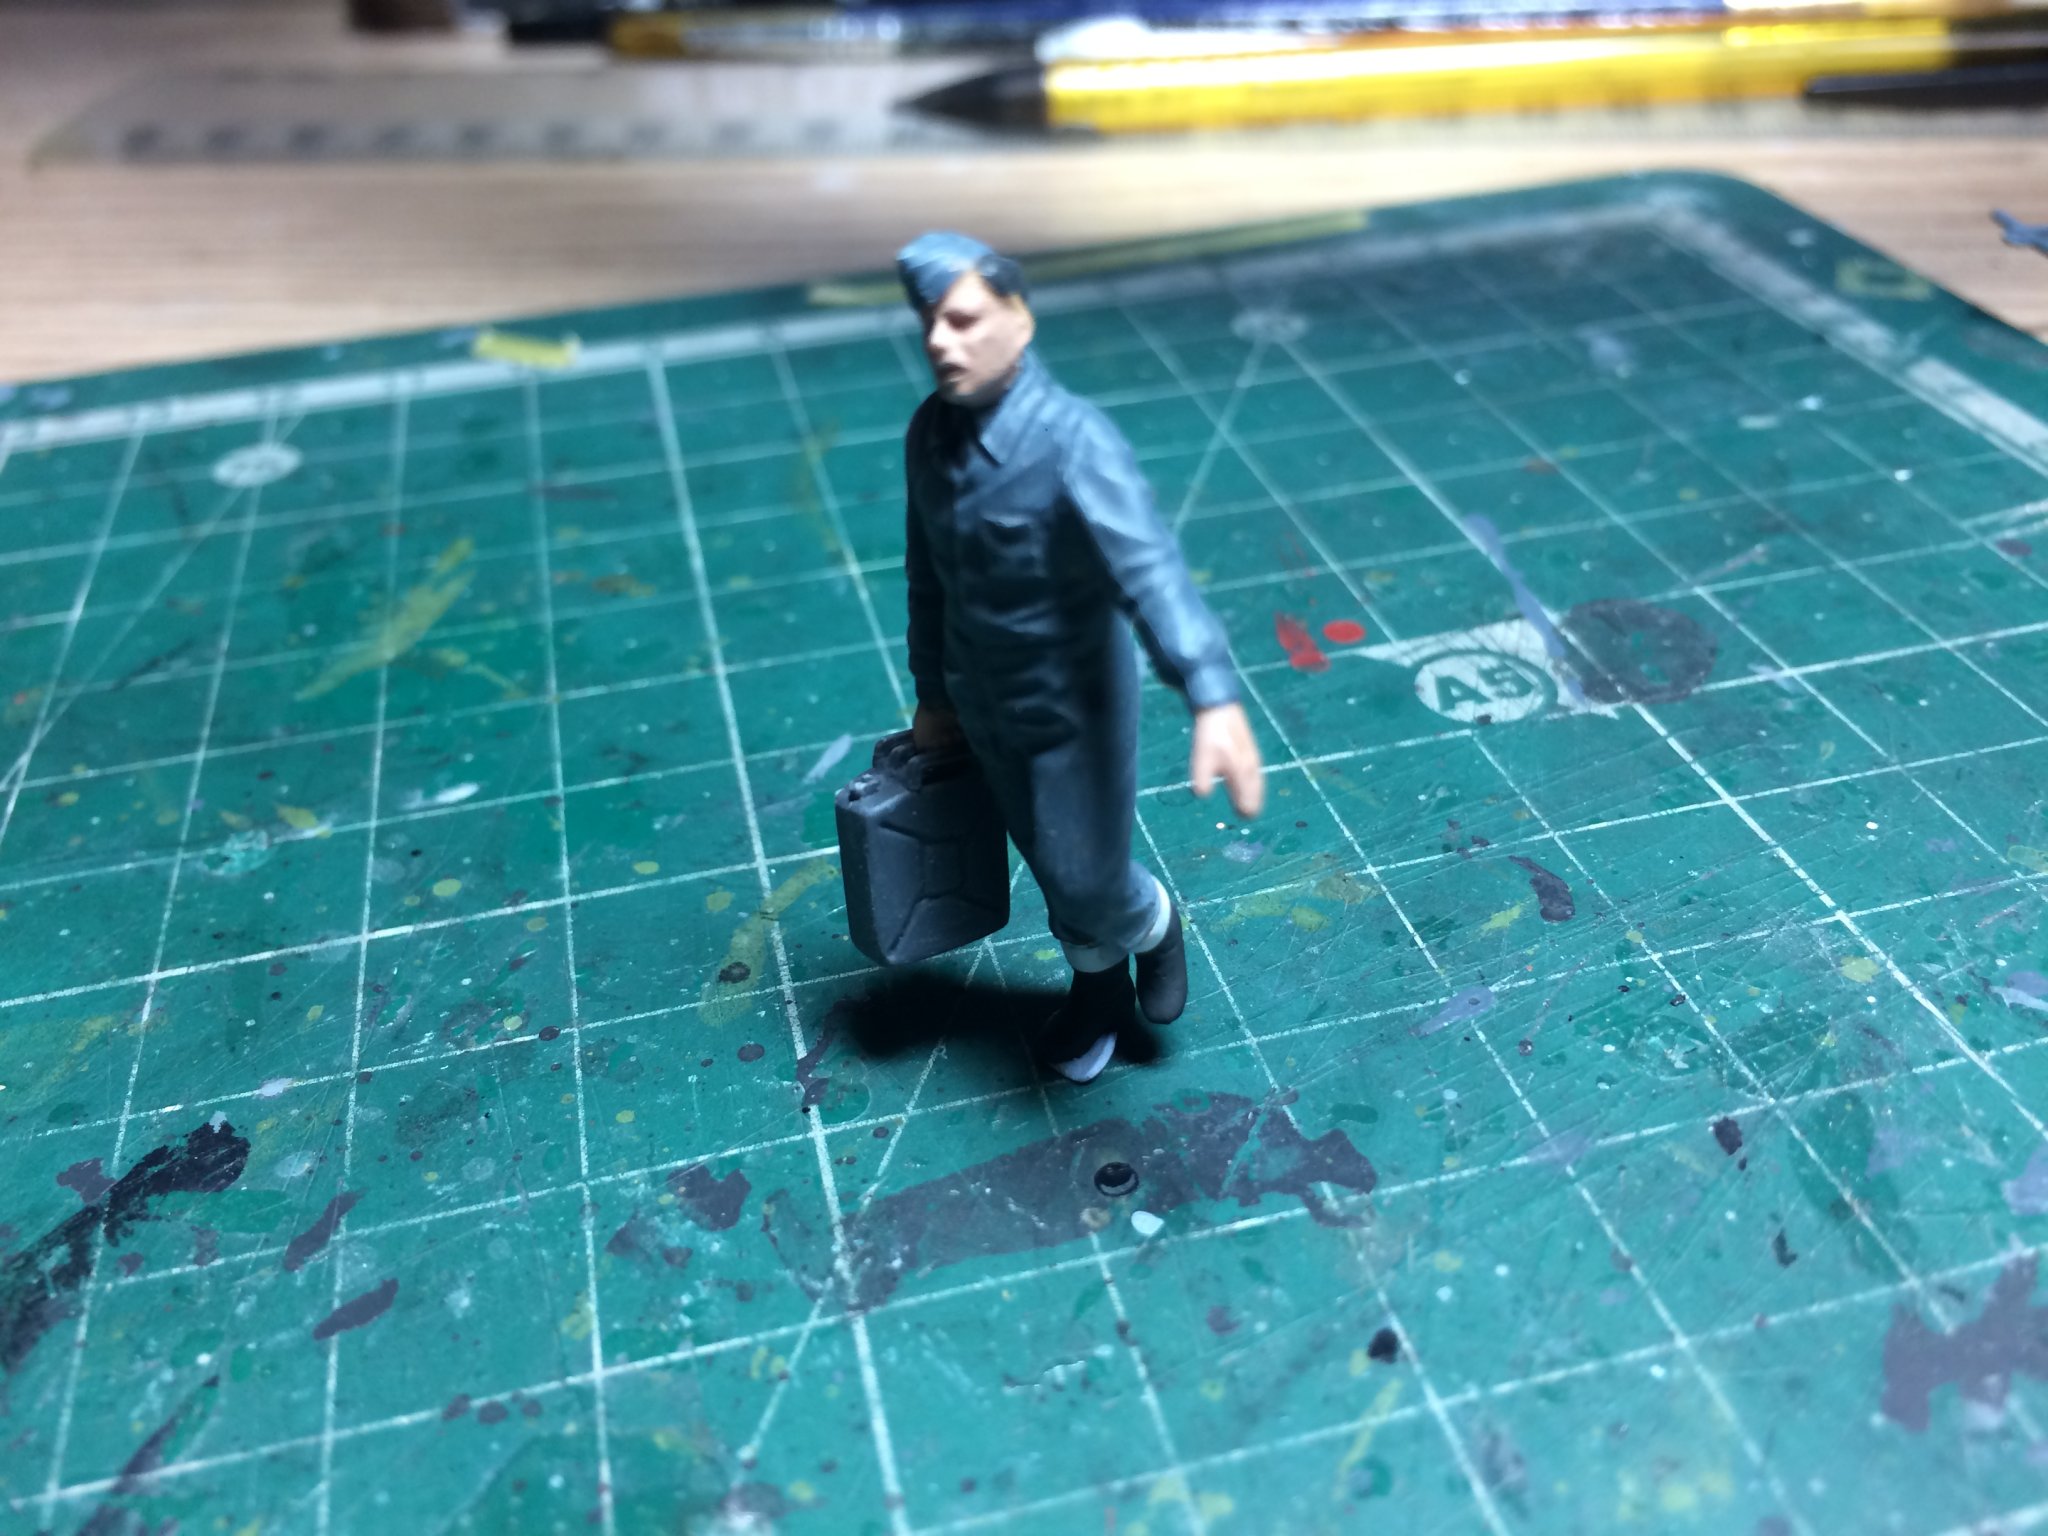
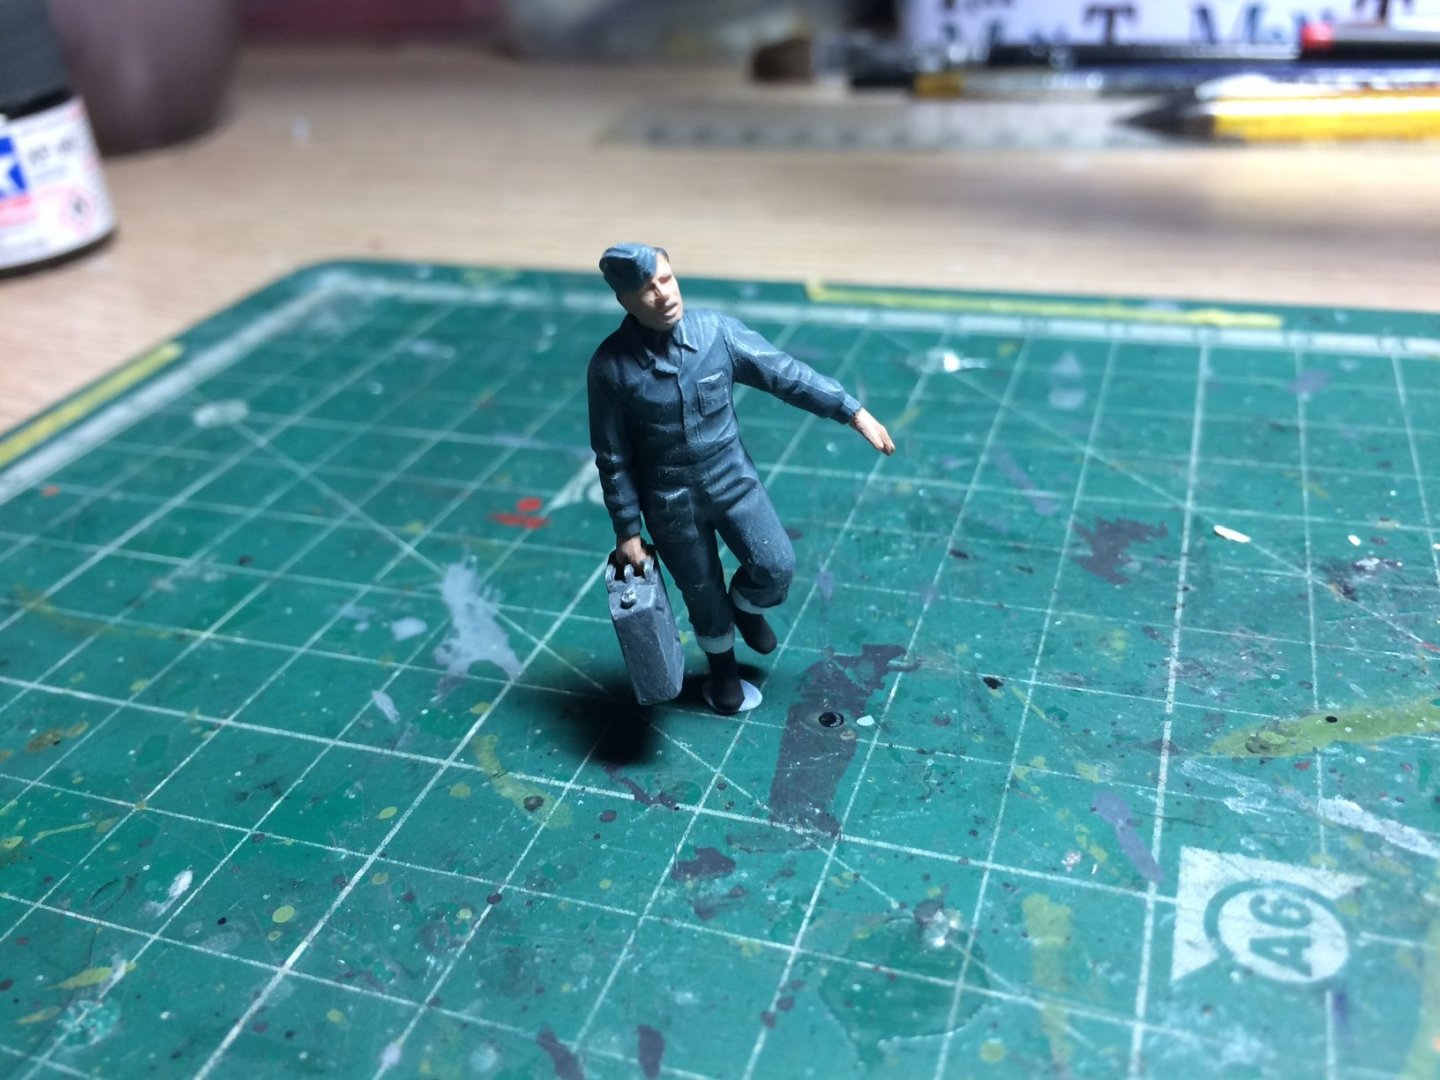
Evening all, a bit more progress today - I am managing one figure per day, project today was an other ERK, this chap is carrying a Jerry can, I had to do a little bit of fettling as the kit way was just to glue the can onto the bottom of the hand - but I thought that looked silly, so I cut the middle bar out of the handle but just left a bit of it showing, then I pushed the hand lower in between the handle and glued it there, this way it looks like he is actually carrying it. OC.

-
I ment this Lou - The Junkers Ju-87 or Stuka (from Sturzkampfflugzeug, “dive bomber”) I put in the initials my self. OC.
-
Wasn't it mainly refered to as S.D.B Stuka Dive Bomber. OC.
-
Have you thought about trying Chrome Rattle can sprays, I have heard some good results from them? OC.
-
Thank you EG for further clearing that up, it wont be an issue as there is enough going on to keep the Dio busy, so one table will not be missed. OC.
-
Thanks Lou, the table will be left out. OC.
-
I see, so the bench is probably not for Mossie use or use on a normal base with full facilities? OC.
-
Thanks Lou, with the bench being uncertain it could always be left out of the Dio, it does seem puzzling to me why this stage would not have been done in preperation for flight (probably many many boxes of them) in the hanger. OC.
-
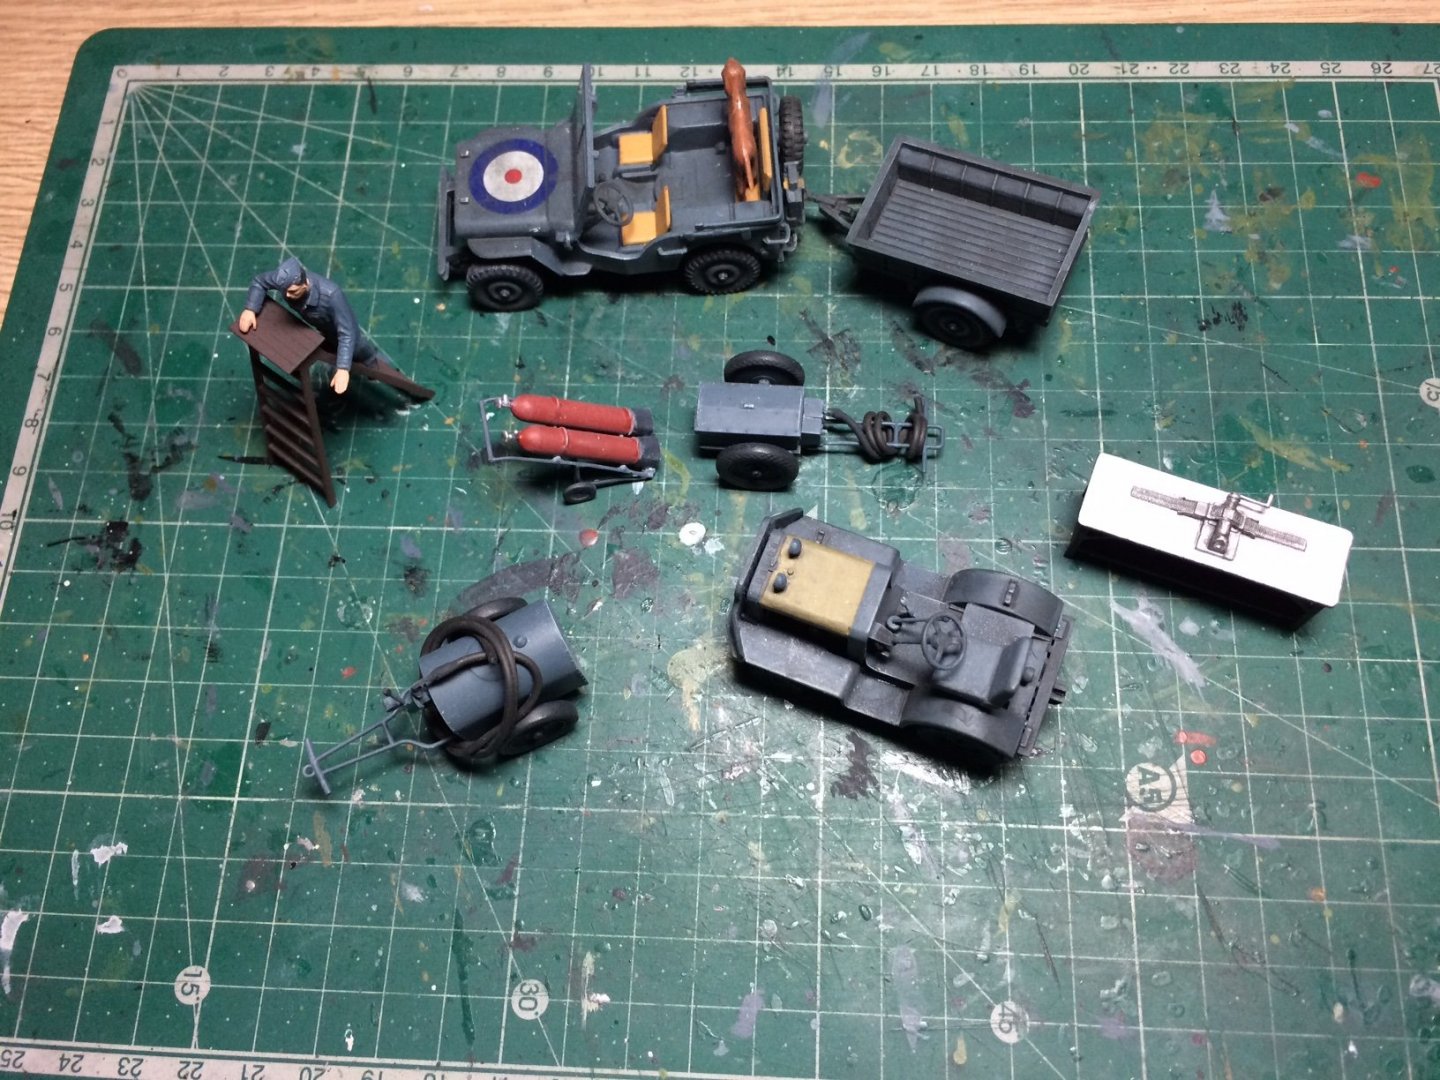
A group pic of all thats built so far. OC.